
Borderlands 4: Mad Ellie and the Vault of the Damned includes 11 side missions. If you’re aiming to unlock the “Looking for Work at the Top of the World” achievement, you’ll find everything you need right here – we’ve listed all the missions, where to find them, and any requirements for completing them.
Here you’ll find the precise locations, details, and maps for all the Side Missions. If you haven’t unlocked the “Looking for Work at the Top of the World” achievement, it means you’re still missing one of these missions.
You might be missing the “Ice Fishing” side quest, and we’ve got a guide to help you with it. Find out how to begin this hidden mission below.
Ghost Stories
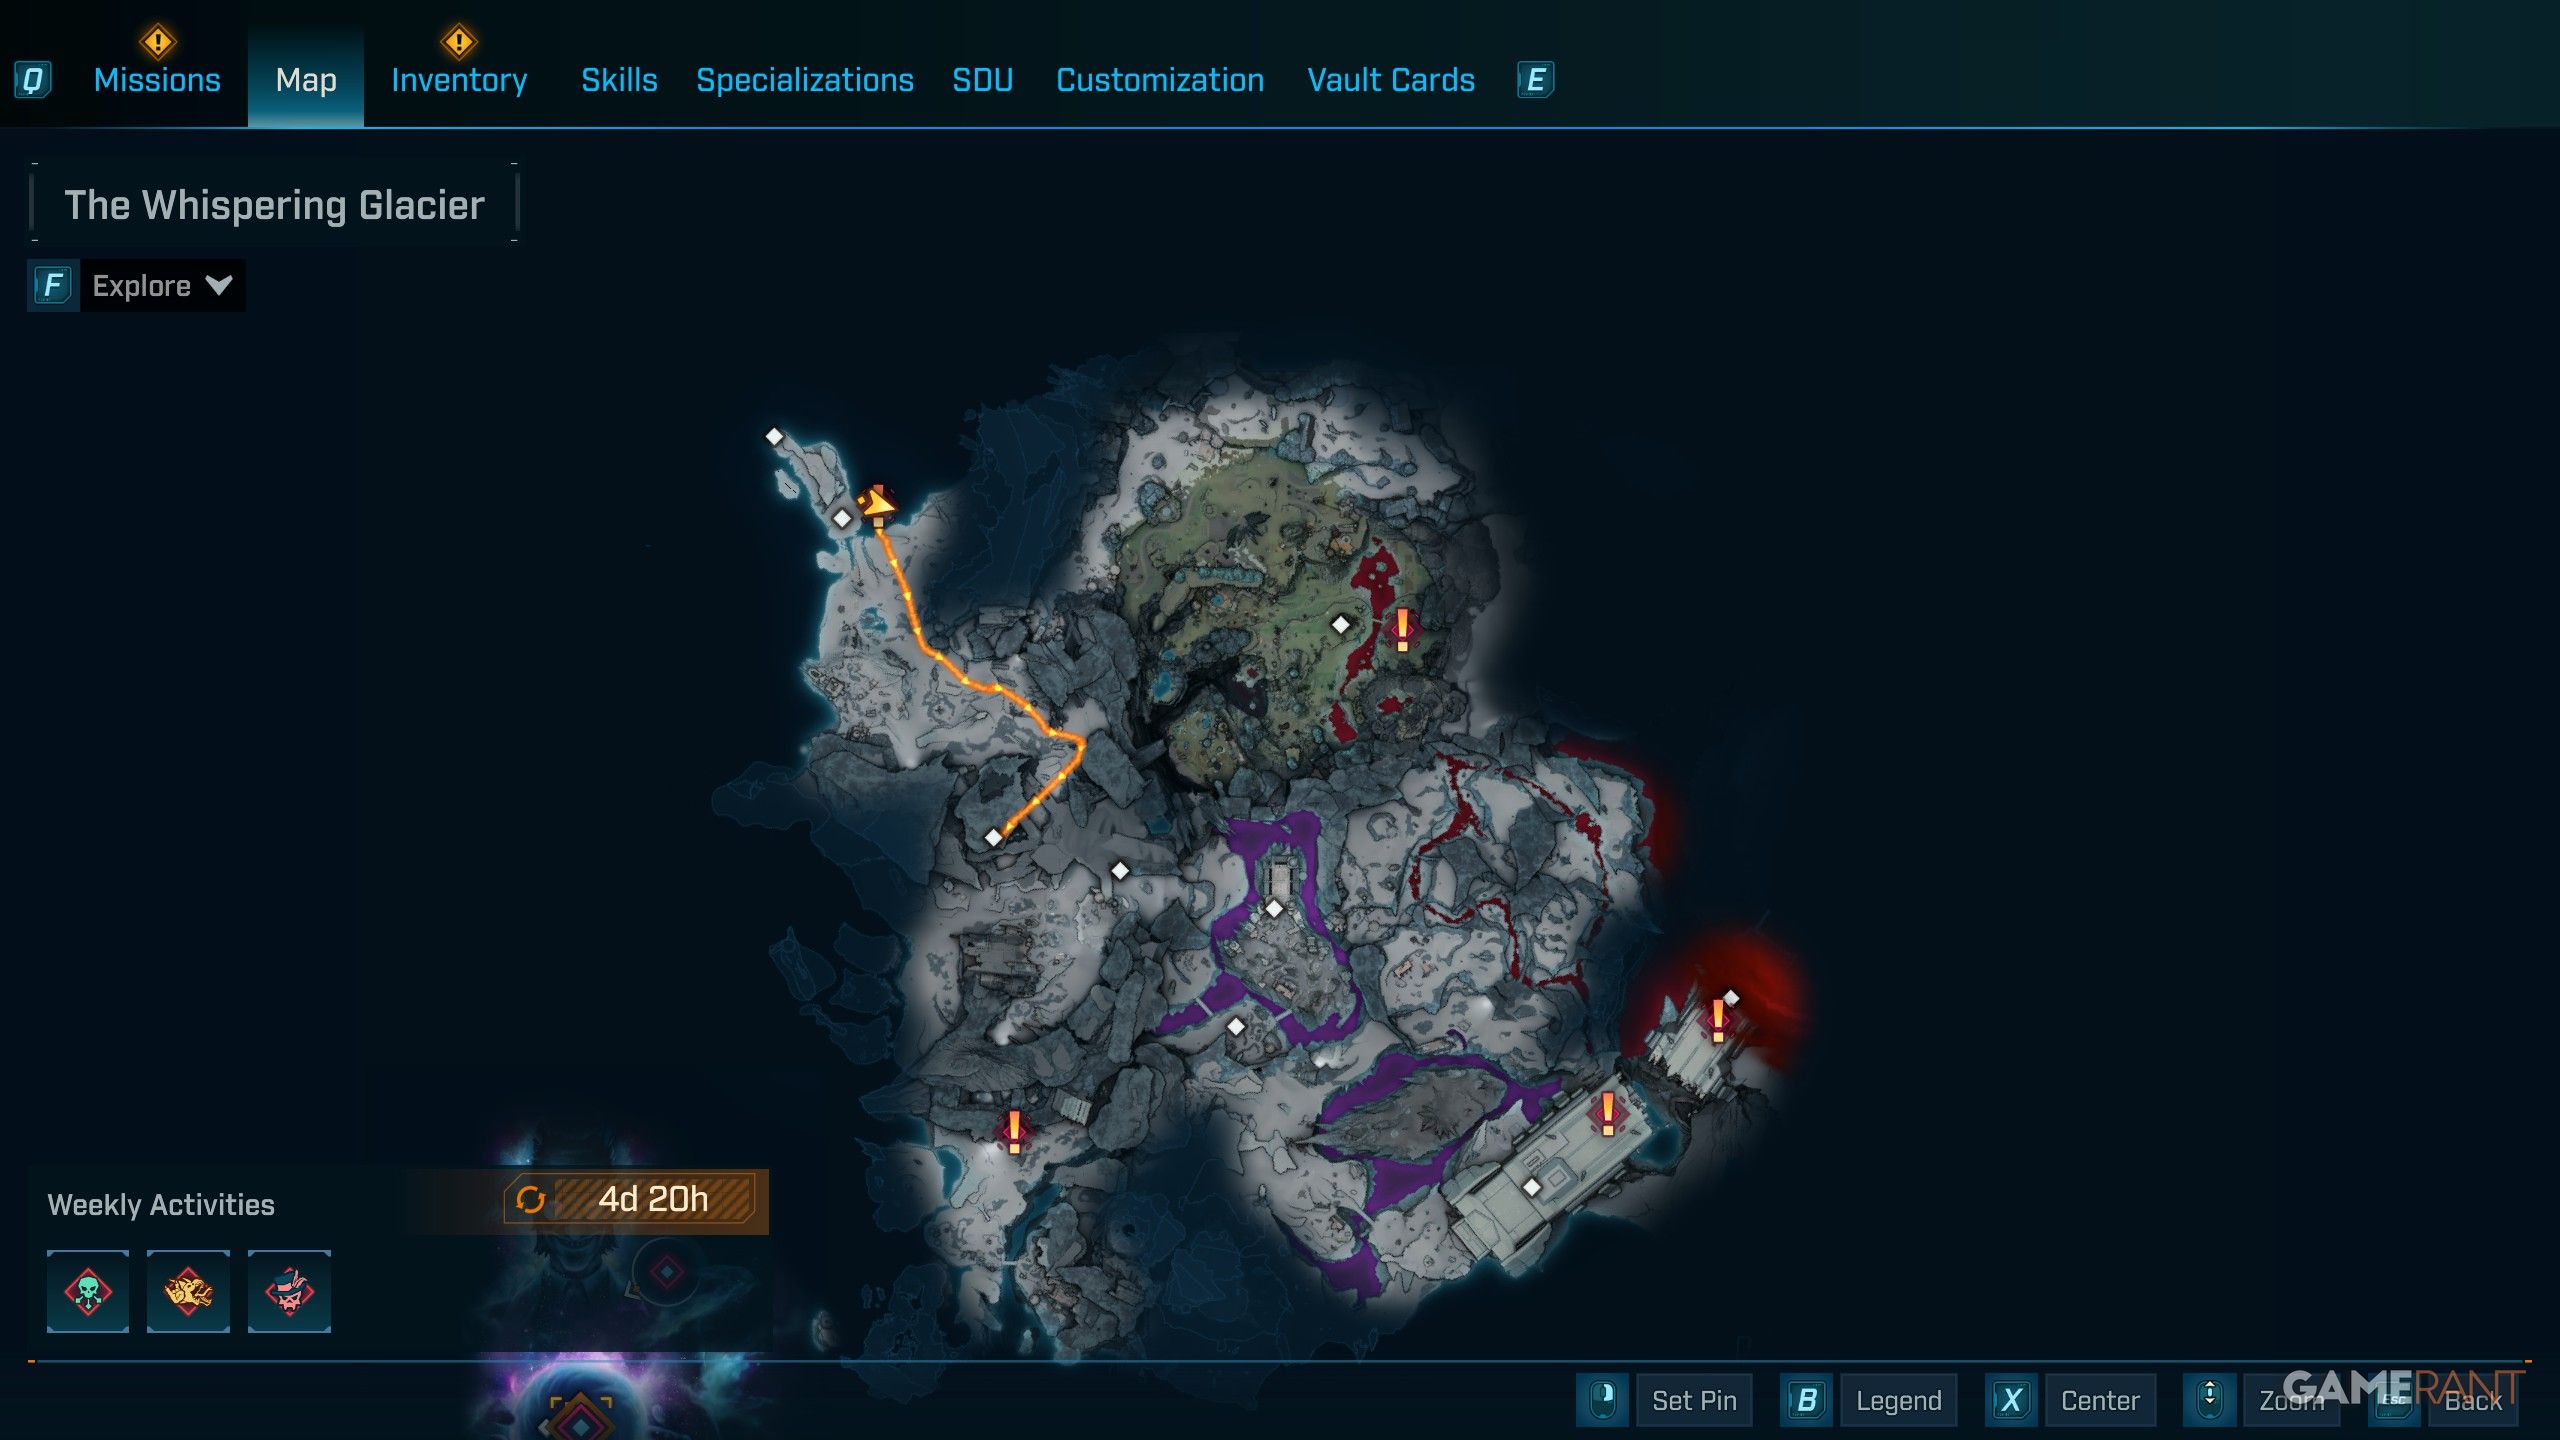
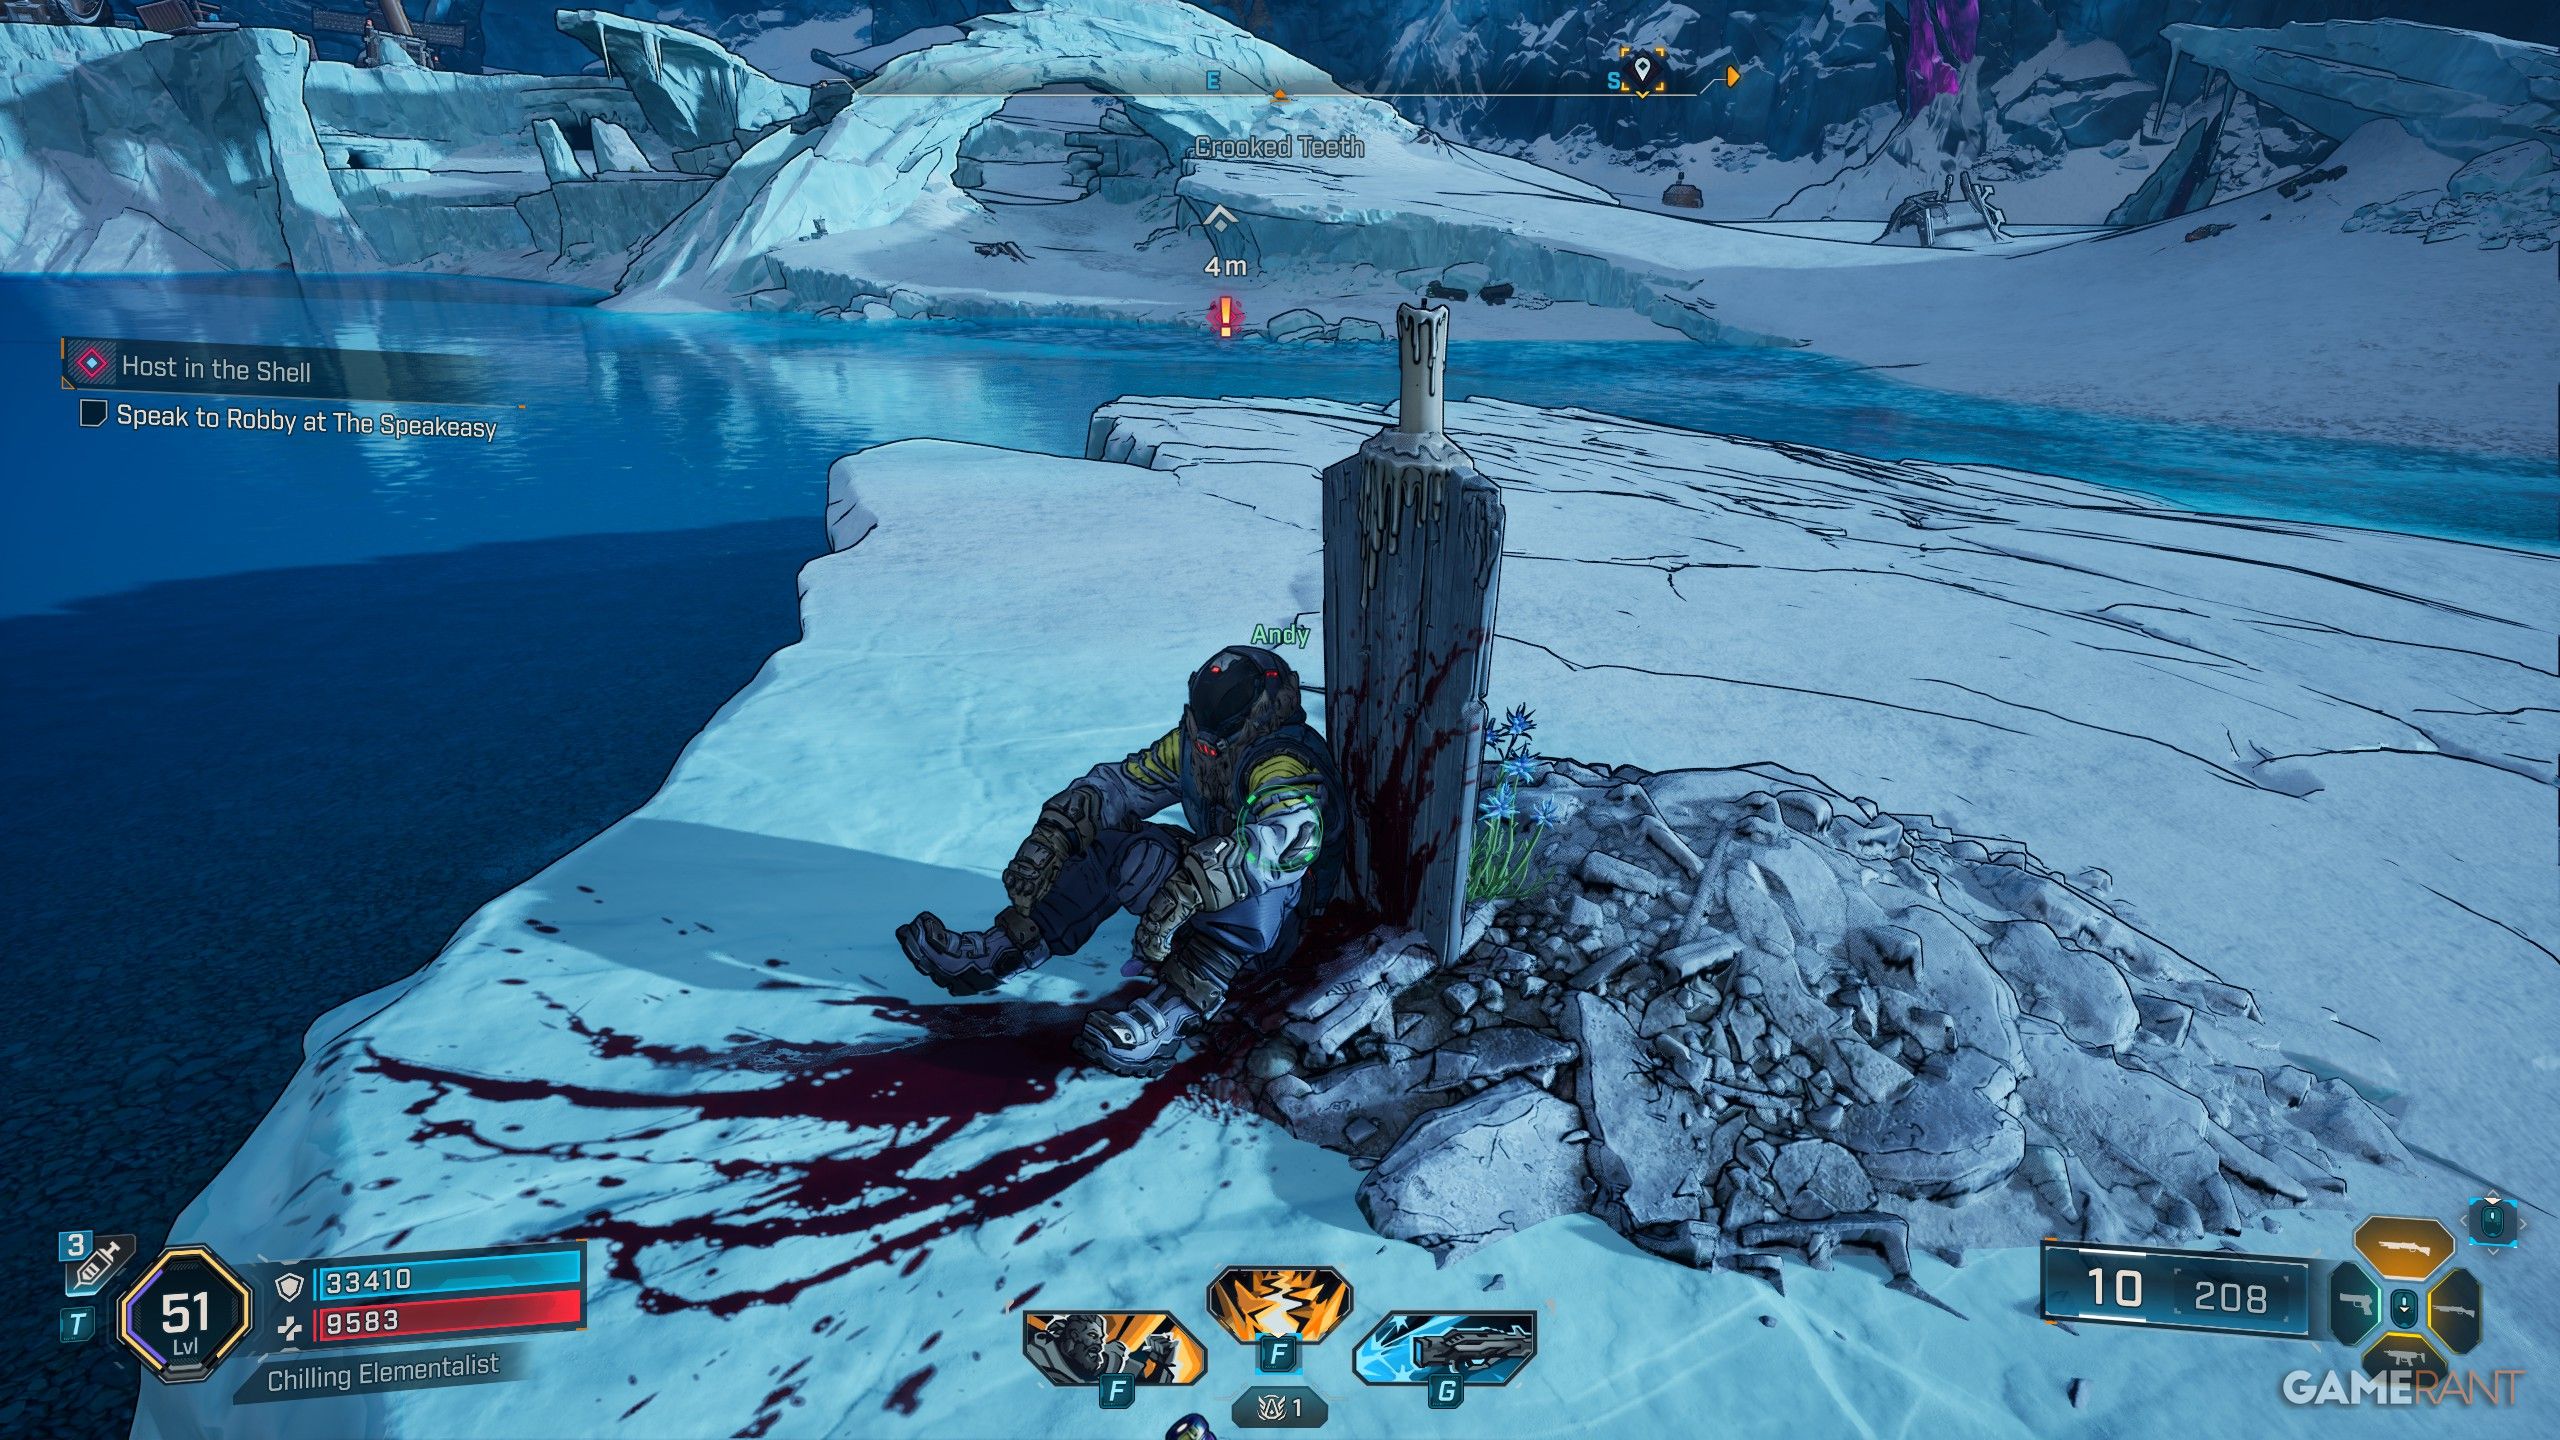
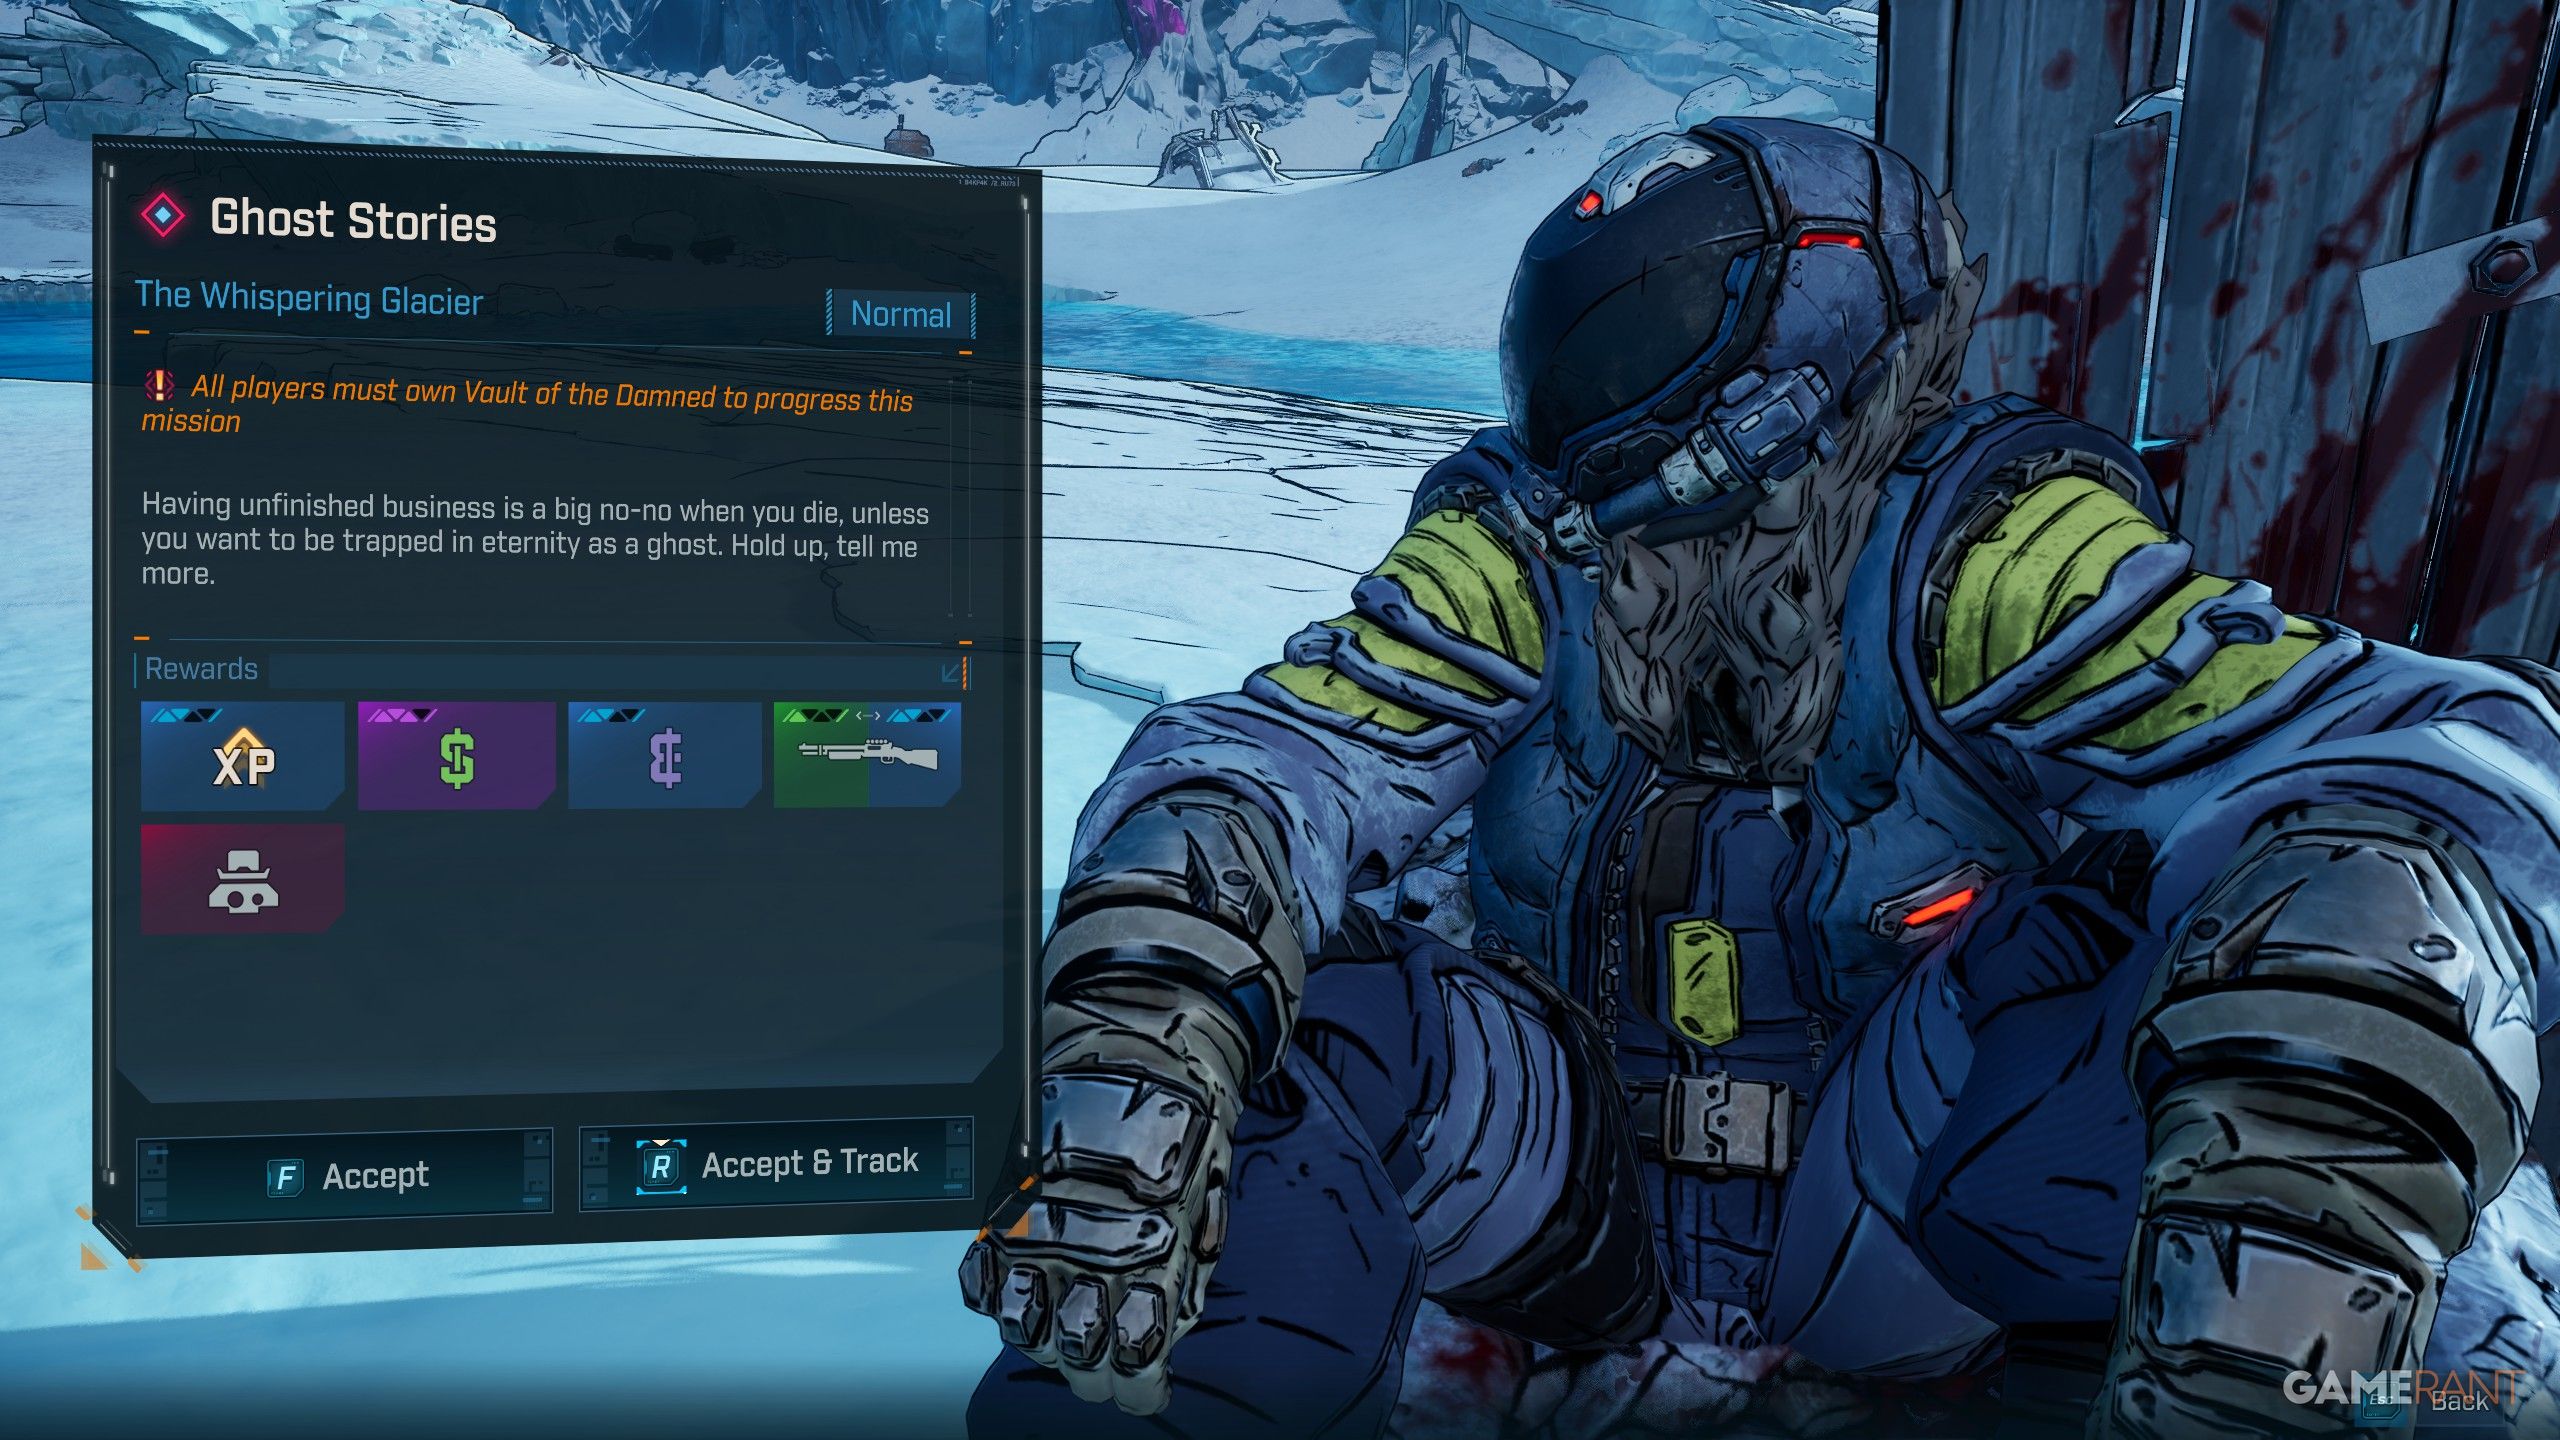
- Ghost Stories can be started from Crooked Teeth, the starting region of the Whispering Glacier. You can find a man sitting by a gravestone looking out to the water.
- Approach the man and speak with him to begin the Side Quest.
- The mission will have you help a ghost trapped in purgatory by completing their unfinished business, which involves a quick race and a ball game.
At the end of the mission, you’ll have to decide whether to release a ghost or leave him trapped with his ghostly companions. If you enter your initials into the computer, you’ll get extra rewards, though they won’t be special or one-of-a-kind items.
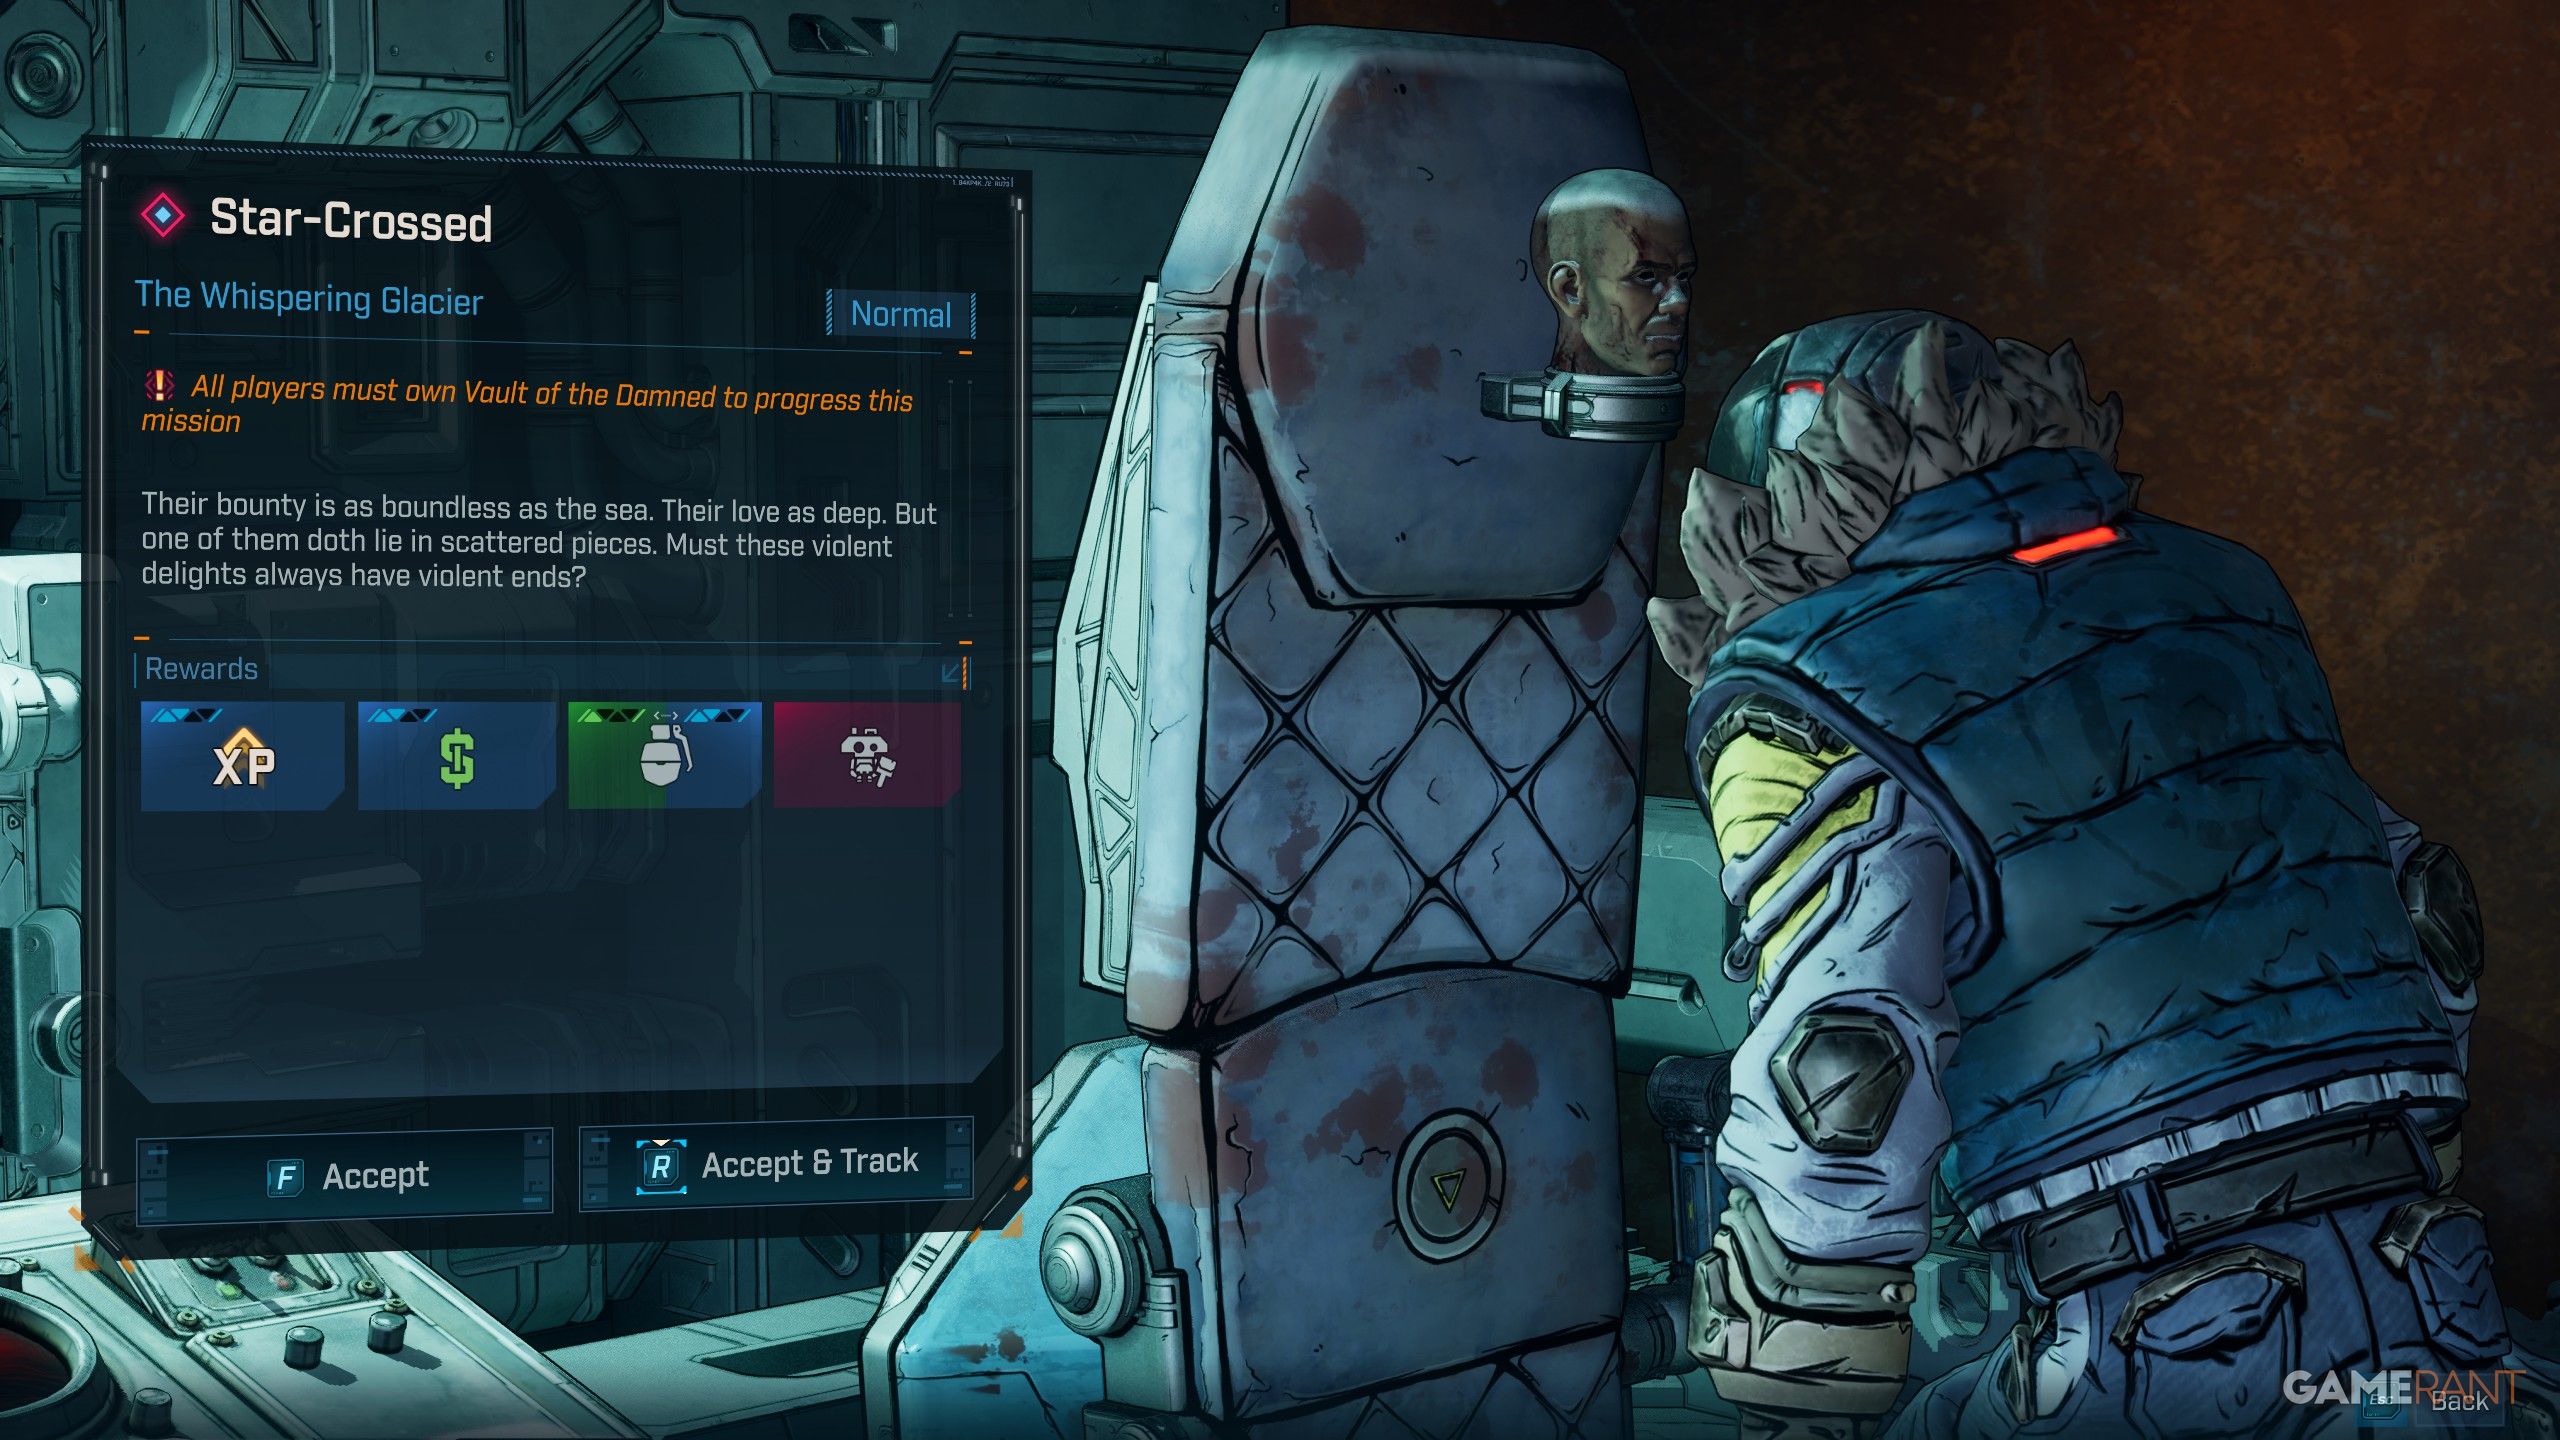
Star-Crossed
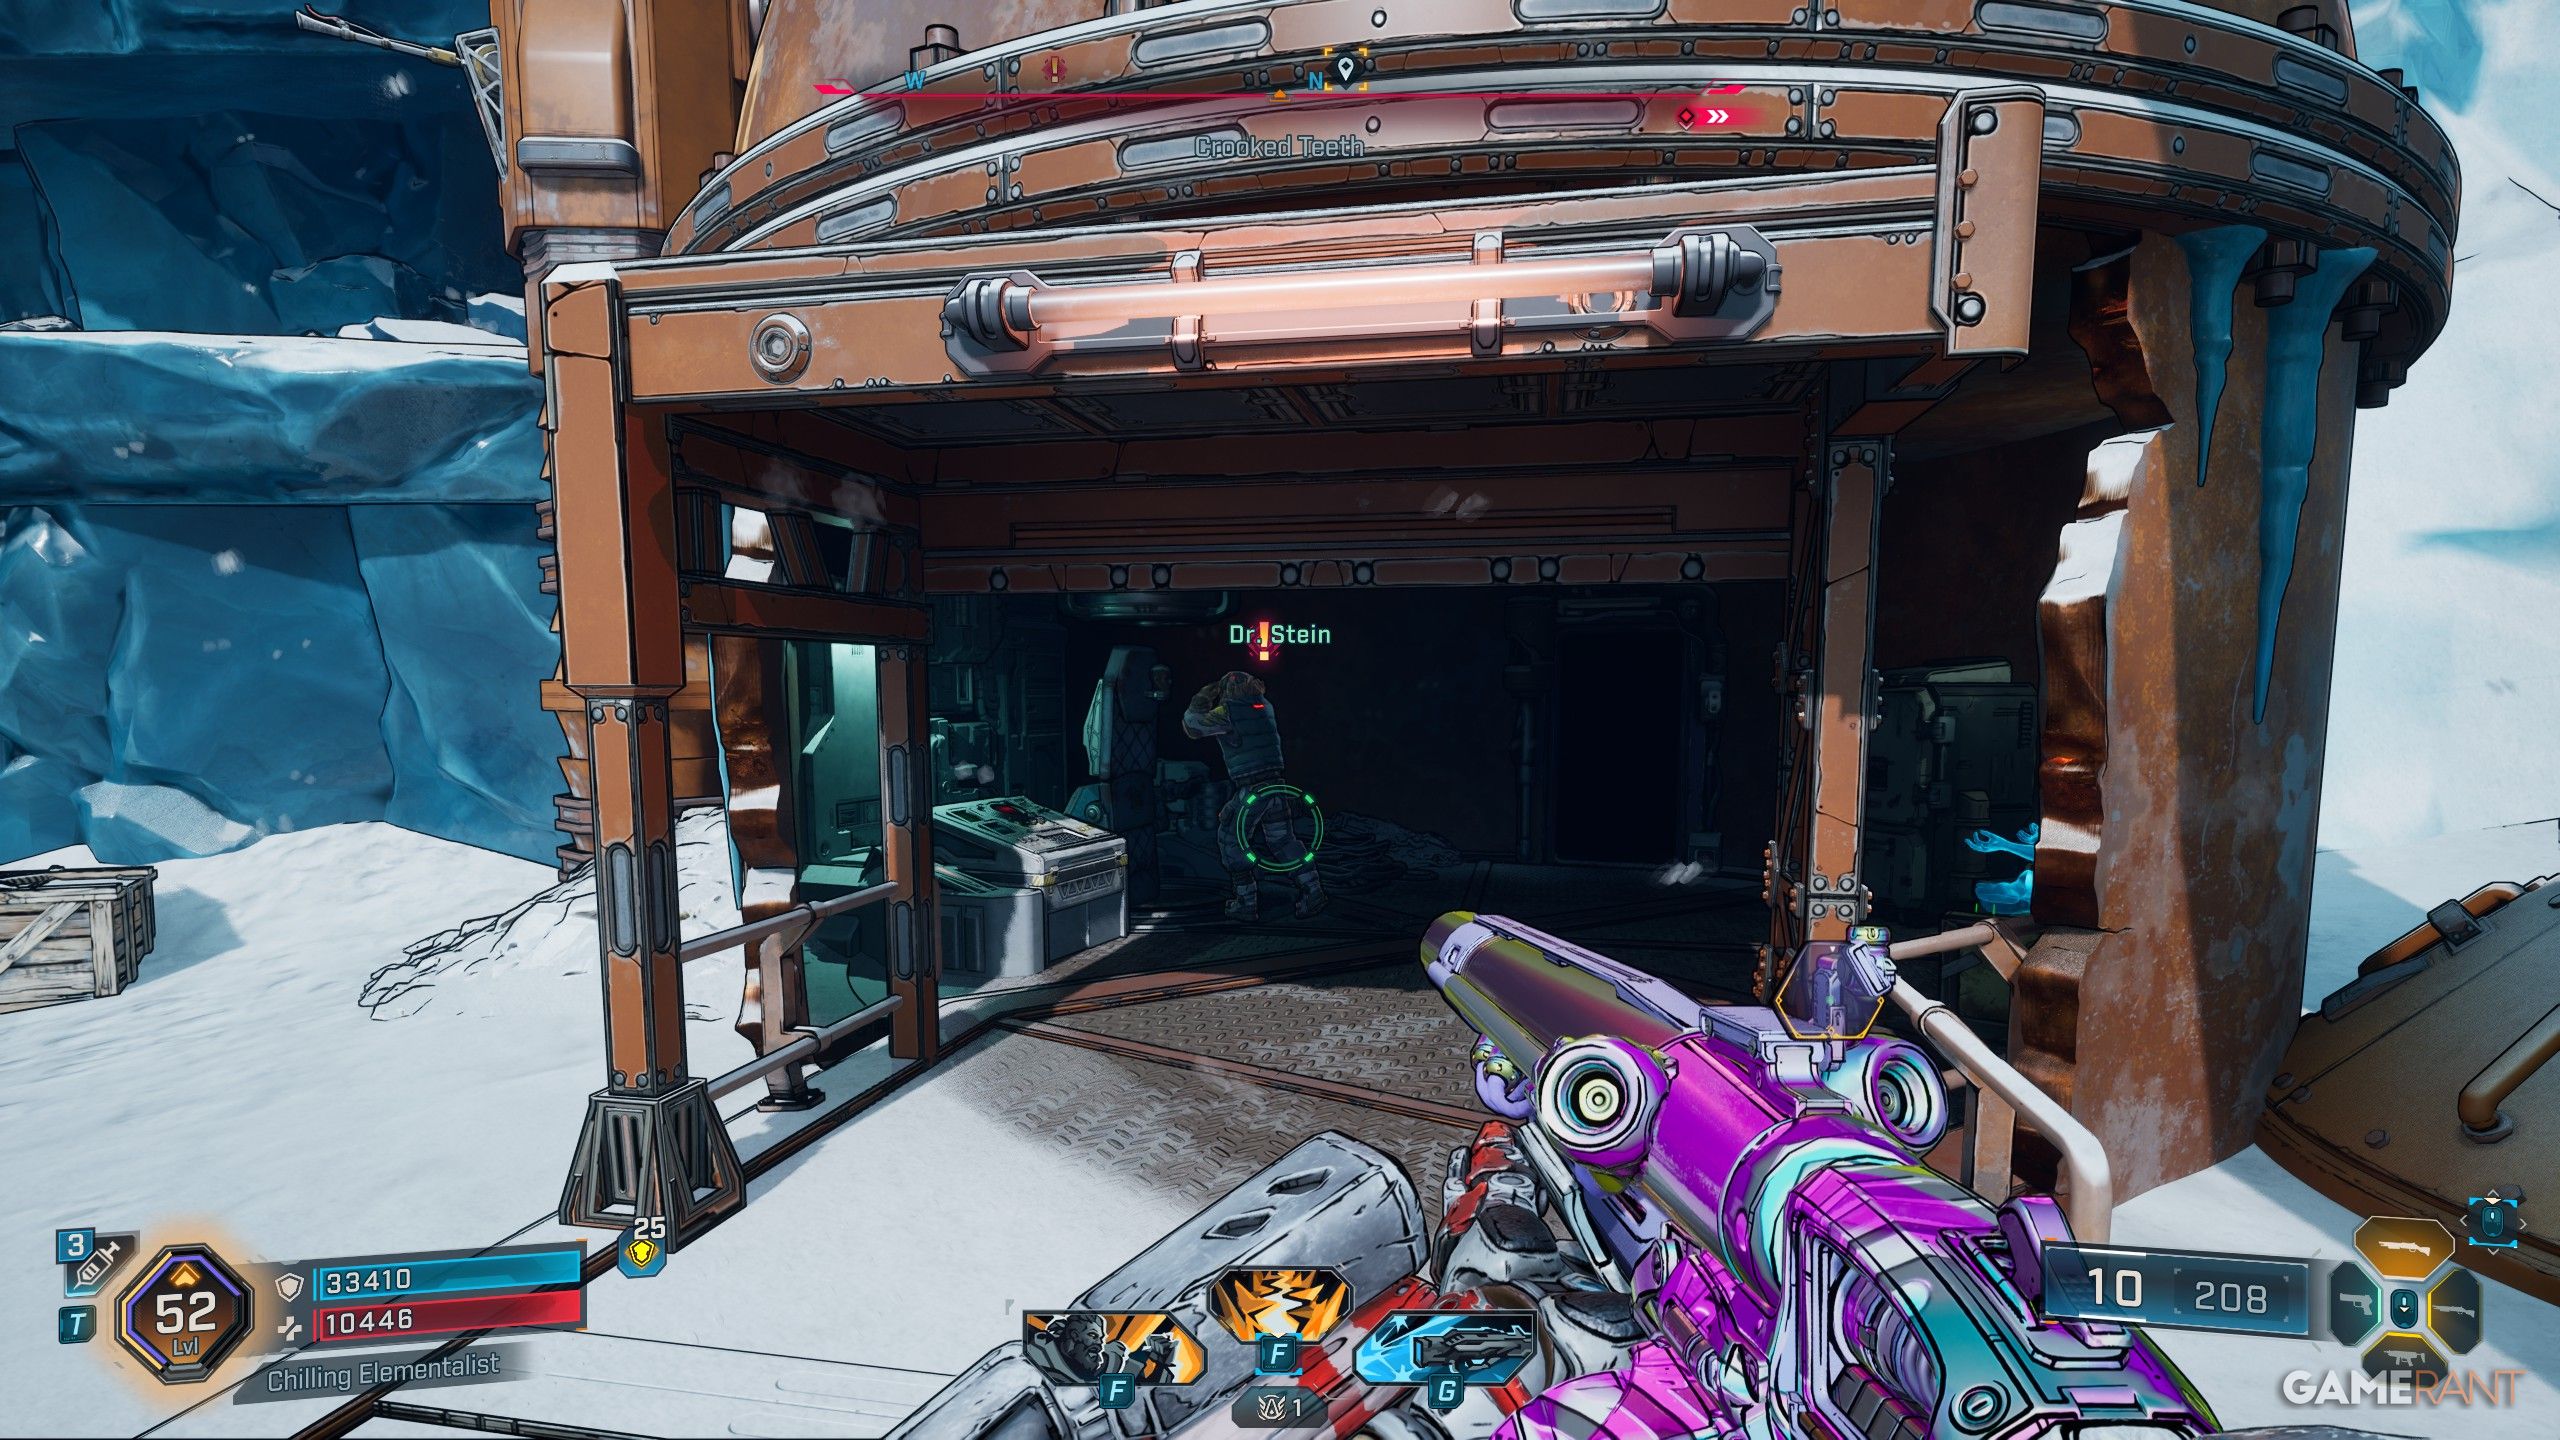
- Star-Crossed can be started from the south region of Crooked Teeth.
- This area is easily accessed from Ellie’s Garage, the fast travel station in the center of the map.
- The mission will require you to fetch the body parts of the man’s deceased lover to try to bring him back to life.
You have some freedom to customize the appearance of your deceased lover – you can make their limbs stronger or even give them tentacles – but these changes won’t affect how the mission plays out.
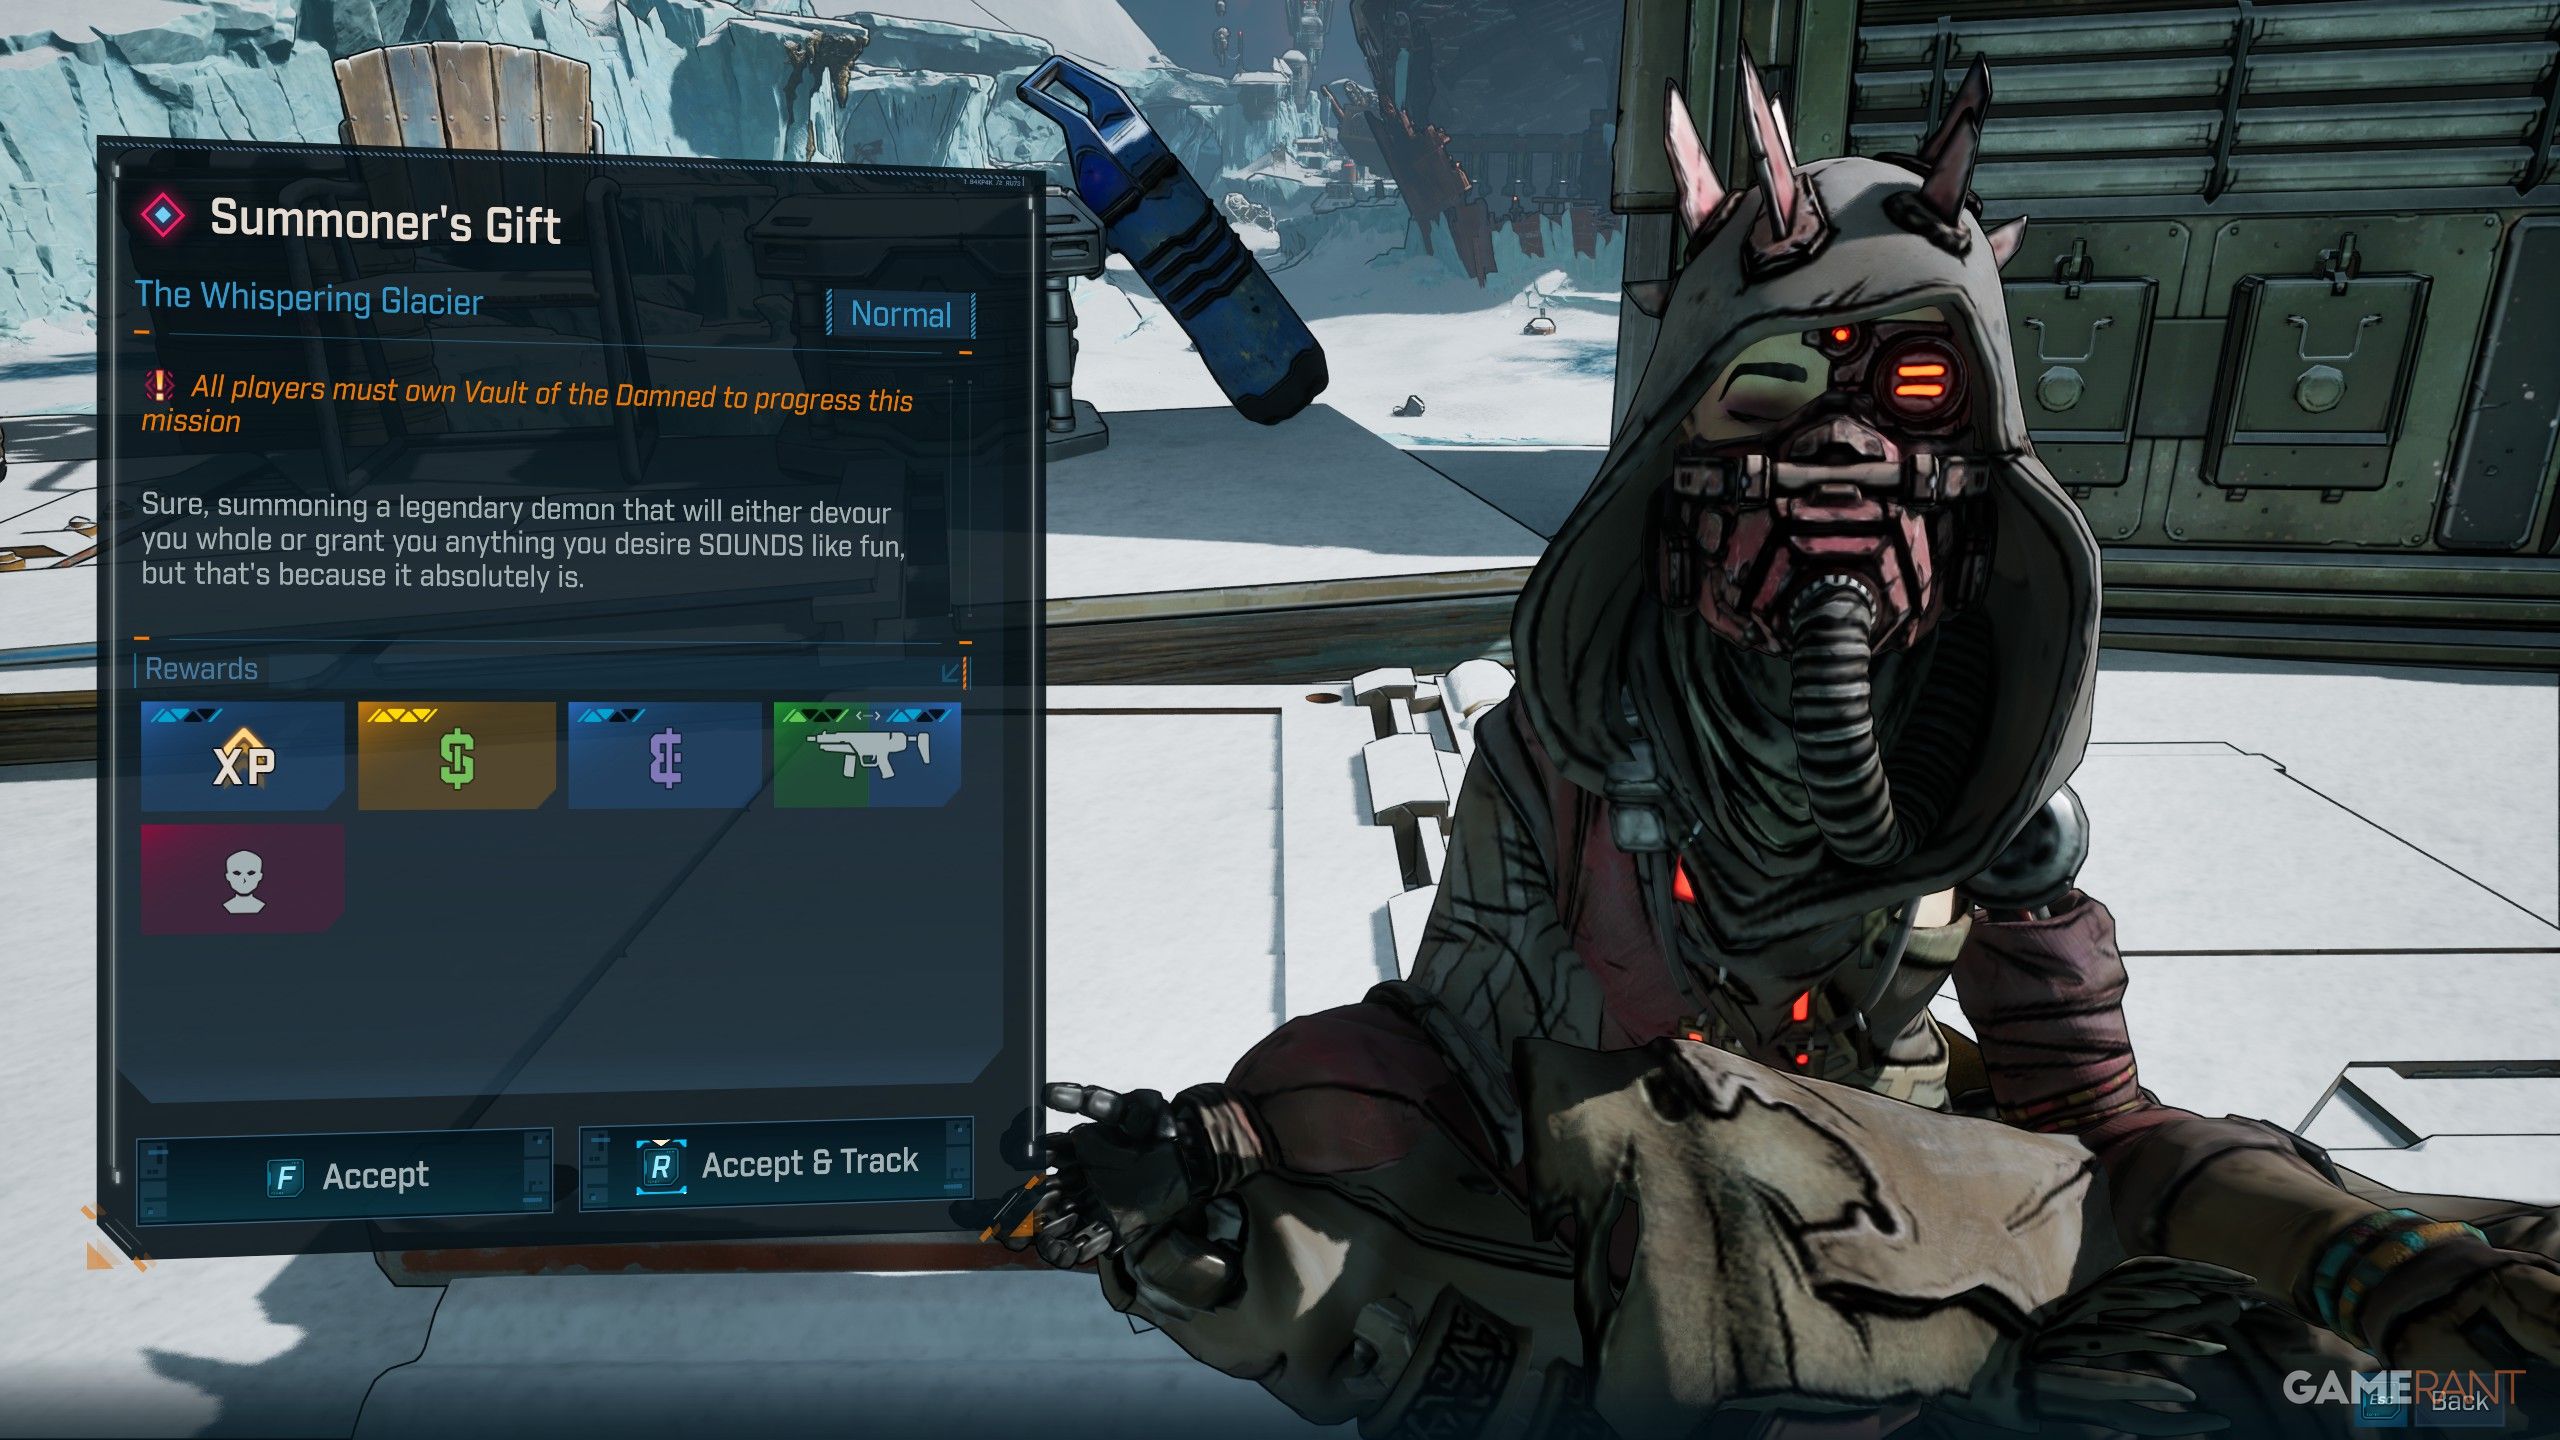
Summoner’s Gift

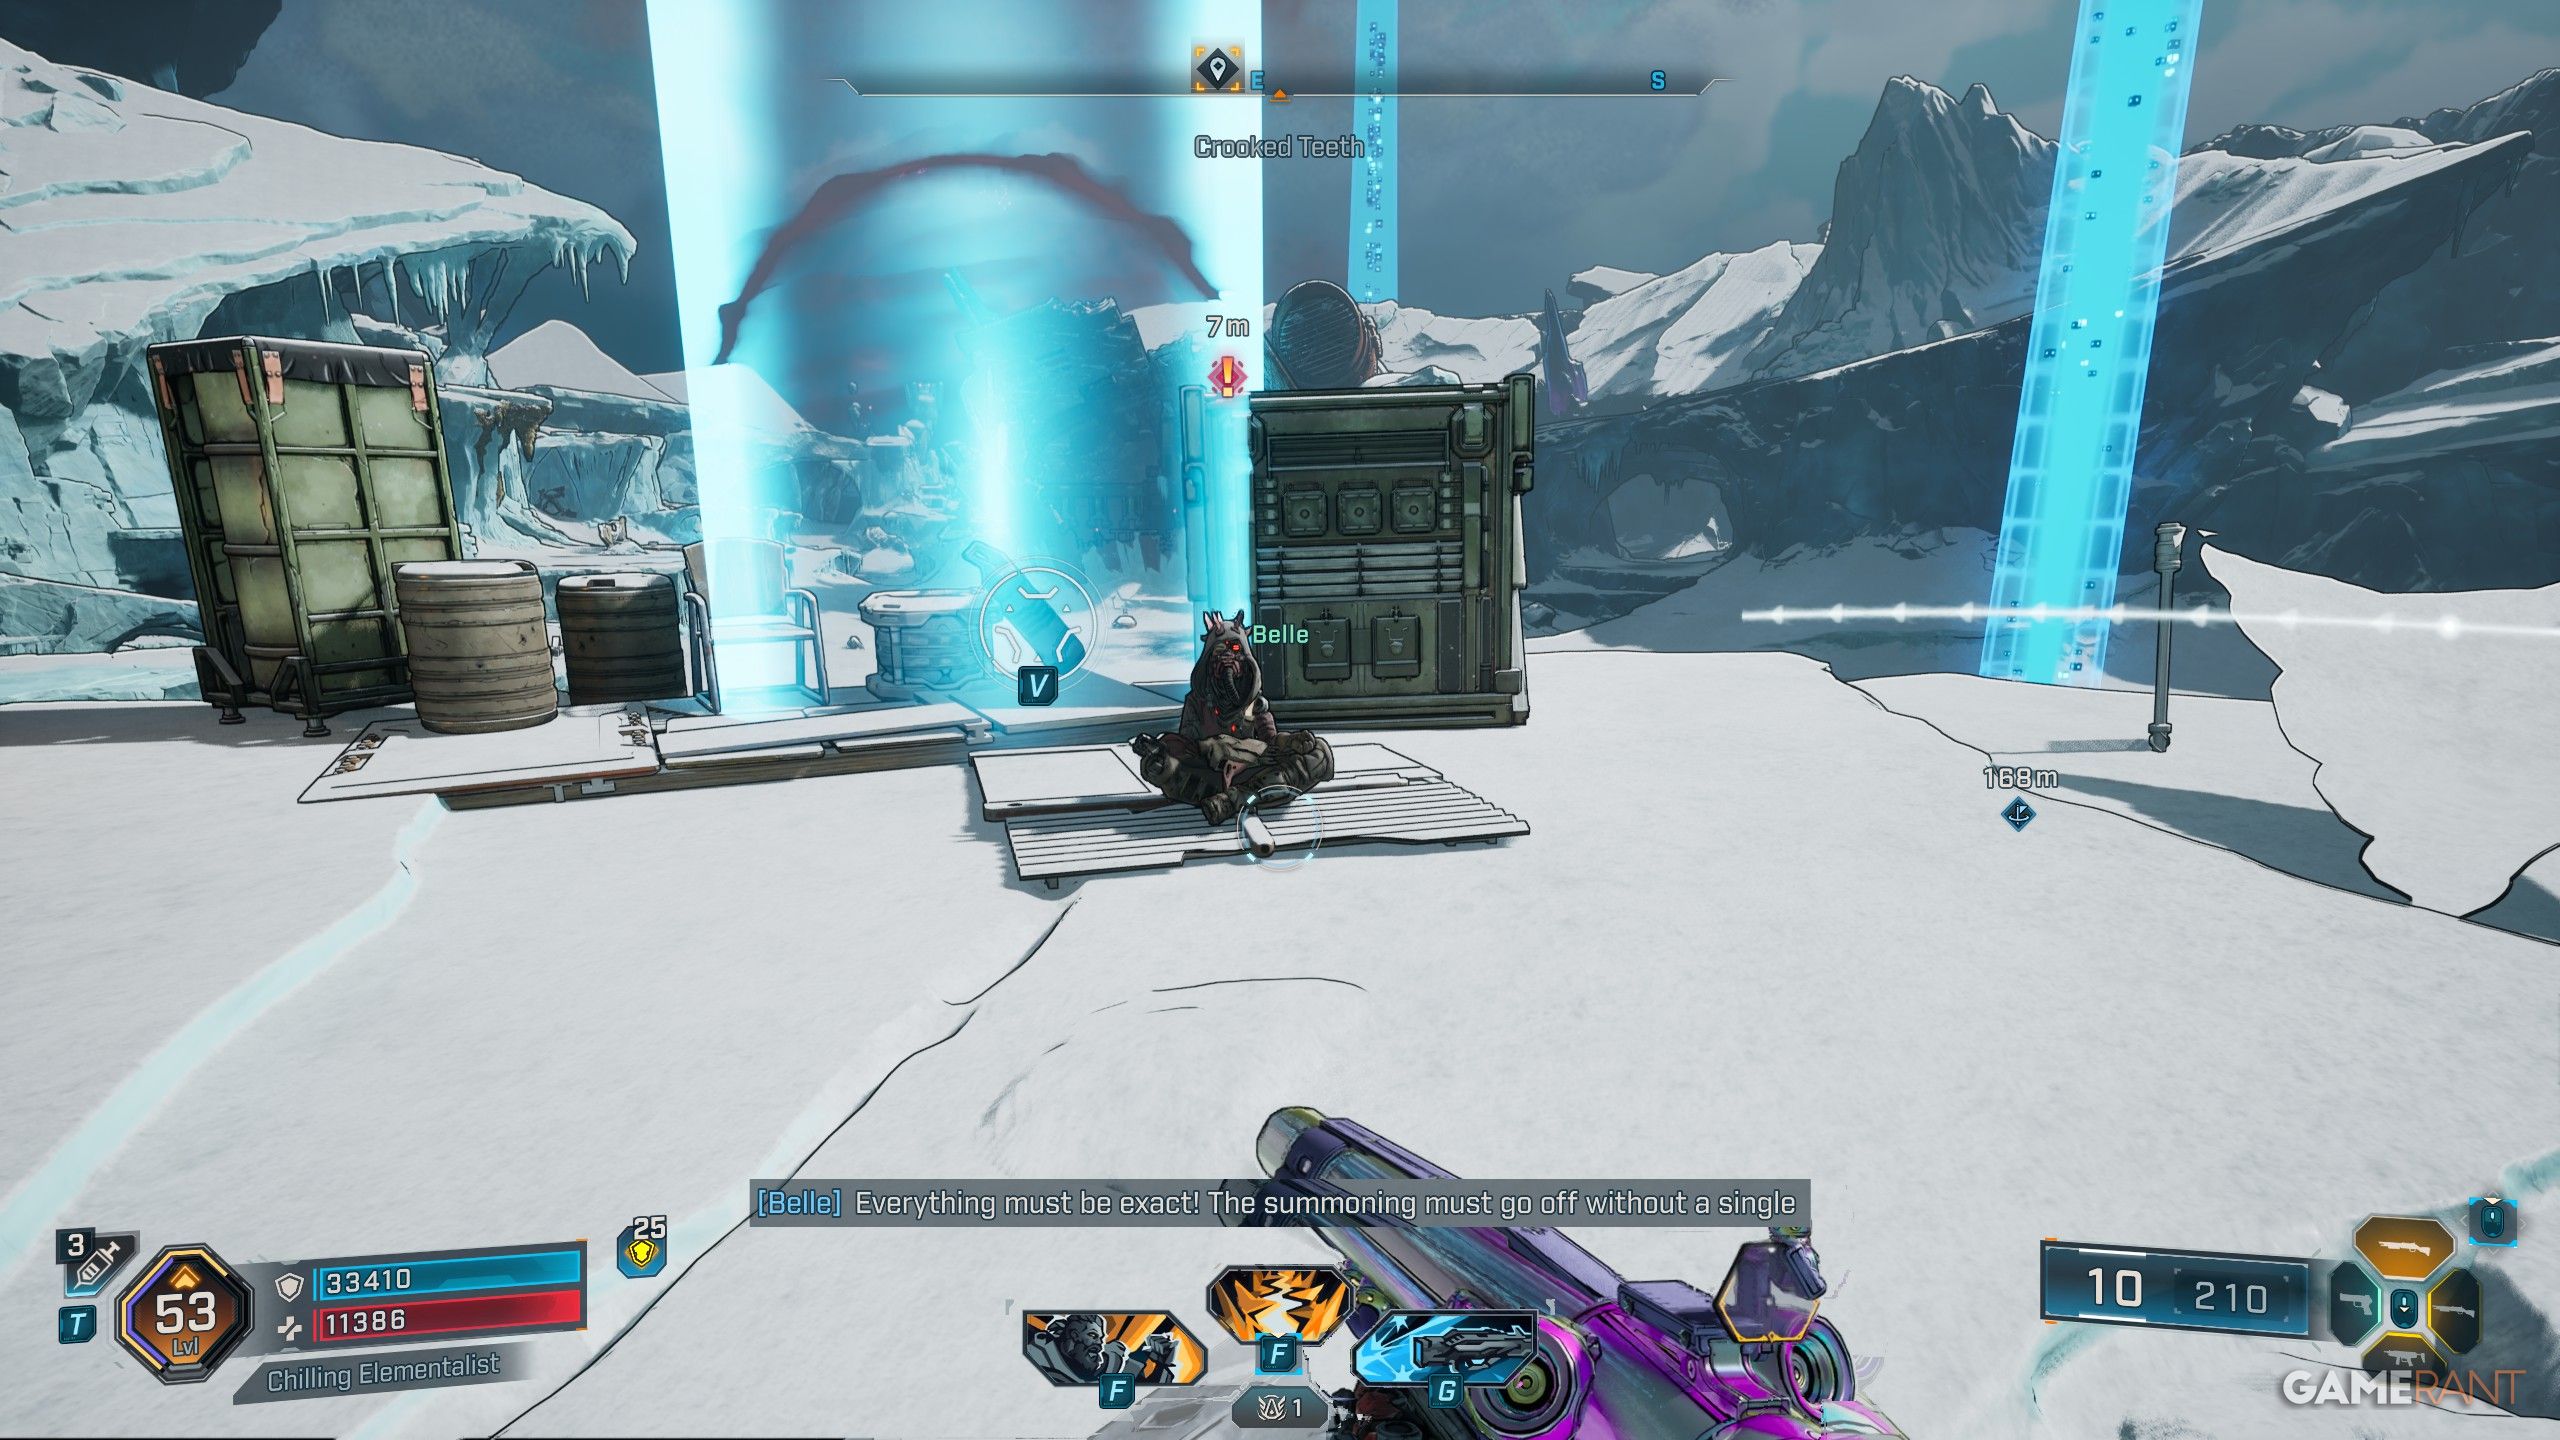
- Summoner’s Gift begins in the west region of Crooked Teeth.
- This Side Mission can be started by going west from Ellie’s Garage, in the center of the Whispering Glacier map.
- As for the mission itself, you’re required to seek out ancient eggs for a ritual to summon a demon.
If you’re having trouble with the puzzles, start by climbing to a high spot and then ground-pounding the ritual circle. After that, for the next puzzle, simply match the symbols around the area to the one in the center.
A Humble Abode
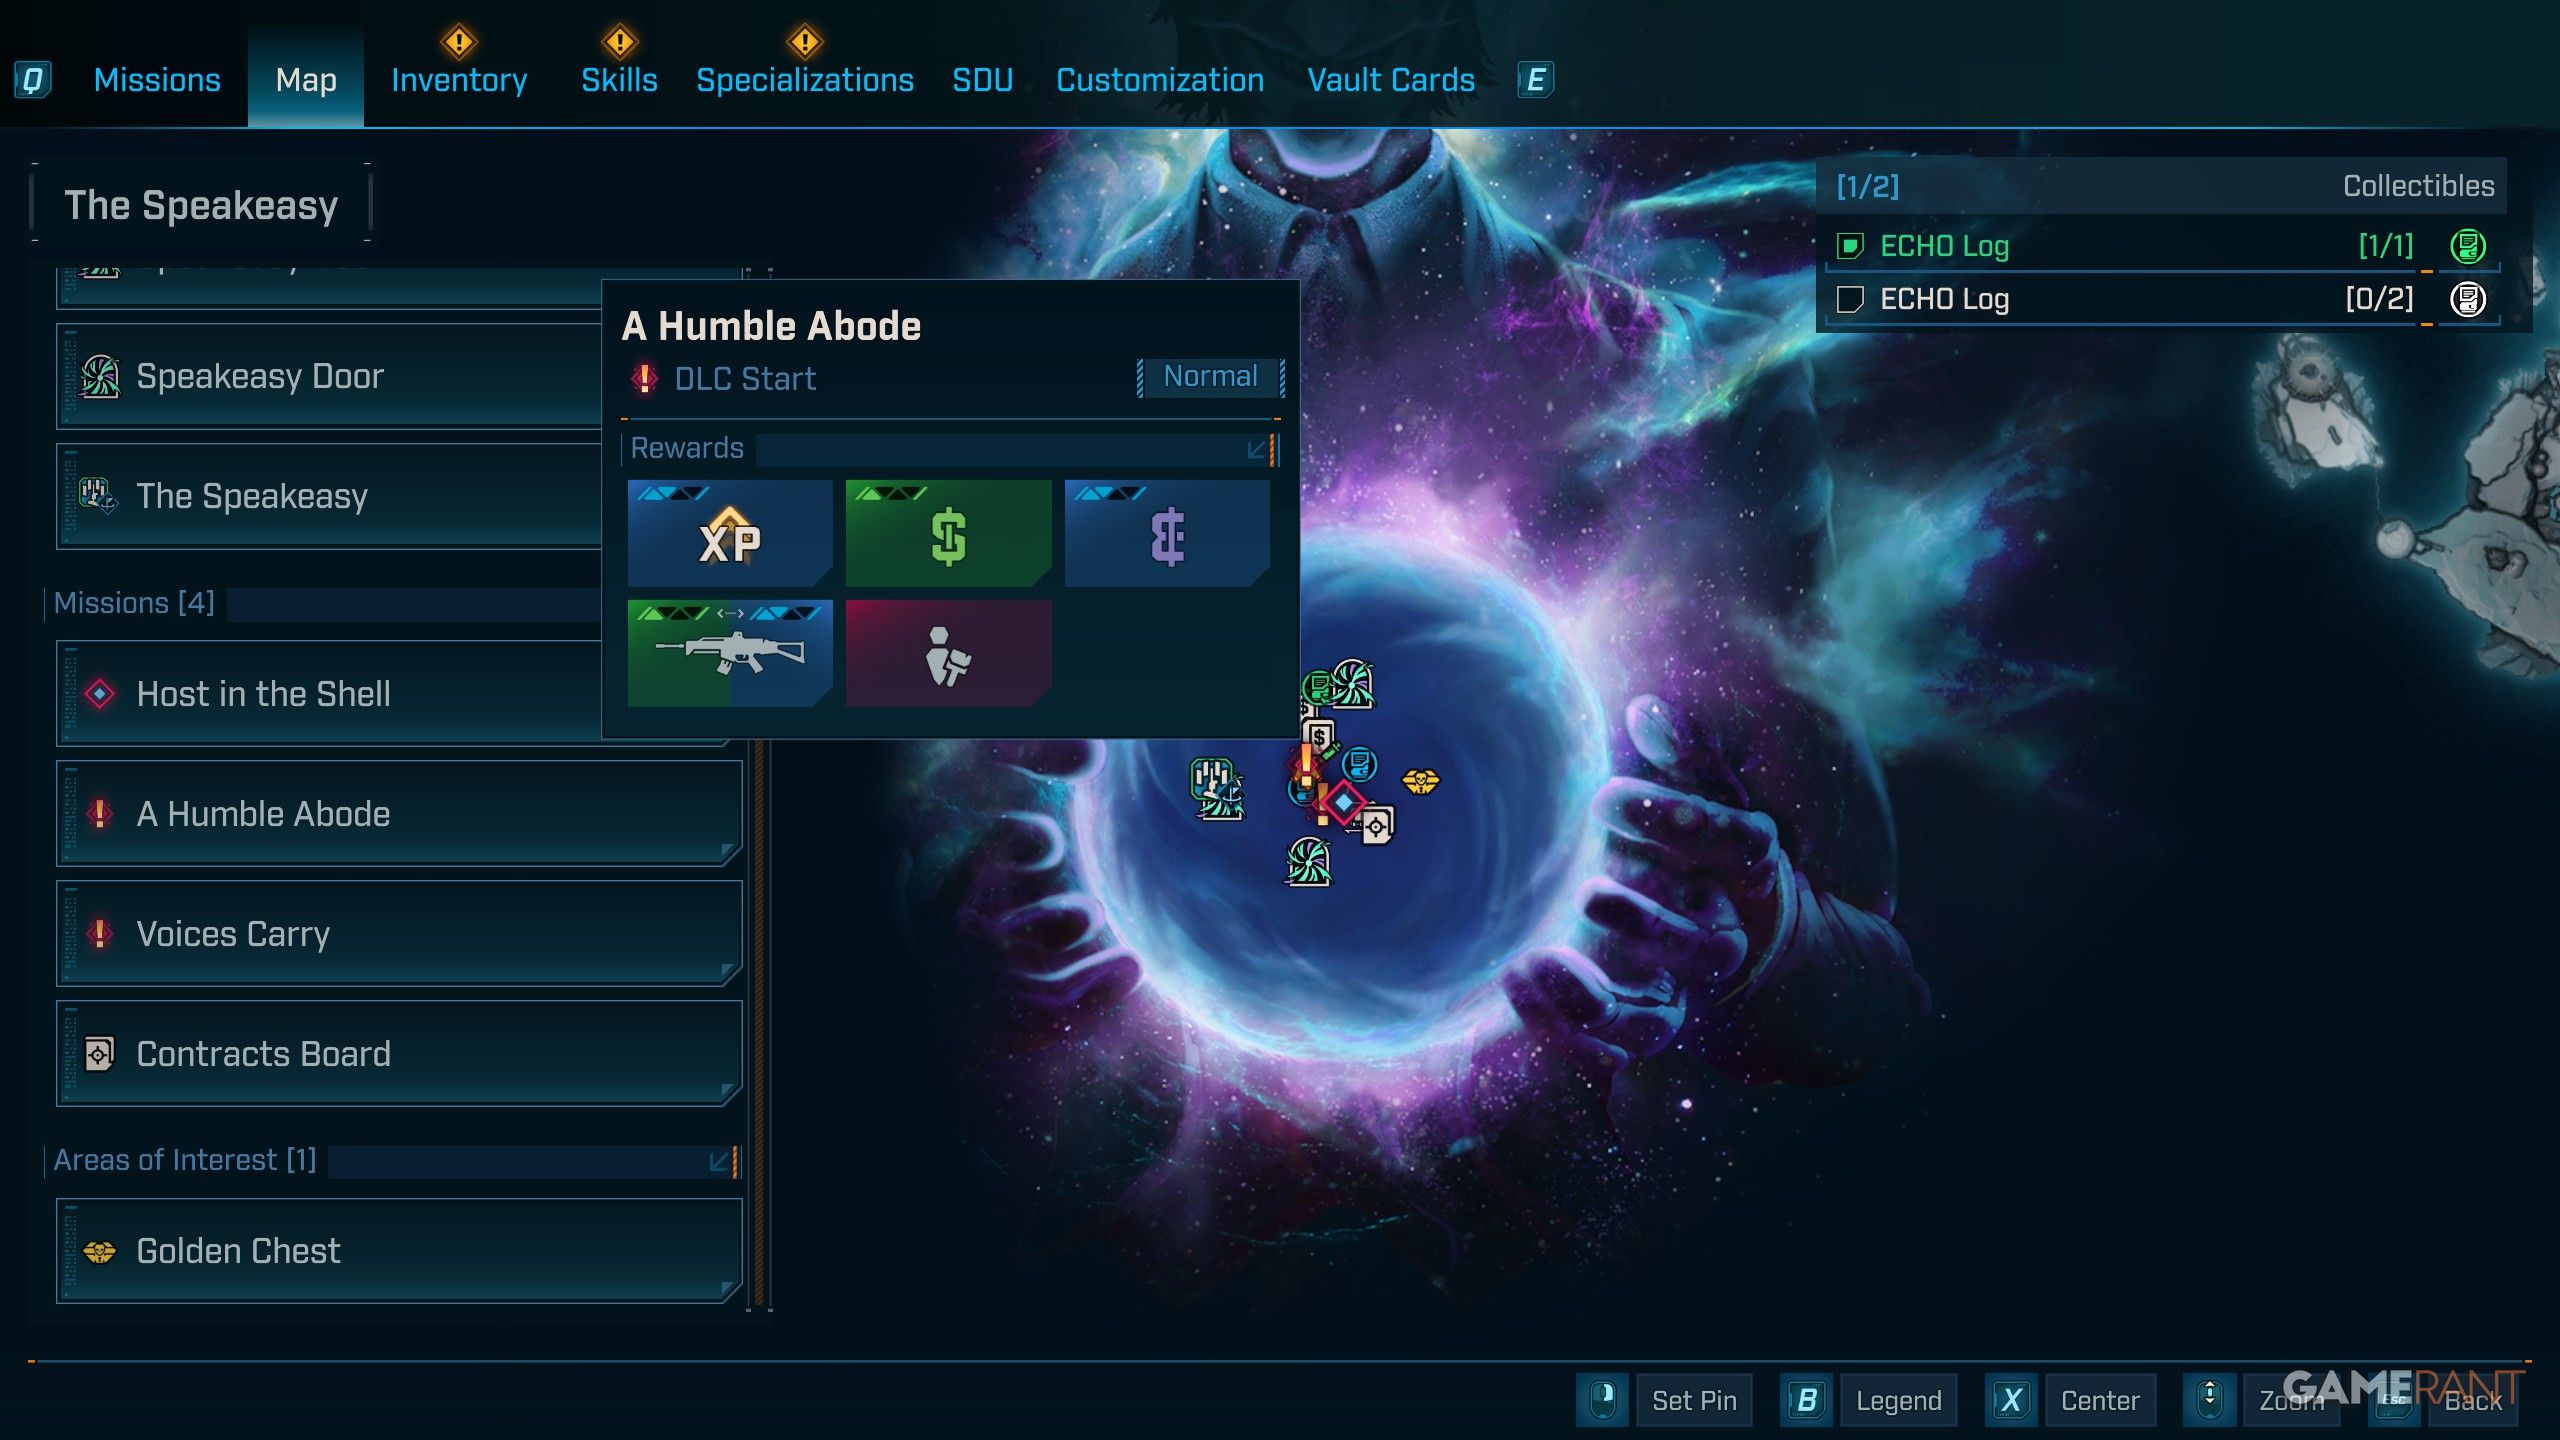
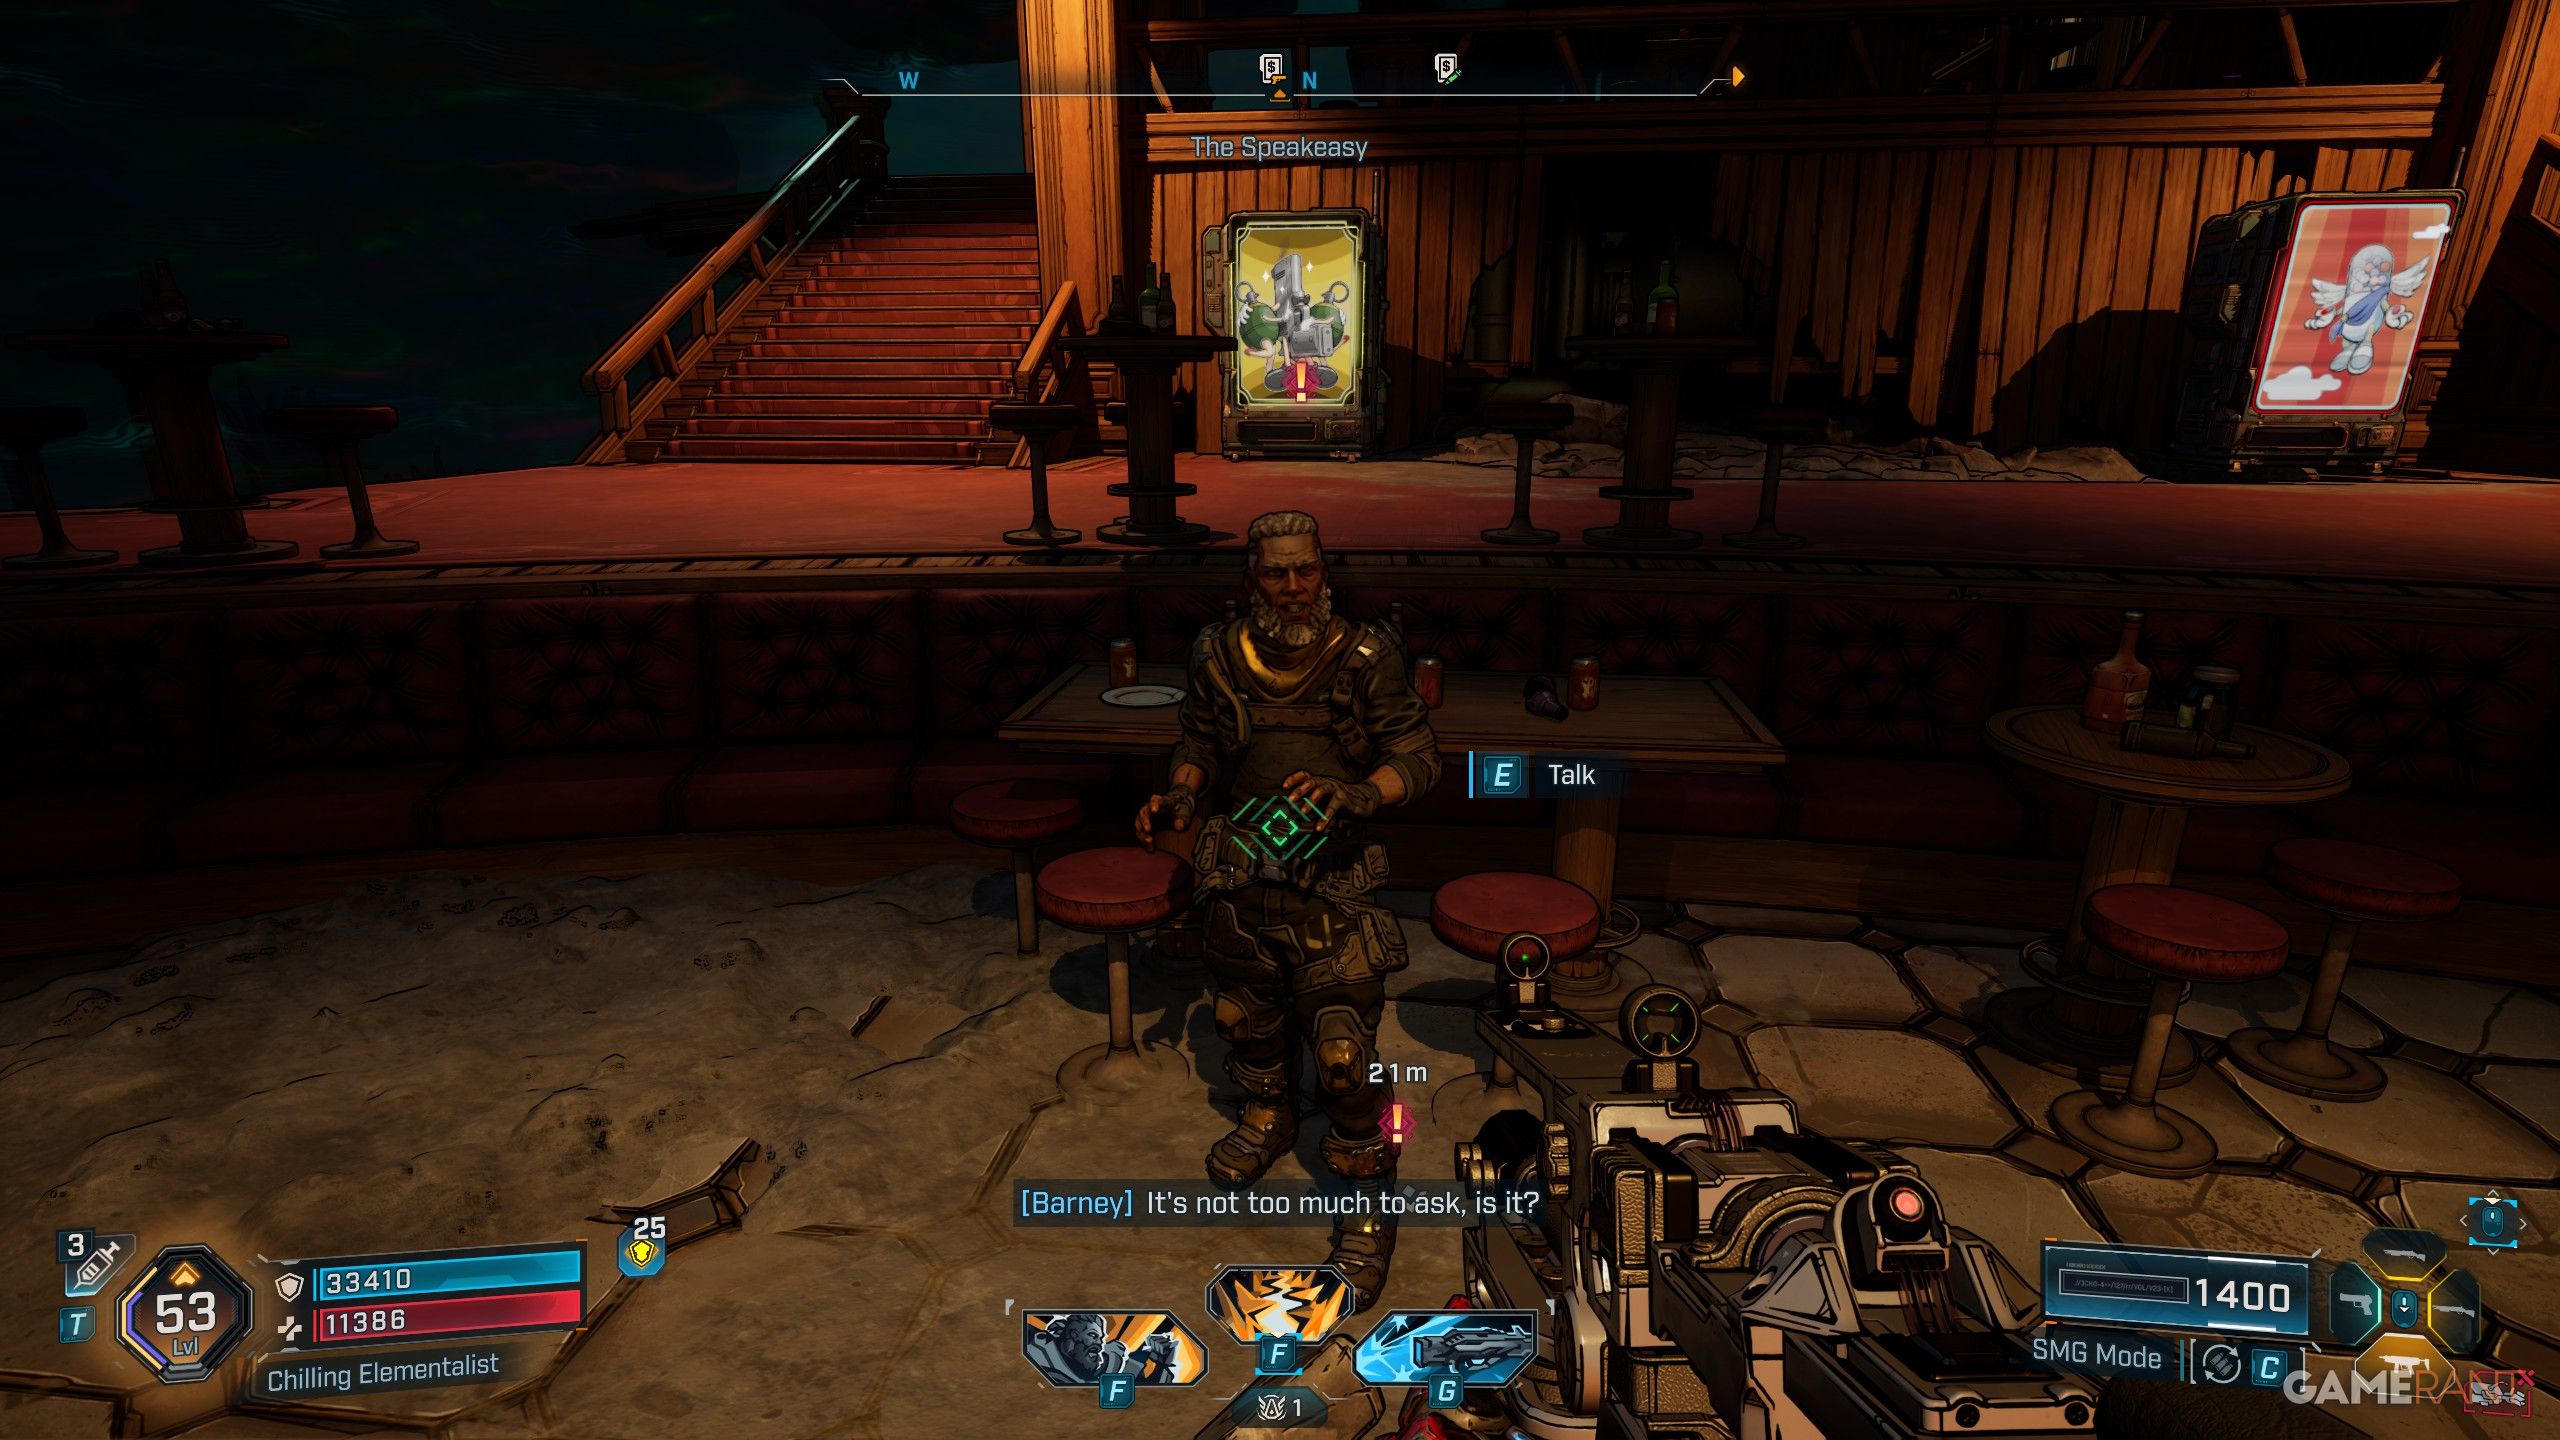
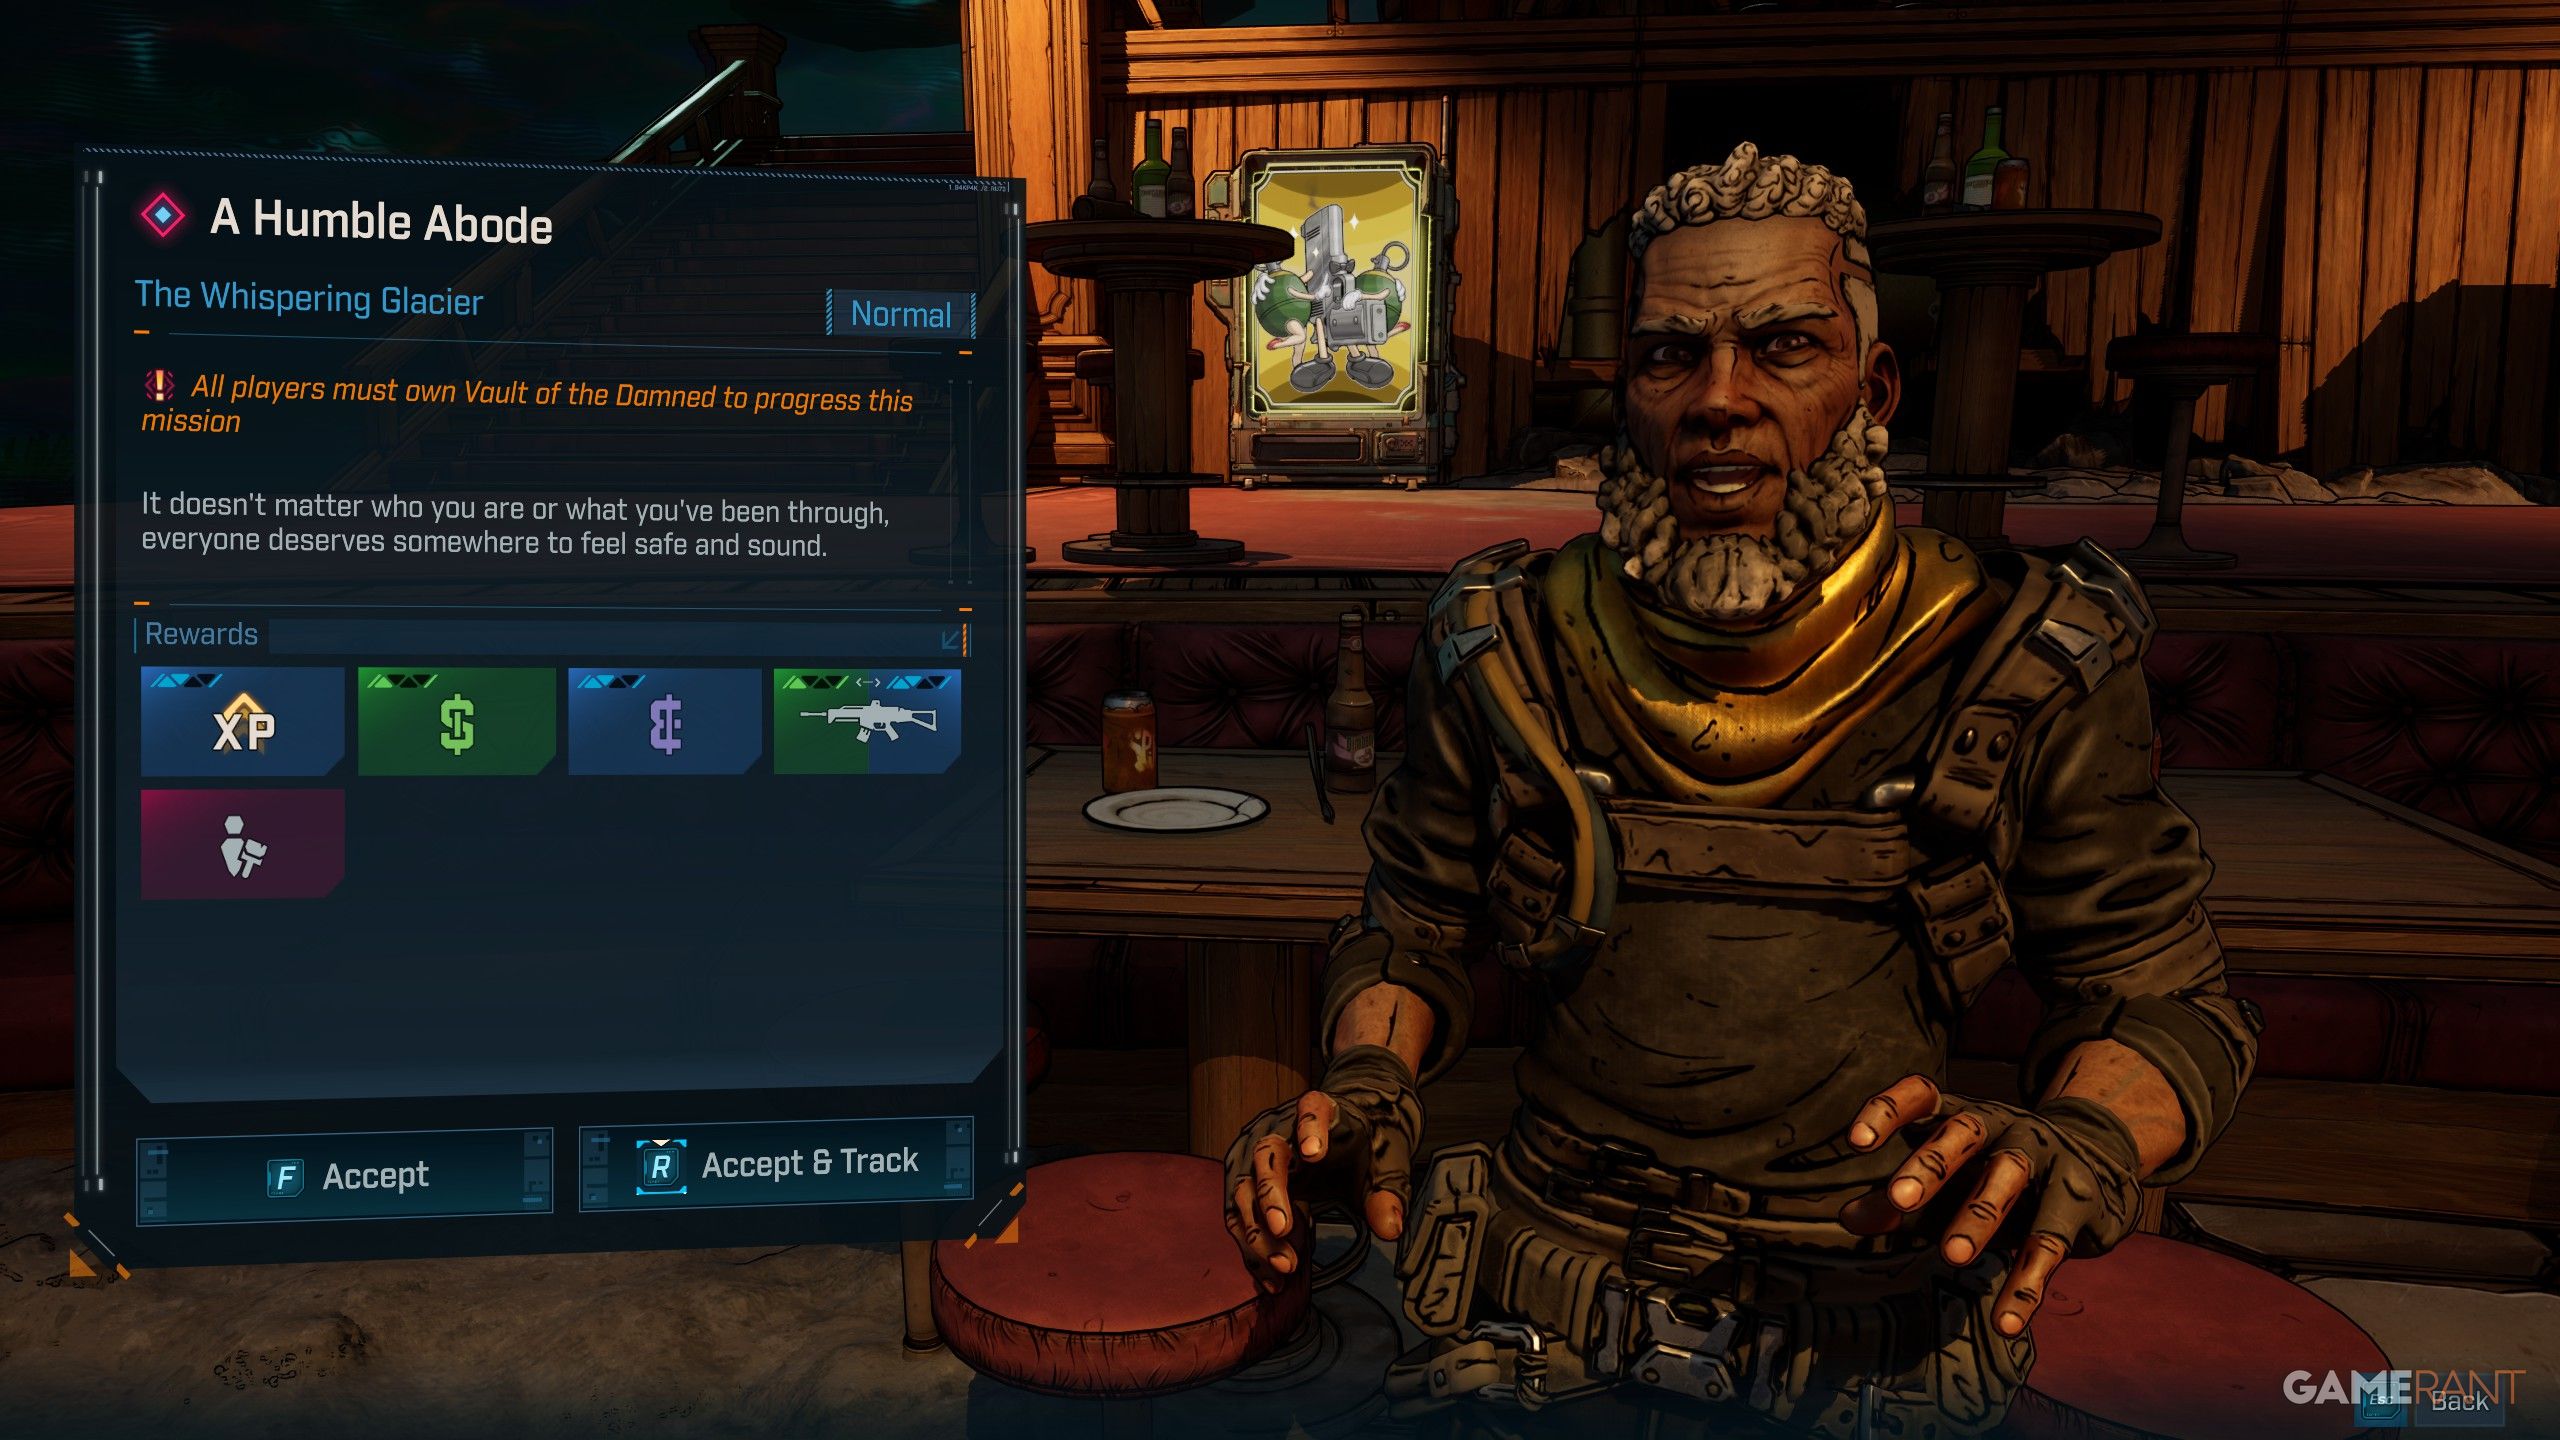
- A Humble Abode starts from the Speakeasy, when facing north towards the Vending Machines.
- You can find an NPC here named Barney who requests your help.
- The mission is fairly lengthy, but easy, and just requires you to locate a new home for Barney.
Voices Carry

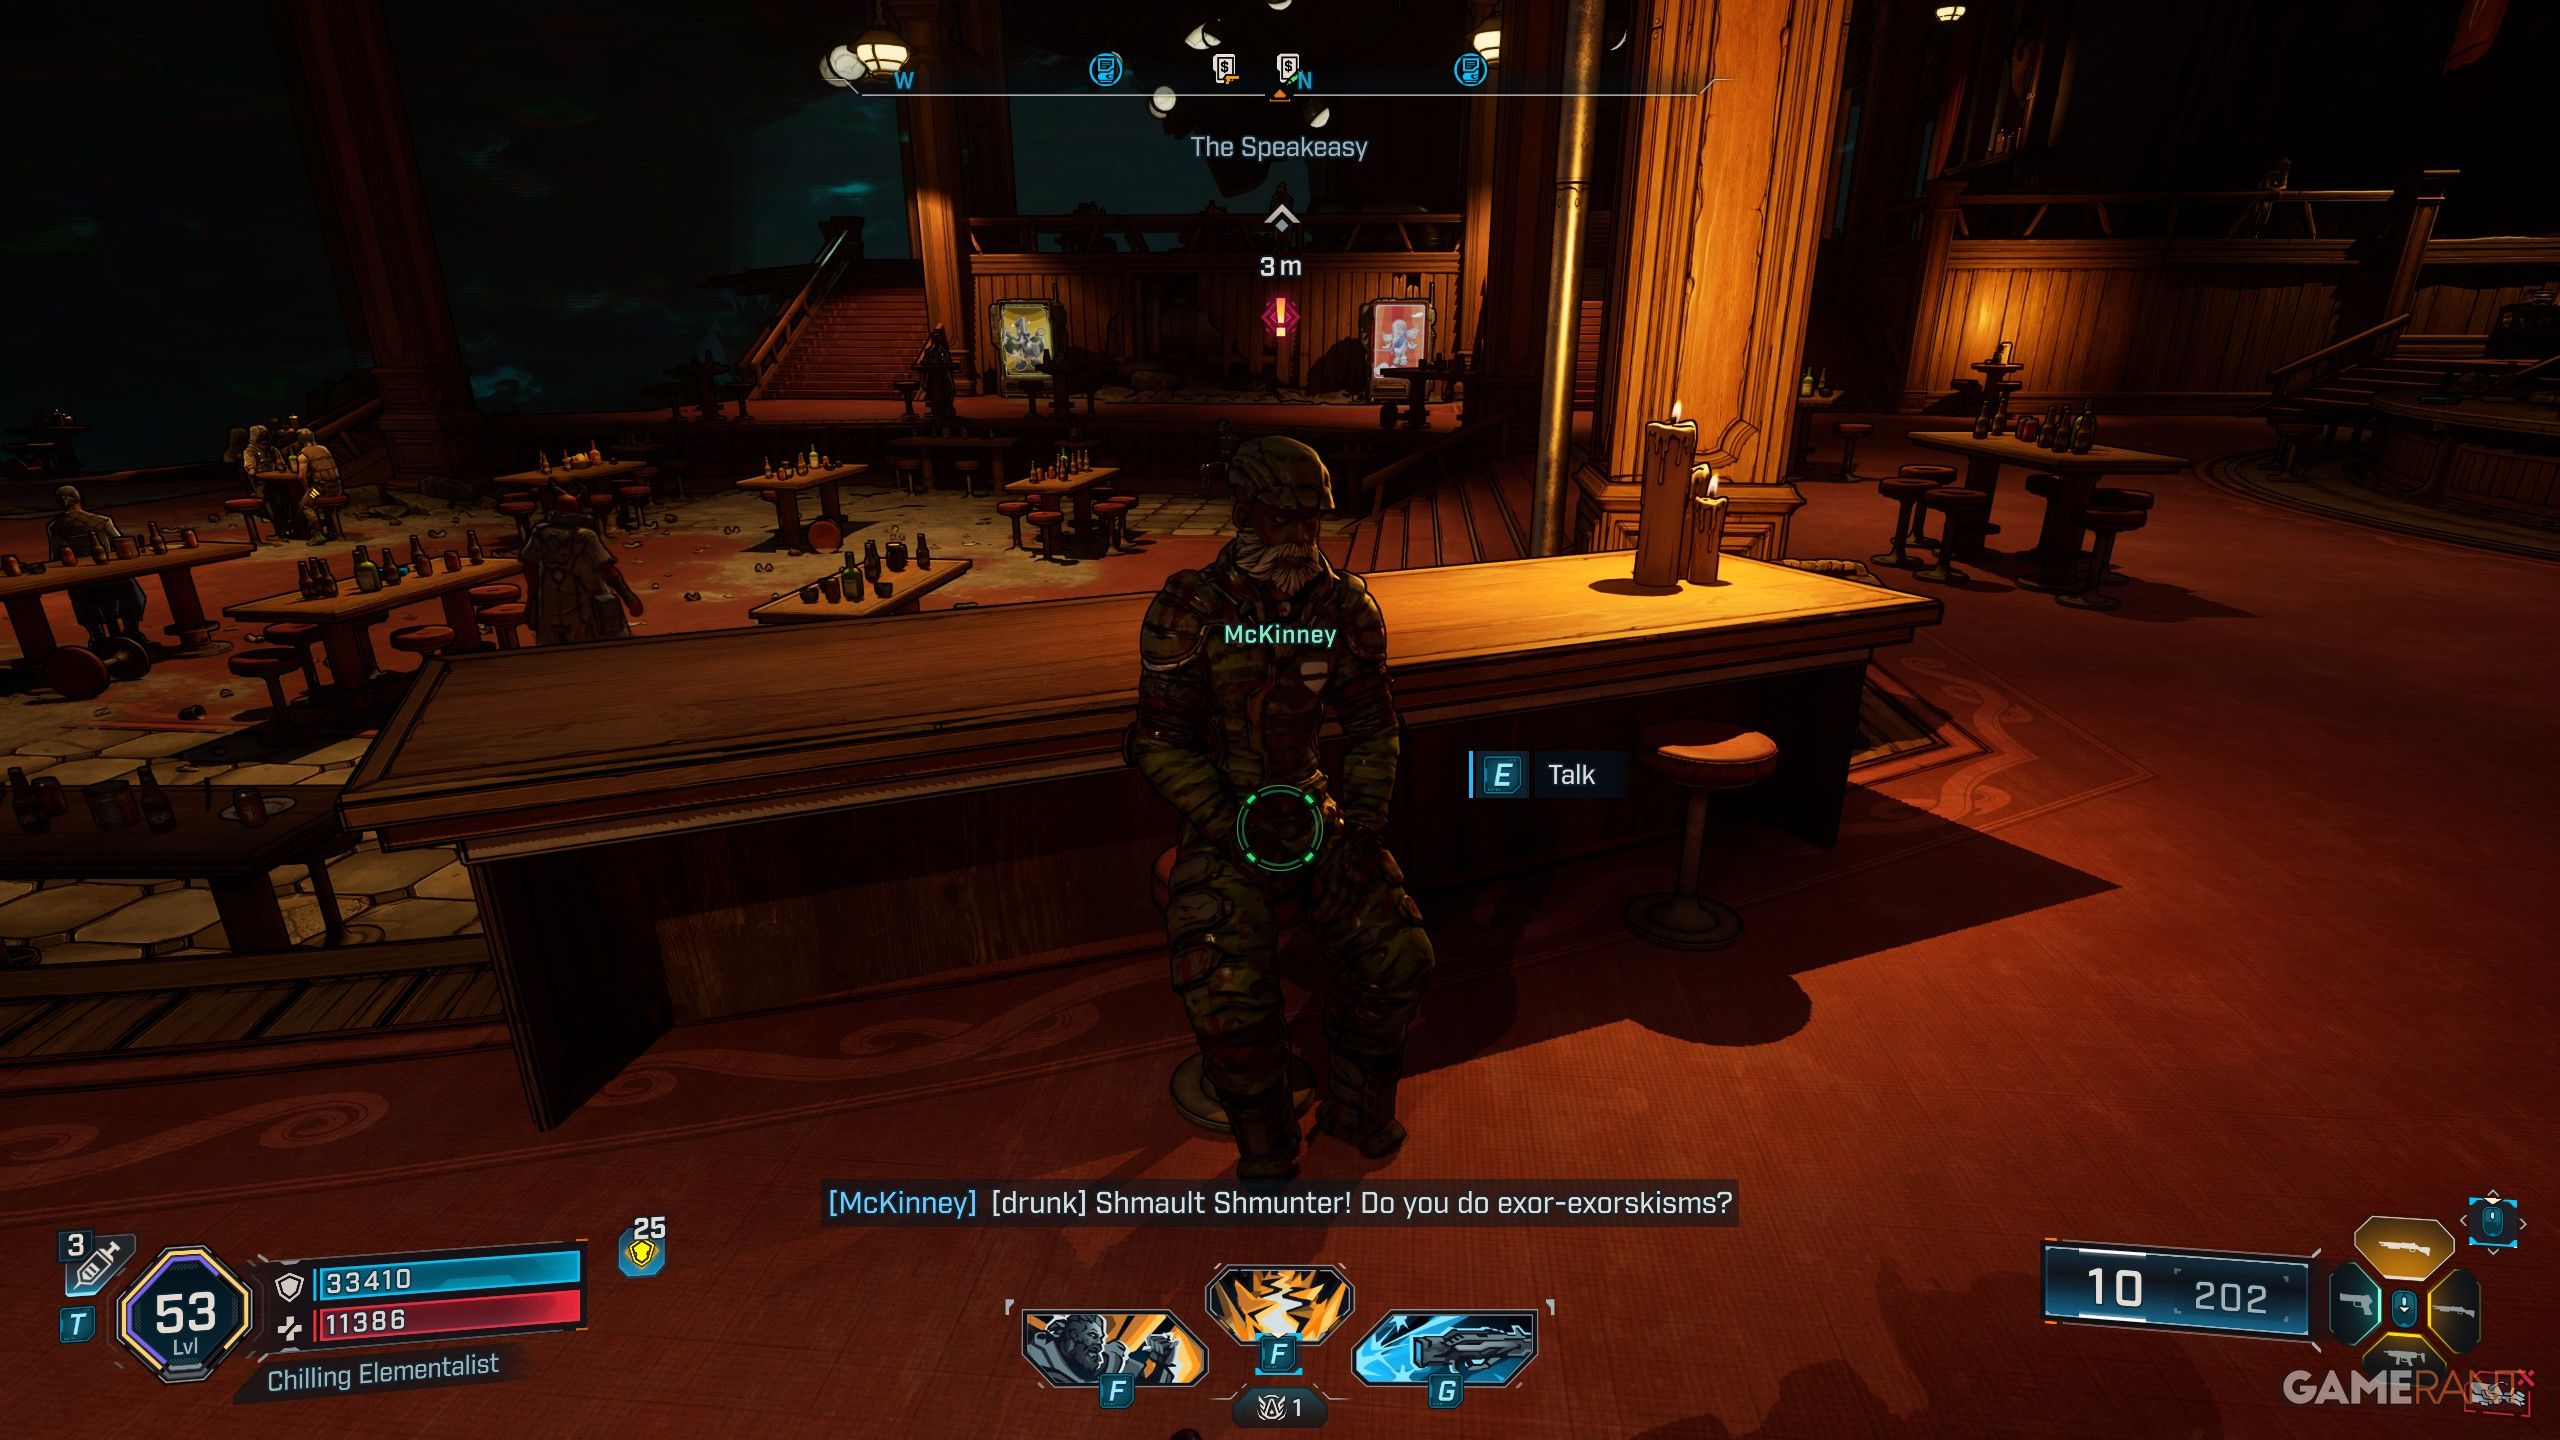
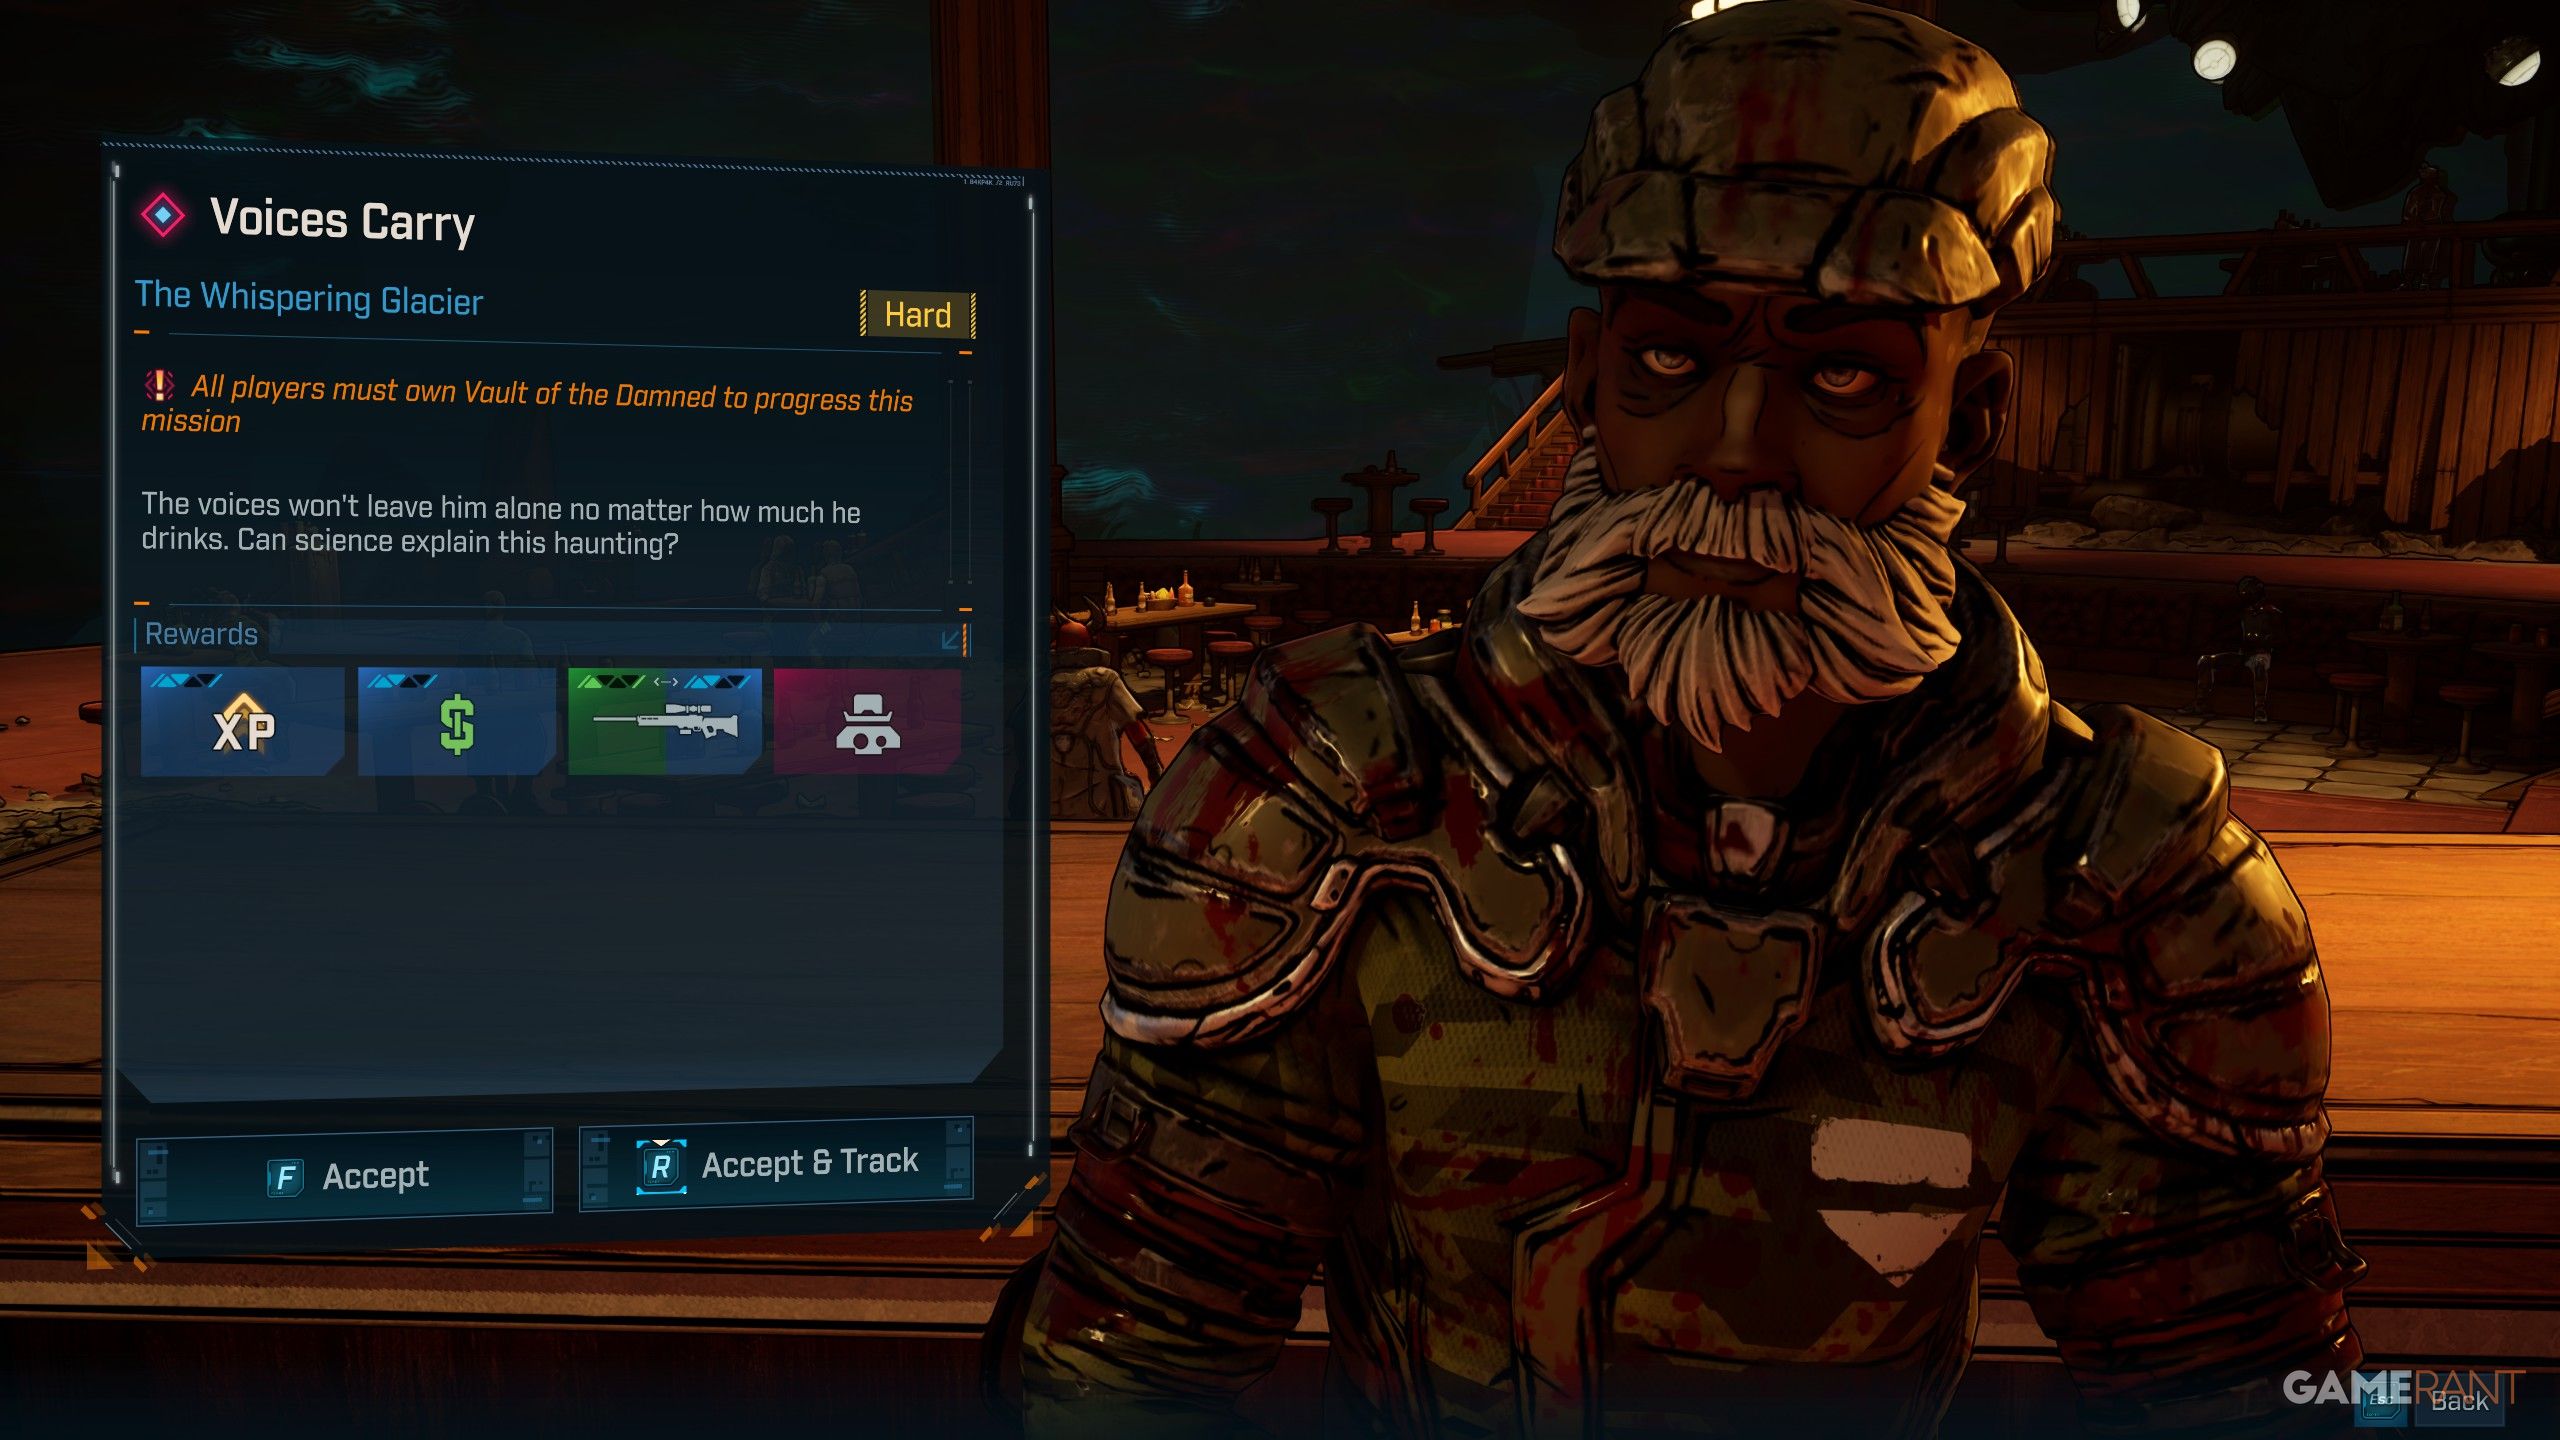
- Voices Carry begins from the Speakeasy, specifically on the south side of the lobby.
- You’ll need to speak with McKinney, who’s located at a table on the right side of the Speakeasy.
- This mission requires you to get to killing, as you’ll need to help McKinney destroy radio towers, put his fallen friends to rest, and burn their dog tags.
Ice Fishing
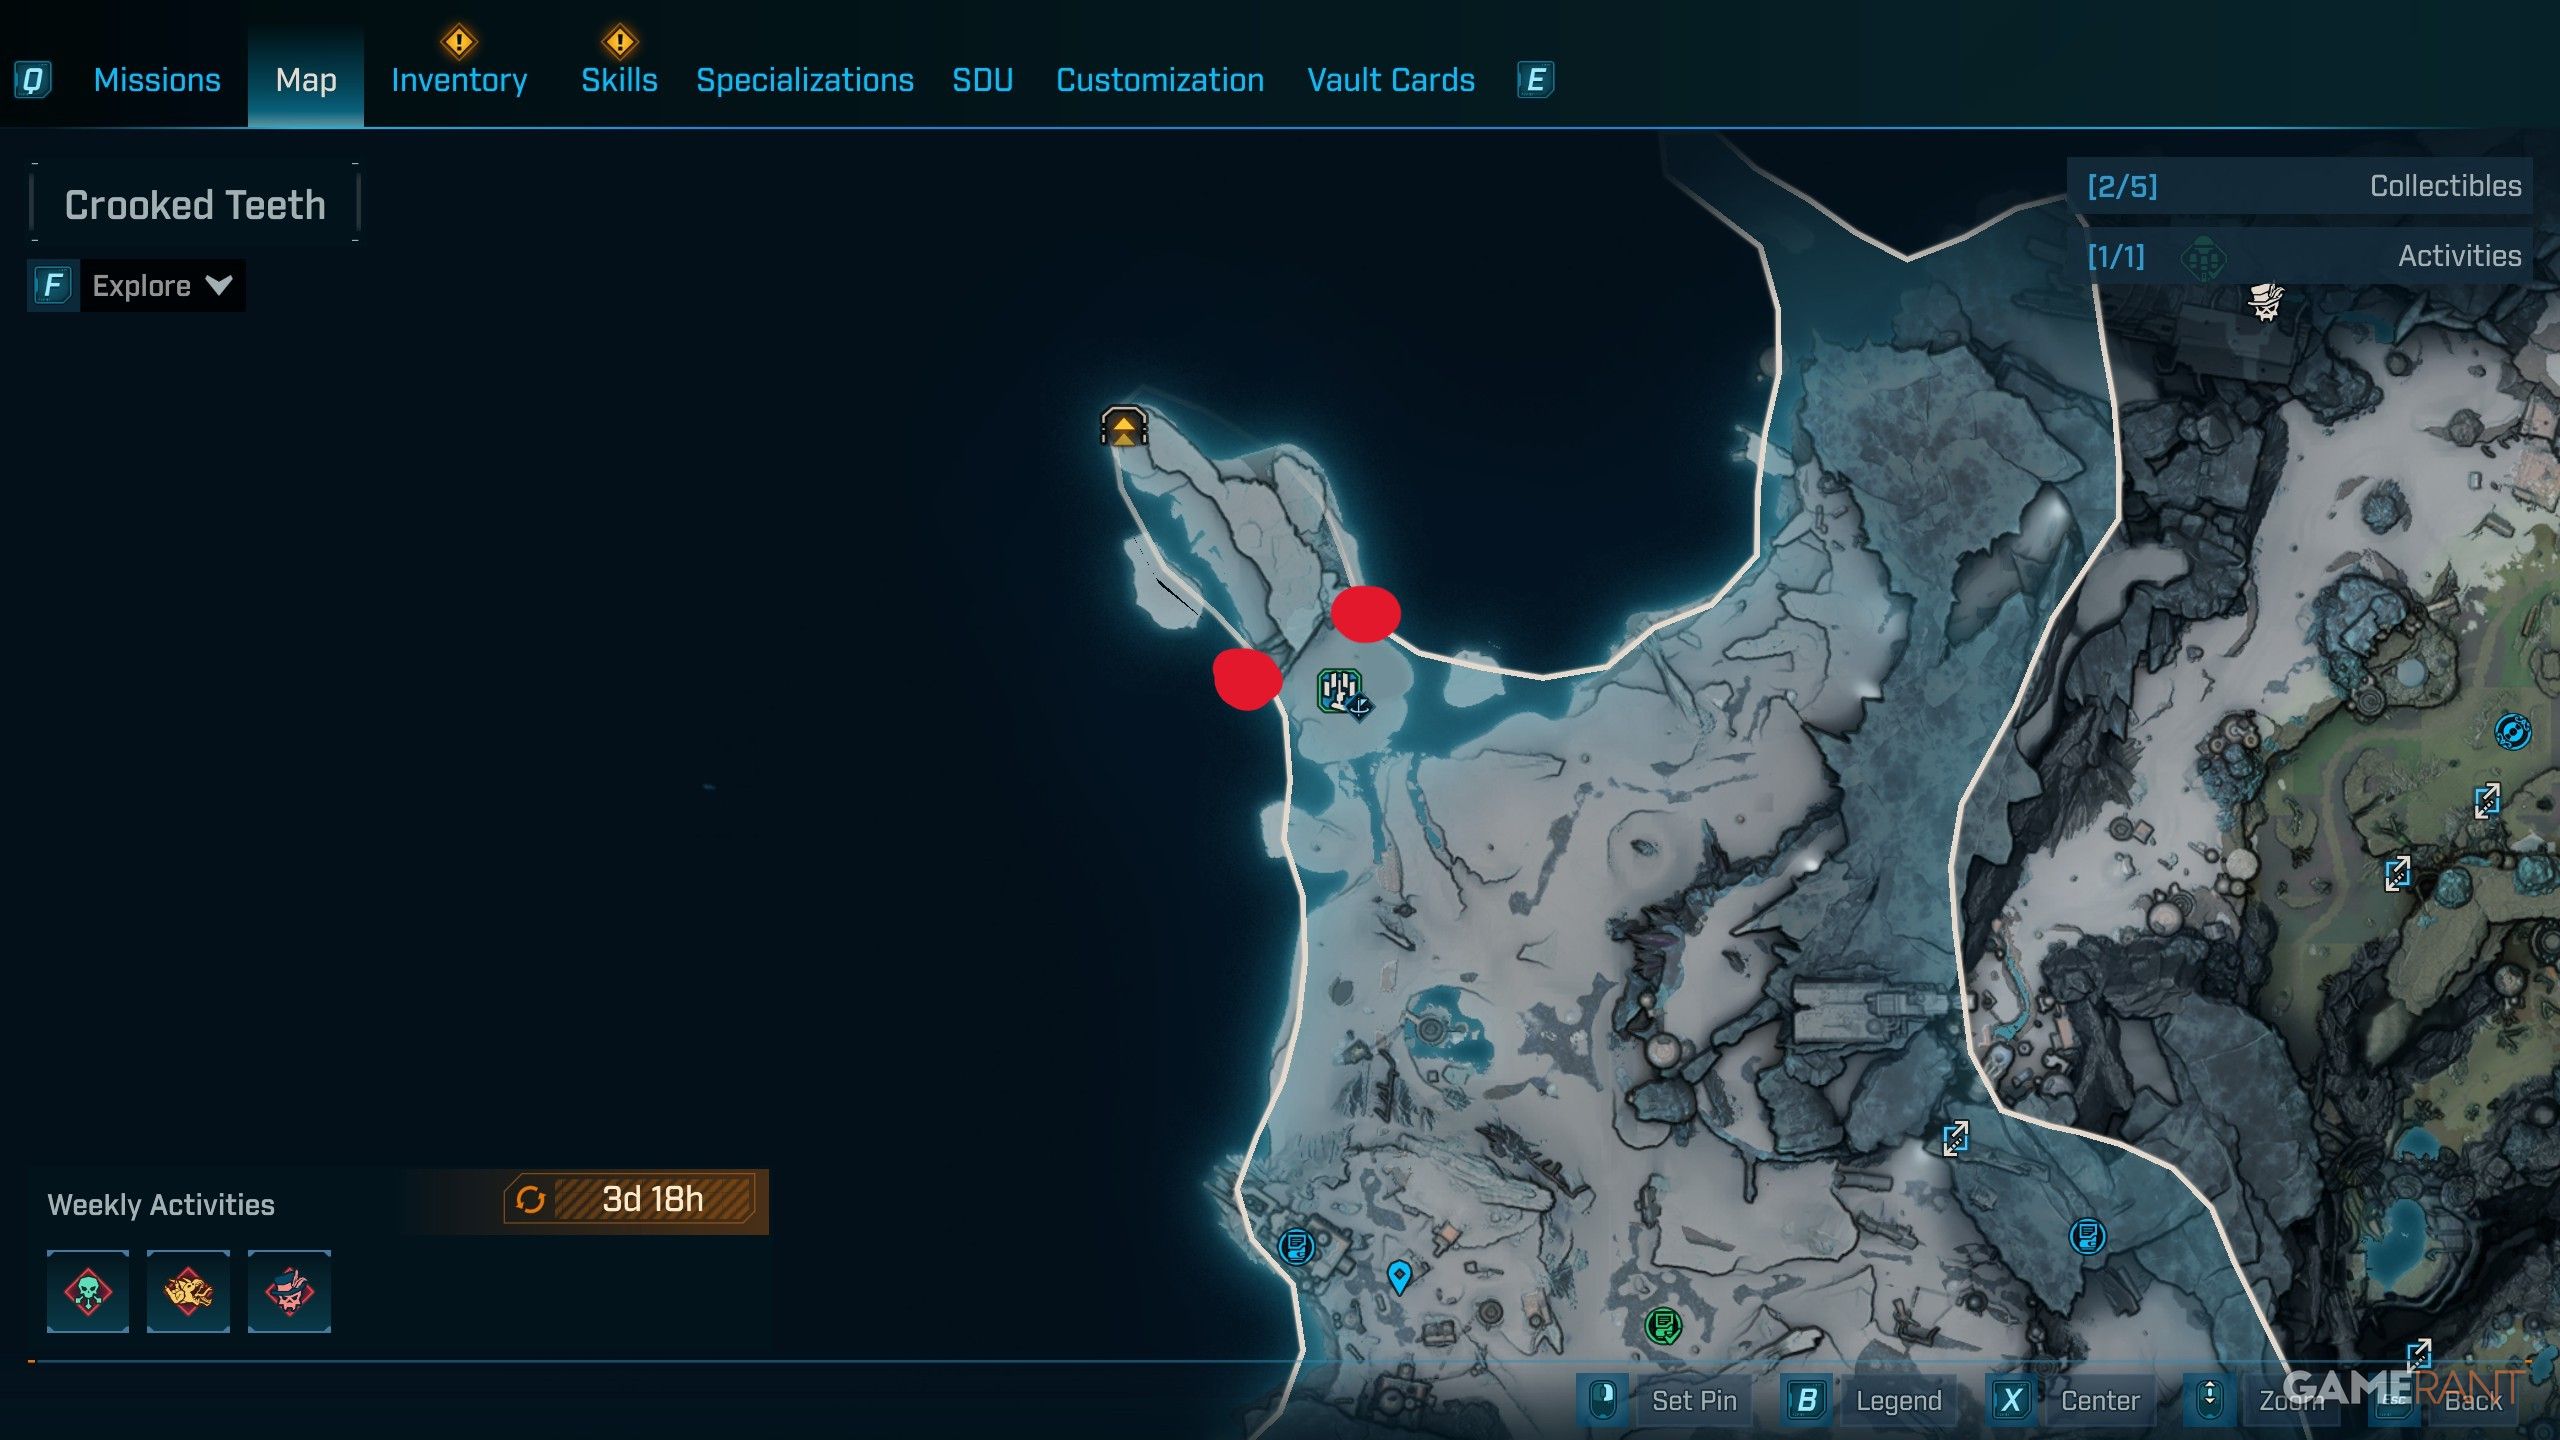

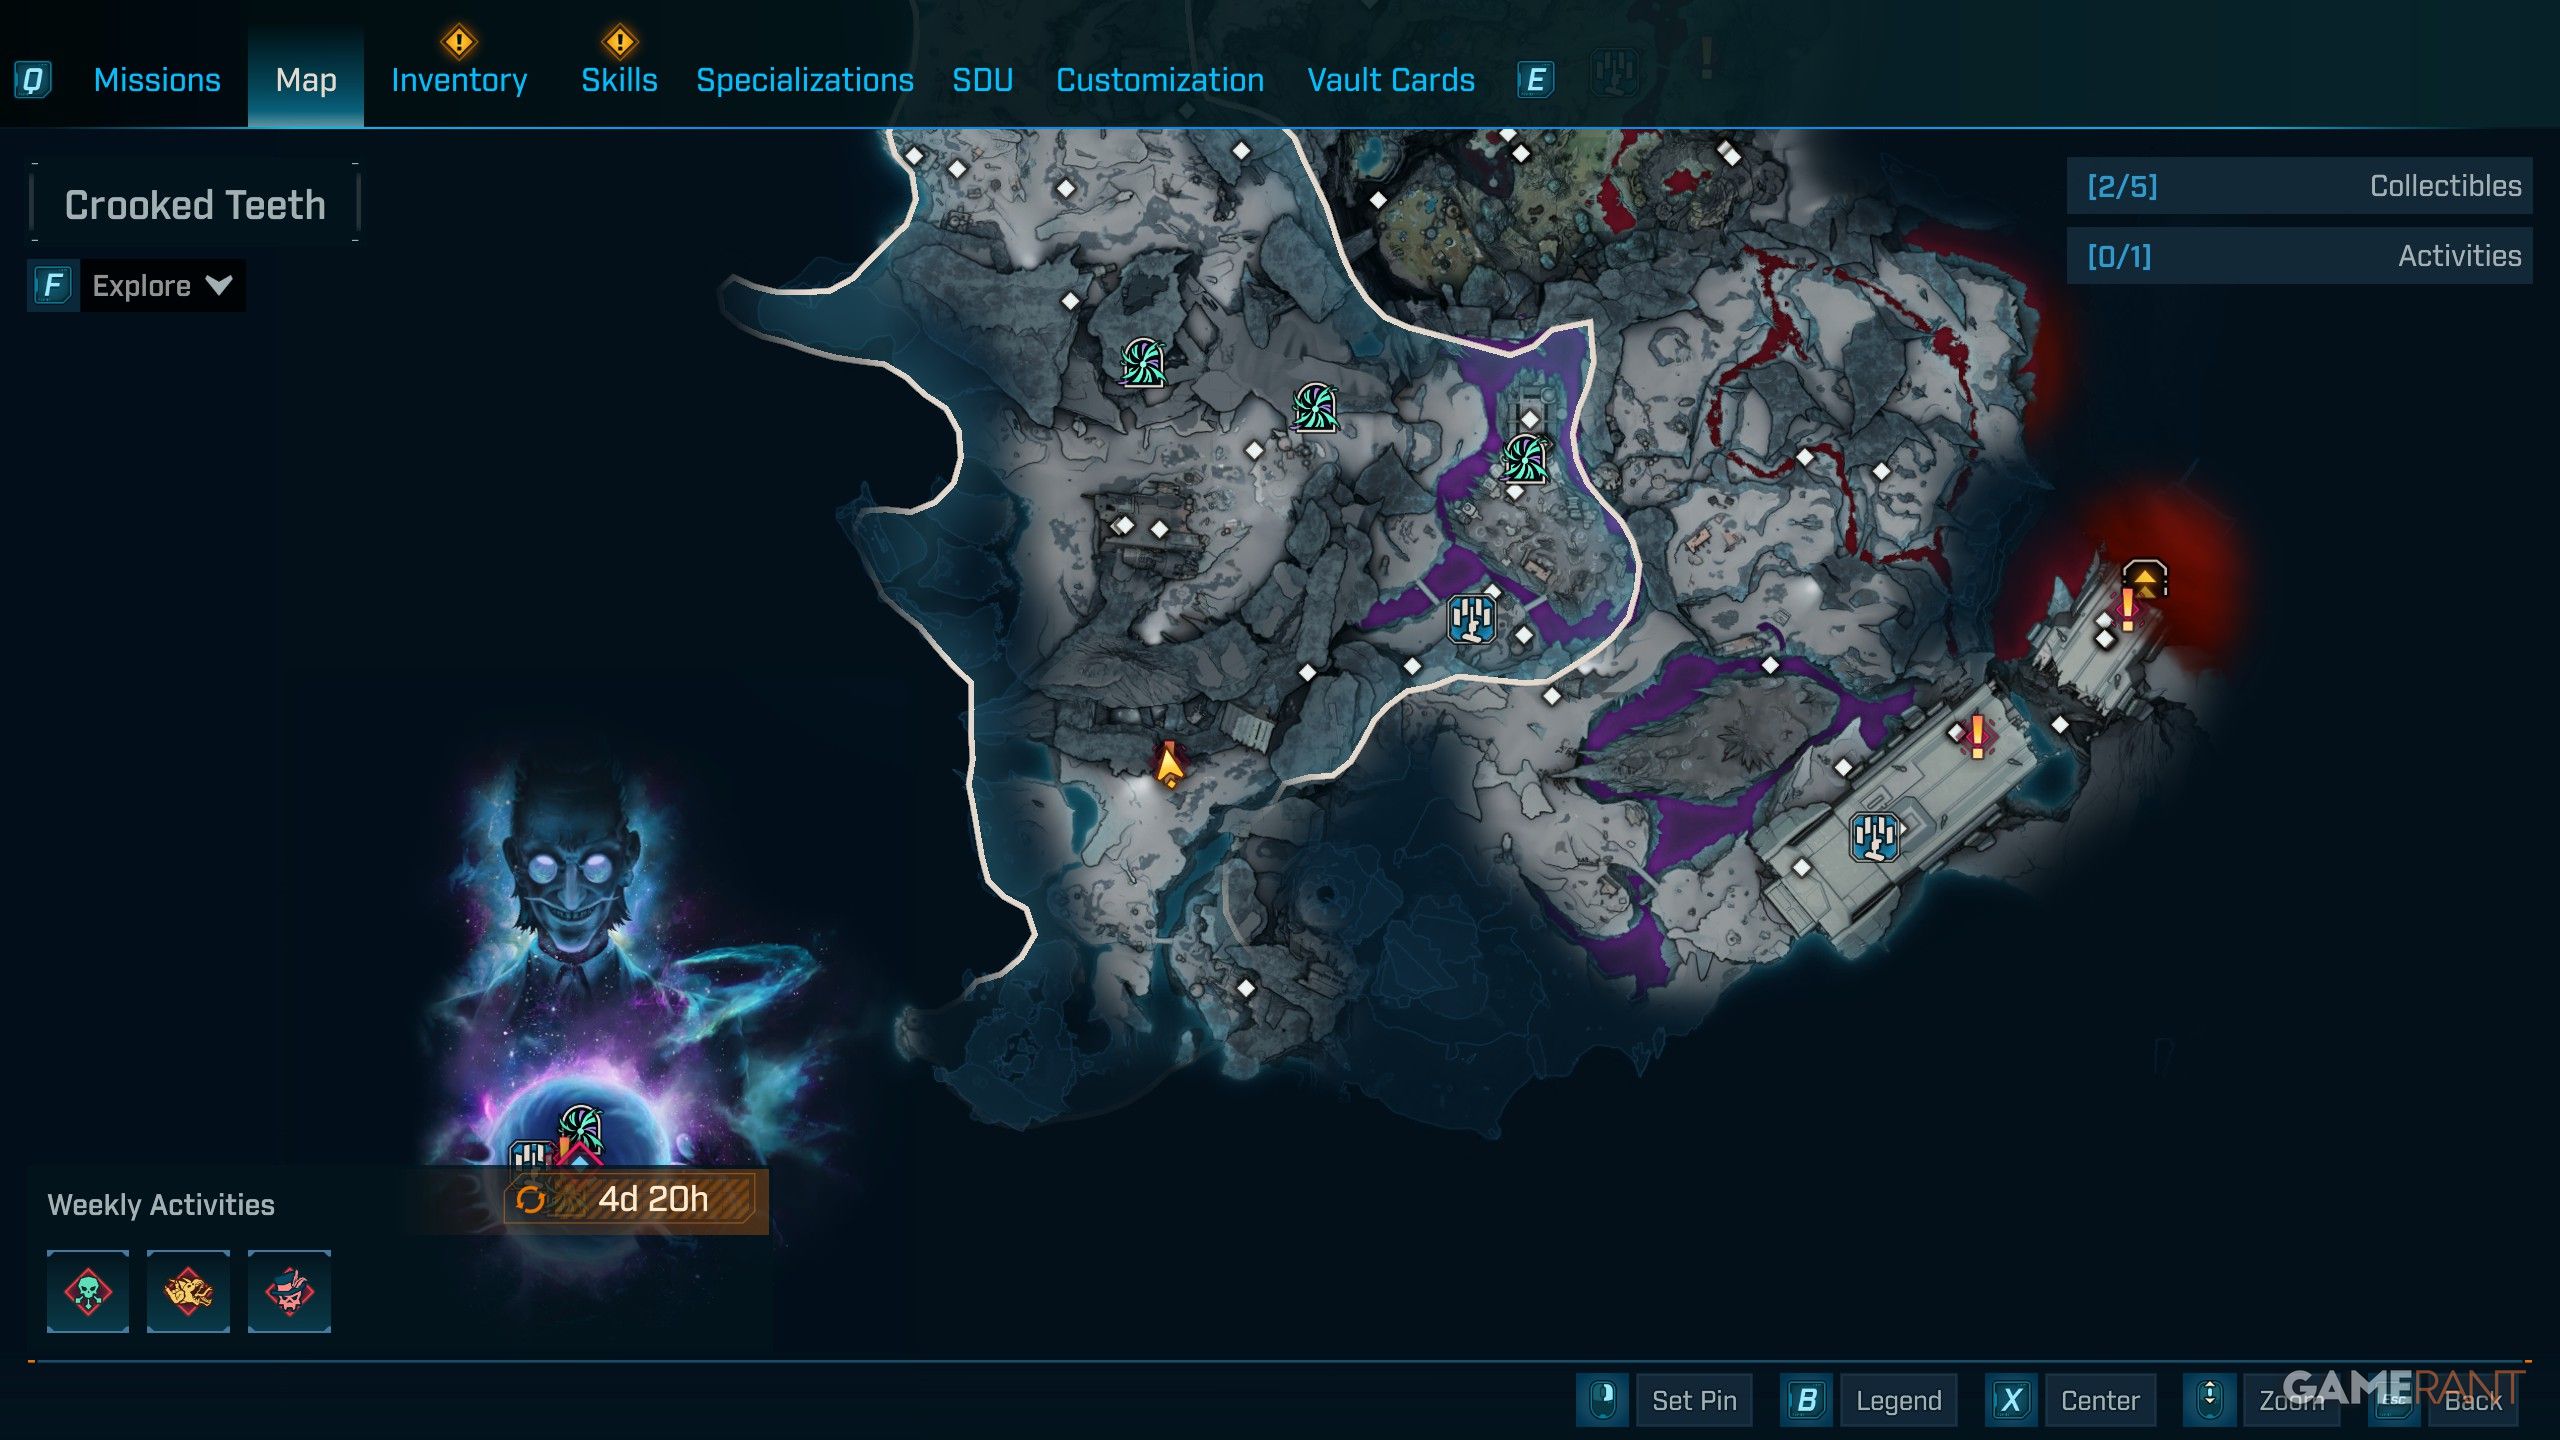
- Find 4 unique ECHO Logs, which spawn at random at any of these locations by the Edge of the World Fast Travel Station (also marked on the map above):
- Northwest in Crooked Teeth, when facing the water to the west.
- Northeast in Crooked Teeth, when facing the water with a chair to the north.
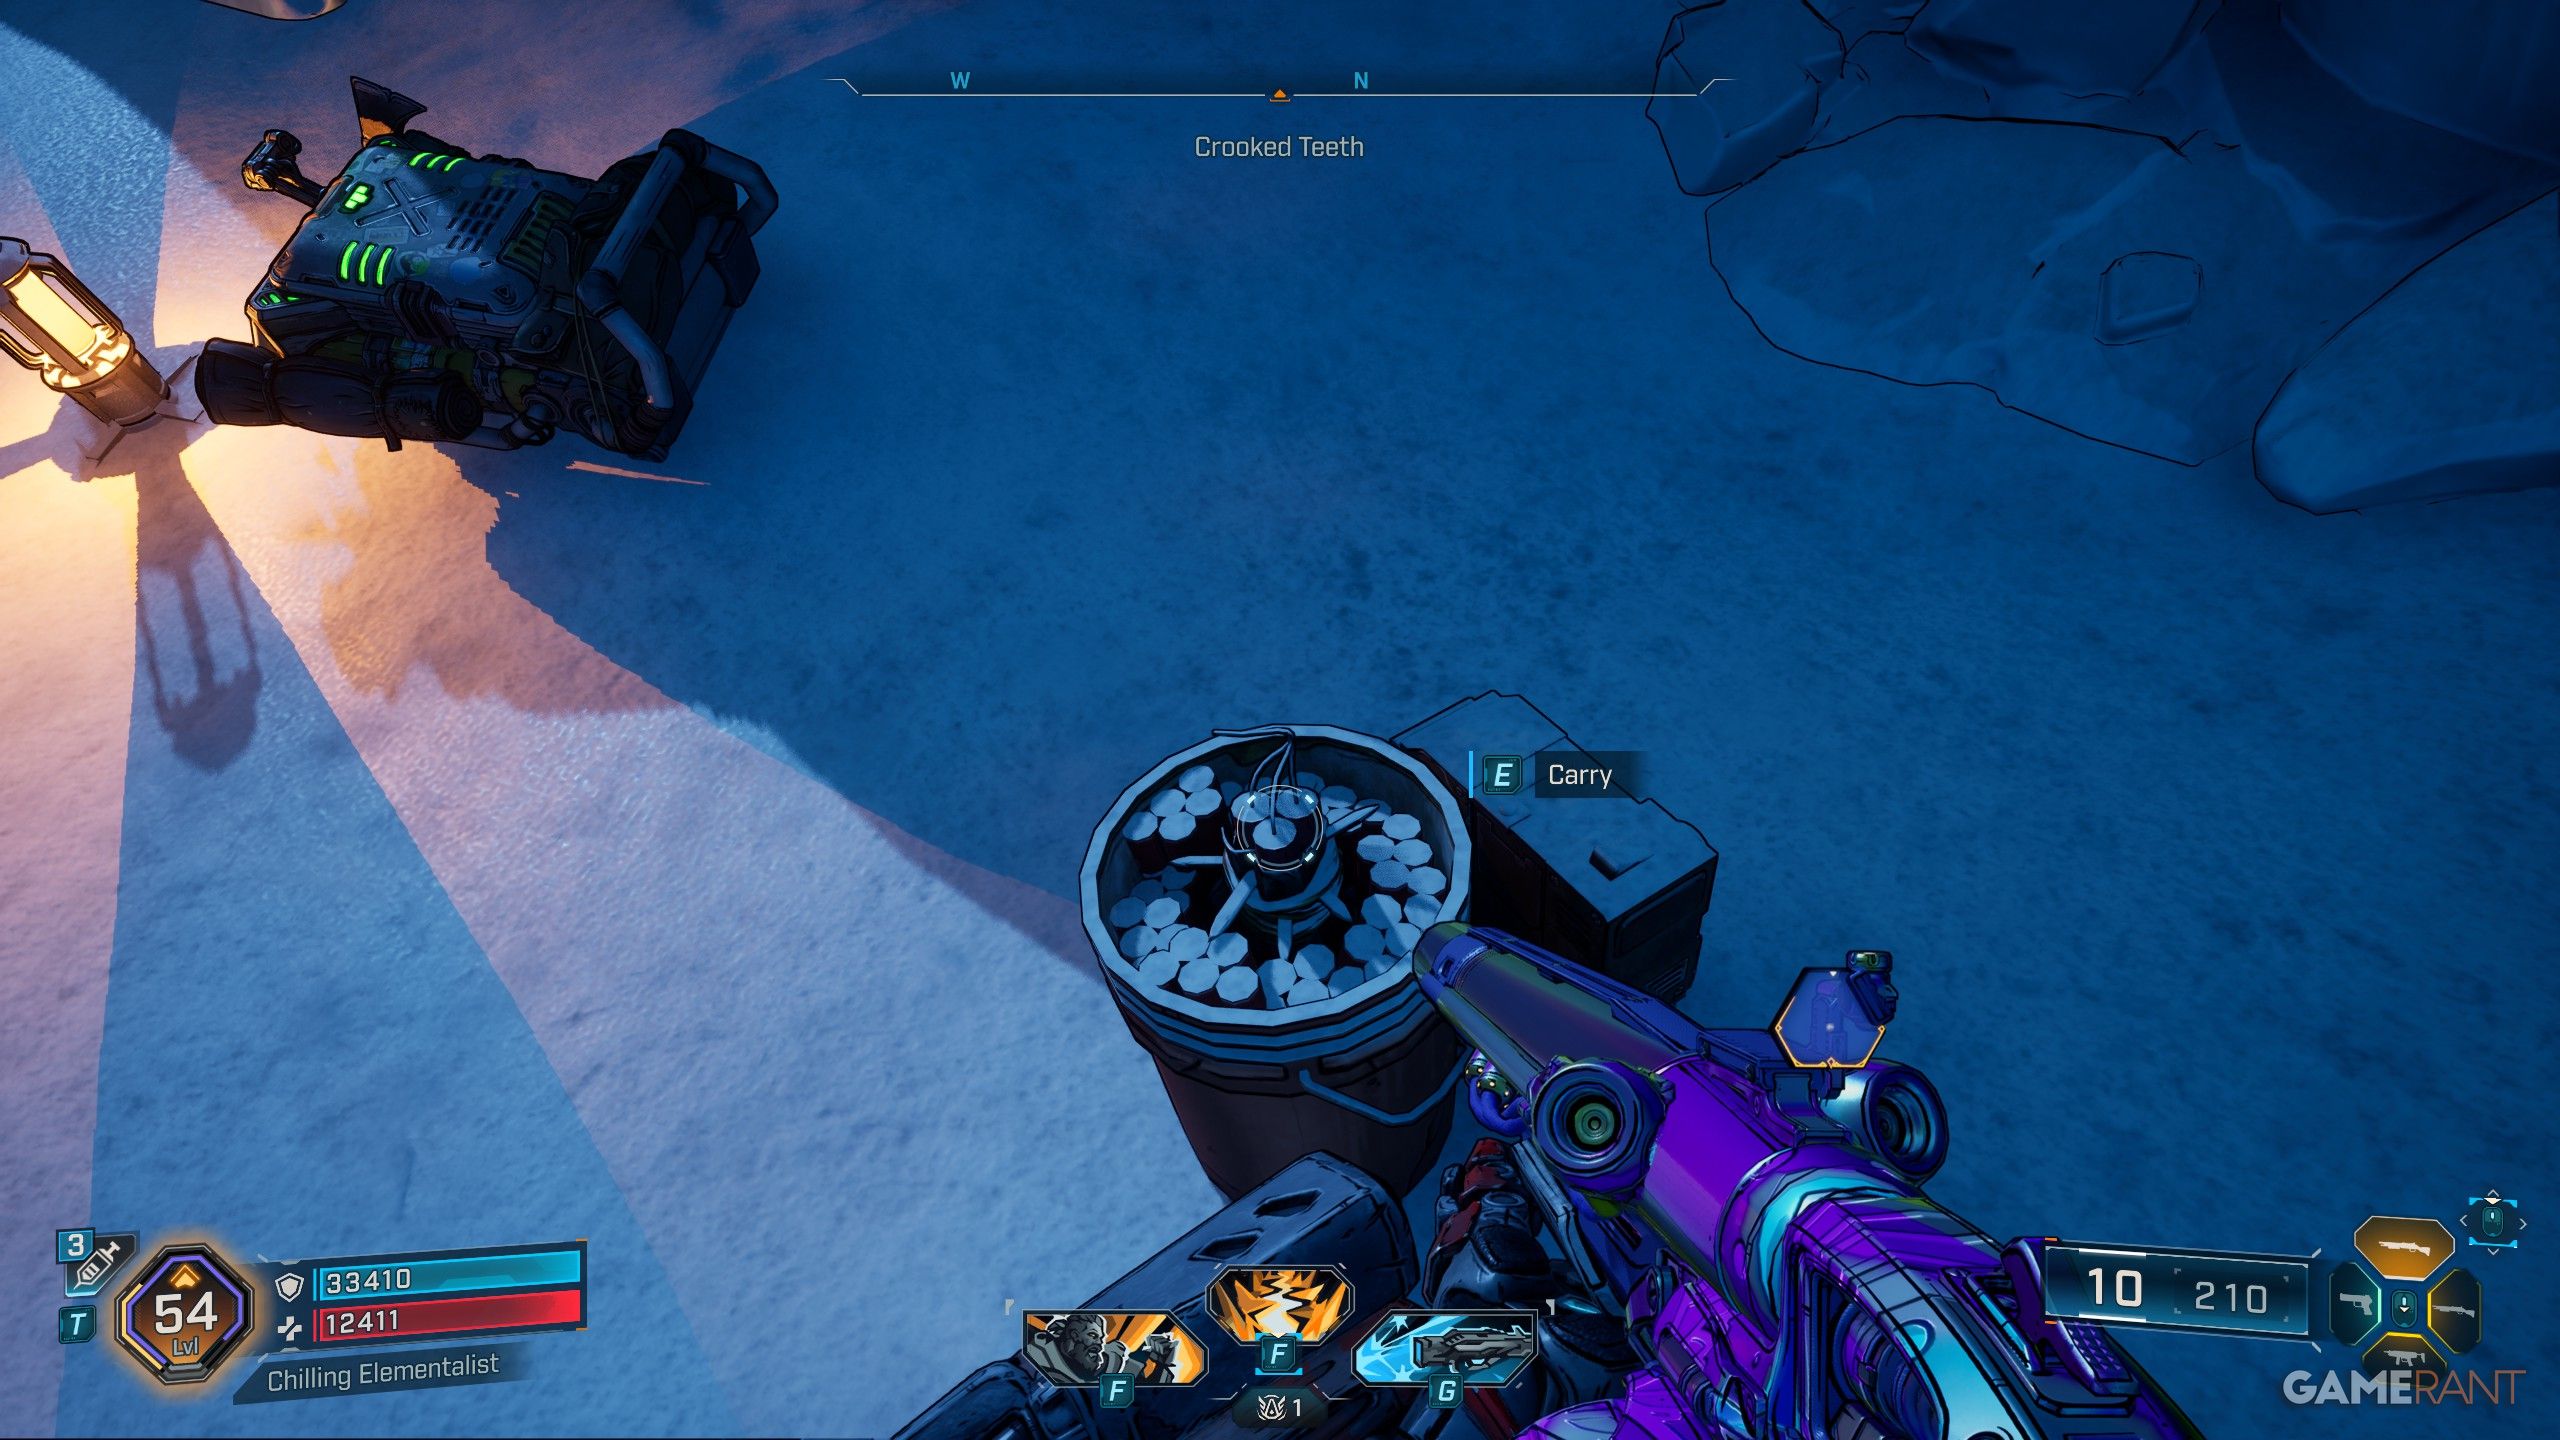
- At the locations listed above, you’ll be able to find a barrel of dynamite.
- Pick up the dynamite and throw it at the water, specifically the part of the water that’s bubbling.
- When it explodes, an ECHO Log will shoot up, and you can grab it with the grapple hook.
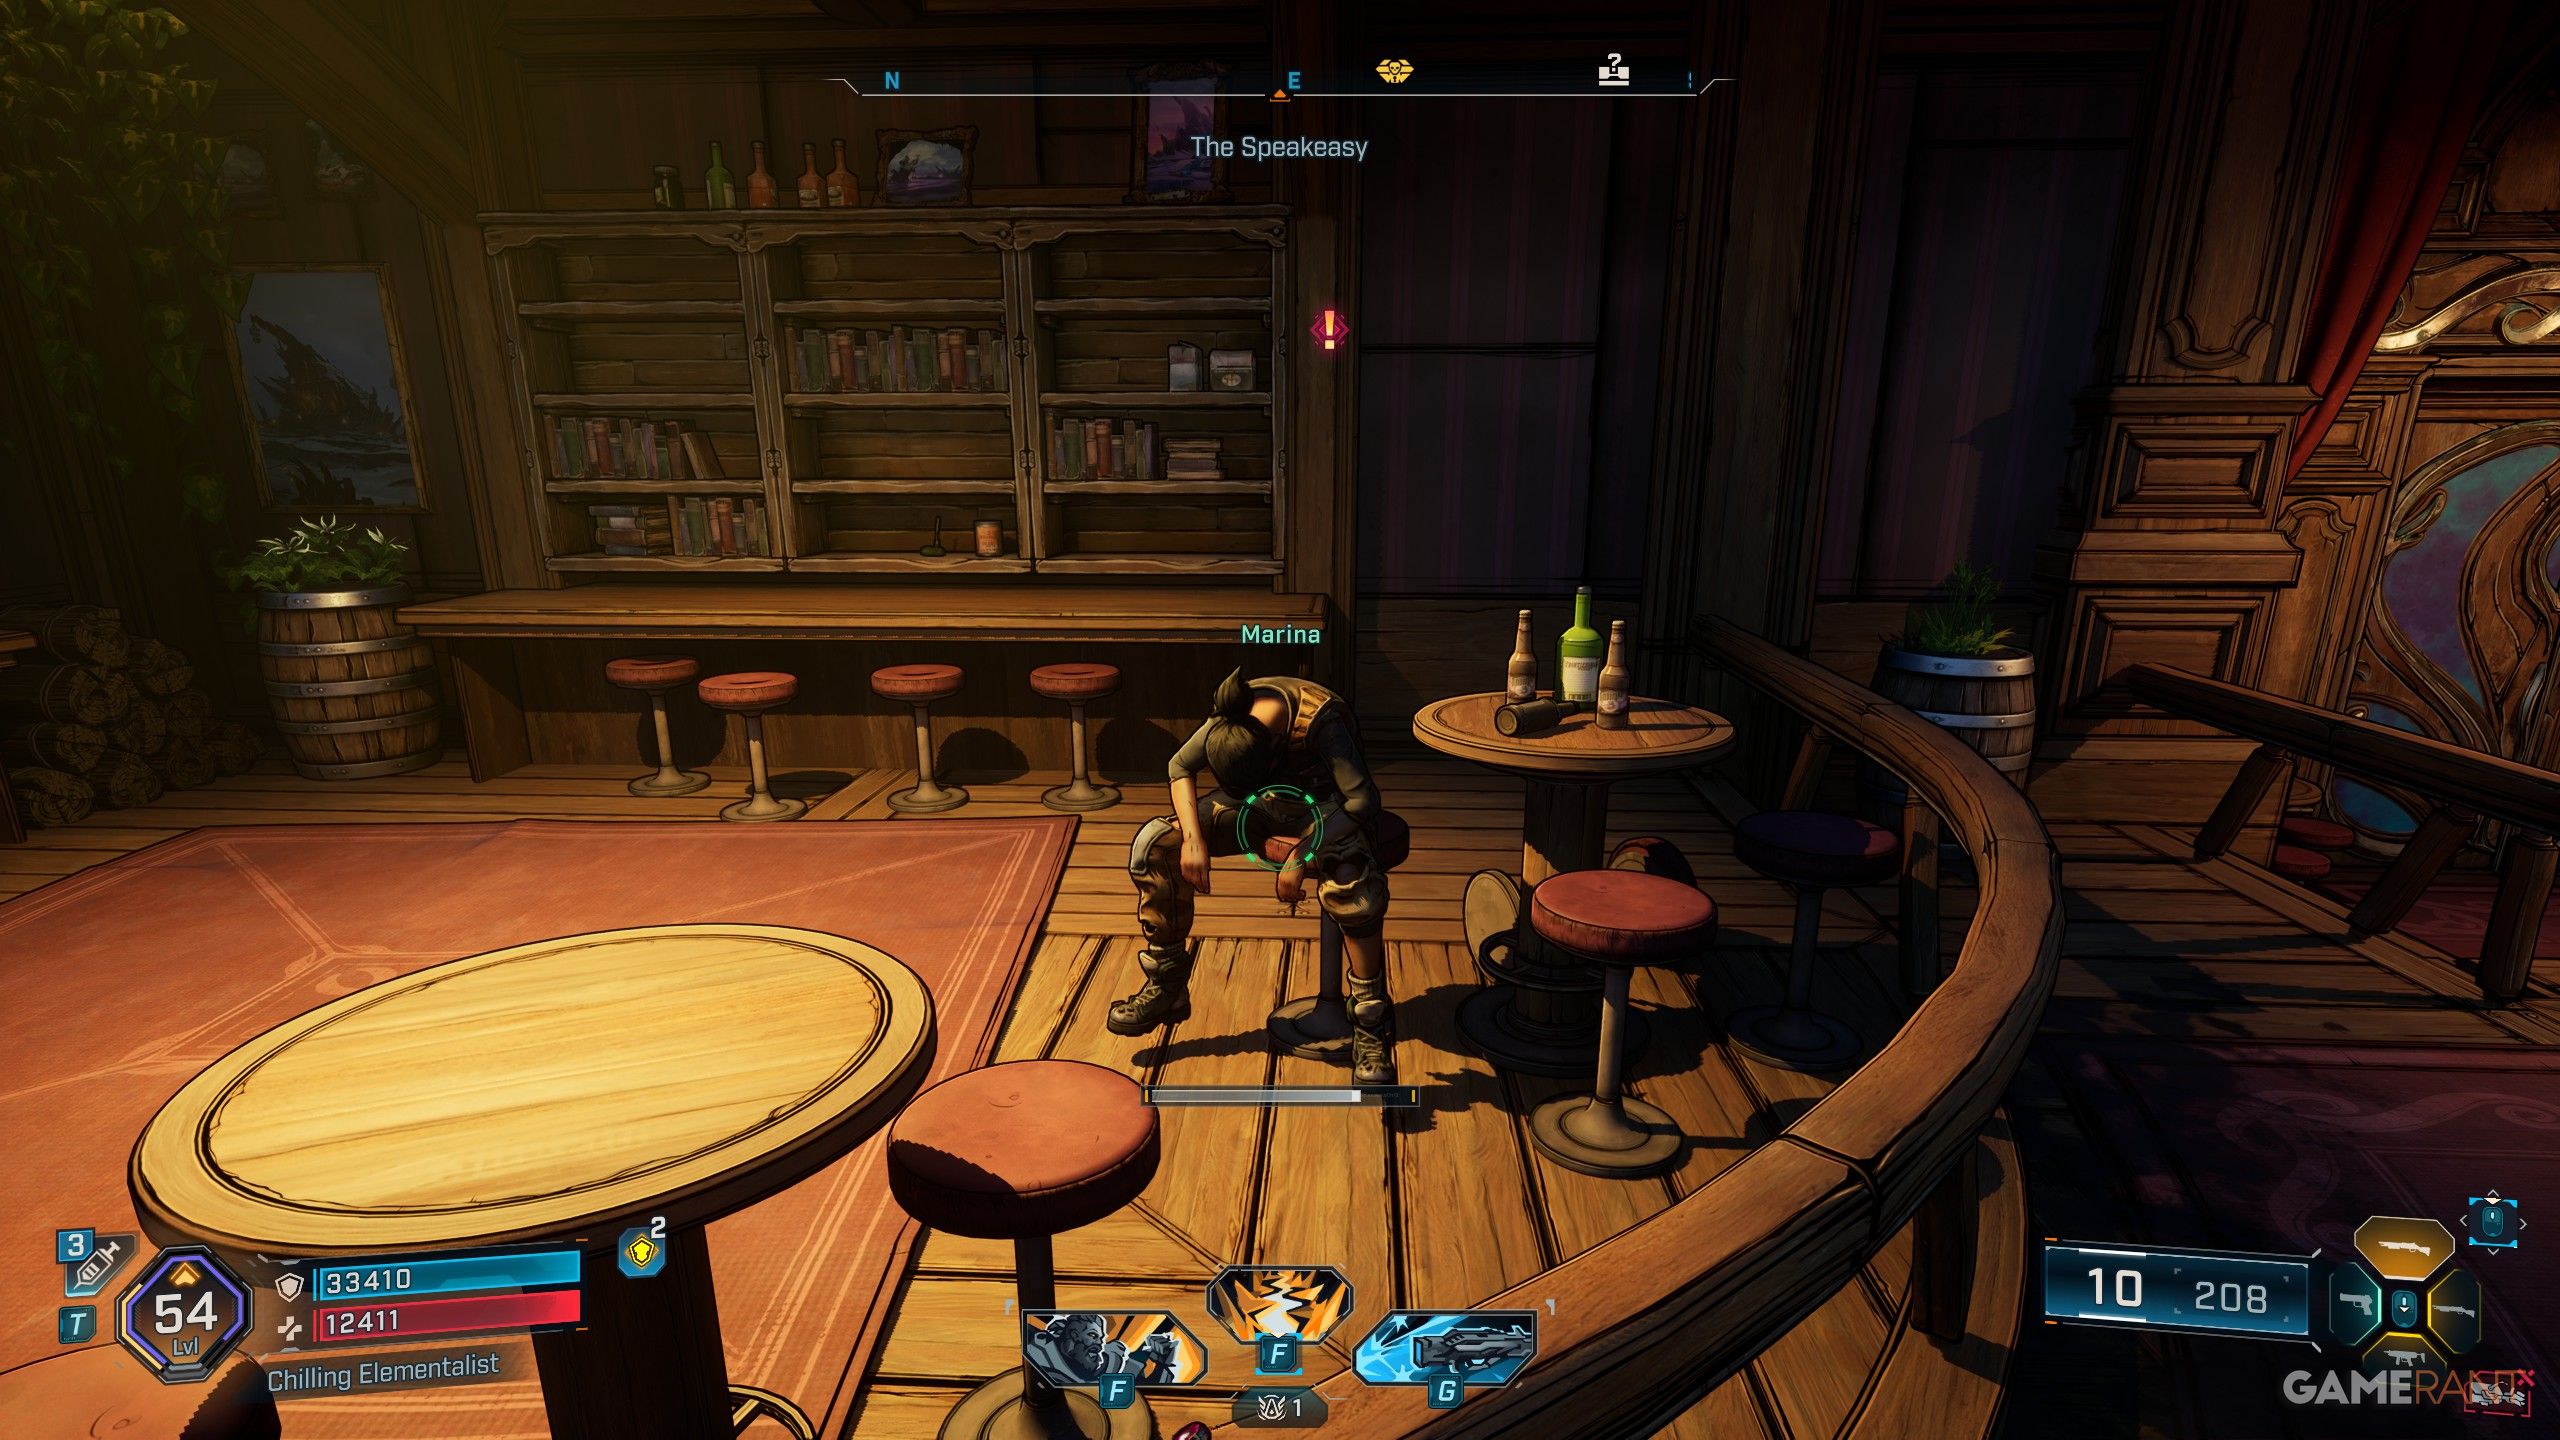
- After acquiring 4 ECHO Logs, head to the Speakeasy to begin the “Ice Fishing” from an NPC in the back east of the lobby.
- The mission has you hunt ECHO Logs (now marked as part of the quest), and then you need to kill special Threshers.
If the water isn’t bubbling, quickly travel back to the Edge of the World. This mission can be a bit annoying, so keep going back and forth between the areas shown on the map until it works.
Symbiotic Security Part 1
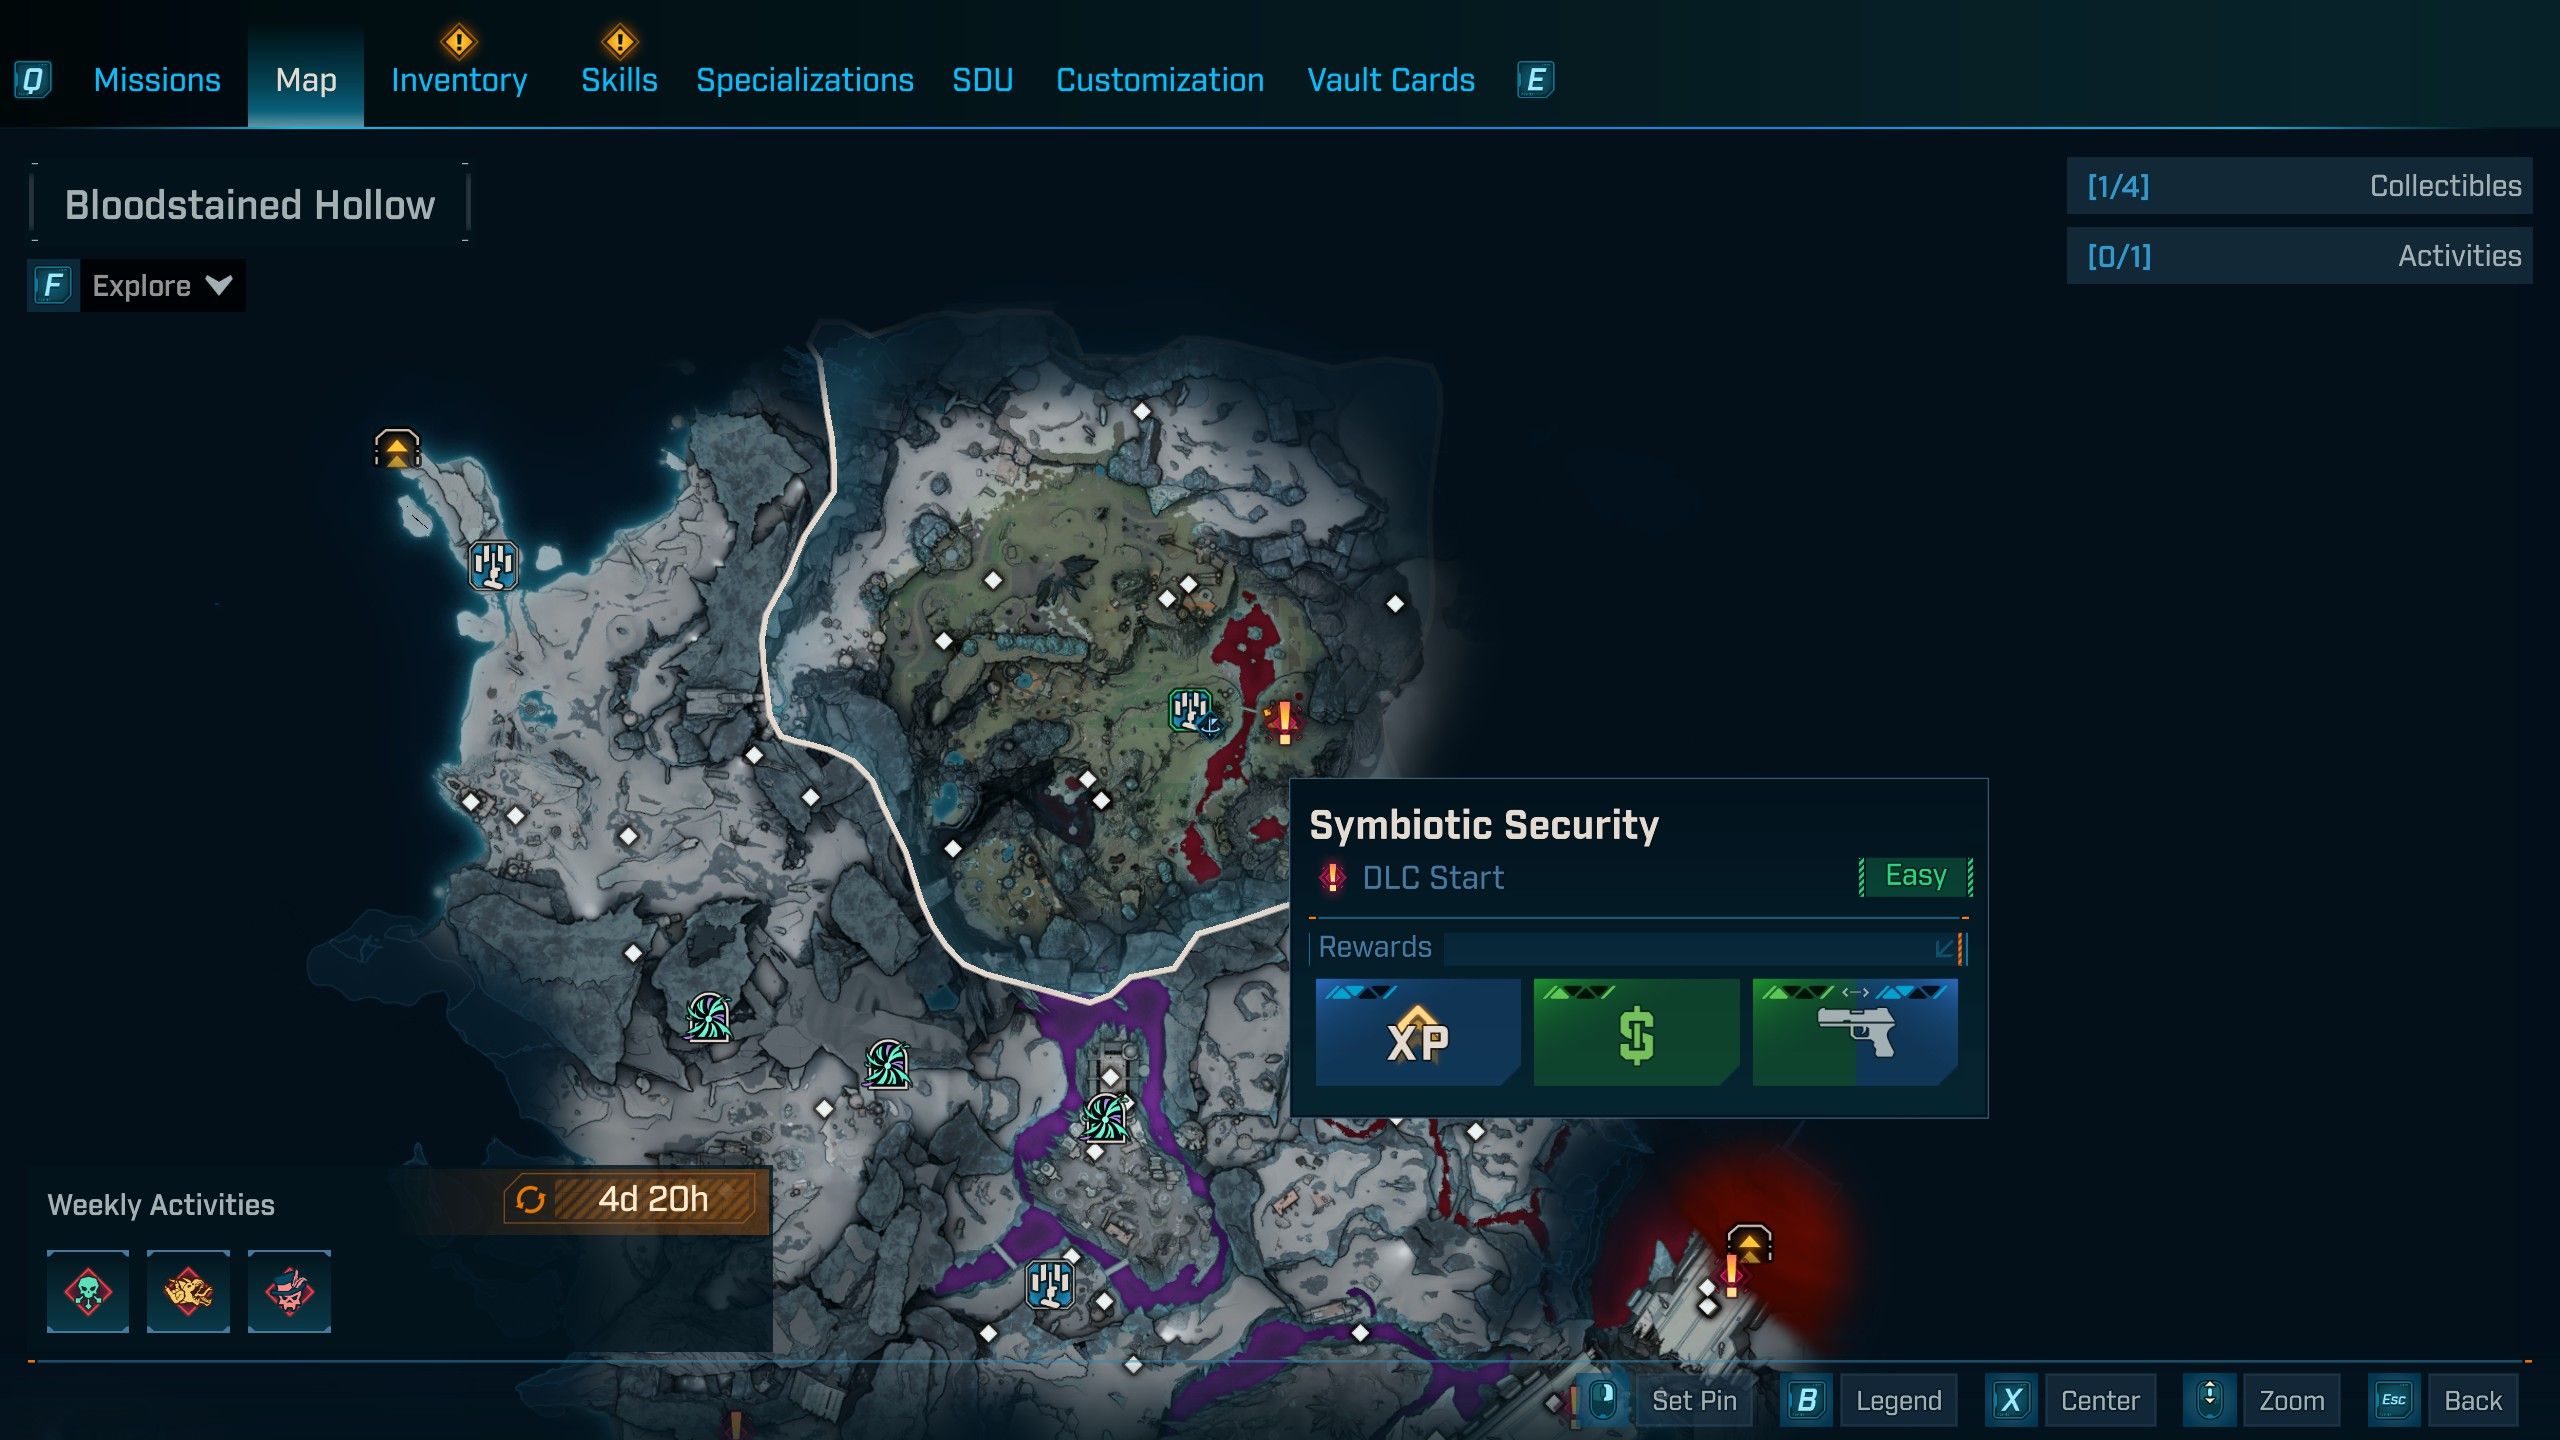
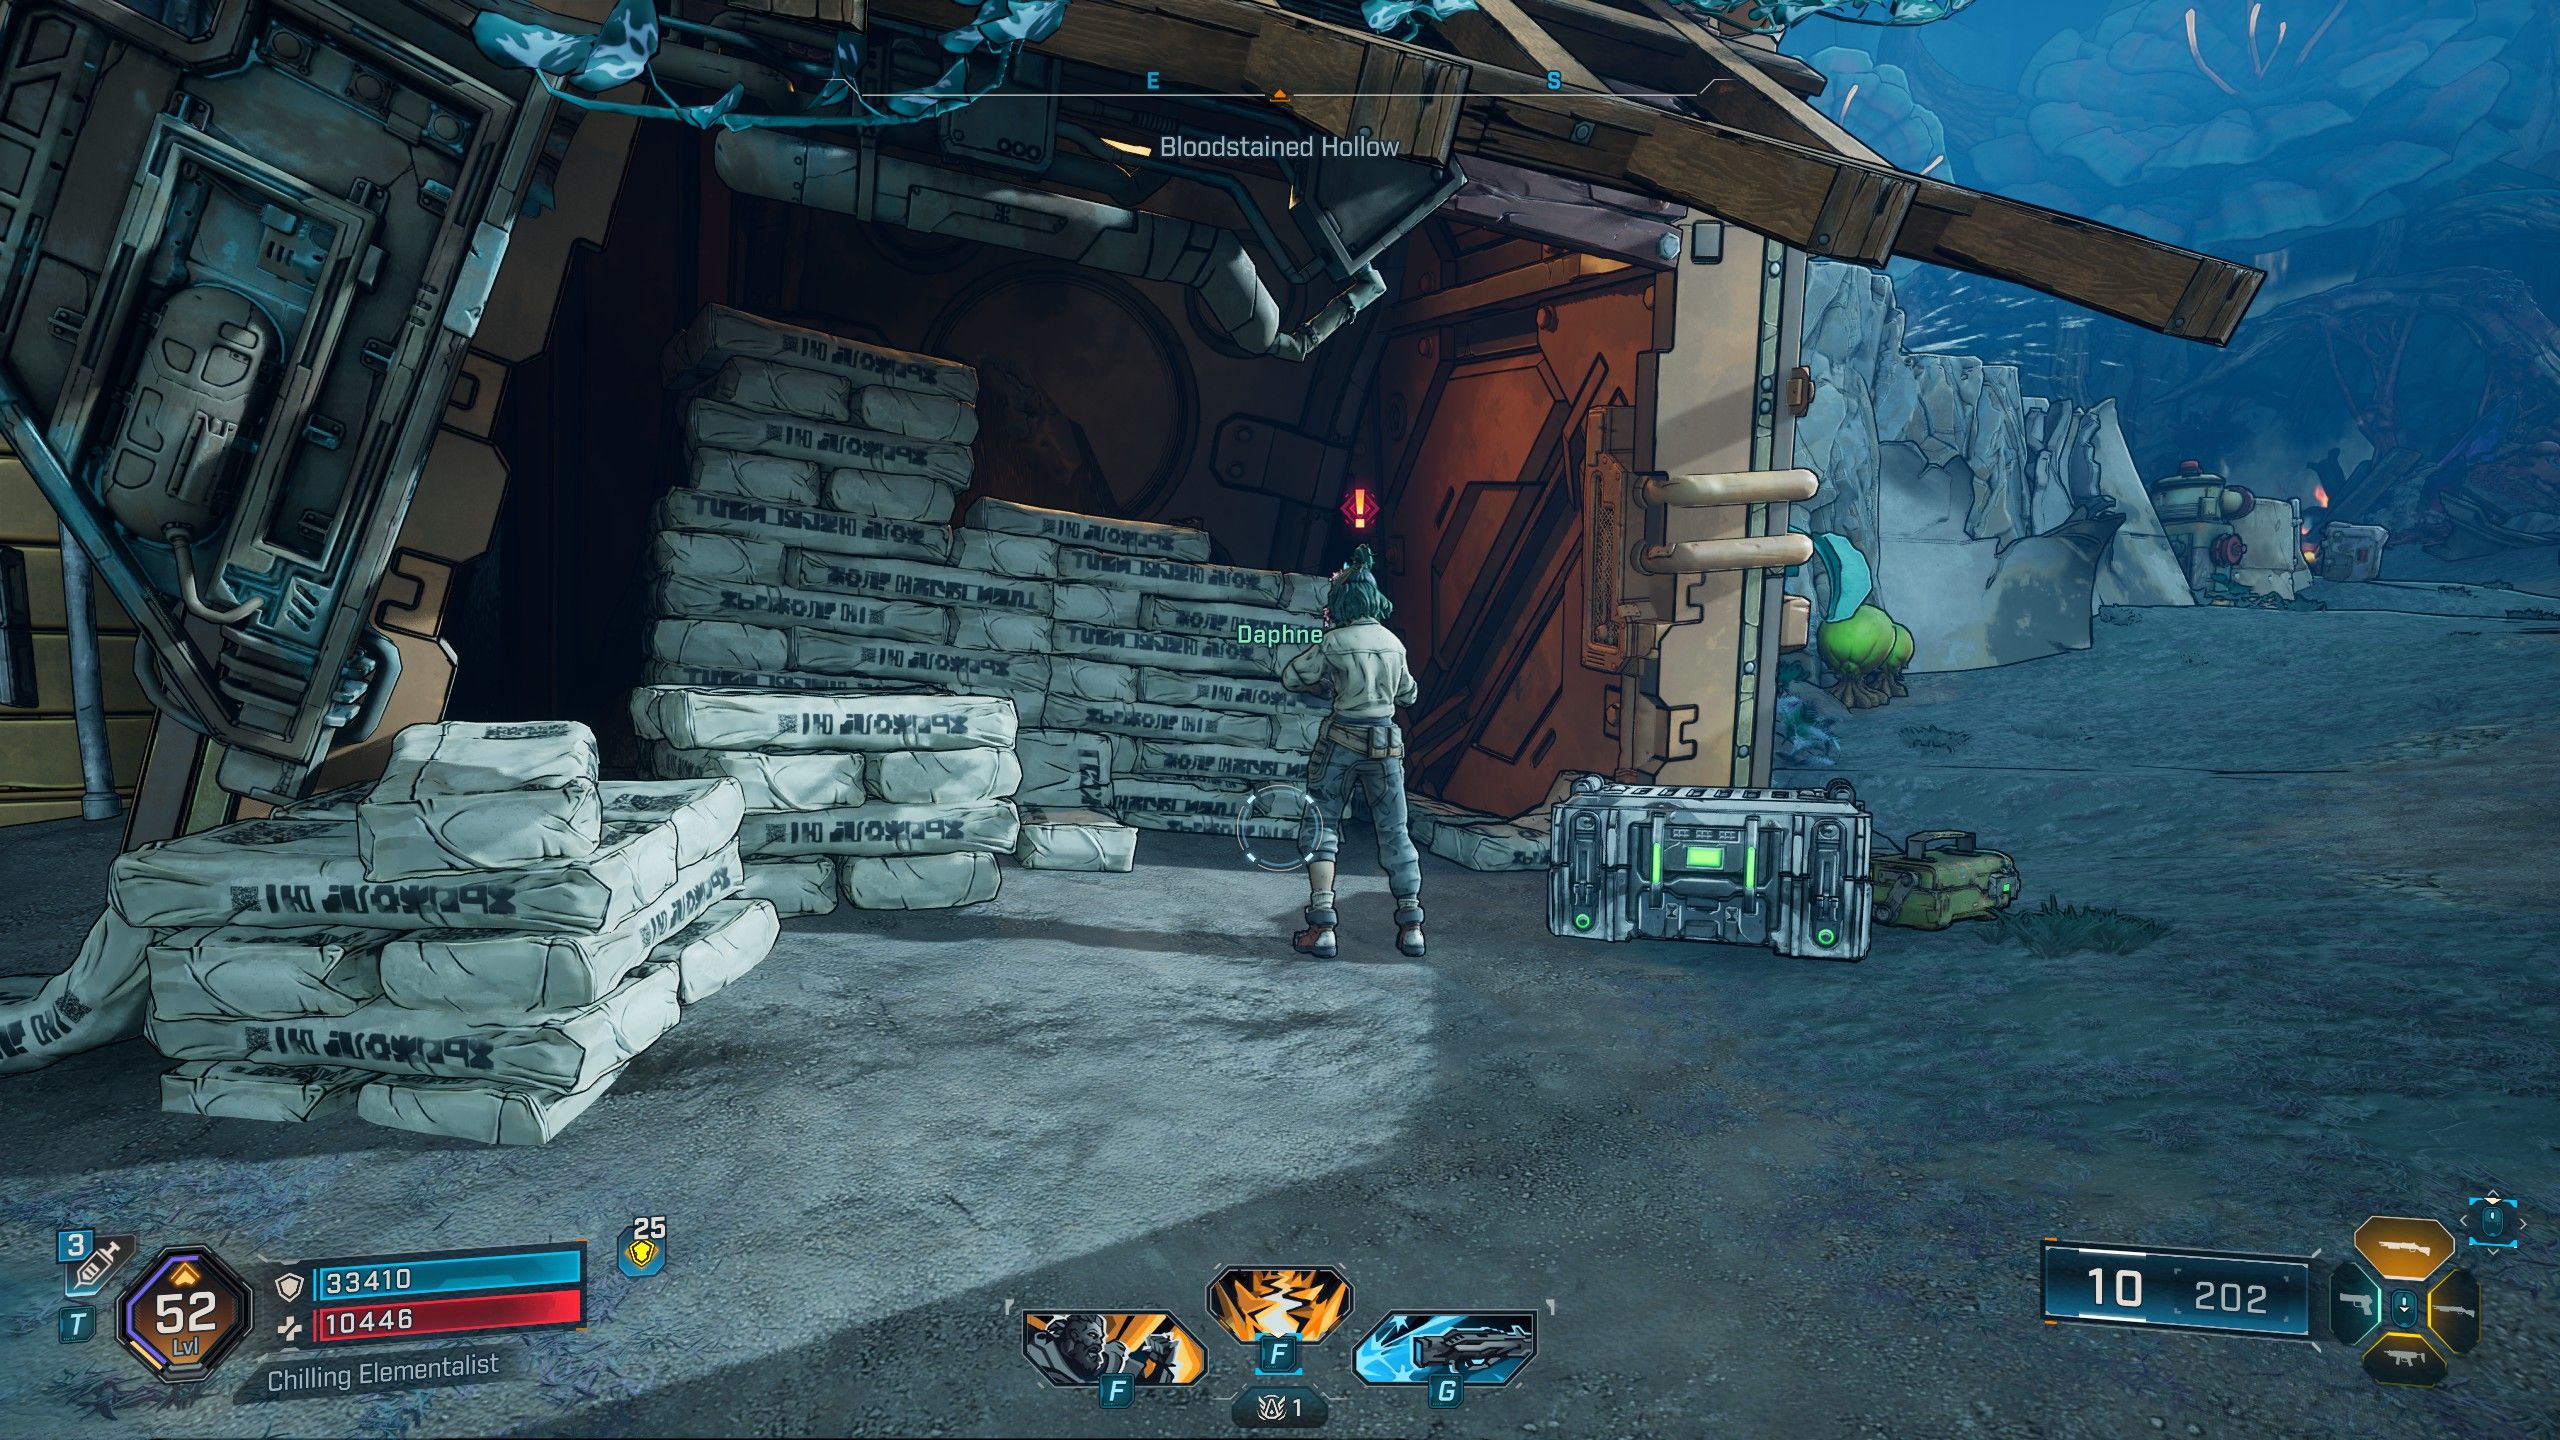
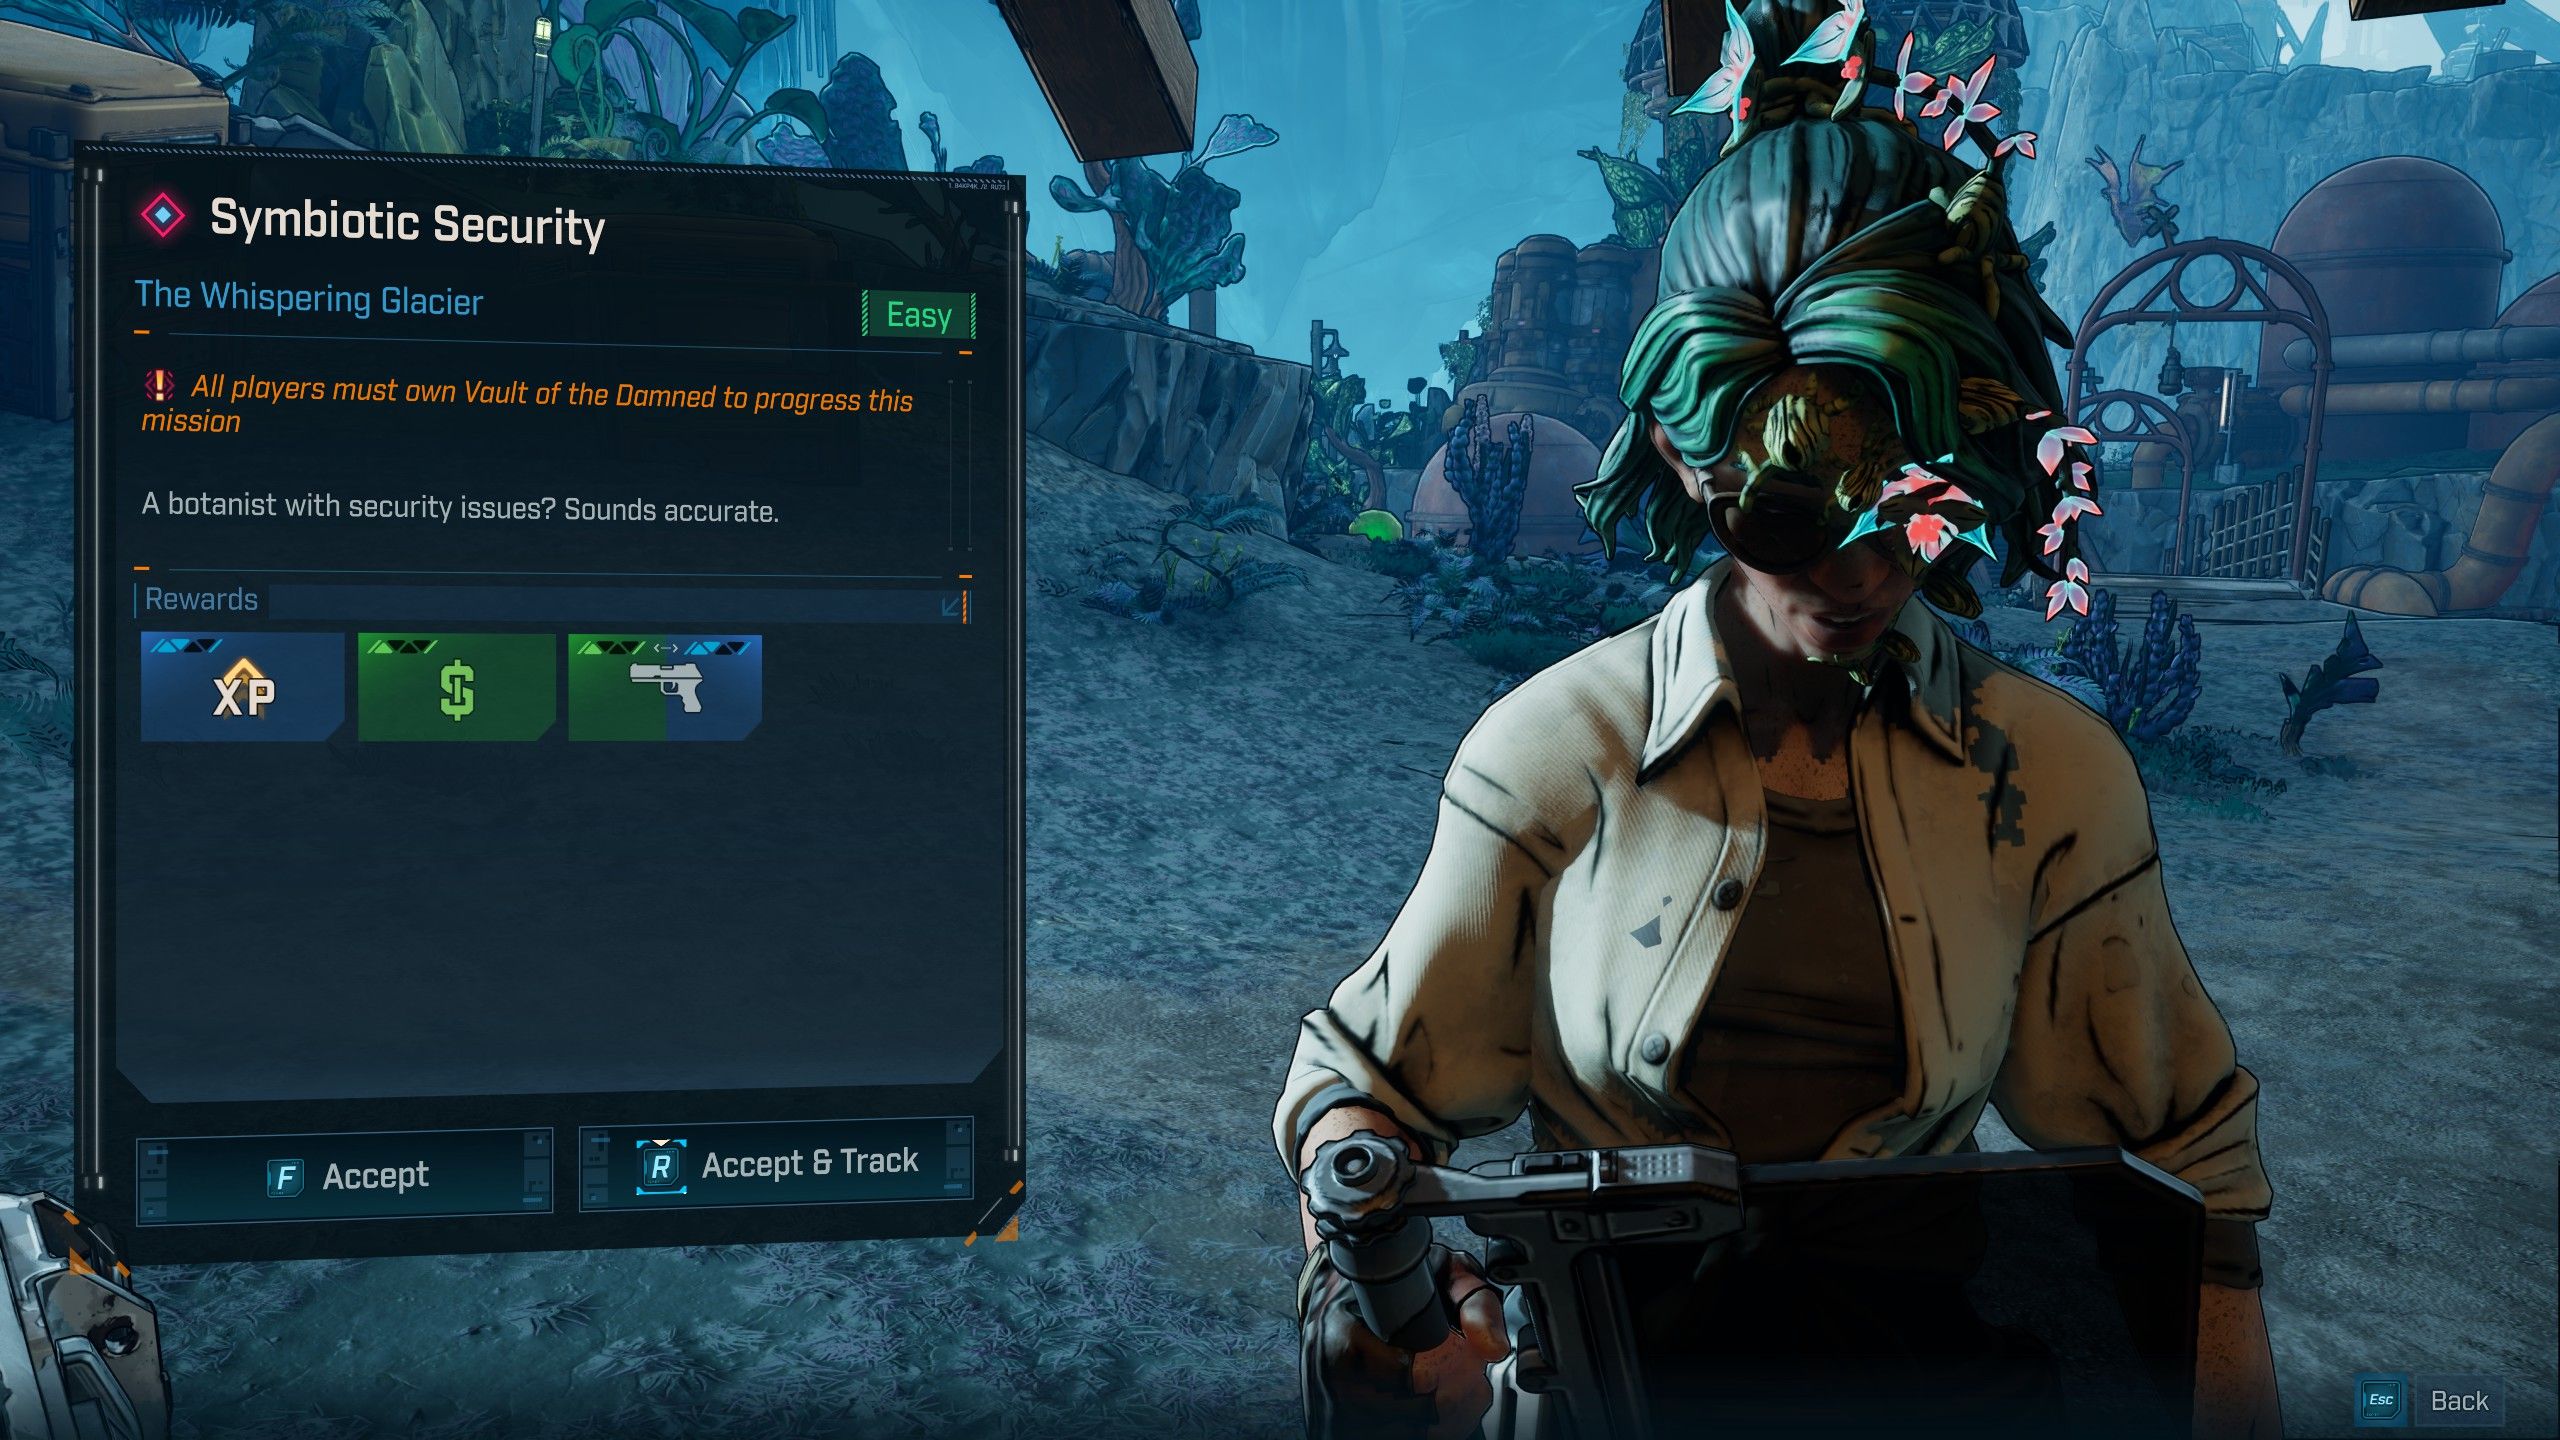
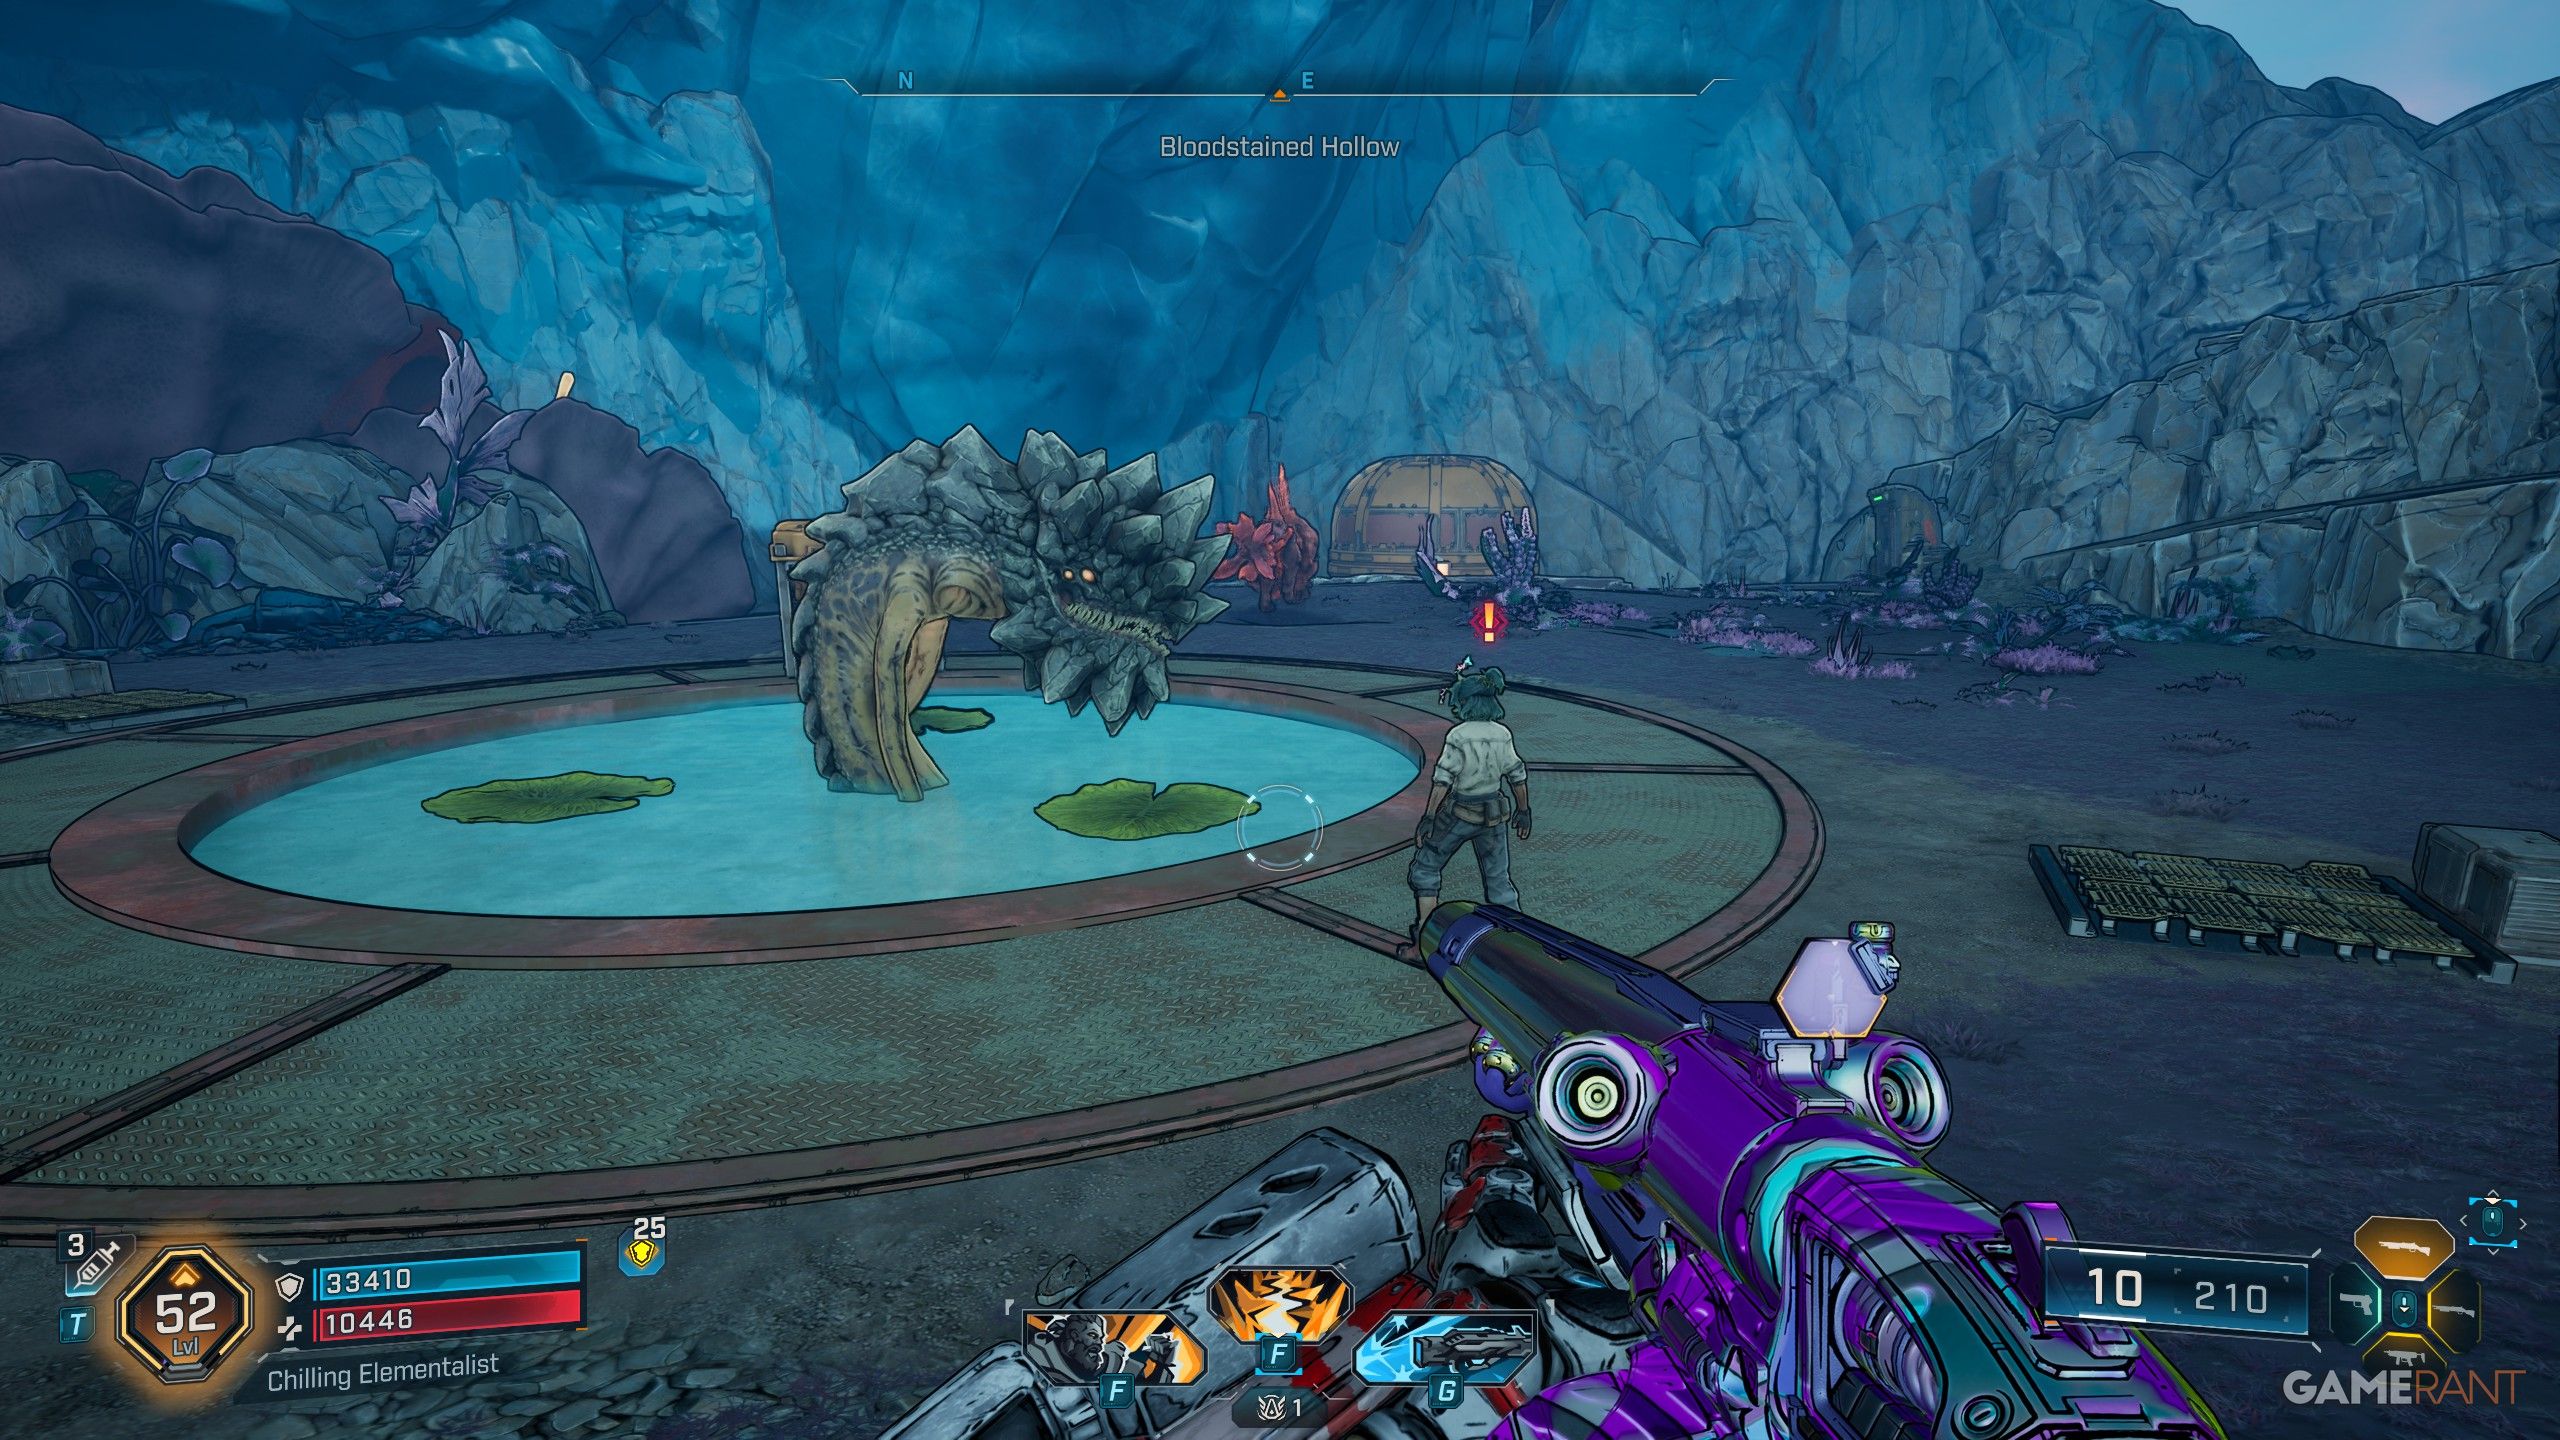
- Symbiotic Security can be started from Daphne’s garden in the Bloodstained Hollow, after you’ve killed Crazed Earl.
- You can reach this location quickly by using Daphne’s Homestead fast travel station.
- The mission is relatively simple, and you just need to follow the objectives to defeat two different creatures and extract their DNA.
Symbiotic Security Part 2
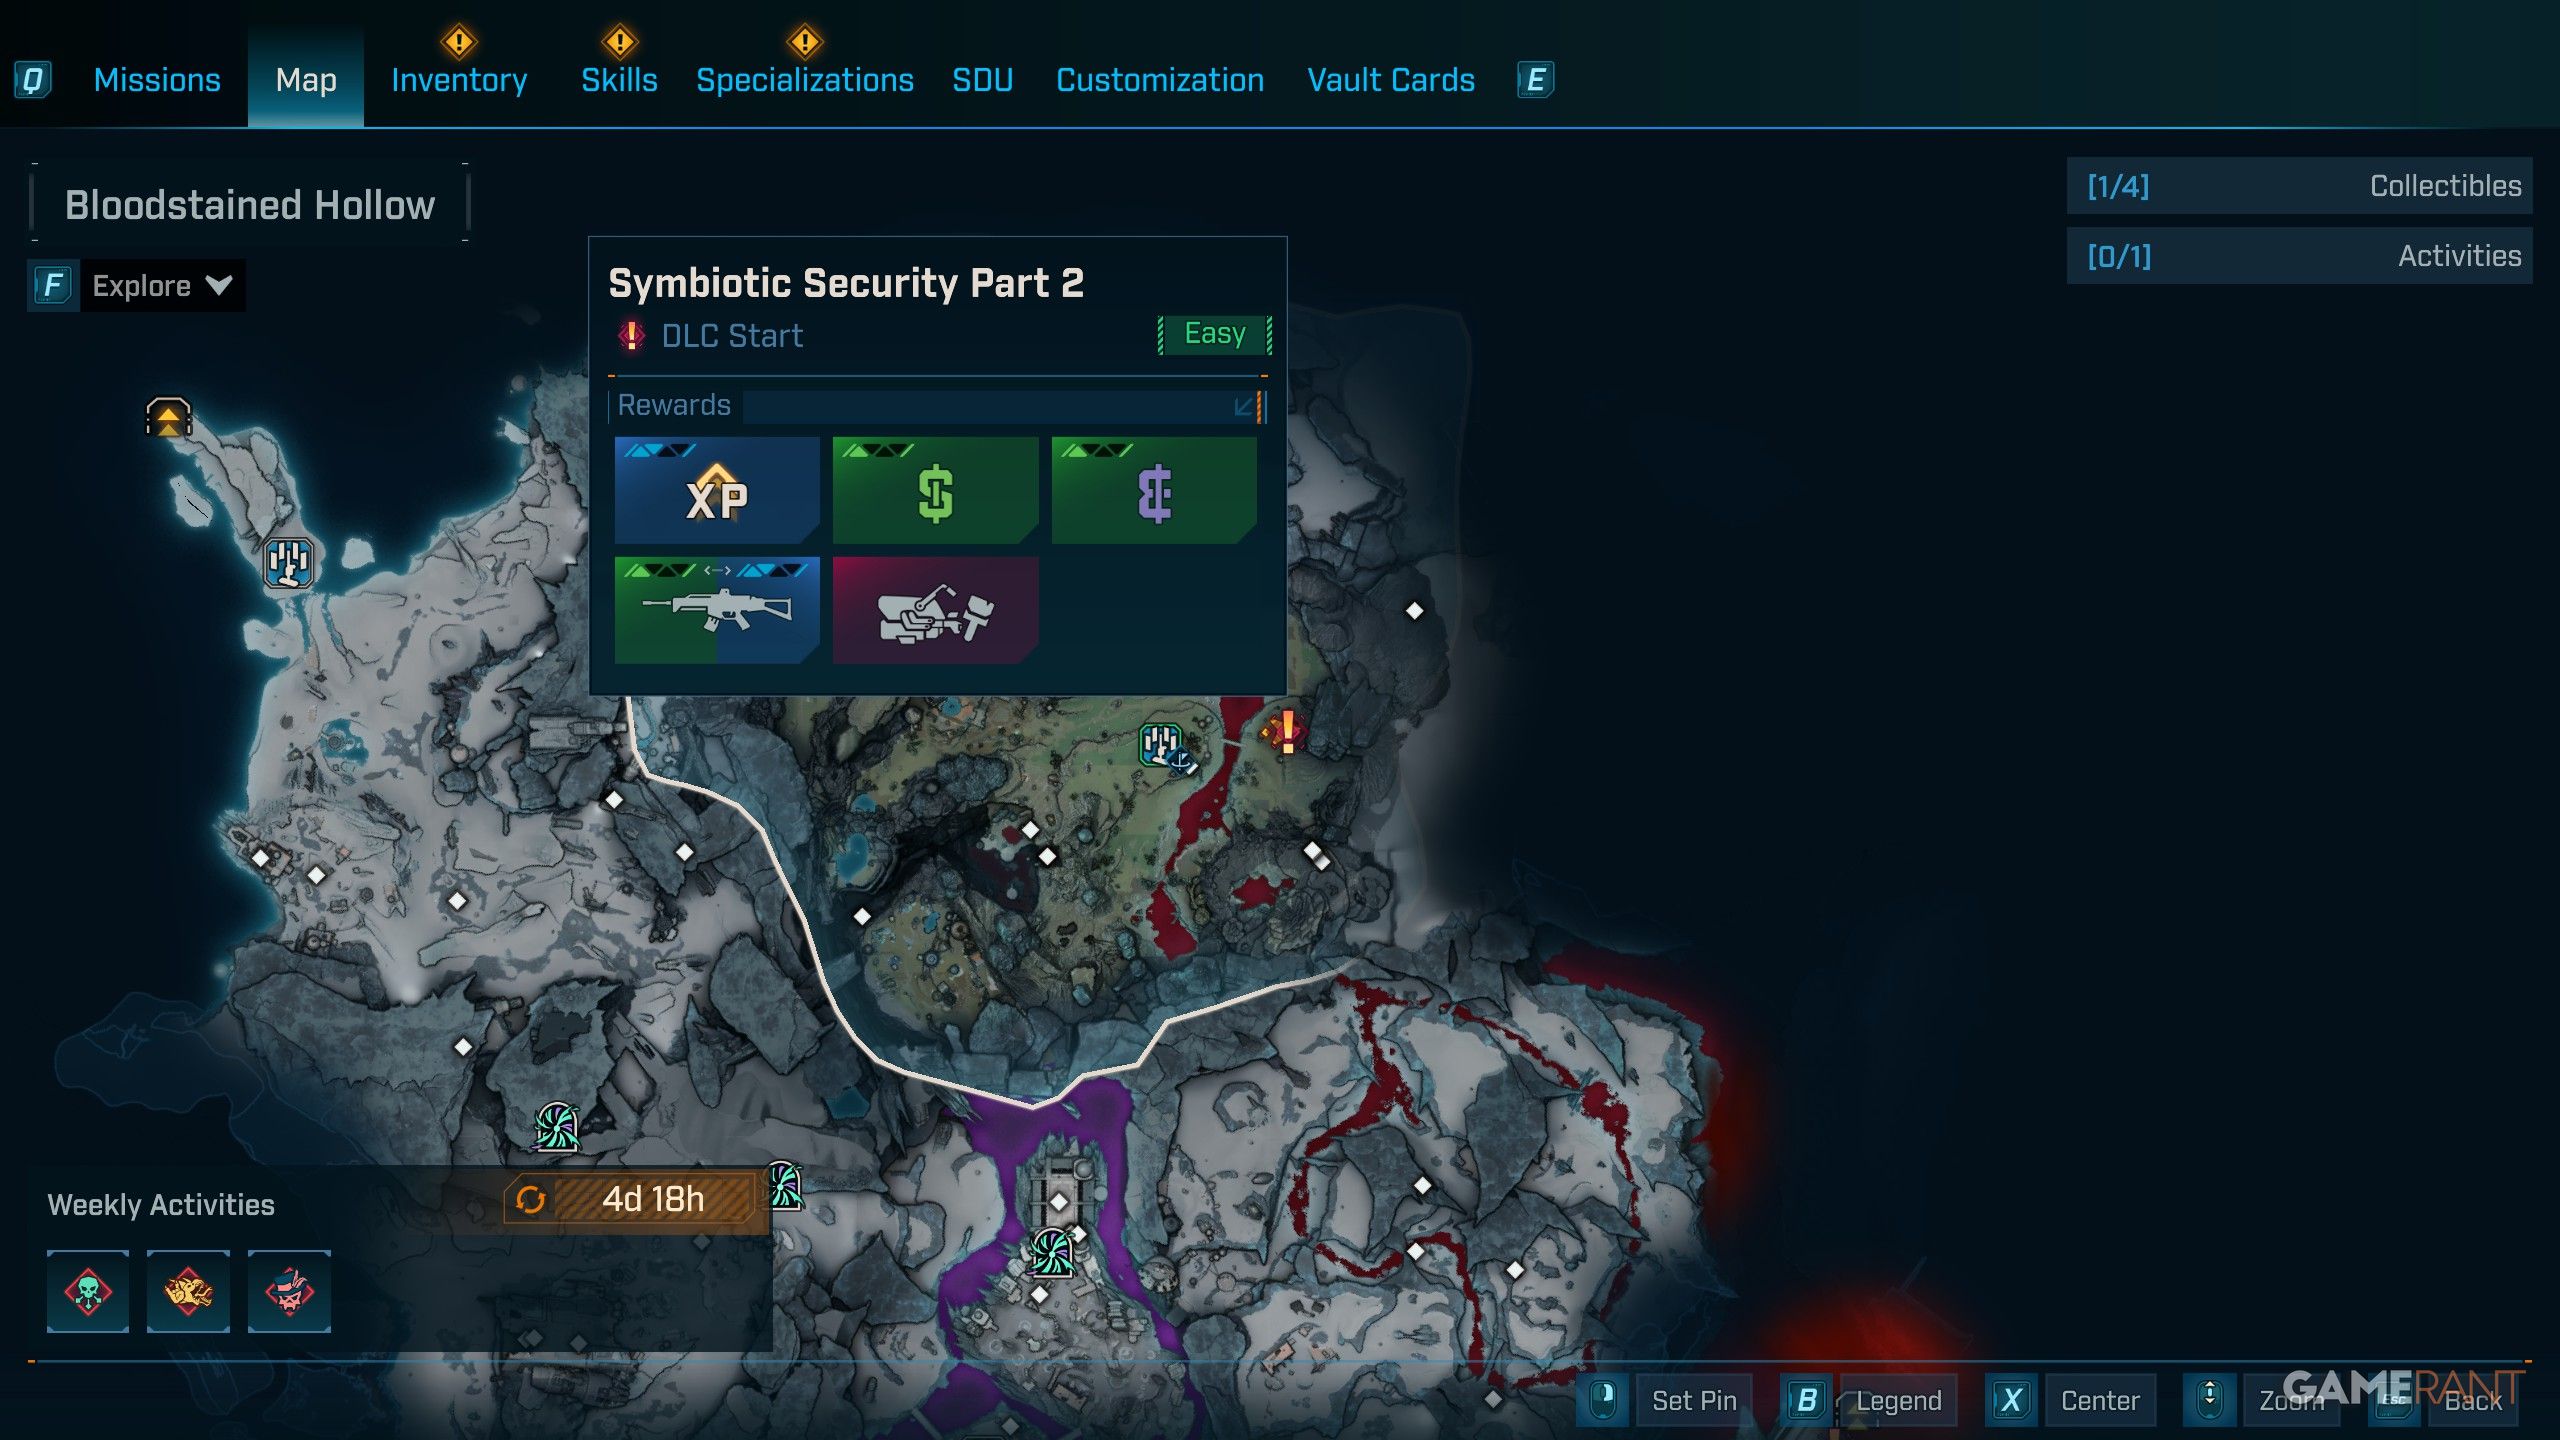

- Symbiotic Security Part 2 can be started at Daphne’s Homestead in Bloodstained Hollow after completing Symbiotic Security.
- You can reach this location quickly by using Daphne’s Homestead fast travel station.
- The mission has you follow one of the Alphas created by Daphne to help them feed off of outlaws, and then prevent their sentience from growing even more powerful.
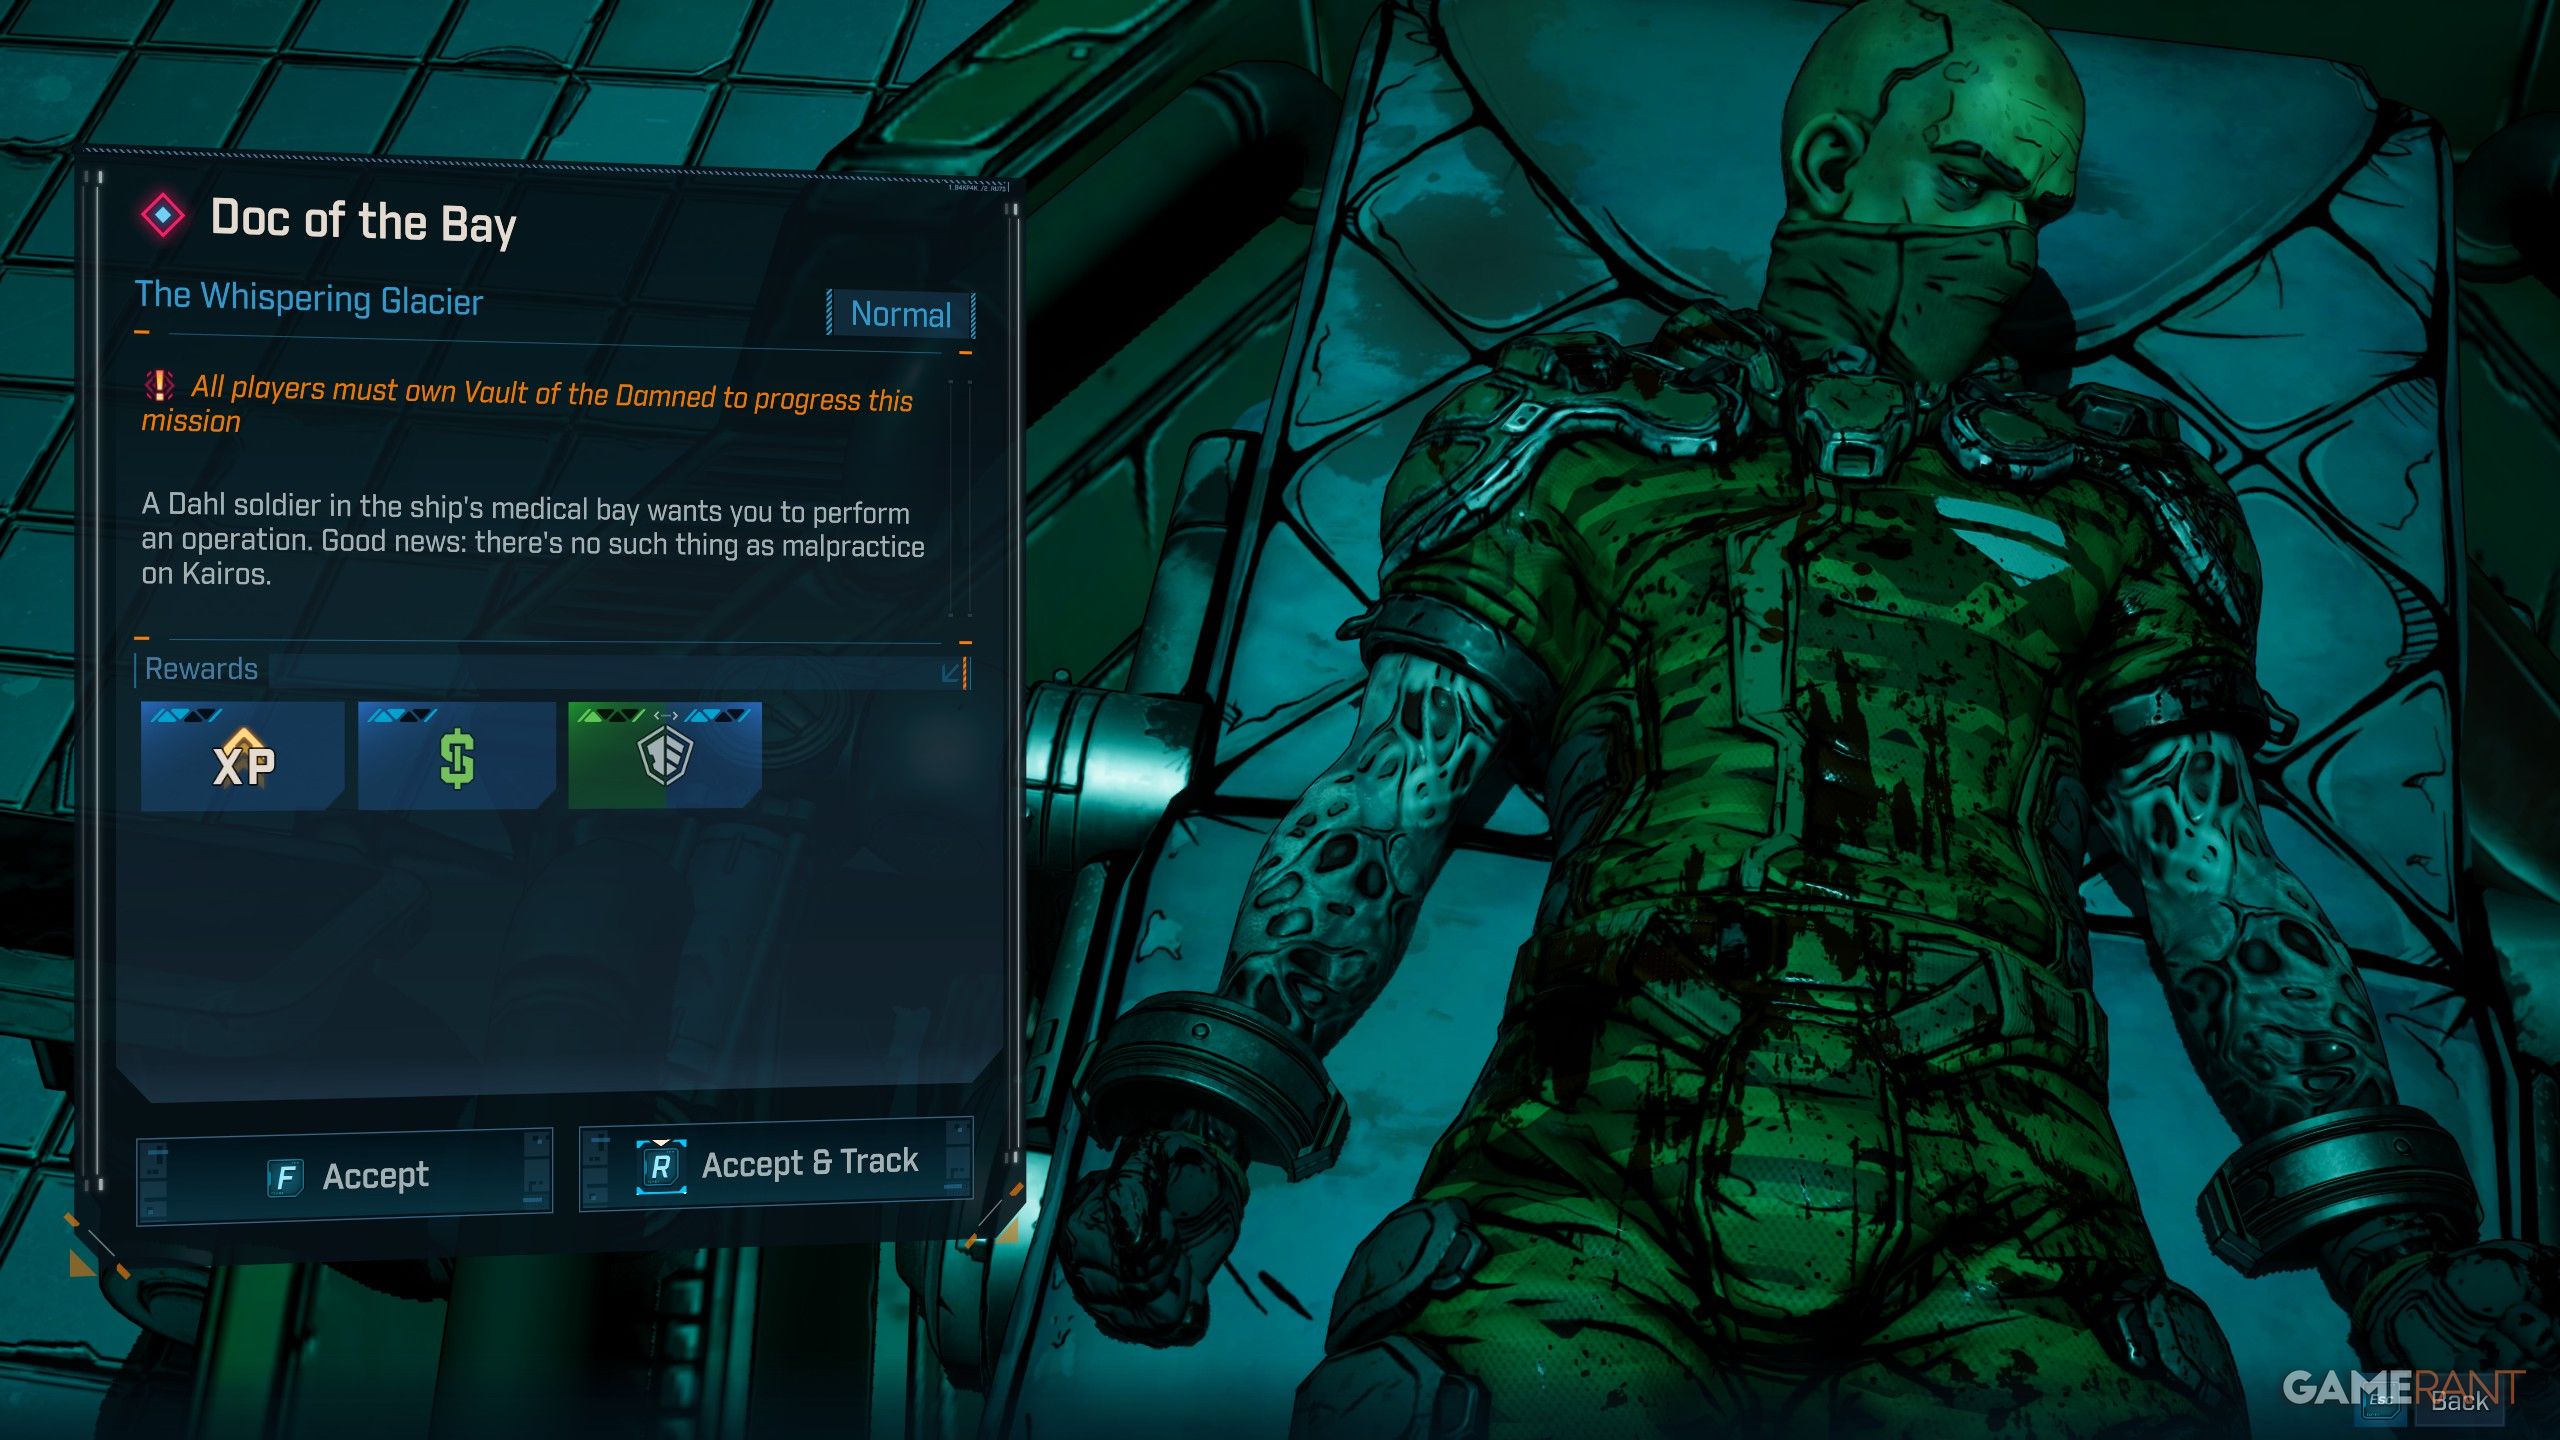
Doc of the Bay
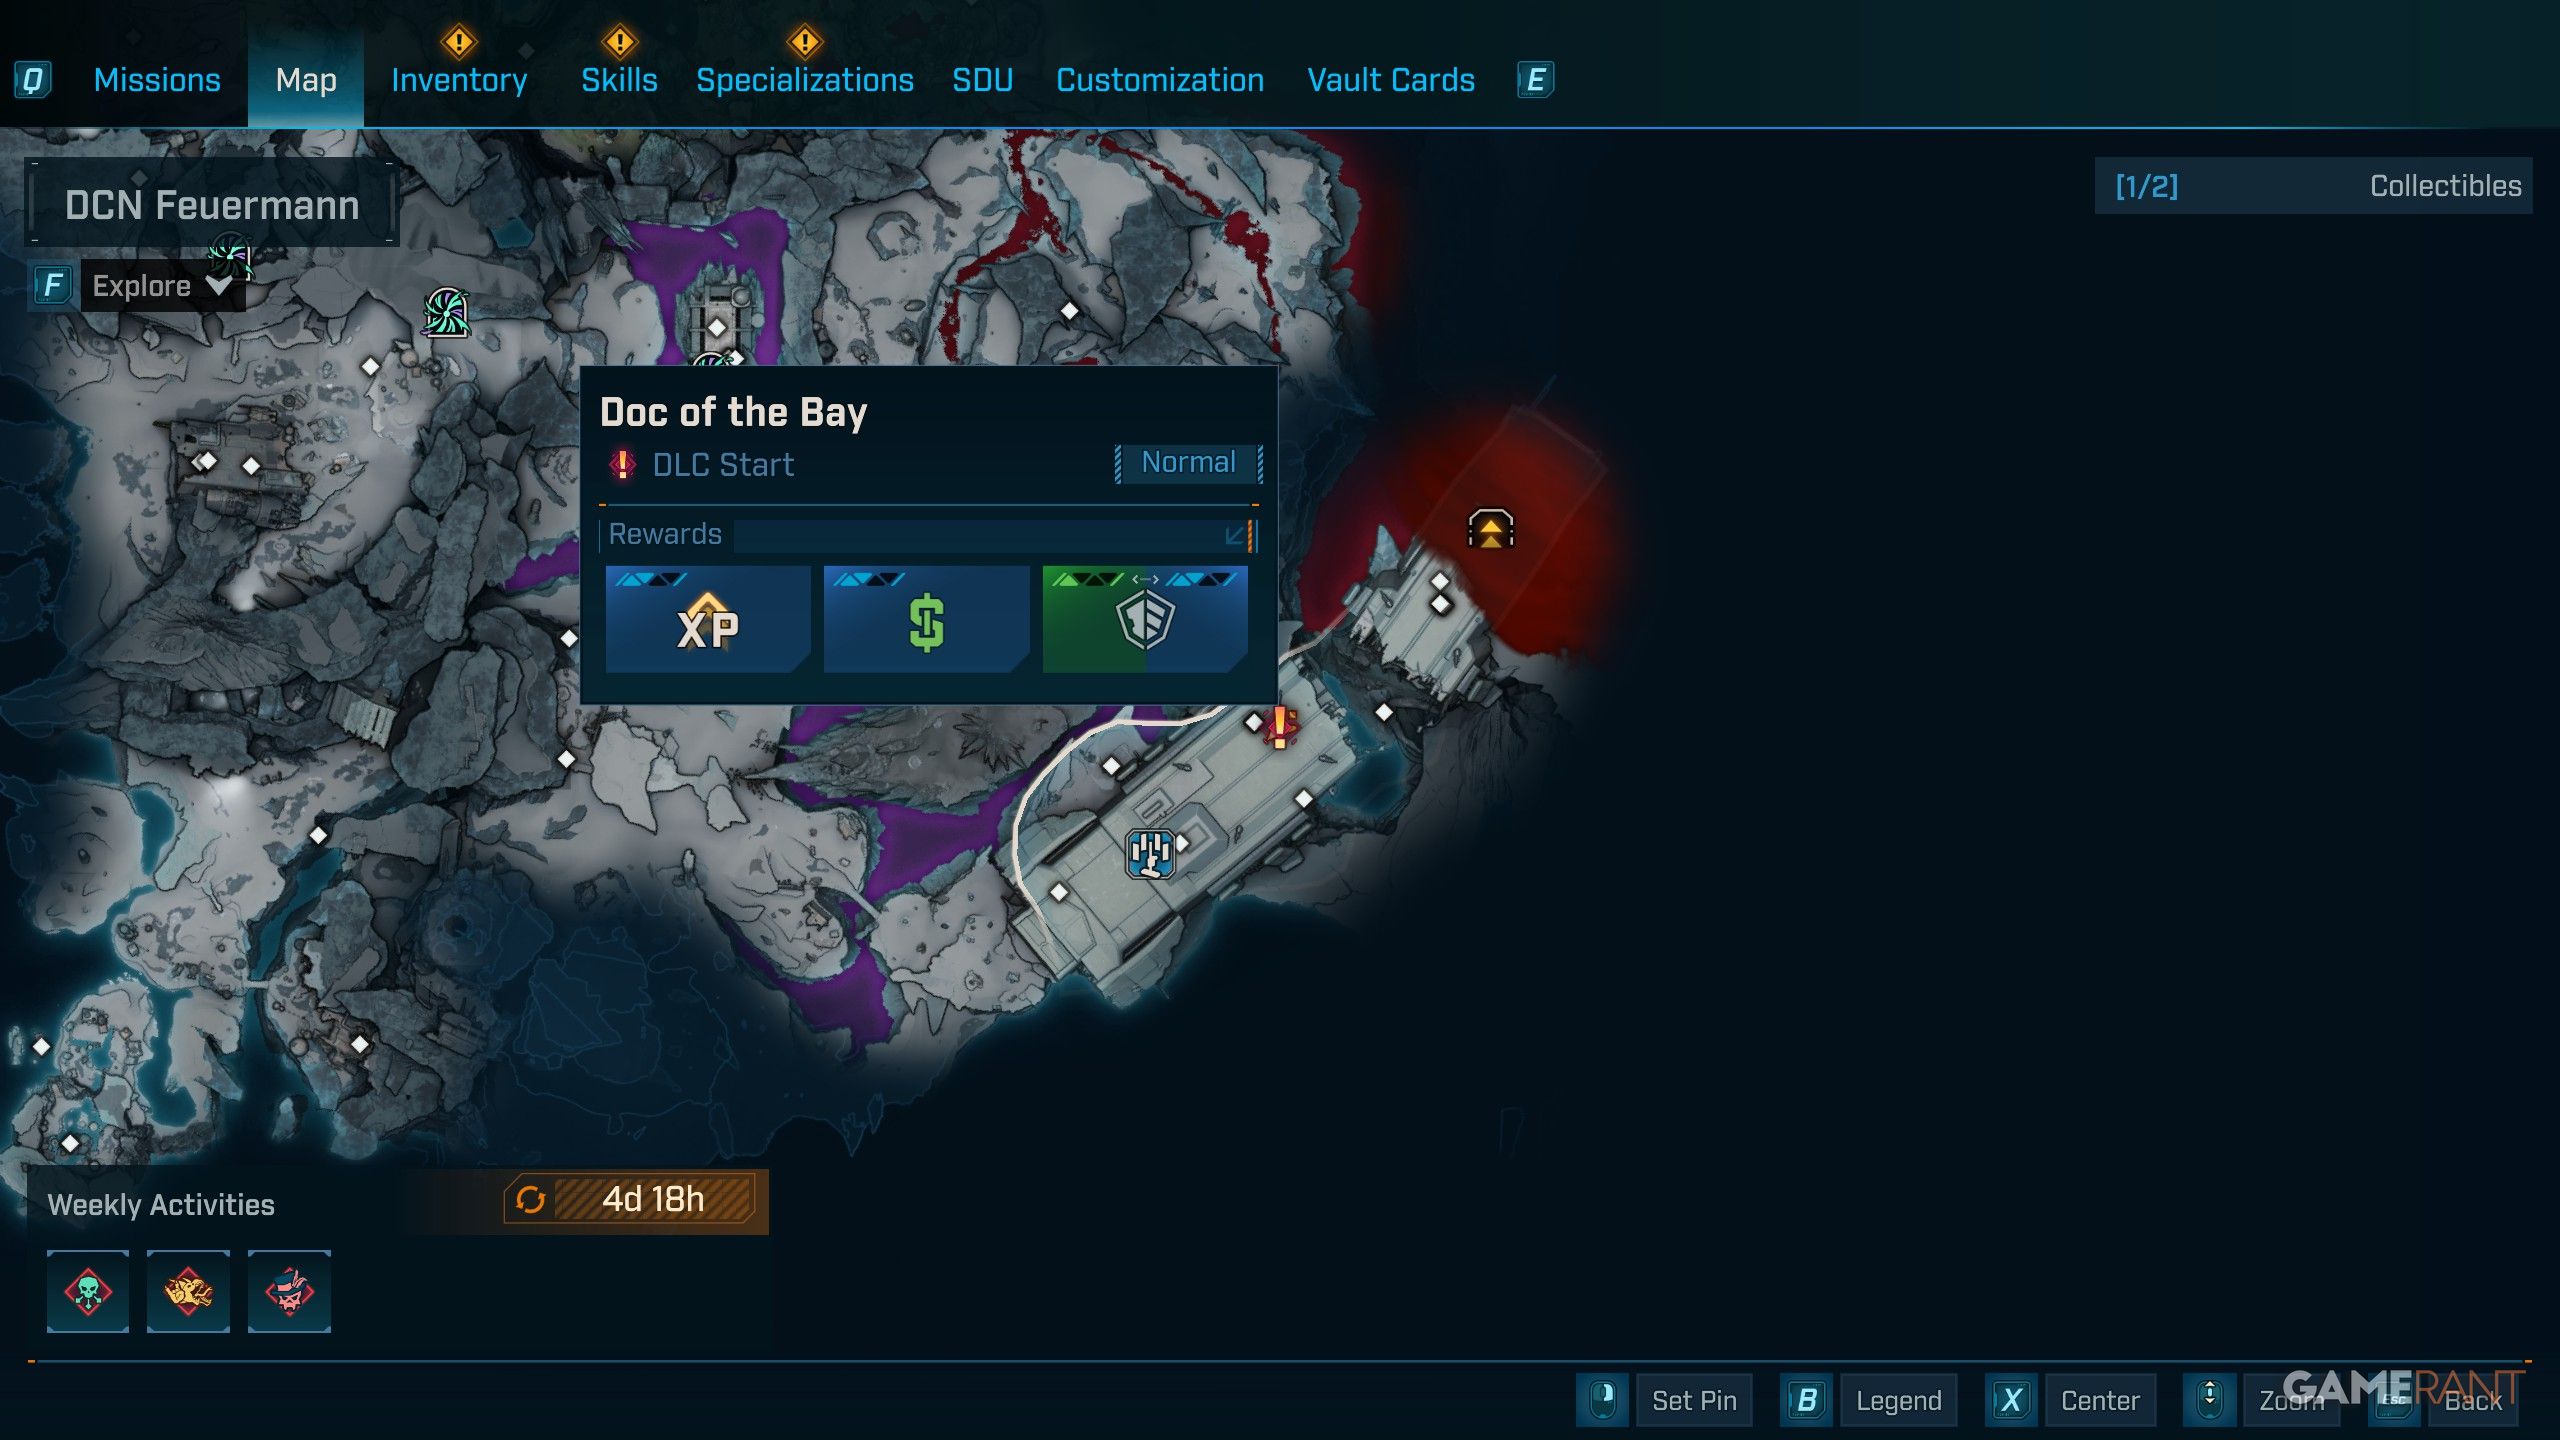
- Doc of the Bay is started from inside the DCN Feuermann.
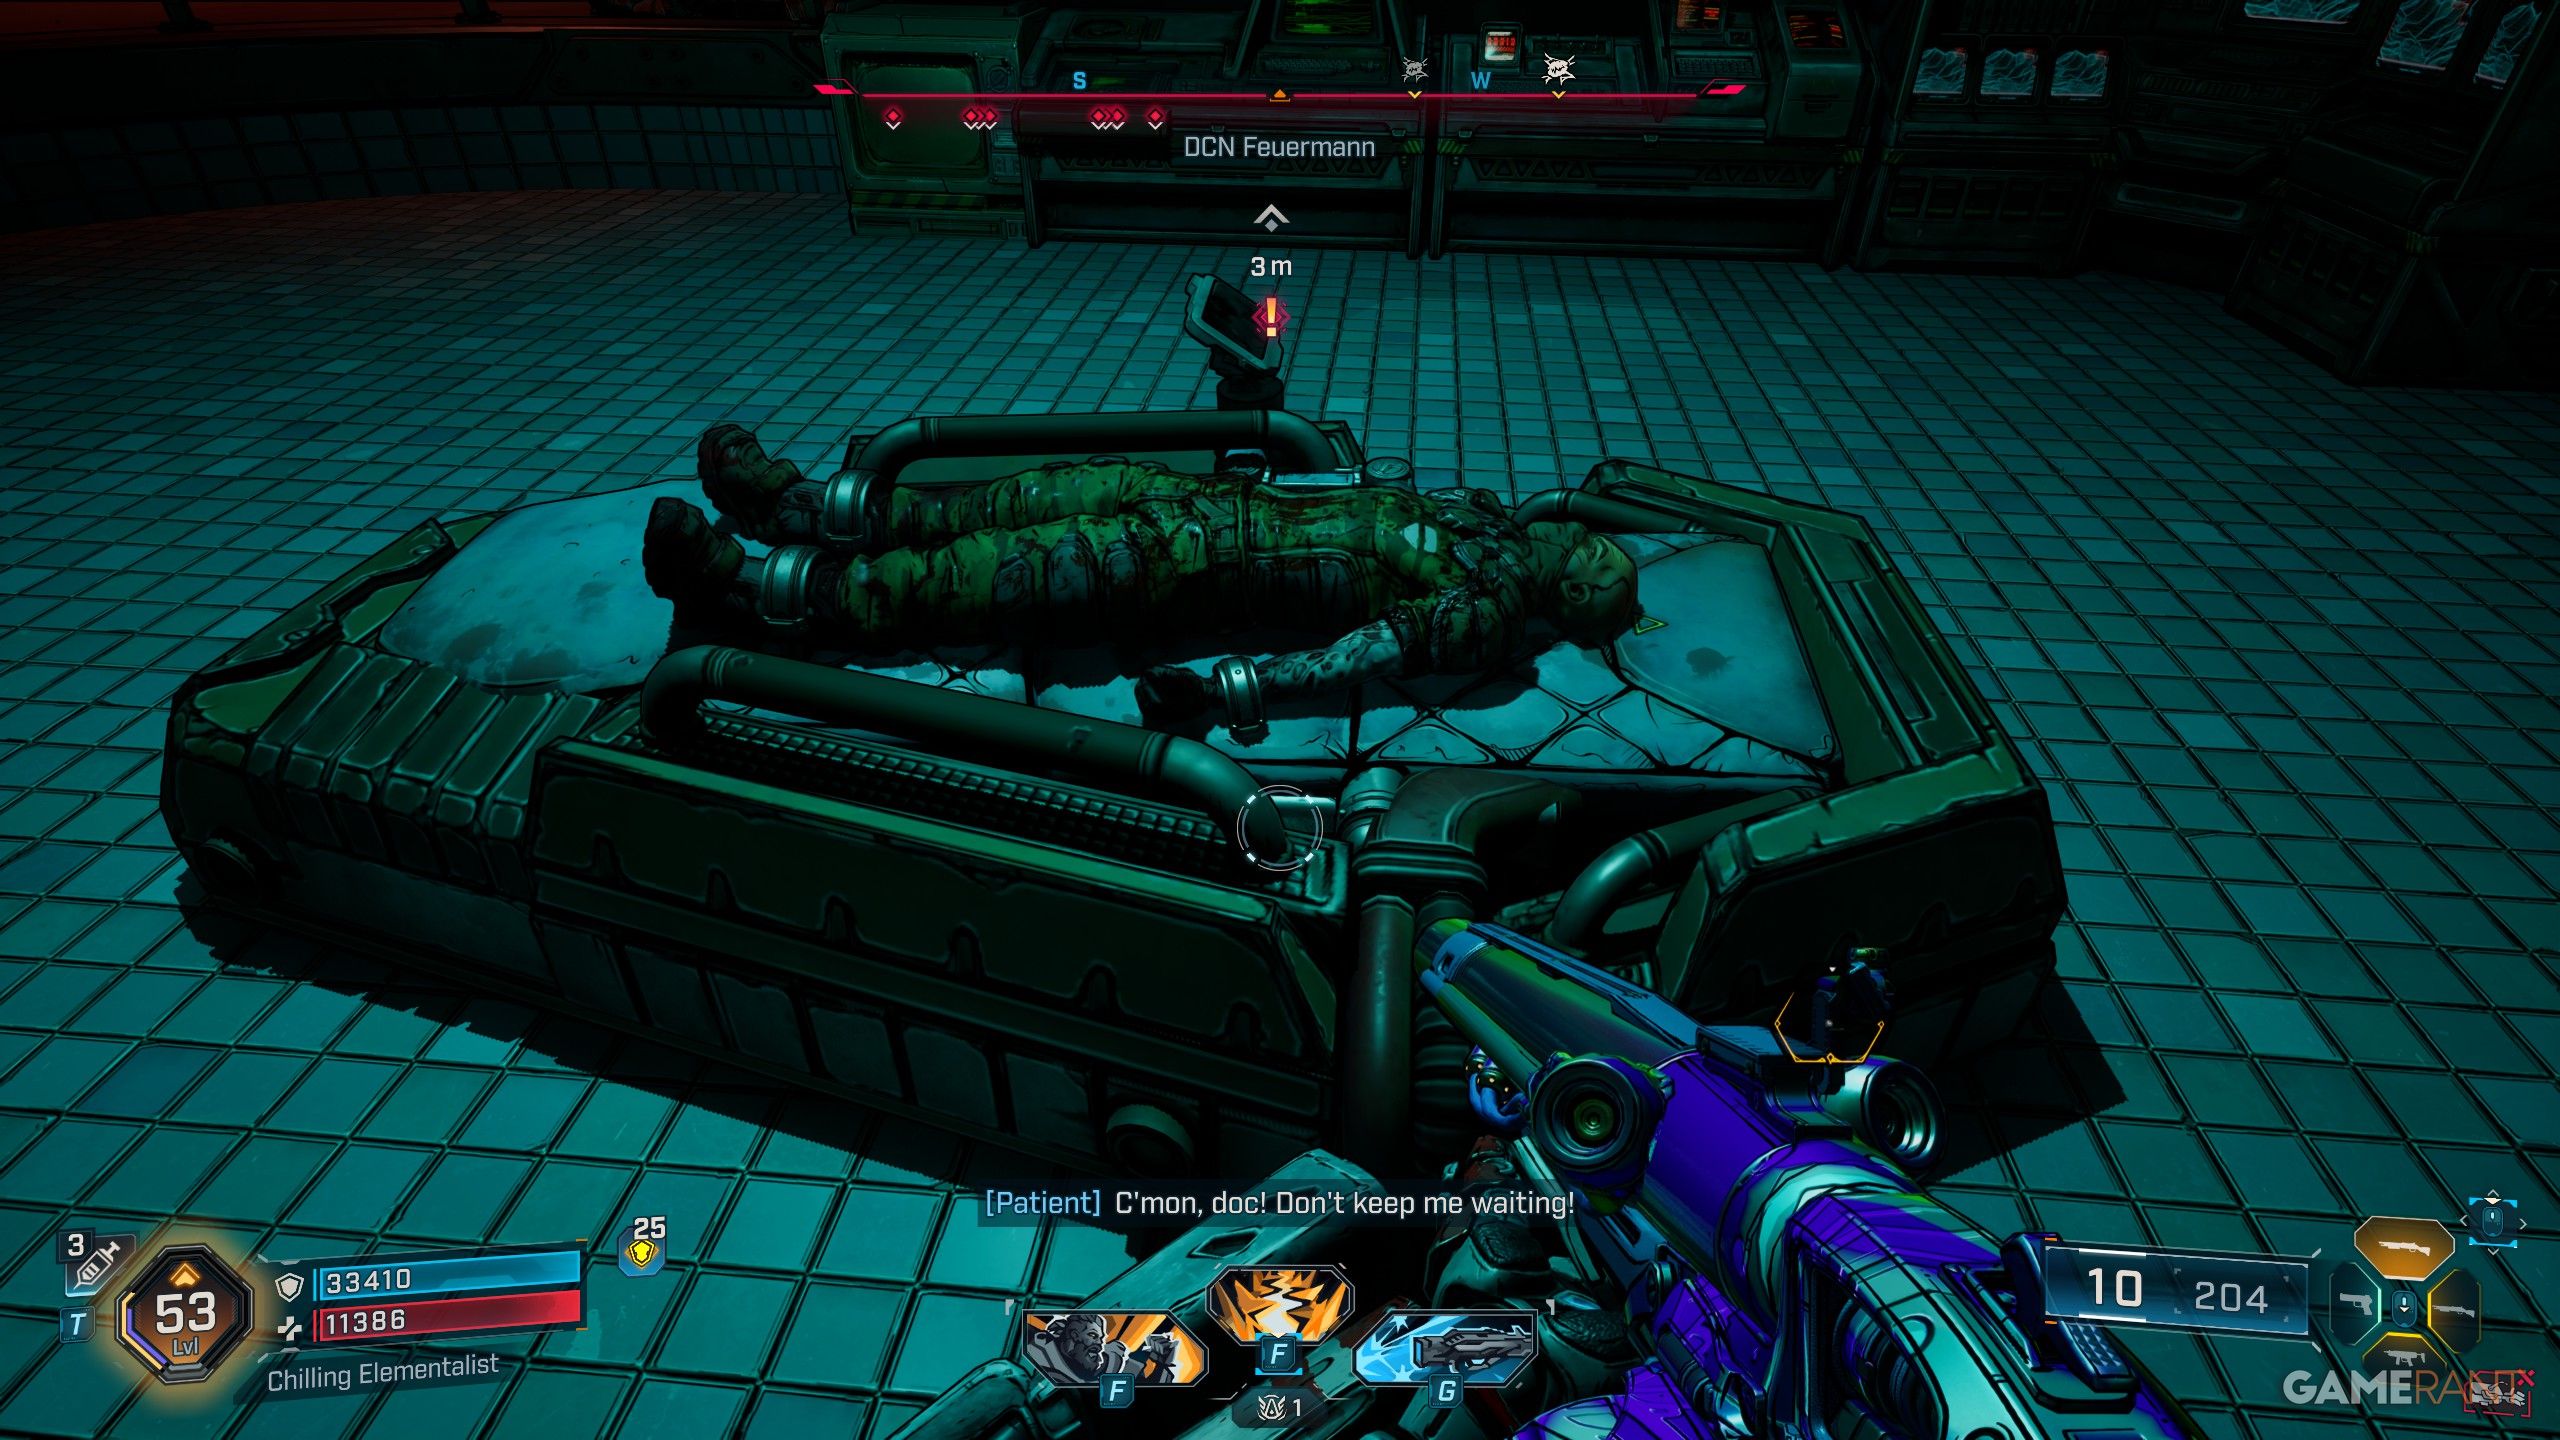
- To reach this side mission, fast travel to the DCN Feuermann and navigate to the elevator, where you can follow the corridors to find a med bay where an NPC is trapped on an operating table.
Your task is to eliminate targets by shooting them in a row. There’s a time limit – if it runs out, a character will be killed. But don’t worry, failing to save him doesn’t mean you fail the mission, because you’ll eventually have to kill him anyway.
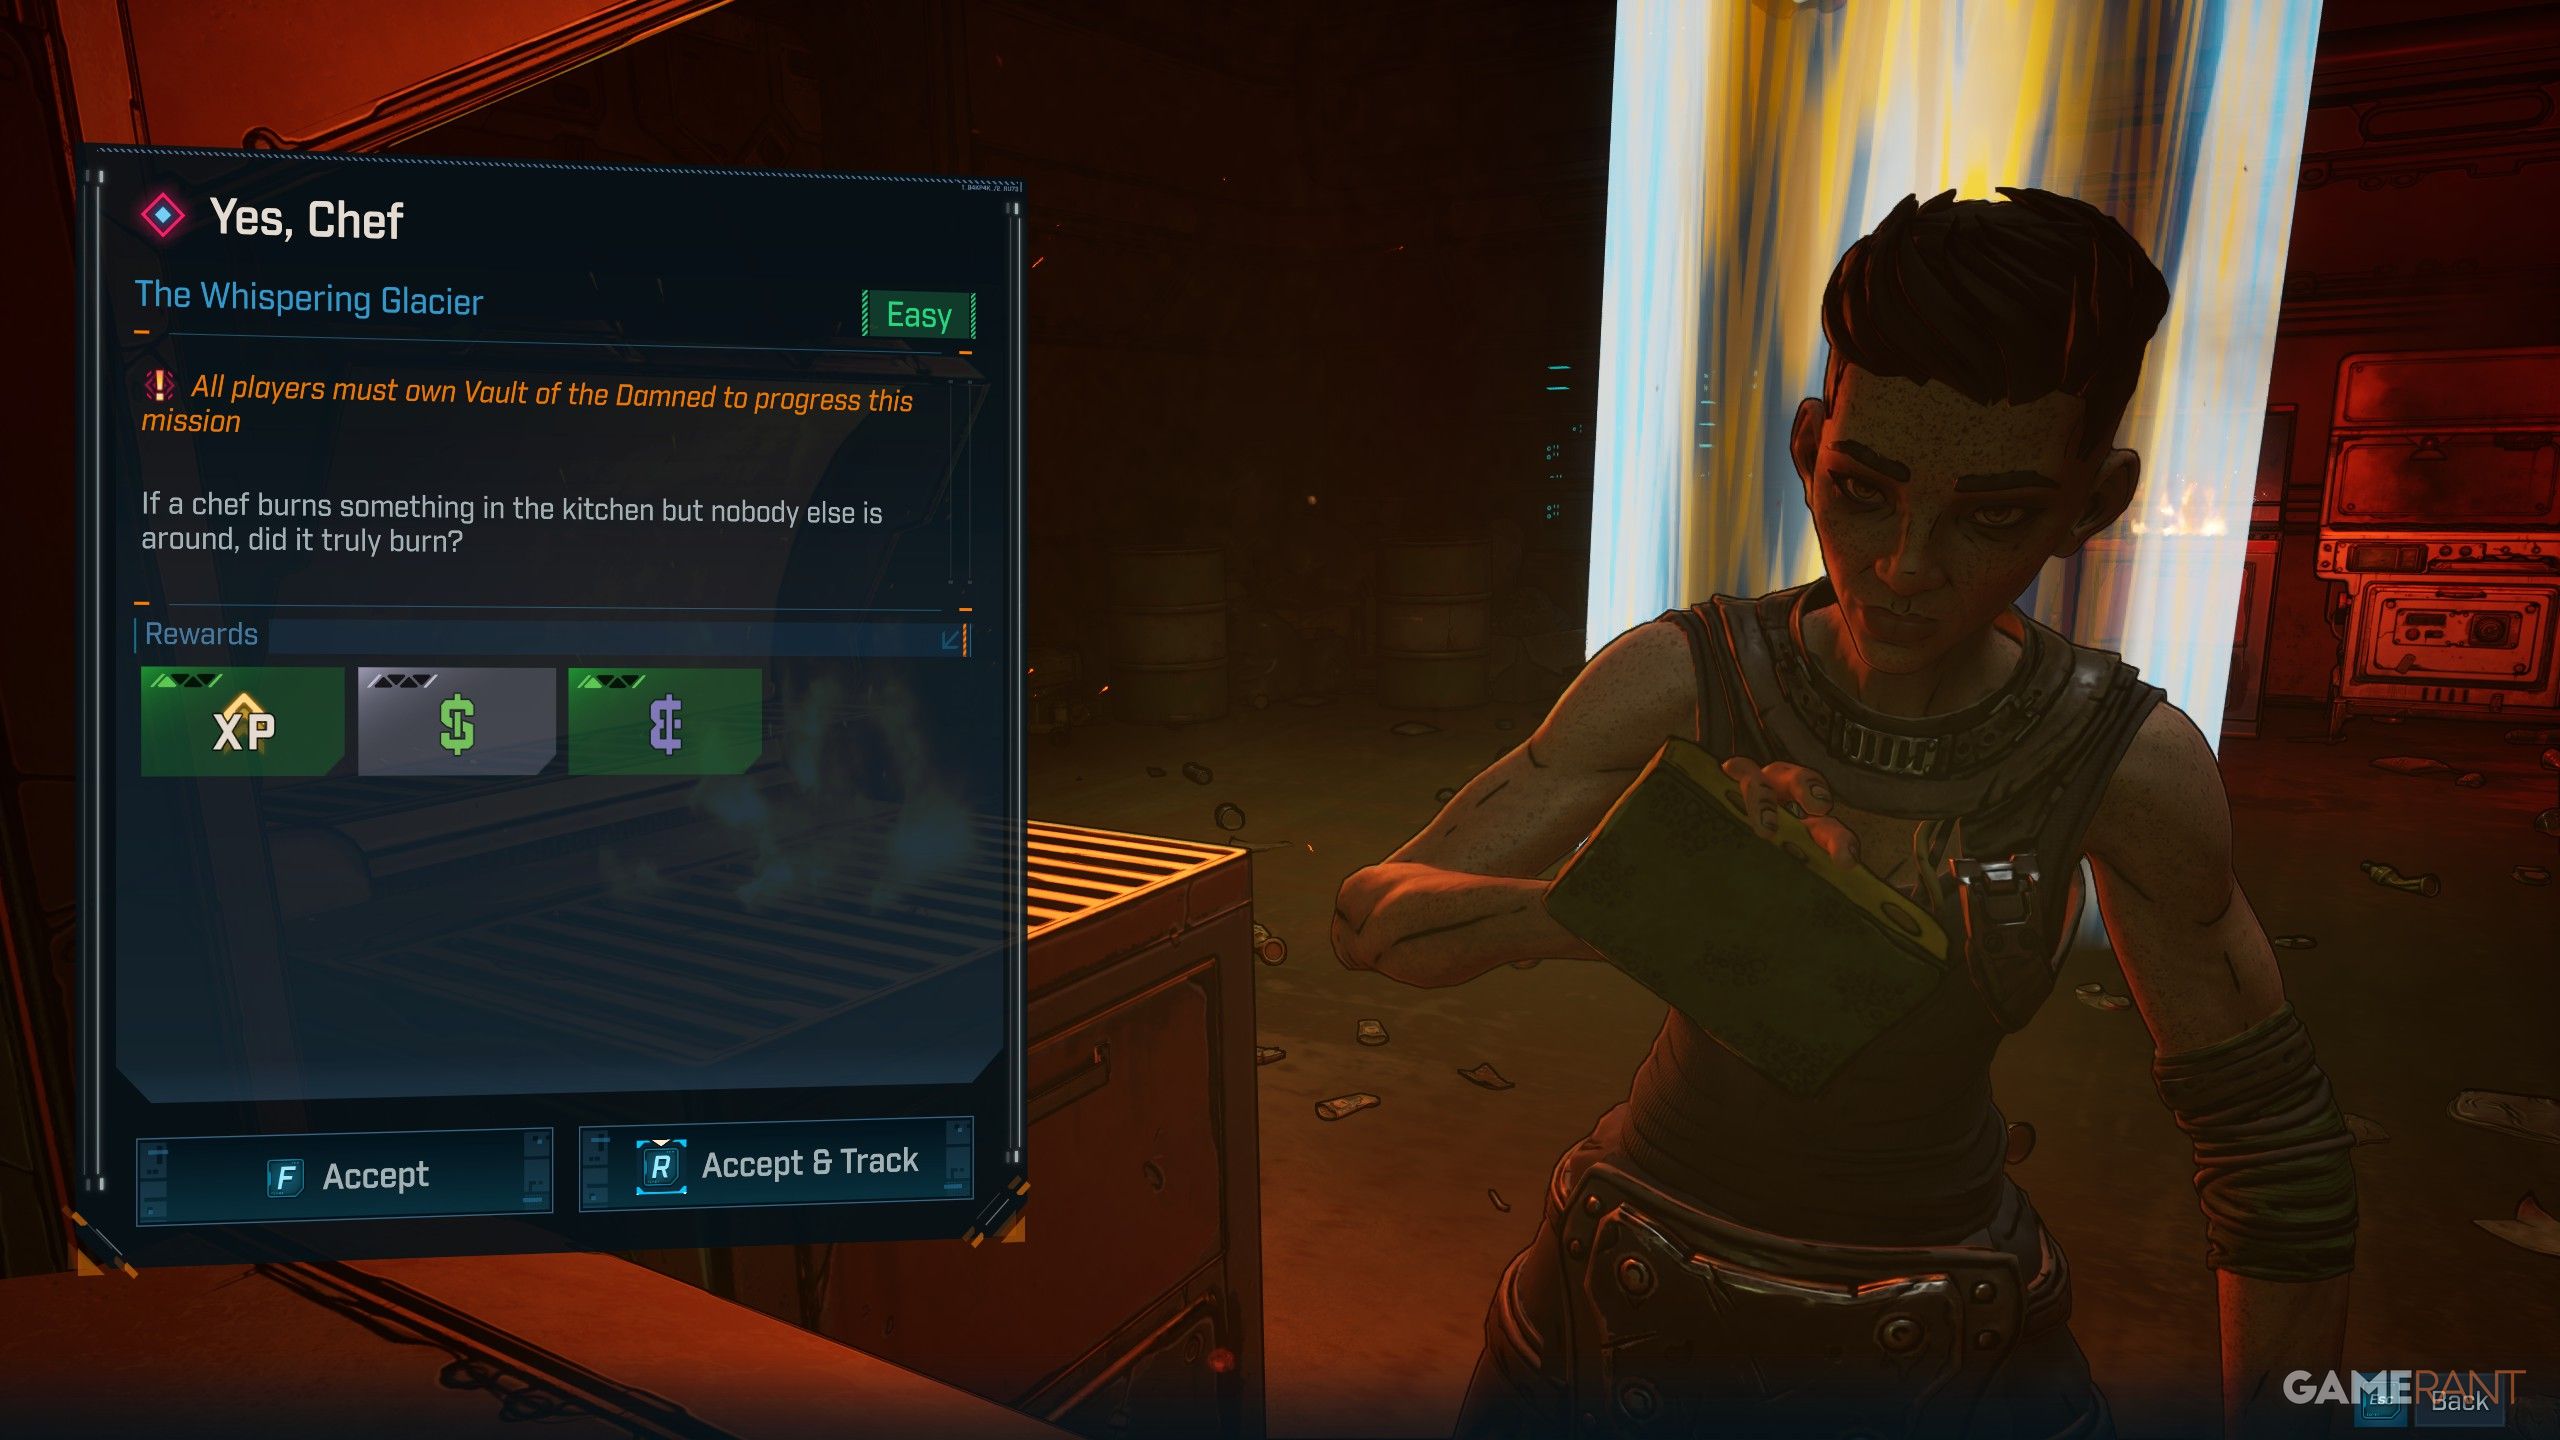
Yes, Chef
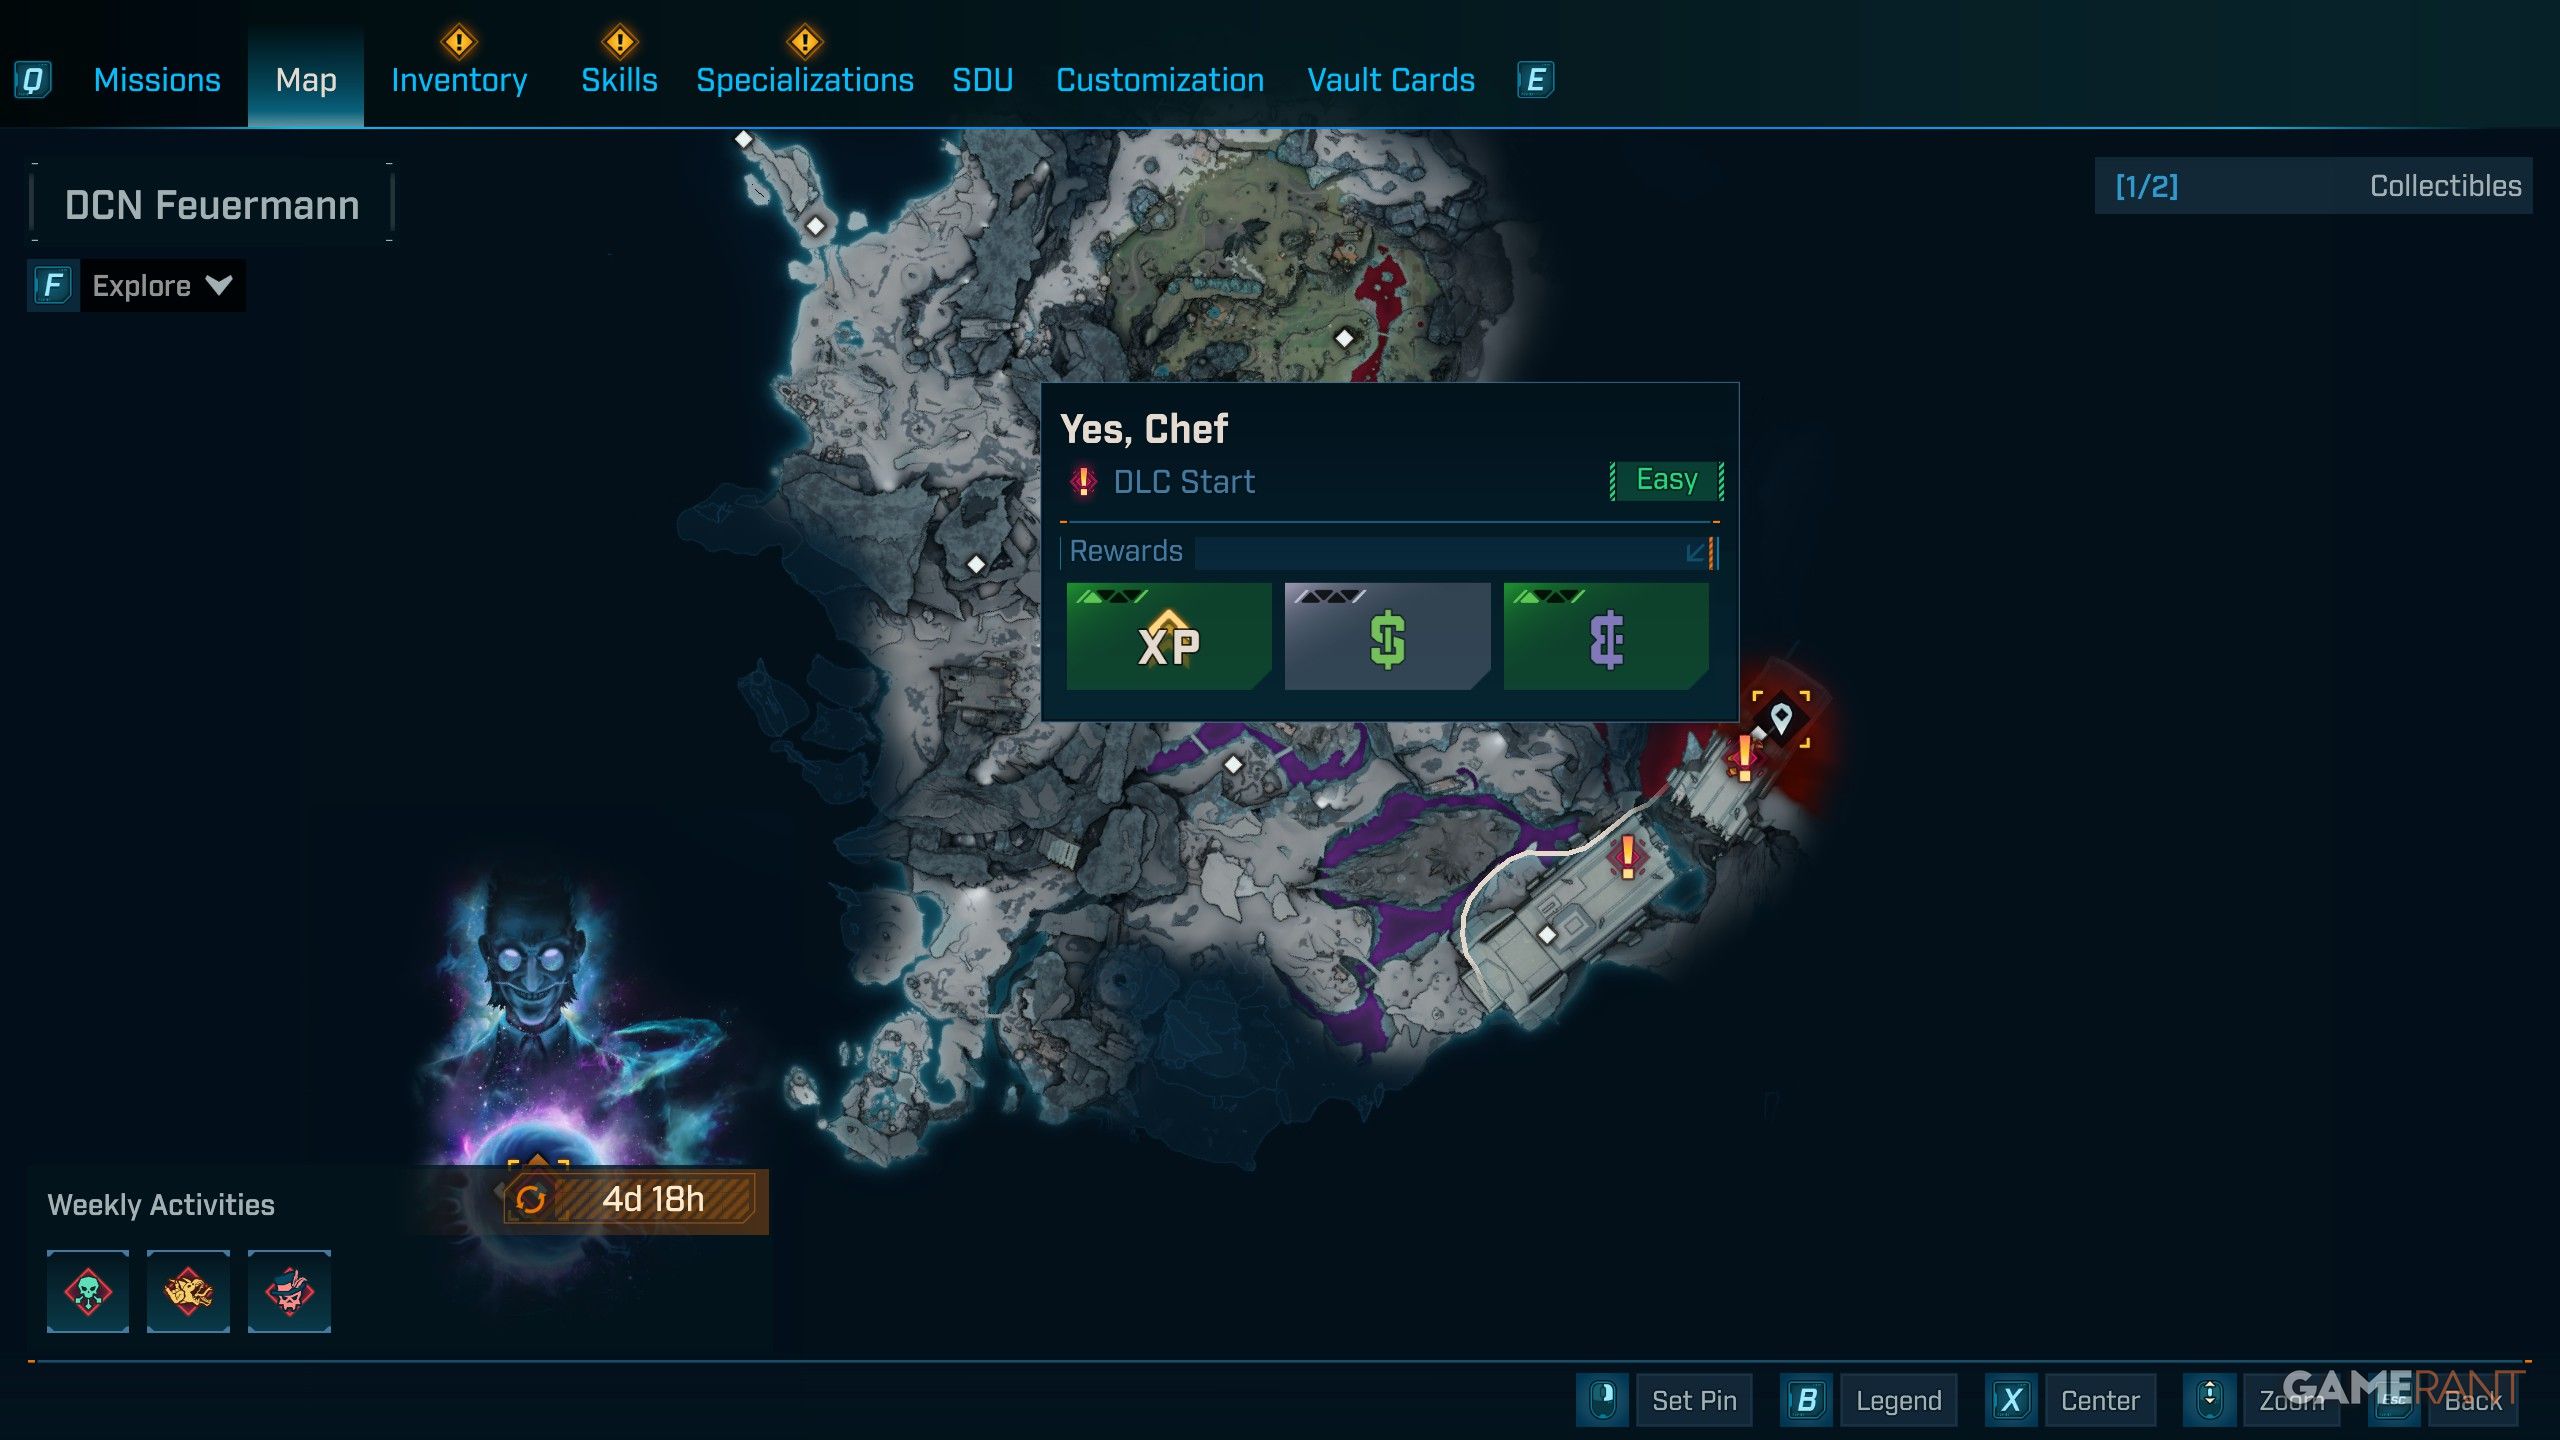
- Yes, Chef can be started from inside the DCN Feuermann.
- The fastest way to get here is to use the fast travel station in the Maelstrom, then take the door back to the DCN Feuermann, and use the purple rift to travel back to the room before the boss.
- Use the exit door and continue on the path to the right to find the chef locked in a hot room.
To complete this task, you must rescue the chef by entering the correct password. The sequence is: Left, Down, Left, Up.
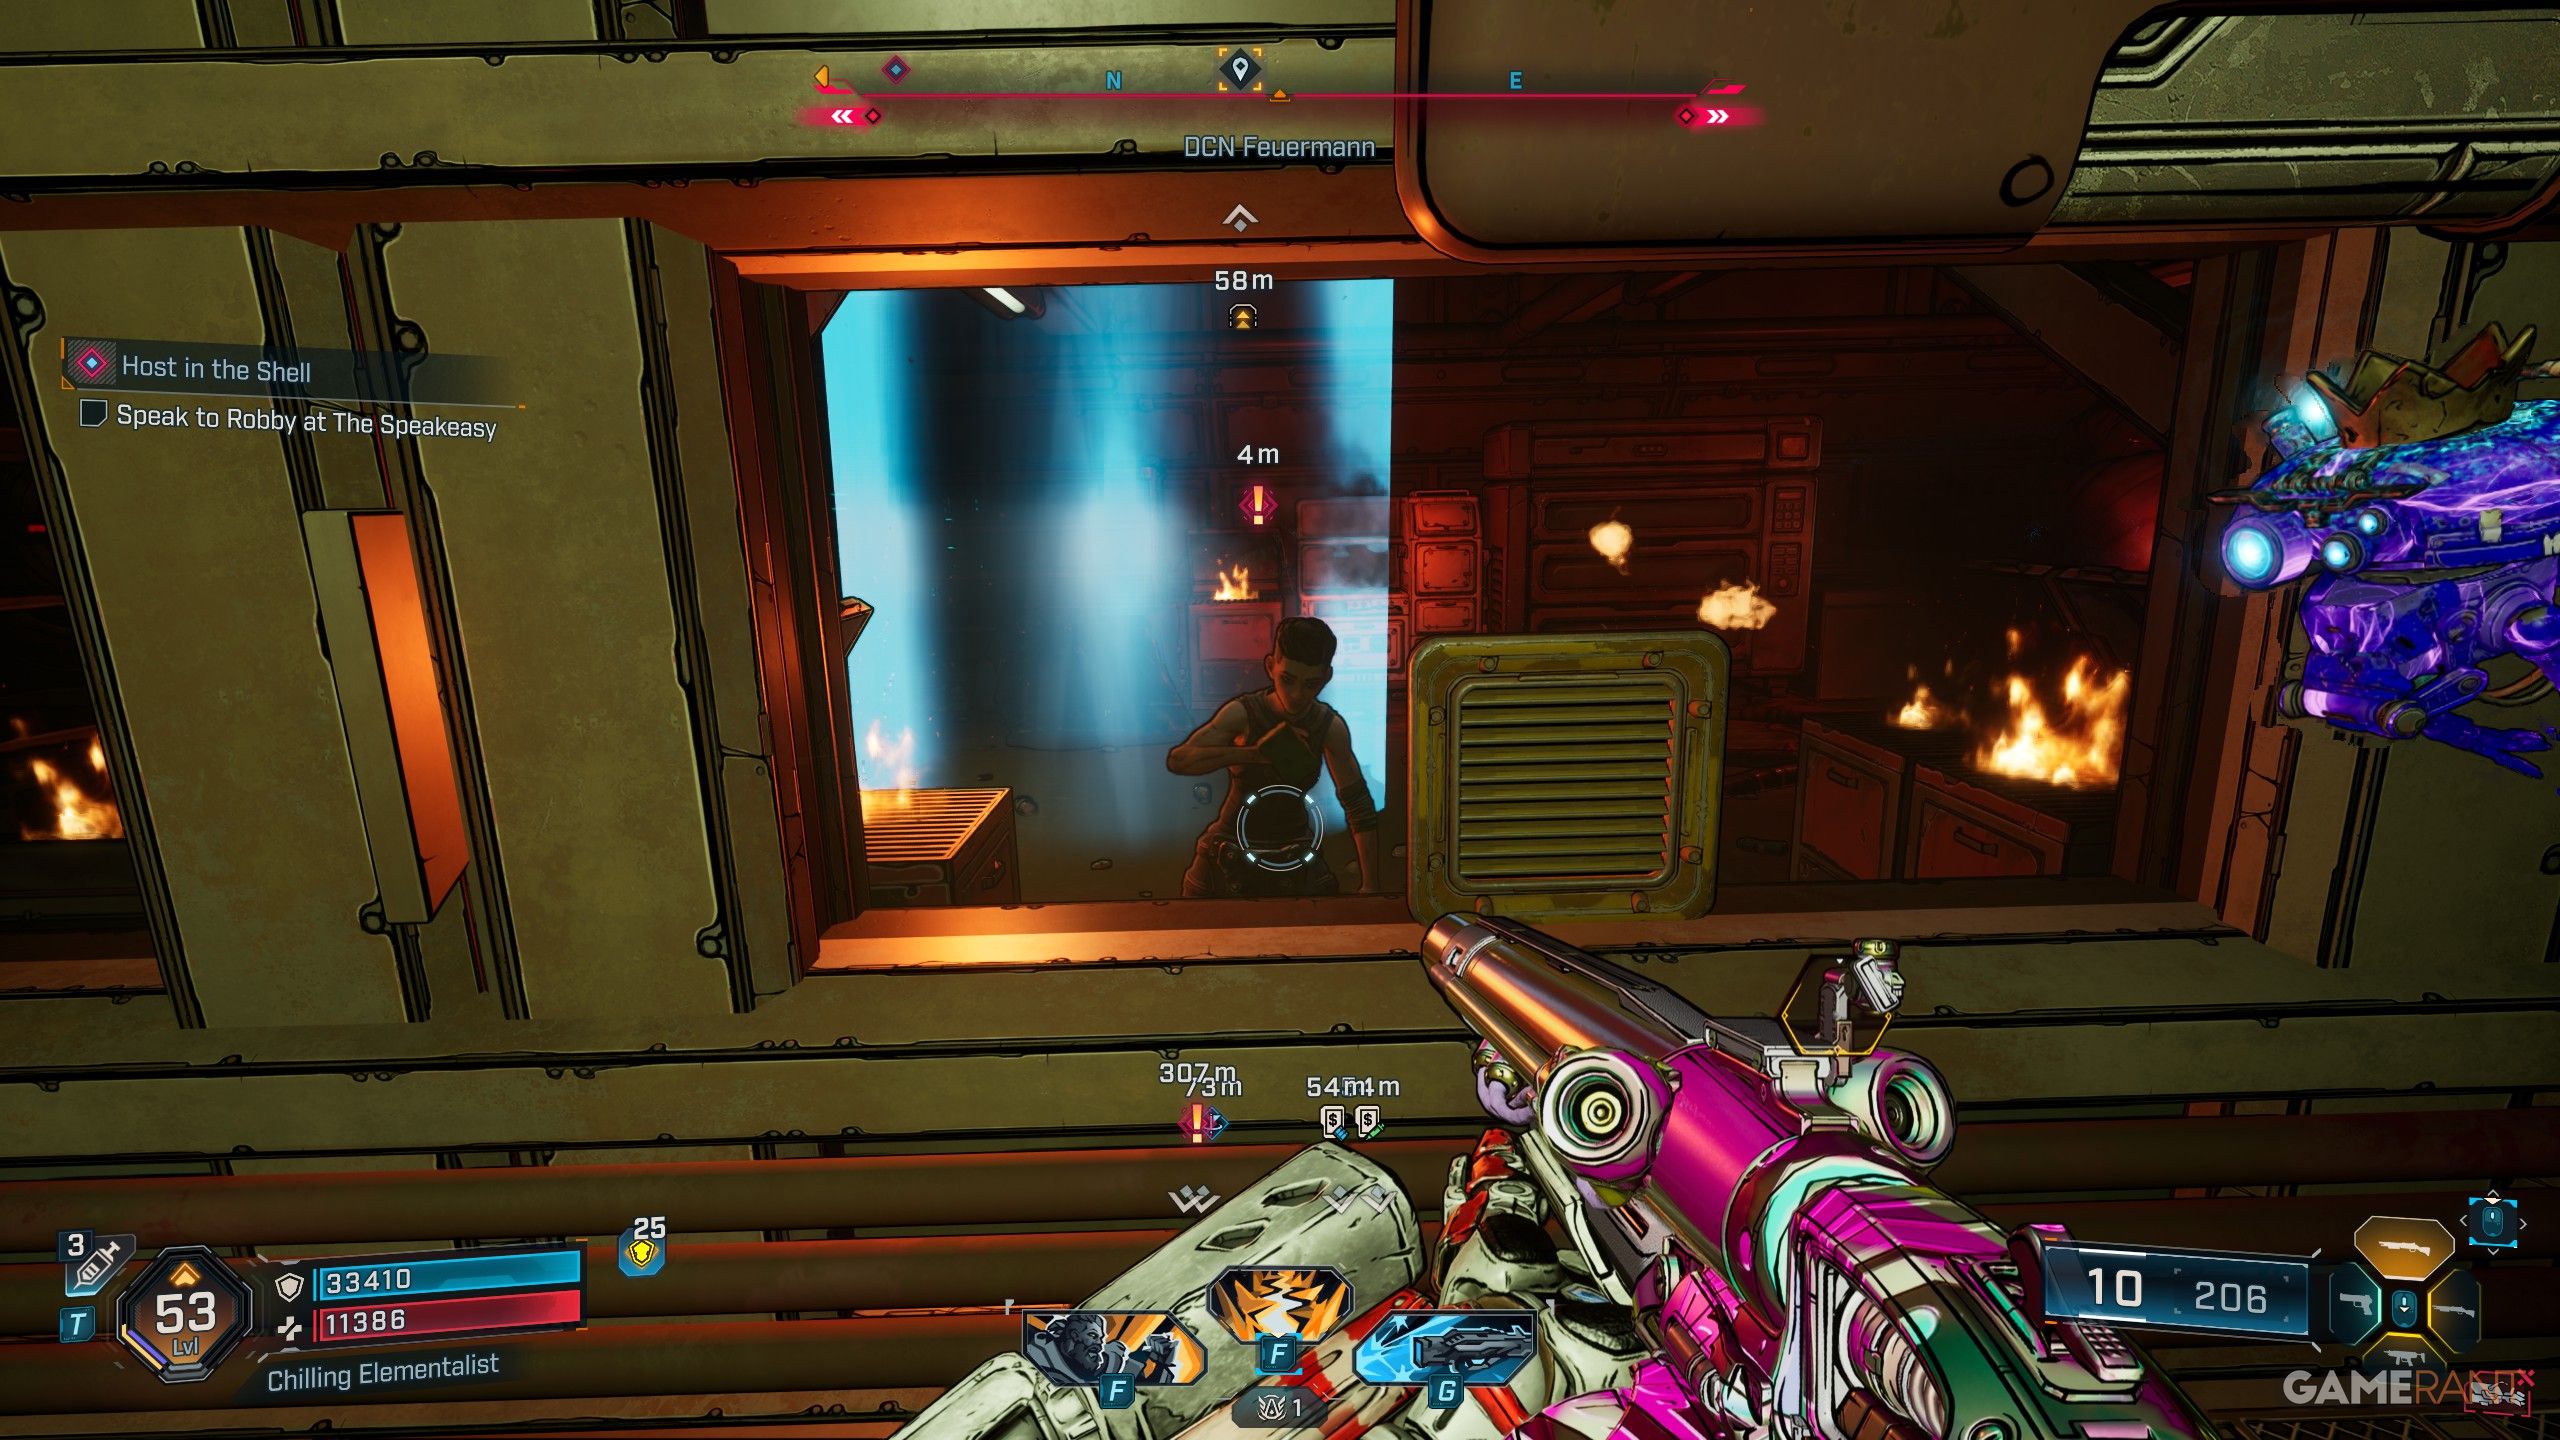
Host in the Shell
- Host in the Shell is automatically started once you complete the final Story Mission in Mad Ellie and the Vault of the Damned.
- After completing “Damnation Encroaches”, head back to the Speakeasy, which can be accessed from any of the portal doors or the fast travel station on the left.
- Inside the center of the Speakeasy, you can speak with Robby to begin the quest.
- It’s a relatively short one that involves taking some towels to a cleansing circle and killing Creeps while they’re in the circle.
Want to learn more about Borderlands 4? We’ve created guides detailing the locations of all bosses and the loot they drop in the ‘Mad Ellie and the Vault of the Damned’ expansion. You can find information on Captain Willis, Crazed Earl, Corporal Brennan, Colonel Crash, Big Oil, The Penitent Steel, and Air Raider Scremulous right here.
Read More
- All Shadow Armor Locations in Crimson Desert
- Jujutsu Kaisen Season 3 Episode 12 Release Date
- Dark Marksman Armor Locations in Crimson Desert
- How to Get the Sunset Reed Armor Set and Hollow Visage Sword in Crimson Desert
- Best Bows in Crimson Desert
- Wings of Iron Walkthrough in Crimson Desert
- Keeping AI Agents on Track: A New Approach to Reliable Action
- How To Beat Ator Archon of Antumbra In Crimson Desert
- Top 5 Militaristic Civs in Civilization 7
- All Golden Greed Armor Locations in Crimson Desert
2026-03-30 00:43