The PlayStation 5 version of New Super Lucky’s Tale is now available! Players can enjoy exploring various worlds and collecting pages hidden within each one. Each world has several platforming levels, and completing challenges in those levels earns you four different pages: one for gathering 300 coins, one for finishing the level, one for discovering a secret page, and one for collecting all the LUCKY letters.
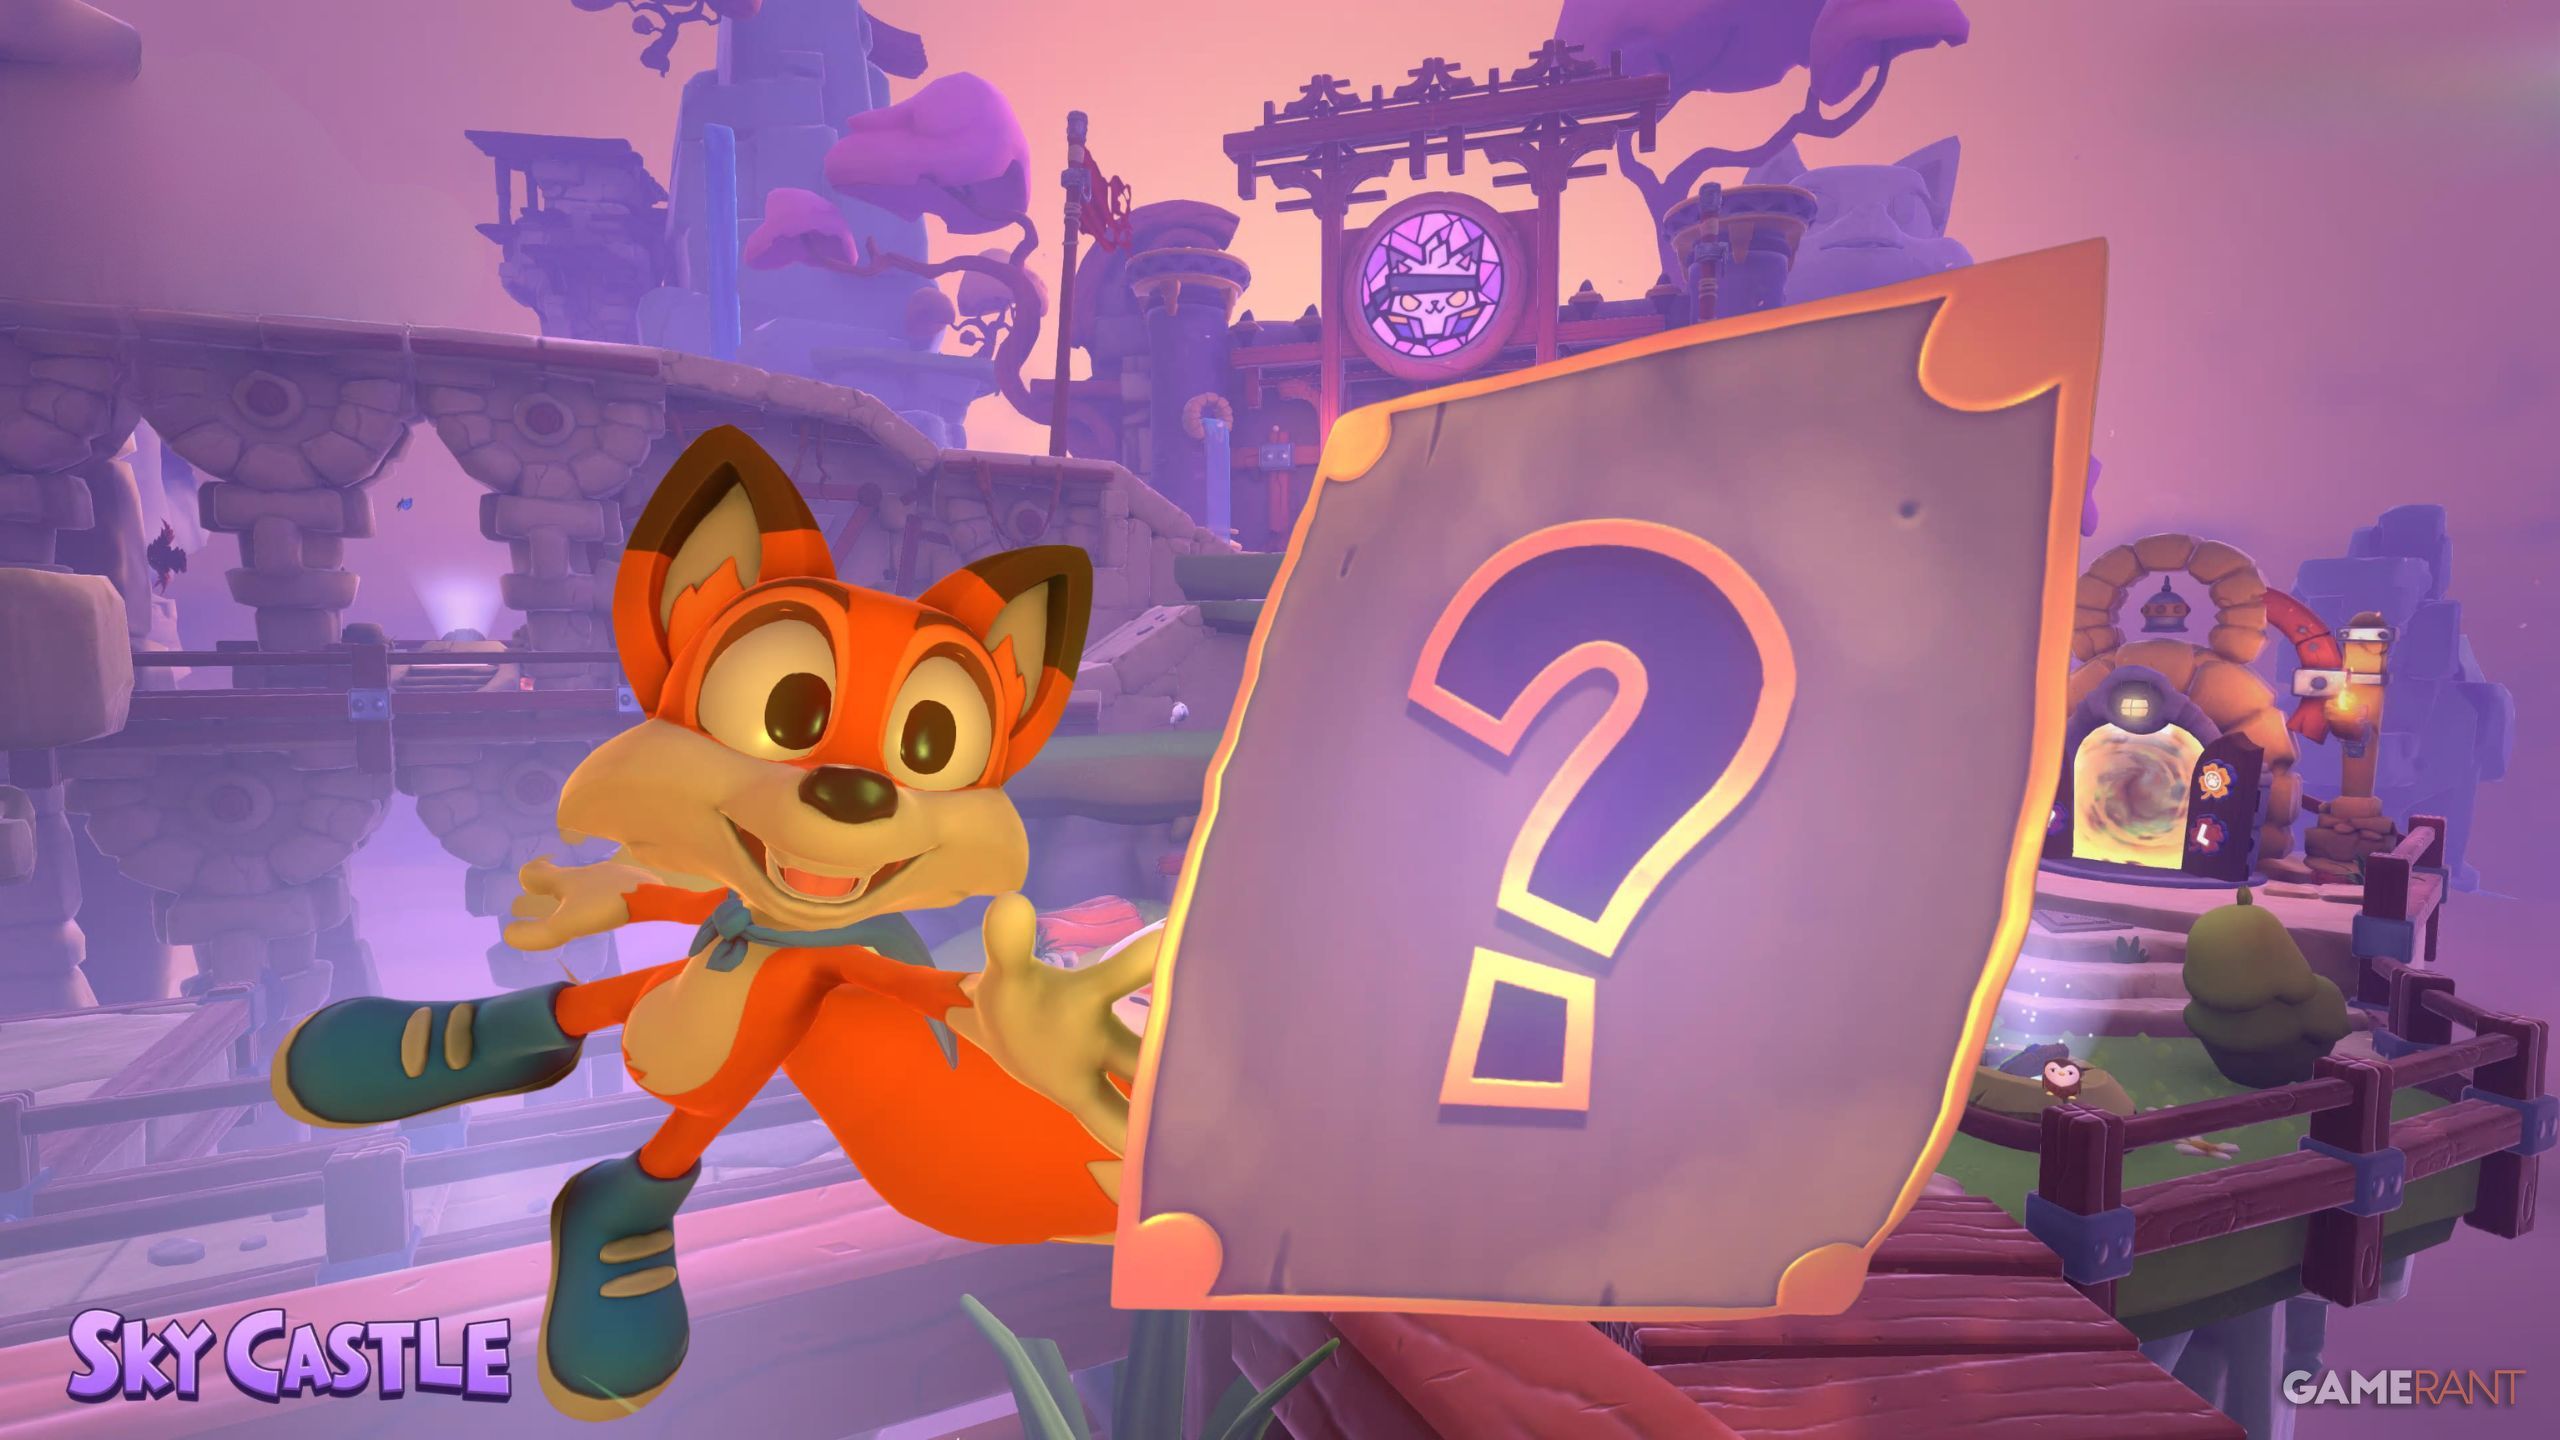
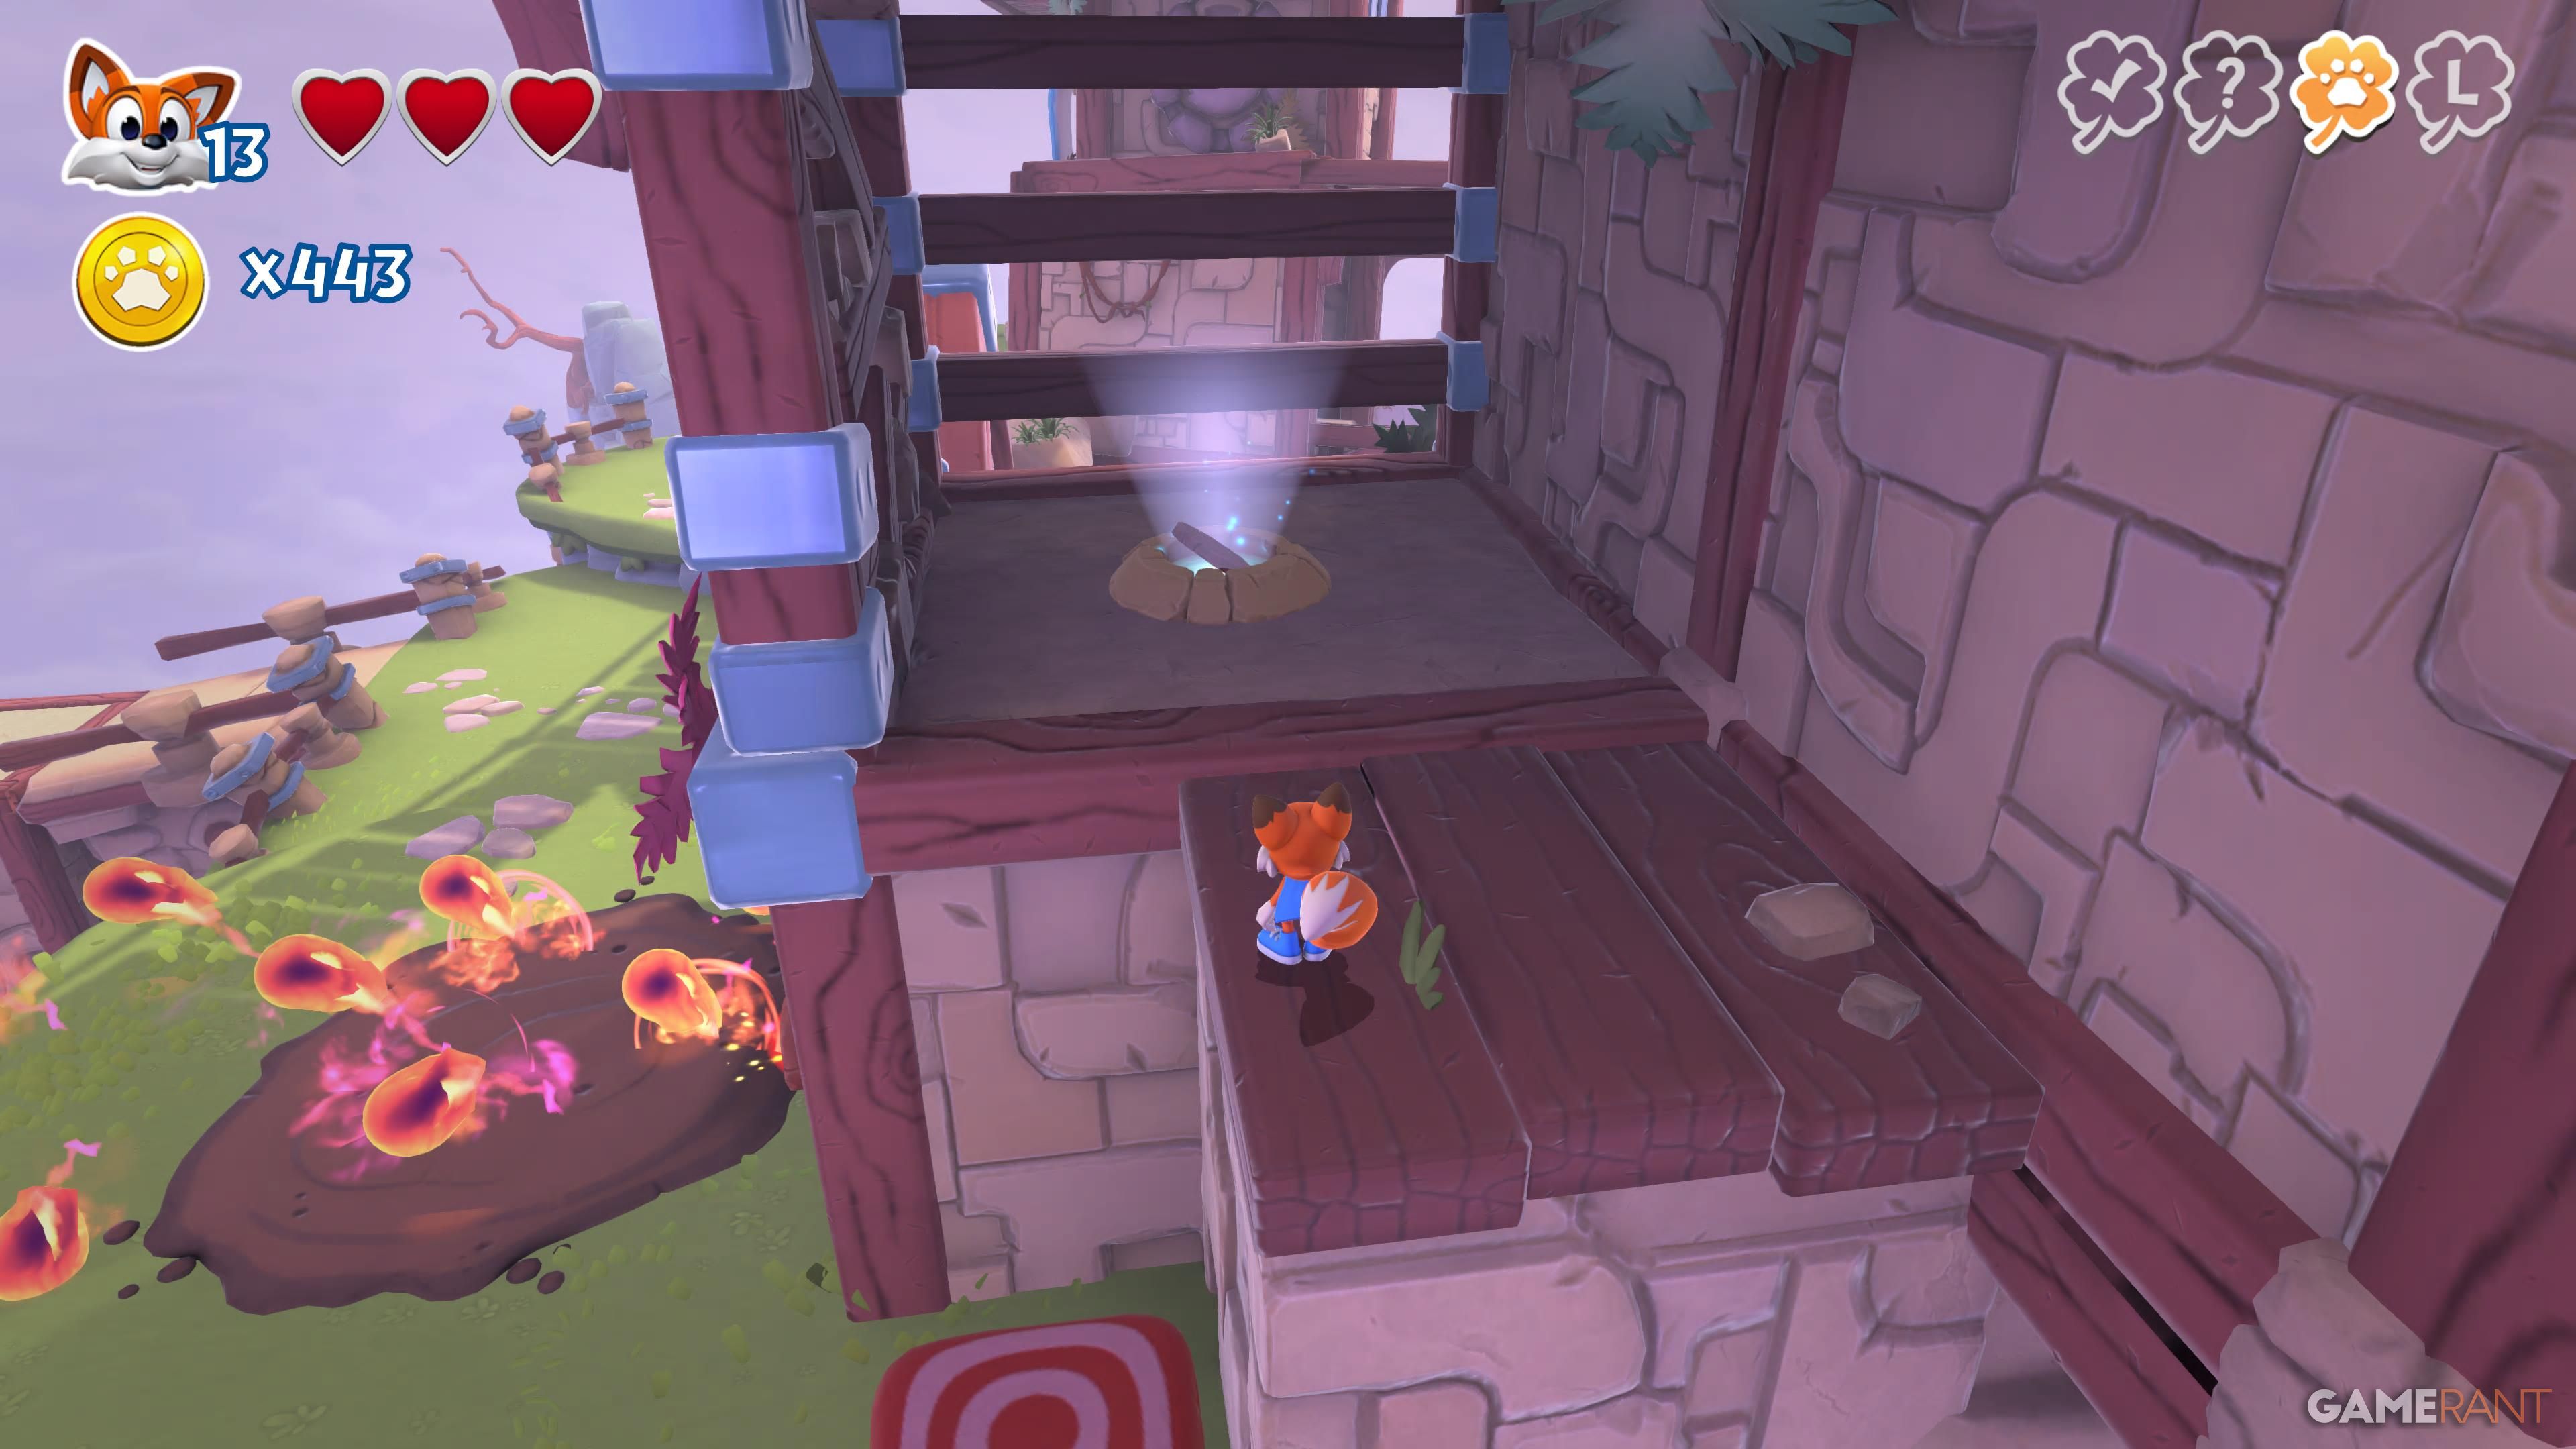
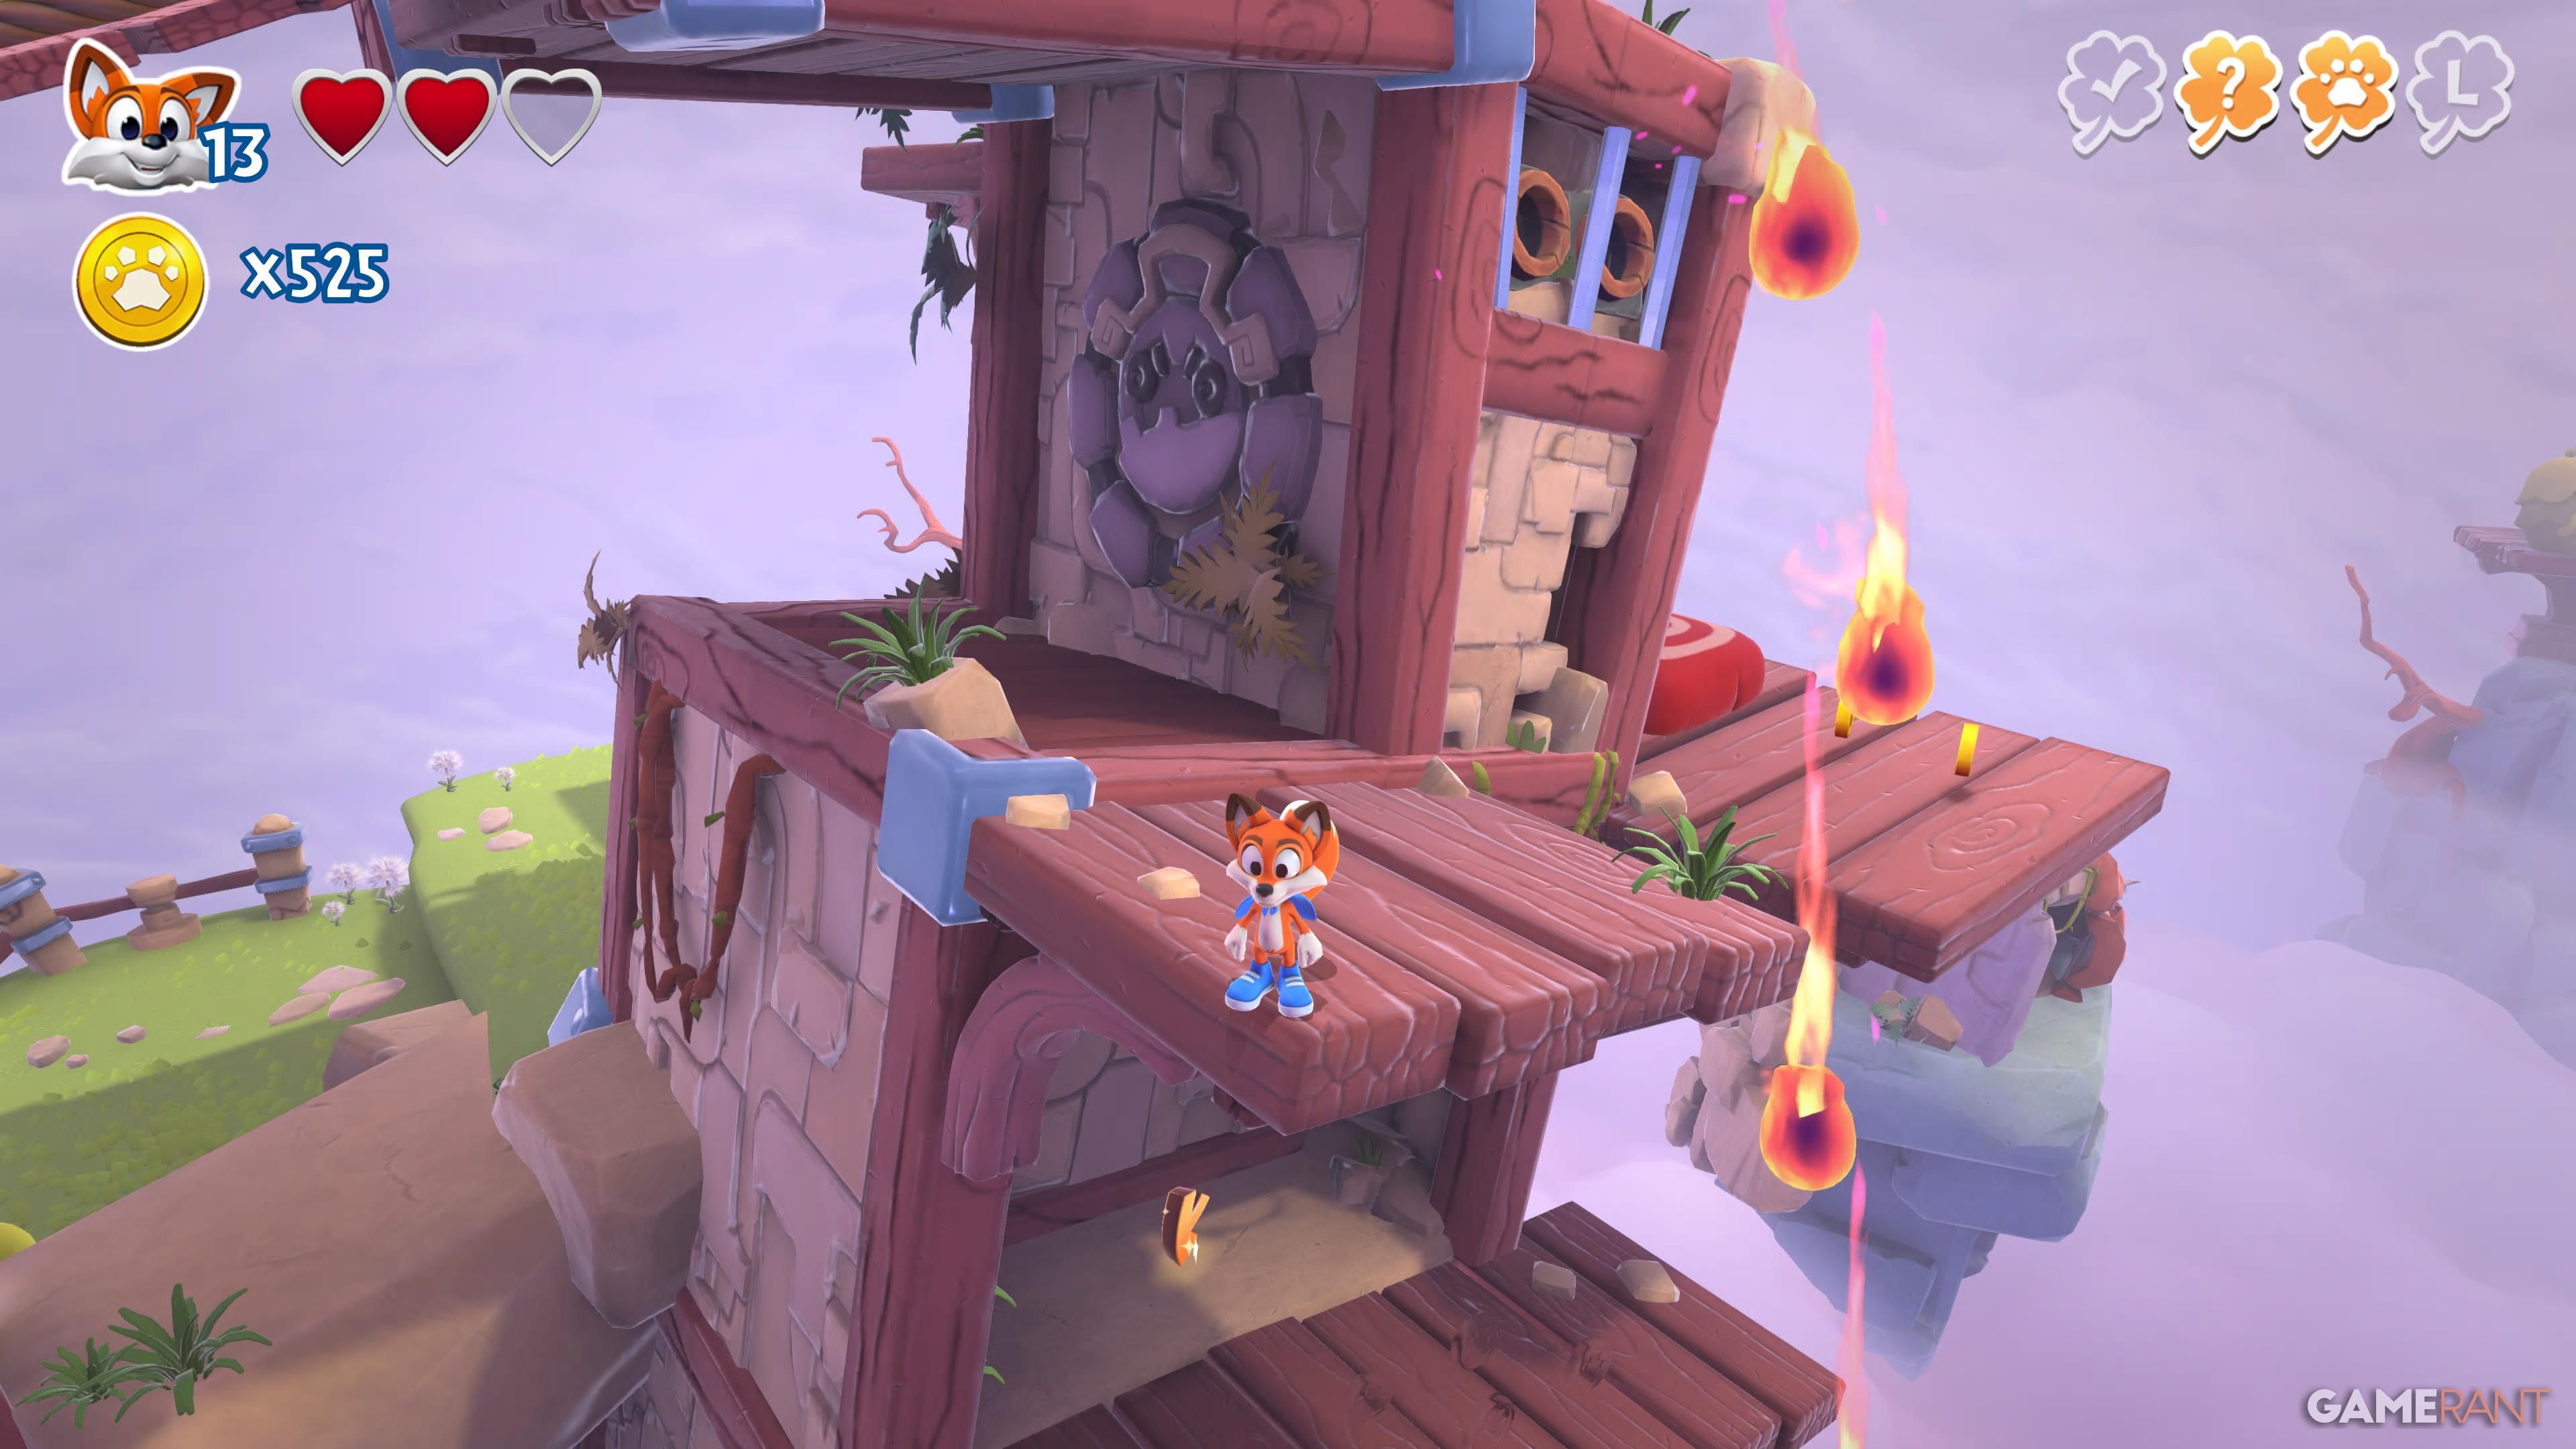
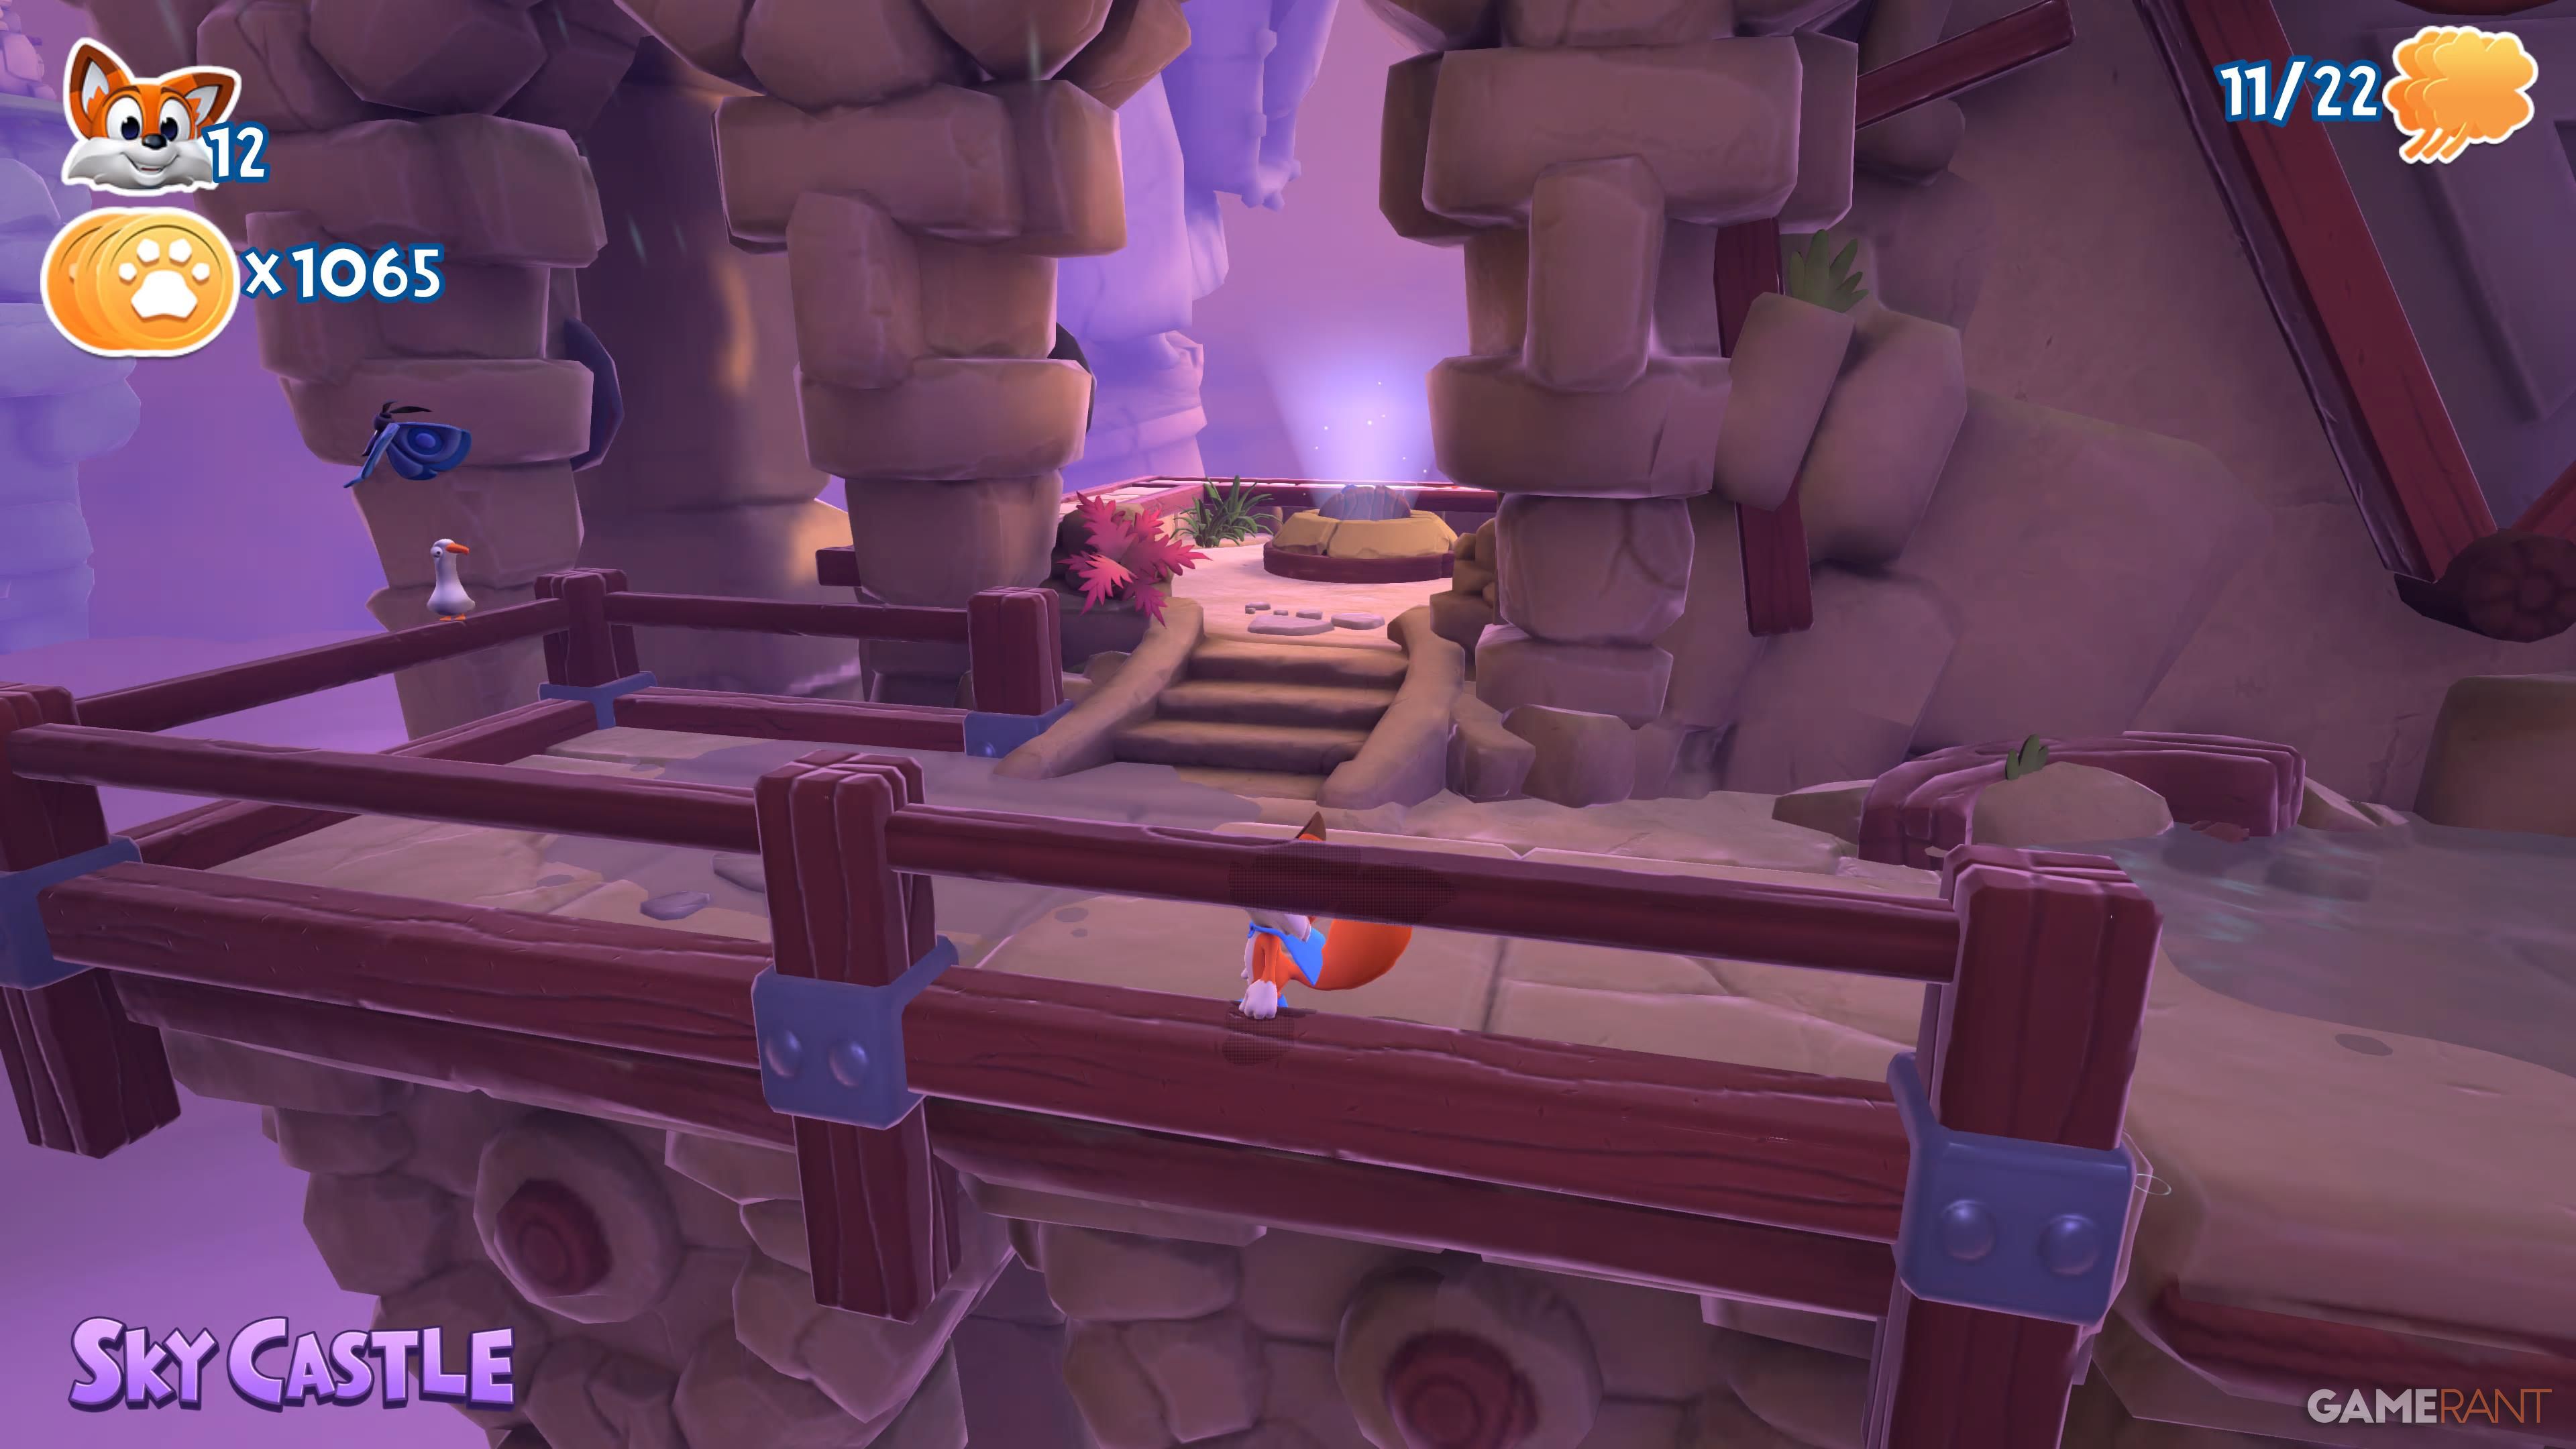
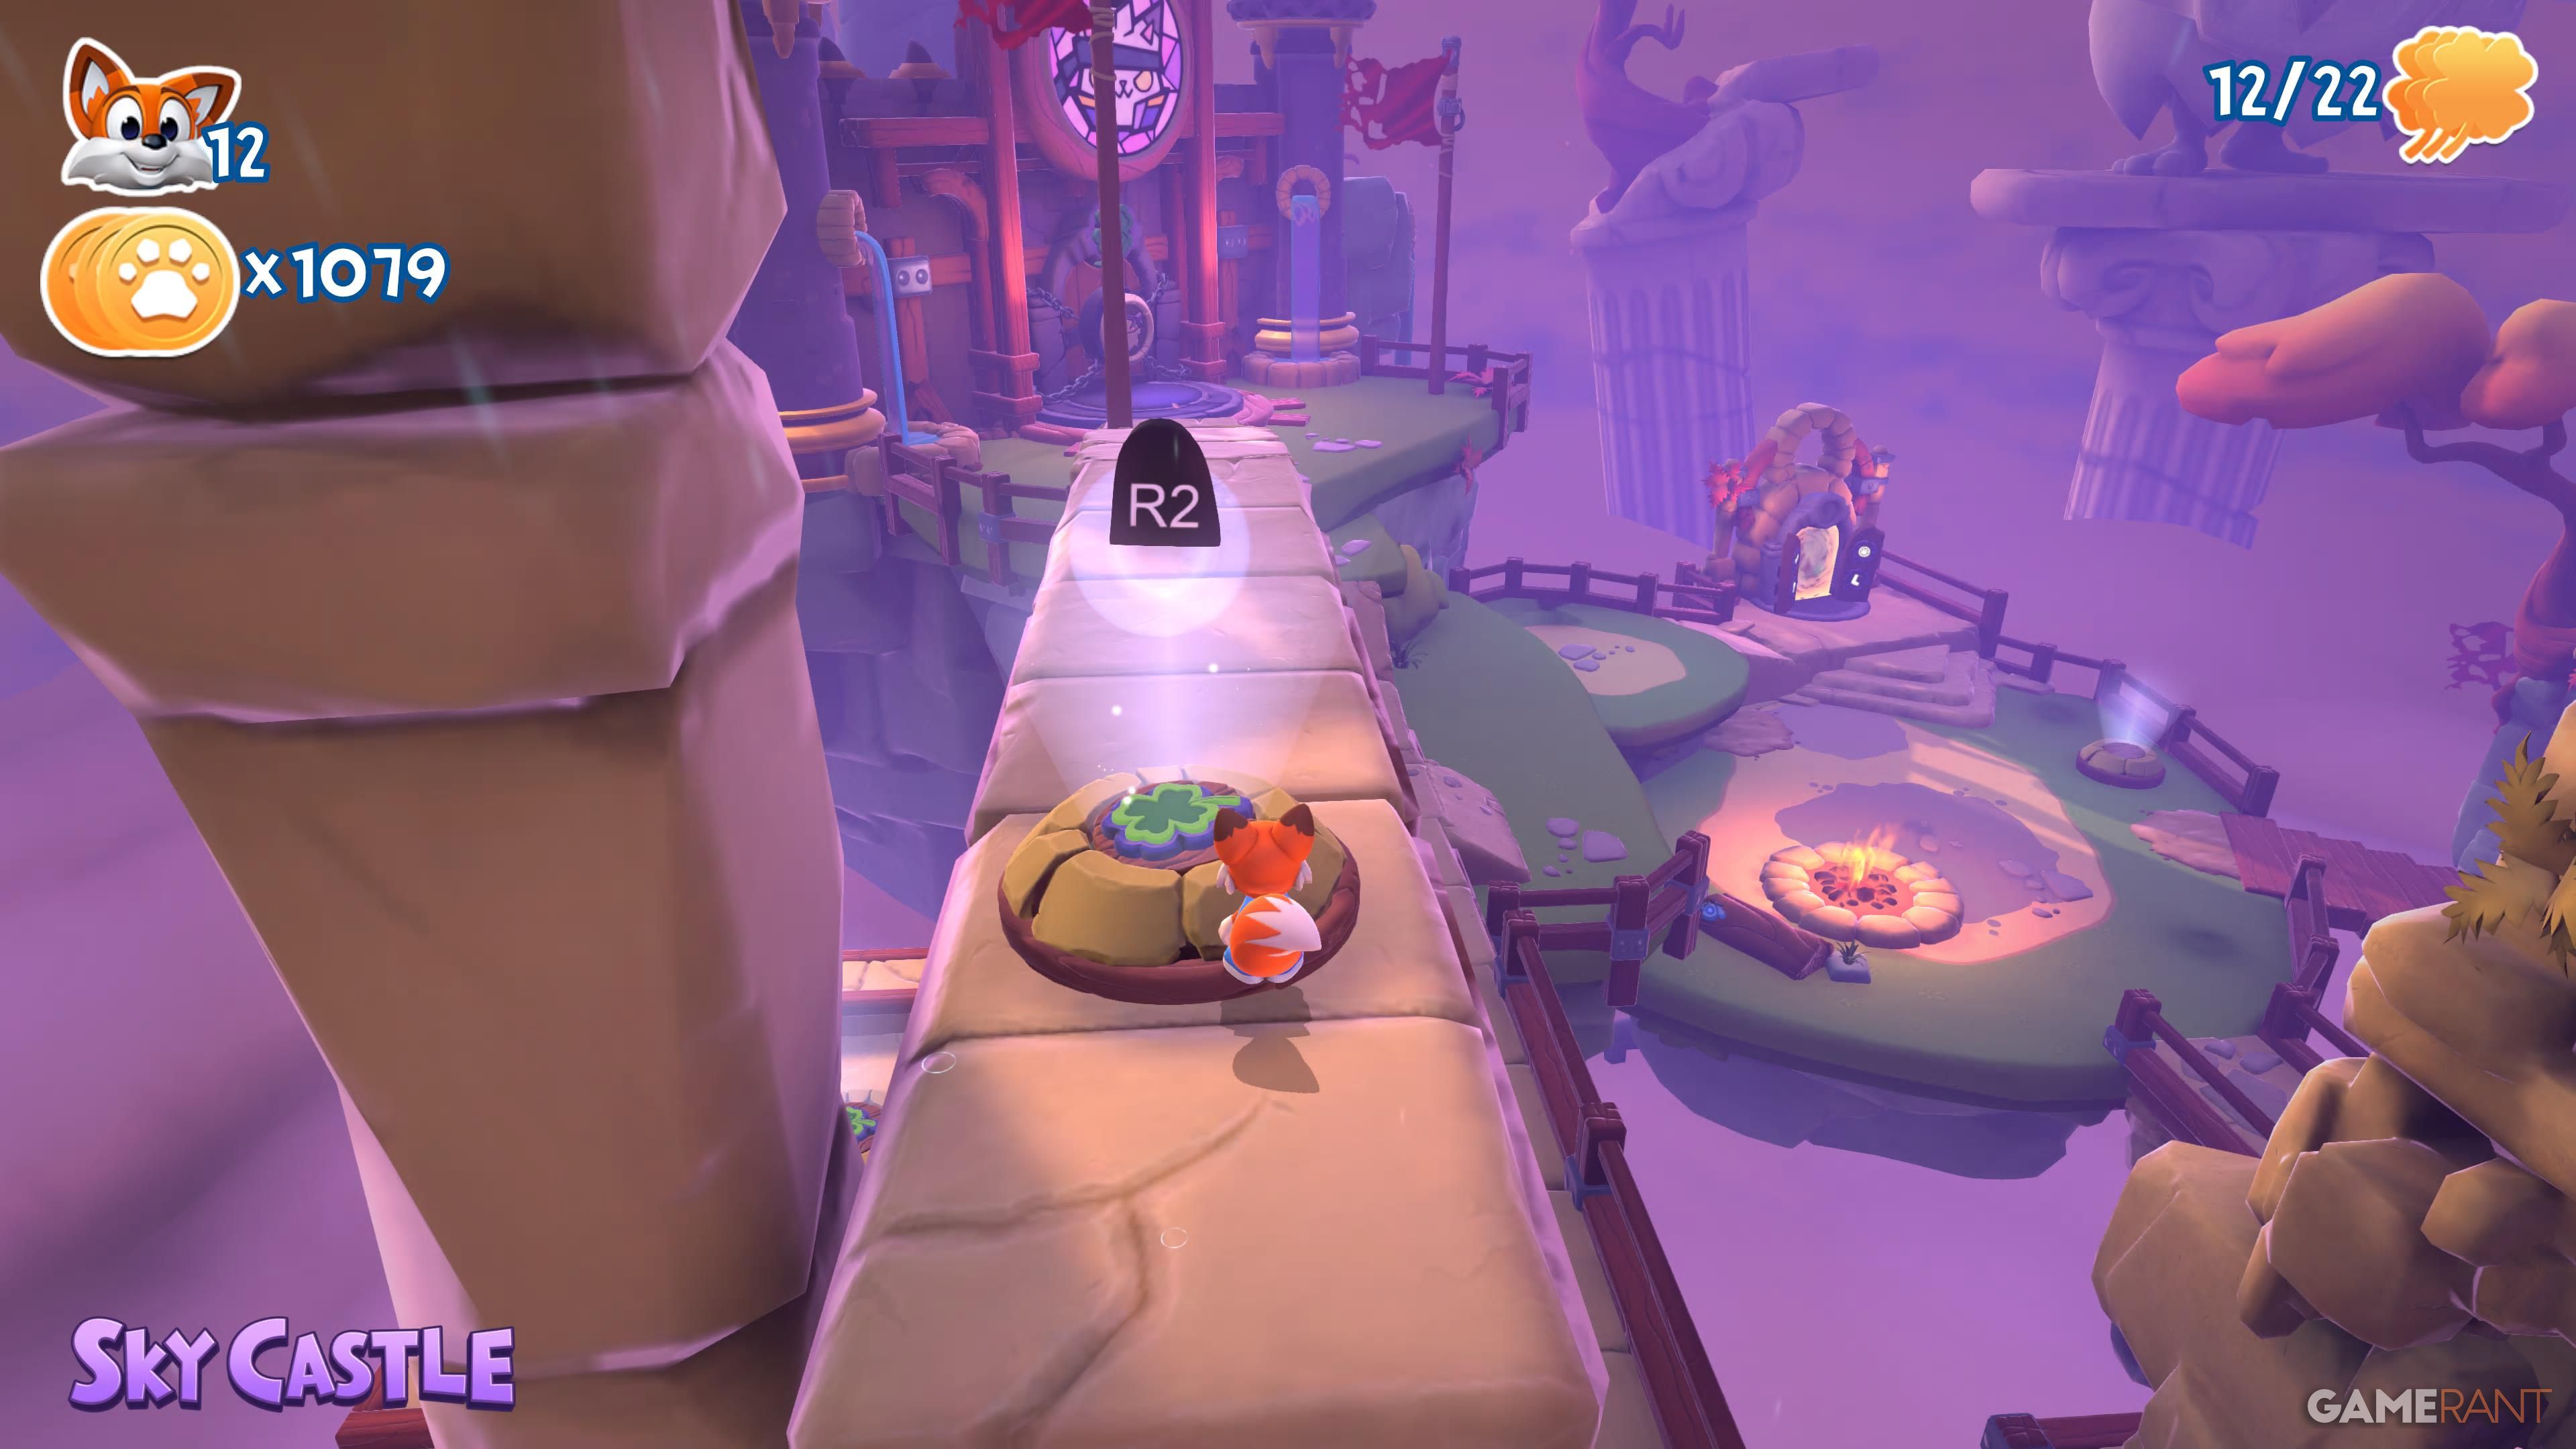
Sky Castle has four main levels and a total of 24 items to collect. You’ll also discover six Sliding Block Puzzles scattered throughout the central hub area – solving each one will earn you a new page for the guide. You can find the locations of everything listed below.
Collecting all the pages in Sky Castle unlocks the Sky-High trophy or achievement.
All Sky Castle’s Letters & Hidden Page in New Super Lucky’s Tale
Heavy Heads
| Letters/Page | Image | Location |
|---|---|---|
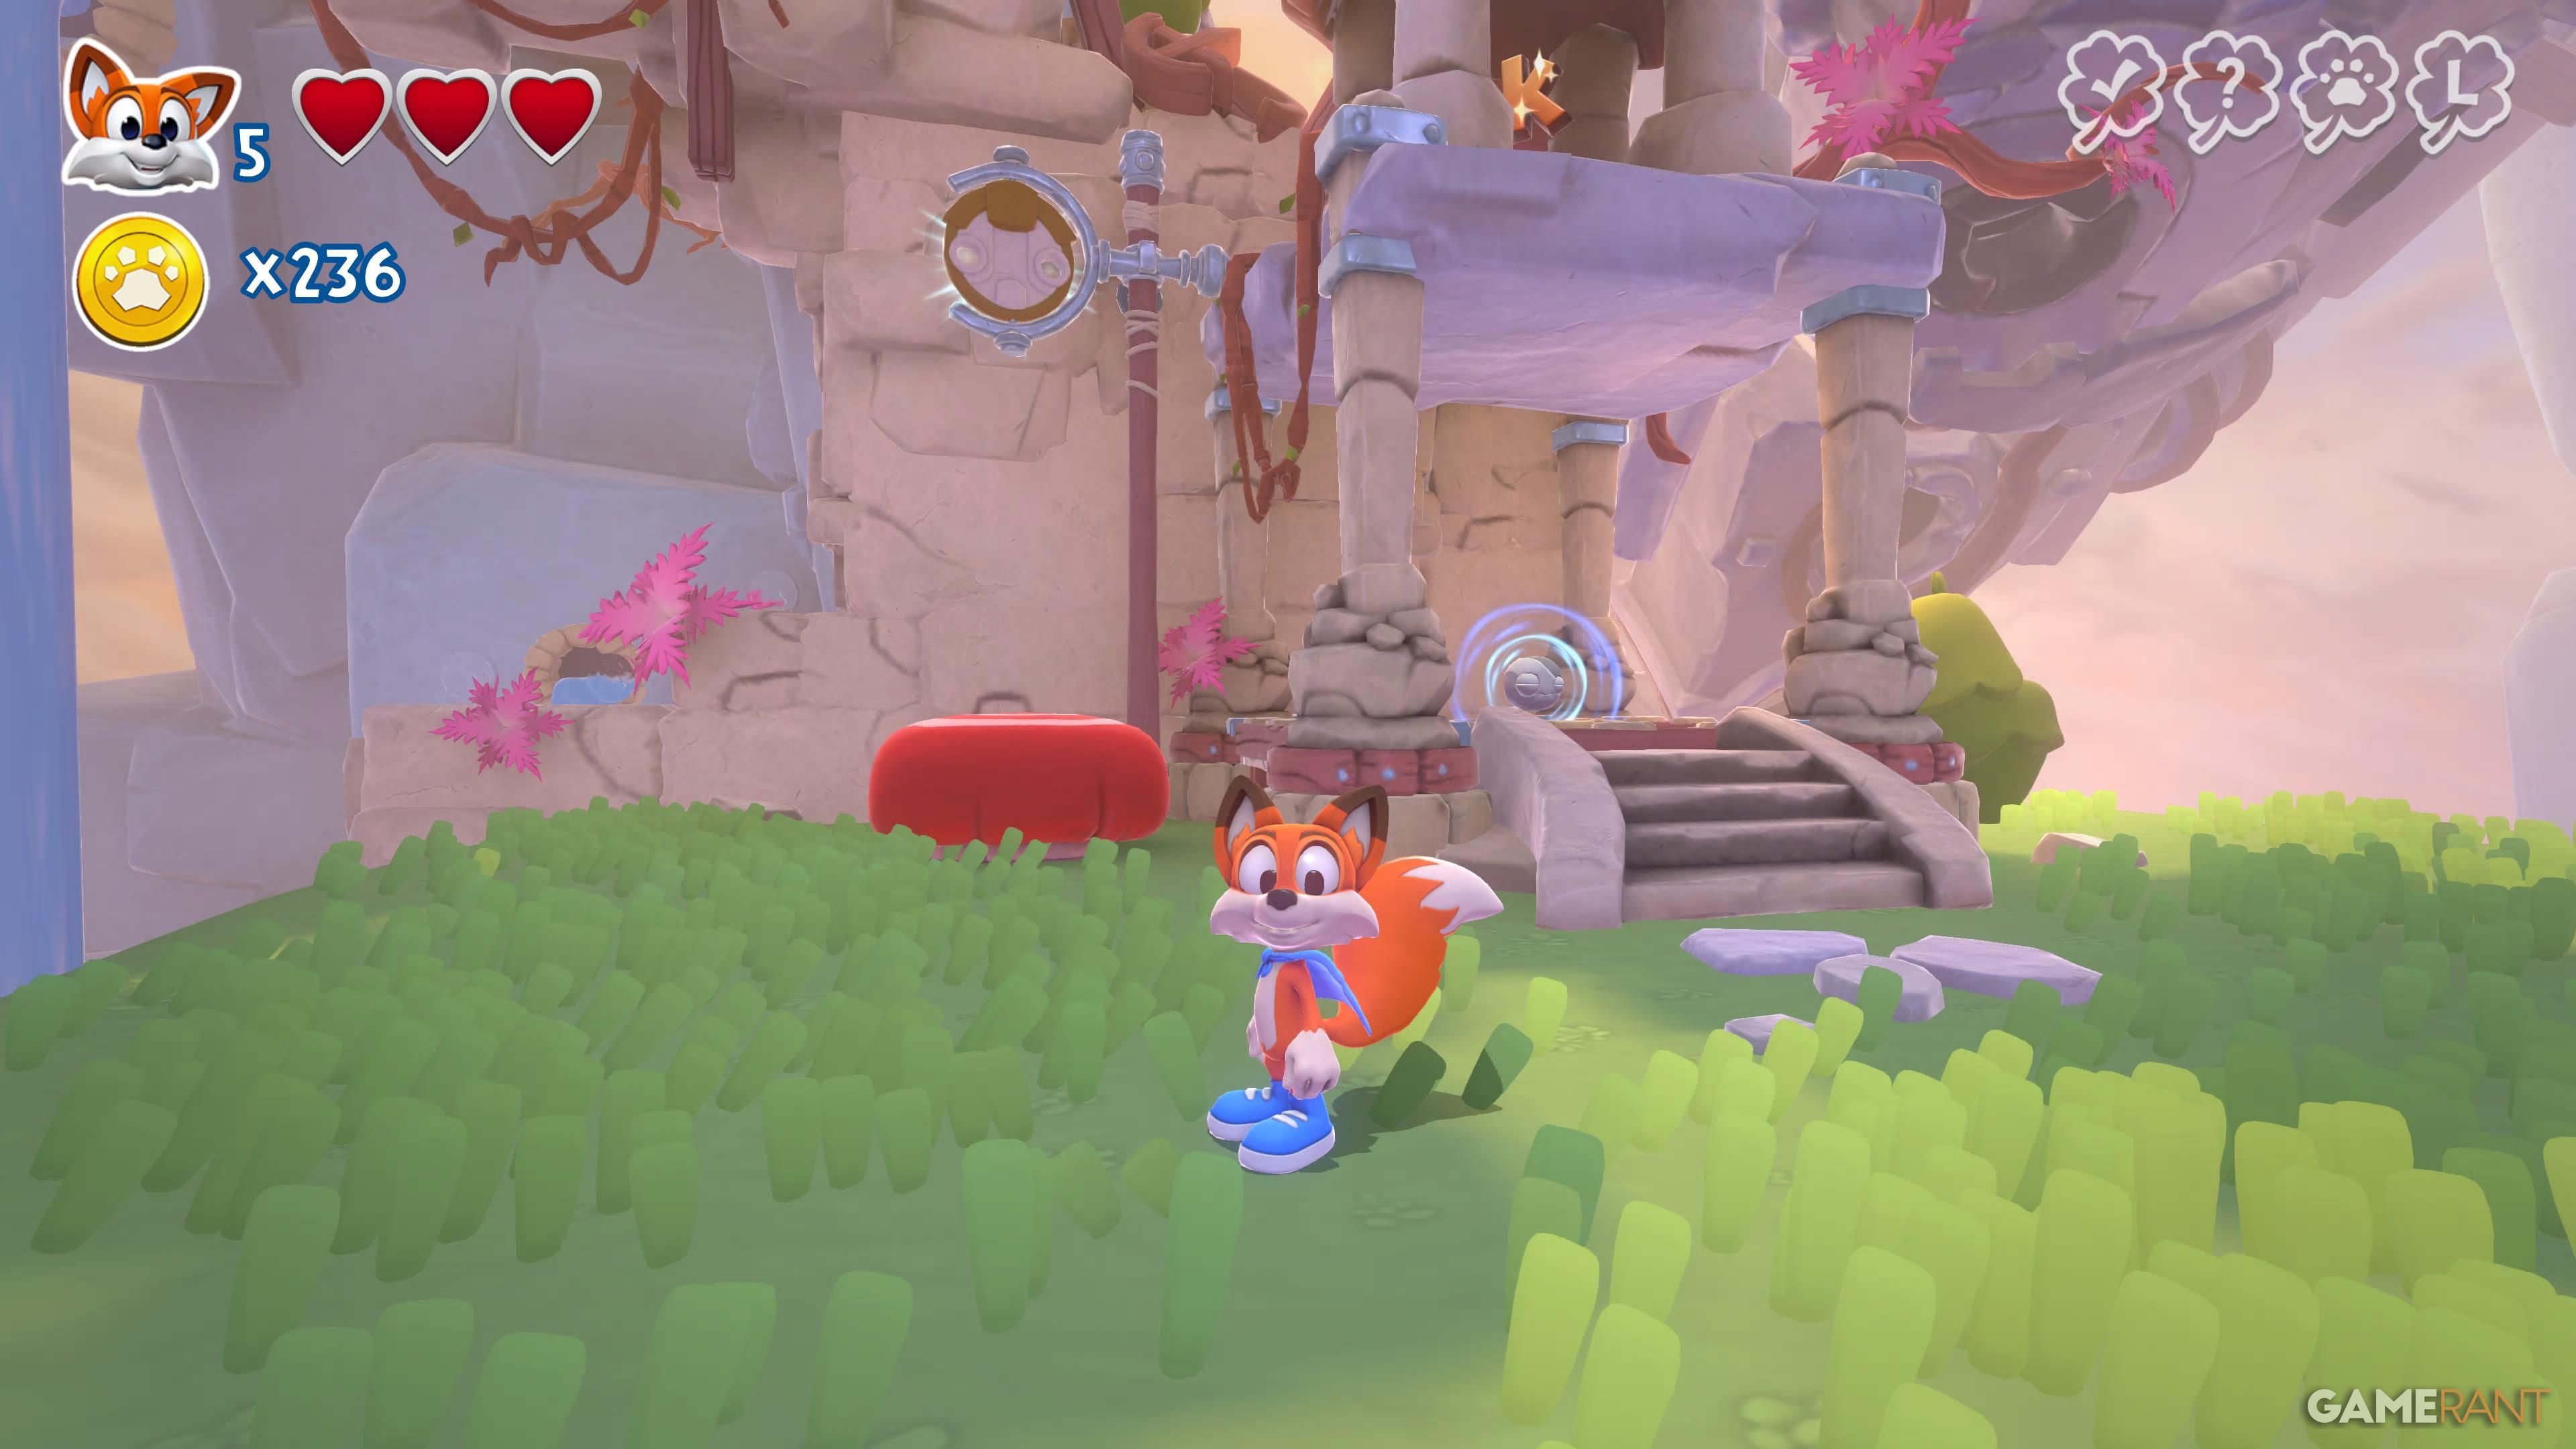
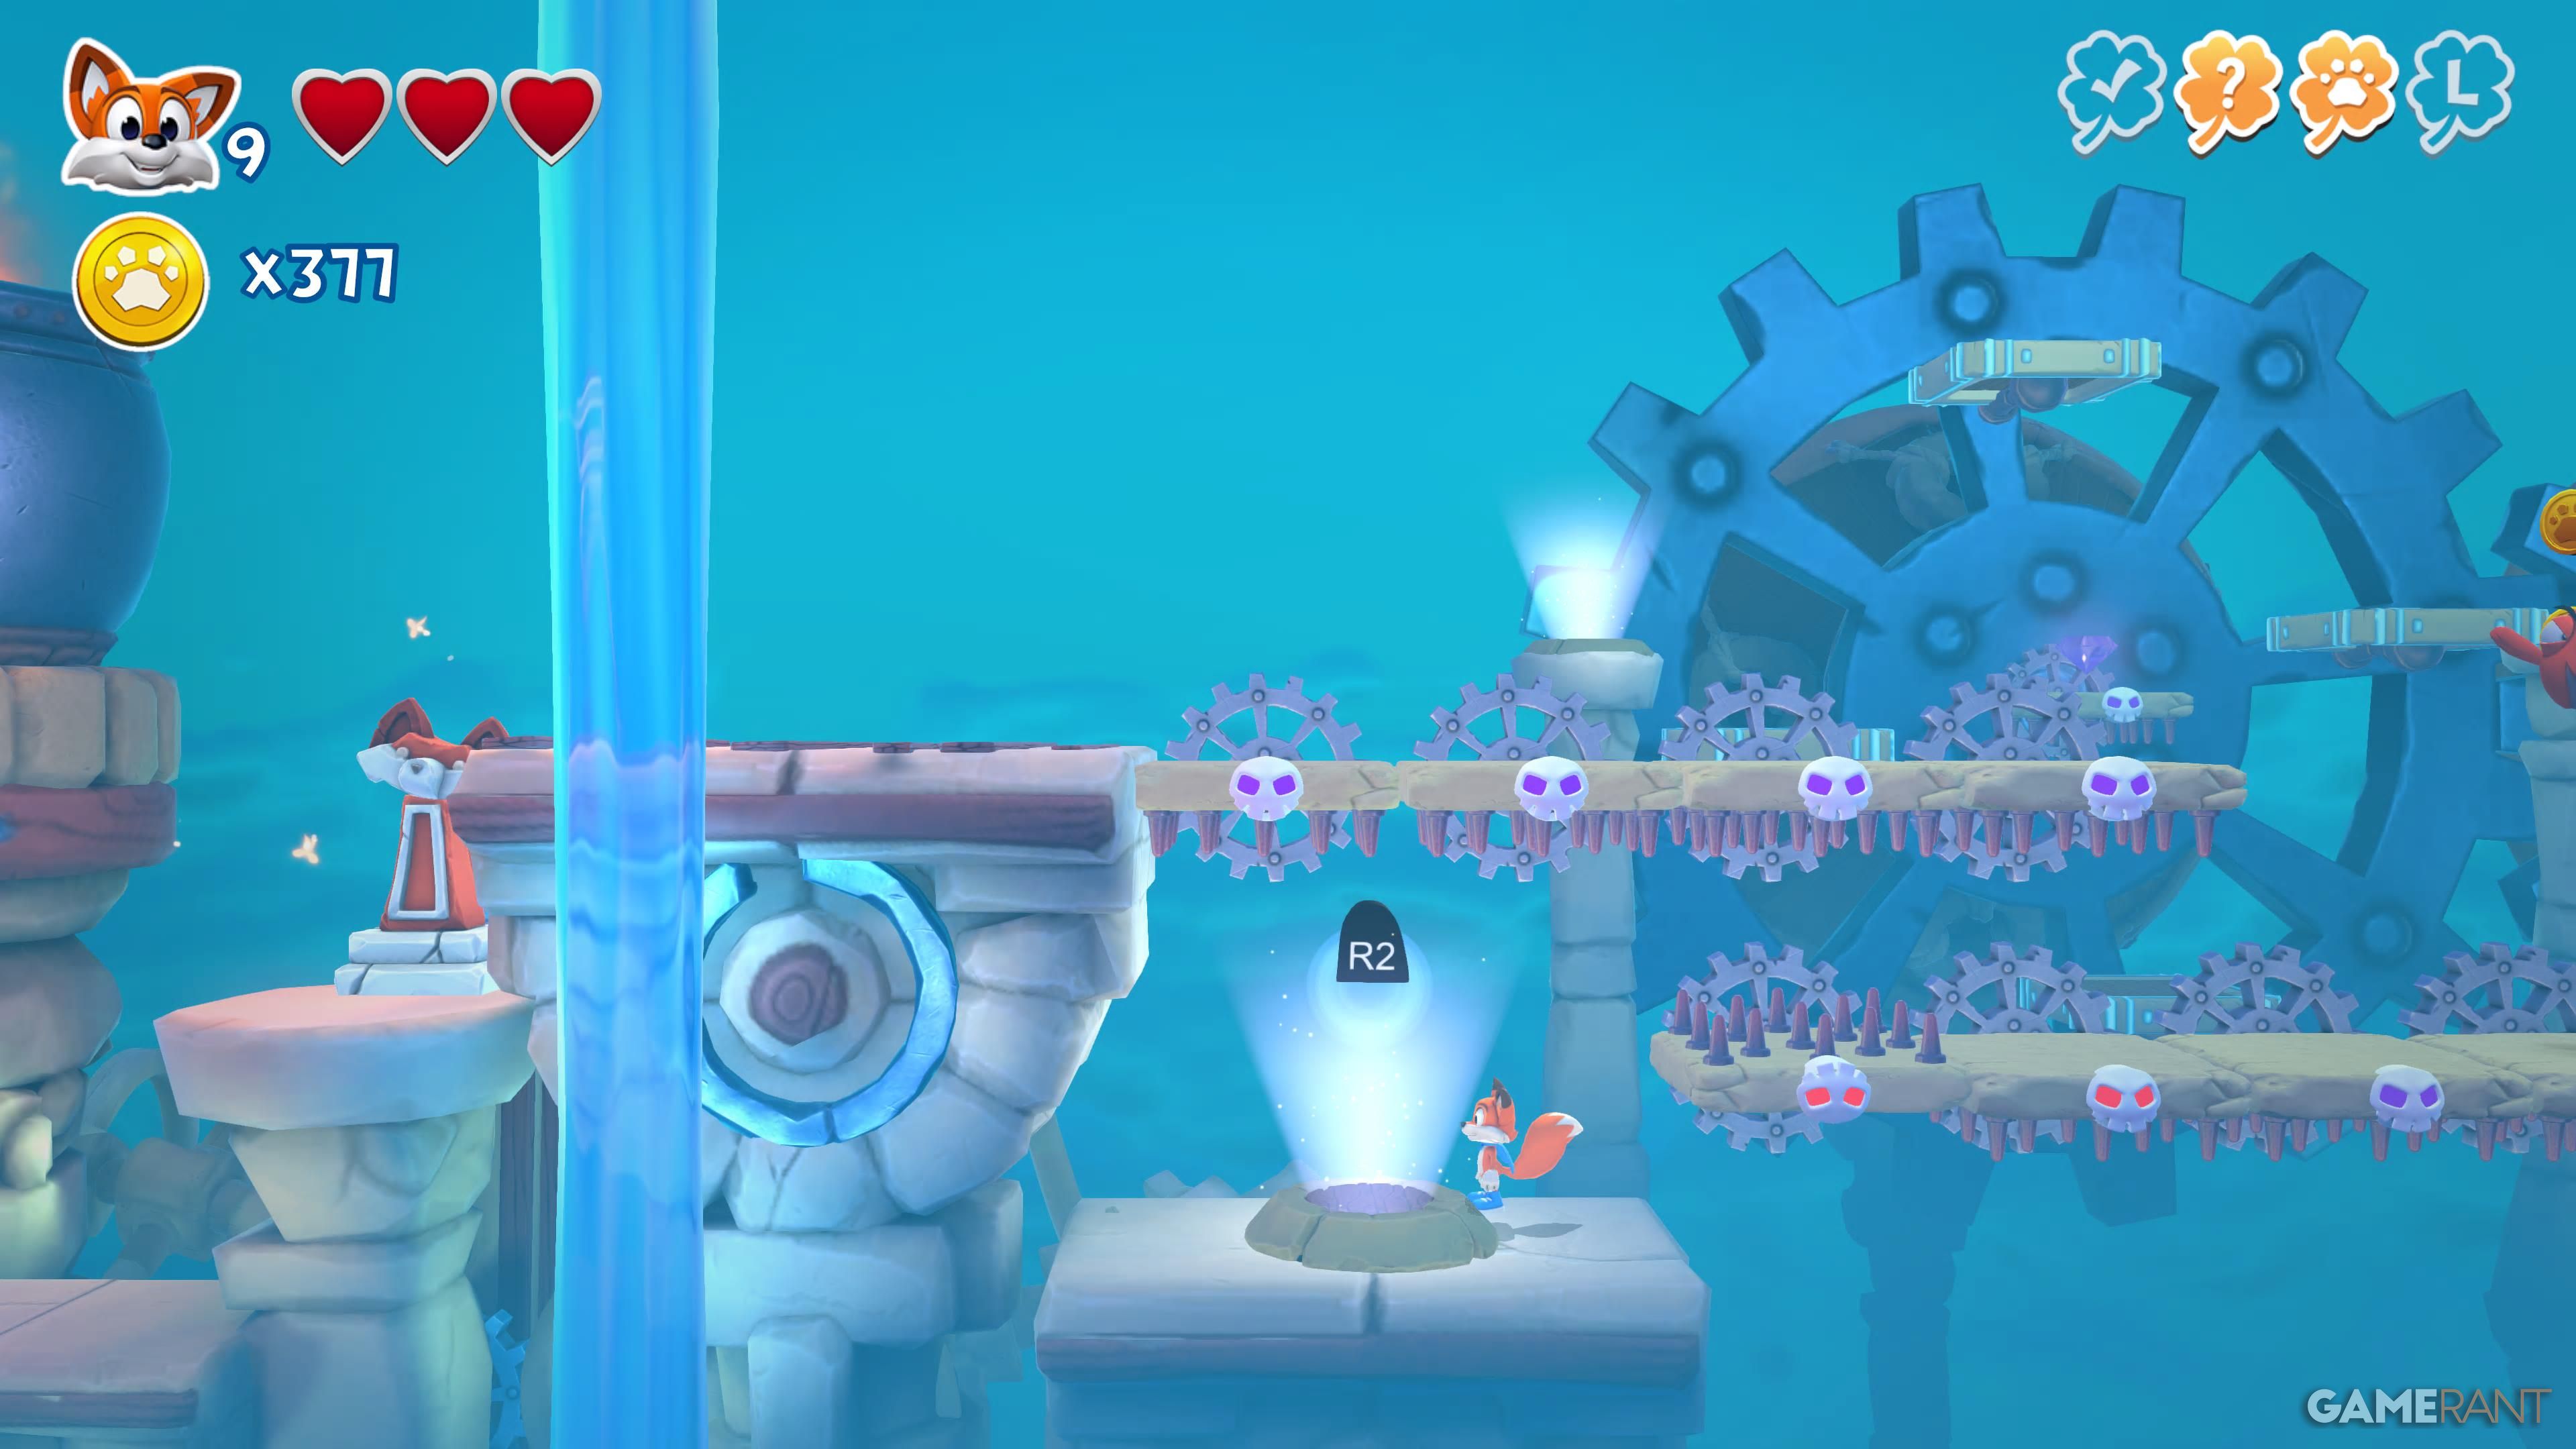
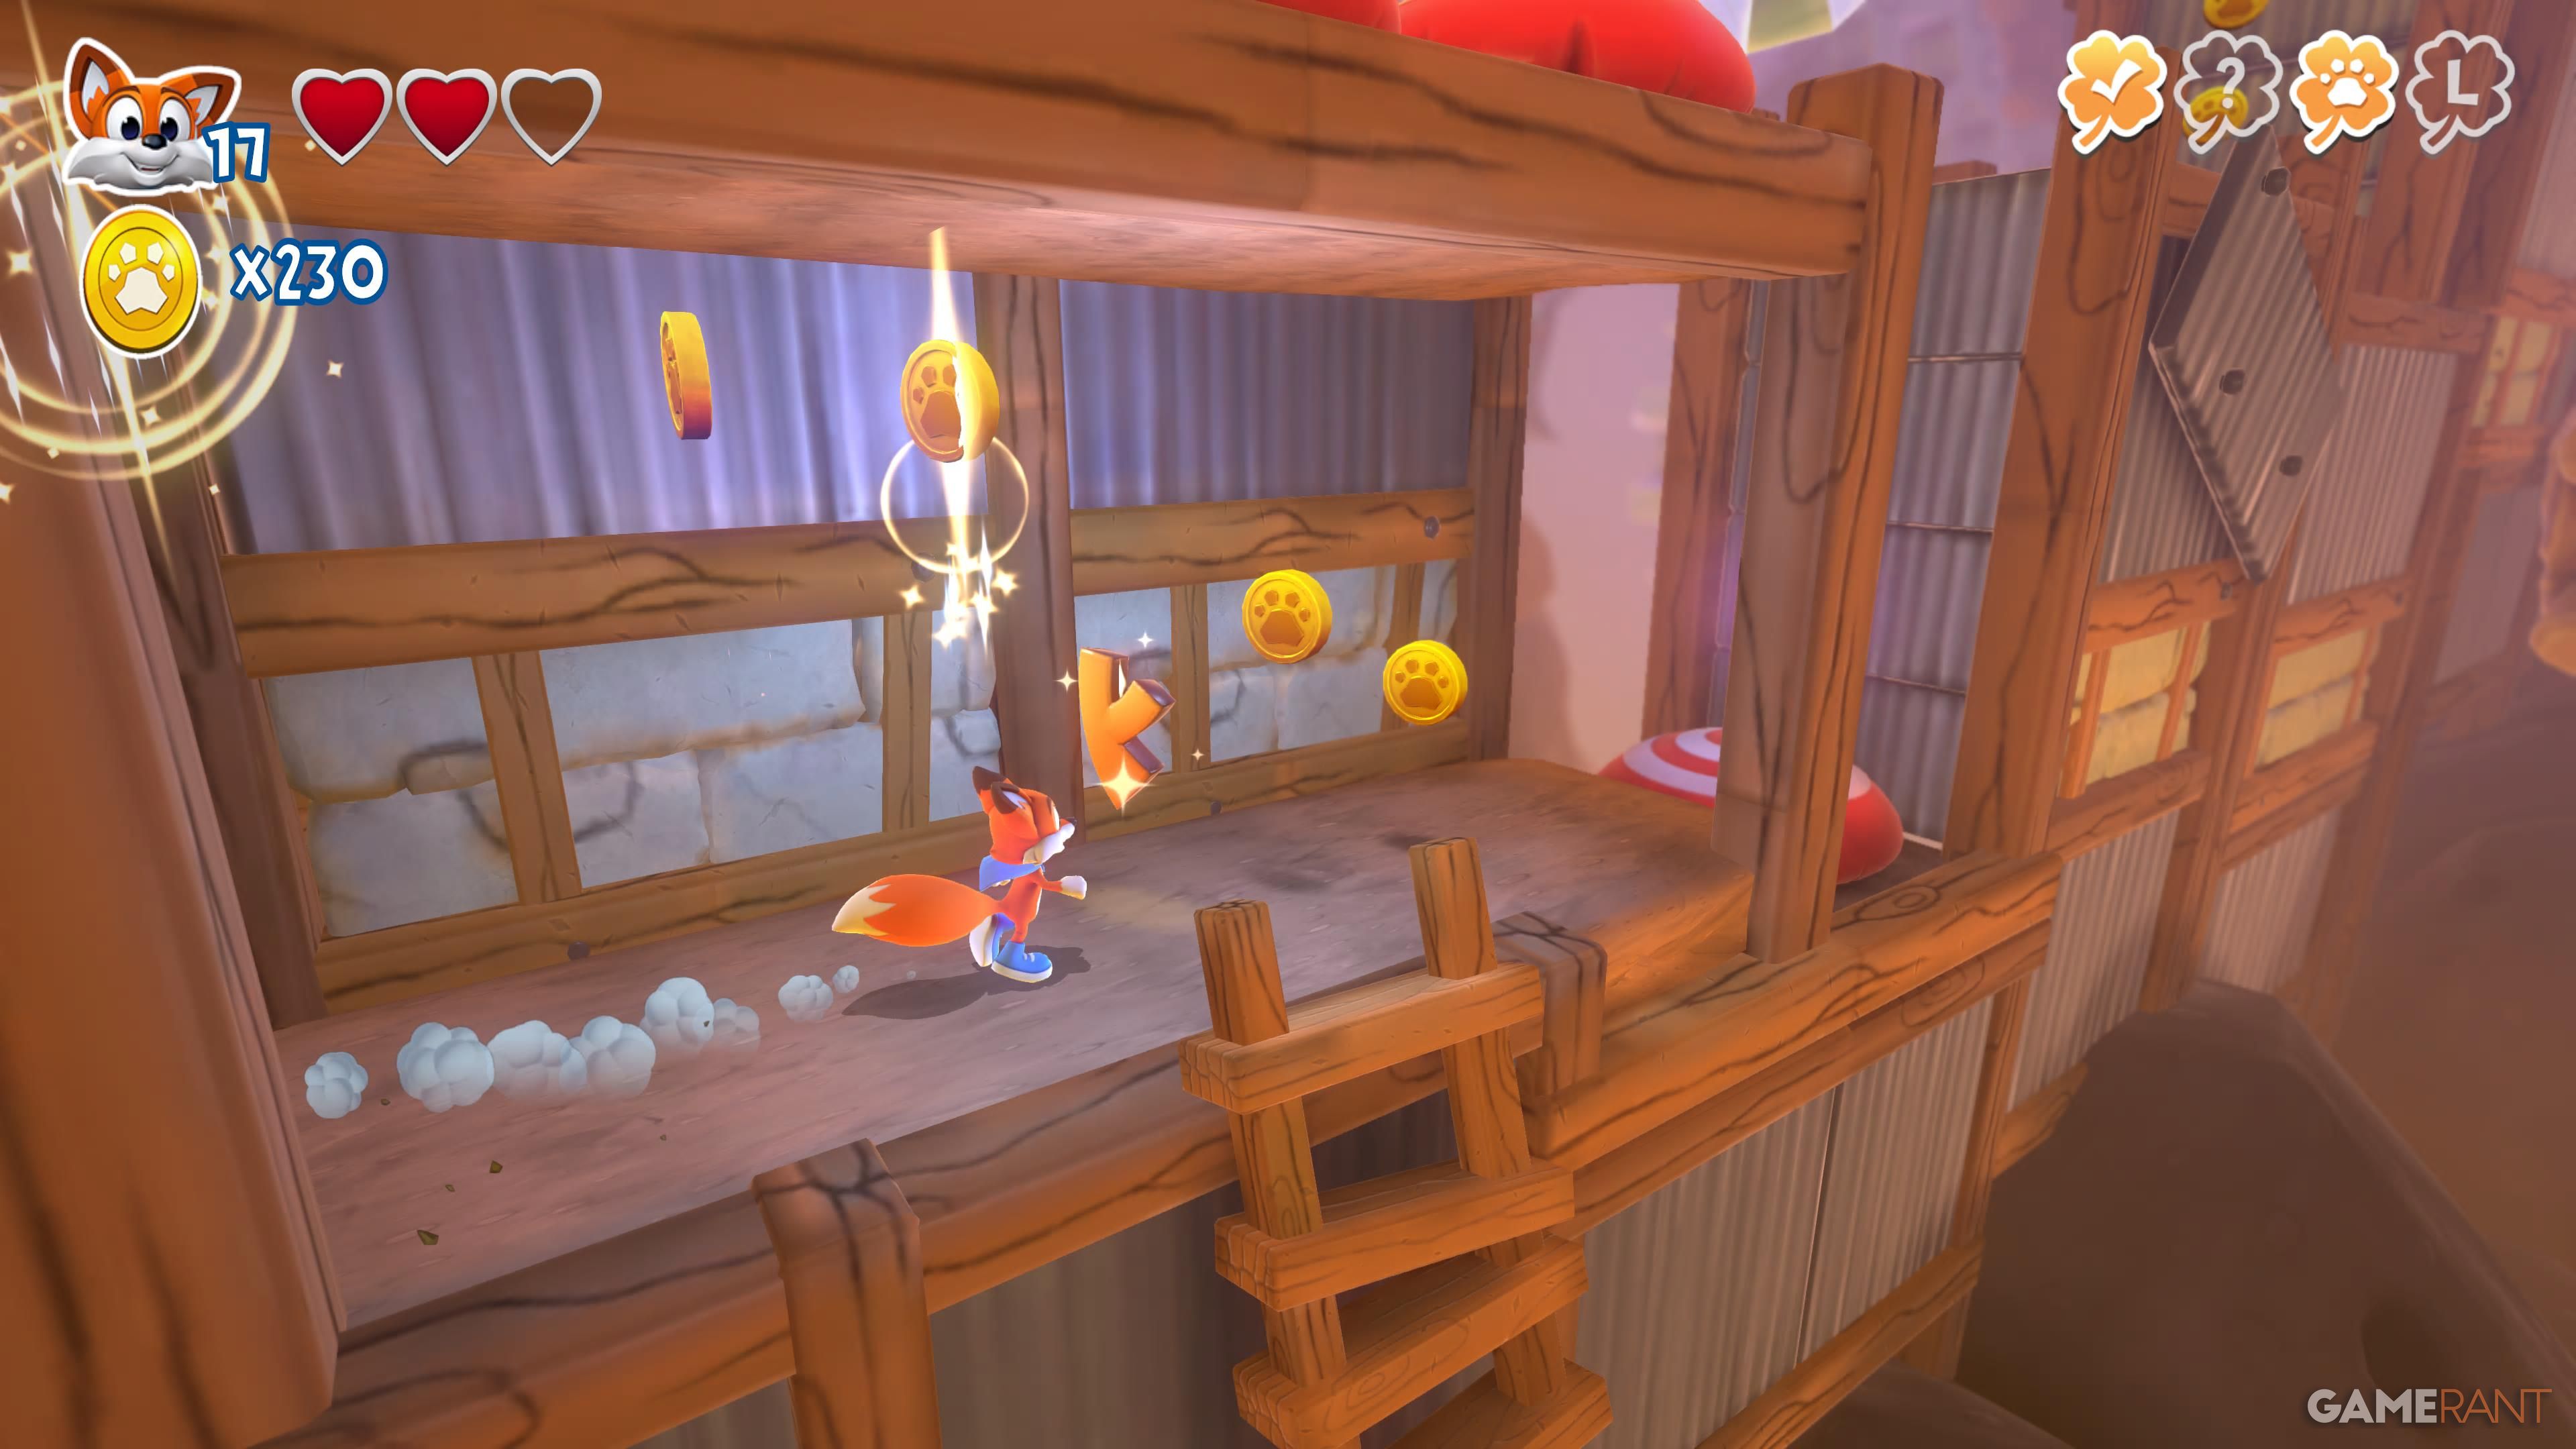
| L |
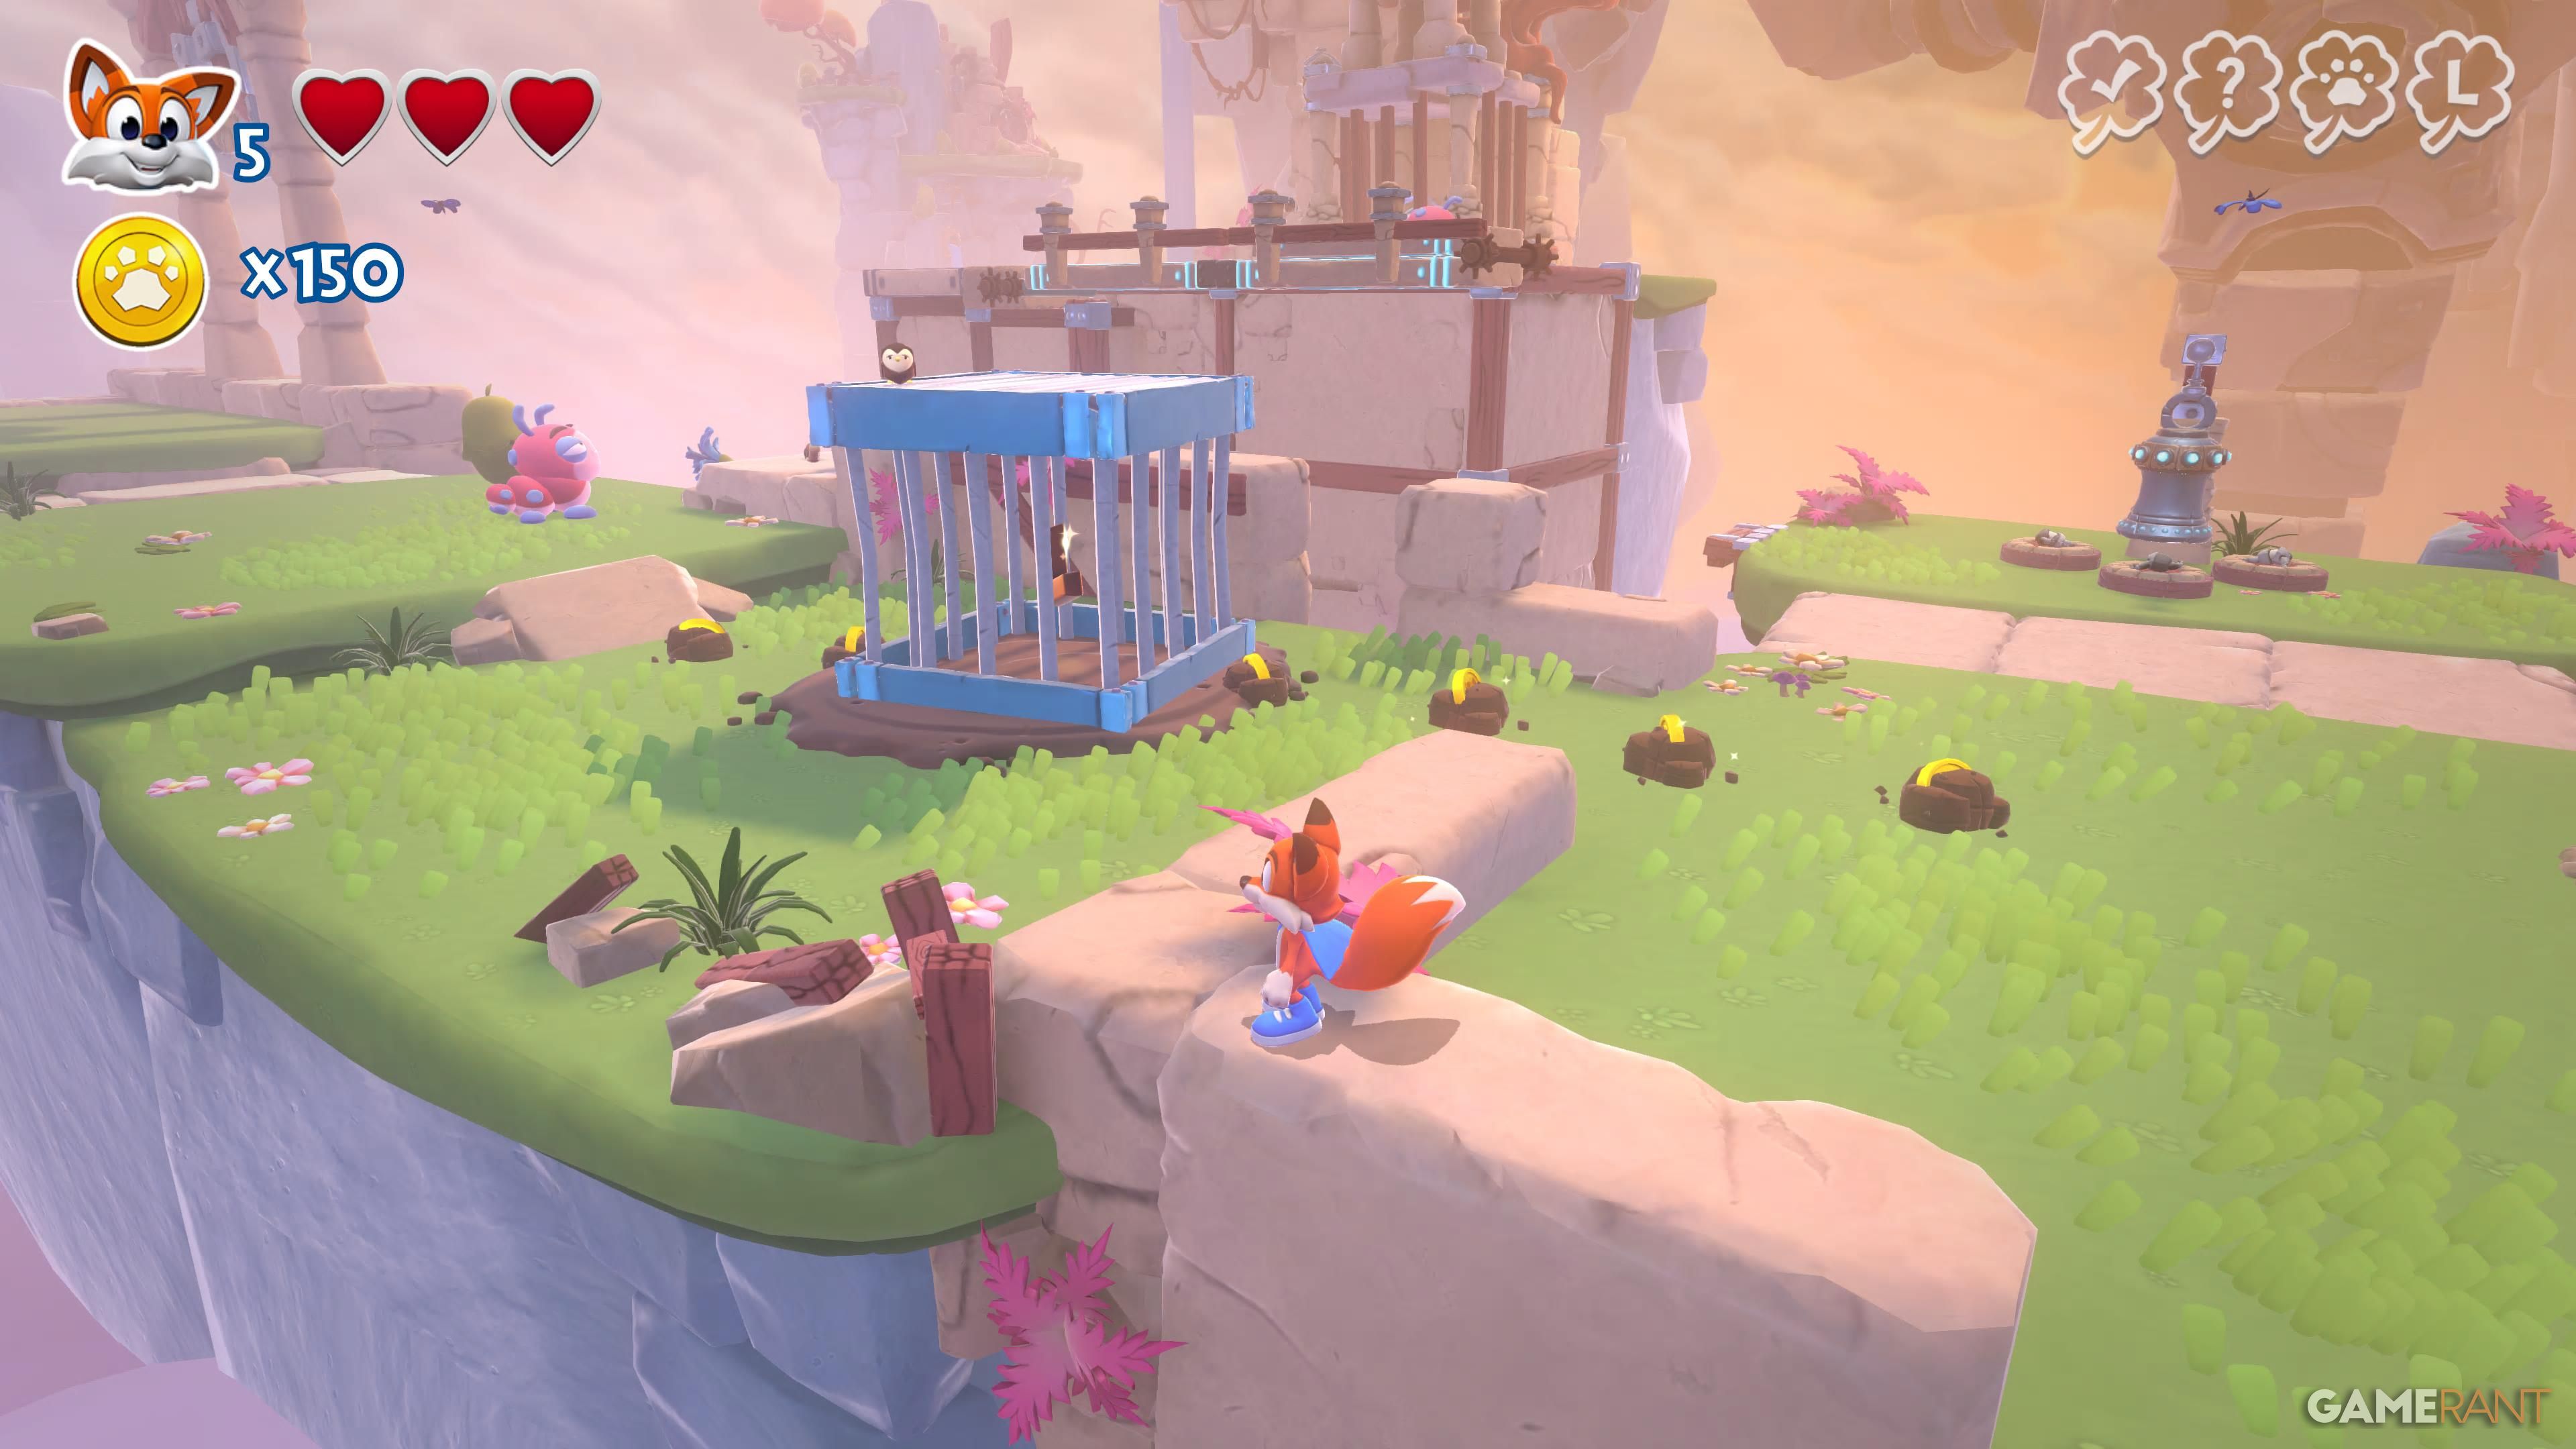 |
After talking to Mittens at the start of the game, look to your left to spot a cage that you can burrow underneath to find the first letter. |
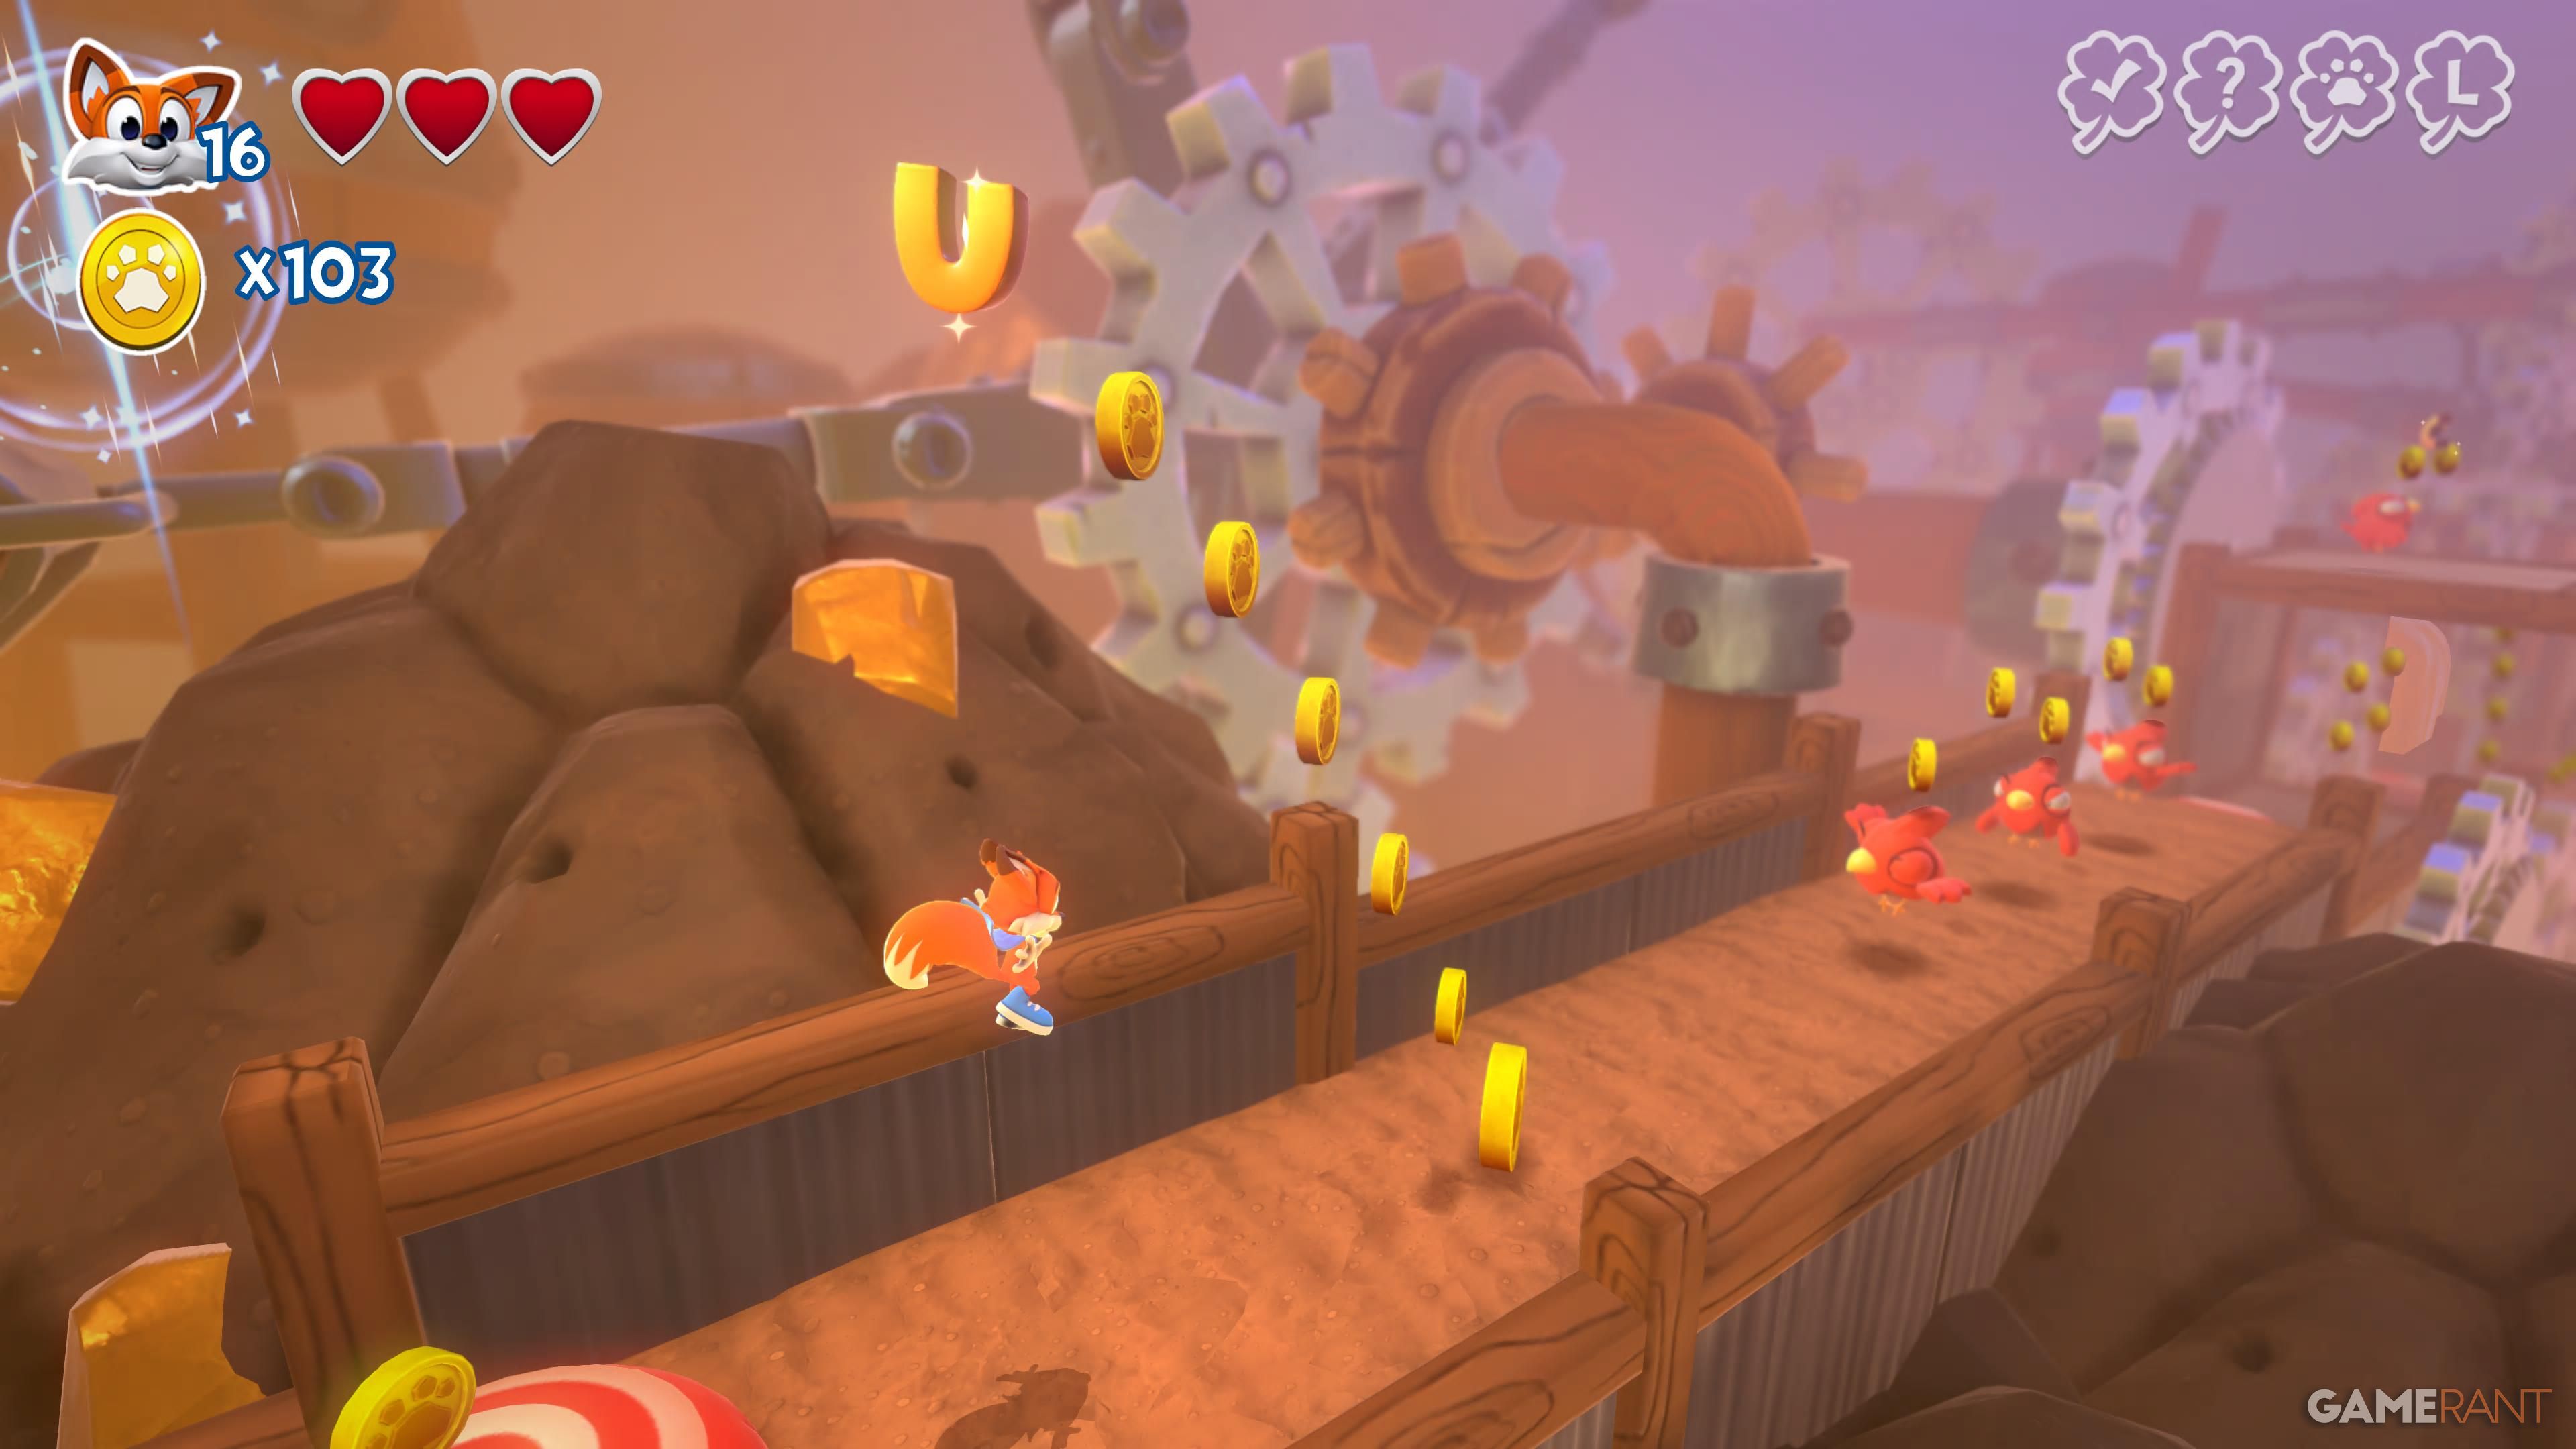
| U |
 |
From the previous collectible, head right this time and attack the gong to reveal the second letter. |
| C |
 |
To the left of the area is a jump pad that will launch you on top of the cage with a health item. Jump on the two air balloons to make your way up to the collectible. |
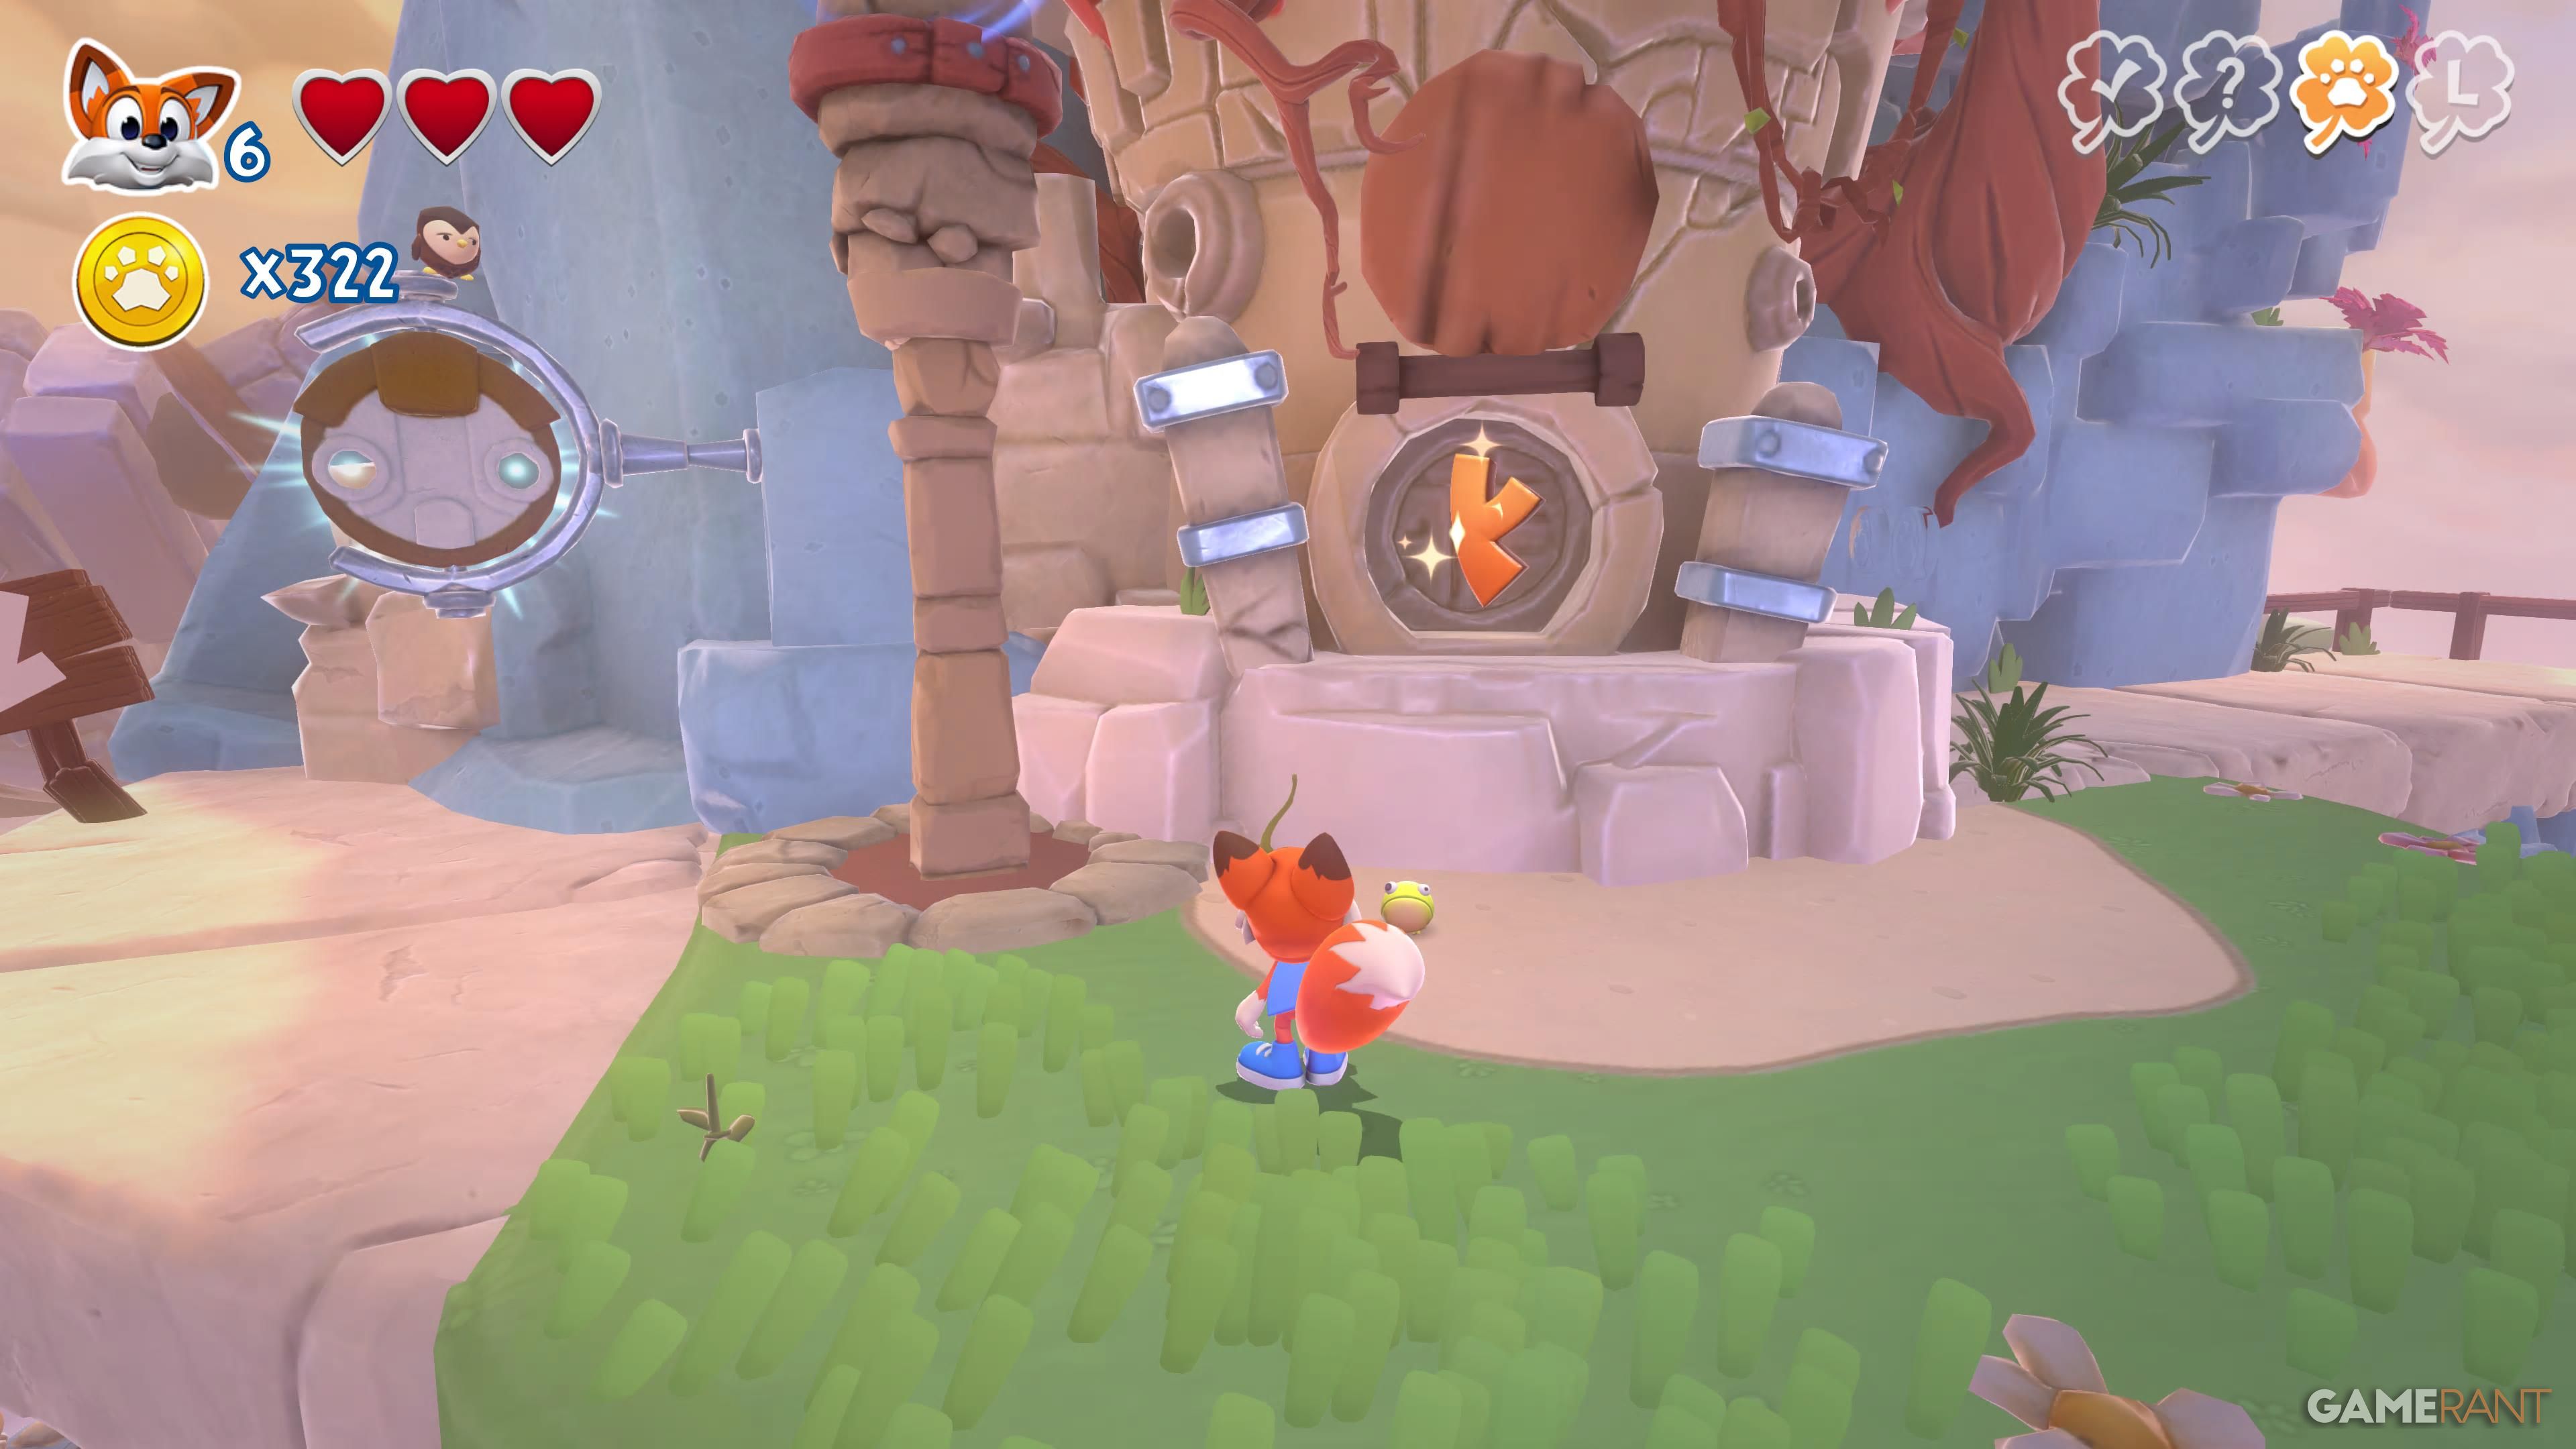
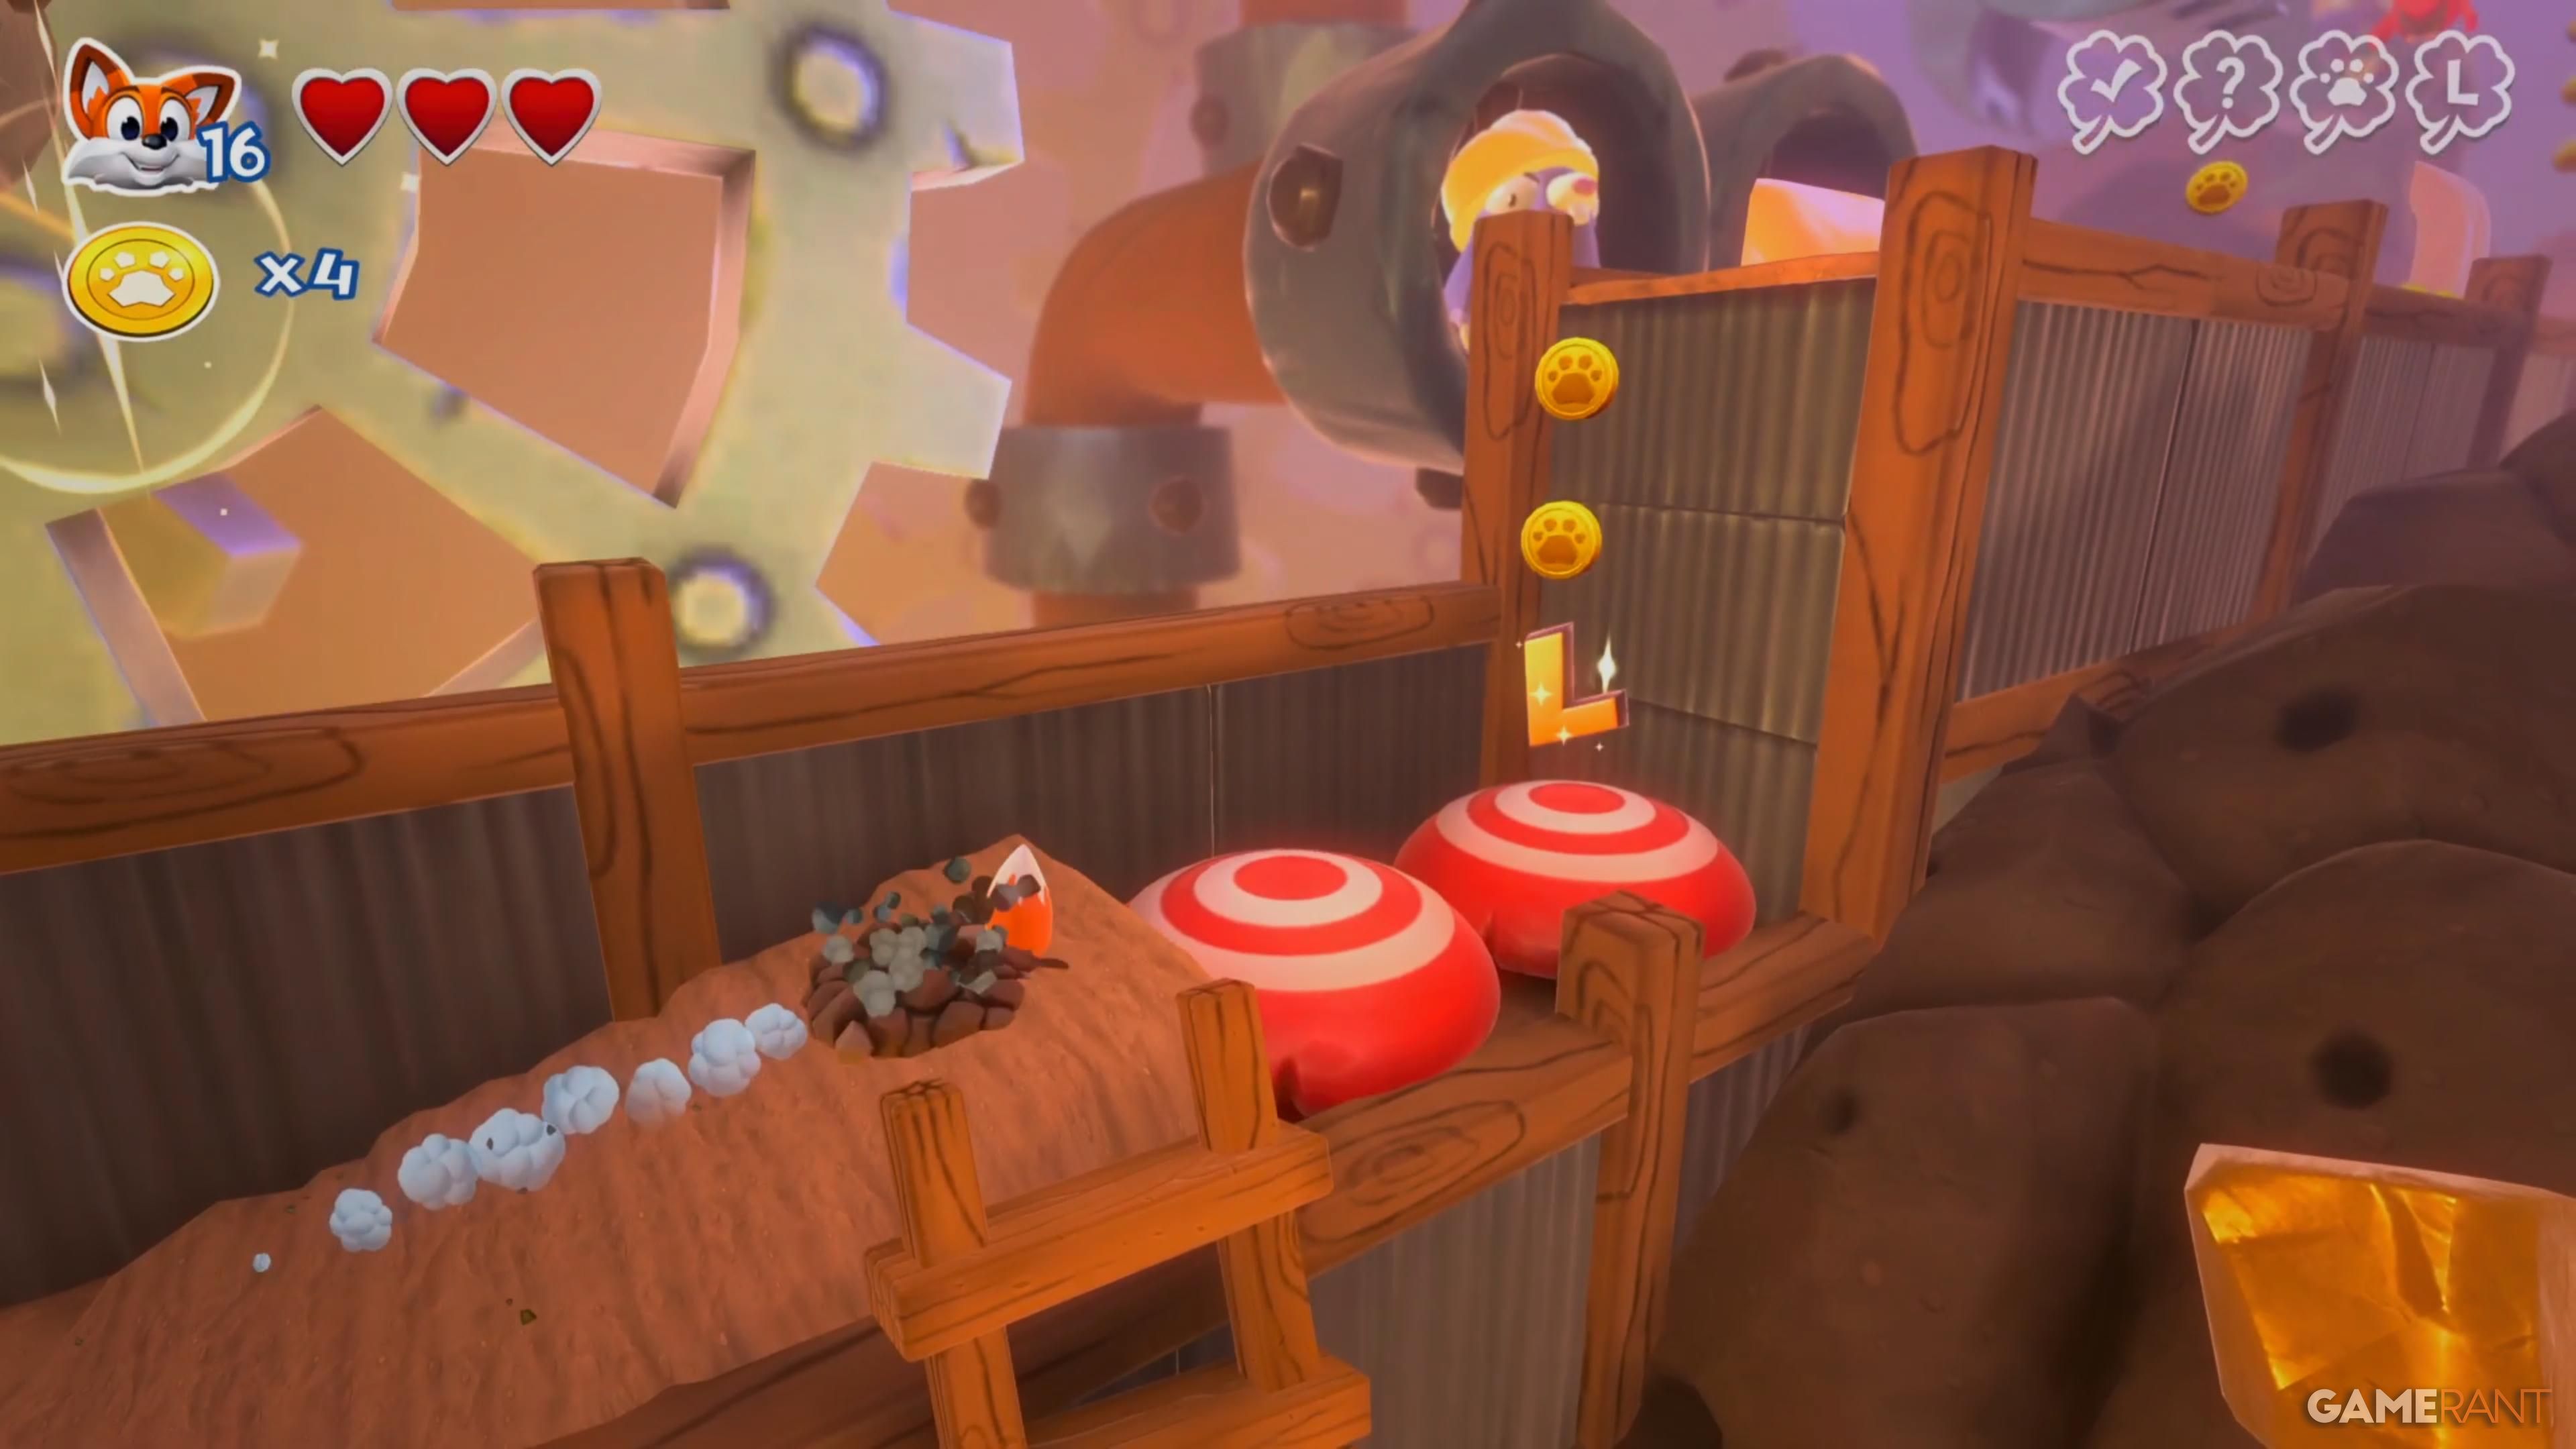
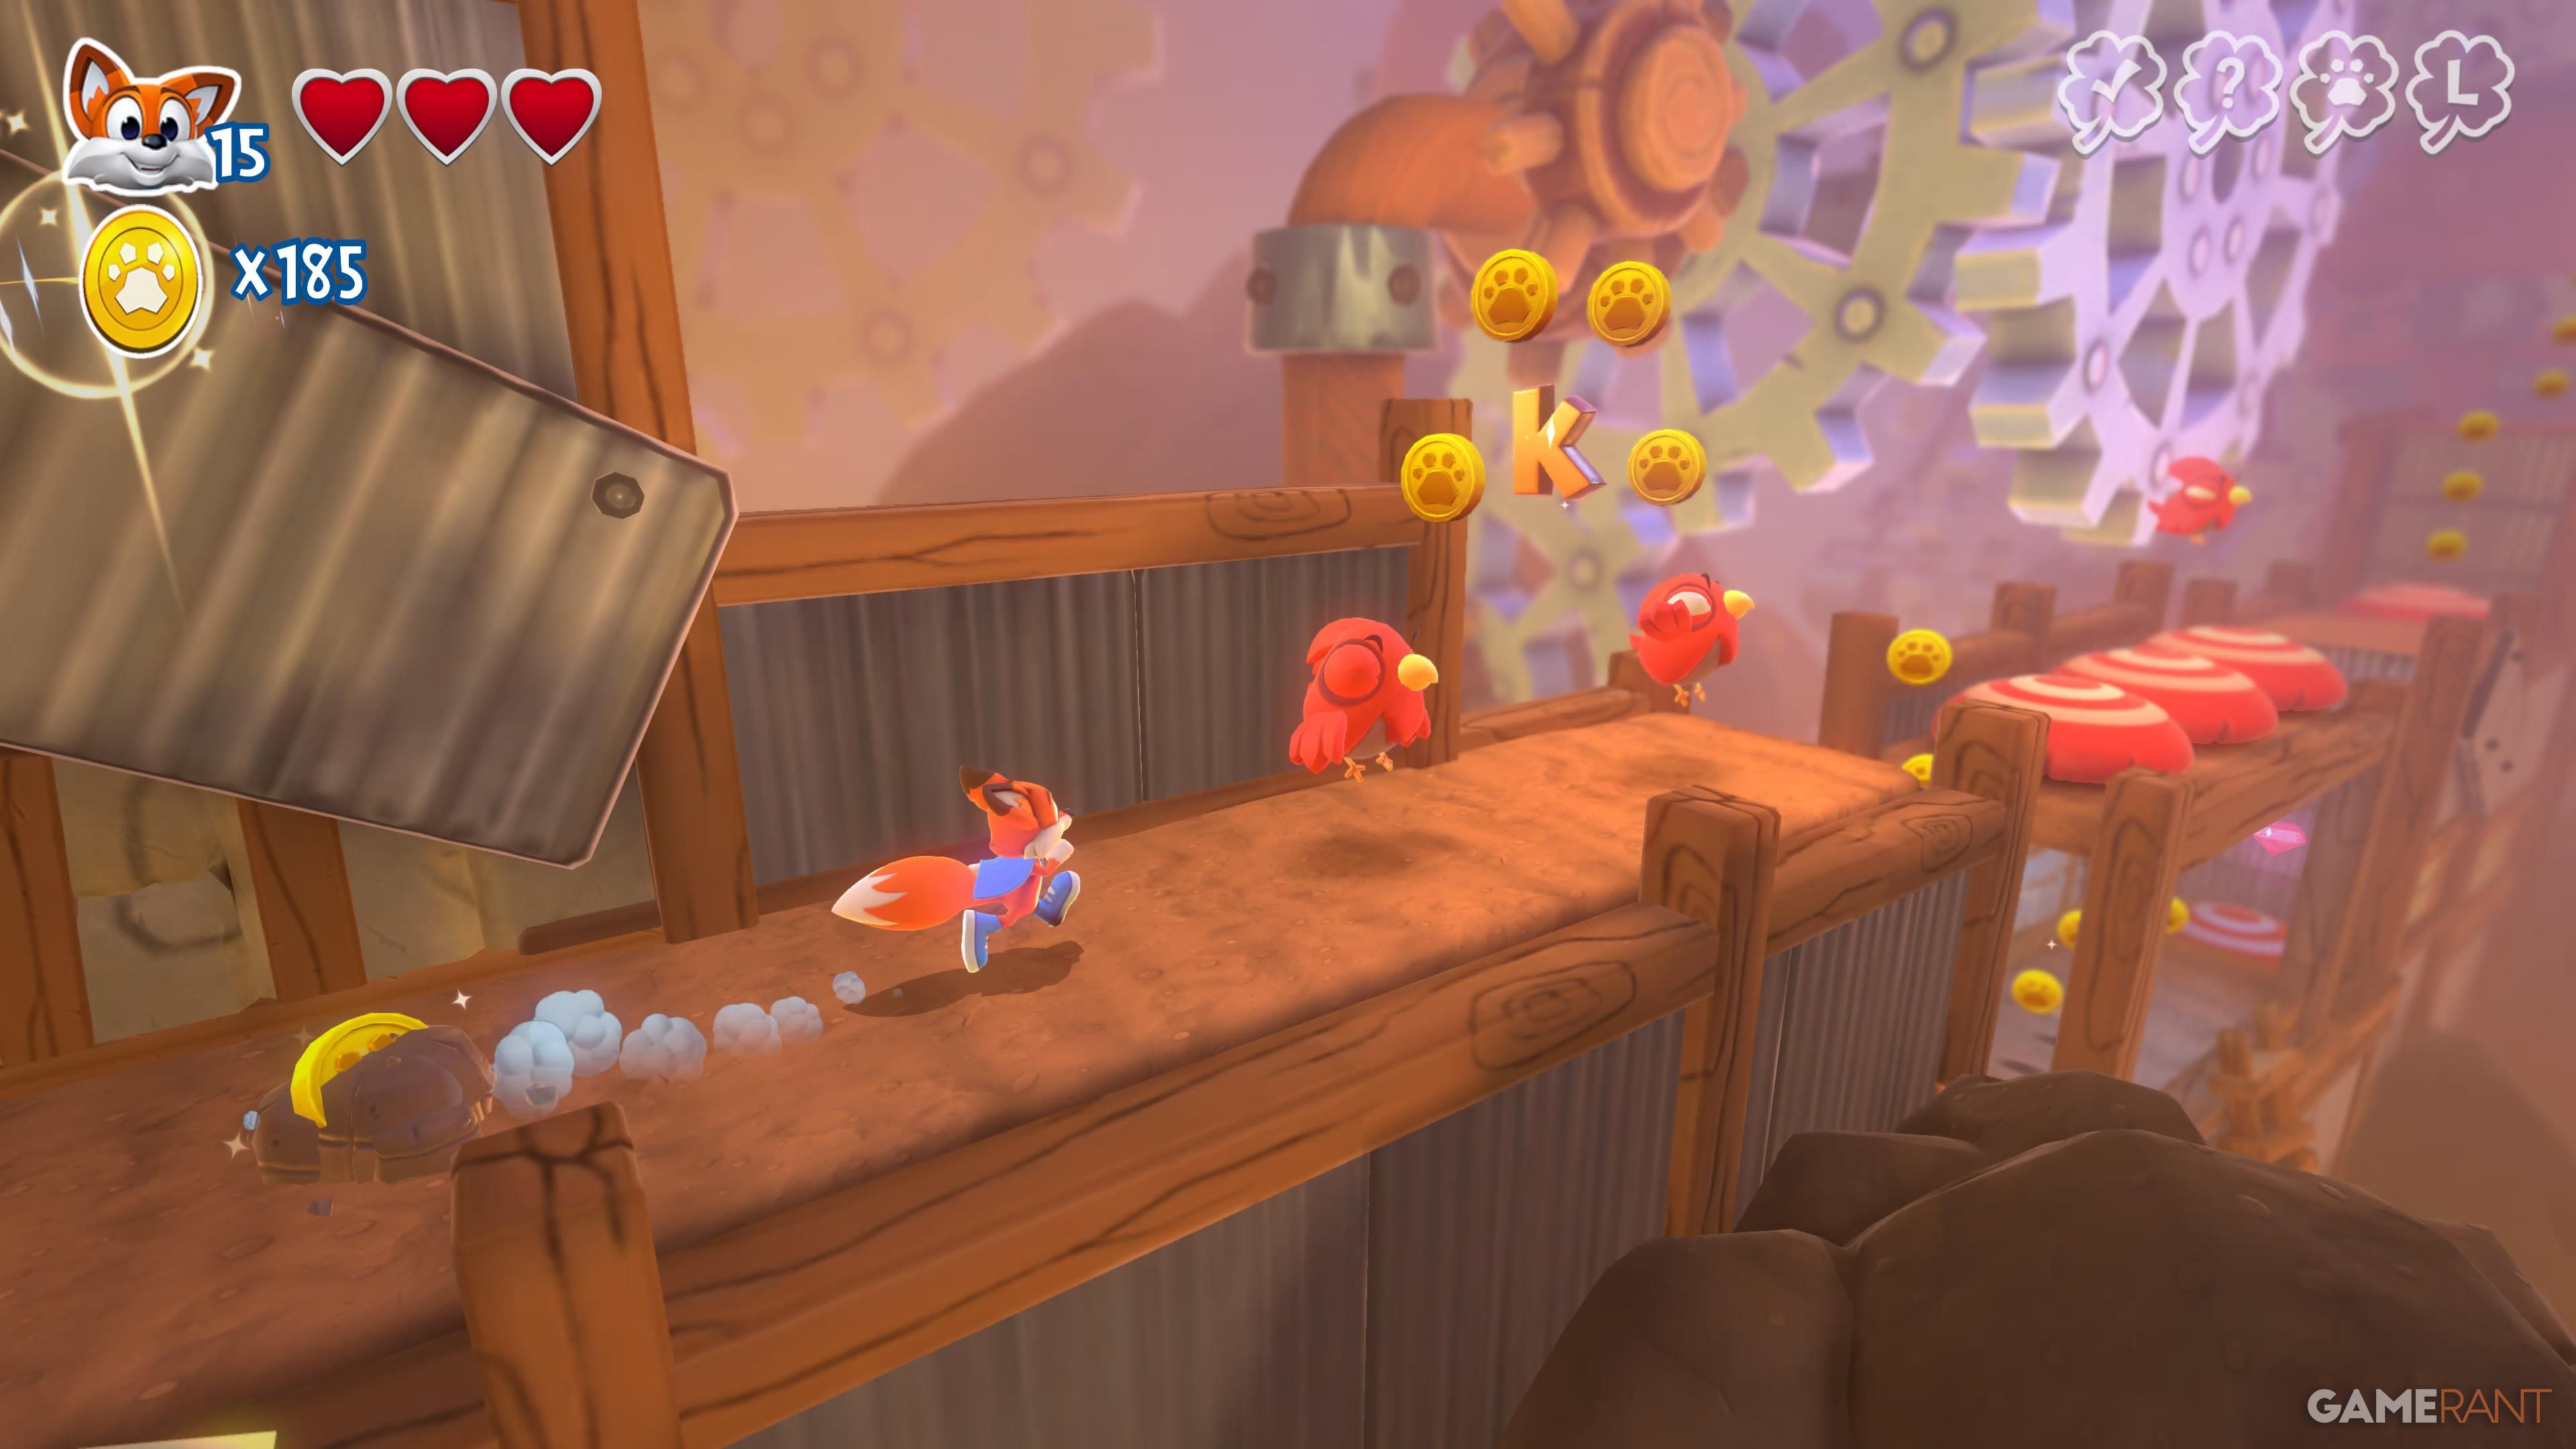
| K |
 |
Go left until you can enter a foxhole, which leads to a cage containing the second golem head. You can jump up using the jump pad to grab the letter. |
| Y |
 |
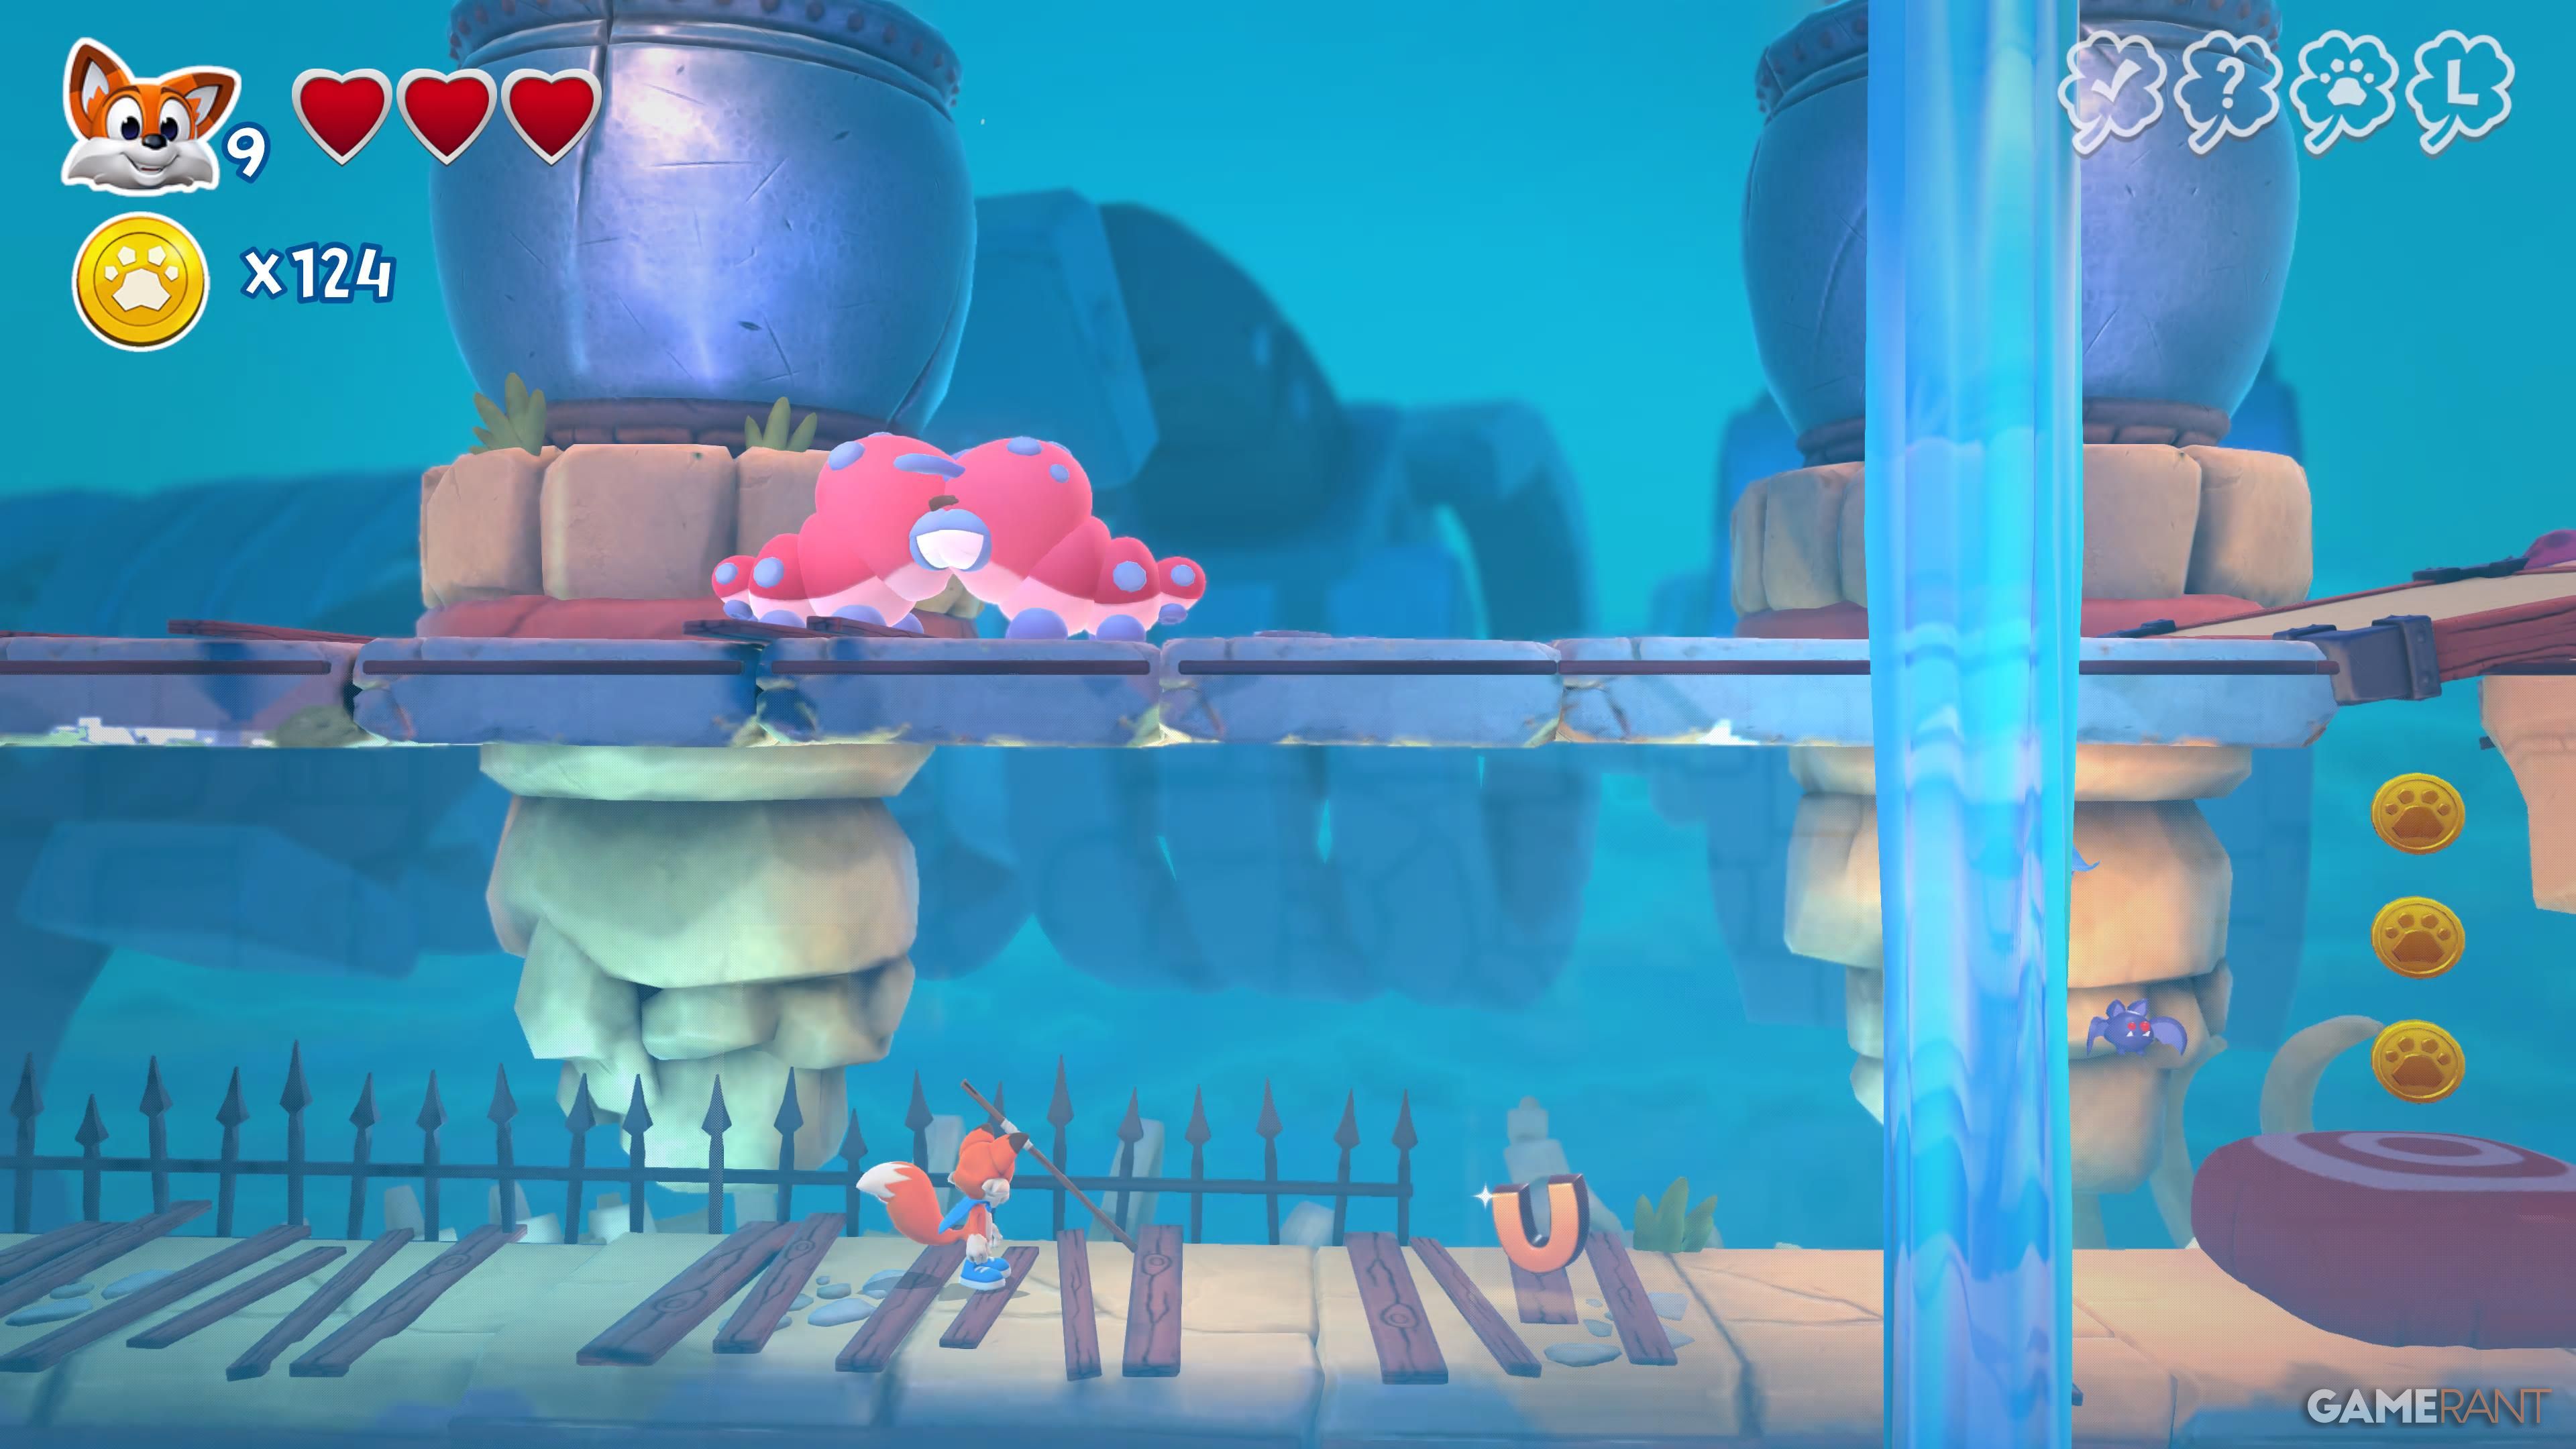
Take the extreme right path and go up the jump pad to find a wooden door you can attack, revealing the letter behind it. |
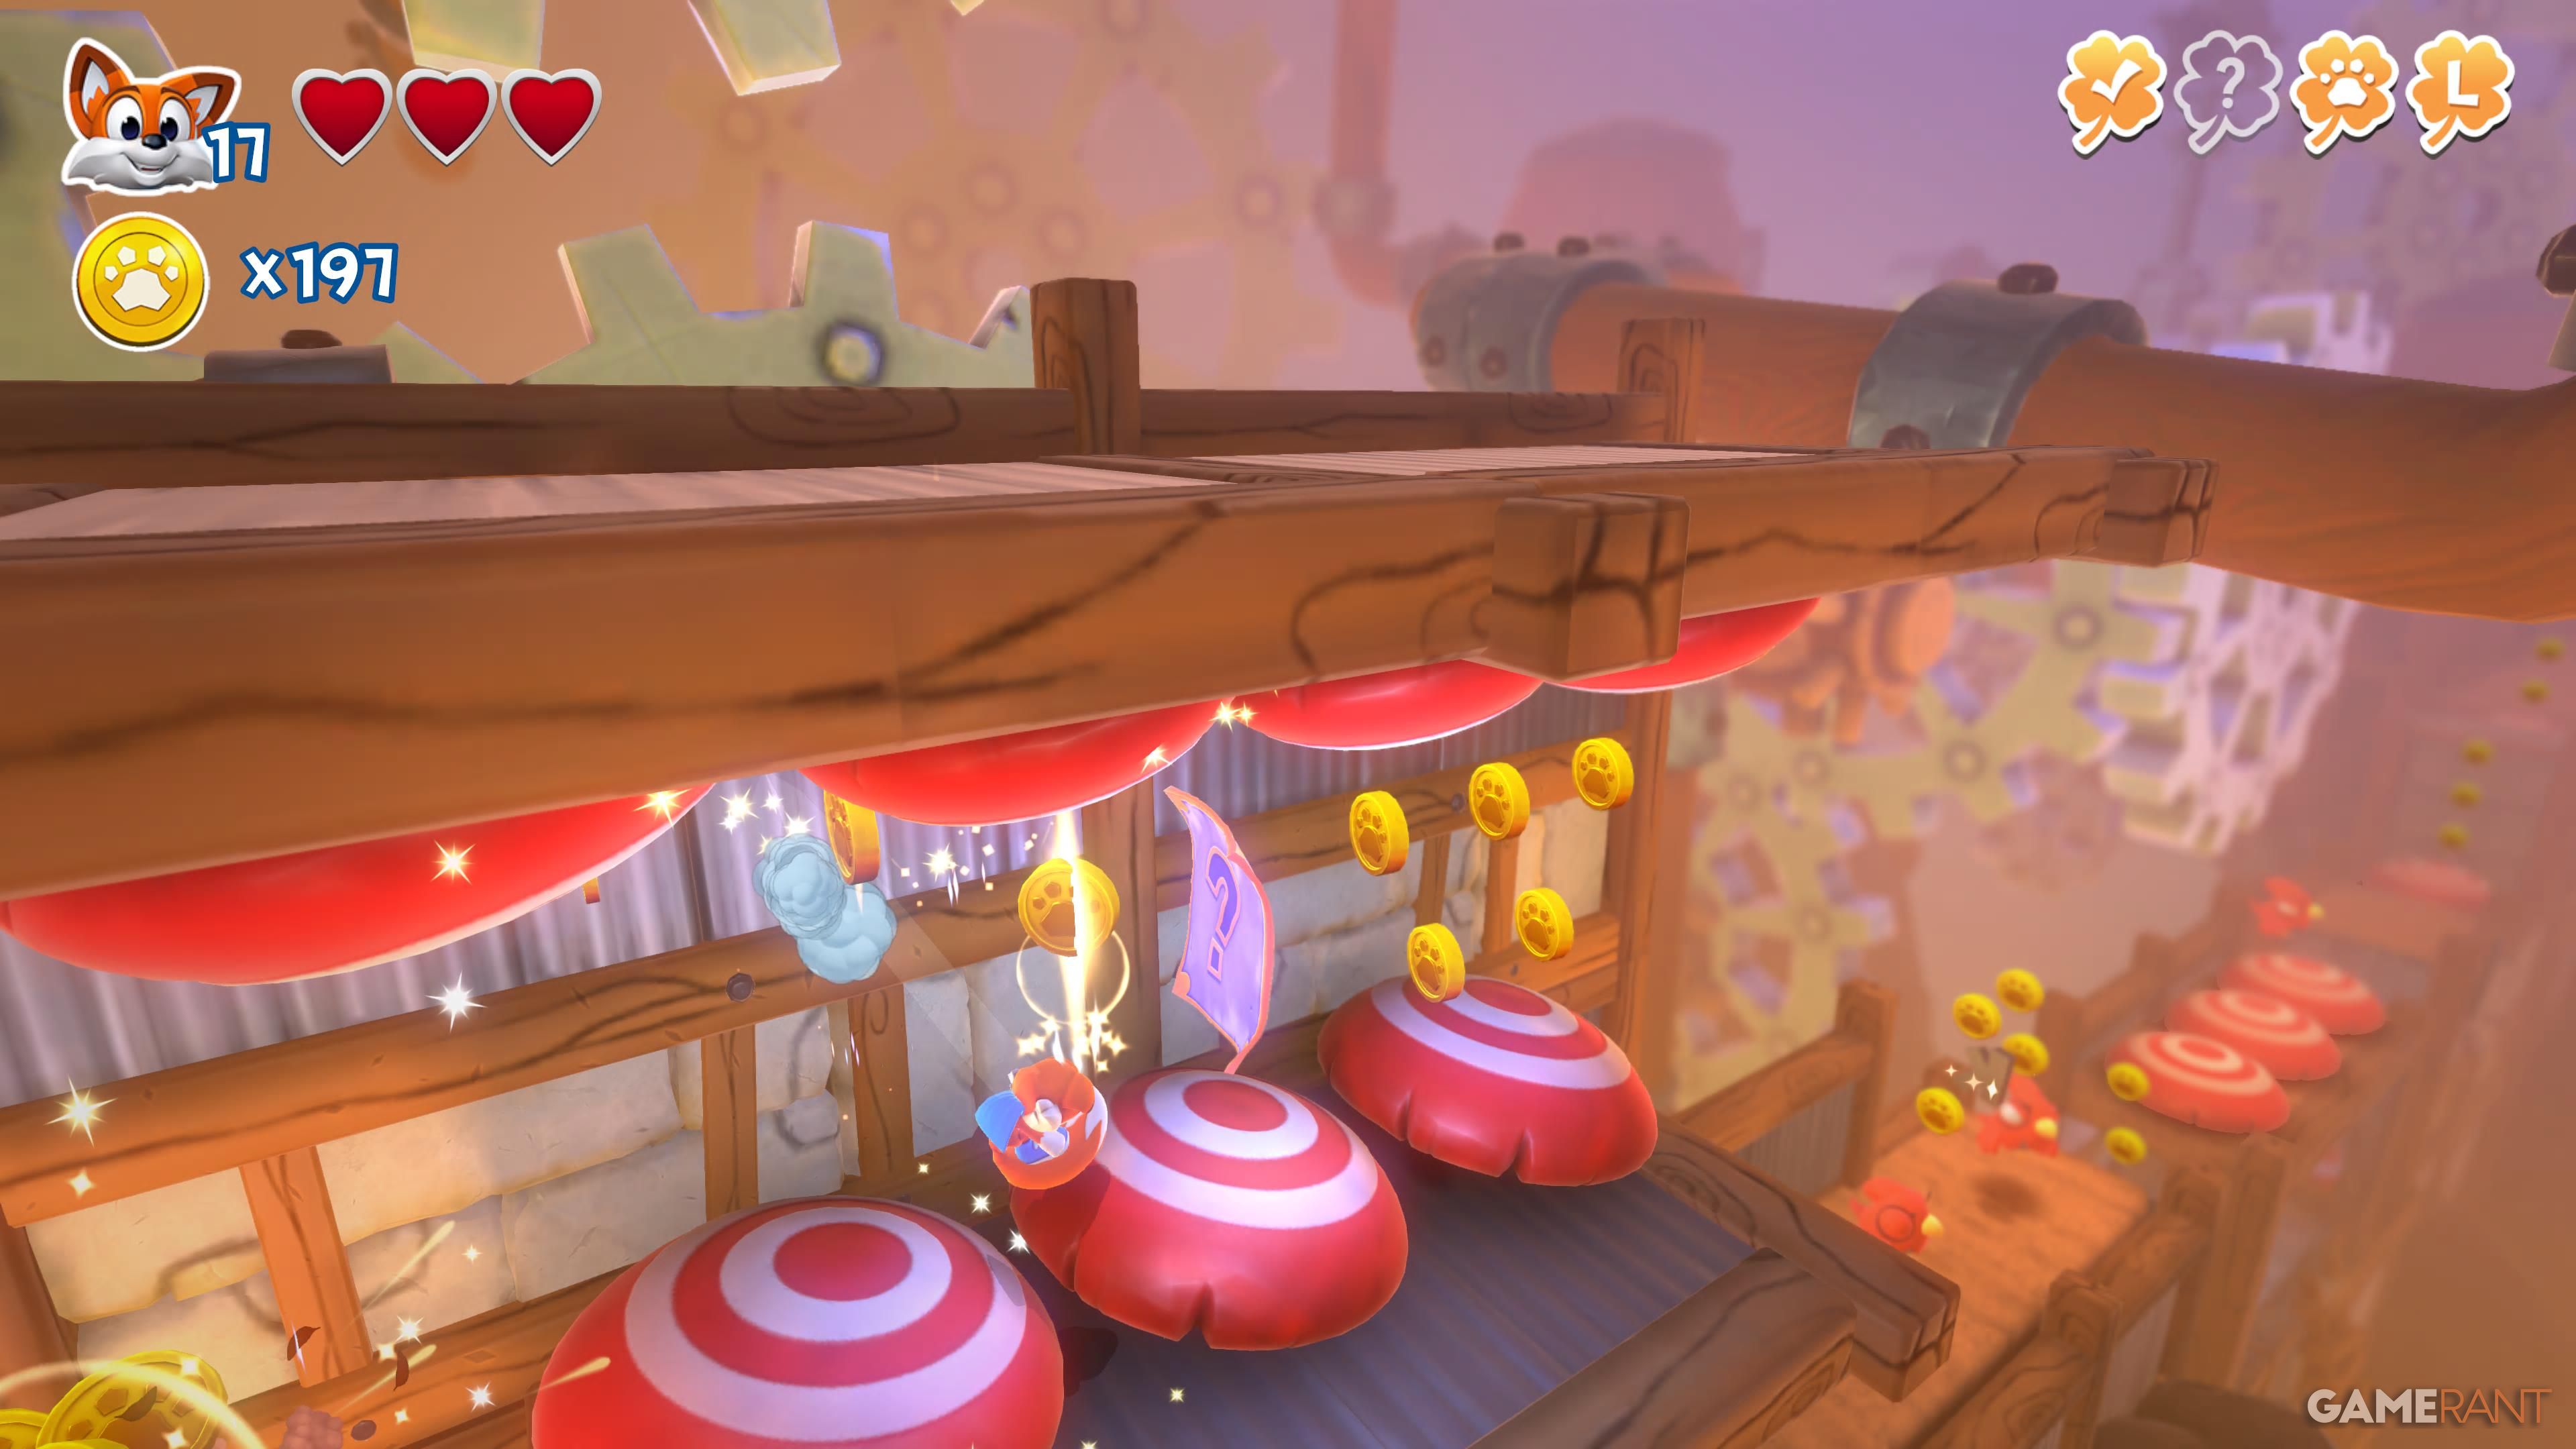
| Hidden Page |
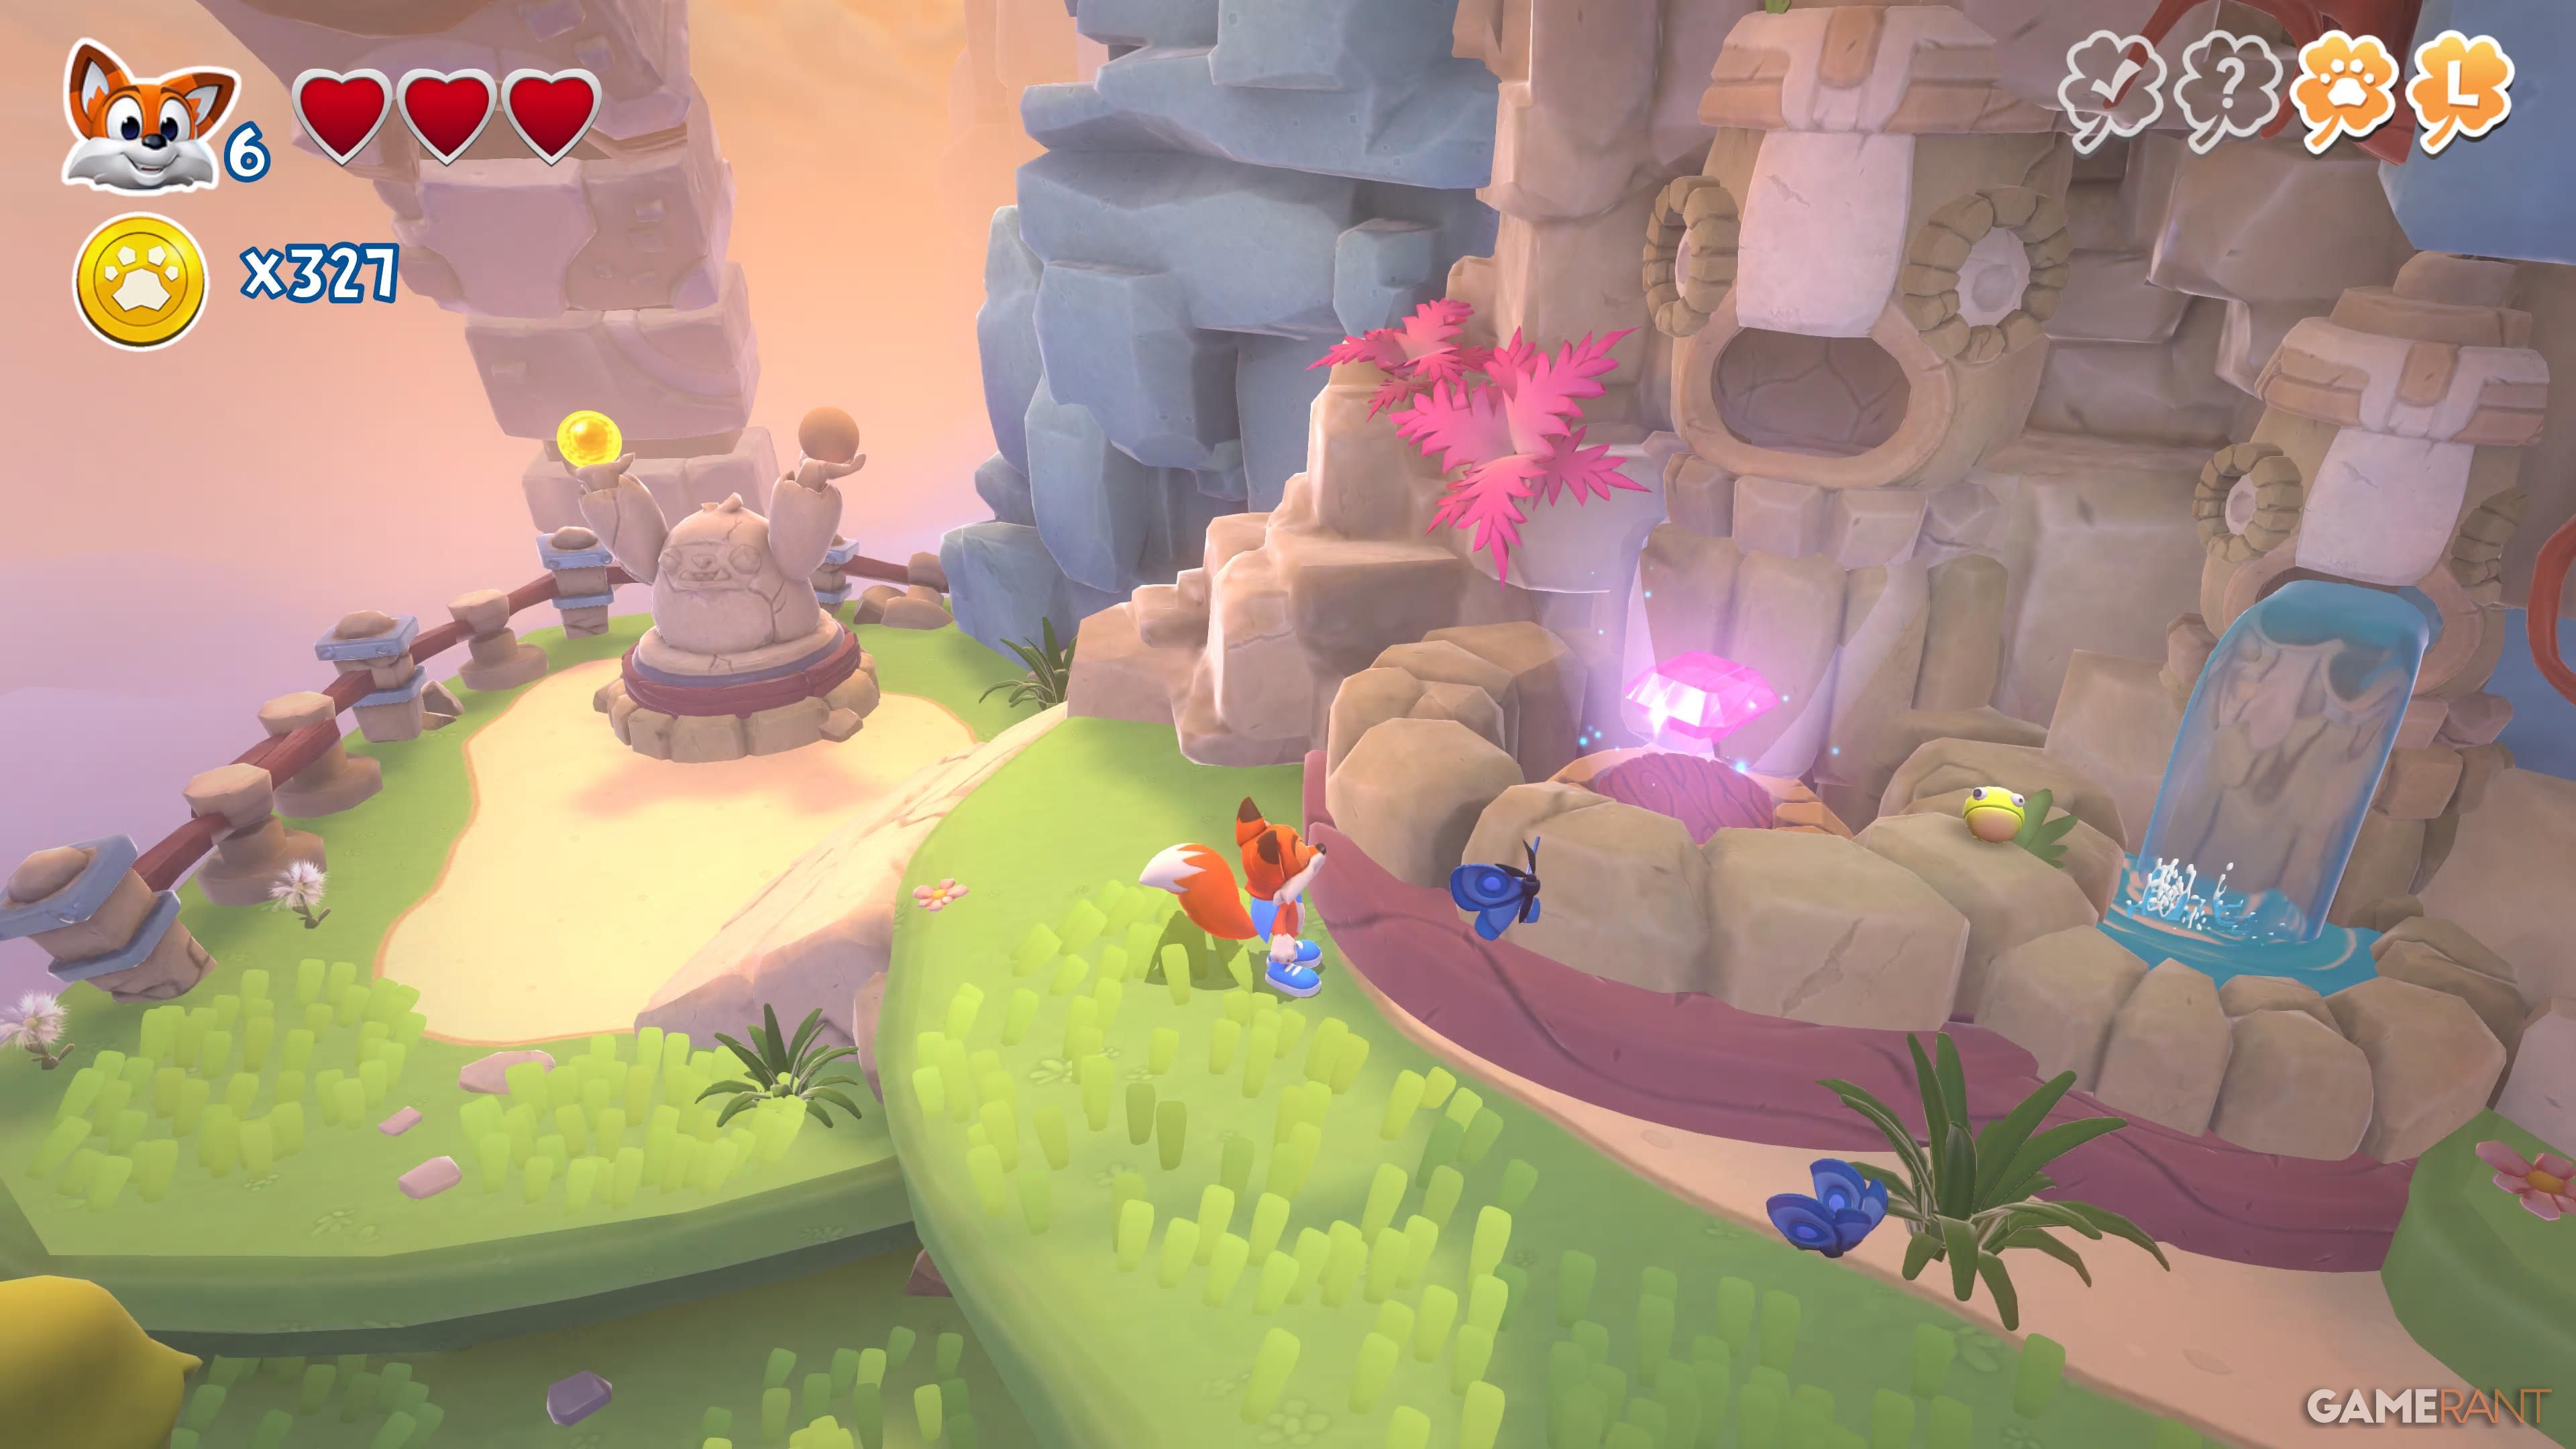 |
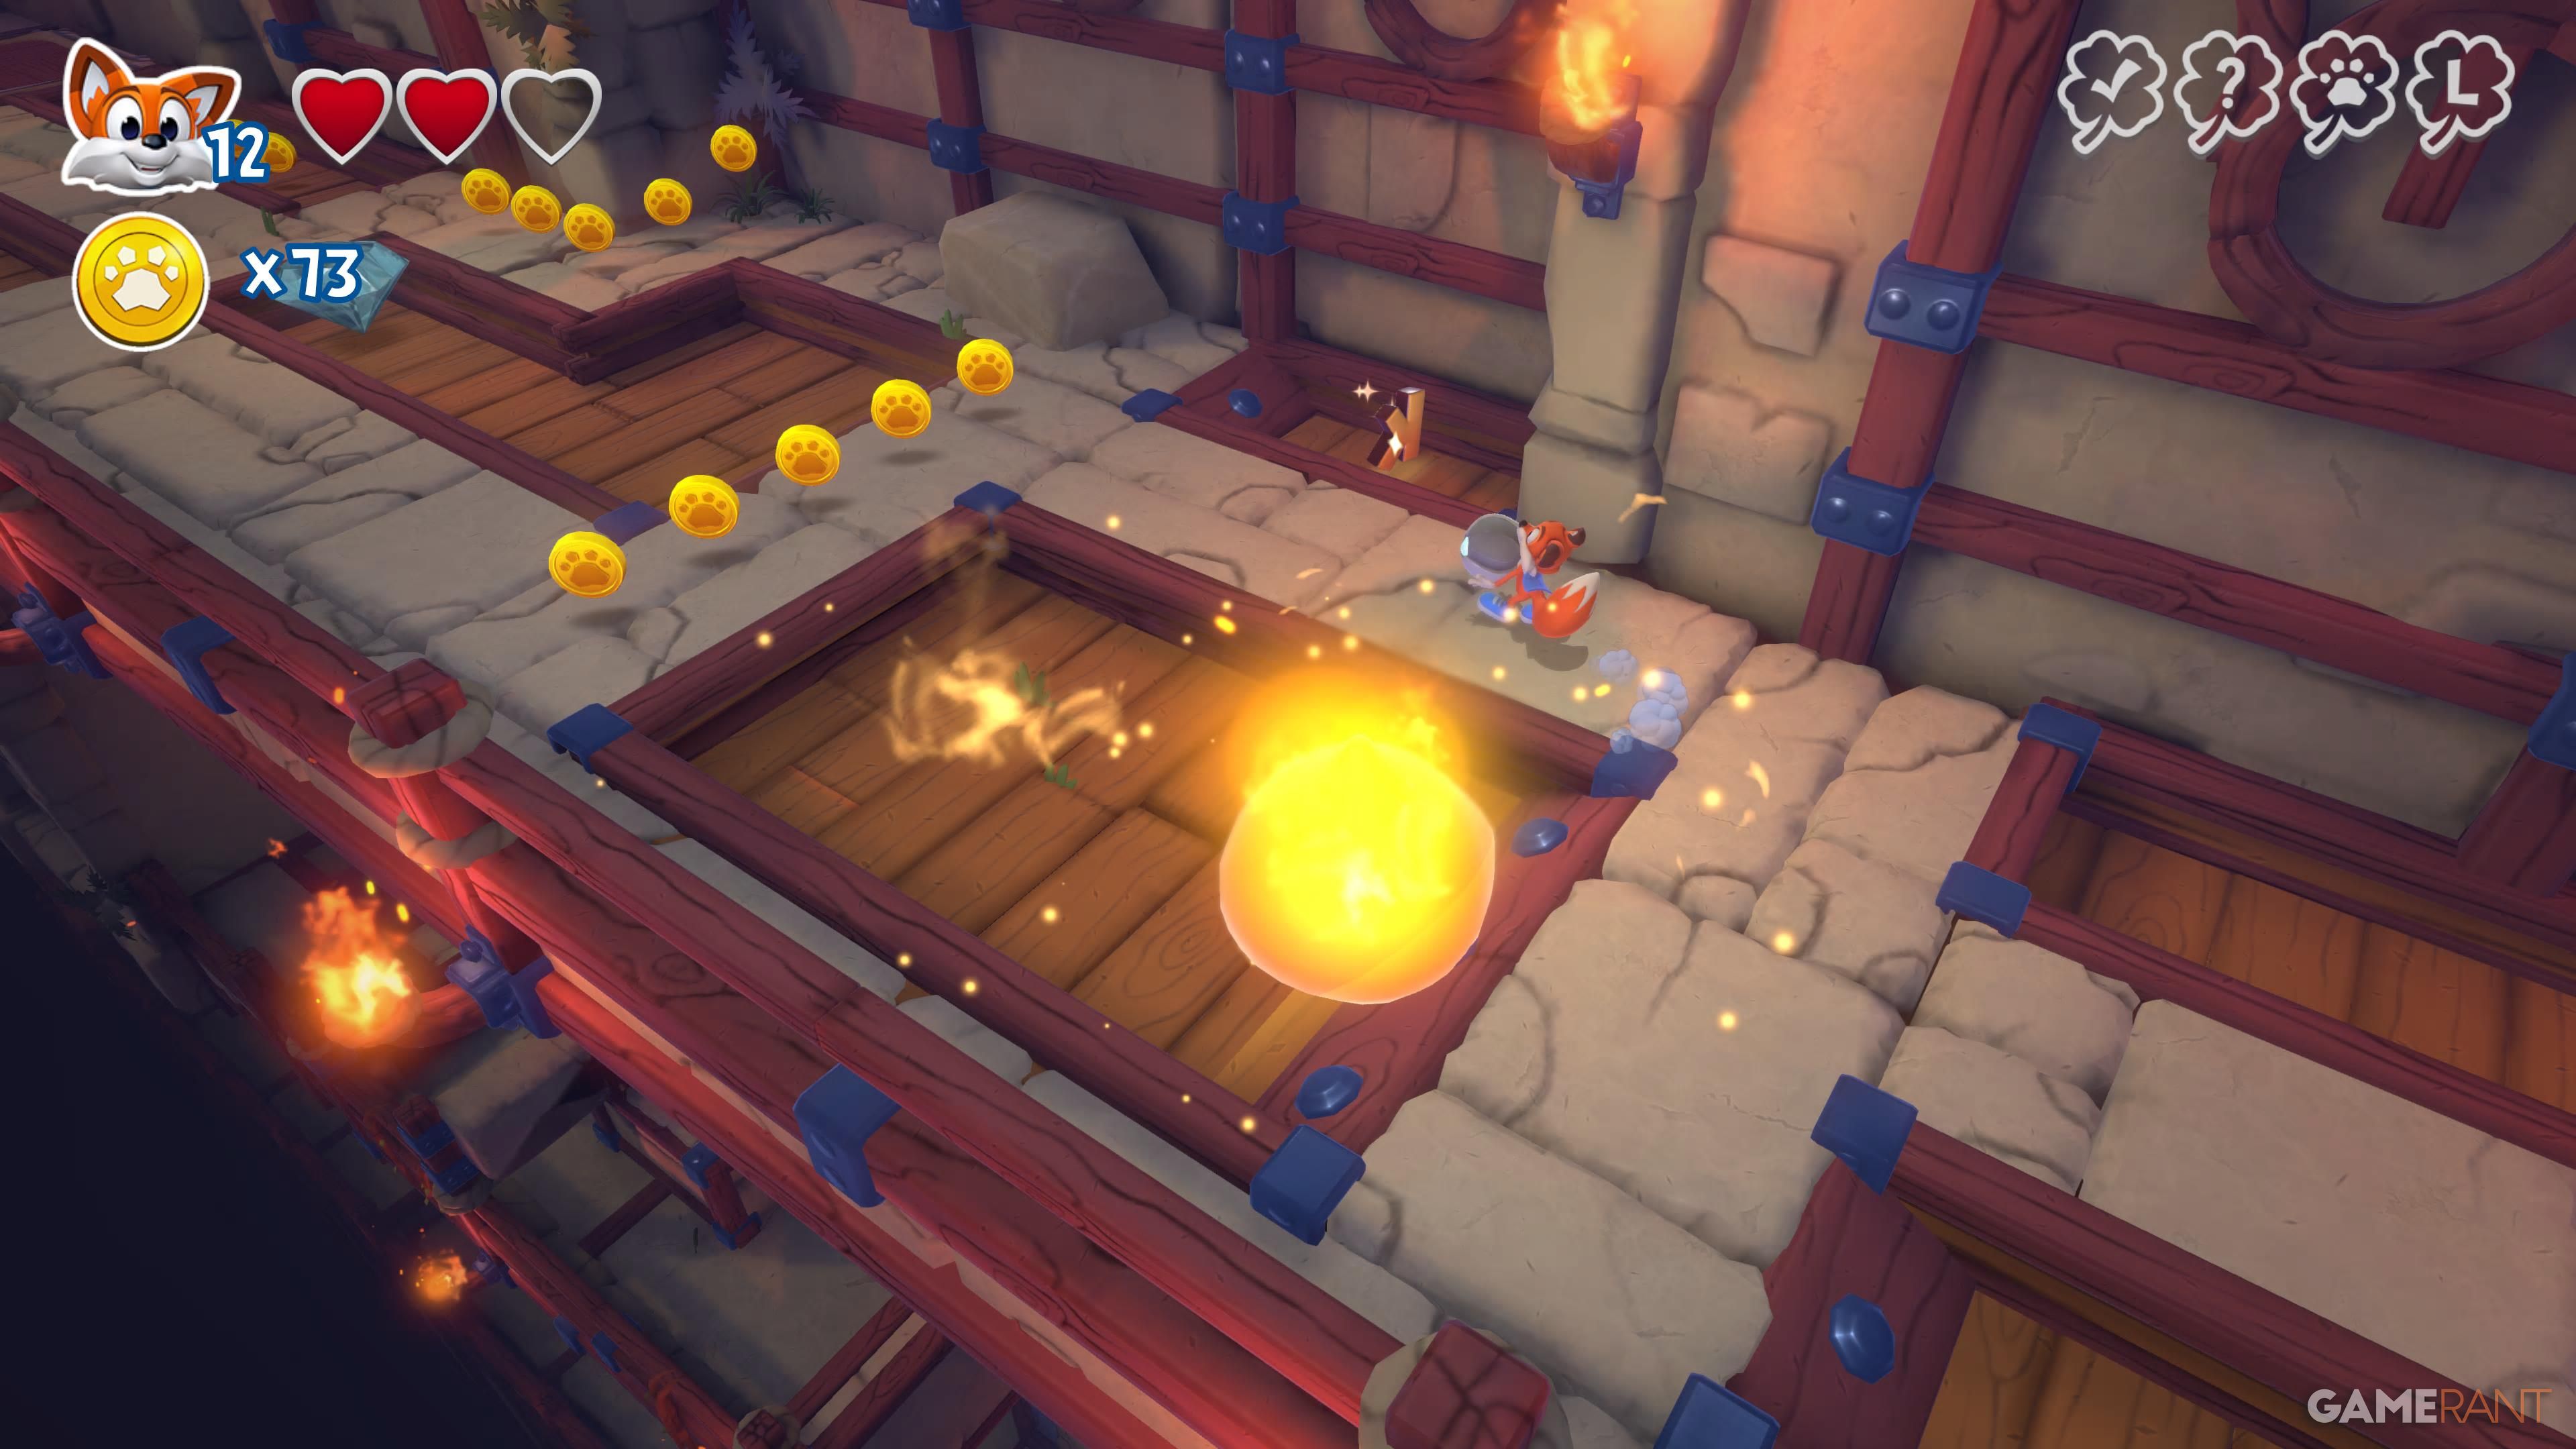
Grab the golden ball from the right corner of the level and take it to the statue just before the fire braziers. This leads to a secret room where you must fight a few enemies before being able to grab the hidden page at the end. |
Aqueducts
| Letters/Page | Image | Location |
|---|---|---|
| L |
 |
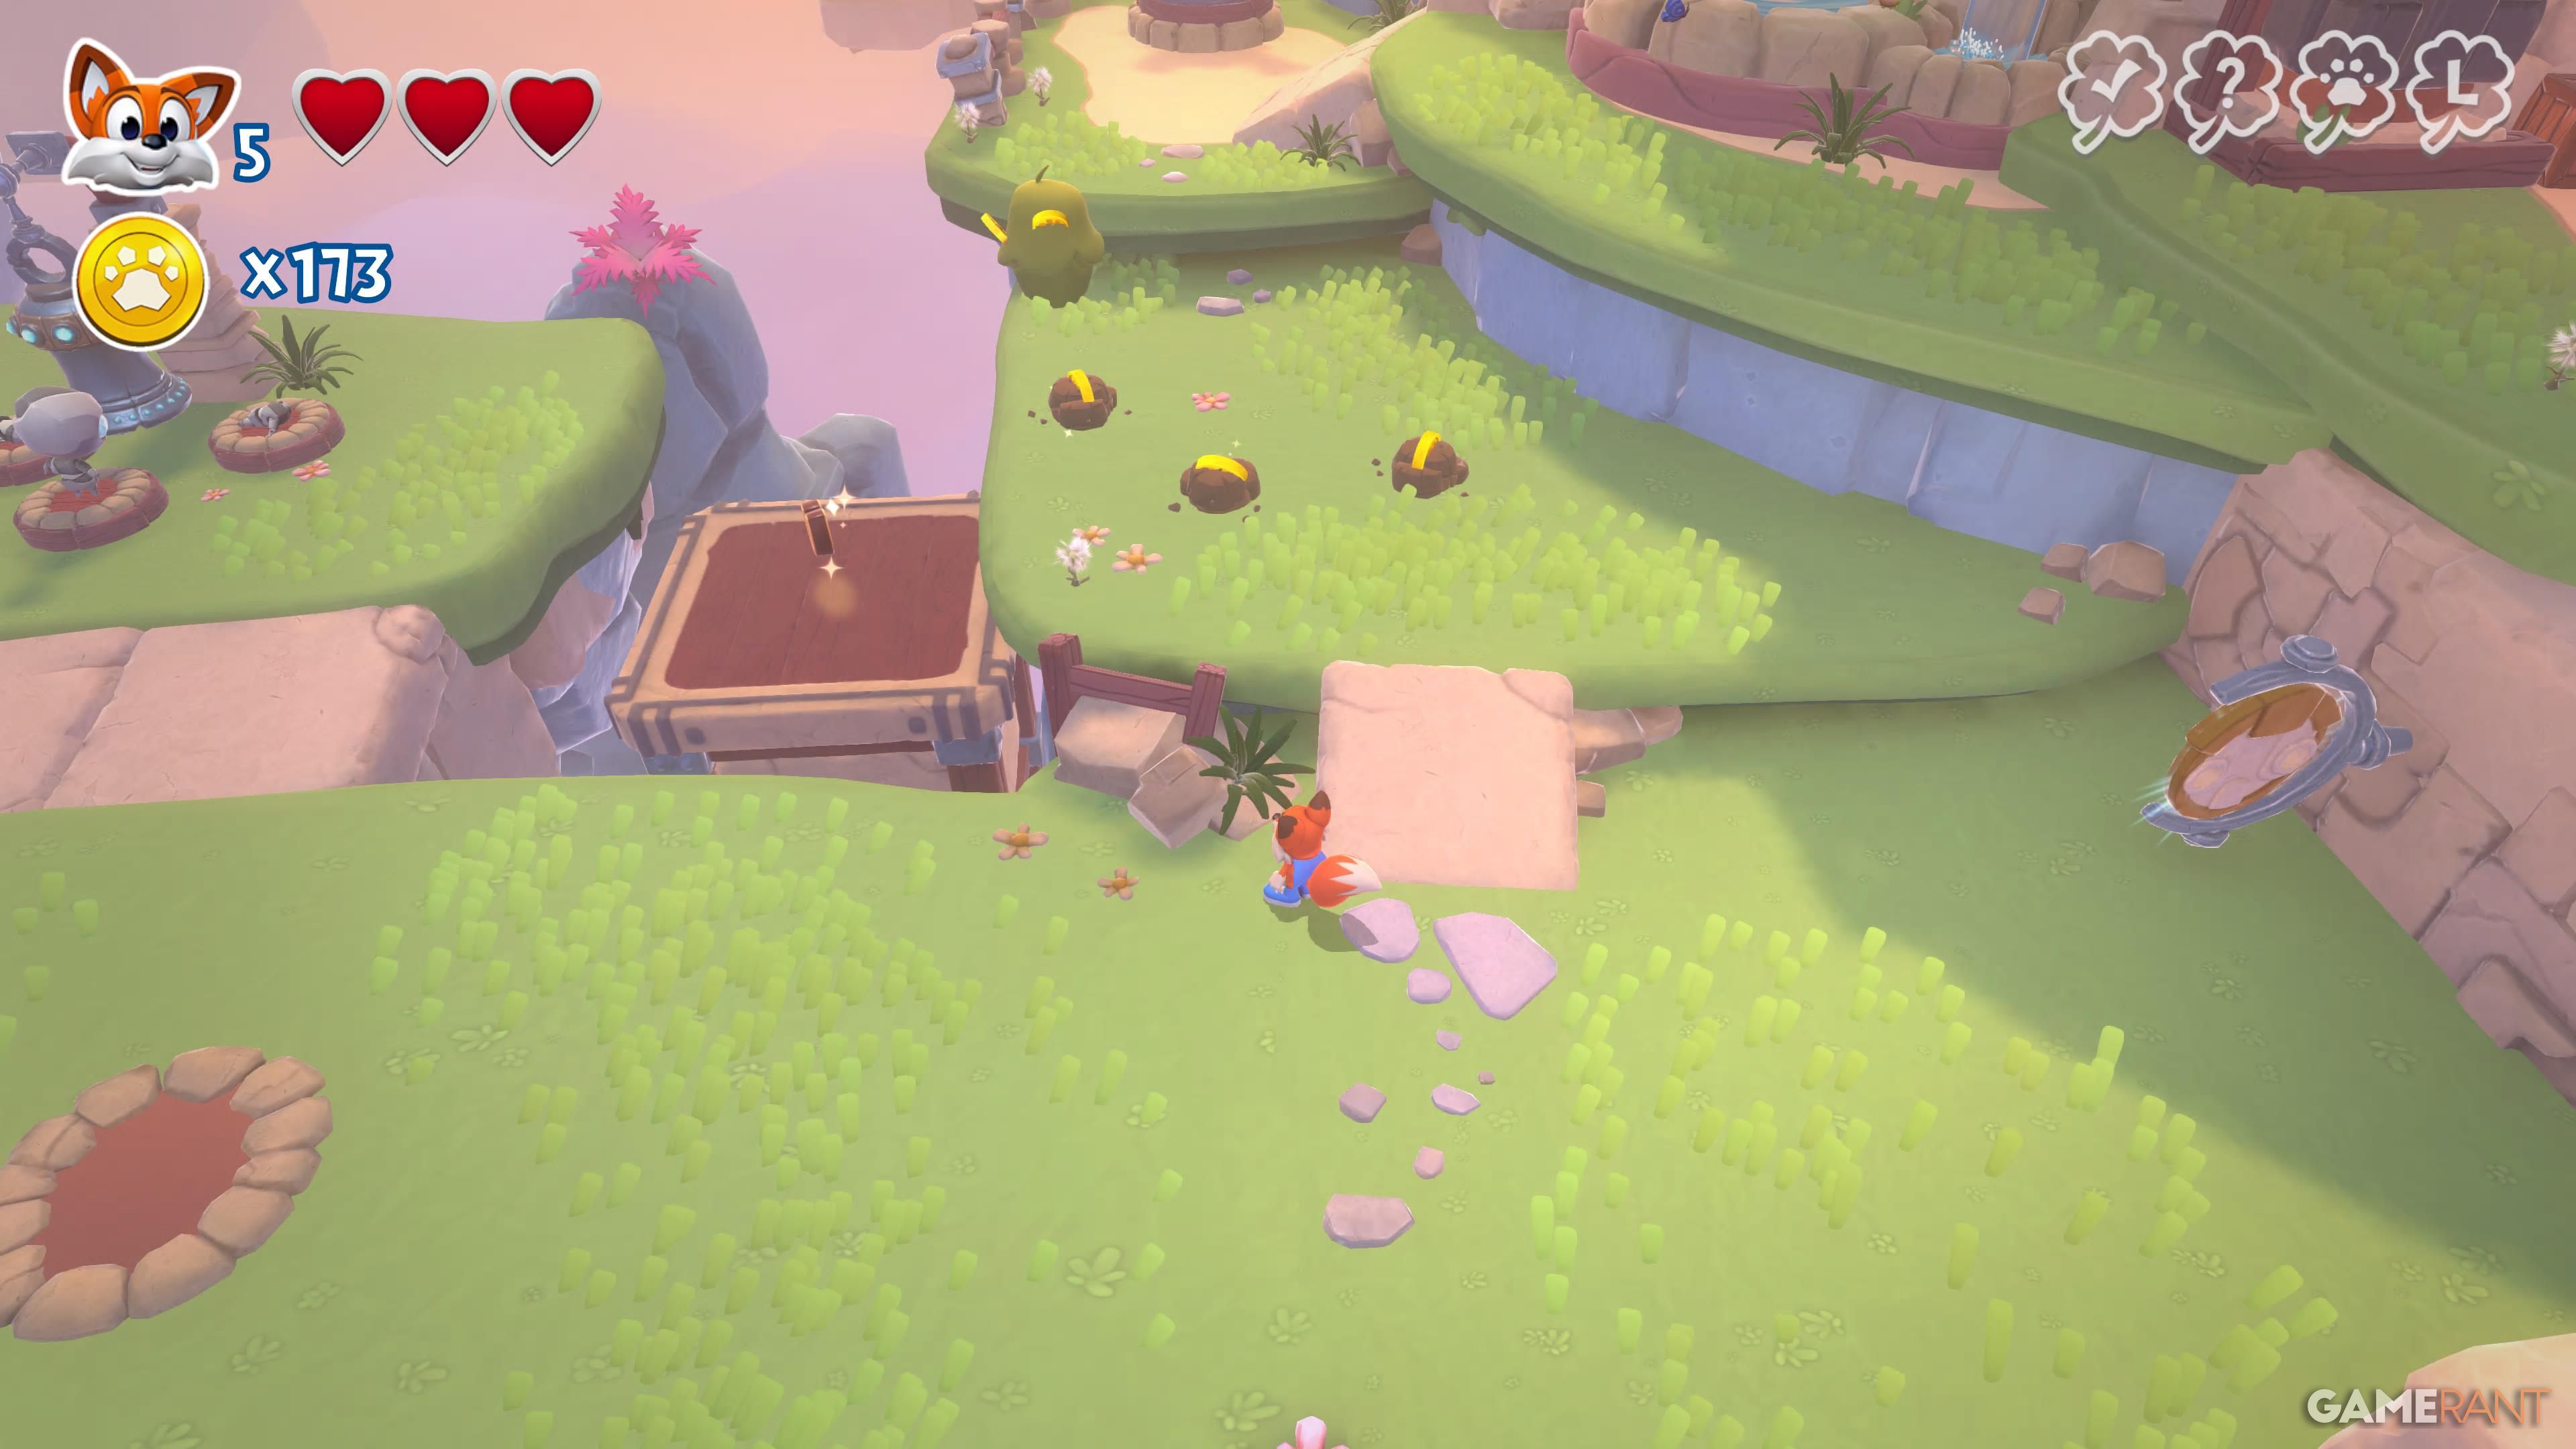
At the start of the level, head left to find switches you can stomp; this will get you the letter. |
| U |
 |
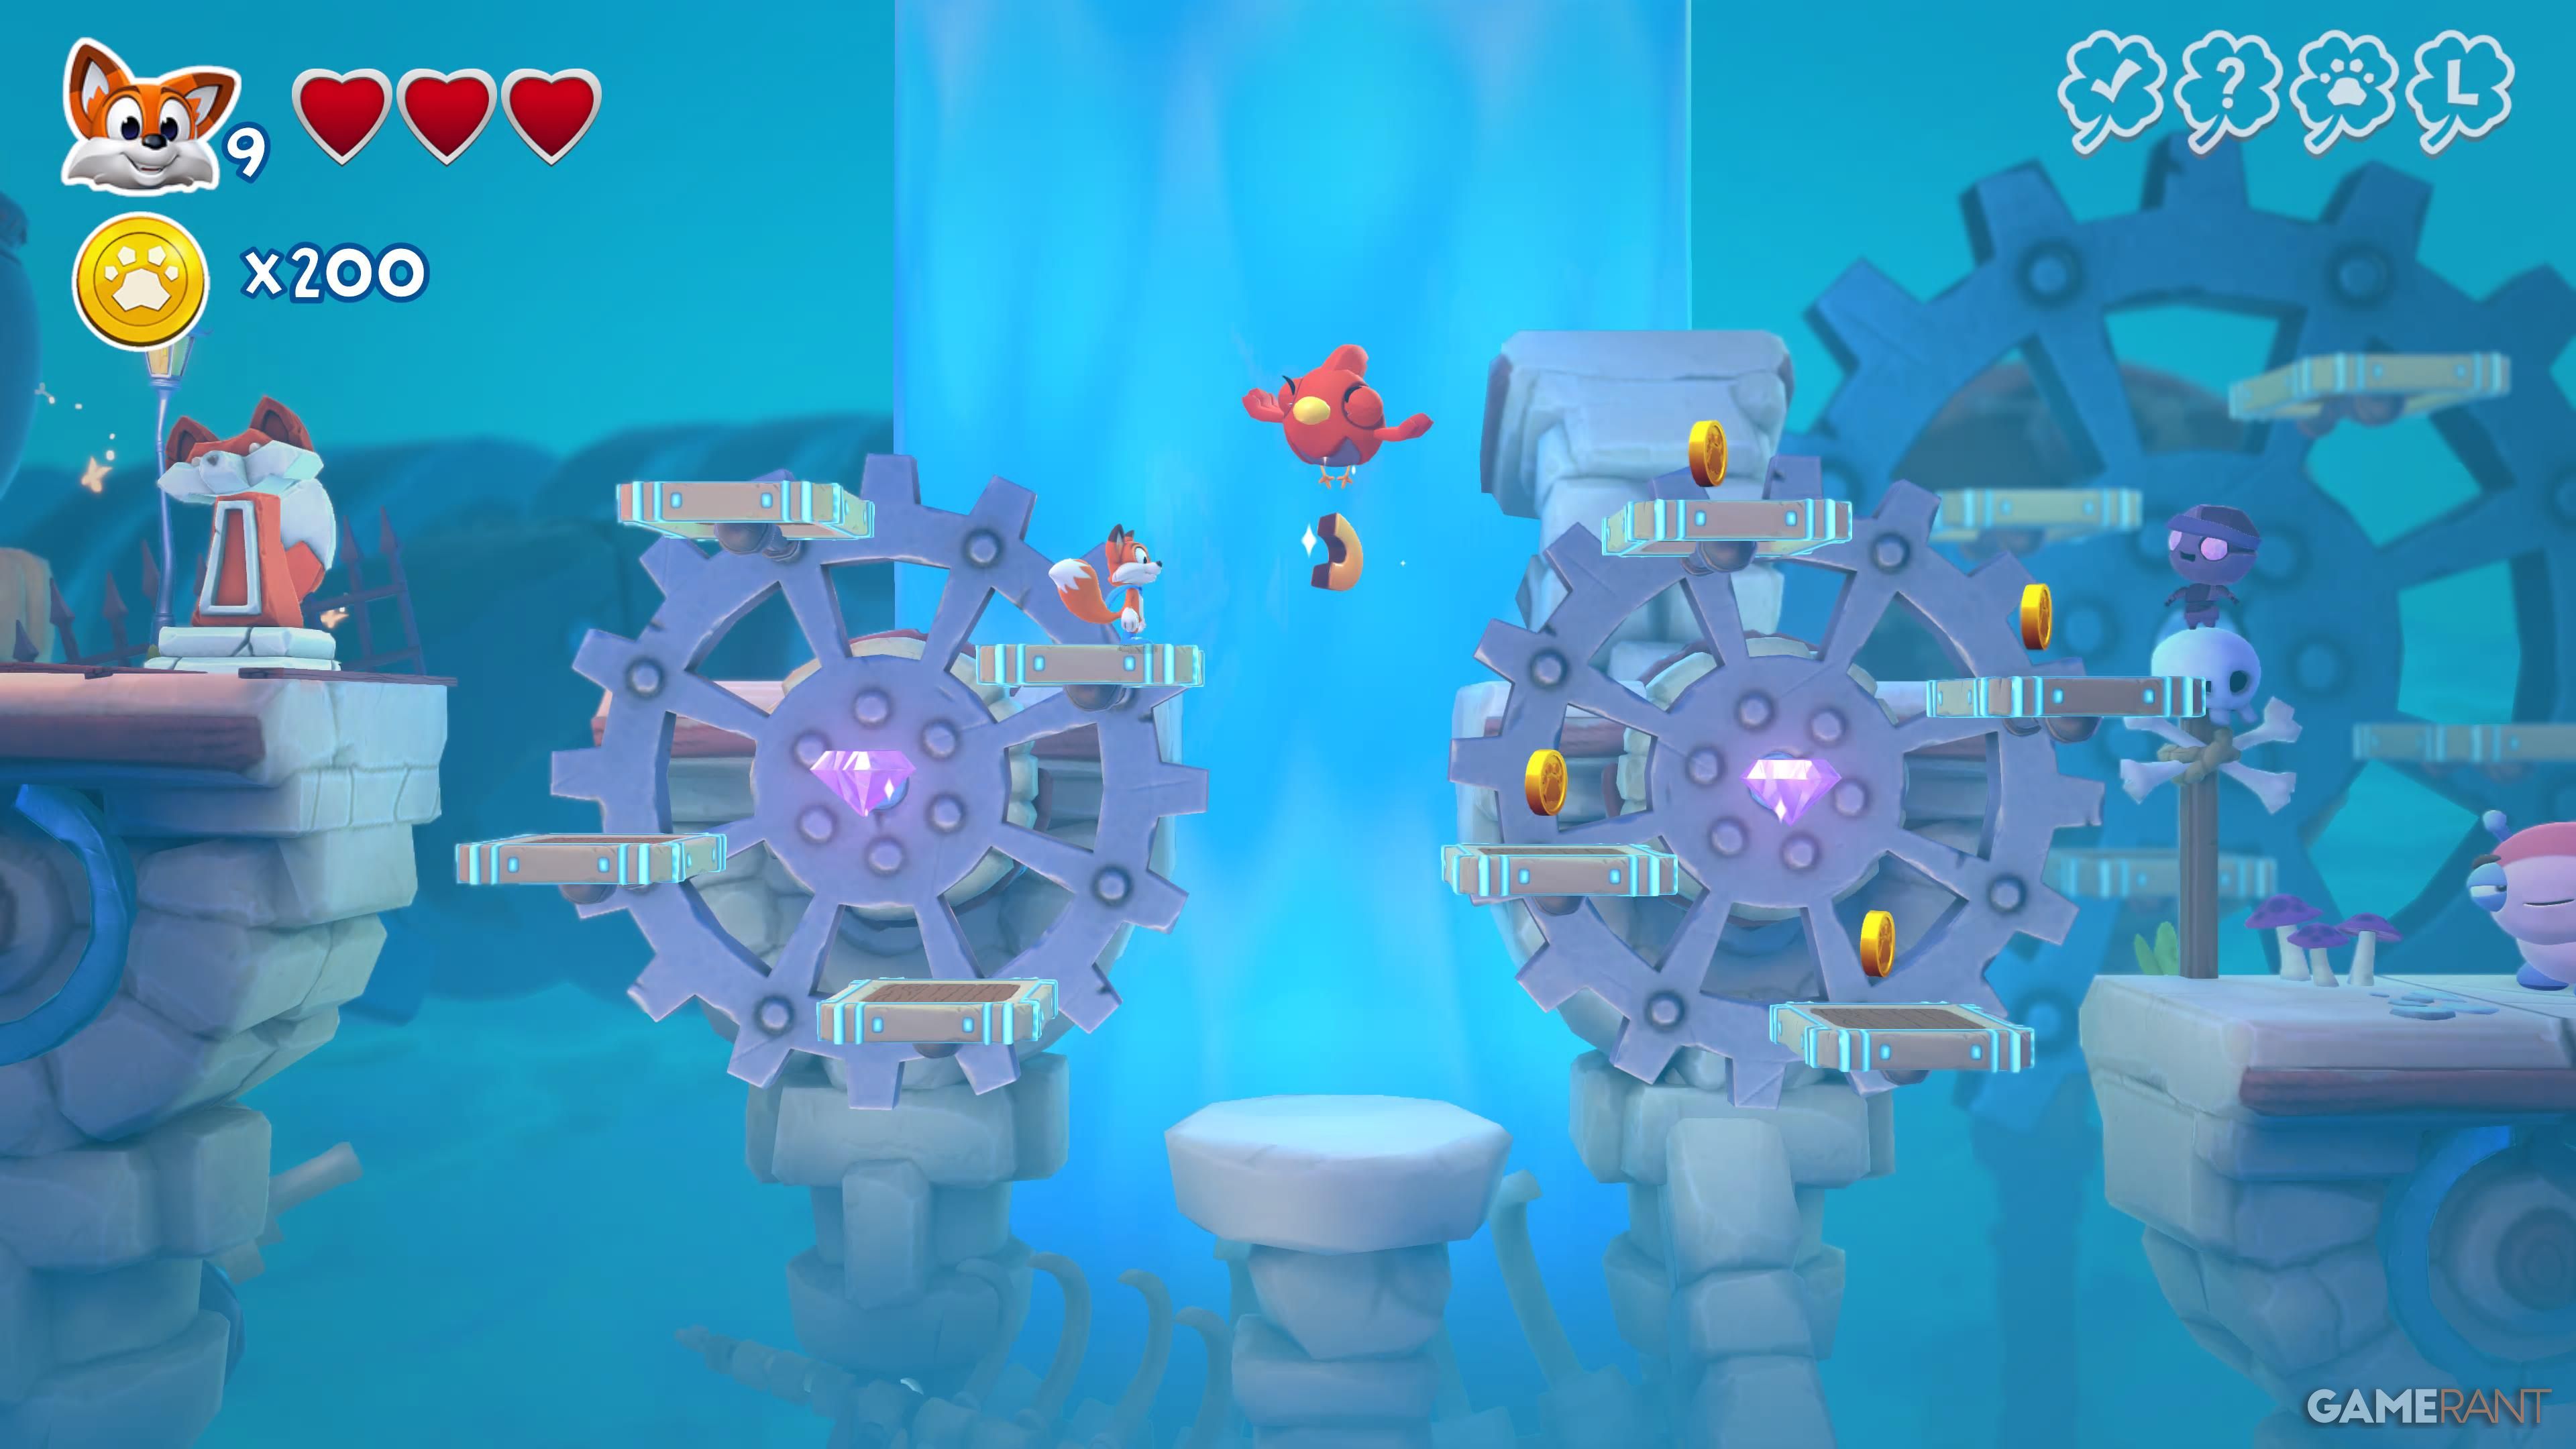
When you reach the area with the two trap platforms and an orange bird going up and down, check out the path on the lower level in the bottom right. This leads to the second letter. |
| C |
 |
Immediately after the first checkpoint, the letter is underneath the floating bird. |
| Hidden Page |
 |
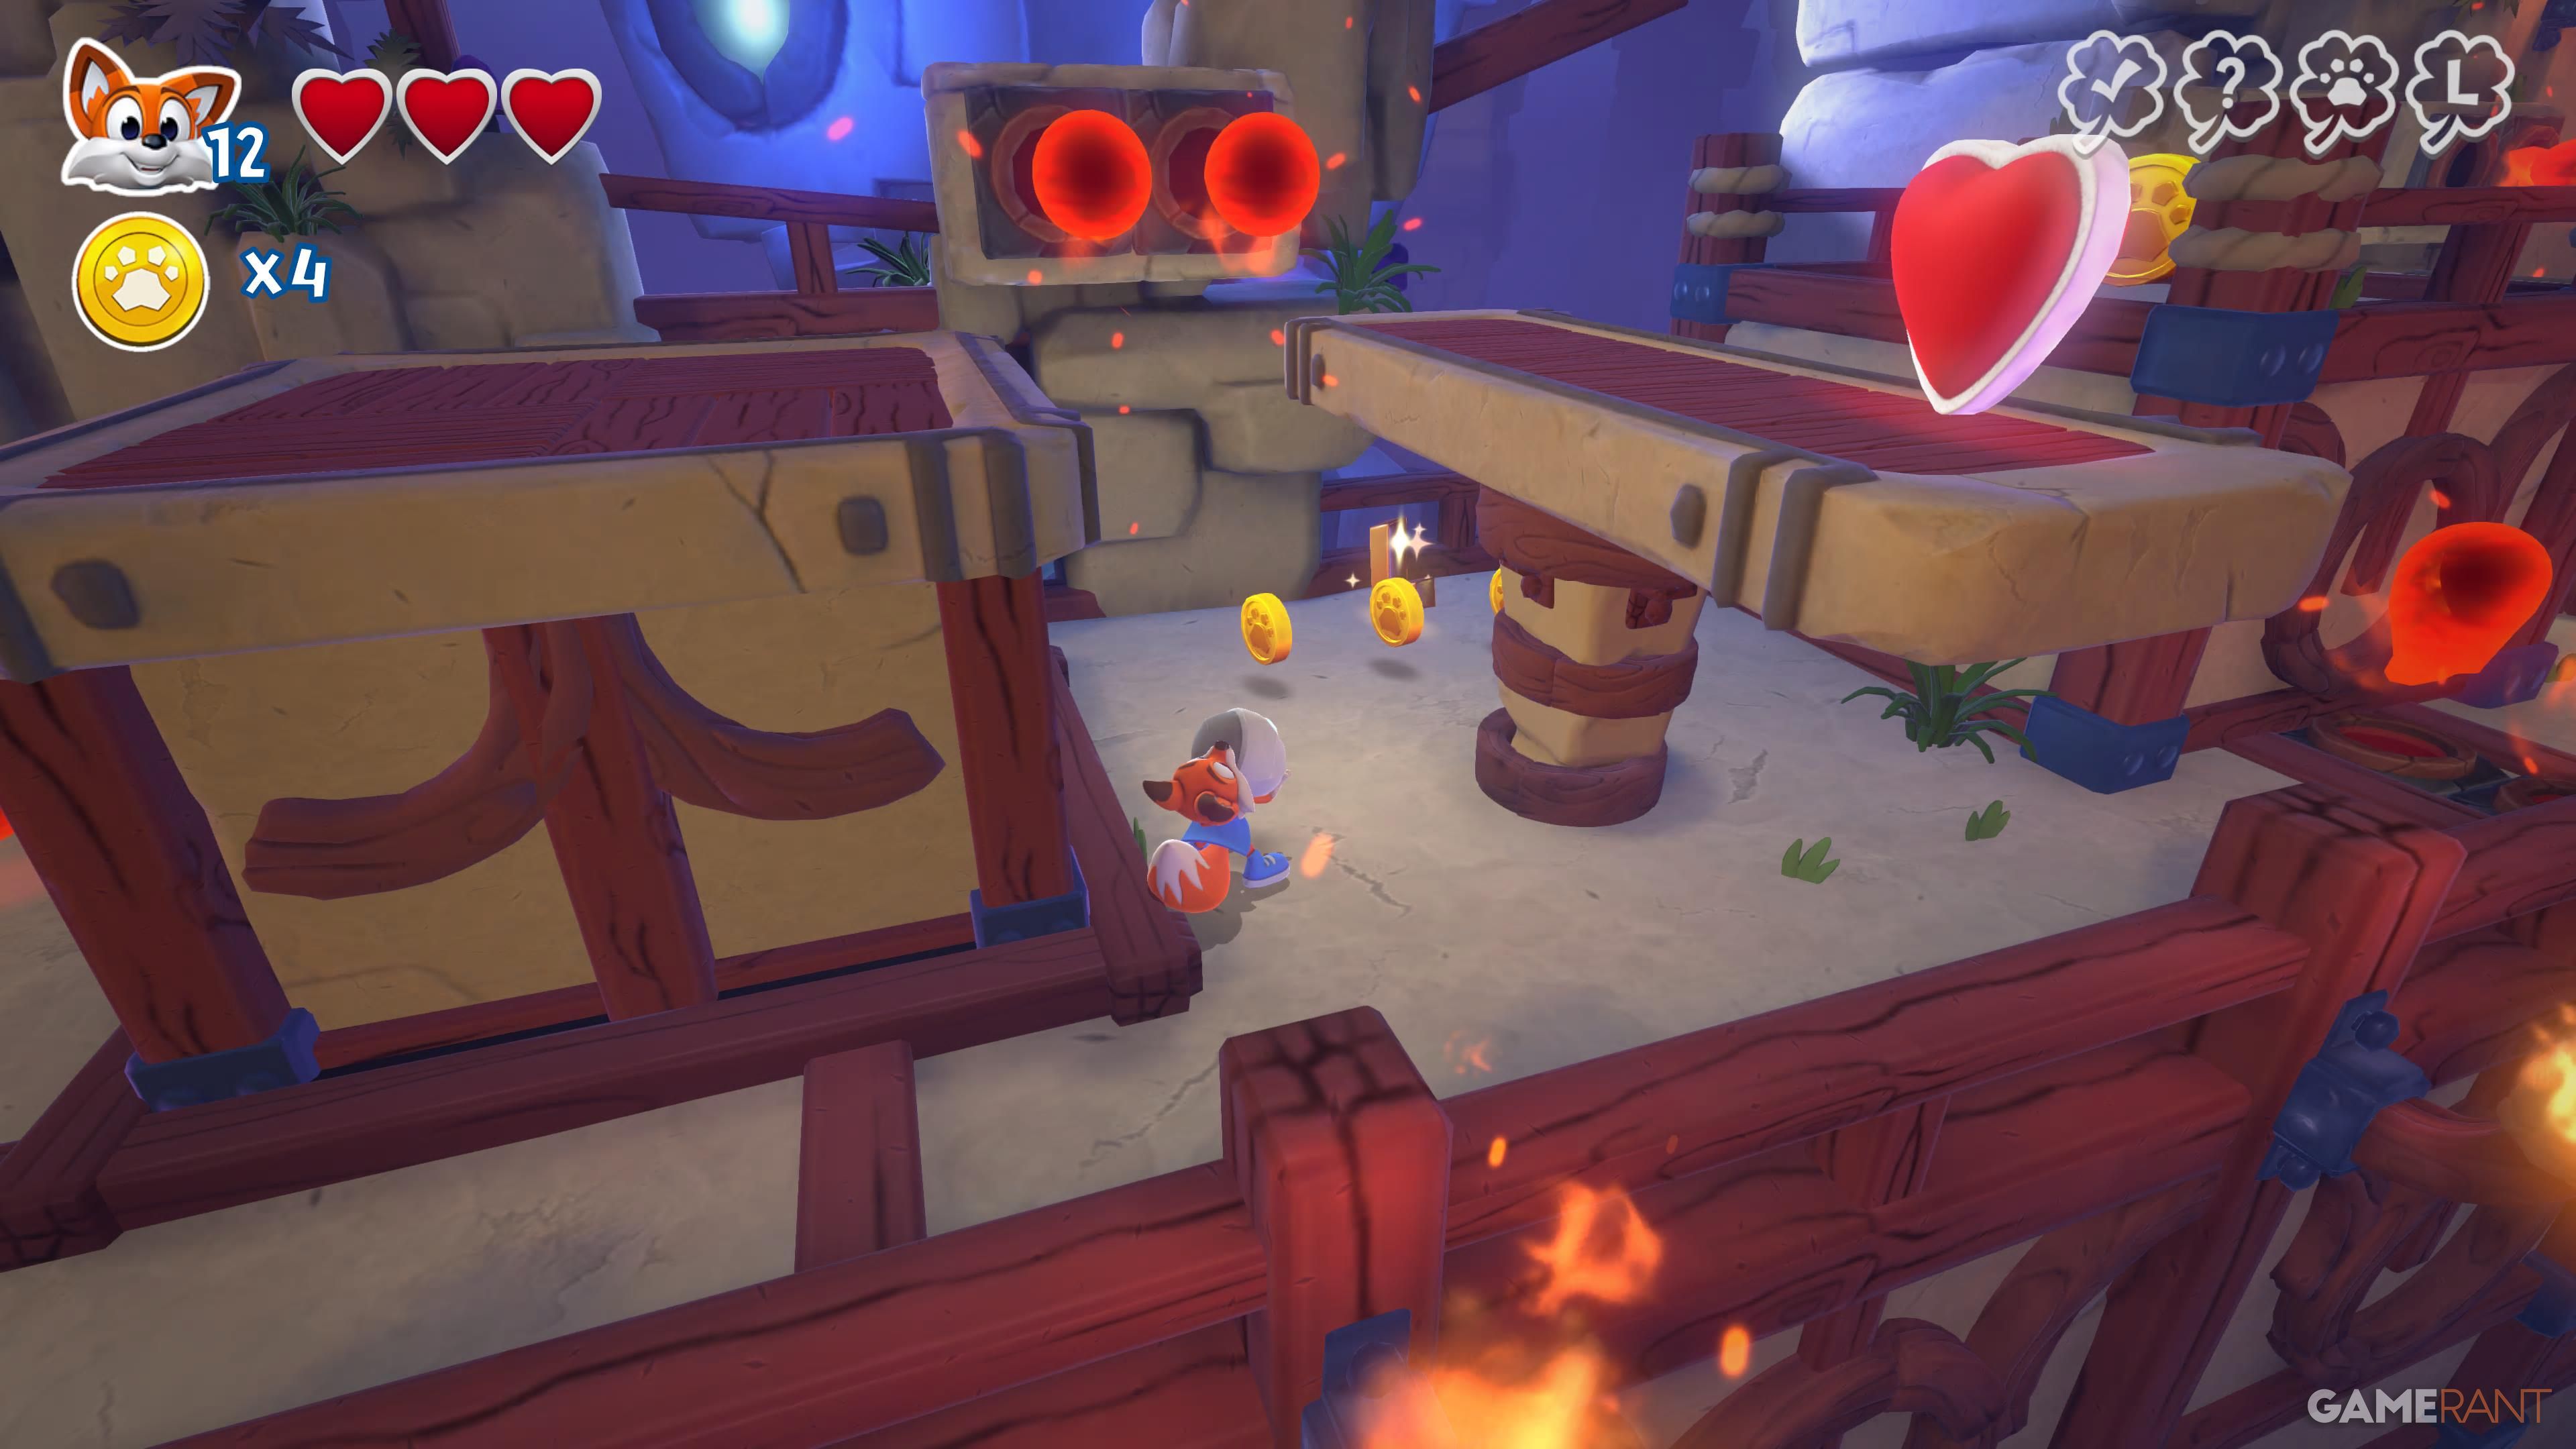
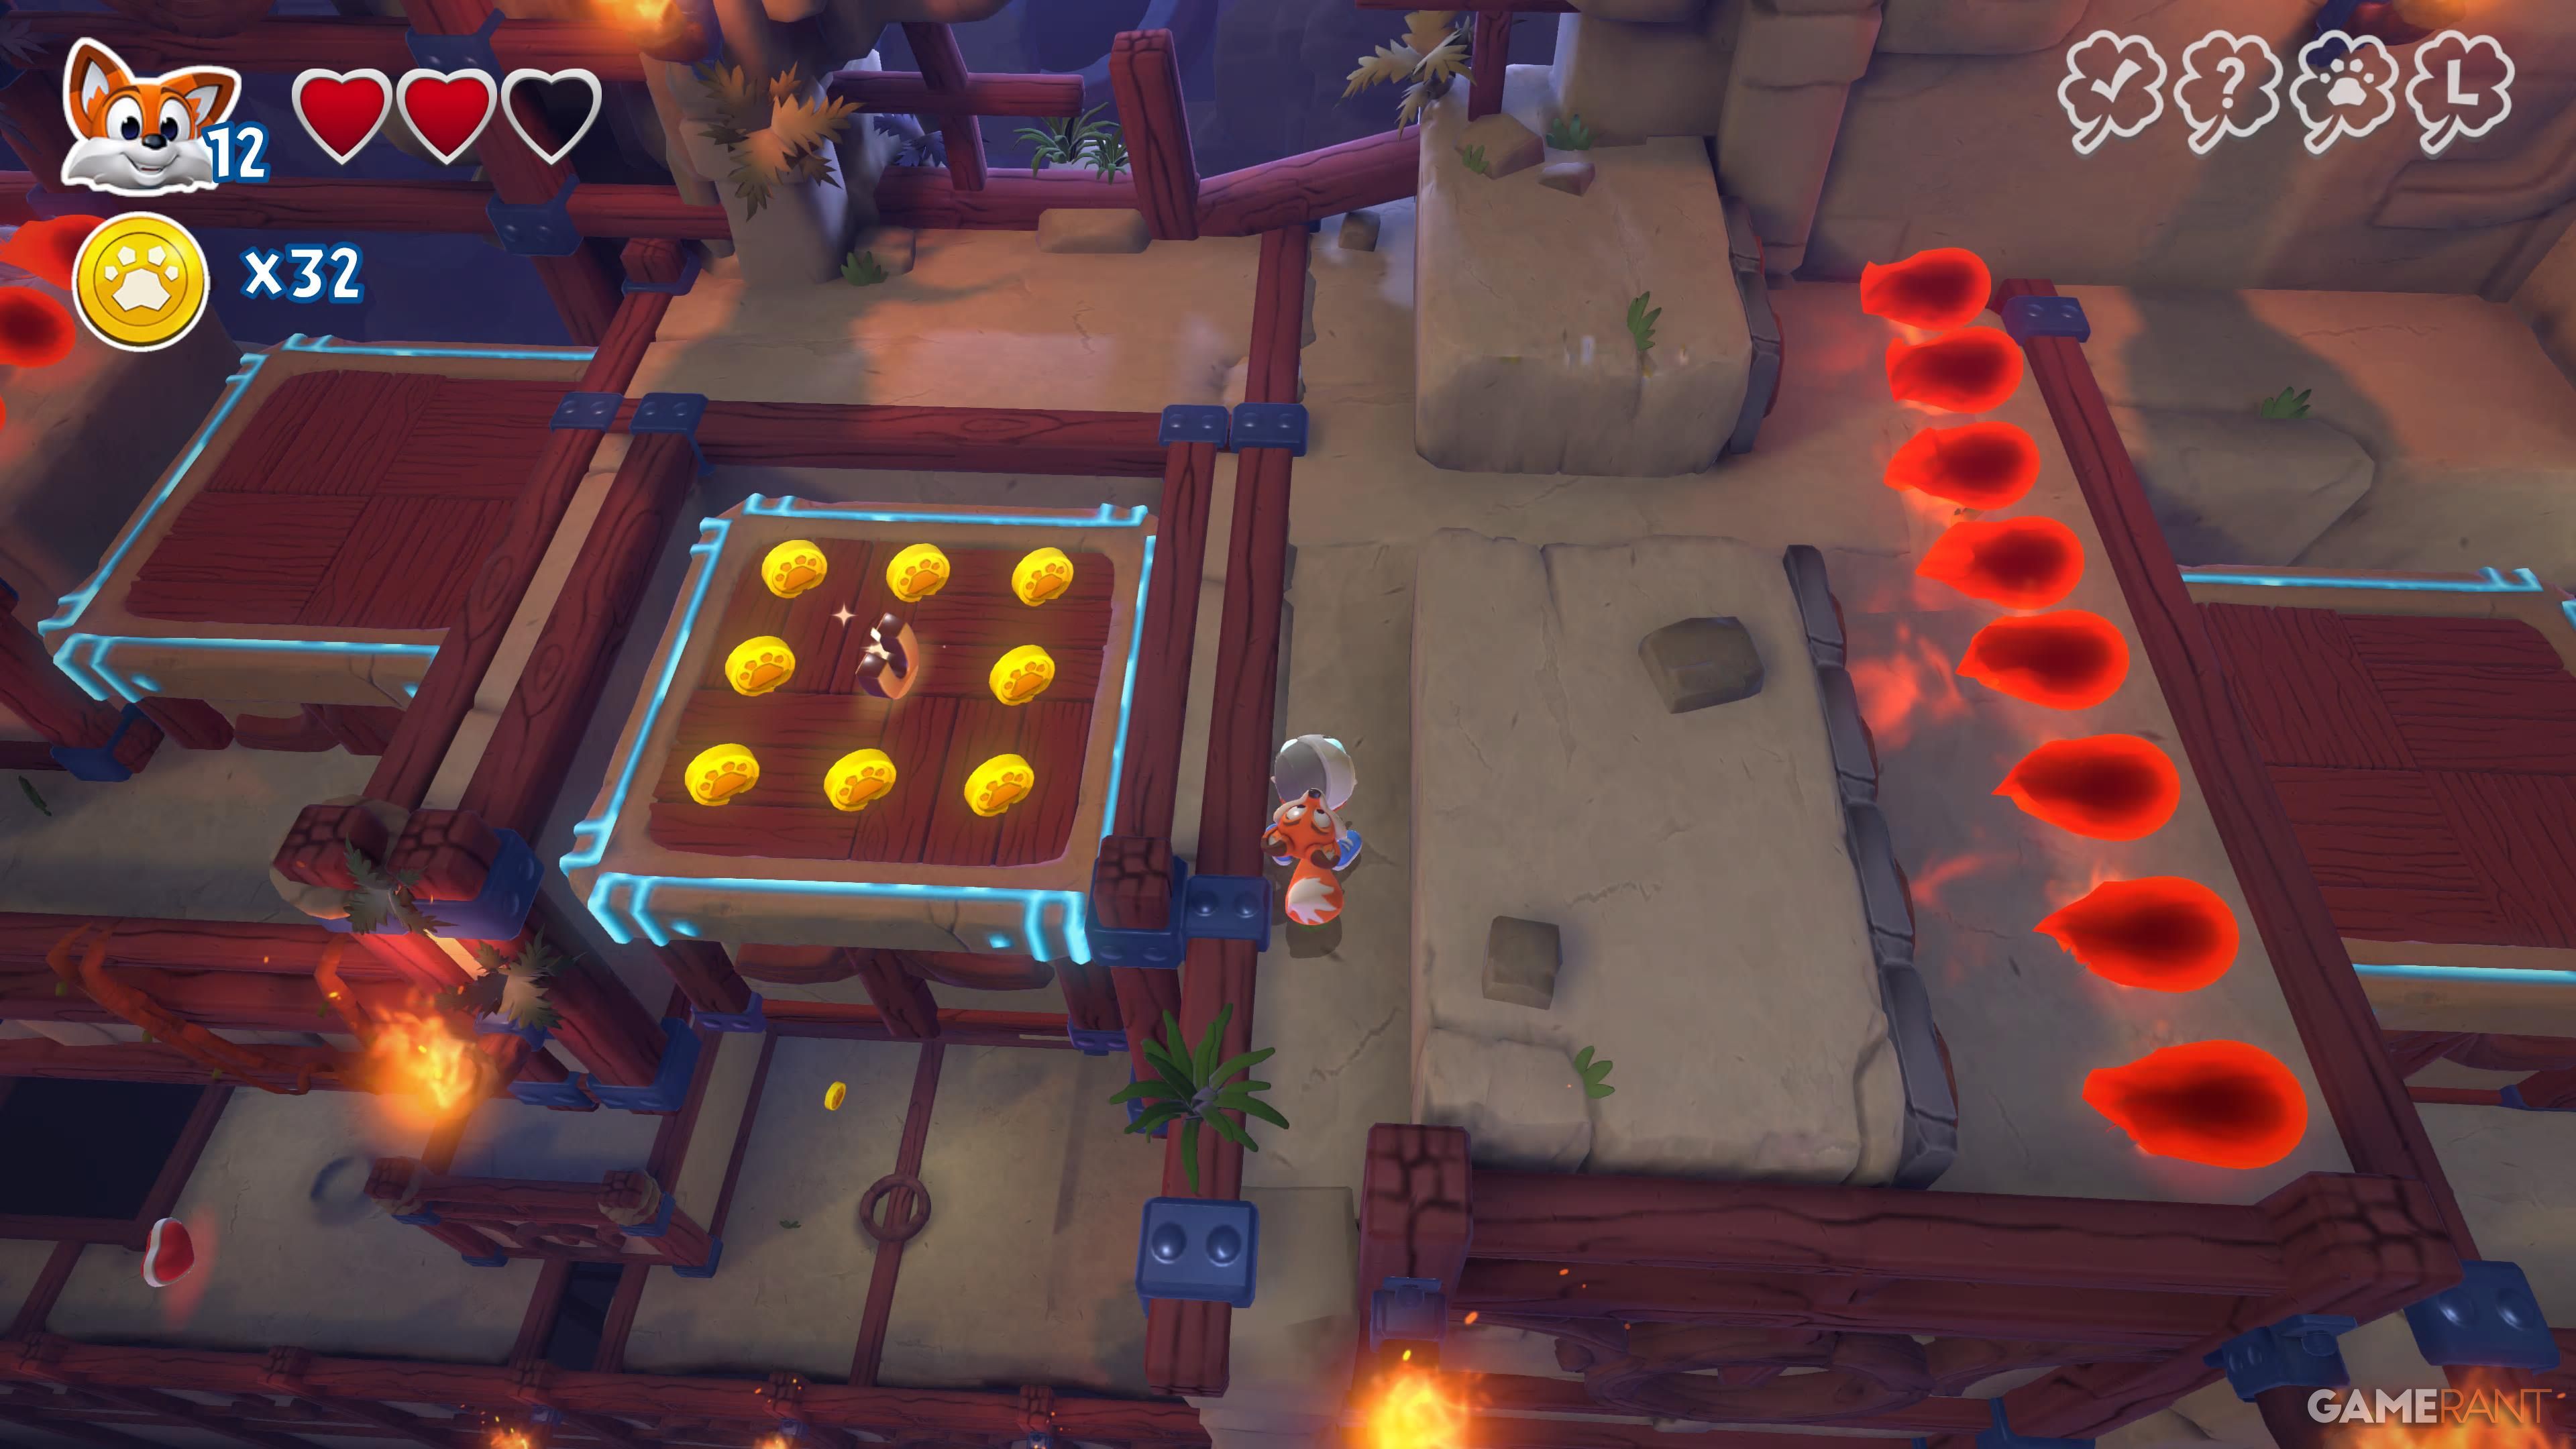
When you come across the two switches, stomp them to open a foxhole that takes you to the moving platform area behind you, where you can collect all the coins to obtain the hidden page. |
| K |
 |
After the second checkpoint, you will spot Master Mittens with the letter above her head, standing next to a fireball trap. Keep chasing her, and the letter will drop on the top platform for you to grab. |
| Y |
 |
You will come across multiple skeleton trap platforms, and below them is a foxhole that you can enter to reach the area behind you. Jump up the platforms, being careful of the enemies, and grab the final letter. |
Who’s That Character? ![]() Identify the silhouettes before time runs out.
Identify the silhouettes before time runs out.
Go Fetch
| Letters/Page | Image | Location |
|---|---|---|
| L |
 |
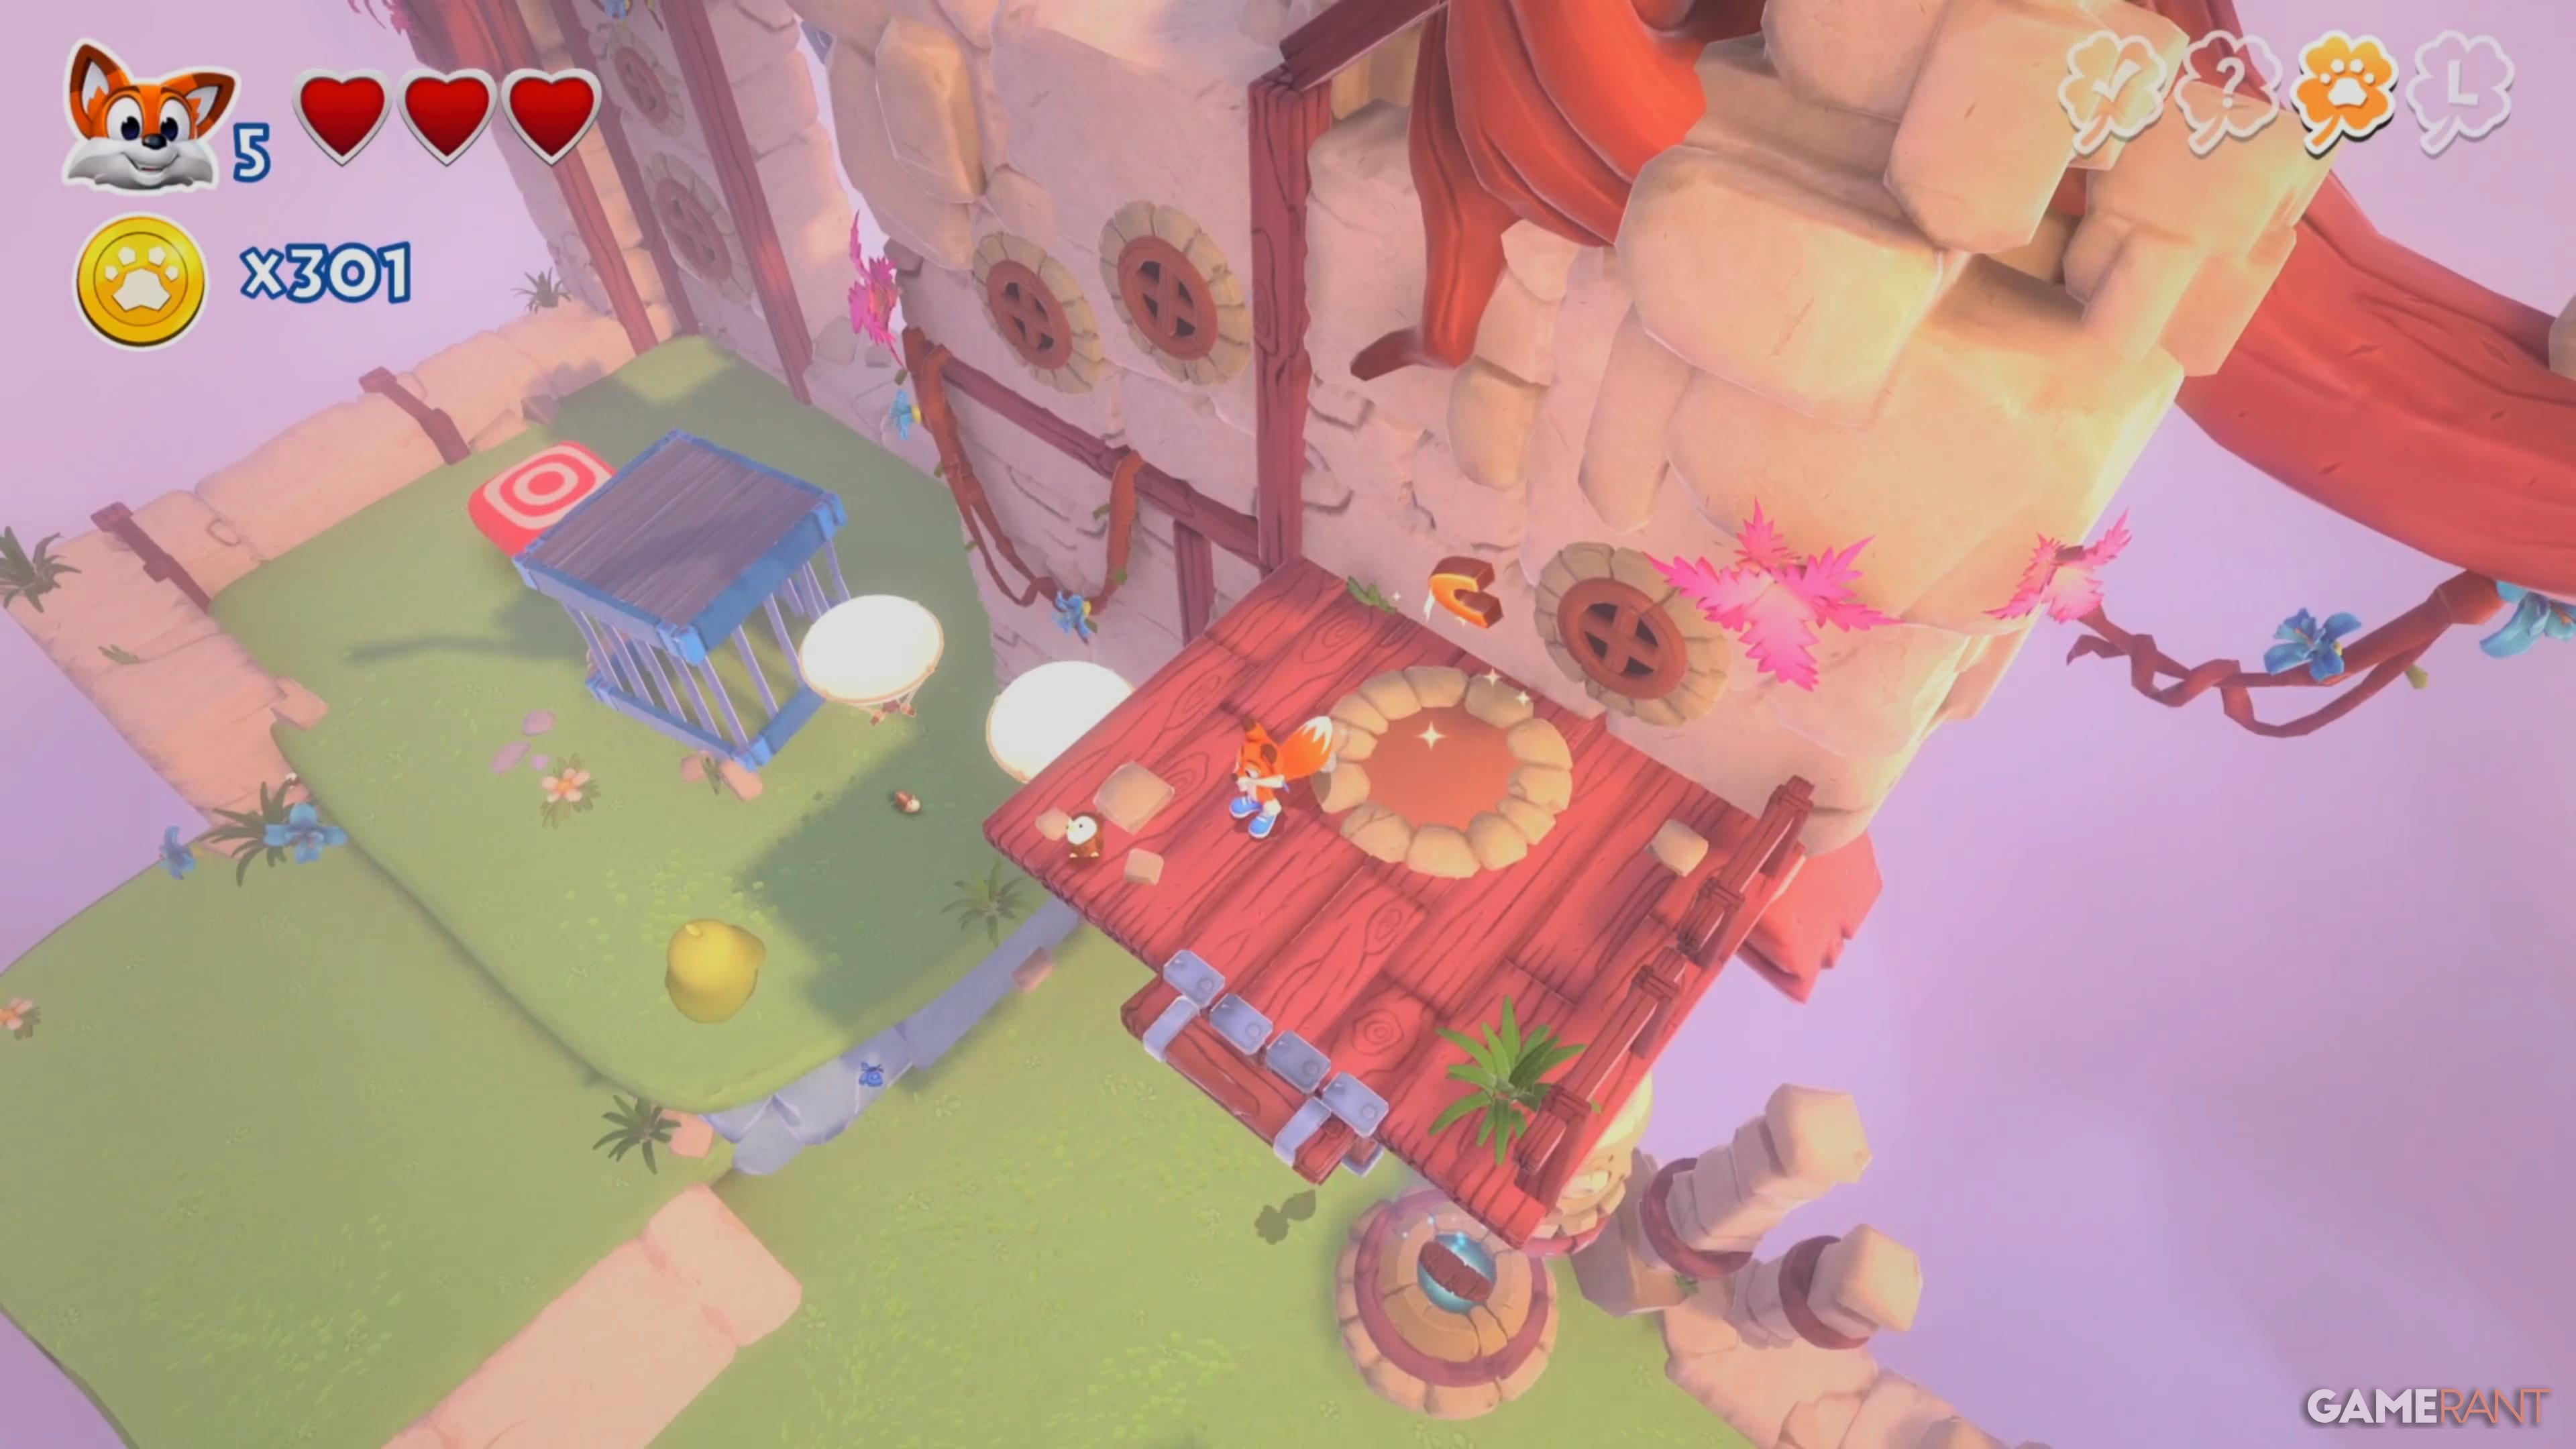
At the start of the level, while carrying the golem head, look to your left near the rotating platform to find the letter. |
| U |
 |
After the first checkpoint, this letter is on top of a platform that moves up and down. |
| C |
 |
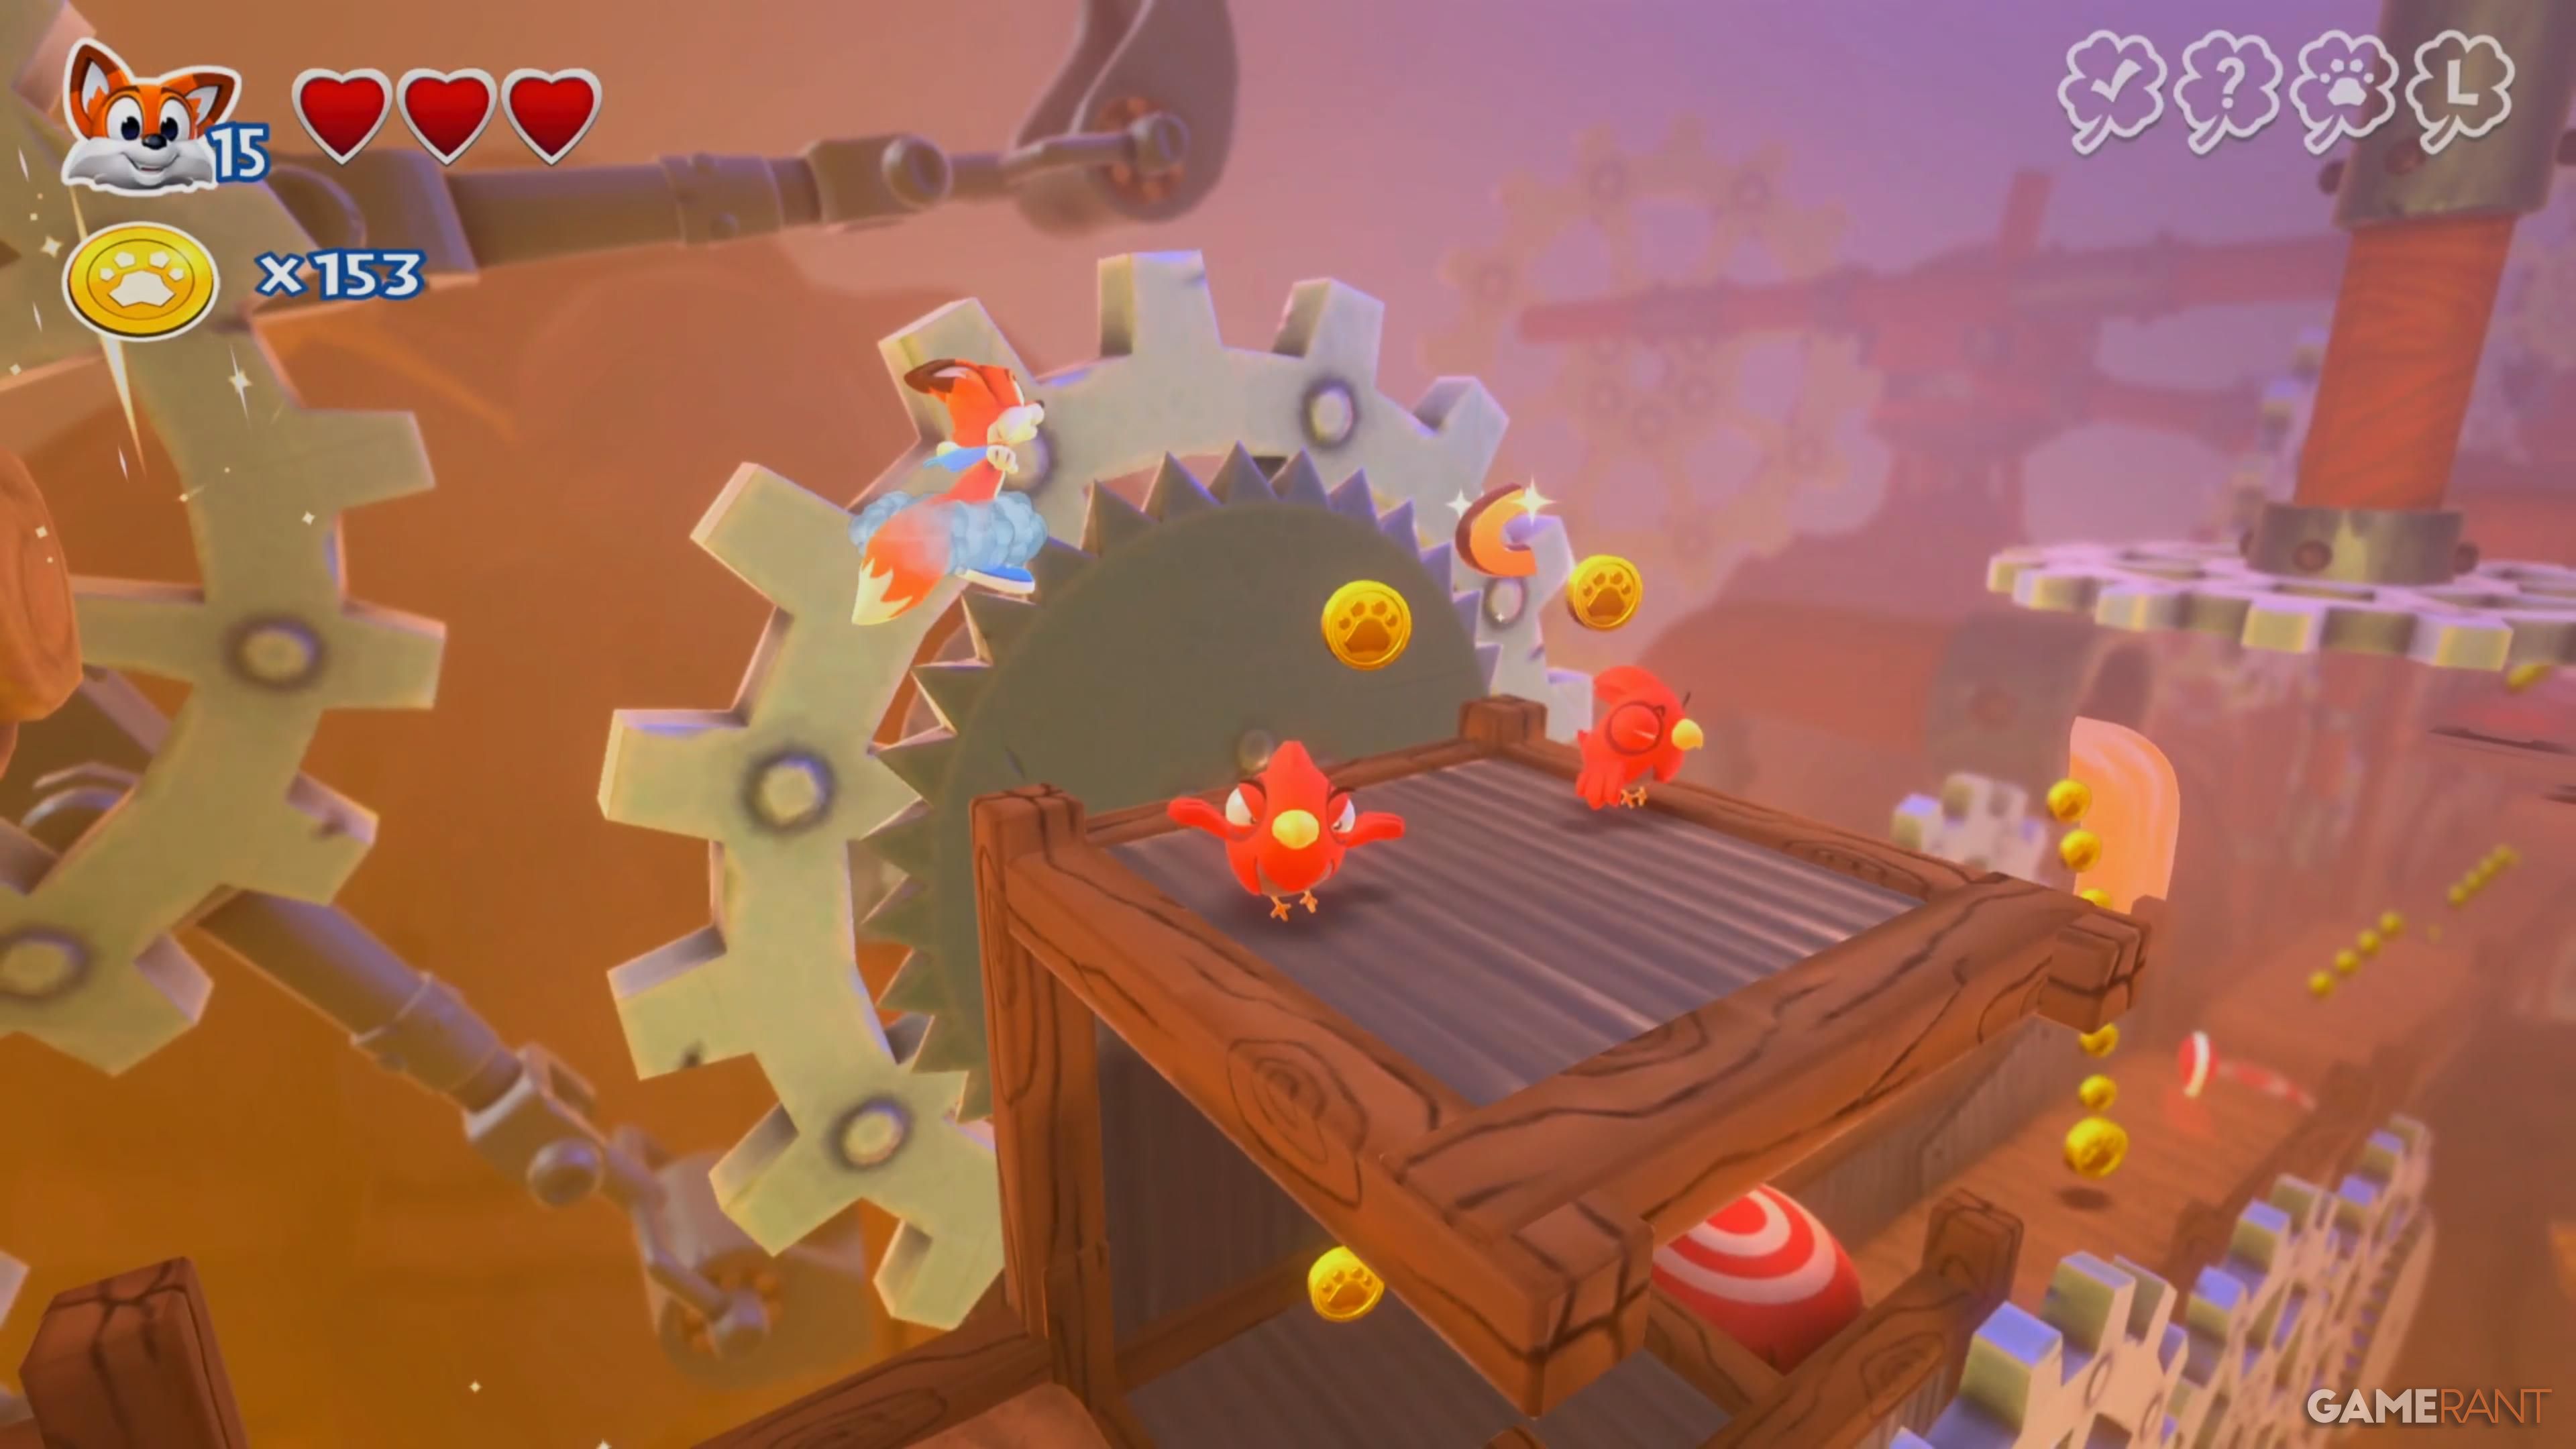
Underneath the rotating platforms, right after the previous collectible. |
| K |
 |
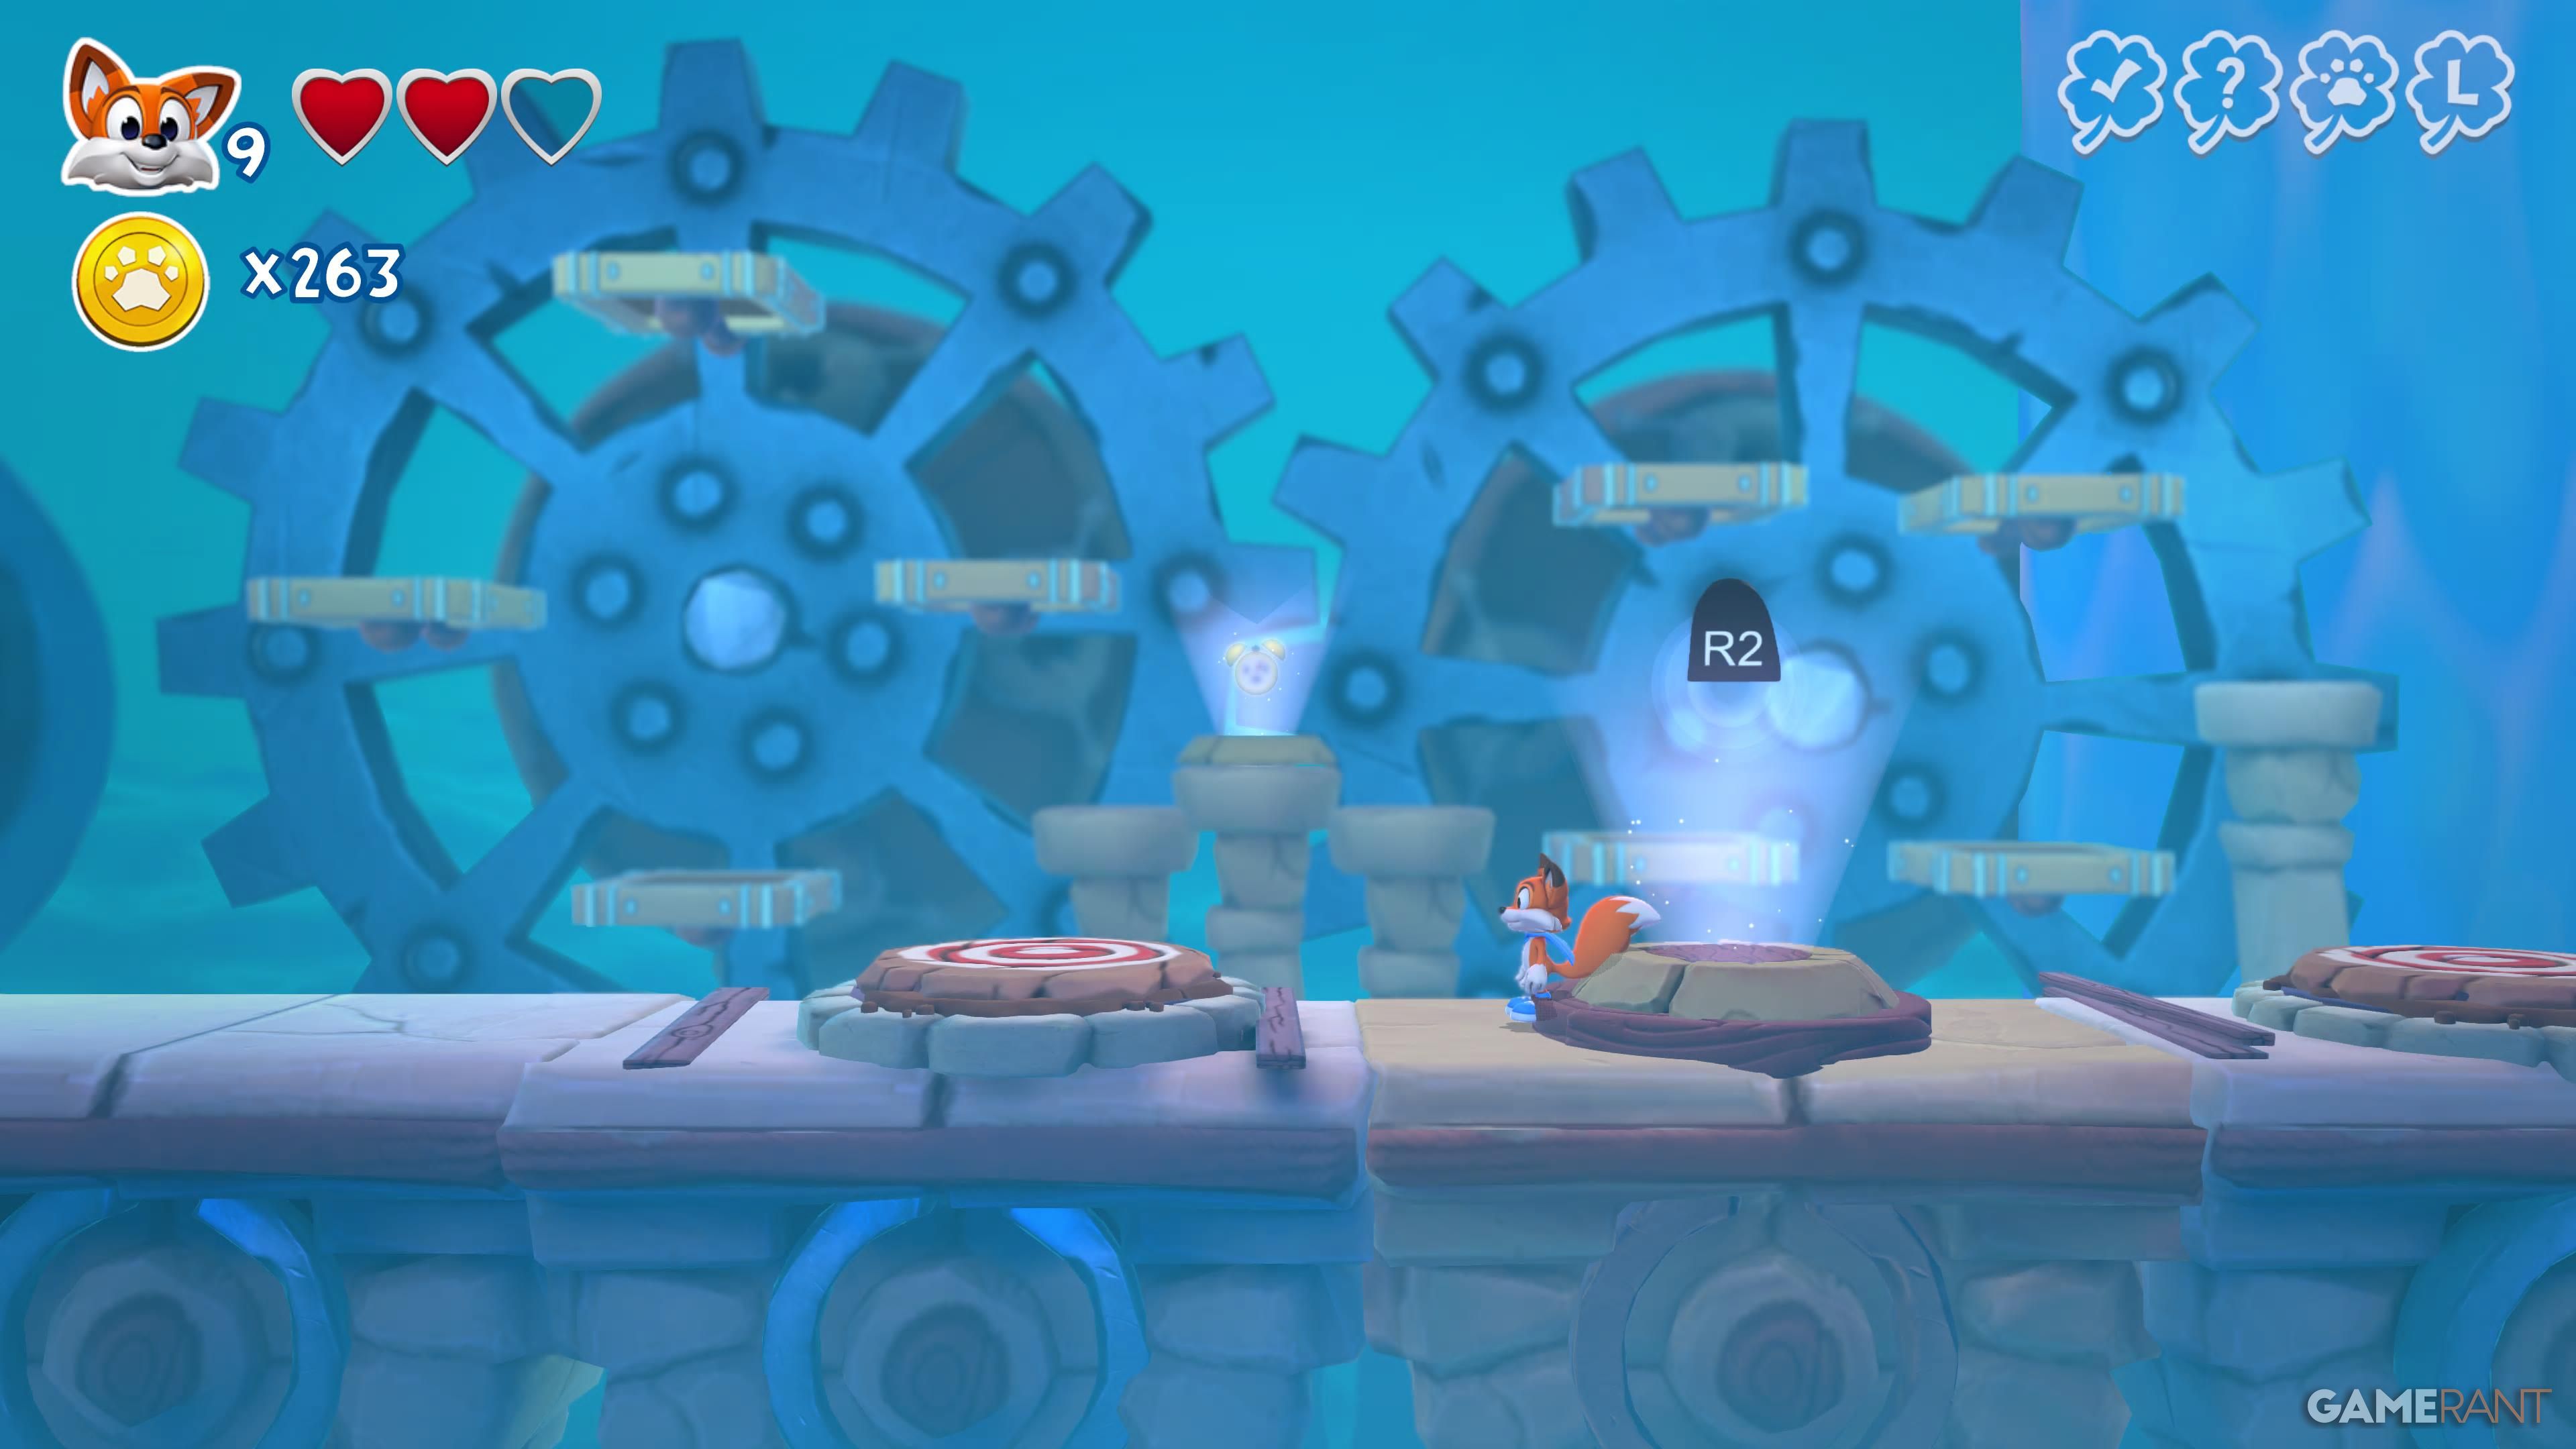
While being chased by the yellow fire enemy, this letter is at the top. |
| Hidden Page |
 |
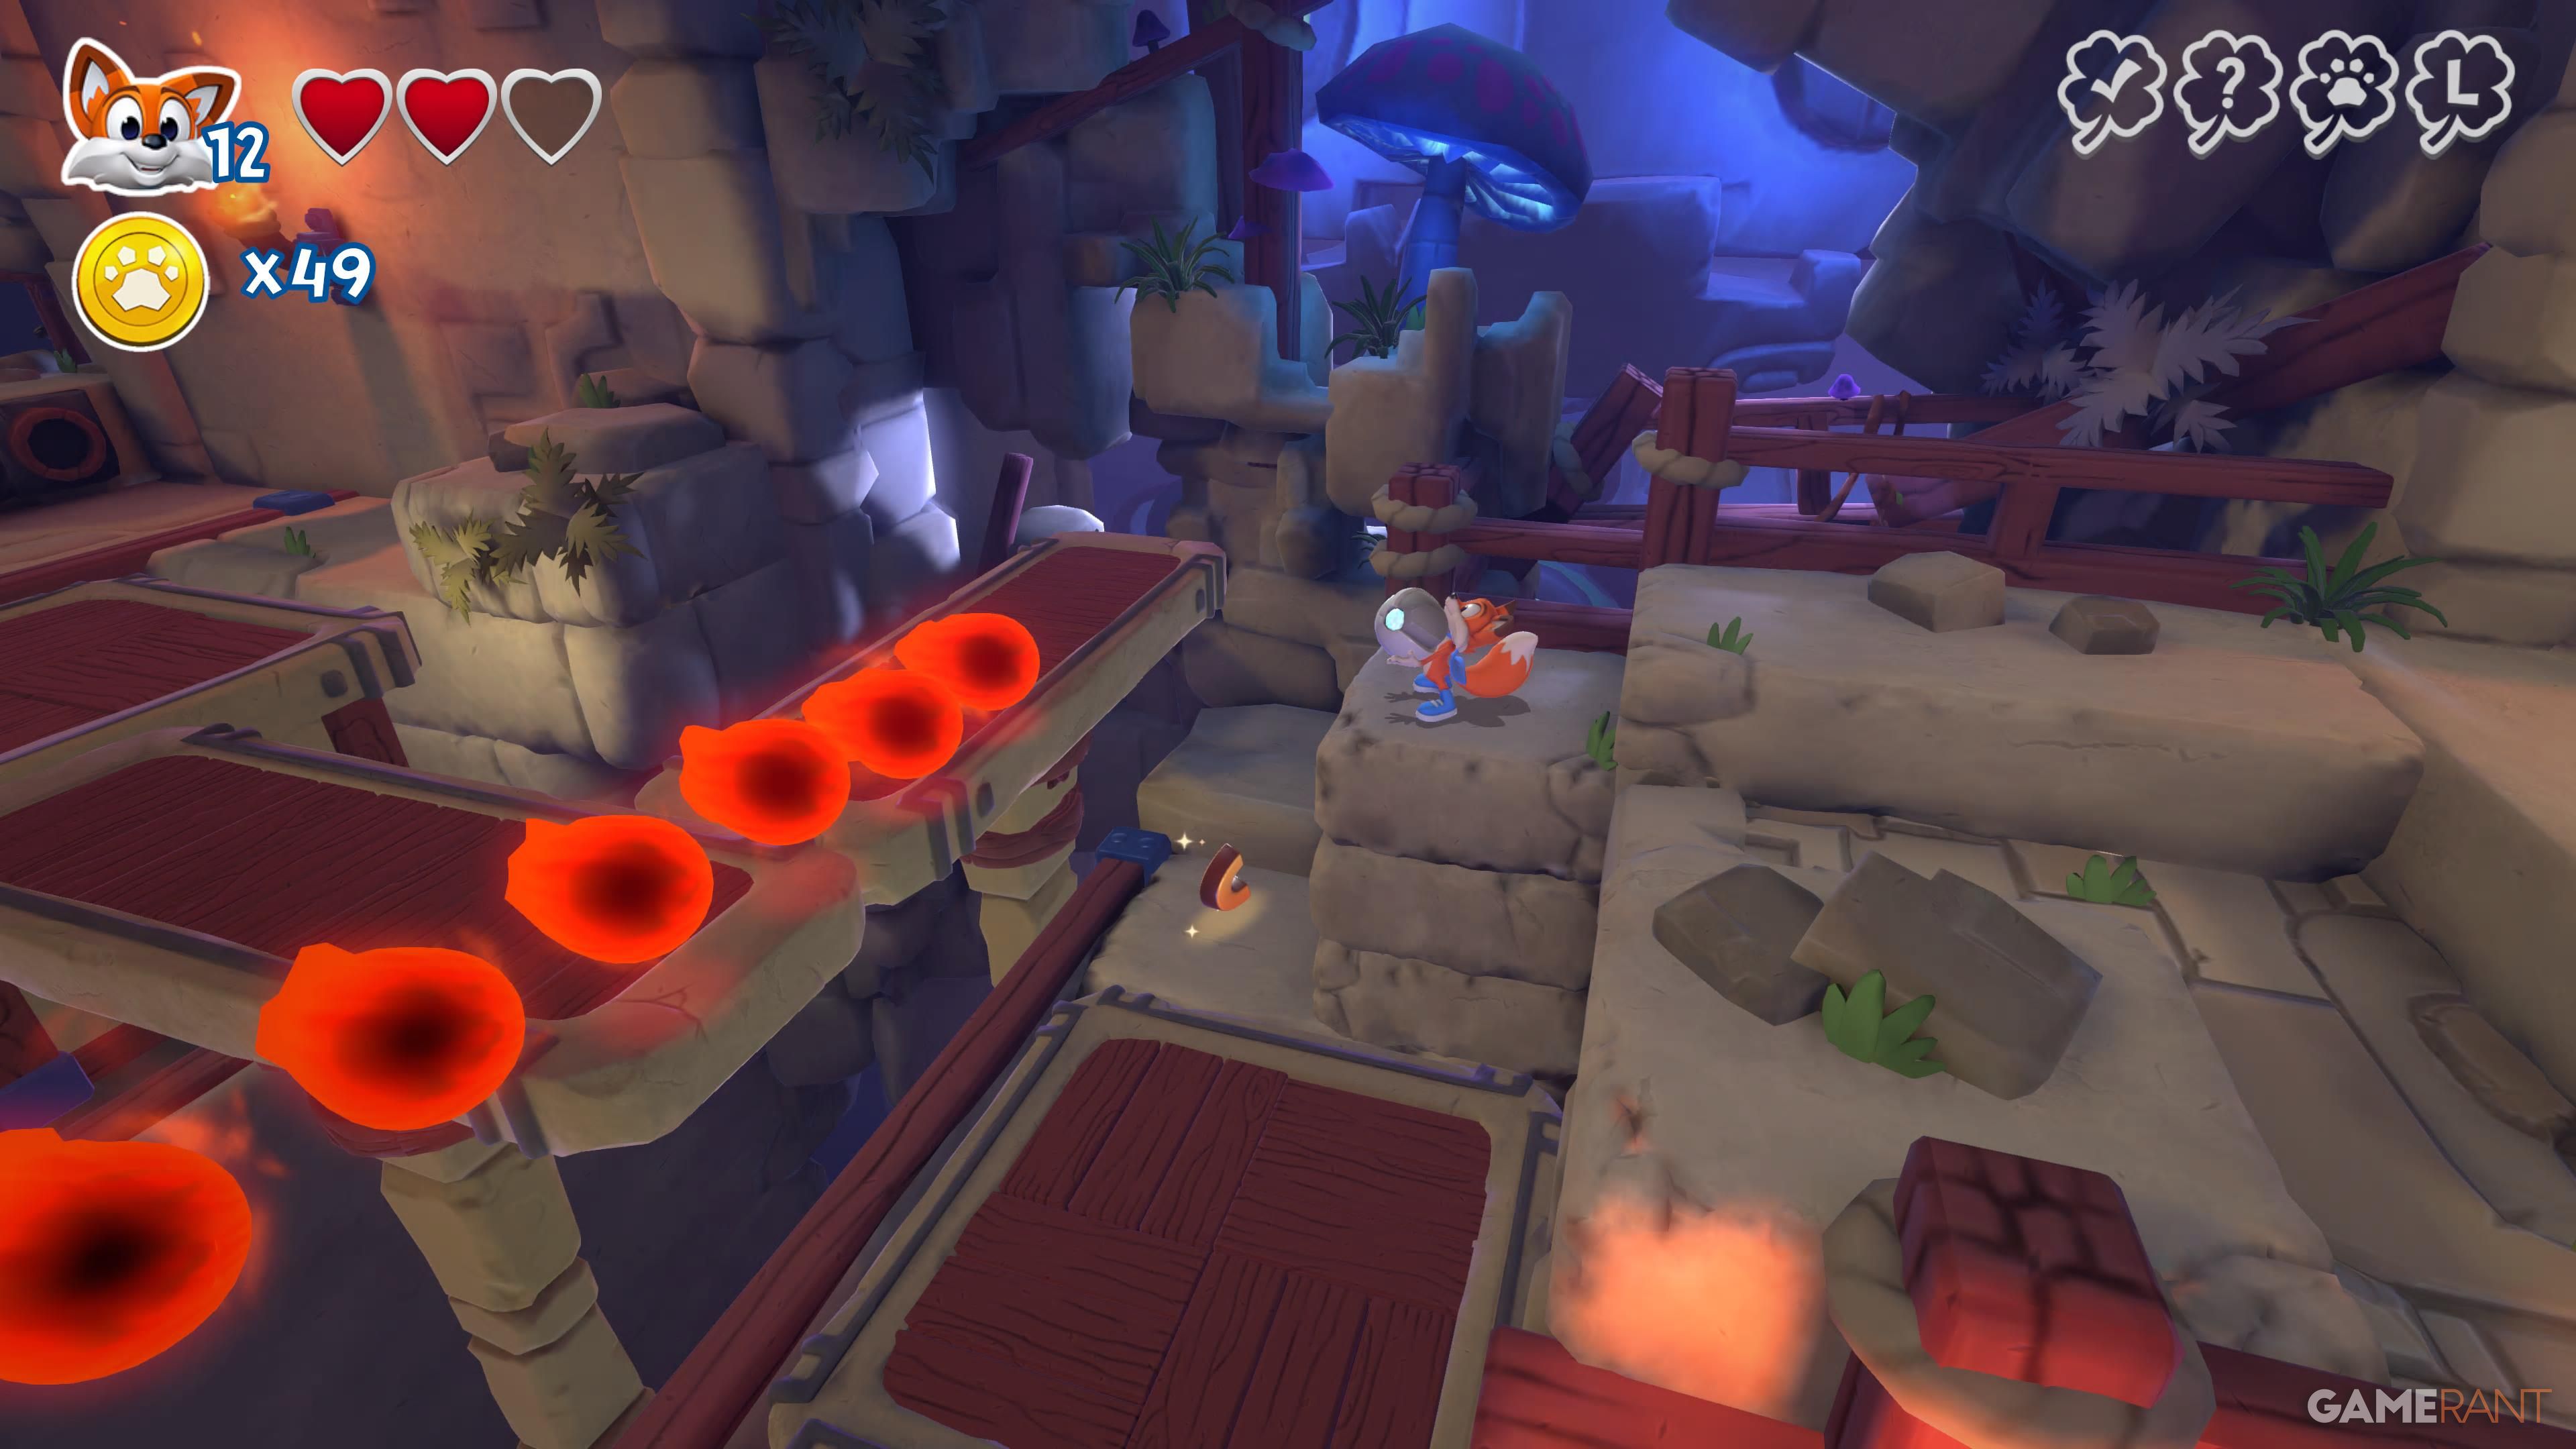
On the top side, after climbing the tower with the moving fires, take the right path. Burrow to avoid taking damage from the fire and use the jump pad to find the foxhole. |
| Y |
 |
After climbing the tower, take the left path this time and use the jump pad to get on top. When you reach the wooden platform and have to jump while avoiding the raining fire, look down instead to find the letter. |
Dungeon Run
| Letters/Page | Image | Location |
|---|---|---|
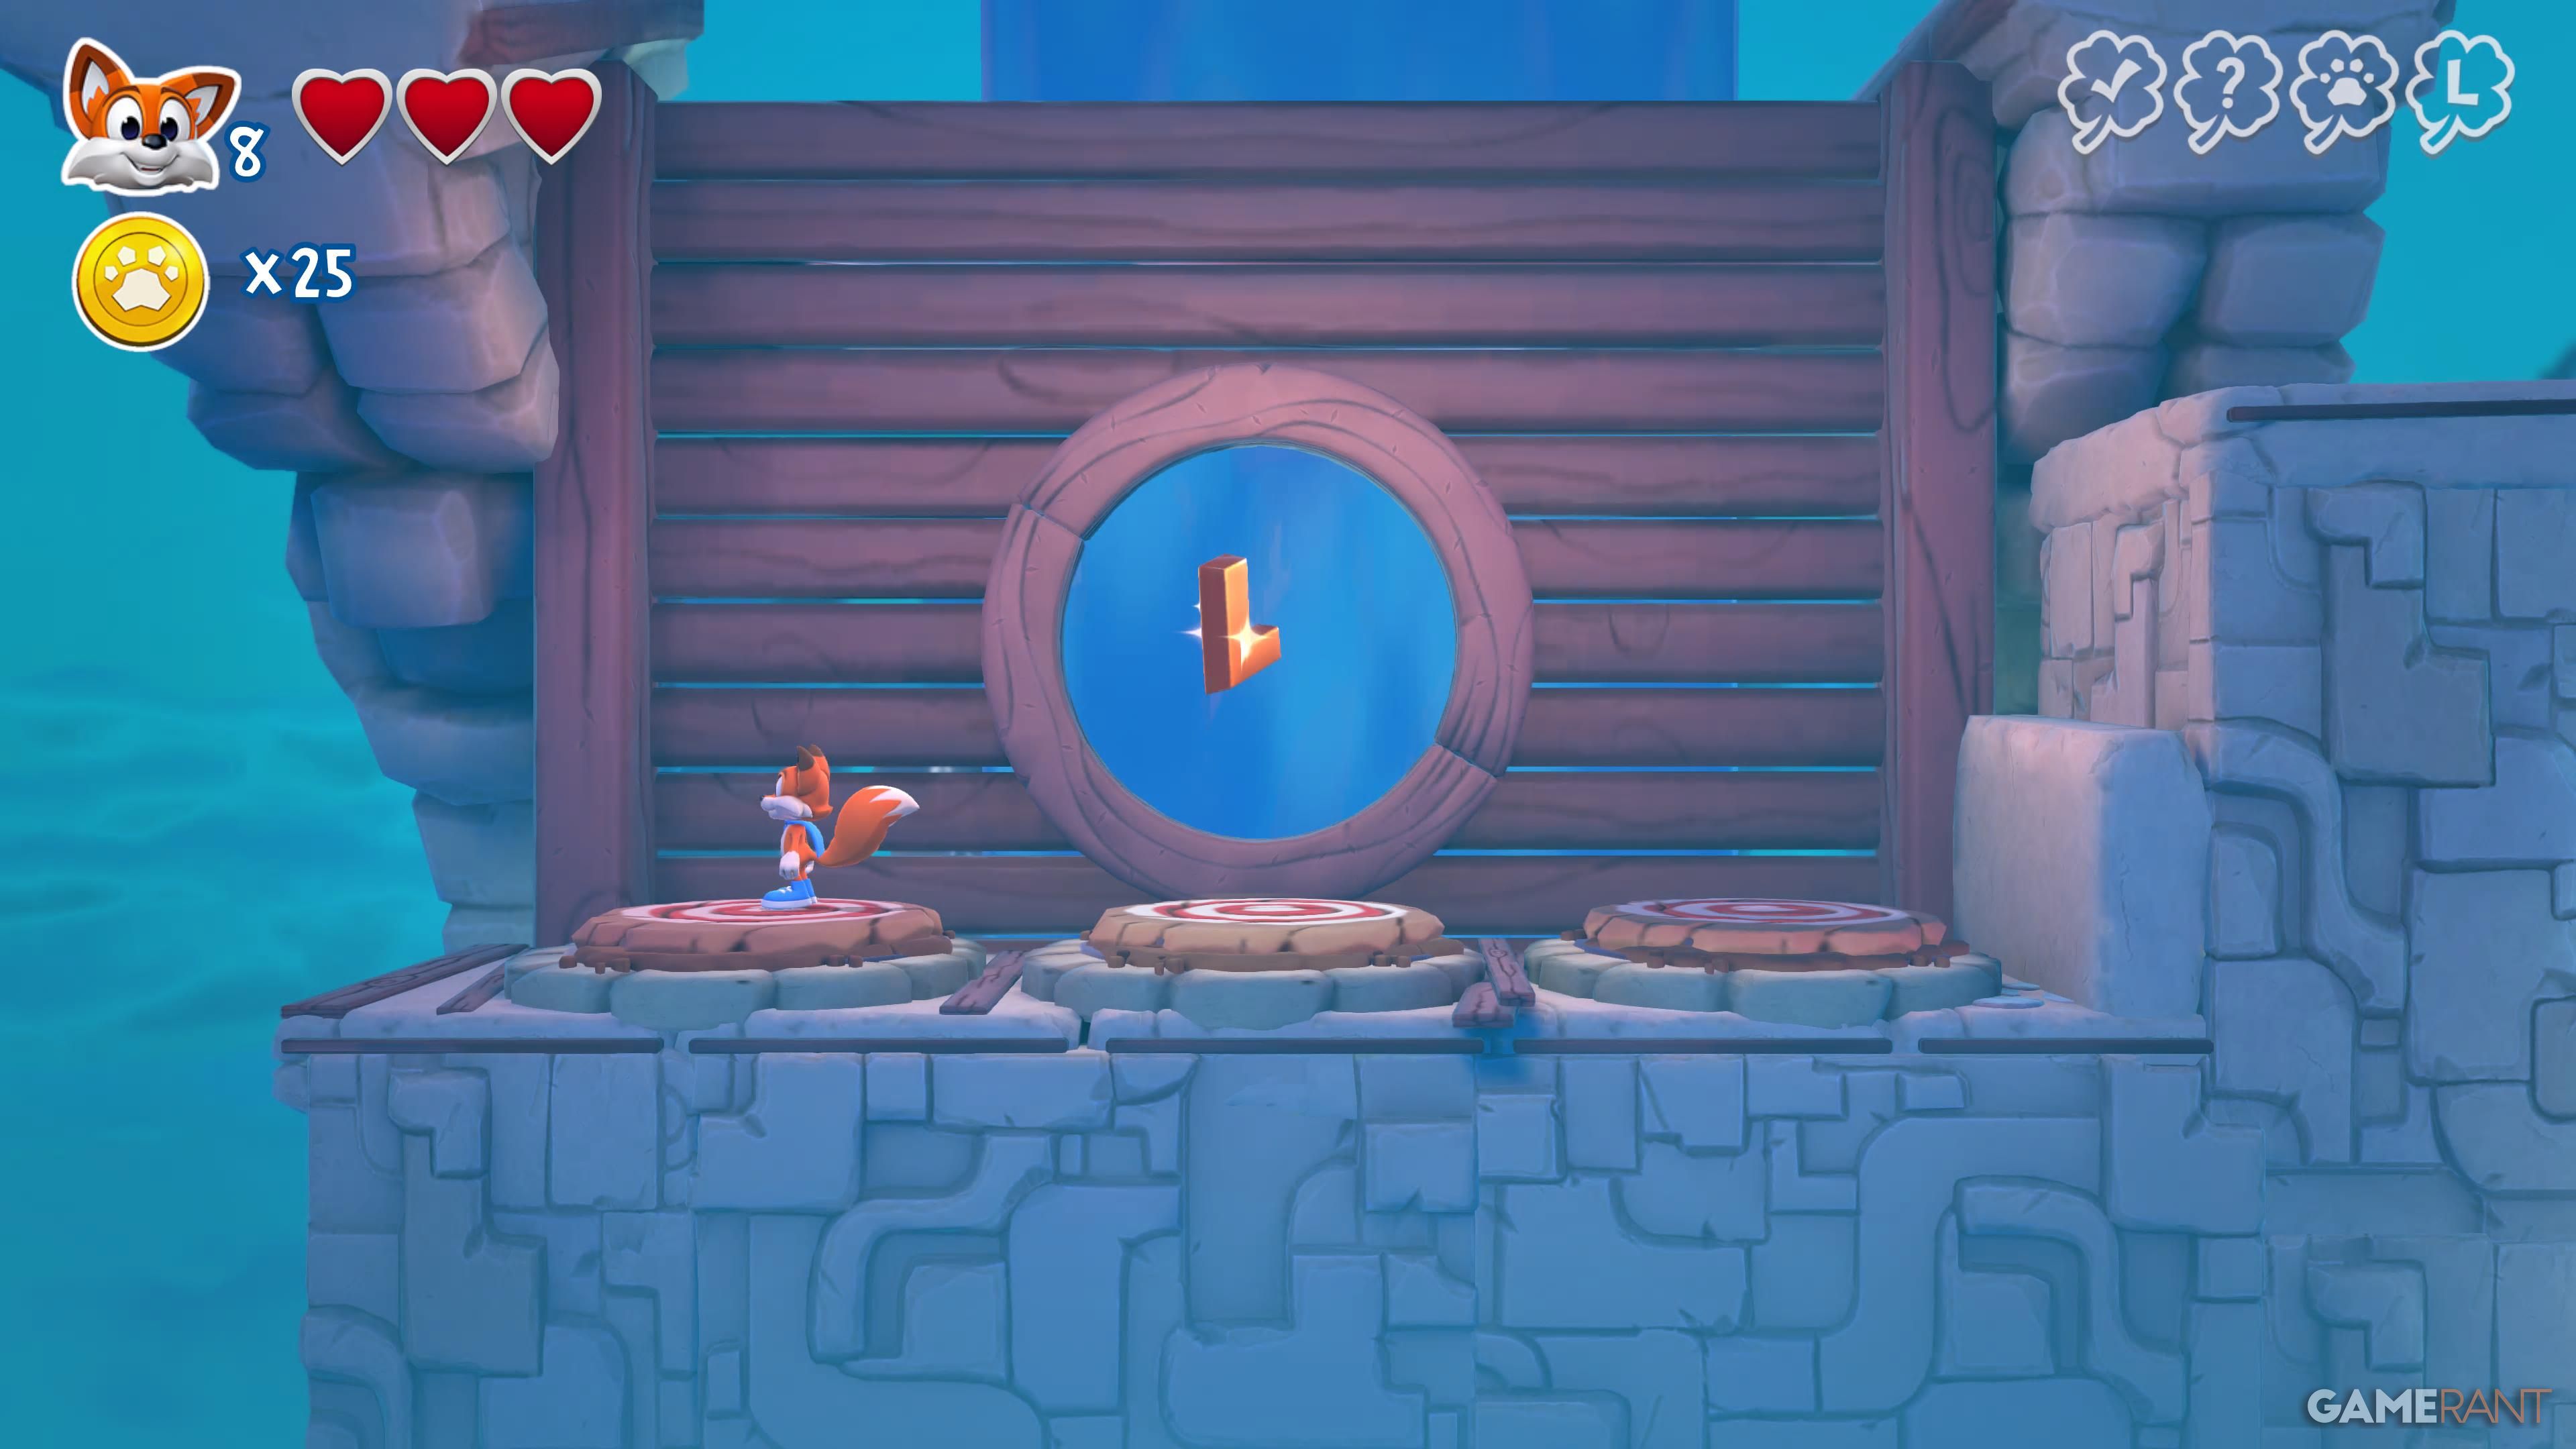
| L |
 |
This letter is right at the start of the level when you take the jump pad and go up. |
| U |
 |
After jumping on the second jump pad, this letter is in the air, so you need to double jump to reach it. |
| C |
 |
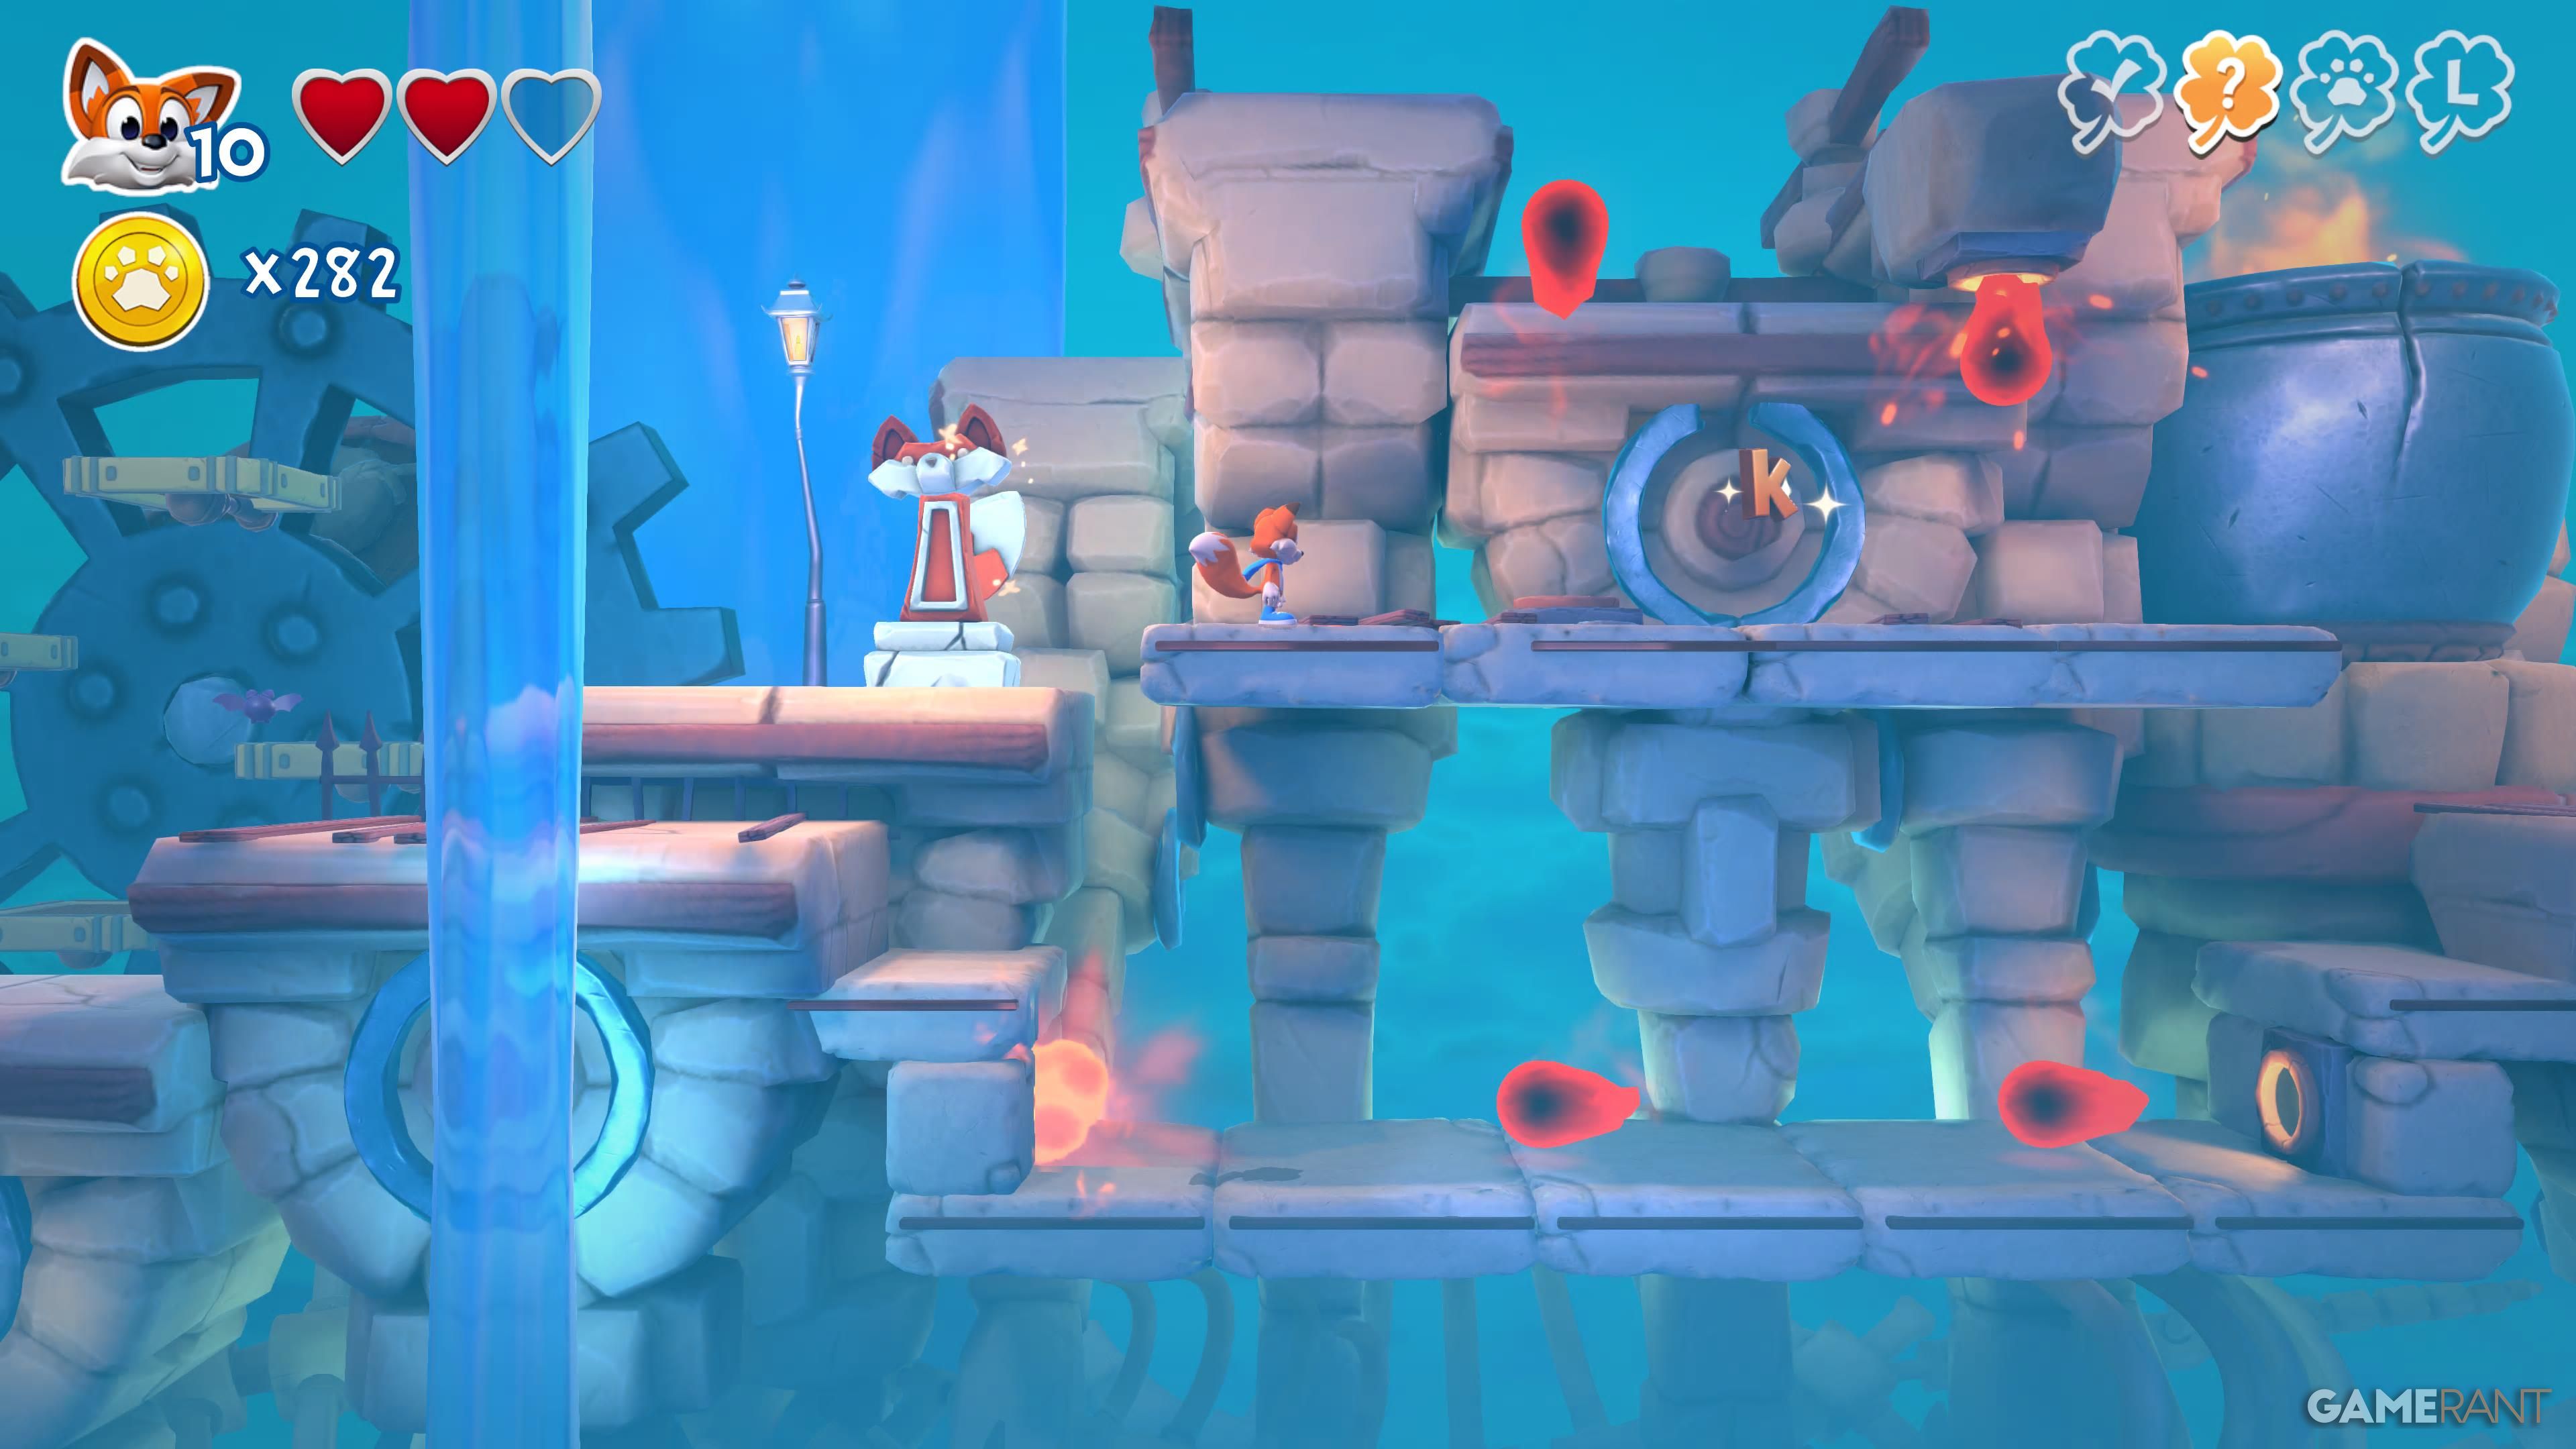
At the next jump pad, go up to the platform with the two birds, and the letter is between them. |
| Hidden Page |
 |
Use the three birds to jump up and reach the hidden page ahead. |
| K |
 |
After the hidden page, this letter is between the two birds and is very hard to miss. |
| Y |
 |
From the previous collectible, take the path down to find the final letter of this level. |
This level stands out because you’re always moving forward – you can’t go back for missed coins or pages. Luckily, it’s short, so it’s worth replaying if you didn’t collect everything.
Sliding Block Puzzle Challenges Pages
| Image | Location |
|---|---|
 |
From the Heavy Heads and Aqueducts, cross the wooden bridge and go down the foxhole on the right. |
 |
Right next to the Costume Shop, there is a path that leads up, and you will find the foxhole on your right. |
 |
This is right next to the previous one, but on the left. |
 |
From the Go Fetch level door, go right and up the wooden platforms, then head down a foxhole. |
 |
After collecting the previous collectible, go to the bonfire, jump up, and head left to find a path leading to a sliding block puzzle. |
 |
Directly above the previous collectible, you will have to climb towards the final door of this world and take a left. |
Read More
- All Shadow Armor Locations in Crimson Desert
- Jujutsu Kaisen Season 3 Episode 12 Release Date
- Dark Marksman Armor Locations in Crimson Desert
- Sega Reveals Official Sonic Timeline: From Prehistoric to Modern Era
- How to Beat Antumbra’s Sword (Sanctum of Absolution) in Crimson Desert
- Genshin Impact Dev Teases New Open-World MMO With Realistic Graphics
- Top 5 Militaristic Civs in Civilization 7
- Where to Pack and Sell Trade Goods in Crimson Desert
- Keeping AI Agents on Track: A New Approach to Reliable Action
- Enshrouded: Giant Critter Scales Location
2026-03-26 20:42