ARC Raiders has a lot of different game mechanics to learn right away. On top of being a difficult game, just figuring out how everything works can be challenging in itself.
There’s a lot to keep track of in this game – skills, character builds, weapons, and more. Don’t forget your Workshop back in Speranza! That’s where you can craft and improve helpful items to take with you on future attempts. Plus, you get to spend time with Scrappy the Rooster, which is always a bonus!
The Workbench is available to you right away, but you can build six more stations for your workshop if you gather the necessary resources. Wondering which ones to prioritize? Here’s a guide, ranking them from least to most useful in the early game.
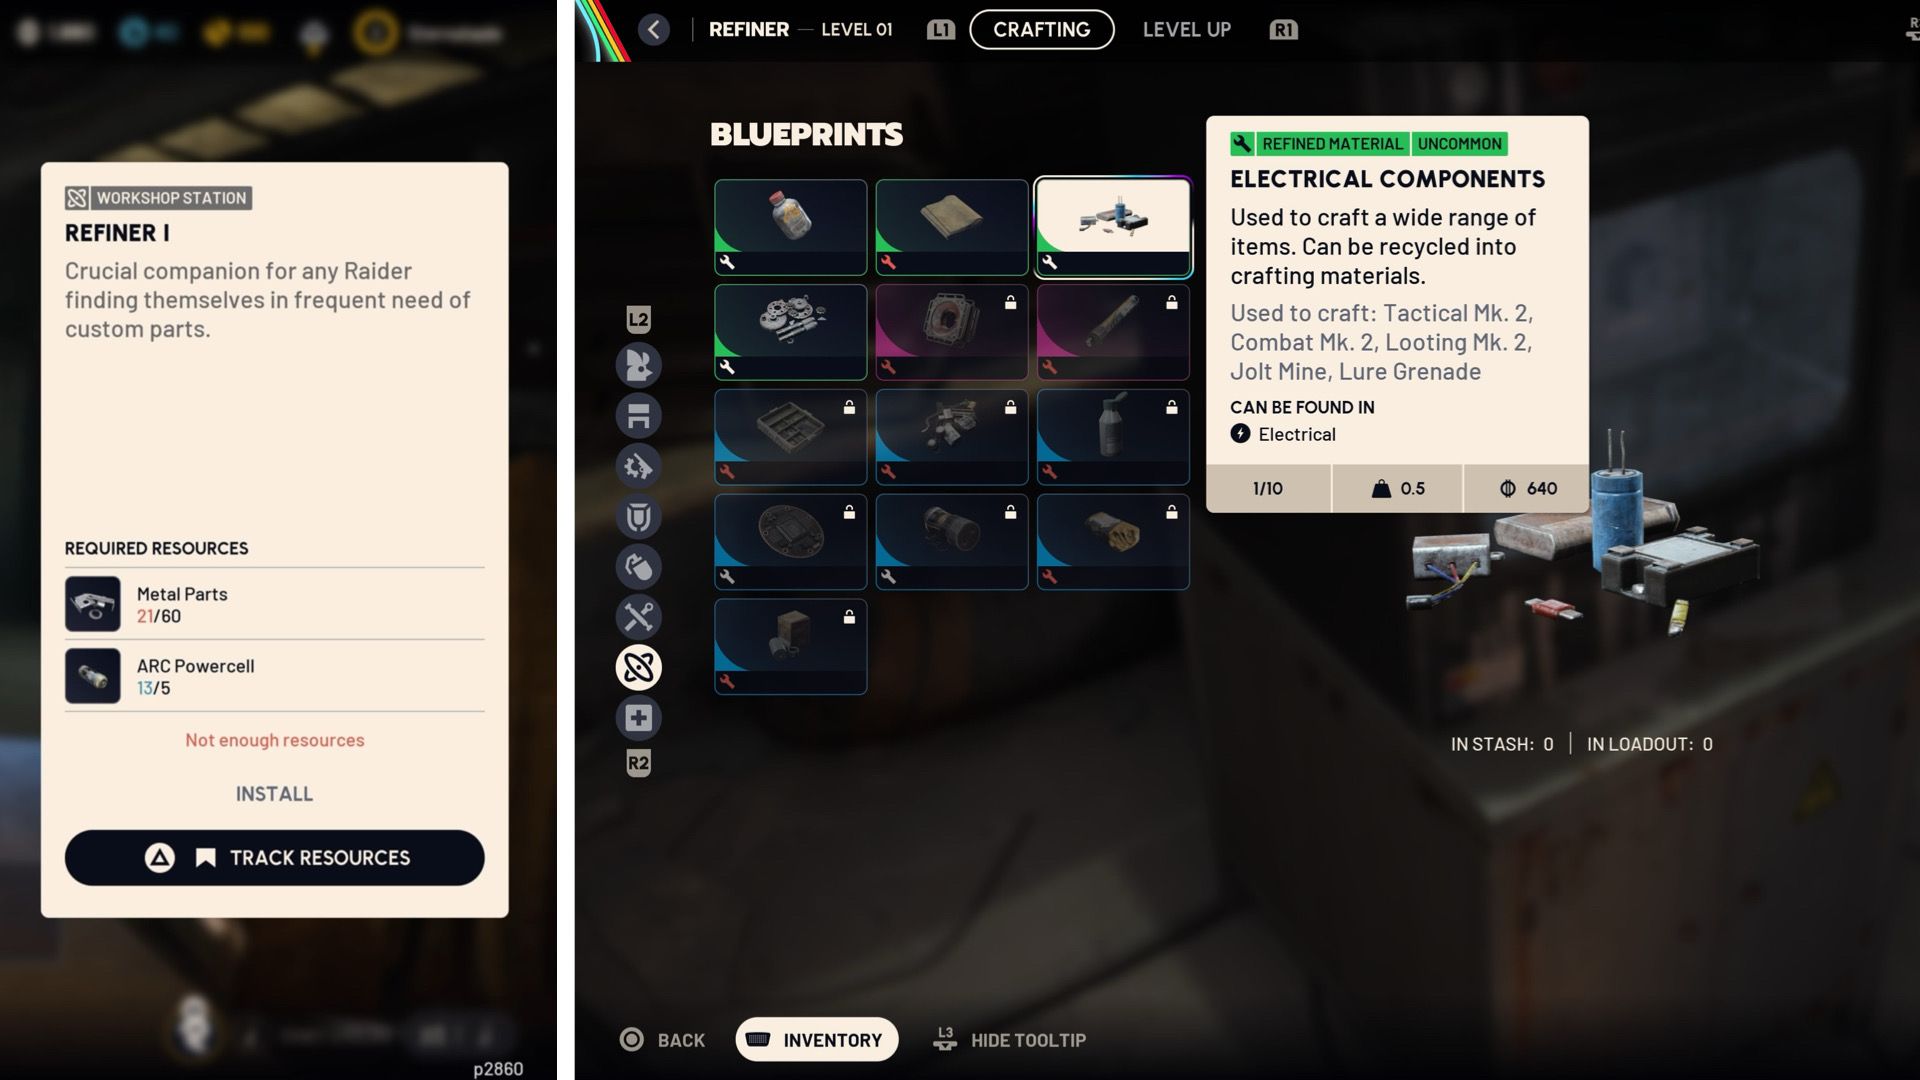
6. Refiner
A Station To Benefit Other Stations
| Resource Needed | Resource Amount |
|---|---|
| Metal Parts | 60 |
| ARC Powercell | 5 |
The Refiner station is useful for creating basic parts needed to make more complex items. While it’s helpful, it shouldn’t be your top building priority – there are other things you might want to focus on first.
The Refiner really shines when you need to create materials and parts that are harder to come by during your explorations. It provides resources that are different from what Scrappy the Rooster gathers, making it a worthwhile investment as you progress in the game.
You don’t have to prioritize this right away, and it’s not too expensive either. You can easily find the materials you need by reusing or recycling old things.
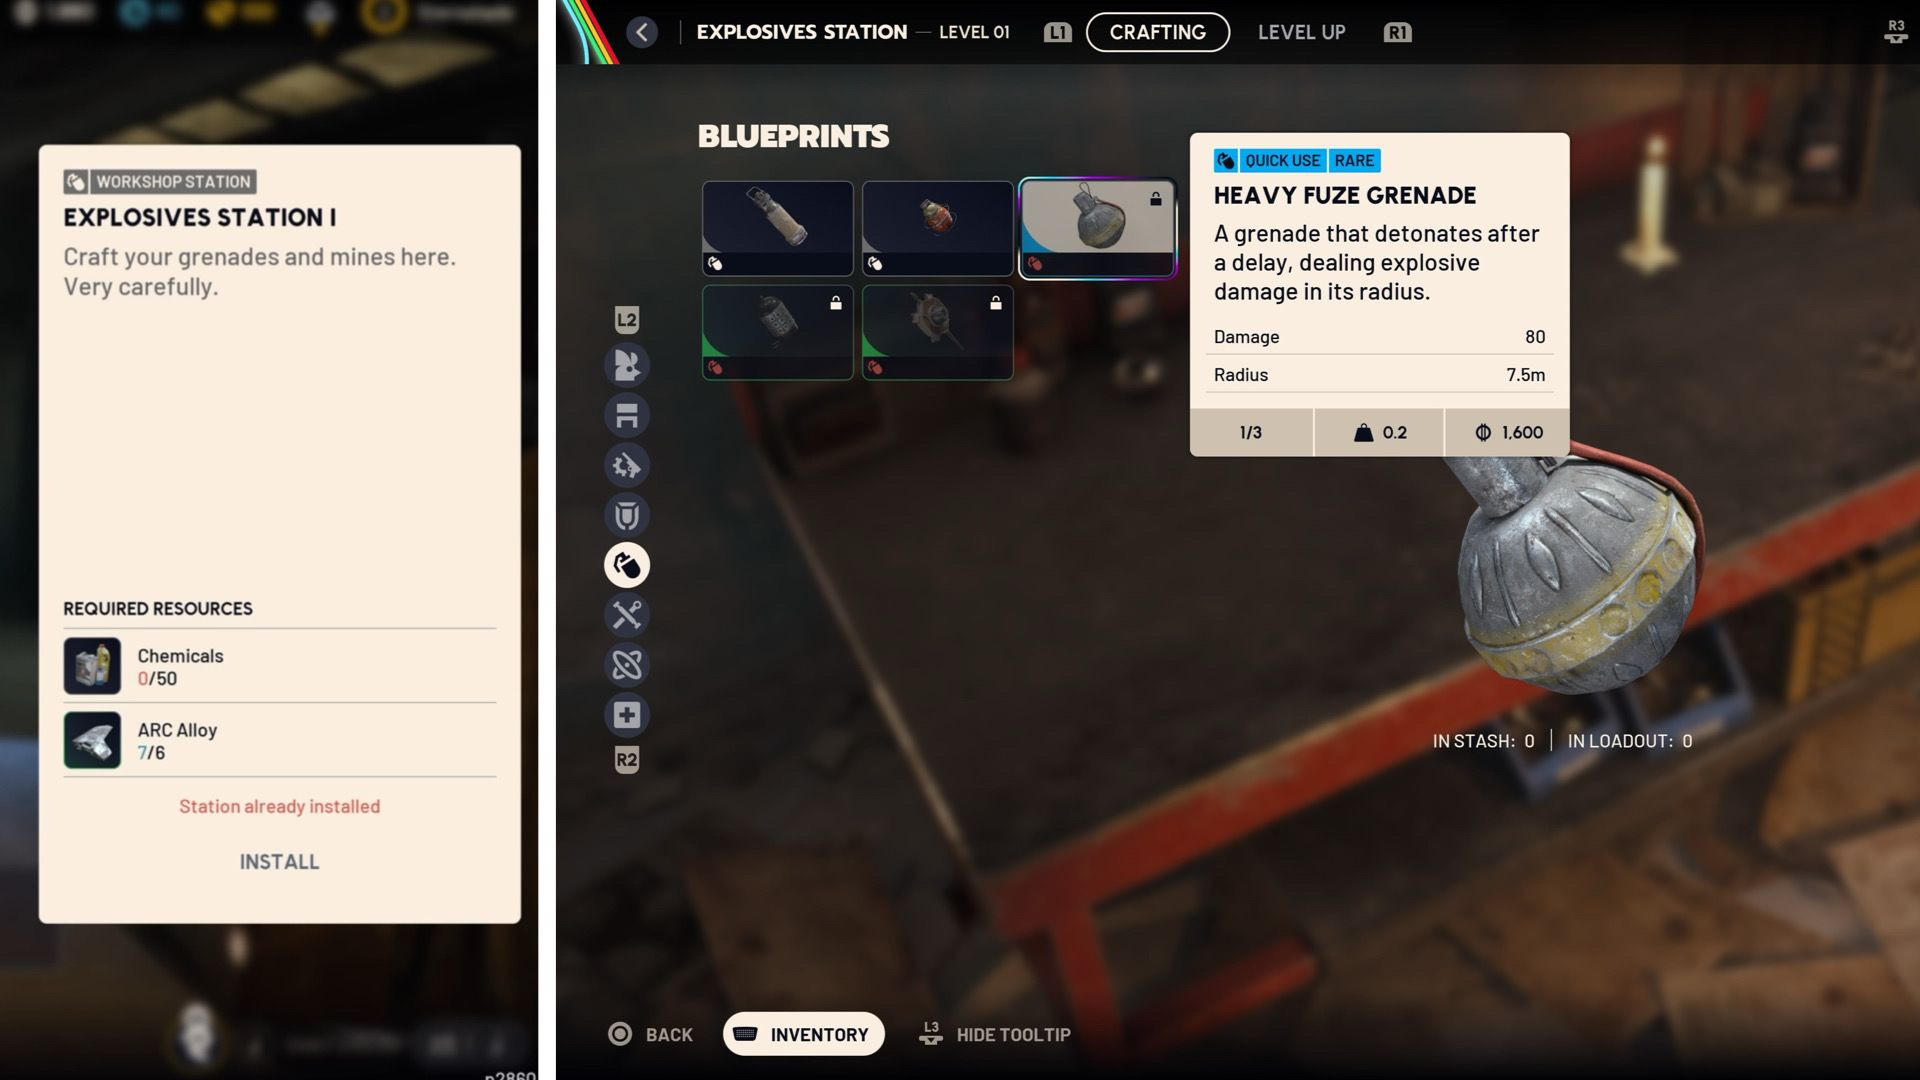
5. Explosives Station
Pins And Needles
| Resource Needed | Resource Amount |
|---|---|
| Chemicals | 50 |
| ARC Alloy | 6 |
I don’t usually focus on using explosives in shooter games, so the Explosives Station isn’t one of my top choices. However, if you enjoy using grenades and other explosives in combat, this station could be perfect for you!
You can craft a variety of grenades and mines here, all of which are really helpful if used correctly. It’s important to time your throws and cooks properly to get the most out of them. While explosives can be effective, I personally prefer the accuracy of a gun, so I don’t rely on grenades too much.
I usually find enough explosives while scavenging that I haven’t really needed to use the Explosives Station to make more.
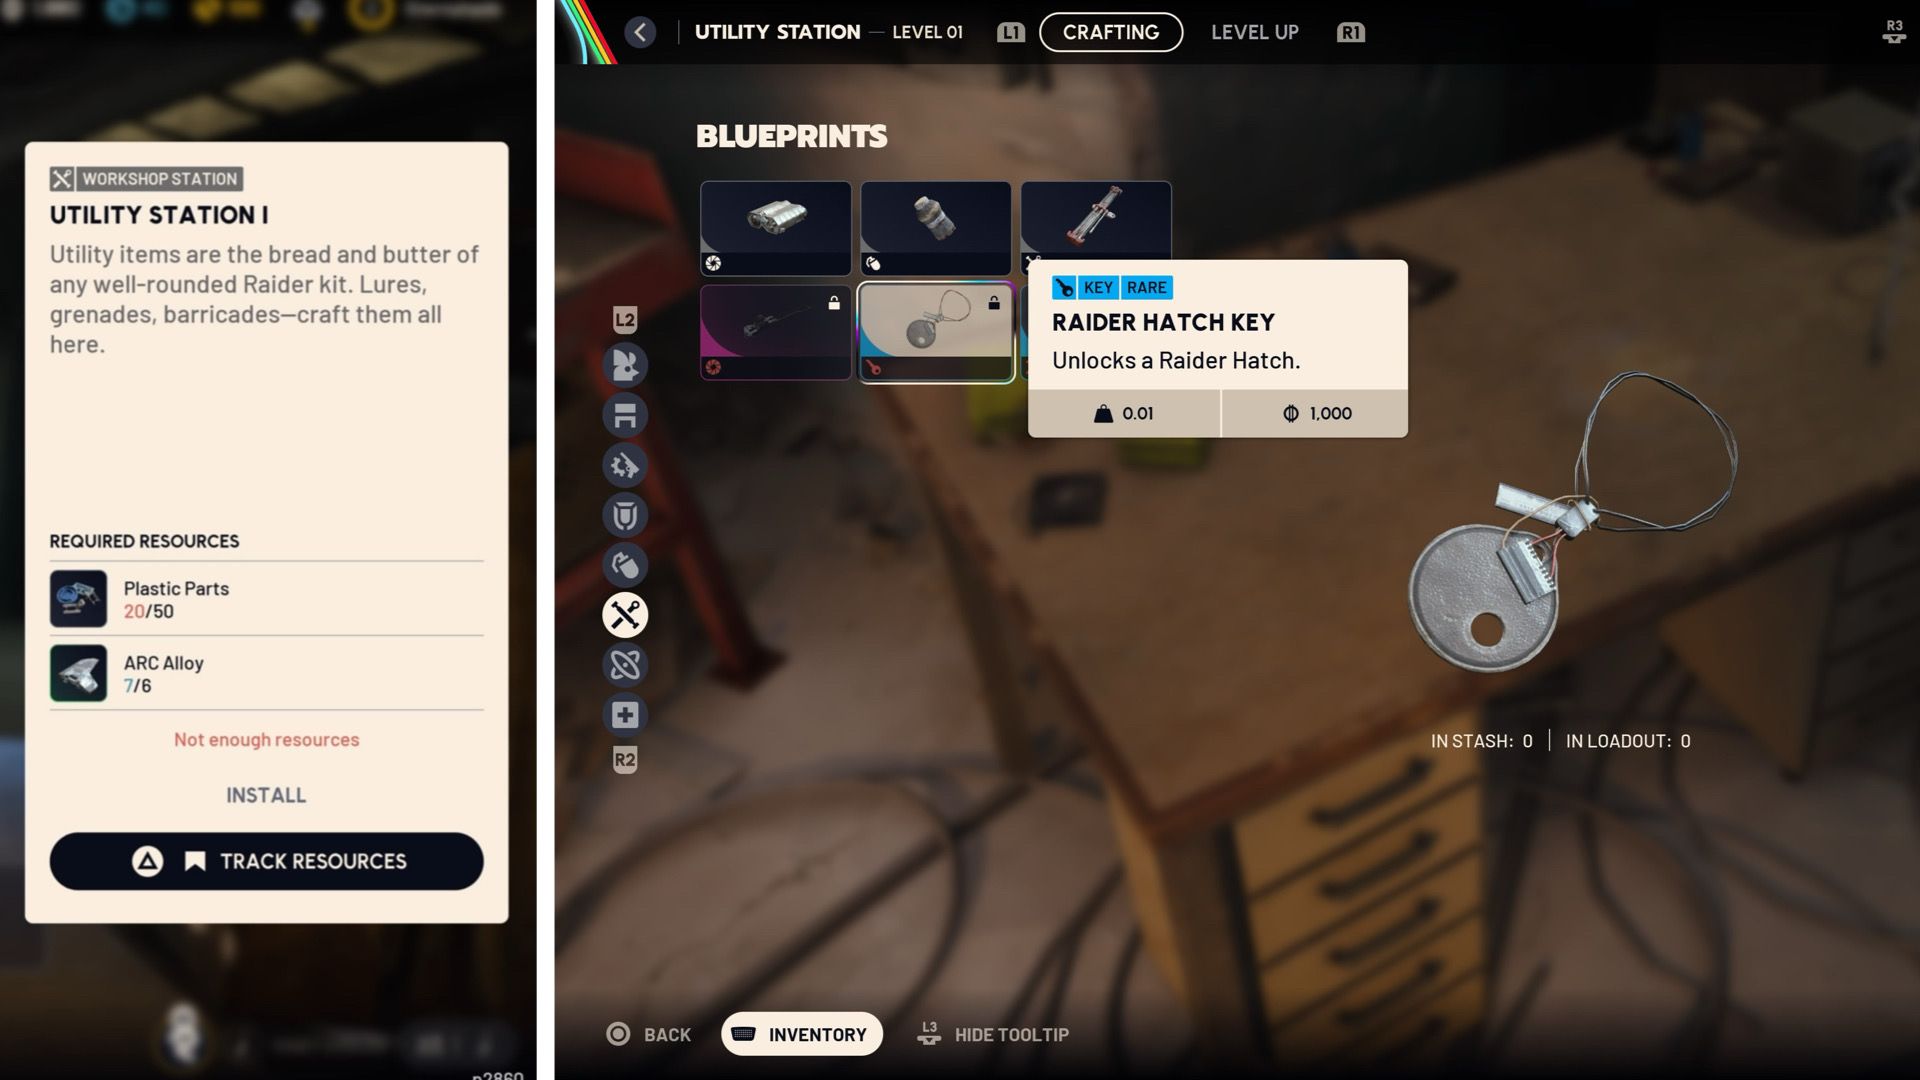
4. Utility Station
Down The Hatch
| Resource Needed | Resource Amount |
|---|---|
| Plastic Parts | 50 |
| ARC Alloy | 6 |
The Utility Station lets you craft helpful items, ranging from generally useful tools to things that are better suited for specific situations or the way a run is going. You can find some good stuff here, but don’t expect any game-changing discoveries every time.
The new Raider Hatch Key is a highlight – it unlocks several quicker and safer ways to return to the underground areas on the map. While these hatches can really help you avoid failing a run, it’s frustrating that you need to use a key every single time.
The Utility Station provides helpful tools like barricades to block doorways when enemies are pursuing you, and lures to distract ARC enemies so you can slip away unnoticed. While these items are valuable, you won’t necessarily need them in every playthrough.
3. Medical Lab
Let’s Get You Patched Up
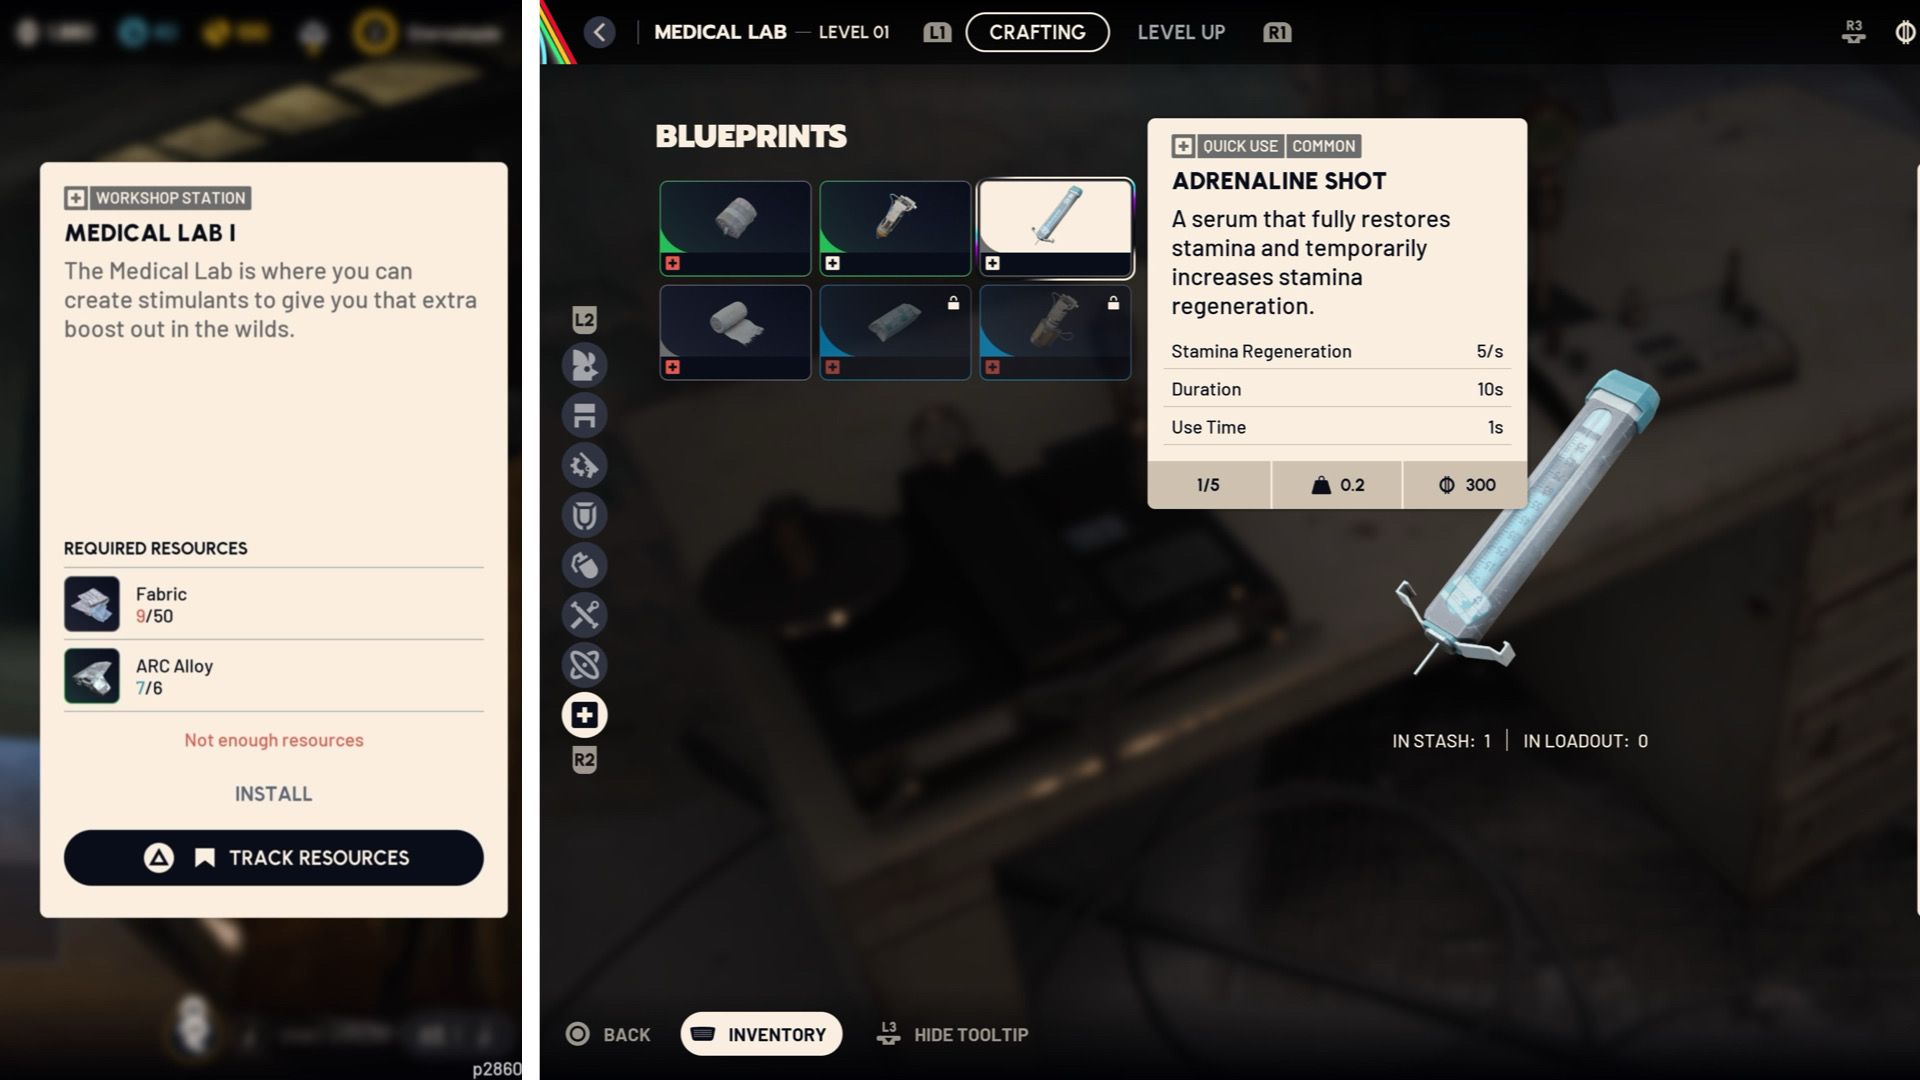
| Resource Needed | Resource Amount |
|---|---|
| Fabric | 50 |
| ARC Alloy | 6 |
Staying alive in ARC Raiders can be really challenging. That’s why it’s crucial to bring plenty of healing supplies whenever you venture to the surface. The Medical Lab helps make this much easier and more realistic.
The Medical Lab is where you’ll find items like stimulants, syringes, and bandages. These are used to restore your health and quickly recover stamina, which is helpful for covering ground quickly. Remember, you can’t collect resources if you’re incapacitated, so everything in the Medical Lab is about keeping you alive and in the fight.
When you become a skilled ARC Raiders player, you’ll likely rely on medical items less and less. But when you’re first starting out, you’ll use them constantly – you can never have too many!
2. Gear Bench
Augment Your Loadout

| Resource Needed | Resource Amount |
|---|---|
| Plastic Parts | 25 |
| Fabric | 30 |
Okay, so the Gear Bench is a lifesaver! I was getting frustrated with how my loadouts were organized, but this lets me really customize things. You can craft these awesome augments that give you huge benefits – I’m talking more backpack space, which is always good, and these ‘Safe Pockets.’ Those are amazing because they make sure some of your gear gets back to base even if you wipe on a run. Seriously, it takes a lot of stress out of risky plays!
Adding certain enhancements, or ‘augments,’ lets you carry more weight, meaning you’ll be less likely to become overloaded while collecting items during your adventures. While some augments have drawbacks, many can significantly improve how you play the game.
The Gear Bench easily earns its place on this list thanks to the powerful upgrades it offers. Being able to craft shields there is a fantastic bonus. You’ll definitely find it worthwhile to build the Gear Bench early in your workshop, and it’s great that you don’t need any special ARC components to make it.
1. Gunsmith
Upgrades For Days
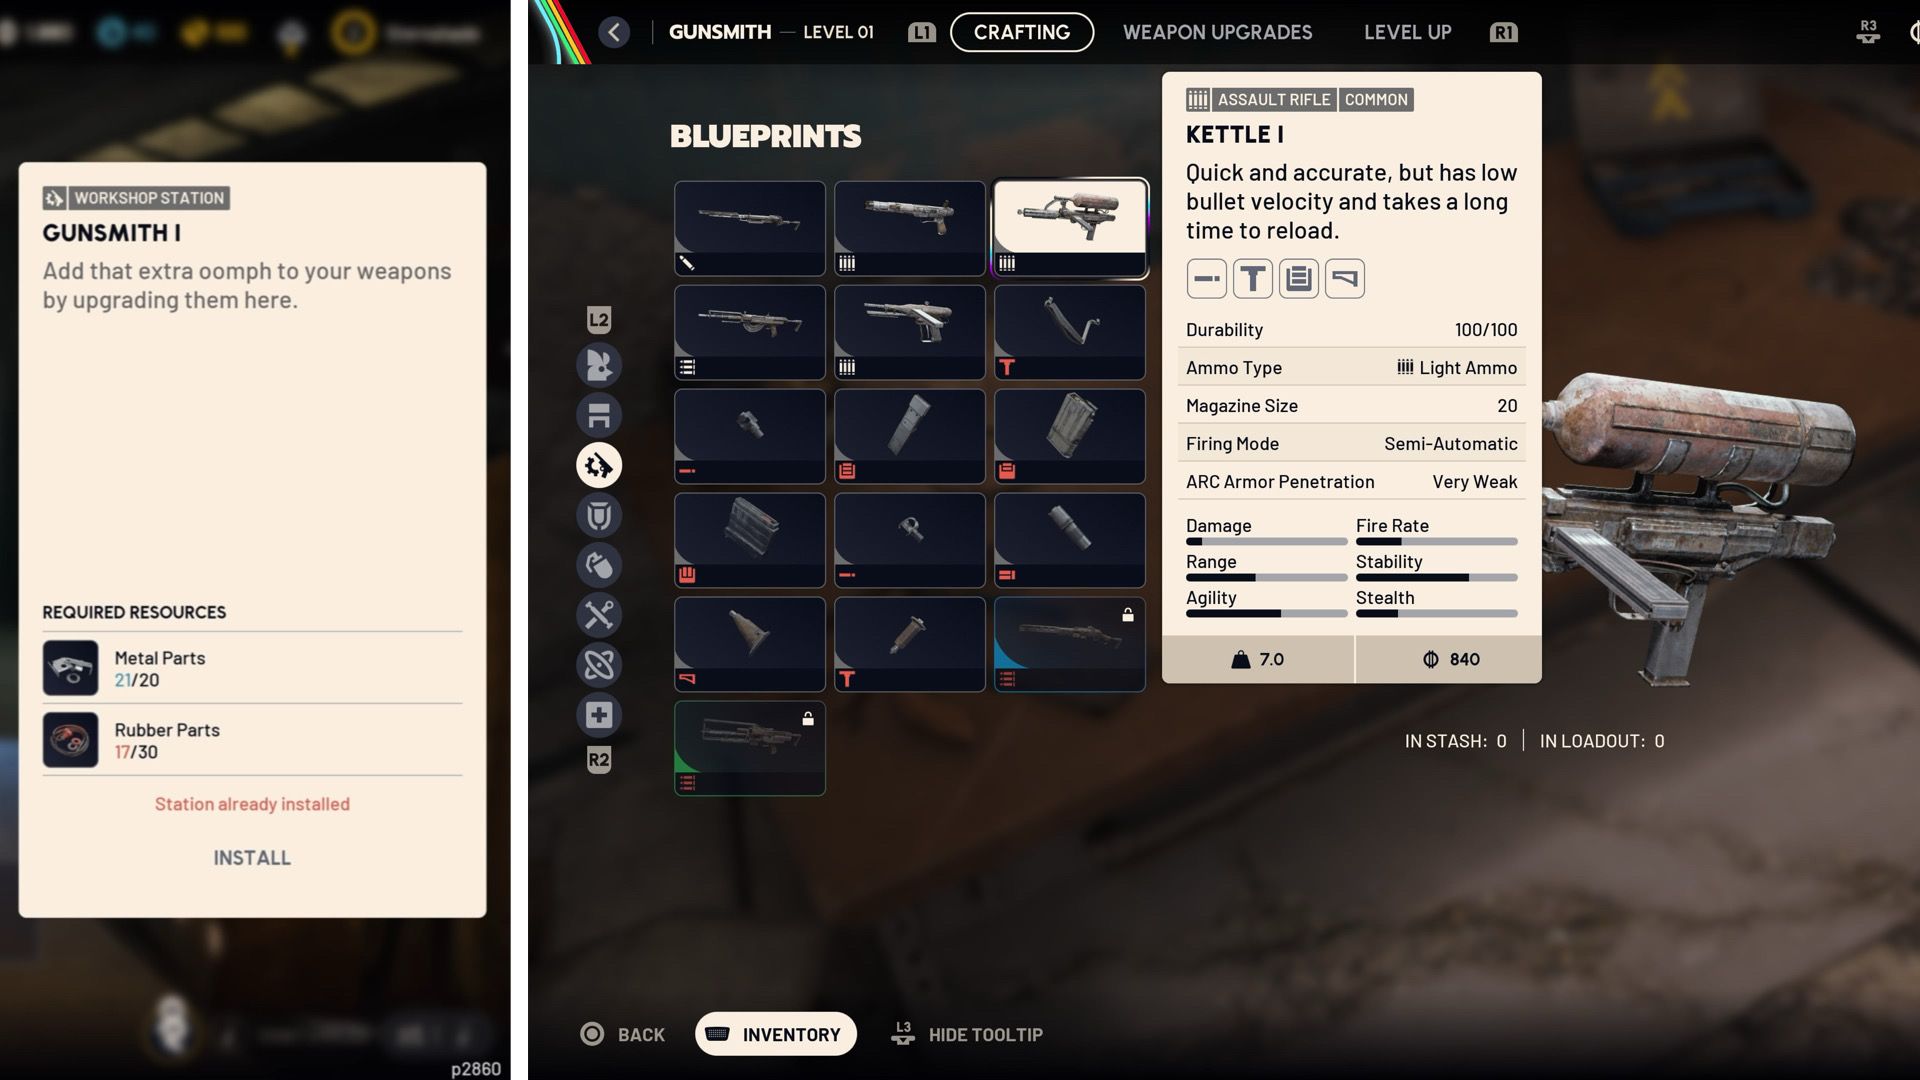
| Resource Needed | Resource Amount |
|---|---|
| Metal Parts | 20 |
| Rubber Parts | 30 |
In ARC Raiders, the Gunsmith should be your first workshop priority. It’s cheap to build – requiring only metal and rubber, both of which are readily available without needing to fight on the surface. These materials are likely the easiest to find of everything you’ll need for any workshop.
You can now build any guns and attachments you want, as long as you have the materials. This gives you a limitless supply of firearms, so it feels less risky to bring your preferred, customized weapons to the surface instead of relying on whatever you find. The ability to craft improvements like better grips and larger magazines also makes a big difference.
On top of everything else, you can now improve your weapons, and that’s when you’ll find ARC Raiders is much easier than it first seemed. Trying to tackle the surface with basic weapons is usually a quick way to fail, but with upgraded gear from the gunsmith, you’ll have a much better chance of success.
Read More
- All Skyblazer Armor Locations in Crimson Desert
- How to Get the Sunset Reed Armor Set and Hollow Visage Sword in Crimson Desert
- All Shadow Armor Locations in Crimson Desert
- Marni Laser Helm Location & Upgrade in Crimson Desert
- One Piece Chapter 1180 Release Date And Where To Read
- All Helfryn Armor Locations in Crimson Desert
- All Golden Greed Armor Locations in Crimson Desert
- All Icewing Armor Locations in Crimson Desert
- How to Beat Stonewalker Antiquum at the Gate of Truth in Crimson Desert
- Legendary White Lion Necklace Location in Crimson Desert
2025-11-02 02:40