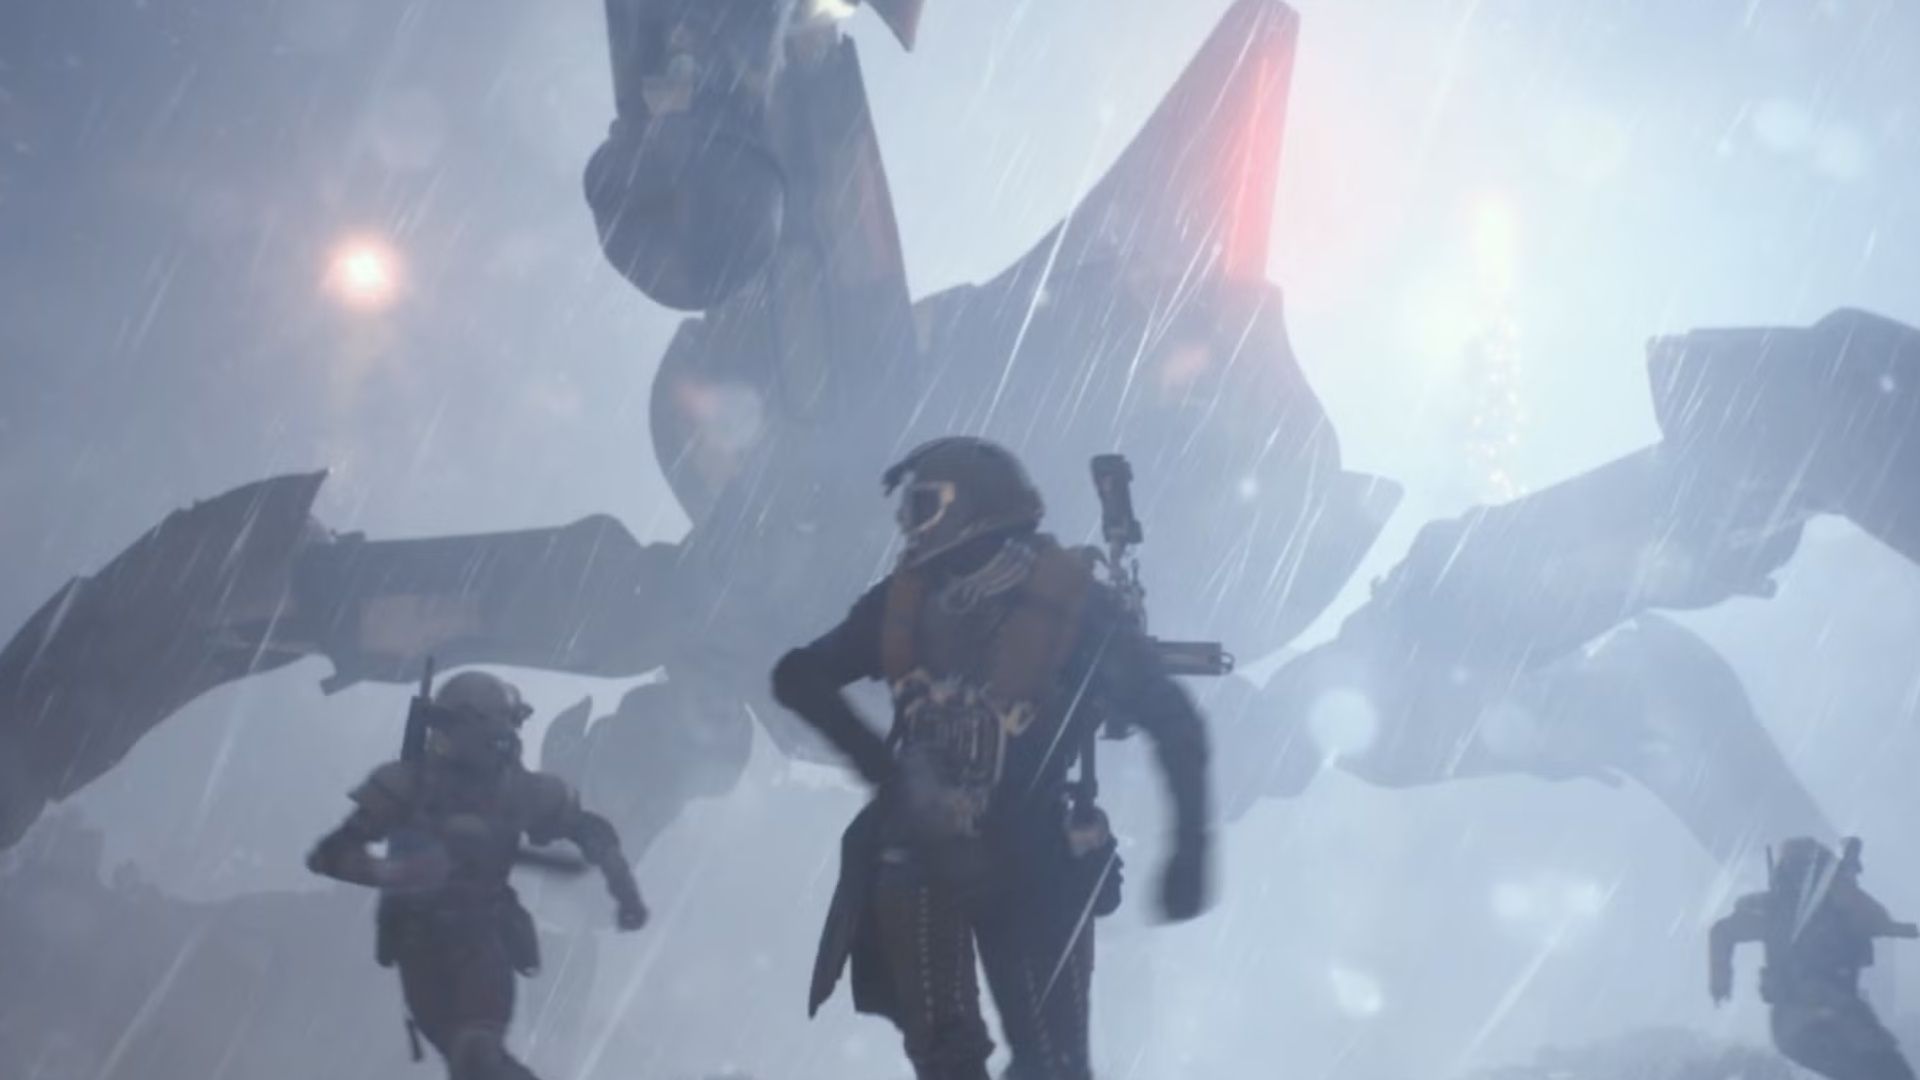
Players of ARC Raiders often remember being amazed when they first faced the Matriarch. This massive robot is one of the most dangerous enemies in any extraction shooter, able to quickly defeat a large group of players. However, a few skilled players have managed to defeat the Matriarch on their own, showing that there’s still a chance for the people of Speranza.
Okay, so I’ve been trying to figure out how to beat the Matriarch, and this guide has seriously been a lifesaver! It breaks down everything you need to know about taking on this tough ARC enemy. It doesn’t just give you hope, it gives you a real plan – a step-by-step strategy to actually beat her, plus a bunch of helpful tips to give you the best chance. First, it gives you the lowdown on what makes the Matriarch so powerful, and then it walks you through a solid strategy to crack her defenses.
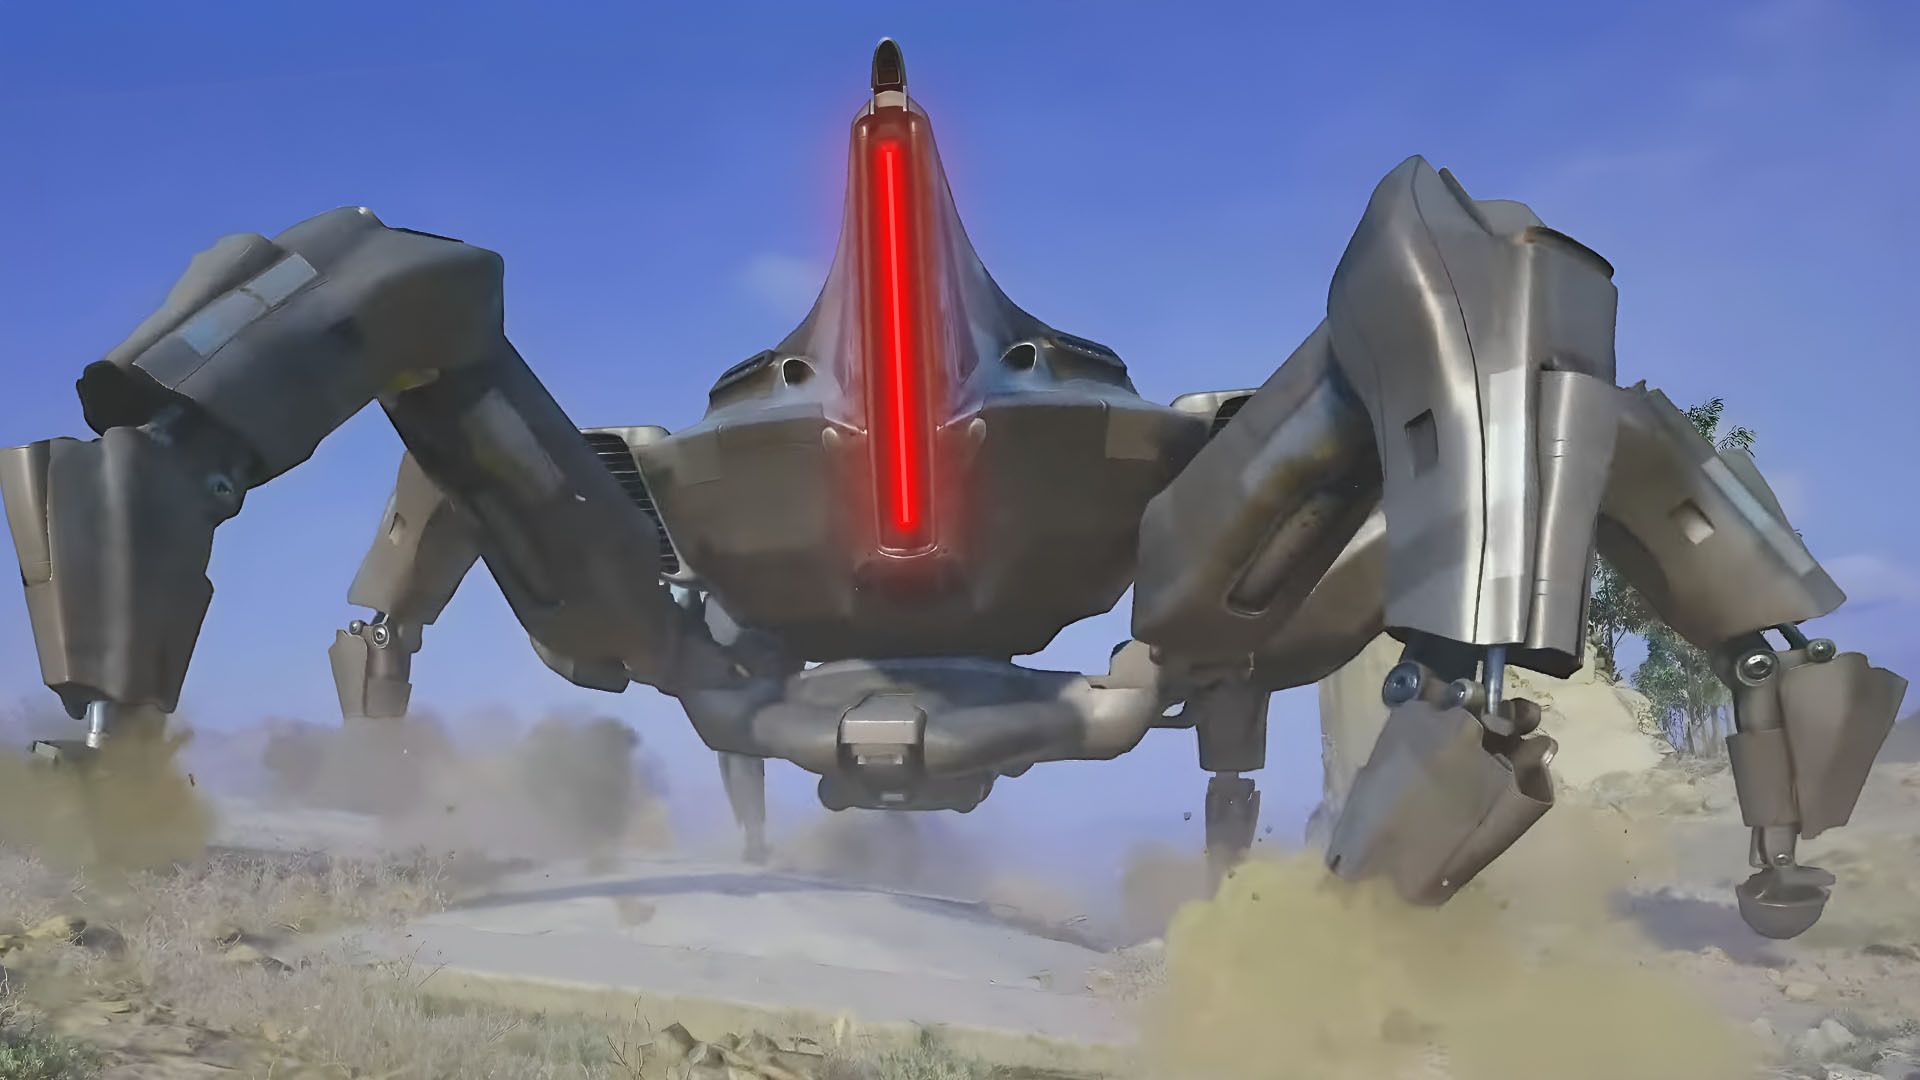
Matriarch Overview
• Threat Level: Extremely High
• Armor Type: Fully-plated, Segmented (legs, cores, reactor).
• Attack(s): Missiles, flashbangs, gas, summons
• Range: Wide (could target raiders from miles away)
• Most Valuable Drop: Matriarch Reactor, used in Legendary blueprints like the Aphelion Rifle
Main Attacks
- Homing Missile Barrage: The Matriarch will constantly shower players in the open with a barrage of homing missiles. They’re fast, and deadlier than the Rocketeer’s rockets. Plus, they cannot be avoided using dodge roll. Staying in the open equals death.
- Gas Mine Barrage: This enormous enemy will shower players attacking it with a rain of gas mines that will activate on proximity, making players cough uncontrollably and preventing them from healing or aiming.
- Call for Help: The Matriarch is constantly calling for lesser ARC and at some point, it will call down a Rocketeer and a Bastion. Be careful with this.
- Flashbang Catapult: As the name implies, the Matriarch launches a lobbed Flashbang grenade of considerable size, which tends to have tremendous reach and gets through windows. It will explode, blinding everyone in a huge radius, so be careful, and if you see it landing nearby, turn around quickly.
- Antimatter Shield: The Matriarch deploys a protective dome of energy that destroys any projectile around it. Players need to wait a few moments until the shield comes down before resuming the attack.
How to Find the Matriarch
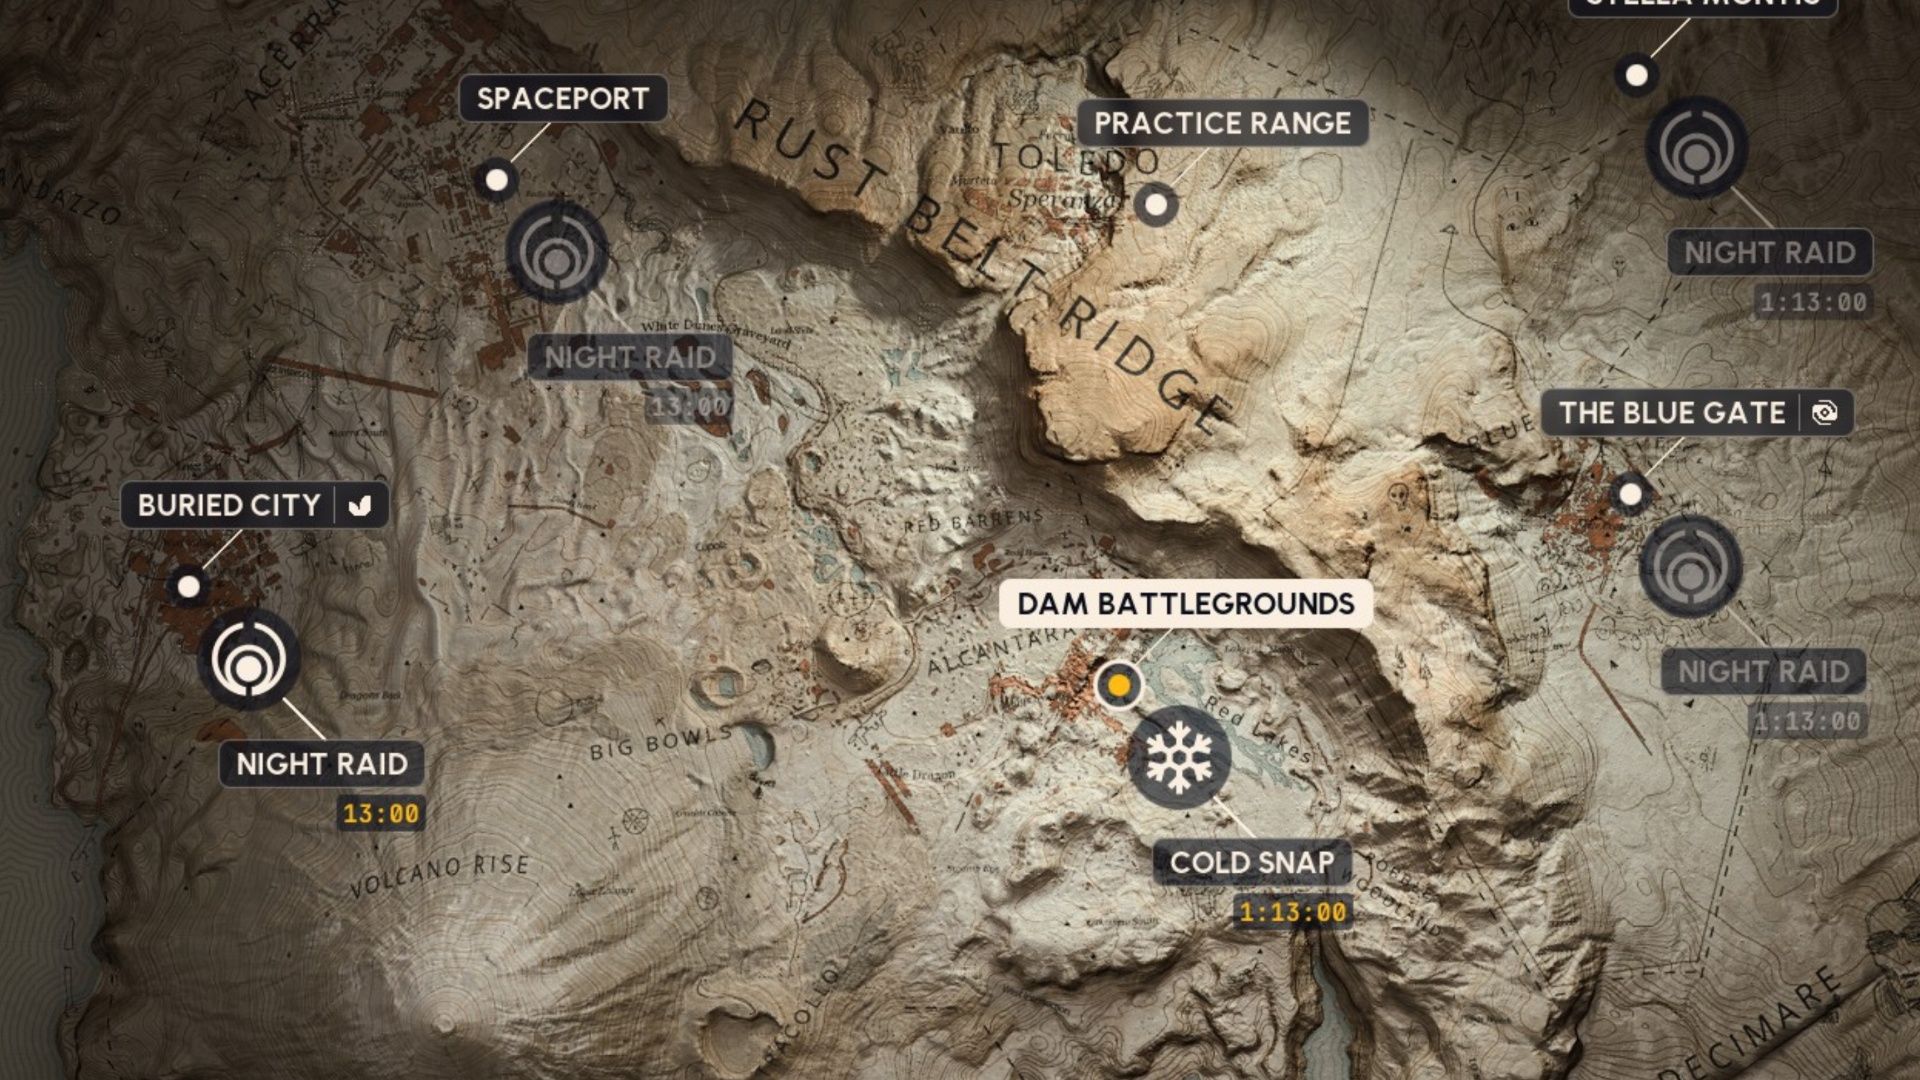
The Matriarch boss appears only during its special map event, which happens in Dam Battlegrounds, The Blue Gate, or Spaceport. When the event is live, you can find the Matriarch in specific locations, detailed in the table below.
| Map | Matriarch Spawn Area |
|---|---|
| Dam Battlegrounds | Water Towers area |
| The Blue Gate | South of the Warehouse complex, near the Ridgeline |
| Spaceport | Between Rocket Assembly and the Launch Towers |
Players can tell a Matriarch is still present on the map if, upon spawning, Shani says: “A Matriarch has been sighted nearby. Her children seem determined to protect her.”
The Matriarch is a very large enemy in the game, so it’s hard to miss. A good way to locate it quickly is to get to a high vantage point and scan the area.
How to Take Down the Matriarch (Loadout Tips)
You can defeat the Matriarch and escape with the treasure using one of two main strategies. The first is cheap and only needs a few simple items. The second is more difficult and expensive, requiring powerful weapons and plenty of ammunition.
If you like playing alone, choose the Combat MK. 2 Augment and Heavy Shield. Equip either the Anvil or Bettina weapon with at least 300 heavy ammo. Also, be sure to bring Ziplines, Wolfpack Grenades, and at least two Barricade Kits. Don’t forget essential healing items like Shield Rechargers and Bandages. Unlike the Queen, who deals massive damage quickly, the Matriarch is a longer fight where you can mostly dodge her attacks.
To stay safe, it’s best to fight from higher ground and stay protected behind cover, as the Matriarch launches a lot of attacks. Her missiles are especially dangerous and can quickly defeat careless players. Barricade Kits can help you maintain cover, but they aren’t indestructible and might break during a fight. Also, be aware of the Rocketeer enemy when it appears – it tends to focus on players who are playing alone.
Keep an eye on the area and locate the Matriarch. If you see other players fighting it, get ready to join in. Let the others get its attention first, then focus your fire on the armor covering its legs to reveal the cores underneath. Once exposed, shoot those leg cores to knock it to the ground. When it falls, you can attack either its head or its underside.
The Matriarch’s biggest weakness is its head. Breaking the armor plating reveals the Head Cores (also known as Reactors). Damaging these cores with weapons like the Hullcraker or Anvil will significantly reduce the Matriarch’s health and make it burn faster. If you have them, Wolfpack Grenades are most effective at this point, as they target weak spots and deal extra damage.
To defeat the Matriarch, the Hullcracker and Equalizer are the most effective weapons. You’ll need approximately 150 rounds of ammunition for the Hullcracker, or around 75 Energy Clips for the Equalizer, if you’re facing her alone.
For player-versus-player combat, we suggest bringing a Torrente or Stitcher. These weapons are helpful during the Dynamic Event because it frequently draws aggressive players who target anyone trying to defeat the Matriarch.
For the best results, position two Barricades side-by-side, leaving a gap between them that allows you to shoot between them.
Use Ziplines or the Snap Hook to reach high ground – like the tops of buildings – before fighting the Matriarch. This will give you a better strategic advantage.
Another tactic is called the “Deadline Catapult.” It involves placing a Trigger’Nade and a Deadline mine close together. When you detonate the Trigger’Nade, it launches the Deadline mine towards the Matriarch. With some practice and accurate aiming, this can inflict a lot of damage.
Okay, so I’ve figured out a sneaky way to do some serious damage. If I’ve got the Snap Hook or a bunch of Ziplines, I can get to the highest points on the map. From up there, I can set up my stuff without the ARC Matriarch spotting me, and then really let loose! It’s a great way to cause chaos while staying hidden.
Tips to Stay Alive After Hunting Down the Matriarch

If you’re aiming to defeat the Matriarch, be prepared for a race against time. After the battle, you’ll need to quickly grab the valuable loot and escape before other Raiders find you. Here’s some advice to help you collect the rewards and survive the getaway.
- Have a PvP weapon on you. There are many hostile players that might see your battle with the Matriarch as an advantage and try to attack you while you’re busy. It’s always a good idea to have a rapid-fire gun like the Stitcher with you, just in case you encounter these types of players. Also, try to pick a position that has only one access so you don’t have to worry about getting ambushed from all different directions.
- Loot fast, and put the Matriarch Reactors in the Safe Pockets. That way, even if they beat you, at least you’ll save face and get some decent Legendary Resources.
- Bring a Raider’s Hatch key and spare Ziplines to connect a route to the Matriarch’s body, and another zipline aiming to the nearest Hatch (or at least in the direction to safety/cover).
- Plan your escape early. Keep a close eye on the timer on the top of the screen. It’s best to evacuate early rather than stick around and risk being pinned down by greedy players who ignore the ARC Satellite Strike that wipes the maps every 30 minutes.
Read More
- All Shadow Armor Locations in Crimson Desert
- Best Bows in Crimson Desert
- How to Get the Sunset Reed Armor Set and Hollow Visage Sword in Crimson Desert
- All Golden Greed Armor Locations in Crimson Desert
- Wings of Iron Walkthrough in Crimson Desert
- How to Craft the Elegant Carmine Armor in Crimson Desert
- All Helfryn Armor Locations in Crimson Desert
- All Skyblazer Armor Locations in Crimson Desert
- How To Beat Ator Archon of Antumbra In Crimson Desert
- Keeping Large AI Models Connected Through Network Chaos
2026-01-06 00:05