Quick Links
-
How to begin the Mourner’s quest path:
-
Nagahama Black Powder
-
A Prayer for Omi
-
The Price of Rice
-
The Wheel Unmasked
- The Naoe Route
- The Yasuke Route
- Assassinating the Mourner
In the game Assassin’s Creed Shadows, The Mourner is a deeper, more personal questline for Yasuke that carries significant importance. Similar to many other assassination tasks, reaching your ultimate goal involves completing several supporting missions initially.
1. Option A: If you find it tough to complete this whole main mission or just prefer using a walkthrough while exploring the Shadows, we’ve got solutions for both scenarios.
2. Option B: Should you be finding it challenging to finish this entire primary storyline or simply enjoy having a guide by your side as you traverse the Shadows, we’ve got options tailored for both situations.
3. Option C: If you’re having trouble making progress in this full questline or prefer following a guide while delving into the Shadows, we have solutions to accommodate either approach.
Time to unmask your next victim.
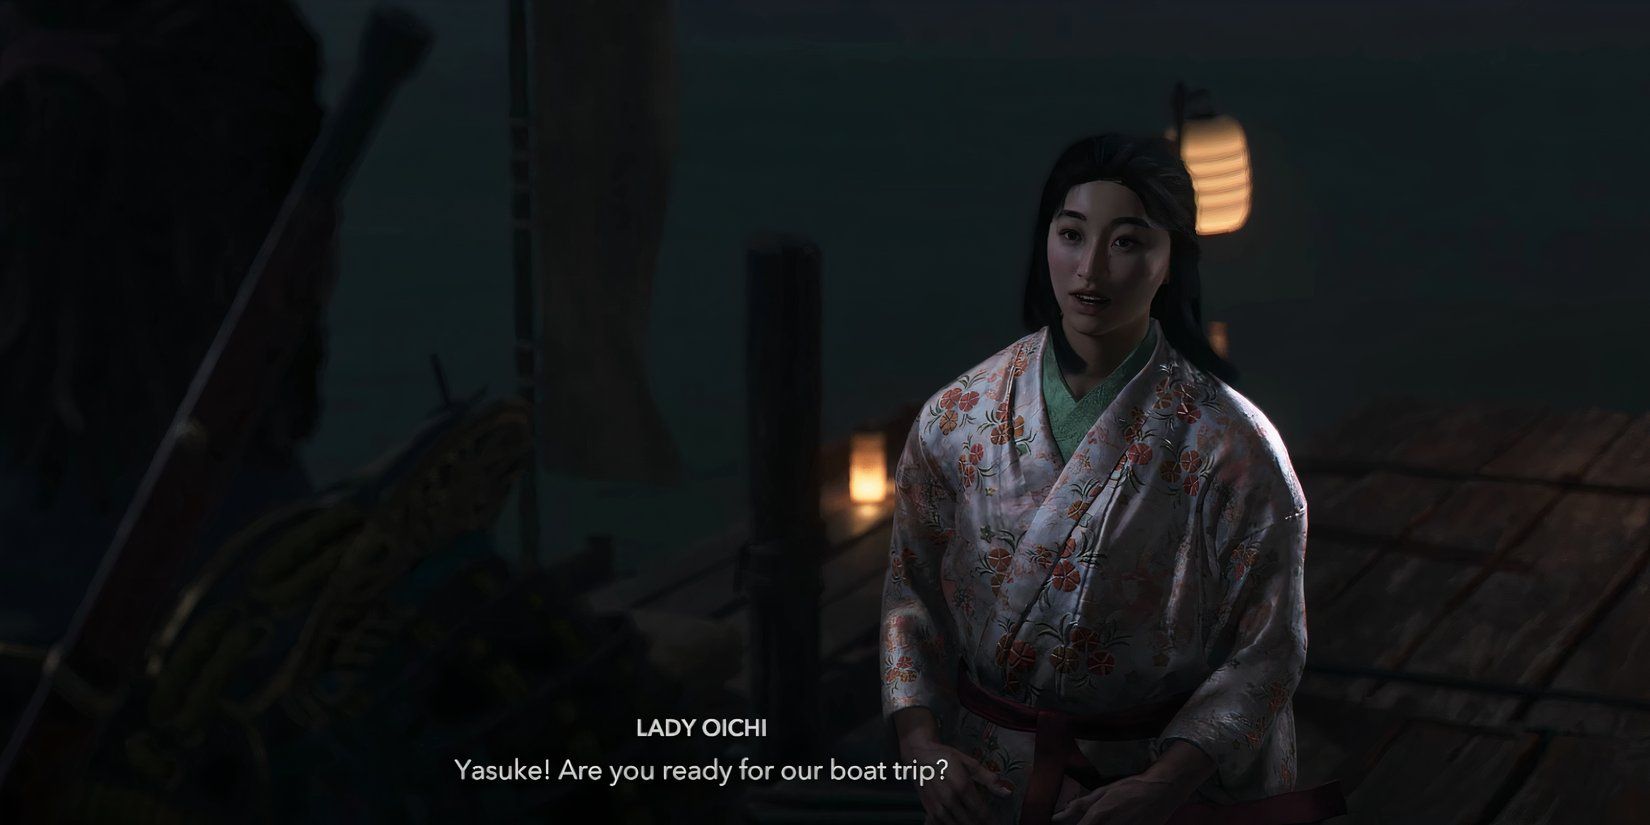
How to begin the Mourner’s quest path:
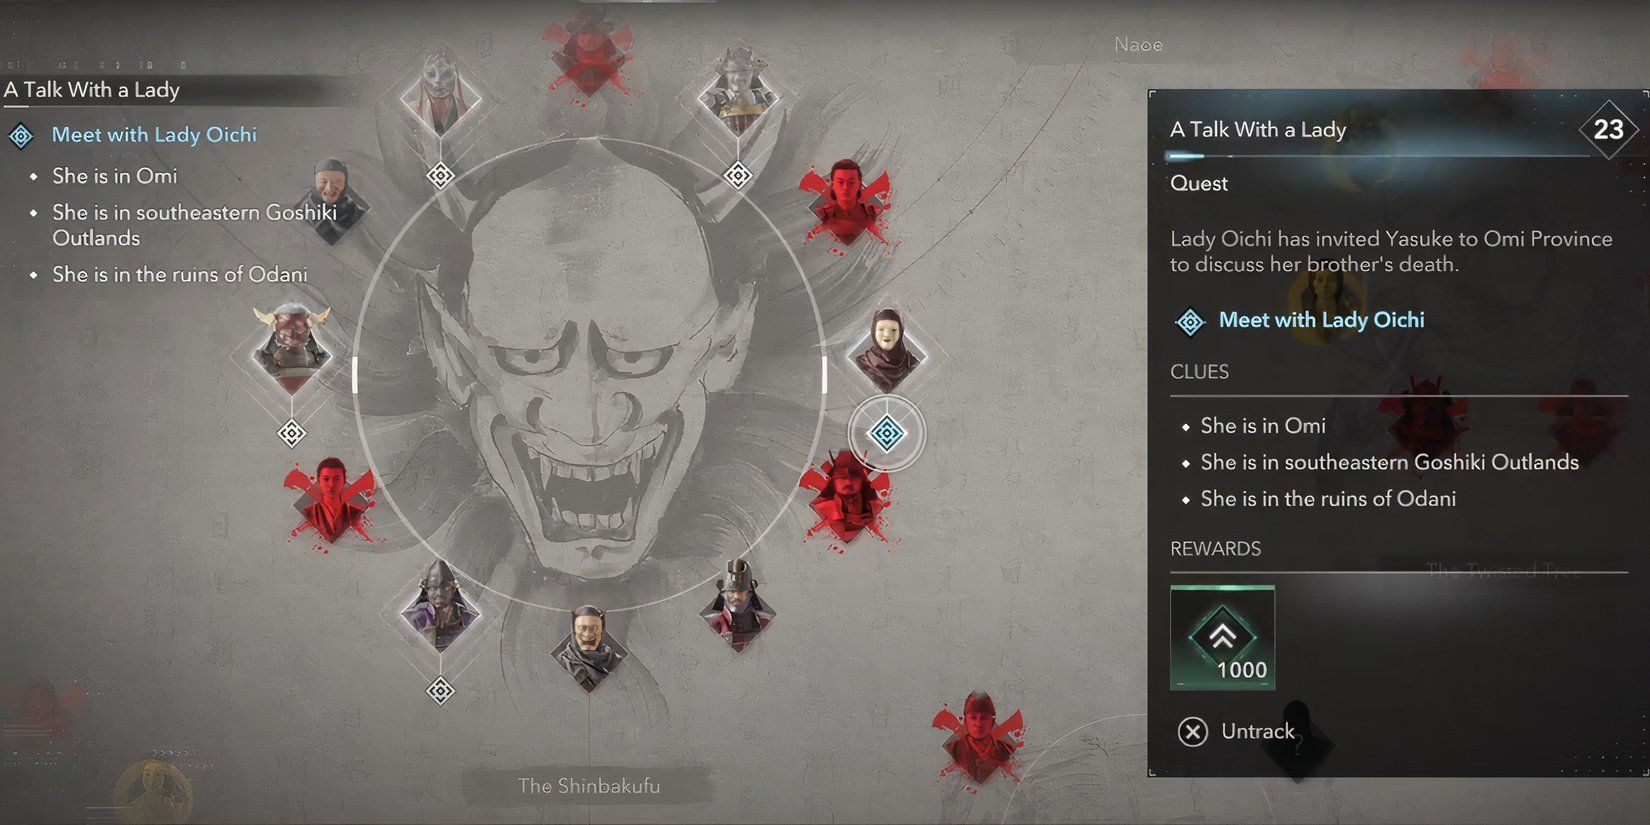
To start the Mourner questline, first, you need to finish the Mibuno Showdown, wrapping up Act 1 in Assassin’s Creed Shadows. Then, go to your Objectives Board, move to the Shinbakufu screen, and choose “A Chat with a Lady” from the Mourner section.
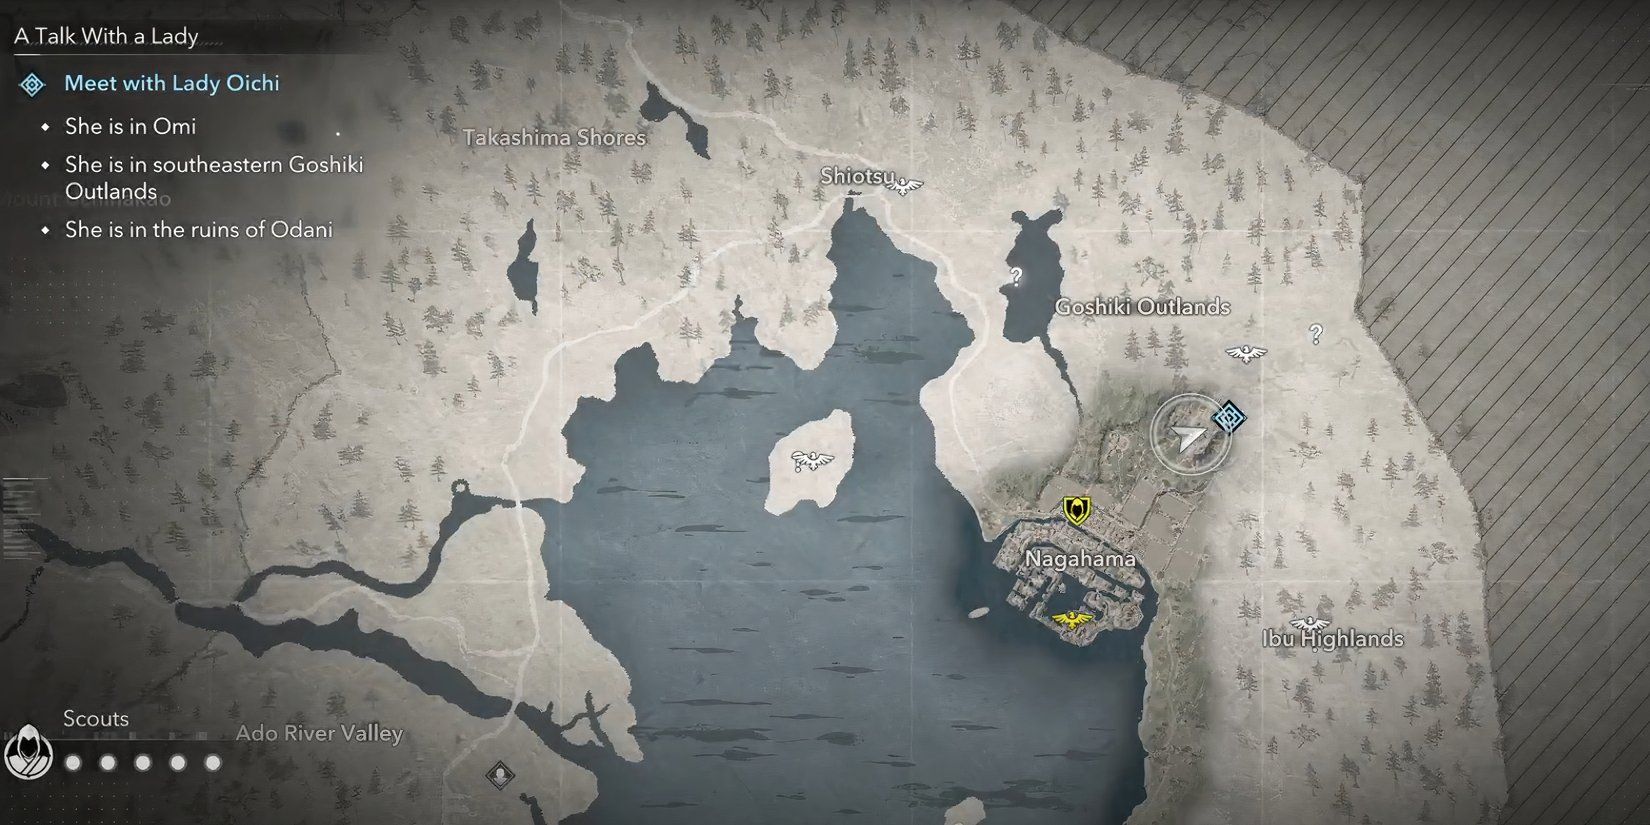
Navigate your way to the town situated at the uppermost point of the lake, known as Nagahama. From there, continue on the route heading towards the northeast, and you will eventually reach Odani.
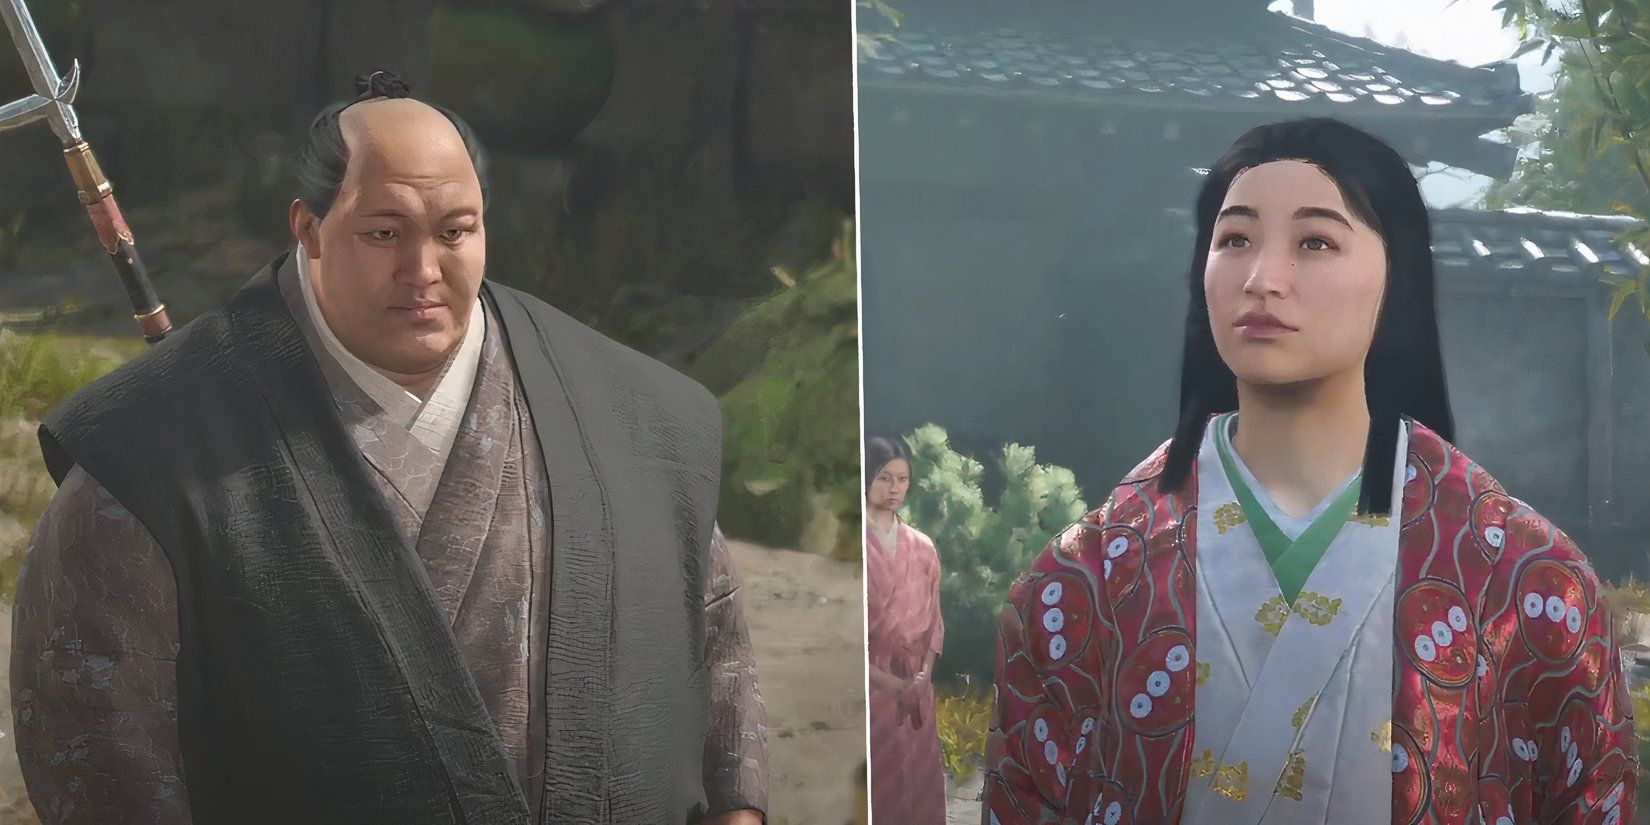
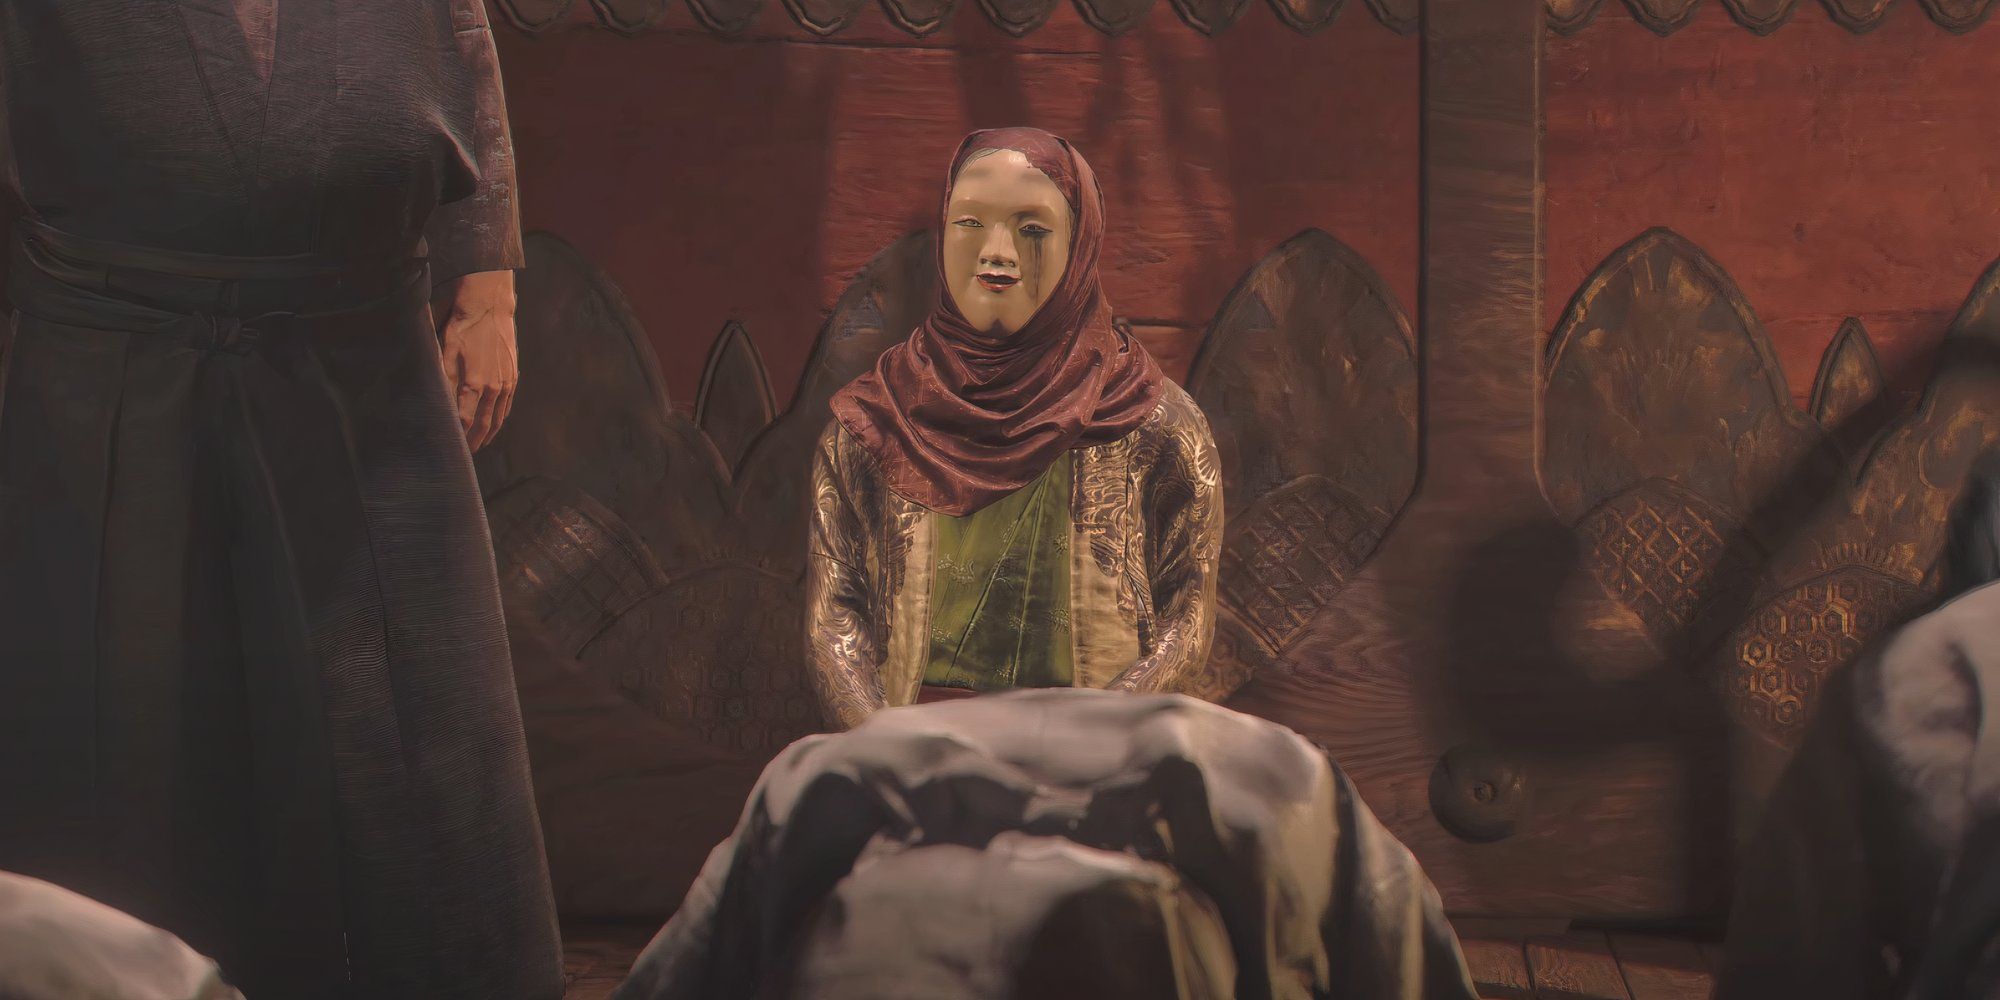
Initially, Yasuke encounters a bodyguard named Kuma, who is proficient with the naginata. After conversing with him, you’ll be led to Lady Oichi. Regardless of your conversation topics with her, the storyline remains consistent. Finishing this encounter opens up three additional tasks that need to be accomplished before directly challenging the Mourner.
Nagahama Black Powder
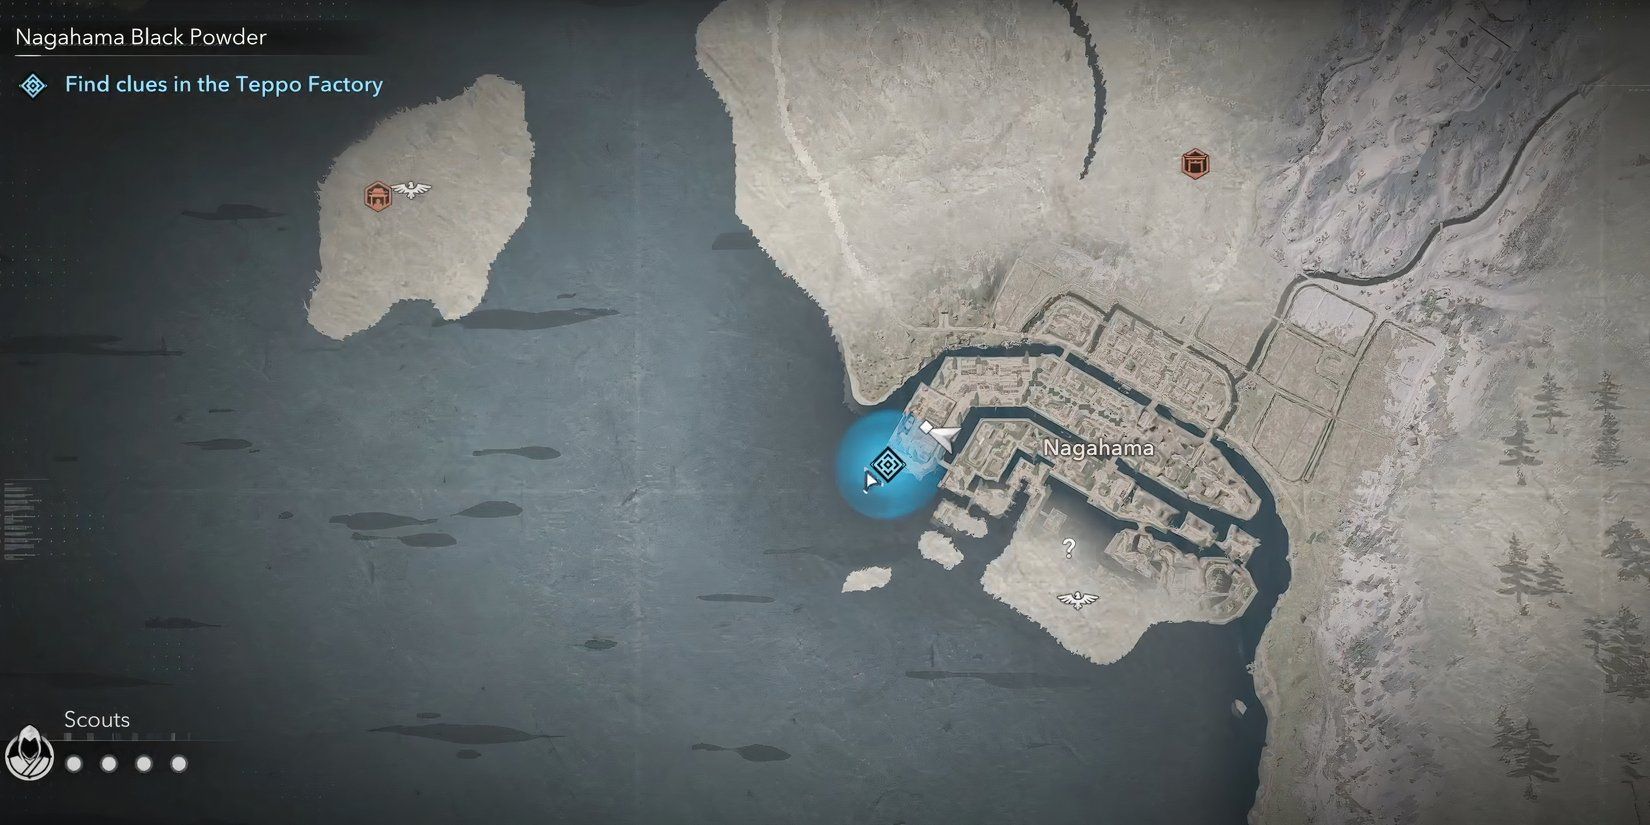
Head back to Nagahama, where the Shinbakufu conspire to demolish a nearby Teppo factory. The manufacturing facility is situated on the western part of town. Observe closely or use your keen eyesight to monitor the movements of the patrolling guards, stay hidden, and discover the vital clue perched atop a wooden platform near the southwestern boundary of the factory. You can effortlessly access it by circumventing the factory’s exterior and scaling the wall to dodge the guards.
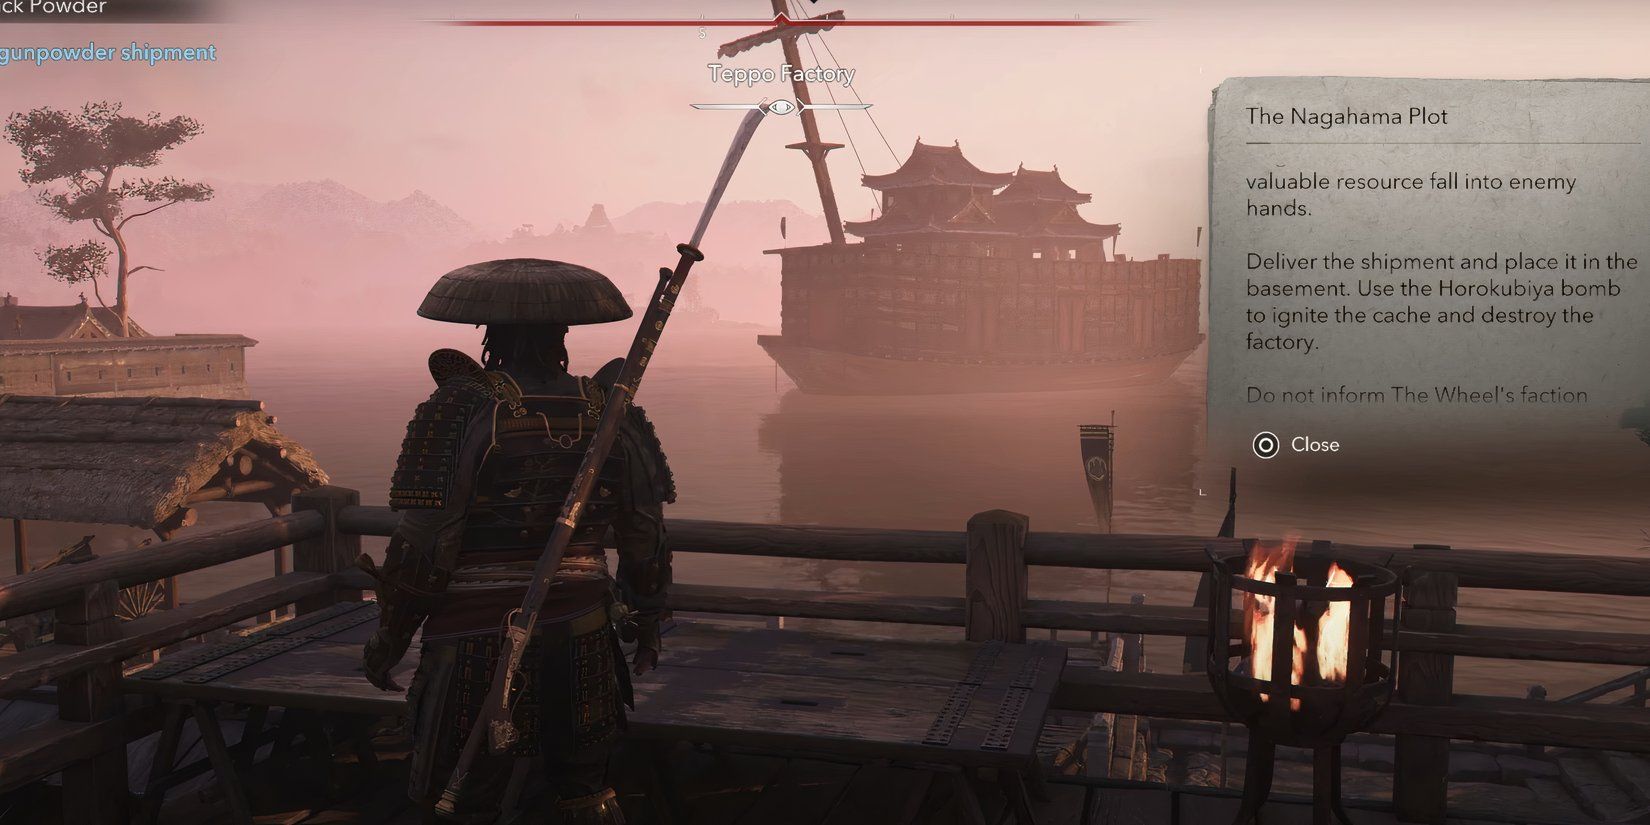
After gathering your necessities, your focus shifts towards a colossal gunpowder vessel anchored close by, easily visible off Nagahama’s coastline. To accomplish your objective, you’ll need to retrieve a Horokubiya bomb from a secure room on the upper deck, which is under constant watch by several guards. You can reach it by swimming or acquiring a small boat from the docks and boarding the ship.
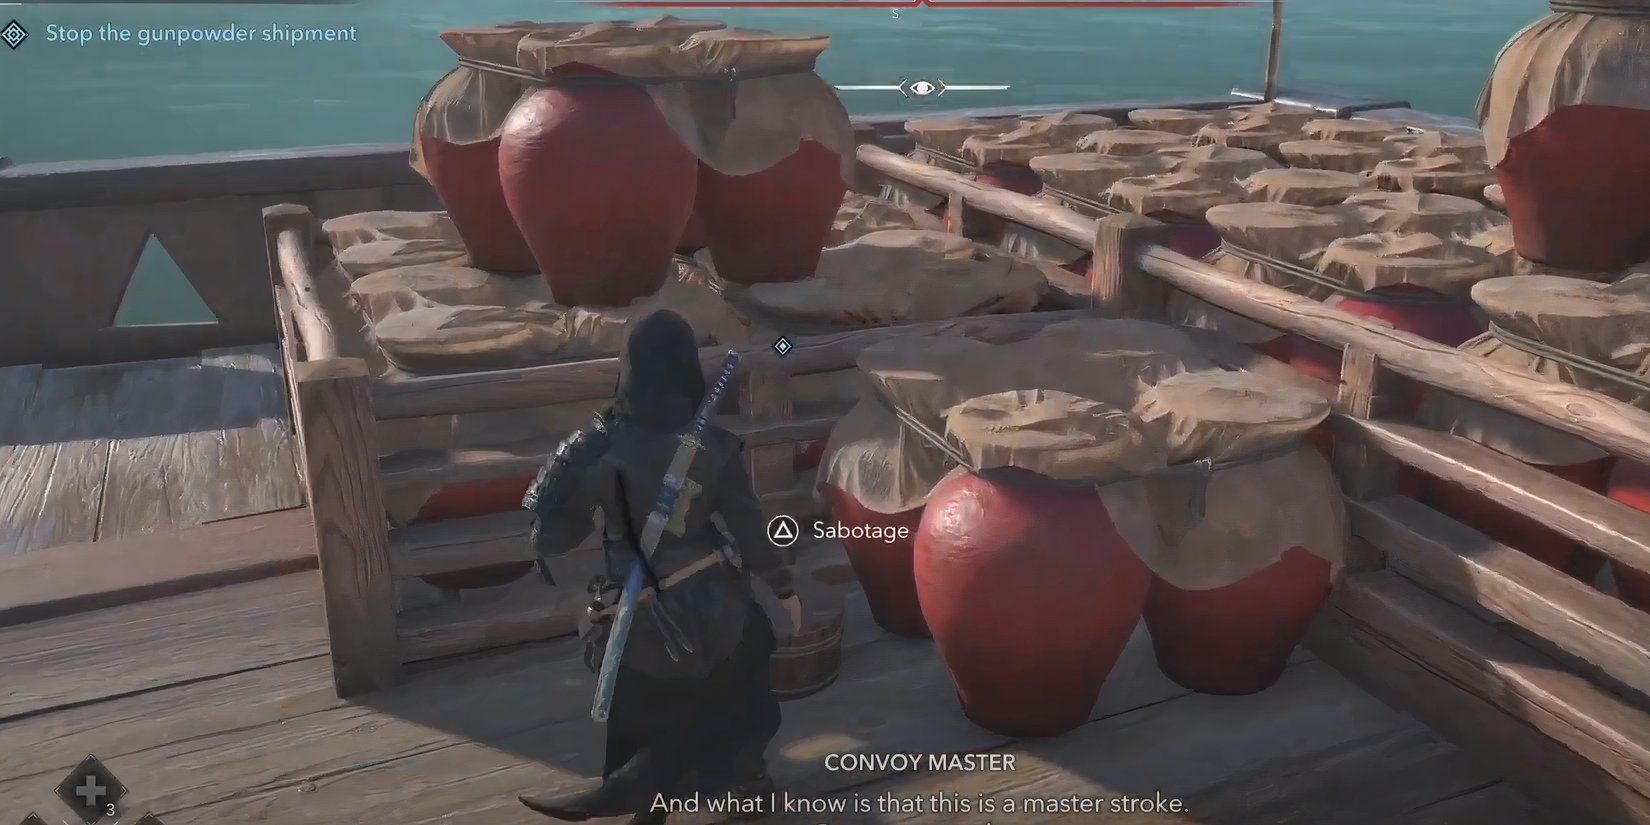
If you prefer a more covert method, think about entering through the window of the room to quietly take out the solitary guard within. Subsequently, leap out and scurry along the side of the vessel to get to the front. At the front, there will be several red pots where you should position your explosive device. Once placed, move to a secure spot, detonate the explosion, and flee as the ship bursts into flames after the explosion.
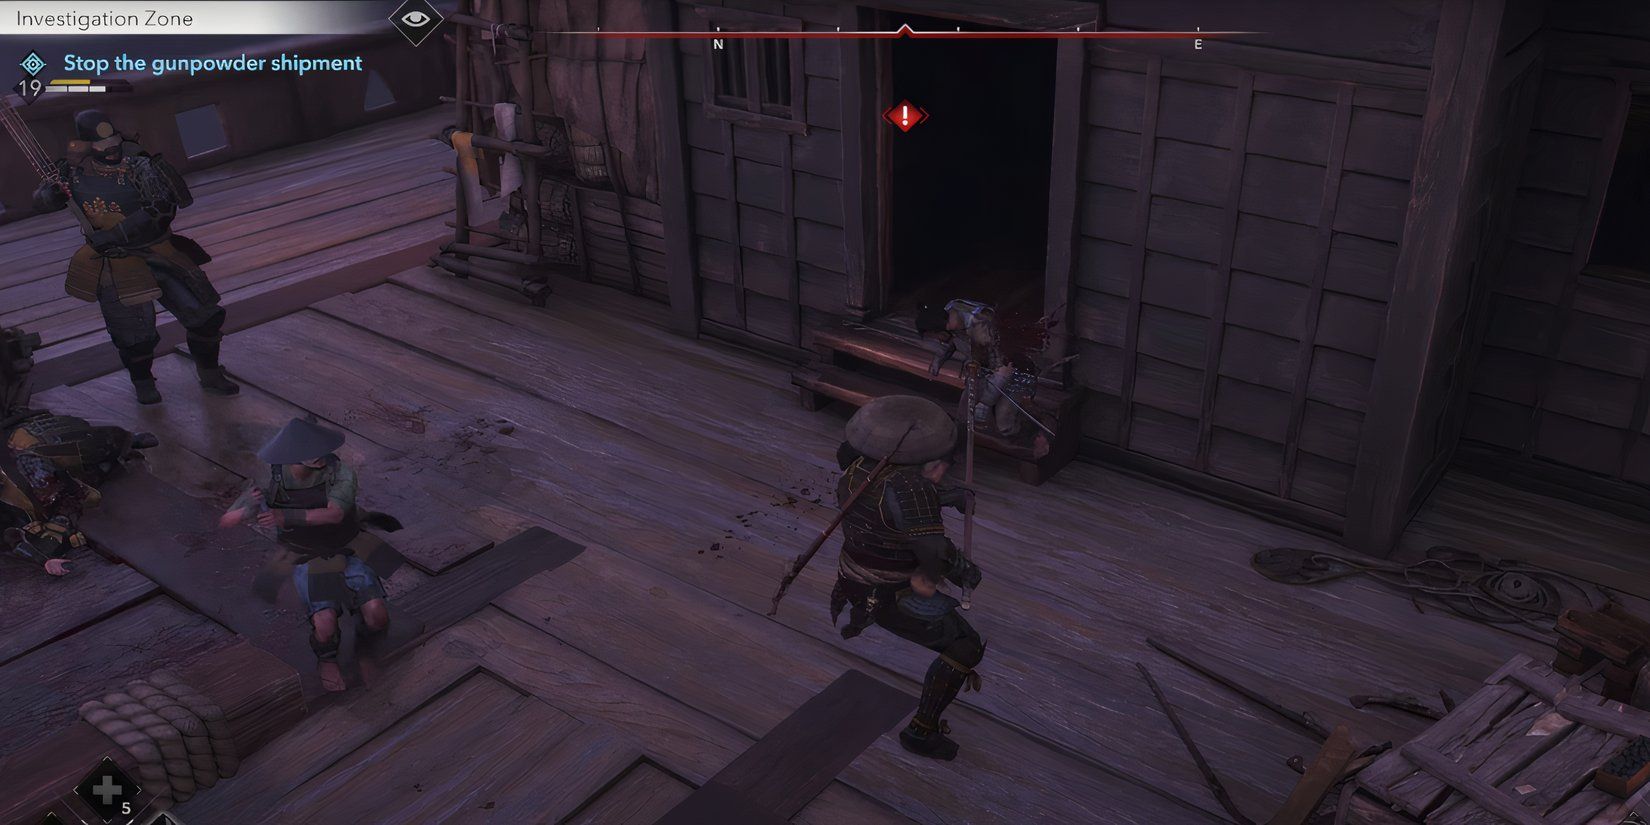
Instead, you could choose a straightforward path with Yasuke. Join him, defeat the guards swiftly, and systematically navigate the vessel. Although there’s no bonus for slaying the crew, cleansing the ship simplifies the task of plundering treasure chests before completing the mission.
A Prayer for Omi
Riding your horse, follow the game’s guidance system to reach Lady Oichi at the Isakiji Temple pier. Once there, speak with her and then guide her over water to the Shirahige Shrine. At the shrine, Yasuke will be given several purification rituals to perform.
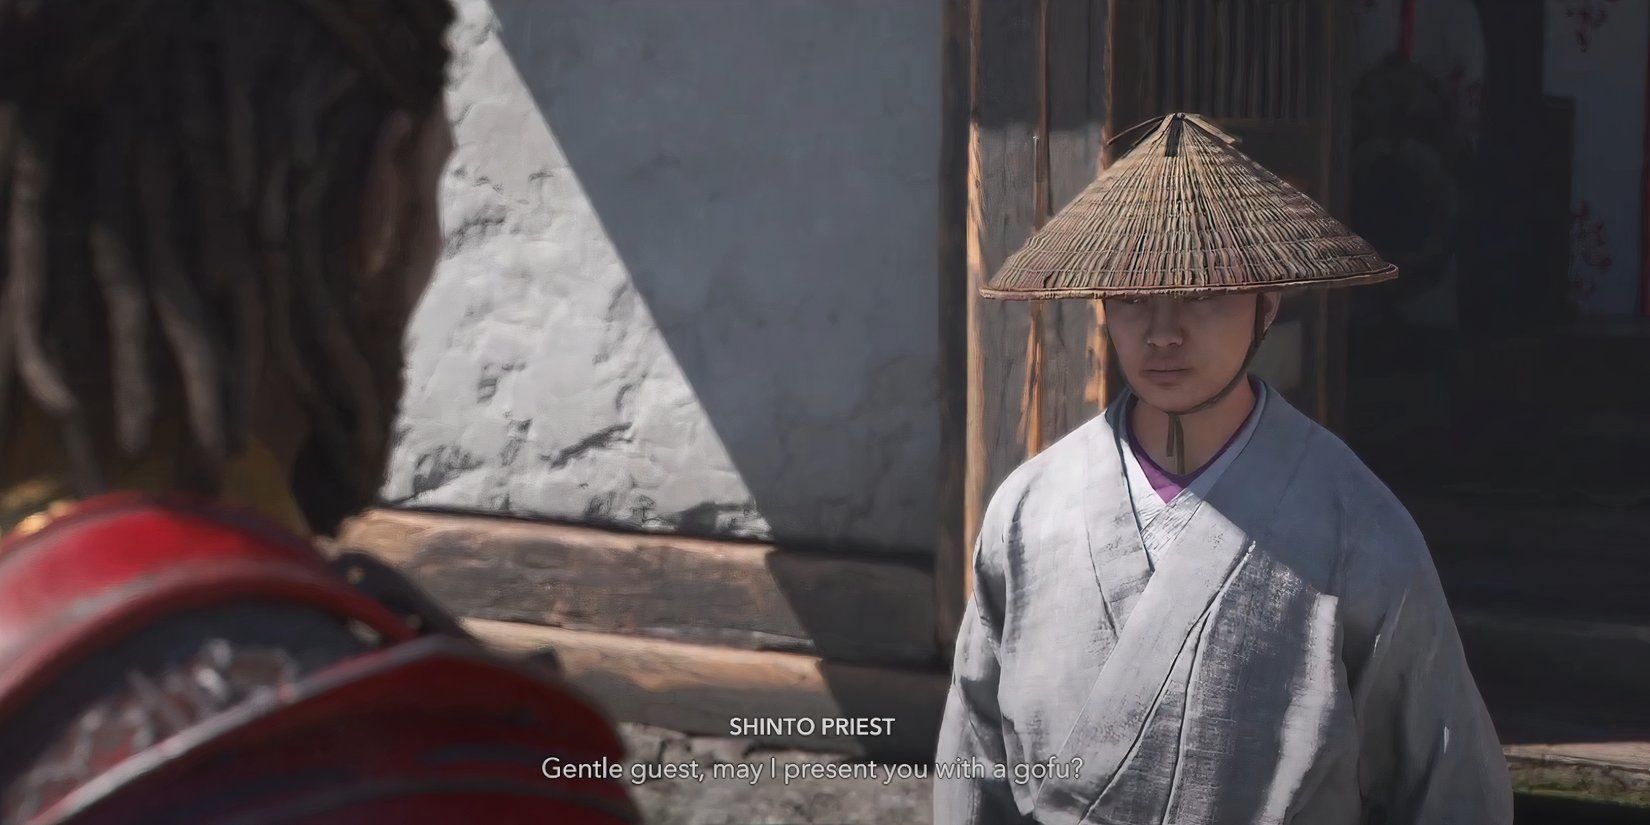
The procedures are quite simple: stick to the blue indicators as your guide, and engage with every location to finish the job. Here’s a list of what you’ll be doing:
1. Follow the blue quest markers.
2. Interact with each location.
3. Complete the task at hand.
- Praying at the shrine’s Tori gate
- Making a donation to a Shinto Maiden
- Cleansing a shrine fountain
- Accept a Gofu from a Shinto Priest
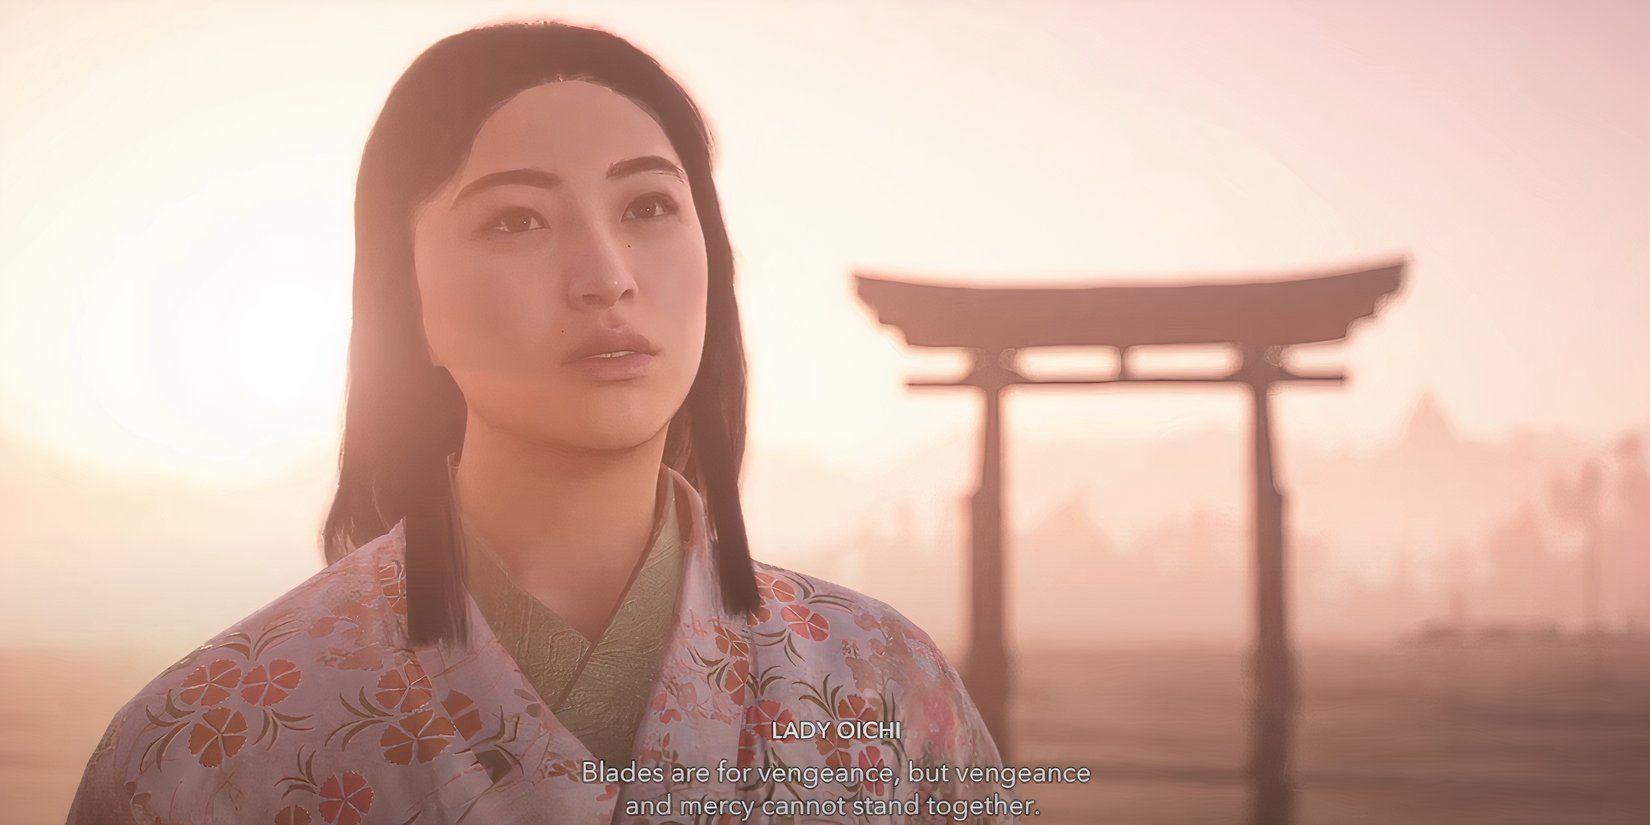
Performing these rites grants Yasuke the amulet of the legendary Amaterasu’s Blessing, which also features a weapon engraving that amplifies damage based on the number of unused ability slots. Once the rituals are done, go back to Oichi to initiate a cutscene. If you wish to explore a romantic narrative, choose the dialogue option tagged with a heart symbol, saying, “I’d rather spend my final night with you.” The quest then concludes.
The Price of Rice

In the third phase of the Mourner’s journey titled “The Price of Rice,” you will be led to the Shimmering Fields, a region situated between Azuchi and the Mouth of Seta. Here, before a hillside home overlooking a waterway, Kuma will be found awaiting your arrival. He will inform you that a greedy Daikan (local administrator) is exploiting the farmers and hoarding rice. Unfortunately, Kuma cannot intervene; instead, it’s your task to discreetly resolve this issue.
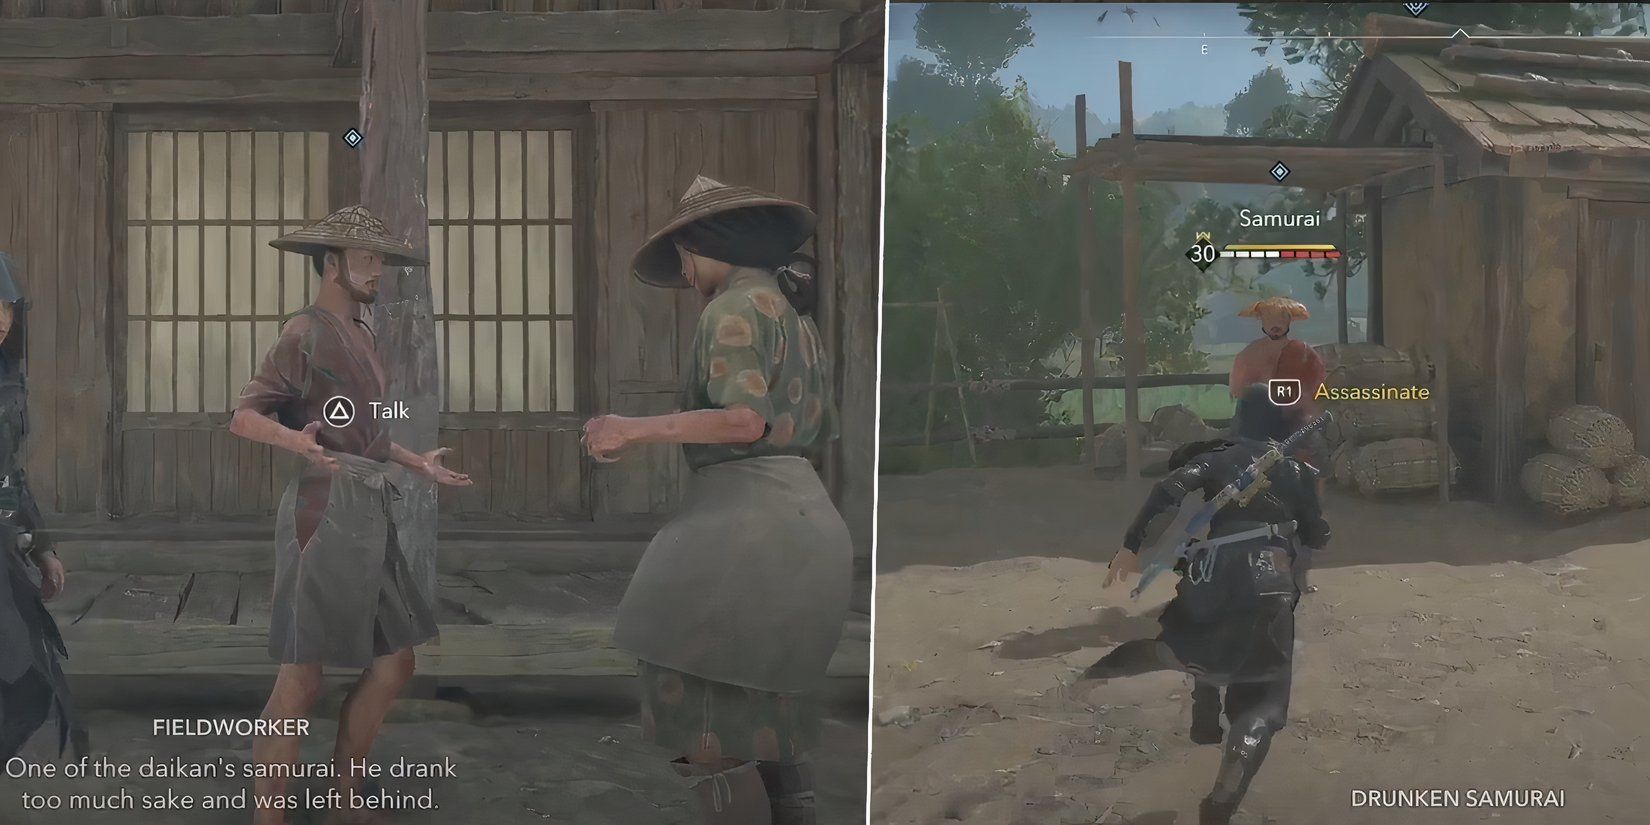
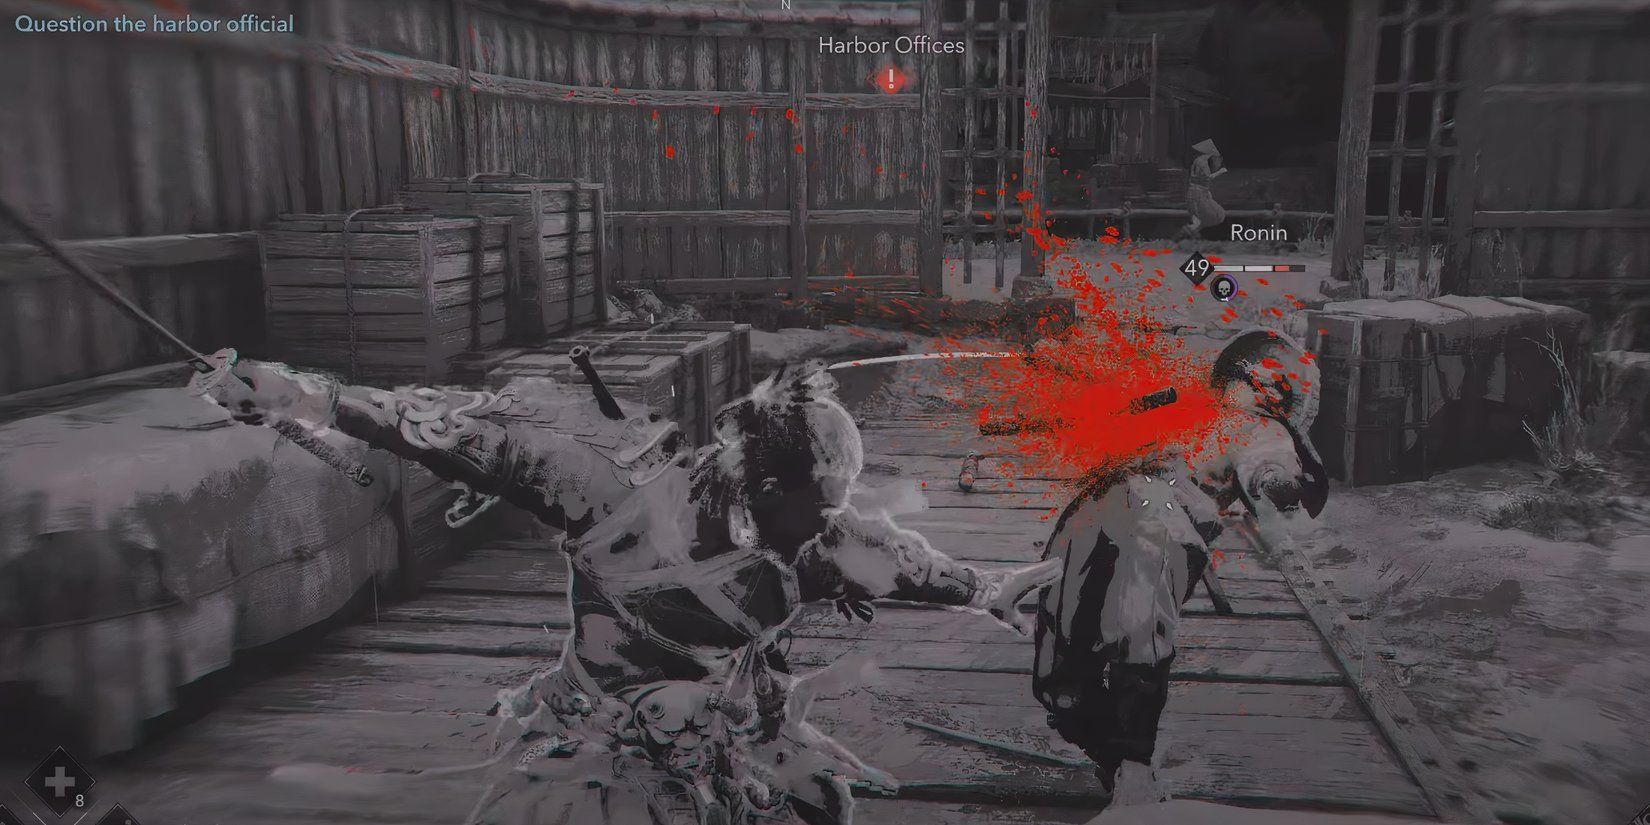
Head to the objective marker where a band of upset farmers are gathered. They’ll tell you about a rowdy samurai who is causing havoc in their fields. The samurai means business. He can’t be eliminated using a simple assassination command, but it will still diminish his vitality. Overcoming him grants Yasuke a precious sword.
Be on the lookout for red-glowing, unavoidable assaults and blue-flashing combo attacks. You can counter the combos with a parry, but being struck once could prove lethal. Mastering your defensive timing is crucial for staying alive.
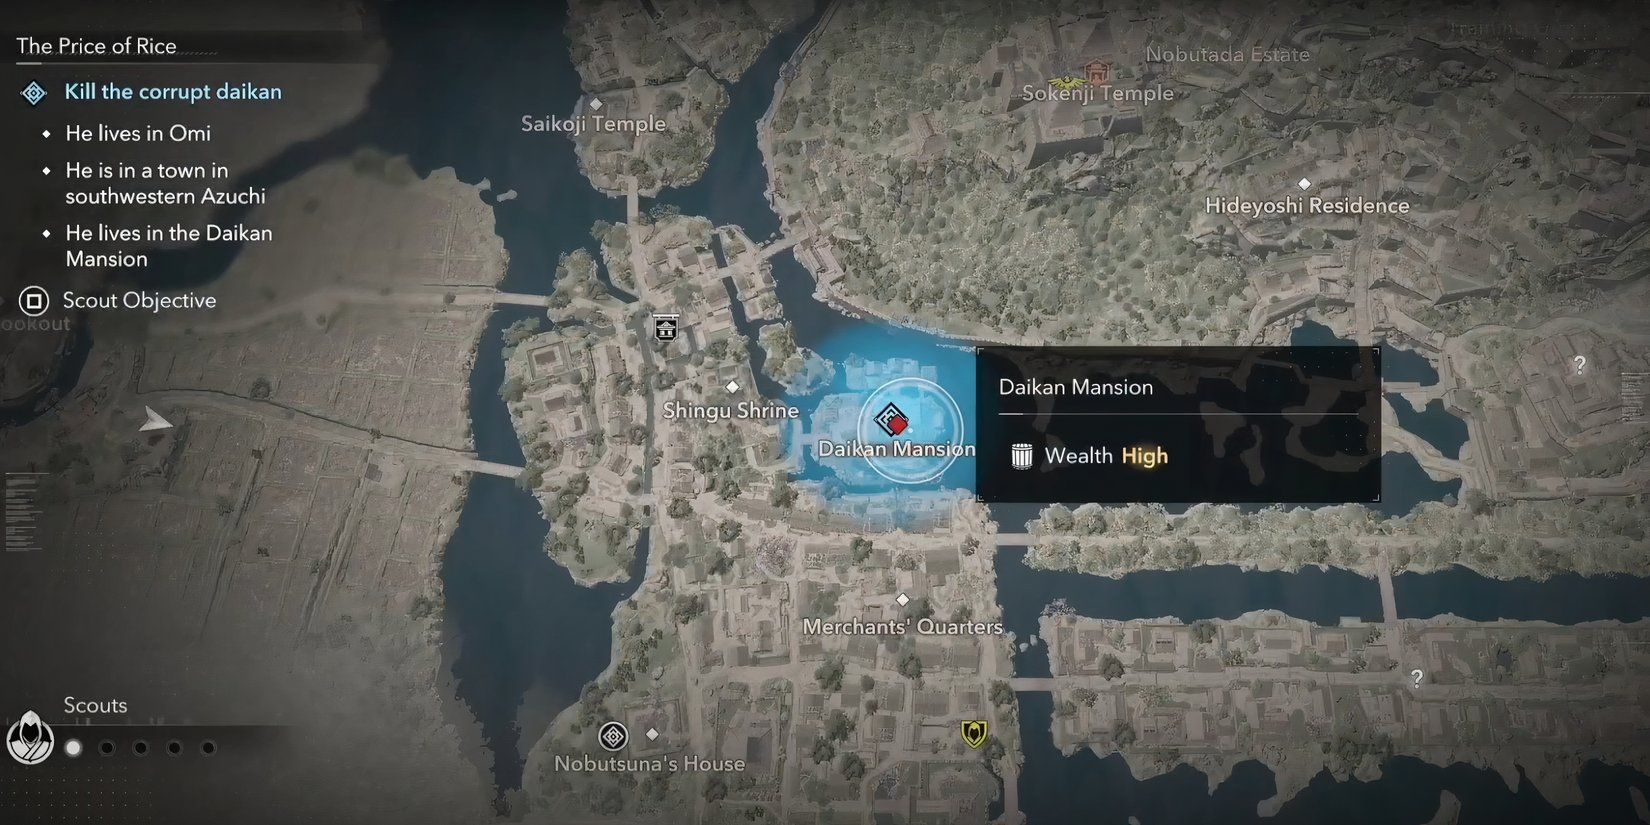
Following the fight, the farmers will disclose Daikan’s hiding place: a riverfront manor situated to the north of Azuchi’s commercial area. The main entrance is fortified by guards, but search for a damaged section on the right-hand wall – it provides a discreet entryway for those preferring a stealthy approach.
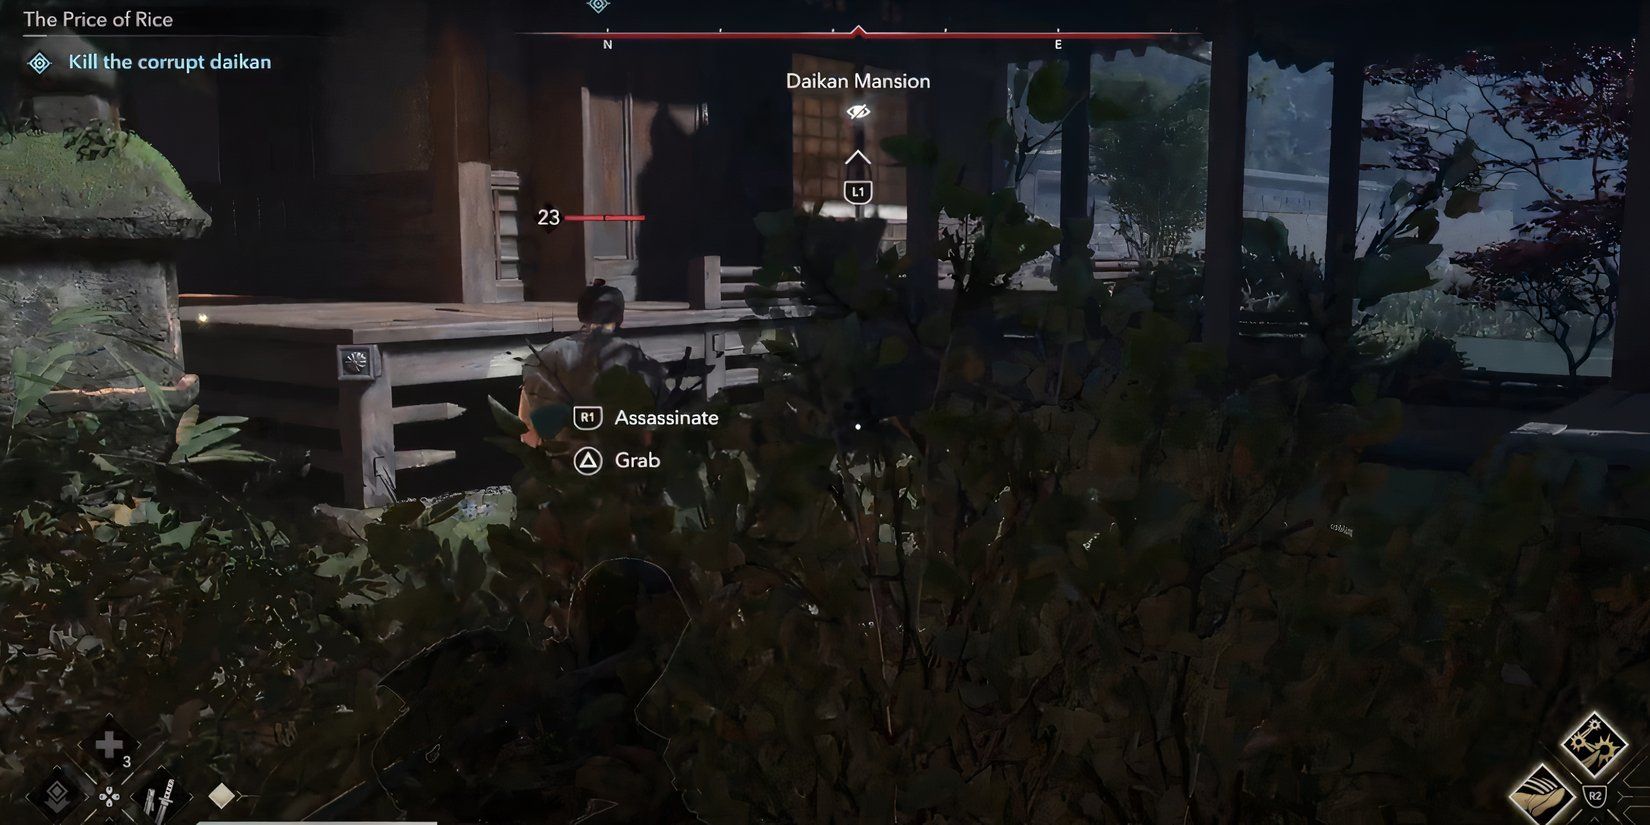
In this scenario, it’s important to note that the Daikan won’t engage in a direct confrontation; instead, he’ll retreat if he sees you. To capture him effectively, it would be wise to take out his guards first before attempting to apprehend him. Alternatively, if a stealthy approach is possible, you might catch him off guard.
Naoe is an optimal pick in this situation because of her ability to perform silent takedowns. After dealing with the Daikan, make sure to return to Kuma to complete the mission.
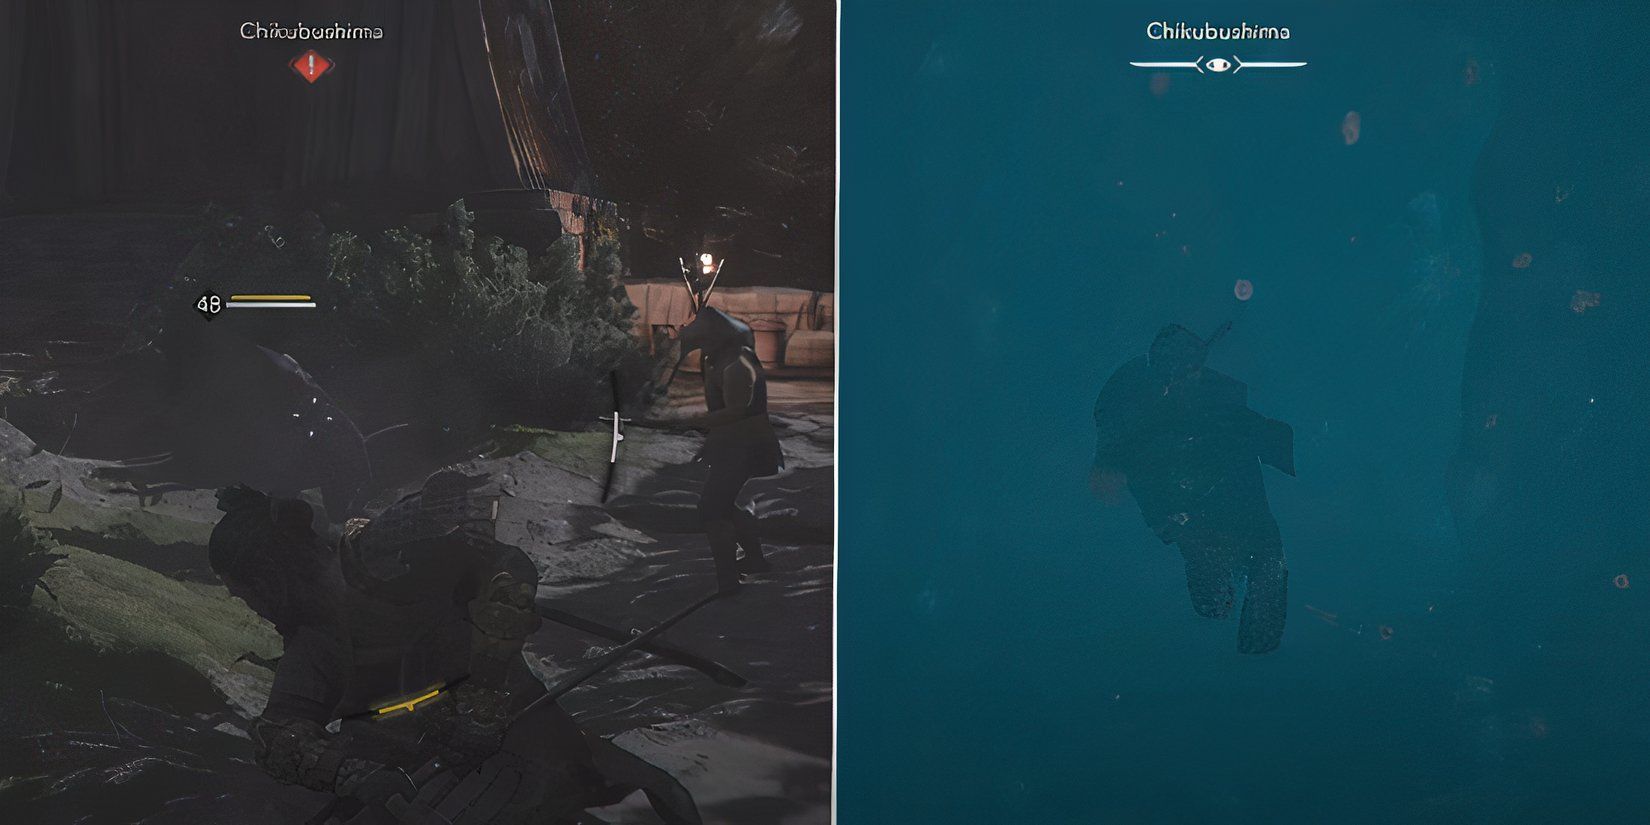
The Wheel Unmasked
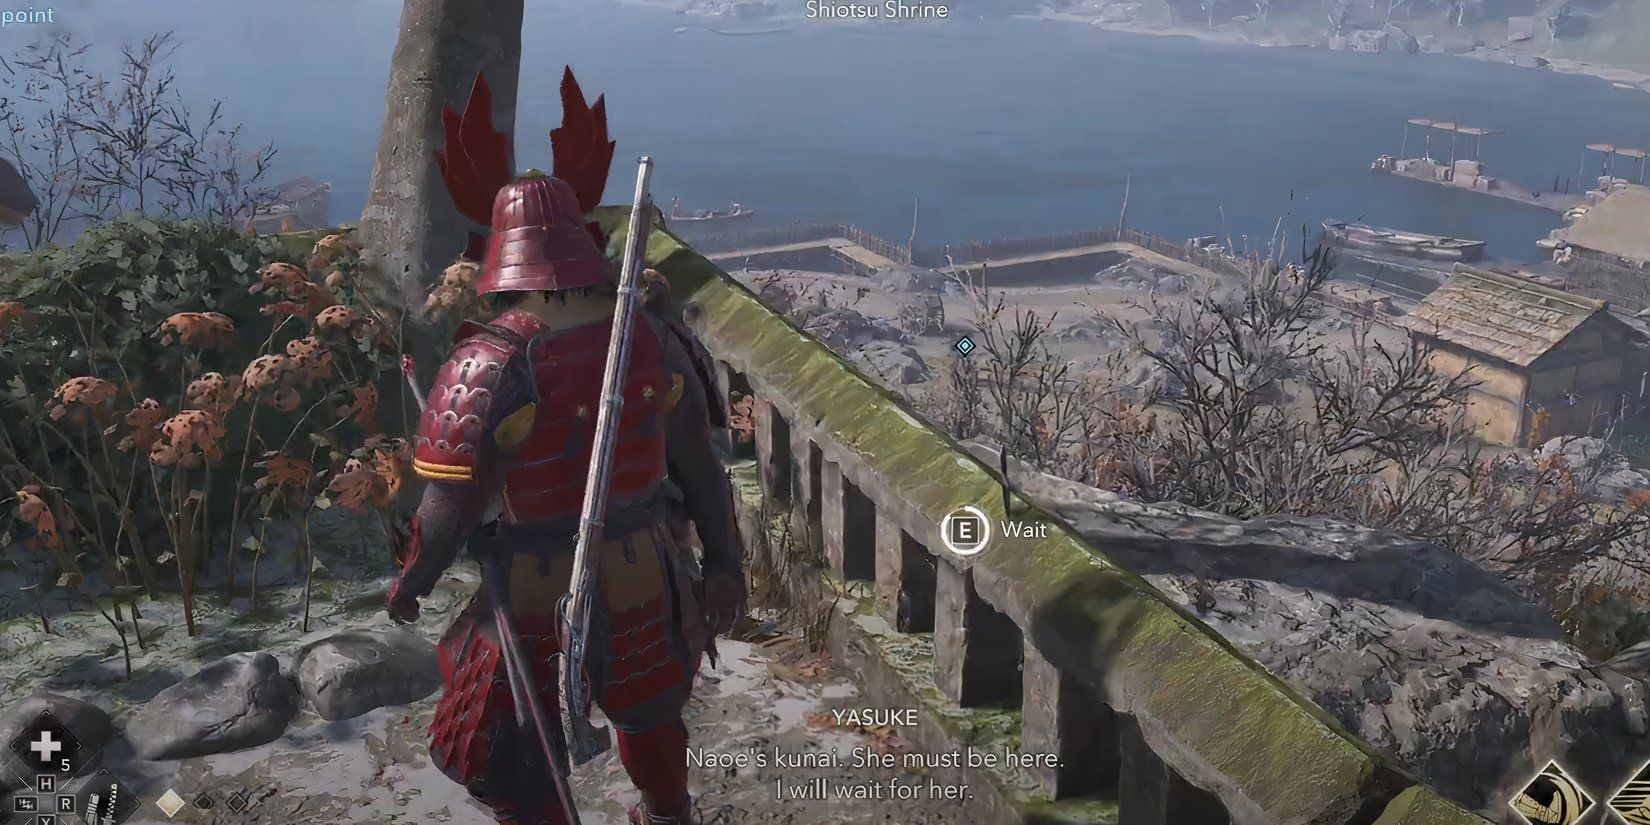
At the eastern shrine near Shiotsu in Omi, you’ll discover your allies have gathered. Ascend the steps of the shrine, and just before reaching the summit, glance to your left. There, on a stone railing overlooking the village, you’ll spot a kunai. Interact with it and select “Wait” to initiate the mission.

As a fan, I find myself faced with a thrilling dilemma: Naoe and Yasuke have each embarked on separate investigations, but alas, only one path can be chosen.
Naoe is determined to explore an inn known to be frequented by the Shinbakufu, while Yasuke is off to scrutinize their vessel in the harbor. Each route presents a similar degree of challenge, so the choice between them should reflect your preferred approach to this exciting adventure.
The Naoe Route
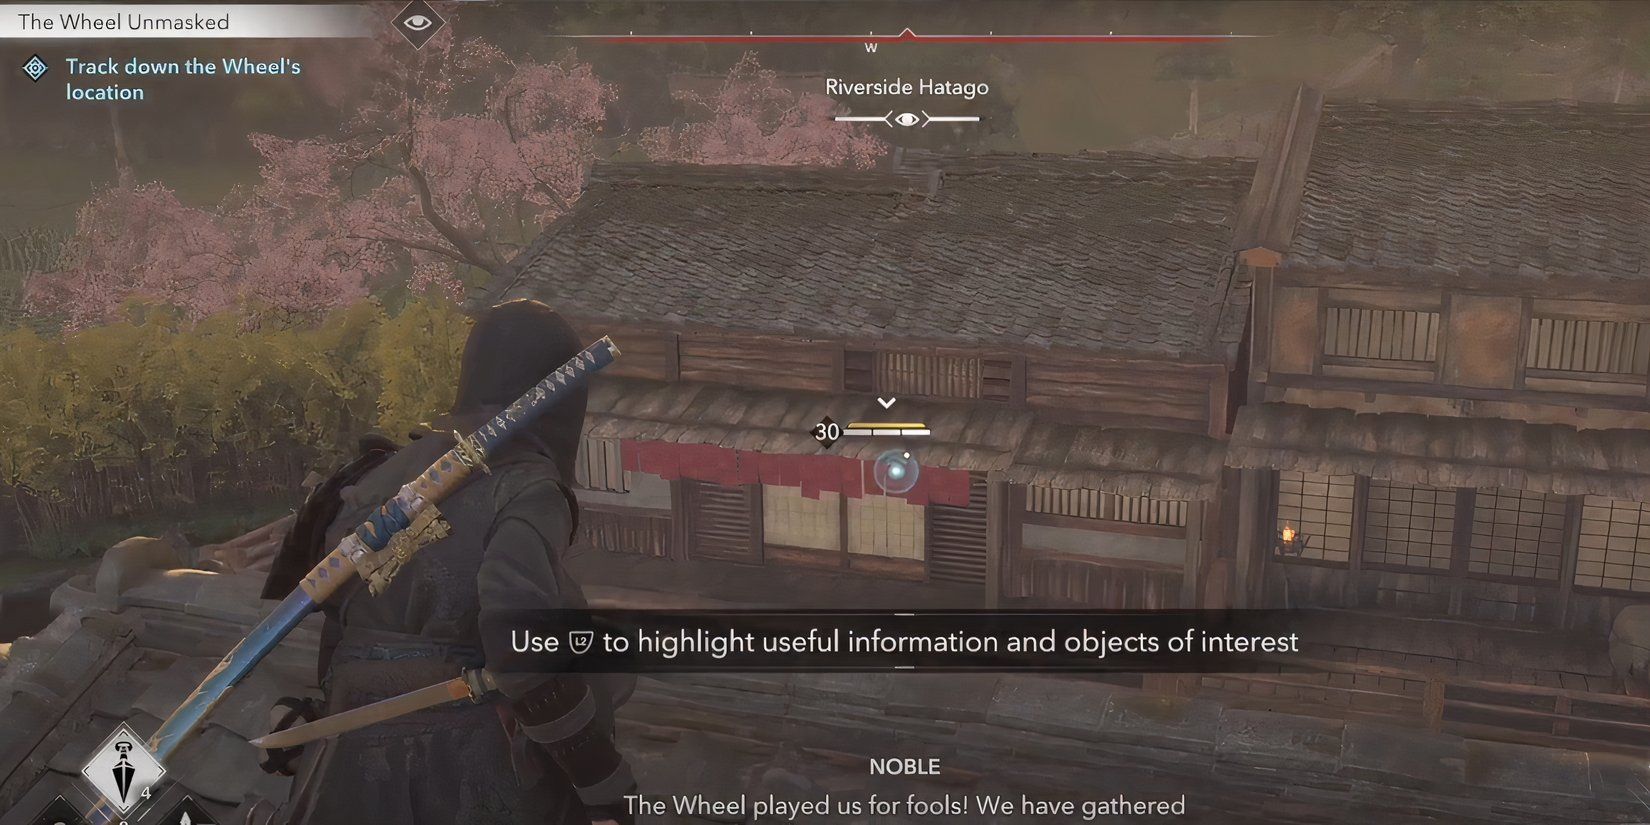
Navigate towards the fork in the village where the river lies, and employ your sharp eyesight to pinpoint a samurai residing within an inn. A few guards are present, but you should be able to slip past them undetected by utilizing the town’s rooftops as a means of escape. Eliminate the samurai to reveal the Mourner’s location, and subsequently meet up with Yasuke for the climax of our mission.
The Yasuke Route
As a fan, I’d say: If you pick Yasuke’s route, make your way towards the town’s dock. There, you’ll uncover crucial details – one about the Harbormaster himself, and another hidden within a document in his office. This path doesn’t necessitate eliminating your target, but it does mean fending off his heavily guarded forces. After securing the area, grill the Harbormaster for information and reunite with Naoe to wrap up the mission.
Stepping into the next chapter means temporarily missing out on side activities until the assassination attempt concludes. Remember to equip yourself properly and complete any remaining tasks before moving forward.
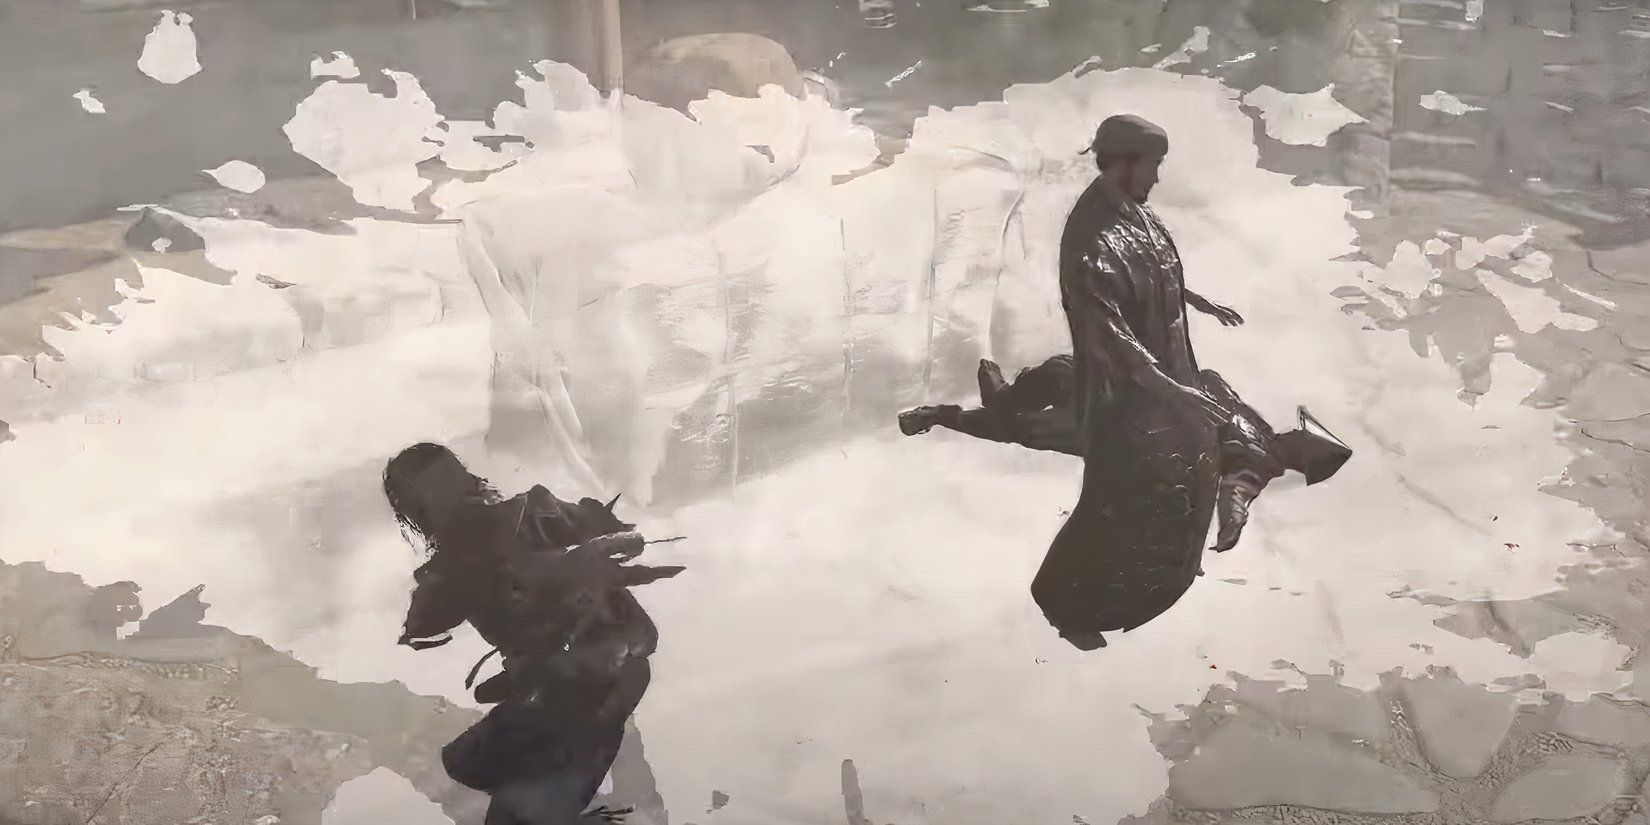
Assassinating the Mourner
The stealthy assassination of the Mourner occurs under the cloak of darkness, making it perfect for players who prefer a covert approach. Naoe manages to bypass many of the Mourner’s guards by using submerged passages and tall vegetation. On the other hand, Yasuke chooses a frontal assault on the beach. If you decide to follow Yasuke’s path, it would be strategic to engage the mourner’s soldiers individually, tackling one group at a time to minimize the risk of being overpowered.
Just prior to where the Mourner is concealed, you might stumble upon another crooked Daikan named The Hoarder – a character linked to the ‘An Education’ mission. Luckily for you, he doesn’t fight back and can be dispatched easily. With him out of the way, engage with the structure at the front to initiate the concluding cinematic scene.
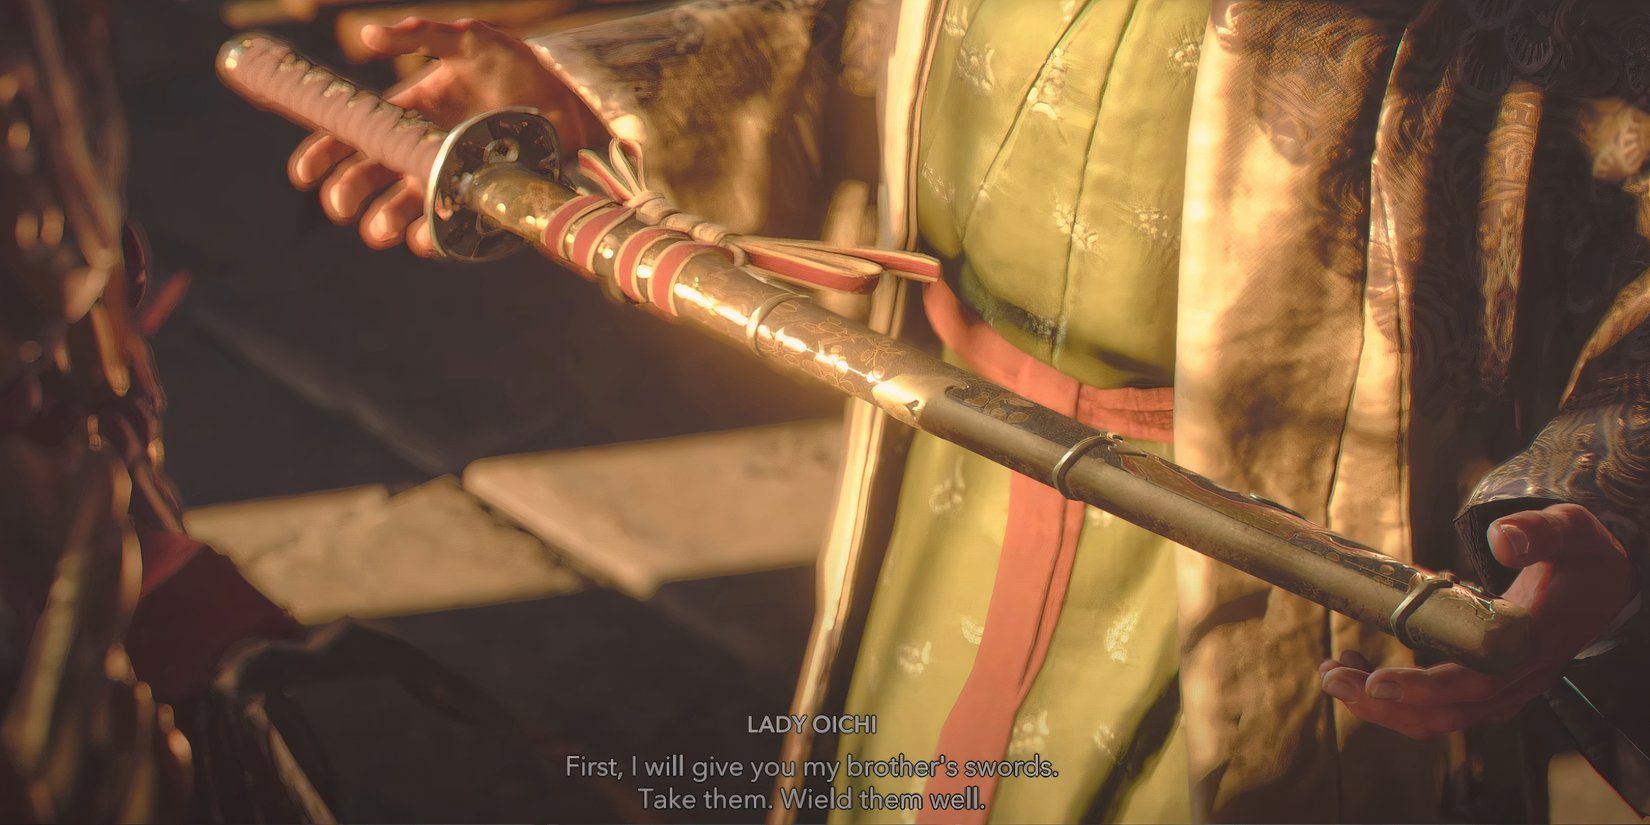
No matter what decisions you make throughout this storyline, The Mourner will endure. At the culmination of this significant quest, Yasuke obtains the Myth Slayer – a sword previously possessed by Nobunaga. As you progress along The Mourner’s journey, each mission awards 1000 XP.
It doesn’t matter what you decide during this story, The Mourner will live on. At the end of the major quest, Yasuke gets the Myth Slayer, a sword that belonged to Nobunaga originally. Each mission along The Mourner’s path rewards 1000 XP.
Read More
- All Skyblazer Armor Locations in Crimson Desert
- All Shadow Armor Locations in Crimson Desert
- How to Get the Sunset Reed Armor Set and Hollow Visage Sword in Crimson Desert
- Marni Laser Helm Location & Upgrade in Crimson Desert
- Best Bows in Crimson Desert
- All Helfryn Armor Locations in Crimson Desert
- All Golden Greed Armor Locations in Crimson Desert
- How to Craft the Elegant Carmine Armor in Crimson Desert
- Keeping Large AI Models Connected Through Network Chaos
- One Piece Chapter 1179 Preview: The Real Imu Arrives in Elbaf
2025-05-17 22:42