Quick Links
As a seasoned gamer with over two decades under my belt, I can’t help but feel a sense of nostalgia when I see these intricate and detailed guides for various levels and bots. It reminds me of the countless hours spent in front of my CRT TV, controller in hand, navigating through pixelated worlds, all in pursuit of that elusive ‘1-UP’.
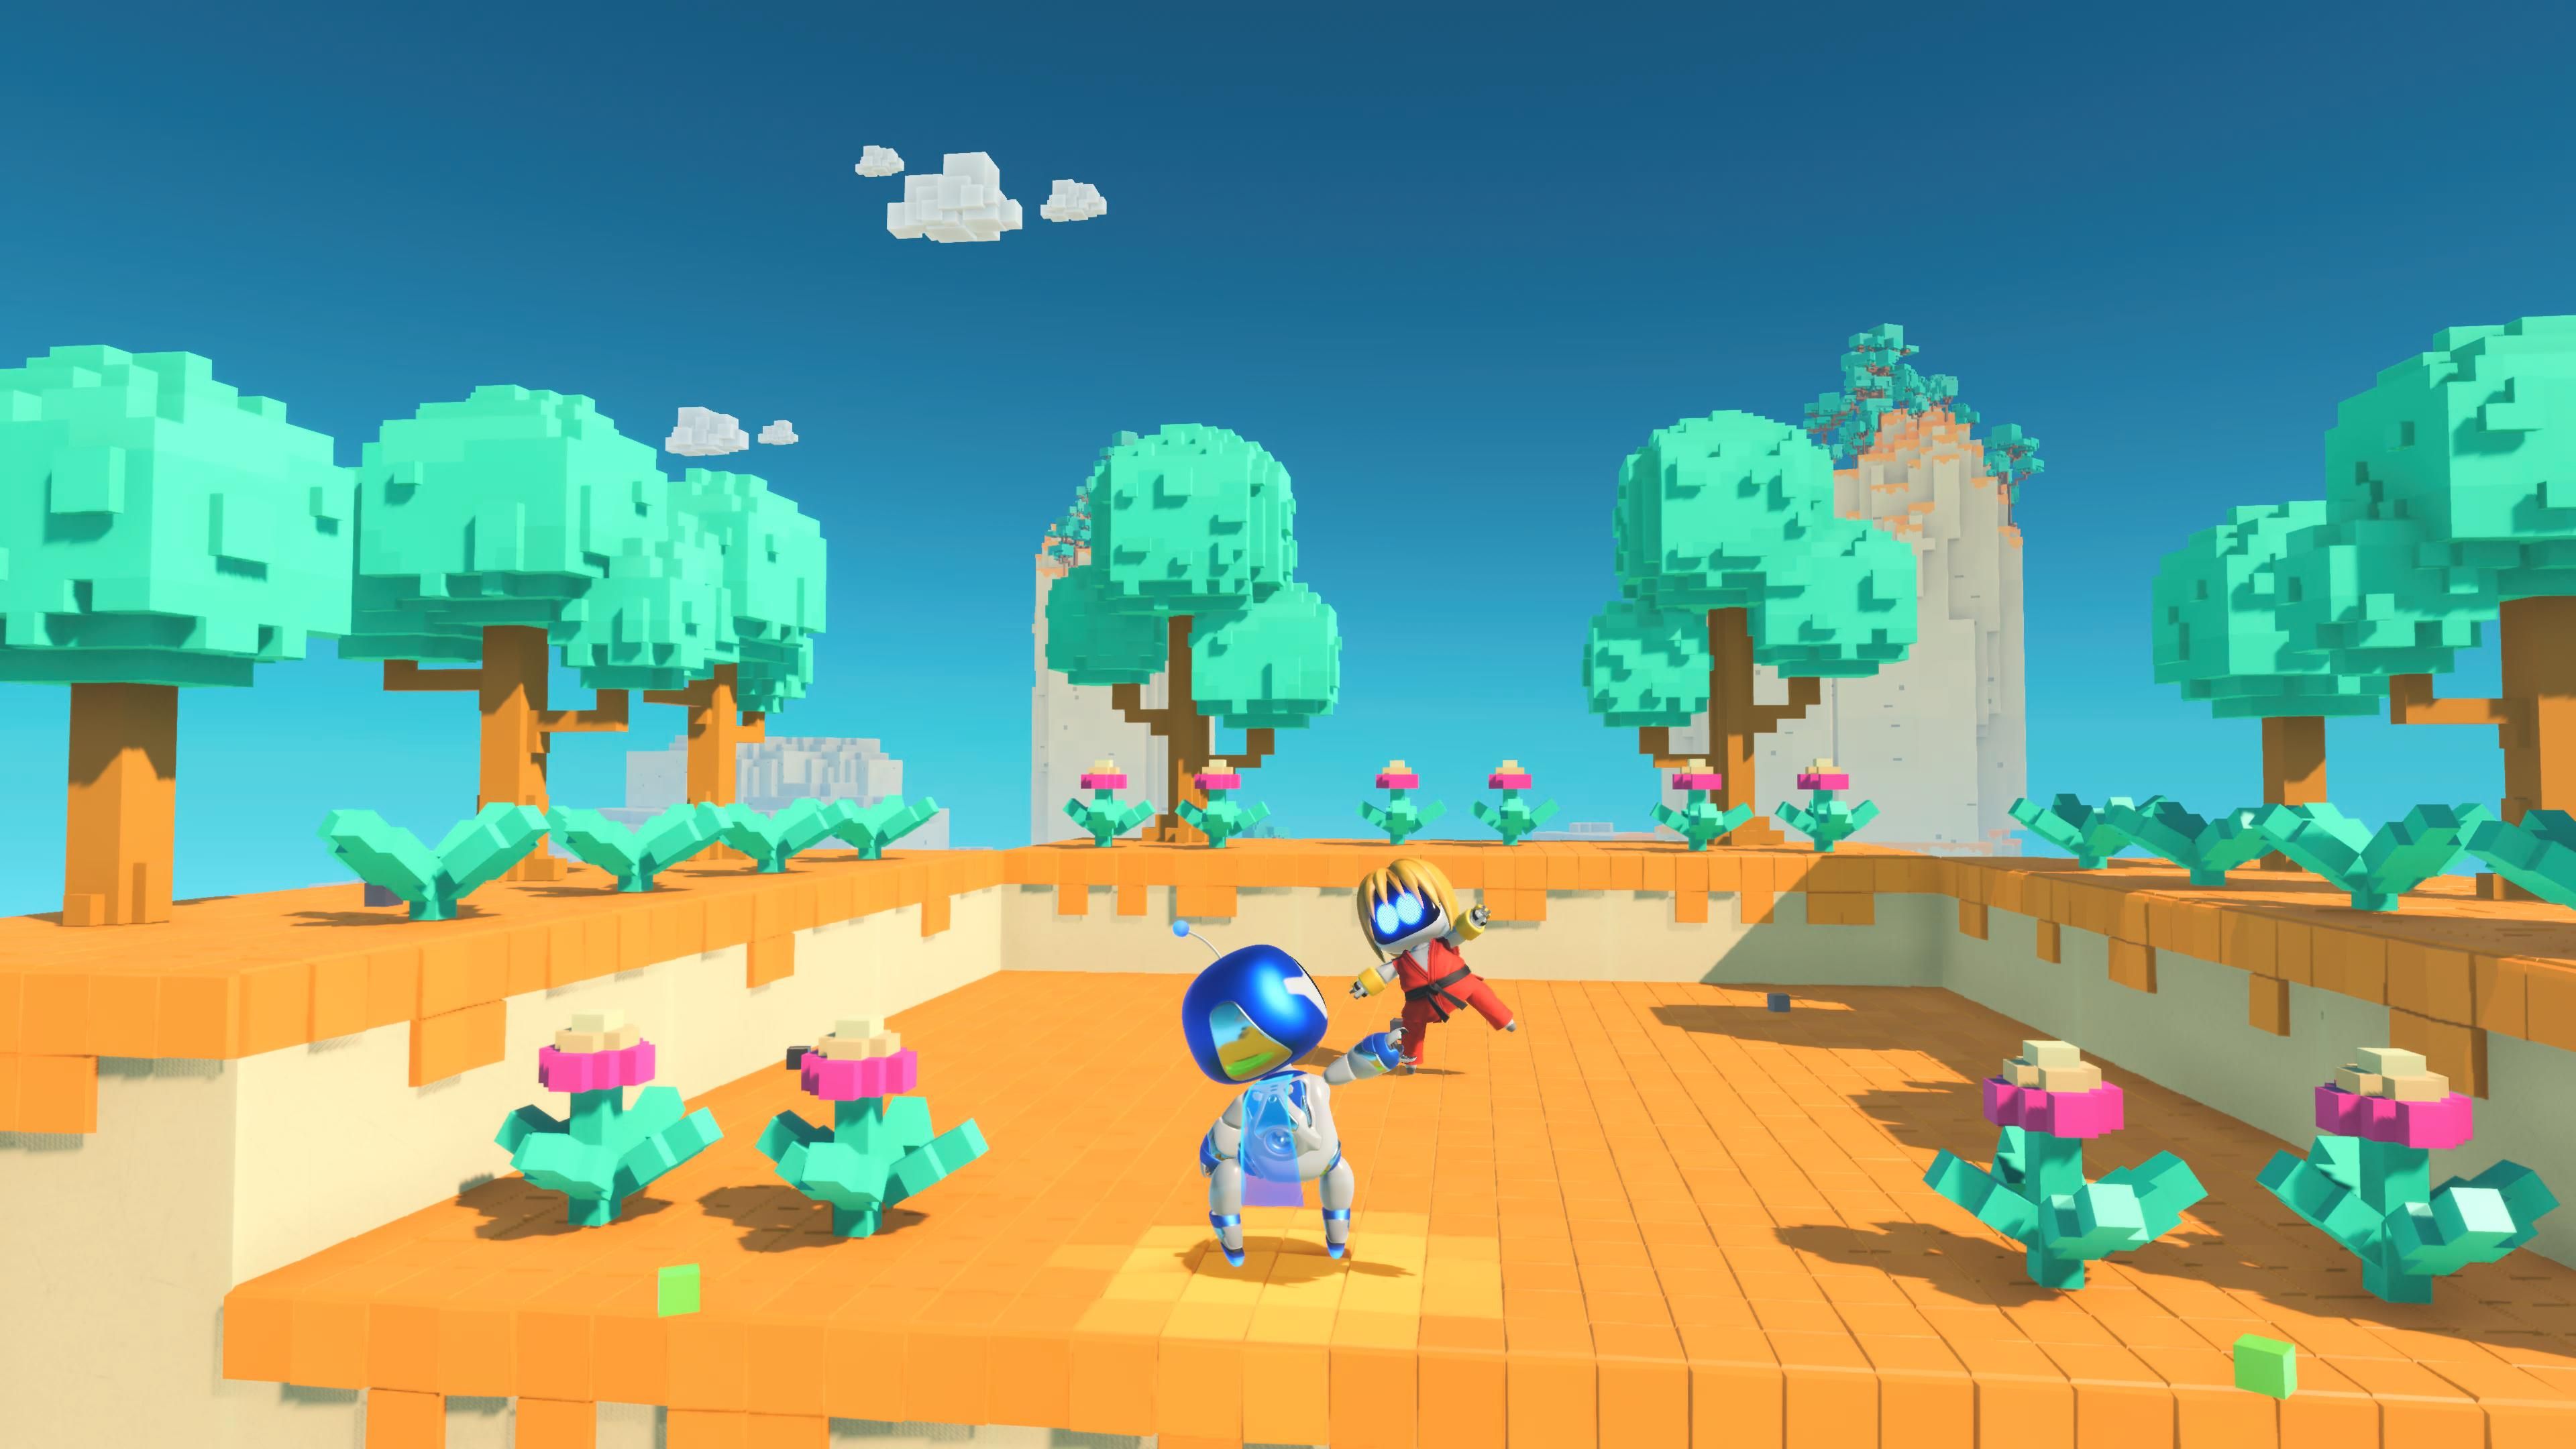
Although Astro Bot is categorized as a mascot platformer, it has successfully captured the admiration of both critics and fans with its engaging gameplay, making it seem like a strong candidate for Game of the Year. To fully appreciate everything this game offers, you might want to aim for collecting all the bots in each level, which will guarantee that you don’t miss any part of the experience.
You’ll find a grand total of 300 robots to gather, and they are dispersed throughout different realms and galaxies. However, with the help of this reliable guide, you’re one step nearer to finishing your collection. Our next destination is the Tentacle System.
Go-Go Archipelago
| Bot Location | Instructions |
|---|
| Bot 1 | On the right-hand side of the starting area, swim out to a group of turtles and then climb to the raised platforms nearby. Kill a few basic enemies and you will find a bot hanging on a tree nearby. |
| Bot 2 | On the left-hand side of the same area, use your hover ability to get over to a nearby island, and you’ll find a bot sitting with a lizard by a campfire under a large shell. |
| Bot 3 | After using your Monkey Hands to throw rocks to break three nearby stone blocks, kill the ball-and-chain enemy on the other side. Then, use your Monkey Hands to push the button on the ground. This will allow you to use the flowers to climb up to a clam container. Use your Monkey Hands to open this clam, and your next bot will be inside. |
| Bot 4 | On a blue bridge you’ll find a bot trapped in a cage. This bridge is breakable so use your hover ability to break the bridge, and when they fall into the canyon below, you can go rescue them. |
| Bot 5 | In the canyon below the blue bridge, you’ll find a large rock left of the bridge. Lift this and throw it at a breakable wall on the right of where you lifted the rock. Enter this hidden area and push on the Aztec blocks to reveal a secret area where you’ll find another bot. |
| Bot 6 | Just past the area with the blue bridge, look behind you, and you’ll see a raised platform above. Here, there is a button that will launch the cannon, and this will launch a Zipline for you to walk across. Follow this path and short platforming sequence to its conclusion, and you’ll find another bot in a tree. |
| Bot 7 | Along the main path, not long before the spinning ball and chain enemy, you’ll see a barrel with swords sticking into it on your right. Pull the loose wires, and you’ll reveal the last bot in this stage. |
Trunk of Funk
| Bot Location | Instructions |
|---|
| Bot 1 | Found in the initial area near the big cow. Is riding on a deer. |
| Bot 2 | East of the big cow, head to a series of floating mushroom platforms. Defeat the enemies and then rescue the Deacon St John bot. |
| Bot 3 | After coming outside after the first tree where you get the elephant power-up, use your new power to create platforms over to the bird’s nest in the distance. A bot is hiding in this nest waiting to be rescued. |
| Bot 4 | In the second tree area with the first updrafts to raise your platforms. Before heading back outside, turn around and use platforms to get to the top of the room. Then after fighting a few enemies, pull on the loose wires above your head to reveal a hidden bot. |
| Bot 5 | Before you ascend to the area with the inflatable caterpillars, use your elephant power-up to create platforms to traverse to the green platform in the distance. Here you will find a bot pretending to be a caterpillar. |
| Bot 6 | When you head up to the large caterpillars, before platforming around them, head to the left and around the corner you will find an Aztec wall puzzle. Push the right panel, and you’ll reveal the Kena bot in the hidden area. |
| Bot 7 | Just after the large flower, you’ll come to an area to your left with lots of acorns and spikes. Use your elephant power-up to create honey bounce pads across the spikes, and on the other side, you will find your last bot in a pool of honey. |
Downsize Surprise
| Bot Location | Instructions |
|---|
| Bot 1 | In the bottom right corner of the initial area of this level, you’ll see a robot in a cage hanging from a tree. Shrink down and use the flowers below to get into the cage, then grow big to break the cage and free the bot. |
| Bot 2 | In the top left corner of this initial area, shrink down and enter an area occupied by spiders. Once inside, grow big, break the orange breakable wall, and stuck on a web behind these walls is your next bot. |
| Bot 3 | After the washing line tightrope, you’ll enter a bedroom. Shrink down and go under the blanket on the bed. Then grow big, removing the blanket and revealing another bot. |
| Bot 4 | As you exit the bedroom, you’ll see a bot staring at you as you exit. Get out of the vent, grow big, and rescue the bot that should be just standing there. |
| Bot 5 | Just after the bedroom, you’ll come out to an area with a tree. If you climb this tree, you’ll find a bird’s nest on the tallest branch with the Katamari Bot. |
| Bot 6 | You’ll see an area ahead where you can use a frog-themed bubble blower to create bubbles. Then you can use these bubbles to climb to a caged bot above. Like before, enter the cage and grow big to free them. |
| Bot 7 | When you get to the clock face platforming section, before shrinking down, take a look at the ledge, and you’ll see a bot hanging in there and in desperate need of assistance. |
Wormy Passage
| Bot Location | Instructions |
|---|
| Bot 1 | At the start of the level, sitting on a rock on the left, you’ll see the Ellie bot playing guitar. |
| Bot 2 | Up ahead, you’ll find a room on your left with a swinging mushroom. You can use this like a wrecking ball to knock down crates and a bot that is on a platform above. |
| Bot 3 | After the swinging mushroom, you’ll come to a dancing orange mushroom. In their left hand, they have a bot clinging to them. Wait for them to raise their hand and then hit them to rescue the bot. |
| Bot 4 | Near the orange mushroom, you will see a series of small platforms with cacti on them. Use the Frog Gloves to destroy the cacti, and at the end of this short platforming sequence is a bot. |
| Bot 5 | Continue onward, and you will come to an area with two blue breakable walls. The top wall is the path of progression, but be sure to break the lower wall, as you’ll find a bot hanging on a web on the right-hand side. |
| Bot 6 | When you reach the area where you can fill a pool with water to progress, before doing so, look left, and you’ll see a bot being guarded by a worm enemy. Use the Frog Gloves to bash them, then grab your next bot before taking a swim. |
| Bot 7 | At the end of the level, you will be swallowed by a monster. When you are, the final bot for this level will be standing on a nearby platform. |
.
Retro Rampage 2
| Bot Location | Instructions |
|---|
| Bot 1 | Defeat the large slime and block bunny enemies, then collect the bot at the end of the level. |
Crumble Rumble 2
| Bot Location | Instructions |
|---|
| Bot 1 | Use your hover powers to make the invincible fire monsters fall below, and then collect the bot at the end of the stage. |
Triangle Void Planets
| Bot Location | Instructions |
|---|
| Bot 1 | Complete the level “Cut n’ Grind” and collect the bot at the end of the level. |
| Bot 2 | Complete the level “Dashing Dillo” and pick up the bot at the end of the stage. |
| Bot 3 | Complete the level “Pumpkin Peril” and collect the bot at the end of the stage. |
| Bot 4 | Complete the level “Fragile Frenzy” and collect the bot at the end of the stage. |
Wako Tako
| Bot Location | Instructions |
|---|
| Bot 1 & 2 | Beat the Wako Tako boss fight to rescue the Kratos and Atreus Bots. |
Bot of War
| Bot Location | Instructions |
|---|
| Bot 1 | After the area where you get your Lethiathian Axe, head to the right and through a crack in the wall where you will find the first bot of the level playing some ‘Bot of War’. |
| Bot 2 | Use a trampoline to the left of the large spike robot, and then get on top of its head, where you will find your next bot. |
| Bot 3 | After you cross the tightrope using your Lethiathian Axe, head left and pull on the loose wires to reveal a horn. Then blow on the controller to summon Jörmungandr. Climb onto their back where you will find another bot. |
| Bot 4 | Go back on yourself and head to the right of the tightrope. Here you will find a large tortoise with a tree on its back. Flip this turtle over to reveal a secret bot underneath. |
| Bot 5 | When you reach the area behind a series of breakable blue walls with Odin’s Ravens carvings on the cliff face, you’ll see one of Odin’s Ravens beside the tree holding the severed head of the Mimir Bot. |
| Bot 6 | Just before the giant hammer section, you’ll see a path to your right where you can use the Lethiathian Axe to break a wall with two axe symbols. Do this, kill the enemies that await you, and then rescue the bot in this hidden area. |
| Bot 7 | Ahead, you will come to an area with four freeze blob enemies. One of which is standing close to a ledge, allowing you to freeze them with your Lethiathian Axe to get up. Do this, and then open the golden chest above to reveal the final bot of this level. |
Read More
2024-09-10 13:09