Megabonk’s popularity proves that Vampire Survivors really kicked off a new trend for bullet hell games. Now, lots of similar games are appearing, and Ball X Pit looks set to be the next breakout hit – I say that because I’ve been completely hooked on it lately!
I’ve dedicated a lot of time to cooking and experimenting with different combinations, especially as I’ve unlocked new characters in the game. Throughout all that, I’ve been carefully evaluating which upgrades are the most effective.
Okay, so you can get some seriously awesome power-ups in this game, but only if you’ve maxed out a bunch of the starting upgrades and they work well together. Honestly, not all of those top-tier boosts are worth it, though. Here’s my rundown of the best ones – the ones I always go for if I want to really power up my gameplay.
Every ball and evolution has its uses, and some are great in specific situations. We’re focusing on the evolutions that perform reliably, deal the most damage, and provide the best control over enemies. However, keep in mind this list will also reflect our own preferences a little bit.
10. Assassin
The Death Dealer
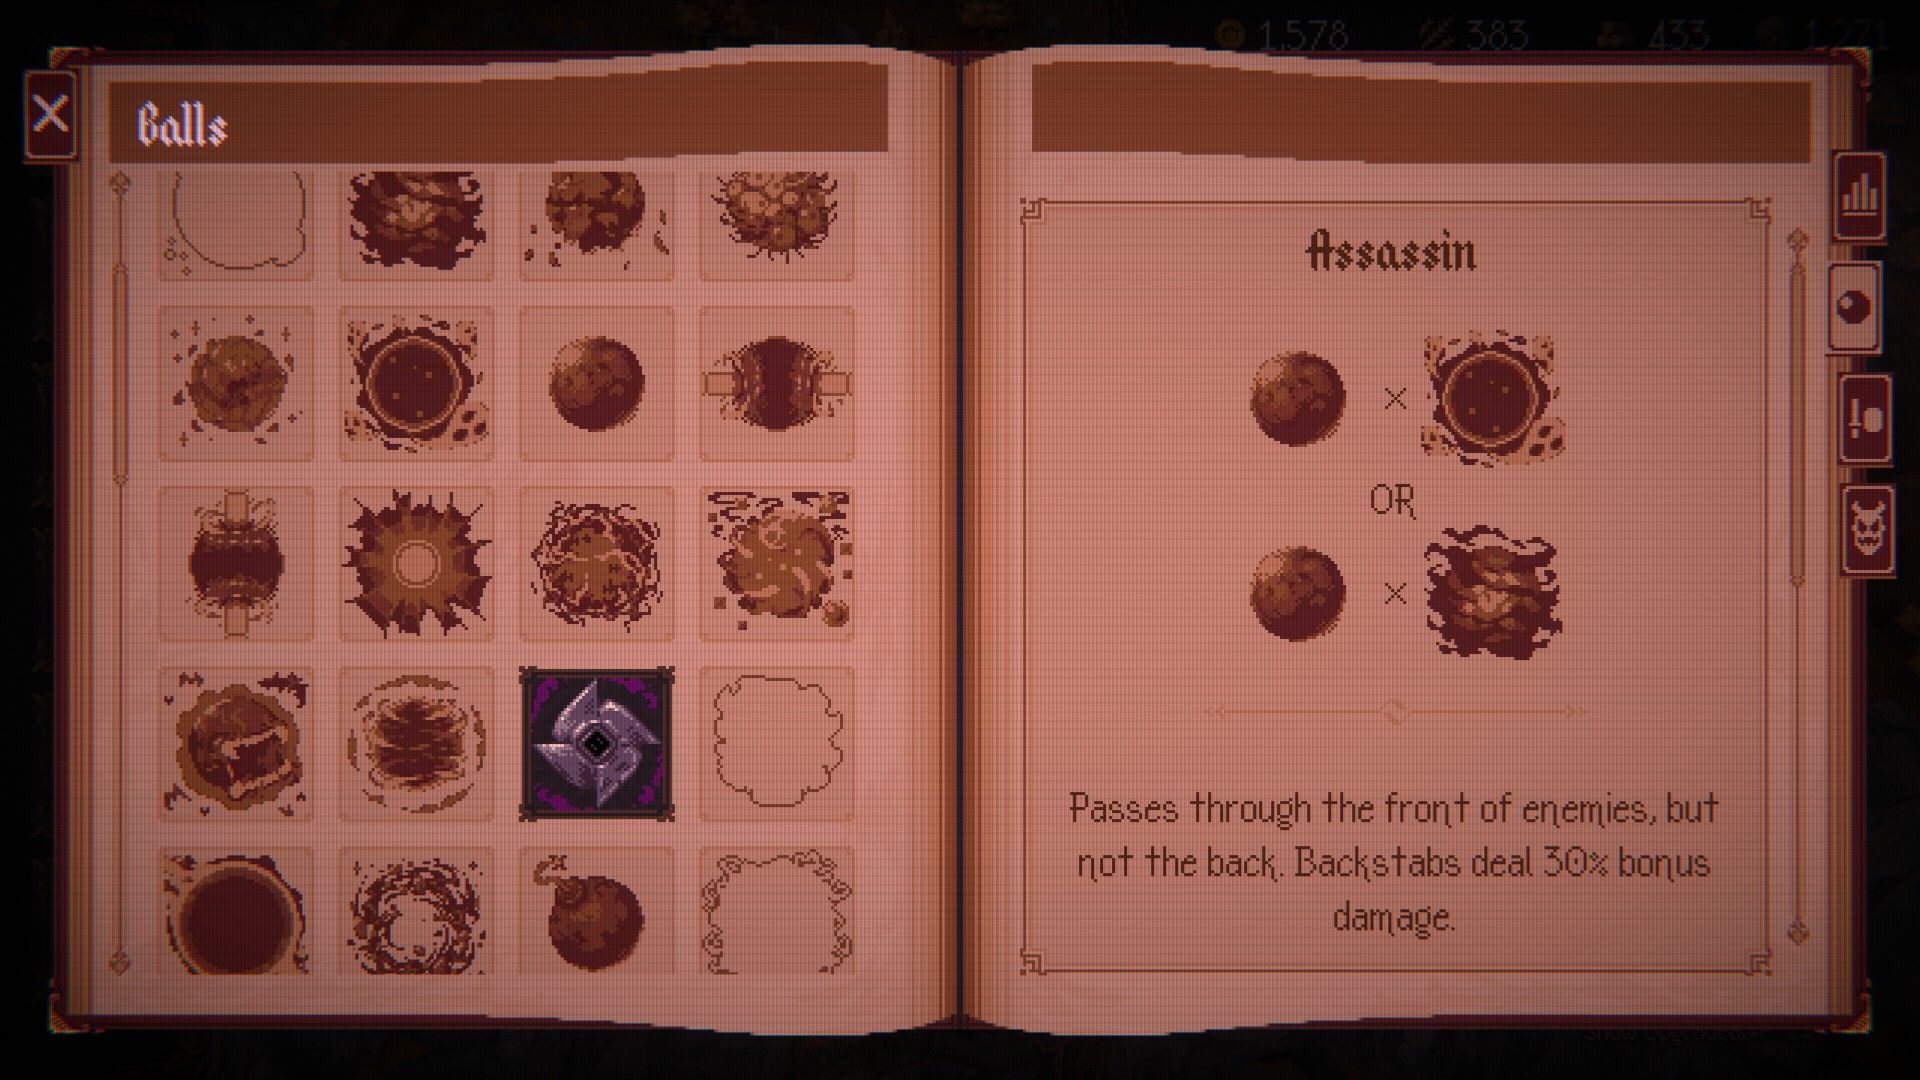
| Combination(s) | Dark x Iron |
|---|---|
| Ghost x Iron | |
| Description | Passes through the front of enemies but not the back. Backstabs for 30% bonus damage. |
Assassin isn’t universally considered one of the best character options, but I think it’s quite strong. It definitely works better with some characters than others – The Shade, The Tactician, and The Embedded really excel with it. However, once you get the hang of it, Assassin is consistently effective.
This strategy lets you quickly get behind enemy lines. Importantly, it creates an opportunity to bounce back, and combining this with specific abilities can significantly boost damage from behind and increase your bounce speed, allowing you to deal massive damage.
If you’re skilled at quickly eliminating opponents, this new ability will let you dominate both close-range and long-range fights, and consistently create openings for your team. It’s a perfect way to showcase your expertise as a powerful attacker, as long as you don’t lose control of the situation.
9. Inferno
Relight My Fire
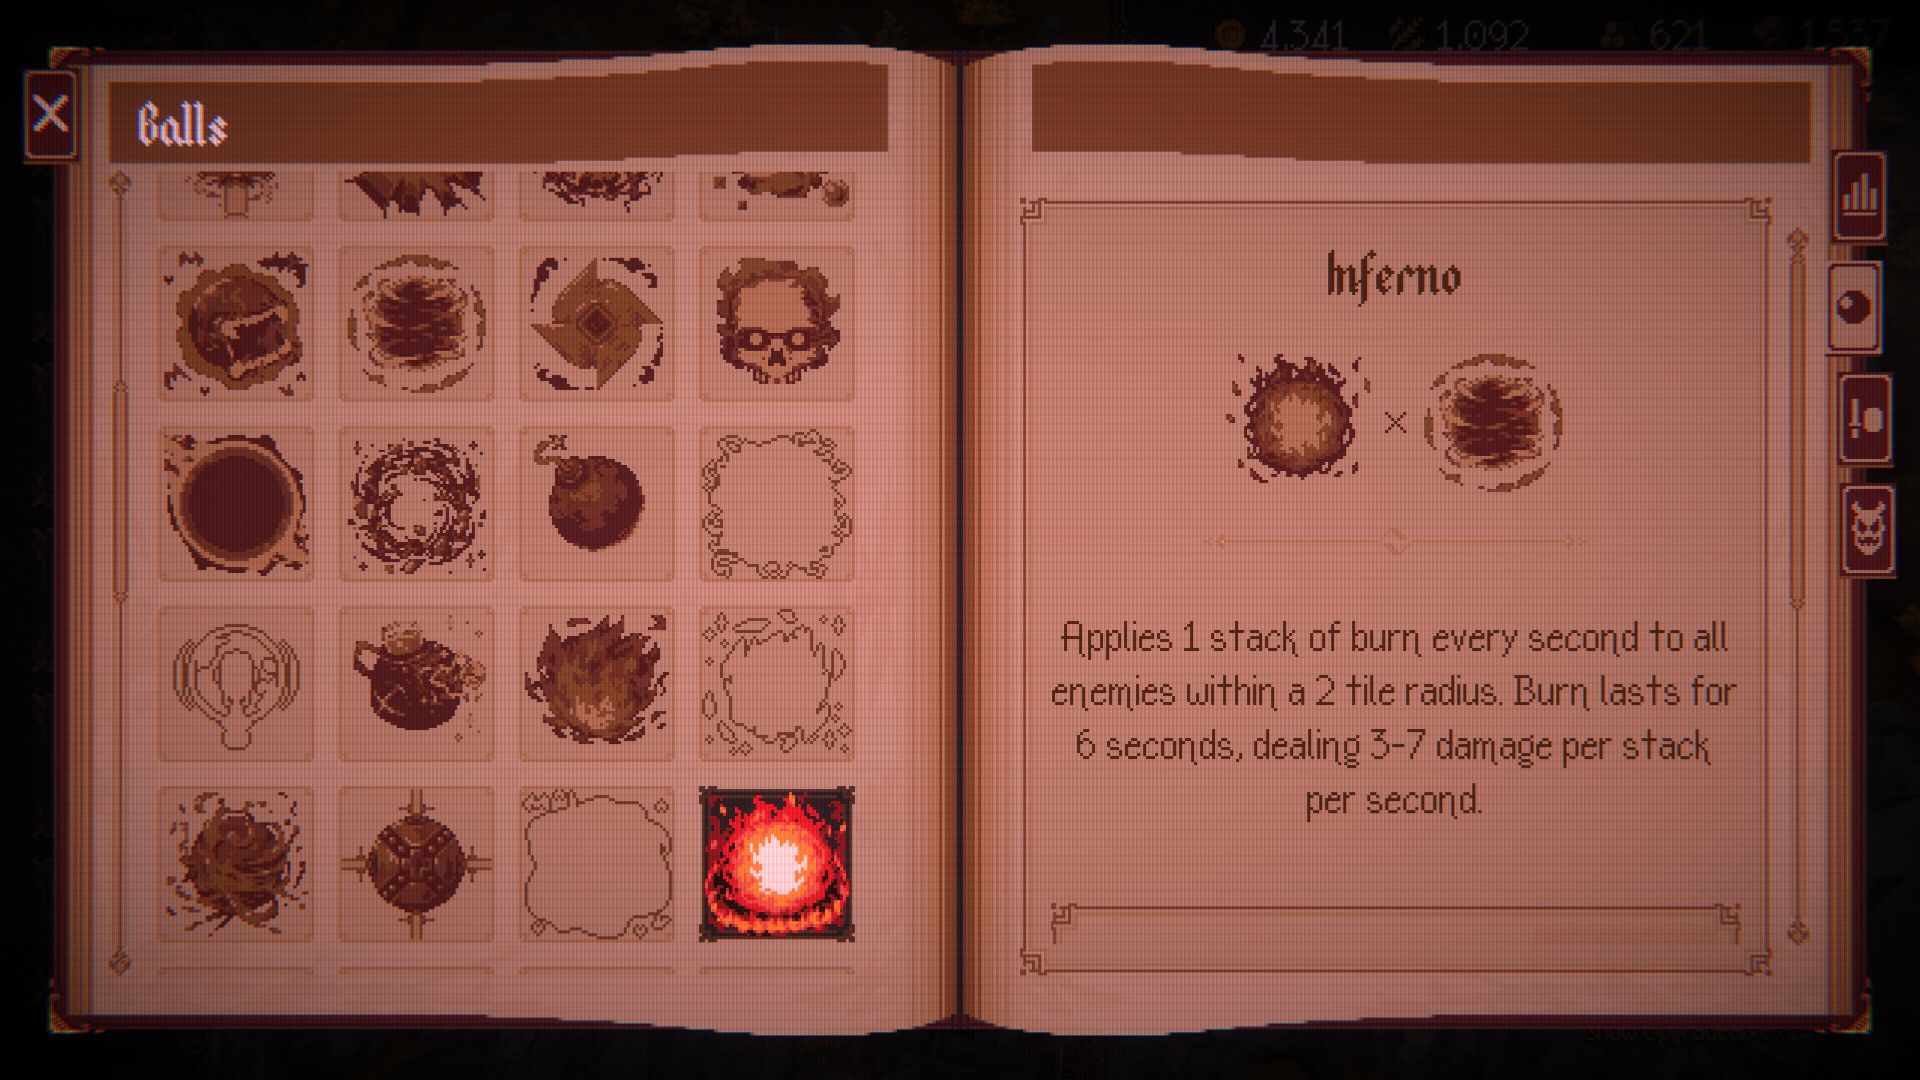
| Combination(s) | Fire x Wind |
|---|---|
| Description | Applies one stack of burn every second to all enemies within a two-tile radius. Burn lasts six seconds, dealing 3-7 damage per stack per second. |
If you want to inflict a lot of damage in most games, fire is usually a reliable choice. This holds true in Ball X Pit, where the Inferno upgrade, while not flashy, consistently deals burn damage to enemies near the initial target.
While you don’t have much time to build up multiple burn effects – only six seconds – the damage is so strong that it usually doesn’t make a difference.
This ball consistently delivers strong performance, regardless of the build I use it with. It’s adaptable, reliable, and doesn’t require changing my playstyle, making it a great choice for any match.
8. Blizzard
Chill Out
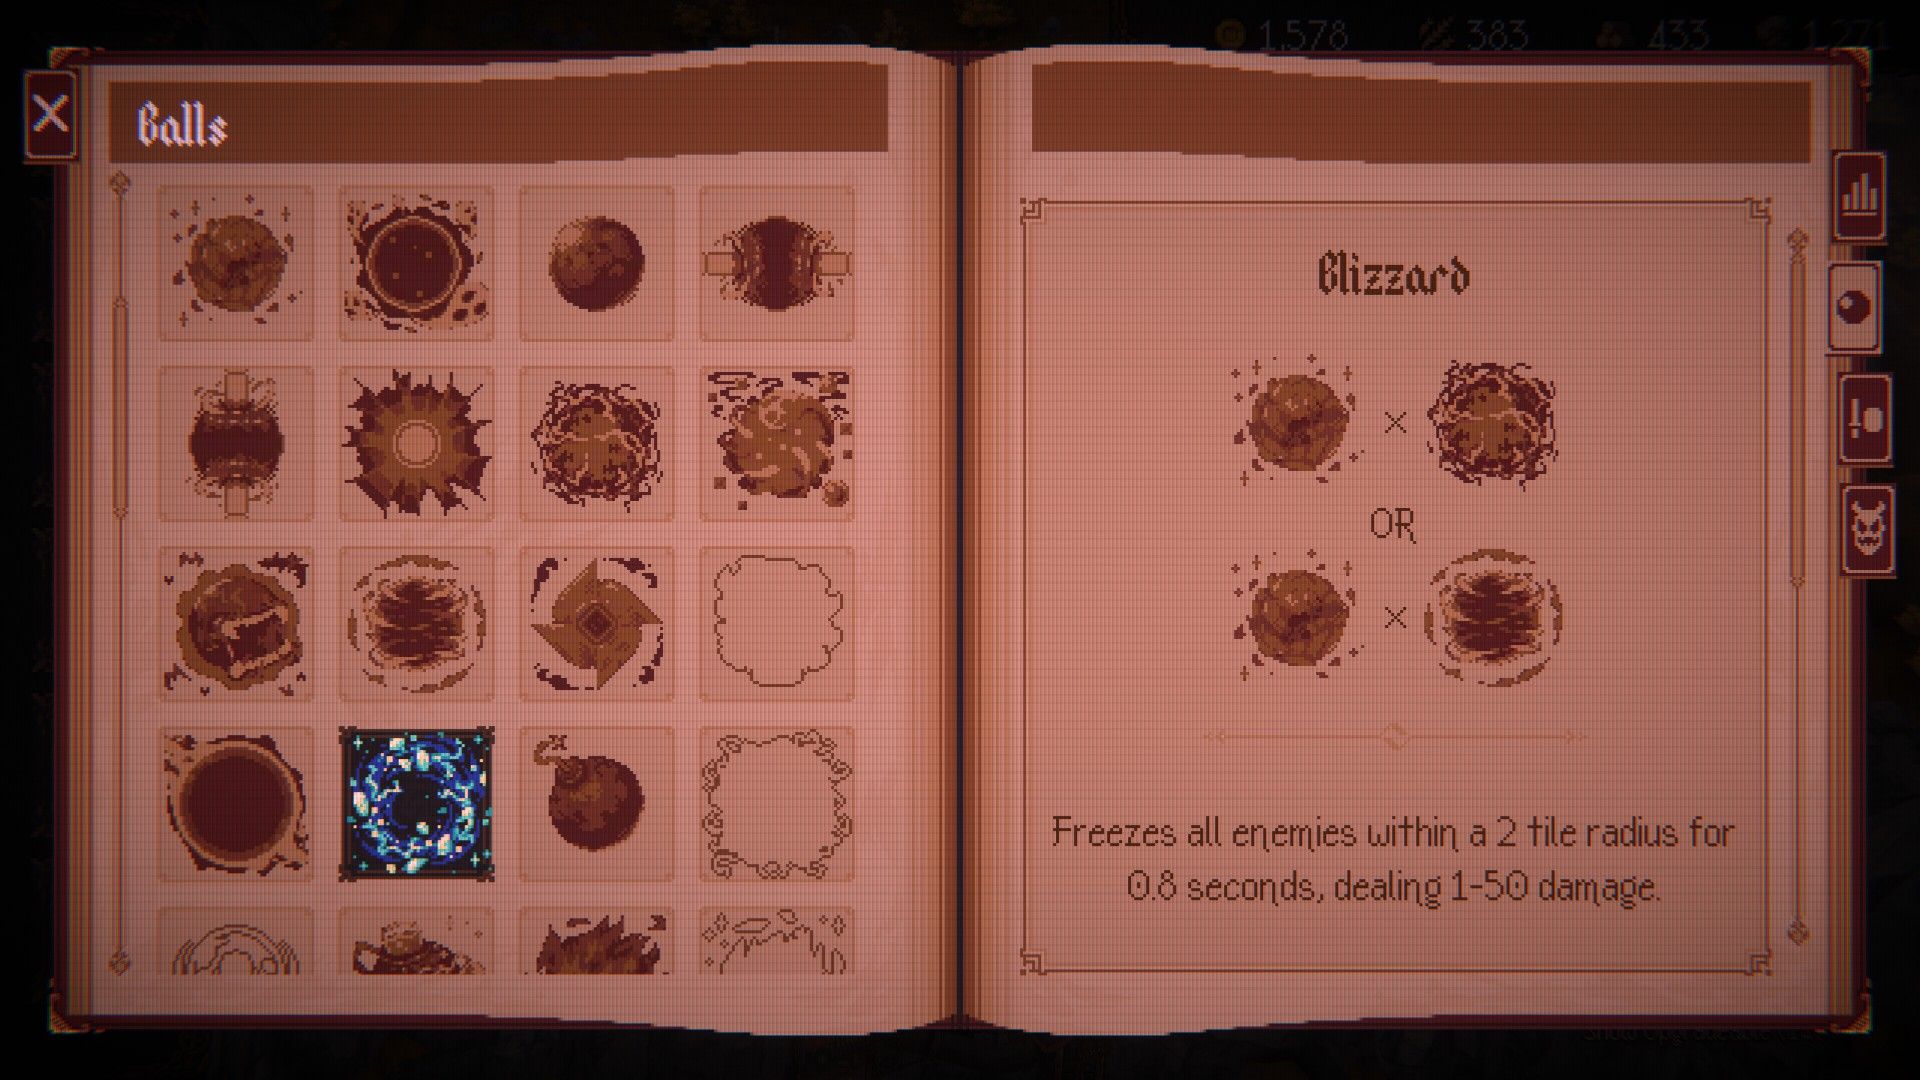
| Combination(s) | Ice x Wind |
|---|---|
| Ice x Lightning | |
| Description | Freezes all enemies within a 2-tile radius for 0.8 seconds, dealing 1-50 damage. |
Blizzard isn’t usually a top damage-dealing ability unless you specifically focus on items and skills that boost its freezing power. However, I still love it because of all the useful things it can do besides just damage.
This attack does a good amount of damage, but the real benefit of combining Ice and Lightning is the large frozen area it creates. This area will significantly slow down most of the enemies on the battlefield.
This is a fantastic upgrade for managing groups of enemies. Once you reach a boss fight at the end of each area, you’re usually in a very strong position to win. If you need to prevent large numbers of enemies from overwhelming you, this is the upgrade you should choose.
7. Spider Queen
A Friend Of Aragog
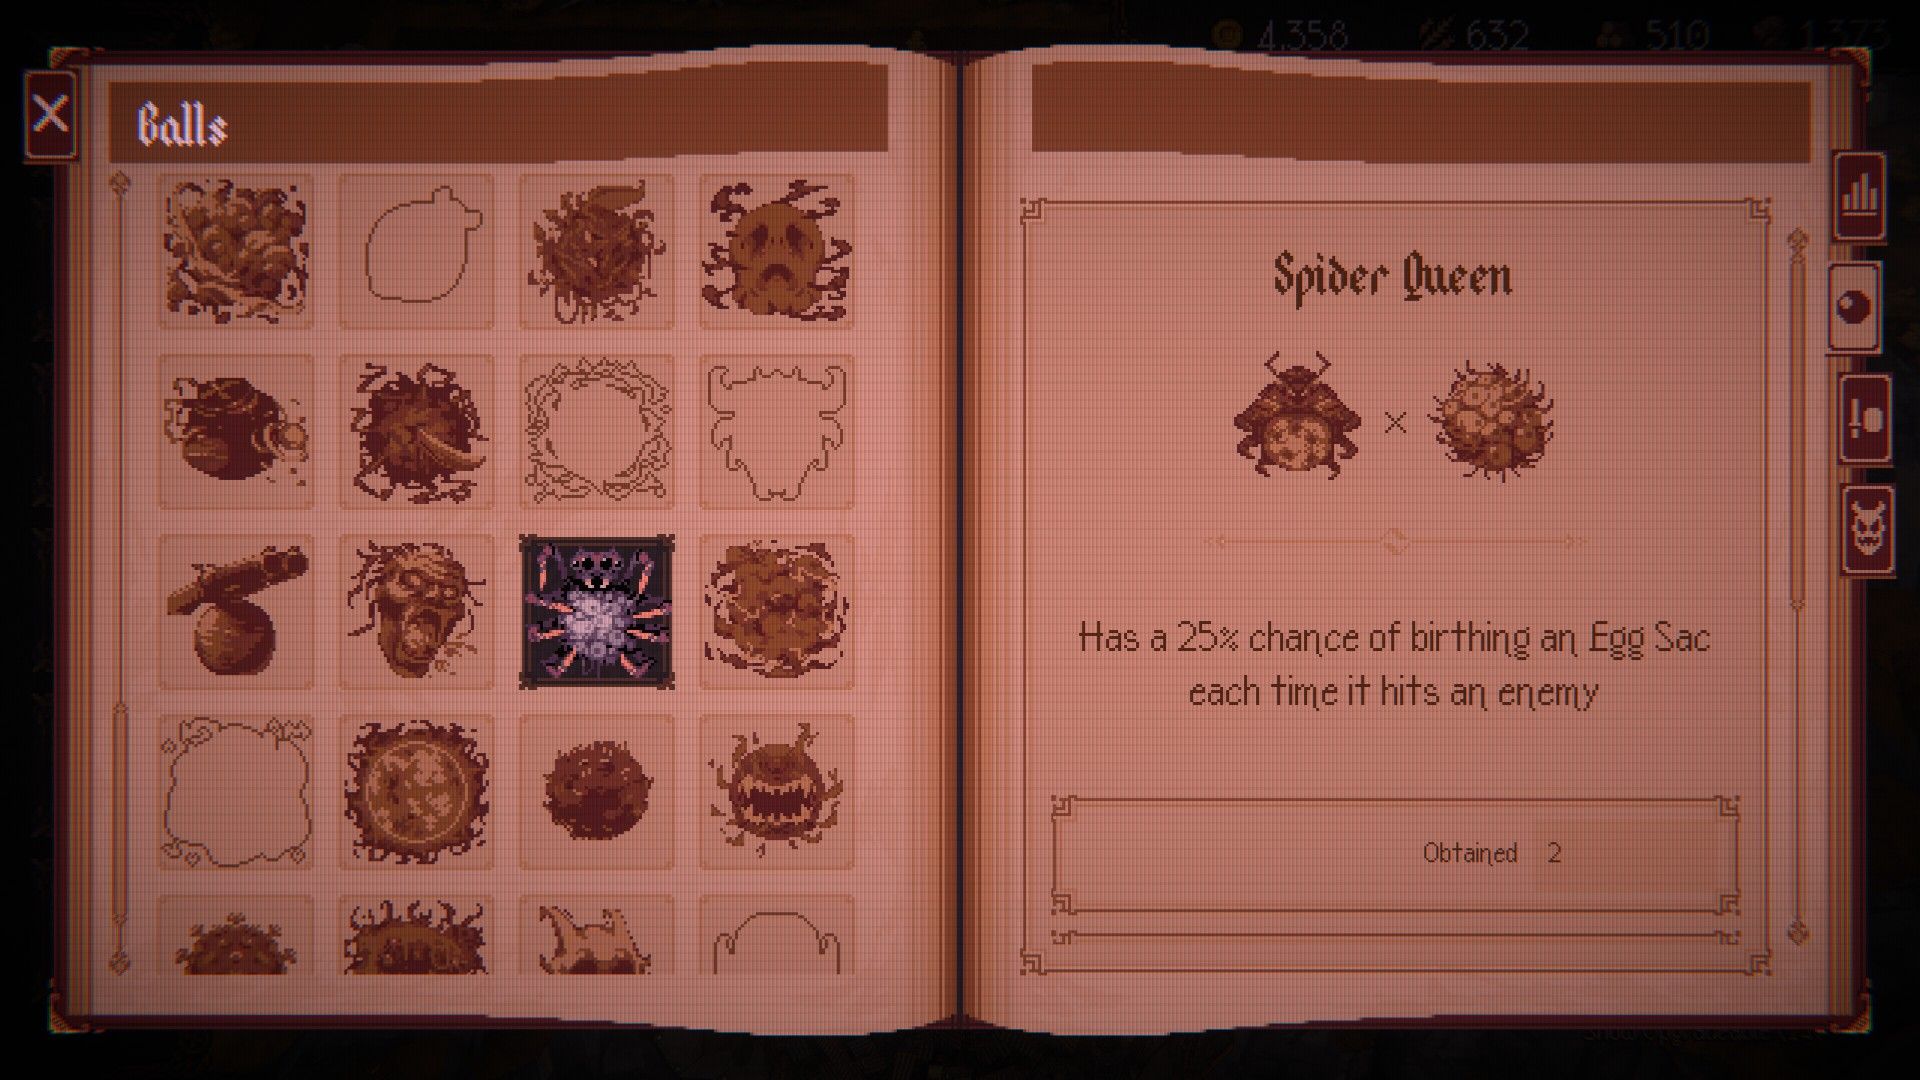
| Combination(s) | Egg Sac x Brood Mother |
|---|---|
| Description | Has a 25% chance to birth an Egg Sac every time it hits an enemy |
If you can get many baby spiders onto the field, Spider Queen becomes a powerful ally. This creature works especially well with abilities that boost the damage of those baby spiders, as she launches several egg sacs simultaneously.
These growths don’t just split and create new ones; they also cause significant damage when they hit something, making this transformation a powerful offensive ability.
As a fan, I’ve learned you really need to focus on leveling up this evolution fast! Getting those egg sacs to appear constantly is key. Once you do, though, wow – you’ll see how amazing it is! It completely traps enemies in its web, and it’s super effective!
6. Mosquito King
Can’t Swat The King
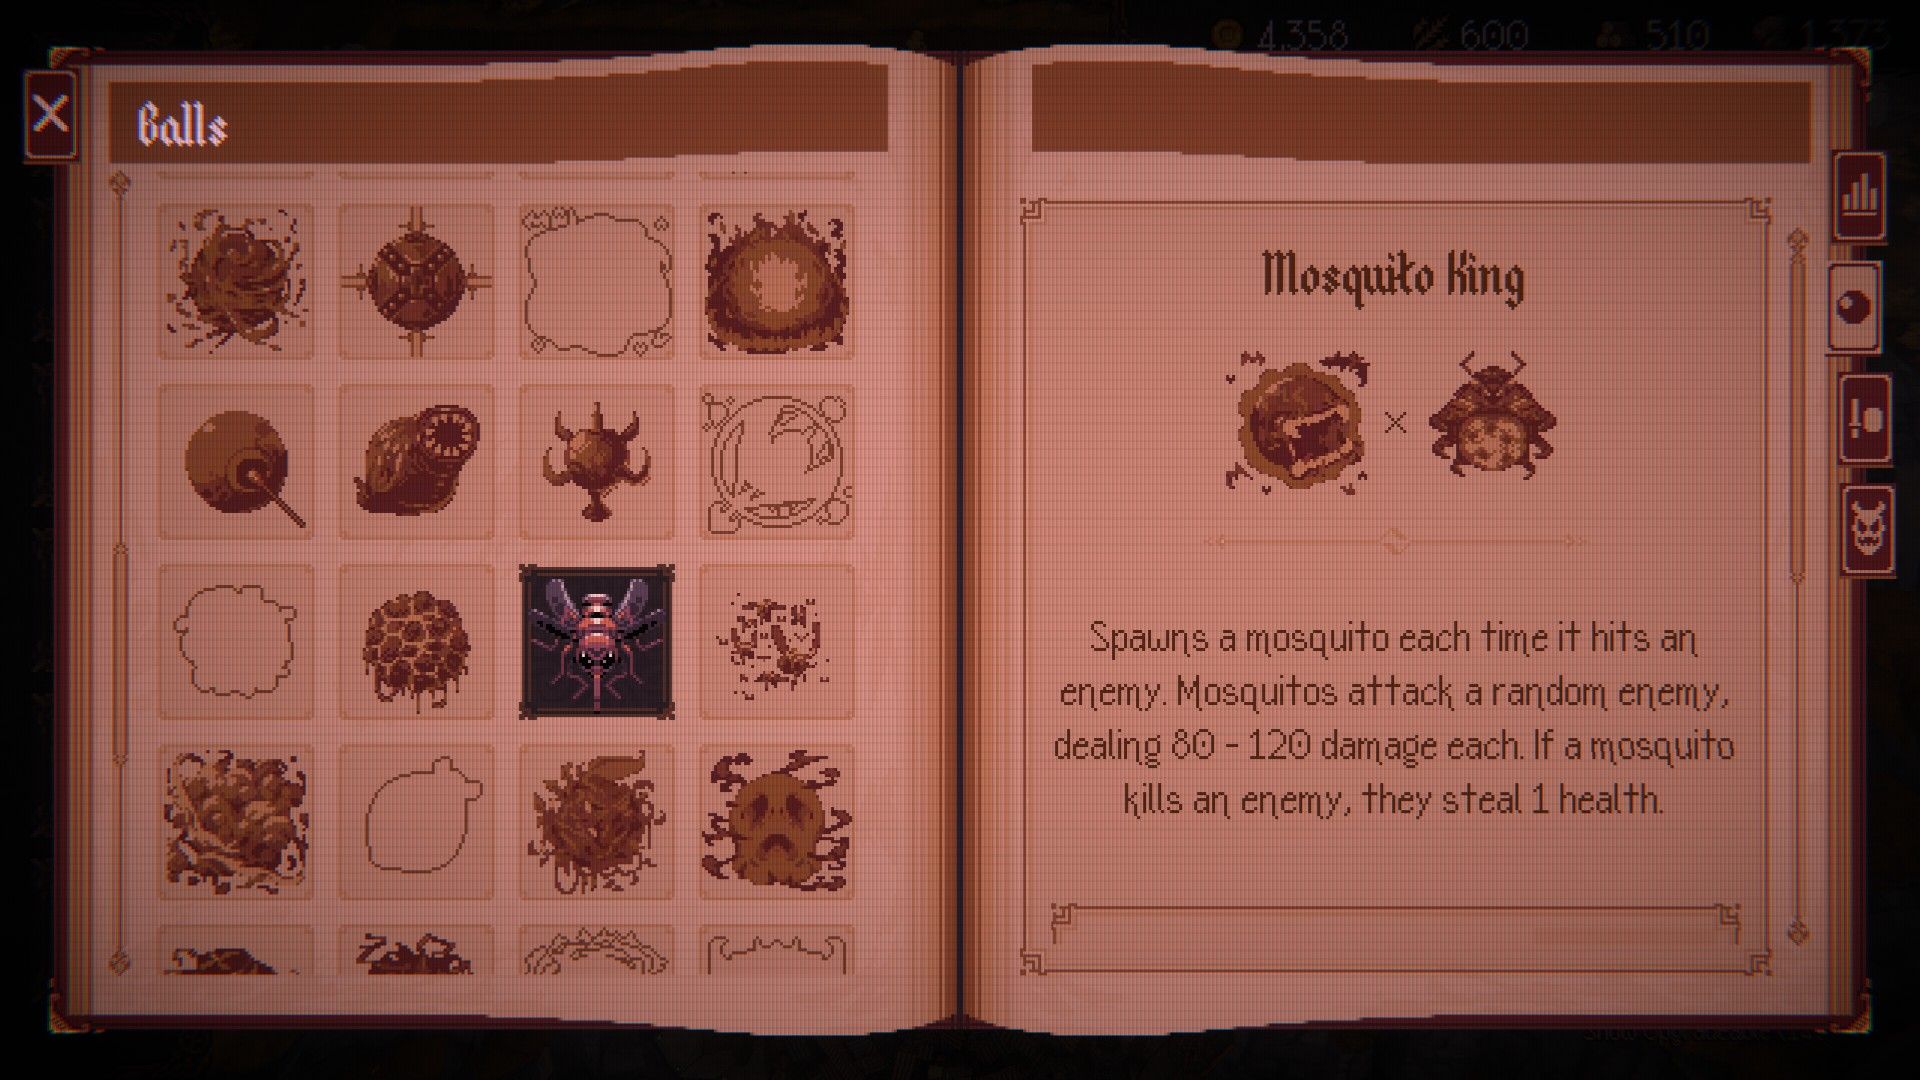
| Combination(s) | Vampire x Brood Mother |
|---|---|
| Description | Spawns a Mosquito every time it hits an enemy. Mosquitos attack random targets, dealing 80-120 damage. If a Mosquito kills an enemy, you gain 1HP. |
Looking for a strong build? While options like Vampire Lord and Soul Snatcher are good, I think Mosquito King is far superior – but it needs to be built around carefully to really shine.
You gain one hit point for each enemy you defeat. If your overall strategy is strong and you’re quickly eliminating opponents, you’ll recover health so rapidly that you’ll become very difficult to defeat.
The Mosquito King is unique among healing items because it also does a good amount of damage. The only drawback is that it attacks a random enemy, but most players find that the combination of healing and damage is well worth it.
5. Phantom
Gonna Catch ‘Em All
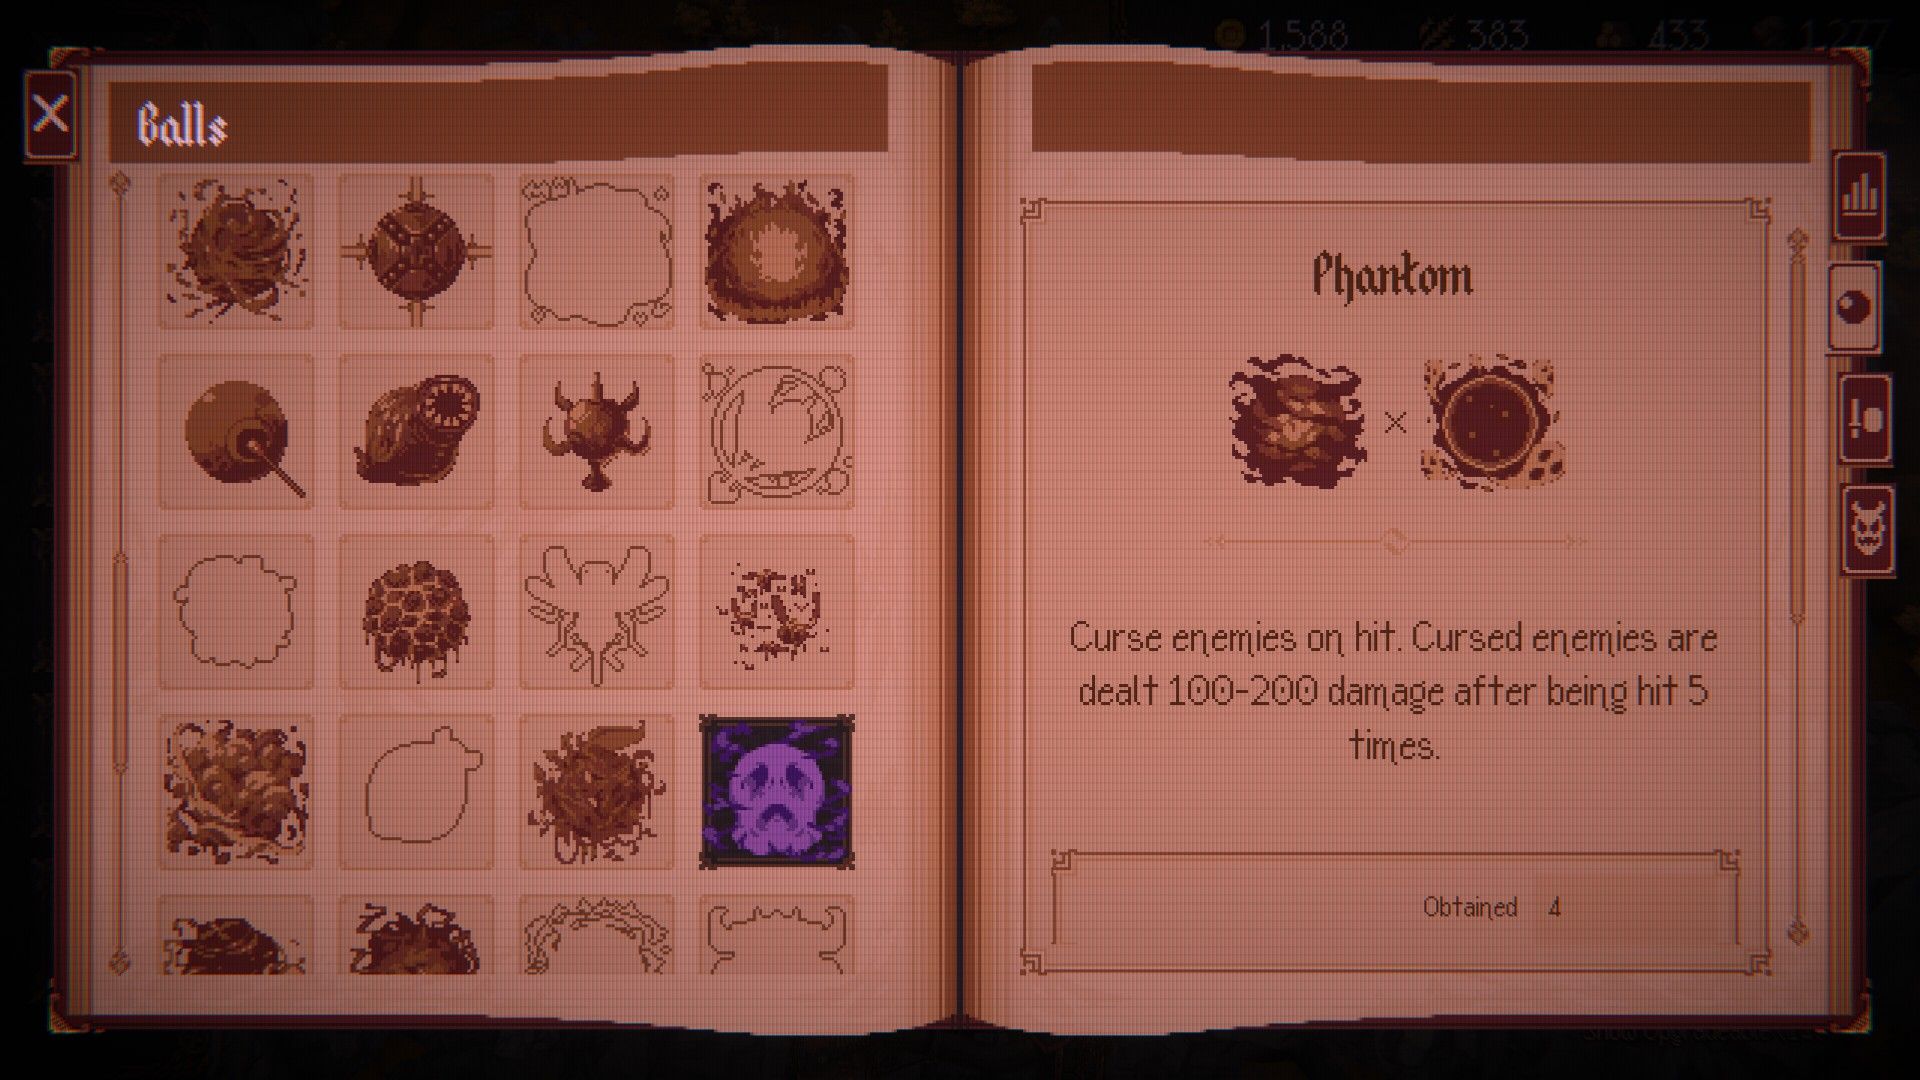
| Combination(s) | Dark x Ghost |
|---|---|
| Description | Curse enemies on hit. Cursed enemies are dealt 100-200 damage after five hits. |
As a player, I’ve found Ghost is awesome for dodging tons of enemies and launching your ball right through them for some serious damage. But honestly, just sending it through isn’t enough – you really need to hit every enemy in its path with a status effect to make it truly effective.
Phantom excels at quickly damaging multiple enemies and applying a curse to all of them, guaranteed – you don’t have to rely on luck. Combine this with the Voodoo Doll passive, and you’ll significantly increase your chances of instantly defeating enemies.
This strategy works best when you’re constantly creating a large number of smaller projectiles. You need to hit each enemy five times to activate the special effects, but if you’re generating a lot of these projectiles, you’ll be able to defeat enemies very quickly and efficiently.
4. Magma
Too Hot To Handle
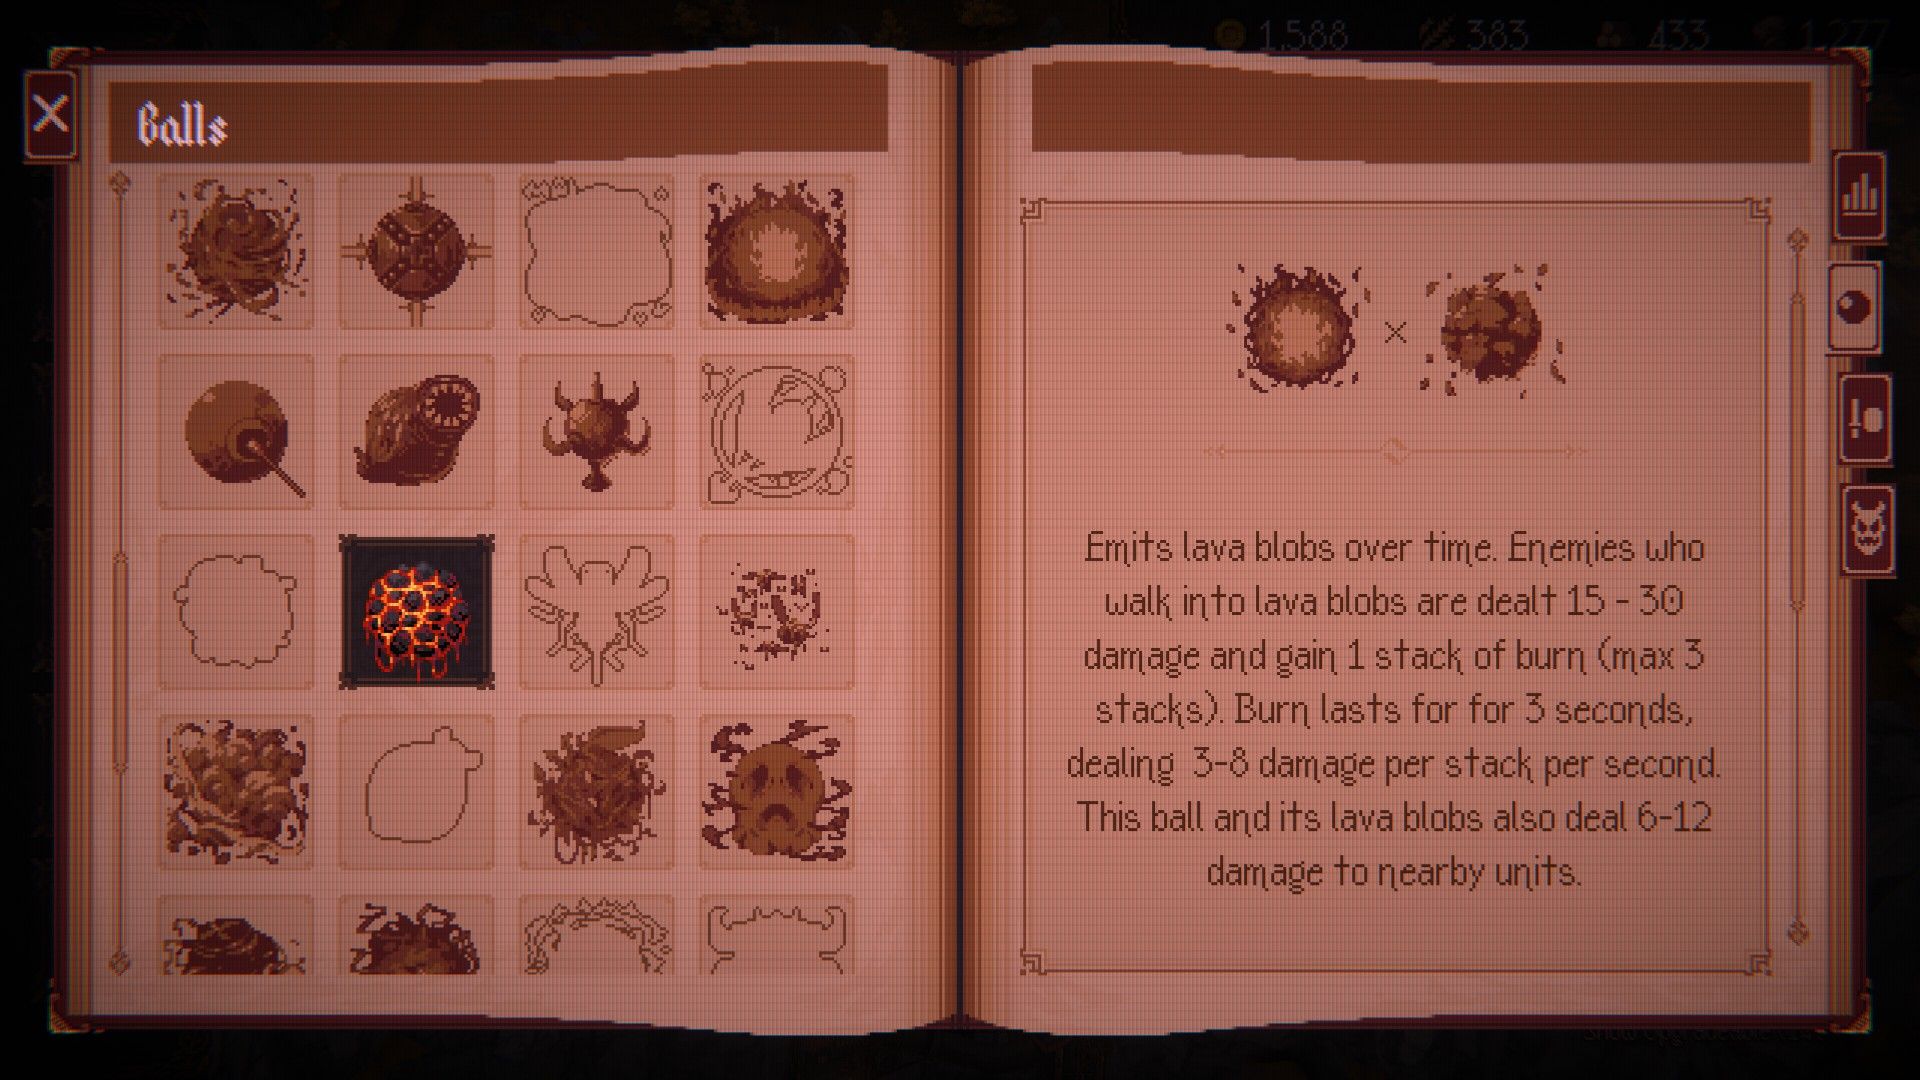
| Combination(s) | Fire x Earthquake |
|---|---|
| Description | Emits Lava Blobs. Enemies that walk into these blobs are dealt 15-30 damage and gain one stack of burn (max 3). Burn last 3 seconds, dealing 3-8 damage per stack per second. Also deals 6-12 damage to nearby affected units. |
For massive damage, the magma upgrade – a blend of Earthquake and Flame – is your best bet. It creates a powerful, fiery projectile that also damages everything around where it lands. But there’s more to this upgrade than just raw power.
This attack also launches globs of molten rock that drift across the battlefield, damaging enemies and slowing them down.
This upgrade is great for managing large groups of enemies, but it’s also surprisingly effective against tougher mini-bosses and bosses. It’s a consistently strong and dependable choice whenever you have the chance to get it.
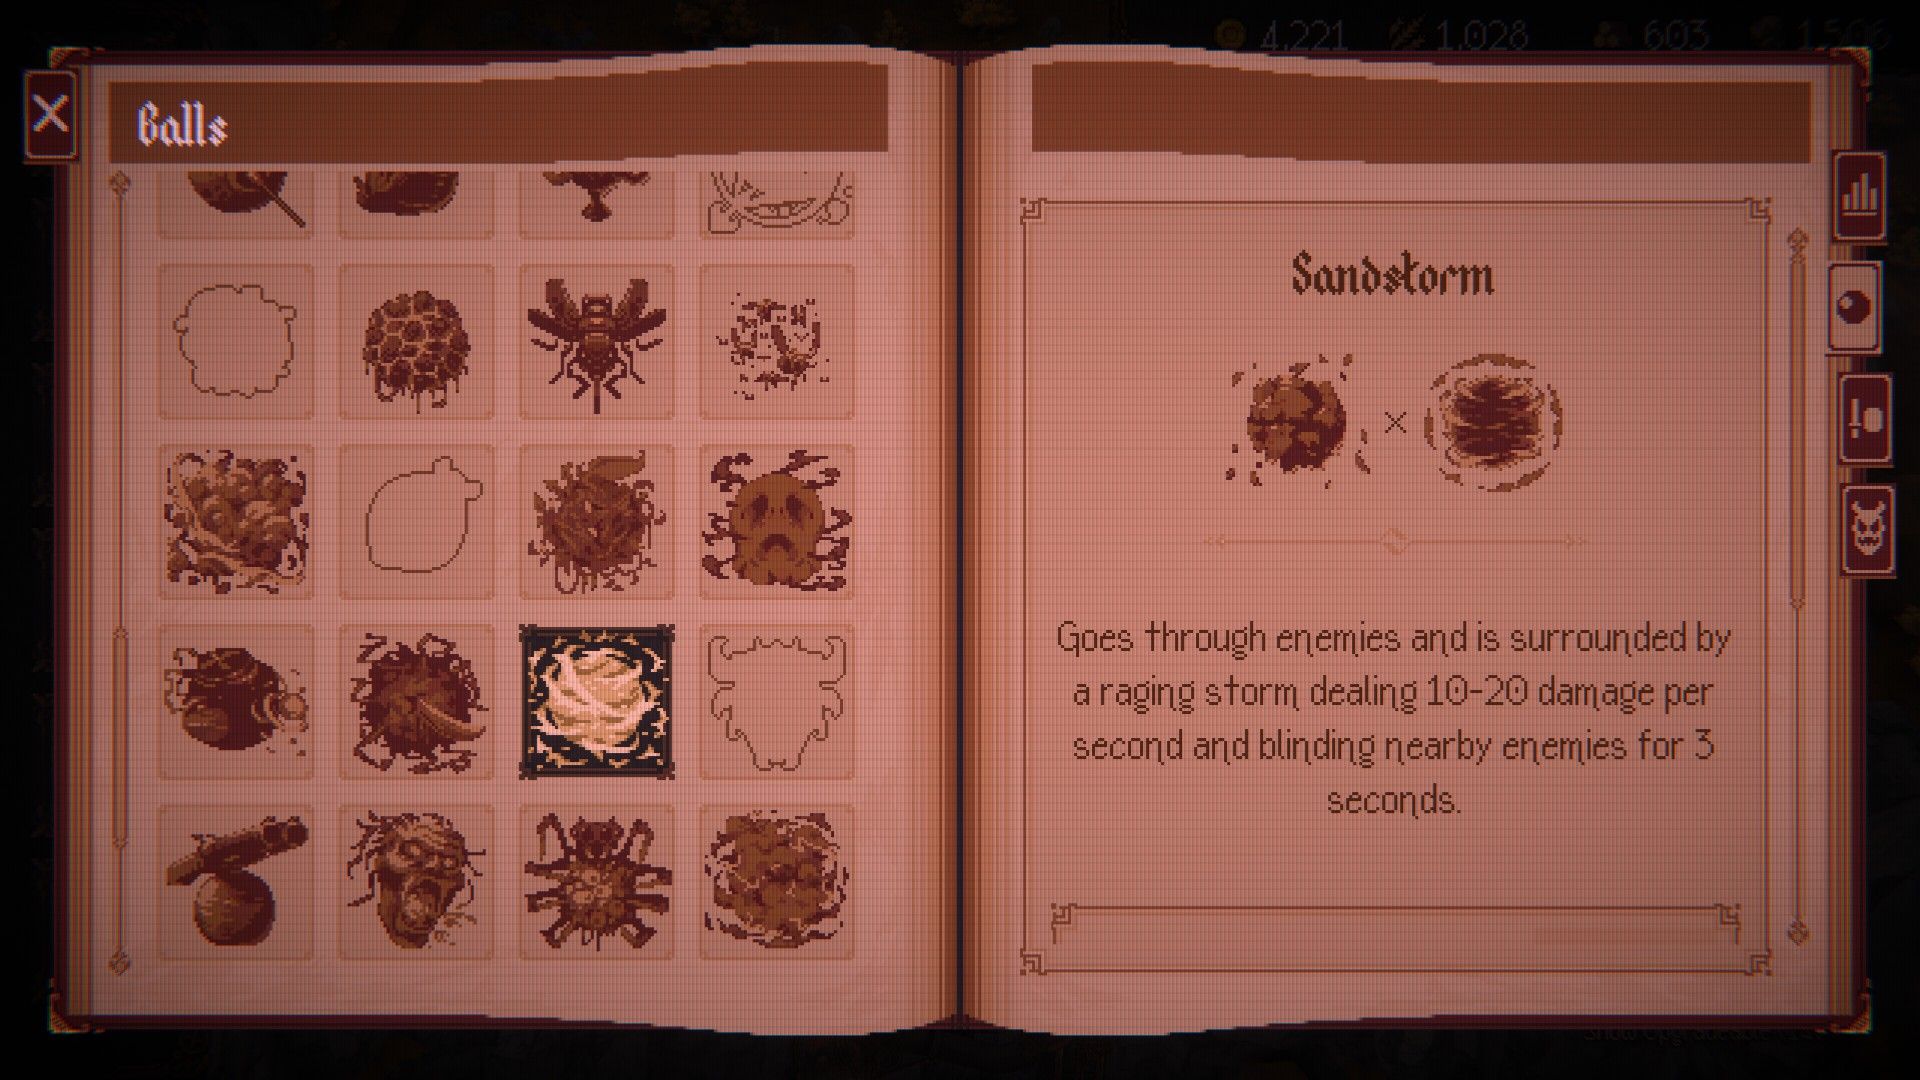
3. Sandstorm
Darude Intensifies
| Combination(s) | Earthquake x Wind |
|---|---|
| Description | Goes through enemies and is surrounded by a sandstorm that deals 10-20 damage per second while also blinding enemies for 3 seconds. |
If you want a track that delivers everything you could ask for, like Darude’s iconic ‘Sandstorm,’ this one really hits the spot.
This ability consistently deals high damage without requiring any special setup. It can move through enemies, letting you focus on key targets and maneuver around the battlefield, and it also blinds opponents as it passes through.
If you’re in a tough spot and need a little extra power, passive items like Silver Blindfold and Deadeye’s Amulet can be surprisingly effective.
Even during a fierce sandstorm, you’ll be able to navigate through it and defeat any enemies that come your way.
2. Holy Laser
A Blessing From The Gods
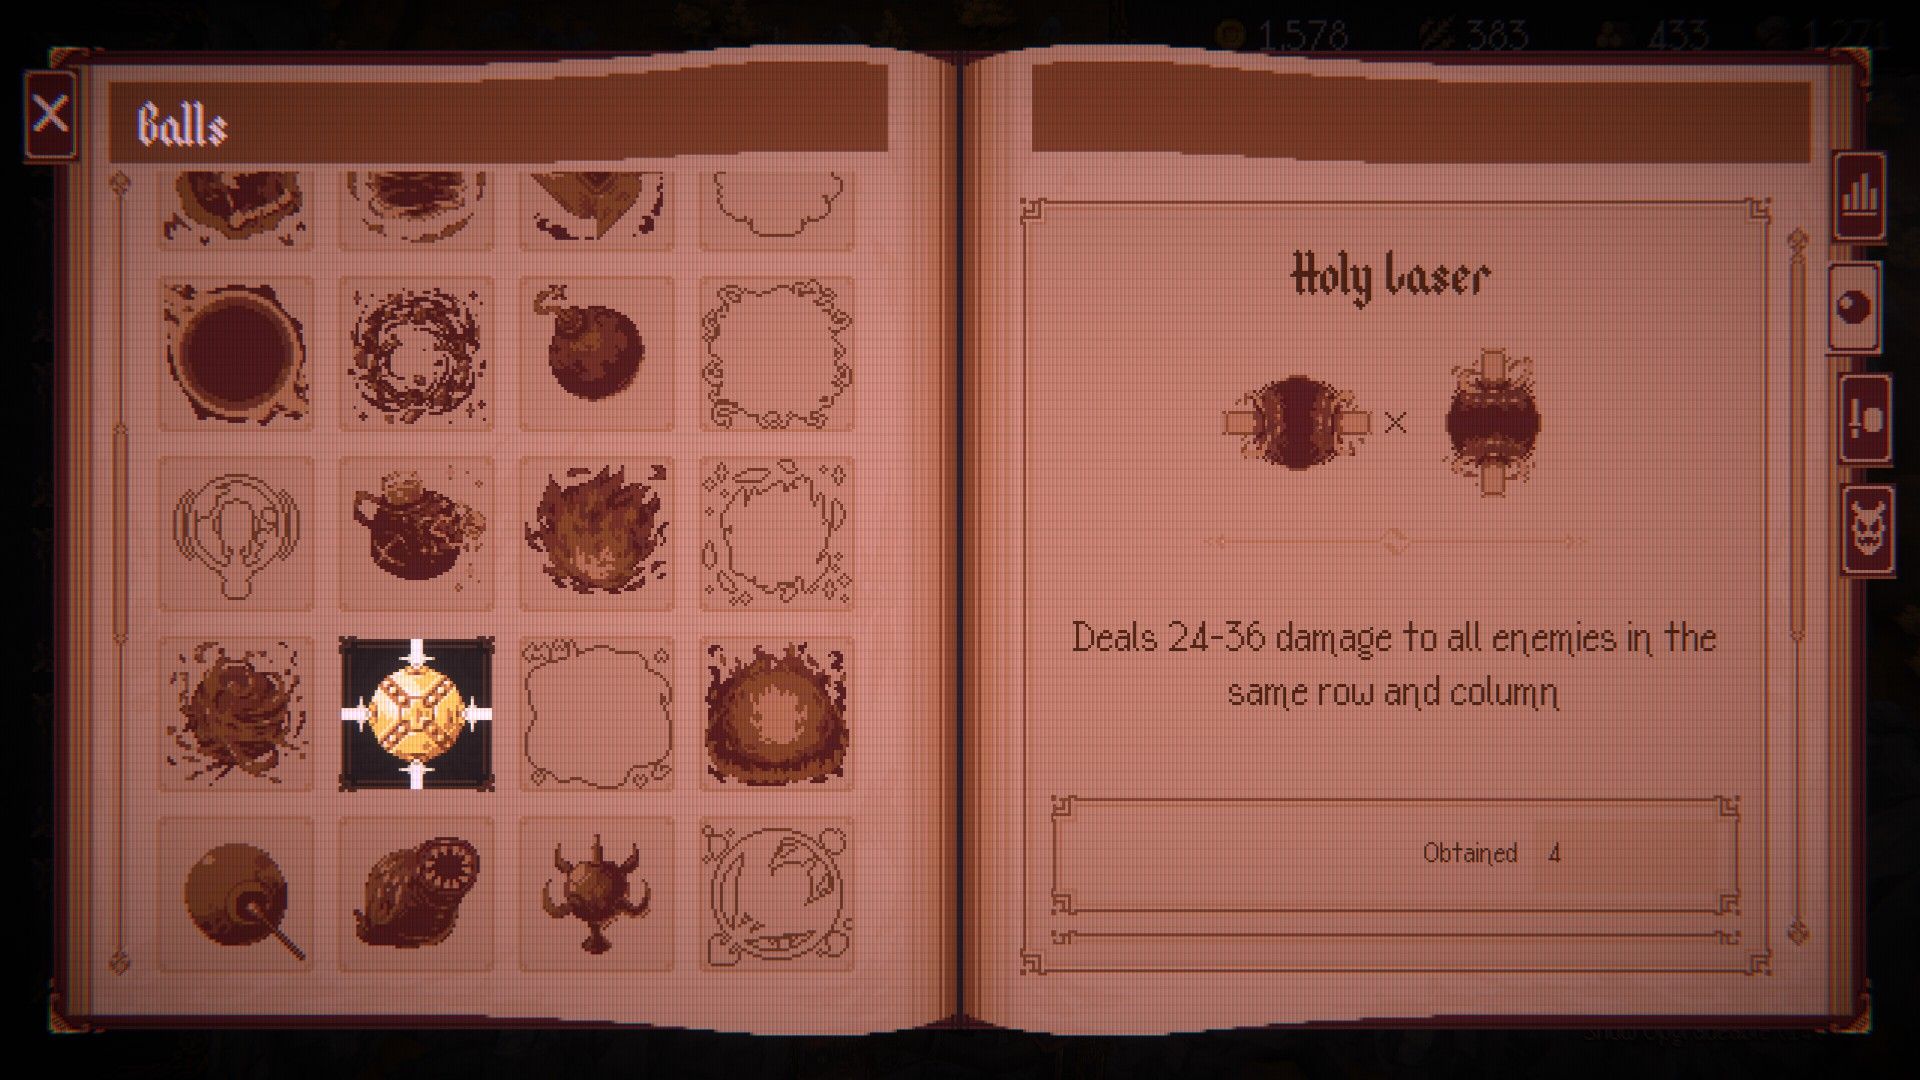
| Combination(s) | Laser (vertical) x Laser (Horizontal) |
|---|---|
| Description | Deals 24-36 damage to all enemies in the same row and column. |
Holy Laser is a top-tier attack because its components, Horizontal Laser and Vertical Laser, inflict massive damage. What makes it so strong is that you don’t even need to aim – they automatically hit their target.
Okay, so these straight-line attacks are seriously powerful. The cool thing is, they always hit, even without me really focusing on them! And when I level them up or combine them, they become absolutely devastating. I’m telling you, evolving and combining them in any direction – horizontally or vertically – just gives them this extra ‘oomph’ that makes all the difference.
This powerful combination quickly eliminates enemies in a wide area every few seconds, and it’s so effective you don’t even need precise aiming. This lets you concentrate on improving other parts of your strategy. Essentially, it’s an easy win for a skilled player.
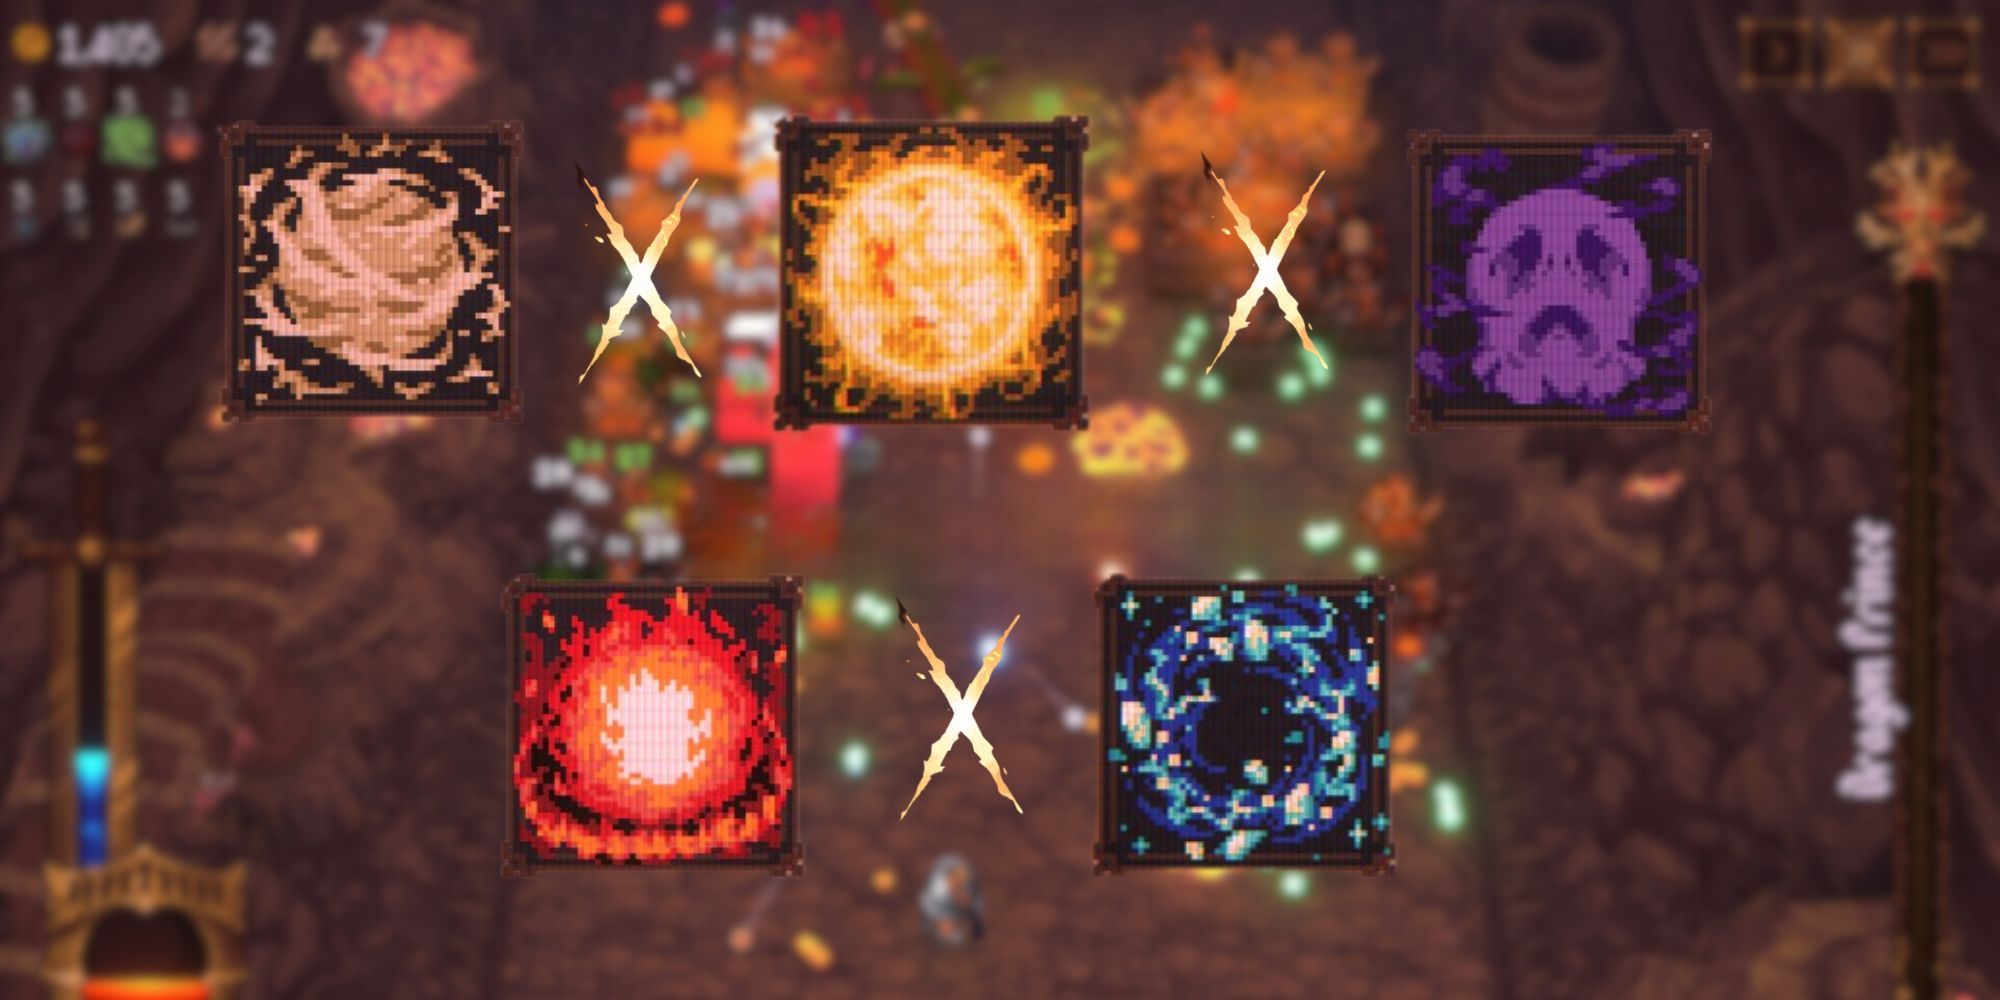
1. Sun
Praise The Sun
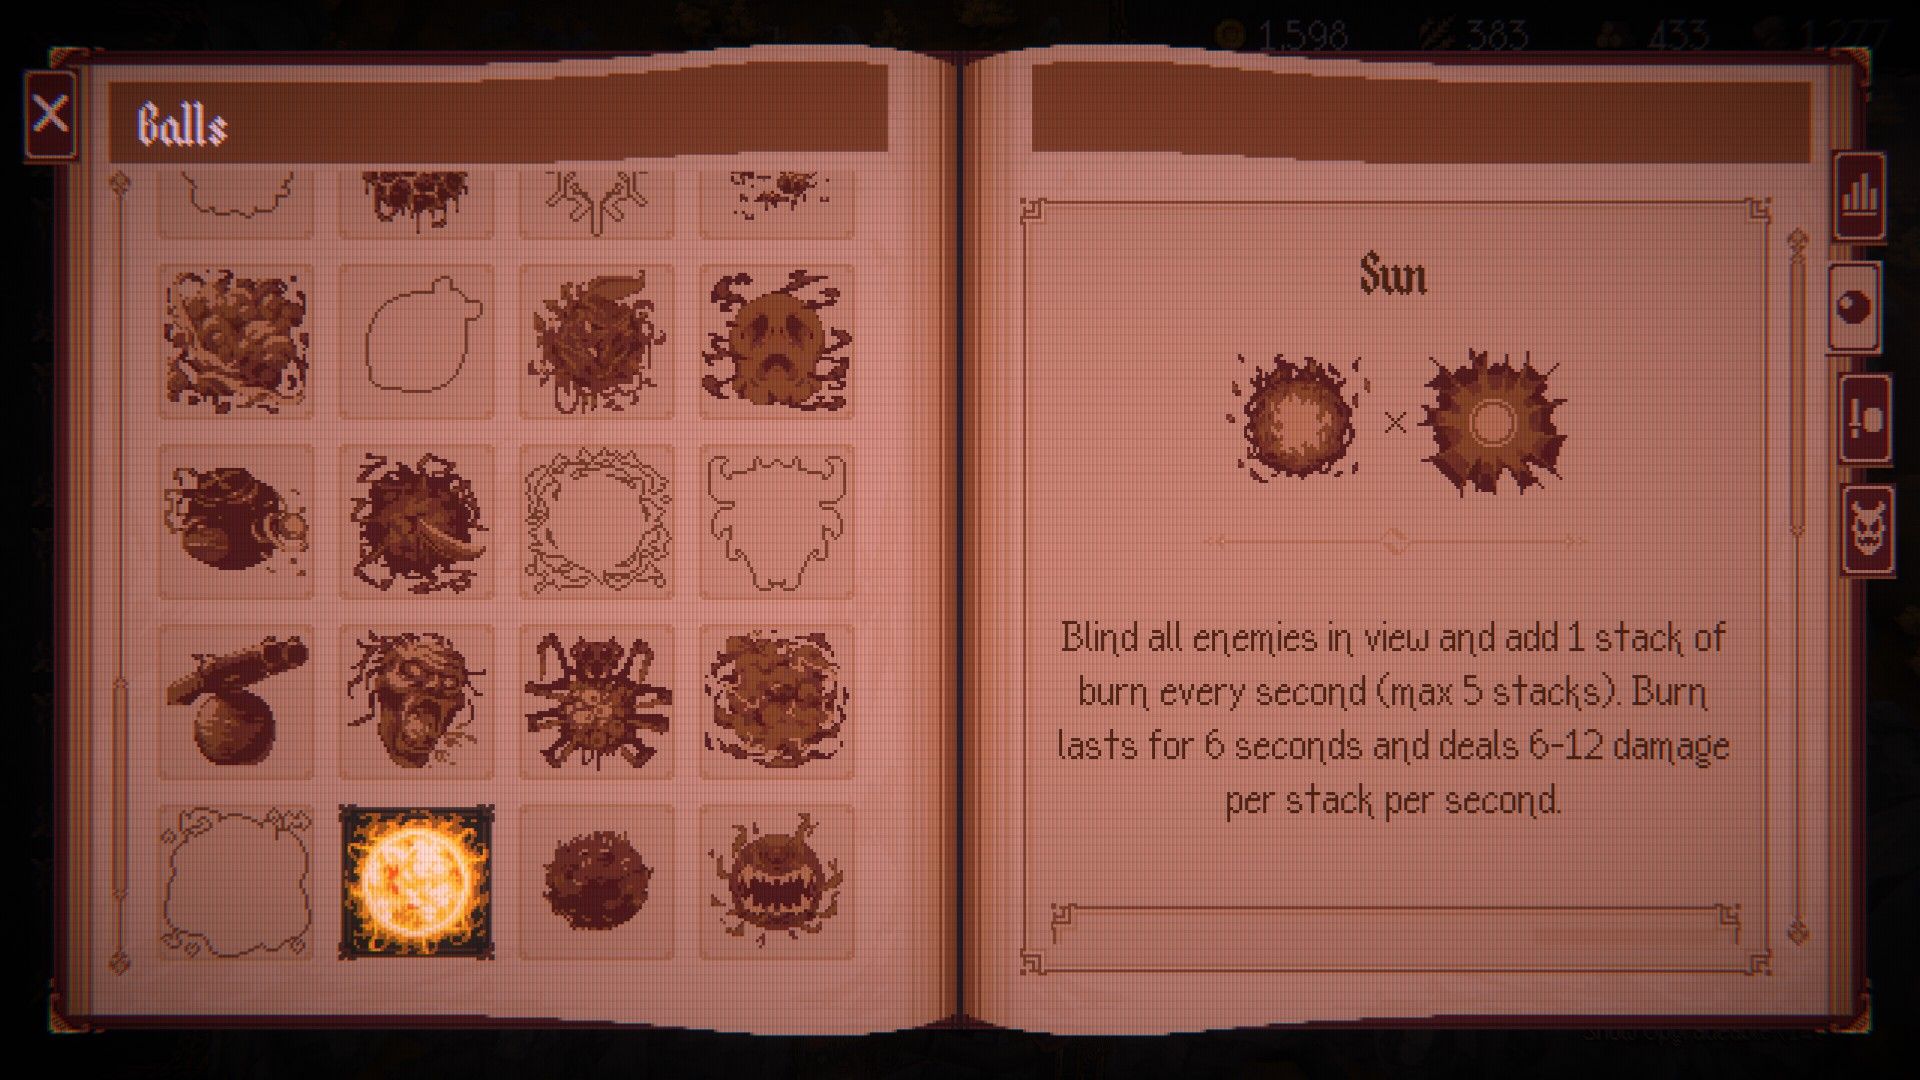
| Combination(s) | Fire x Light |
|---|---|
| Description | Blind all enemies in view and add one stack of burn every second (max five stacks). Burn lasts 6 seconds and deals 6-12 damage per stack, per second. |
Like I said, everyone has different preferences, and I’m sorry if you strongly prefer something else. However, for me, Sun has consistently been the best.
Combining fire and light abilities lets players inflict massive damage, and this power doesn’t rely on a particular character setup. It also gives players the ability to temporarily blind large groups of enemies, making chaotic situations easier to manage.
Plus, using items like Silver Blindfold that inflict the Blinded status can significantly boost your damage output against affected enemies, potentially giving you a huge advantage when the Sun is active. Combine that with the Inferno status, and you’ll almost certainly win the round.
Read More
- All Skyblazer Armor Locations in Crimson Desert
- How to Get the Sunset Reed Armor Set and Hollow Visage Sword in Crimson Desert
- All Shadow Armor Locations in Crimson Desert
- Marni Laser Helm Location & Upgrade in Crimson Desert
- All Helfryn Armor Locations in Crimson Desert
- All Golden Greed Armor Locations in Crimson Desert
- All Icewing Armor Locations in Crimson Desert
- Best Bows in Crimson Desert
- How to Beat Stonewalker Antiquum at the Gate of Truth in Crimson Desert
- Legendary White Lion Necklace Location in Crimson Desert
2025-10-20 15:13