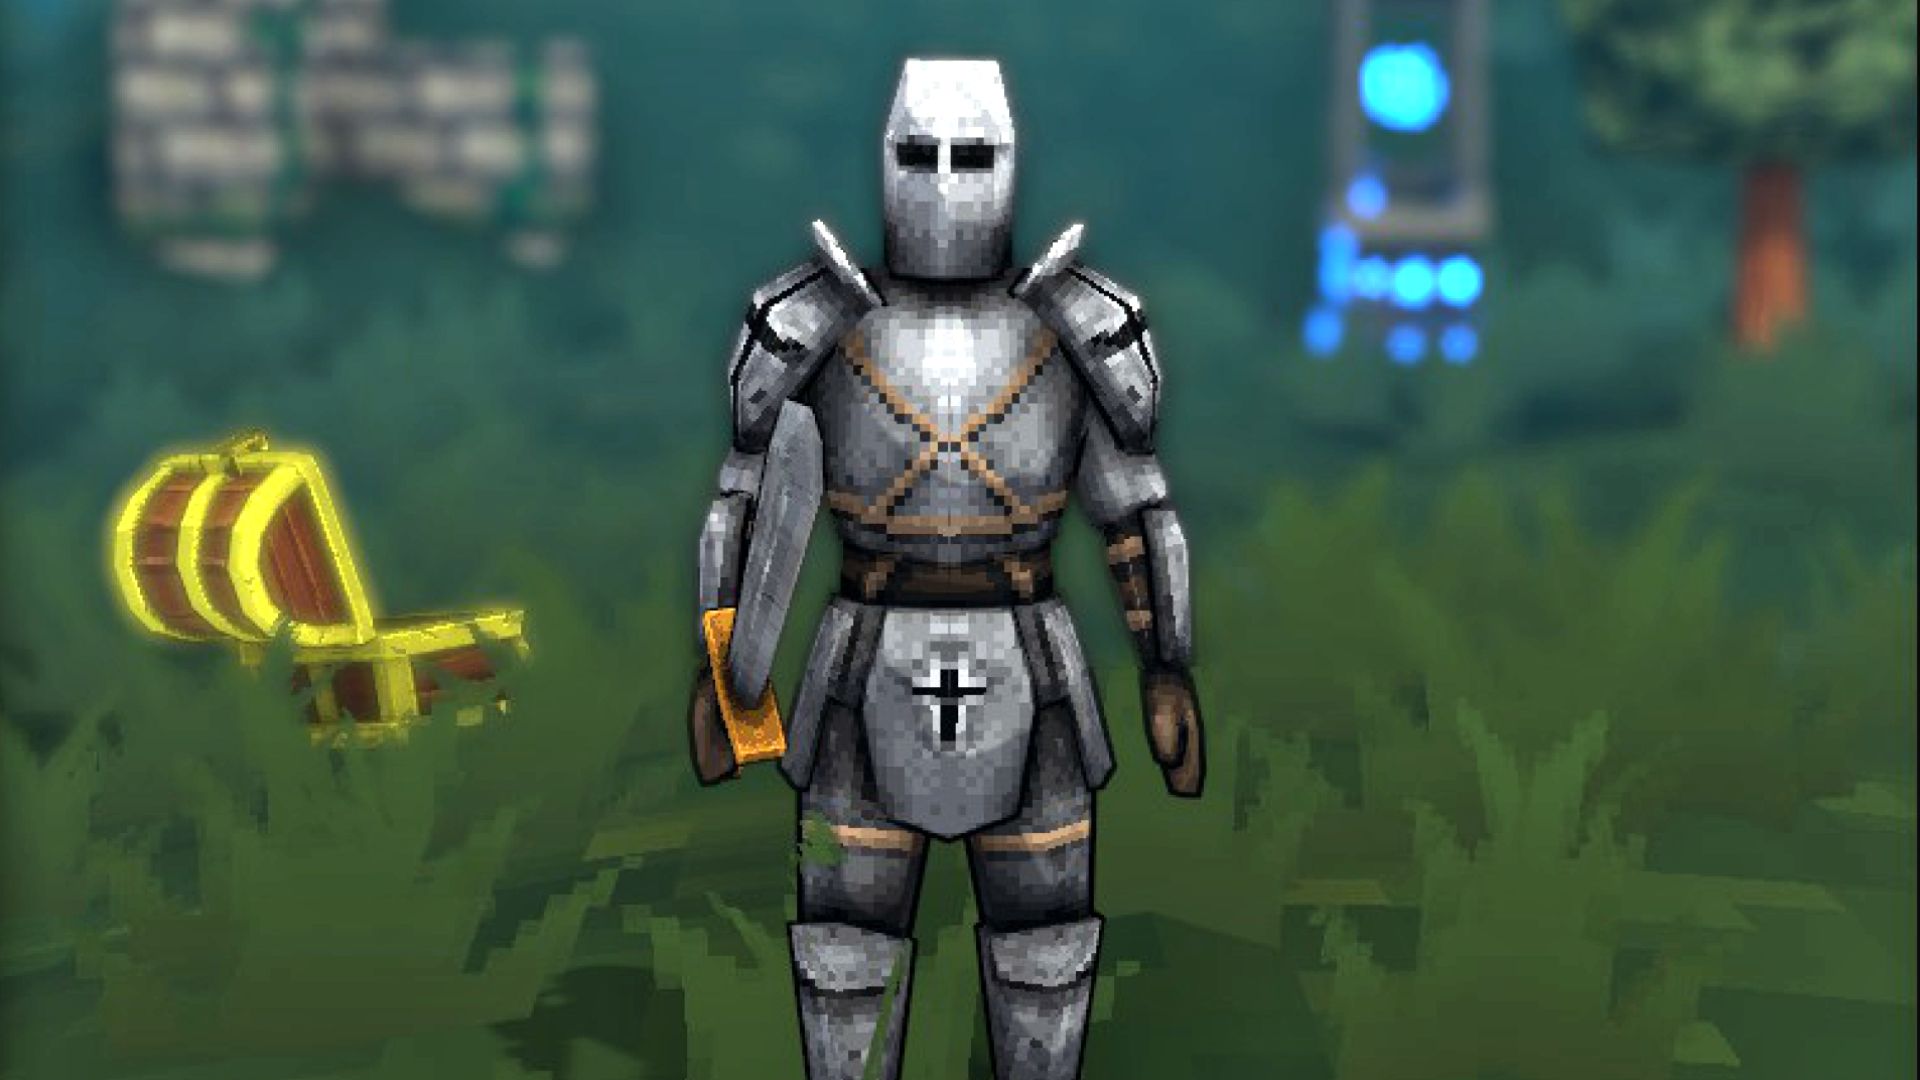
As a huge Megabonk fan, I’ve been playing a lot, and I wanted to share something about the starting characters. You can choose between Fox and Sir Oofie right away. Fox is all about speed and uses the Fire Staff to attack from a distance. But I personally prefer Sir Oofie! He’s a bit slower, and he begins with the Sword, which is great for close combat. That means he really shines when you find weapons, Tomes, and items that boost his already strong melee abilities. It just feels like everything works together better with him!
In each playthrough of Megabonk, your Weapons, Tomes, and Items are generated randomly. However, you can influence the rewards you receive by using Rerolls, Skips, and Banishes. This guide will show you how to create the best Sir Oofie build in Megabonk, including which weapons to focus on, the most effective Sir Oofie Tomes to choose, and the items you should aim to collect during your run.
This guide is written for players who have unlocked all four Weapon slots, all four Tome slots, and the majority of unlockable Items. While helpful for Tiers 1 and 2, this guide to the best Sir Oofie build is specifically designed for Tier 3 runs in Megabonk.
Best Sir Oofie Weapons
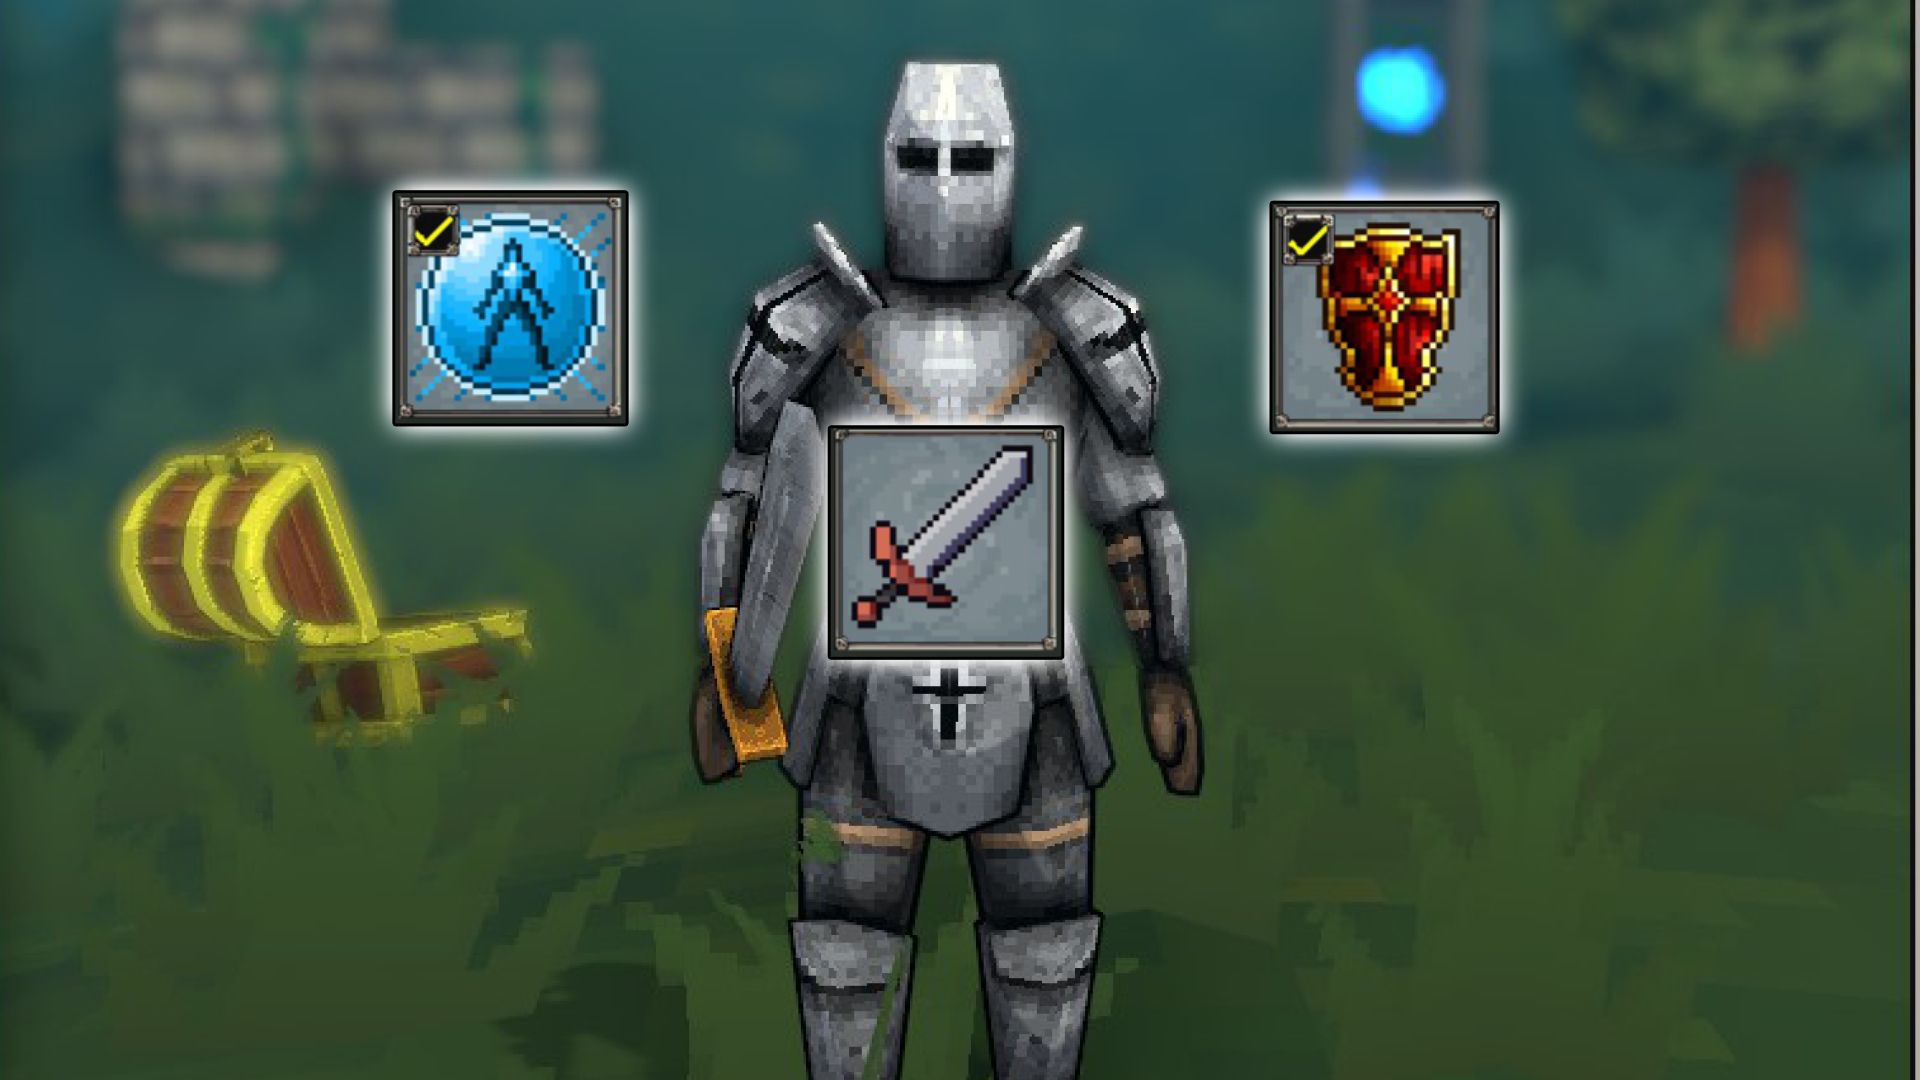
Sword (Default)
- Sword Effect: Slashes through multiple enemies
Sir Oofie begins with the Sword, which can be improved to quickly cut through many enemies directly in front of him. But, since Sir Oofie moves quite slowly, it’s best to pair this with other weapons that work well against enemies who get close.
Aegis
- Aegis Effect: Blocks incoming attacks and sends out shockwaves
The Aegis creates one protective block for each shield projectile it launches, and these blocks automatically recharge over time. This is helpful because Sir Oofie sometimes struggles to keep enemies at a distance, and you’ll likely take some damage while progressing to Tier 3. While Aegis is almost essential for surviving to Tier 3 with any character, it’s particularly beneficial for Sir Oofie. It helps mitigate damage when you inevitably get hit, making the journey to Tier 3 much more manageable.
Dexecutioner
- Dexecutioner Effect: A piercing blade. Small chance to instantly execute an enemy.
Unlocking the Dexecutioner takes some effort, but it’s definitely worth it. While it doesn’t have the same raw damage as the Sword, it has a chance to instantly defeat any regular enemy. Its fast attack speed lets you quickly eliminate large groups, giving you more opportunities to trigger its special, instant-kill effect.
Aura
- Aura Effect: Damages enemies in an area around you
Since Sir Oofie isn’t very fast, enemies can often get close to him before he can escape-unless he gets upgrades to his Agility. Instead of seeing this as a problem, take advantage of it by getting Aura. Aura’s effectiveness increases with your Attack Speed, letting you damage nearby enemies much faster while they’re close.
If you choose Aura, remember to grab some Size upgrades from Charge Shrines (or instead of one of the other suggested Sir Oofie books listed below).
Best Sir Oofie Tomes
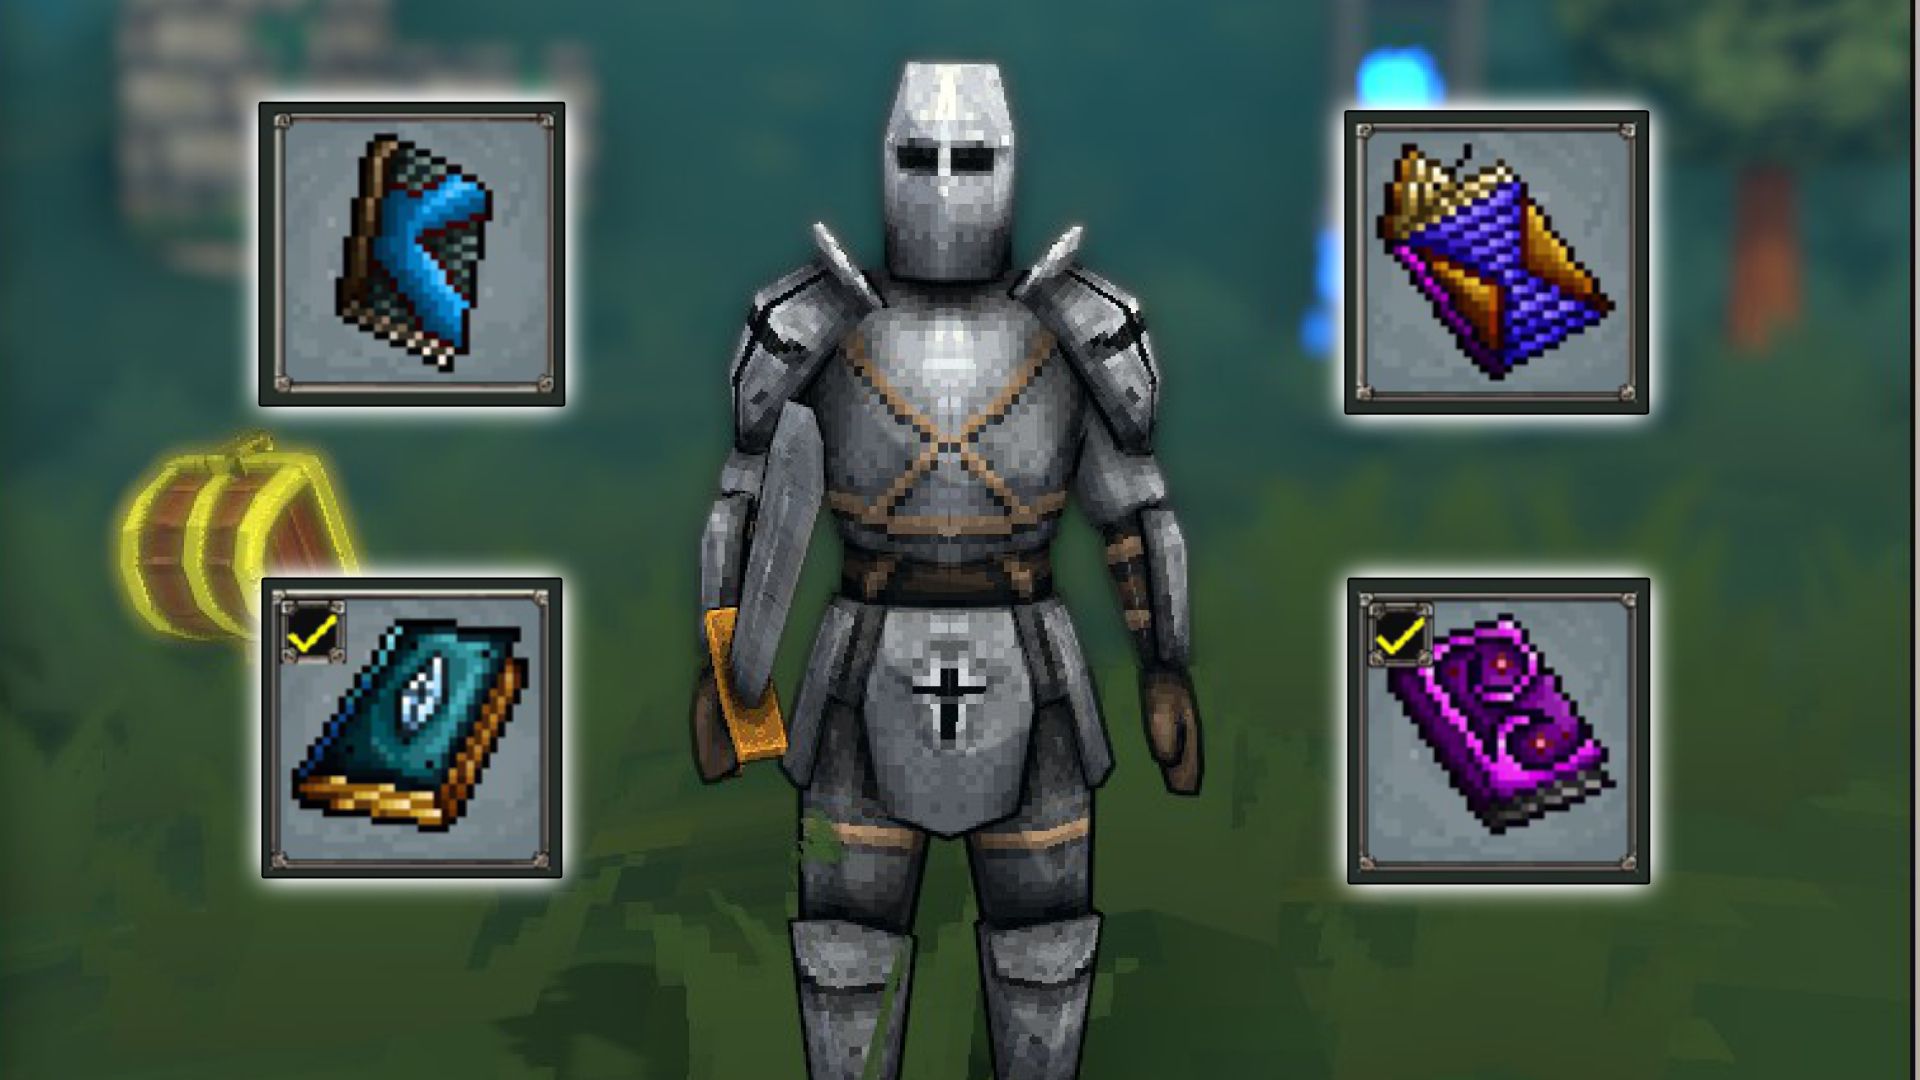
XP Tome/Cursed Tome/Luck Tome
- XP Tome Effect: Increases how much XP you gain from every source
- Cursed Tome: Increases Difficulty, increasing enemy spawns and stats
- Luck Tome: Increases the Luck stat, improving your chance to get good items or upgrades
The XP Tome, Cursed Tome, and Luck Tome are all incredibly strong because their benefits increase significantly as you progress through a run. If you obtain the XP Tome and Cursed Tome early on, you’ll level up more quickly. This is because you’ll encounter more enemies, and each XP shard you collect will provide even greater scaling. Plus, having higher Luck will improve your level-up rewards and other benefits for the rest of your run.
If you don’t need to improve your character’s ability to survive, focus on upgrading these three tomes first. Getting each one to level 10 or above will noticeably boost how quickly you level up and the quality of the rewards you receive.
Cooldown Tome
- Cooldown Tome Effect: Increases Attack Speed for all weapons (increases the number of damage ticks per second for Aura)
The Cooldown Tome significantly improves Sir Oofie’s four strongest weapons. It shortens the delay between Sword slashes, speeds up Aegis shield recharge times, increases the frequency of the Dexecutioner effect triggering, and makes the Aura deal damage faster to enemies who are close by.
Agility Tome
- Agility Tome Effect: Increases Movement Speed by a certain percentage
Sir Oofie is a rather slow character in Megabonk. Since moving quickly and being able to maneuver well are important in Megabonk, it’s a good idea to equip an Agility Tome in your fourth equipment slot.
Quantity Tome
- Quantity Tome Effect: Increases how many Projectiles weapons fire
As a player, I’ve found that Quantity is a really strong effect when you’re just starting out, but it kind of falls off later in the game. One thing to remember is it doesn’t affect your Aura at all. Still, I think it’s a solid Tome to grab for Sir Oofie. It gives you more Shields for the Aegis, and honestly, those extra Shields can totally save your run when you’re in a tough spot. The extra Sword and Dexecutioner hits are helpful at the beginning, but they don’t make as big of a difference once you’ve progressed further. It’s a good early boost!
Best Sir Oofie Items
To make Sir Oofie stronger, focus on items that improve his ability to survive, increase his damage output, and benefit from his passive ability which boosts his Armor as he levels up. When shopping, pay attention to the men in suits and the color of their hats – these hats show how rare the items they sell are. Rarer items cost more and their prices increase as you progress through the game Tiers. Each vendor will always have three different items available for purchase.
Okay, so most of my gear comes from opening Chests – it’s all pretty random. But if I stumble across one of those guys wearing hats, I need to keep my eyes peeled for the best Sir Oofie items. They can seriously boost my build, so they’re worth looking out for!
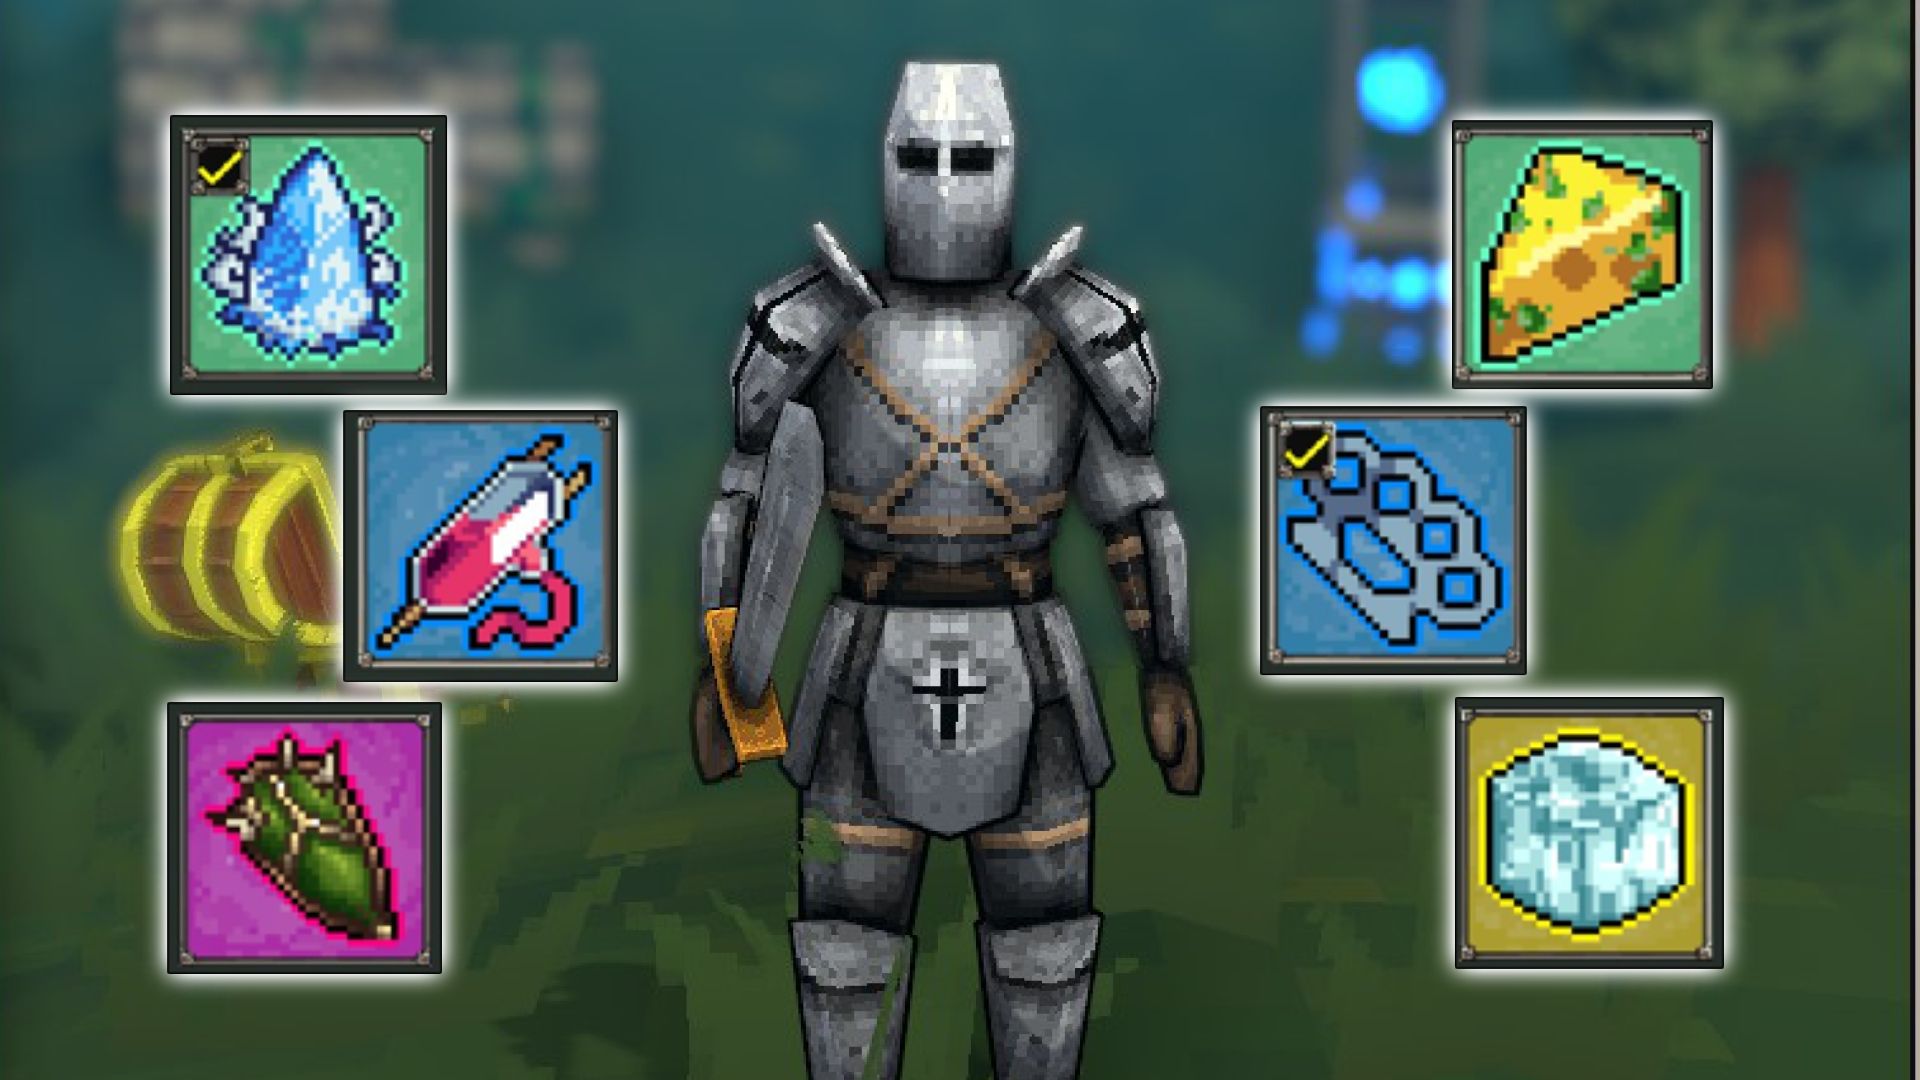
- Common Items
- Moldy Cheese: +40% chance to poison enemies on hit. Moly Cheese my beloved
- Ice Crystal: 7.5% chance to freeze enemies upon hitting them
- Time Bracelet: +8% XP Gain. Definitely not just a normal watch.
- Forbidden Juice: Increase Crit Chance by +10%
- Battery: Increase Attack Speed by +8%
- Clover: Increase Luck by +7.5%
- Skuleg: Increase Difficulty by +7%
- Rare Items
- Unstable Transfusion: +27% chance to apply a stack of Bloodmark when hitting an enemy.
- Beer: +20% damage at the cost of -5% Max HP
- Brass Knuckles: Deal +20% more damage to nearby enemies
- Thunder Mitts: Upon hitting an enemy, clap their cheeks so hard it generates a lightning strike. 10s cooldown.
- Epic Items
- Spiky Shield: Gain +2 Thorns for every 1% Armor. Also gain 10% Armor.
- Mirror: Reflect any incoming damage back to the attacker, and gain a short invulnerability
- Demonic Soul: Increase Damage by 0.1% per kill (max 100%)
- Quin’s Mask: Thorns damage has a 50% chance to explode and damage nearby enemies
- Legendary Items
- Big Bonk: 2% chance to BONK an enemy, dealing 20x damage
- Ice Cube: 20% chance to inflict ice damage when hitting enemies. Ice can now freeze enemies.
- Overpowered Lamp: +1 chance to proc on-hit effects
Read More
- All Skyblazer Armor Locations in Crimson Desert
- How to Get the Sunset Reed Armor Set and Hollow Visage Sword in Crimson Desert
- All Shadow Armor Locations in Crimson Desert
- Marni Laser Helm Location & Upgrade in Crimson Desert
- All Golden Greed Armor Locations in Crimson Desert
- All Helfryn Armor Locations in Crimson Desert
- Best Bows in Crimson Desert
- Keeping Large AI Models Connected Through Network Chaos
- All Icewing Armor Locations in Crimson Desert
- How to Craft the Elegant Carmine Armor in Crimson Desert
2025-10-04 02:39