In the game Destiny 2, Solar Subclasses are renowned for their potent boosts and substantial healing abilities. If a player carefully constructs their Solar Titan character, they can enjoy these benefits and even more.
In Destiny 2, the Titan Bonk build, which originated from the release of the Throwing Hammer ability, has undergone multiple evolutions. With the arrival of The Edge of Fate, another version of this build was introduced, leveraging the Menas Panoplia Exotic armor piece to its maximum potential. This build is designed to optimally utilize Menas Panoplia while ensuring players have enough damage output and survivability to tackle Destiny 2’s challenging content.
Destiny 2: Menas Panoplia Hammer Throw Build
- Pros: High burst damage with constant healing and Sun Spot generation.
- Cons: Forgemaster buff requires constant management. Overall DPS also isn’t as good as other Throwing Hammer builds.
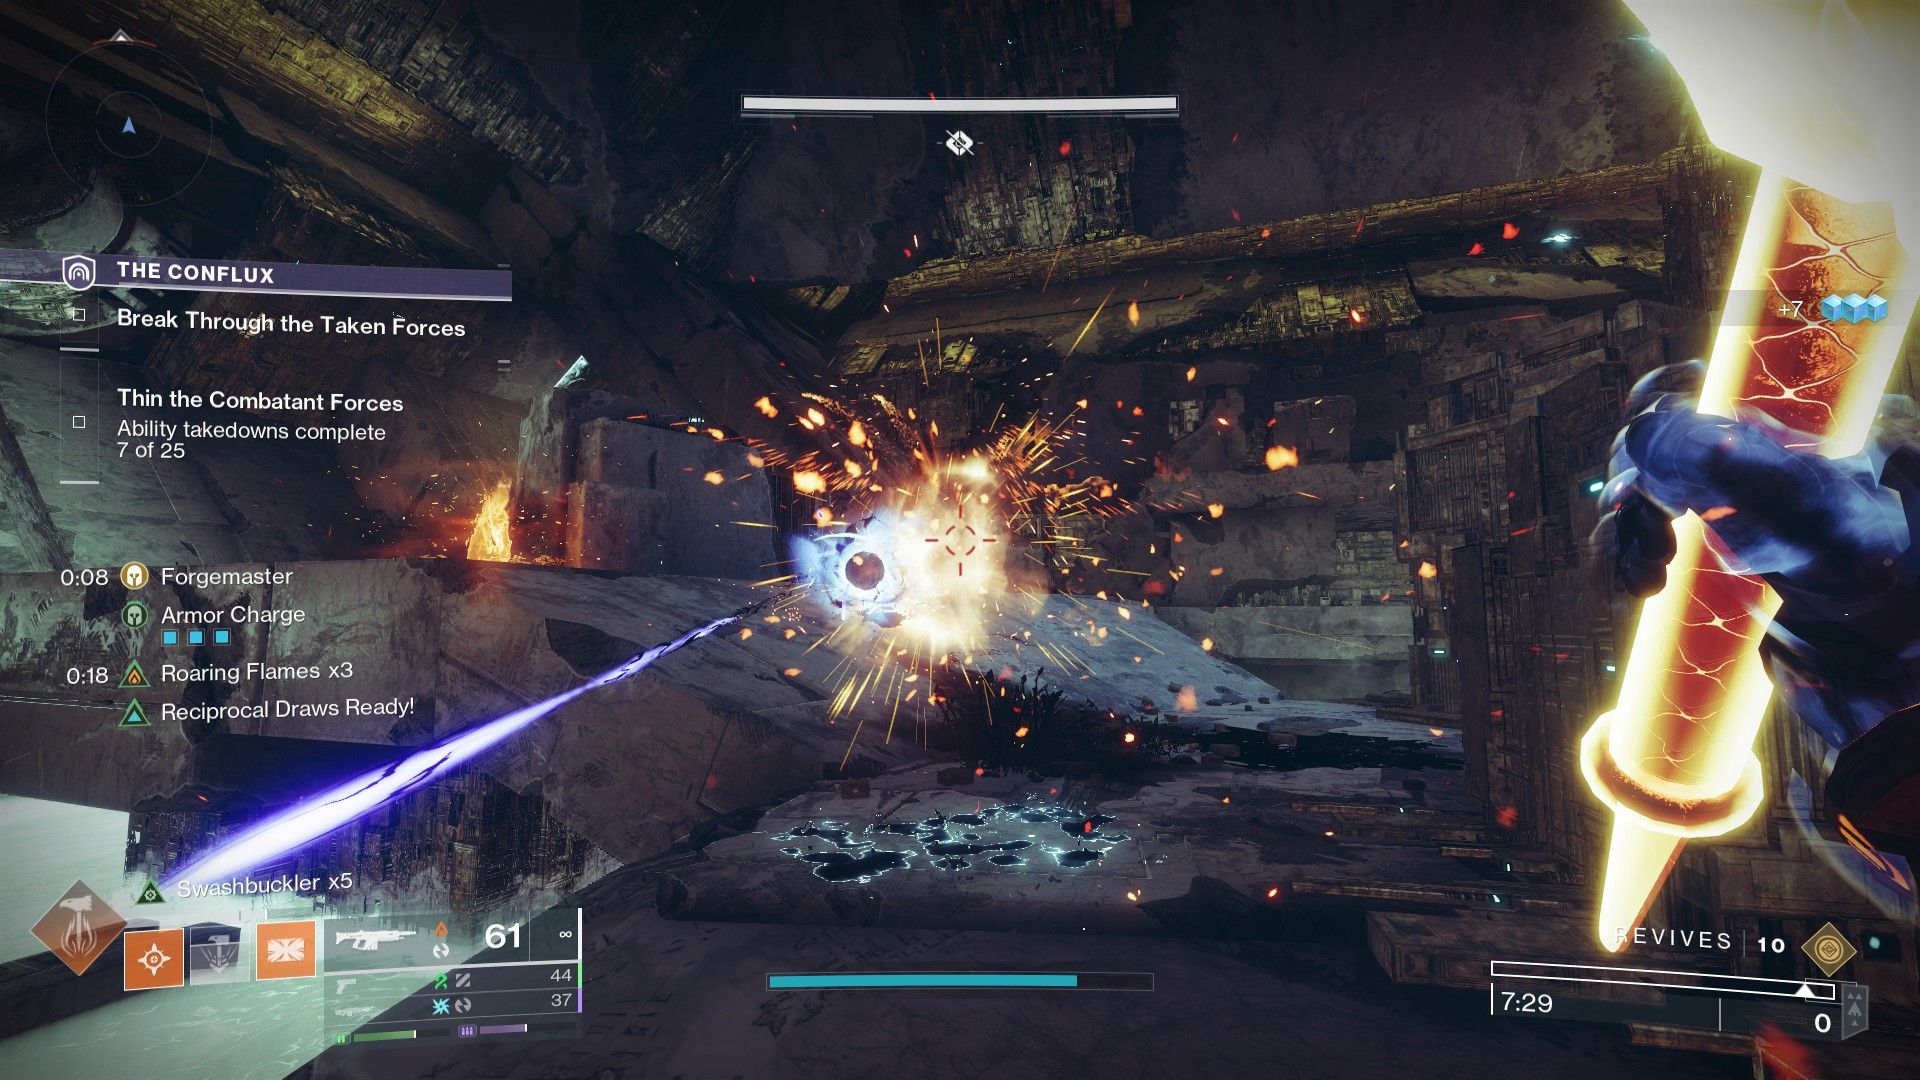
Initially, it’s crucial to understand that although this build is classified as a melee build, it functions more like a grenade-focused setup. The unique recall mechanic of Menas Panoplia means players are restricted from firing weapons or using other abilities when their hammer is returning to them, leading to a decrease in overall damage per second (DPS), making it less ideal for the usual Throwing Hammer gameplay found in Synthoceps and Wormgod configurations. However, it excels at managing groups.
Consider your hammer as a long-range, self-guiding bomb. It’s exceptionally effective at taking out snipers from afar on the map, and it can inflict significant damage against tougher enemies (yellow bars) without endangering players due to its consistent Healing and Restoration effects. Remember that hitting an enemy with your hammer will trigger a healing effect — each time you strike something, promptly recover your hammer for increased area damage and a quick heal when it returns to you.
To date, this configuration has demonstrated success when tackling Portal content as a solo player, given that there’s a 20-Power disadvantage (without any modifiers), and the Legendary World Tier in Kepler.
This construction is adaptable for the conventional technique known as Throwing Hammer, where you hurl the hammer towards enemies standing about five feet away from you.
About Menas Panoplia
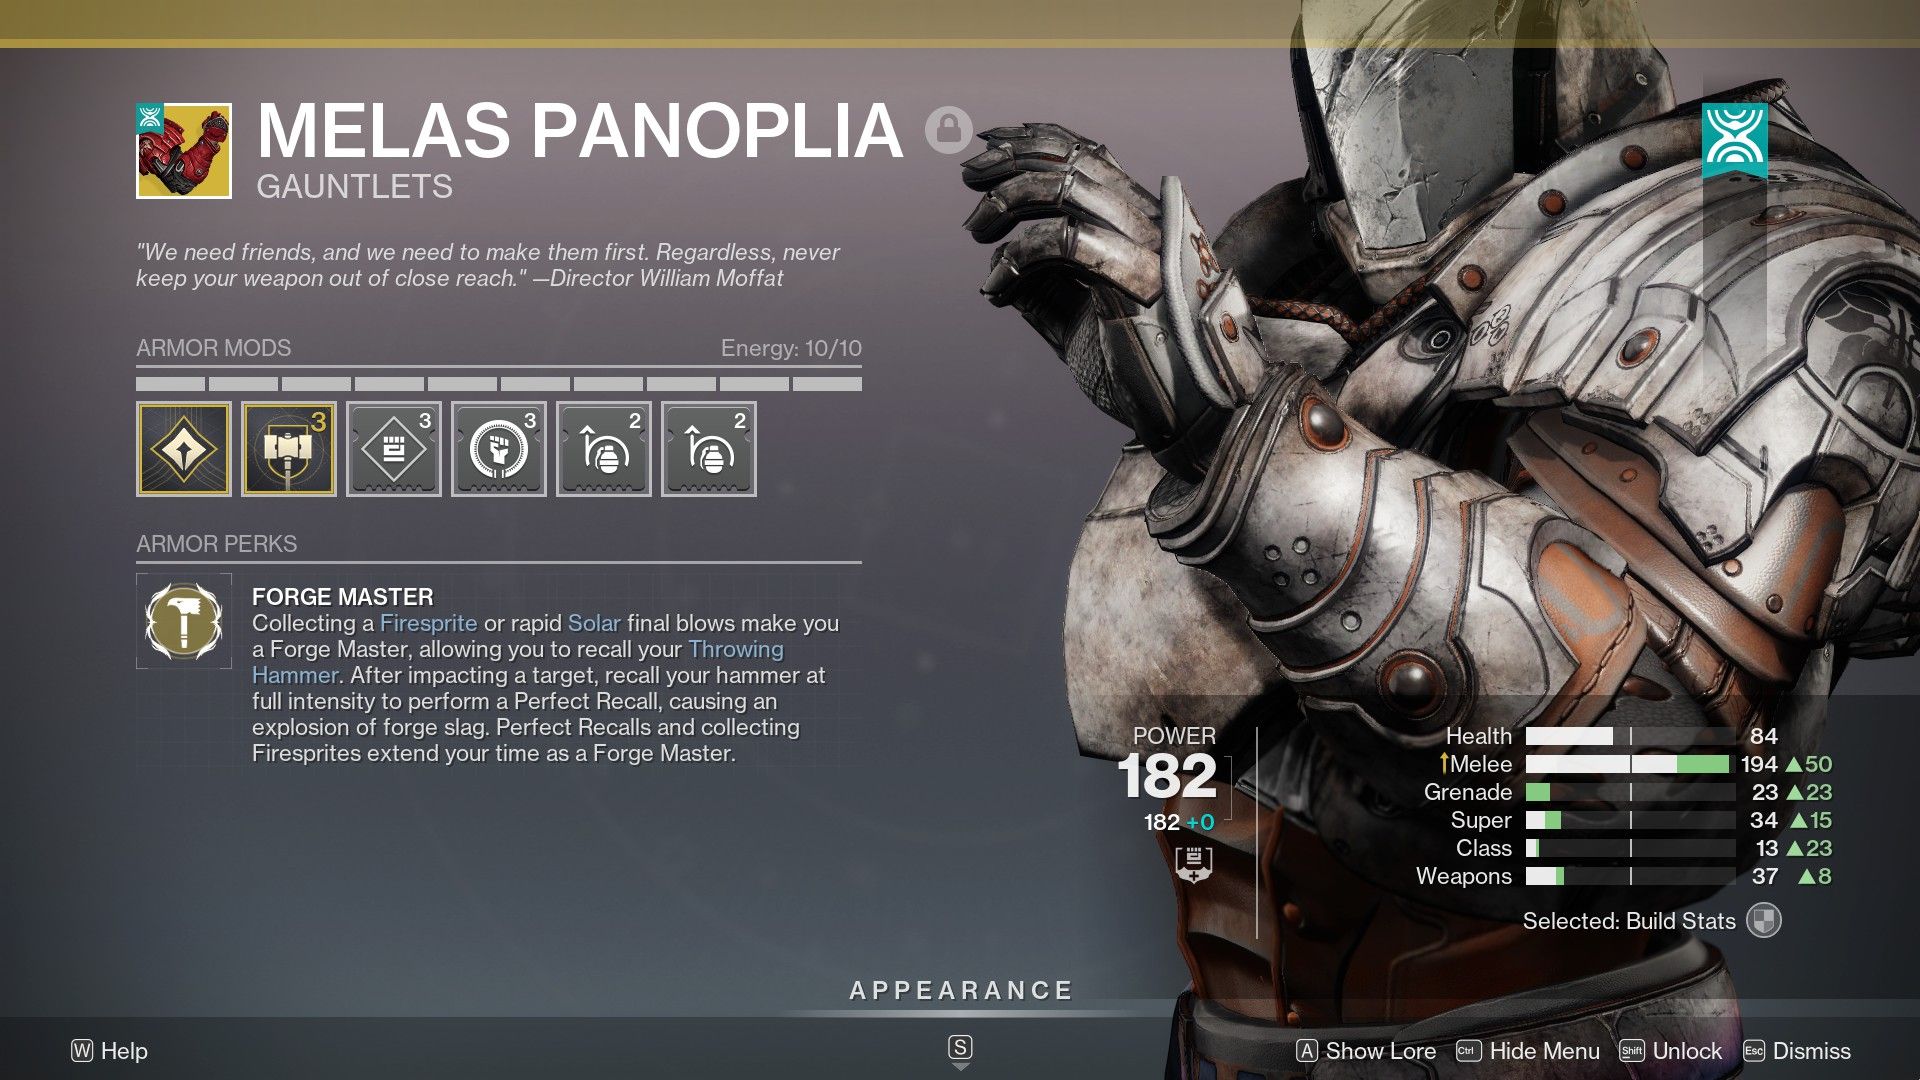
With this Exotic weapon, activating the Forgemaster buff happens when you grab a Firesprite or land quick, Solar final blows. While Forgemaster is activated, you can retract your Throwing Hammer by pressing the Melee button again (indicating it’s powered). Timing the retrieval correctly will cause the hammer to explode before coming back to you. Gathering Firesprites or executing Perfect Recalls will prolong the Forgemaster buff’s duration.
Destiny 2: Menas Panoplia Build – Armor, Mods, and Stats
For this construction project, you have the option to employ either a complete Bulwark for Health or a full Brawler Melee setup. The key aspect is to reach 200 in your preferred primary stat and maximize the other one as much as possible. When deciding on which stat to prioritize, take into account the following factors:
1. Bulwark (Health): If you prefer a more defensive approach, focusing on this stat will boost your survivability and resistance to damage.
2. Brawler Melee: If you enjoy aggressive playstyles, prioritizing this stat will enhance your attack power and overall combat effectiveness.
In summary, choose the setup that best suits your preferred playing style while ensuring both primary stats are well-developed.
- 200 Health gives you stronger Shields. This will give you more time to heal up via Throwing Hammer or Healing Grenade.
- 200 Melee increases your melee damage. This affects both Throwing Hammer impact and the damage dealt by perfect recall explosions.
Consider your preferred playstyle when making your choice. For optimal results in Farming Fireteam Ops missions or any Portal activity that allows for adjustable difficulty, we suggest you go with 200 Melee. If you select modifiers to boost damage, the Throwing Hammer and Menas Panoplia explosion will make low-mid difficulty farming incredibly efficient.
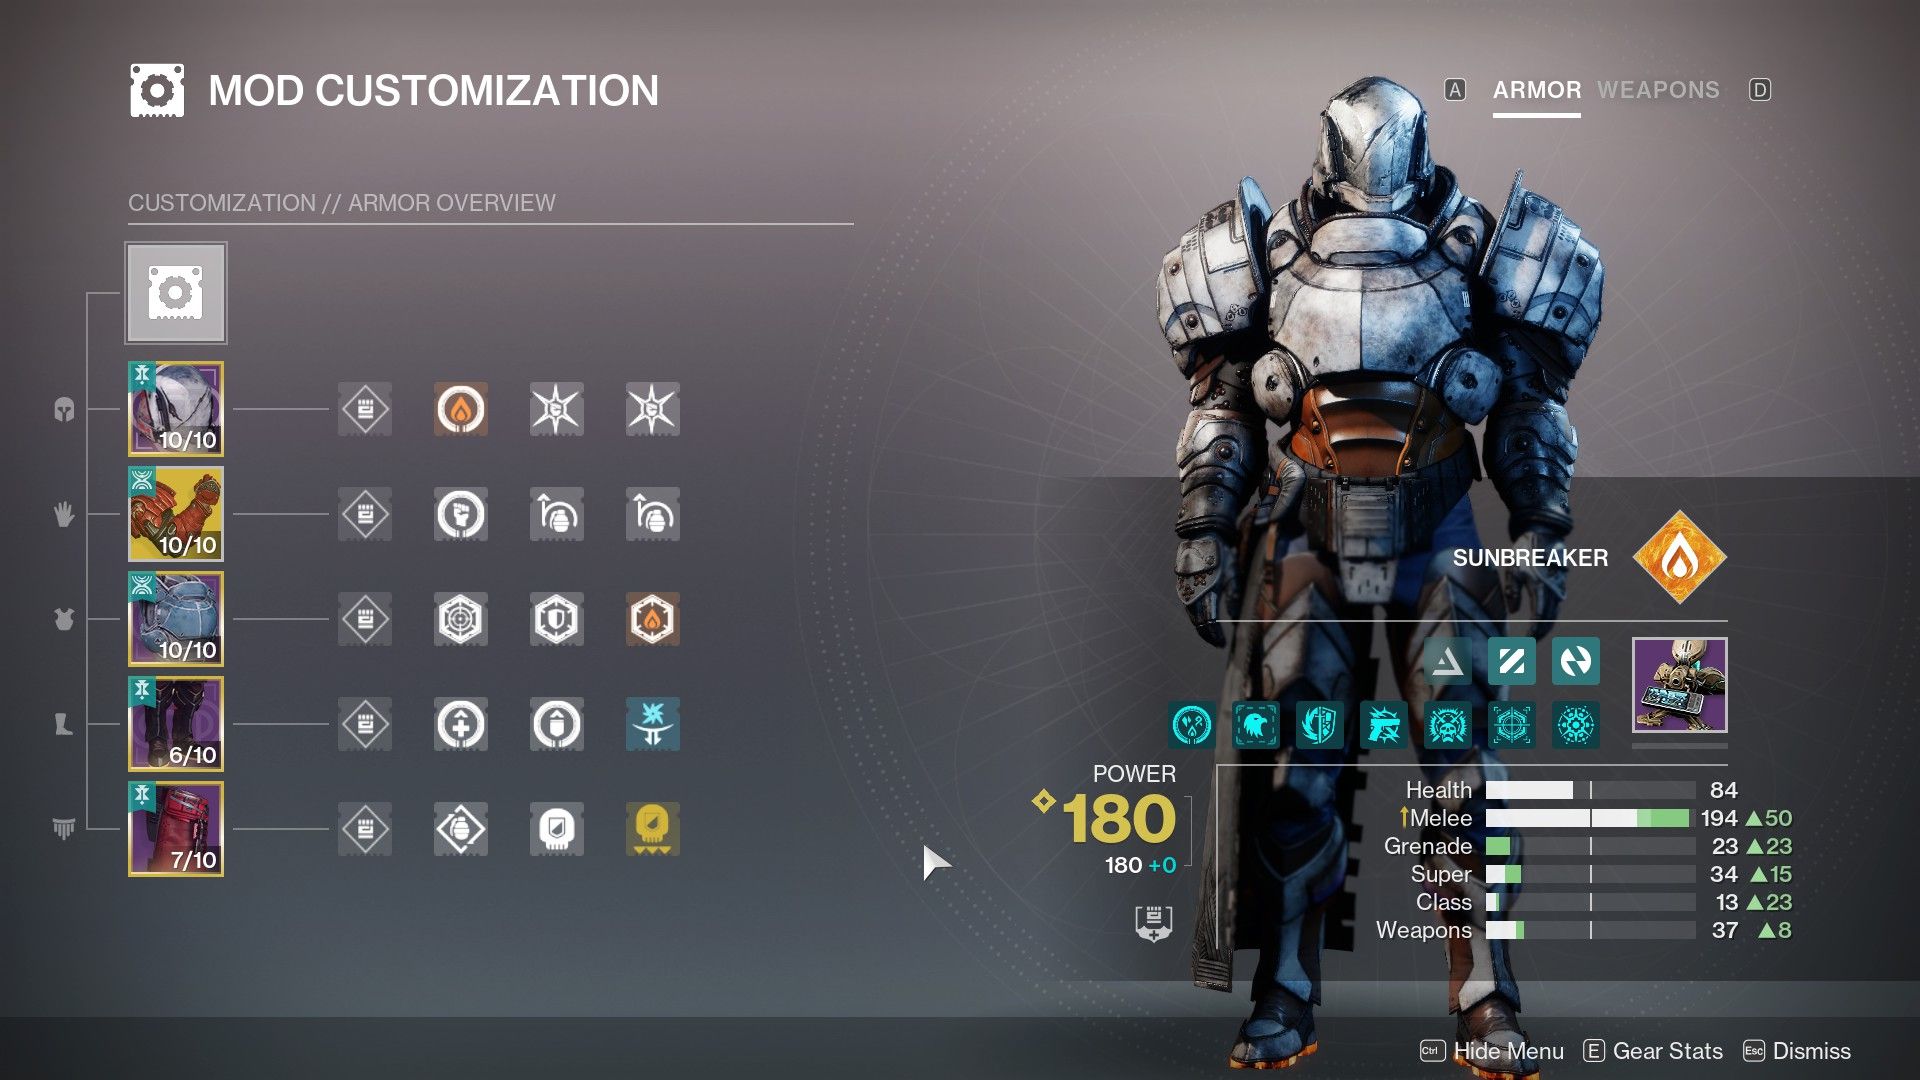
Armor Mods
| Helmet | Stat mod Solar Siphon 2x Hands-On |
| Arms | Stat mod Heavy Handed 2x Impact Induction |
| Chest | Stat mod Harmonic Resistance Sniper Resistance Concussive Dampener |
| Legs | Stat mod Ammo Scavenger Recuperation Better Already |
| Class item | Stat mod Bulwark Finisher Bomber Proximity Ward |
To summarize, this mod setup will help you achieve the following:
- Throwing Hammer hits restore Grenade and Super energy, and kills will generate Orbs of Power.
- Orbs of Power will heal you and start your health regeneration.
- You gain an Overshield while performing Finishers.
- Finishing an enemy while at three or more Armor Charges gives you an Overshield.
- Using your class ability regenerates Grenade energy.
Season of Reclamation Artifact Mods
In the heat of Destiny 2’s Season of Reclamation, I’ve found an artifact brimming with top-notch Solar build perks that I can’t help but rave about. Let me break down my favorite ones for you:
1. Perk 1: This baby grants bonus damage to enemies affected by my Solar abilities, amplifying the destructive power of my Solar subclass.
2. Perk 2: With this perk activated, I gain an energy shield when using my Solar abilities. Not only does it protect me from incoming damage, but also increases my overall resilience in battle.
3. Perk 3: This perk allows me to store excess Solar energy and unleash a powerful burst of solar energy when activated, turning the tide of battle in my favor.
These perks have taken my gameplay experience in Destiny 2 to new heights, making the Season of Reclamation that much more exhilarating!
- Fever and Chill: Rapid Solar Precision Hits grant Radiant.
- Elemental Daze: Stunning a champion creates an elemental blast matching your weapon. The blast applies elemental debuffs.
- Shoulder to Shoulder: Gain Damage Reduction while allies are near.
- Elemental Coalescence: Defeating enemies has a chance to create an elemental pickup matching your Super element.
- Radiant Shrapnel: Dealing sustained damage while Radiant or defeating a Scorched combatant with a weapon causes the target to release Solar projectiles that damage and Scorch on impact.
- Elemental Overdrive: Picking up a Tangle or elemental pickup increases the damage for weapons that match that element.
Destiny 2: Menas Panoplia Build – Weapons
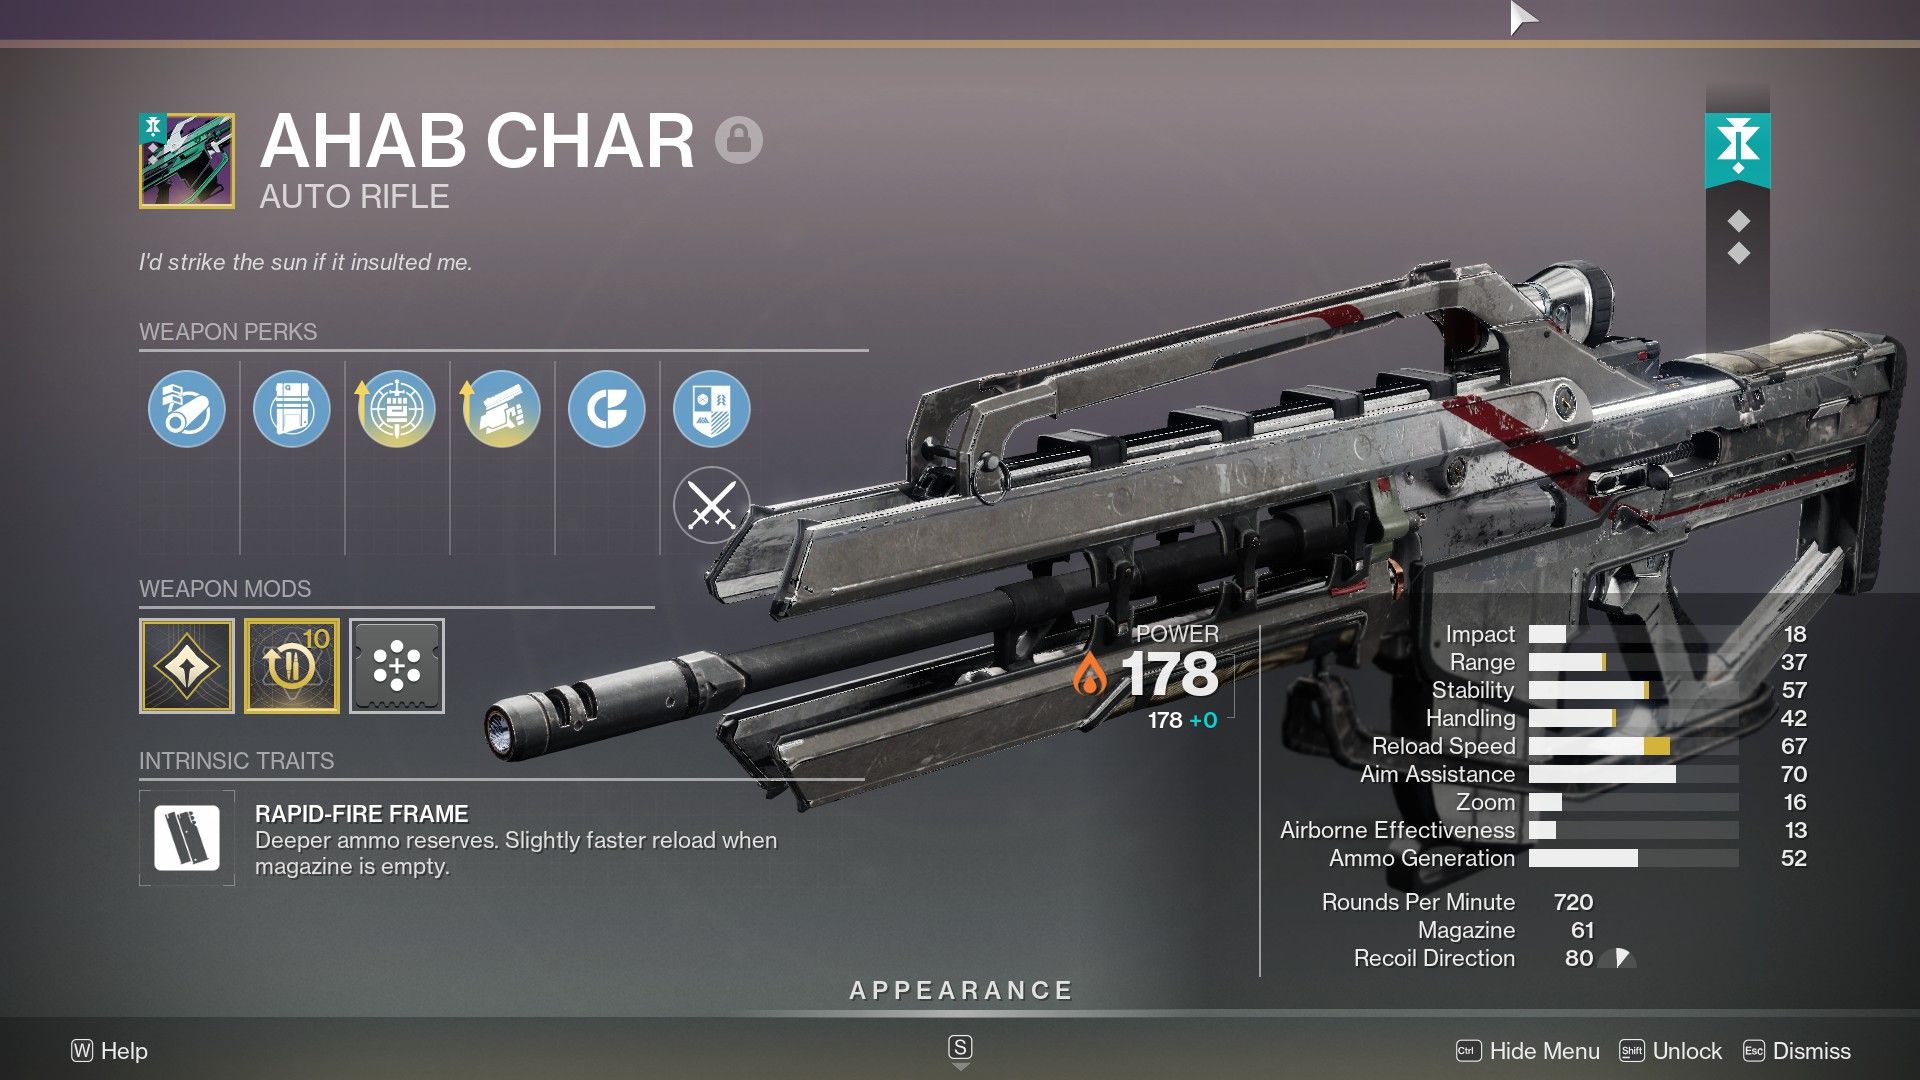
As a fan, I’d recommend crafting a Solar primary weapon infused with the Swashbuckler perk for this setup. This perk grants a consistent damage boost that harmonizes well with Radiant. Since you won’t be relying on your hammer all the time, having a swift and powerful weapon like the Ahab Char from Destiny 2 on hand to dispatch enemies efficiently is a smart move.
When it comes to your backup weapon, feel free to choose whatever you prefer. A One-Two Punch Shotgun would further boost the power of your Throwing Hammer, but if you’re looking for something that synergizes with your primary weapon, a Rocket Sidearm or the Mint Retrograde Pulse Rifle would work well. The same logic applies to your heavy weapon selection; use whatever best fits the current situation.
Aspects and Fragments
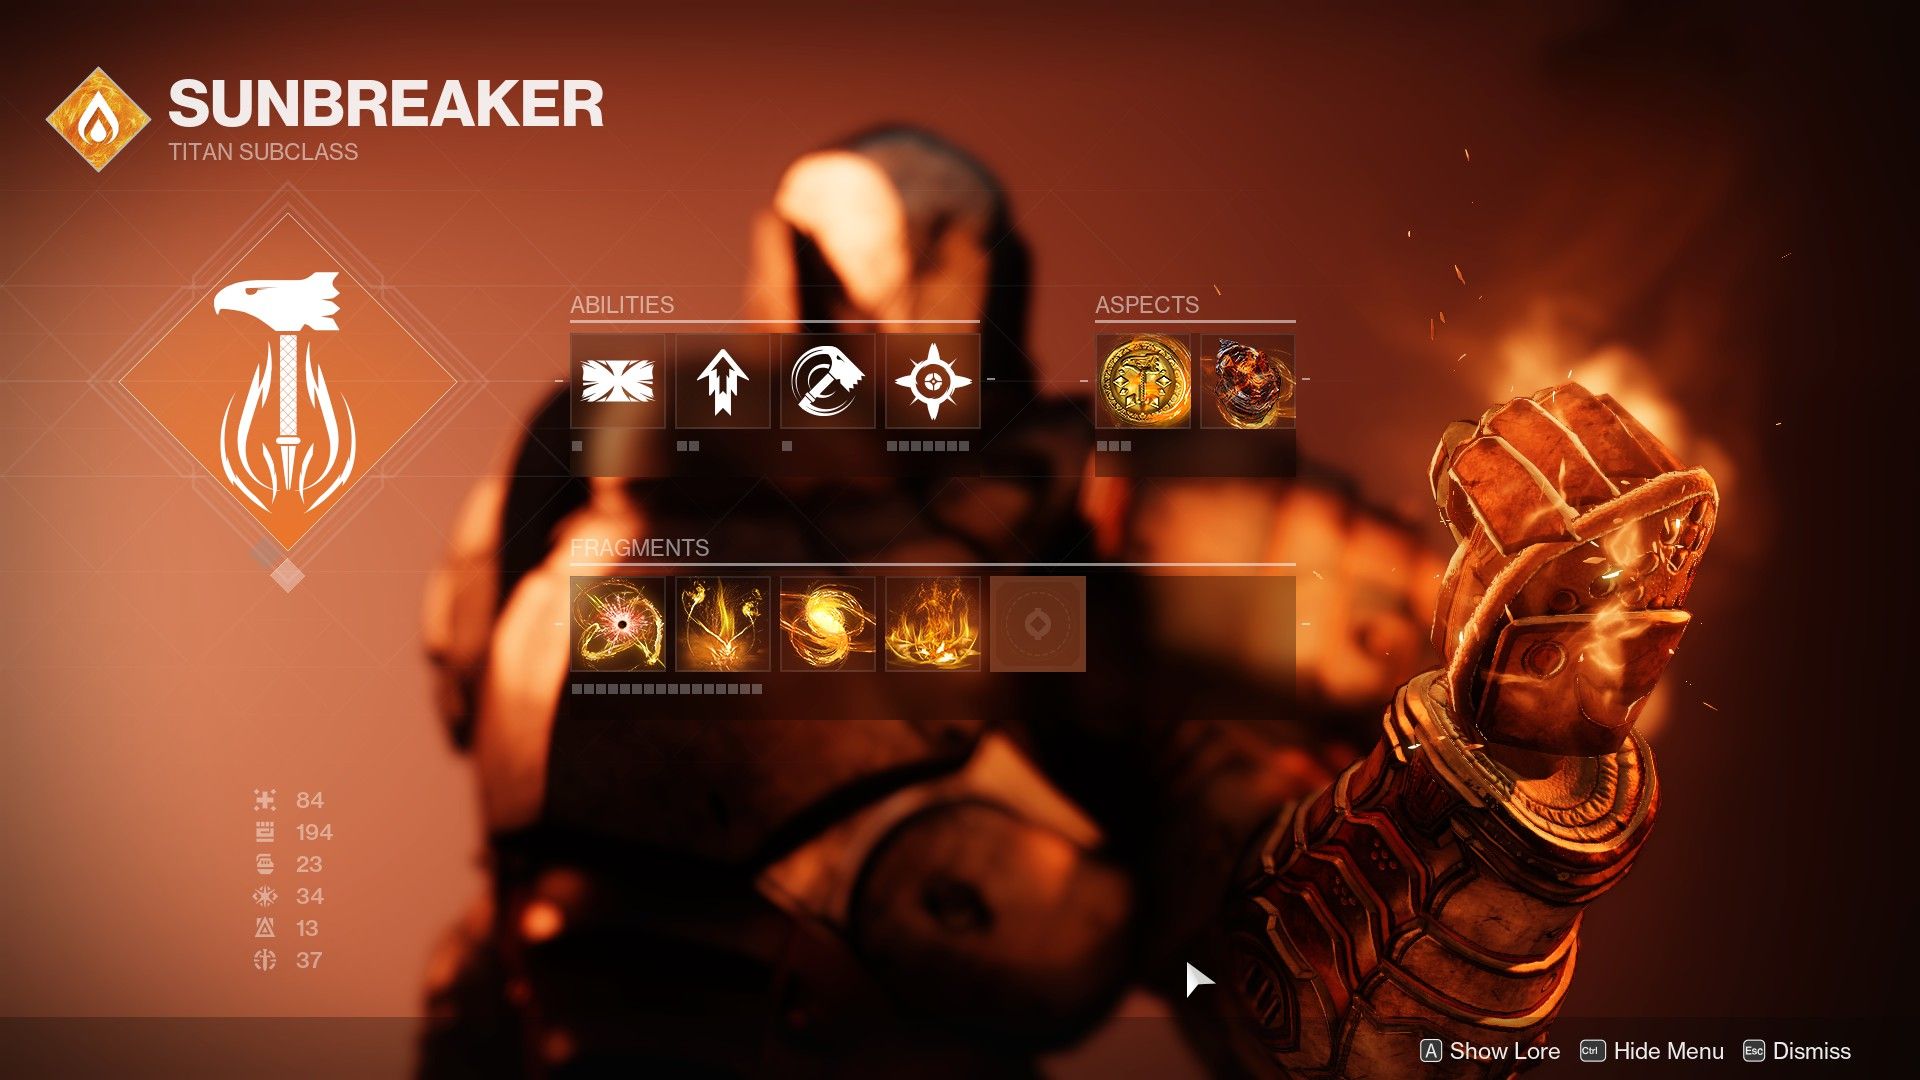
- Aspects: Roaring Flames, Sol Invictus
- Fragments: Empyrean, Mercy, Tempering, Benevolence/Solace
In the game Destiny 2, Roaring Flames and Sol Invictus are essential components of Solar Titan builds that emphasize abilities. Roaring Flames amplifies the power of Throwing Hammer, while Sol Invictus empowers Solar ability kills by creating Sunspots. These Sunspots deal damage in an area and replenish Restoration when touched.
Meanwhile, the Fragments here are all about giving and improving buffs:
- Empyrean lets final blows with Solar weapons and abilities extend the duration of Radiant and Restoration.
- Mercy makes Firesprites give you Restoration when picked up.
- Tempering makes Solar weapons increase your Health and generate Firesprites.
- Benevolence reduces your Grenade, Melee, and Class Ability cooldowns when you apply Solar buffs to allies.
- Solace is a the solo player’s atlernative to Benevolence — it increases the duration of Radiant and Restoration.
Read More
- All Skyblazer Armor Locations in Crimson Desert
- One Piece Chapter 1180 Release Date And Where To Read
- All Shadow Armor Locations in Crimson Desert
- How to Get the Sunset Reed Armor Set and Hollow Visage Sword in Crimson Desert
- Cassius Morten Armor Set Locations in Crimson Desert
- Grime 2 Map Unlock Guide: Find Seals & Fast Travel
- All Golden Greed Armor Locations in Crimson Desert
- How to Beat Stonewalker Antiquum at the Gate of Truth in Crimson Desert
- Amber Alert Secrets & CDs In Crime Scene Cleaner Act 2
- Euphoria Season 3 Release Date, Episode 1 Time, & Weekly Schedule
2025-07-23 10:04