As a seasoned Zombies player, I’ve seen my fair share of staff upgrades, but these steps to upgrade the Orange and Ice Staffs in Dead Ops Arcade 3 are nothing short of intriguing! The mix of puzzle-solving, shooting, and a touch of exploration makes for an engaging experience that keeps us hooked.
In the realm of Call of Duty Zombies, one standout map is Origins – a challenging expedition into another dimension where the team known as Primis needs to locate a means to ascend to Agartha and reunite with Samantha Maxis. To accomplish this task in Call of Duty Zombies, players will need the Elemental Staff, and there are a total of four such staffs, each requiring unique steps for acquisition and subsequent upgrades.
As a dedicated gamer immersed in the thrilling world of Call of Duty Zombies, I can’t stress enough the game-changing power of the Elemental Staffs. If you’re aiming for record-breaking high-rounds or eager to uncover the map Origins’ elusive Easter Egg, these staffs are essential tools in your arsenal. Here’s a comprehensive, firsthand guide on how to acquire each staff and level them up:
Where to Find the Musical Parts
To collect all staffs in Origins, you’ll need both the Gramophone and a Black Record. Here’s why: The Gramophone is used to access the Crazy Place, while the Black Record is initially used to open the staff room. You can find the Gramophone hidden under the stairs beyond Pack-a-Punch in Excavation, near a table with three slots for the Black Record.
- Besides the generator on a box leading to the Excavation stairs
- In a barrel of 115 to the left of Pack-a-Punch
- On a wall next to some crates on the left, towards the path to the Church
How to Get the Wind Staff
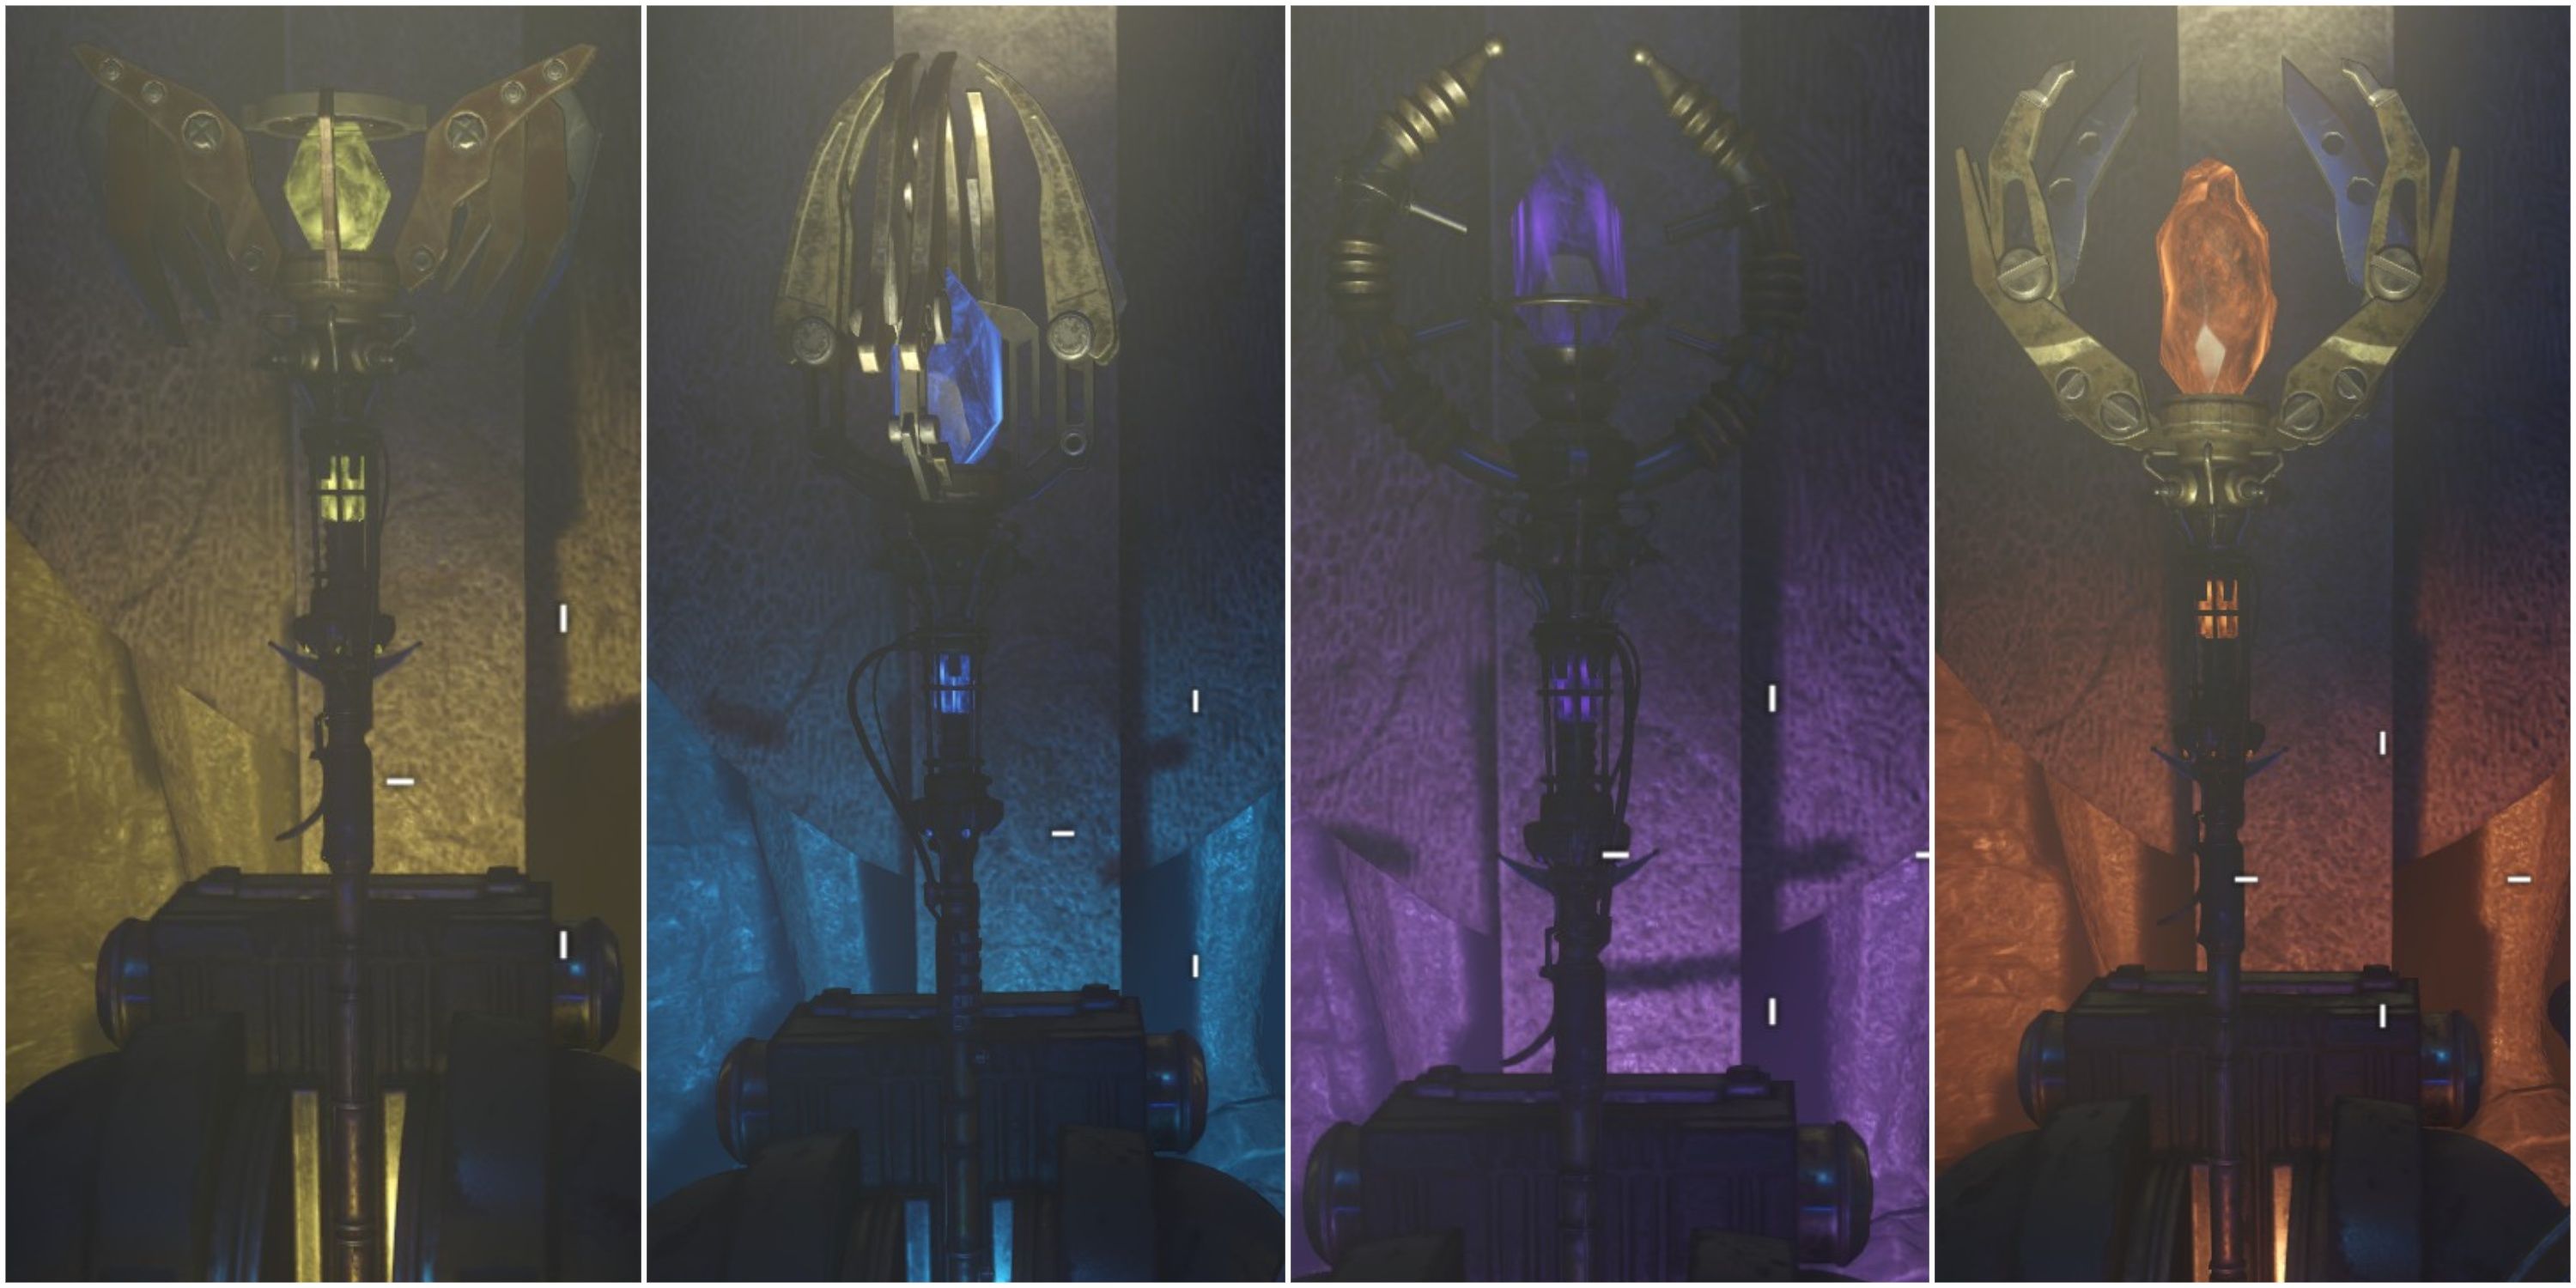
Staff of Wind in Origins
To fulfill The Wind Staff’s conditions, you need to locate and collect three separate components hidden inside roaming Giant Robots scattered across the map. Each of these robots carries a unique part along a predetermined route, so exploring the entire map is advisable. As a robot traverses the map, keep your eyes skyward to spot its mechanical foot. If you notice a glowing circle on the foot, fire at it with any weapon to open it. Once opened, stand beneath it to gain access into the Giant Robot’s head. Neglecting to open the foot or standing under the incorrect one will result in a fallen state. Here are the locations of all three Giant Robots within Origins:
- Freya – Walks to the left of the map between Generator 6 and the Church
- Odin – Walks in the middle of the map from Generator 5 (Stamin-Up) to Generator 4 (Juggernog)
- Thor – Walks to the right of the map between Generator 3 (Speed Cola) and Generator 2 (Tank Station)
As a gamer traversing this digital realm, I’ve learned that those colossal robots roaming the map tend to keep me on my toes. It’s all about staying patient when wielding the Wind Staff. The intriguing pieces of the staff are hidden among these mechanical behemoths, specifically at their control panels. Once you’ve managed to gather each piece, your next goal should be acquiring the precious gem that completes the Wind Staff.
The Yellow Record’s position must be found by players, as its respawn points are primarily near Generator Station 5.
- Inside the Lightning Tunnel, to a desk on the left.
- Resting on three crates beside a burning cart, just opposite the entrance to the Lightning Tunnel
- On the broken wall to the right of the Stamin-Up machine.
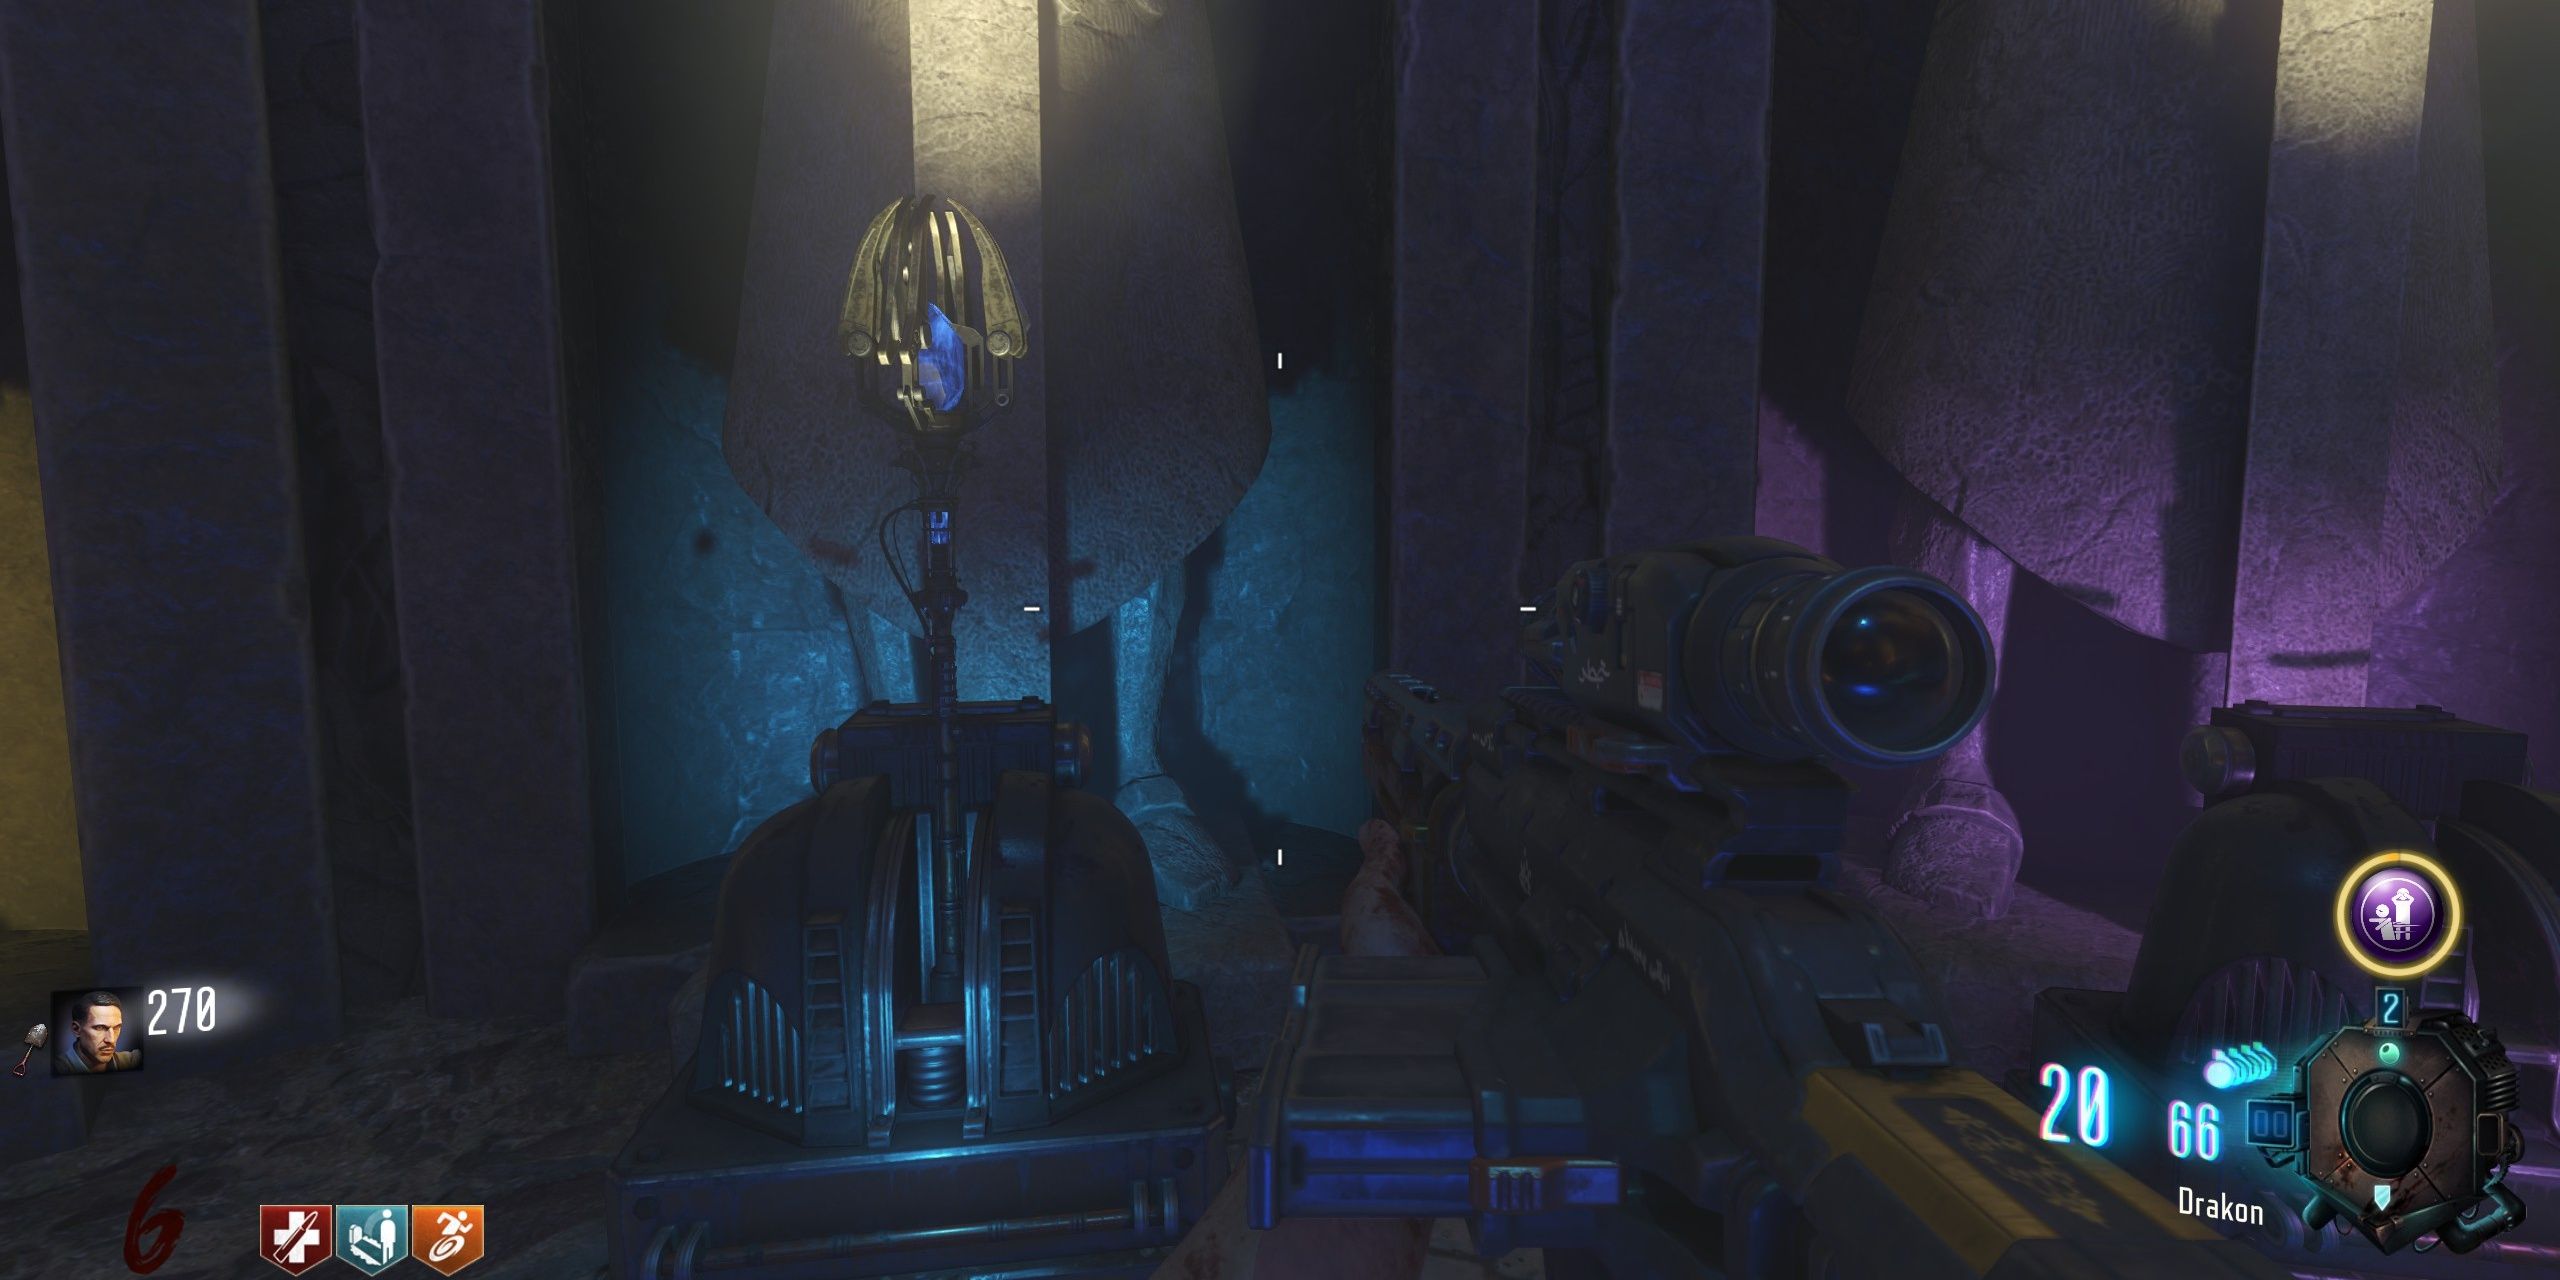
With a gramophone in hand and a yellow record ready, players should make their way to Juggernog’s Generator 4. Once there, they will find themselves at the entrance of the Wind Tunnel. Inside the tunnel, they can deposit their gramophone on the left side near the sign for The Crazy Place. Next, they should step through the portal to enter The Crazy Place and retrieve the yellow gem that rests within the yellow pillar.
Now, players aim to set up the gramophone and the black record on the stairway near the Pack-a-Punch station in the central mound’s location. This action is meant to reveal a new section where they can gather all their Wind Staff components. Once there, they can assemble the staff at the statue emitting a yellow radiance located to its left.
How to Get the Lightning Staff
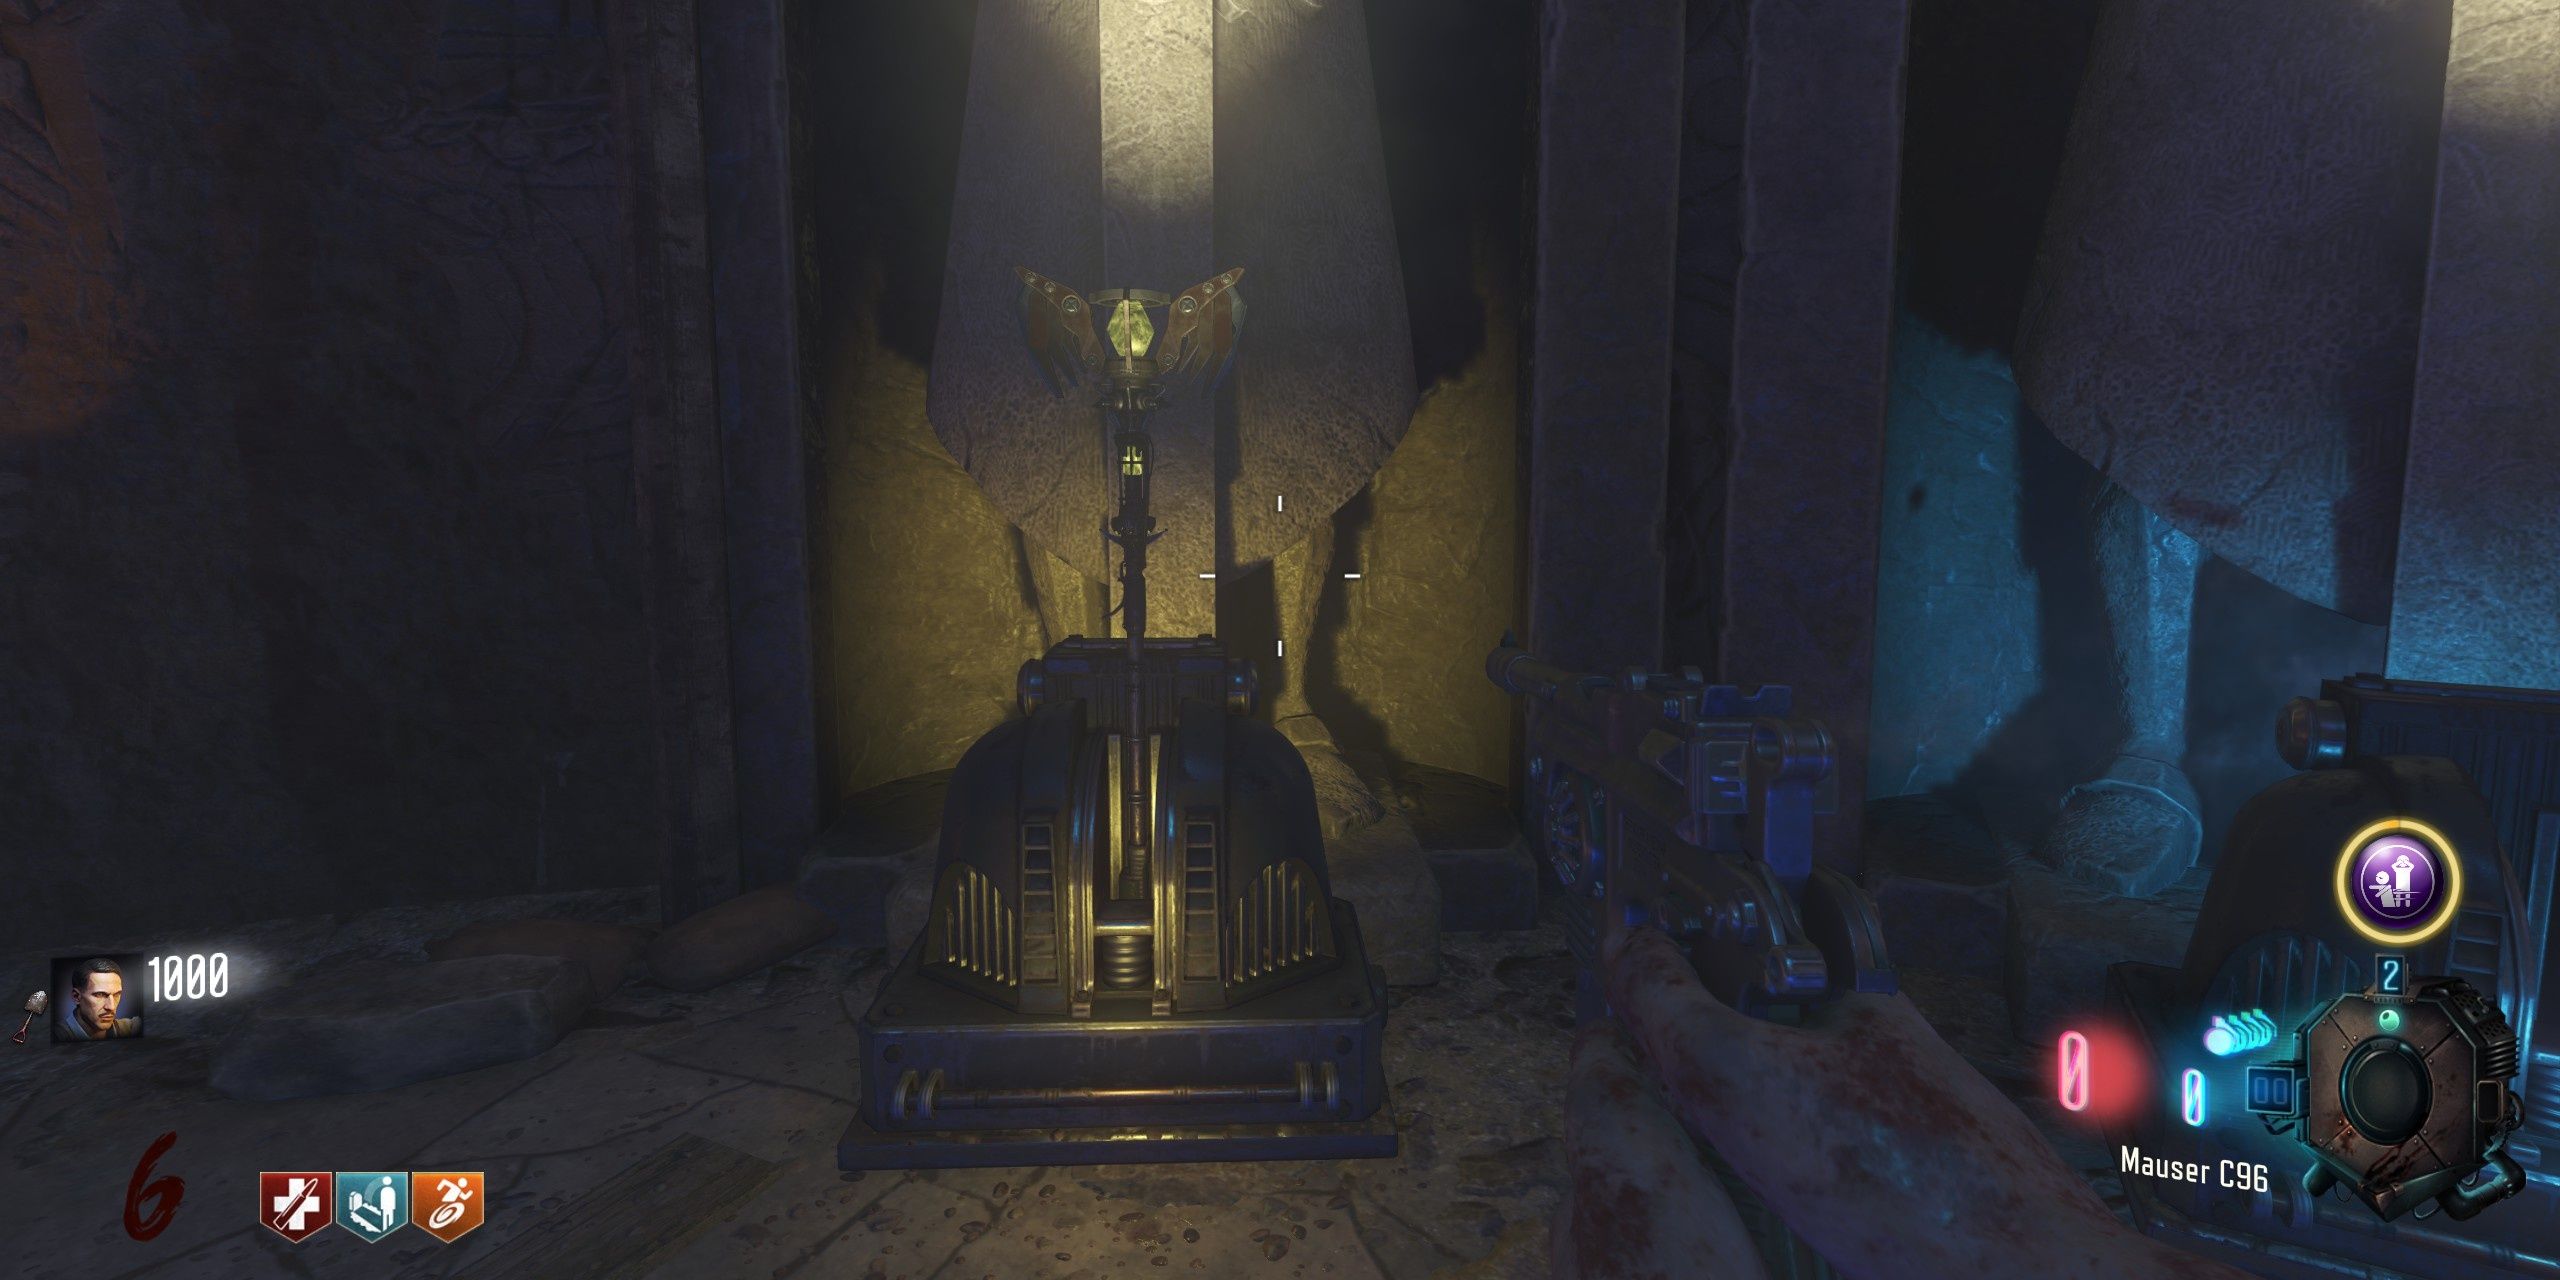
Staff of Lightning in Origins
As a gamer, here’s my take on it: The real challenge in getting the Lightning Staff lies in needing to summon the tank at the Church. To do that, I gotta shell out 500 points first. Once activated, zombies will start chasing after it like there’s no tomorrow. If they manage to jump on top, I’ve got no choice but to take them down. The parts of the staff are scattered in these locations:
- On the tank from the Church, keep your eyes to the right to find a wooden walkway that can be jumped onto. Follow the wooden path to locate a Lightning Staff part.
- On the tank from the Tank Station by Generator 2, look to the left and wait for the MP-40 wall-buy. Just after this, there is a wooden walkway that can be jumped up to claim another Lightning Staff part.
- Straight after claiming the Lightning Staff part above, players can run back to the tank (preferably with Stamin-Up) and watch the right side of the map as the tank returns to the Church. Jump up to the raised mud path that leads back into the Church for the final Lightning Staff part.
Players need to locate the purple record, and all possible spawns are found by Generator Station 4:
- Found on a wooden cart to the left of Generator 4’s entrance
- On a table by Wunderfizz and Juggernog
- Inside the Wind Tunnel to the right of the Crazy Place sign
Follow the path marked by the gramophone and the purple vinyl record towards the Lightning Tunnel, which can be found near Generator 5 and Stamin-Up. Once inside, locate a table and set down the gramophone to gain access to the eccentric realm known as the Crazy Place. Then, grab the radiant purple gem.
Head down to the room below Pack-a-Punch and craft the Lightning Staff in the middle.
Now, players aim to navigate to the central mound’s third statue to the right, located down the stairs near Pack-a-Punch, in order to access a new region where they can gather all their Lightning Staff components. Once there, they will assemble the staff at this particular statue.
How to Get the Fire Staff
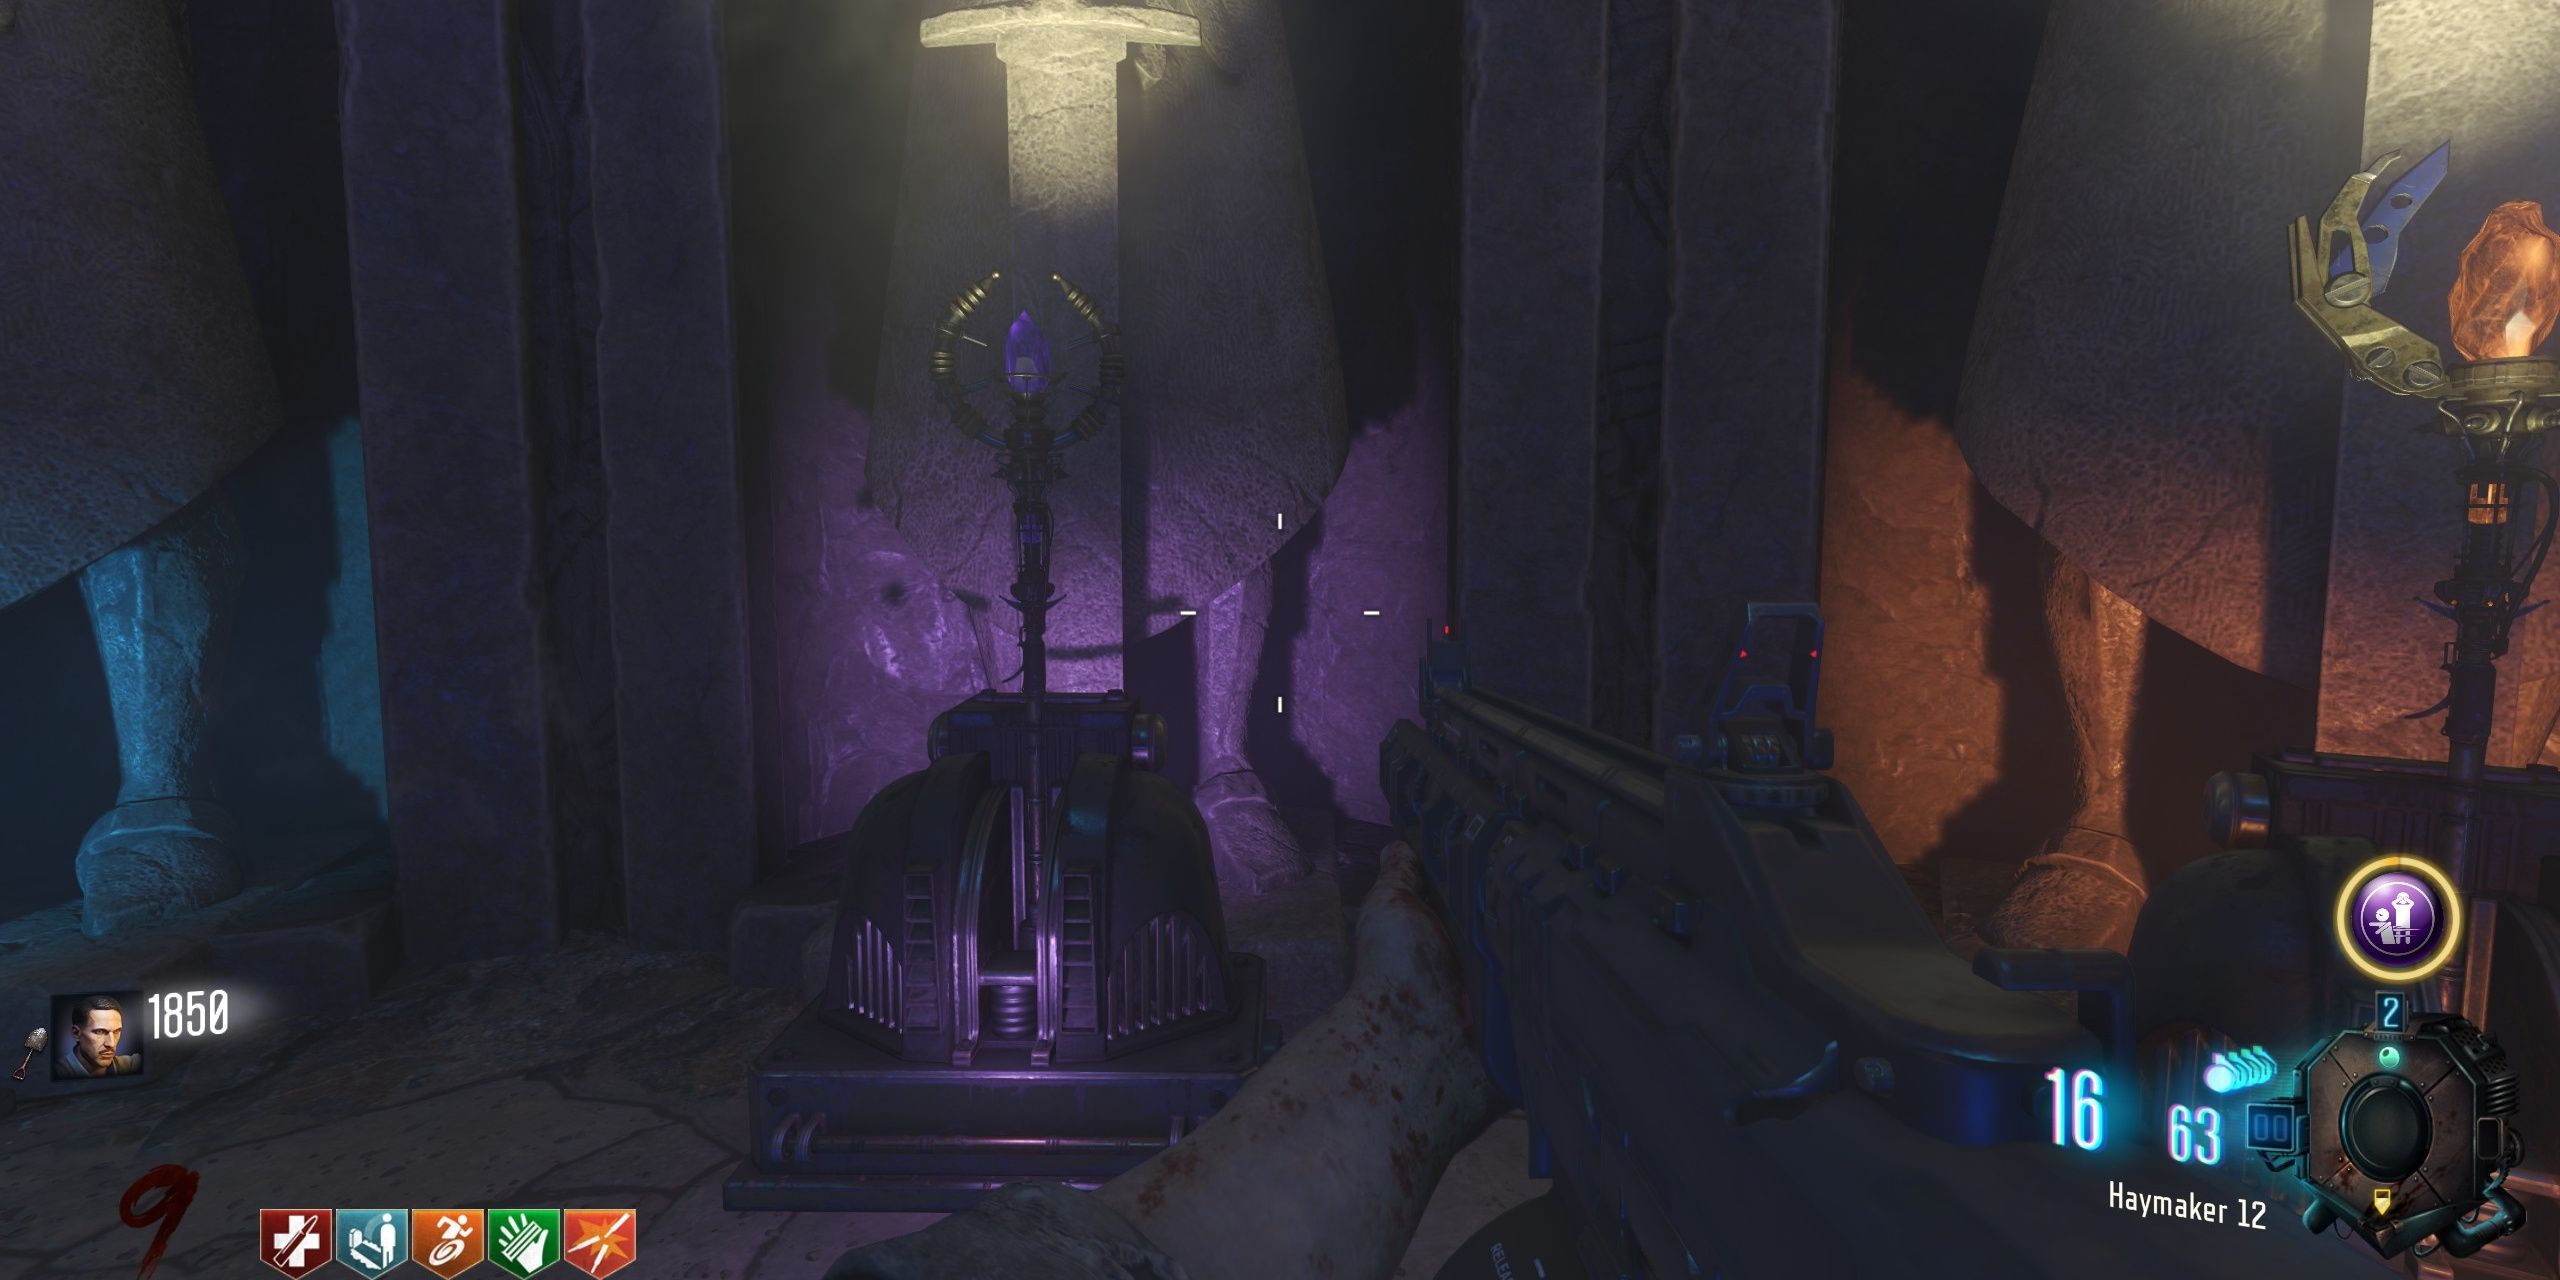
Staff of Fire in Origins
Players need to gather the pieces for three Fire Staves, which aren’t particularly difficult to come by, but may require some patience and searching.
- The first part becomes available after opening up the debris to the Church. Look to the sky to find a glowing plane. Now shoot this glowing plane to make it crash, and a Fire Staff part will drop at the Excavation area.
- Another part is claimed from the reward chest at Generator 6 for completing the 115 conversation generator at Generator 6
- One part is picked up from killing the Panzersoldat, which spawns in on Round 8
Players should grab the red disc (record) and explore for all potential locations within the Church region, particularly near Generator 6.
- Between the tank and the staircase in the downstairs area of the Church
- On a bench to the left of the upstairs of the Church
- On a box at the entrance of Generator 6
To reenter the Crazy Place, players should return to the Fire Tunnel located near Spawn, then position the gramophone there. Once placed, they can proceed into the Crazy Place and collect the red crystal that stands by the red pillar.
Players can now descend to the basement of the excavated location by checking their HUD after pressing the select button, provided they’ve unlocked it using a gramophone and black record. Once there, locate the red-glowing statue and craft your Fire Staff at this spot.
How to Get the Ice Staff
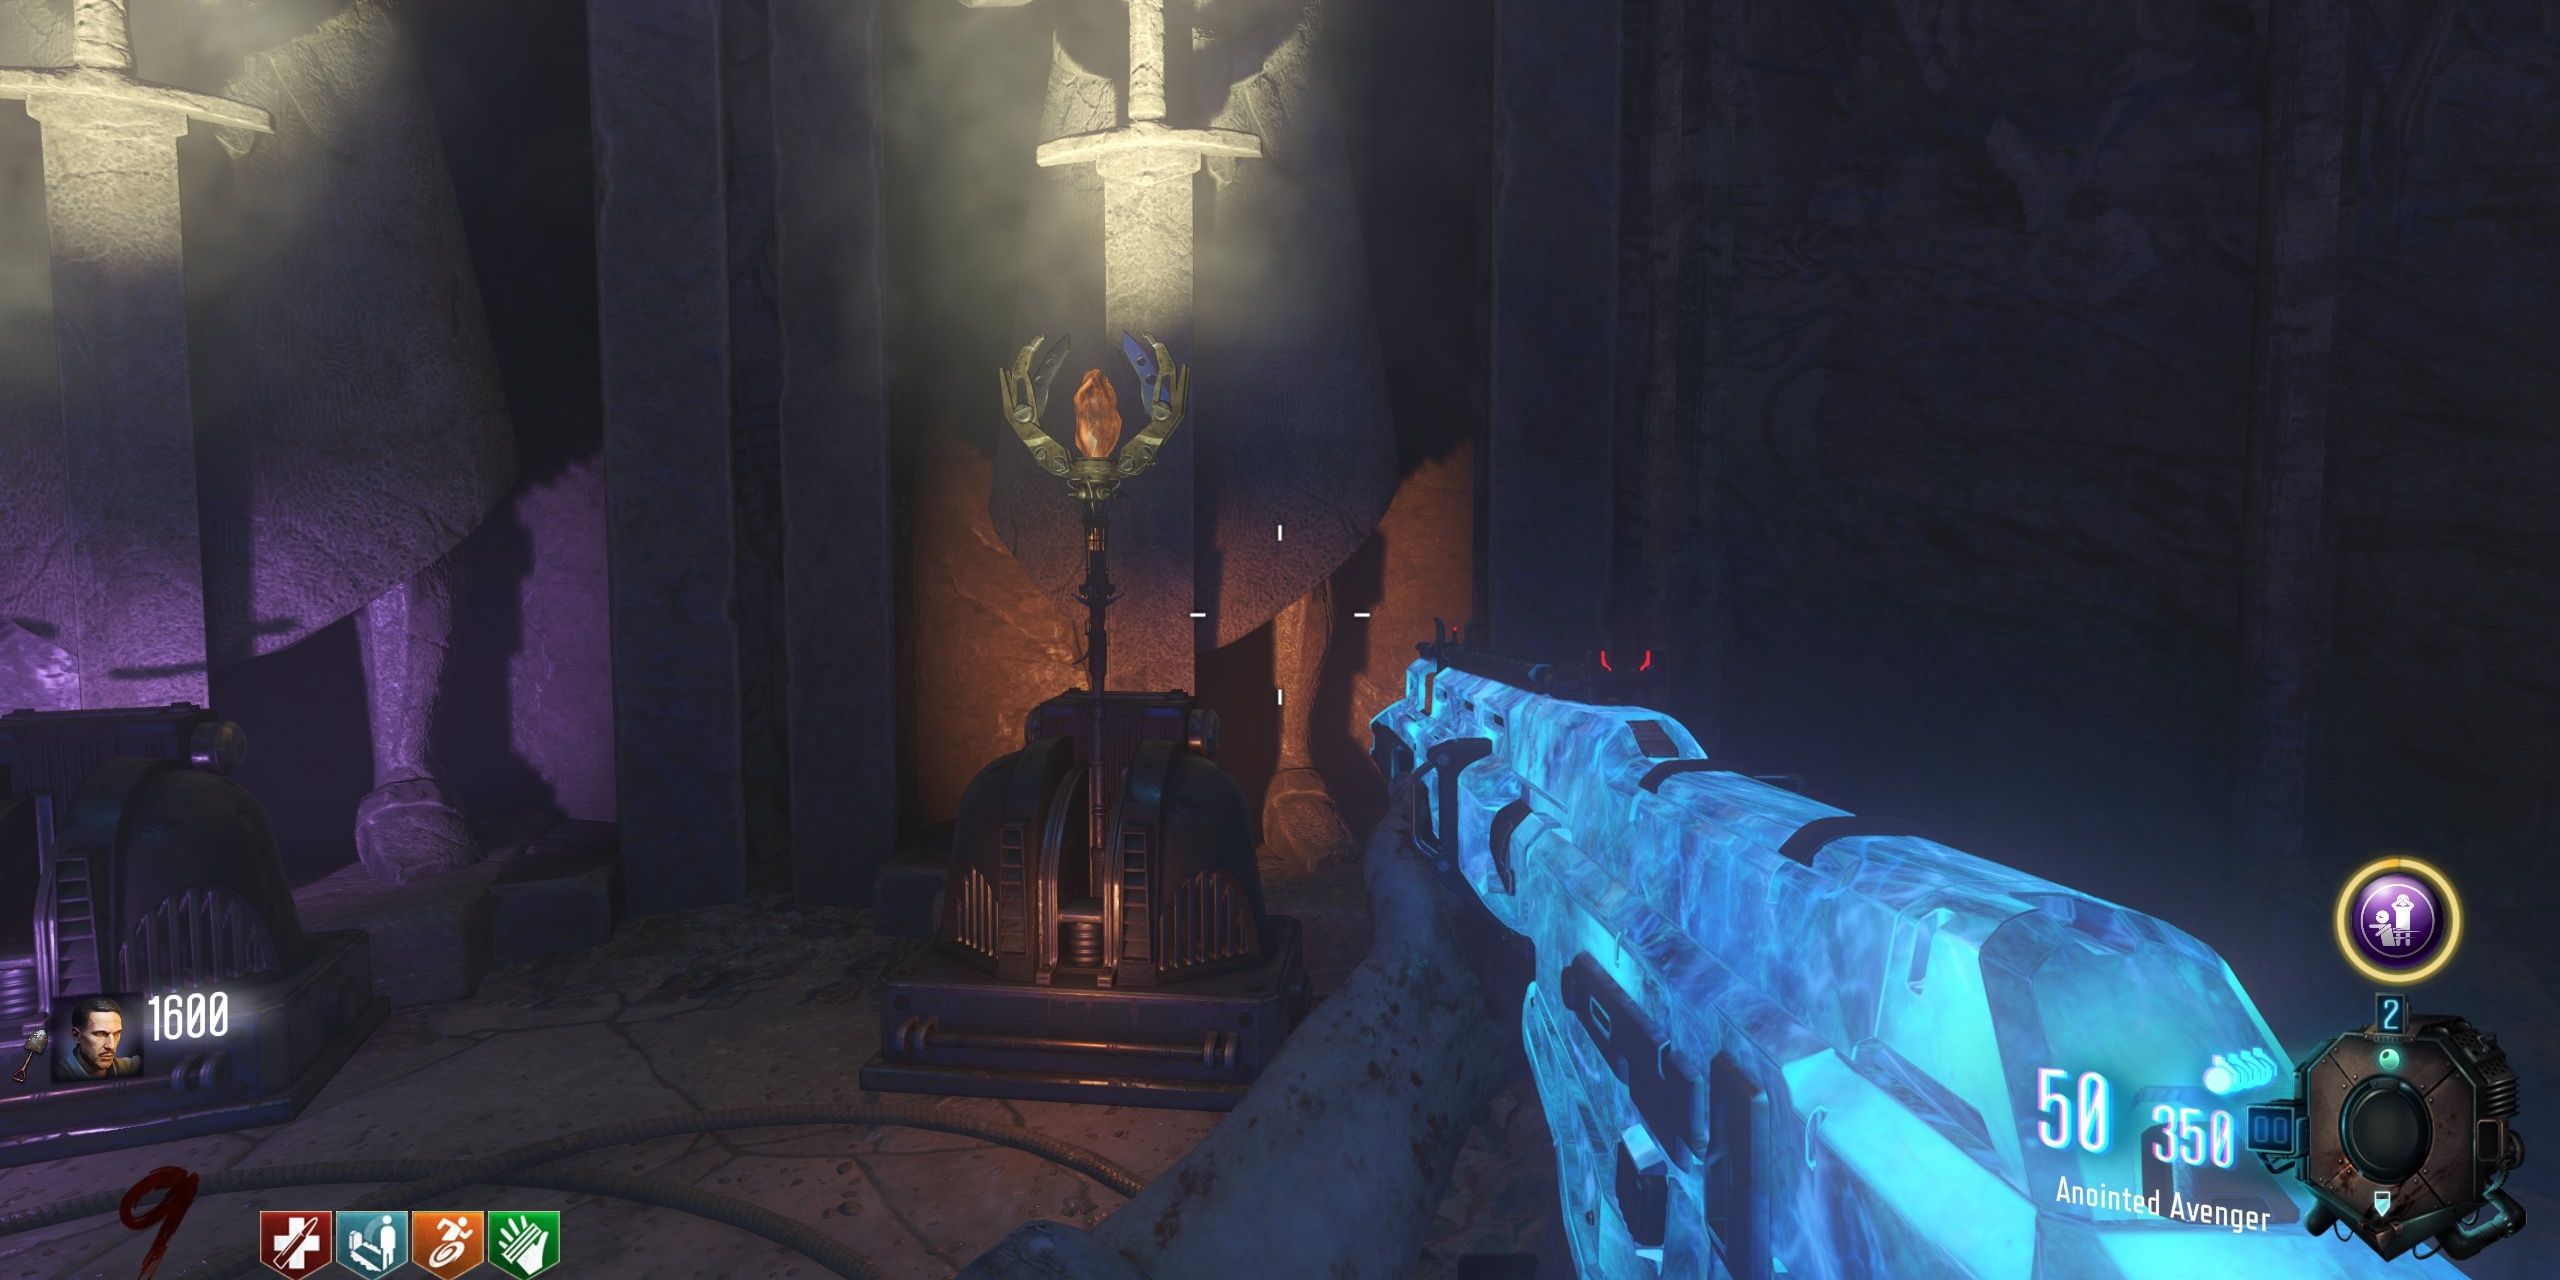
Staff of Ice in Origins
To get the Ice Staff initially, you’ll need to locate the Shovel in Origins first. The Shovel is essential for interacts with excavation spots that appear randomly as the game advances. Here are some helpful locations where the Shovel might spawn in Origins:
- Leaning on a wall by the RK5 wall-buy at Spawn
- Leaning on a wall in Spawn by the sign that reads Generator Station 3
- Inside the Church near the rear of the tank
- In the Wind Tunnel by Generator 4
- In the Lightning Tunnel by Generator 5
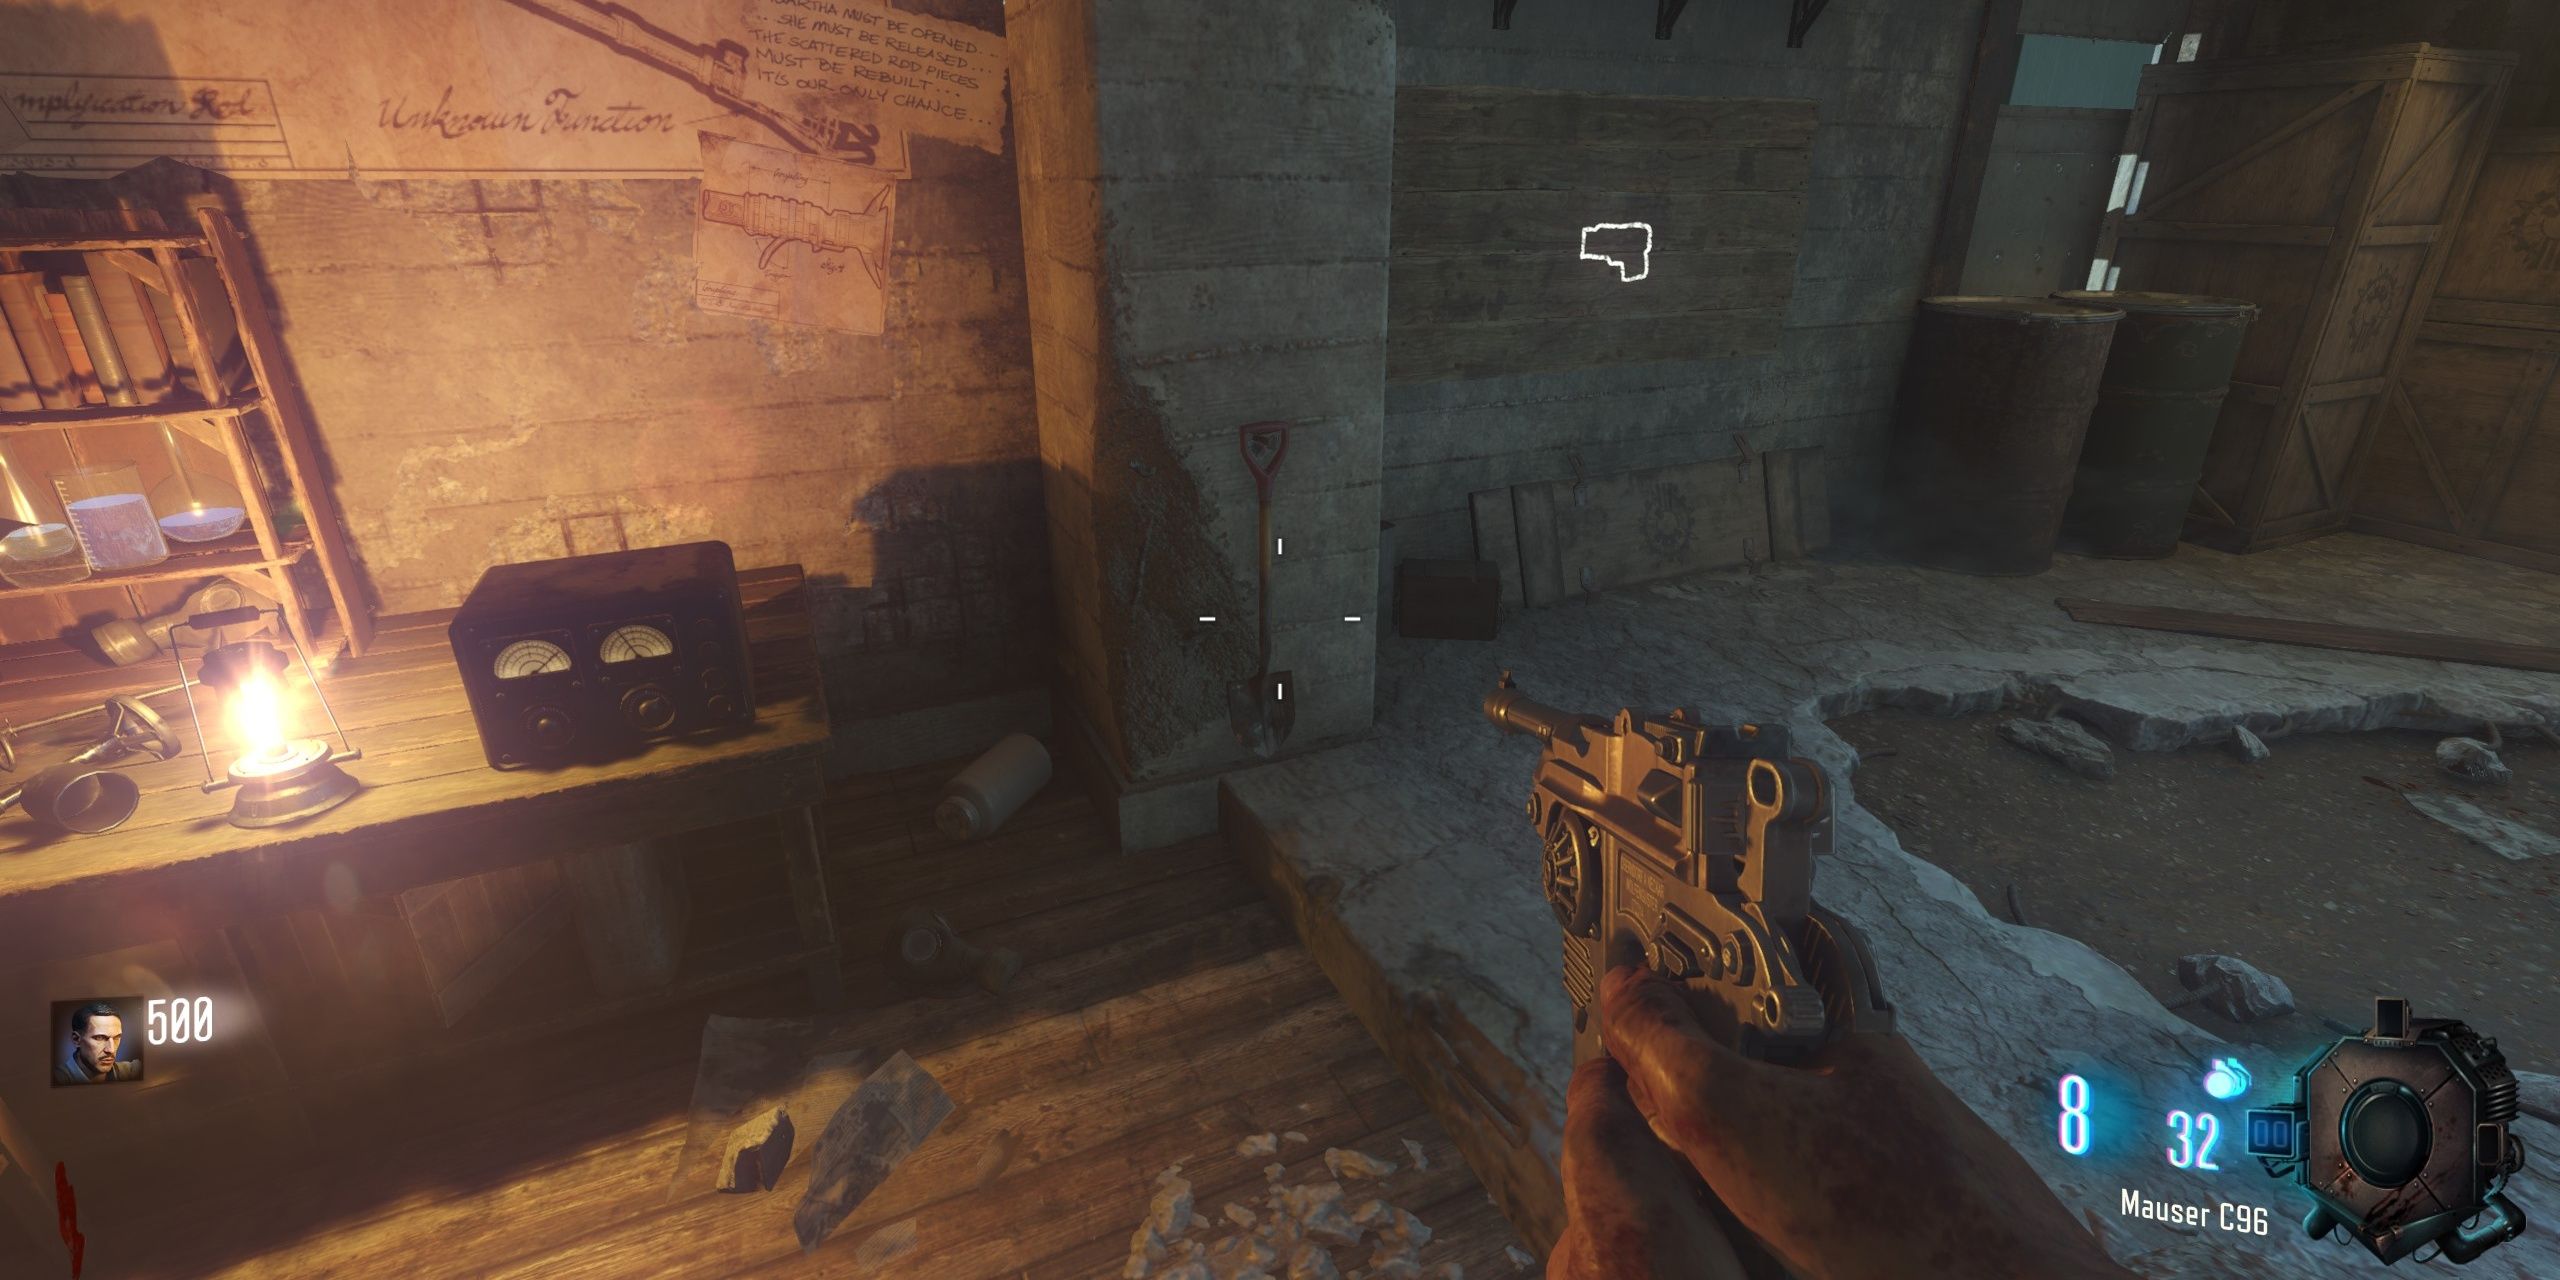
Players must advance through the rounds using a recently acquired shovel, but they should steer clear of digging sites when it starts to snow unpredictably. Wait for the rain to stop, the weather to become foggy, and snowfall to commence before interacting with any dig sites. Once the map is covered in snow, utilize your shovel at each dig site in an attempt to collect the three pieces needed to construct the Ice Staff.
- Top part of the staff – Dig sites around Generator 6 and the Church
- Middle part of the staff – dig sites in the middle of the map from Generator 5 to Generator 4
- Bottom part of the staff – No Man’s Land and around Generator 2 and Generator 3
Let’s locate the blue vinyl disc. It can be found at a select number of locations near Generator 2 and the Fueling Station.
- On the table with 115 rocks inside the Tank Station
- On a shelf by the Mystery Box in the Tank Station
- Opposite the bunk beds on a shelf next to 2 crates in the Tank Station
Follow this path: The gramophone and a blue record lead you towards Church, near Generator 6. Once there, go into the Ice Tunnel, and inside, you’ll find a table where you should set down the gramophone. Then venture further into the Crazy Place. Inside, grab the blue gem that’s on a blue pillar. After that, retrace your steps to the map, and by using the gramophone, unlock the area beneath Pack-a-Punch.
Now that all components for the Ice Staff are available, players can access the staff area and manufacture the Ice Staff at the second statue, which is identifiable by its blue aura.
How to Upgrade the Wind Staff
Boreas’ Fury in Origins
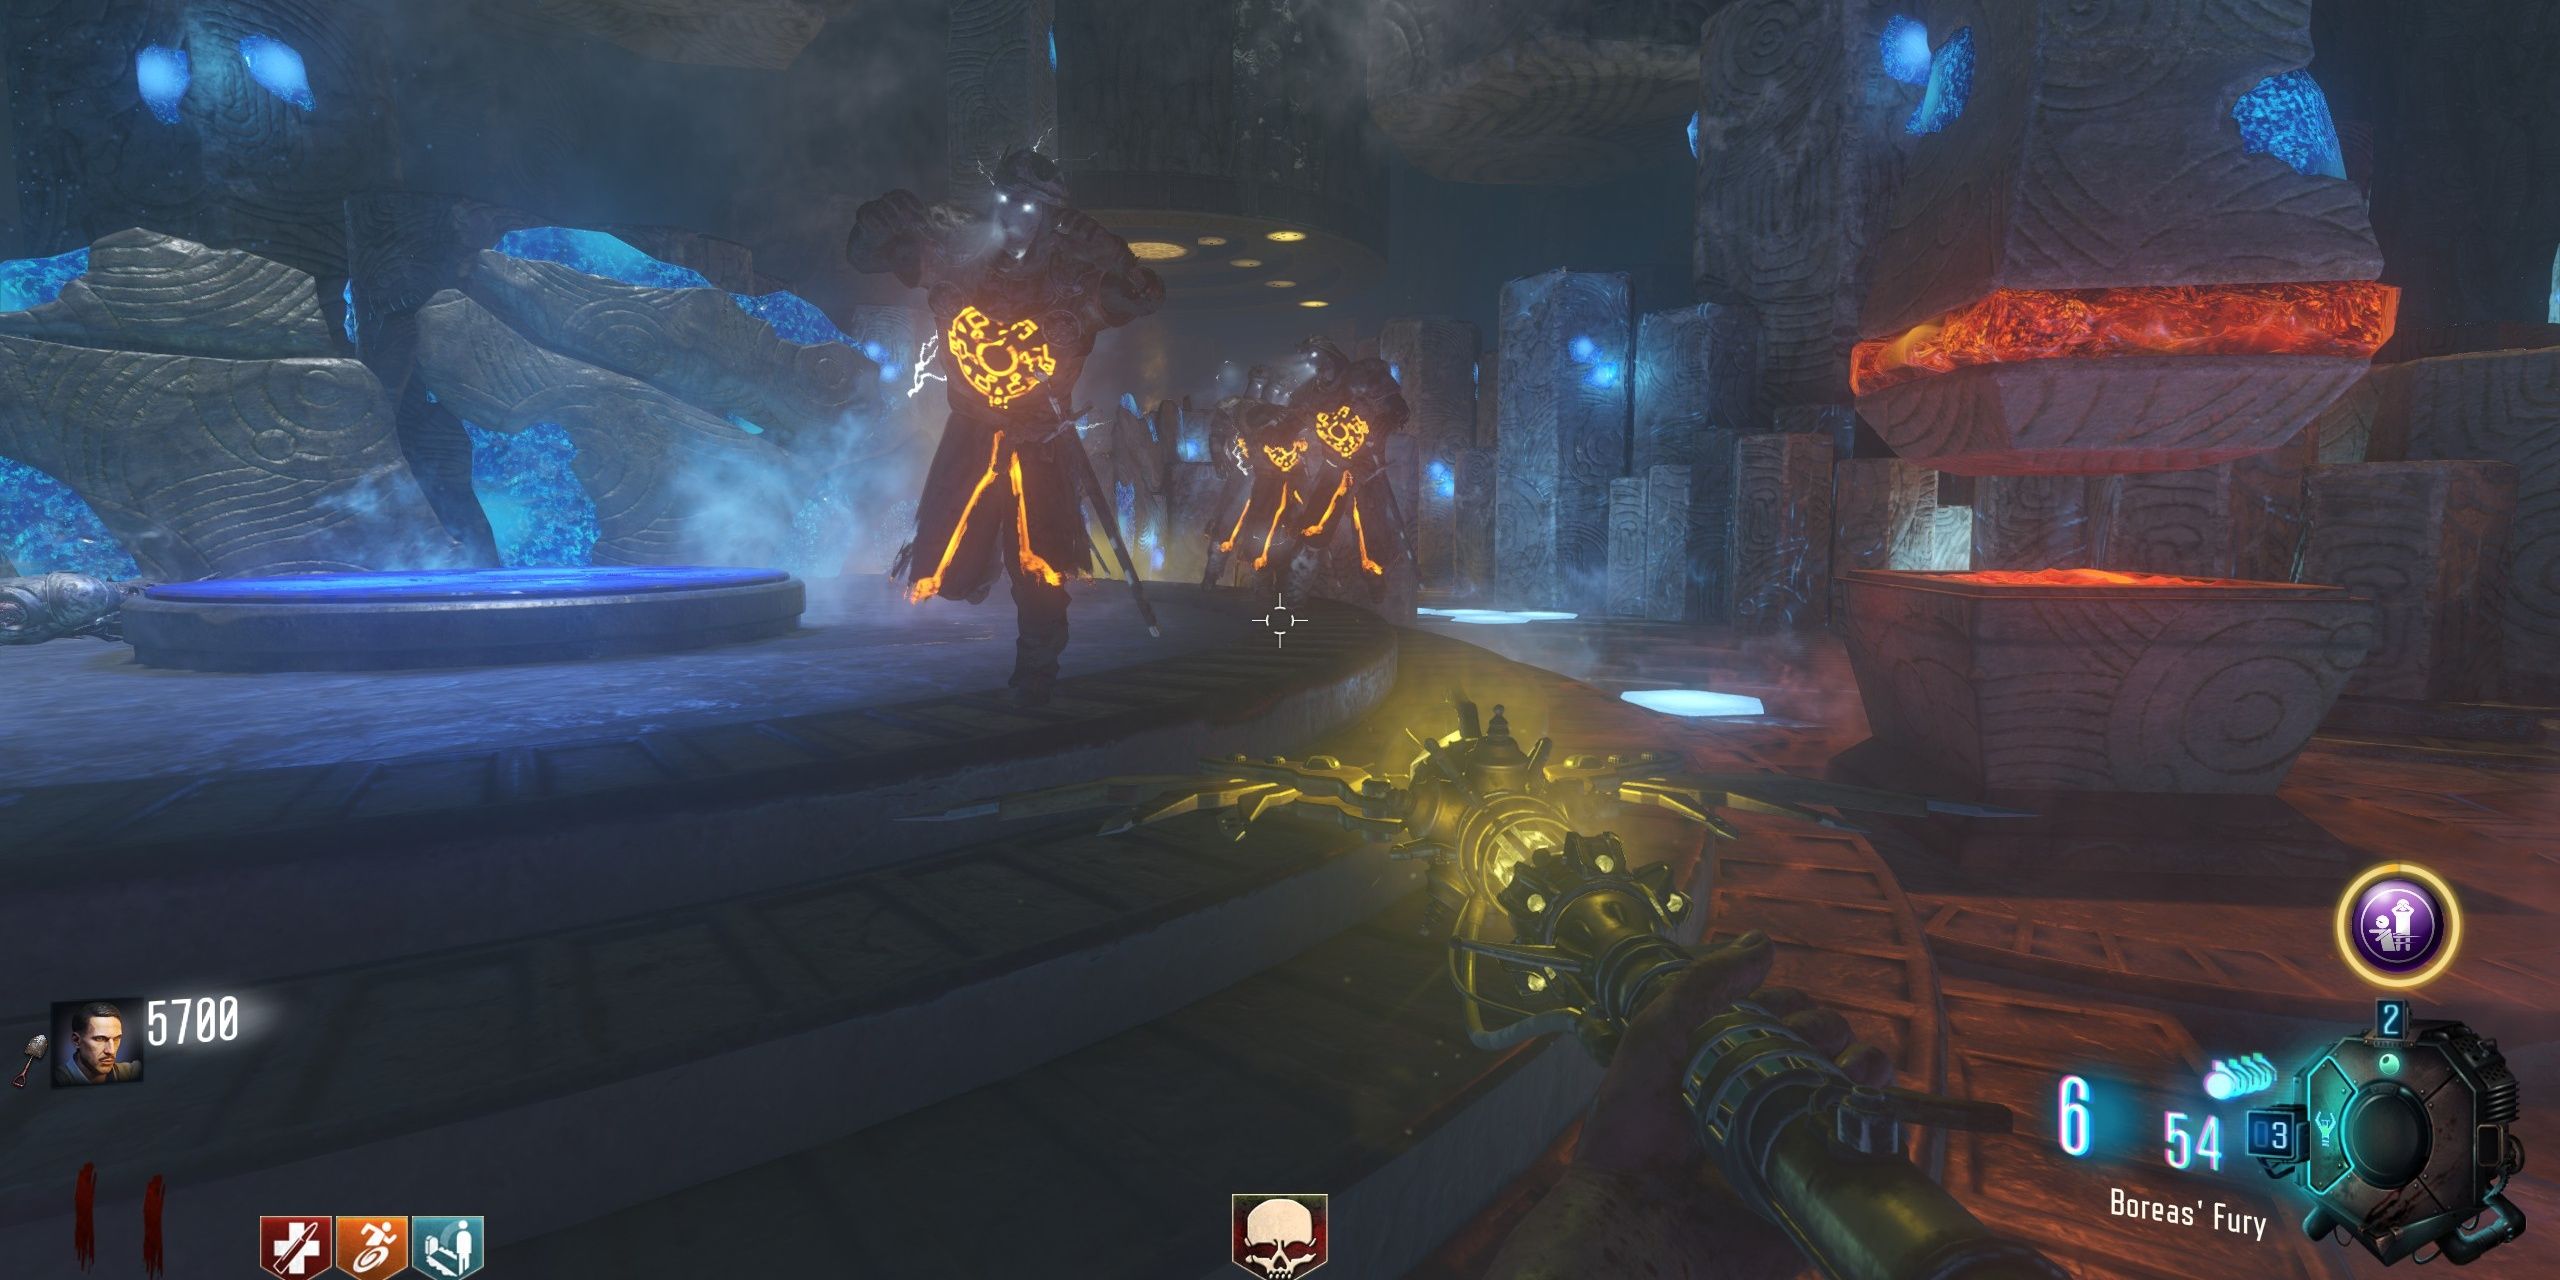
With the Wind Staff now in their possession, players are eager to operate the gramophone located within the Wind Tunnel in order to reach the enigmatic location known as the Crazy Place. Upon entry, navigate towards the portal that leads back to the Wind Tunnel zone, but instead of stepping through it, glance up at the symbols adorning the ceiling. By aiming and firing the Wind Staff at any of these symbols, the ring associated with the symbol will spin. The goal is to align the rings in a particular sequence, as indicated by a visual guide below:
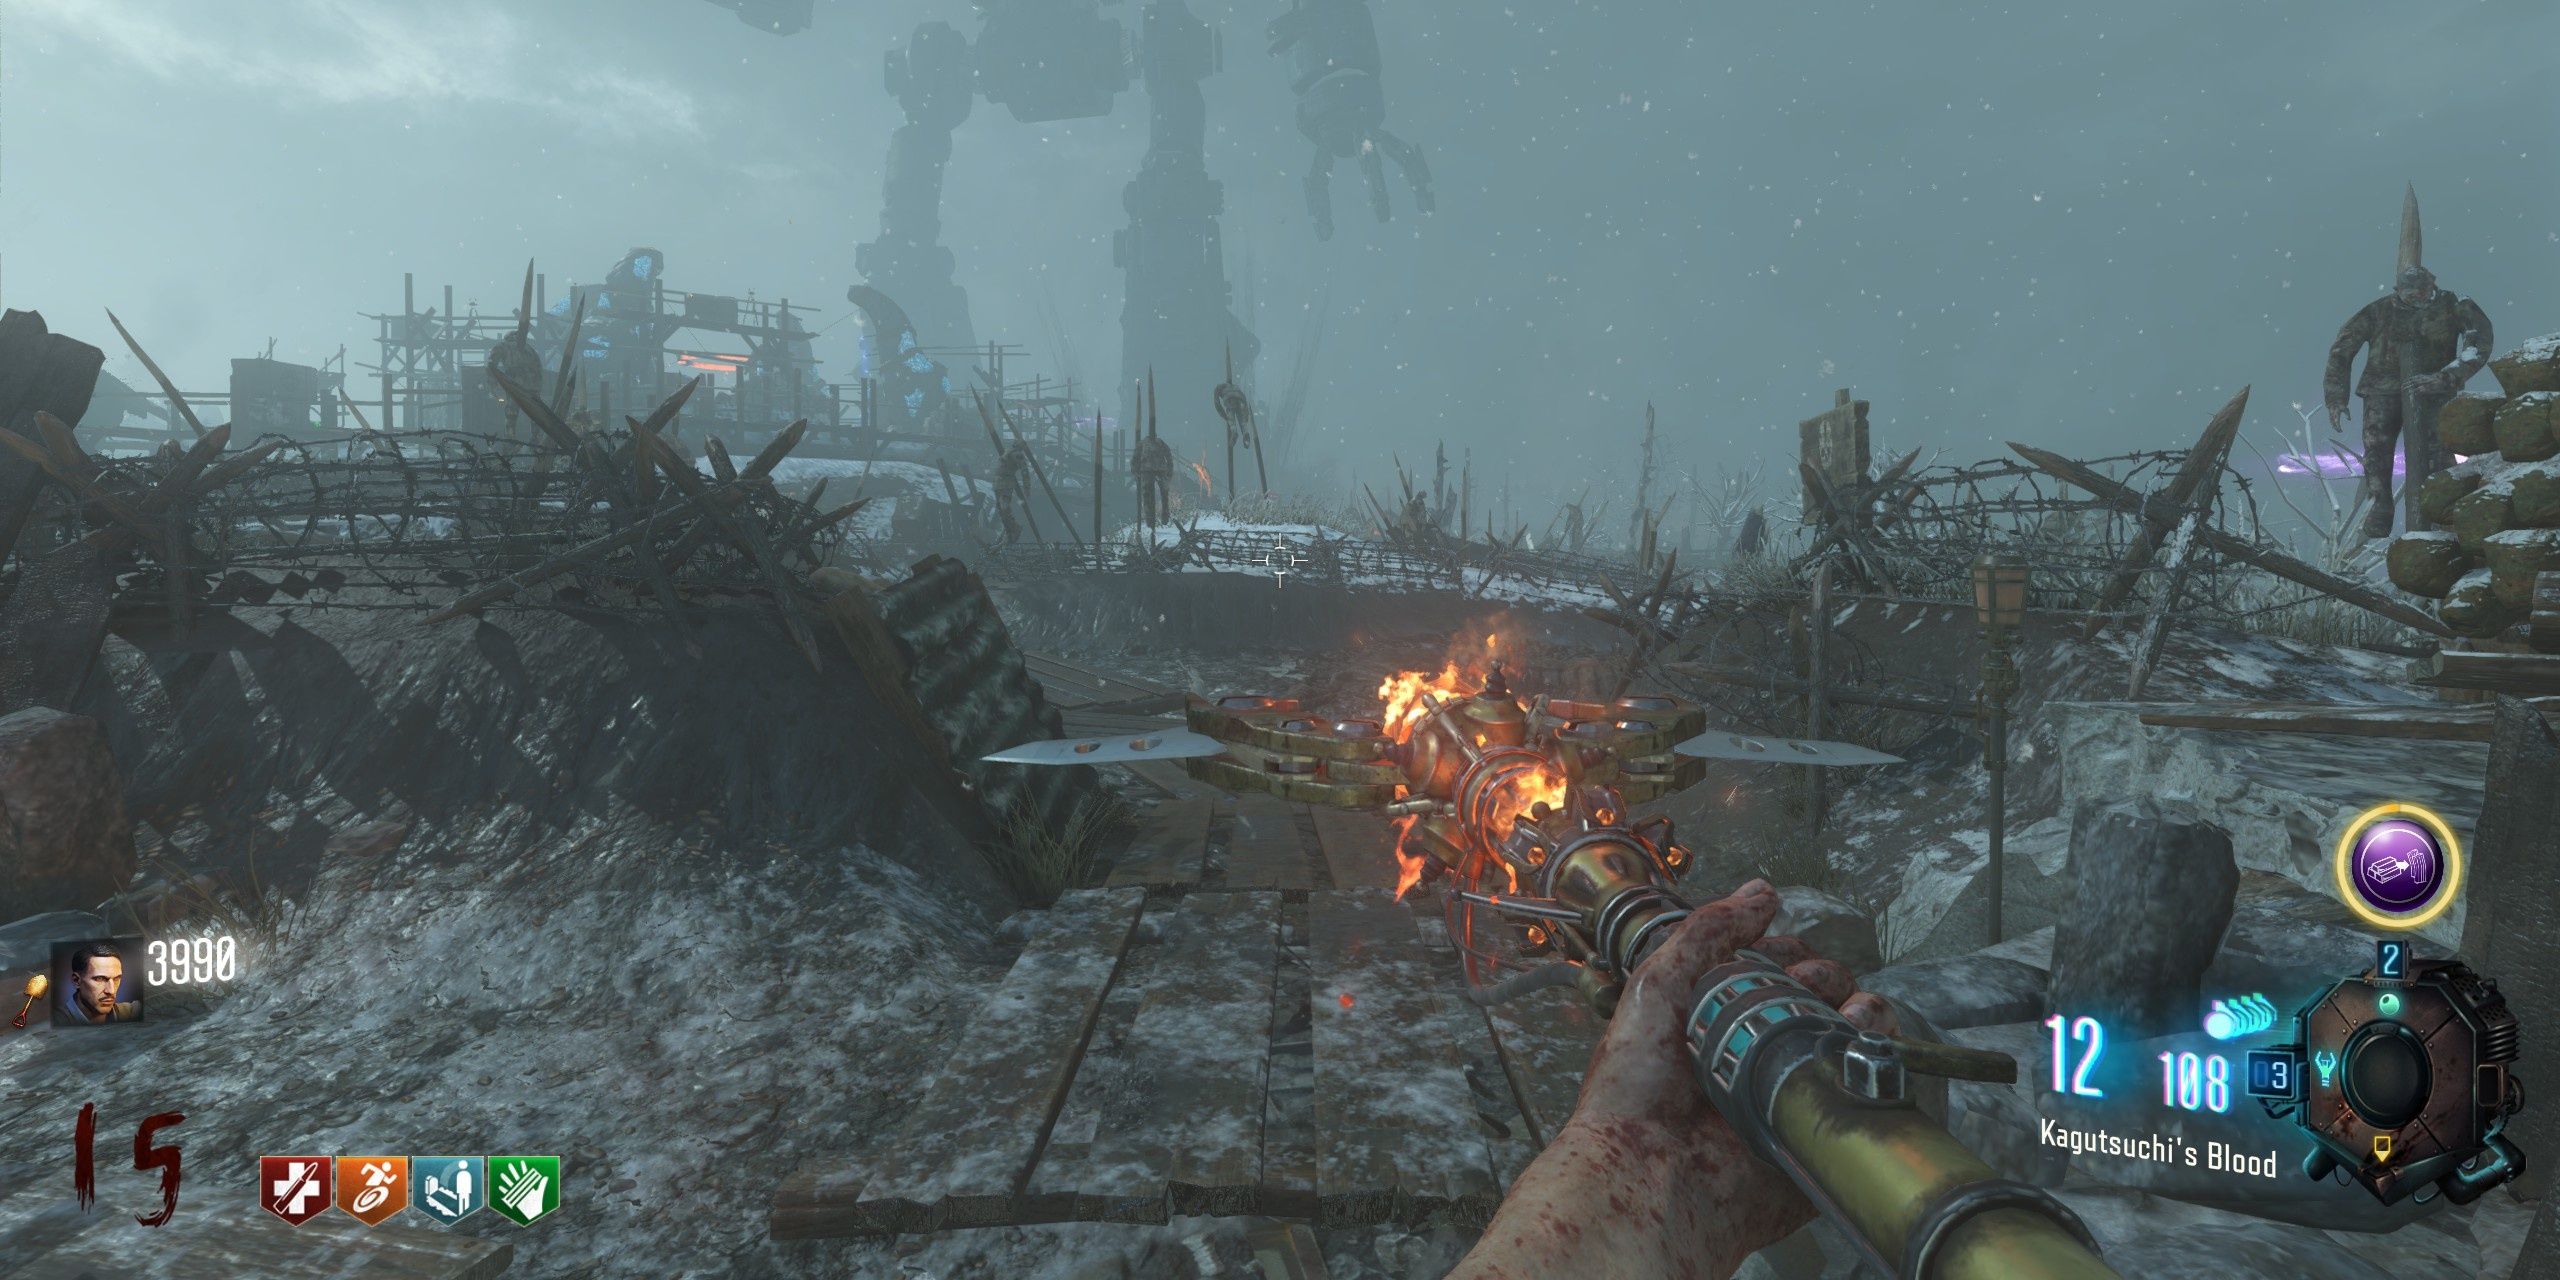
Upon finishing, a sound signal will indicate victory to the players. Now, it’s time for you all to depart from the Madhouse, retrace your steps to the map, and locate three chimneys that need to be adjusted. To do this, aim and fire at them with the Wind Staff. Here are the locations of the three chimneys that should be aimed at Pack-a-Punch:
- To the right of Generator 4 when facing the direction of Pack-a-Punch
- Follow the tank’s return journey on the mud path leading out from the Church and keep to the right wall where the smoke stack is located by a skull and bones sign
- At Generator 5 when facing Stamin-Up, the smoke stack is over the destroyed wall
If you aim the Wind Staff at each of the three smokestacks and fire it while they’re pointed at Pack-a-Punch, you’ll hear an audible signal telling you that the task is complete. Additionally, a blue light beam will descend from Pack-a-Punch as a visual confirmation.
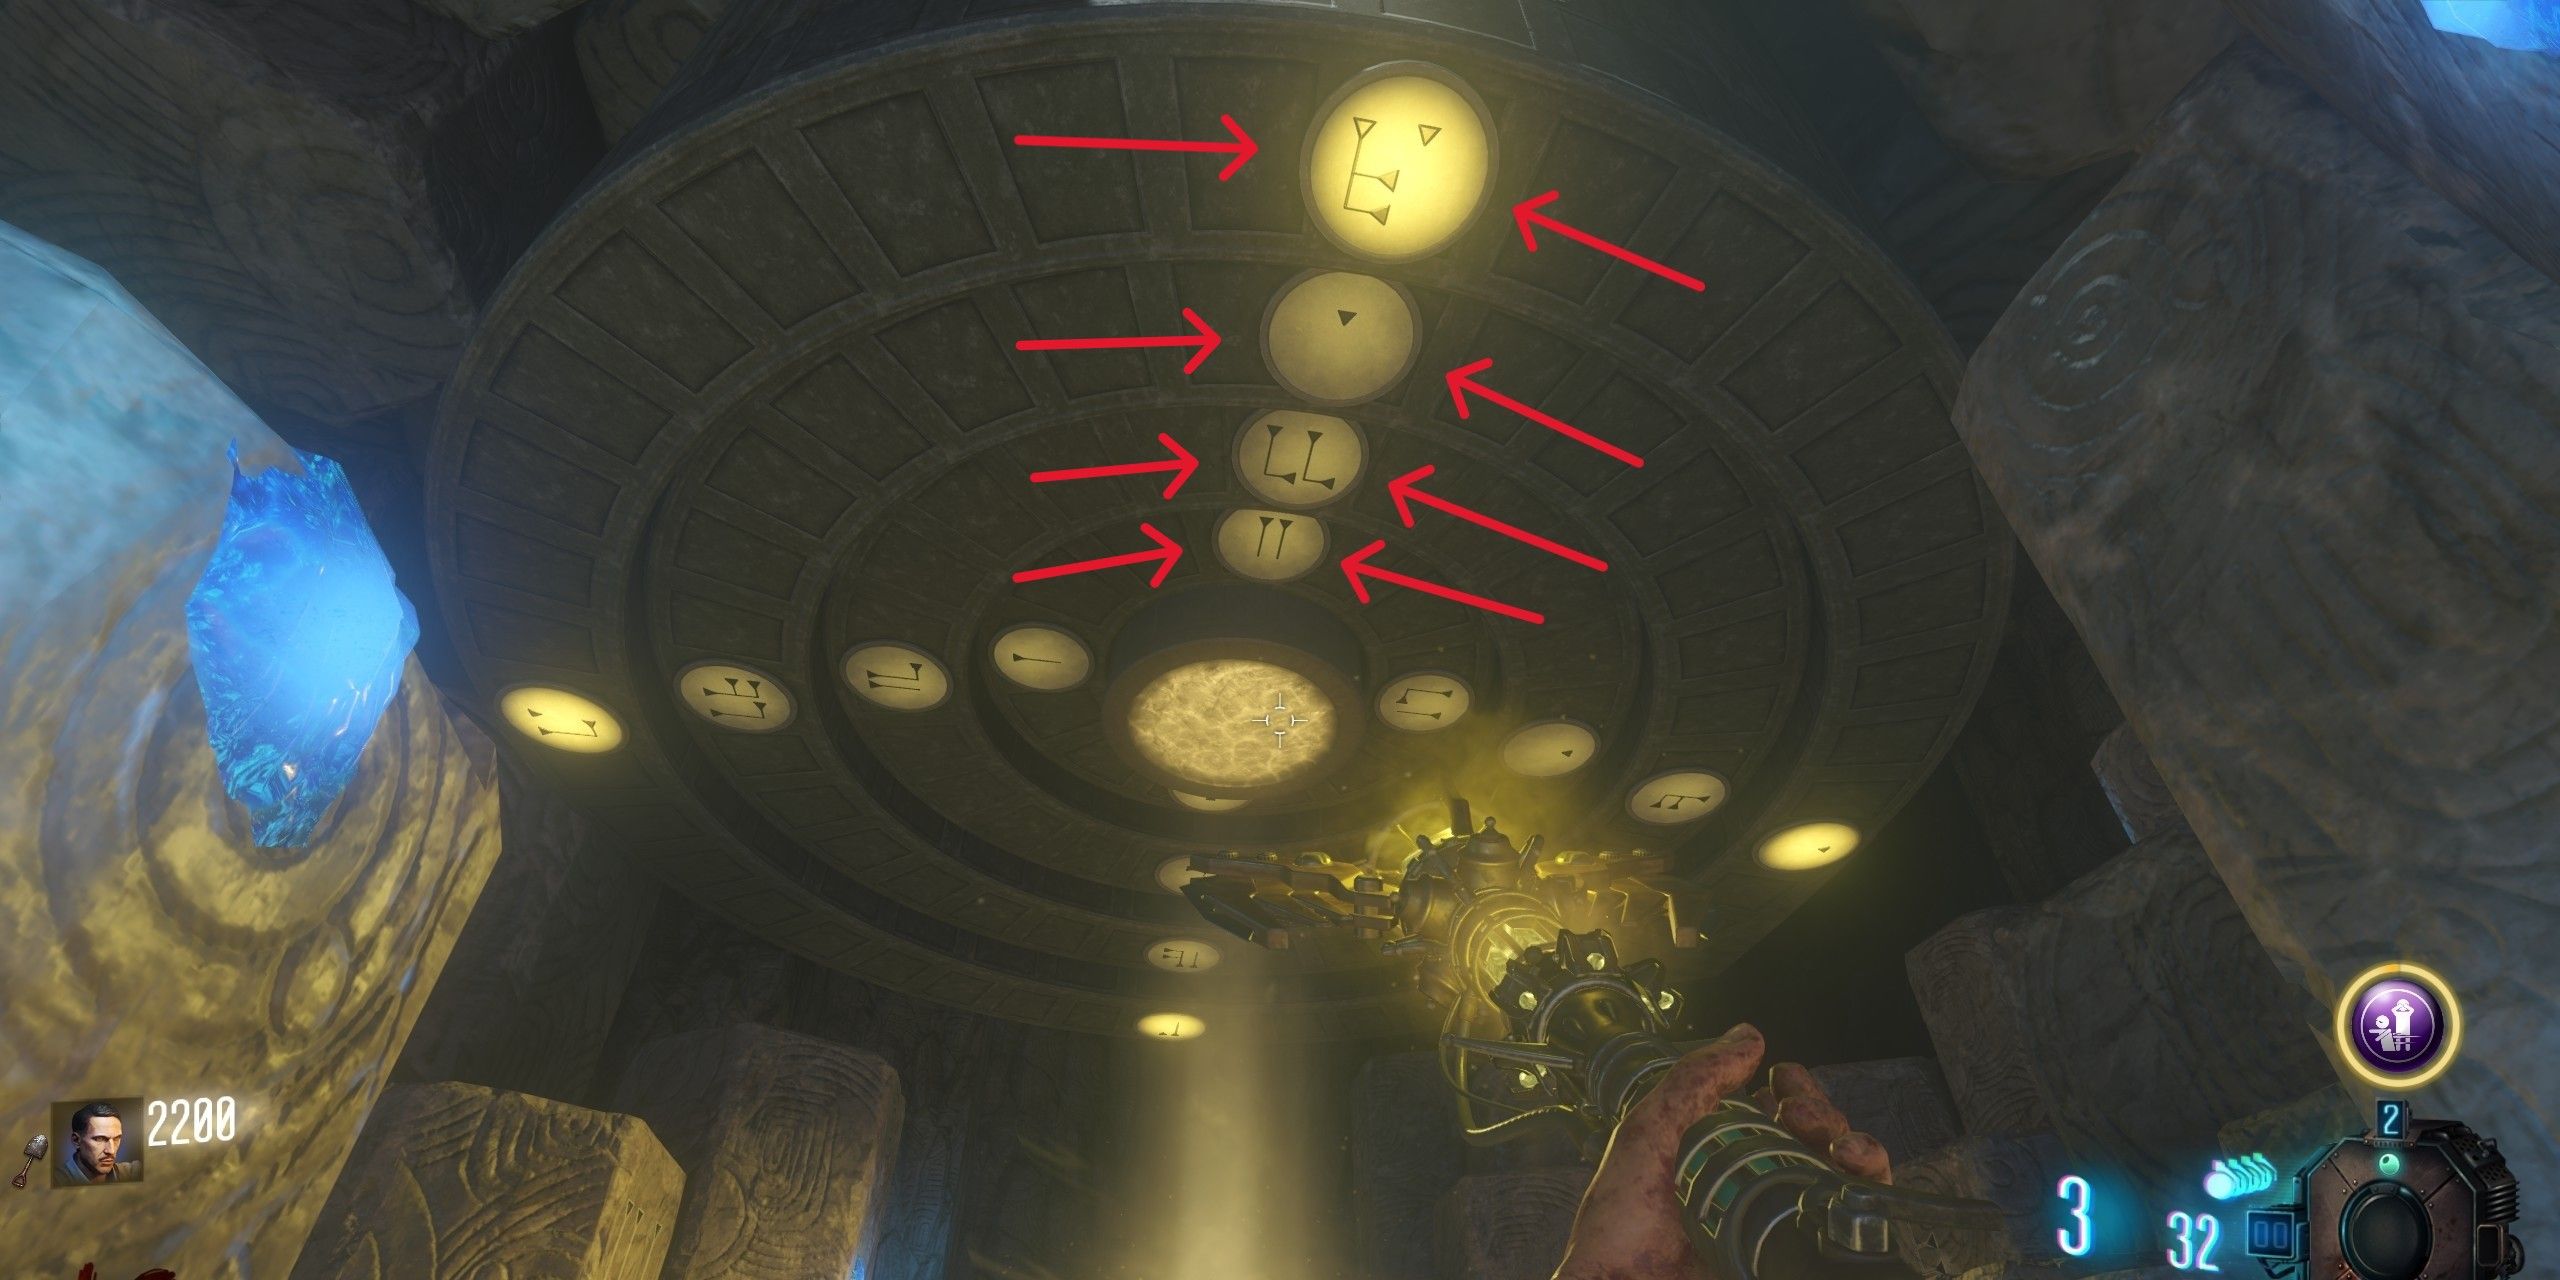
Within the hill and descending the steps, players will discover four controls that allow them to spin the circles positioned above the staff holders. The objective is for players to activate all four levers until every circle turns yellow. This is accomplished by engaging a lever and then proceeding to the next one. Once all four circles are yellow, a yellow orb will materialize beneath them. To launch this orb, players need to strike it with the Wind Staff.
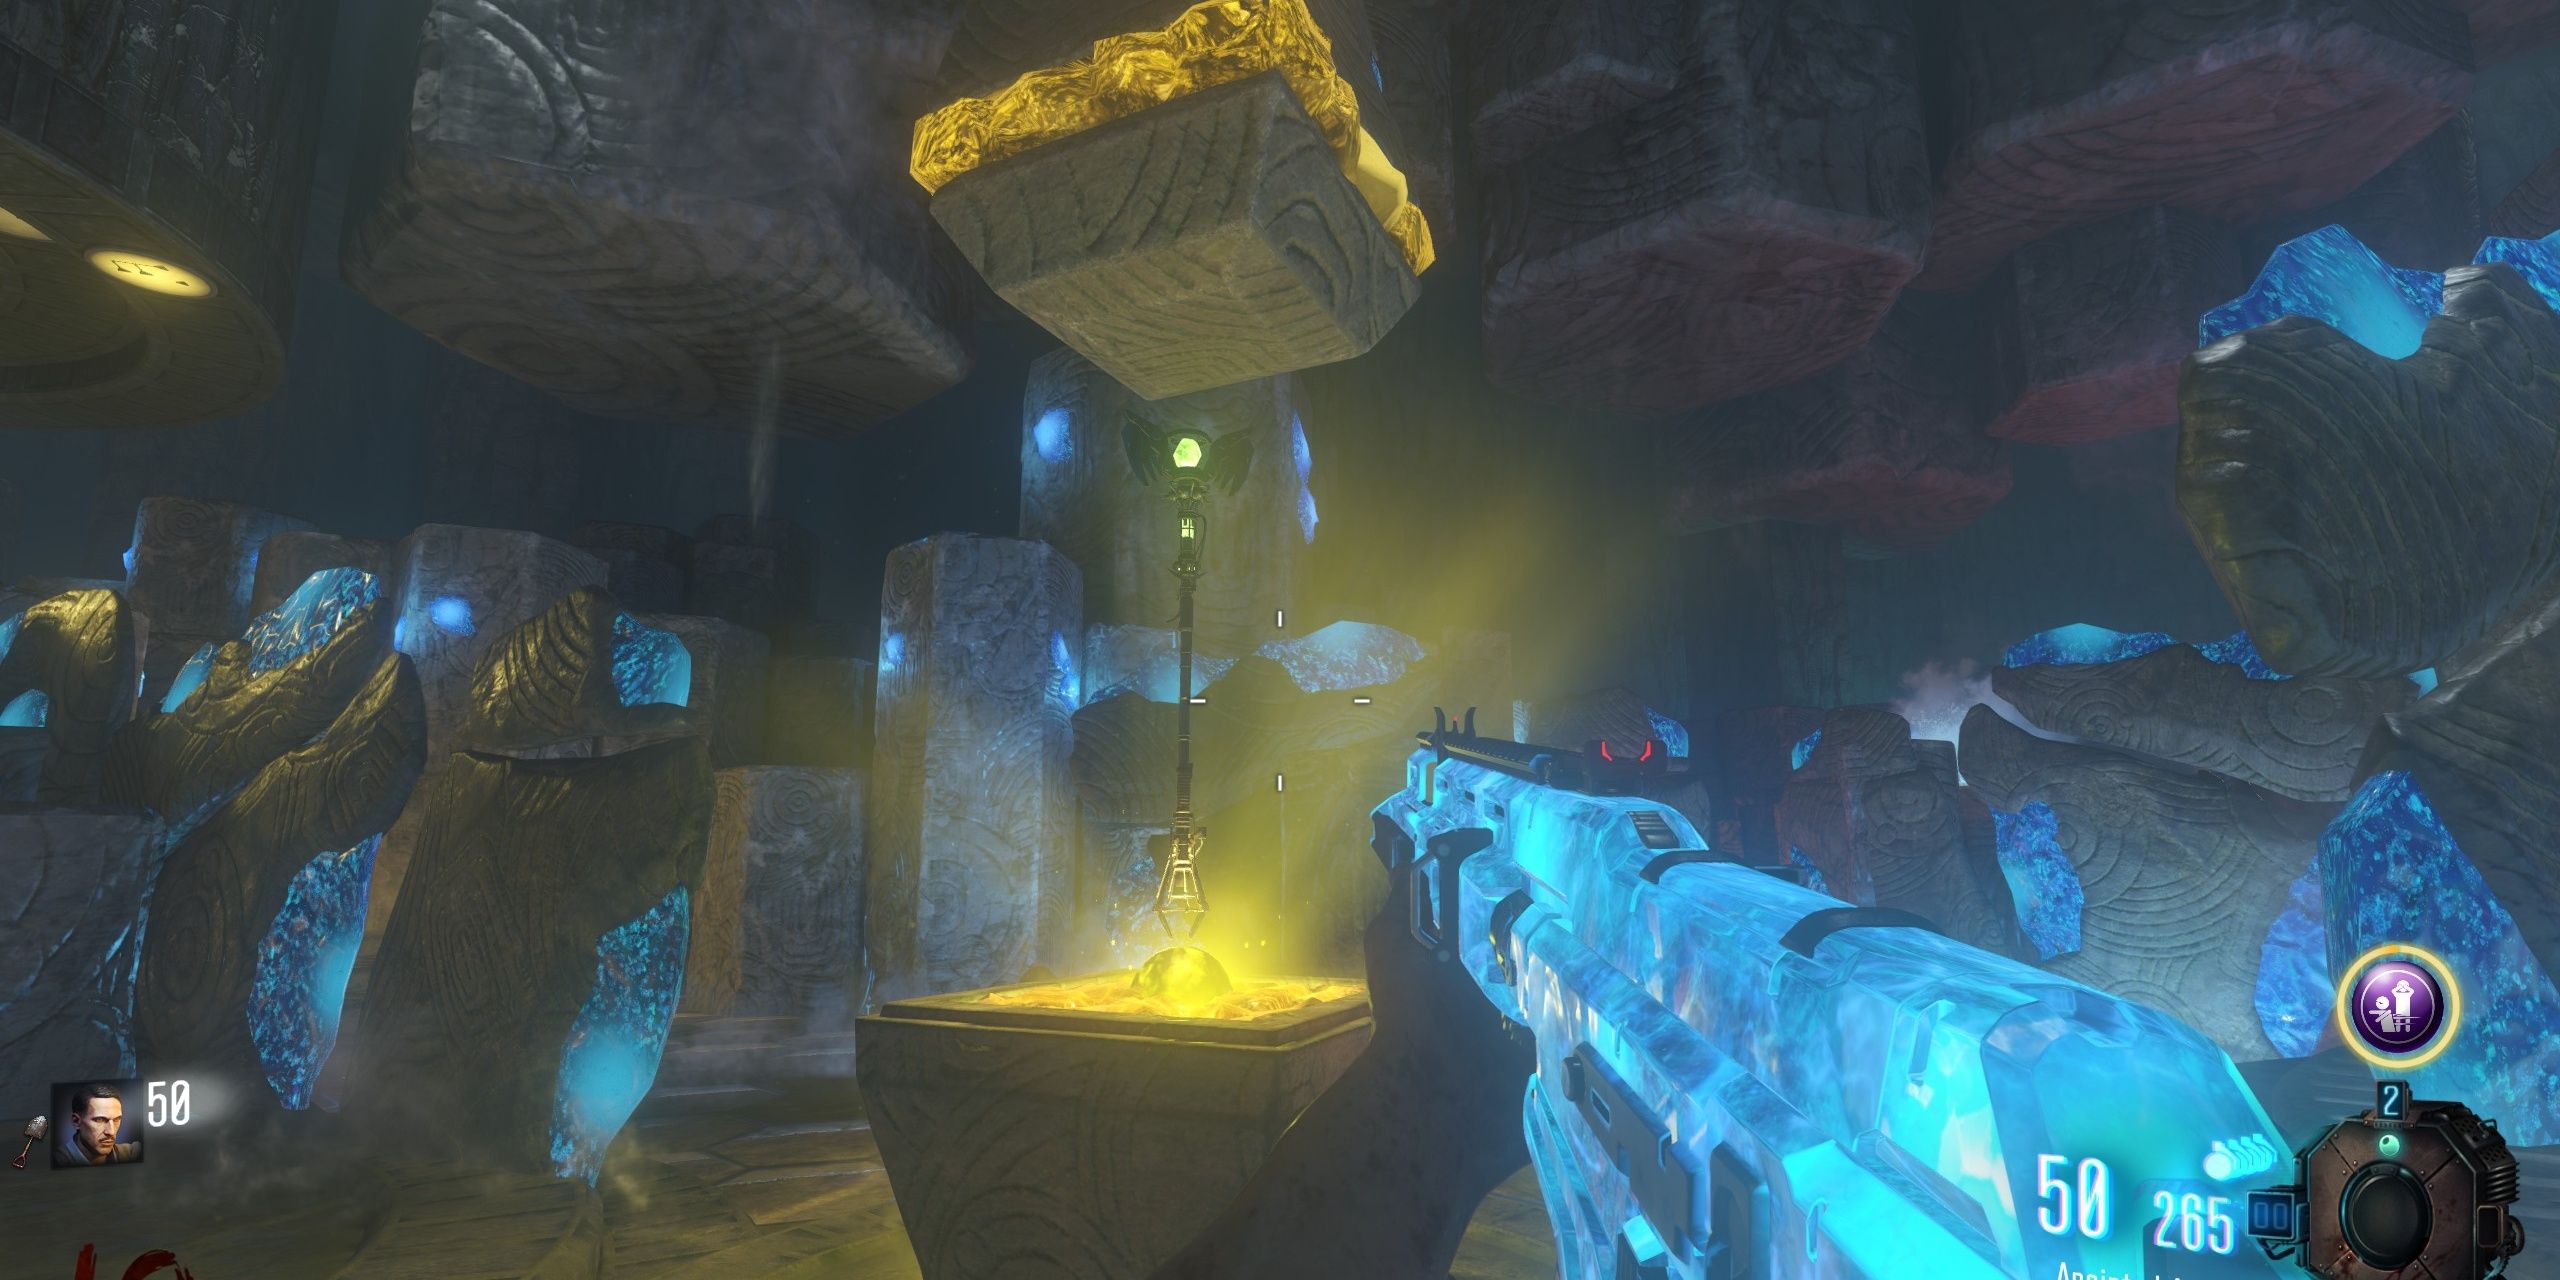
Return to the “Mad Place” and insert the Wind Staff into the yellow column; it’s where they initially secured the gem of the Wind Staff. Afterward, players need to eliminate approximately 20 zombies, causing their spirits to enter the Wind Staff. Once this step is accomplished, the Wind Staff in the UI will have a white border, or the spirit absorption process will cease. Lastly, grab the upgraded staff called “Boreas’ Fury.
How to Upgrade the Lightning Staff
Kimat’s Bite in Origins
Holding the Lightning Staff, make your way back to the Lightning Tunnel near Generator 5 and re-enter the peculiar area known as The Crazy Place. Proceed towards the room that exclusively features the Lightning Staff. Inside this room, you’ll find a wall adorned with twelve purple arrows. To proceed further, players must strike these arrows in a particular sequence using only the bottom row of symbols on the Lightning Staff.
- First Pattern – 1, 3, 6
- Second Pattern – 3, 5, 7
- Third Pattern – 2, 4, 6
After finishing the patterns, there’ll be an audible signal signifying victory. Now, players are free to exit the chaotic area and rejoin the map where seven electrical panels will be flickering brightly. The goal is to locate all seven of these electrical panels and perform a particular sequence of interactions on each one to adjust the dials, thereby halting the sparks from continuing to flash.
- Down the stairs of spawn to the right, the dial must face left
- By the Giant Robot footprint of Generator 4, the dial must be facing up
- Inside the Tank Station at Generator 2, the dial must face down
- Downstairs area of the Church, the dial must face the right
- Upstairs in the church by the water basin, the dial must face up
- On a wall in Generator 5, left of Stamin-Up, the dial must be facing down
- By the wall at Excavation, the dial must face up
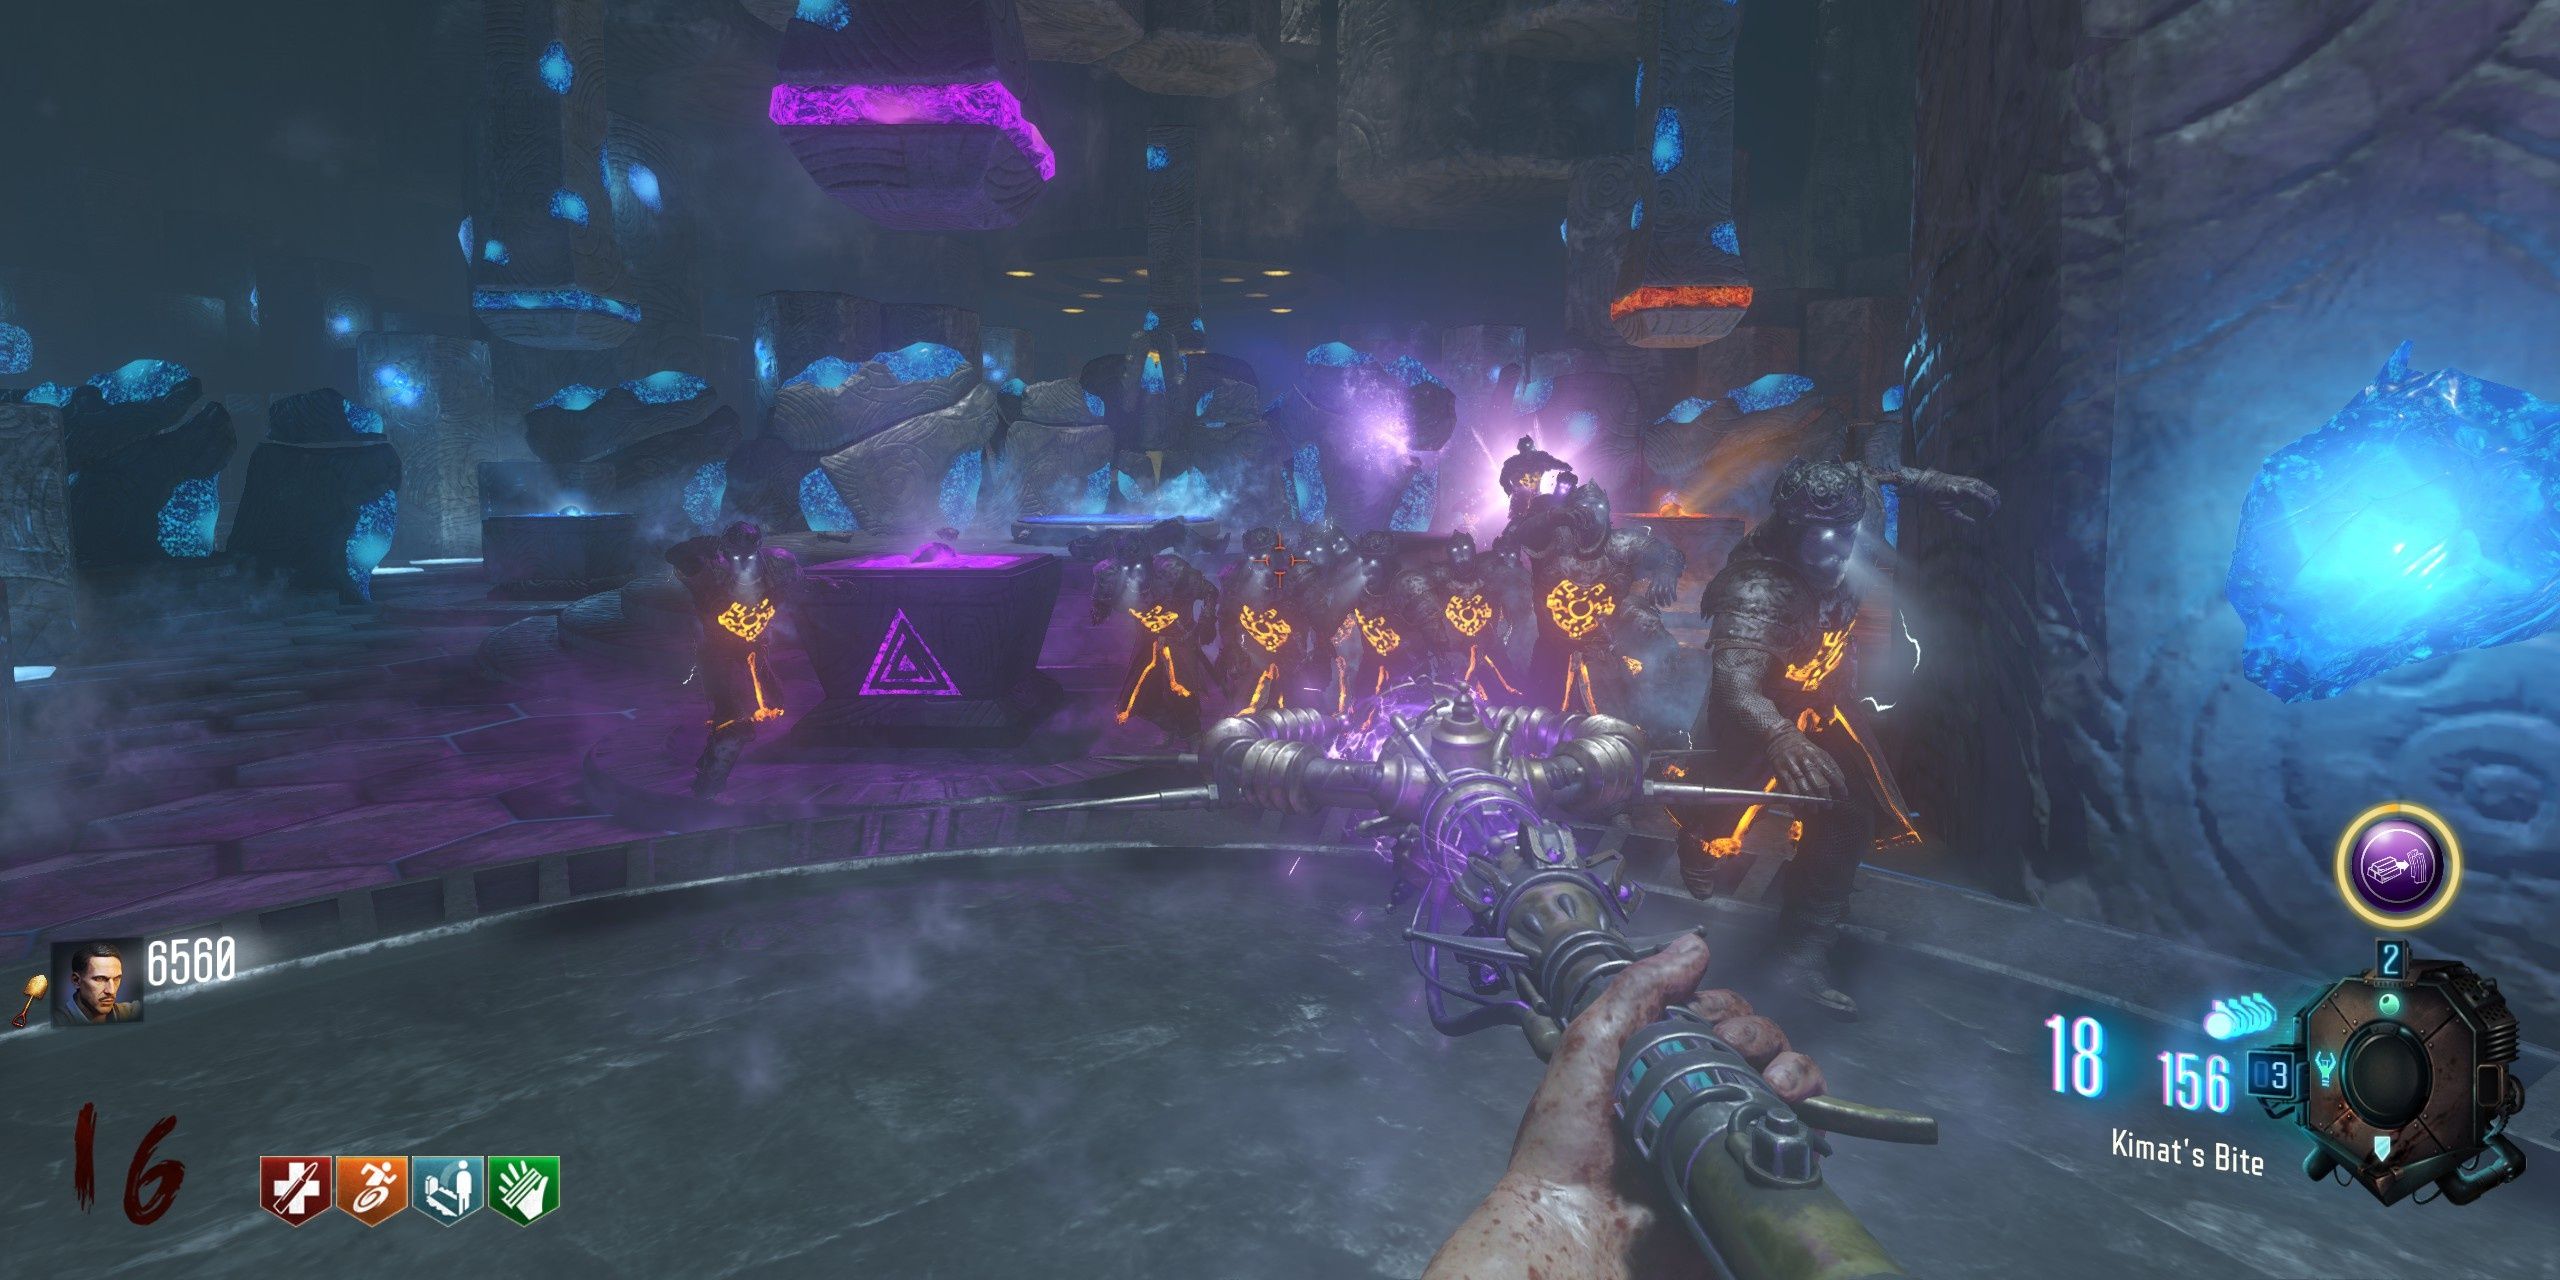
After ensuring all dials are set properly, a beam of light from above will illuminate the Pack-a-Punch Digging location. Now it’s time to venture into this zone and adjust each of the 4 dials using the levers within the mound to rotate them to purple hue. After descending, make your way to the bottom and fire the now-appearing purple orb with the Lightning Staff.
To sum it up, players should return to the eccentric location known as The Crazy Place and set the Lightning Staff on the violet pillar. Following this, slay 20 zombies so their spirits can be transferred into the staff. Once done with this task, players can obtain an enhanced version of the Lightning Staff called Kimat’s Bite.
How to Upgrade the Fire Staff
Kagutsuchi’s Blood in Origins
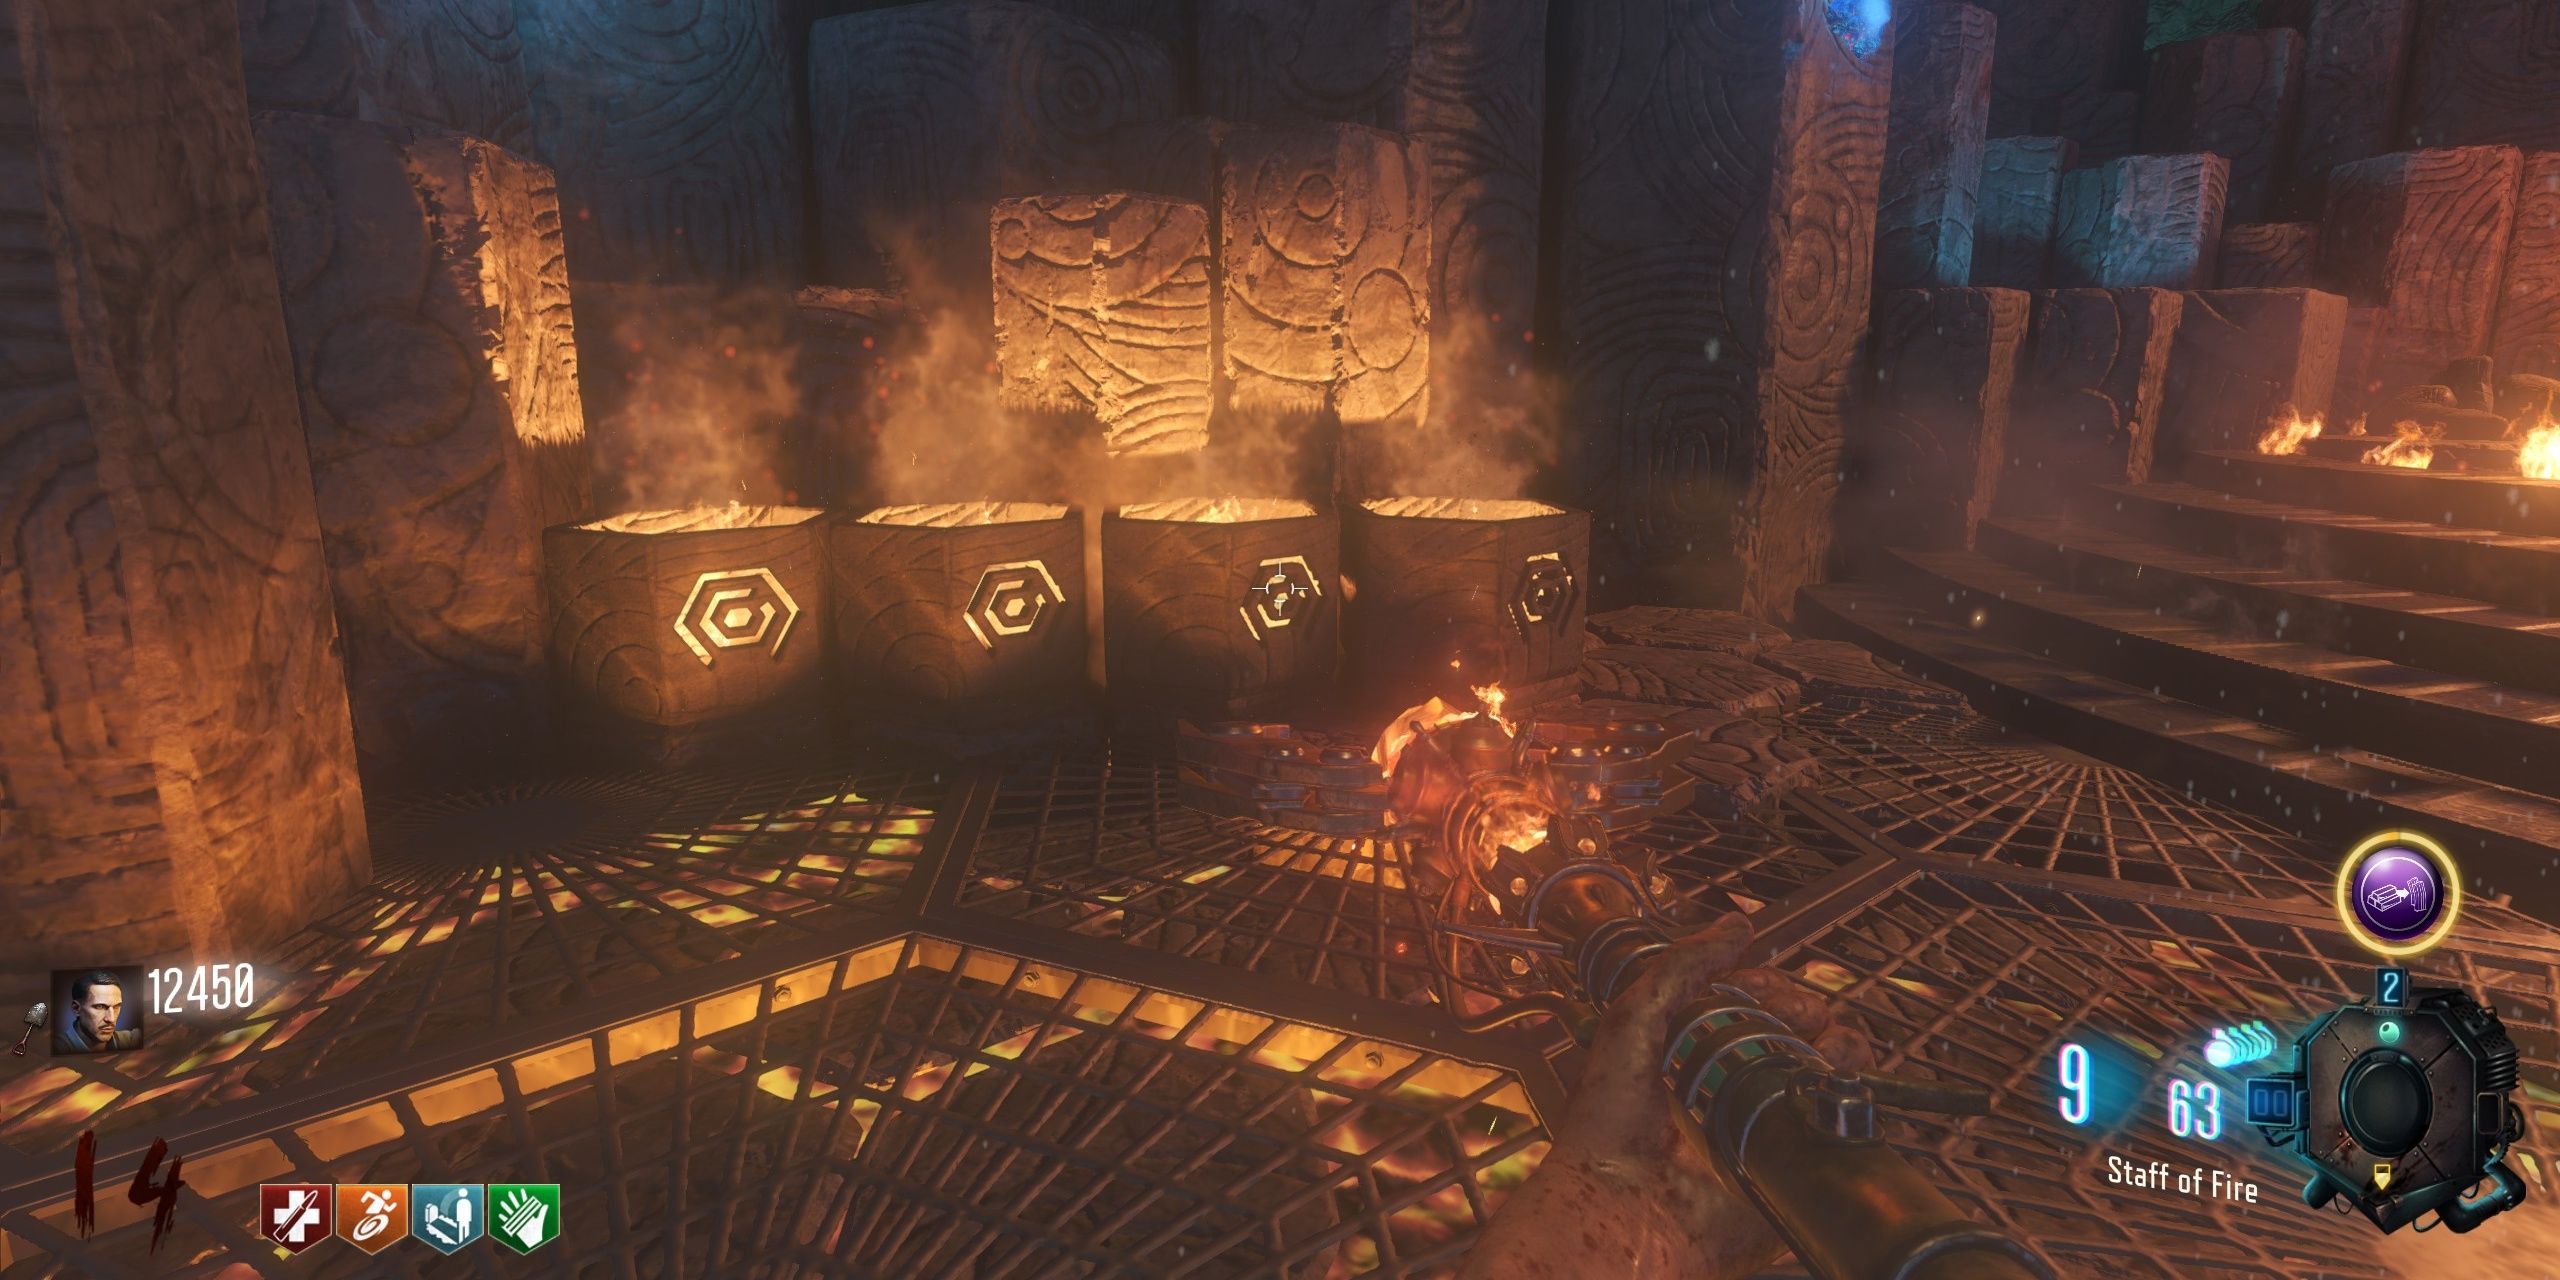
After arming yourself with the Fire Staff, return to The Crazy Place and navigate towards the red sector of this location marked by the portal leading back to the Fire Tunnel. Utilize the Fire Staff to slay zombies on the hexagonal floor grates. Slaying zombies on these grates using the Fire Staff will cause the cauldrons on the walls to illuminate. Once all four cauldrons have been lit up due to zombie kills, an audible signal will signal success, thereby initiating the next phase.
As a gamer, I make my way up the church stairs, my eyes drawn to four luminescent symbols adorning the walls. Each symbol is intricately designed with circles that remind me of a puzzle. Interestingly, these symbols hold secrets linked to torches hidden in the church basement.
- 11 – 1 orange dot, 1 circle, 2 orange dots
- 5 – 1 orange dot, 2 orange dots
- 9 – 1 orange dot, 1 circle, 1 circle
- 7 – 2 orange dots, 1 orange dot
- 6 – 2 orange dots, 1 circle
- 3 – 1 orange dot, 1 circle
- 4 (Blood Stain) – 1 orange dot, 1 orange dot
With any of the four symbols lit up, head down to the Church’s basement and shoot the corresponding torches indicated by the number written underneath each one, in quick succession. Correct completion has an audio cue and a beam of light in the sky heading down Excavation.
As an enthusiast, I’d guide you through a unique experience: In the staff room, located beneath Pack-a-Punch, manipulate the four levers to spin the rings until they all glow red. Once done, make your way down to the staff room again, look skyward, and with the Fire Staff in hand, aim for the radiant red orb floating above. Lastly, return to the Crazy Place, ready for what’s next!
Put the Fire Staff into the red column and enhance it by slaying twenty zombies in its vicinity. Once done, retrieve the staff again as it should now bear an upgrade, and its name will have been changed to Kagutsuchi’s Flame.
How to Upgrade the Ice Staff
Ull’s Arrow in Origins
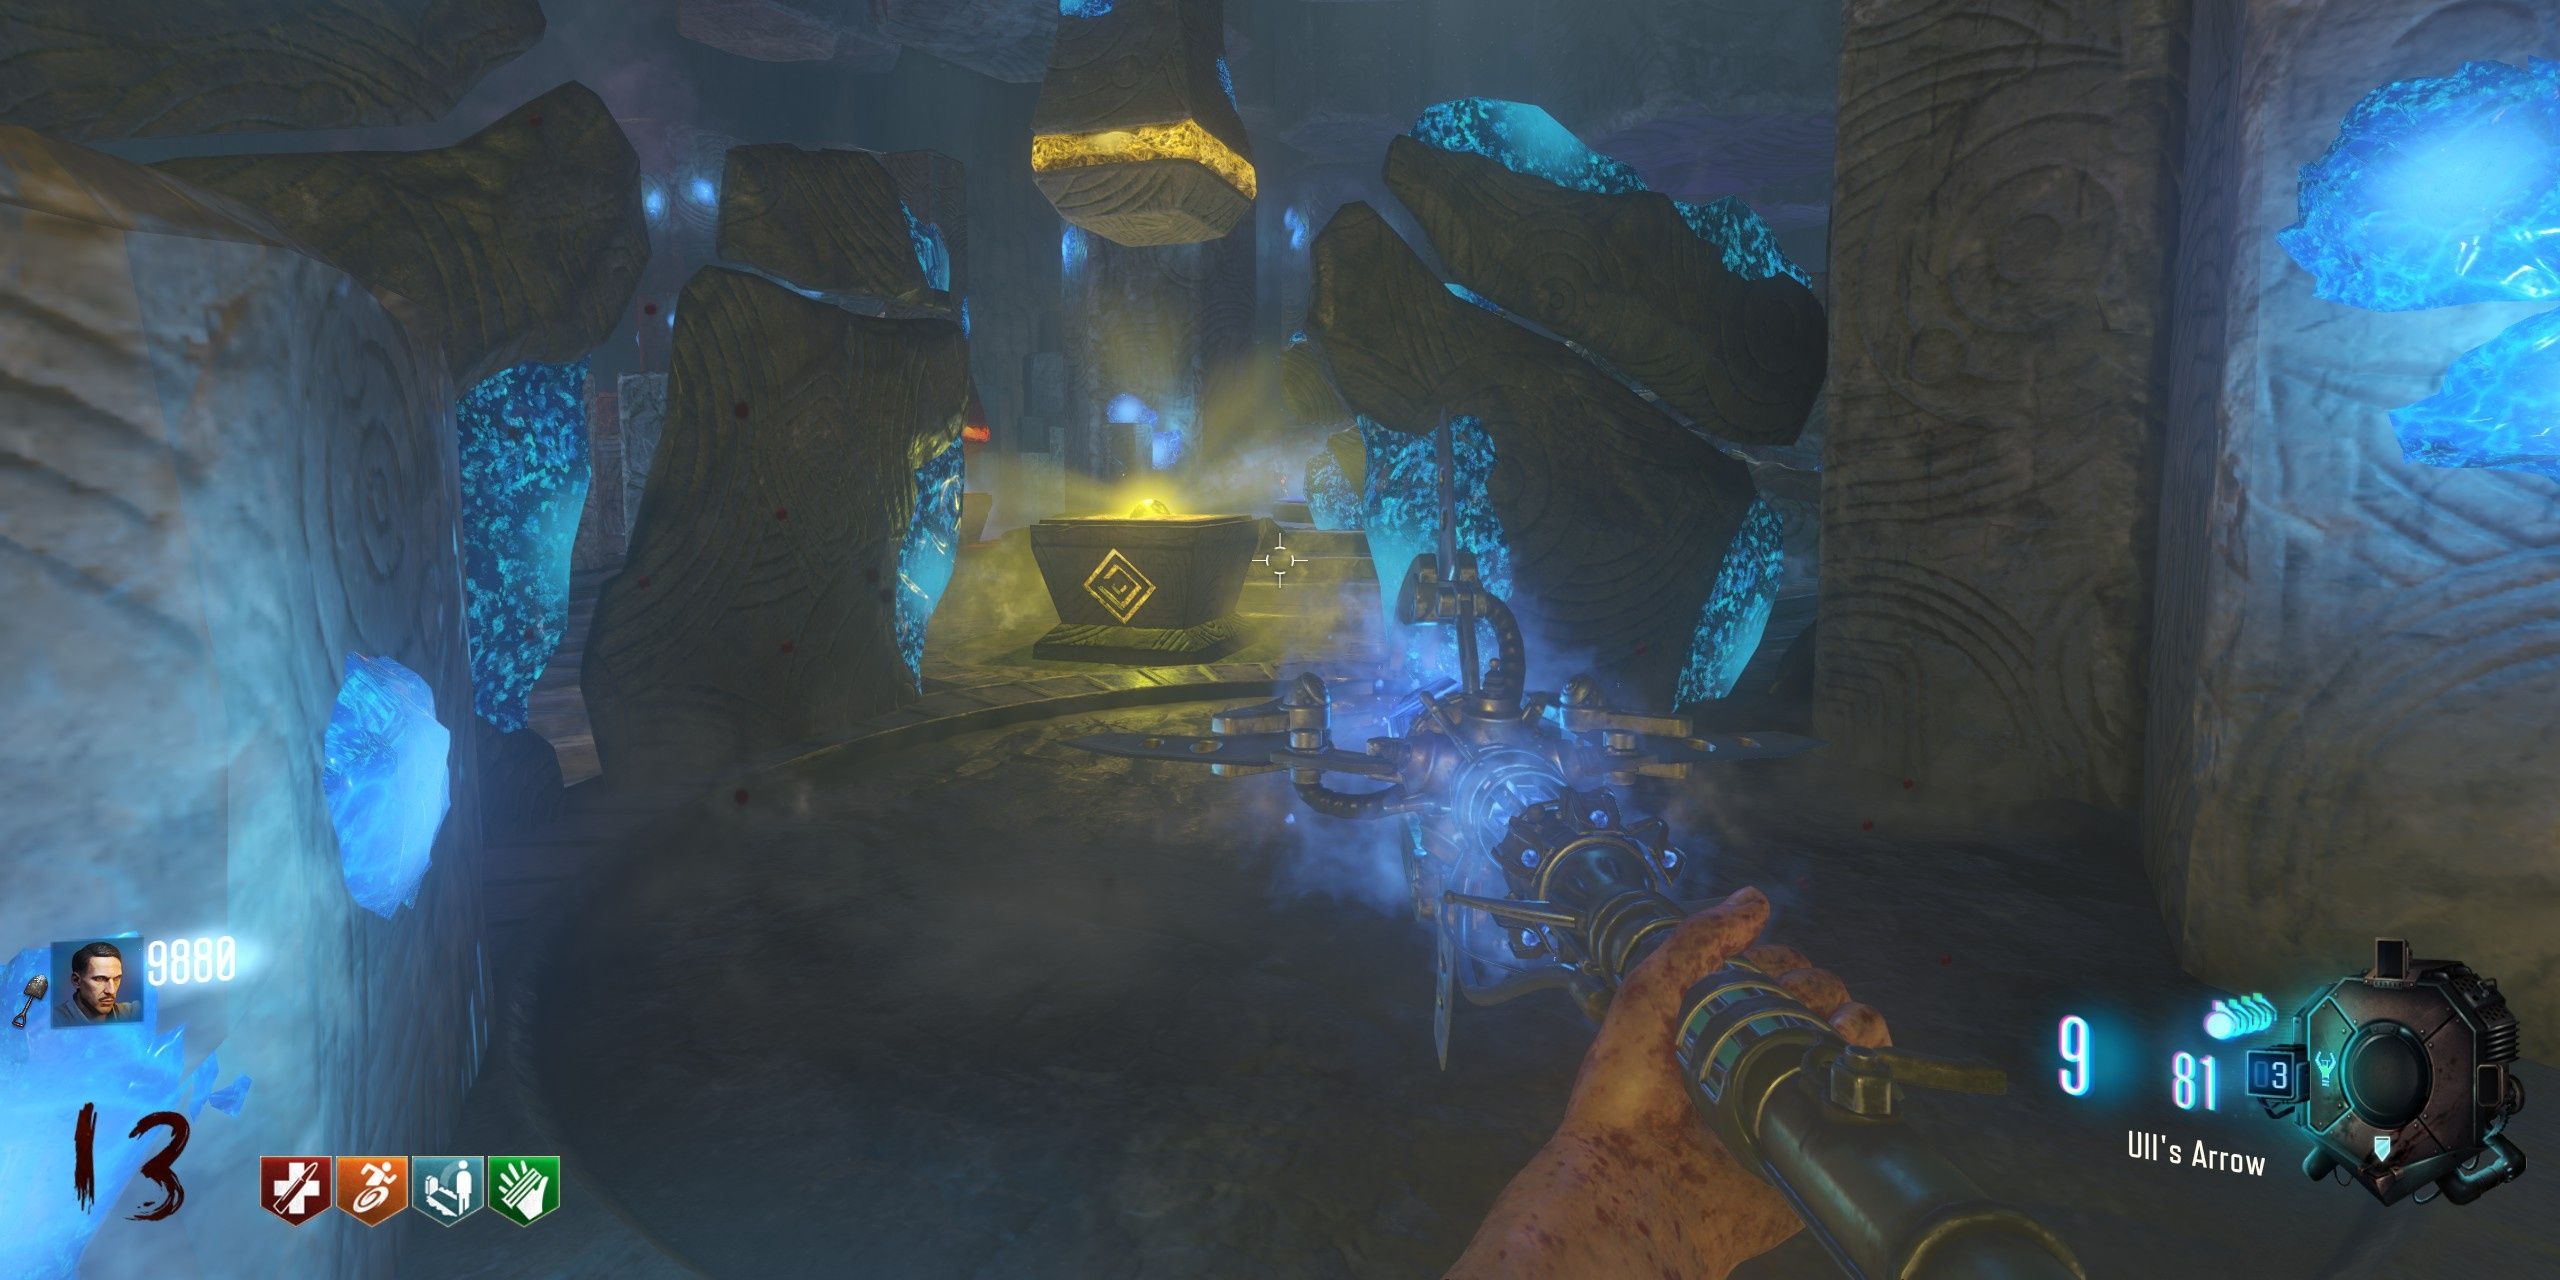
To use the Ice Staff, make your way back to the colorful zone known as The Crazy Place. Inside this area, you’ll notice a section with an icy theme, easily identified by its blue decor. Once there, search for tiles on both the ceiling and one of the walls. Look closely at the tile on the pillar to see which symbol it displays. Then, locate the floating tile on the ceiling that corresponds to this symbol and fire your staff at it. Repeat this process until you hear an audio signal indicating that you’ve completed the task. In summary: Observe the symbol, determine its meaning on the ceiling, hit the matching ceiling tile, and continue until a sound clue tells you’re done.
After leaving the Bizarre Region, players should find a set of three gravestones situated beyond the map’s border. These gravestones need to be struck with the Ice Wand first, which will freeze the water. Then, they should aim and fire their gun at the frozen tombstones, causing them to vanish.
- By the Giant Robot footprint near Generator 4 and the KN-44 wall-buy
- At the Giant Robot footprint outside the Excavation
- Behind the Tank Station beside the destroyed Giant Robot on the mud path to No Man’s Land
As a fan, I found myself in a unique situation when I toppled over each of the three tombstones, triggering an audible signal and a radiant sky beam guiding me back to the Excavation site. Upon returning, I noticed four levers scattered around the room. After some exploration, I adjusted all of them so that their dials displayed a bright blue hue. With the staff area now within my sights, I spotted a vibrant blue orb emerging. Using my trusty Ice Staff, I aimed and fired, shattering the orb and completing the task at hand.
Return to the Mad Zone, put the Frozen Stick into the blue column. Eliminate 20 zombies in the Mad Zone to recharge the Frozen Stick. After charging is complete, players can retrieve the Frozen Stick again, this time as its enhanced version, Ull’s Arrow.
Read More
- LUNC PREDICTION. LUNC cryptocurrency
- SOL PREDICTION. SOL cryptocurrency
- BTC PREDICTION. BTC cryptocurrency
- USD ZAR PREDICTION
- BICO PREDICTION. BICO cryptocurrency
- VANRY PREDICTION. VANRY cryptocurrency
- USD CLP PREDICTION
- ASTO PREDICTION. ASTO cryptocurrency
- RIDE PREDICTION. RIDE cryptocurrency
- NXRA PREDICTION. NXRA cryptocurrency
2024-10-03 22:24