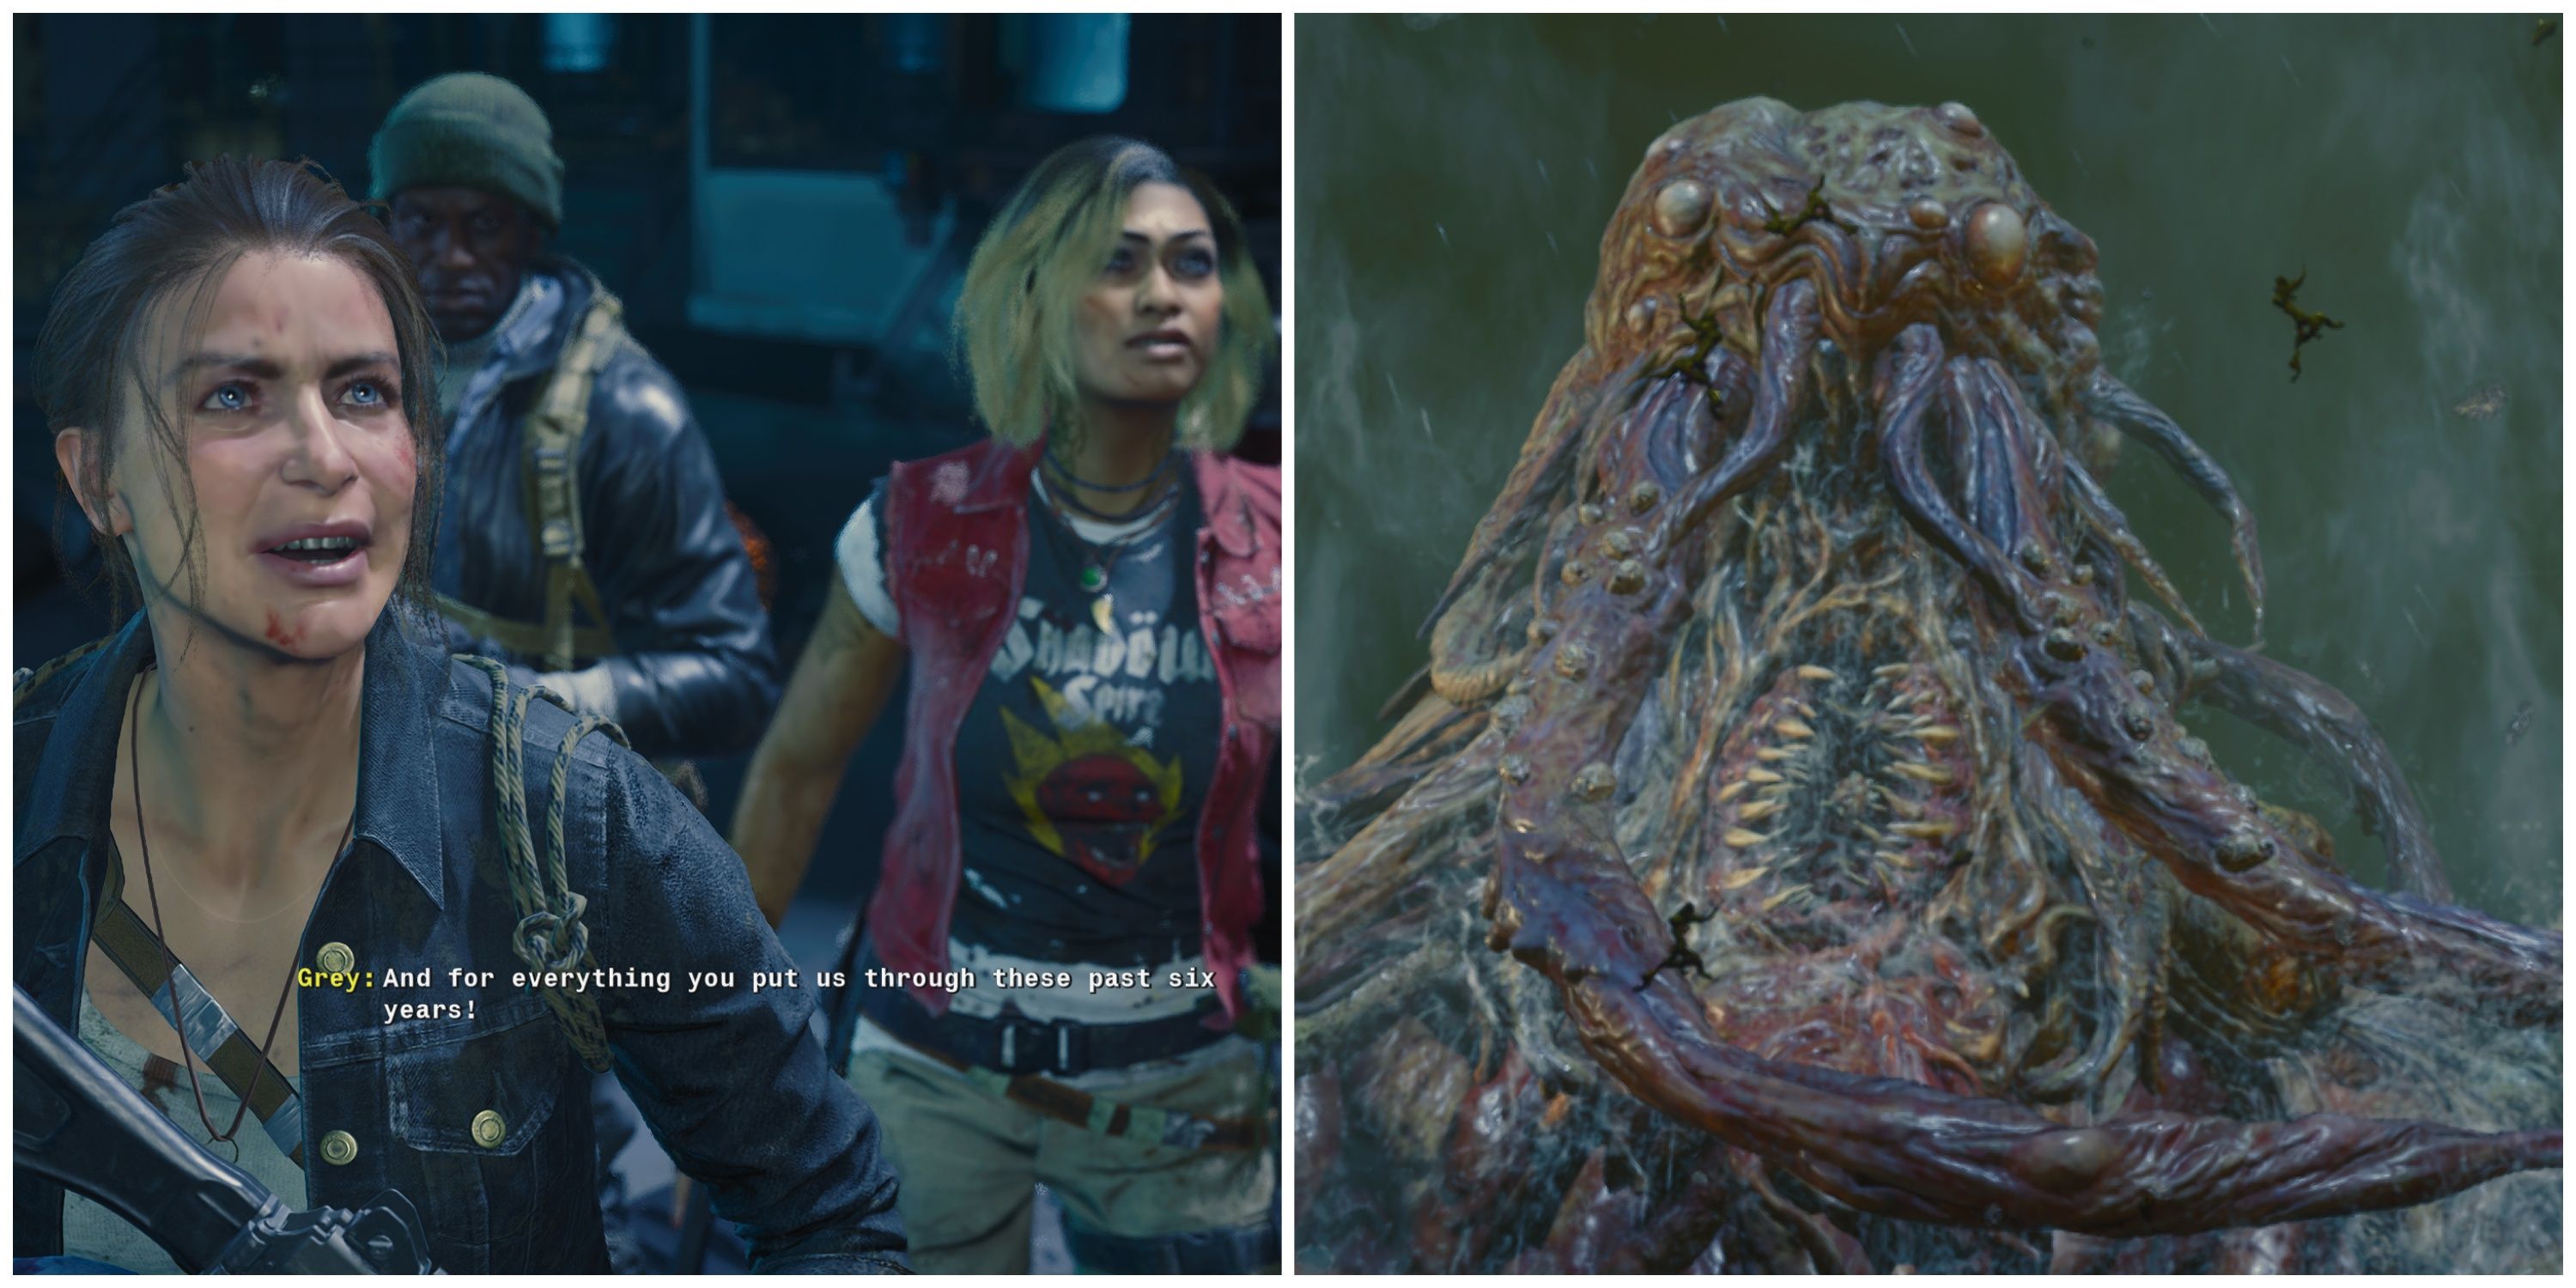
As a long-time Zombies enthusiast who has battled countless undead hordes across various maps and timelines, I can confidently say that the Terminus boss fight against Patient 13 is one of the most intriguing and challenging encounters yet. With a Cthulhu-inspired design reminiscent of Lovecraftian lore, this fight takes players on an exhilarating journey through three distinct phases that demand strategy, precision, and quick thinking to emerge victorious.
In the thrilling world of Call of Duty: Black Ops 6 Zombies, the former members of Ex-Requiem are on a vengeful mission against Director Eddie Richtofen. Their adventure begins with daring prison breaks and encounters with sea monsters around Terminus Island. It’s now time to embark on the main quest Easter Egg hidden within the mystical confines of Terminus!
For those up for the task, the main quest on Terminus Island offers quite a test, yet it’s richly rewarding for those seeking an engaging narrative, immersive experience, and valuable prizes. Here’s a helpful walkthrough: [insert guide details here]
Obtain the Beam Smasher
How to Craft the DRI-11 Beamsmasher
To initiate the Terminus Main Quest, players need to obtain the Beamsmasher, a special weapon discovered on Terminus Island. Players can secure the Beamsmasher in various ways – through luck with the Mystery Box, using the Wonderbar! GobbleGum, or by crafting it. Here’s how you can craft it:
- Activate the AMPs to turn on Pack-a-Punch and the power.
- Activate three laptops:
- Outside of the Storage Area
- Outside Communications’ upper level
- By the Docks before the Sea Tower
- Enter the Sea Tower where Elemental Pop is located and interact with a briefcase that has a hand attached to it to pick up the Multiphasic Resonator.
- Purchase a Deadwire Ammo Mod and shoot that weapon at an electric circuit in the broken window on the Inclined Lift going up from the Bio Lab, and follow the circuit to other electrical boxes.
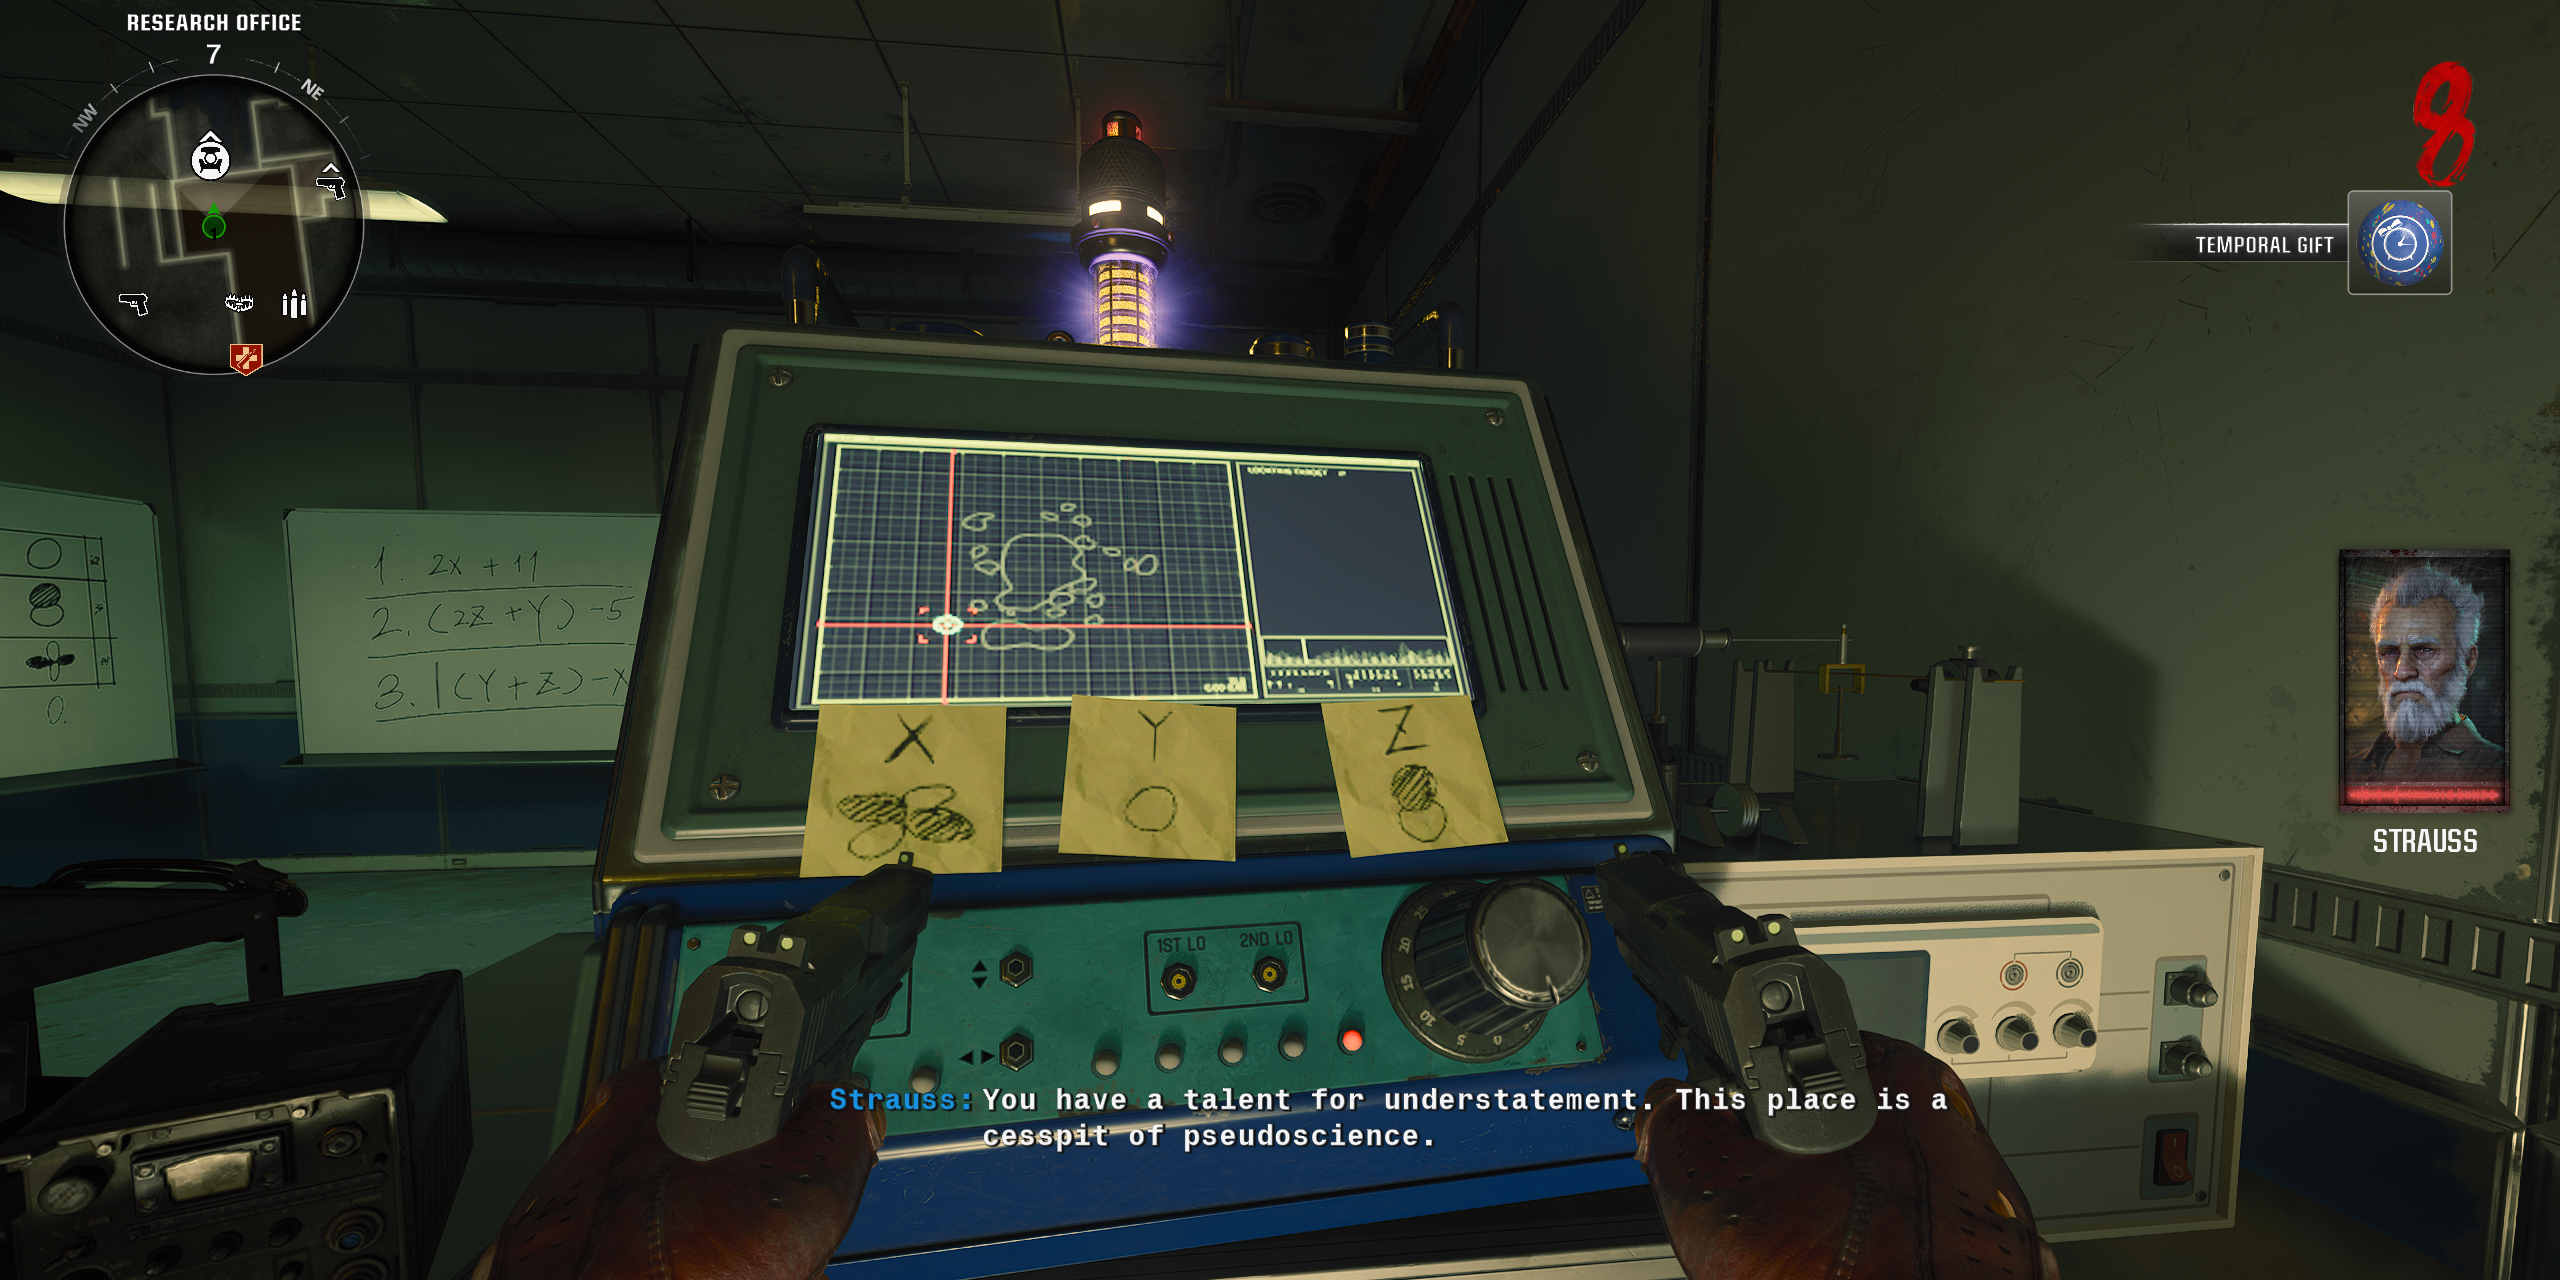
- Enter the Research Office at the Rec Yard kill the trapped zombie and then pick up the EMF Fob
- Interact with the computer in the Research Office, twice
- Pay Peck 5,000 Essence in the Guard Station to acquire the code that can be entered at the computer in the Research Office
- Finish the Round, then head to the specified island marked by the computer and place the Multiphasic Resonator by the glowing orb. Kill the unlimited spawning zombies and one will glow the same color as the orb and drop a pickup which can be placed into the orb twice. The orb will fly off to a different island, so pick the Multiphasic Resonator back up and repeat the step at a new island until players can pick up the AMP Munition.
- Head back to the Research Office and hold interact on the workbench to craft the free Beamsmasher.
Acquire the Hard Drive and Give it to Peck
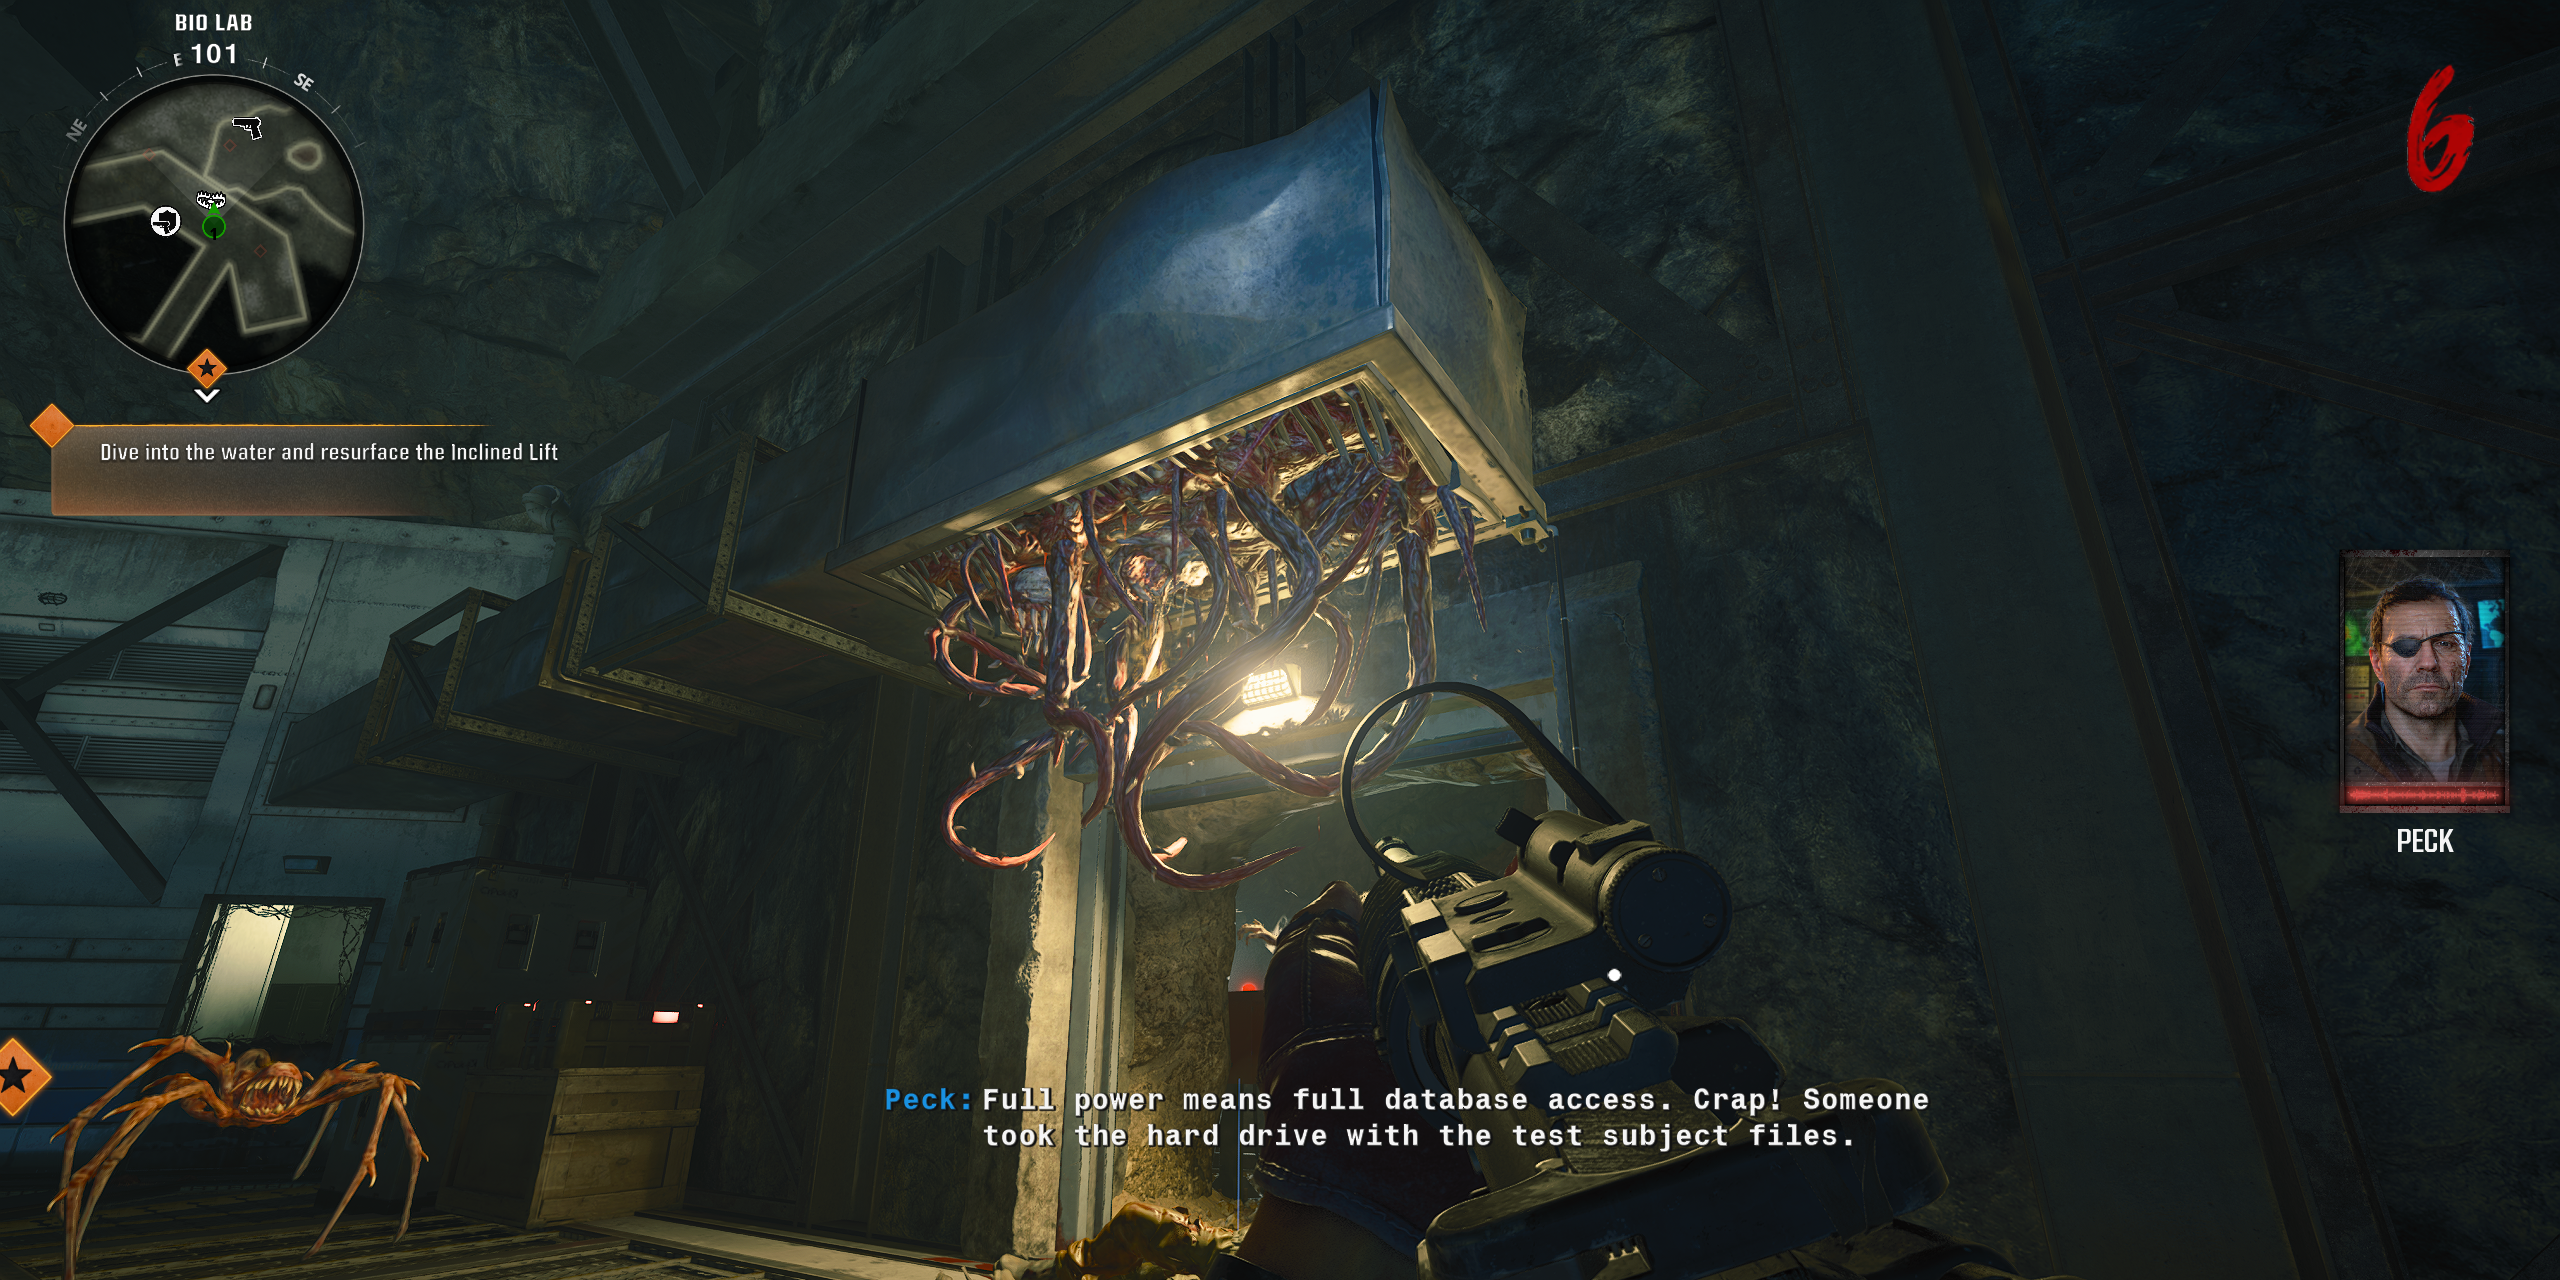
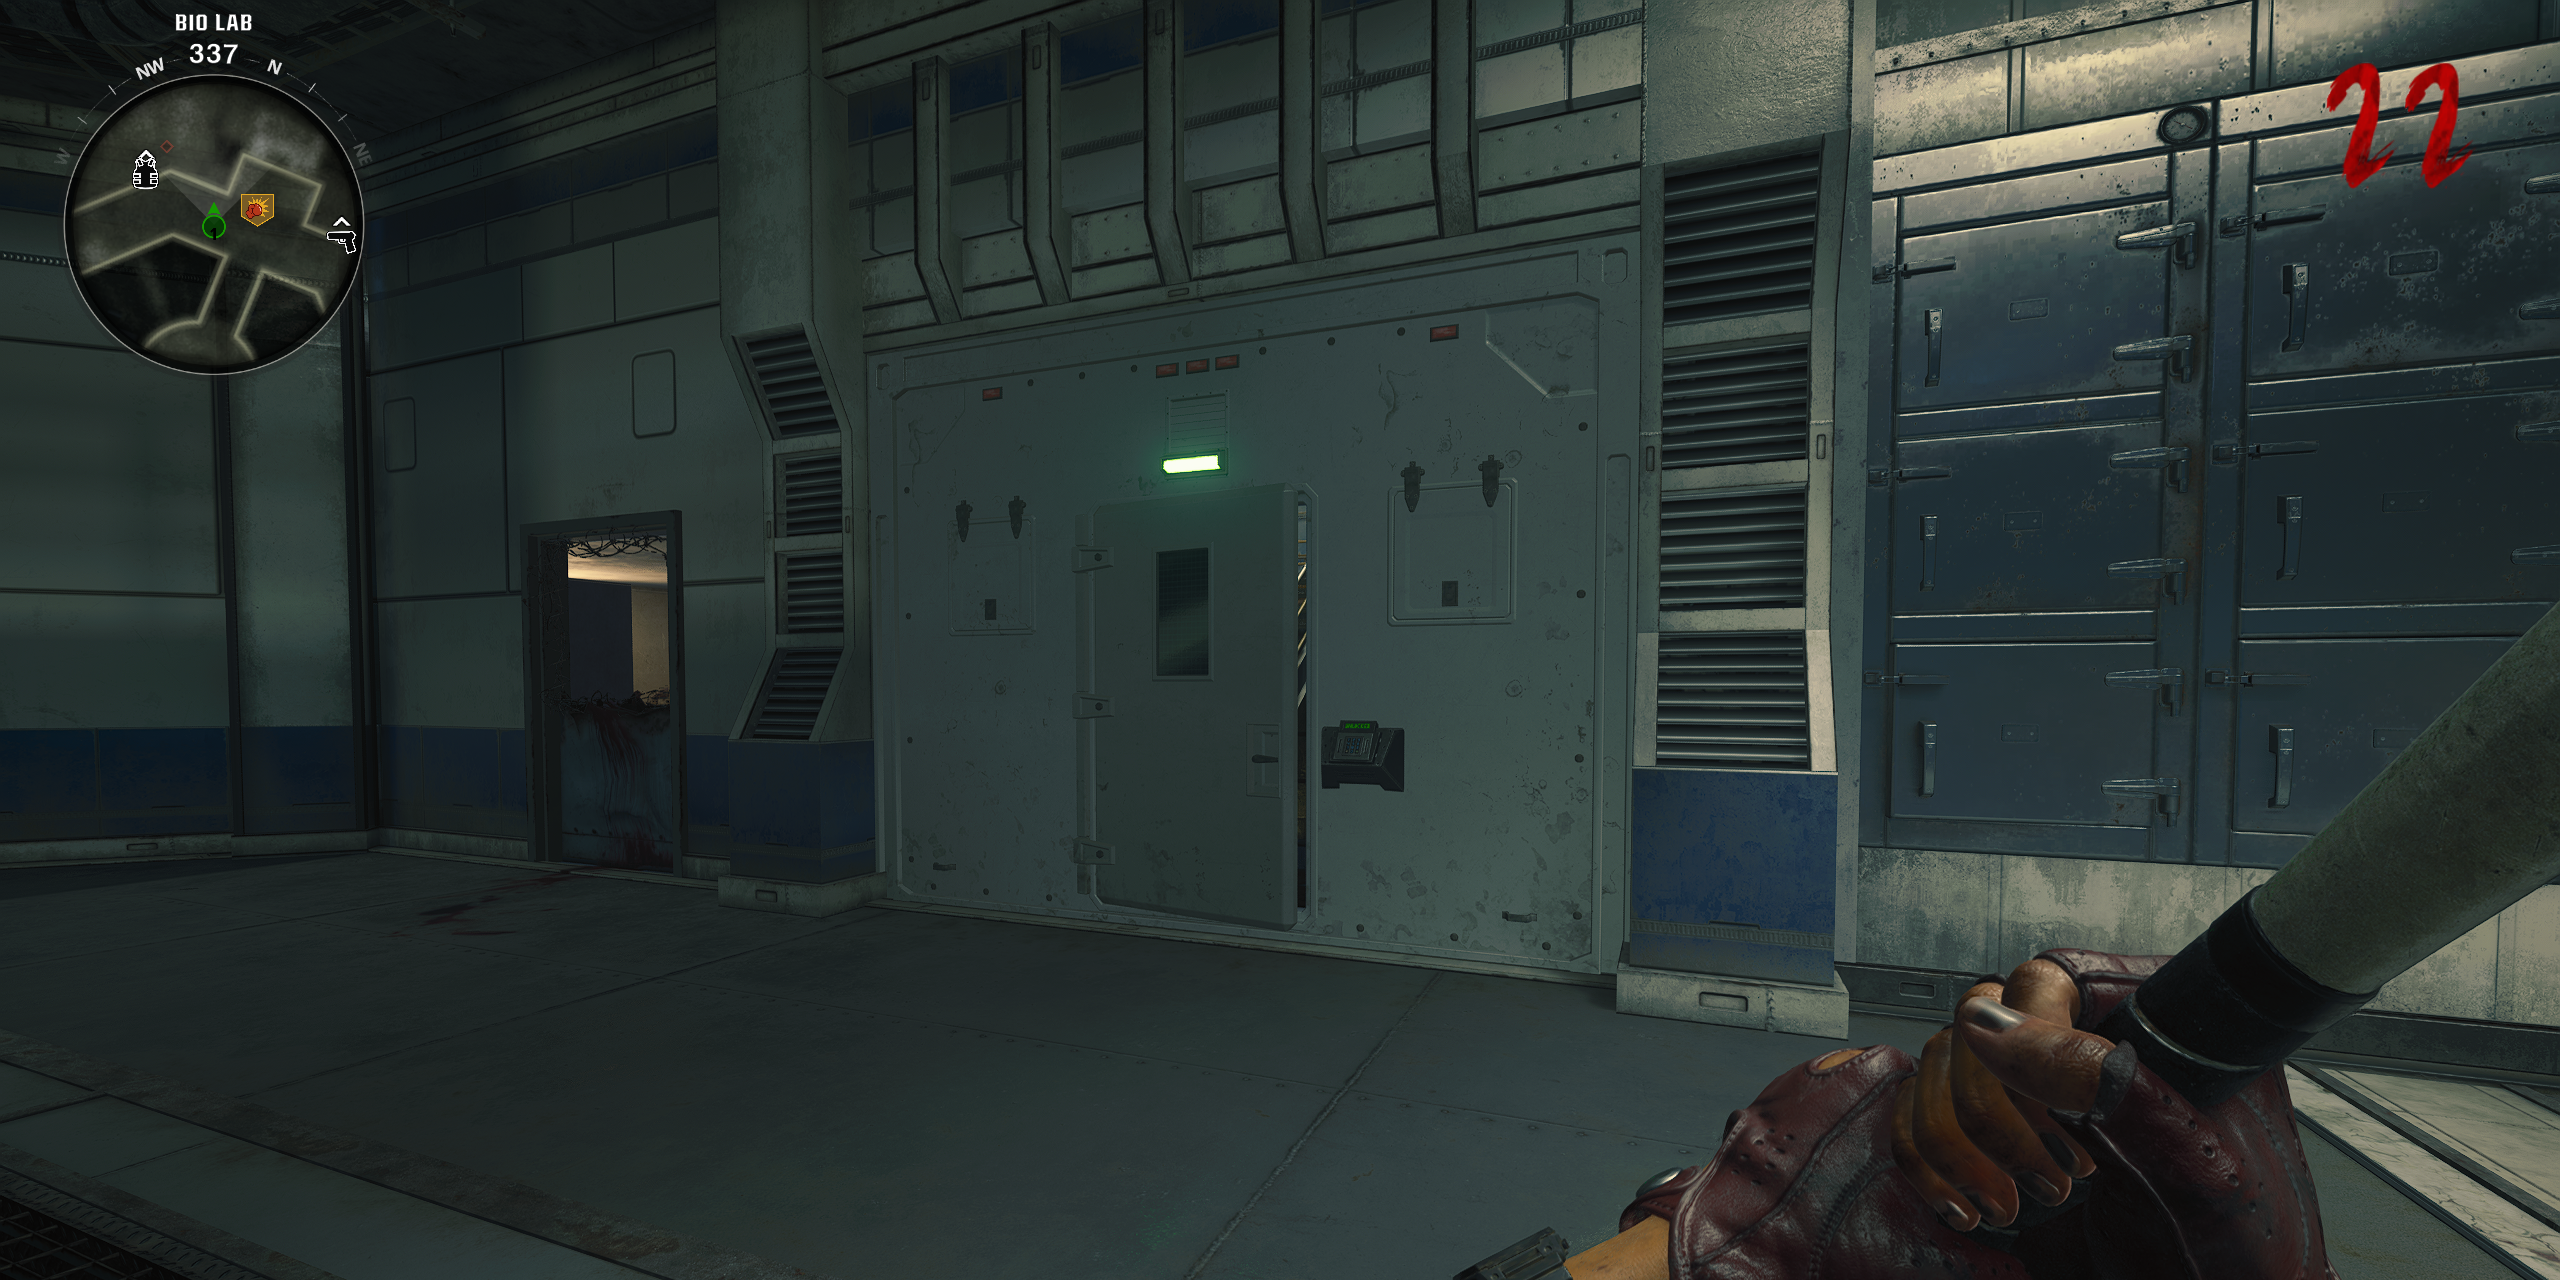
After obtaining the DRI-11 Beamsmasher, players should venture to the Bio Labs. Within the Bio Labs, on either of the doors leading towards Speed Cola or PhD Flopper, there’s a Tentacle Trap on the wall that costs 750 Essence. To proceed, players must buy the Tentacle Trap and aim the Beamsmasher’s regular attack (R2/RT/Left-Click) upward to strike the tentacles. If executed correctly, a Hard Drive should emerge from the tentacles. Since the location is random, if no Hard Drive appears at PhD Flopper’s door, try the Speed Cola room instead, and vice versa. Once dropped, collect the Hard Drive using the interact button.
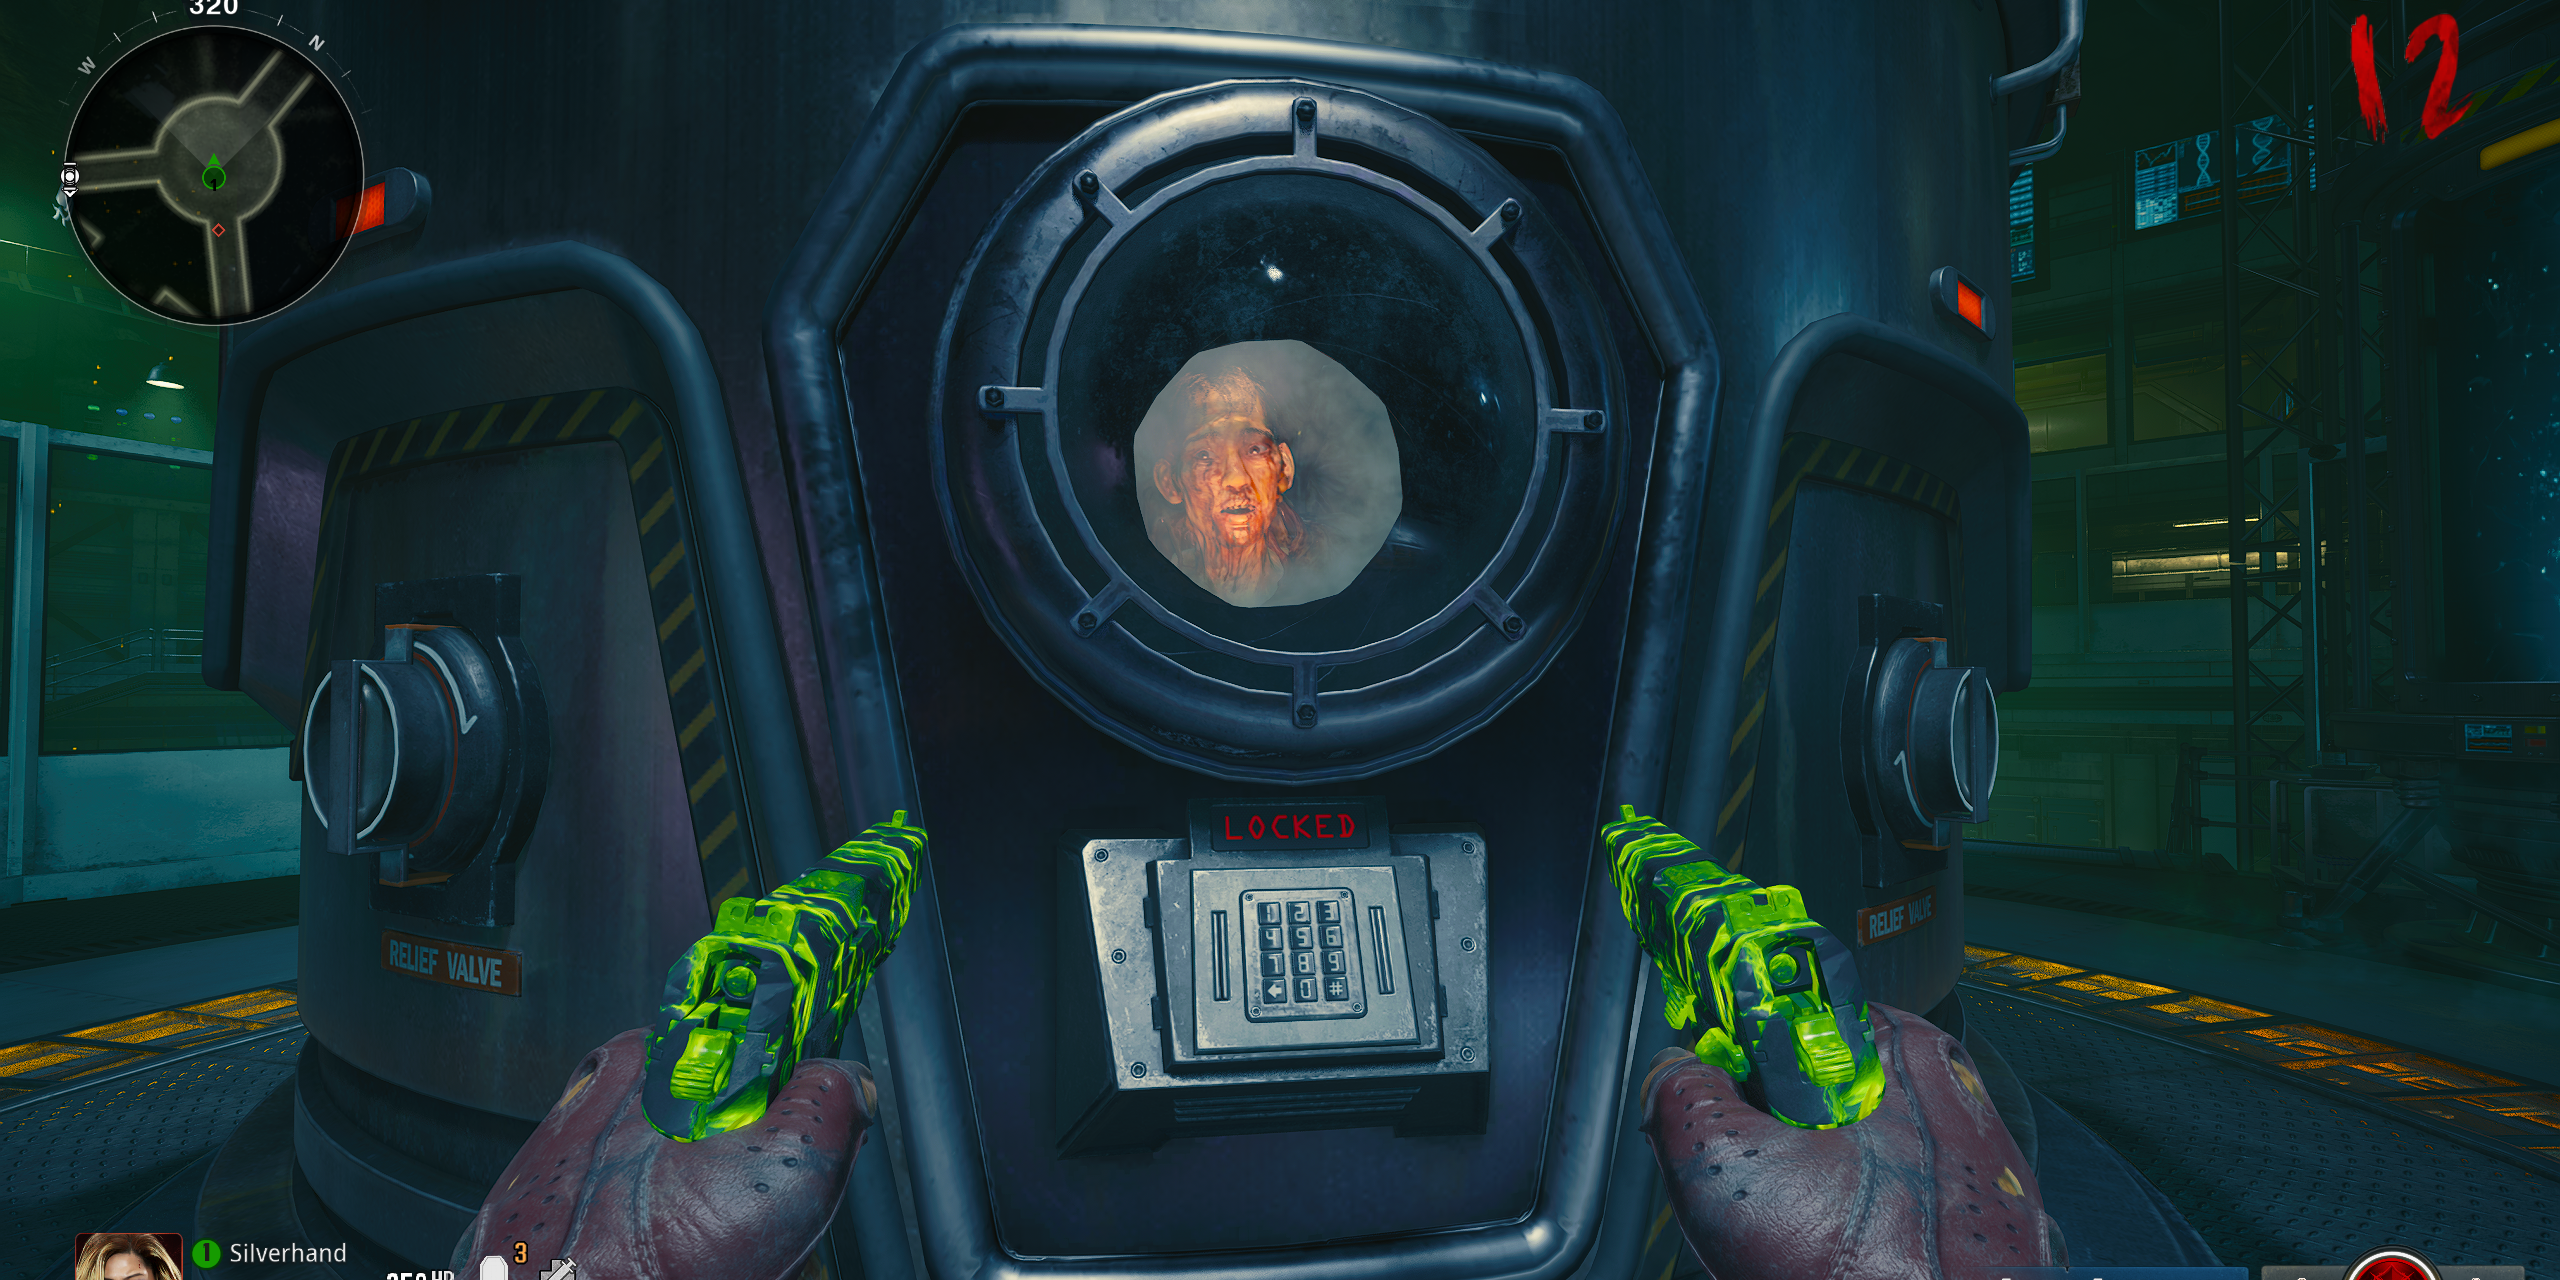
To proceed, players should carry the Hard Drive and make their way back to the Guard Station’s spawn point. Inside the control room there, they will find characters Peck and Strauss. Locate the drop box within the Guard Station, deposit the Hard Drive inside, enabling you to hack the central containment unit in the Bio Lab. Descend into the Bio Lab and interact with the central cylinder to see Maya’s brother, Nathan. Finally, it’s time for his rescue mission.
Find the Codes to Nathan’s Containment Unit
How to Free Nathan in Terminus
To set Nathan free during the Terminus Easter egg mission, players must gather three unique numbers in a particular sequence. Here’s how you might find them:
Number #1
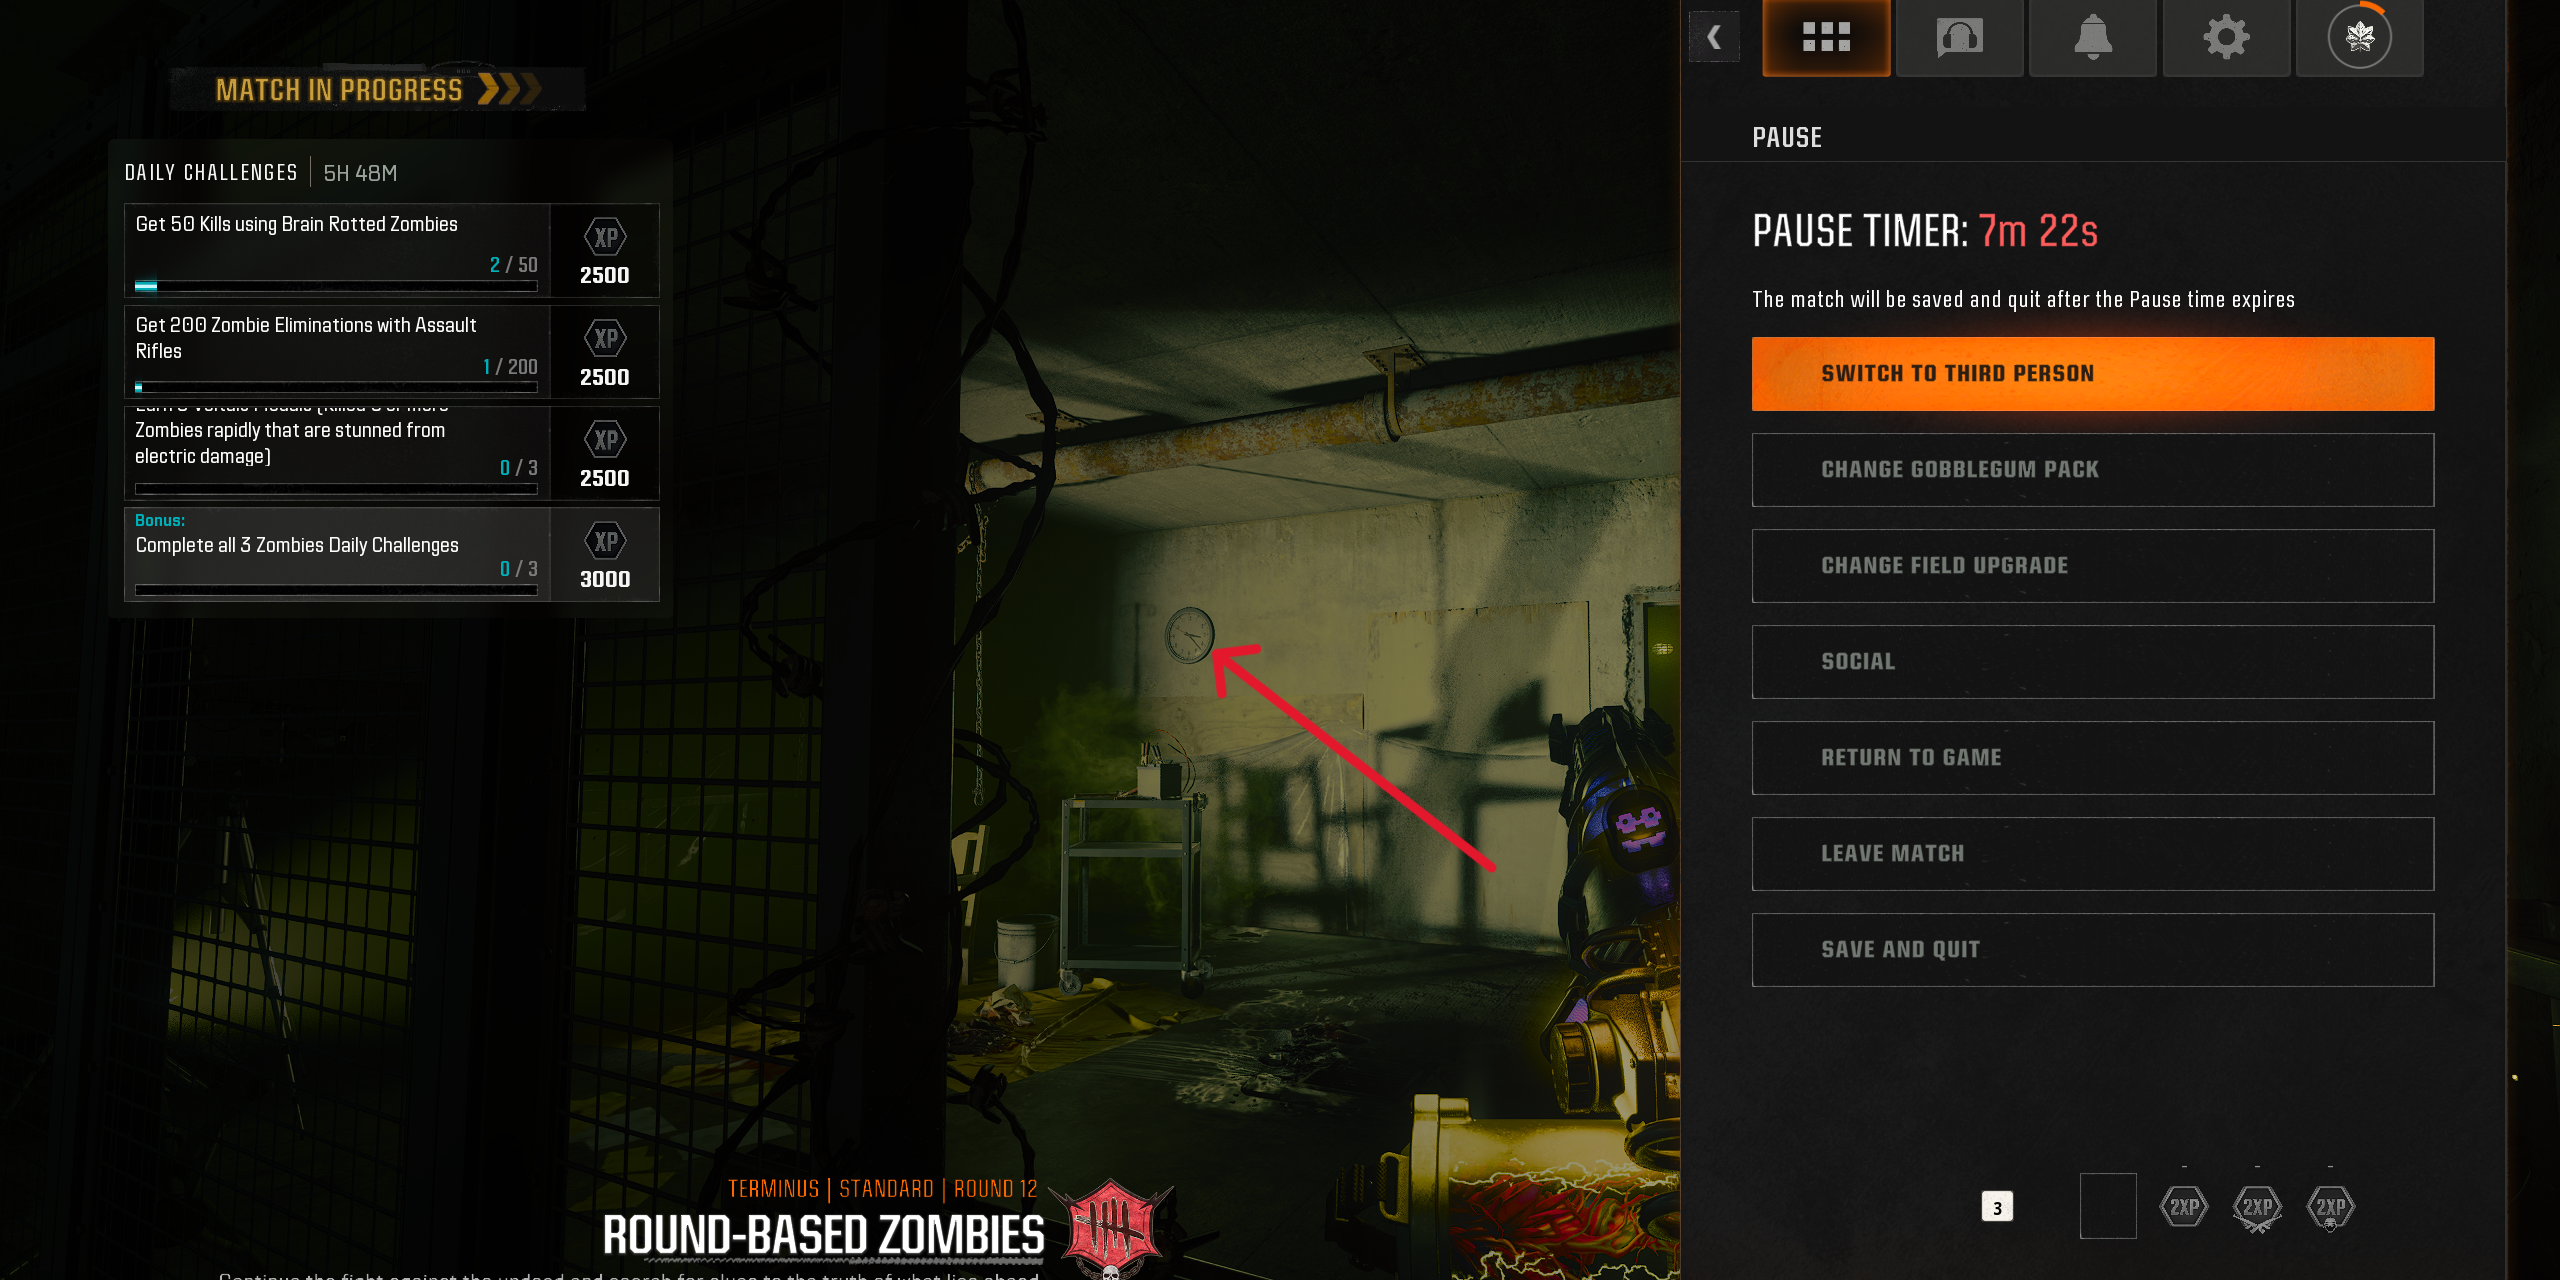
In the Interrogation Rooms, where the Quick Revive is located, proceed towards the fenced partition that separates one interrogation room. Identify the blood-stained chair in the center as a landmark. At the rear wall, you’ll find a clock. Take note of the position of the hour hand on this clock. This position will be the first number you need.
Number #2
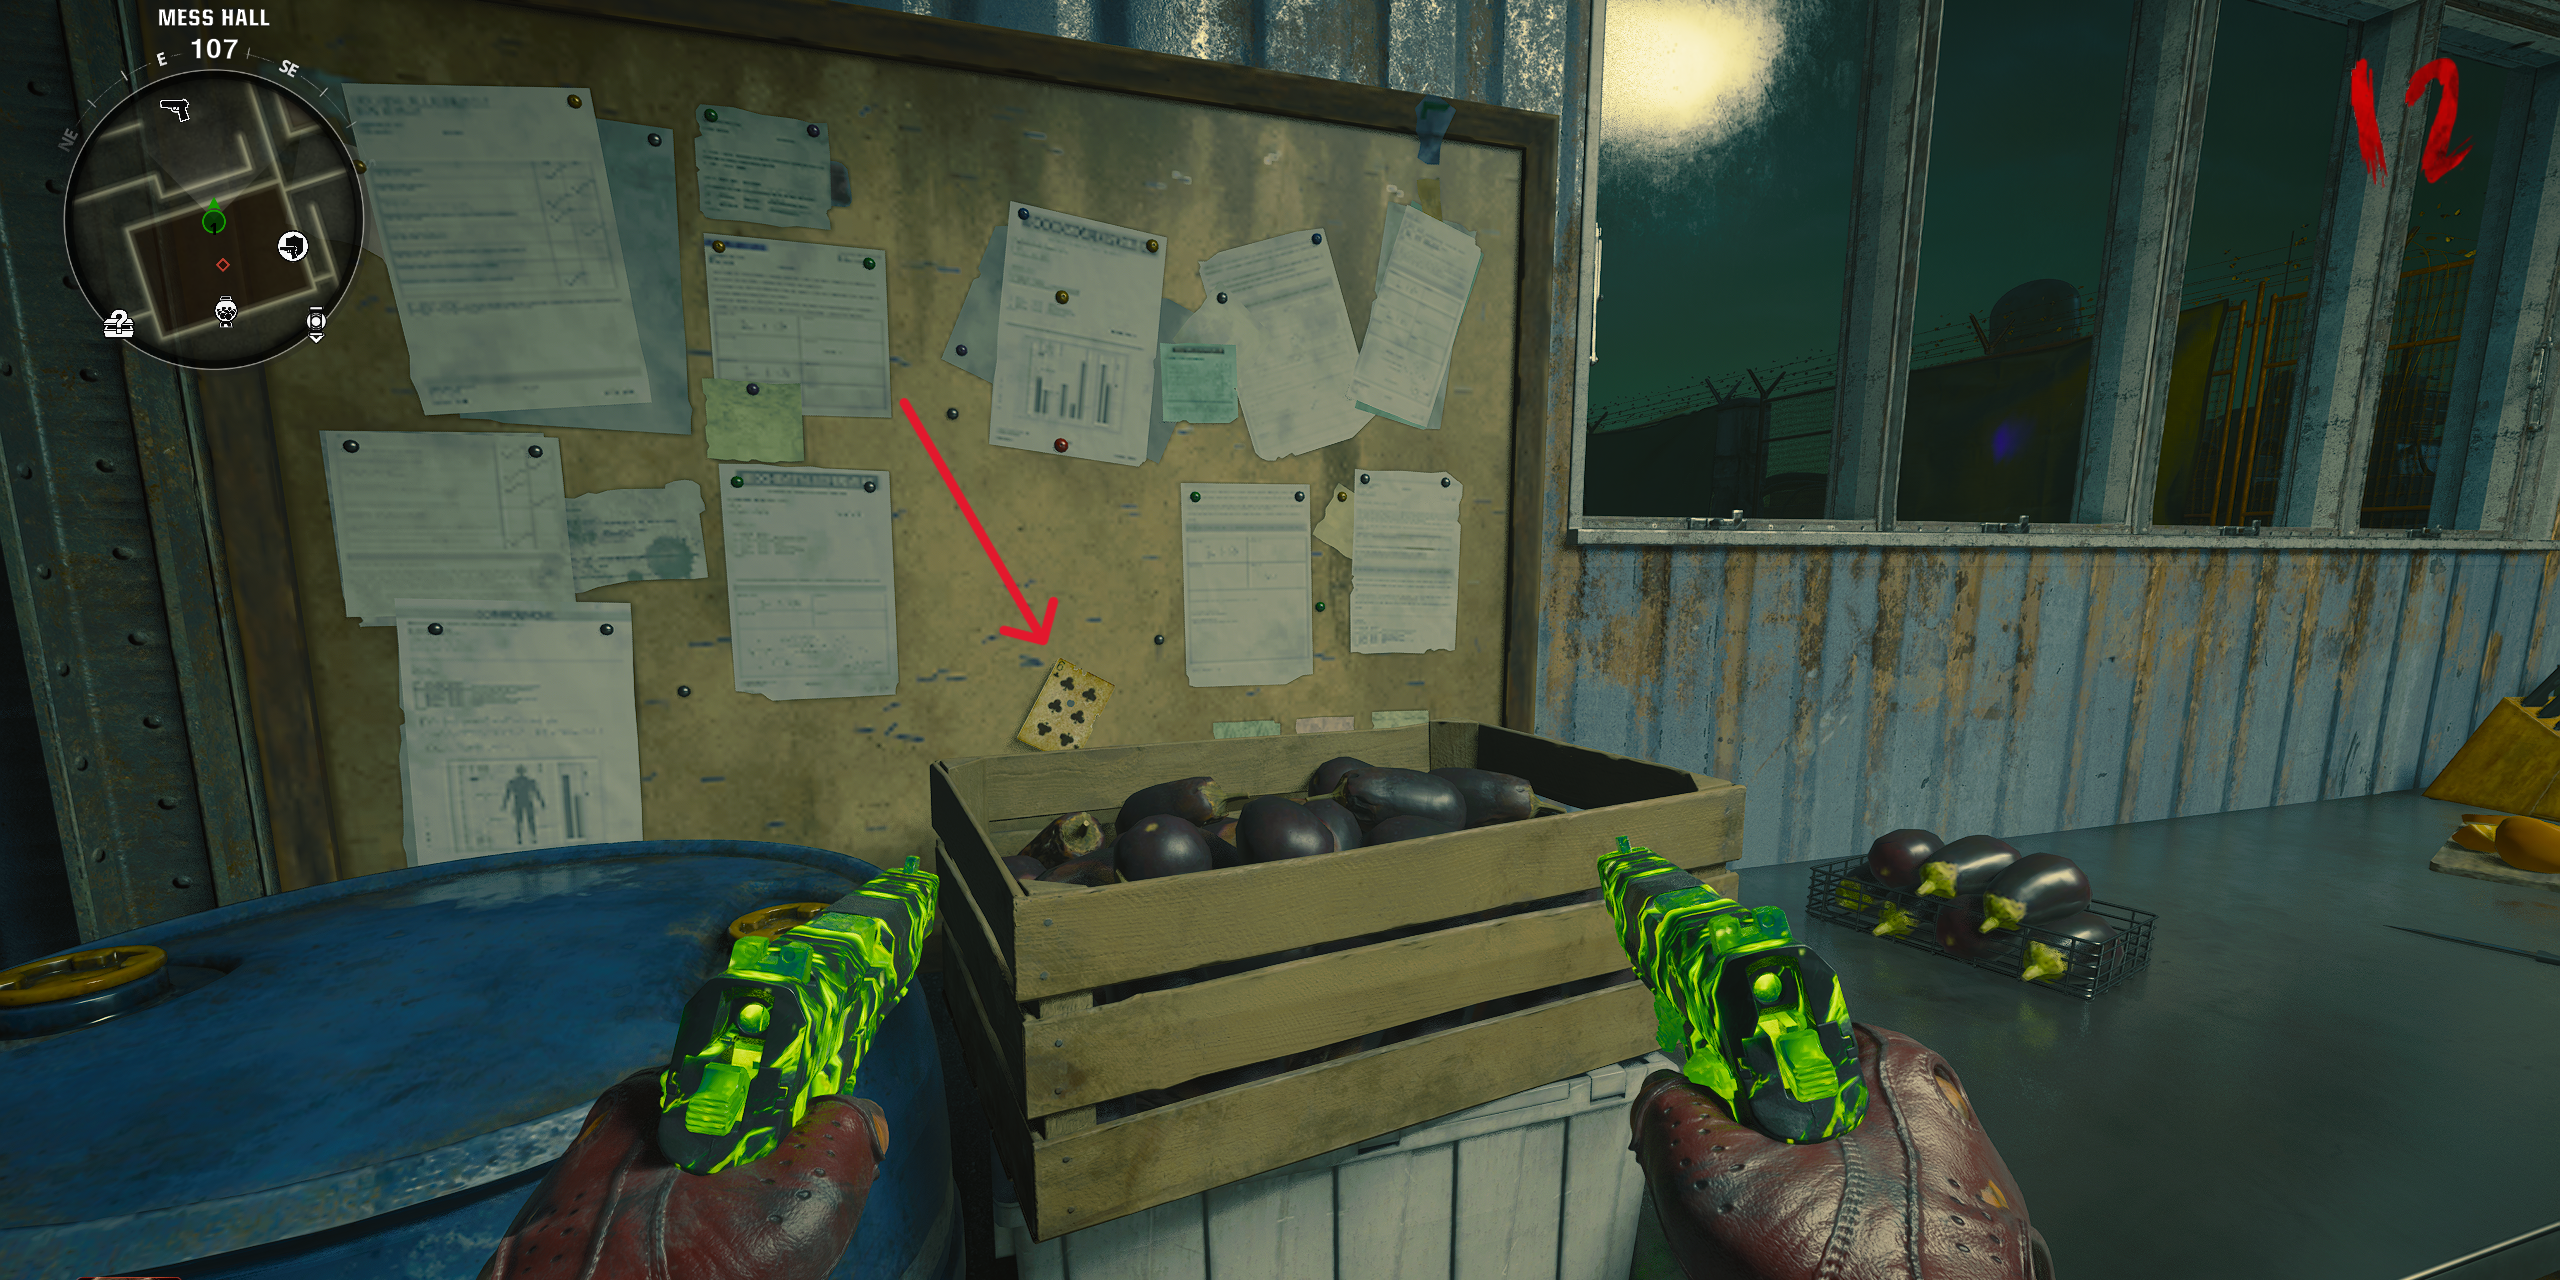
As they traverse along from the Interrogation Chambers, players will find themselves in the Dining Area. On the eastern wall, you’ll spot a wooden notice board displaying a playing card. This card holds the crucial second number that should be committed to memory.
Number #3
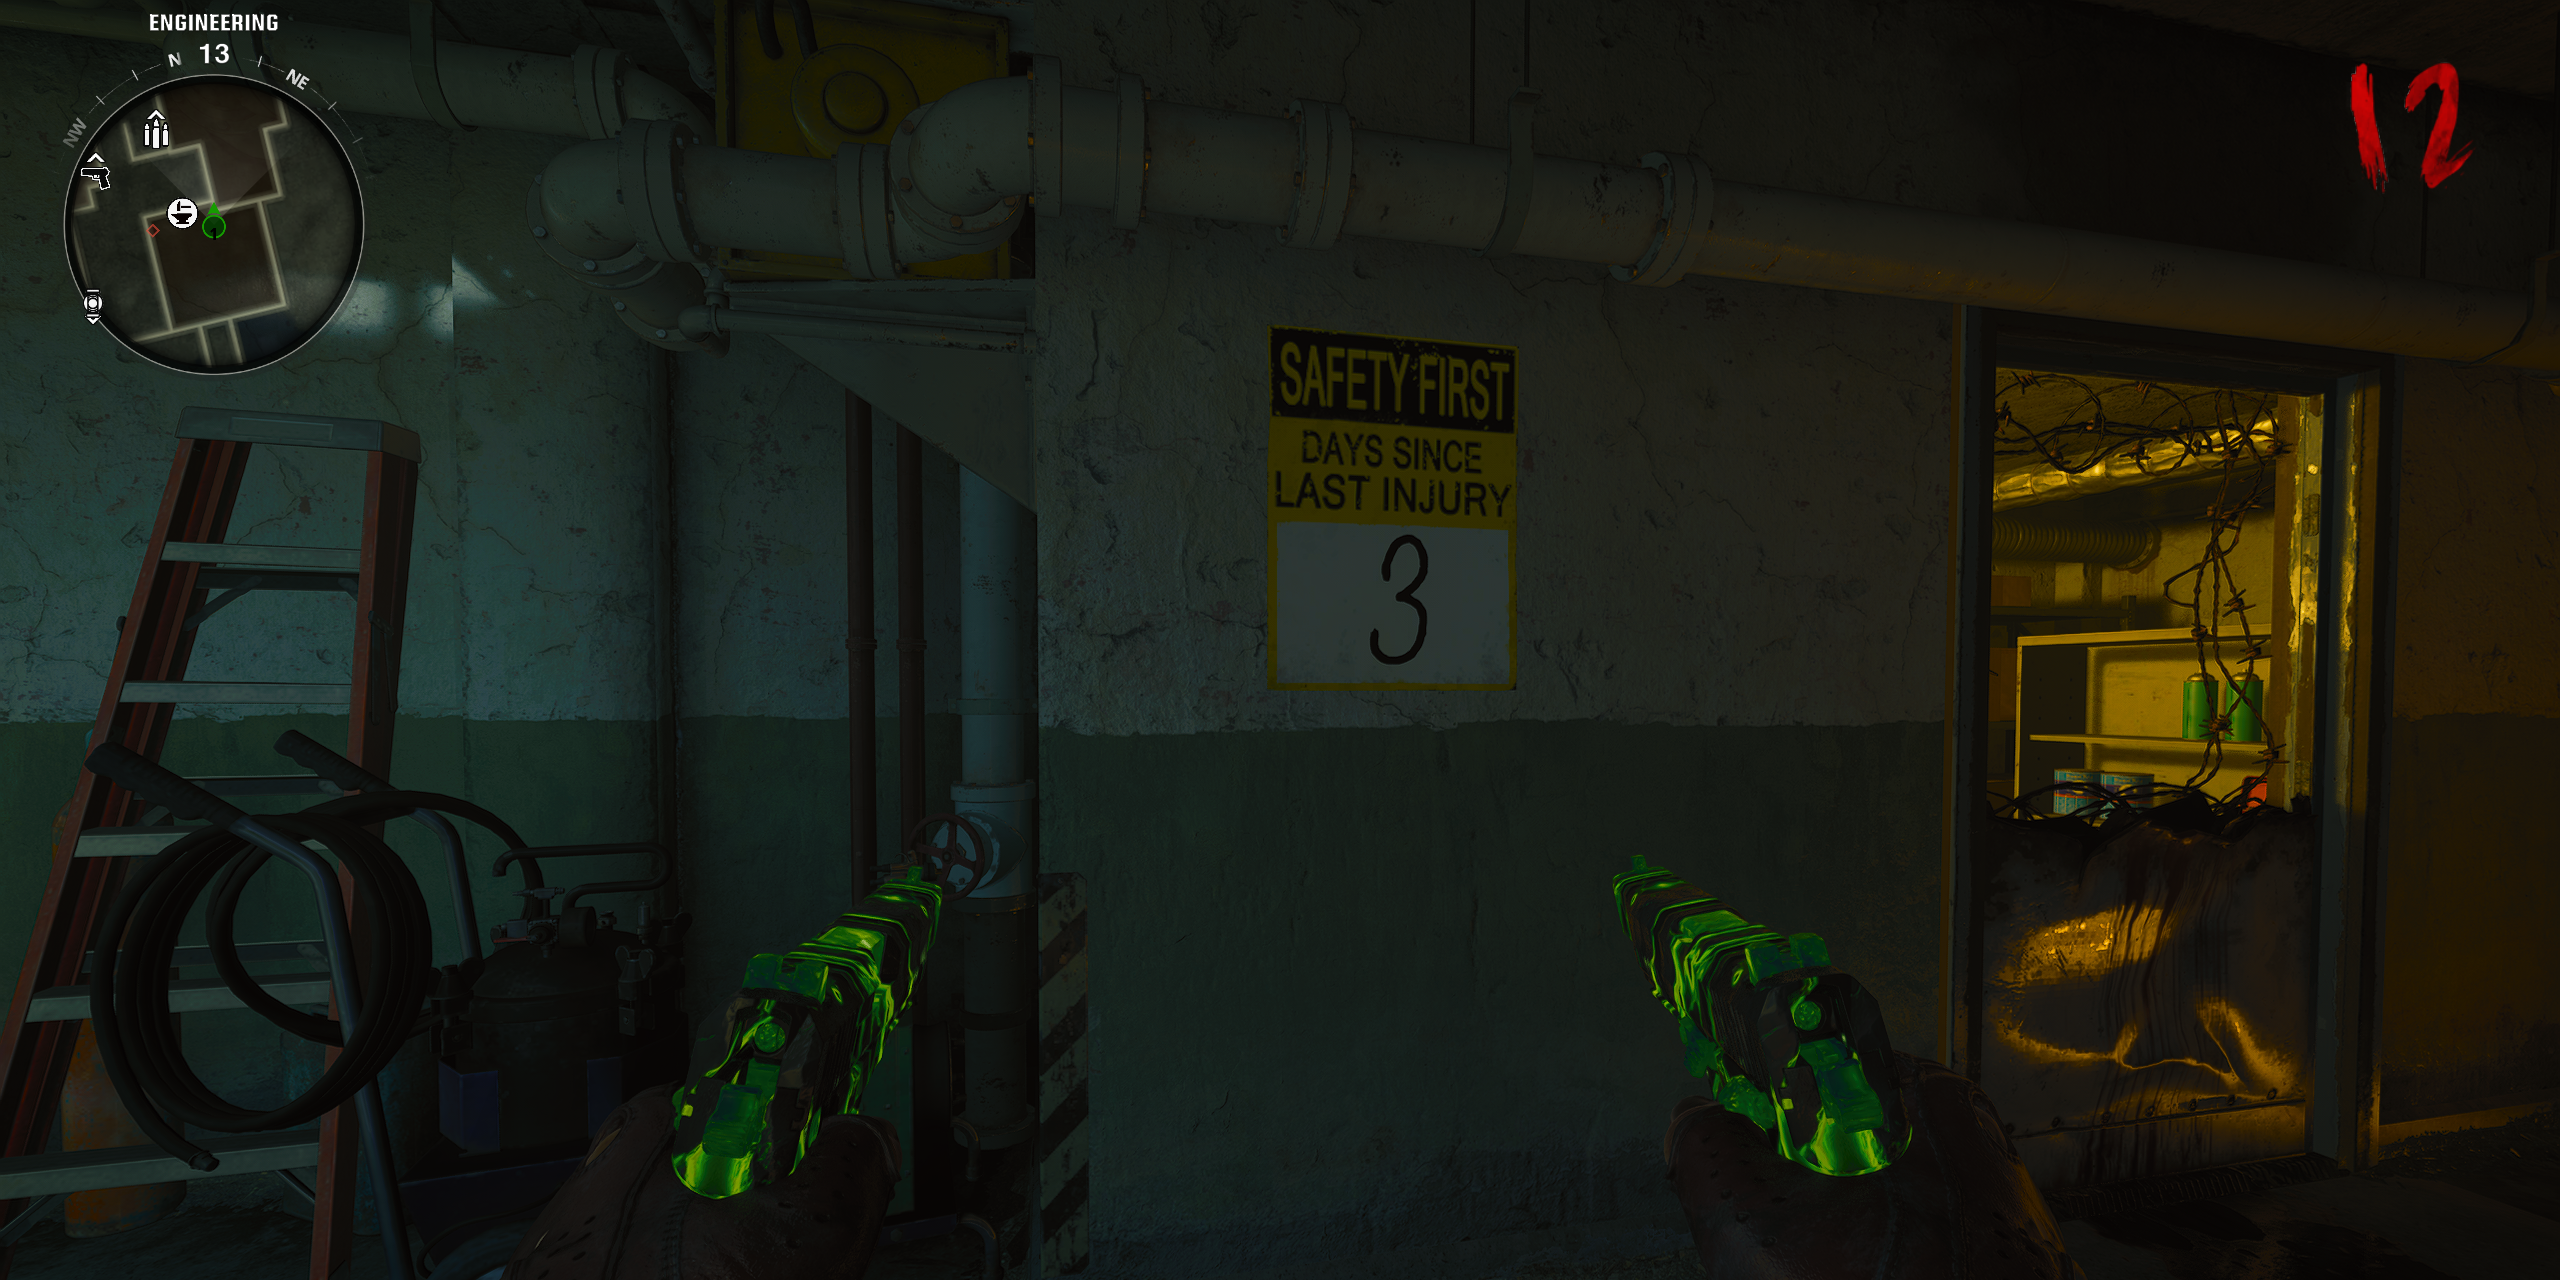
The third and final number is located in Engineering, the room close to where Juggernog can be acquired. At the back of the northeast wall, there will be a sign that says “Safety First: Days Since Last Injury” with a number written in a white box. That number is the third and final number players need.
Players can return to Nathan’s lab unit in the BioLab, then input the provided sequence of numbers correctly as specified earlier, allowing them to open the containment unit.
heads up: Manipulating the valves on Nathan’s containment device will trigger a boss battle. It’s wise to gear up with your chosen perks, protective armor, and weapons that have been boosted using the Pack-a-Punch system, as you’re about to face a challenging opponent. Stay prepared!
Once everyone is prepared, you’ll find four valves situated at the rear of Nathan’s control console. To initiate a group entry into the Bio Lab for a boss battle, simply press and hold the interact button on each of them – this can be done individually or collectively with your teammates.
Defeat Nathan in the Bio Lab
How to Beat the Amalgam Nathan
In the Bio Lab, a constant stream of zombies keeps flooding in, with Nathan hot on the heels of players. He functions much like the standard Amalgam mini-boss but boasts increased health. To conquer Nathan in Terminus, it’s crucial for players to keep moving and rely on potent weapons such as the Wonder Weapon and those that have been improved with Salvage and the Pack-a-Punch. The primary objective is to survive and eliminate Nathan. However, beware that Nathan can regenerate by devouring other zombies, so try to maintain a manageable number of the undead around you.
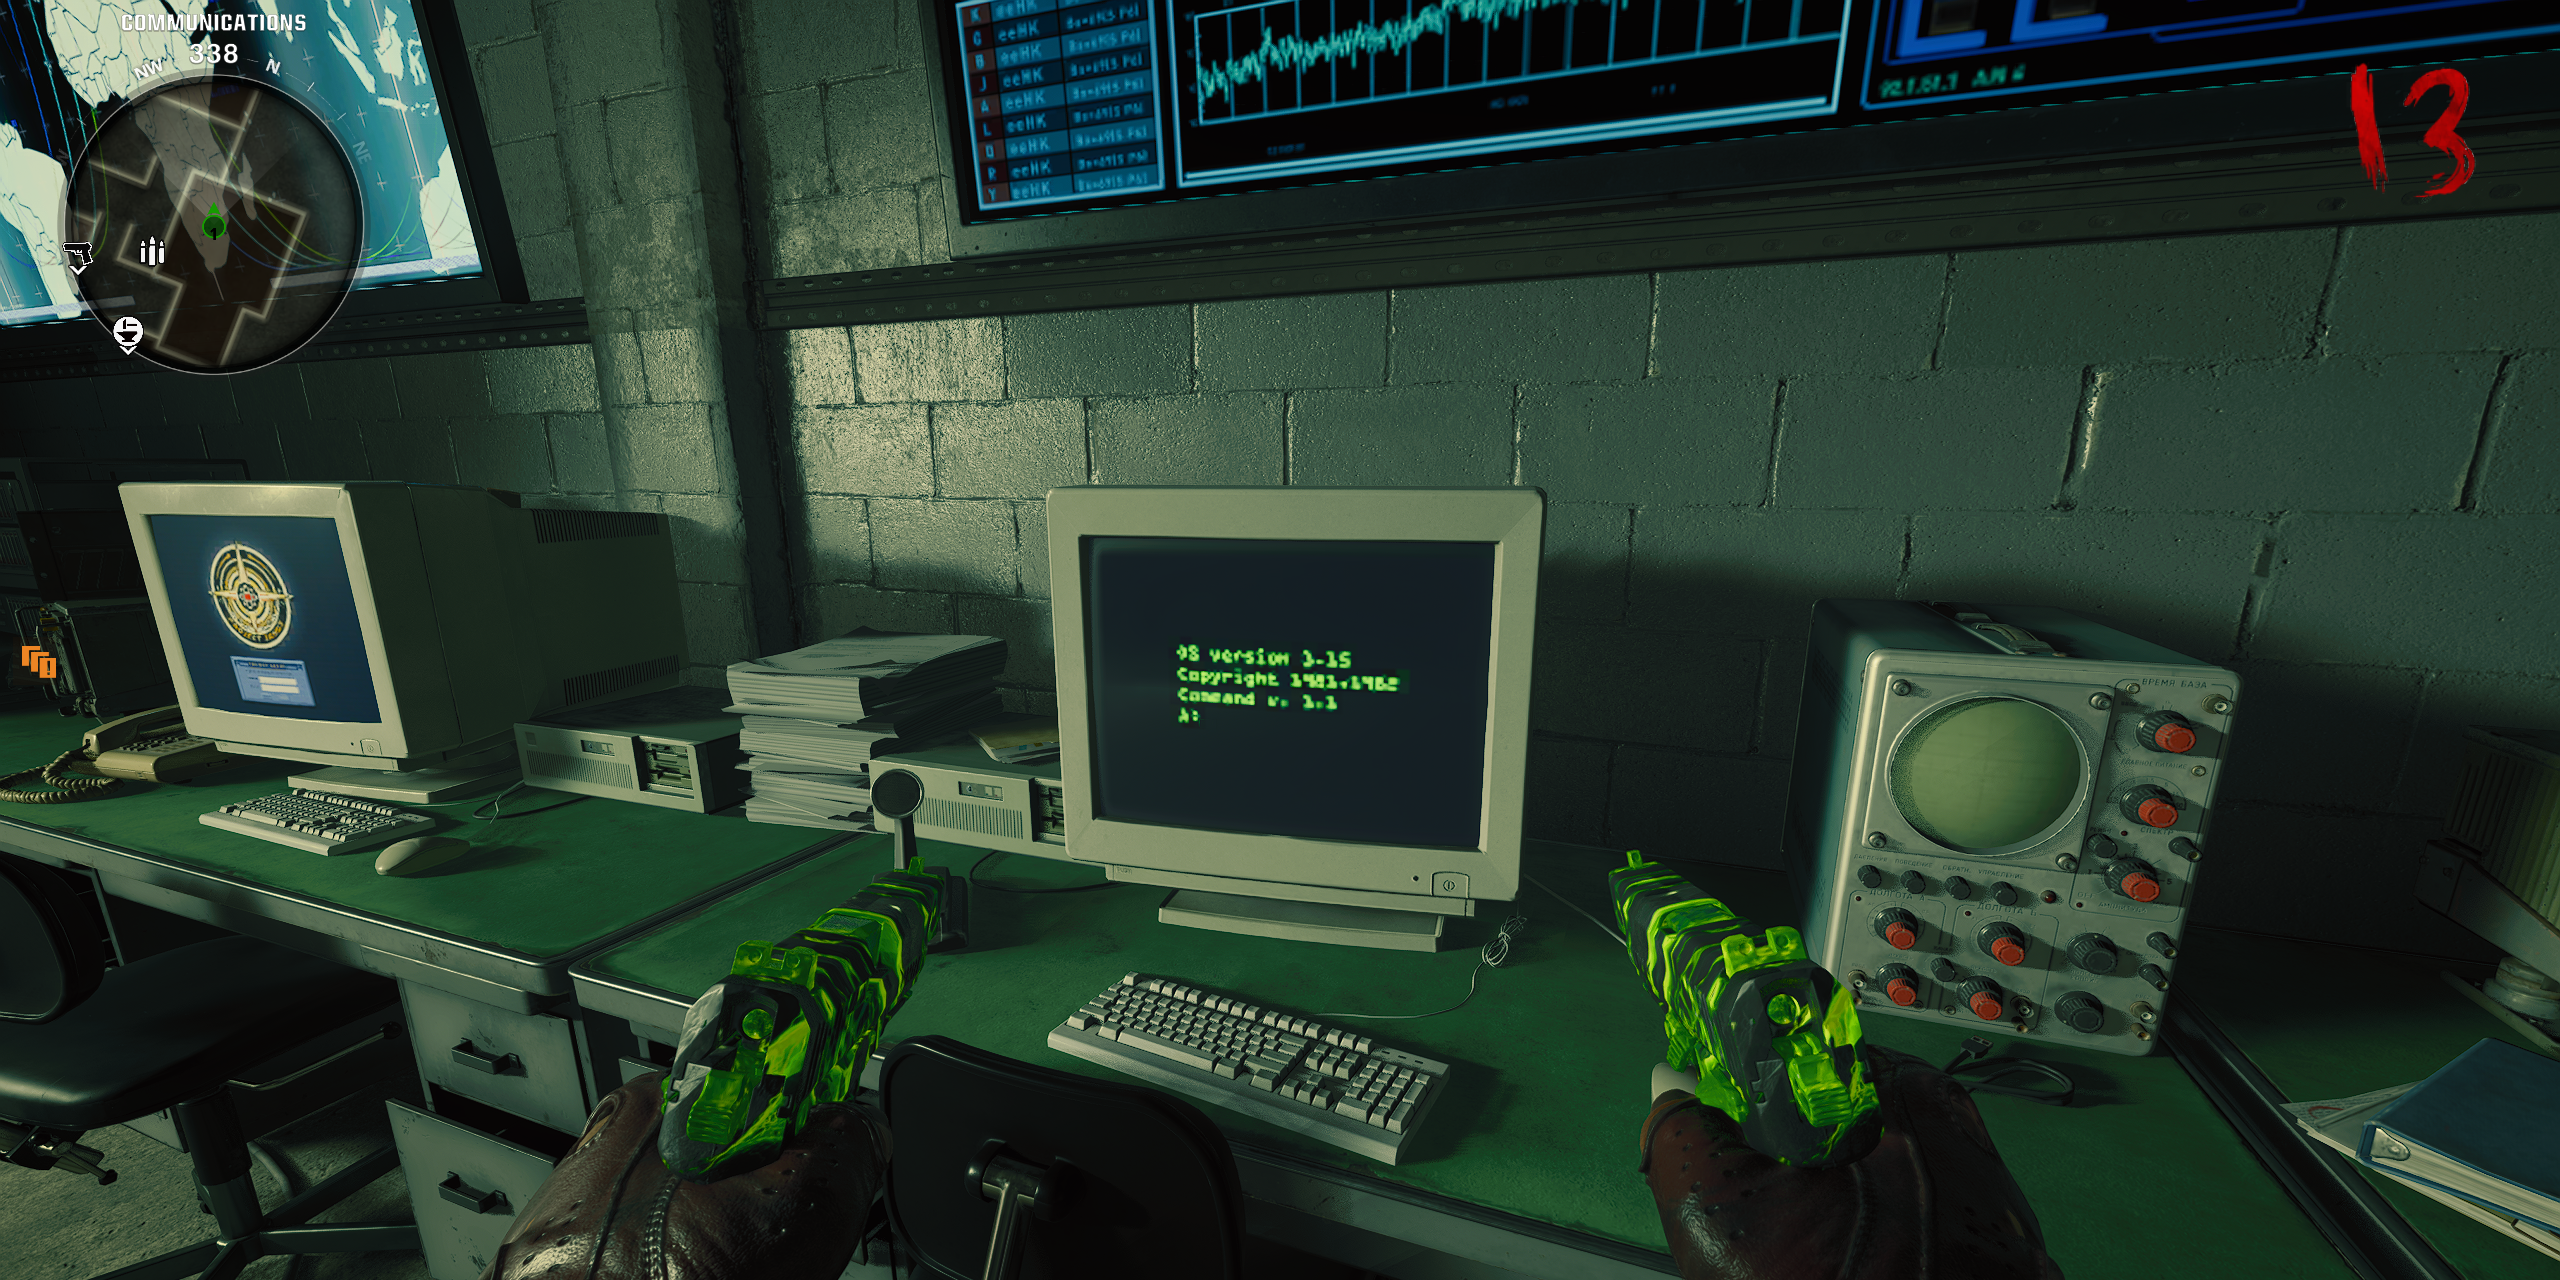
Following Nathan’s demise, a cutscene unfolds, and afterward, players are drawn to dive into the waters beneath the Bio Labs. From there, they can swim towards the South West and North West regions, slightly to the right of where Pack-a-Punch is located. This strategic swimming will lead them to a Key Card. Players can then use this Key Card to access the Communications room on the top floor. Upon reaching the room, they’ll find a computer terminal with green text on the wall facing them. Interacting with this terminal will display a “Network Connection Error” message.
Fix the Computer with Node Connectors
In this stage, you’ll trigger a situation where numerous undead creatures are present, requiring you to eliminate them. Make sure your arsenal is well-prepared and robust before moving forward.
Following the appearance of the “Network Connection Error” message on the computer, players might find themselves drawn to explore a sunken ship by boarding a boat. Beneath this submerged vessel lies a ladder that descends into a room known as a Workshop. Inside this room, players can gather some important items called Node Connectors. Once these connectors are collected, a lockdown will be initiated. It’s worth noting that the connectors can be dropped, and those carrying them won’t be able to sprint during the lockdown, so it’s essential to keep this in mind while navigating through the situation.
Following the elimination of all zombies that appear during the lockdown, the ladder leading to their abandoned boat will become accessible again. Grab the Node Connector and transport it to Crab Island, located in the south. You’ll find a place to put the Node Connector next to the Workbench. To insert the Node Connector, ensure it’s in your possession and then press and hold the interaction button. If this slot is already occupied, there are two other available spots for placement.
The second location for the Node Connector is directly underneath the Sea Tower, so take the boat back to the main Terminus Island. Players should have two Node Connectors that they need to connect in total.
The third location to fill in the Node Connector is found on the main Terminus island, so take the boat back there and go into the Sea Caves on the Speed Cola side. Facing a wall in this area, players will see another location to place the Node Connector. Players can return to the Guard Station and take the Hacking Device from the deposit box where Peck will be.
Hack the Buoys and Defuse the Bombs
How to Use the Hacking Device
Ready your most powerful weapons, strategic perks, and sturdy shields as you embark on this crucial mission. You might find it beneficial to carry Monkey Bombs or LT53 Kazimirs for added protection during this time-limited event.
As a fan, I’d excitedly embark on this mission by first equipping my Hacking Device. Scattered around Terminus Island in the Sea are three distinct Buoys, which can be identified by the clustering Parasites nearby. To interact with these Buoys, I’ll need to sail my boat out to the Sea and approach each one. Once I’ve found a Buoy, I should hover over the water and press the interact button to deploy my Hacking Device. The hacking process will commence, giving me approximately 2 minutes to complete it.
Upon completing the hack of all buoys, swiftly navigate your boat back to the Bio Lab. The sooner you arrive, the more advantageous it will be. Following a brief conversation, the team will have exactly 5 minutes to accomplish the Bomb Detonation phase. Failure to do so within this timeframe means game over. In the Bio Lab, there are 3 bombs that need disarming. These can be defused by pressing and holding the interactive button on them for between 10 to 15 seconds. Rest assured that your progress is saved, so you don’t have to keep the interactive button pressed for the entire duration shown on the progress meter.
In the Biology Lab, scan through open windows and entrances to locate three explosives – two on lower levels and one on the intermediate level. Since hordes of zombies and mini-boss foes will emerge as you approach, it’s crucial to employ Monkey Bombs initially before attempting defusal. Remember, time is limited, with only 5 minutes at your disposal. If collaborating, make sure each team member has equipment or weapons that can distract zombies or offer sufficient defense for the bomb-defusing operator.
After deactivating all three bombs, the Bomb Detonation timer will expire, causing the purple-eyed zombies to perish. At that moment, players are prepared for the last challenge: engaging in the boss battle. However, it’s crucial to equip yourself with the best gear and setup before starting the fight. You don’t have to dive into the battle immediately; you can also save your game and return later to ensure proper preparation.
When players are prepared for the boss battle, make your way down to the lower areas of the Bio Lab. Look for the slightly open door near Melee Macchiato, which you can interact with to gain entry into the boss chamber.
Defeat Patient 13, the Terminus Boss Fight
How to Beat Patient 13
Recommendations for your equipment setup include using PhD Flopper, Deadshot Daquiri, Juggernog, and top-tier Pack-a-Punched magical weapons.
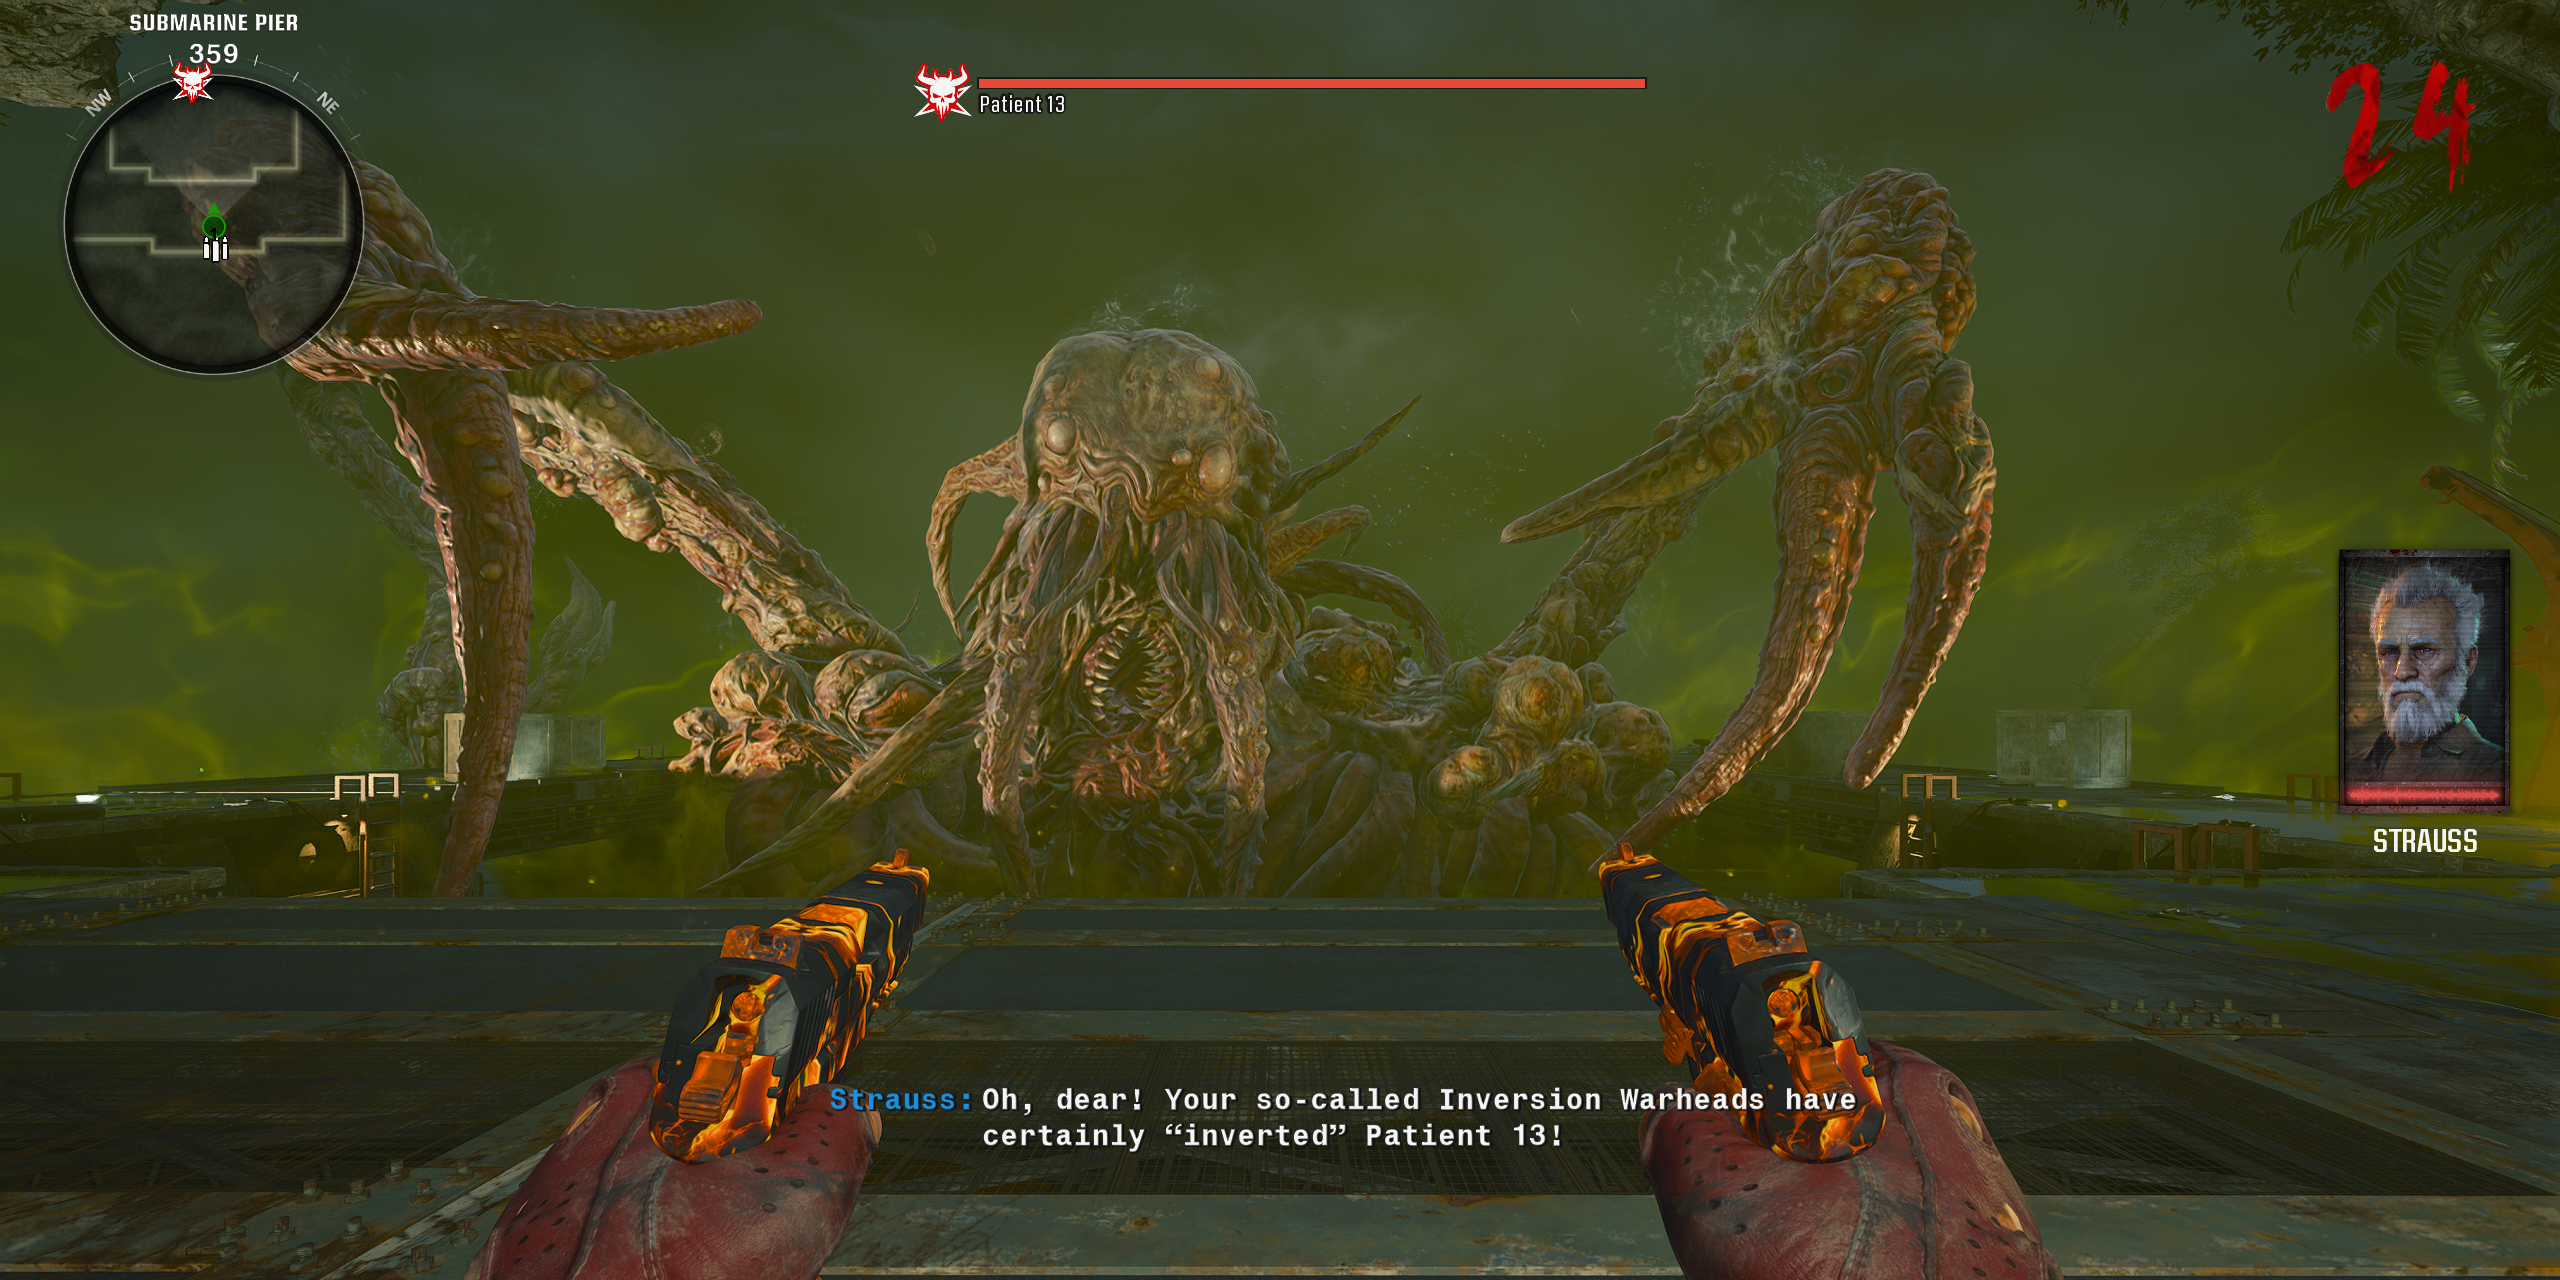
Fight Boss 13, modeled after Cthulhu, finds players in a desolate, squared-off battlefield. It’s crucial to be aware of strategies for dealing damage to Boss 13 and anticipate its attacks during this confrontation. Zombies will continuously spawn throughout the fight, but there’s an ammo box refilling at the arena’s rear that may prove helpful.
The Patient 13 boss fight has three phases, with the first being its most simple. Patient 13 will use the tentacles on his back that he will slam at the front of the arena. Around the boss in the distance, there will be tentacles that fire gaseous lightning attacks. In order to damage the boss, watch for red bulbs that appear on his shoulders and shoot them with your weapons. Try to stay aware of the damage patterns to predict when to stay on the move and when to shoot. After doing enough damage, Patient 13 will submerge in the water.
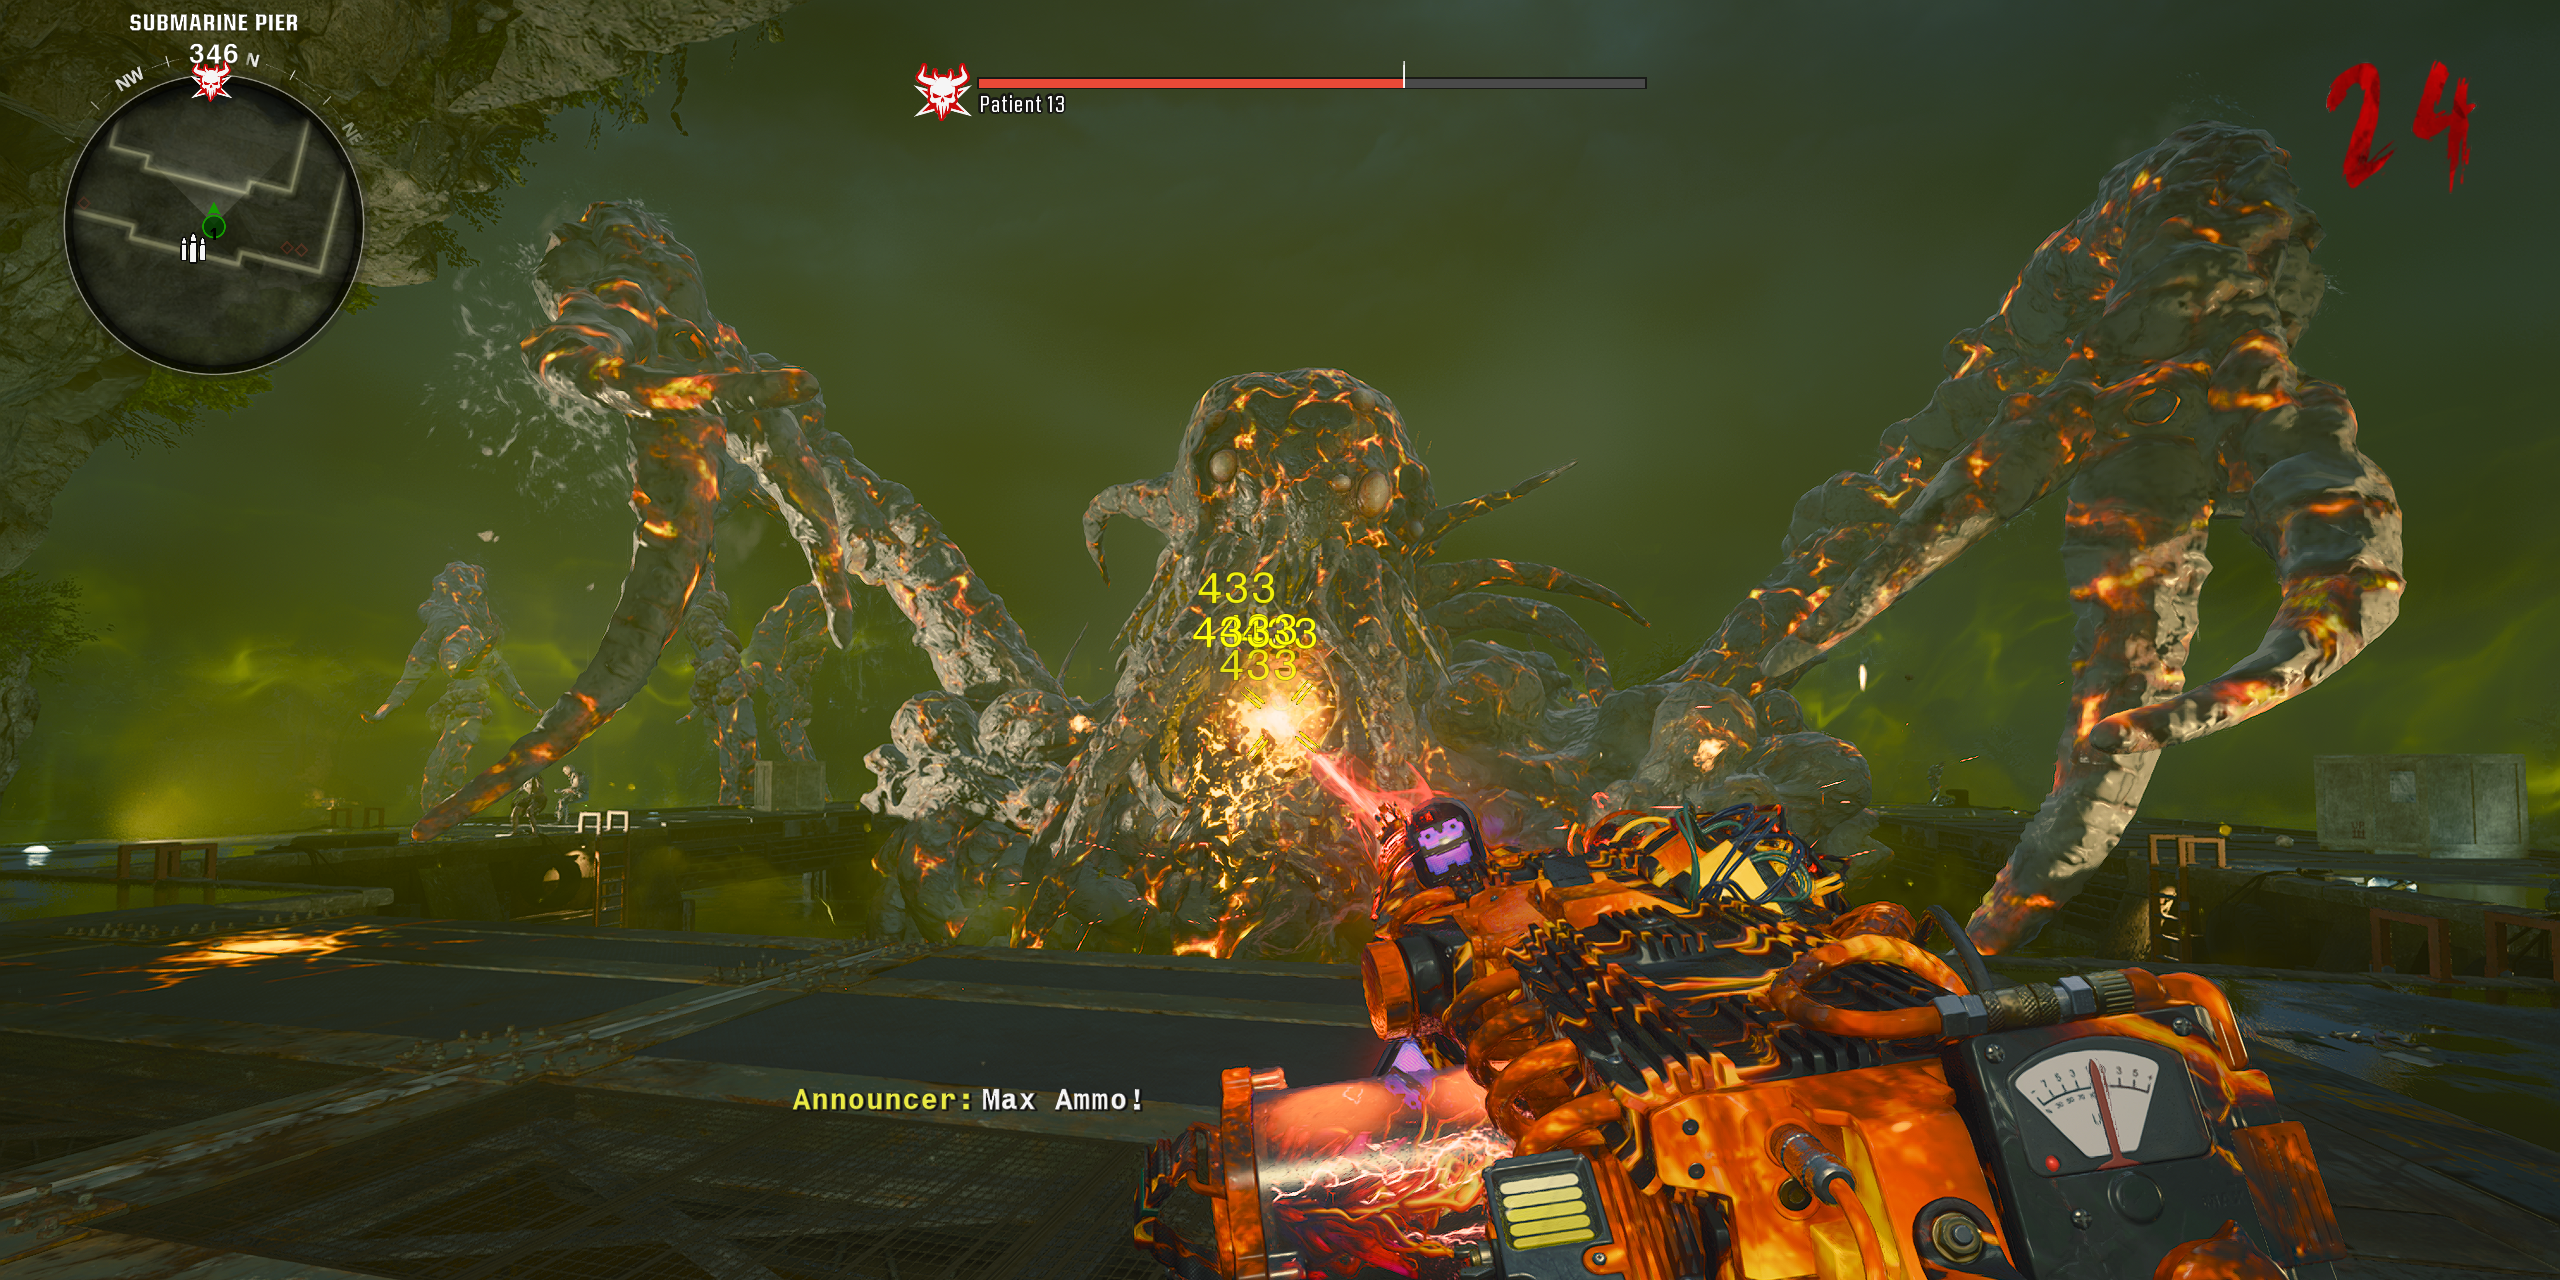
In the second round, players need to get rid of the mini-zombie bosses that appeared. This stage operates much like the first one, but now the vulnerable spots are on Patient 13’s mouth. Be careful when shooting as Patient 13 may extend his tongue at the back of the arena; aim for the mouth avoiding the tongue. Once sufficient damage has been inflicted, the third and concluding phase will initiate.

In the third stage of Patient 13, an electrical field will surround him and the sides of the arena will be barricaded. Whenever the boss summons an electric orb, find a hiding spot and wait for it to detonate. To inflict damage on the boss during this phase, aim for his glowing blue eyes, his open mouth, or the red bubbles that manifest on his body.
Following the demise of your leader, a cinematic sequence unfolds, after which, the game comes to an end, signifying that you’ve successfully accomplished the Terminus Main Quest.
Terminus Main Quest Rewards
What Do You Get For Completing the Terminus Easter Egg?
Upon returning to the main menu post-adventure, I found myself with a pair of distinctive accolades earned from my dominance over Terminus Island, proudly displaying my skill and conquest!
- The first reward will be the Trophy Collector Operator Skin for Maya.
- The second reward will be the Terminus Quest Complete Calling Card, which will have a gold skull in the bottom right corner if completed upon release week.
Read More
- Luma Island: All Mountain Offering Crystal Locations
- Tips For Running A Gothic Horror Campaign In D&D
- Fidelity’s Timmer: Bitcoin ‘Stole the Show’ in 2024
- 13 EA Games Are Confirmed to Be Shutting Down in 2025 So Far
- Some Atlus Fans Want Snowboard Kids to Make a Comeback
- What Borderlands 4 Being ‘Borderlands 4’ Suggests About the Game
- USD BRL PREDICTION
- Borderlands 4 Will Cut Back on ‘Toilet Humor’ Says Gearbox
- Space Marine 2 Teases 2025 Plans
- Accidental Win – How’d You Get Up There!
2024-10-26 22:44