
In the gripping game known as Atomfall, I stumbled upon a grumpy scientist named Dr. Garrow who’s been pivotal in the chaos that unfolded within the quarantine zone. She’s got a sharp tongue and isn’t exactly warm when we chat, often brushing off my questions with cold indifference. Yet, despite her unfriendly demeanor, I sense there might be a way out of this wretched place if I can manage to work with her.
To reach Dr. Garrow’s conclusion, you’ll have to comply with several requirements that meet her expectations. However, the crucial point is, can you rely on her? Will she indeed assist you in the long run?
How To Find Dr. Garrow In Atomfall
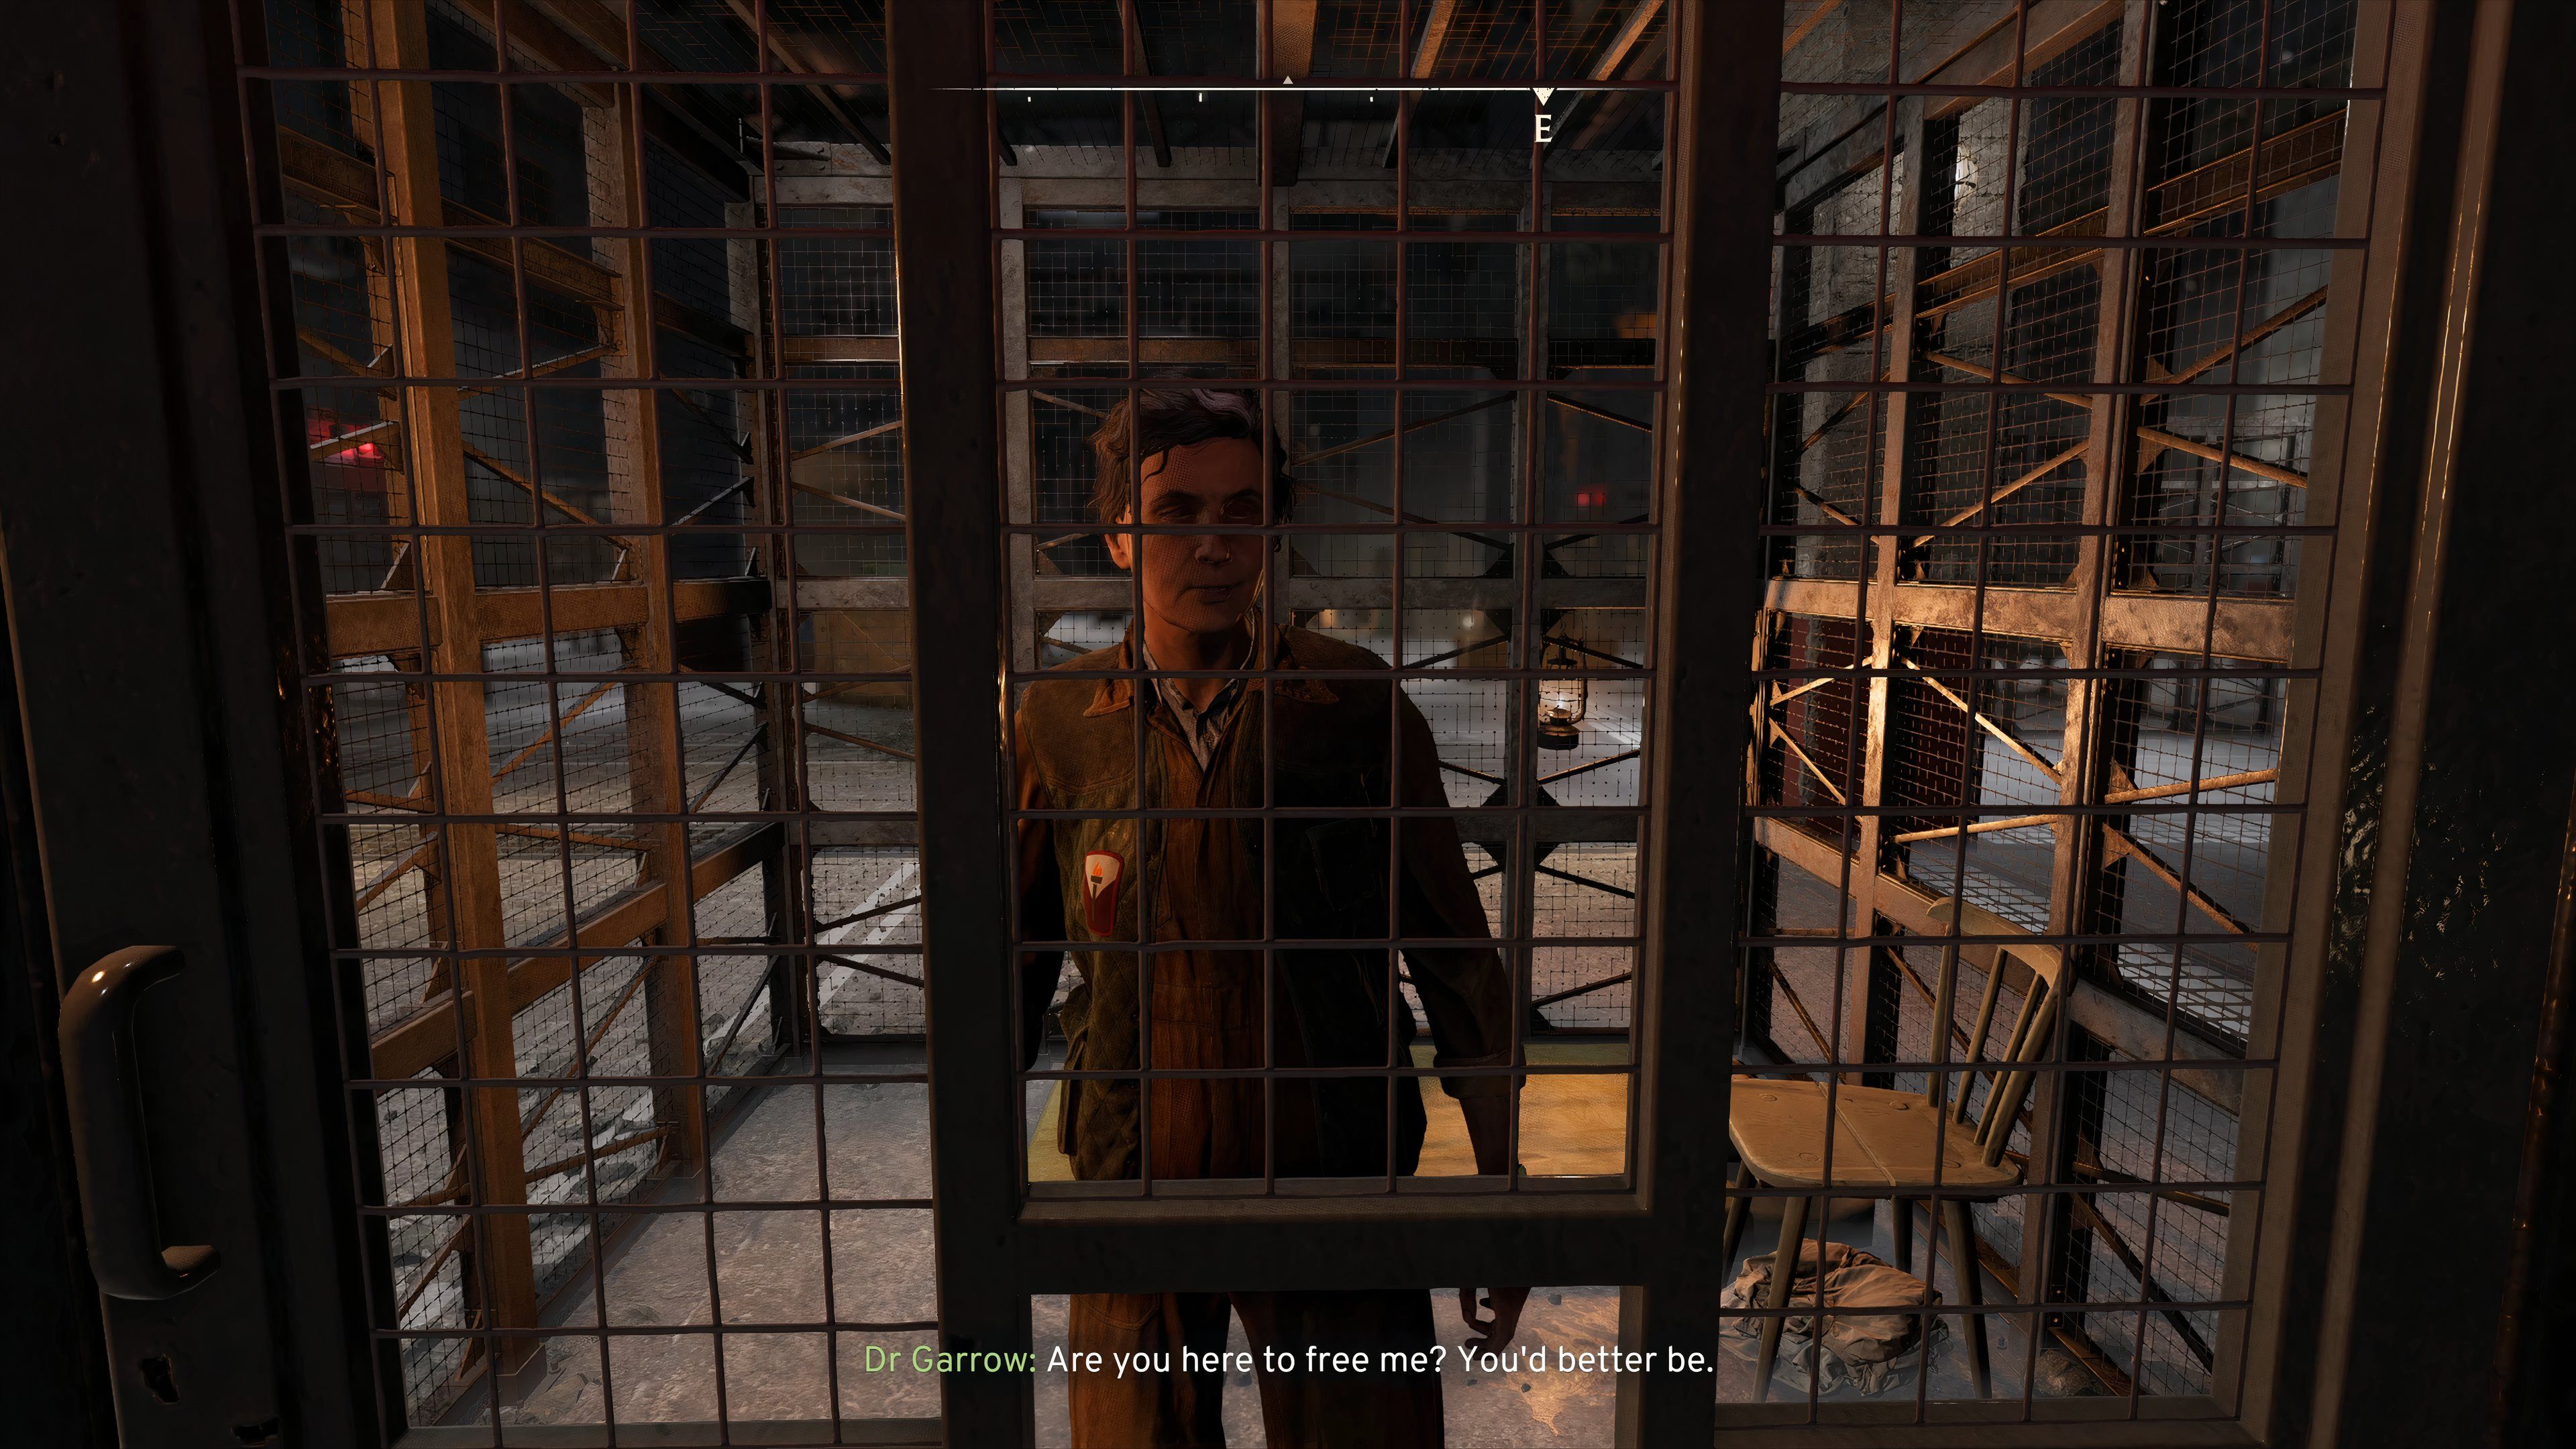
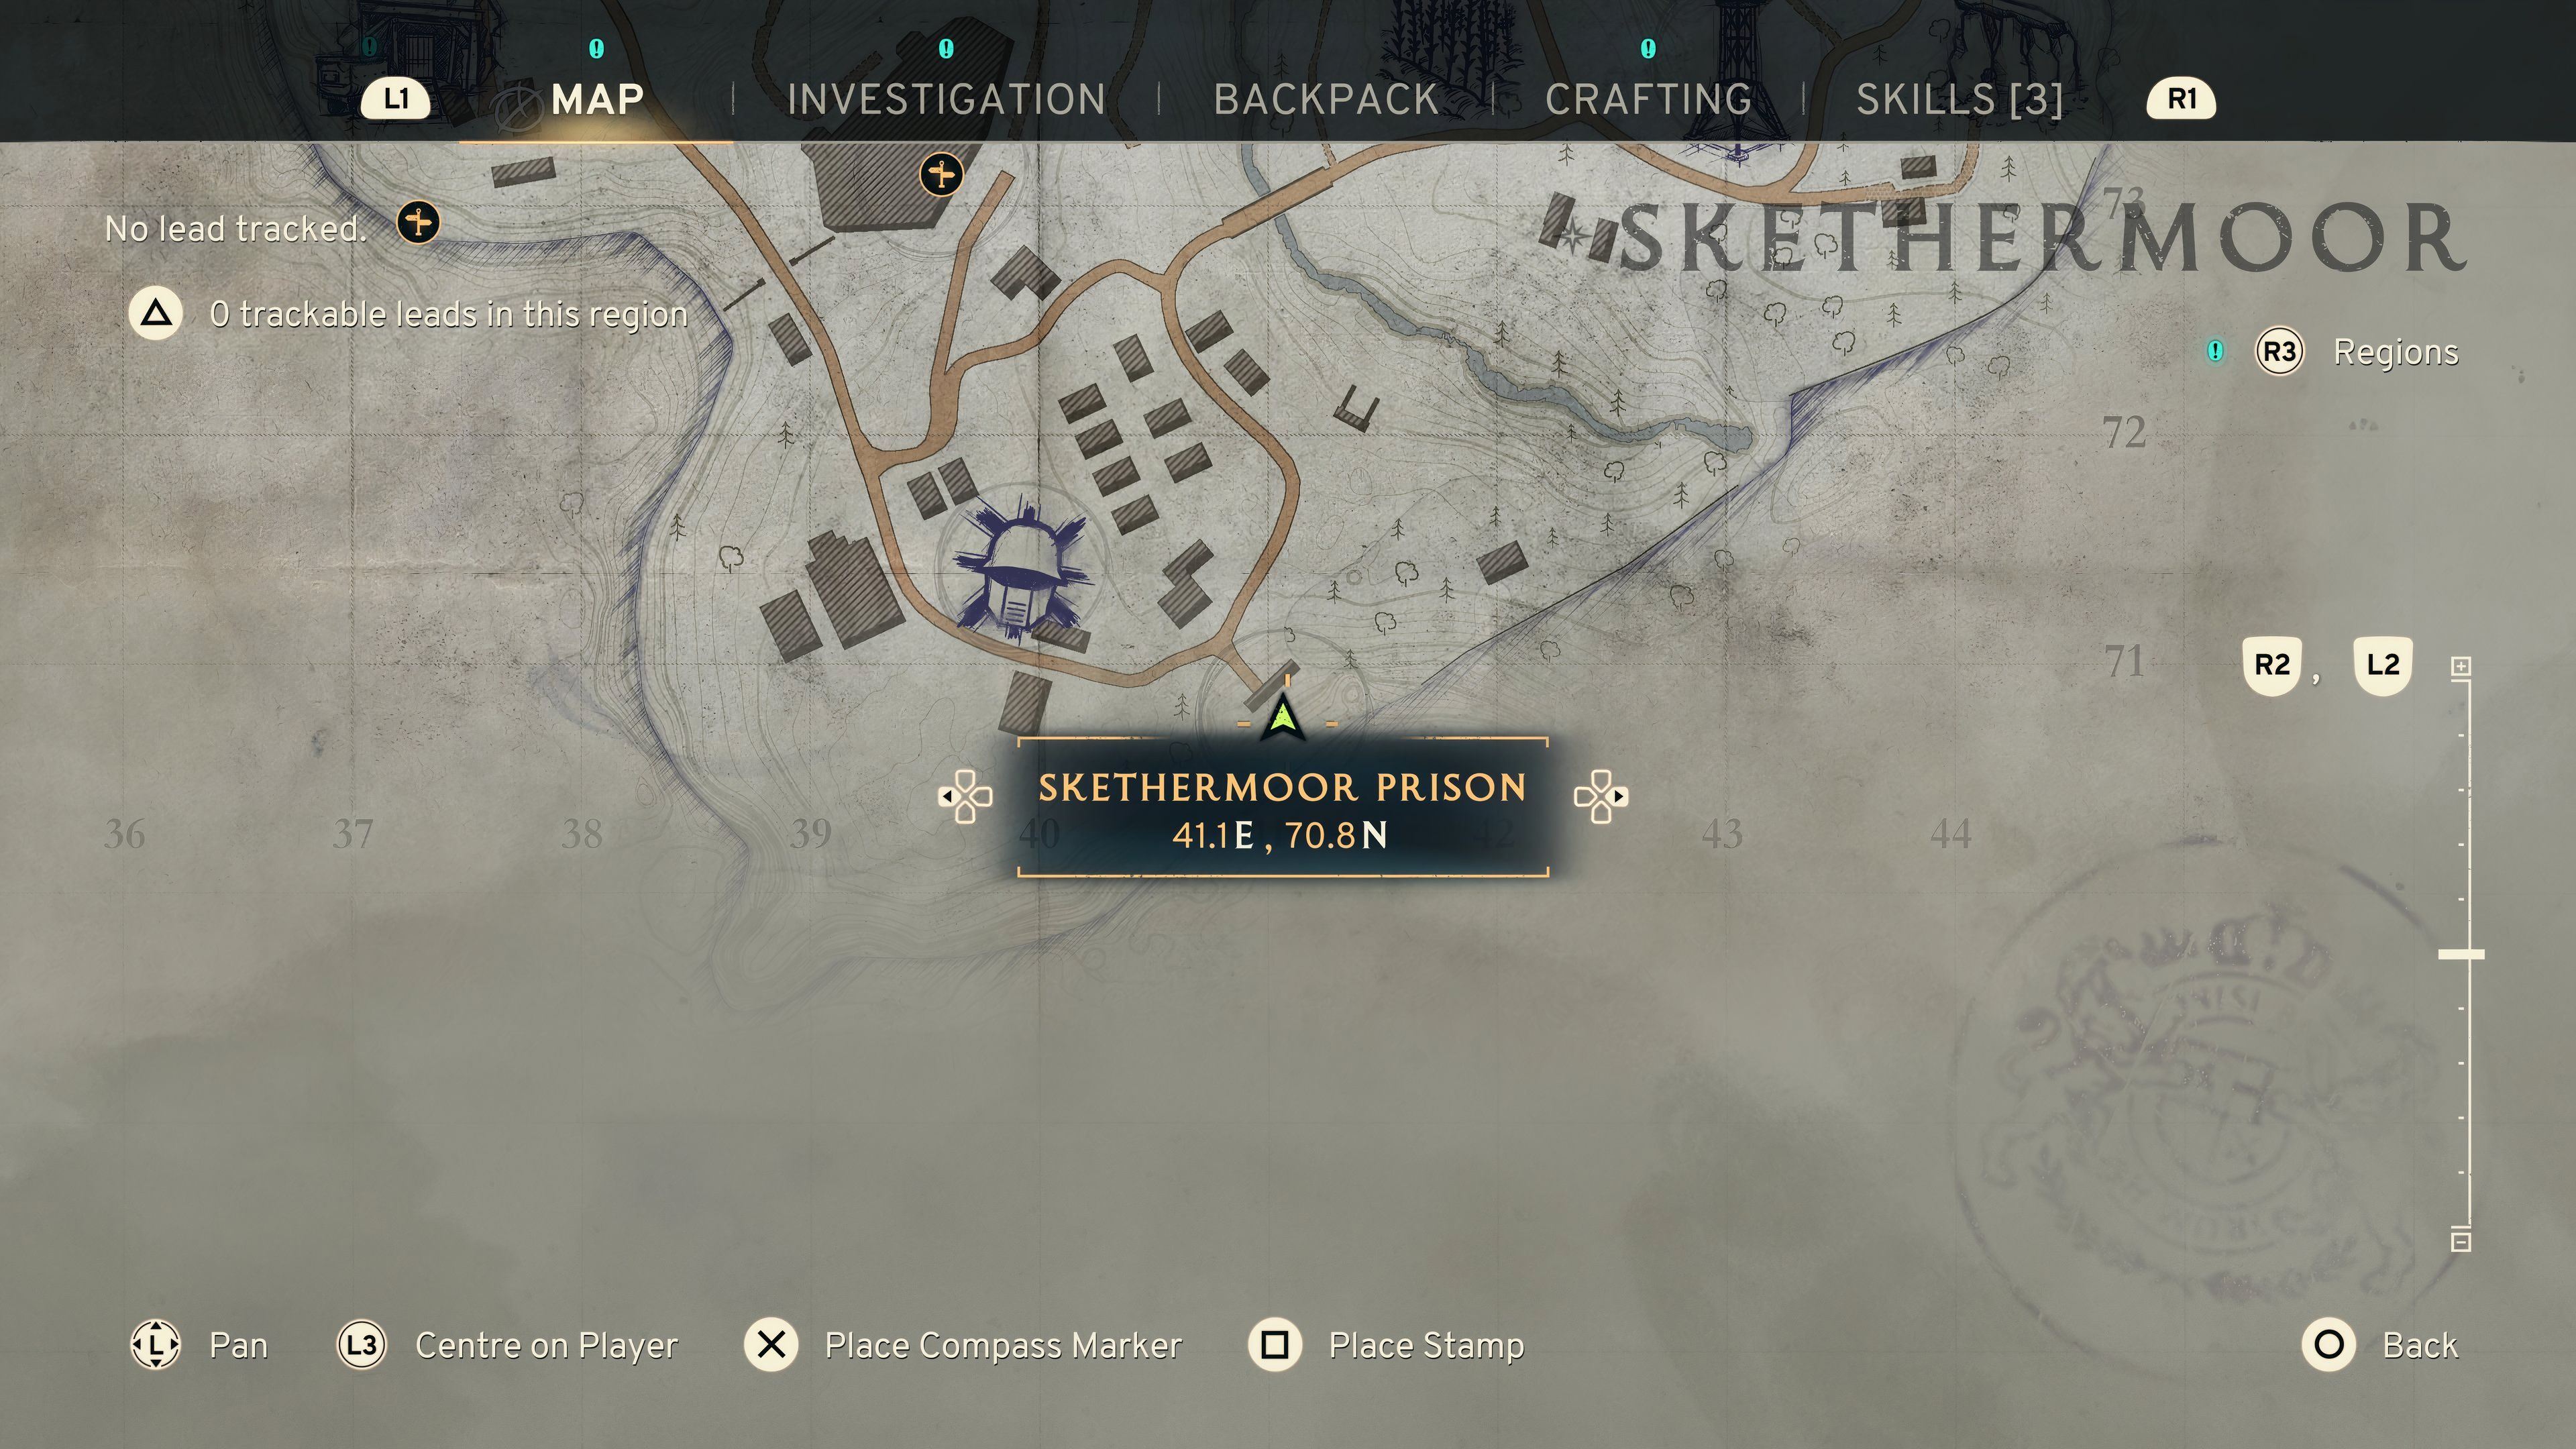
To unlock Dr. Garrow’s ending, you’ve got to track her down first. She’s hidden away in Skethermoor Prison, situated at coordinates 41.1 E, 70.8 N. Once you manage to save her, not only will you get her story moving forward, but you’ll also earn the coveted Signal Redirector. After she escapes from her cell, she’ll disappear for a bit before reappearing in the Central Processor room within The Interchange.
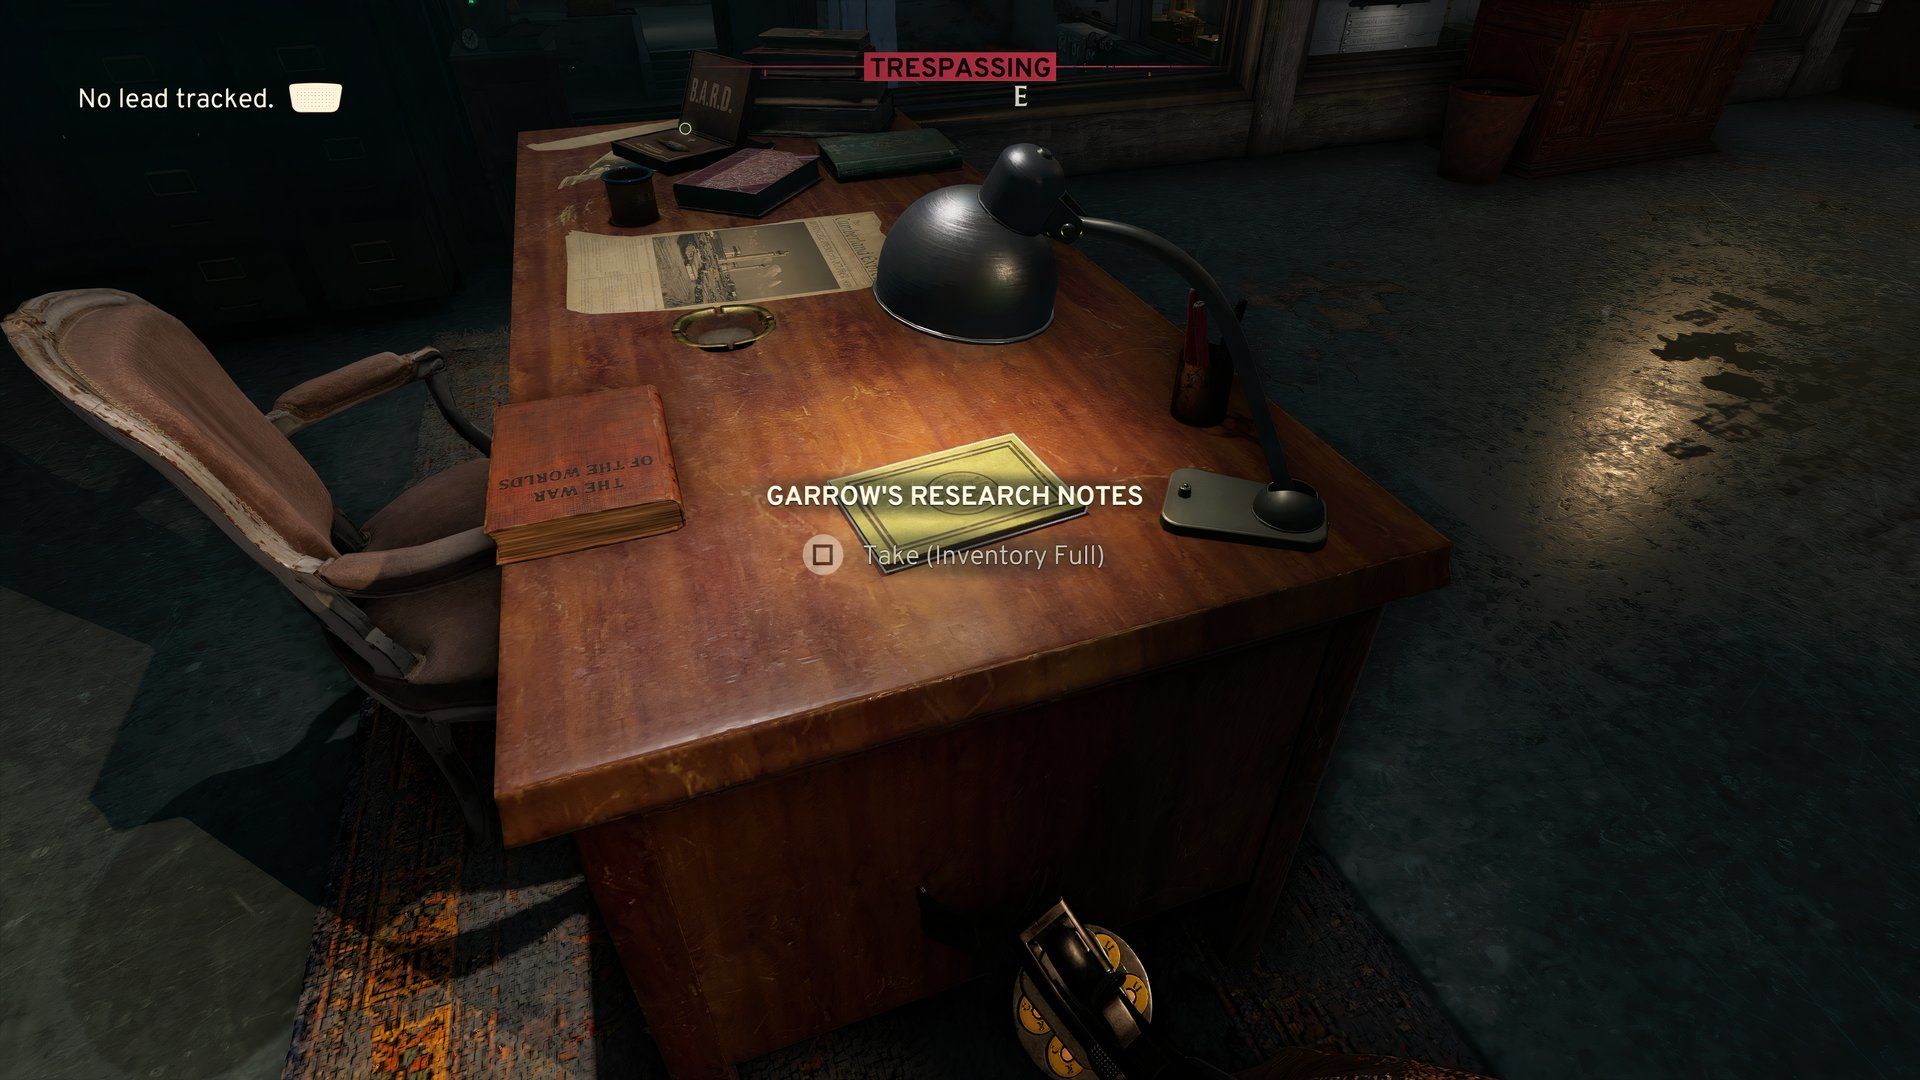
When you converse with her next, she’ll be vague about who she is and what role she played during the quarantine period. However, she hints that she might provide you with genuine information and a way out if you manage to find her research notes. These documents are hidden in the Robot Maintenance area of the Robotics department at The Interchange.
Warning: Completing this mission won’t be a walk in the park due to B.A.R.D. Robots roaming around, ready to assault at first sight. Make sure to stock up on an abundance of weapons, ammunition, and healing supplies before you proceed.
How To Access The Casterfell Dam Data Store In Atomfall
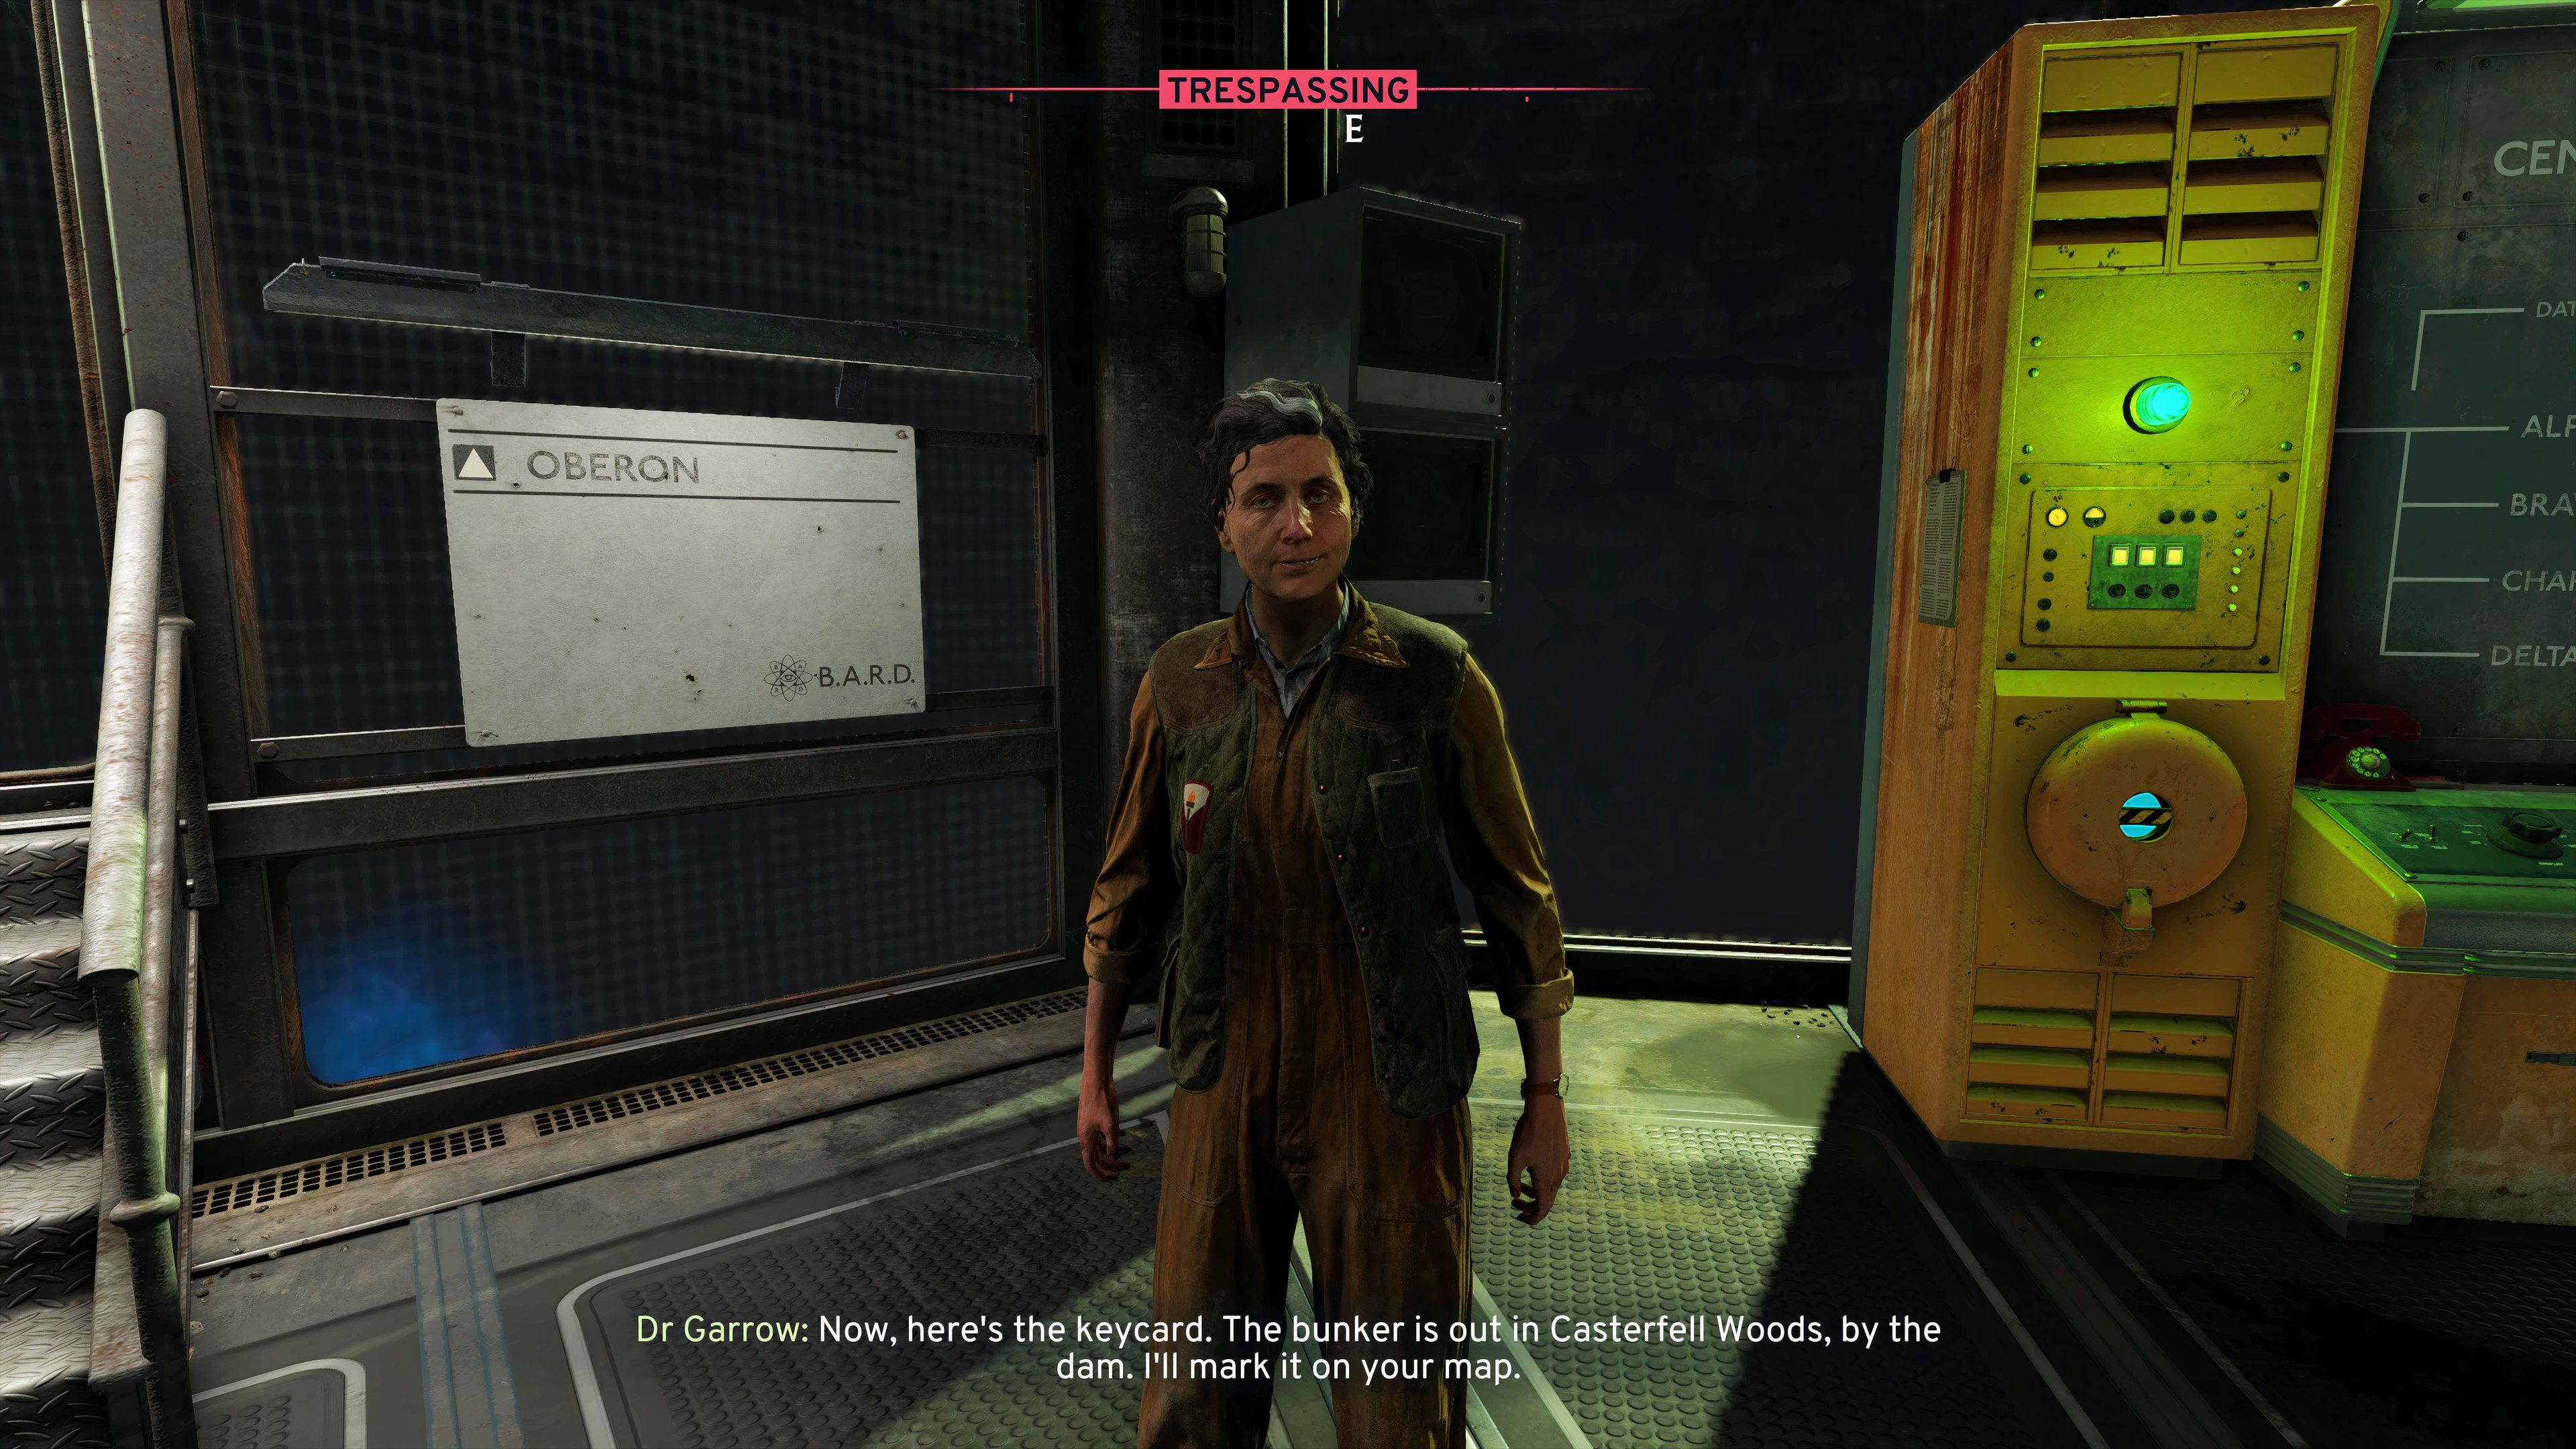
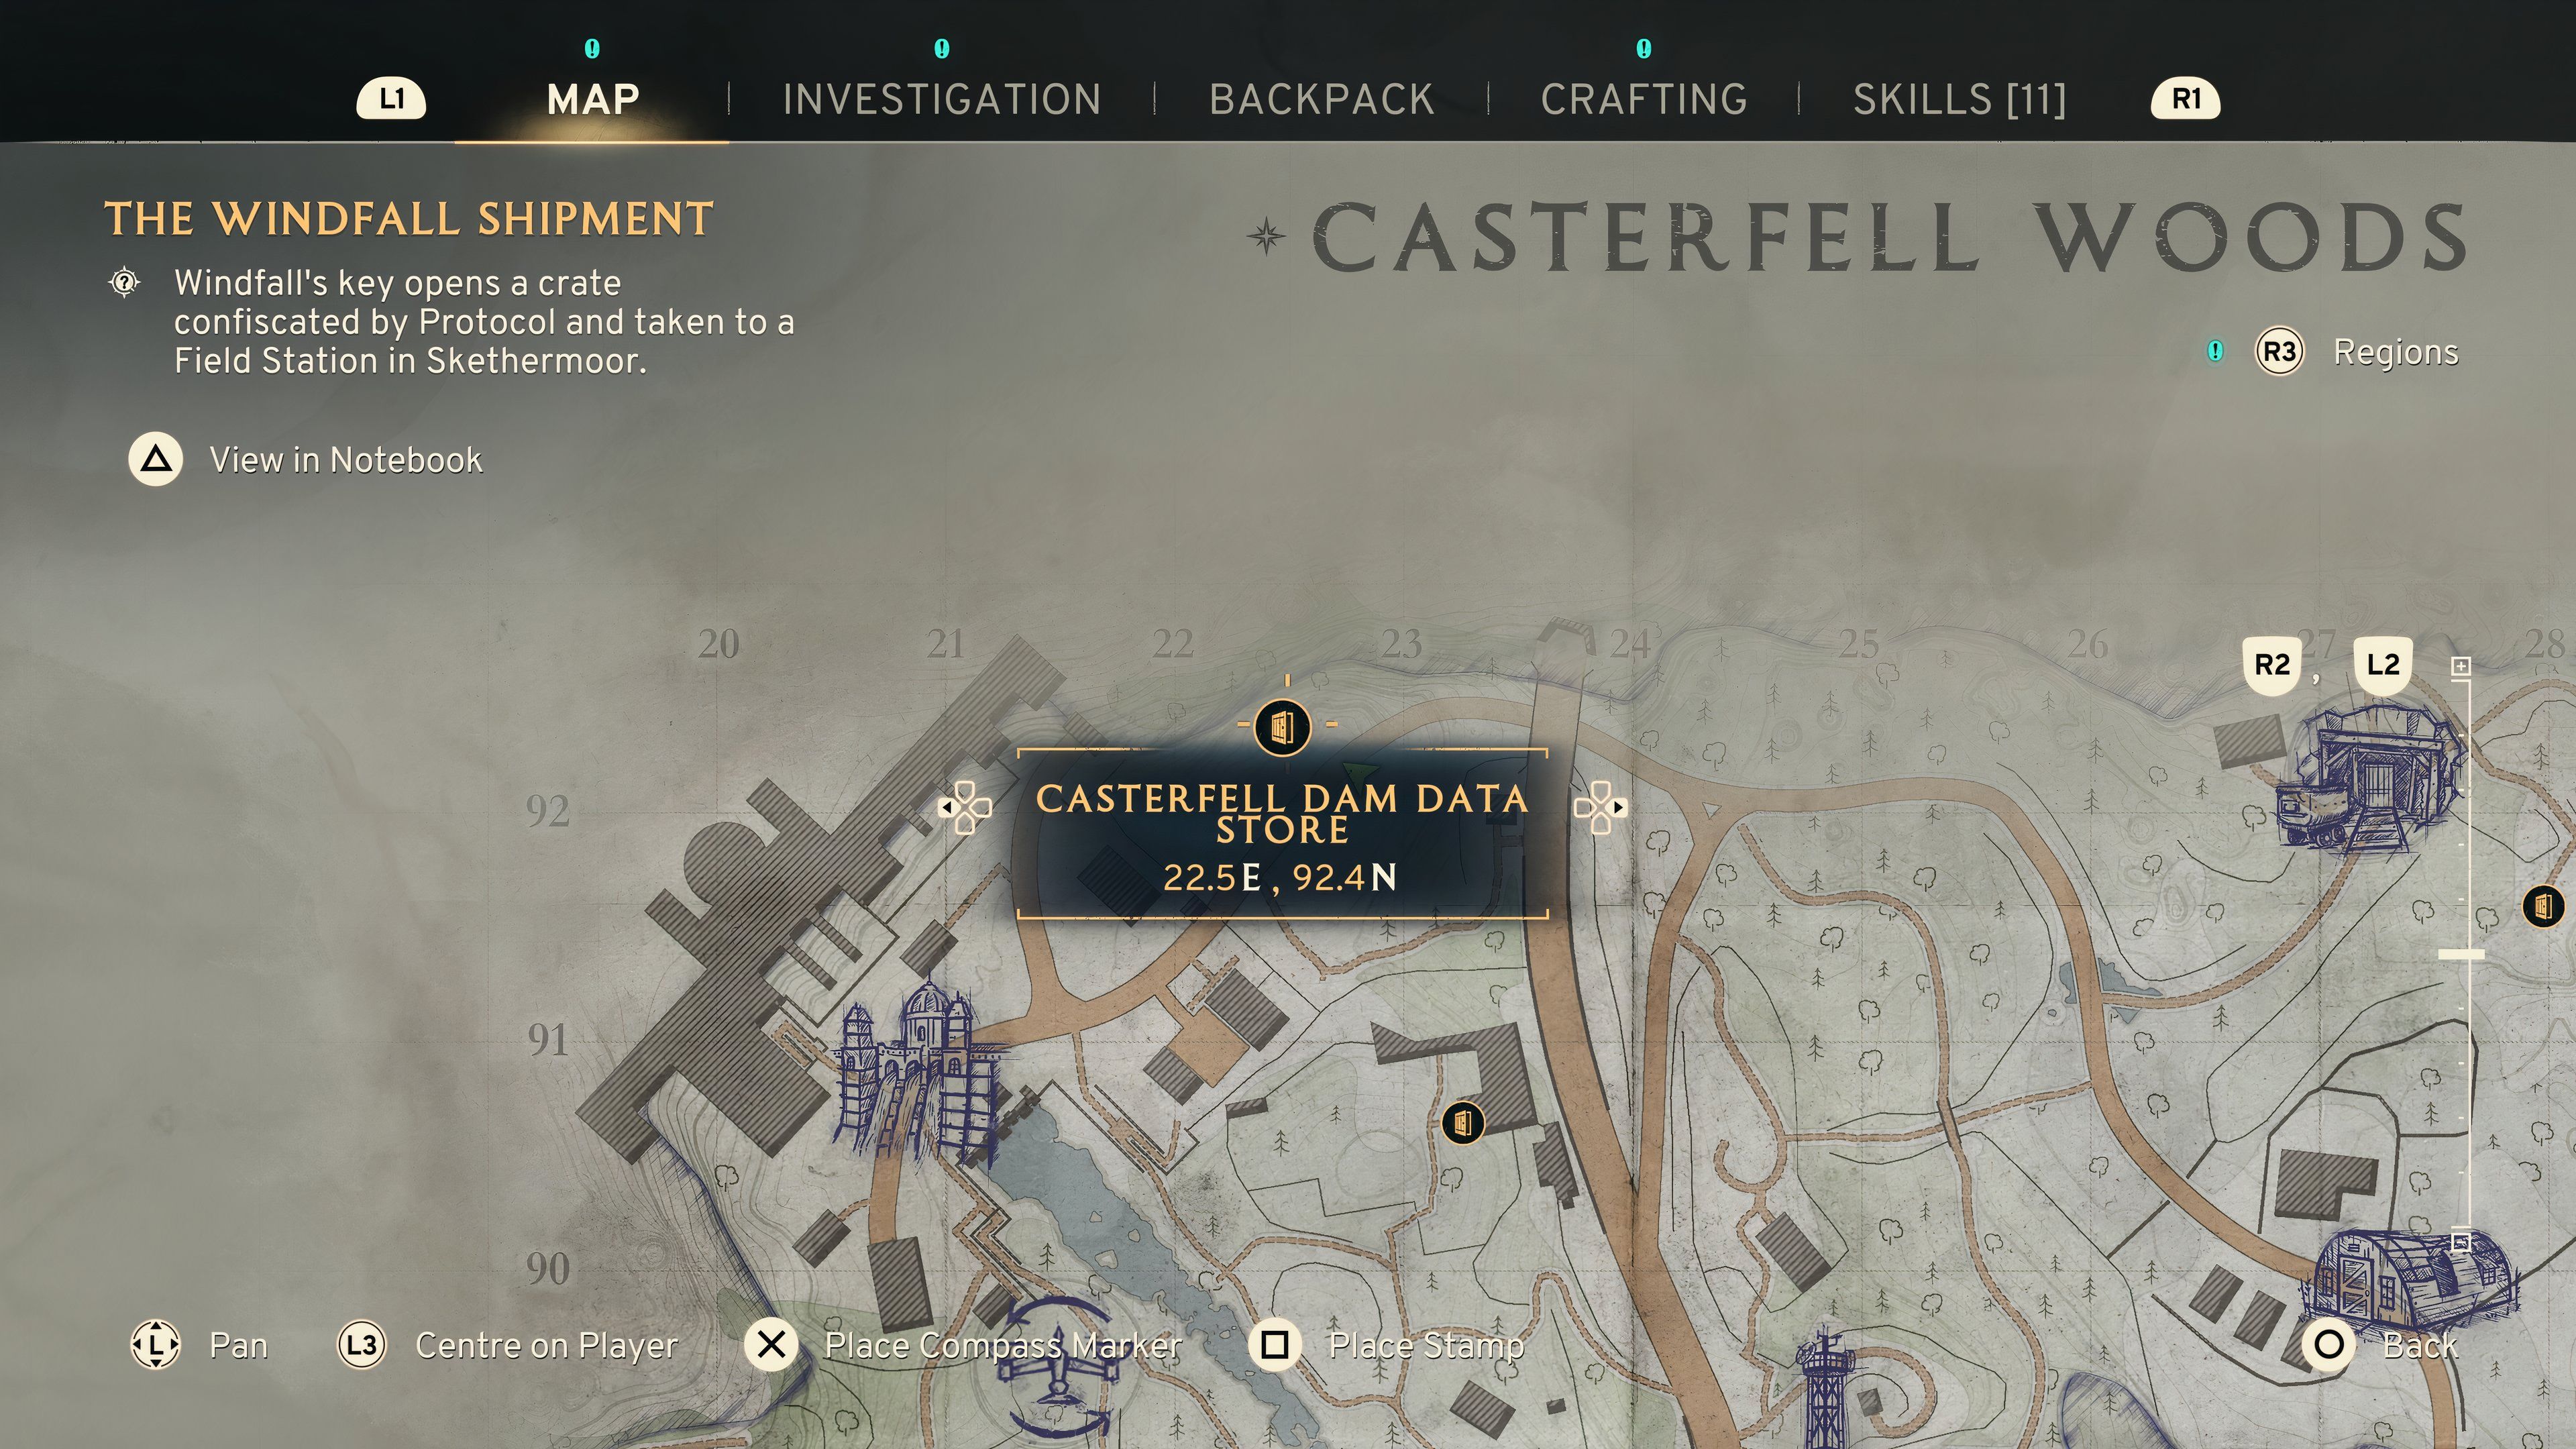


Once you pass Dr. Garrow her research notes, she will assign you a new task. This involves traveling to the Casterfell Dam. At this location, you’ll find an offline data facility called the Casterfell Dam Data Store. Dr. Garrow will show you where it is on your map and provide you with a keycard for the Dam Data Store. She will instruct you to type in the command “GEN ERA” when you access the computer console inside.
Should you encounter Joyce Tanner, she too will require the data kept at the Casterfell Dam Data Store. Upon doing so, she’ll instruct you to input the command “GEN MOVE” into the computer system. However, if you opt to execute this command, it will cause Dr. Garrow to become aggressive and prevent you from achieving her ending.
Make your way to the Casterfell Dam’s Data Store. Upon entry, you’ll encounter a B.A.R.D. Robot guarding the premises, equipped with a flamethrower. You can attempt to sneak past it to reach the computer console, but a more effective approach would be to neutralize it. Target its gas tanks and the flamethrower on its arm to disable it. Once defeated, it will expel its Atomic Battery from its rear. Retrieve this battery when the opportunity arises.
To operate the computer, it’s currently switched off. Make your way to the
As I tiptoe out of the electrical room, remember to watch my back – flipping that switch is gonna fire up a sentry turret on the wall. Swerve past it and you’ll find another power box on the right. Hit it again with my Signal Redirector to reroute that juice, shutting down the turret. That move will open two doors and bring on a swarm of rats. Whack ’em with my melee weapon or set up some Explosive Lures to handle them.
As a gamer, I’d say, “Alright, the activated chambers hide various Skill Boosters that add up to my points. Better not miss out on these hidden treasures; make sure to check them out before I bid farewell to the Casterfell Dam Data Vault.
To locate another electrical box, you should scramble onto some stacks of crates and then climb up on a few outdated server racks. This way, you’ll be able to access the box with your Redirector. After redirecting the power flow, a new sentry turret will start functioning.
Evade the turret’s laser beam and climb the stairs situated beside it in order to locate the final electrical panel. Once there, activate the Signal Redirector on this panel to unlock access to the Control Room. You will discover an upper level where you can utilize the Dam Data Store Keycard on a card reader. Perform this action, and power supply to the facility will be reinstated, encompassing the computer system as well.
By logging into the computer, you’ll find various data that has been saved on it. A majority of this data will have redactions, but there are bits and pieces of information that you can uncover as lore.
Once your investigation is complete, select the option labeled “Execute GEN ERA Command.” The system will prompt you to confirm, so respond affirmatively, and all information within this facility will be encrypted. It appears Garrow sent you here to delete confidential data that she wished to keep hidden from the public.
Can You Trust Dr. Garrow To Help You Escape In Atomfall?
Following your unwitting participation in the data destruction, it’s understandable to harbor mistrust towards Dr. Garrow. Yet, she extends the opportunity for you to pose questions, which she generally answers. Later, she reveals she can facilitate an exit for you, but there will be one last demanding assignment left for you to complete.
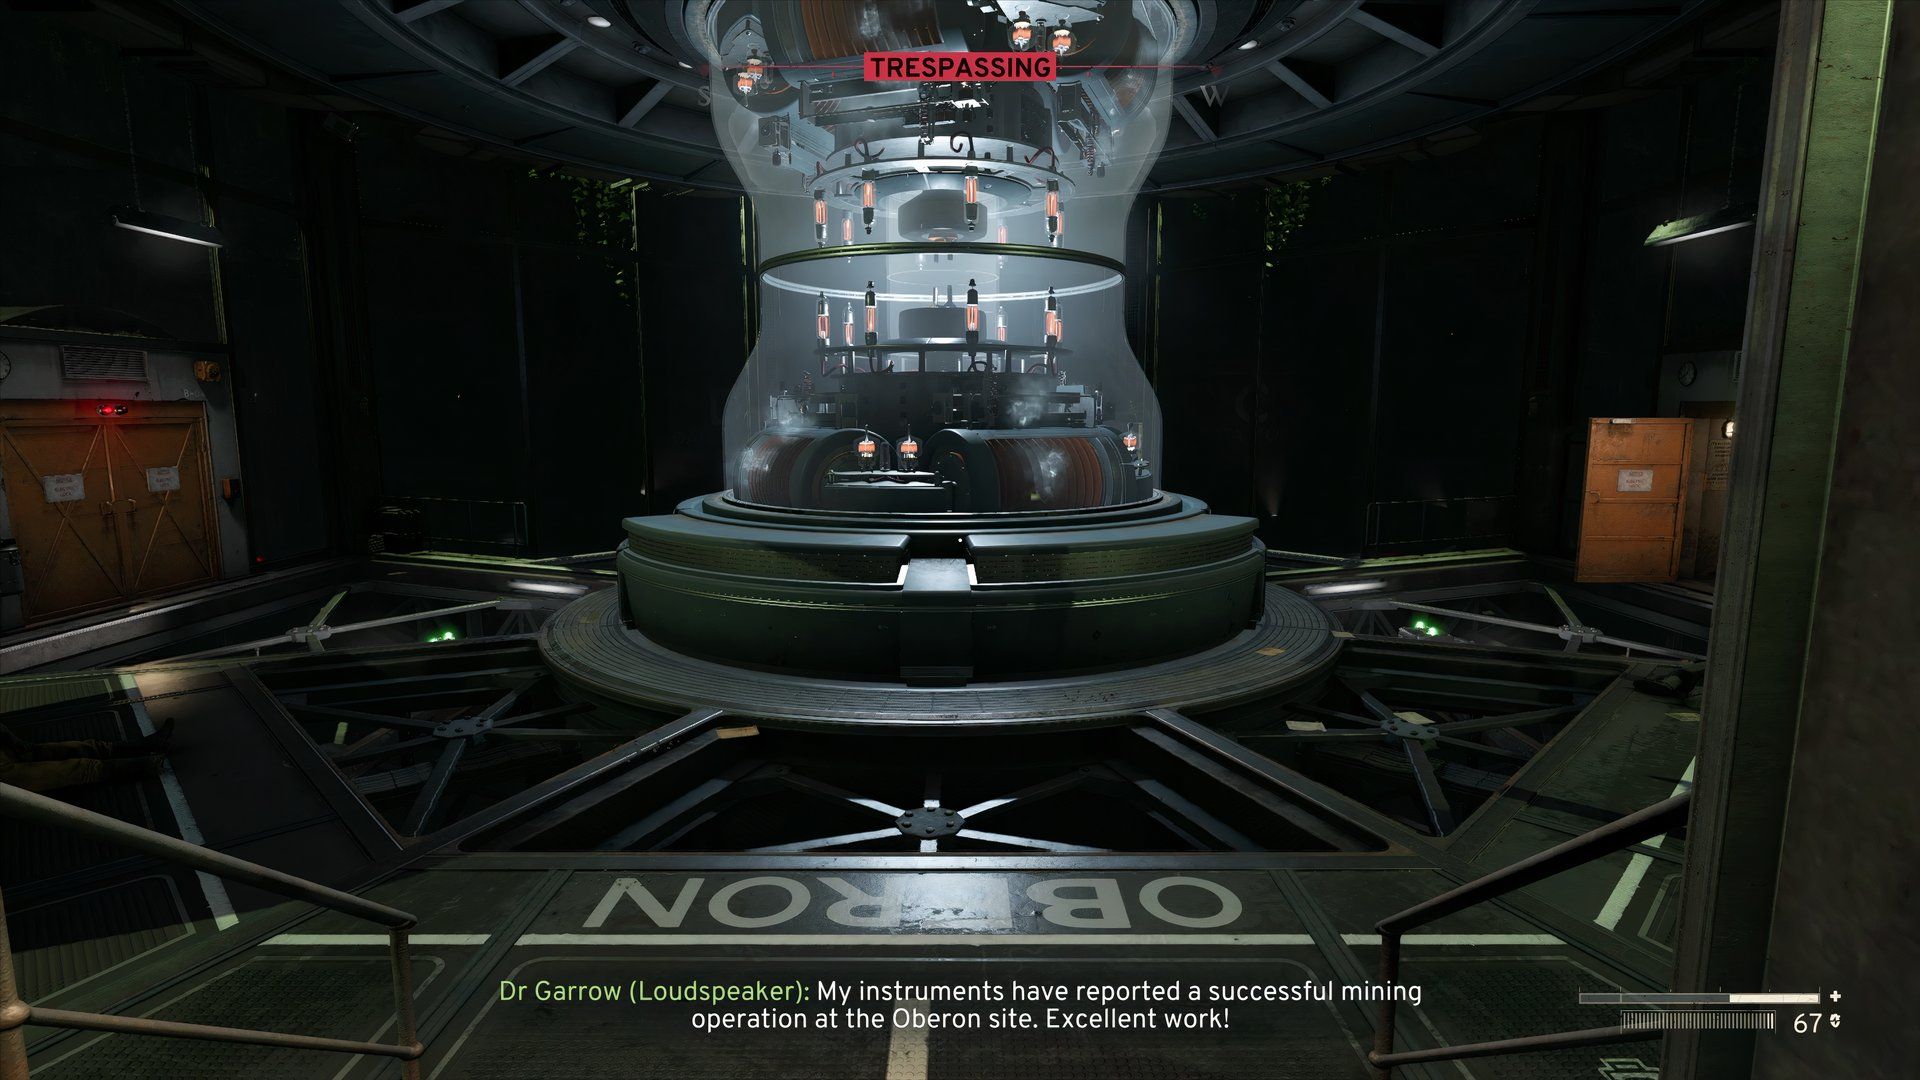
To tackle the contamination issue in the restricted area, your mission is to locate a massive meteorite named Oberon. Once found, you’ll be required to gather a specimen from it and deliver it safely to Dr. Garrow without causing any damage to Oberon itself.
To get to Oberon, you need to energize Data Stations A, B, C, and D with Atomic Power Sources. After each of these four stations has been brought back online, make your way back to the Central Processing Room. Subsequently, four electric panels will become active on the floor, where you can utilize the Signal Redirector.
Shifting the power source will activate four big control panels and change some red indicators to green on a nearby panel. Once all the indicators are green, you’ll be able to tug a handle on that panel to energize the Central Processor and unlock the route to Oberon.
Before venturing to Oberon, ensure you are thoroughly prepared as the journey to the dig site may encounter Feral creatures, Thralls, and flora capable of causing an infected status. If you haven’t discovered the recipe for Strange Tonics yet, it would be wise to locate that recipe prior to your expedition.
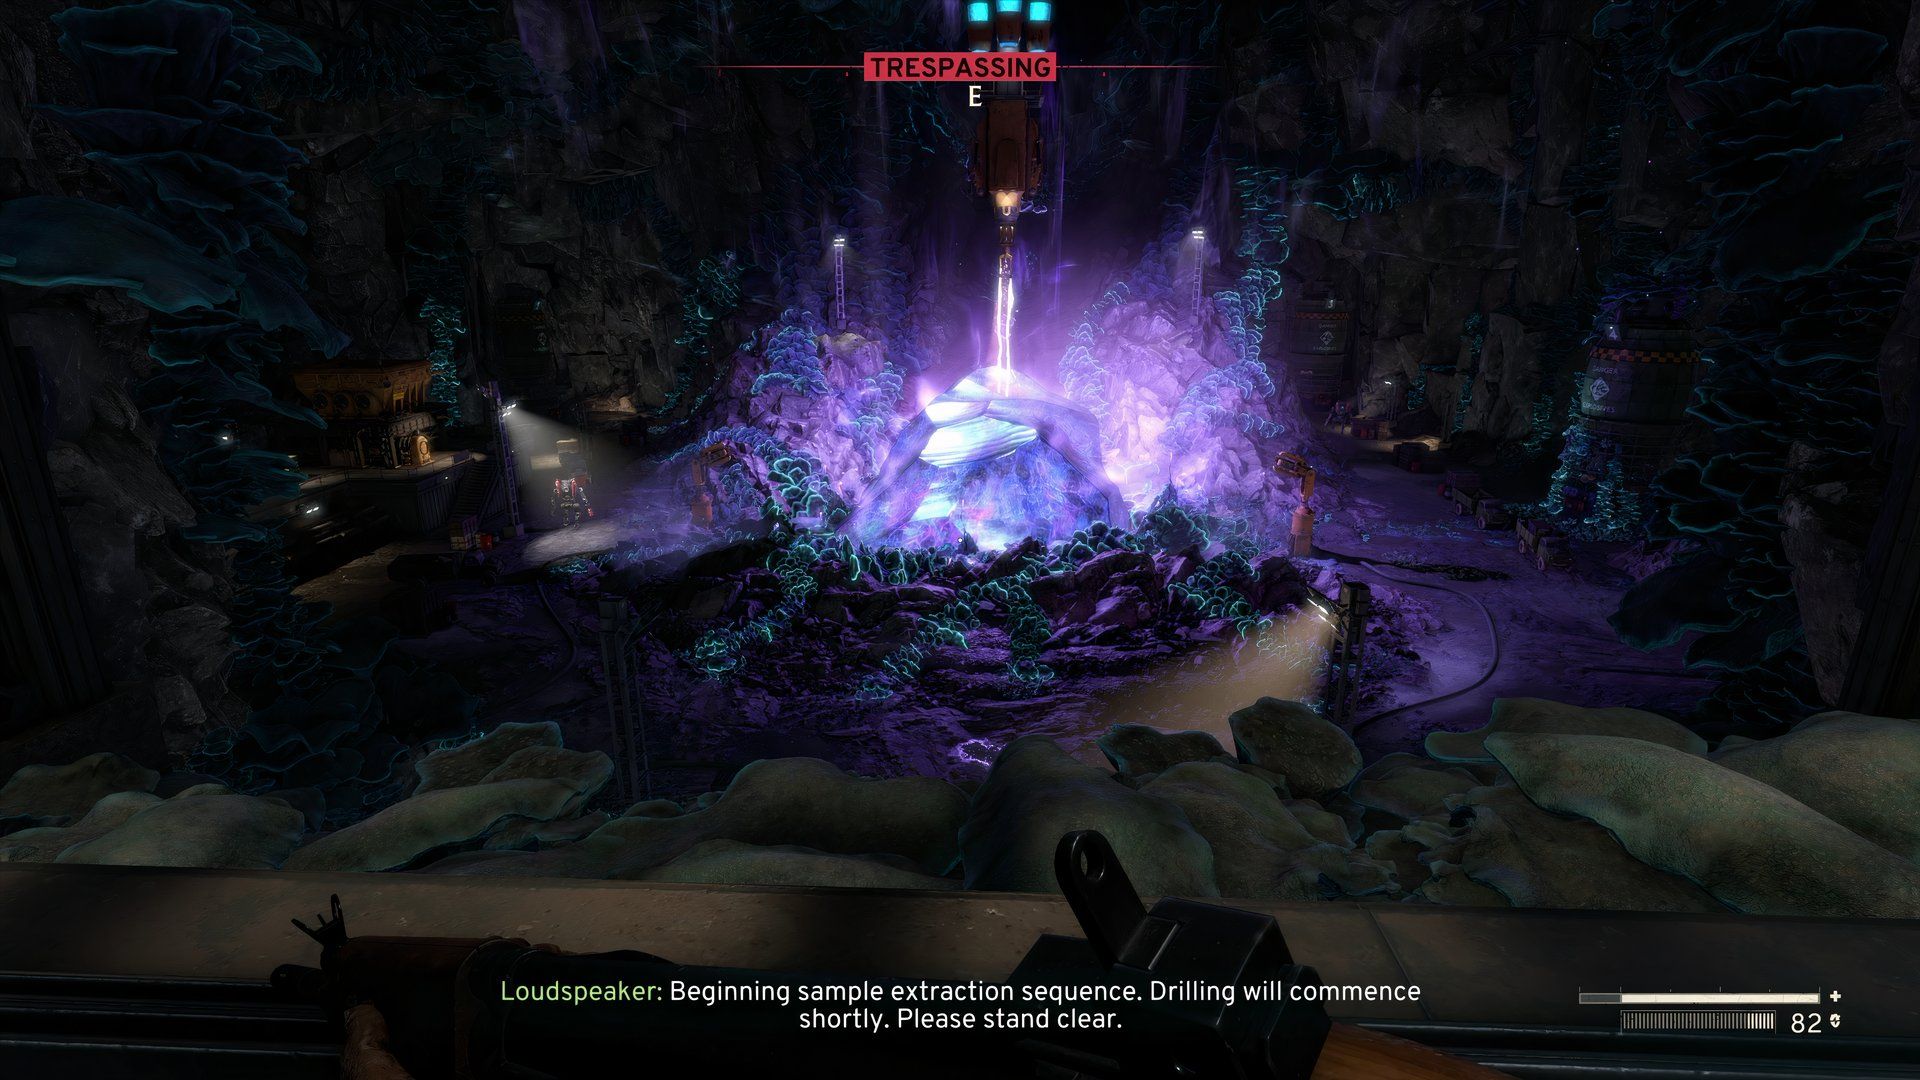
Navigate through the peculiar purple area to eventually find yourself at the Oberon Excavation Site. At this site, you’ll notice a substantial structure close to the meteorite. Enter the building, and don’t forget to explore the Administration Room on your right side to secure the Dig Site Storeroom Keycard, along with assorted crafting supplies and ammunition.
In the storage area, you’ll find a Pneumatic Tube and an abundance of supplies along with an Atomic Battery. Subsequently, venture over to the Generator Room where you must place two Atomic Batteries into the central terminal. Be cautious in this room as there is a Thrall present, and remember that there are numerous Thralls scattered throughout the building who might be alerted by excessive noise.
Place the batteries in, and this will turn on the sample extraction drill. Now make your way to the Control Center. You’ll find different control panels with handles there. The one you should pull is labeled as Sample Extraction Panel. Give it a try, then watch as an exciting animation of a drill bore into a massive purple meteorite unfolds.
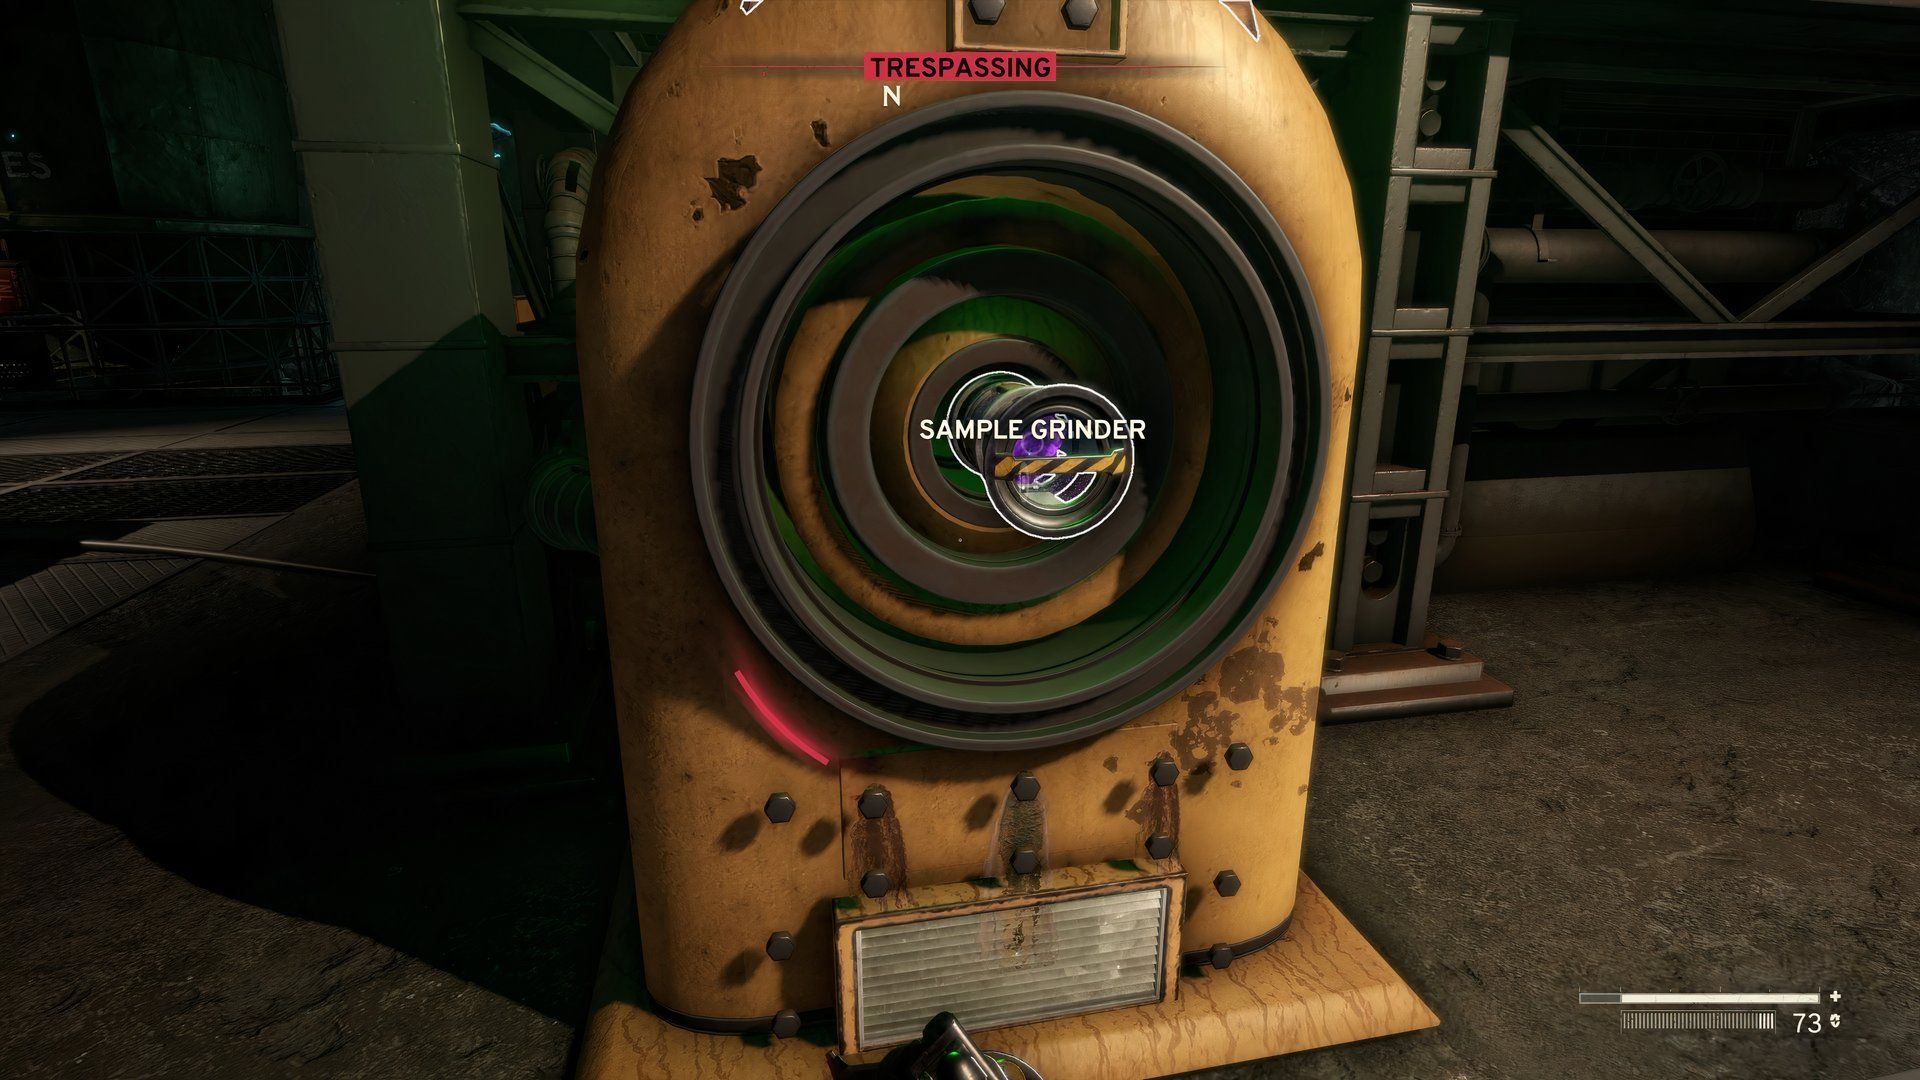
After obtaining the sample, navigate it towards a device known as the “Sample Pulverizer”. To find this, leave the Control Room through the doors on your left. Be mindful of the area, as you’ll encounter three B.A.R.D. Robots armed with flamethrowers who are protecting the meteorite.
As a gamer, “You’ll come across a Thrall in armor roaming these parts, so keep that in mind while you’re dealing with it. Reach the grinder, grab the Meteorite Sample Canister there. With this canister, Dr. Garrow’s wishes are fulfilled. Now, you can bid farewell to the dig site and head back to The Interchange.
After returning to the Central Processor Room, you’ll find that Dr. Garrow has vanished. She’ll get in touch with you via the facility’s intercom, guiding you to her hidden exit – it’s tucked away in her office nestled within the Lower Level of Robotics. This is where we previously gathered her research notes. Make your way back down there and approach the sample. Remarkably, Dr. Garrow will keep her promise and reveal a concealed escape route, cleverly hidden behind a painting on the wall in her office.
It’s uncertain what purpose she has for the sample, as she mentions she has extensive research to conduct. This could be concerning given her previous research outcomes. Additionally, there’s a possibility that you might be chosen for further research due to your potential exposure to the same condition as other residents in the quarantine area.
Though Dr. Garrow may come across as arrogant, it’s important to note that she won’t deceive you and will aid your escape if you meet her demands. The question then becomes: Is it worth cooperating with someone so haughty in order to secure your freedom?
Read More
- All Shadow Armor Locations in Crimson Desert
- Dark Marksman Armor Locations in Crimson Desert
- Sega Reveals Official Sonic Timeline: From Prehistoric to Modern Era
- Genshin Impact Dev Teases New Open-World MMO With Realistic Graphics
- How to Beat Antumbra’s Sword (Sanctum of Absolution) in Crimson Desert
- Where to Pack and Sell Trade Goods in Crimson Desert
- Top 5 Militaristic Civs in Civilization 7
- The Limits of Thought: Can We Compress Reasoning in AI?
- Enshrouded: Giant Critter Scales Location
- Best Weapons, Armor, and Accessories to Get Early in Crimson Desert
2025-03-26 12:45