Quick Links
- Accessing the White Palace
- Location of the White Palace
- The White Palace – Part One
- The White Palace – Part Two
- The White Palace – Part Three
- Rewards For Conquering The White Palace
As a seasoned knight who’s traversed through many treacherous paths and perilous dungeons, I must say, the White Palace has left quite an indelible mark on my journey. The formidable spikes, the cunning puzzles, and the eerie atmosphere have all combined to create a challenge that will surely be etched in my memory for years to come.
In the game Hollow Knight, the White Palace serves as the residence of the Pale King and is a crucial location for players seeking an ending other than the standard one. This challenging game includes numerous platforming obstacles and hidden areas, and the White Palace amplifies its reputation with even tougher challenges.
To gain entry into the majestic White Palace, there’s a single incentive: a precious, white trinket called the “White Fragment.” In the game, there are two such fragments—one bearing the image of the White Queen and another showcasing the Pale King. This guide will assist you in securing the White Fragment that carries the likeness of the Pale King, but remember, you must first acquire access to the White Palace.
Spoiler Warning: This article will explain some minor details related to the secret ending.
Accessing the White Palace
Getting into the White Palace requires a bit more finesse compared to other areas within this cherished Metroidvania game. To enter, you need to fulfill these three prerequisites first:
- Dream Nail
- Monarch Wings
- Awakened Dream Nail
You will find the Dream Nail in the Resting Grounds, an area that is sort of a cemetery. Resting Grounds can be accessed from Crystal Peak. Crystal Peak can be assessed from the Forgotten Crossroads.
If you’ve conquered Crystal Peak and finished the task there, then you should possess the Crystal Heart ability. This skill is crucial to acquire the Monarch Wings, which are hidden in the Ancient Basin. However, be mindful that you can only obtain the Monarch Wings following your victory over the Broken Vessel.
To enter the White Palace, you will need 1800 Dream Essence to awaken your Dream Nail. The surest way to achieve this is to defeat dream bosses, and dream versions of normal bosses.
Defeating each of your dream bosses could earn you between 200 and 400 Essence, however, this reward isn’t handed out lightly. These ascended bosses are some of the most formidable challenges the game presents.
Once you’ve accumulated a maximum of 1800 Dream Essence, make your way to the Resting Grounds and chat with the Seer. Continue the conversation with him multiple times until the Seer bestows upon you the Awoken Dream Nail.
With the Awoken Dream Nail, you are ready to enter the White Palace.
Location of the White Palace
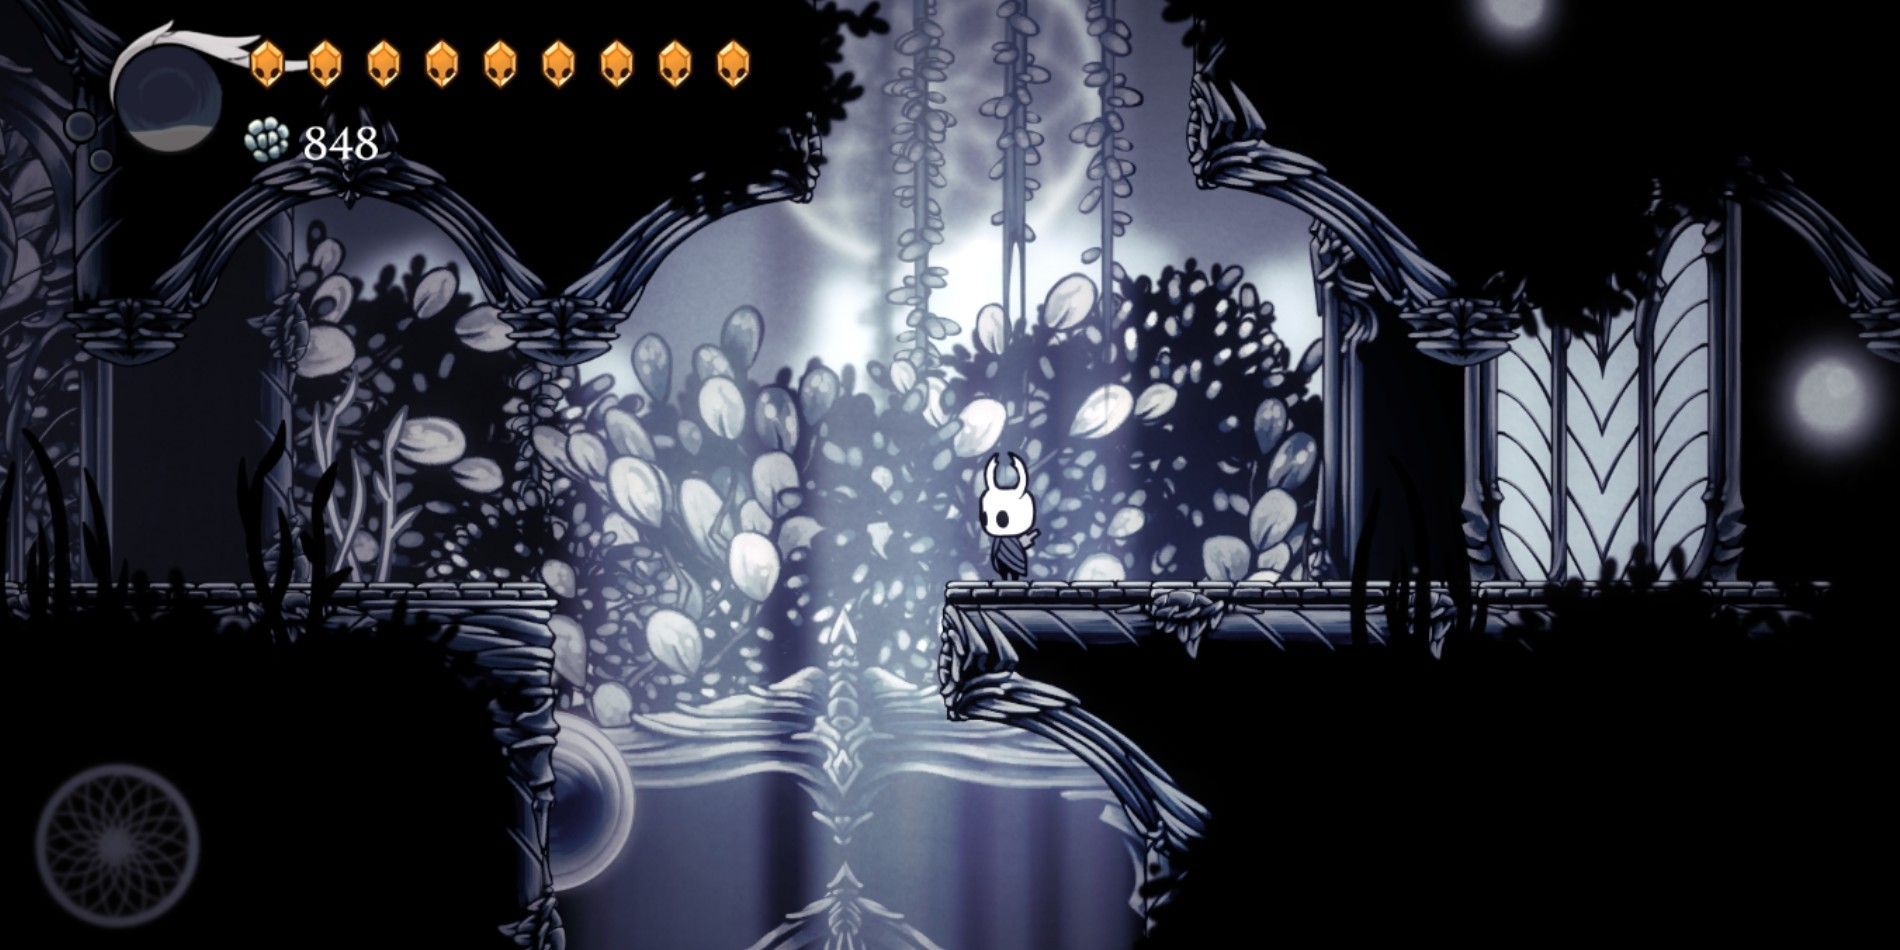
As a passionate admirer, let me share a bit of my knowledge with you. To reach the magnificent White Palace, follow this path: journey towards the historic and enchanting site known as the Ancient Basin. Once there, keep descending until you arrive at the very depths. At the bottom, you’ll encounter a striking sight – sharp spikes await your gaze.
At the lowest point, move rightward until you spot a sign indicating an upward path. Equipped with your Monarch Wings and Mantis Claw, ascend in the direction the sign points.

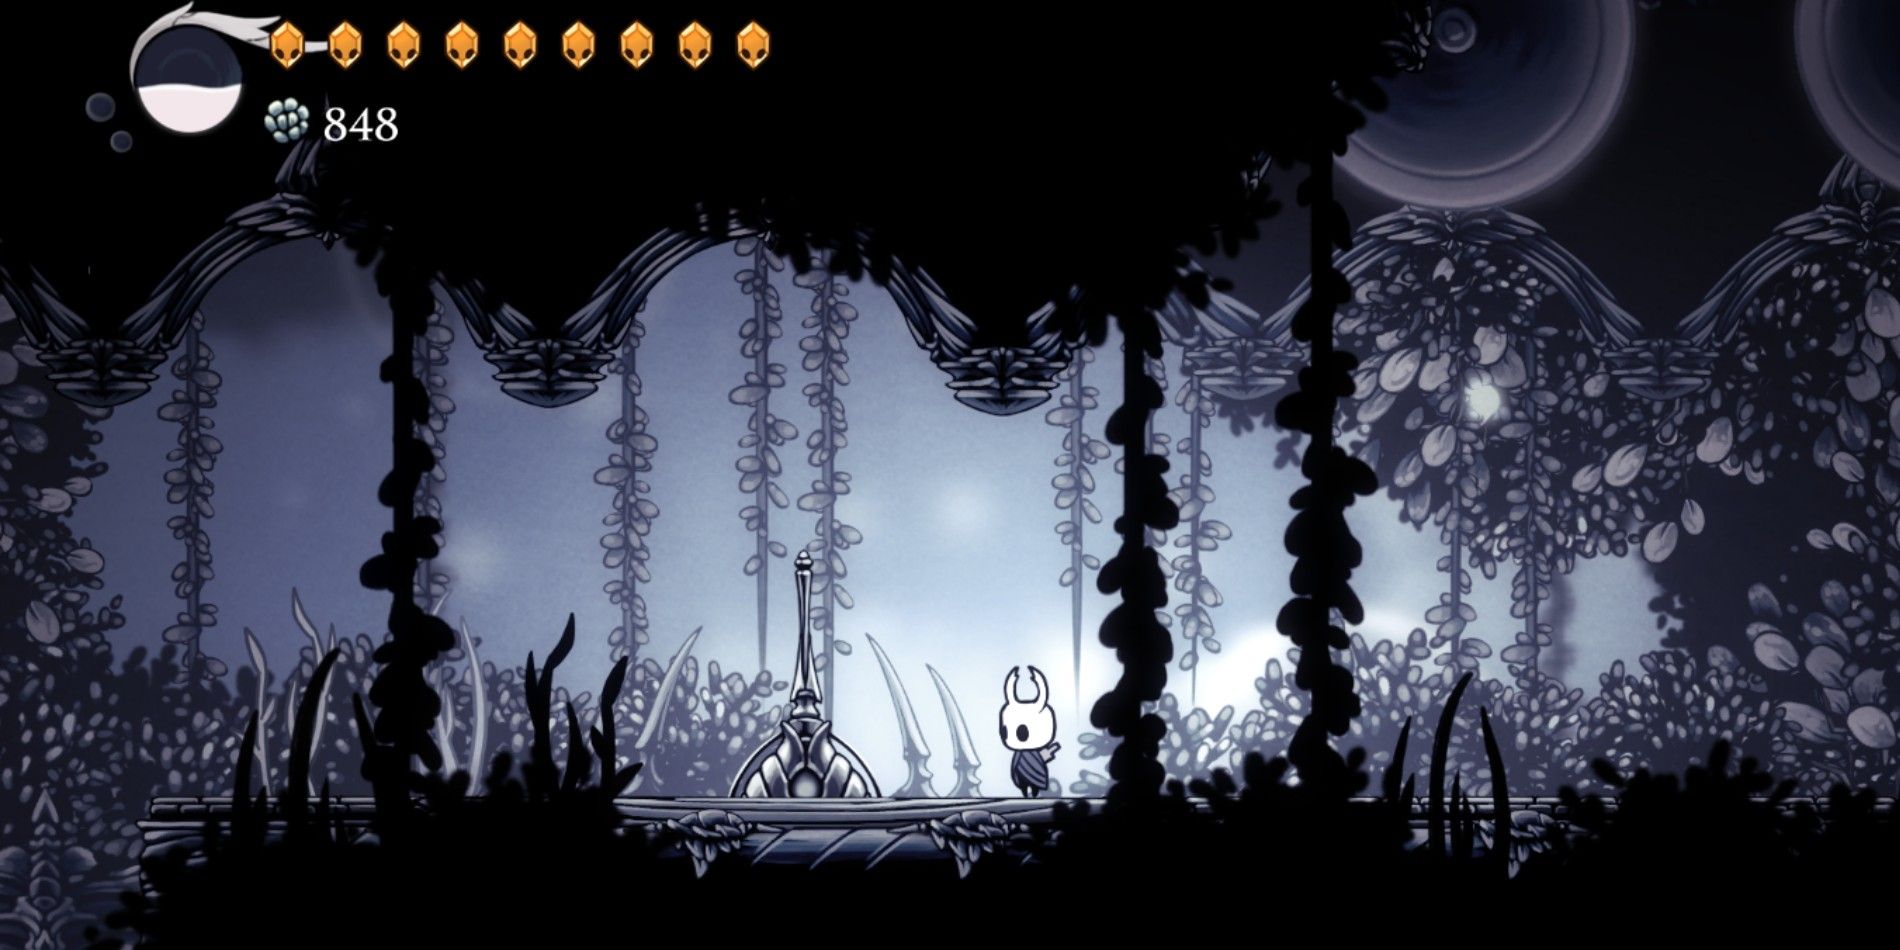
As you progress, you’ll encounter a passageway that you should enter. Currently, you find yourself in the grandiose Palace Grounds. Continue moving to your right, and soon you’ll come across a Kingsmould’s lifeless body. For now, avoid it and continue moving right until you reach a wall.
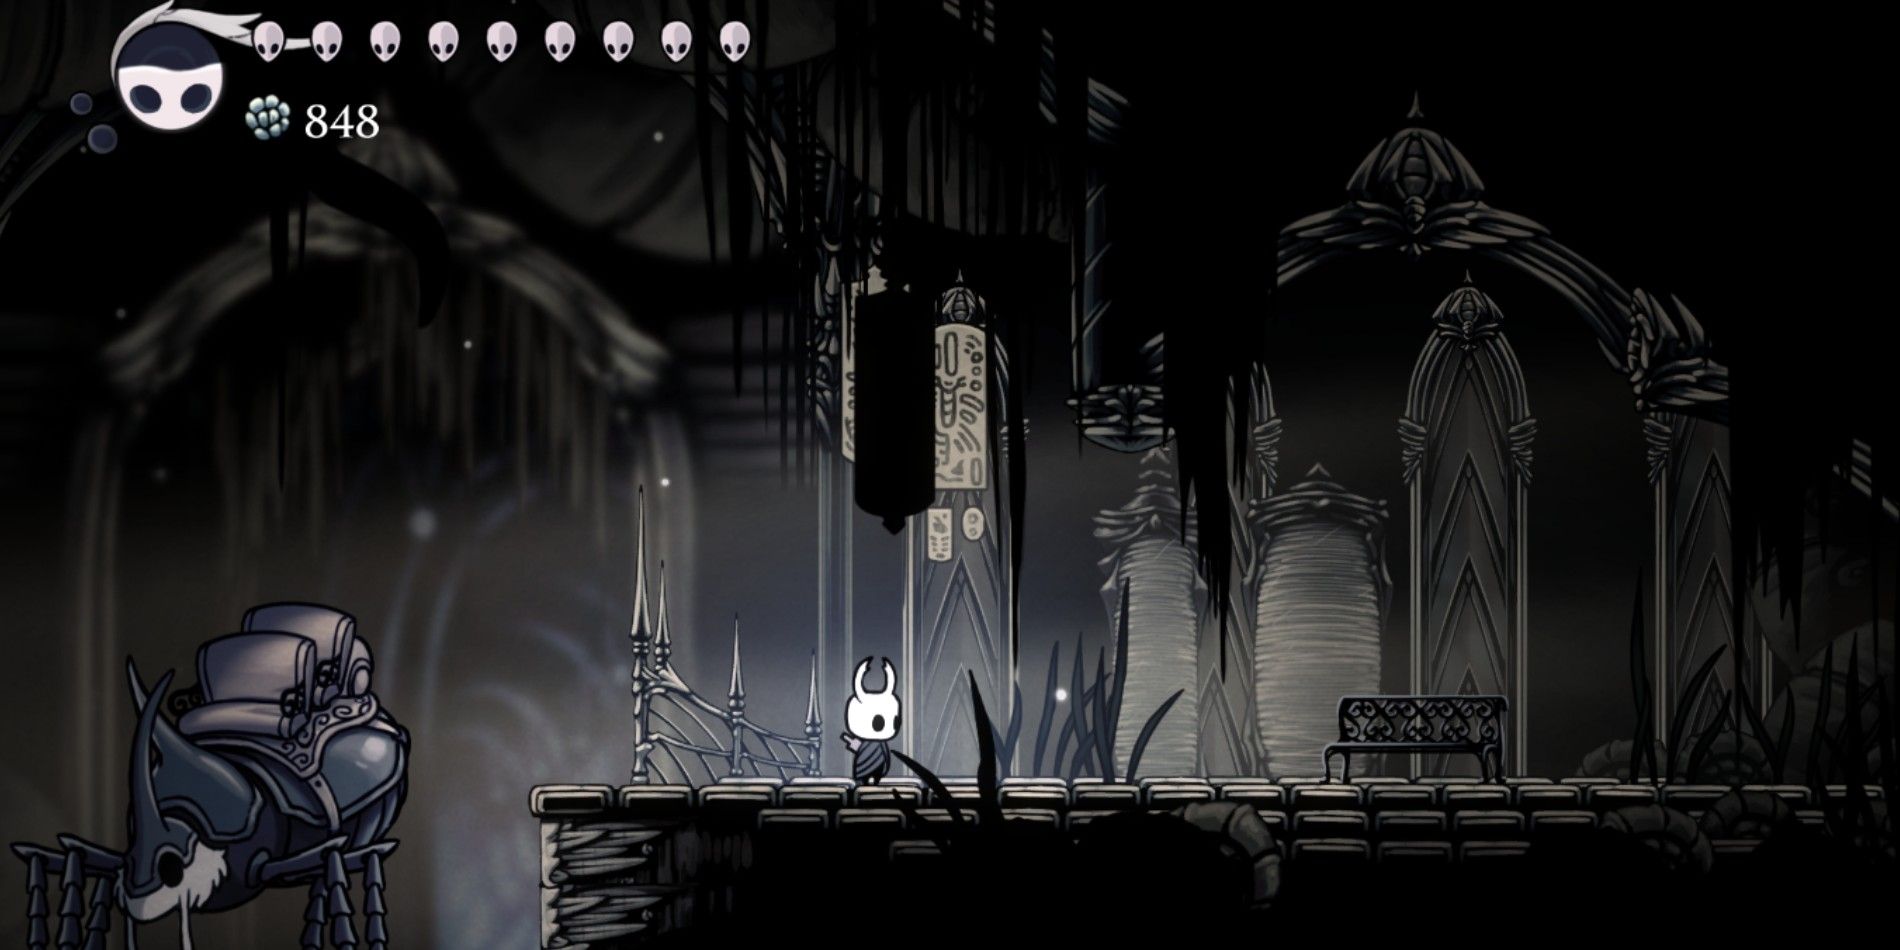
Unveil the hidden Stag Station! Once activated, I can swiftly teleport to the enchanting Kings Grounds at any moment. Additionally, find solace on the tranquil bench situated to the right of the majestic Stag.
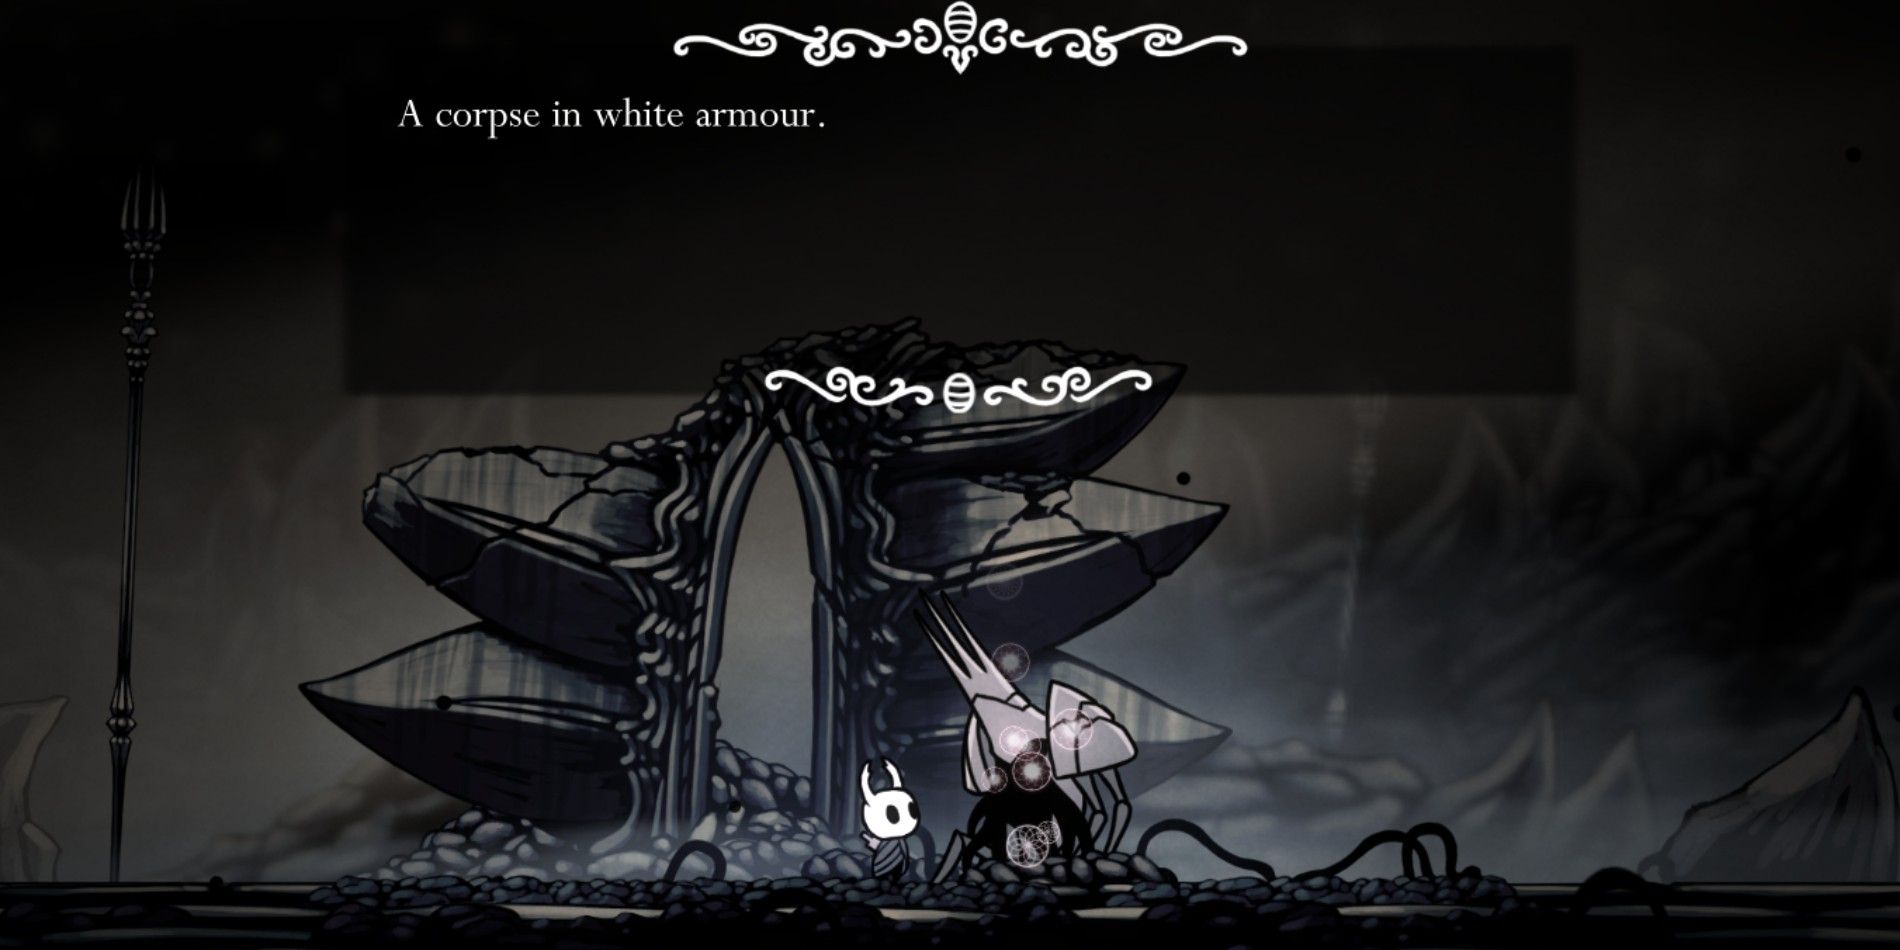
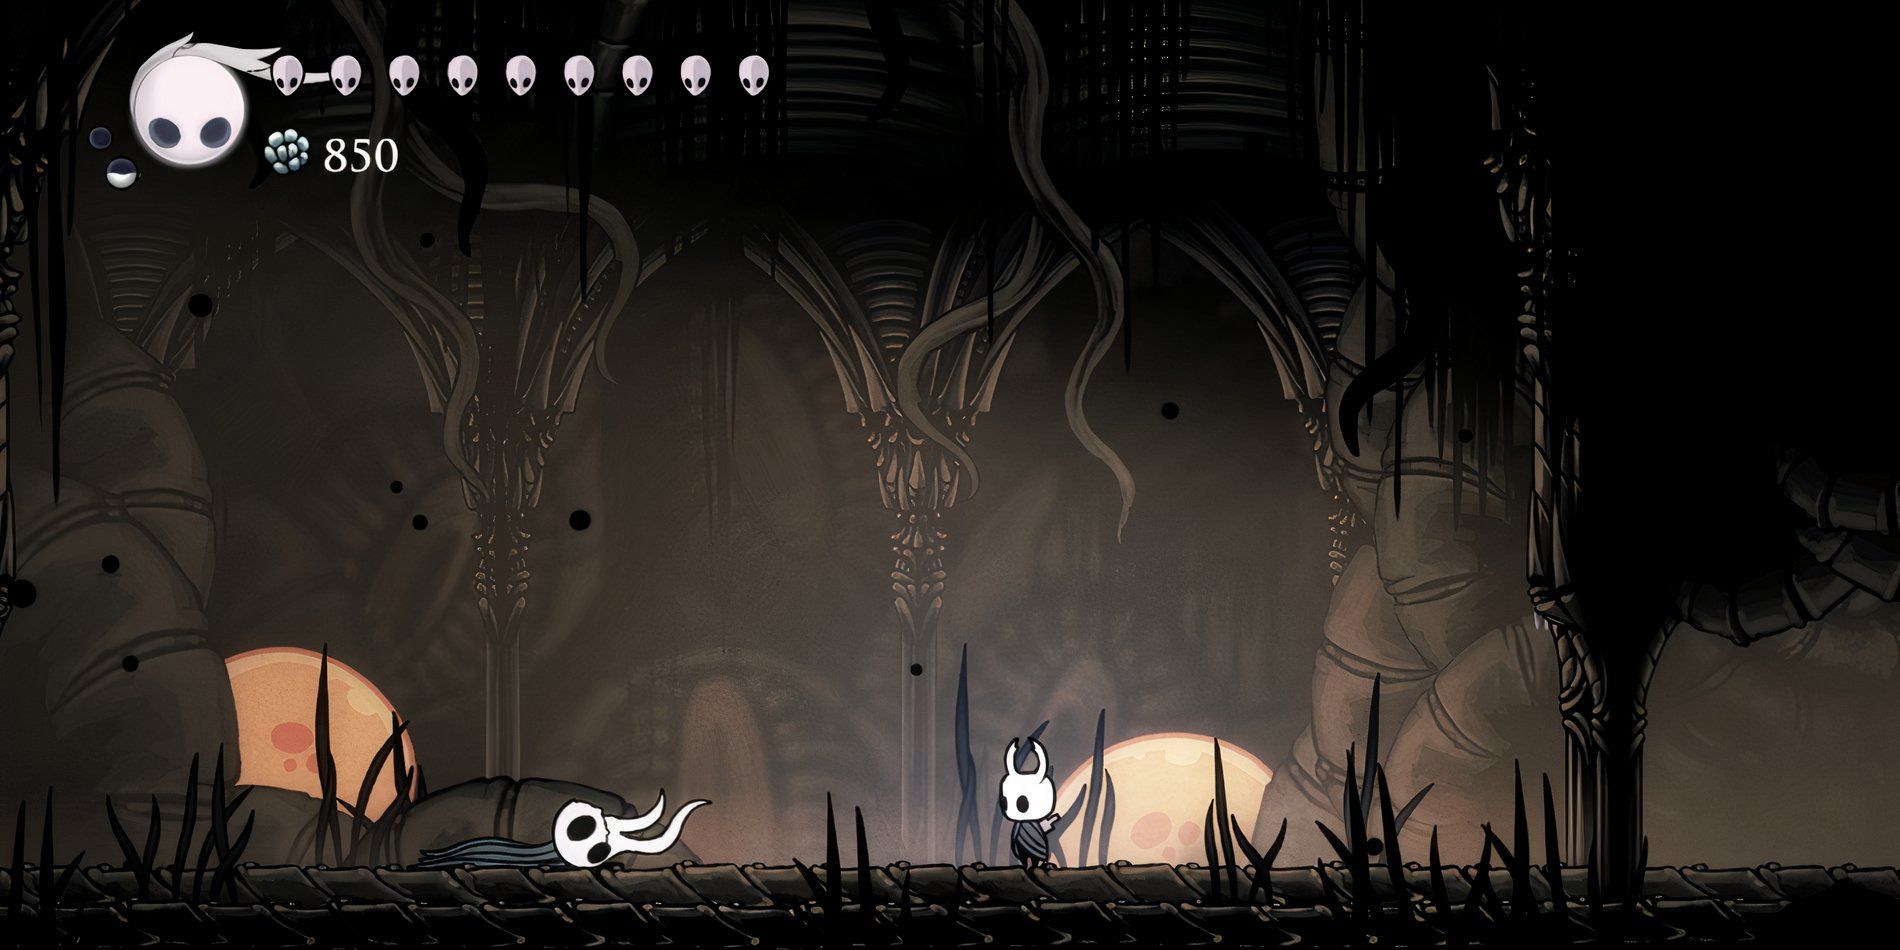
Return to the dead Kingsmould you previously encountered and attack it using your Awoken Dream Nail. This will transport you into a dream realm. Move forward until you come across a living Kingsmould. Be cautious as this enemy type deals significant damage, taking away two health segments with one strike.
In this battle, the Kingsmould may hurl its crescent-shaped projectile towards you in an unexpected manner. To evade this attack, either use the void dash or leap into the air. Additionally, it can swipe its weapon at you. Dodge these strikes by dashing behind it and landing some blows. This confrontation will be simpler if your nail is more upgraded.
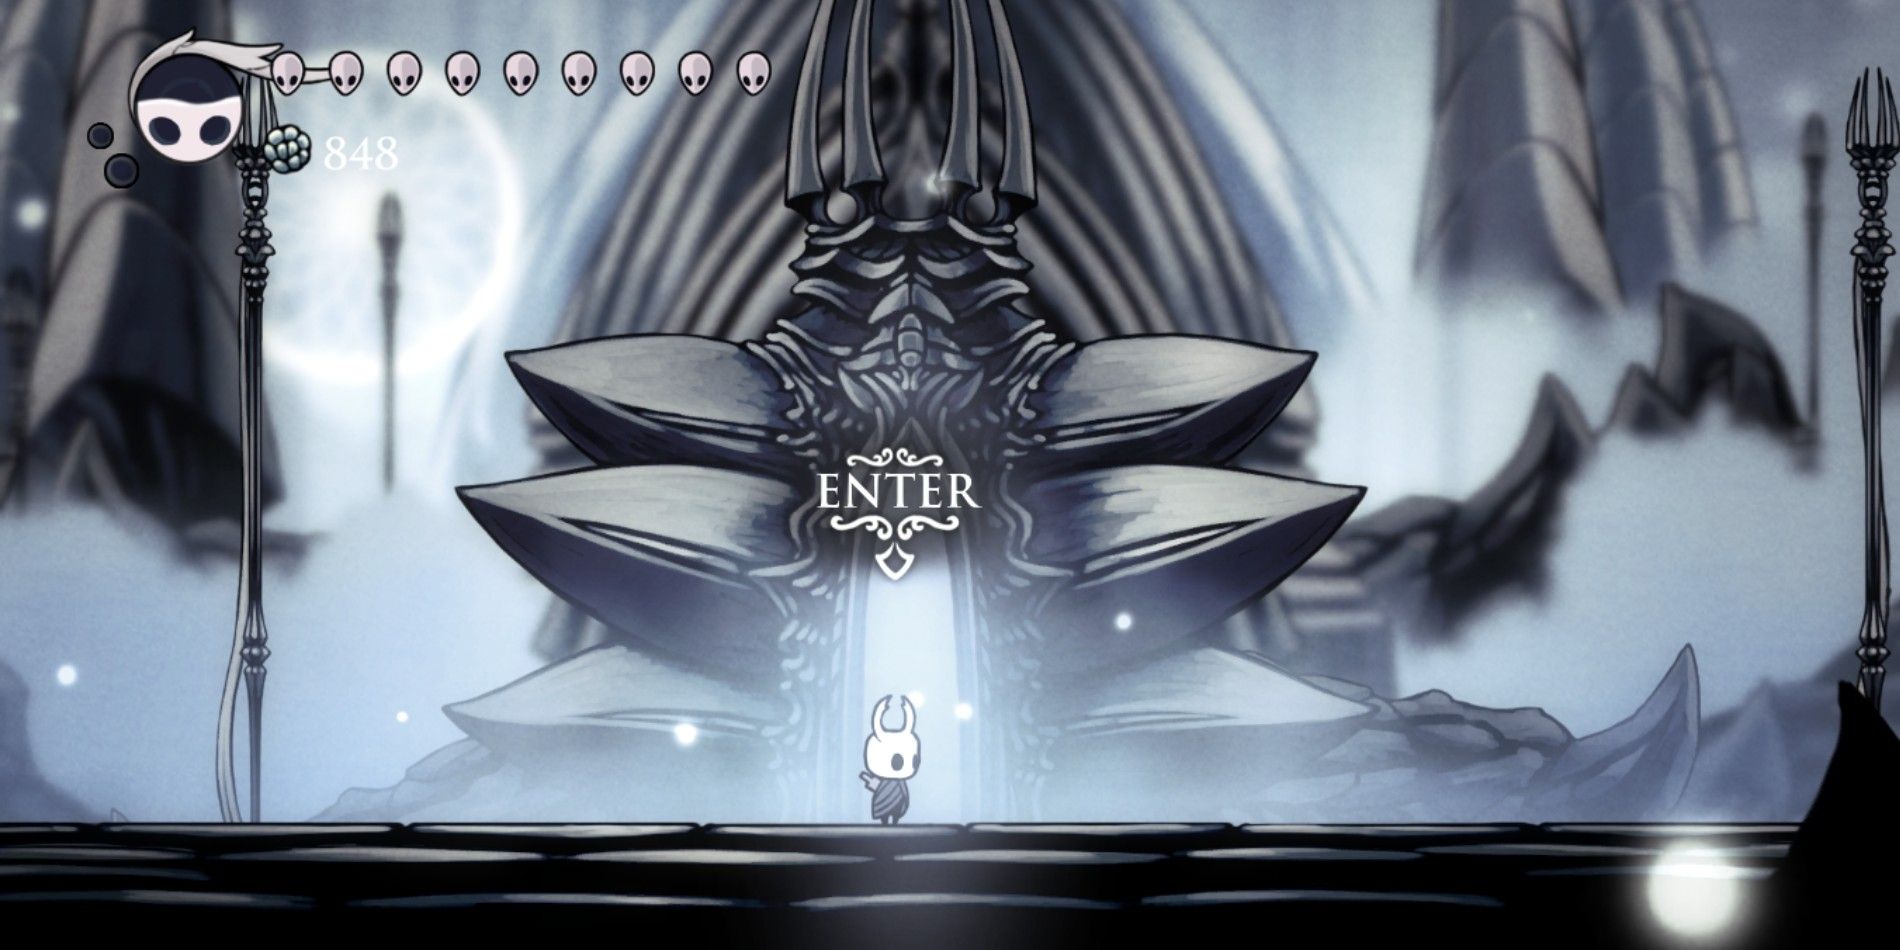
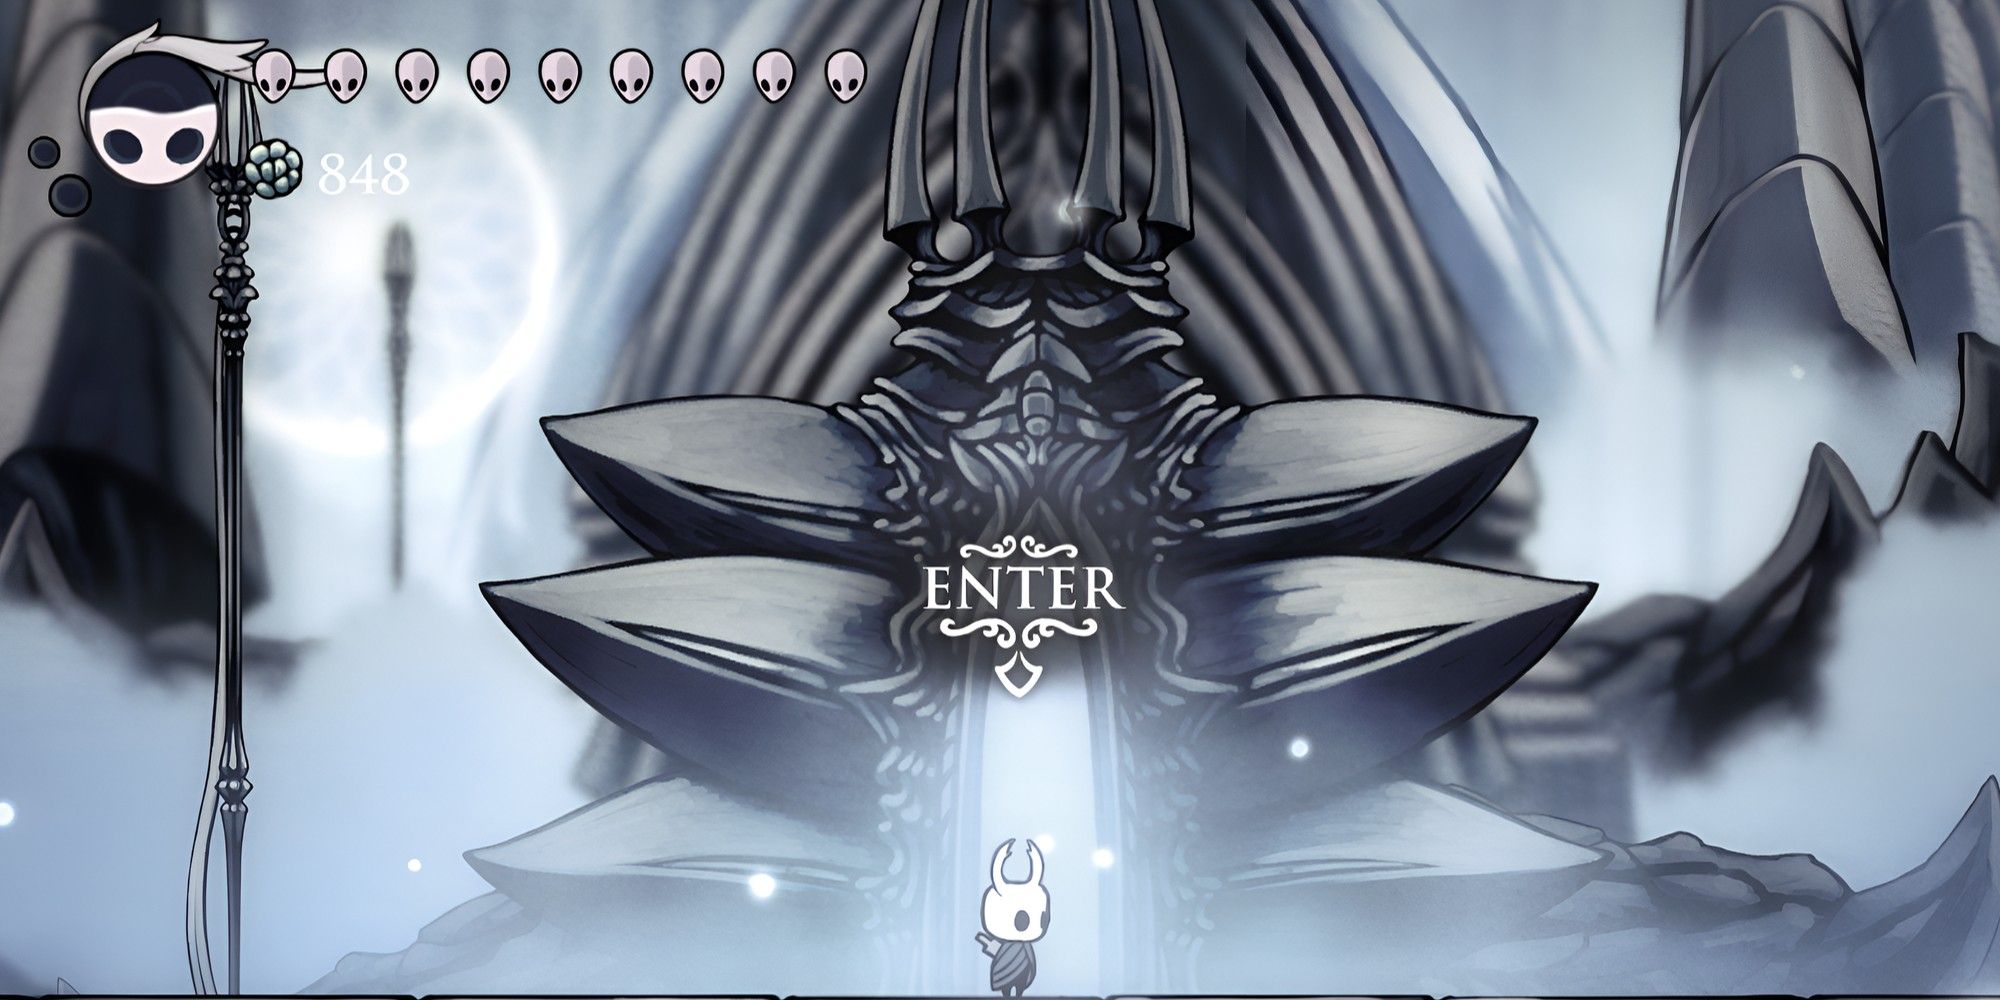
After defeating it, head to the open door. Entering it will bring you into the White Palace.
The White Palace – Part One
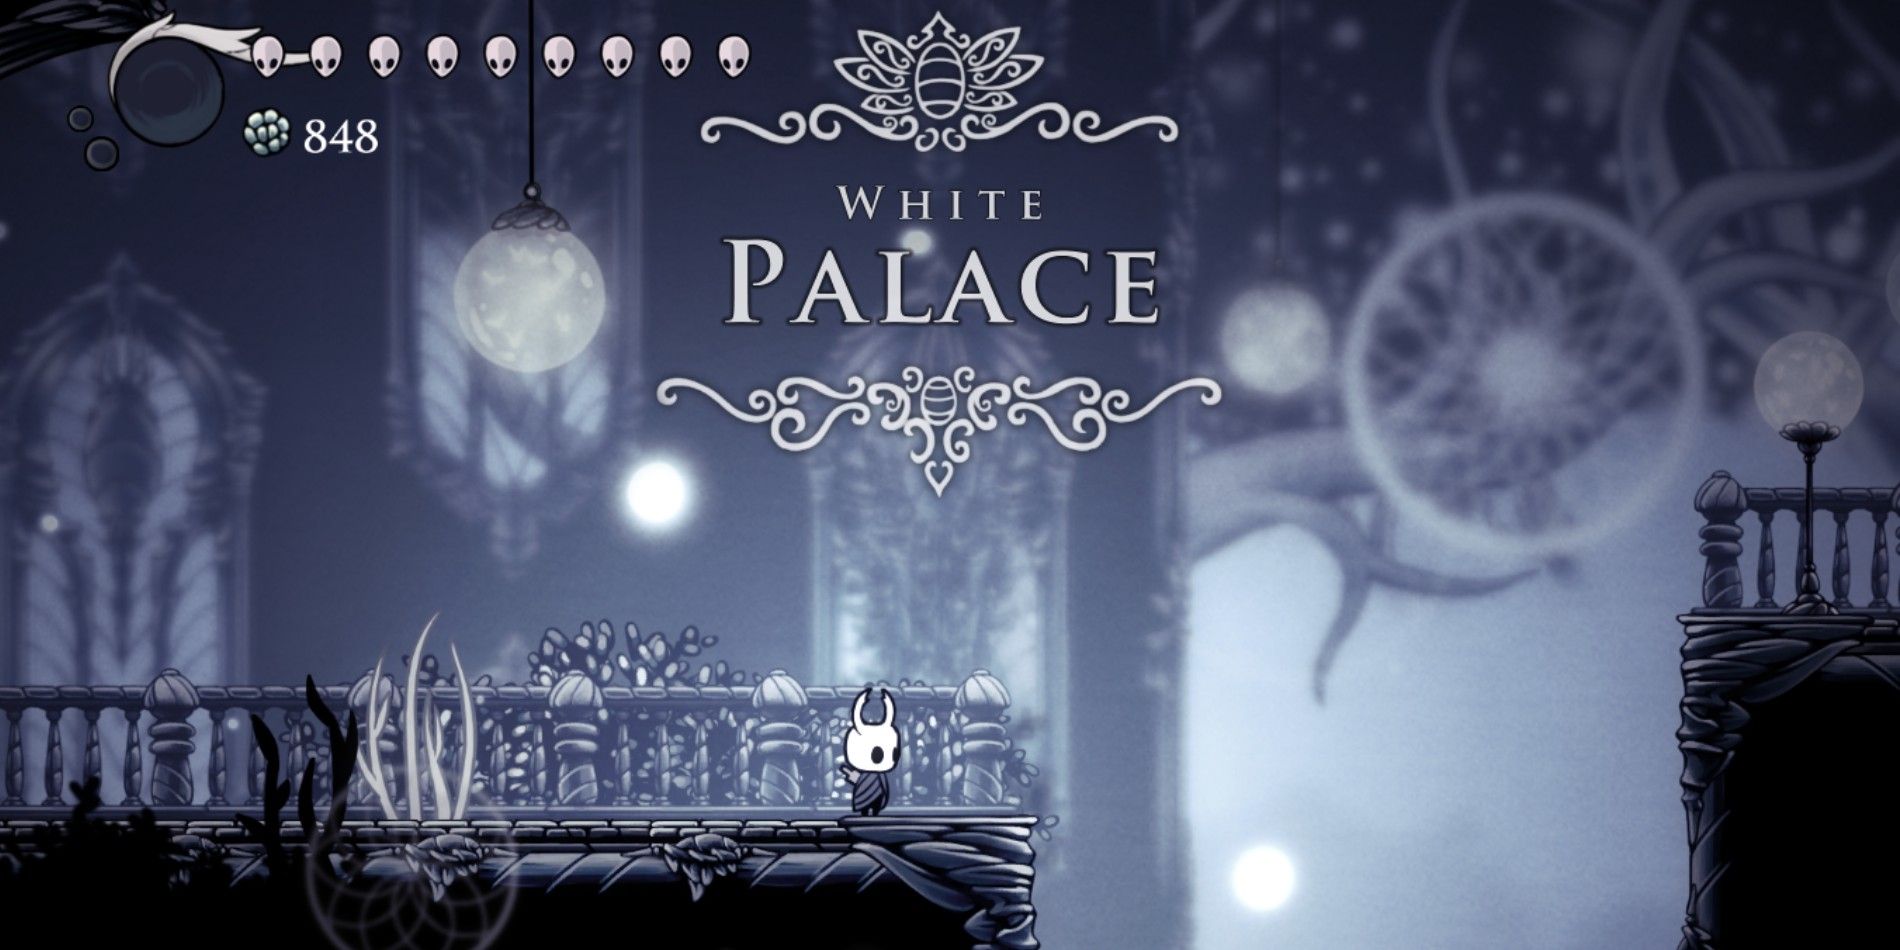
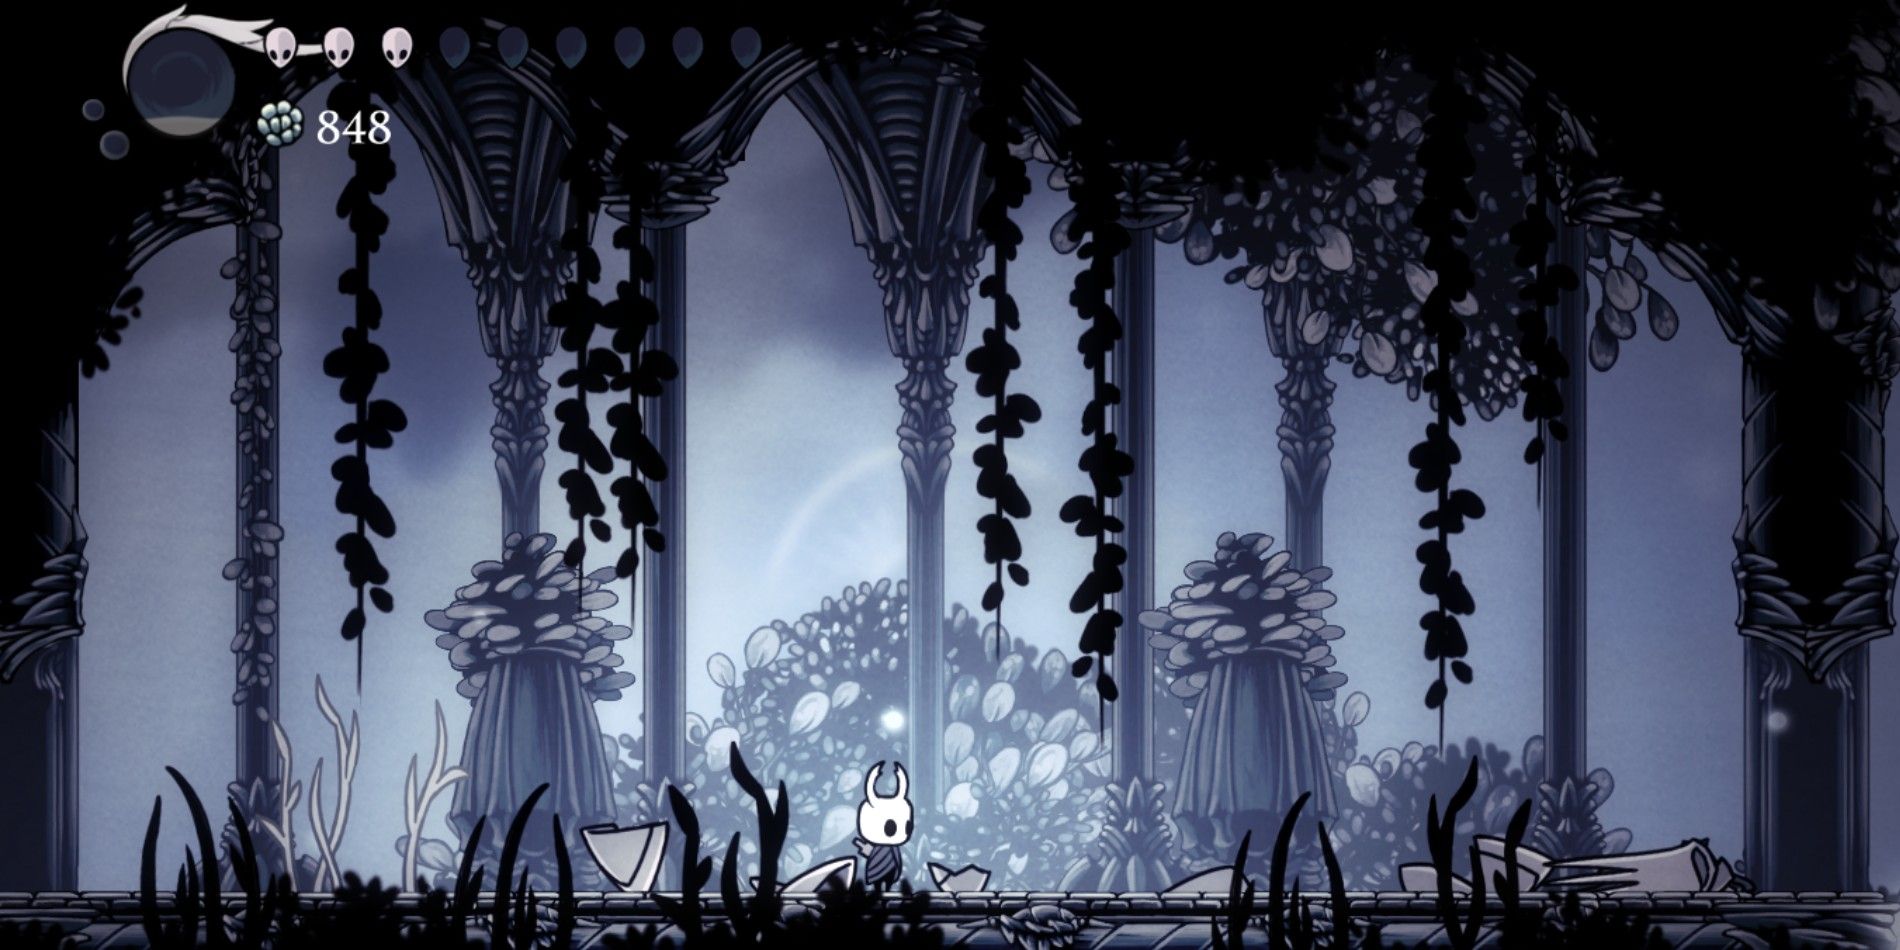
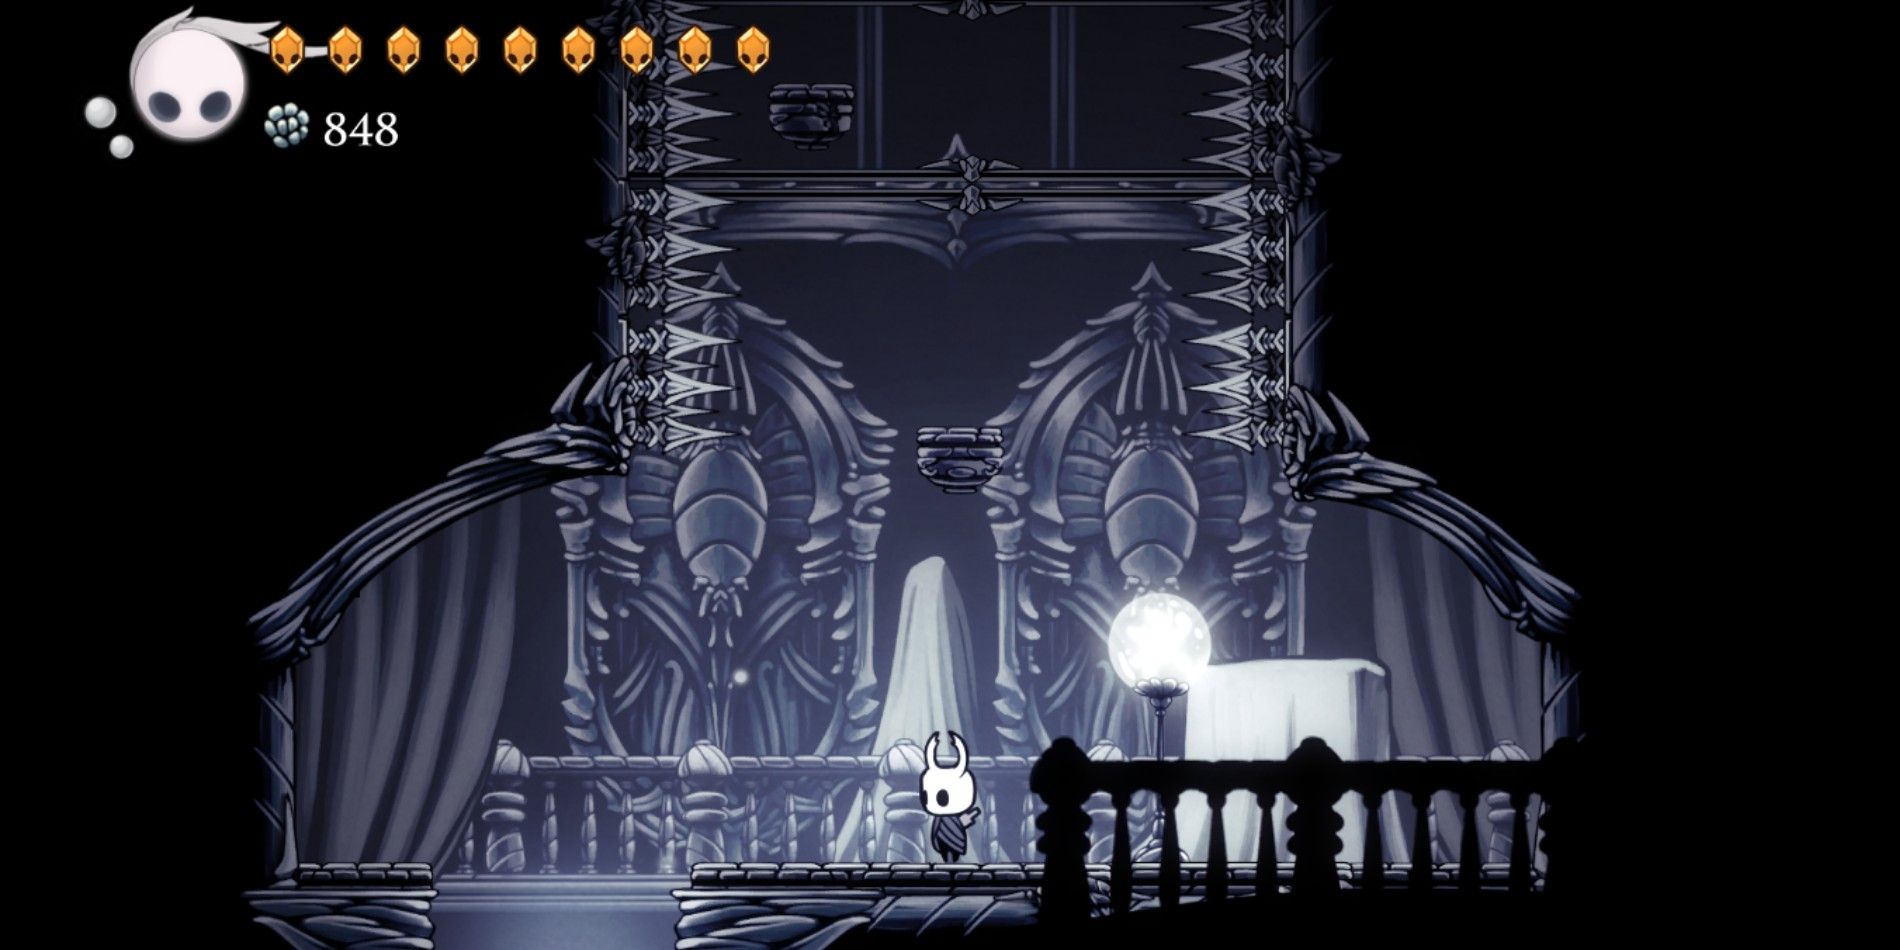
Known as the White Palace, this location lives up to its name by featuring a predominantly white motif. However, the brilliance of this area may deceive you – it serves as a challenging platforming trial within the game Hollow Knight.
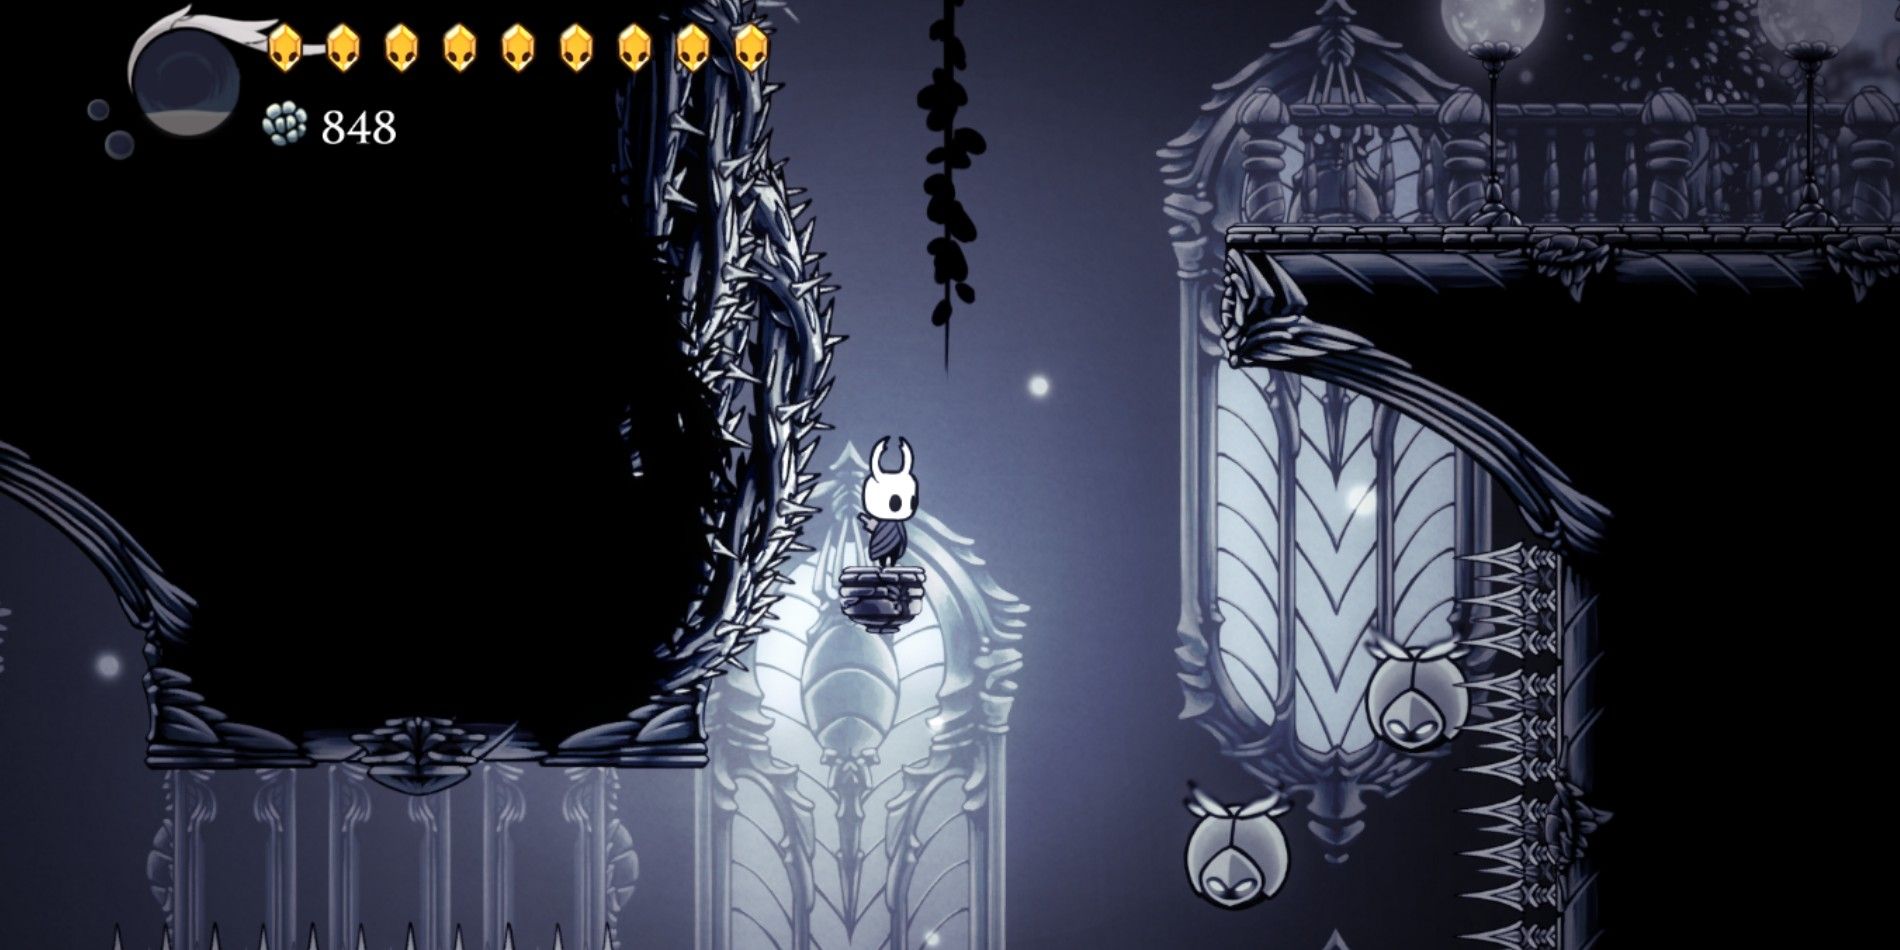
At the White Palace, keep moving forward to your right until you spot some cloud-like structures. Jumping into these clouds will result in the same consequence as landing on spikes. Therefore, navigate across the gap and you’ll find yourself on a different platform.
To your right, there are two insect-like objects hovering. You can jump from them using a pogo stick, which will propel you up to the raised platform on your right. Upon reaching the elevated platform, you’ll find a bench where you can take a break.
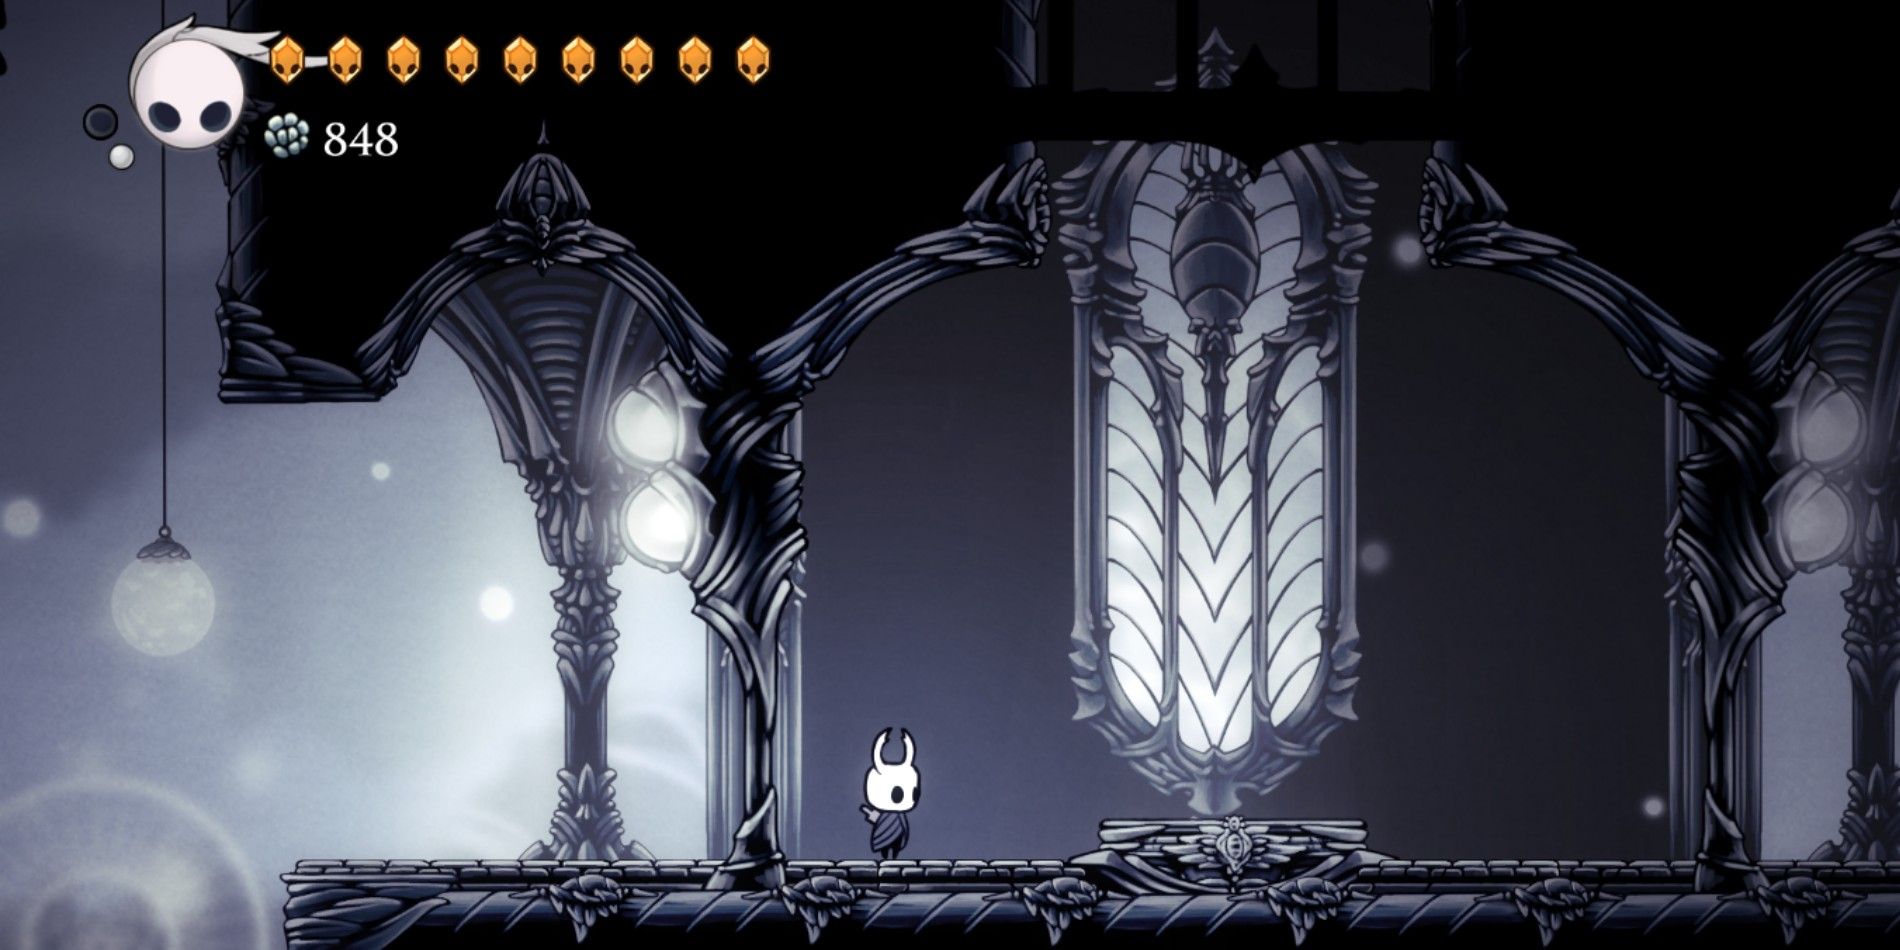
From here, head to your right, and you’ll come across some structures you need to jump over. Continue moving right until you reach a building with an open space beneath and a double-locked entrance overhead.
Continue forward by hopping onto the adjacent platforms as you go. You’ll eventually find yourself in a long corridor; keep advancing along it. More platforms await you here, so jump on them until you come across a room containing a Kingsmould. The room will lock behind you, forcing you to vanquish the adversary to move forward.
Following your victory against Kingsmould, leap onto the next sizable platform rising towards the platform above, being mindful of the spikes. Subsequently, jump into an adjoining room where you’ll find a lever. Pull the lever, which will unlock the two gates that you previously encountered and had been locked.
After exiting, return to the chamber where you recently battled Kingsmould. Then, leap onto the wall on the left side of the room, and employ Crystal Dash to reach a statue that restores your Soul Vessel.
Once your Soul Vessel is refilled, make your way down to the corridor beneath, and then proceed to the building on your left that has barricaded entrances.
Now, make your way onto the platform inside the recently opened chamber. A lift will then carry you upwards, stopping at an appropriate level. Be sure to leap clear of the spikes when the lift reaches that point and continue your journey upward.
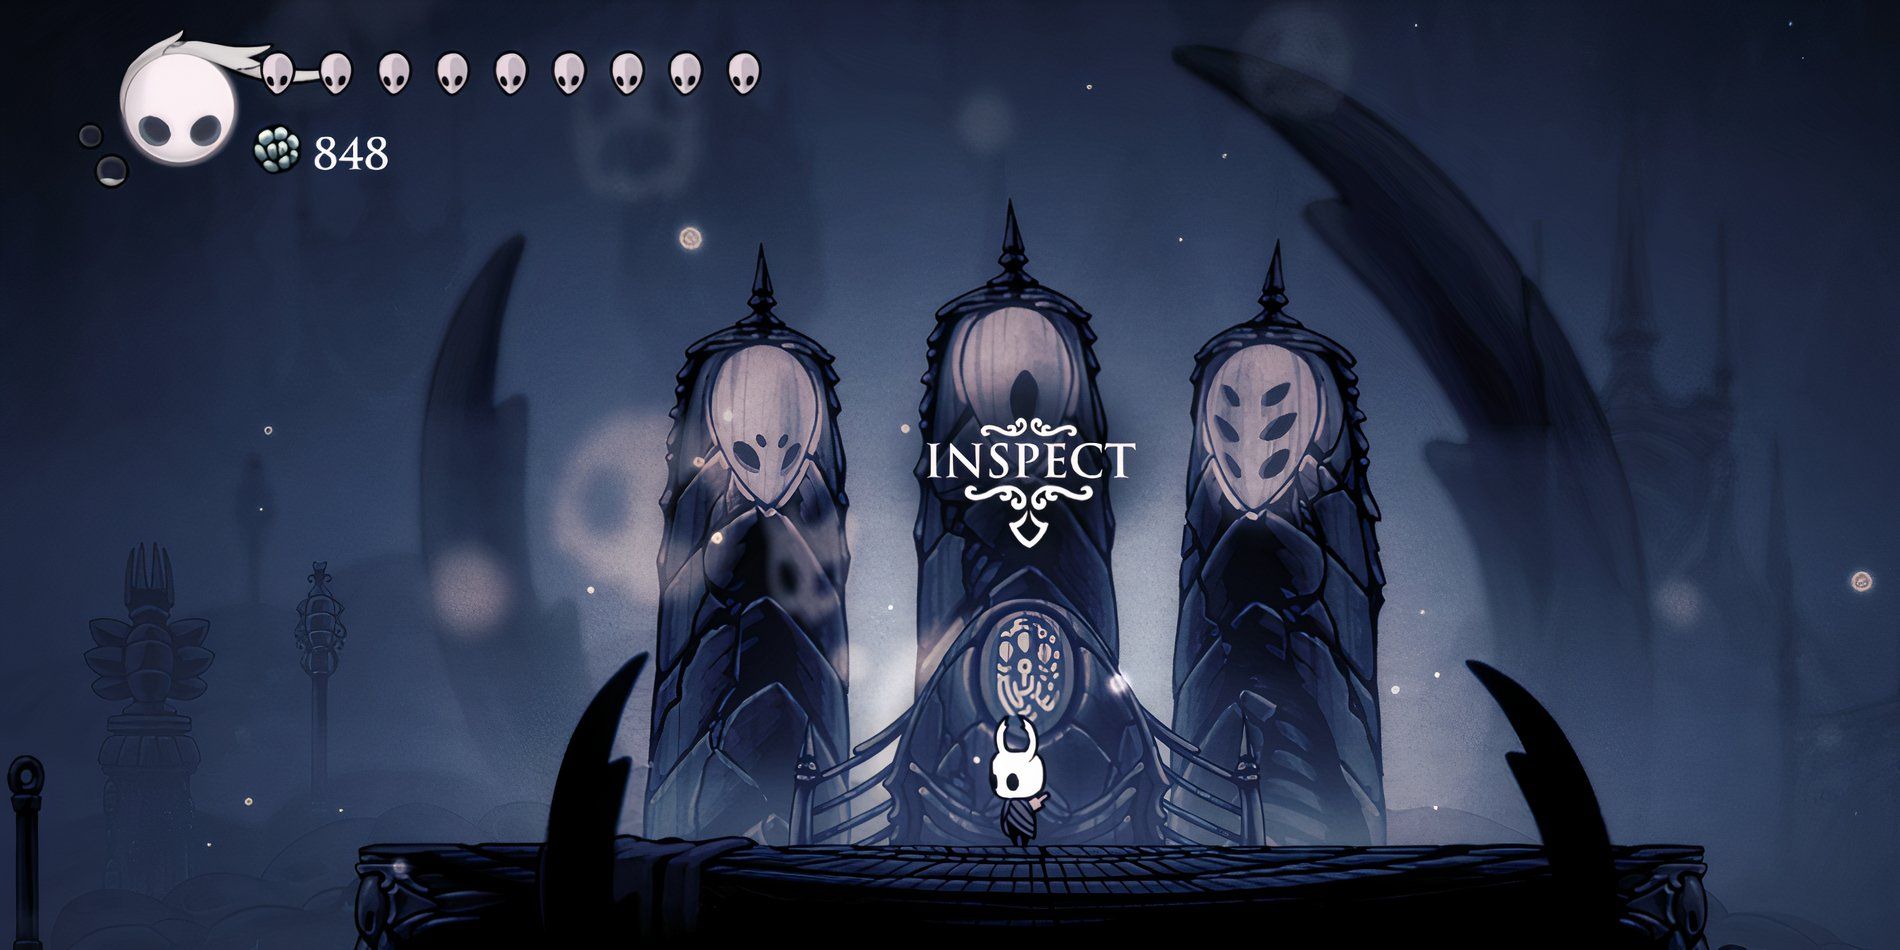
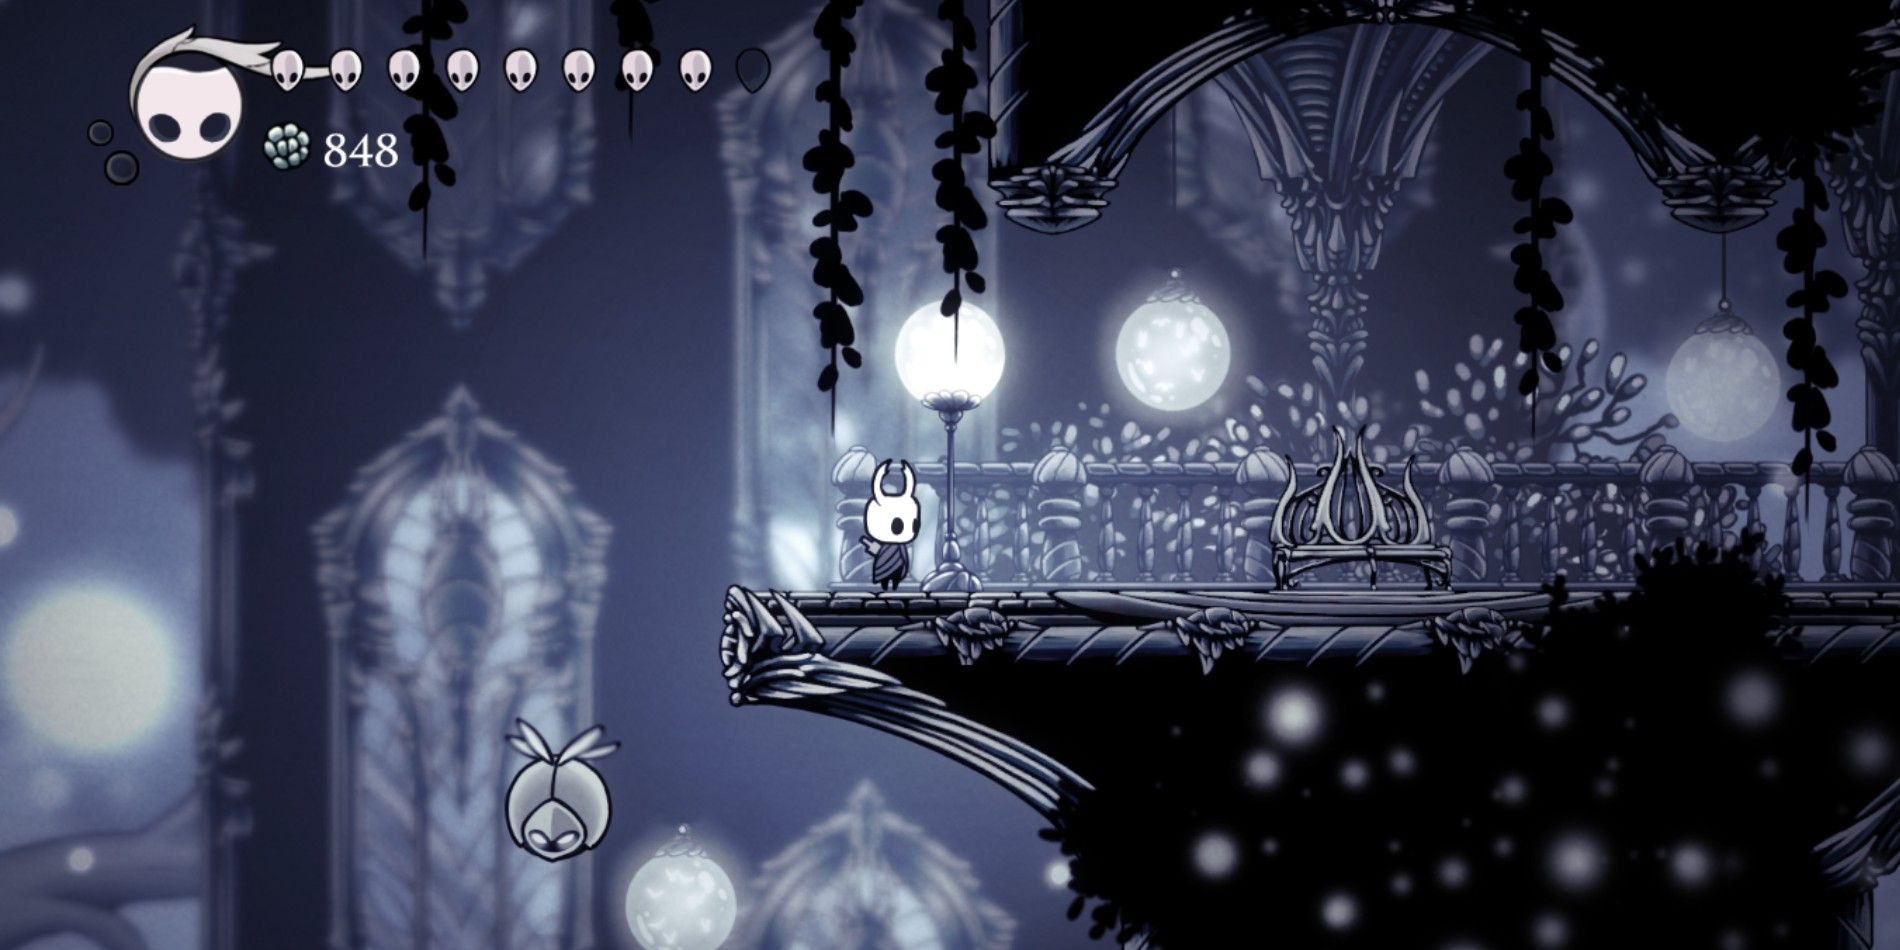
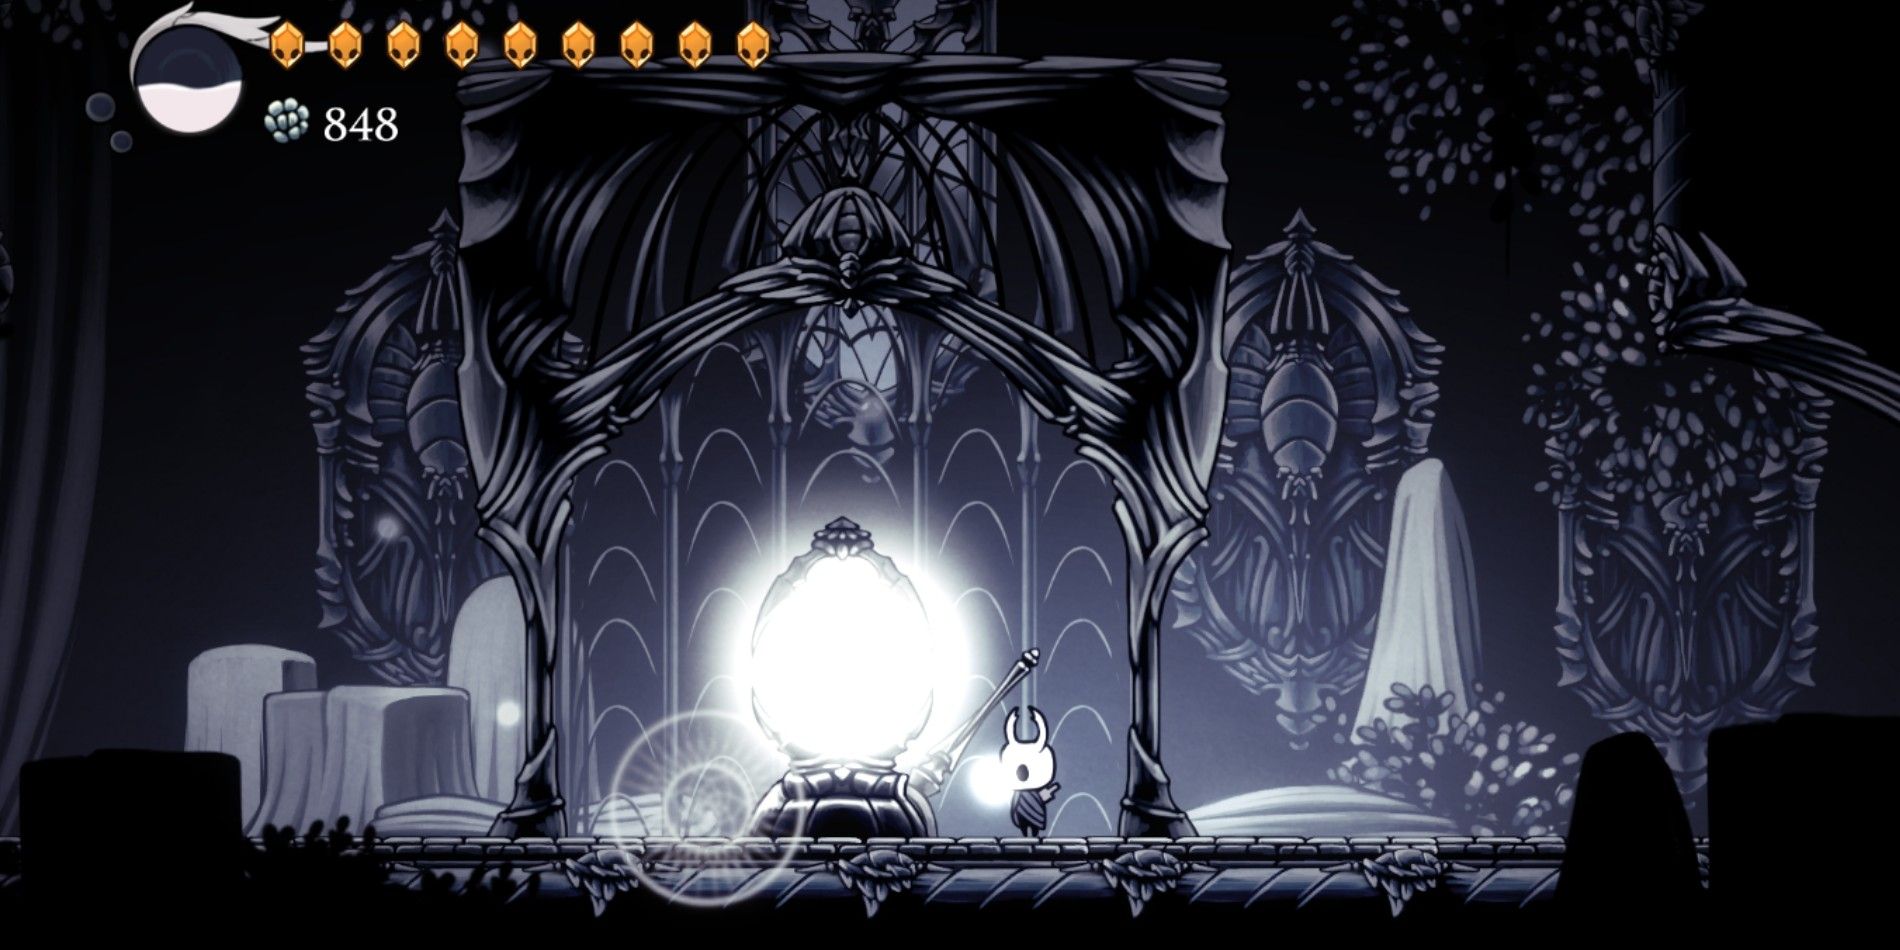
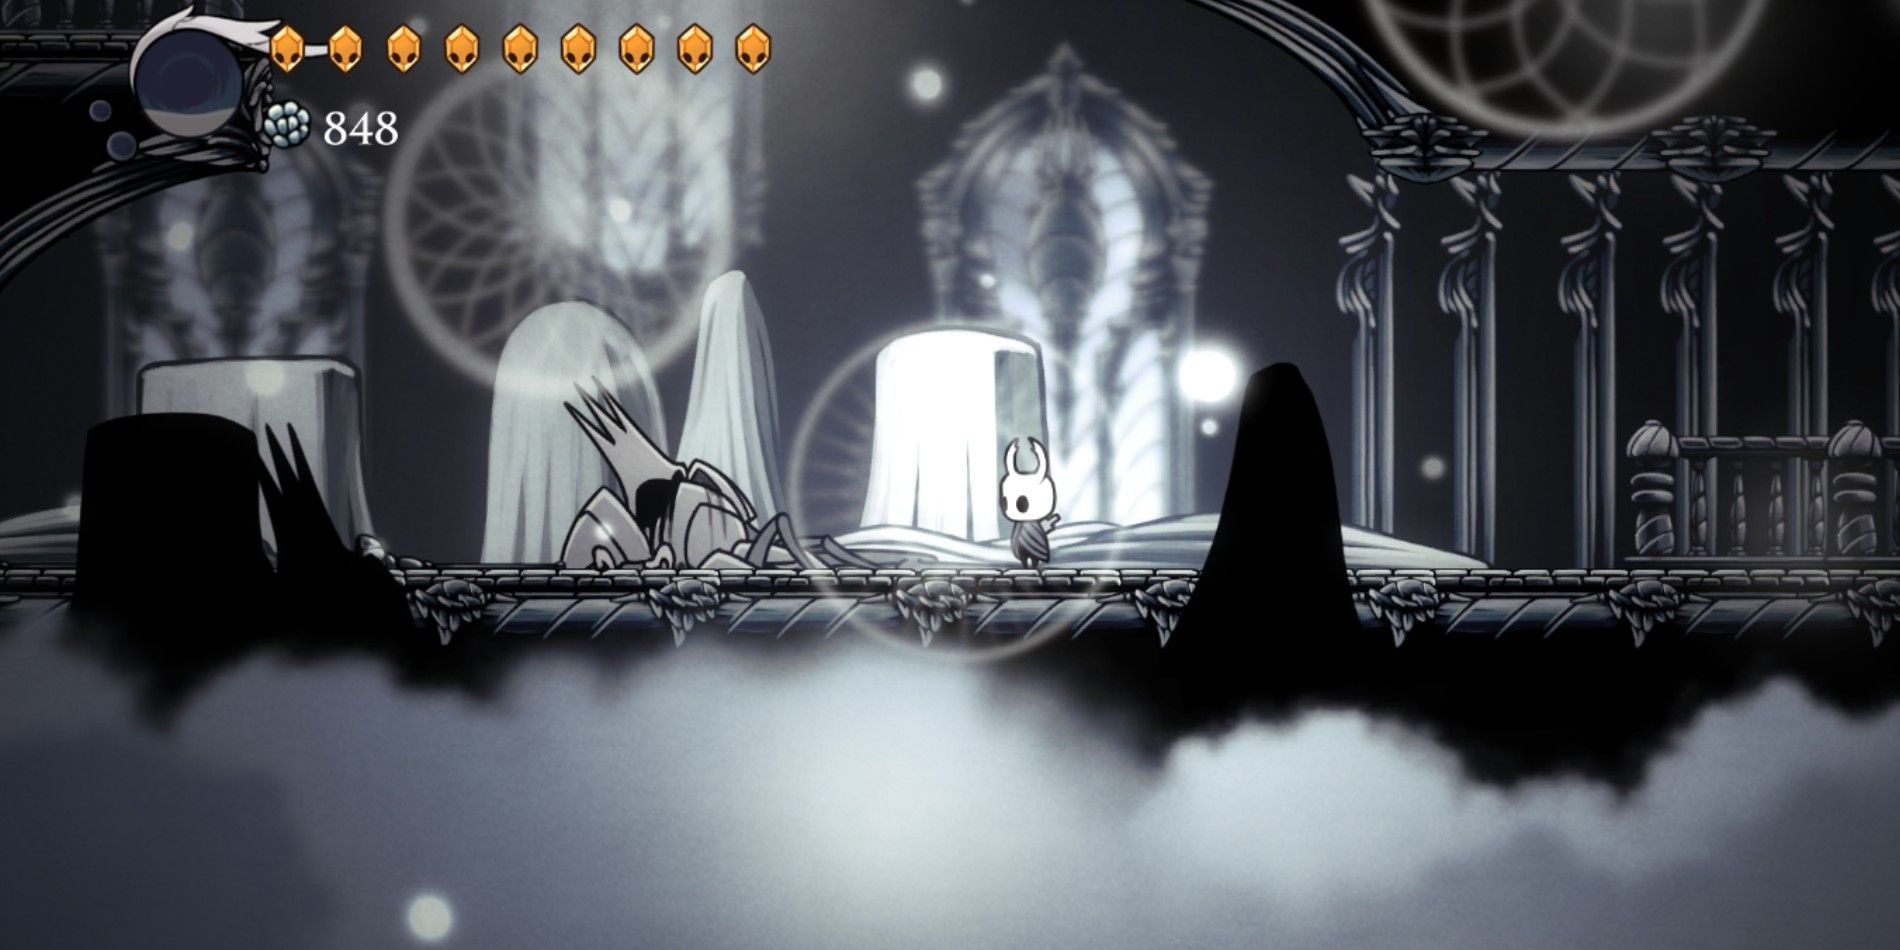
Upon reaching the summit, you’ll notice some ethereal beings emitting sounds. Ascend when you reach the peak and you’ll encounter these beings adorned in white. Upon noticing you, they will bow respectfully. Rest assured, they pose no threat. A strike with your Dream Nail will prompt them to say, “We will wait… King”. You can attack them with your regular nail instead to obtain some soul energy.
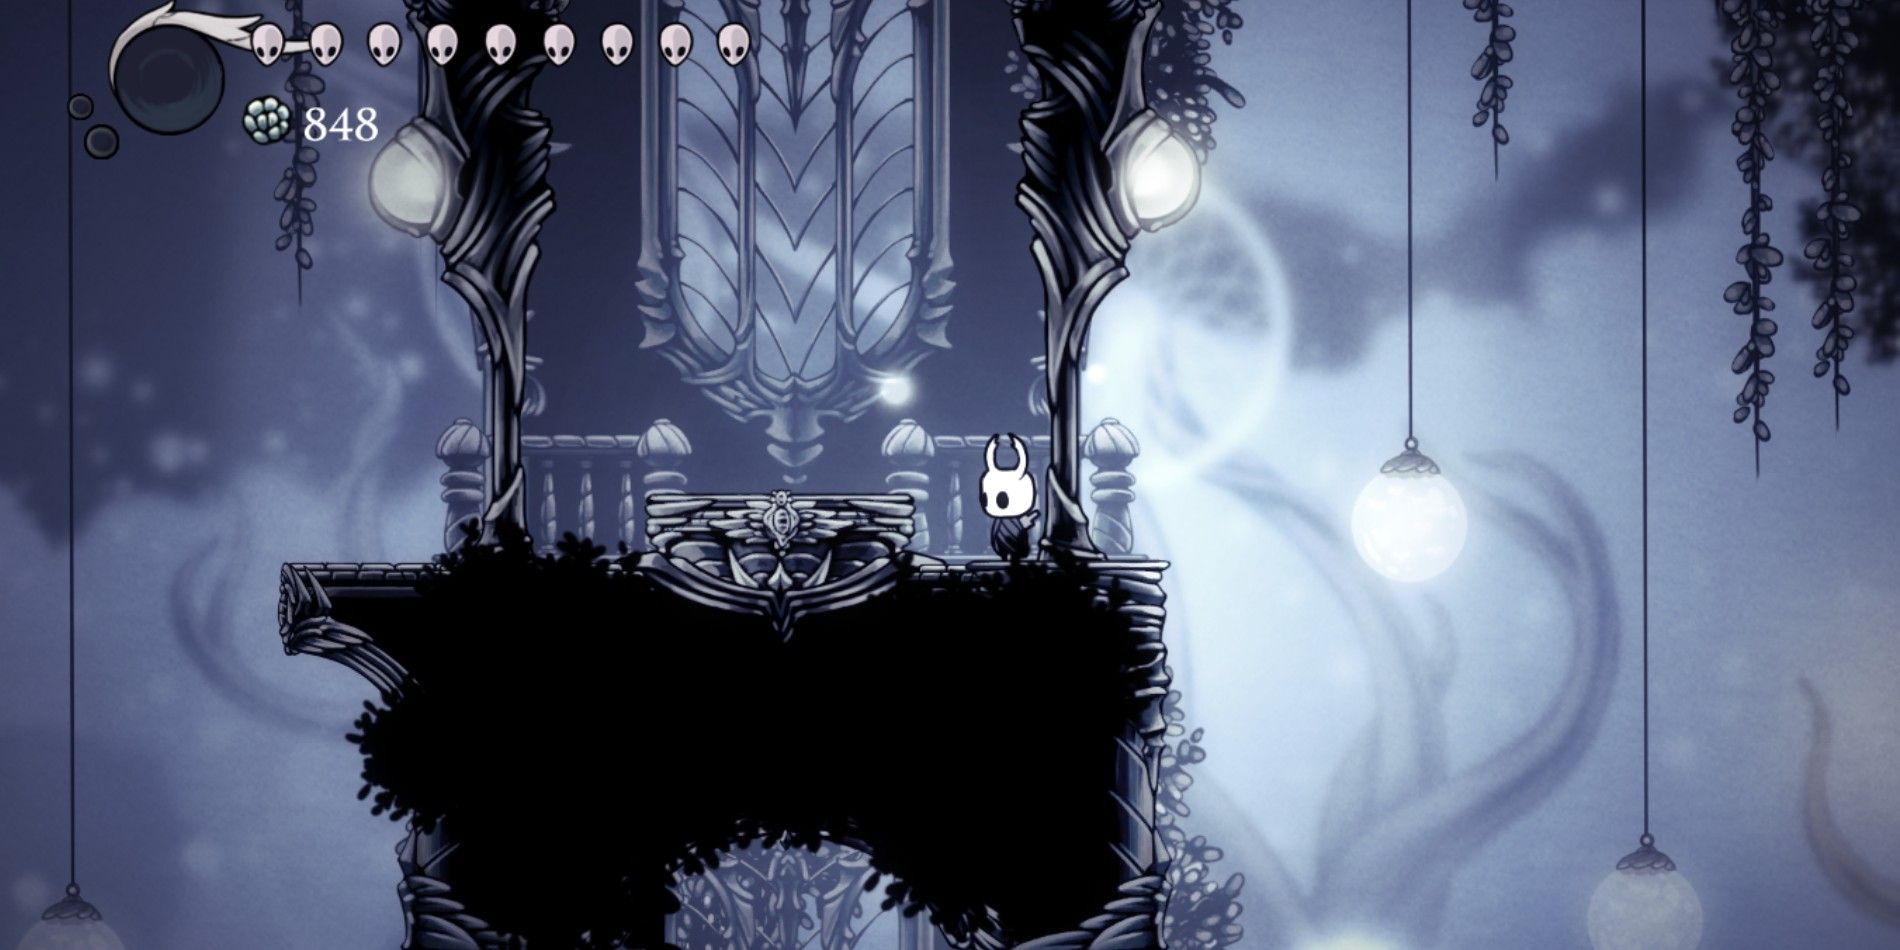
Move upward to reach the higher platform nearby. On this platform, you’ll spot an entrance leading out of the White Palace, but for now, don’t pay attention to it. Instead, ascend another level to discover a statue that revitalizes your spirit. Should you leap to the next floor above the spirit-reviving statue, you’ll find a locked gate that you will come back to once you have unlocked it.
Head right, and you will see another locked room, and below it, a bench you can rest on.
On this bench, it might be beneficial for you to add the Hiveblood Charm as there’s a good amount of platforming coming up. This charm has the ability to restore the last bit of Lifeblood you lose, which could prove useful in your journey ahead.
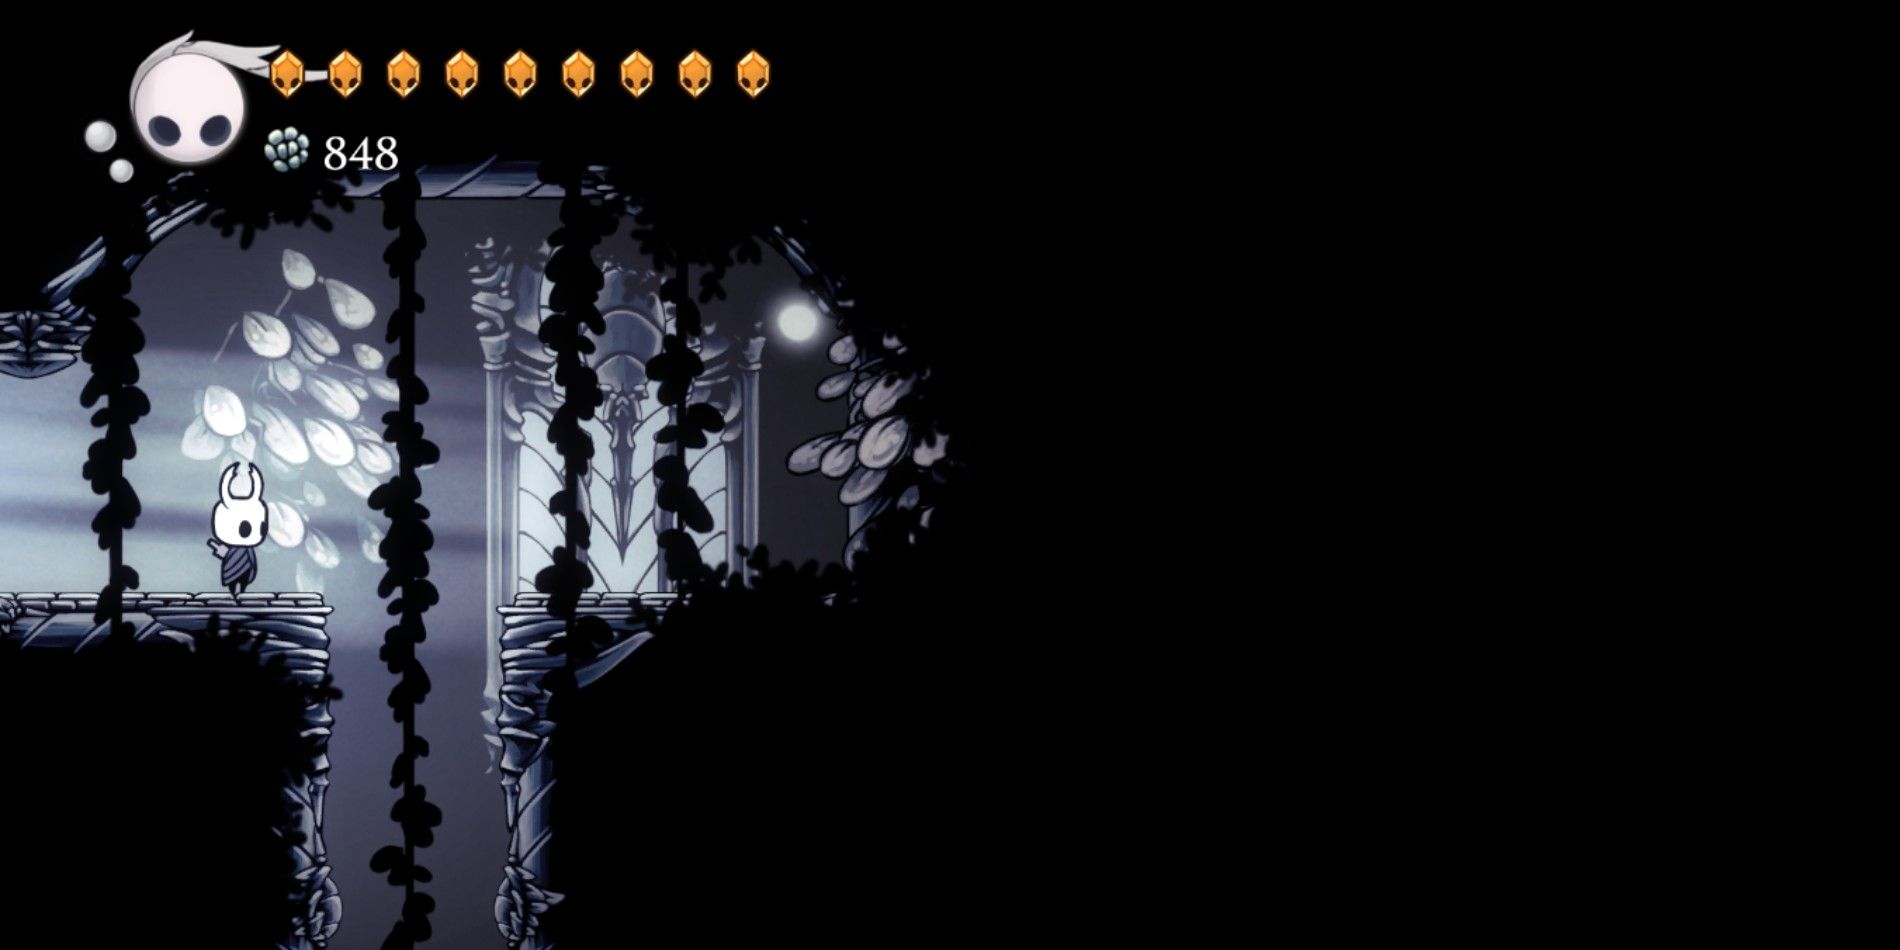
The White Palace – Part Two
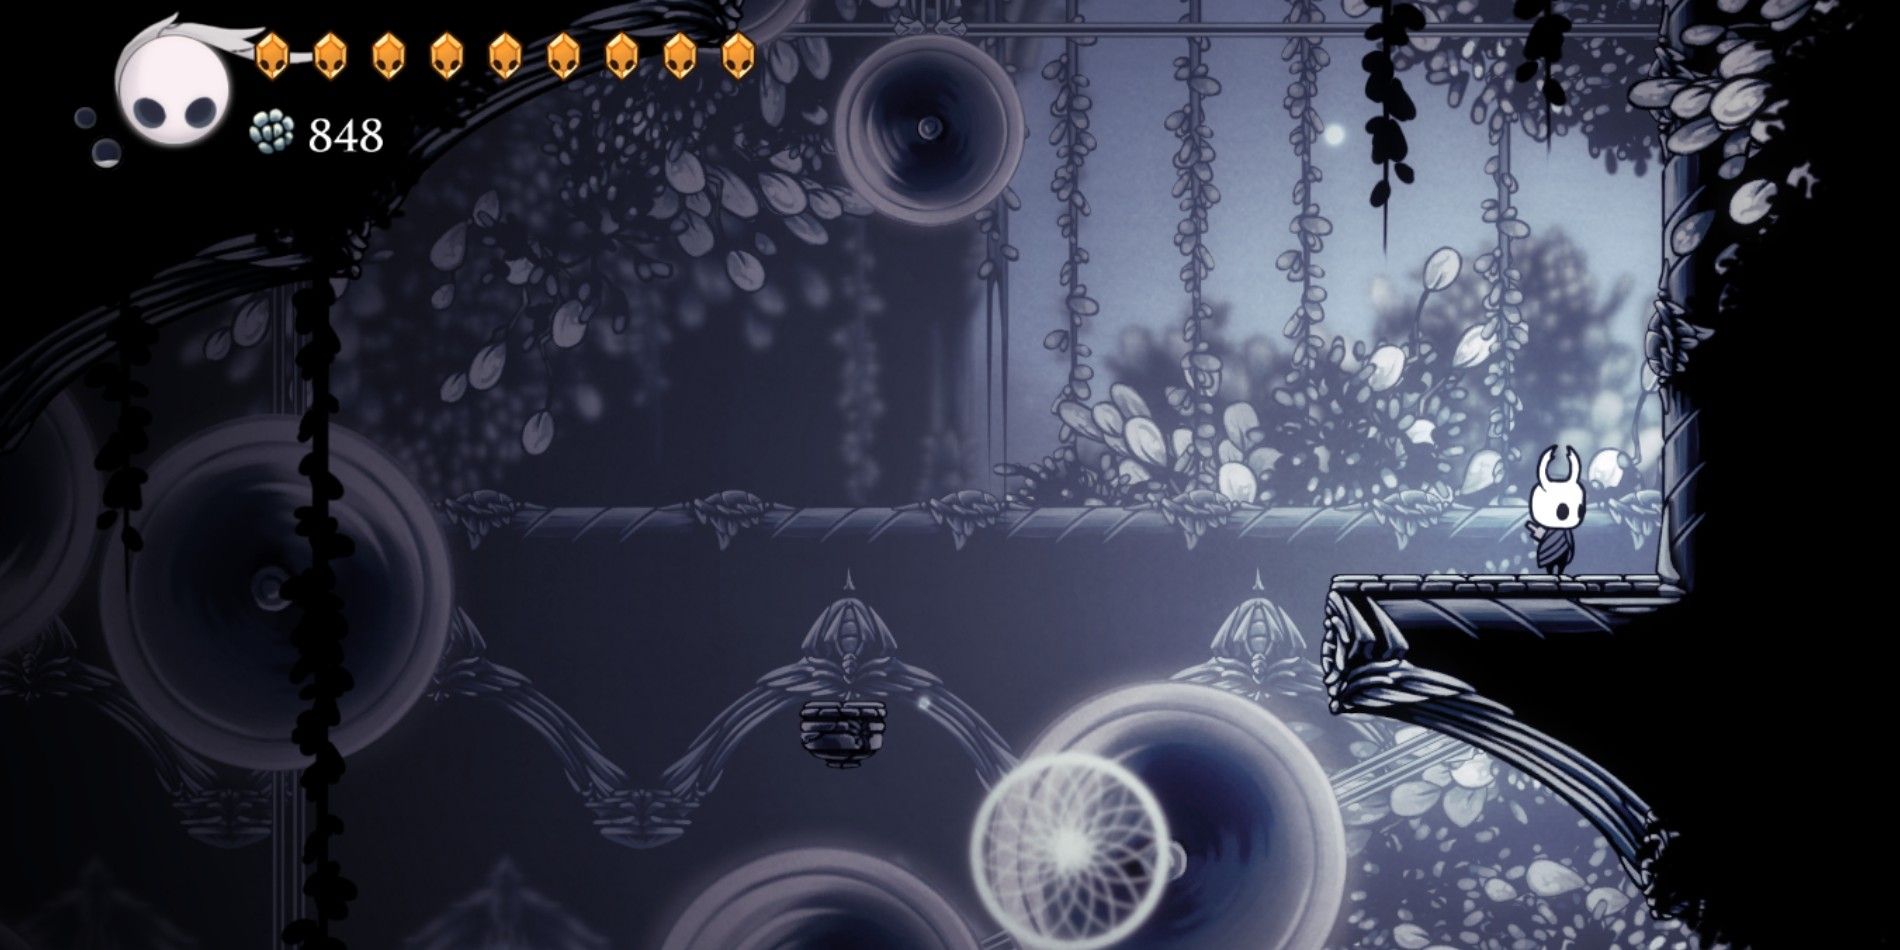
Moving to the right will lead you to a structure housing additional servants of the King who bow upon your arrival. Ascend to the building’s peak, then proceed rightwards. Along this path, you’ll discover a lever that is currently inaccessible due to two barred gates. Jump over these locked gates and continue moving to the right. You will enter a chamber with three saws rotating in various directions.
This is where the real platforming challenge starts. Keep right until you exit the room.
As you proceed into the adjacent room, your objective lies upward, however, saws are moving both up and down. Utilize a mix of wall-climbing skills and your air dash capacity to continue ascending. Take respite on the balconies that appear during your ascent. Once you reach the top, veer to your left to exit the room.
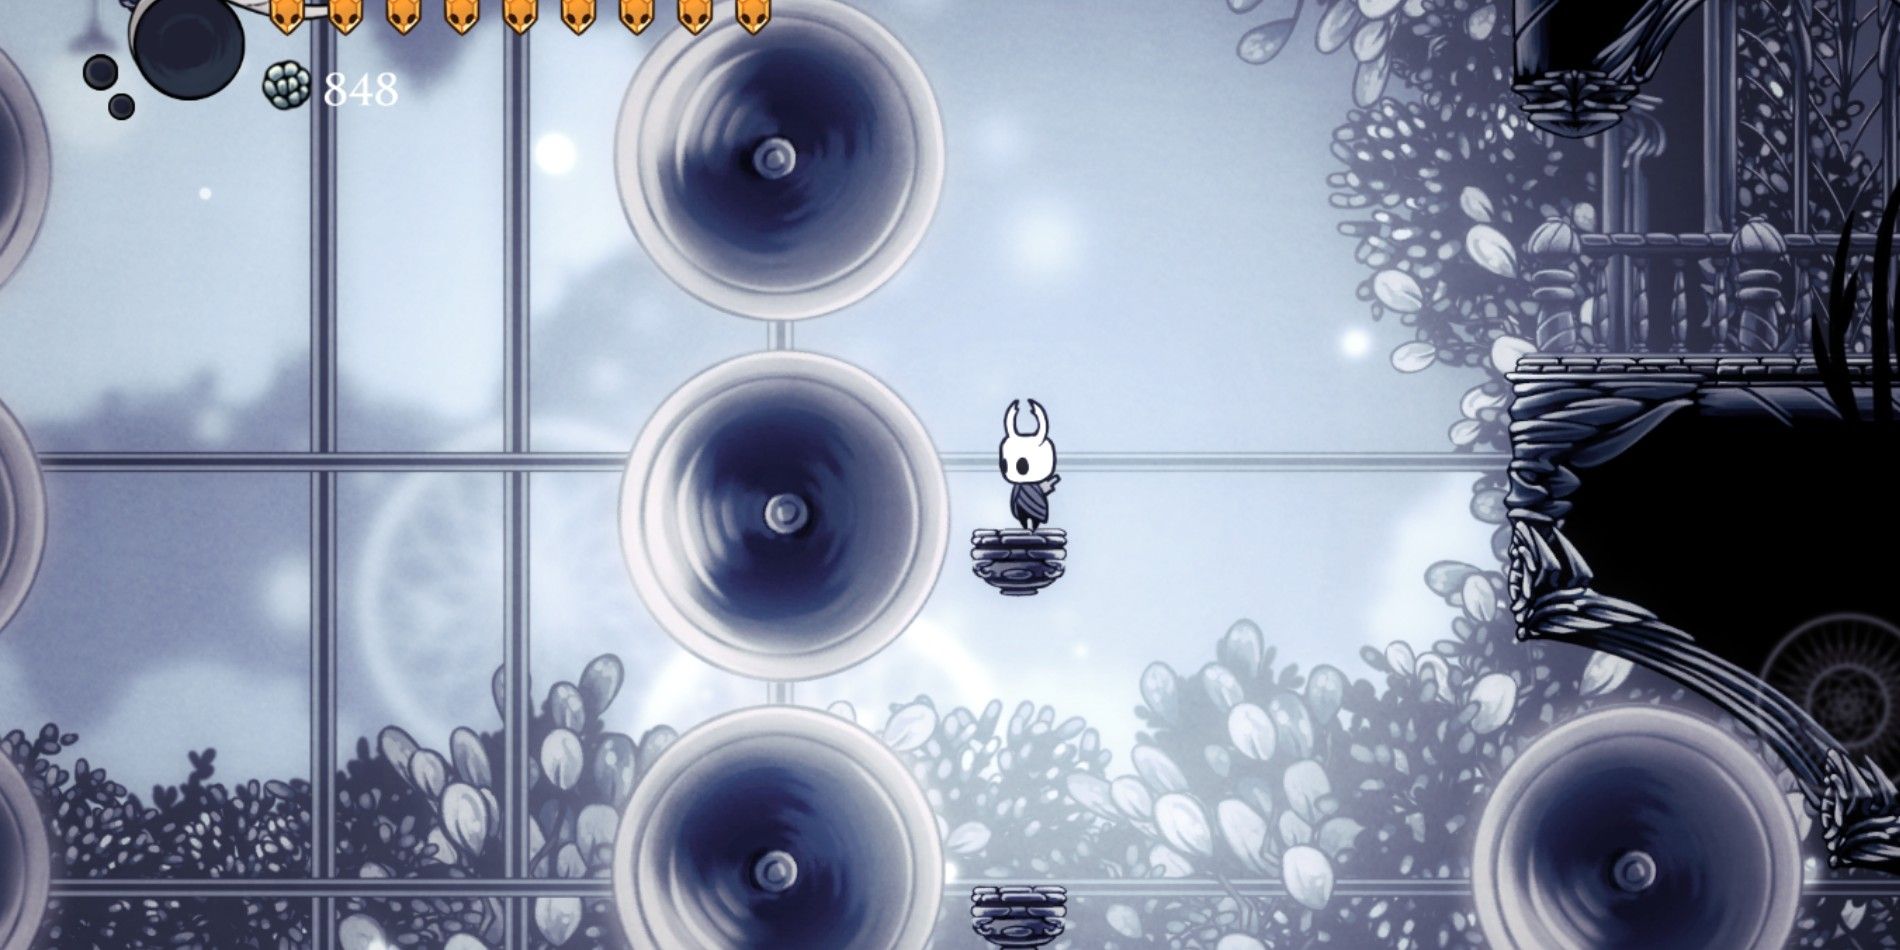
In the following chamber, you’ll find even more saws. First, leap onto the ledge on your left, then make that platform fall beneath you. You’ll notice a column beneath the fallen platform. Be cautious as a moving saw traverses the screen. Once it’s safe, descend to the column and swiftly glide down to the right side of the column, avoid the left side.
Glide down the column, allowing yourself to drop when you reach the bottom. After that, utilize your Monarch Wings to descend onto the platform beneath. Subsequently, navigate through a skinny tunnel with spikes lining both sides.
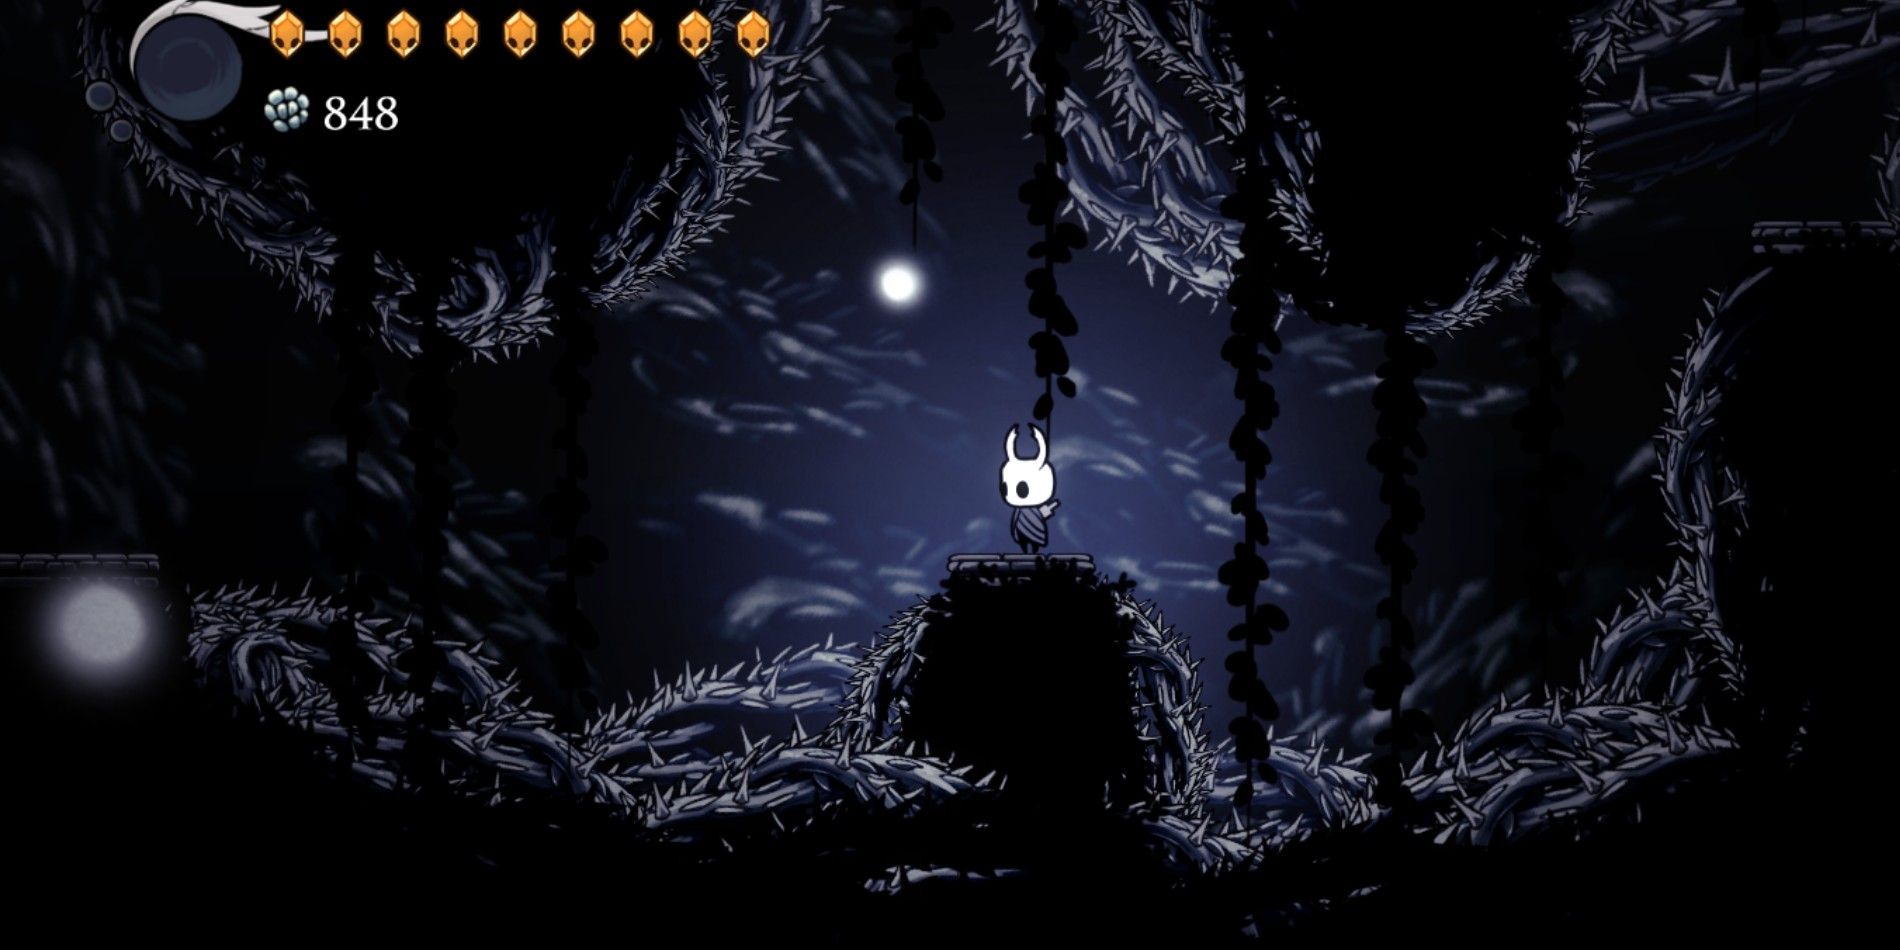
Descend the tunnel, keeping an eye on the sharp protrusions. Once at the base, start moving towards the left side. Be mindful as the region is littered with prickly thorns; make sure to time your single and double leaps accordingly.
Once you’ve scaled the wall using your Mantis Claw, notice that you’ve moved to another part of the earlier chamber filled with spinning blades. Keep ascending until you find yourself perched atop a column with spikes at its tip on one side.
As a gamer, I find myself in a situation with three static saws to my left, while two smaller ones are bouncing up and down. I’ve got this strategy: I’ll wait for those moving saws to go up, then make a swift jump and dash across the stationary saws. After that, I’ll let myself fall and land safely on a platform below.
Go down to the platform below, move left swiftly, then double-jump quickly to reach another platform behind the stationary saw. After that, leap up four times. From here, you’ll notice a slightly higher platform to your right. Jump twice and dash towards it, ensuring your jump is timed to dodge the moving saws. Use this strategy for the next three platforms as well.
Starting from the third platform, leap over to the platform straight ahead, then soar twice and leap again towards a silver platform on your left. Be careful not to stray to the left as a spinning blade is approaching that platform.
Gradually veer to your left with care, followed by a quick double-jump and darting leap over the incoming saw. Adjust your direction to head towards the left side, and slide down the wall there onto a platform. Exit the room via the opening located on the left side.
In the adjoining room, there’s an open space with saws. For now, leap over this space and continue moving to your left until you spot a statue that allows you to refill your Soul Vessel. After refilling, return to the space with the saws, as you’ll be descending through it later on.
An effective approach for this descent involves waiting until the two moving saws have dropped, allowing you to safely leap through the space that forms, and swiftly make your way towards the left wall as quickly as possible.
Avoid going completely down as there are spikes below. Instead, hold onto the wall until the saws move up. Once they do, quickly move to the right but don’t slide down the wall. Fall off and then immediately move to the right onto a balcony. To reach the next spot, repeat the method of free-falling and moving to the right.
Upon arrival, you’ll find yourself in a room where the King’s attendants are courteously bowing towards you. To your immediate left, you’ll spot a lever that needs to be activated. Nearby the lever, there is a small descent or drop.
As a gamer, I can assure you there are no hidden dangers ahead. Go ahead and jump down, and voila! You’ll find yourself back in the familiar room with the once-obstructed lever. The two gates that previously barred your way are now wide open. A simple push of the lever will illuminate the lamp once more.
Instead of heading directly to where you previously placed the bench, take a detour to the left. You might want to pause for rest or reorganize your trinkets there. Proceeding in the same direction (still moving left), locate the statue that refills your Soul Vessel once you spot it. After finding the platform where this statue stands, descend two levels and then make a left turn into another room filled with saws.
Be careful not to get caught by the saws in this area while moving to your left. To reach the next platform, try a sequence of double-jumping followed by dashing upward and landing successfully. Continue moving left on the platform until you spot another gap filled with saws that you should fall through.
Be sure to steer clear of the saws below, then jump to the nearby small platform on your right. Afterwards, leap from there and sprint towards the medium platform located beyond the immobile saws.
As you move along, steer left to bypass the rotating blades until you spot a large elevated area. Reach that area and be mindful of an overhead saw that’s on the move before proceeding upwards. Continue your ascent to the next platform. From there, you can choose to go right towards a statue that refills Soul Vessels, or carry on climbing further.
Leaping off from the platform just below the room’s ceiling, sprint to the right while clinging to the wall when necessary. Once attached, utilize your Crystal Heart to spring yourself onto the balcony located on your left side. Then, make your way upward and exit the room.
In the next gaming chamber, deadly spikes line both walls and lethal saws sweep horizontally across my screen in a rhythmic pattern. My mission? Navigate upward, dodging those relentless saws. Jump from the highest platform, head right, and be wary of the saws that ascend or descend as they come at me. Keep moving right, evading the whirring blades until I’ve safely escaped this hazardous room.
After exiting the room, move up the wall to your left, then leap diagonally over to the right, ensuring you clear the moving saw. Avoid it by falling below, then quickly scoot to the right to stick to the wall again. Descend the wall a bit and then dart towards the wall on your left.

As I stand here, there’s a tiny platform to my right that I need to hop onto. Once on that platform, I should double-jump towards the right to reach the balcony. Then, keep moving to the right, and you’ll spot another lamp with a lever. Give that lamp a whack and then make a beeline for the exit straight ahead, leaving the room behind us.
Leaving the room, you’ll come across a small opening. Jump or pass through it, and you’ll encounter another control. Activate it, and it will unlock a gate. Exit via that gate into an area where you’ve previously sat on a bench.
Starting from the park bench, leap to the platform situated to your left, followed by a move upward towards the floor above where the bench is located. Upon reaching there, notice that the doors leading into this chamber have been unfastened. Proceed into the room and locate the elevator, ascending in it will transport you to the next part of the White Palace.
The White Palace – Part Three

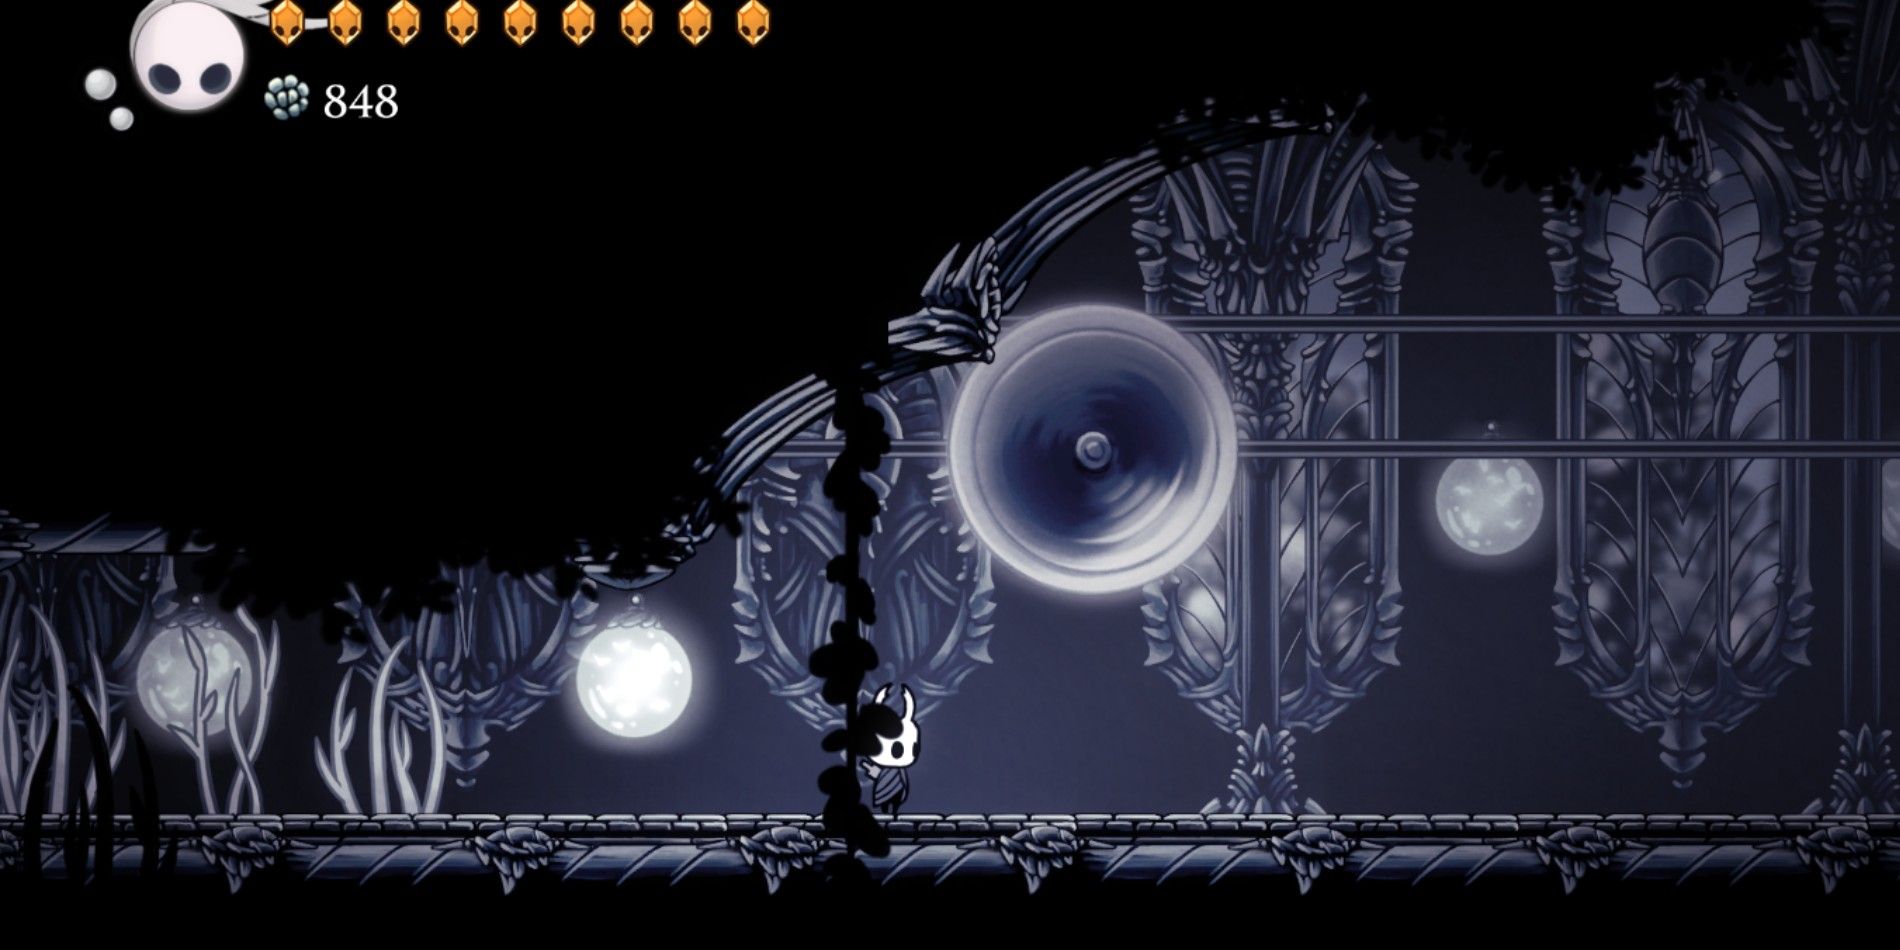
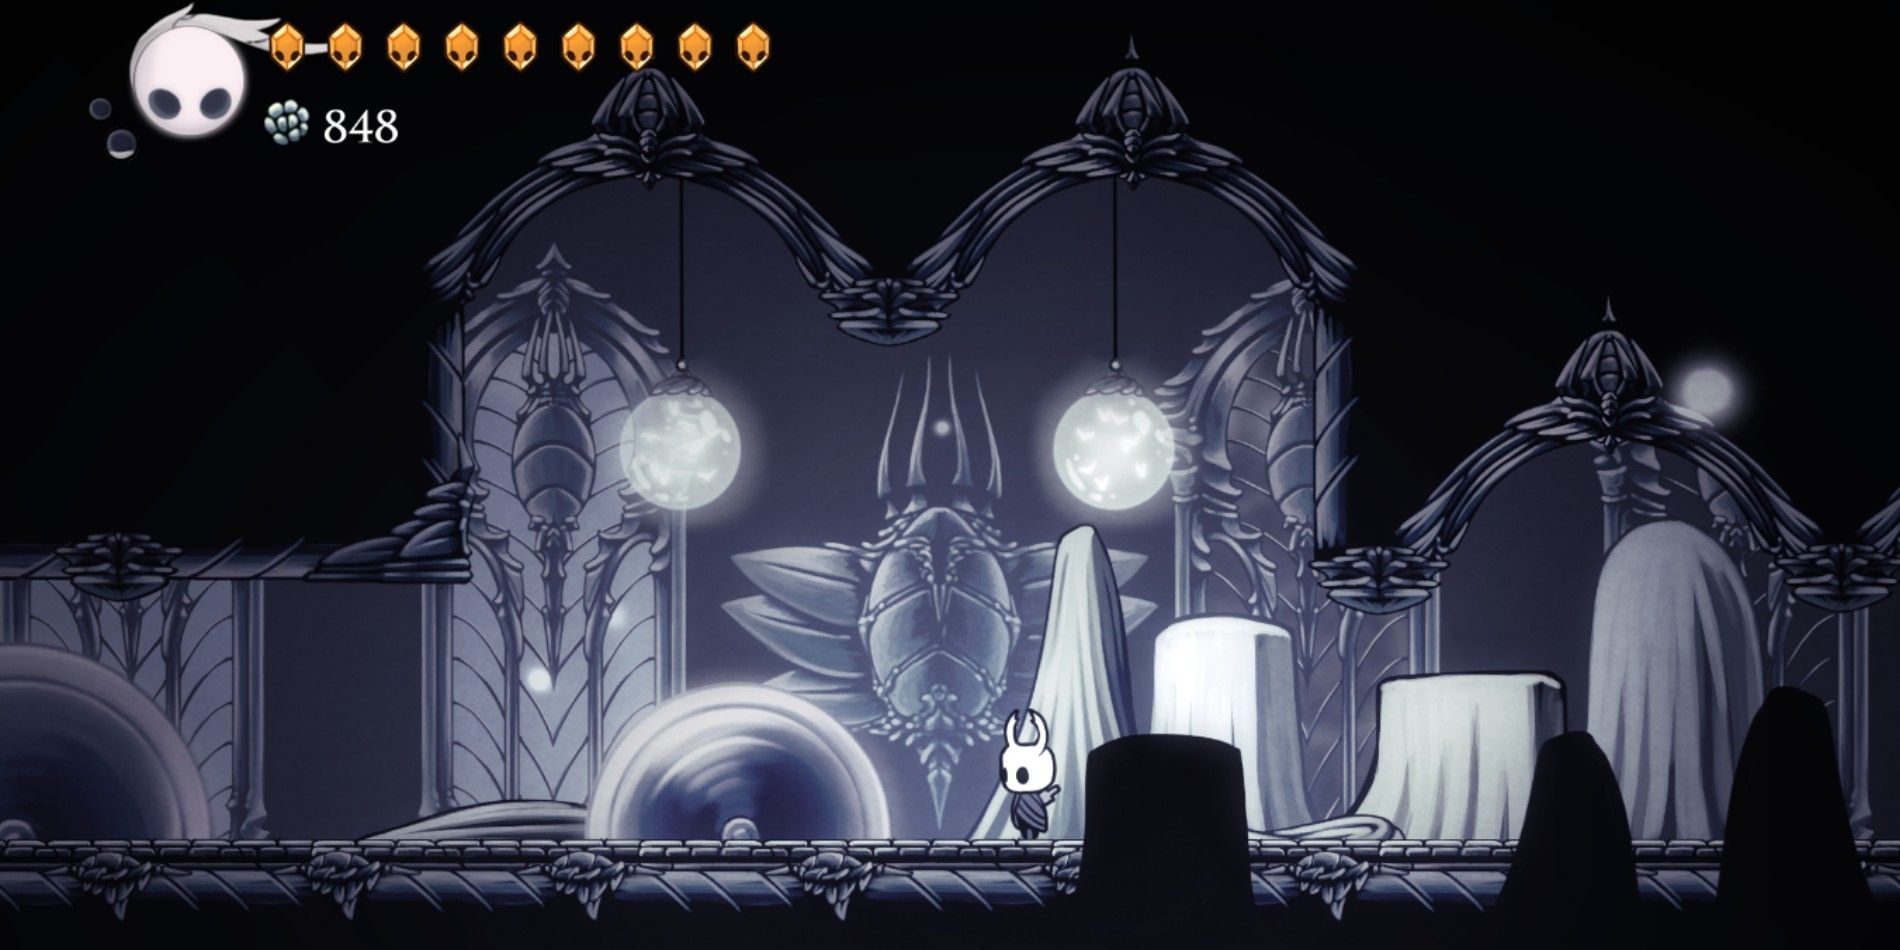
Upon reaching the elevator’s stop, move towards the left side, then ascend to a room located above. Once inside, you’ll notice the sound of buzz saws and see creatures that can be bounced off using pogo sticks. Avoid the saws as you make your way up, and you’ll eventually exit onto a balcony with another seating area to your right.
Instead of going straight ahead, turn left and leap onto the balcony just prior to the space you passed through earlier, and you’ll find yourself in a different room filled with saws and hovering insects that are white.

In this space, first, ascend, then veer left taking care to bypass the whirling saw. Once you’ve passed it safely, leap towards the nearest platform on your left side. After that, move upward to the next platform, then another one.
To reach the next platform, time your jumps carefully to navigate through the spiked one. Look for an opening in the wall straight ahead, then swiftly dodge a moving blade before aiming for the opening on your right as you ascend.

Beginning of the area, leap towards the platforms situated on your right side and continue moving right until you spot a pillar with retractable spikes at its peak. At this point, proceed upward to reach a substantial platform above.
Starting from the given location, proceed to your left until you find a platform marked by a saw at one corner. Then, alter your course again and move upward. It’s essential to pause on these designated safe platforms if you’re utilizing the Hive Blood Charm, as doing so allows for the restoration of any lost health.
Moving upward by dodging the spikes will guide you to a moderately sized platform on your right side. Leap onto it, then leap onto the large platform situated to your immediate right. Proceed further upwards from that spot, exiting the room.
In the adjoining room, turn left, then ascend the wall as you move forward, looking out for platforms on your right side. Utilize a combination of dash and double jump to reach the wall located on your right.
Ascend the wall till you spot a passageway adorned with spinning blades. Leverage your Crystal Heart power to burst through this tunnel, ensuring to halt before striking the far wall. Then, propel yourself vertically out of the chamber from this point.
Leap onto the platforms situated directly overhead, and then move towards the wall located at the far end. Be mindful of the paths taken by the saws. After reaching the wall, utilize the nearby platforms to ascend, eventually reaching a balcony equipped with retractable spikes.
You can’t dash through the spikes with your Void Dash, so don’t bother trying.

After passing the sharp protrusions, lower yourself slowly to the right, avoiding the receding and immobile spikes along the descent. At the bottom, you’ll find a lever that will open the gate to your left and one beneath your current level. Proceed through the gate below you and continue moving right until you exit the structure. At this point, you’re nearing the end of this challenging section.
After that, head towards the platforms, moving right initially, then upward. Continue until you encounter a wall crowned with thorns at its peak. Cling to this wall near the thorny section, and subsequently employ the Crystal Heart power to jump diagonally across to the wall on your left side.
Next, ascend the wall, making your way to the rooftop, then utilize your Crystal Heart power for a swift run across the room, and bounce off the white insects onto the platform located on your right using the pogo jump technique.
Alright, I need to utilize my Crystal Heart power again from this spot. It’ll lead me up towards the opposite wall. Once I reach the top, I’ll activate the Crystal Heart once more to traverse that gap. Gotta keep my cool and avoid touching those spiky thorns until I’ve safely passed them all.
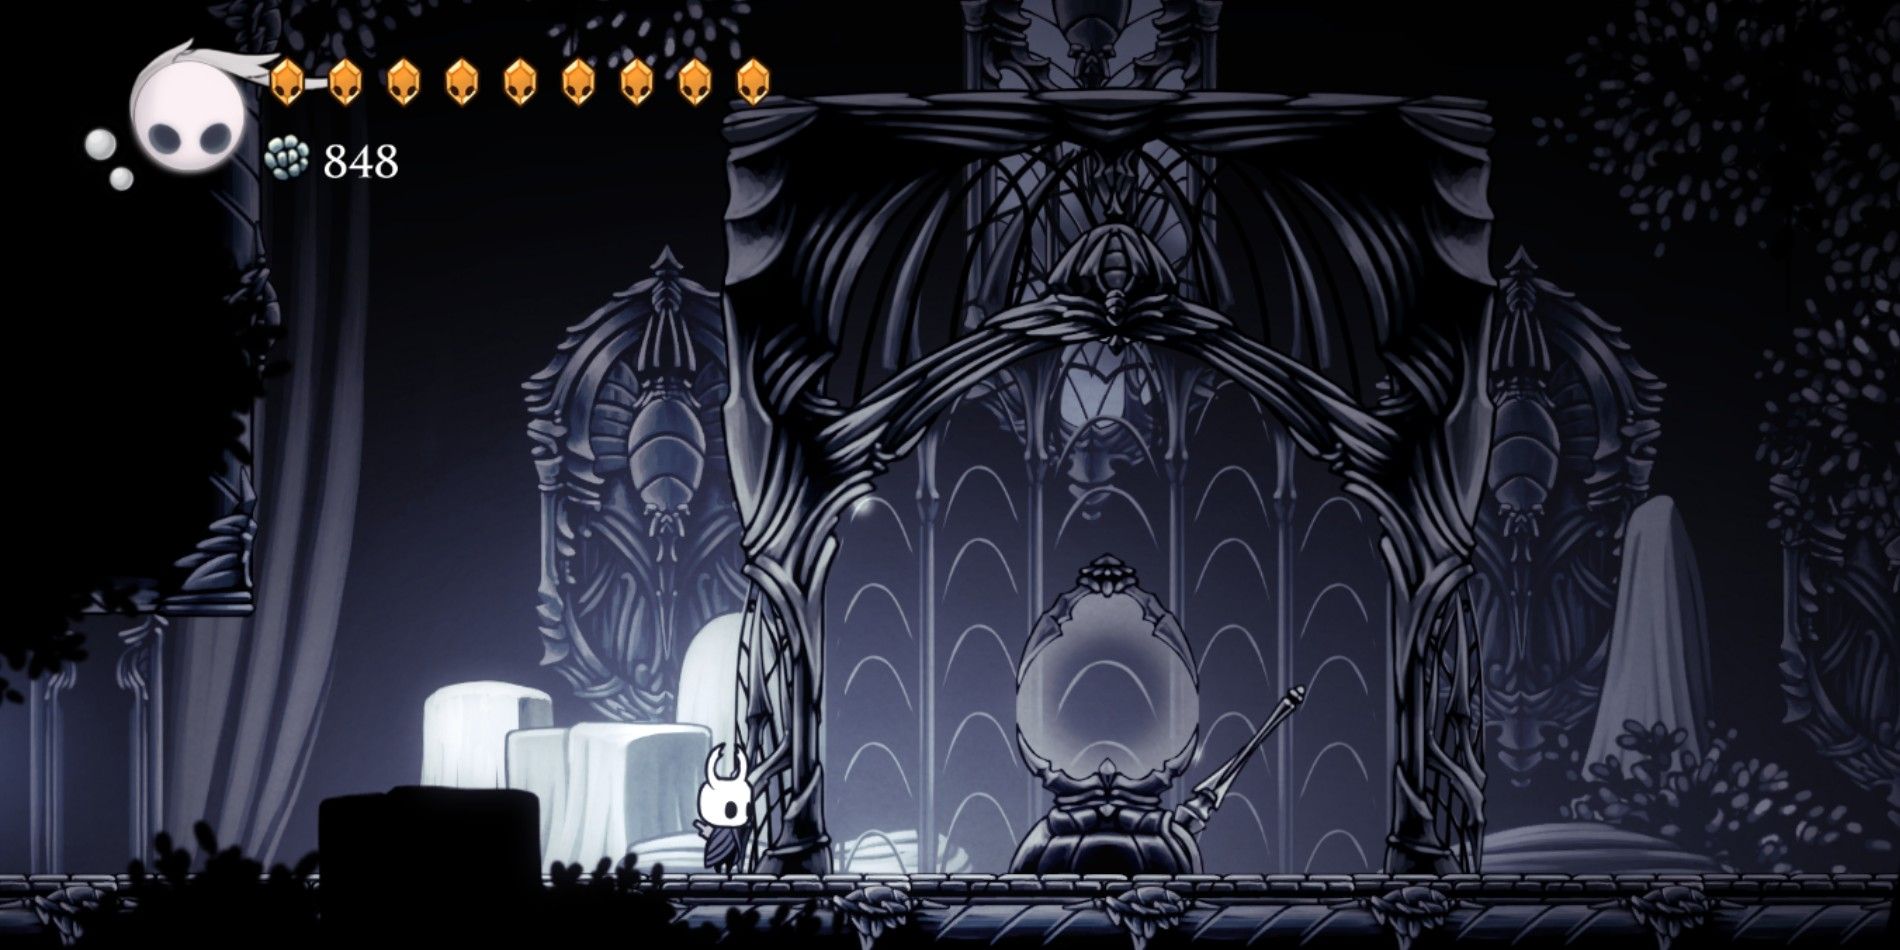
Step outside onto the balcony and swiftly move towards a room containing a deceased Kingsmould using your Crystal Heart power. Once there, look to your left and locate an elevator. Proceed to ride the elevator.
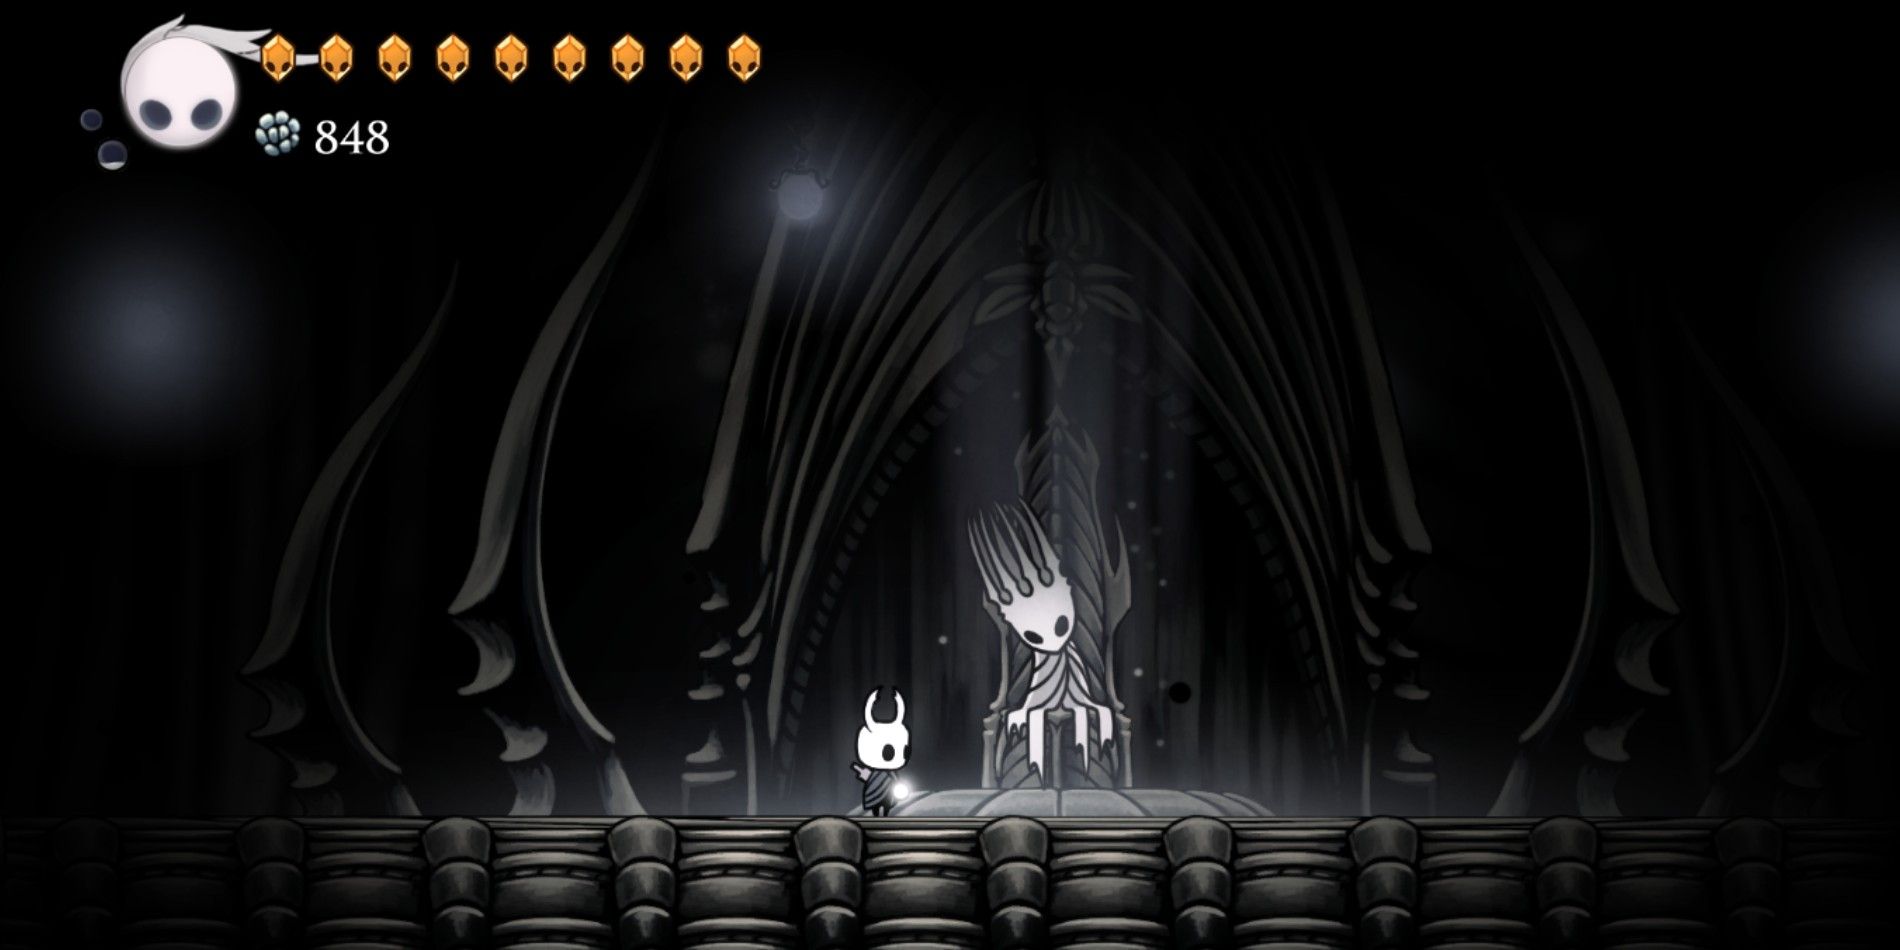
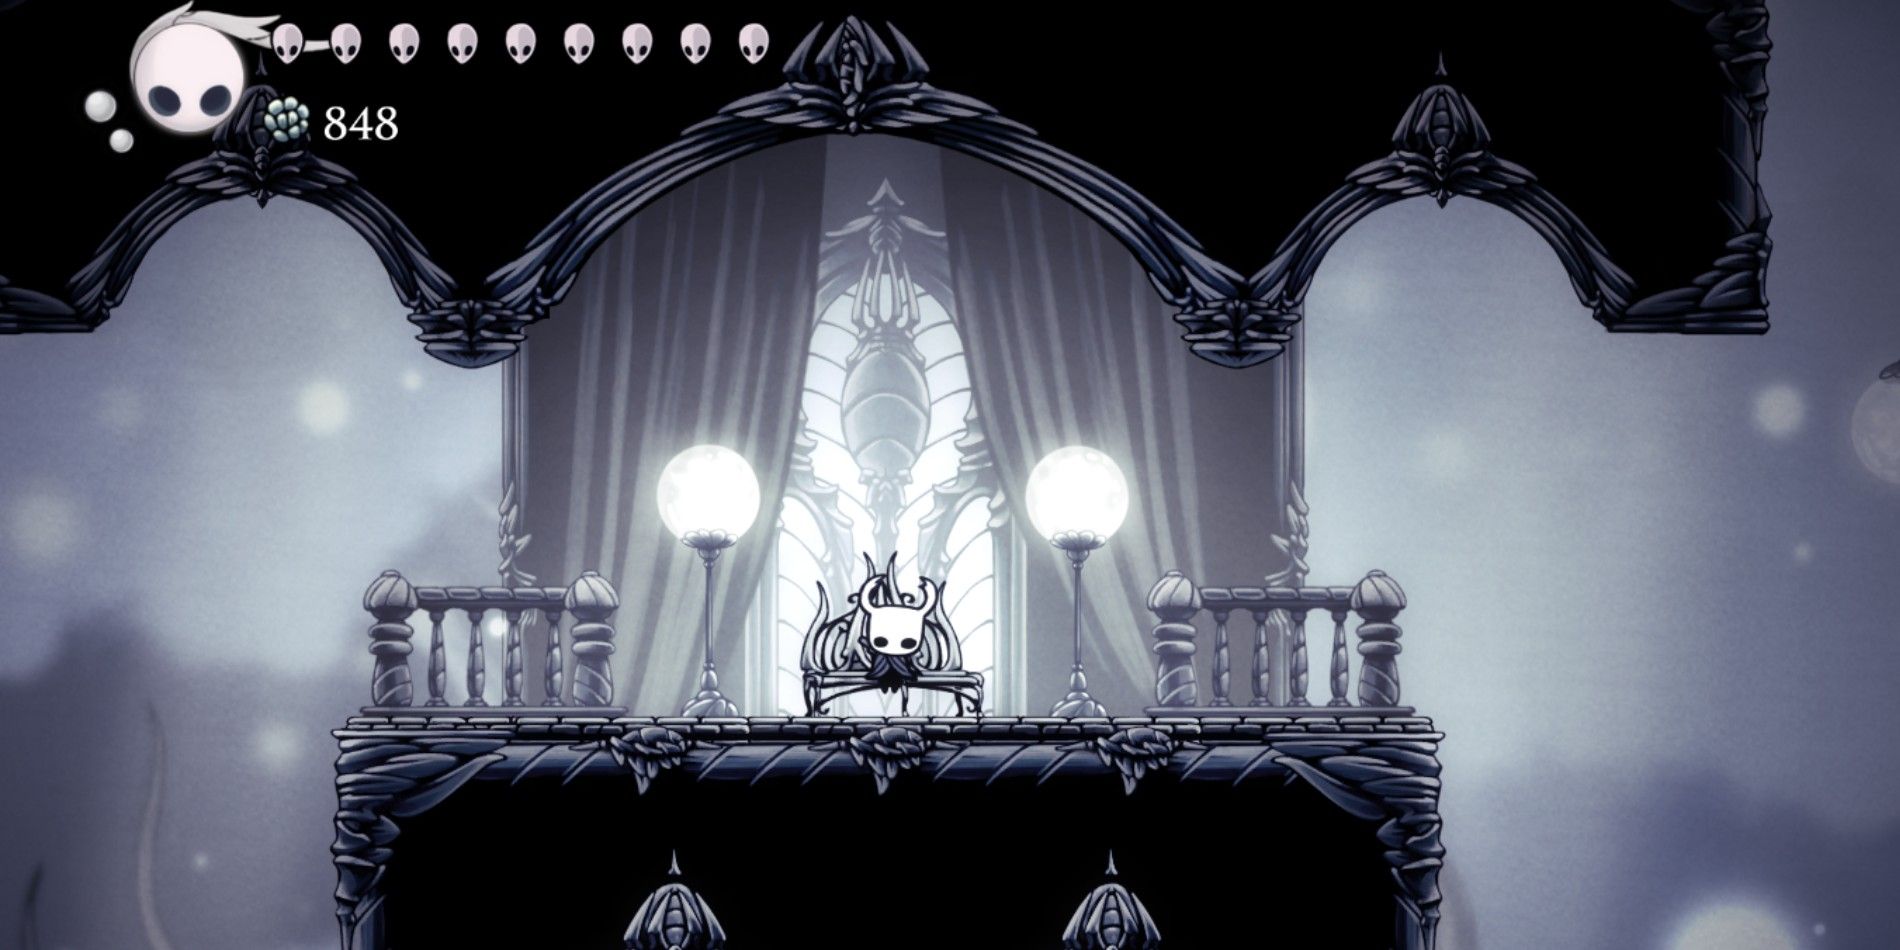
Upon reaching a halt, turn towards your left, and you’ll find yourself in a grand throne room, where you’ll encounter a deceased Pale King. By striking his lifeless body, you’ll uncover another White Fragment.
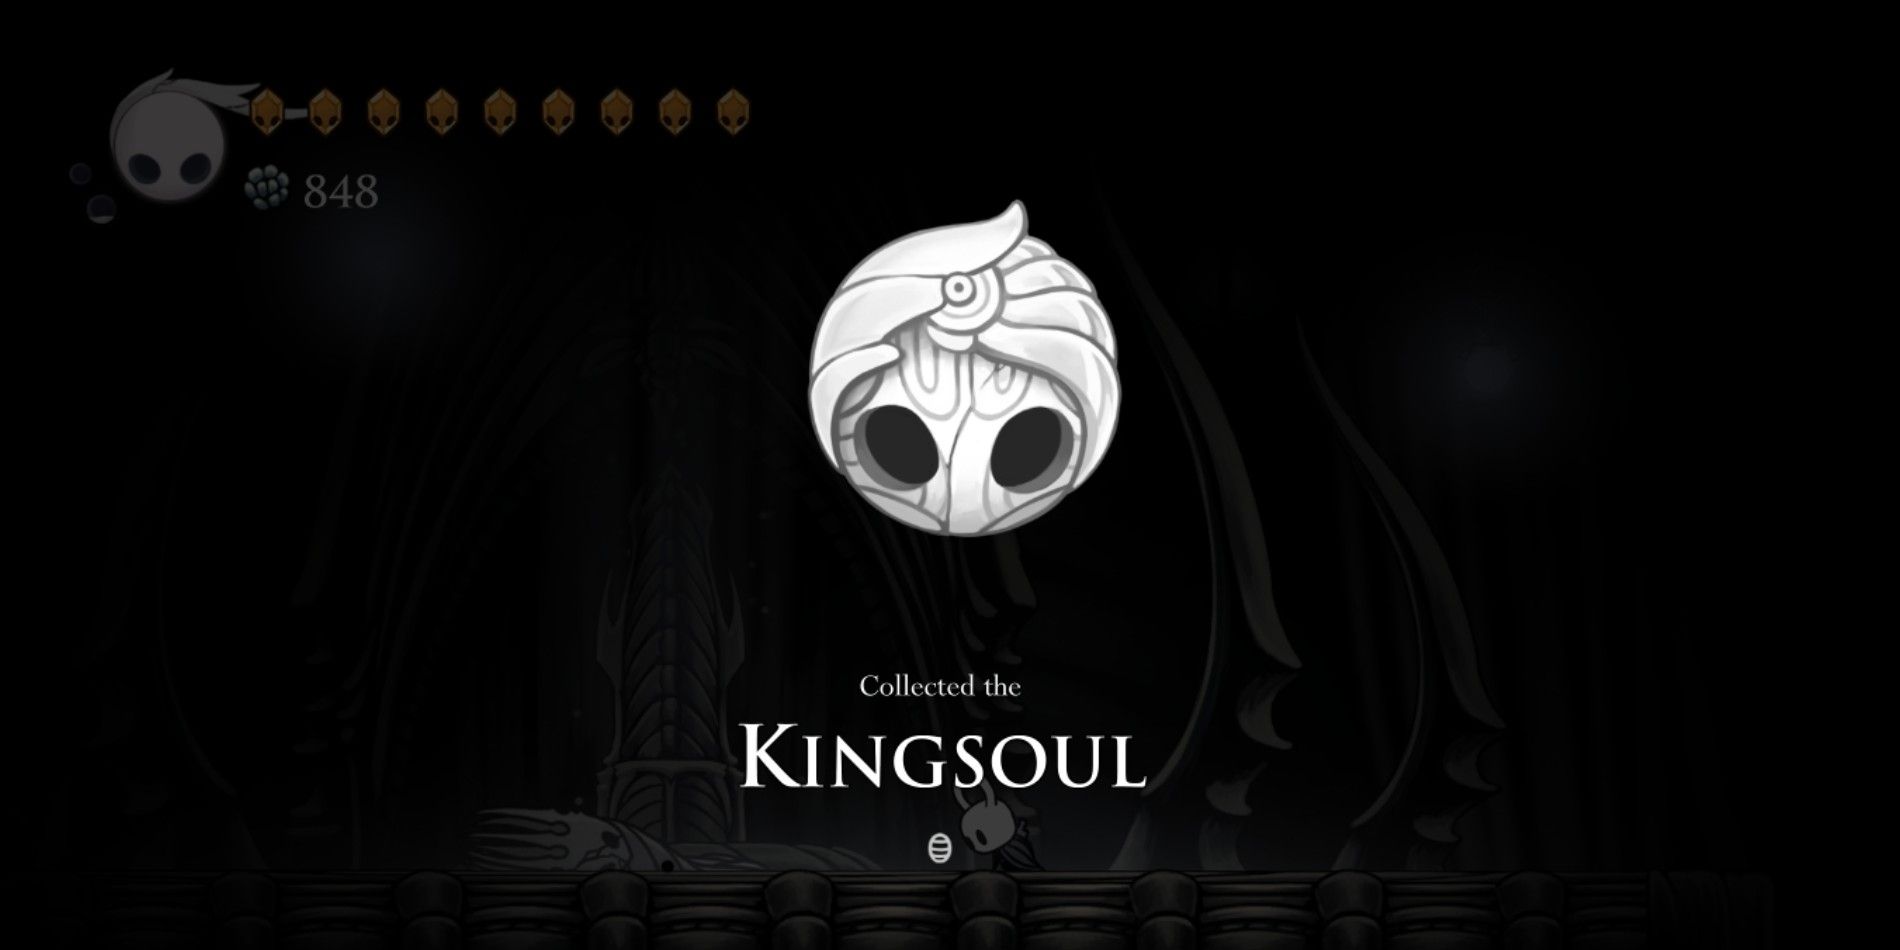
Should you manage to gather the remaining White Piece from the White Figure, those pieces will unite to create the Kingsoul.
Once you pick it up, there will be a text that reads, “Soul of Wyrm. Soul of Root. Heart of Void.”
You will wake up outside the White Palace. Congratulations, you have completed the White Palace.
Rewards For Conquering The White Palace
Capturing the White Palace grants you the White Fragment from the Ghostly King. Merging this fragment with the one acquired from the White Lady results in the Kingsoul.
The enchantment known as the Kingsoul automatically refills a Knight’s Soul Container while worn. But its abilities don’t stop there.
In the enigmatic chamber known as the “Void,” Kingsoul undergoes a transformation and becomes “Voidheart.” Possessing the Voidheart unlocks four additional conclusions, three of which require you to vanquish an extra adversary following the final boss in the standard finale.
All this wouldn’t be possible without conquering the White Palace.
Read More
- LUNC PREDICTION. LUNC cryptocurrency
- SOL PREDICTION. SOL cryptocurrency
- BICO PREDICTION. BICO cryptocurrency
- BTC PREDICTION. BTC cryptocurrency
- USD ZAR PREDICTION
- VANRY PREDICTION. VANRY cryptocurrency
- USD CLP PREDICTION
- USD COP PREDICTION
- RIDE PREDICTION. RIDE cryptocurrency
- SBR PREDICTION. SBR cryptocurrency
2024-09-17 12:40