As a long-time Zelda fanatic who’s spent countless hours navigating the labyrinthine dungeons of Hyrule, I can confidently say that the Cryptic Cavern in Echoes of Wisdom is a delightful challenge for even the most seasoned adventurer. This mini-dungeon may not take long to complete, but its intricate puzzles will undoubtedly leave some players scratching their heads.
As a seasoned gamer, I’m here to walk you through one of the intriguing mini-dungeons in Zelda: Echoes of Wisdom – the enigmatic Cryptic Cavern. Despite being relatively quick to conquer, its cunning puzzles might leave some players scratching their heads. This guide aims to lead you through the cavern’s rooms, helping you progress towards completing the main quest: A Rift in the Gerudo Desert. Happy adventuring!
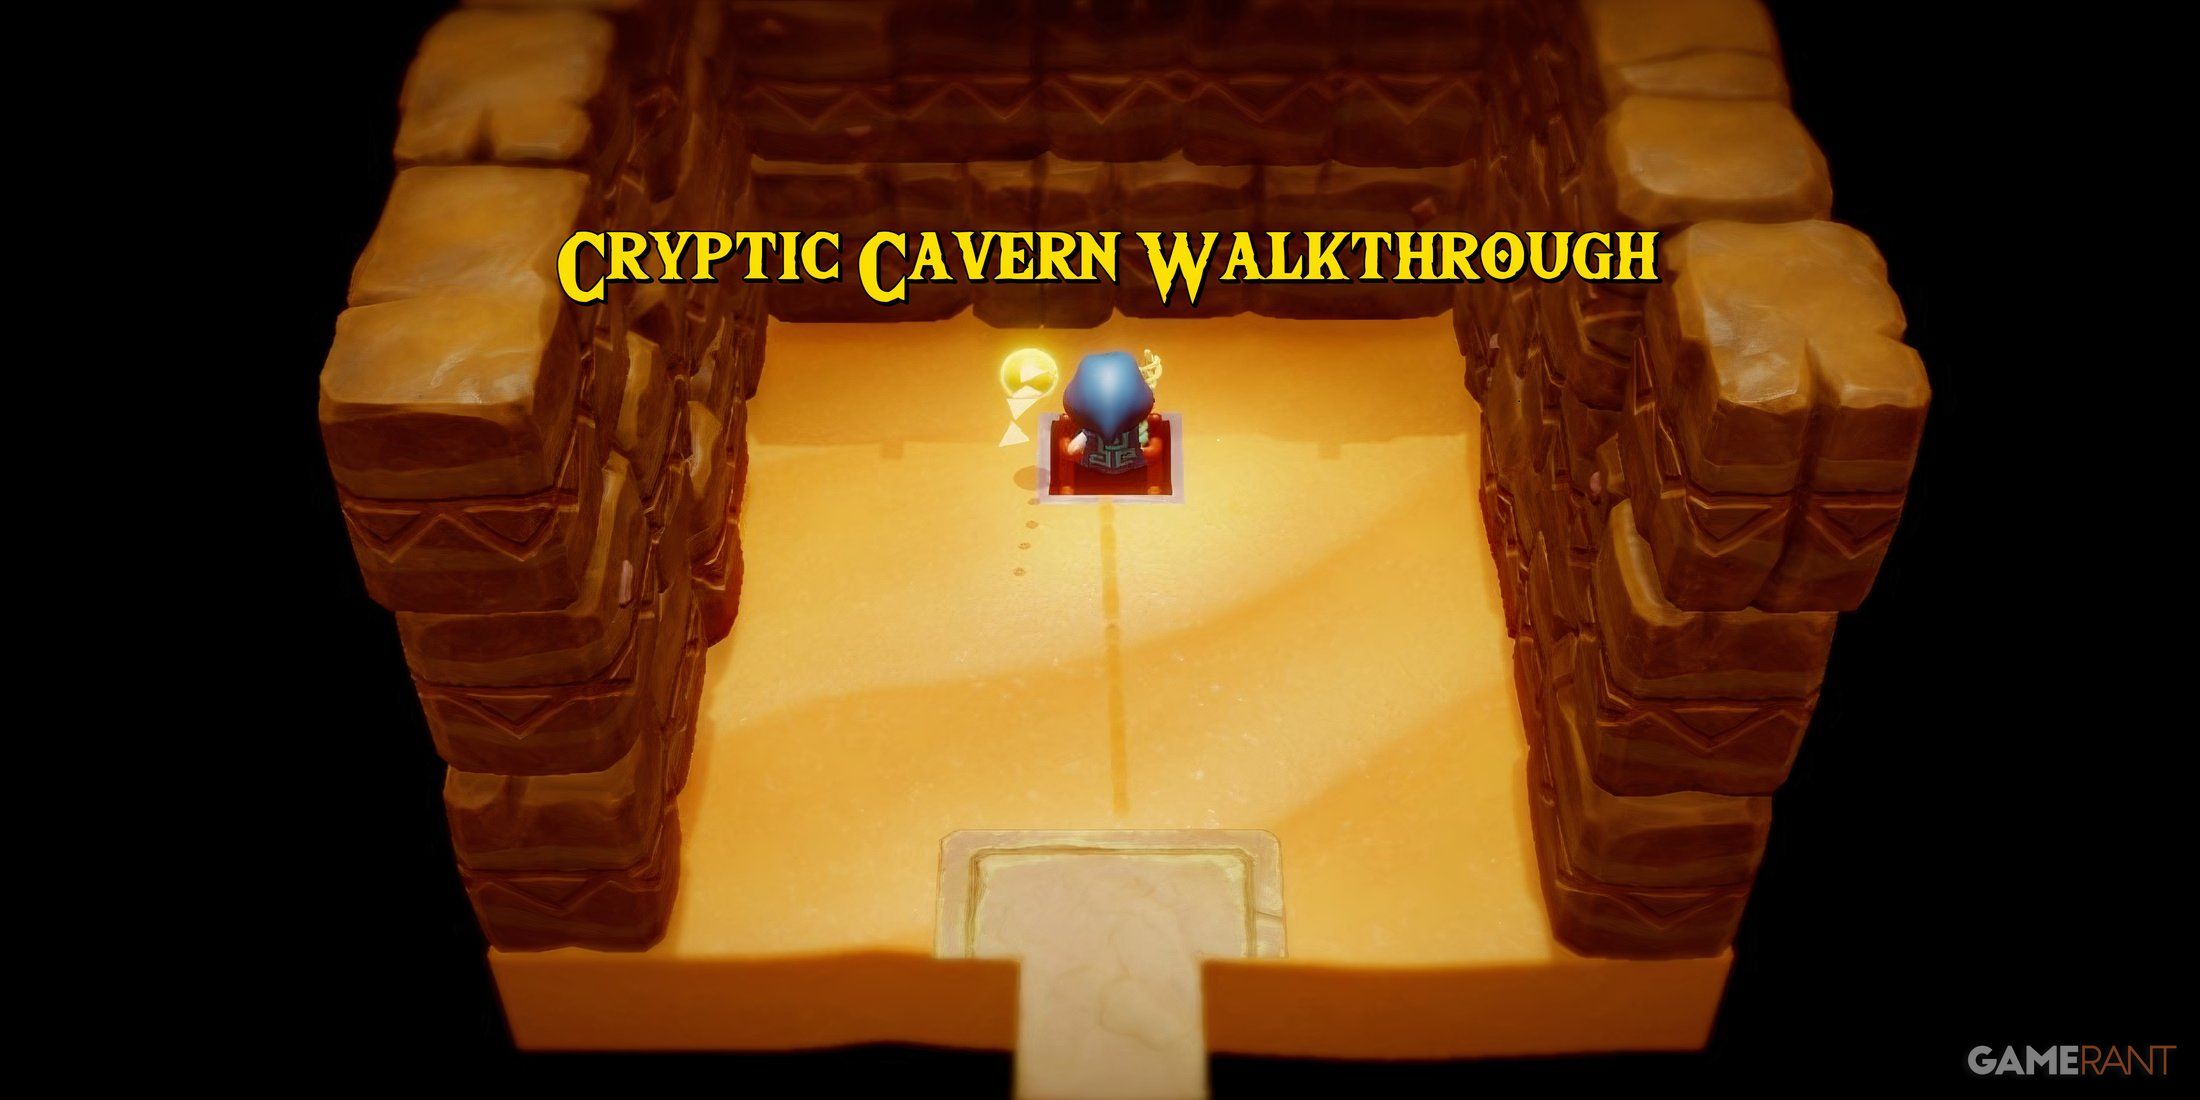
Cryptic Cavern Walkthrough – Echoes of Wisdom Guide
Entrance
Once you make your way into the Mysterious Grotto from the Gerudo Wasteland, you’ll encounter a radiant blue lever and a padlocked entrance. Feel free to use the Whirlwind Reflection, which can be found scattered throughout the desert, and fire it towards the lever. This should activate it, resulting in the door being unlocked automatically.
You’ll need to learn the Tornando Echo to complete the
Tornado Ghost side quest in Gerudo Town
.
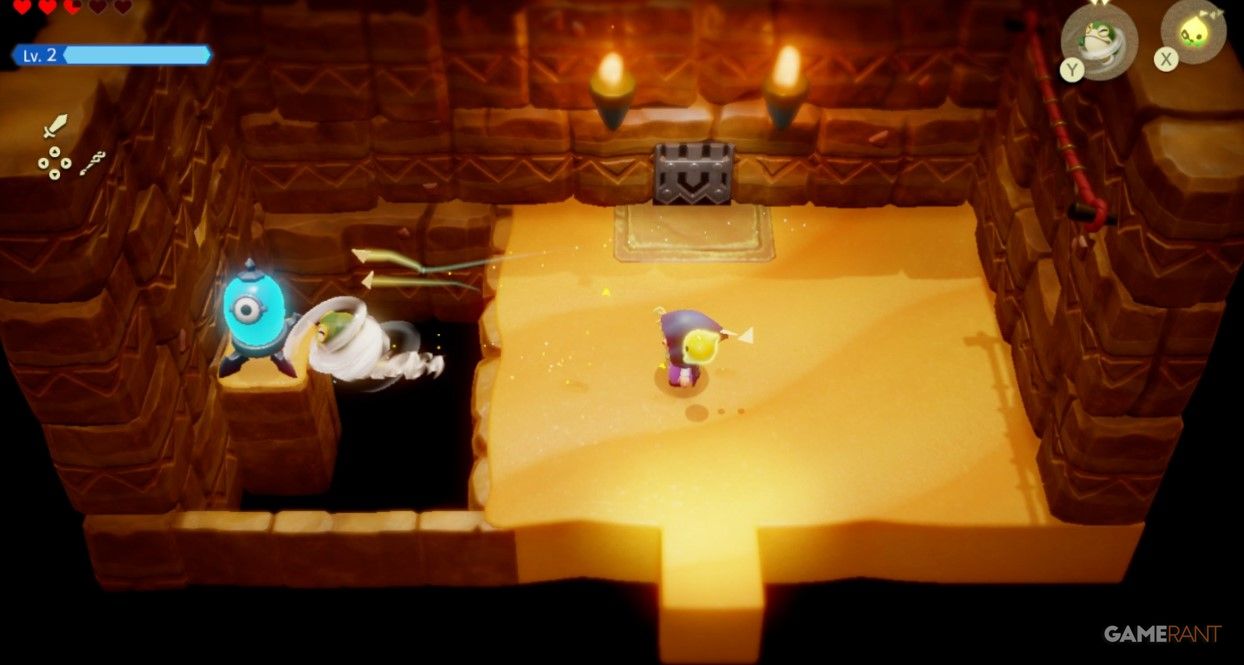
Second Room
Moving forward, locate the room with the distant door requiring a Small Key. For the time being, proceed to your right and make your way towards that door on the far-right. Should you encounter any issues with the wind cannons, we have strategically placed some beds in front of them to aid you.
Third Room
In the upcoming chamber, you’ll encounter some adversaries to confront and multiple heaps of sand, along with a secured entrance. Overpower these foes, and the locked door will automatically unlock. Proceed through it.
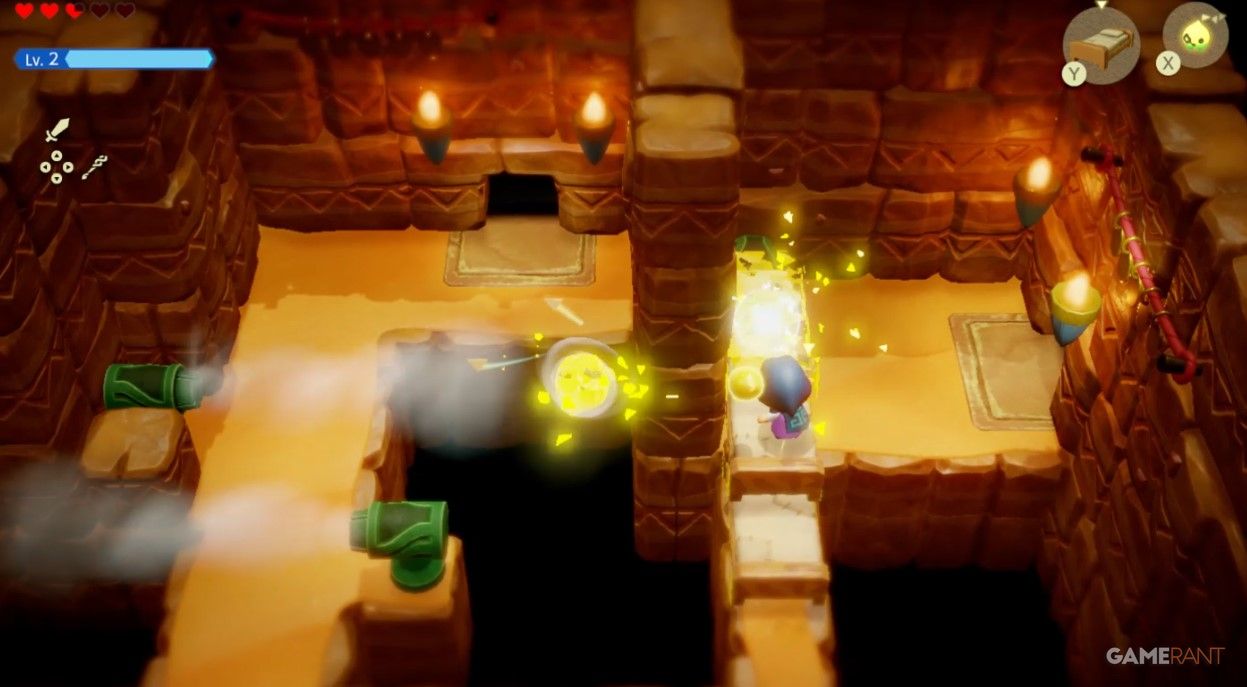
Fourth Room
In the bigger room, you’ll find a lever on the left side, close to some rotating spiked creatures. You need to navigate over there and employ the Tornado Echo, just as we did at the entrance, to activate the lever instead.
Upon activation, a compact chest will materialize on the wall across from you, containing a petite key within. This key is essential for unlocking the door in the second chamber we encountered earlier. Once unlocked and opened, you’ll discover a solitary room featuring a humble staircase descending.
Down the Stairs
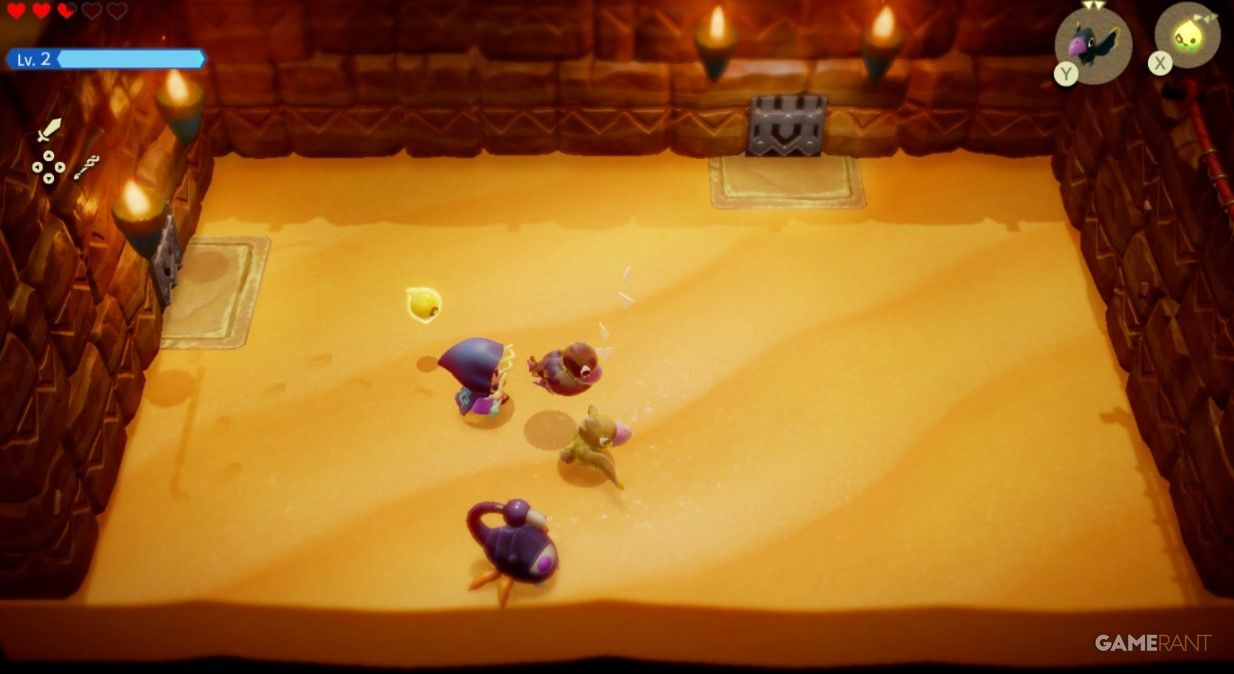
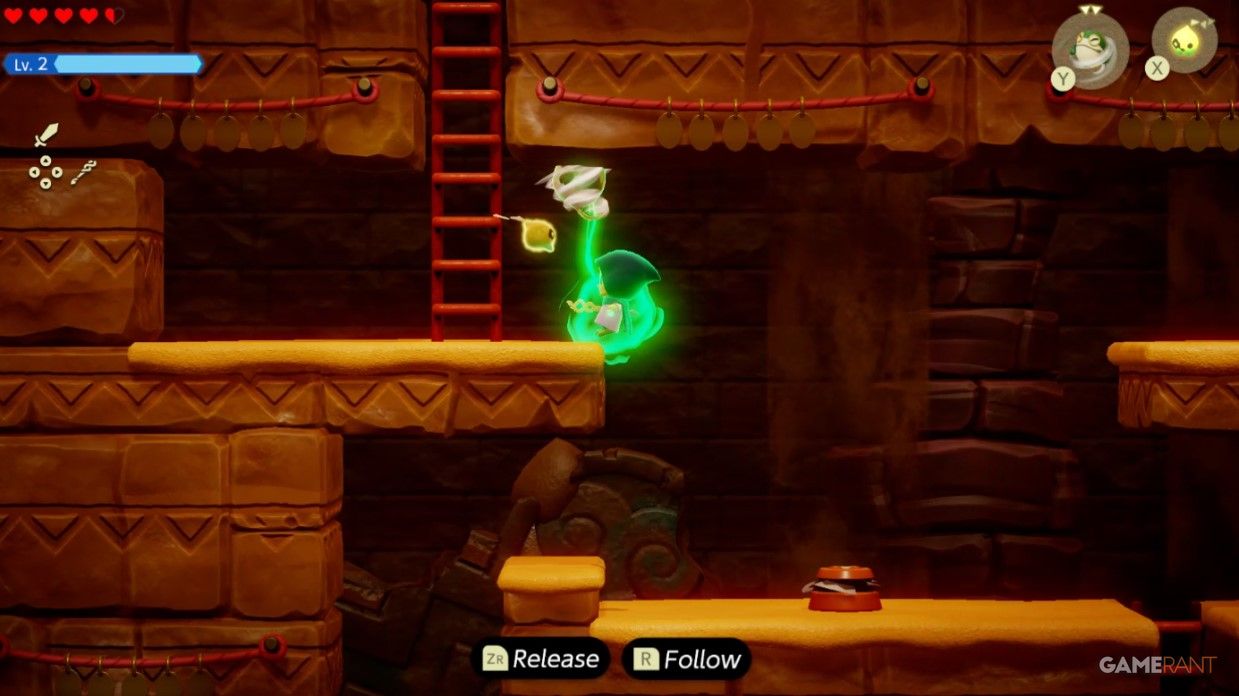
In this area, you’ll find a 2D segment. Behind a locked gate to your right, there’s a switch, but we can’t interact with it yet. For now, descend the ladder and navigate past the rotating enemy with spinning blades. We discovered that the most convenient method to bypass the initial one is either jumping on top of it when it moves to the right (or casting a spell to conjure a pot and throw it at the Pathblade).
To your left, just beyond the second Pathblade, there’s a pot you might accidentally shatter. Inside it, you’ll discover a secretive tiny creature – a Fairy. If you manage to capture this magical being in a Fairy Bottle, you can save it for later use.
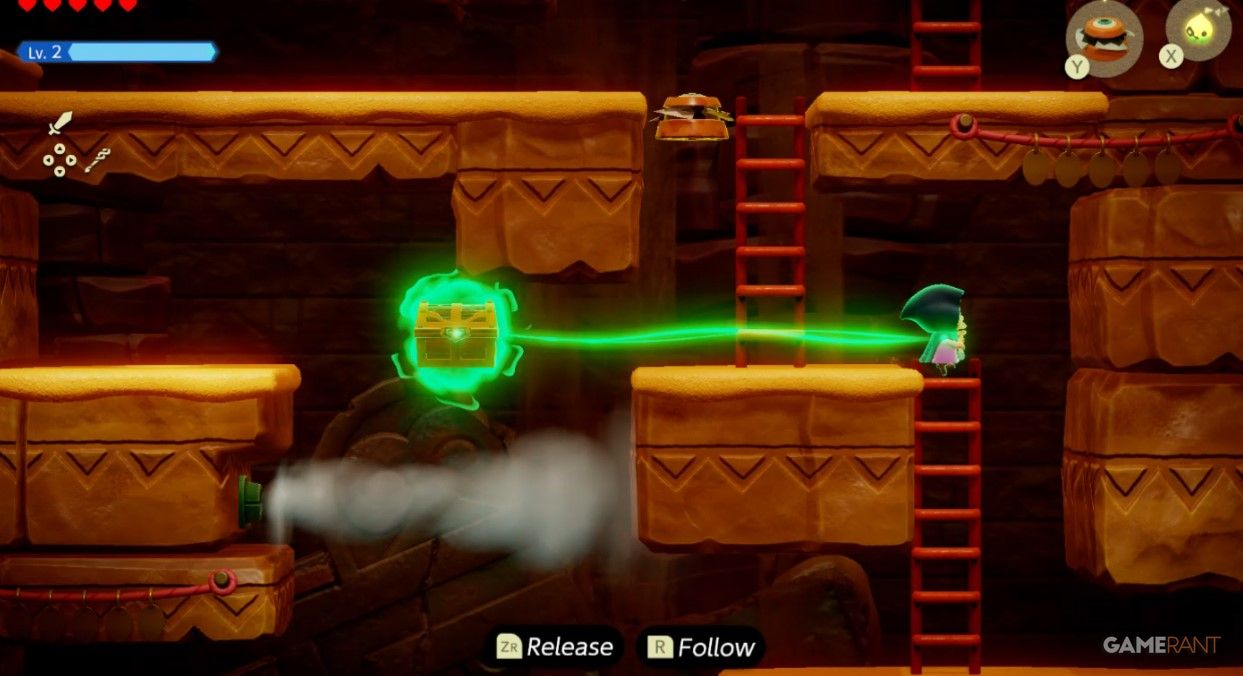
To reach the chest located deeper within the space, feel free to stand opposite to it instead. Press ‘X’ to interact with the bind, then pull the chest towards the ground. Once it’s down, stroll over to it and unlock it to discover 20 Rupees inside.
Move towards the region on your right side for additional Pathblades and heaps of sand. Keep ascending the ladders, but once you reach a significant space from the final ladder, make an effort to attach yourself to a Tornando, similar to the depiction shown earlier.
Continue straight ahead, and eventually, you’ll come across a massive stone edifice that can be moved with your Bind ability (X). This will clear the sandy barrier leading to the Gerudo Sanctum, which is the next significant dungeon in Echoes of Wisdom. Should you require a guide for it, we’ve got you covered.
Rather than revisiting the areas you’ve already explored by descending the ladder, simply climb the ladder on the left instead. You’ll discover the switch or locked gate we noticed as we first entered the 2D section.
Read More
- LUNC PREDICTION. LUNC cryptocurrency
- BTC PREDICTION. BTC cryptocurrency
- APU PREDICTION. APU cryptocurrency
- EUR CAD PREDICTION
- XDC PREDICTION. XDC cryptocurrency
- PlayStation and Capcom Checked Another Big Item Off Players’ Wish Lists
- USD GEL PREDICTION
- POL PREDICTION. POL cryptocurrency
- EUR INR PREDICTION
- GLMR PREDICTION. GLMR cryptocurrency
2024-09-30 21:13