As a seasoned Night City explorer, I can’t help but feel a sense of nostalgia as I guide you through the intricate web of events that unfolds during the Chippin’ In quest in Cyberpunk 2077. This mission is a rollercoaster ride of action, dialogue, and decision-making that truly encapsulates the gritty essence of Night City life.
In the game Cyberpunk 2077, there’s an important side quest called Chippin’ In that some players might not have encountered or fully understood how to finish. This mission is crucial for unlocking the secret ending, and it also rewards the player with items such as Johnny’s car, gun, and jacket, all in one go.
Chippin’ In in Cyberpunk 2077 is integral to the relationship between V and Johnny, so completing it and ticking all the boxes to ensure its maximum success should be every player’s priority once they reach Act Three. Listed below will be the specific dialogue that players must choose, as well as just how to complete Chippin’ In.
How to Unlock the Chippin’ In Mission in Cyberpunk 2077
After finishing the primary mission known as Search and Destroy in Cyberpunk 2077, players can proceed to Act Three and converse with Johnny. Following this conversation, V will experience a Relic attack and find themselves in an abandoned hotel within Pacifica, marking the start of the Tapeworm quest’s final phase. During their heartfelt discussion, Johnny presents V with his old dog tags. No matter how players may feel about Johnny, it is crucial to choose specific dialogue options to initiate the Chippin’ In mission.
- [Stand] Understood.
- So I tell Rogue everything?
- Tell me what you’re planning.
- OK. I’ll give you control.
By choosing these dialogue choices, your character (V) consents to give control of their body temporarily to Johnny, so he can communicate with Rogue at the Afterlife. This action initiates the mission chain for Chippin’ In. To proceed, simply navigate down the stairs towards the Afterlife nightclub. When Johnny inquires if V is prepared, respond affirmatively.
- [Take Misty’s pills] Ready.
Complete A Cool Metal Fire
After V consumes the pills and Johnny takes over, players can enjoy an engaging sequence depicting Johnny’s lively escapade in Night City. This scene doesn’t present any significant points to remember, as neither actions nor decisions influence the quest or the development of the bond between Johnny and V. You are free to focus on details like what drink Johnny prefers, which pill he chooses, or even if he wants to ink a billy goat tattoo on V representing their relationship symbolized by a heart saying “V + Johnny”. Following this episode, Rogue will rouse V, leaving players with nothing else but to wait for 24 hours until Rogue contacts them.
Meet Rogue at the Afterlife
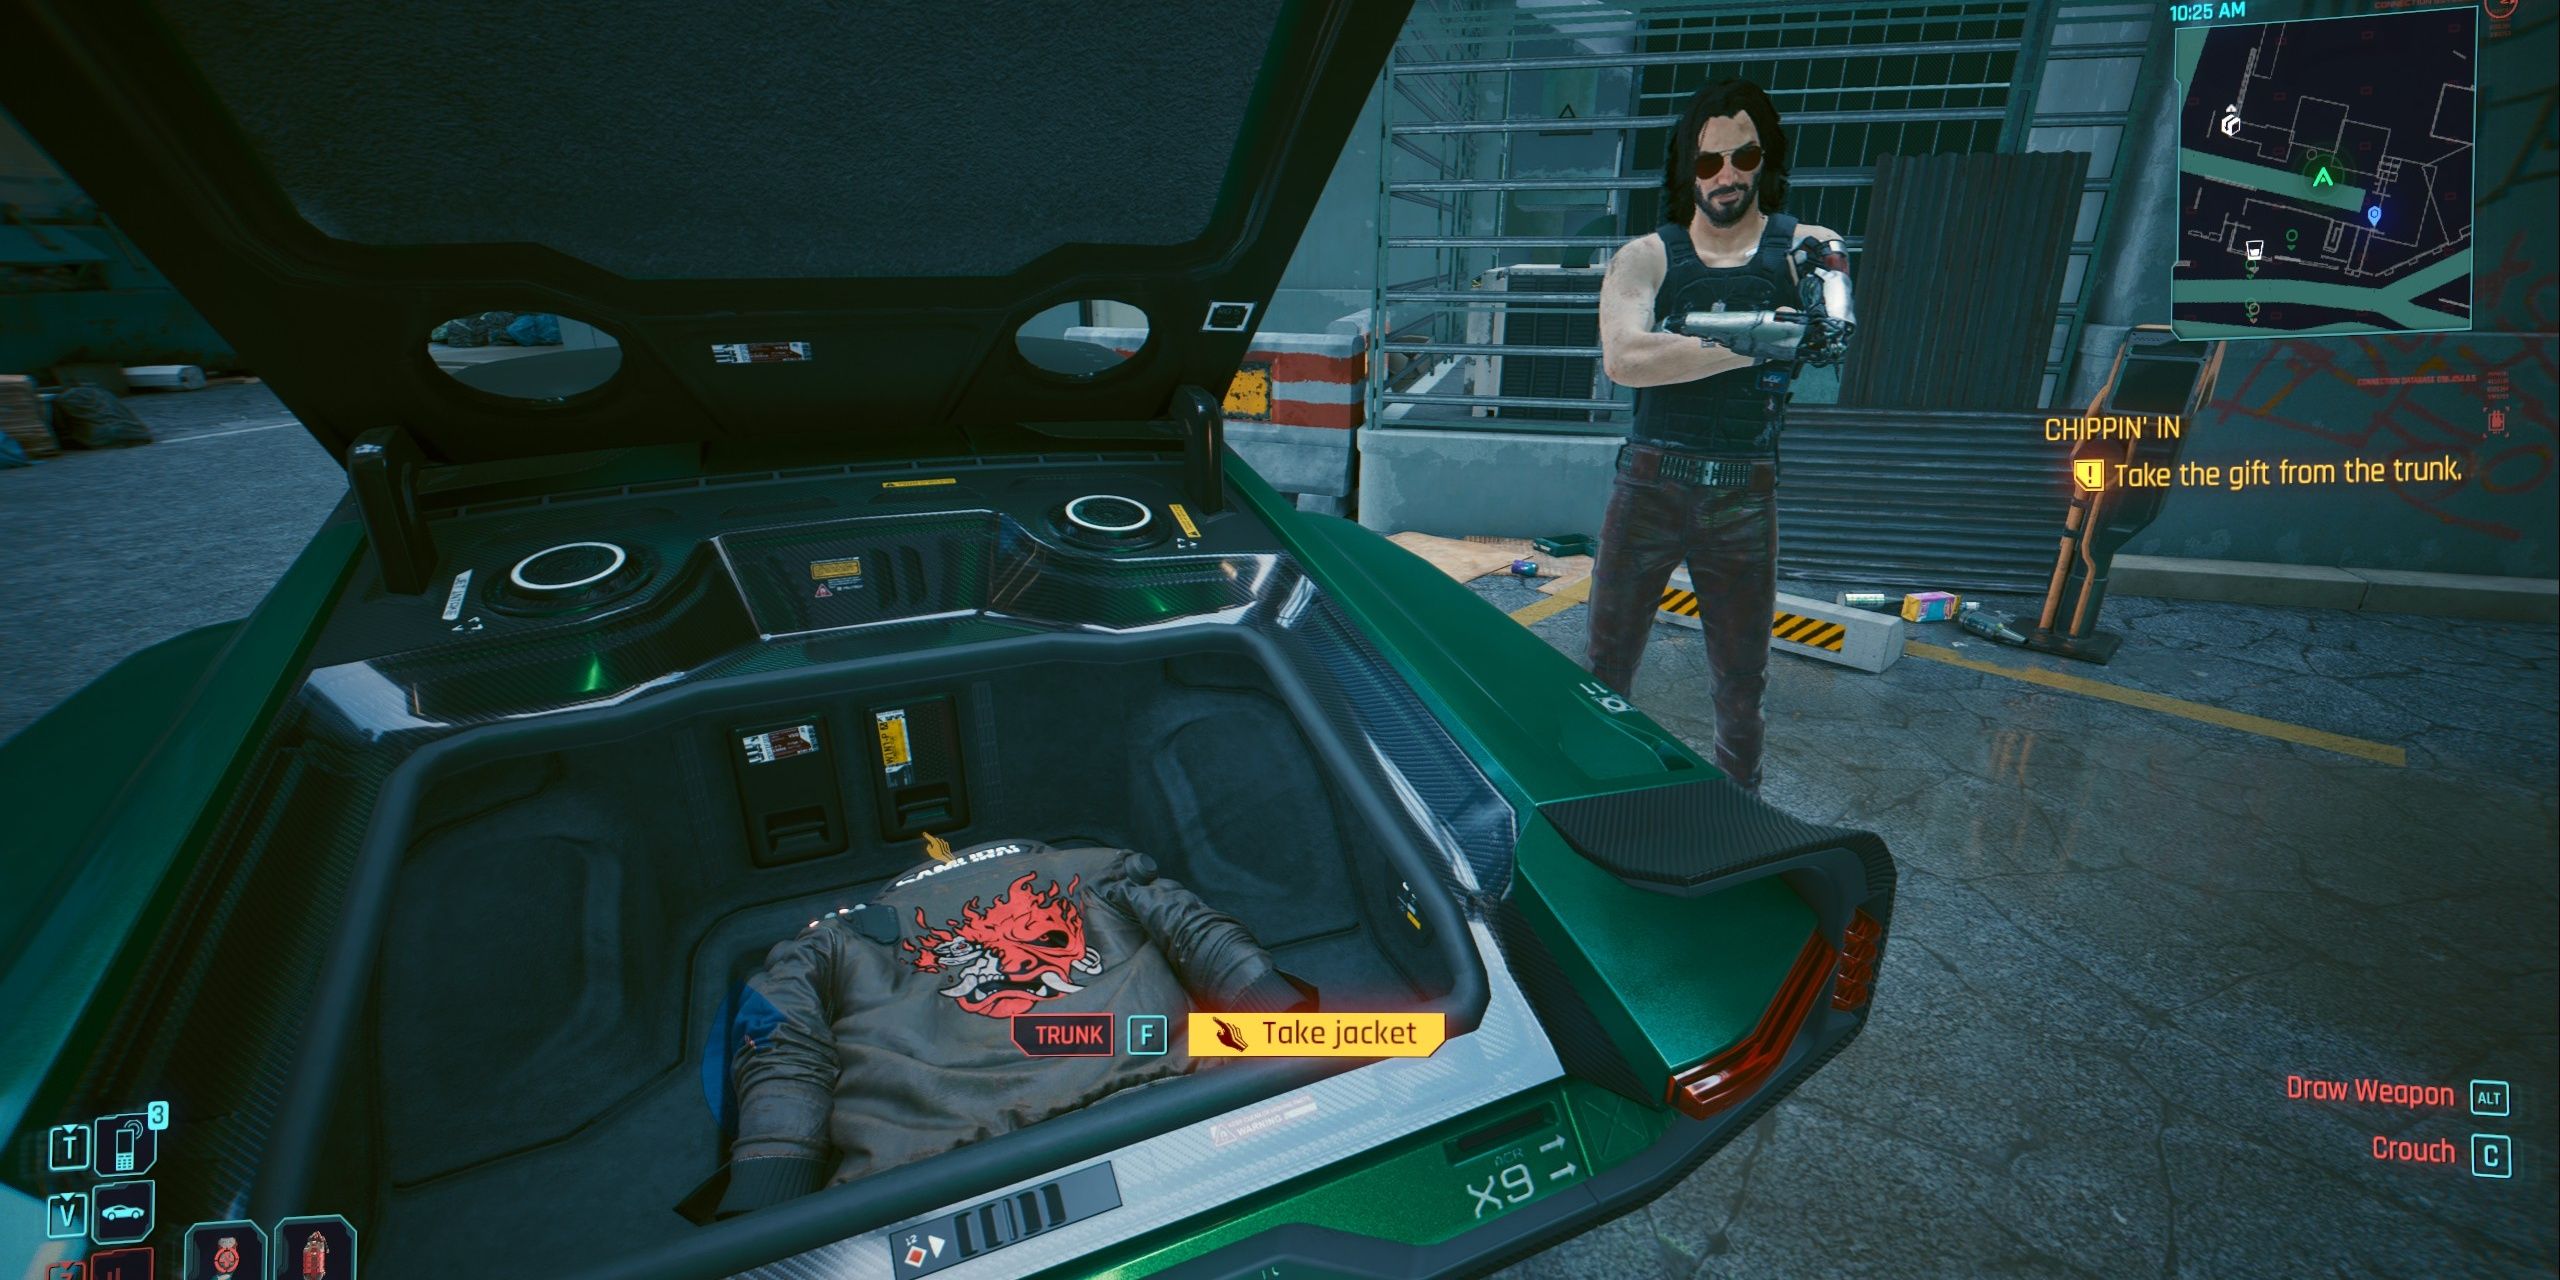
As a fan, I’d like to share a shortcut for those eager to advance faster in this game. You can access your menu, pick ‘Skip Time’, and then wait for 24 hours. Once that time passes, Rogue will contact you on the phone and invite you to meet her in the afterlife. Upon meeting, she’ll open her car trunk, revealing a replica of Johnny Silverhand’s iconic jacket – it doesn’t boost stats, but it’s cool to have a piece of his style! Afterward, simply hop into the passenger seat and let Rogue take you to the Northside shipyard docks. There, you’ll find the Ebunike, where Adam Smasher can be located.
Find the Dataterm
Upon reaching the docks with V and Rogue, they are assigned the goal of getting to the data terminal. Given the presence of Maelstrom at the docks, Rogue may opt for a stealthy strategy. However, this choice doesn’t impact the mission’s objectives, as players can choose to fight their way to the data terminal or sneak through. For a more immersive experience, we elected to go with the stealth approach during this part of the mission. This involves using data hacks to divert enemies, disable cameras, and sneak towards the dataterminal. Once at the dataterm, players must gain access, read through the Messages, and then proceed to Ebunike’s instructions, which will initiate the next stage of the quest.
Defeat Jeremiah Grayson on the Ebunike
No matter if I’ve been sneaking around or going all-out action, as soon as I step onto Ebunike, Maelstrom and Jeremiah Grayson will spot me and attack. My goal is to take them down first, then talk to the injured Grayson. He’s holding Johnny Silverhand’s legendary gun, the Malorian Arms 3516, which I need to claim from him. After grabbing it, I can question Grayson about Adam Smasher, but he doesn’t reveal much. From there, I’ll choose the option to extract more info from him, but it doesn’t lead anywhere significant.
- [Drawn weapon] Don’t want anything from you.
As a gamer, I’ll be taking down Grayson, and from his fallen form, I’ll be able to scavenge an Old Access Card. Now, this part is purely up to me, but if I choose to use this card, I can descend the stairs where I fought Grayson, then climb a ladder to my left. Once there, I can activate a terminal that will lower a shipping container for me.
Stepping towards the shipping container, I’ve got my Old Access Card ready. With a swipe and a click, I unlock the container’s doors, revealing none other than Johnny Silverhand’s Porsche 911 Turbo (930). It’s mine now to cruise around in. Next up, I hop into this beauty or any other ride I fancy, and head over to the Oil Fields for a closer look at Johnny’s body.
If players choose to save Grayson, they can ultimately win the Porsche 911, as he’ll provide a certain location for it. However, it’s generally advisable to eliminate him, unless the players are intentionally pursuing a non-violent playthrough.
Talk to Johnny at the Oil Fields
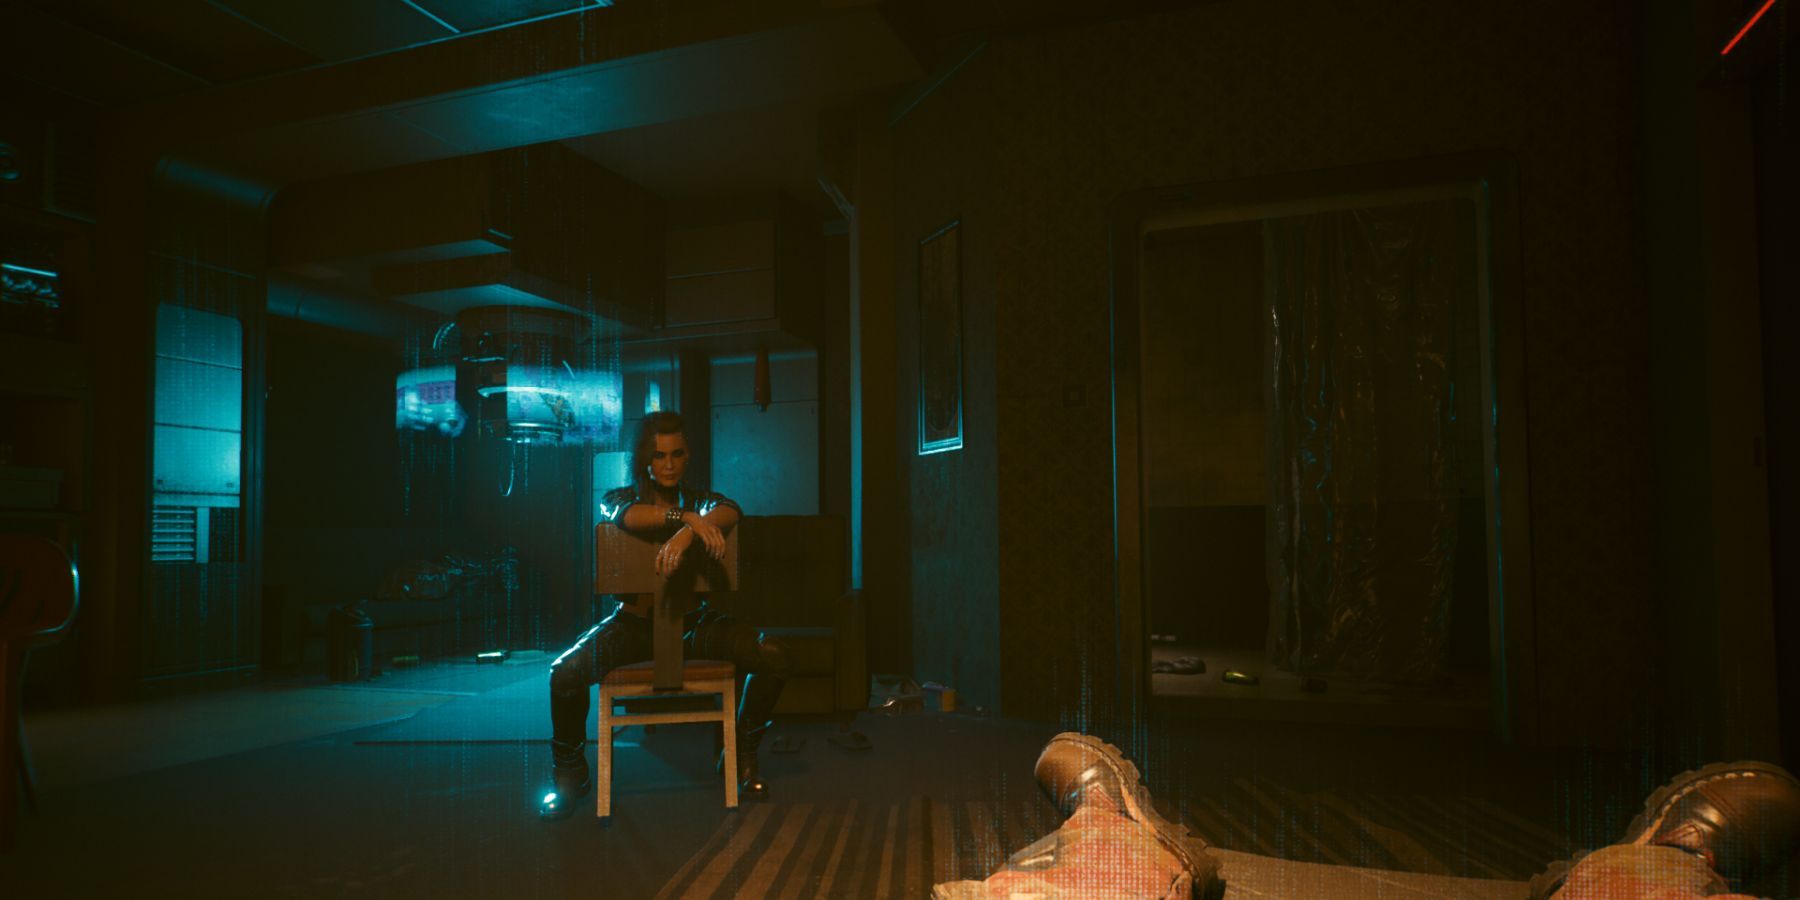
After players arrive at the Oil Fields, Johnny Silverhand may exhibit a touch of melancholy, recognizing that his body was carelessly discarded like rubbish. This critical juncture holds significance for those aiming to form a bond with Johnny Silverhand and for those pursuing the secret ending in Cyberpunk 2077. Here’s the specific dialogue sequence leading to the (Don’t Fear) the Reaper ending:
- [Sit] D’ya expect a headstone?
- [Inscribe Johnny’s initials] Let’s do something about that.
- “The Guy who Saved My Life.”
- Nah, f####ed that up too.
- What do you want from me?
- OK. But as second chances go, this is your last.
- You were a real d### in the beginning.
- When you said you let down your friends…
- Smasher biz really got to her.
- Yeah, I’ll call Rogue.
By choosing each dialogue option throughout this quest in Cyberpunk 2077, players will successfully complete Chippin’ In. This not only rewards them with a few extra perks but also unlocks the secret ending of the game and deepens their bond with Johnny Silverhand. Now, they can enjoy using Johnny’s jacket, car, gun, and move on to the next quest in the Johnny-related storyline, Blistering Love.
If players don’t care about their interactions with Johnny or uncovering the secret ending of Cyberpunk 2077, then they are free to choose any dialogue option at the Oil Fields, as they will still progress through the Chippin’ In mission and obtain all the rewards associated with it.
Read More
- LUNC PREDICTION. LUNC cryptocurrency
- BTC PREDICTION. BTC cryptocurrency
- USD PHP PREDICTION
- BICO PREDICTION. BICO cryptocurrency
- USD ZAR PREDICTION
- SOL PREDICTION. SOL cryptocurrency
- USD COP PREDICTION
- USD CLP PREDICTION
- VANRY PREDICTION. VANRY cryptocurrency
- RIDE PREDICTION. RIDE cryptocurrency
2024-10-02 15:23