
As a gamer immersed in Death Stranding 2, my journey continues with the primary objective of linking every corner of Australia to the Chiral Network. While I might not aim for the highest connection level, it’s crucial to connect optional facilities scattered throughout the game. The rewards within the Chiral Network make it worth the effort.
One of the trophies in Death Stranding 2 challenges me to explore the F3 Crater. Here’s a hint on how to get there:
1. Follow the main storyline until you reach a certain point, where a side quest or marker will guide you towards the F3 Crater location.
2. Be prepared for challenging terrains and potential threats along the way, as it is not an easy journey but definitely worth it for the trophy.
3. Once there, take in the breathtaking view, capture some photos for memories, and claim your well-deserved trophy.
How To Reach the F3 Crater in Death Stranding 2
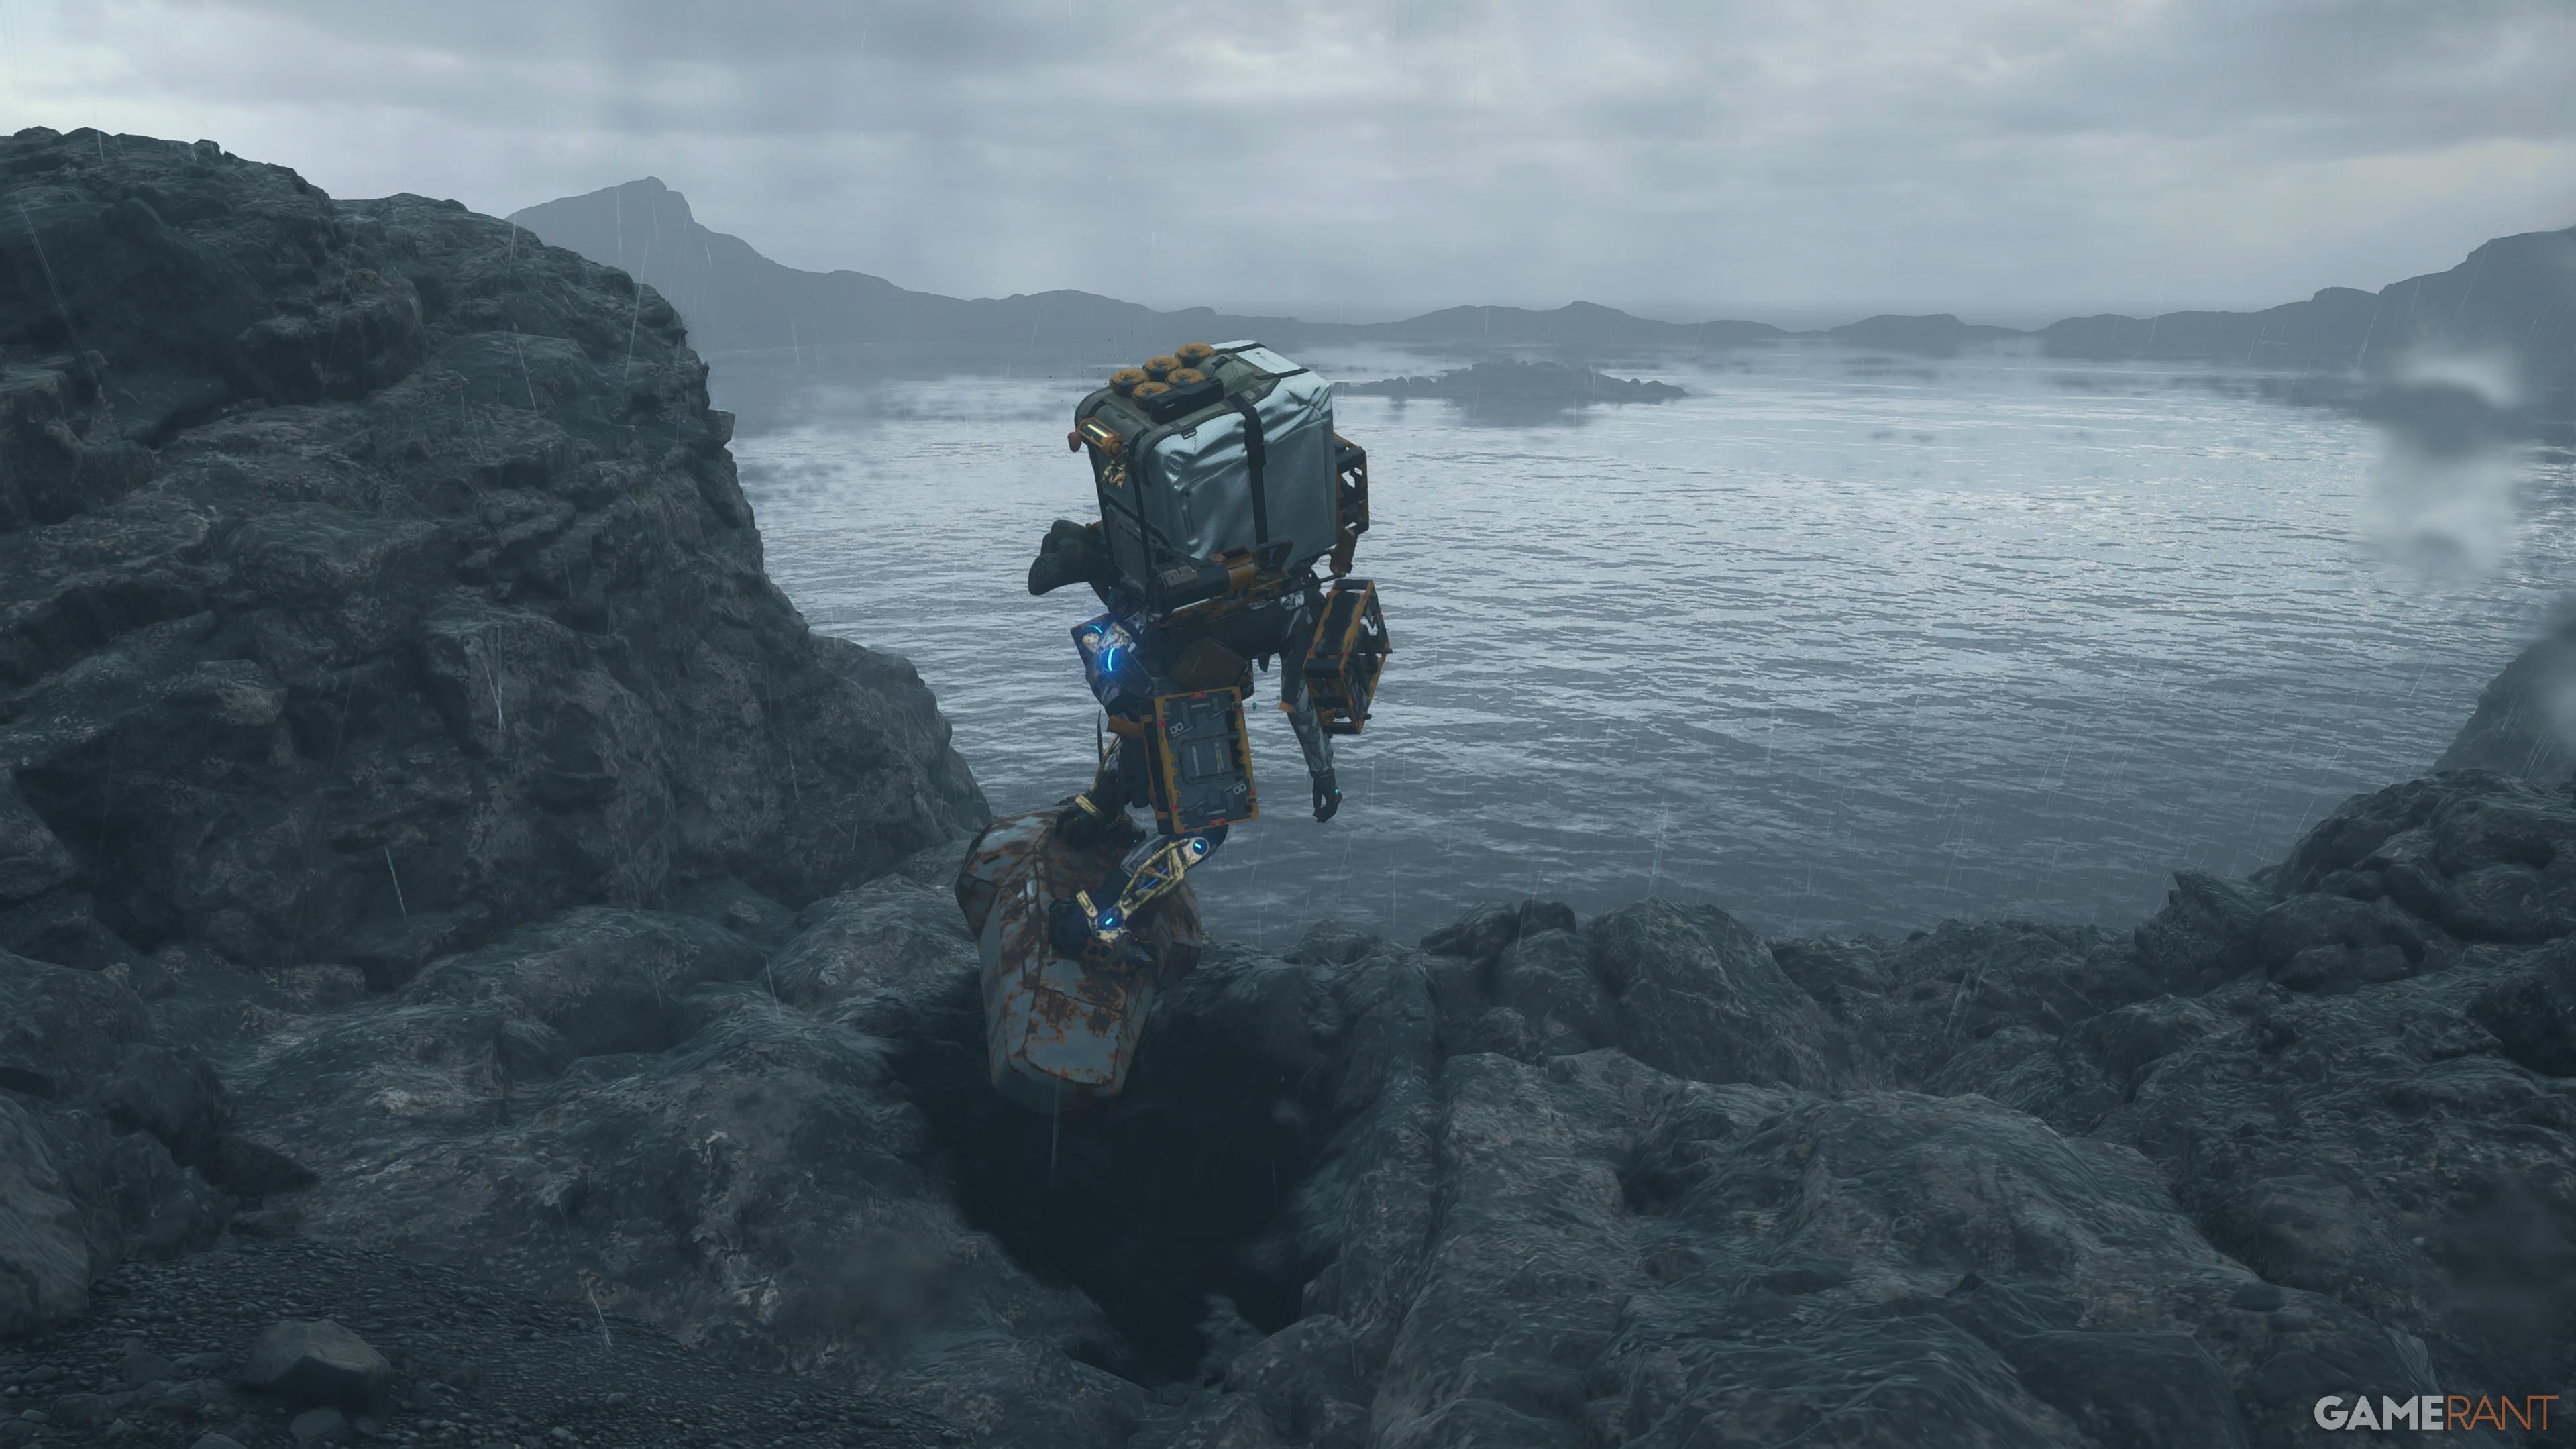
To get to the F3 Crater ahead of time, players need to move through the narrative and accomplish Mission 29, linking the Mechanic to the Chiral Network. Upon finishing this mission, players will gain access to the Coffin Board, a device they can manufacture and employ as a levitating vehicle. While the specifications of this board seem remarkable, there’s a caveat—it is functional only within the Chiral Network.
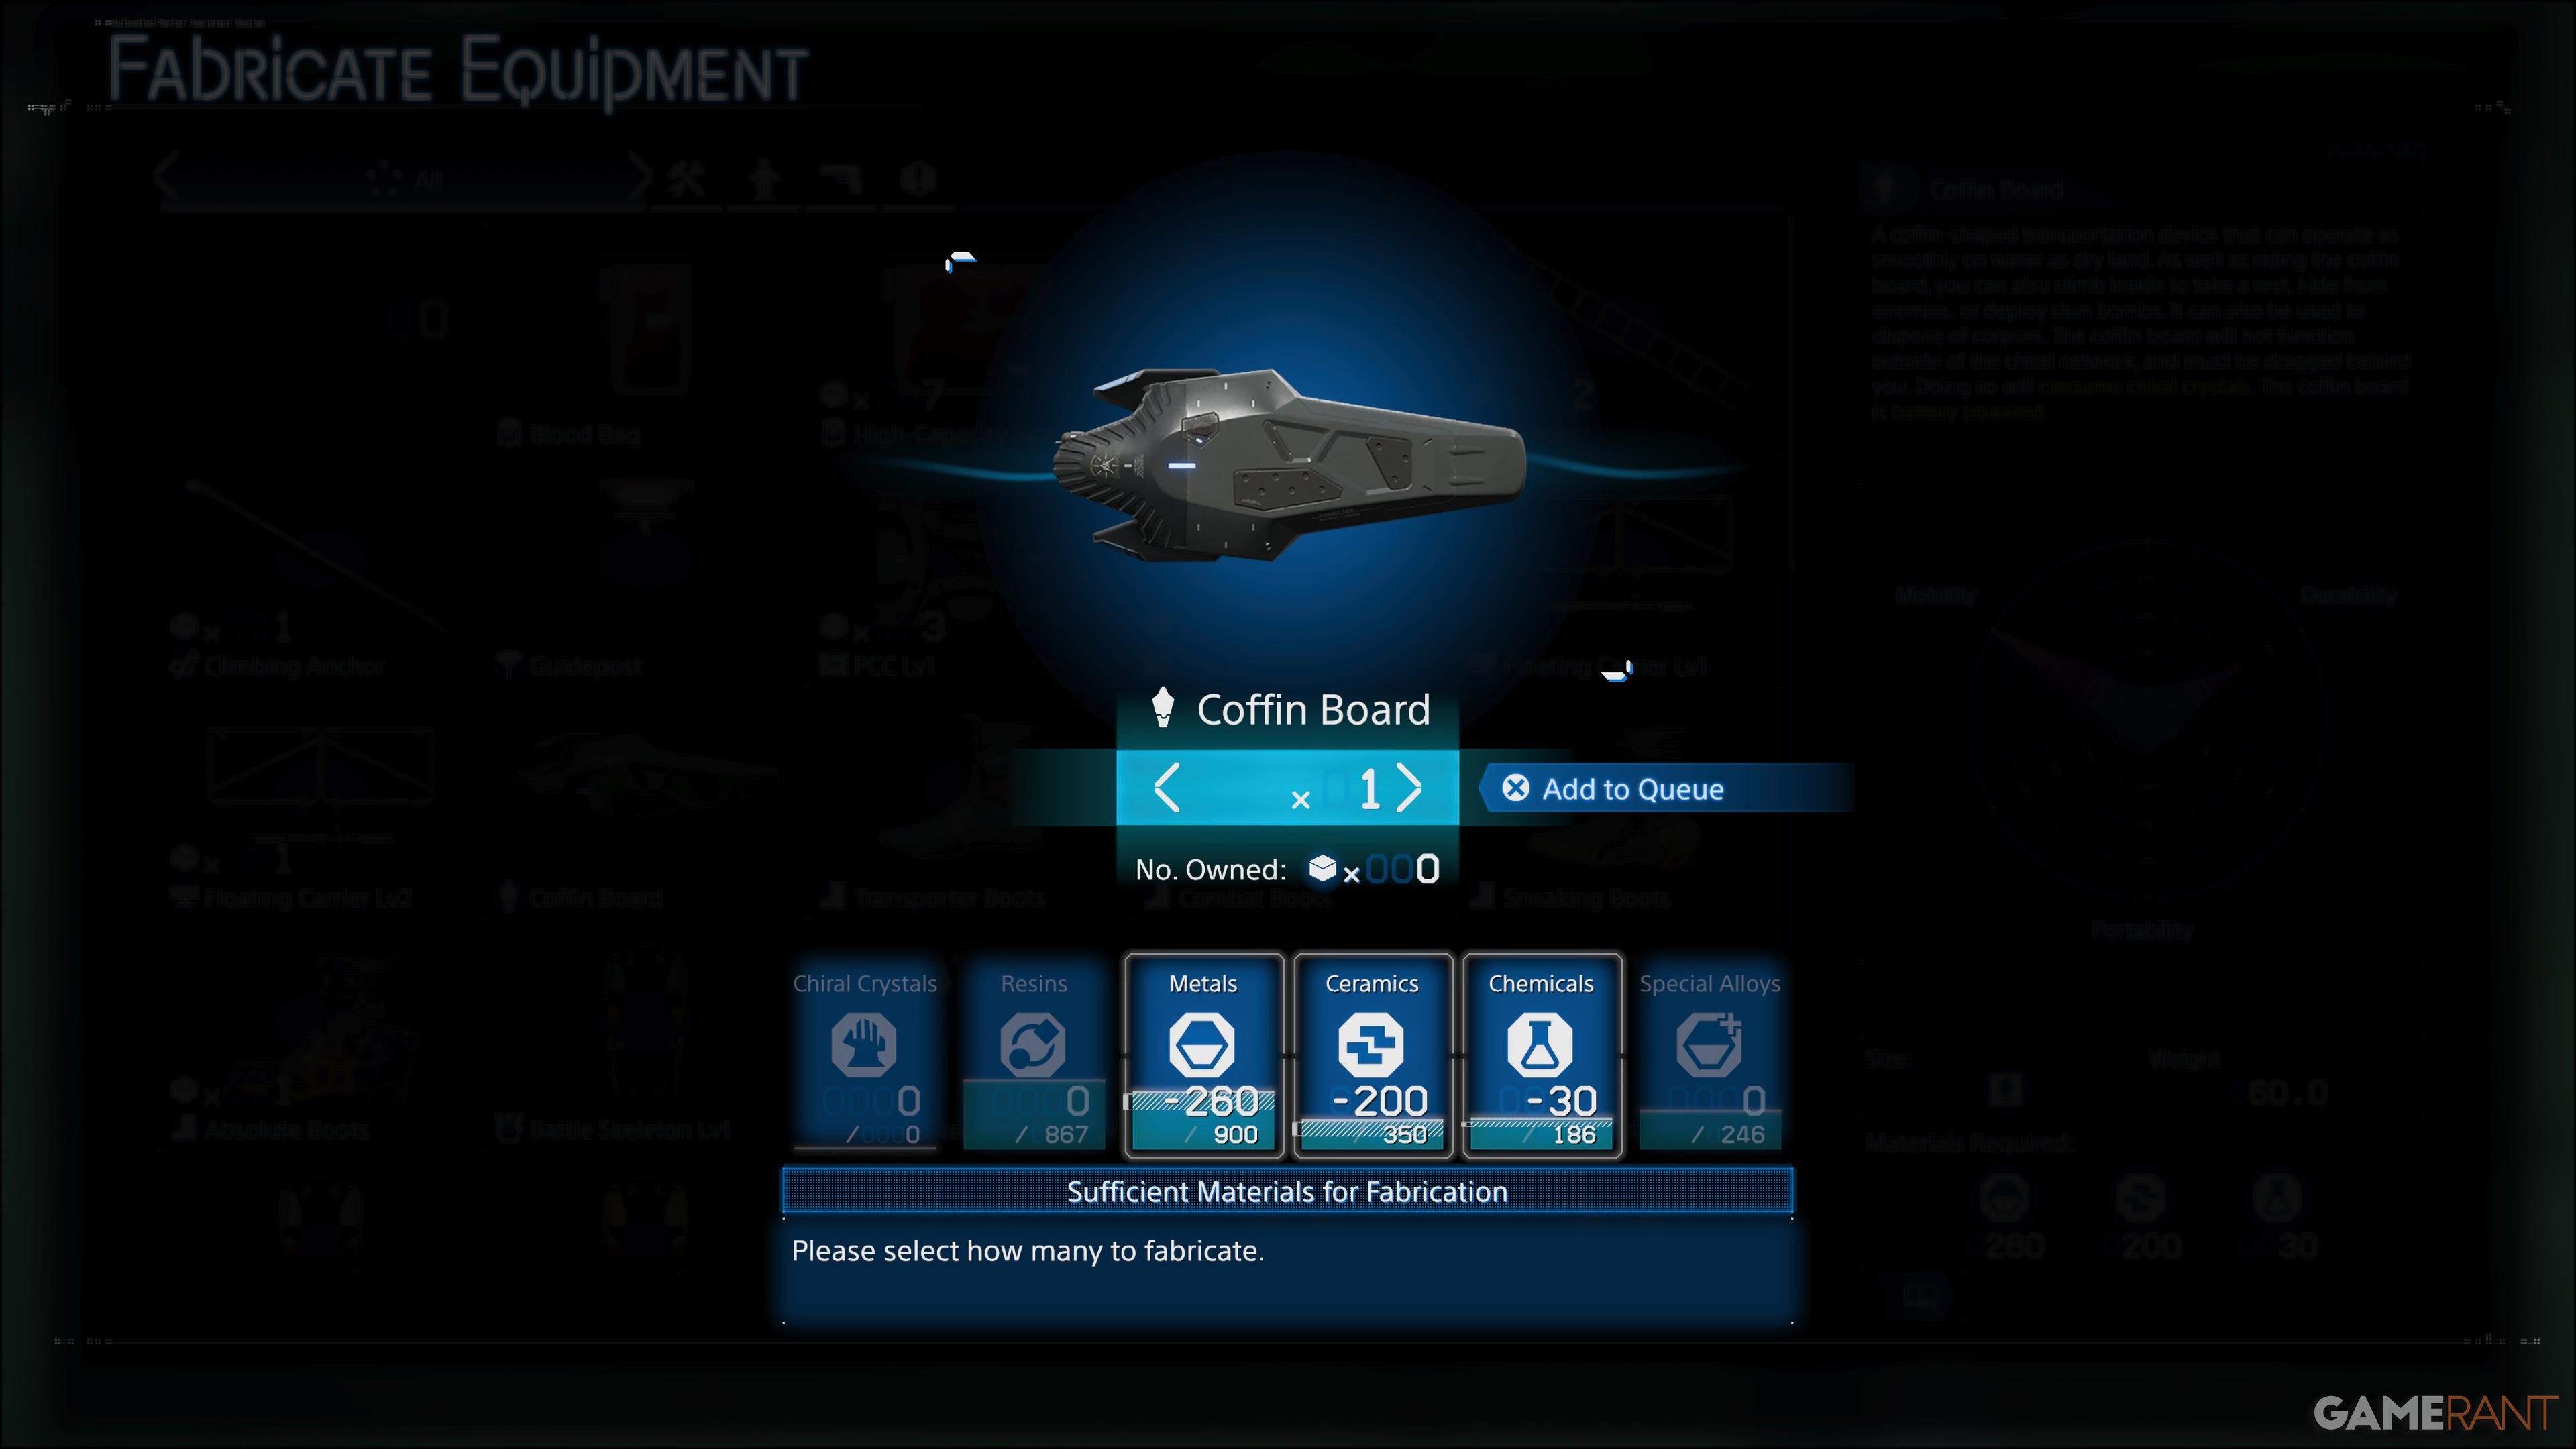
To access the F3 Crater, you won’t have any issues since connecting Heartman’s Lab comes first. After unlocking the Coffin Board, feel free to use your preferred method of transport to reach the lab. You can craft the Coffin Board using these specified materials.
- 260 Metals
- 200 Ceramics
- 30 Chemicals
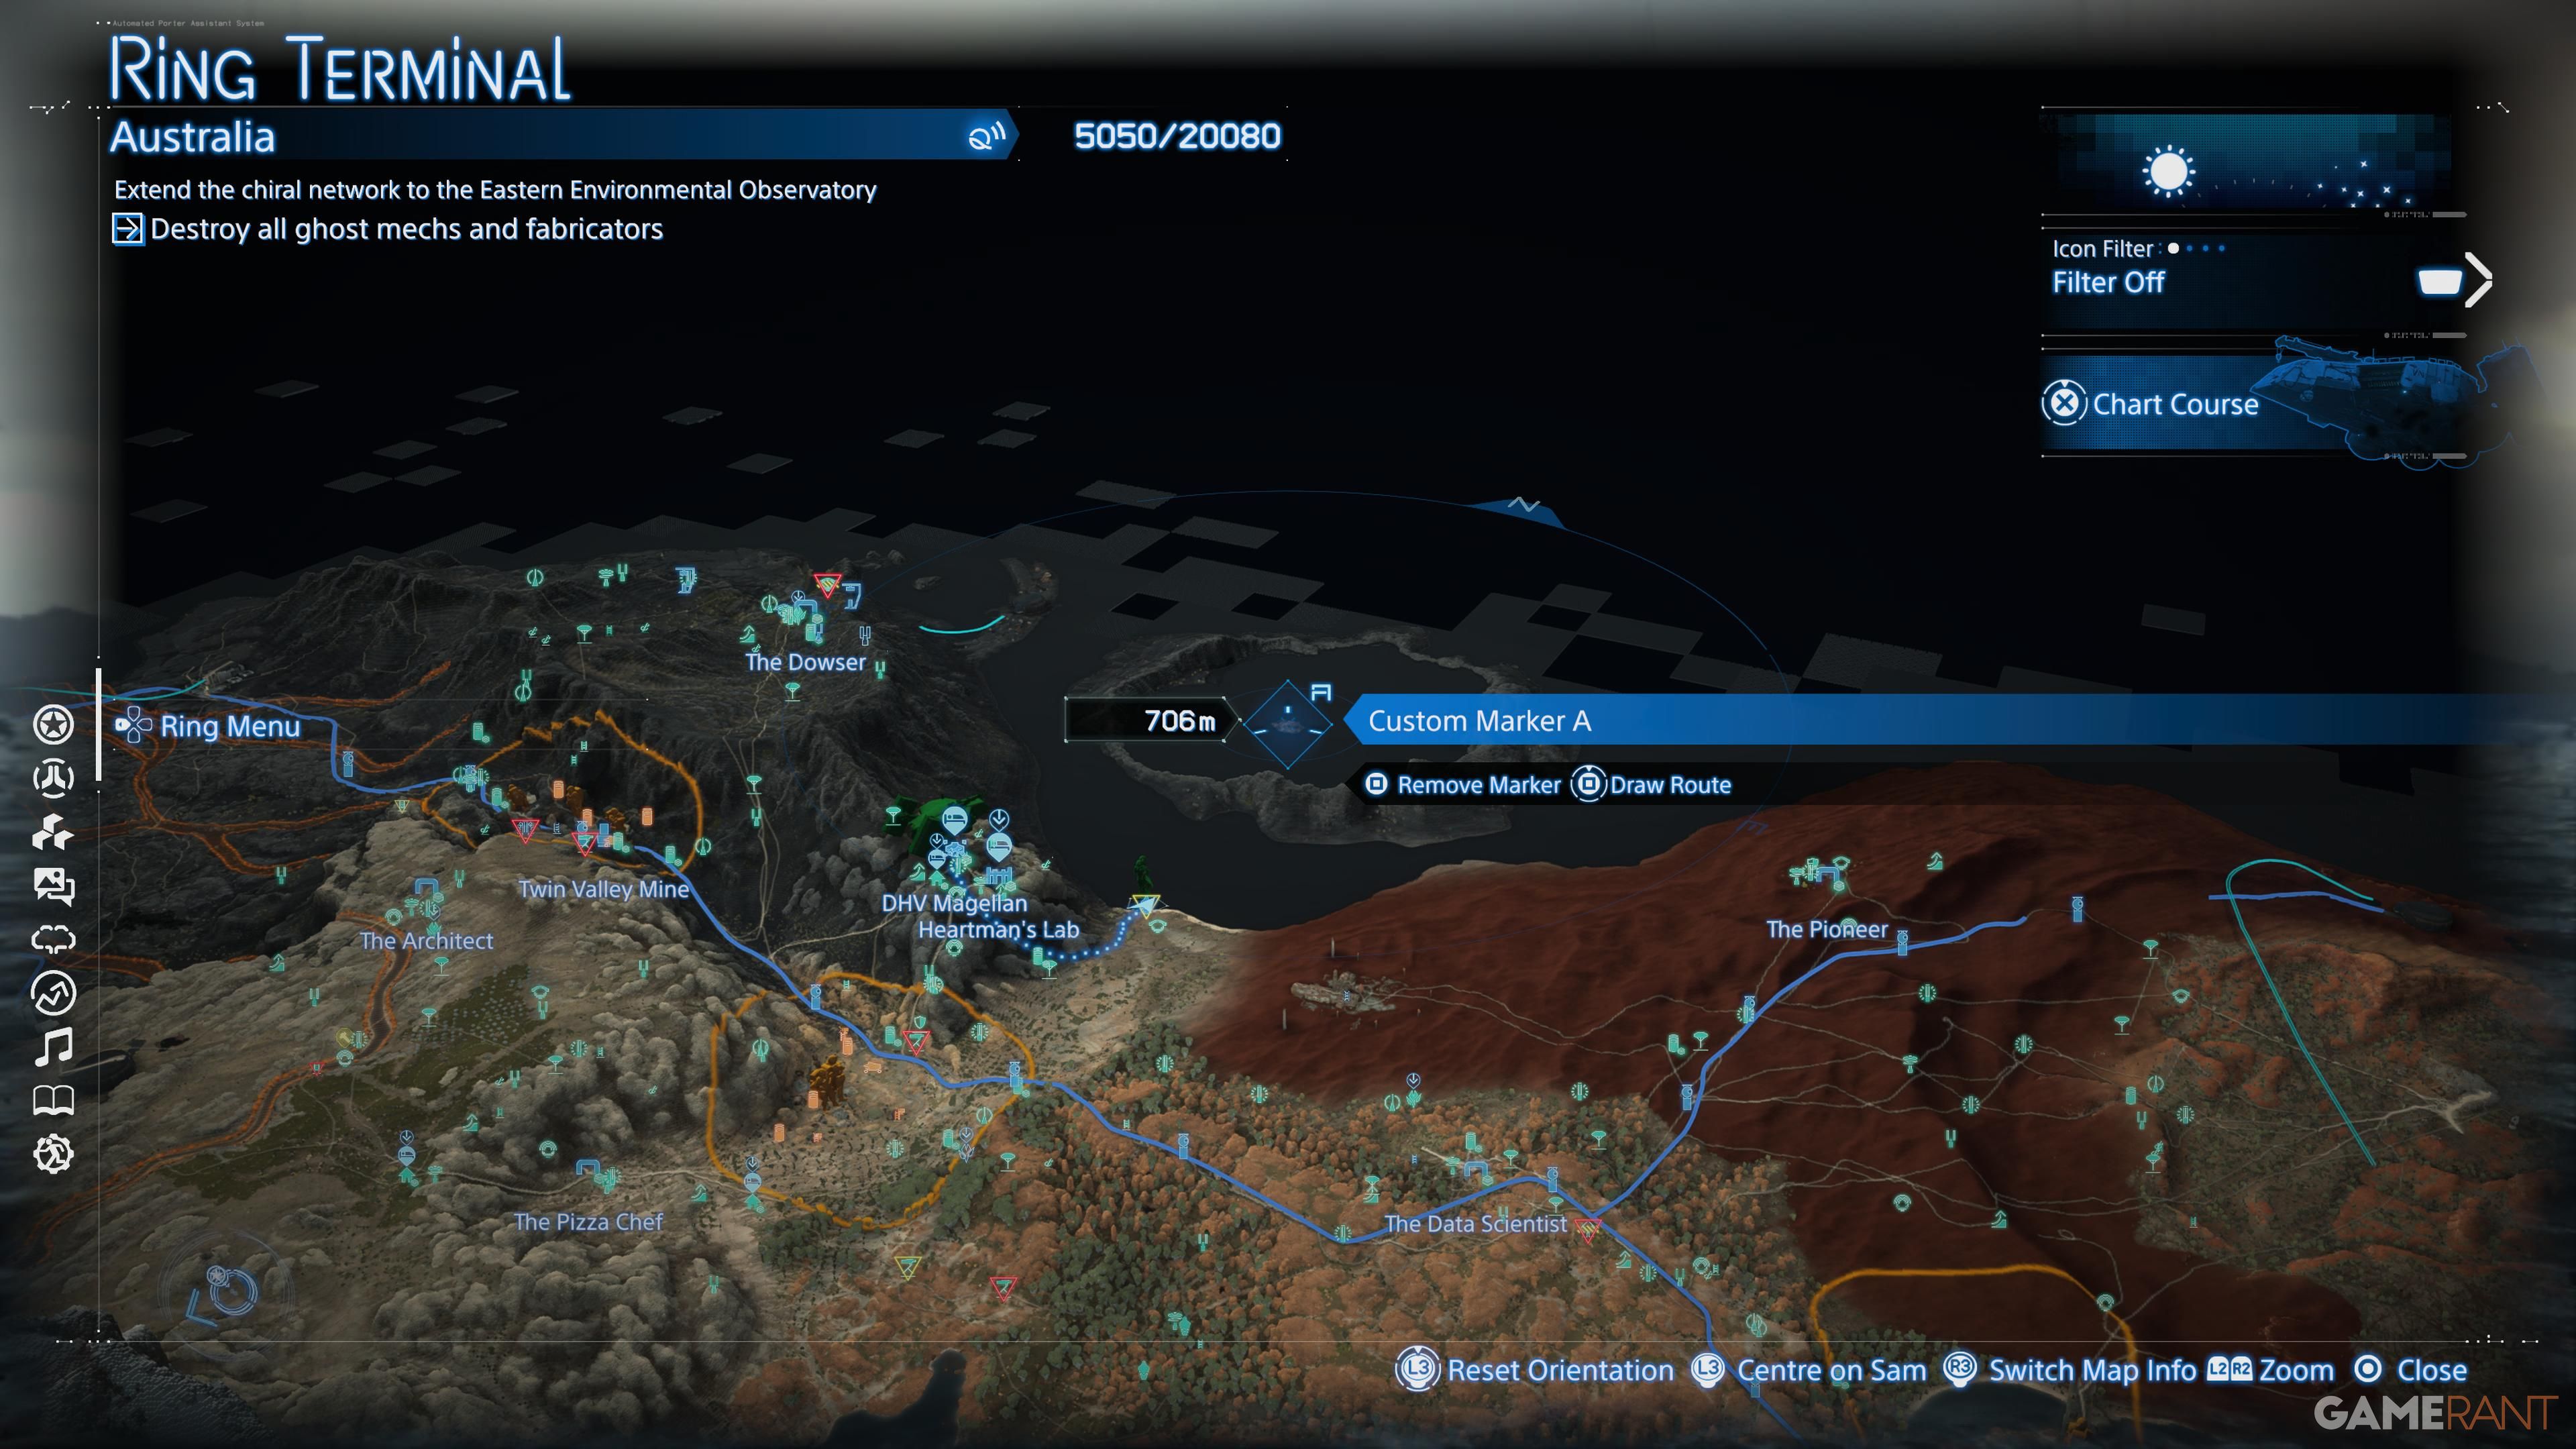
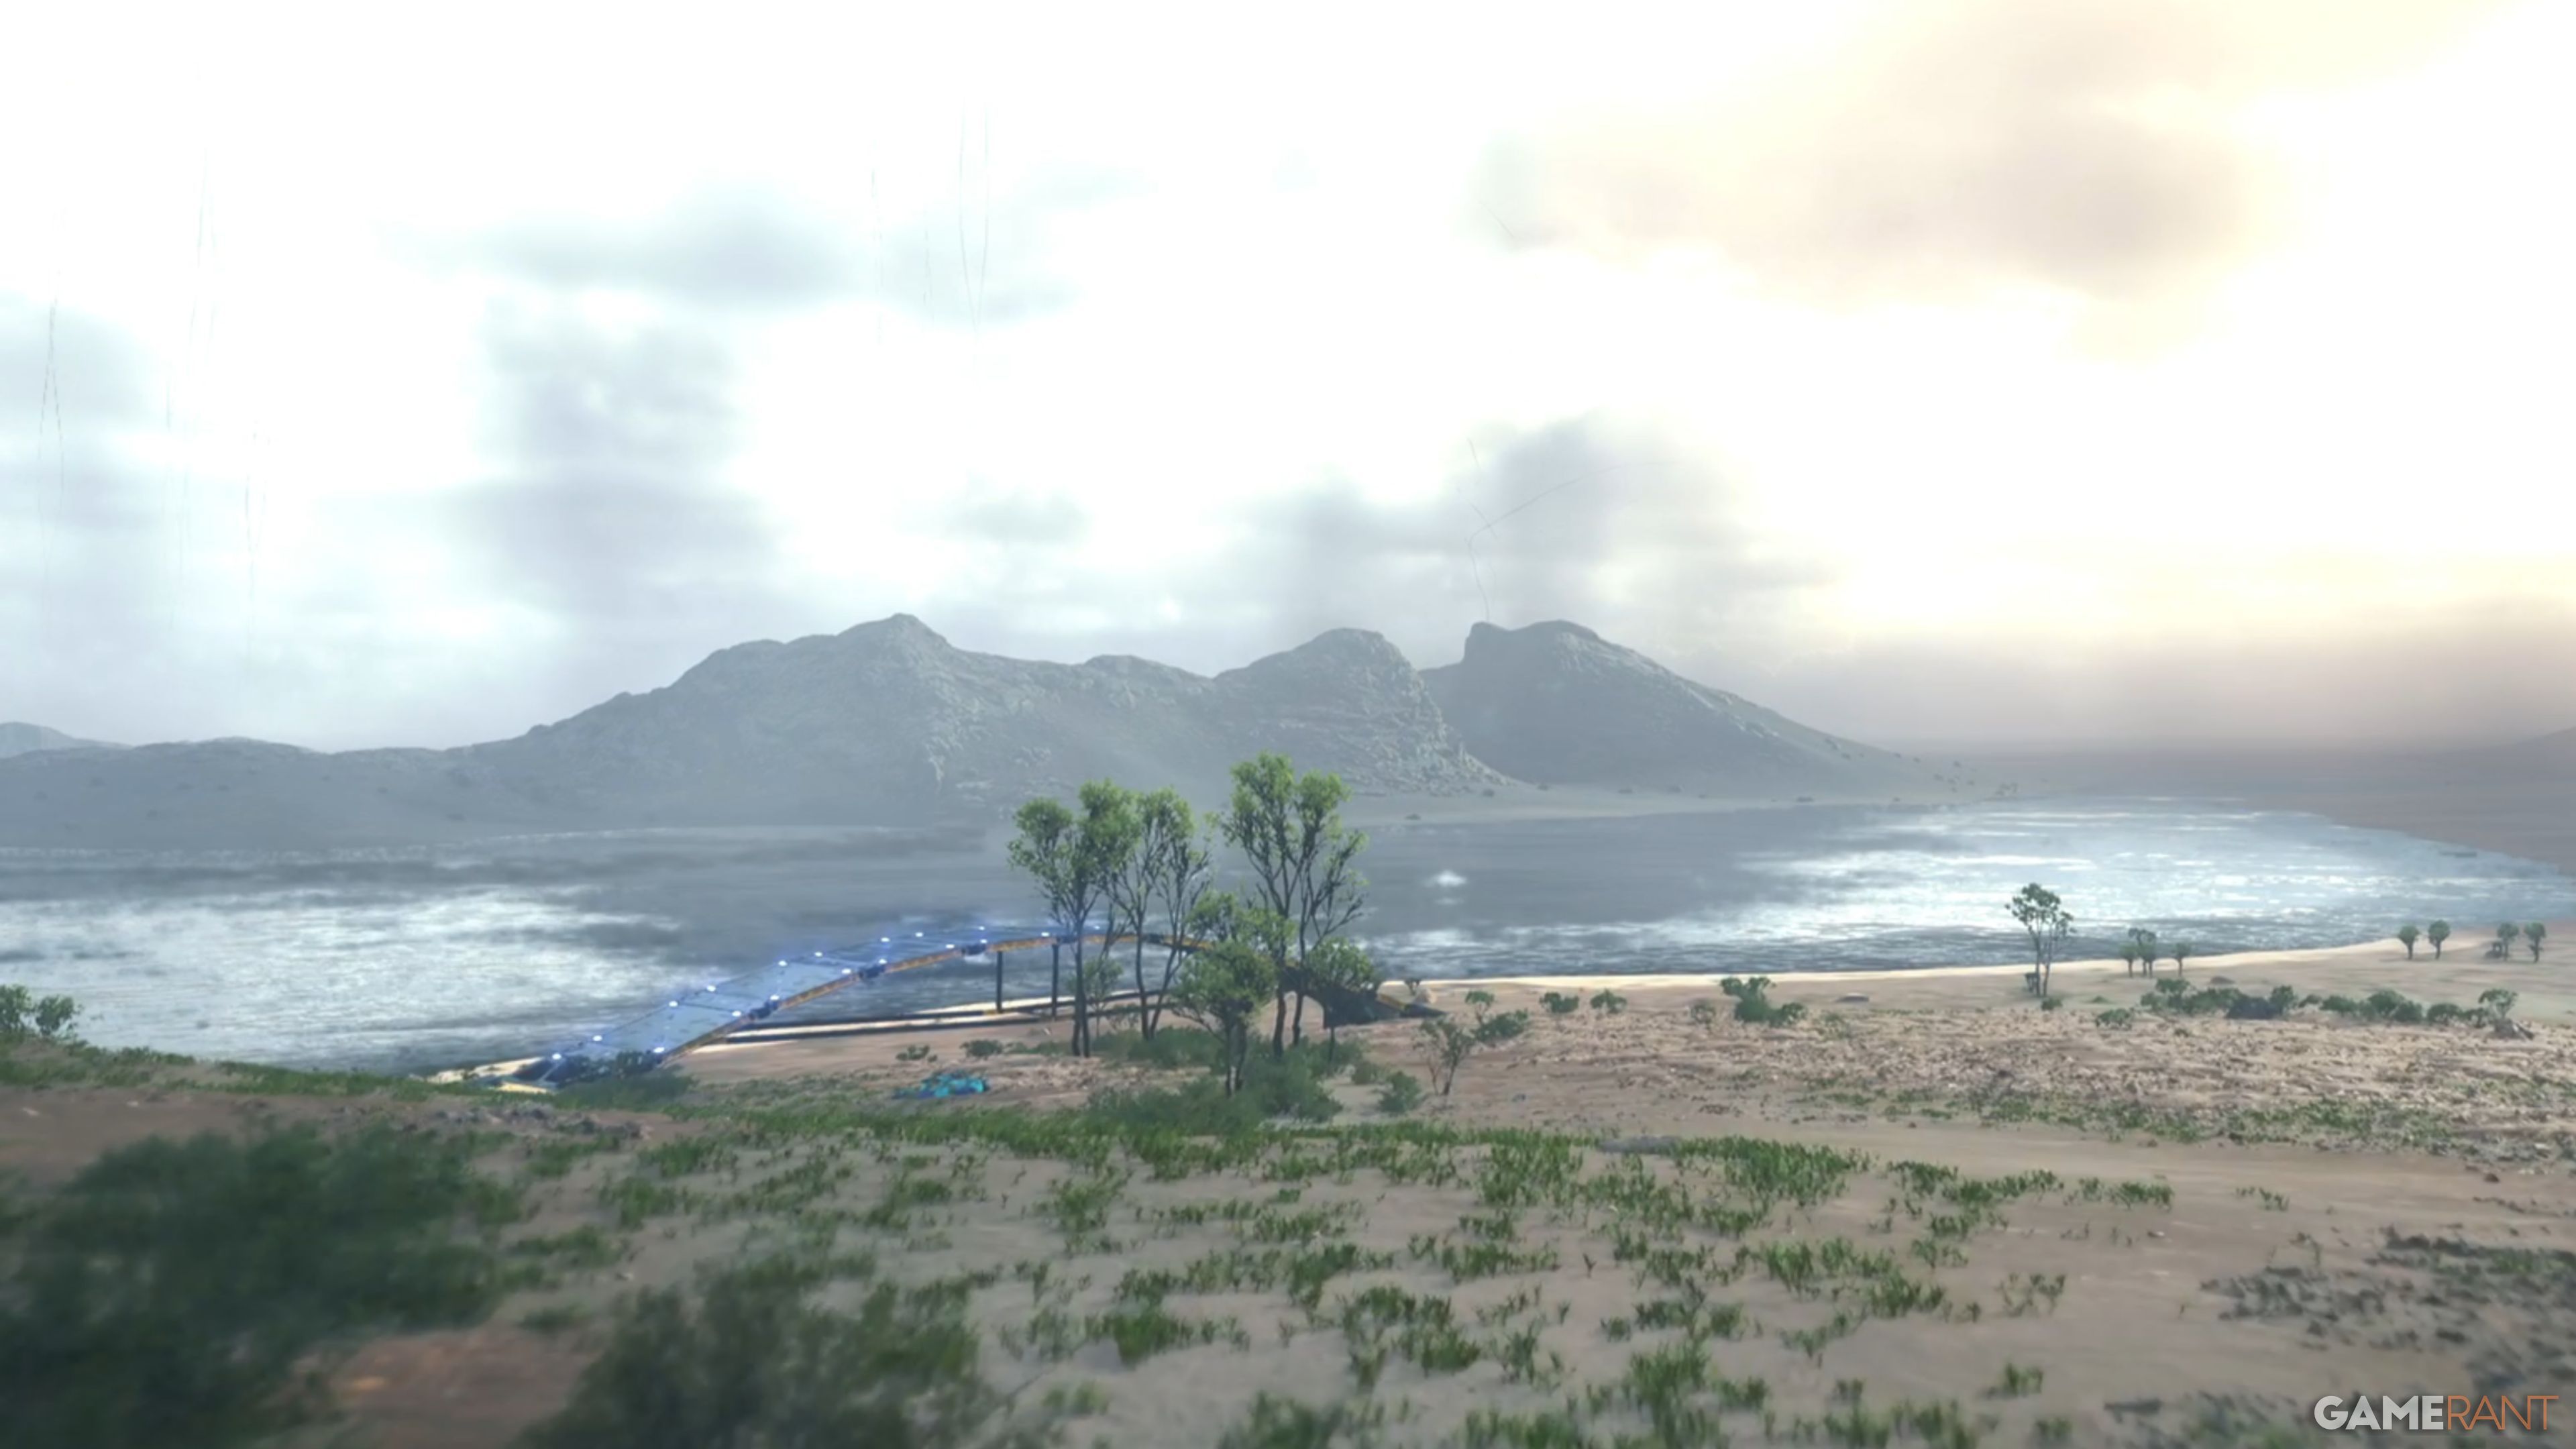
Once everything is ready, glide along on the Coffin Board heading north towards the colossal crater smack dab in the center of the tar lake. Since no other vehicle functions here, it’s advisable to traverse using the board. As you near the BT nexus in the F3 Crater, the “The Scars Left by the Giants” trophy will automatically appear, granting you freedom to depart. However, if you’re inclined to explore the small island in the middle, feel at liberty to do so—but be aware that you might encounter a few BTs.
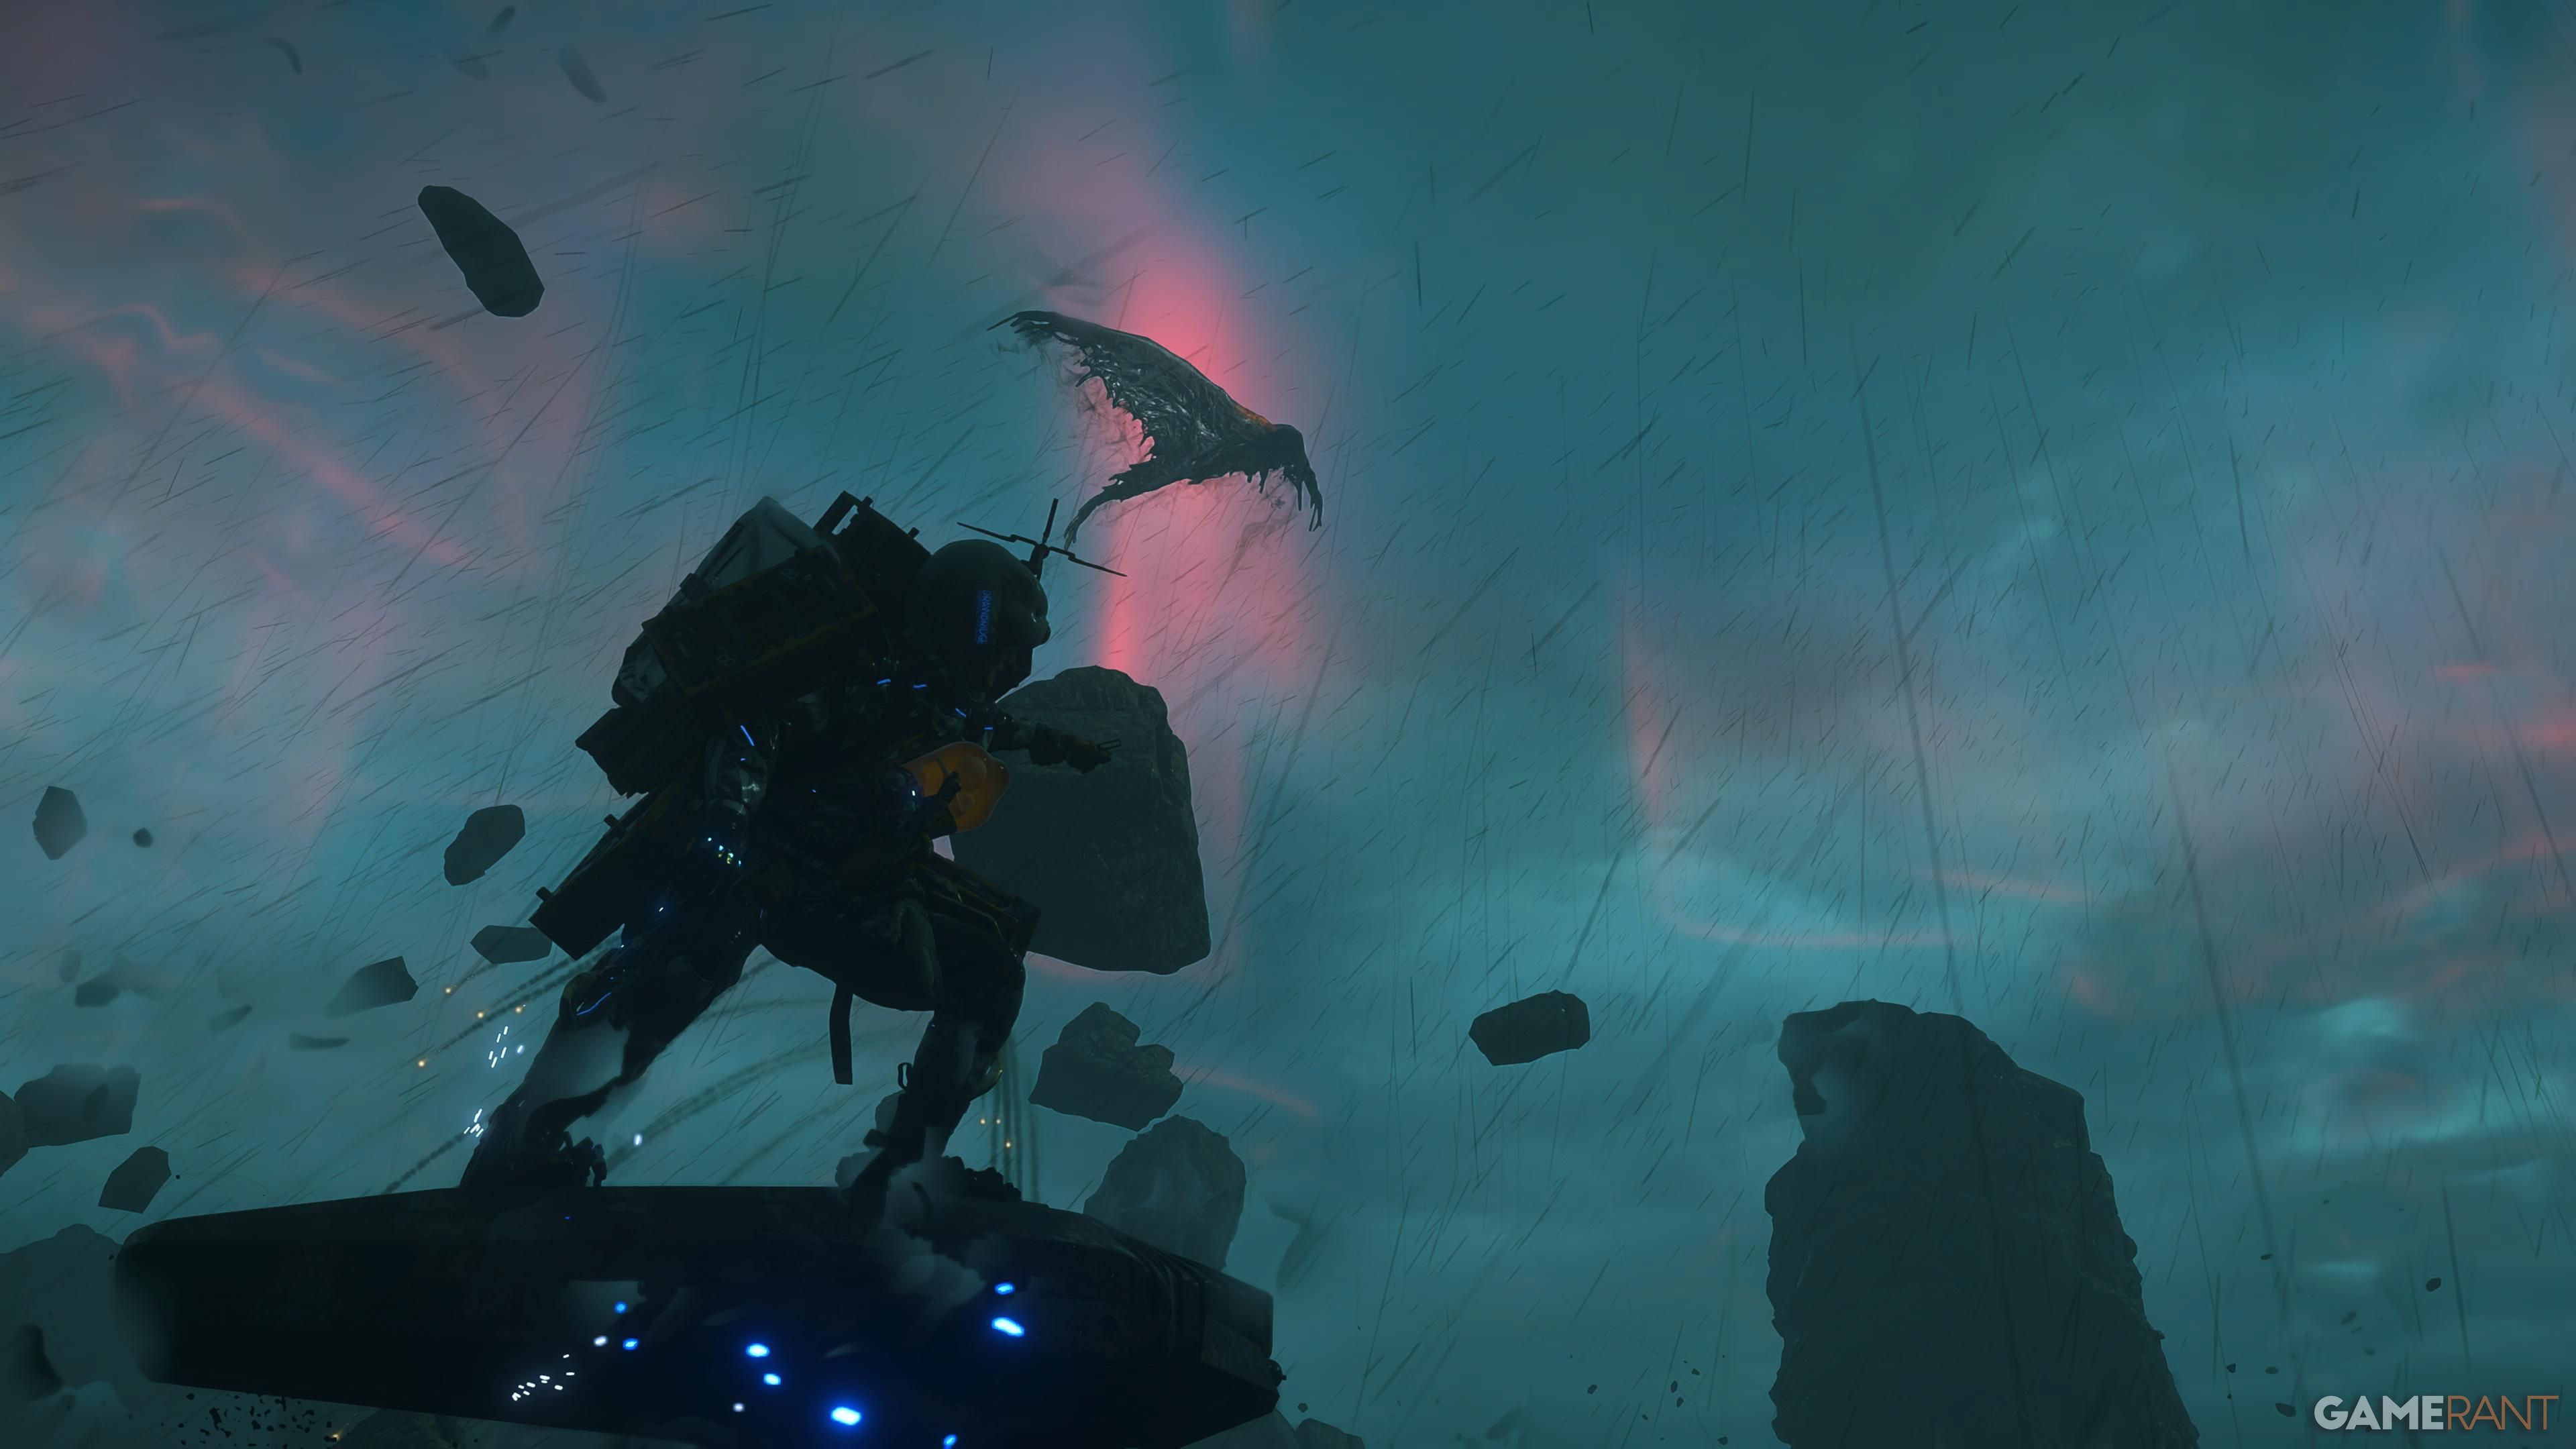
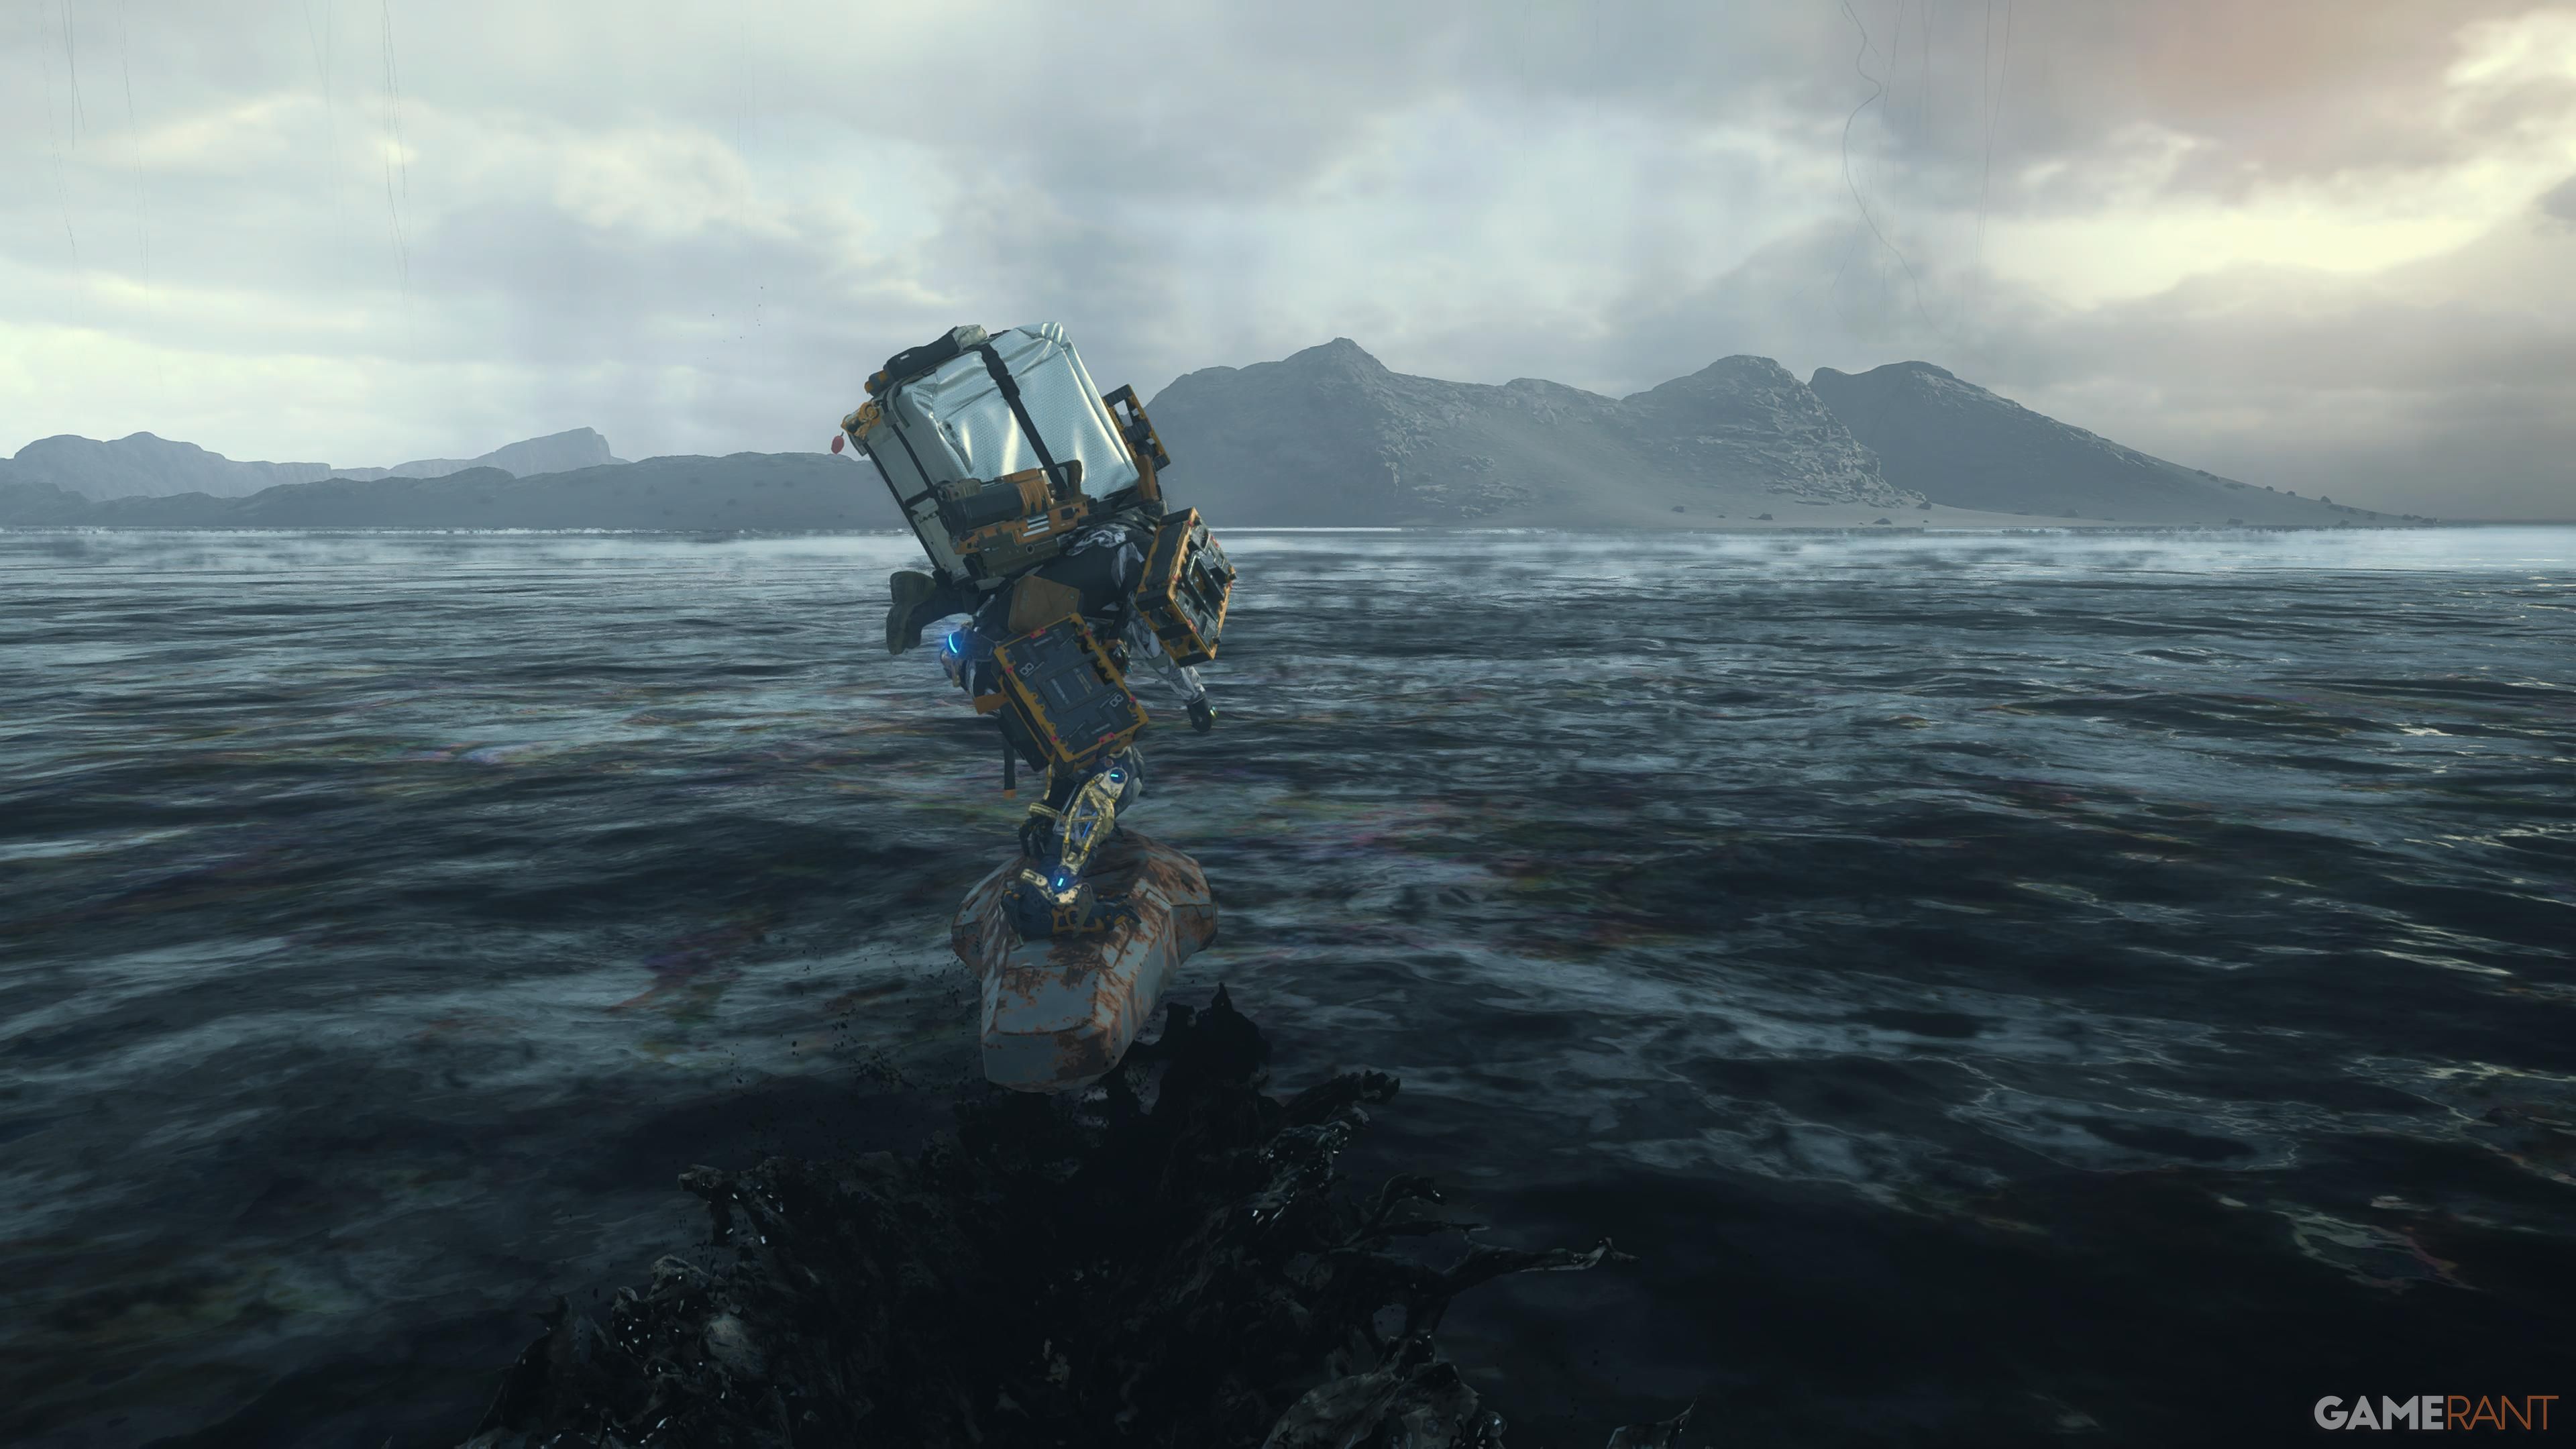
As you draw near, your Odradek will signal that you’ve entered a BT zone, causing one of these beings to rise from the asphalt. Engaging in combat with these entities isn’t advisable, particularly if you’re not adequately prepared. To ensure safety, pack some tools and weapons that can be crafted at either the DHV Magellan or Heartman’s Lab, which are nearby facilities.
Players can continue advancing through the narrative, eventually gaining access to the Adventurer role and elevating their bond to level 5. Once achieved, finishing Task 121 not only transports you to the crater but simultaneously unlocks the trophy as well.
Read More
- All Skyblazer Armor Locations in Crimson Desert
- One Piece Chapter 1180 Release Date And Where To Read
- All Shadow Armor Locations in Crimson Desert
- How to Get the Sunset Reed Armor Set and Hollow Visage Sword in Crimson Desert
- Cassius Morten Armor Set Locations in Crimson Desert
- Grime 2 Map Unlock Guide: Find Seals & Fast Travel
- New Avatar: The Last Airbender Movie Leaked Online
- Euphoria Season 3 Release Date, Episode 1 Time, & Weekly Schedule
- Amber Alert Secrets & CDs In Crime Scene Cleaner Act 2
- All Golden Greed Armor Locations in Crimson Desert
2025-07-05 22:24