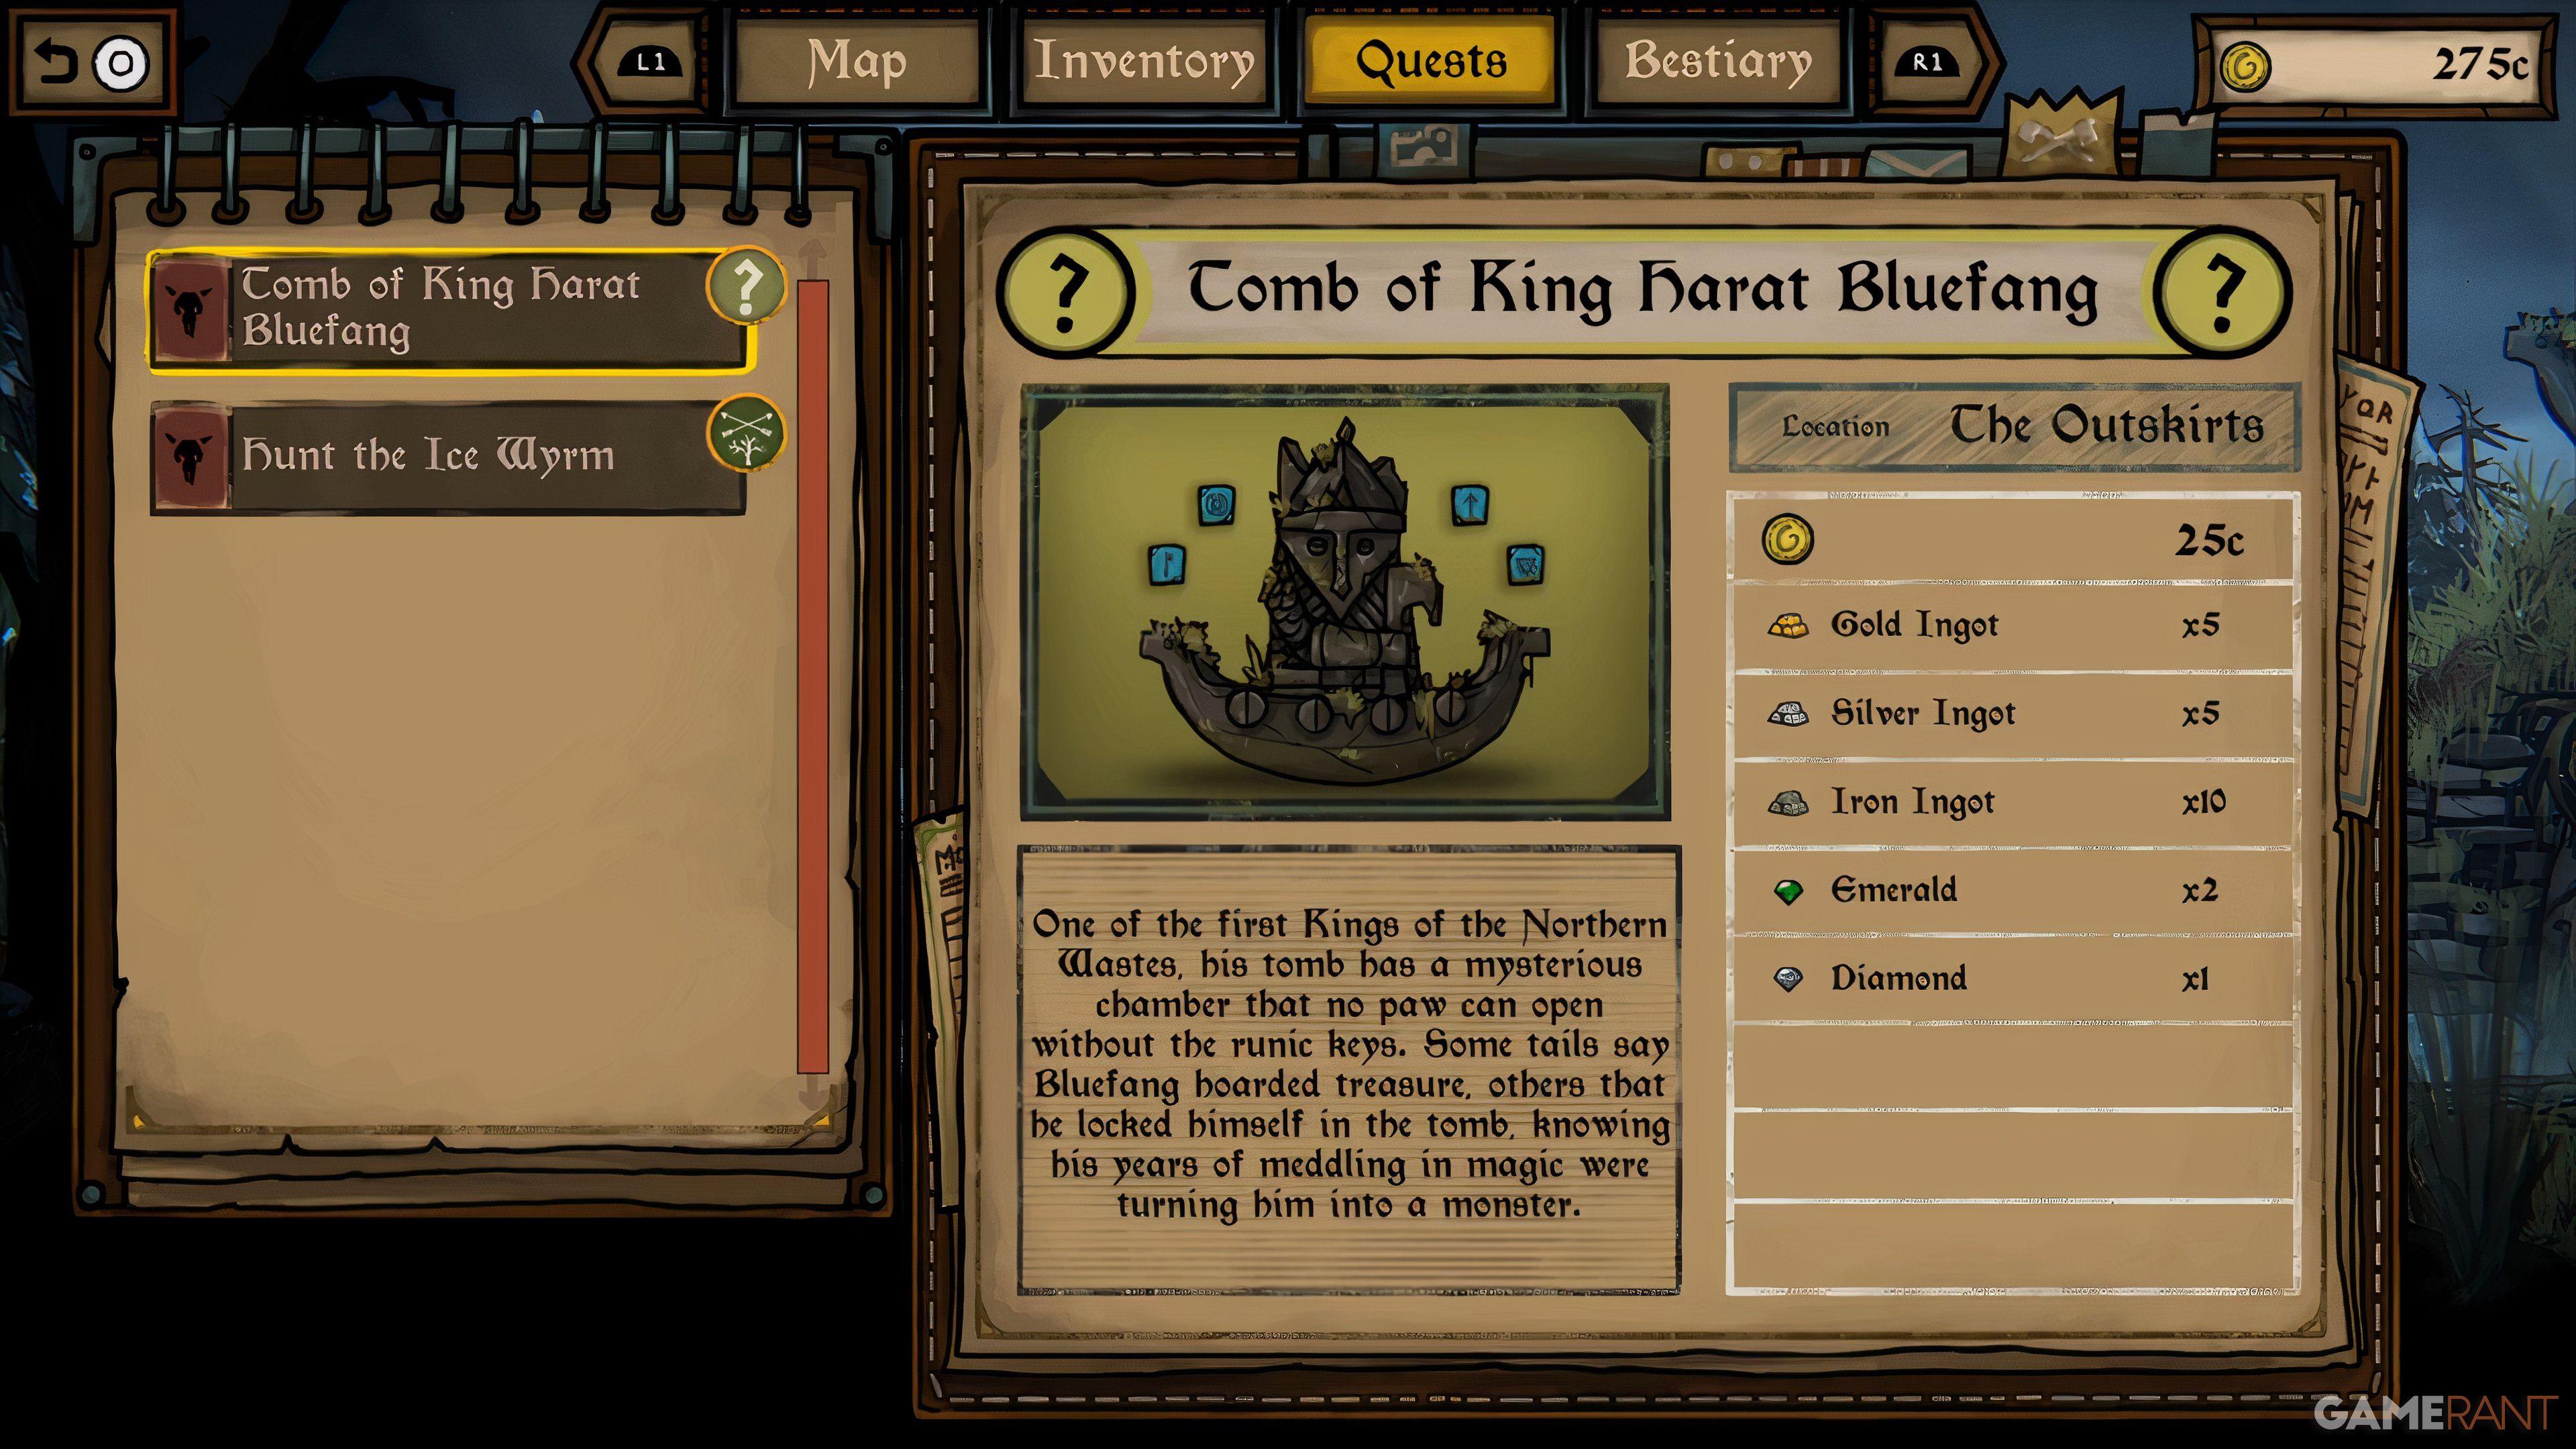
Just like the optional boss in the initial game named Ratnor Rodentson, the sequel, Tails of Iron 2: Whiskers of Winter, presents its own formidable optional boss, Harat Bluefang, for combat. Engaging with Harat can be quite challenging, particularly on higher levels of difficulty. However, the true test comes in finding the four Runestone Keys essential to open the Tomb that houses him.
The Runestones aren’t just hard to find, but you need to make considerable advancements in the story to uncover the quests and regions where they are hidden. This guide offers information on the locations of the Runestone Keys and advice for overcoming Harat Bluefang within the Tomb.
The Runestones aren’t just tucked away, you also need to make significant progress in your story to discover new quests and areas where they can be found. This guide shares details on the locations of the Runestone Keys and strategies for defeating Harat Bluefang inside the Tomb.
How To Find Harat Bluefang In Tails of Iron 2: Whiskers of Winter
There are four Runestone Keys located throughout the northern realms of Ratdom:
Silver Runestone Key Location
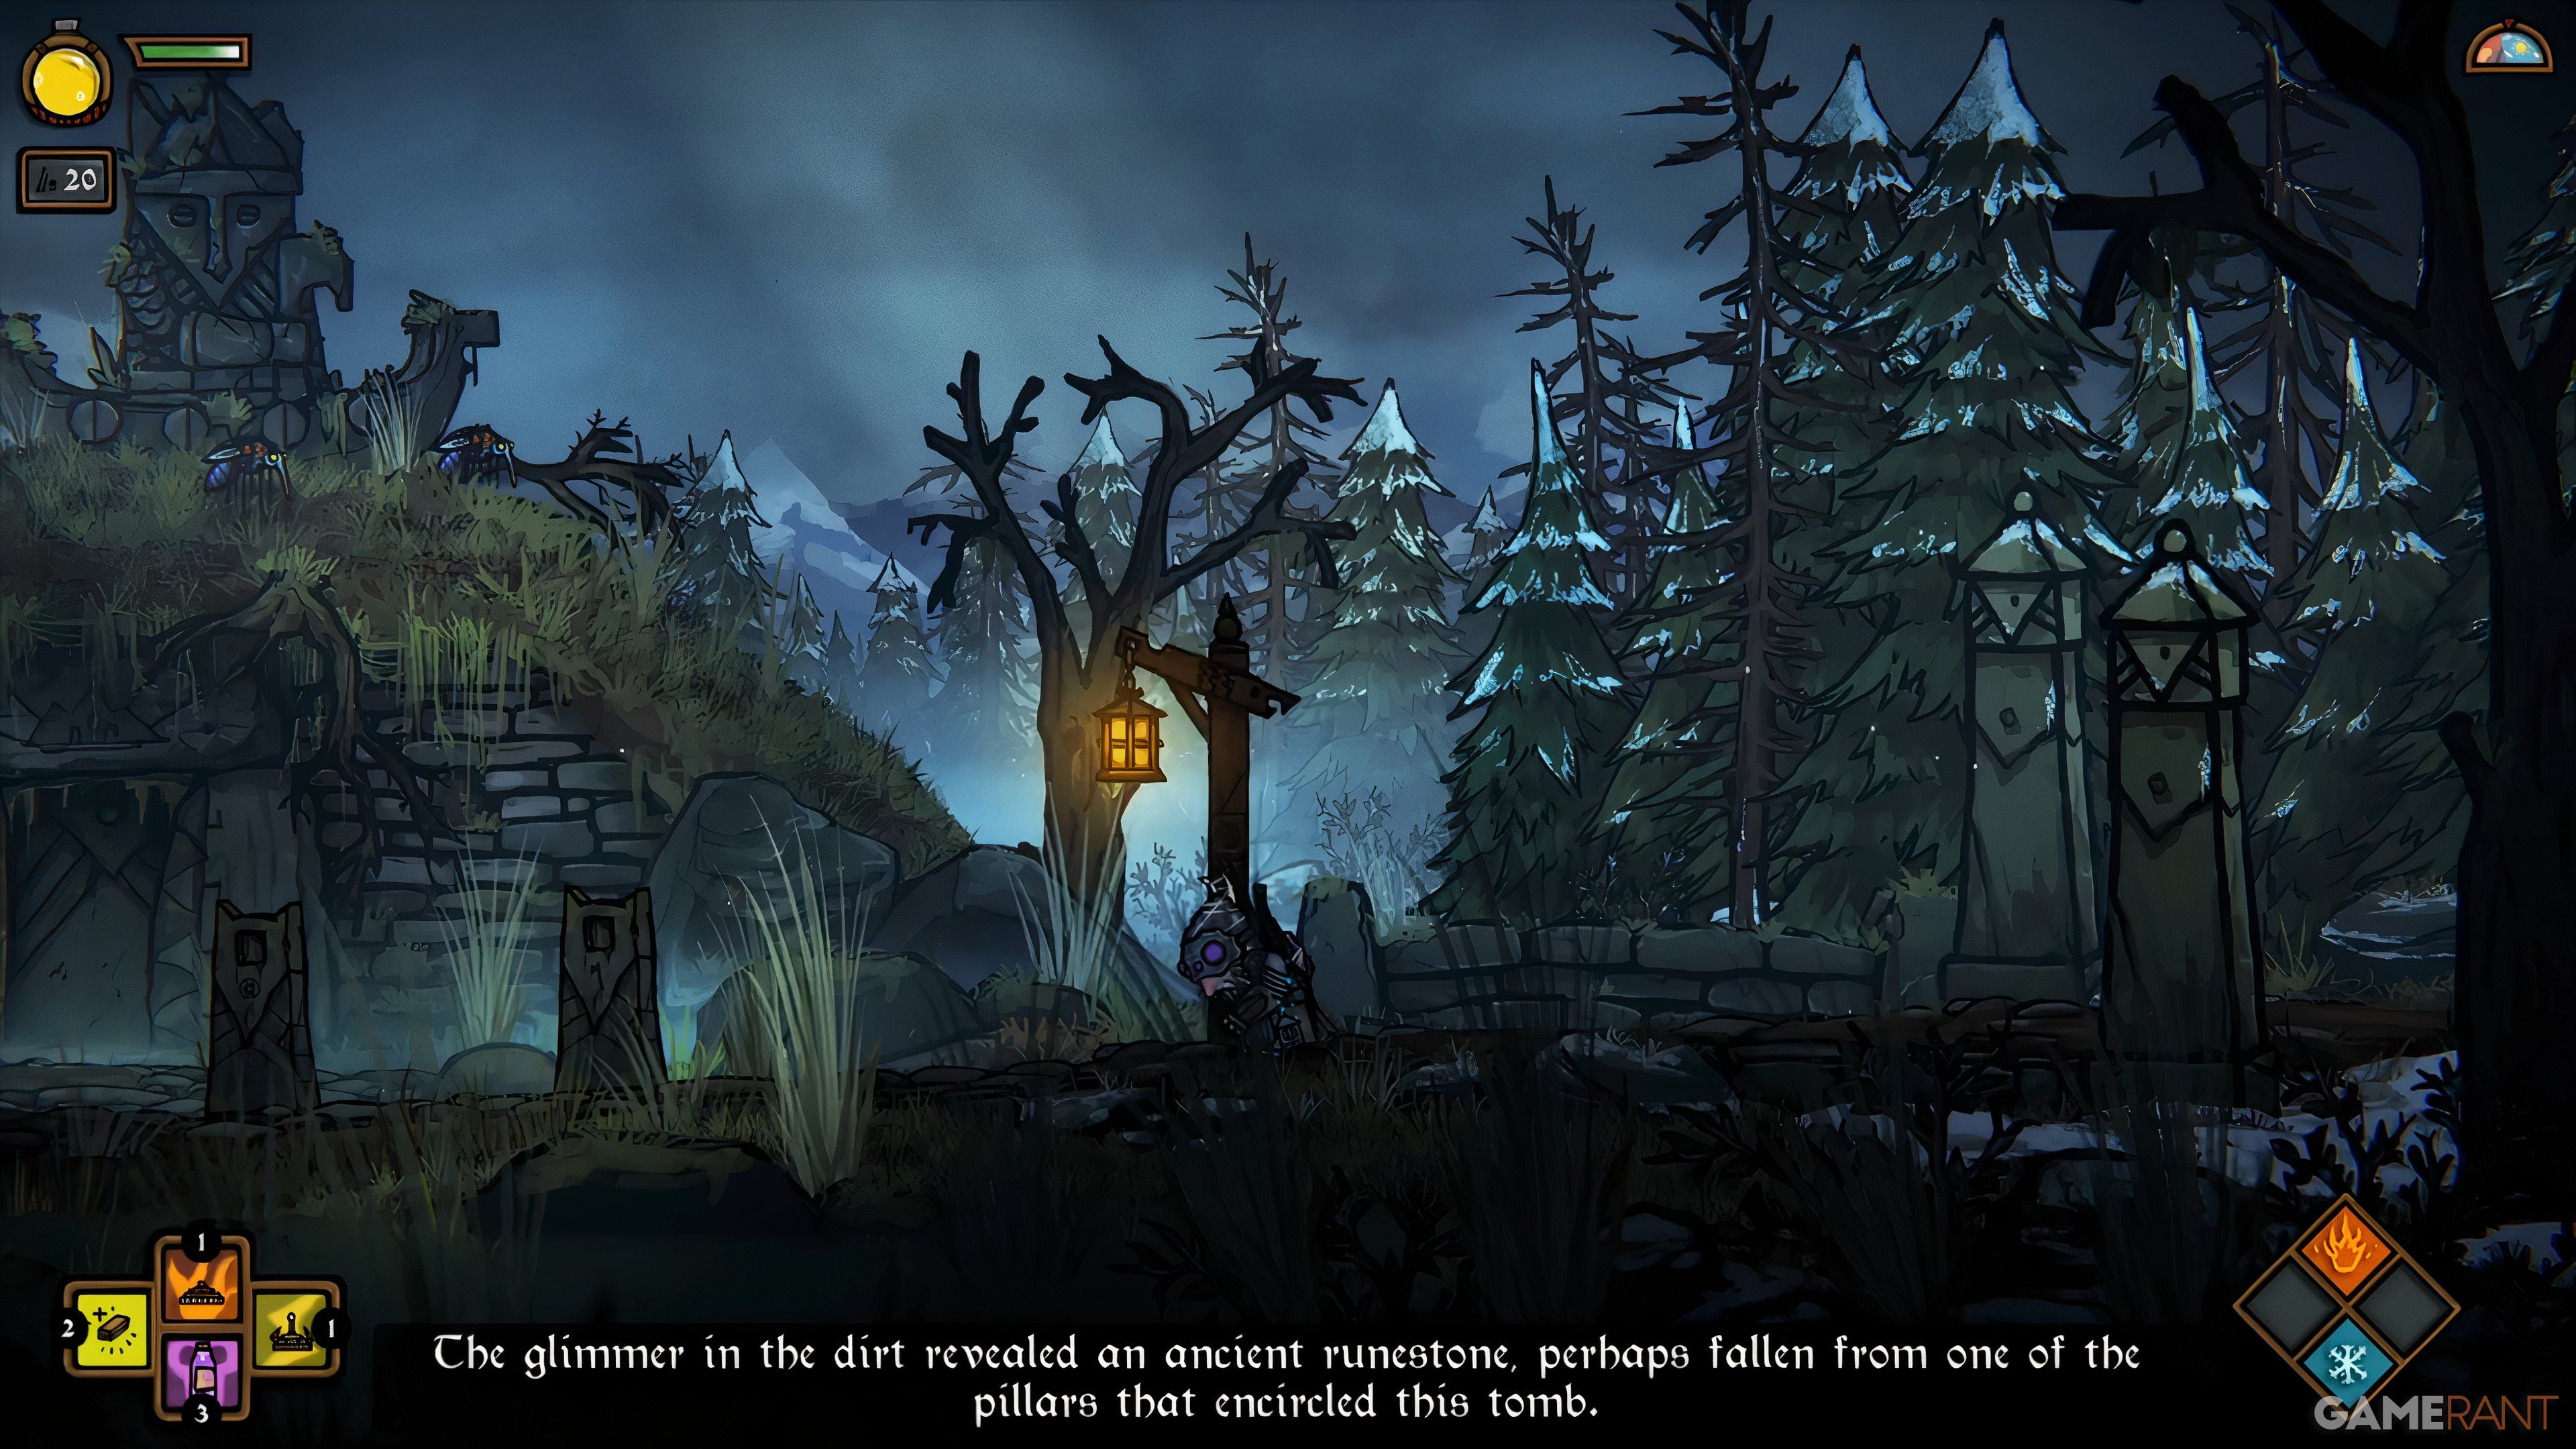
An old stone carving on a pillar encompassing a tomb. The image of a snake suggests metal or wealth.
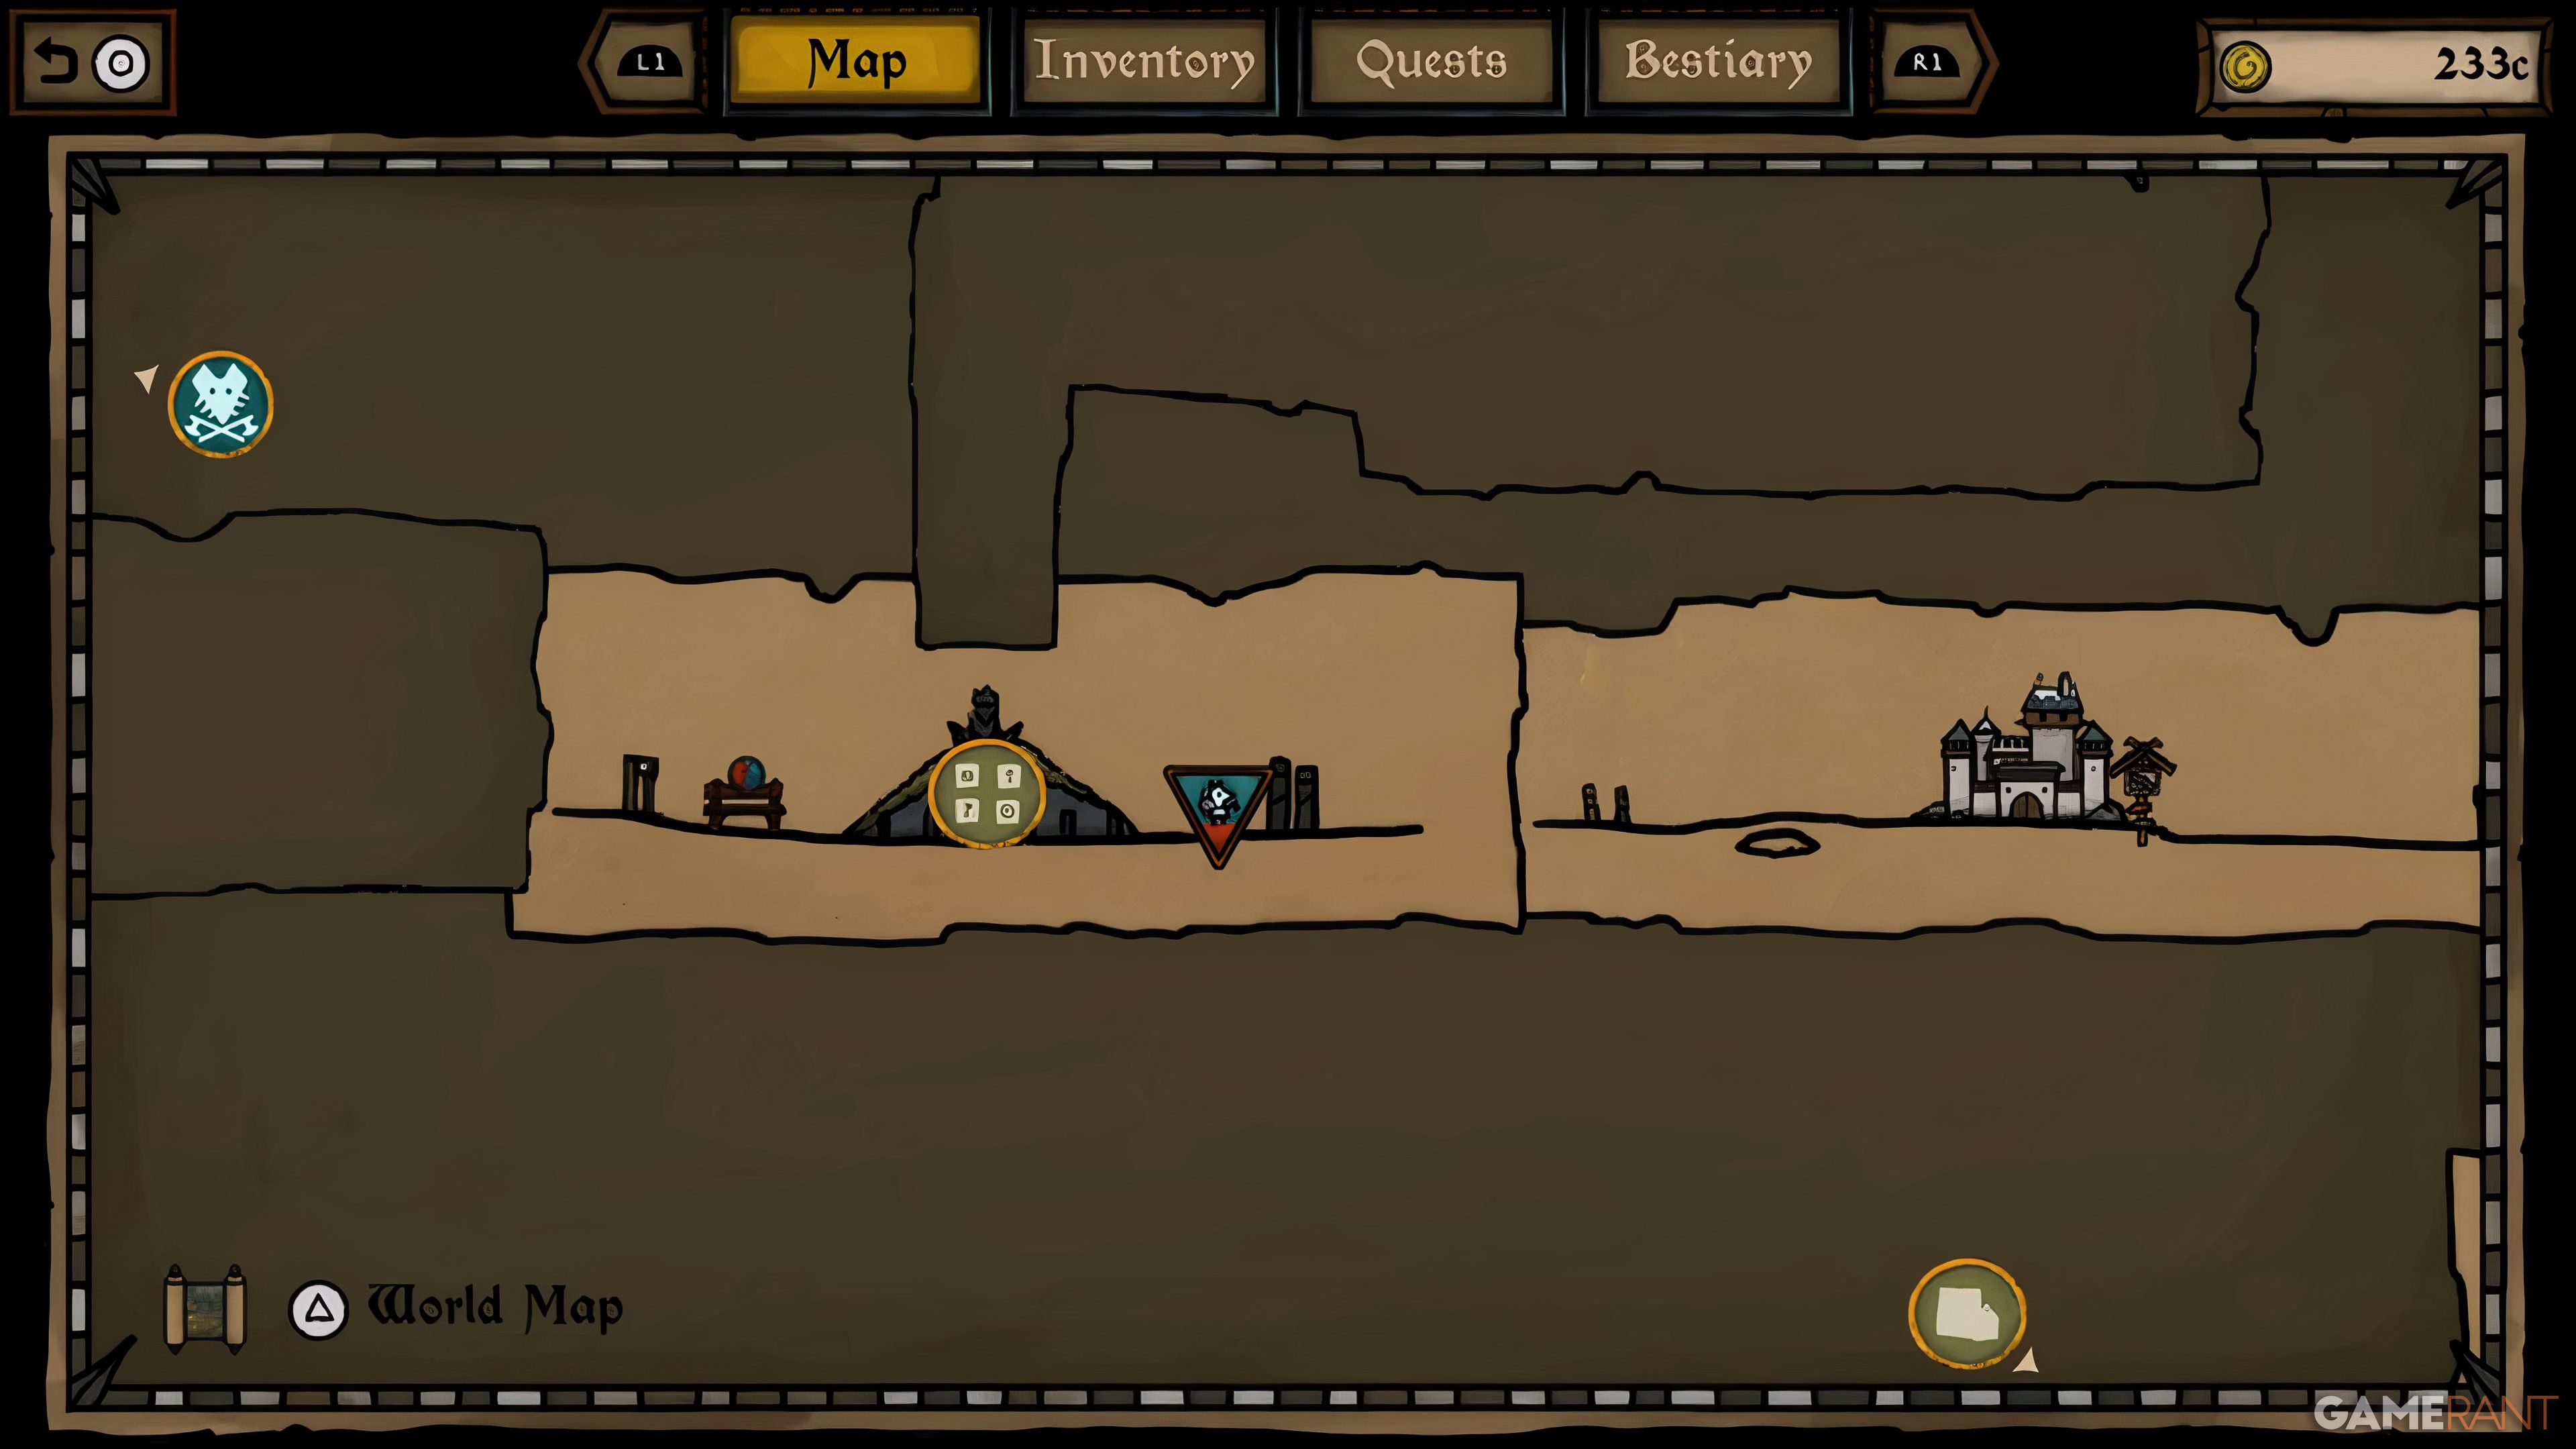
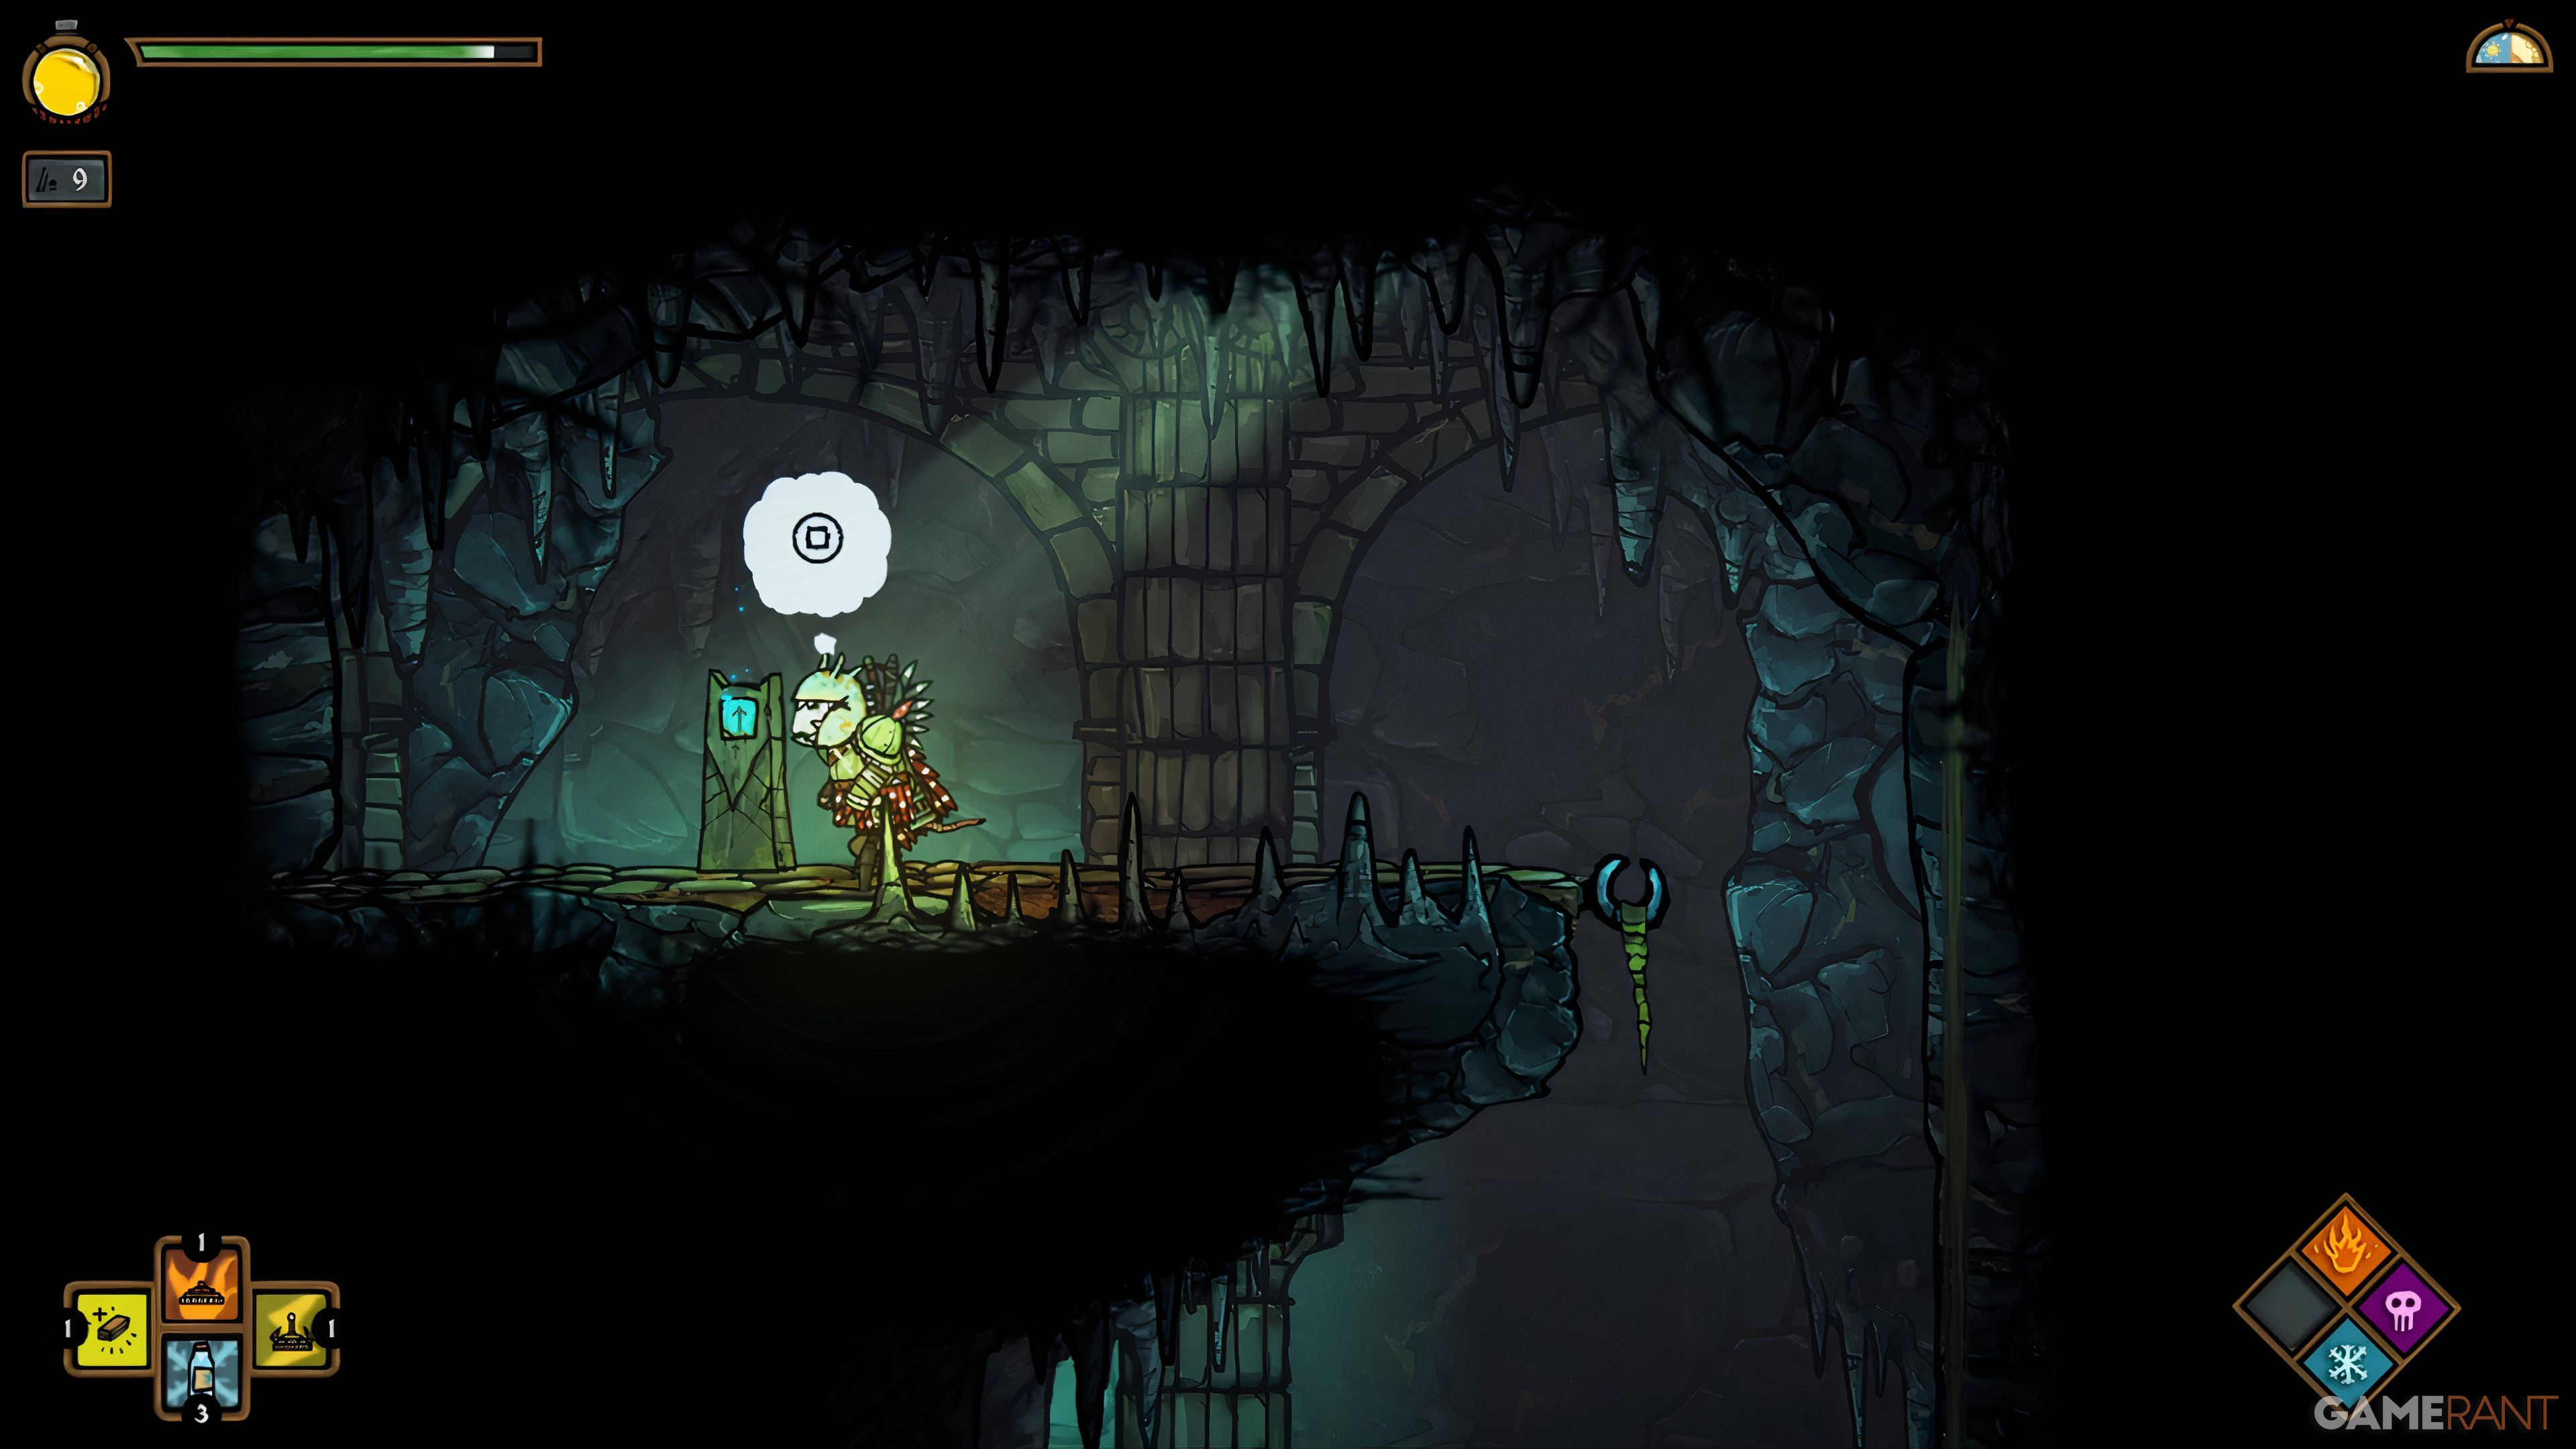
In the course of the main storyline, you’ll automatically obtain the initial Runestone Key as you venture left from the Castle gate in the Outskirts. When you first enter the Tomb, you’ll notice a glimmering blue mark on the ground—this is the Silver Runestone Key. You have the flexibility to insert this key at any moment during gameplay.
Earth Runestone Key Location
A Stone Carving from an Encircling Structure of a Tomb of Antiquity. The symbol of a worm suggests the profound depths of the earth.
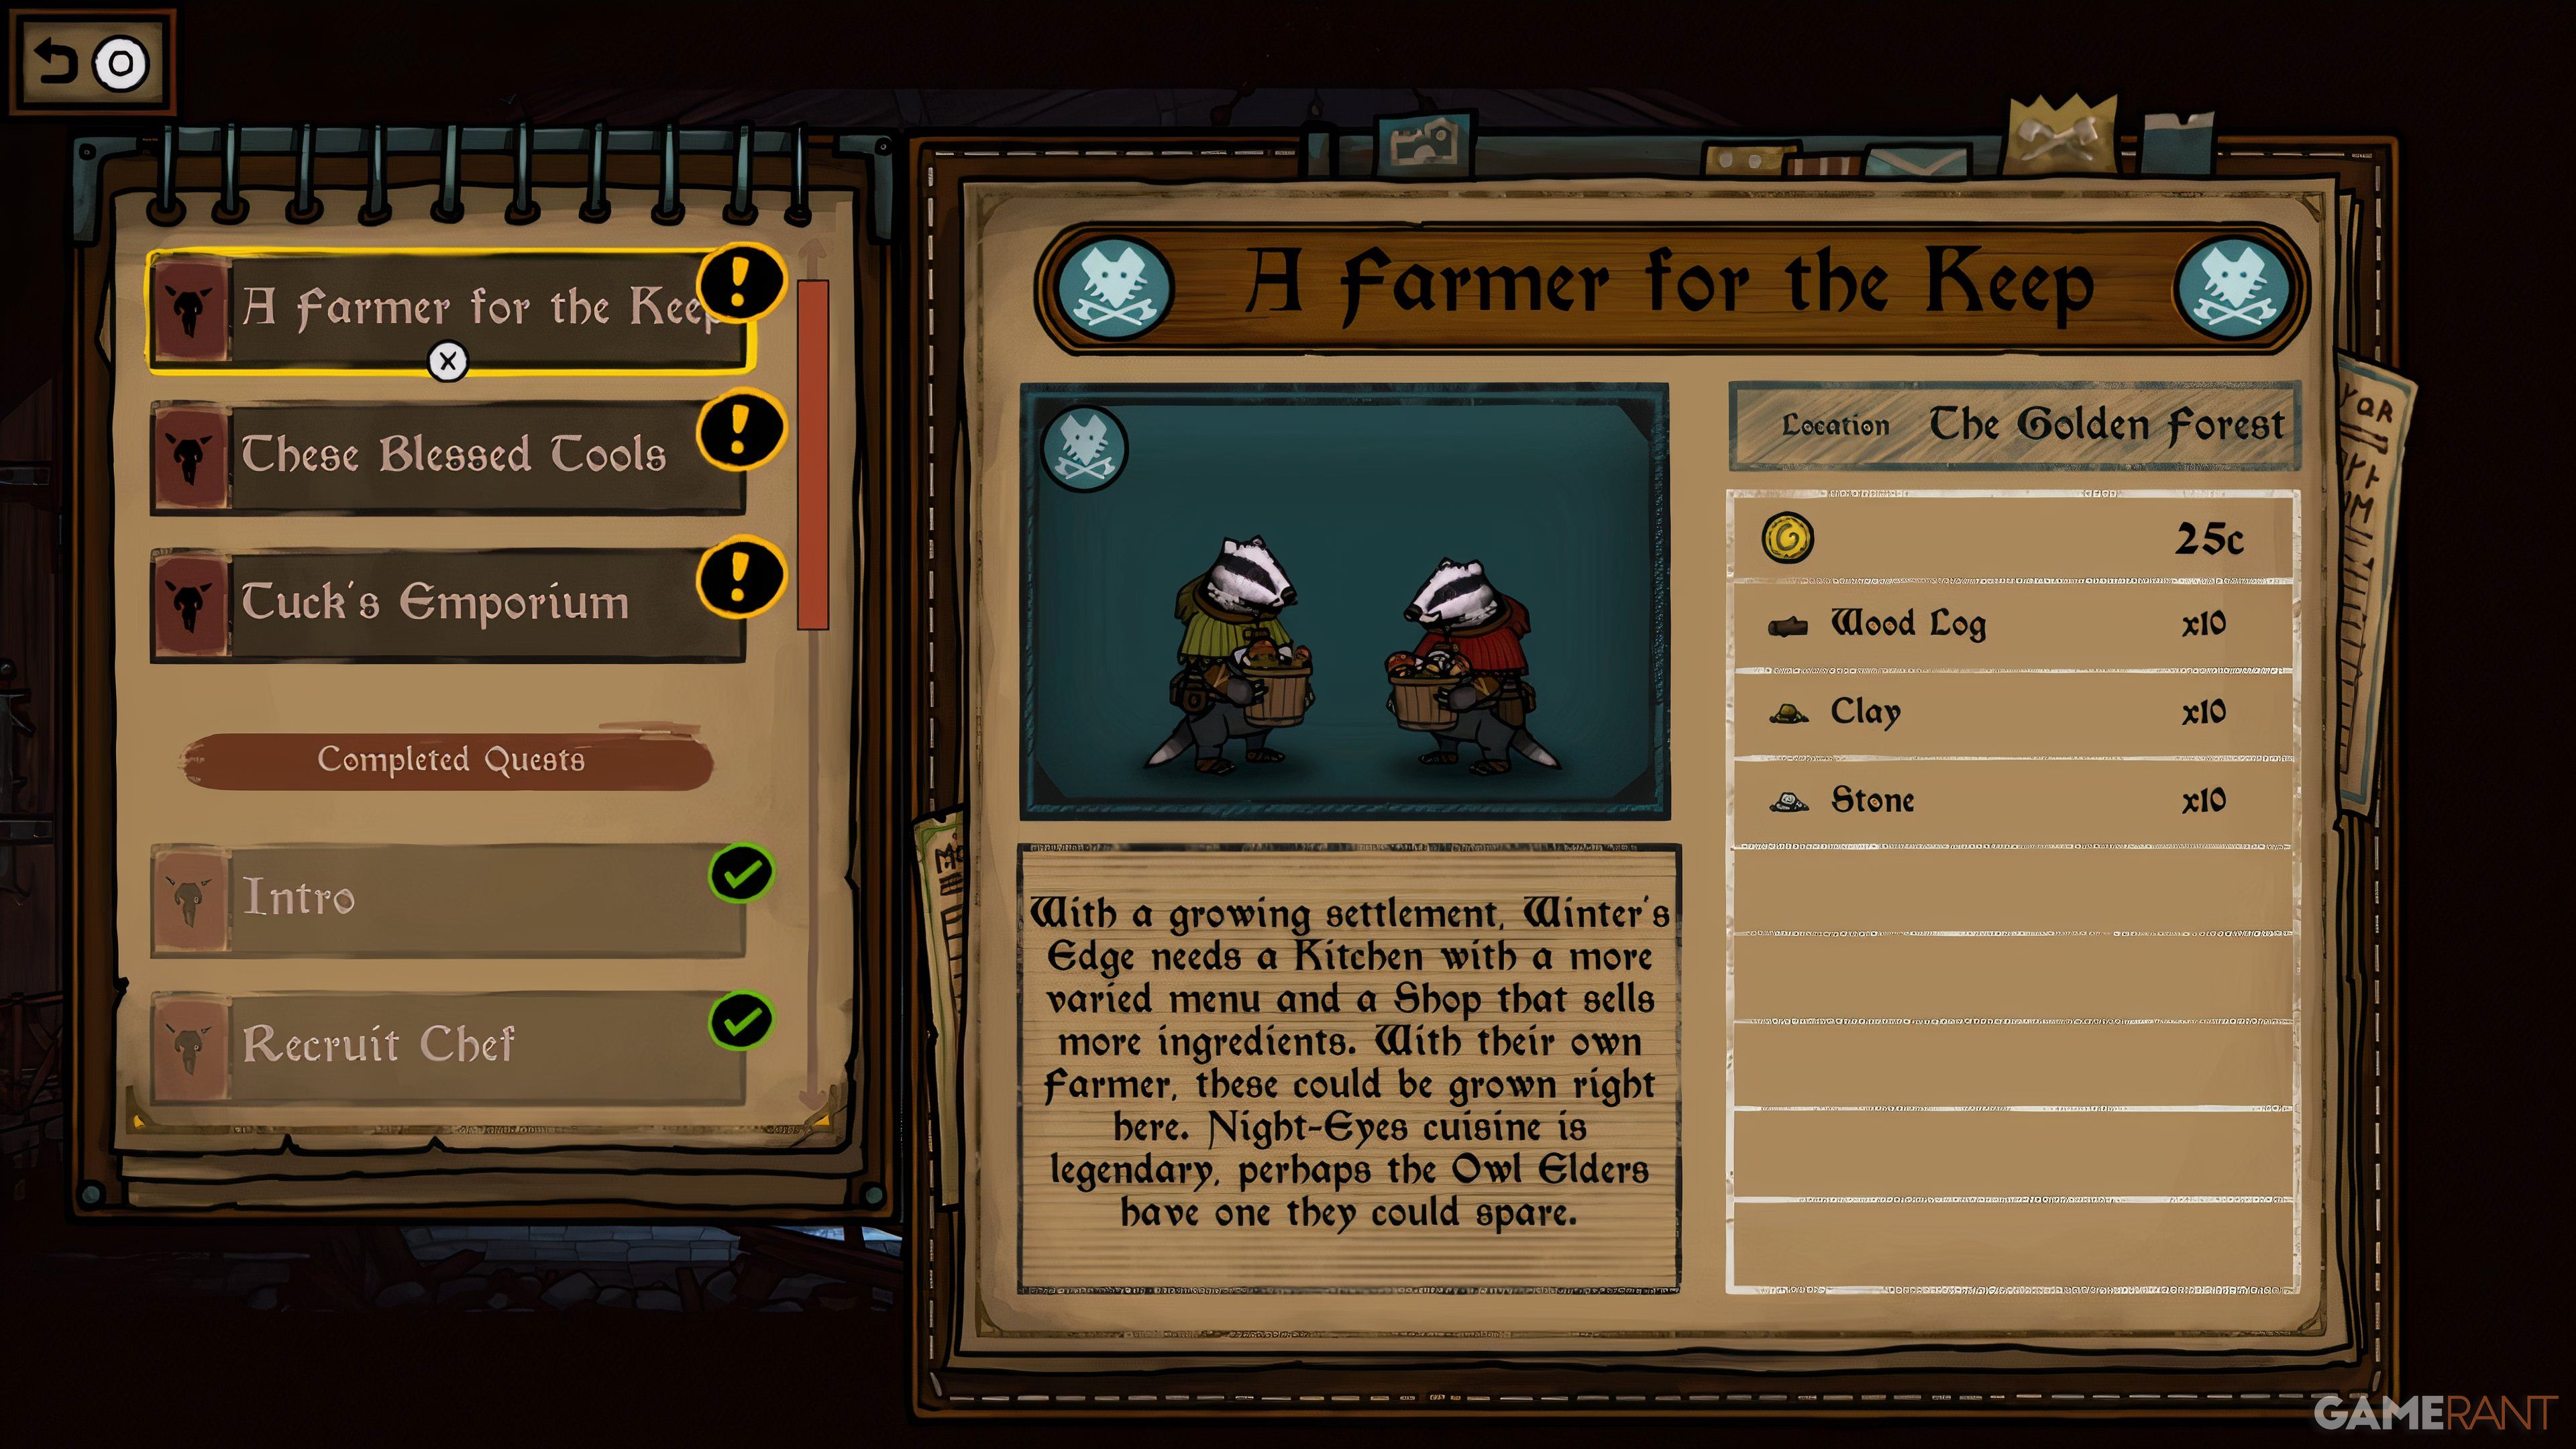
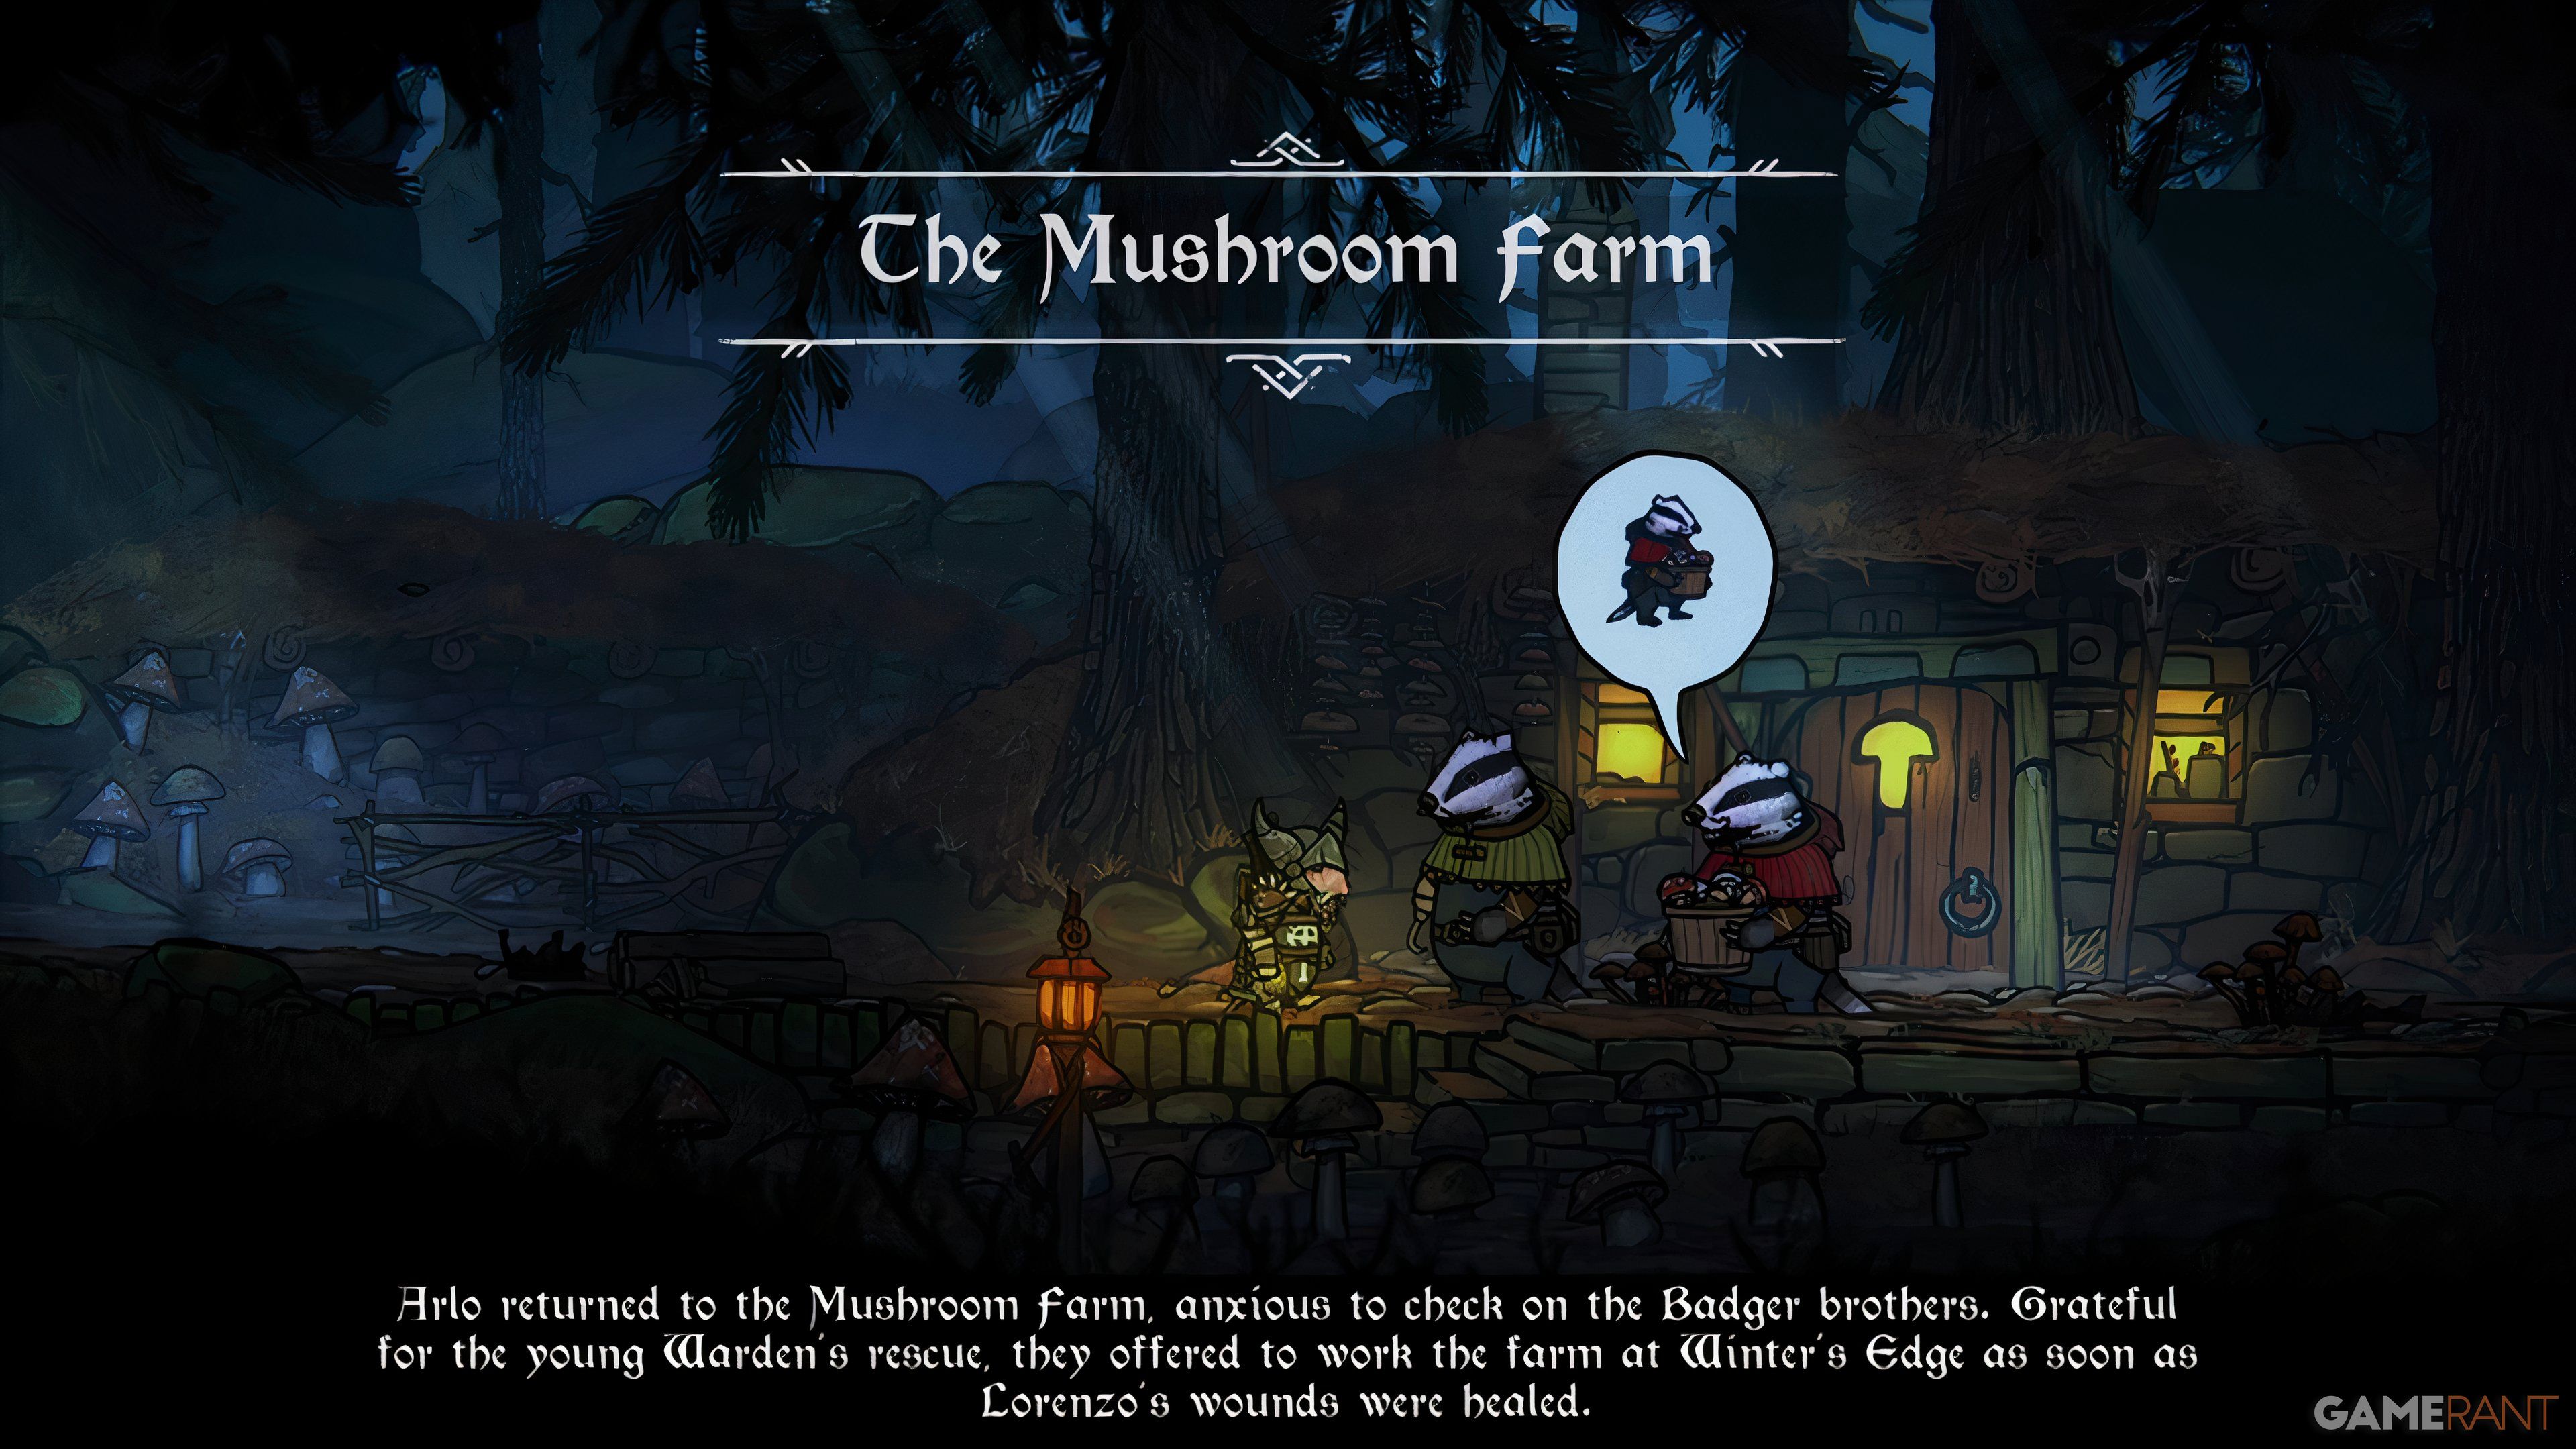
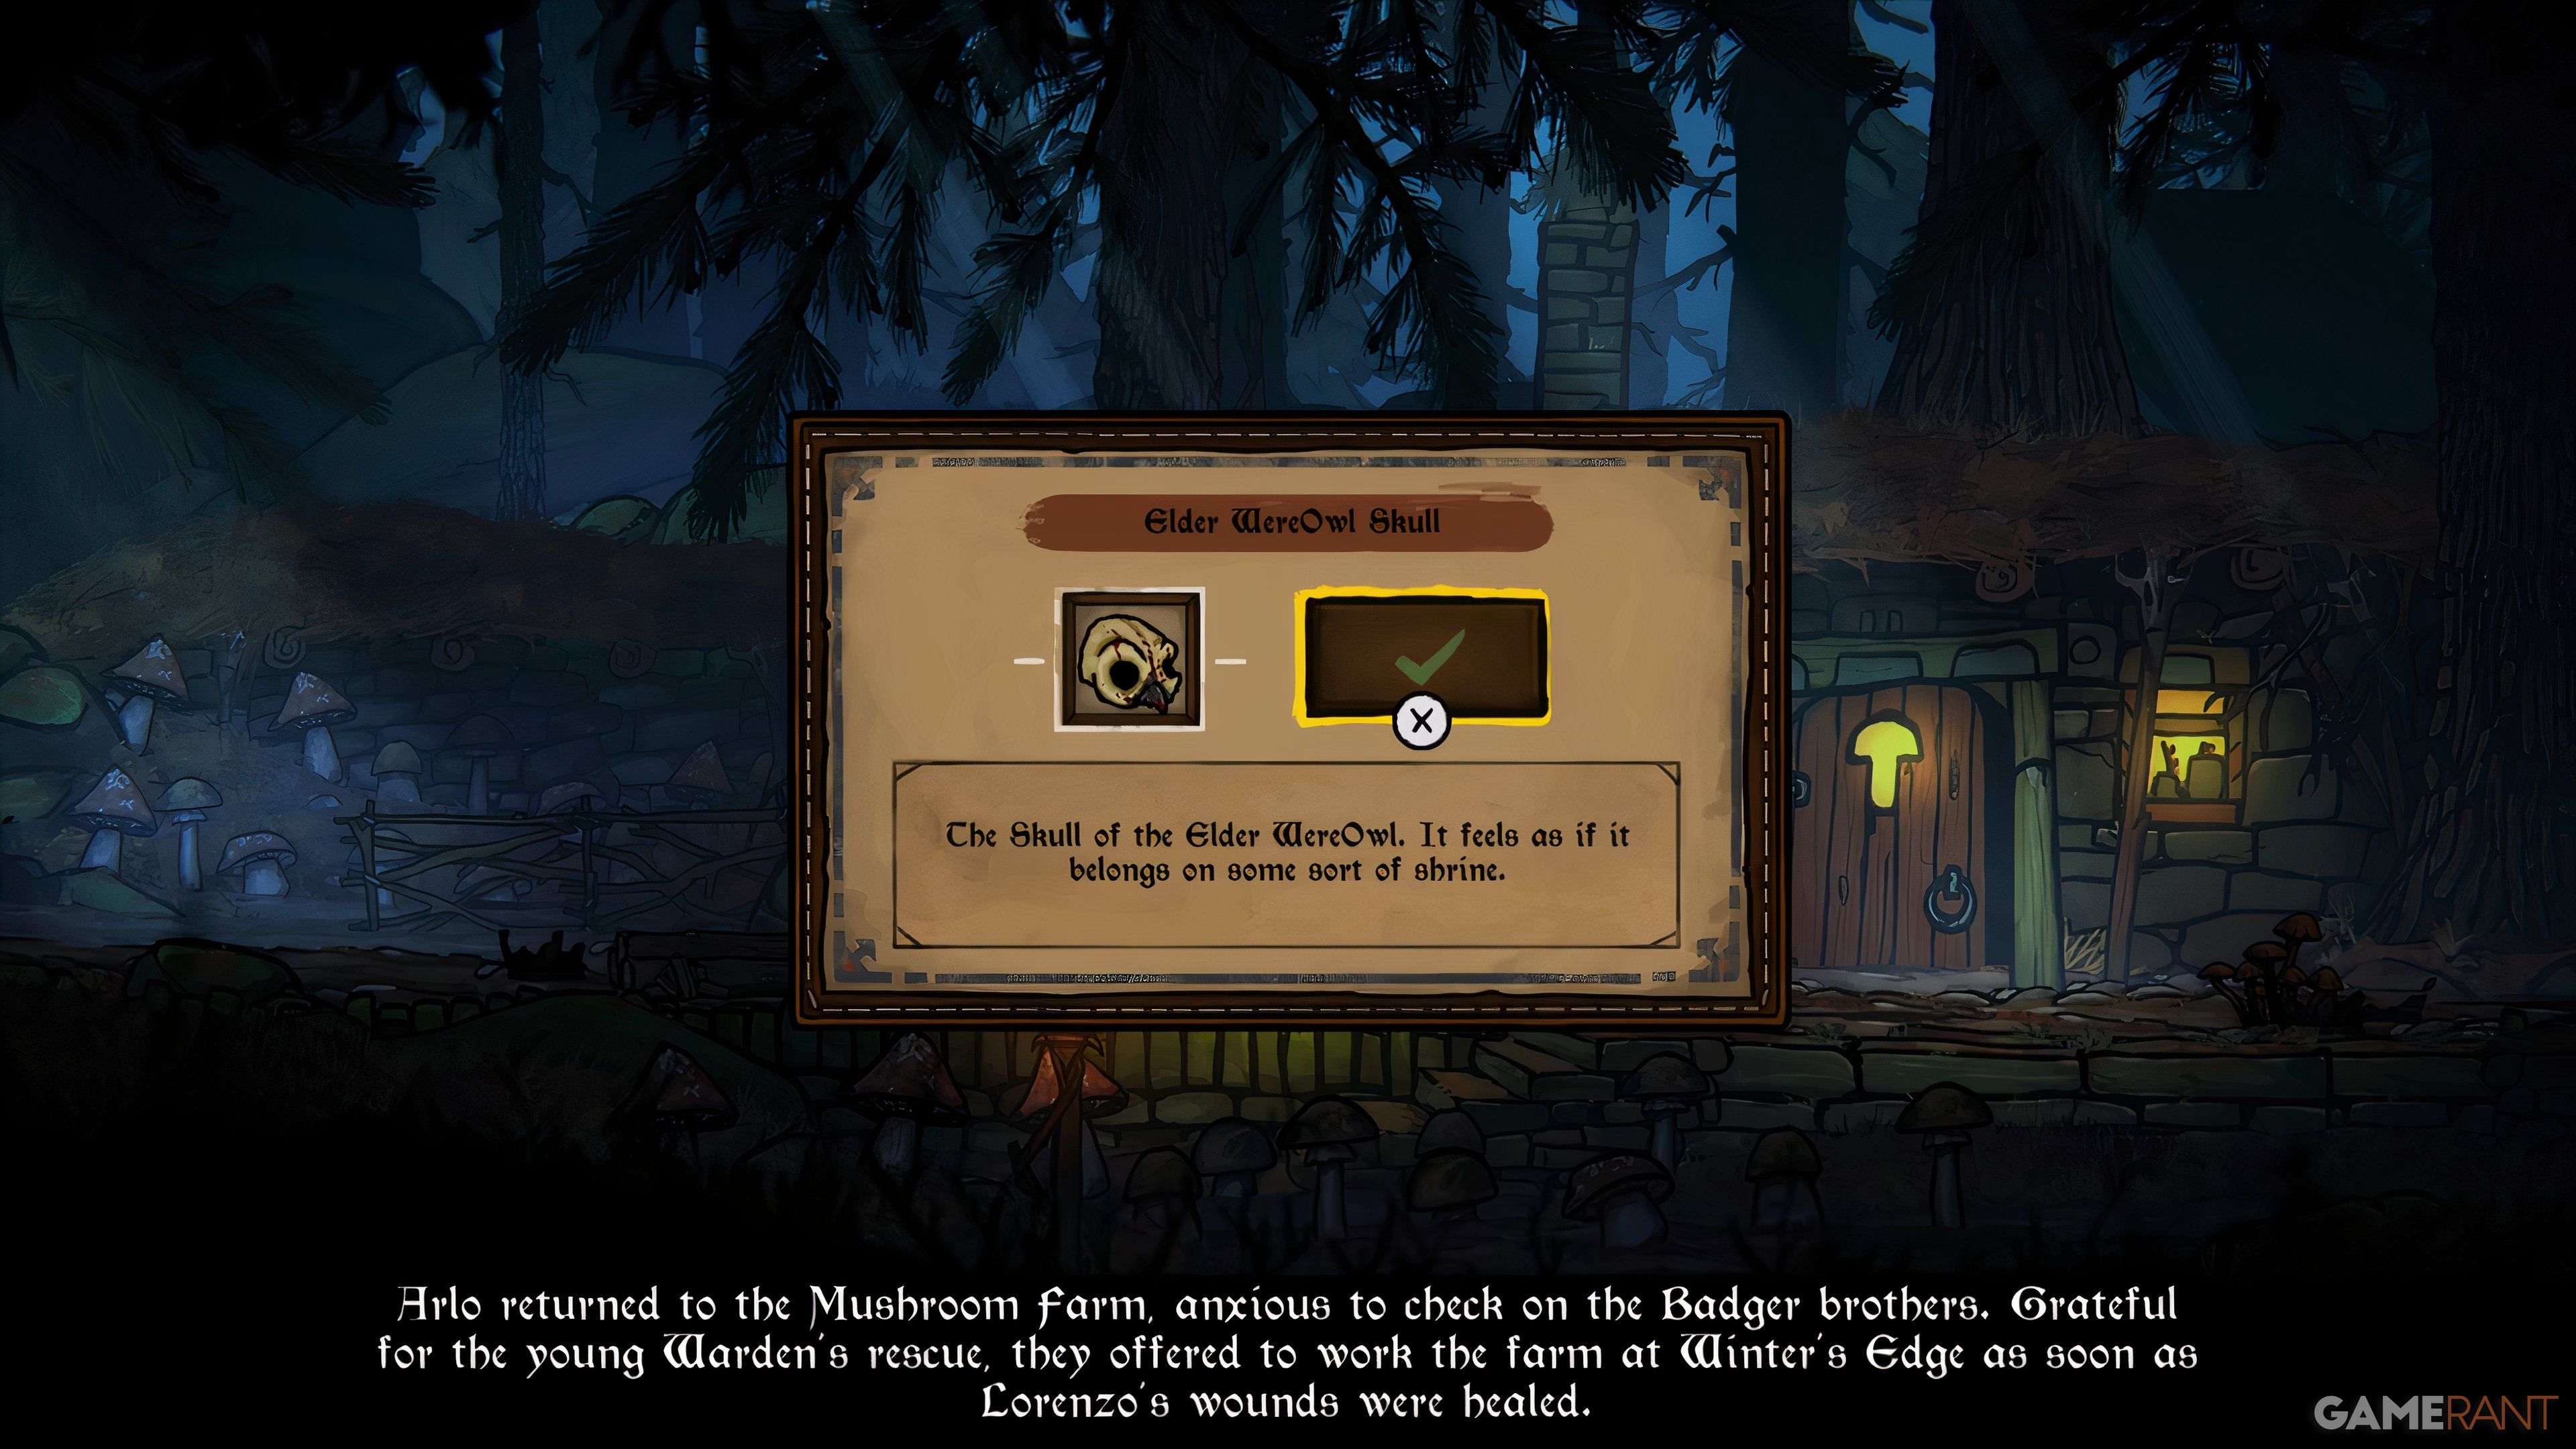
Advance in the game’s narrative until you’re assigned the “A Farmer for the Keep” main mission. This extensive task includes saving a Badger. Once you’ve completed this quest, you’ll gain the Elder WereOwl Skull as your reward.
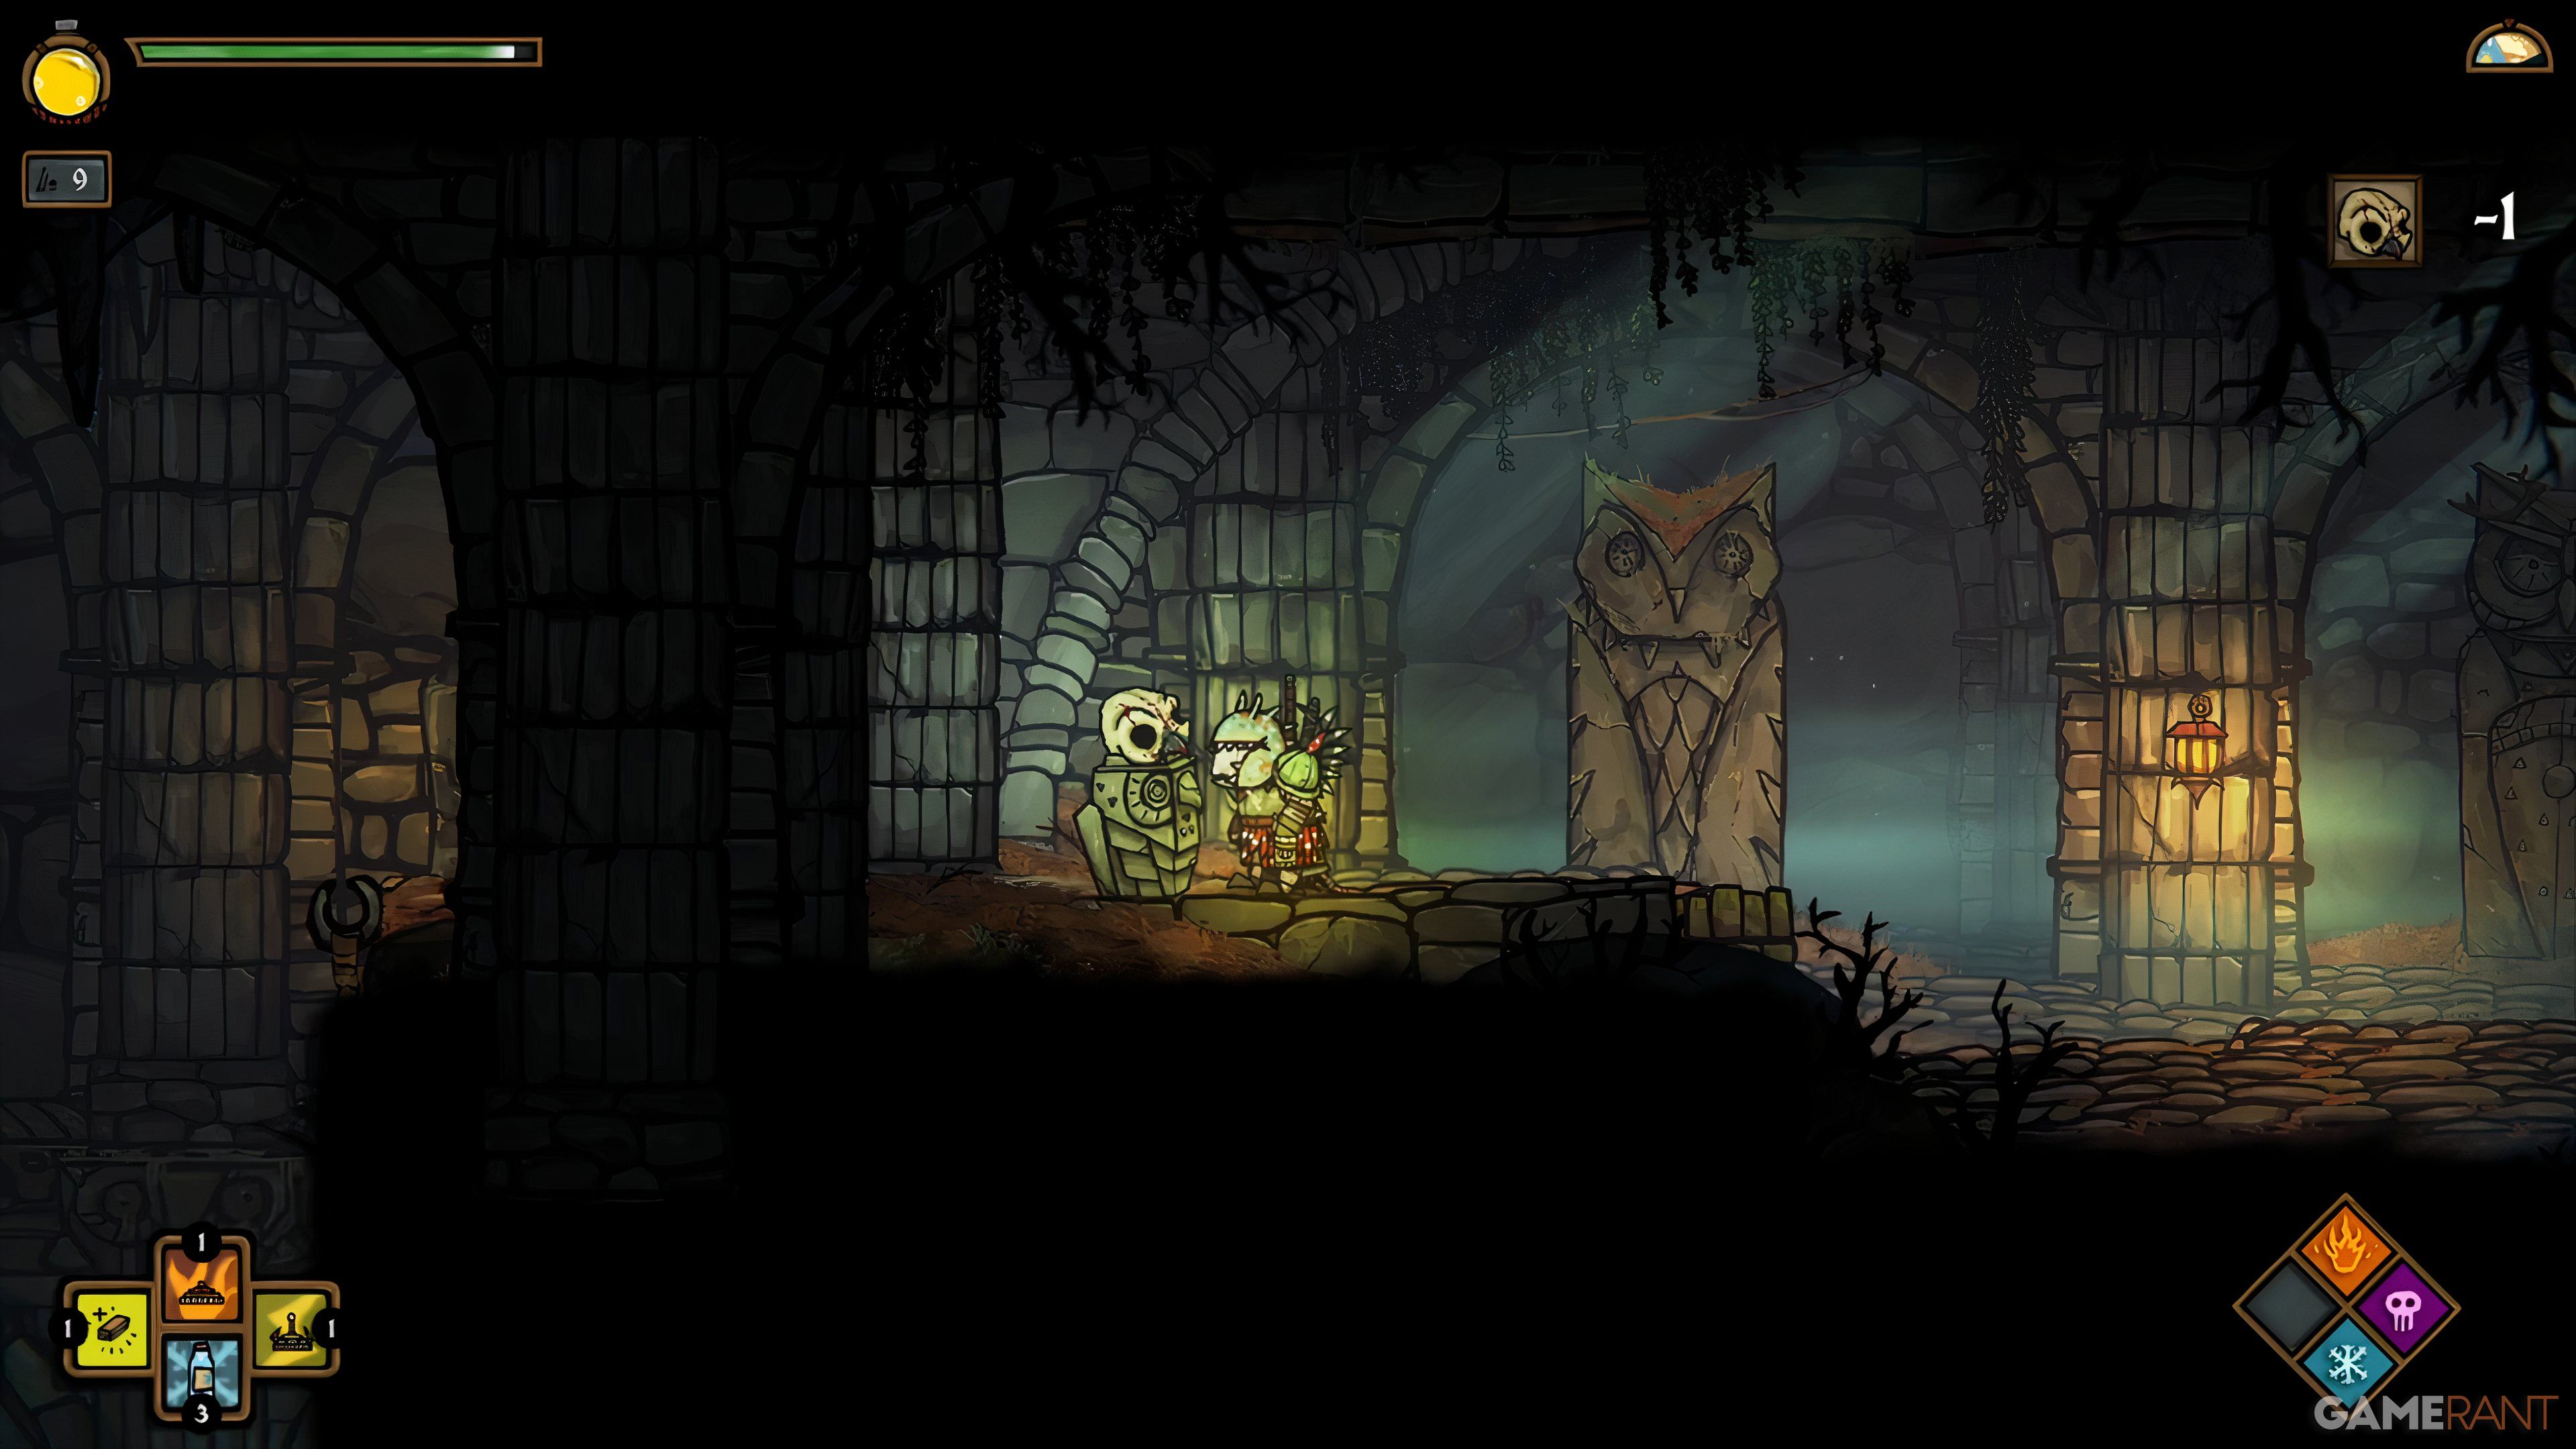
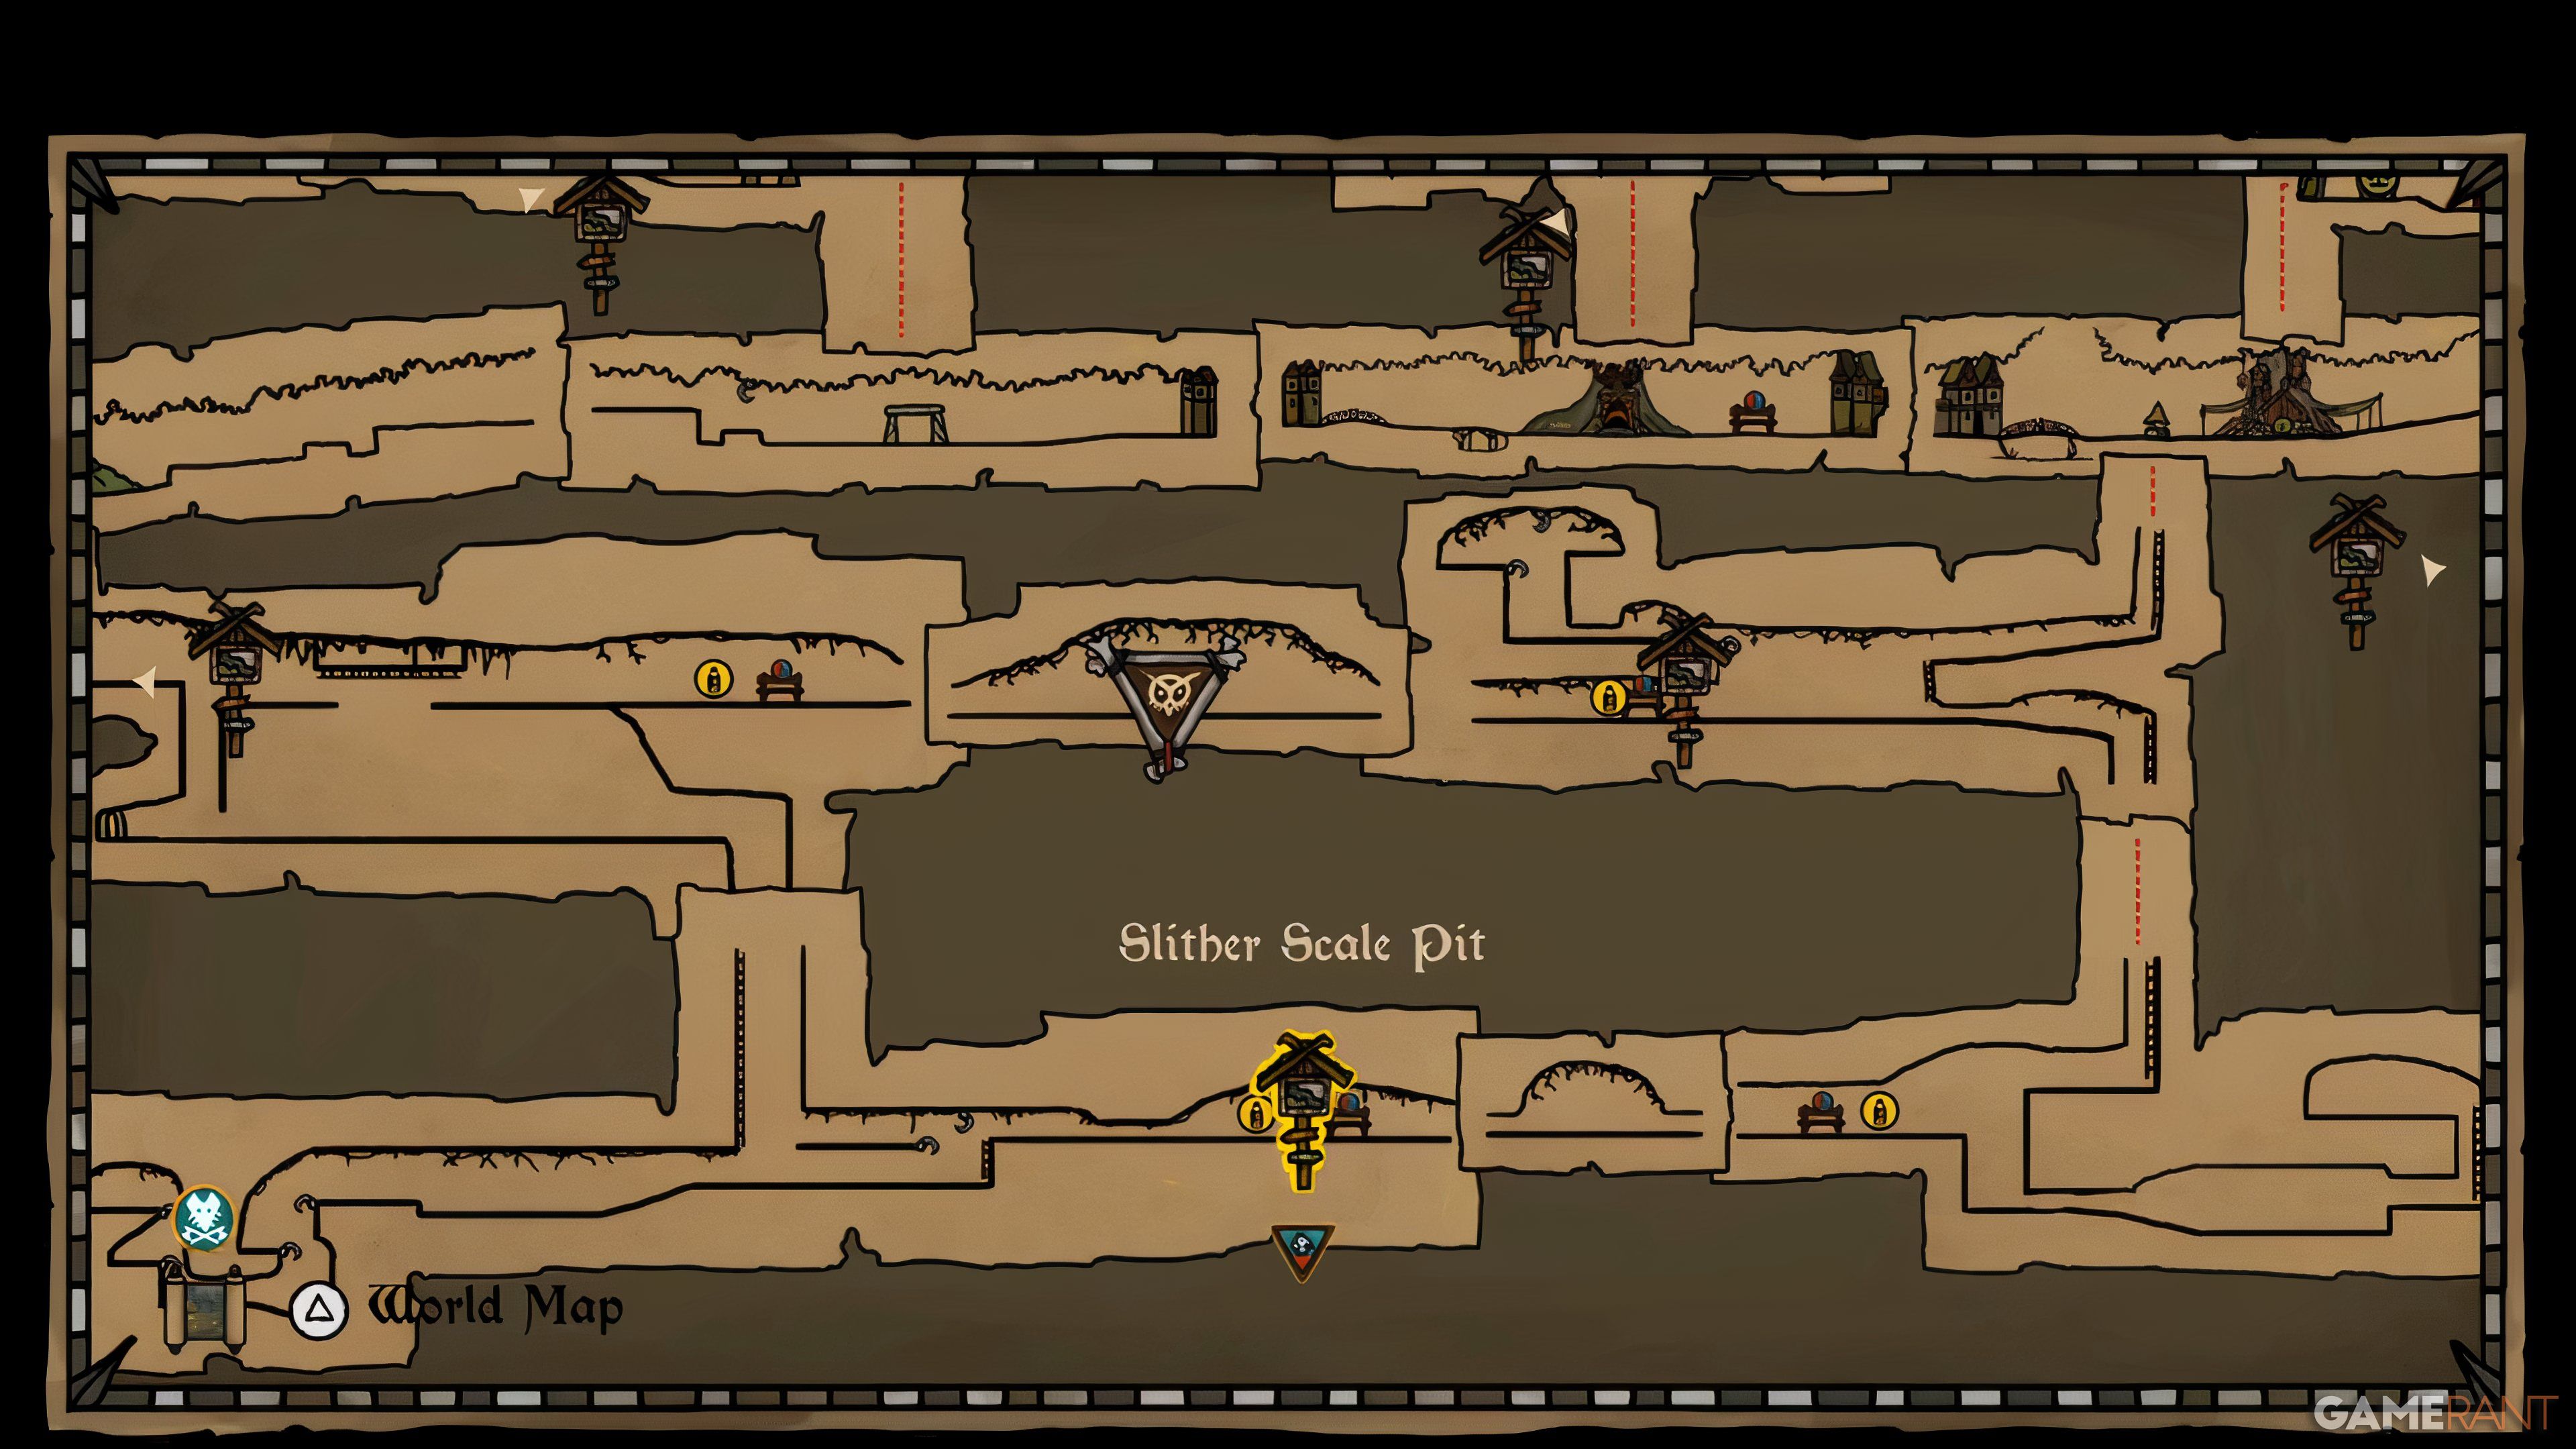
Hurry over to the Slither Scale Pit and follow the left route until you come across a pedestal for your Skull artifact. This action will trigger the opening of the door behind it, enabling you to swing across and acquire the Earth Runestone Key. Additionally, don’t forget to open the chest situated on the lower platform to secure a Saphire.
Death Runestone Key Location
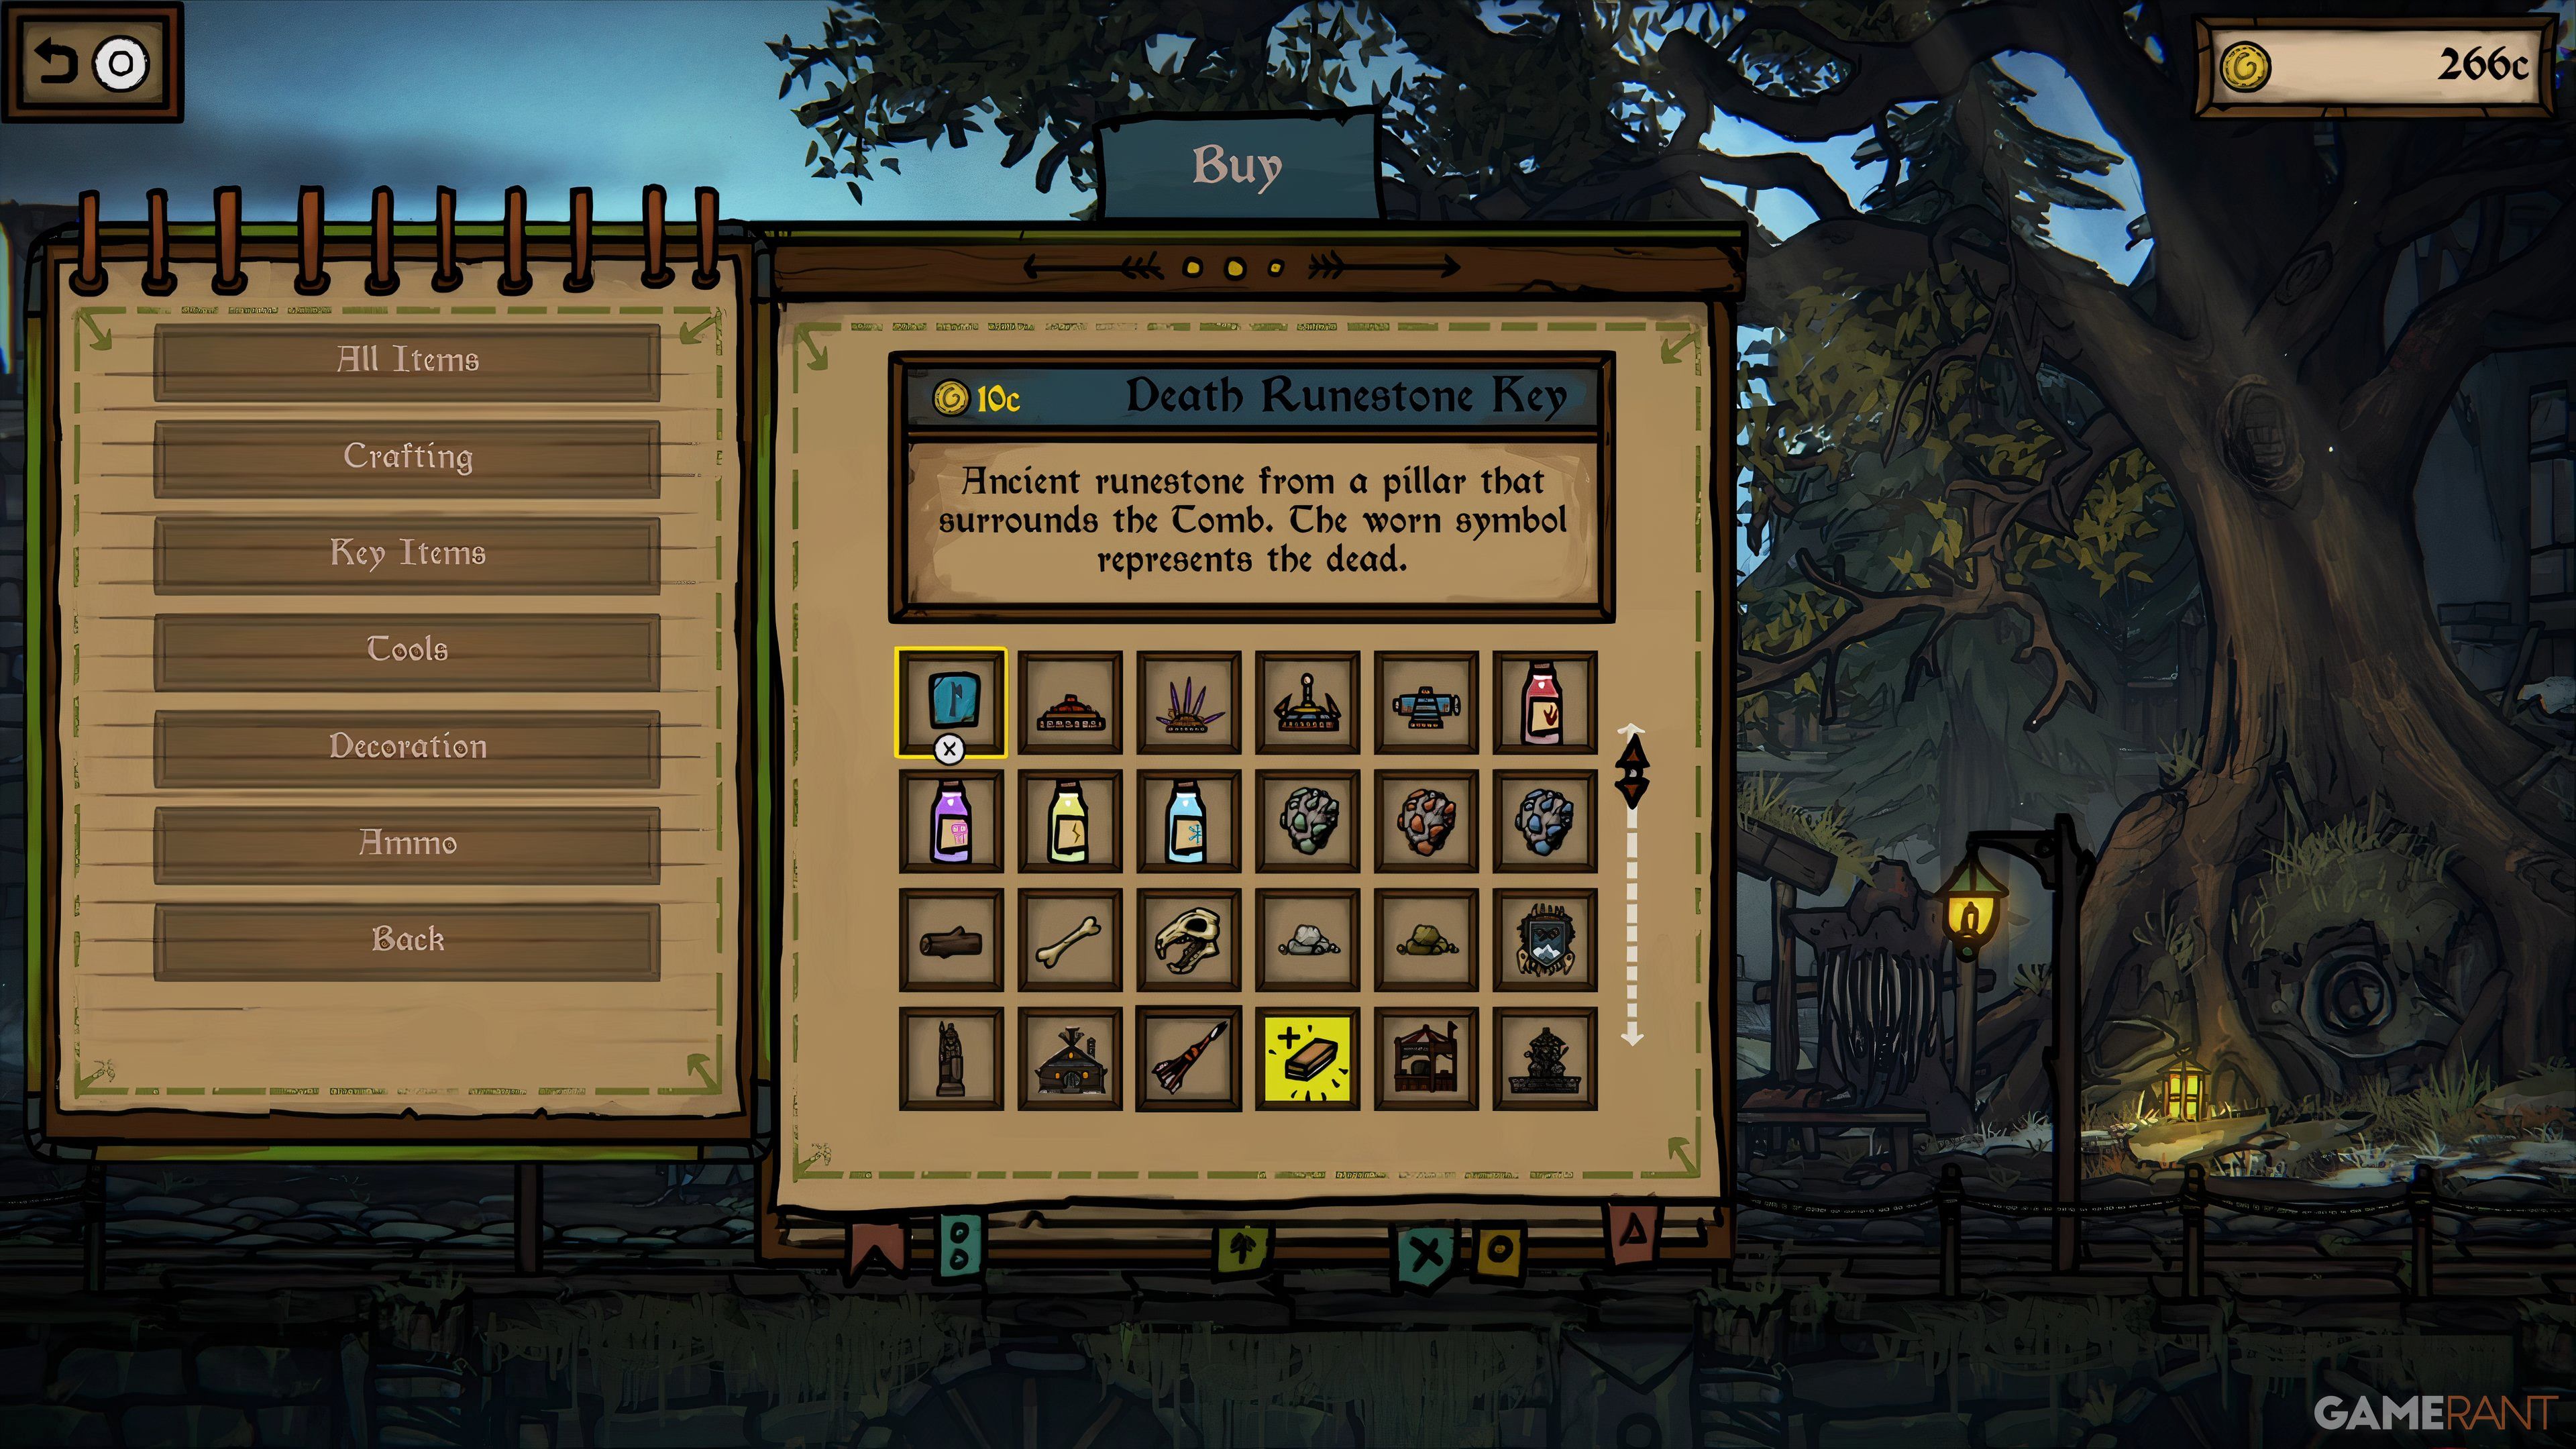
Ancient Runestone from a pillar that surrounds the Tomb. The worm symbol represents the dead.
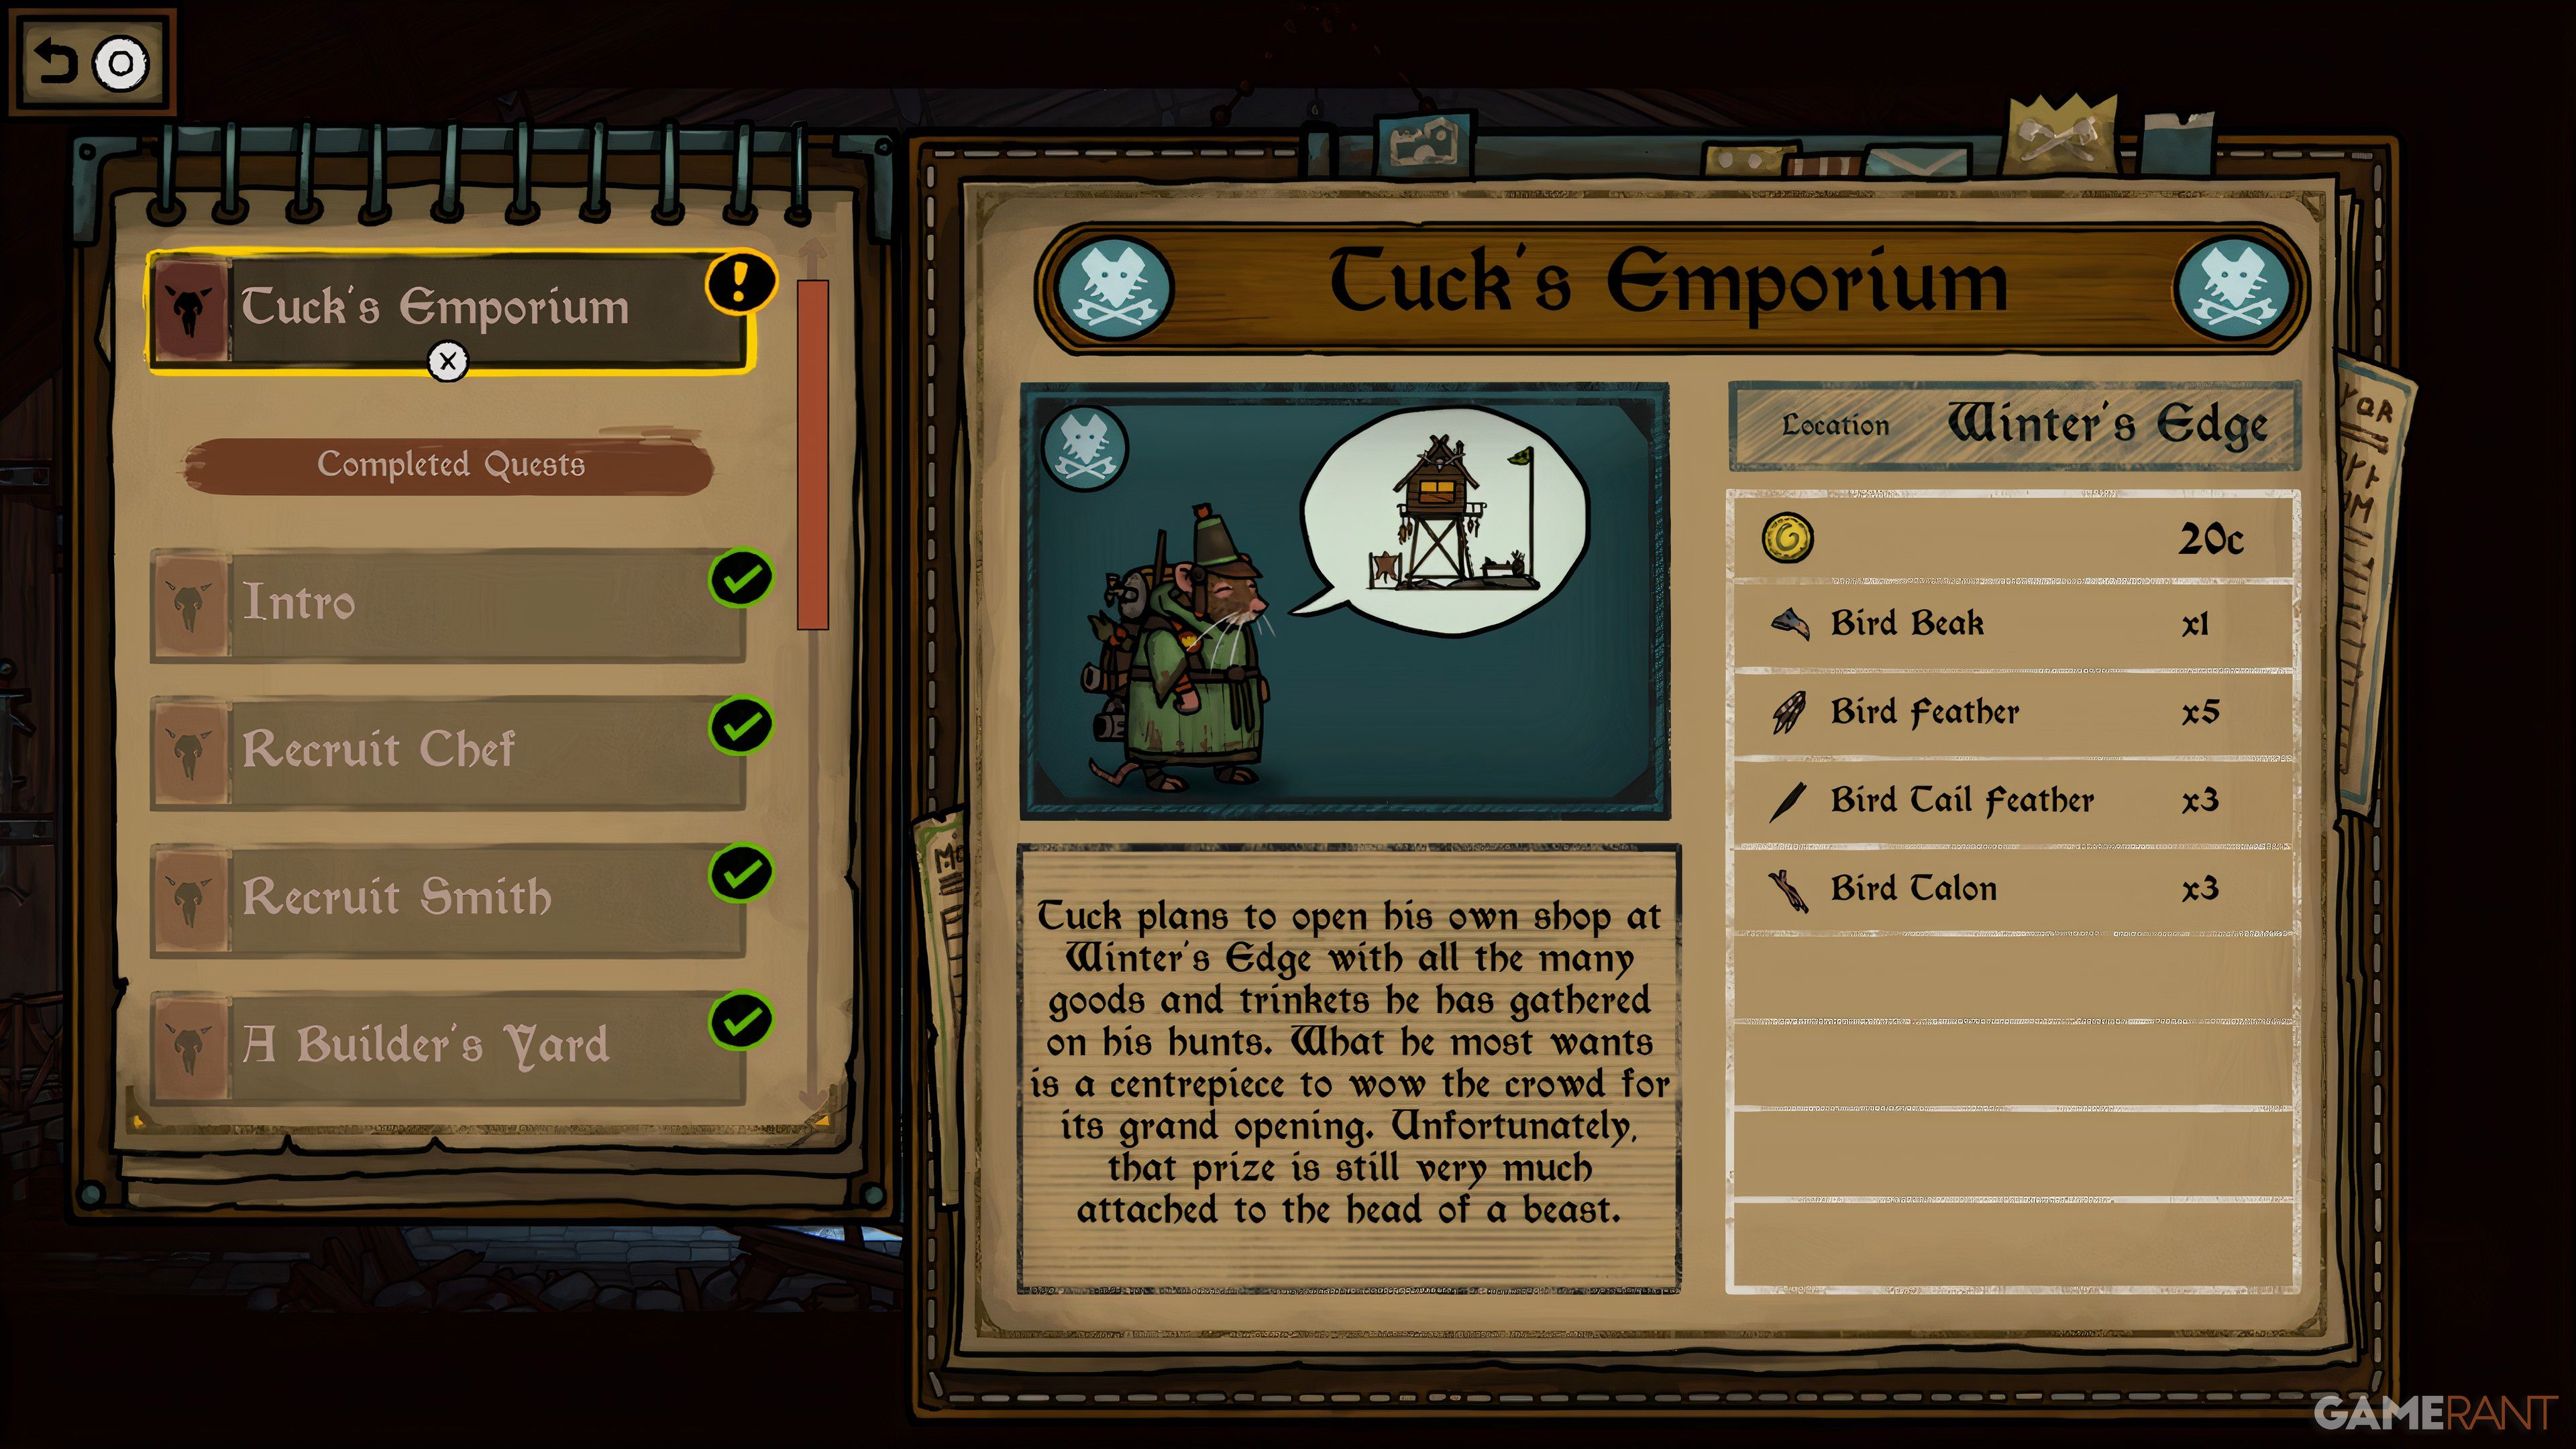
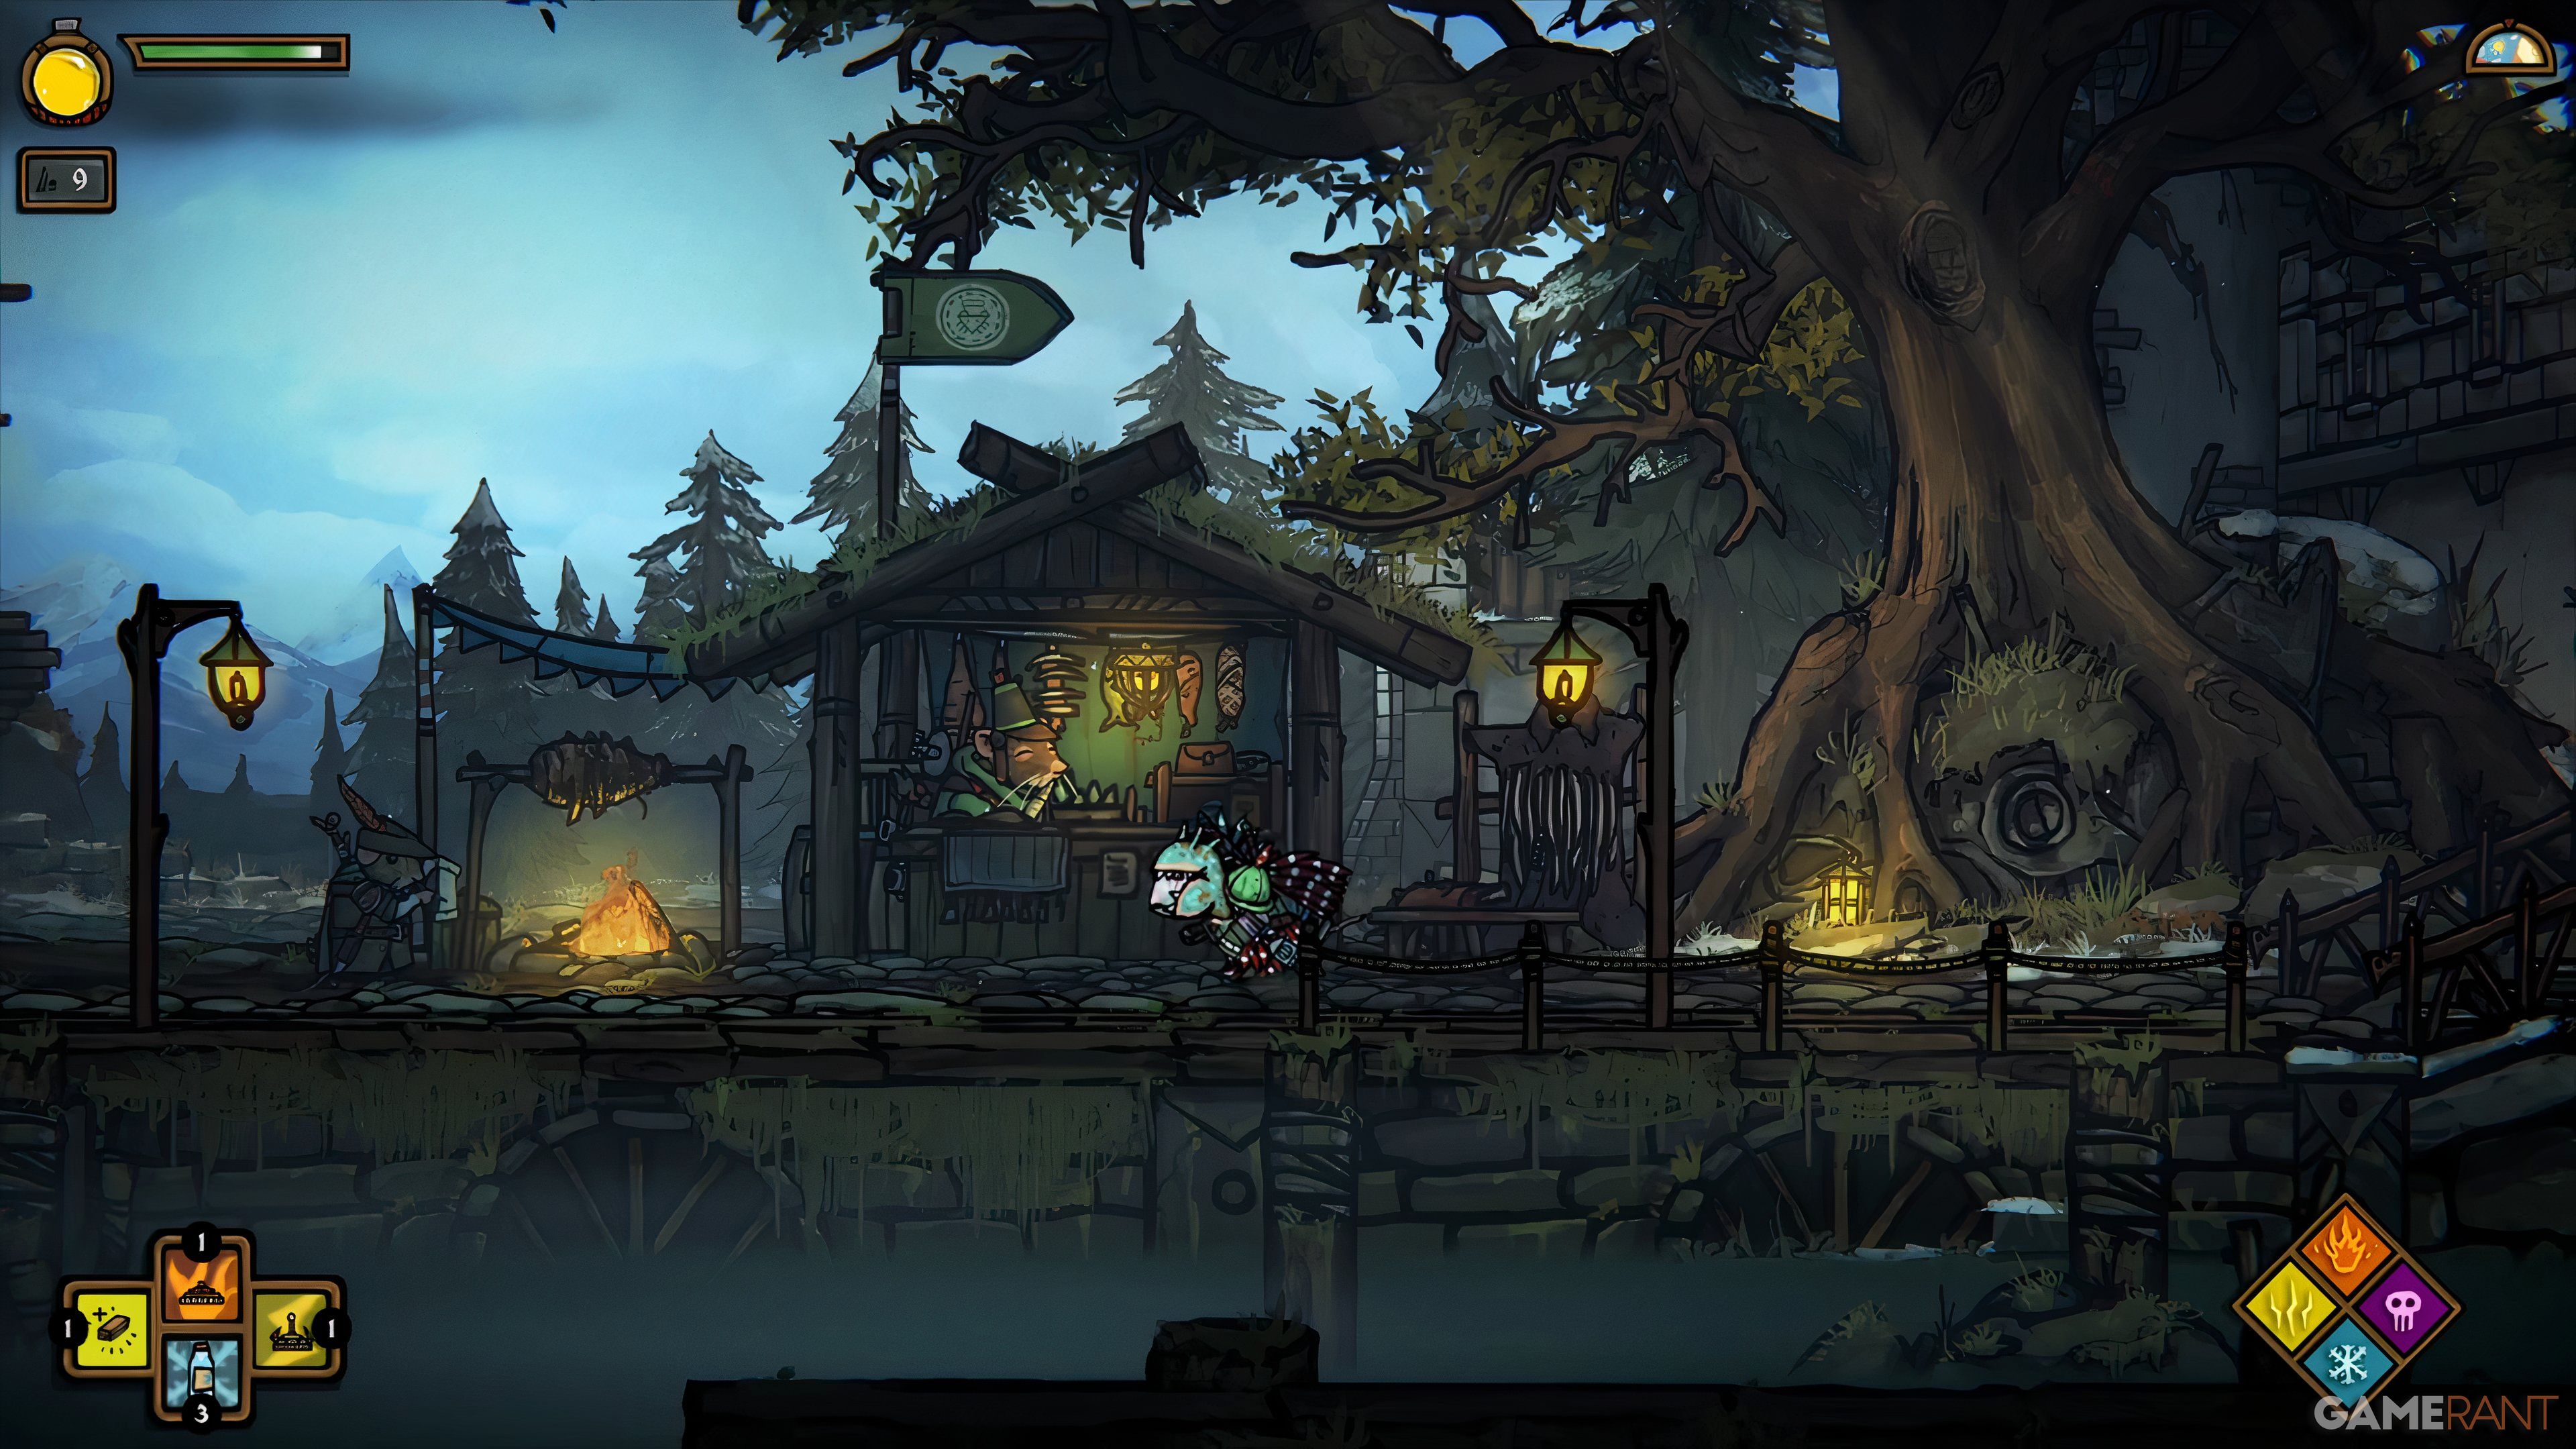
To obtain the Death Runestone Key, first, accomplish the main mission titled “Tuck’s Bazaar.” This action grants you access to construct a Shop utilizing the Builder. With this privilege, you can then procure the Runestone from Tuck for 10 Coins. As you upgrade the Shop to its maximum level, it will unlock an Achievement/Trophy and provide additional items and equipment available for purchase from Tuck.
Life Runestone Key Location

Ancient Runestone from a pillar that surrounds the Tomb. The worm symbol represents life.
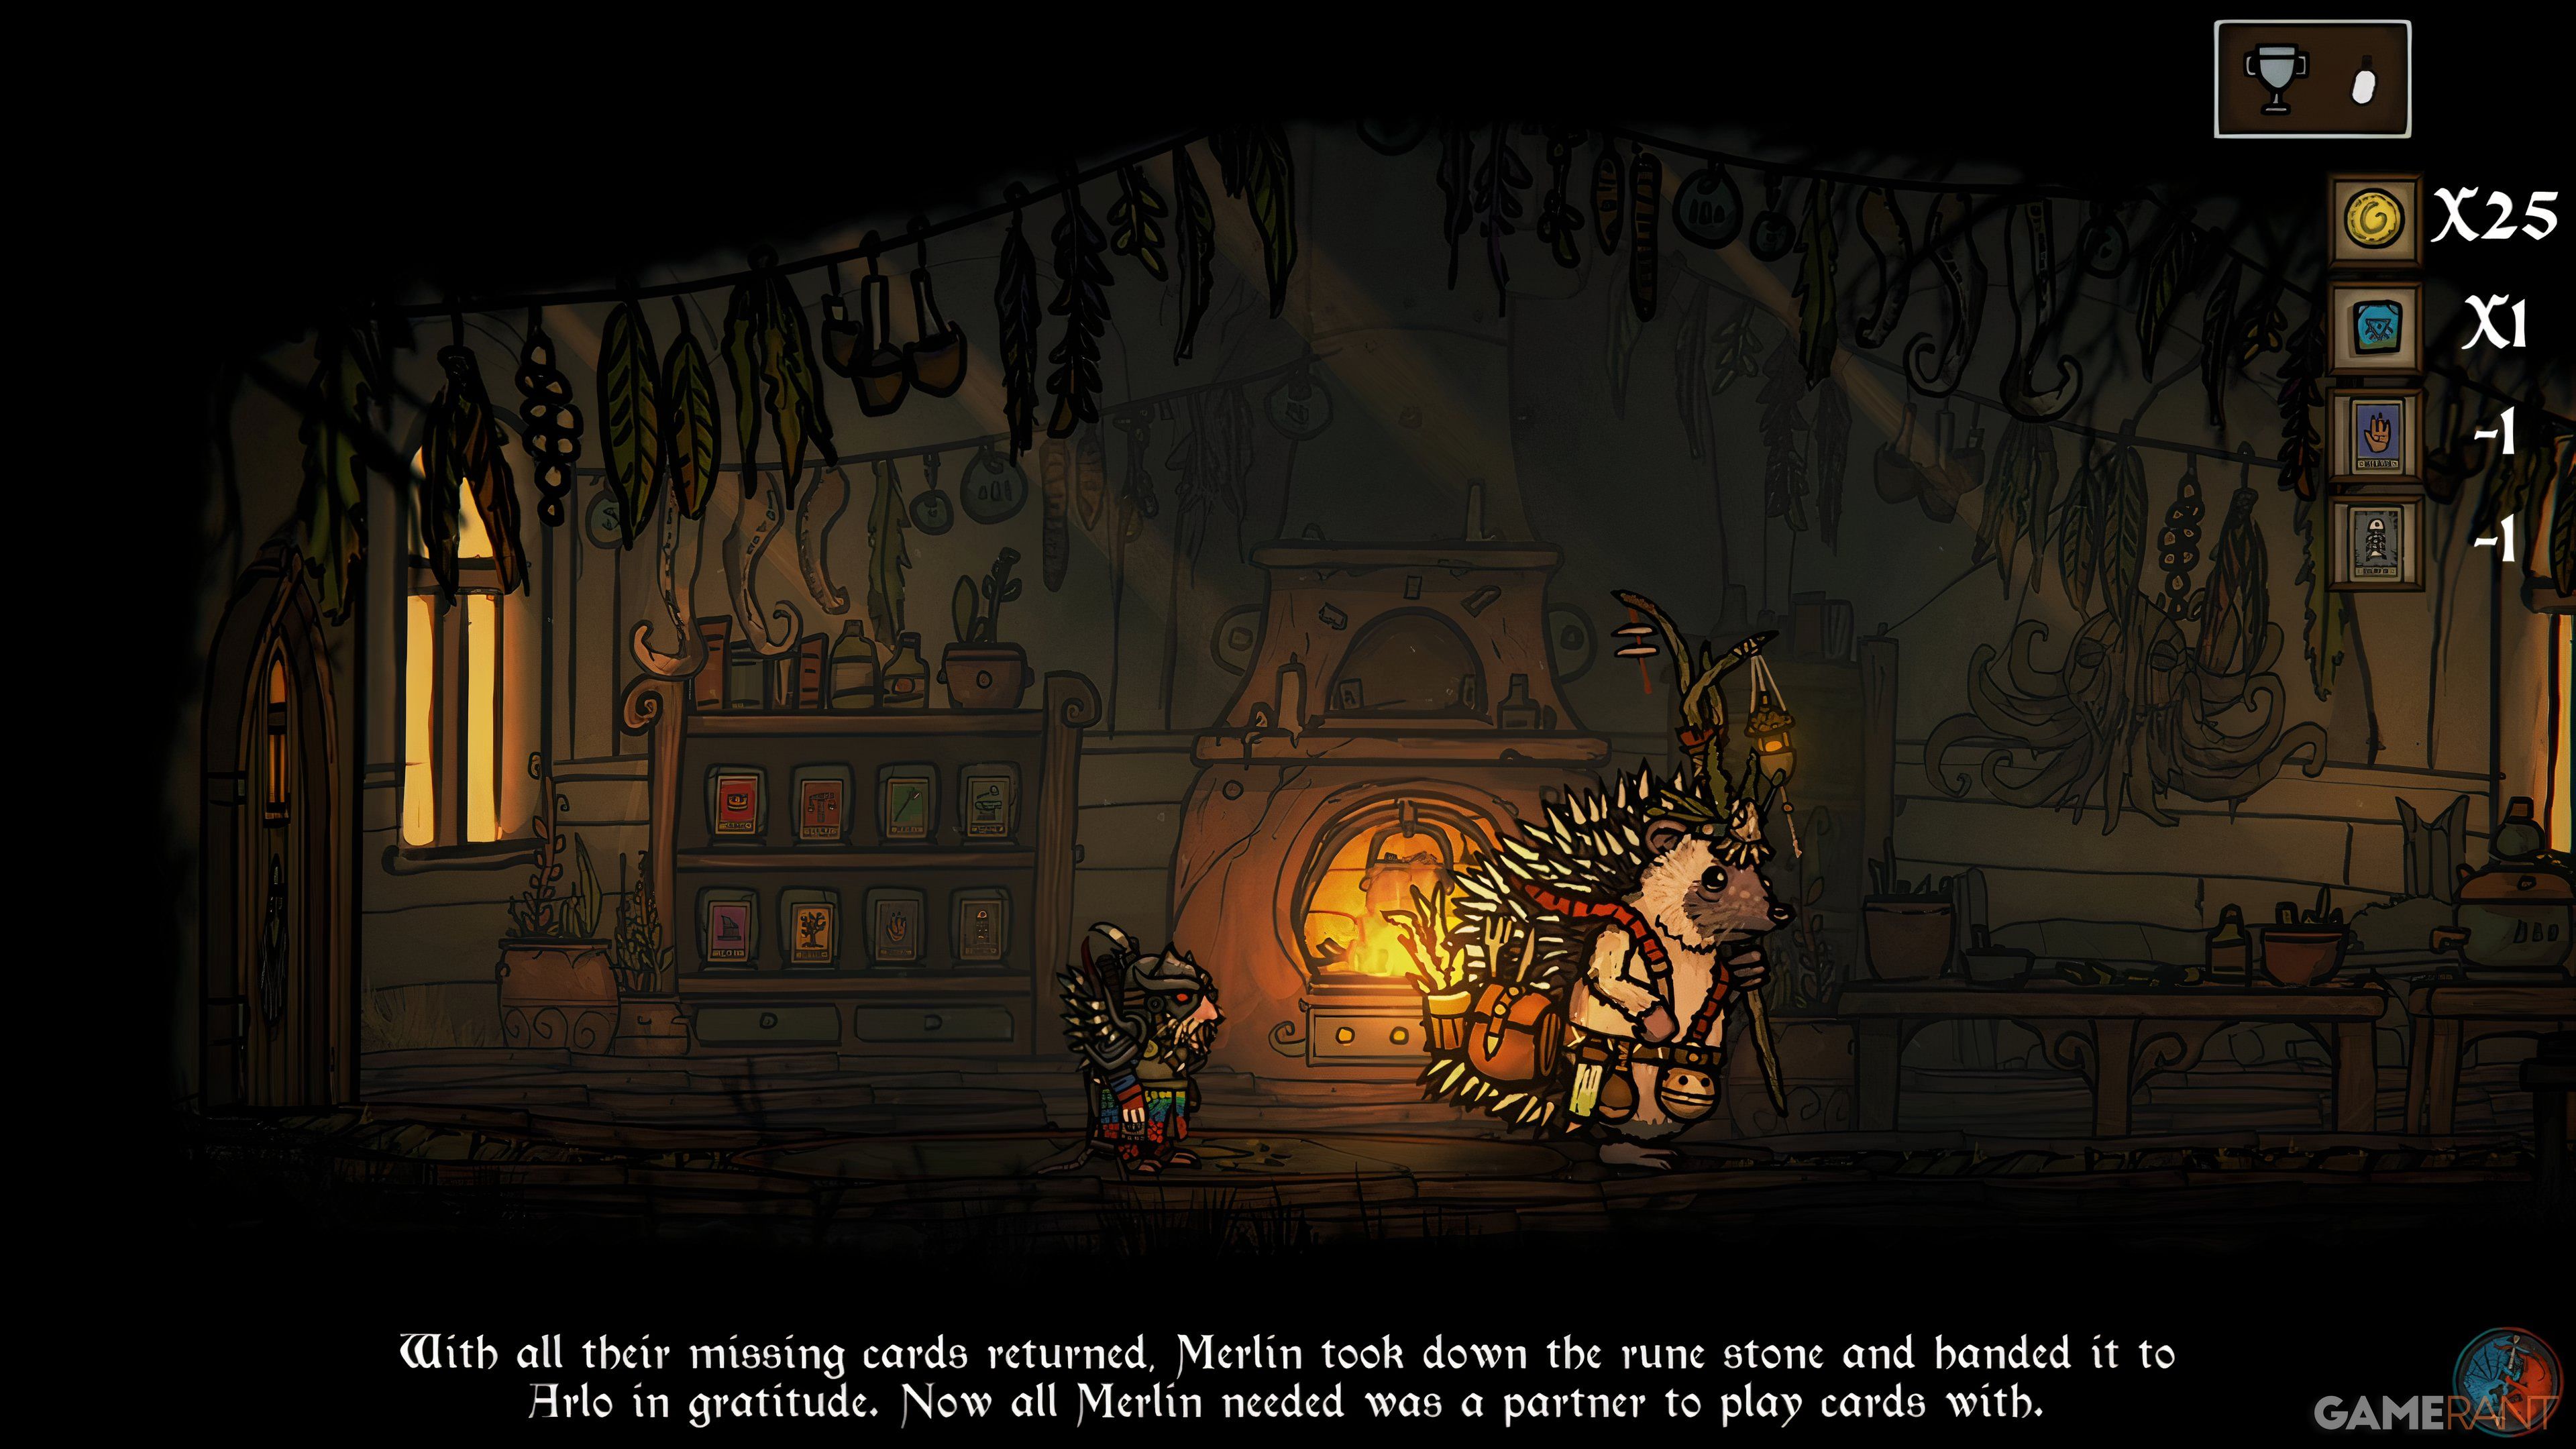
To obtain the final Runestone Key, finish Merlin’s mission by giving him all the Tarot Cards within the game. Afterward, he will grant you the Life Runestone Key as a reward. Many of these Tarot Cards can be bought from merchants scattered throughout the game, with the exception of the Knight Card, which is found on a dead body in The Rift. Some merchants won’t appear until you’ve completed their specific quests.
Tips On Beating Harat Bluefang In Tails of Iron 2: Whiskers of Winter

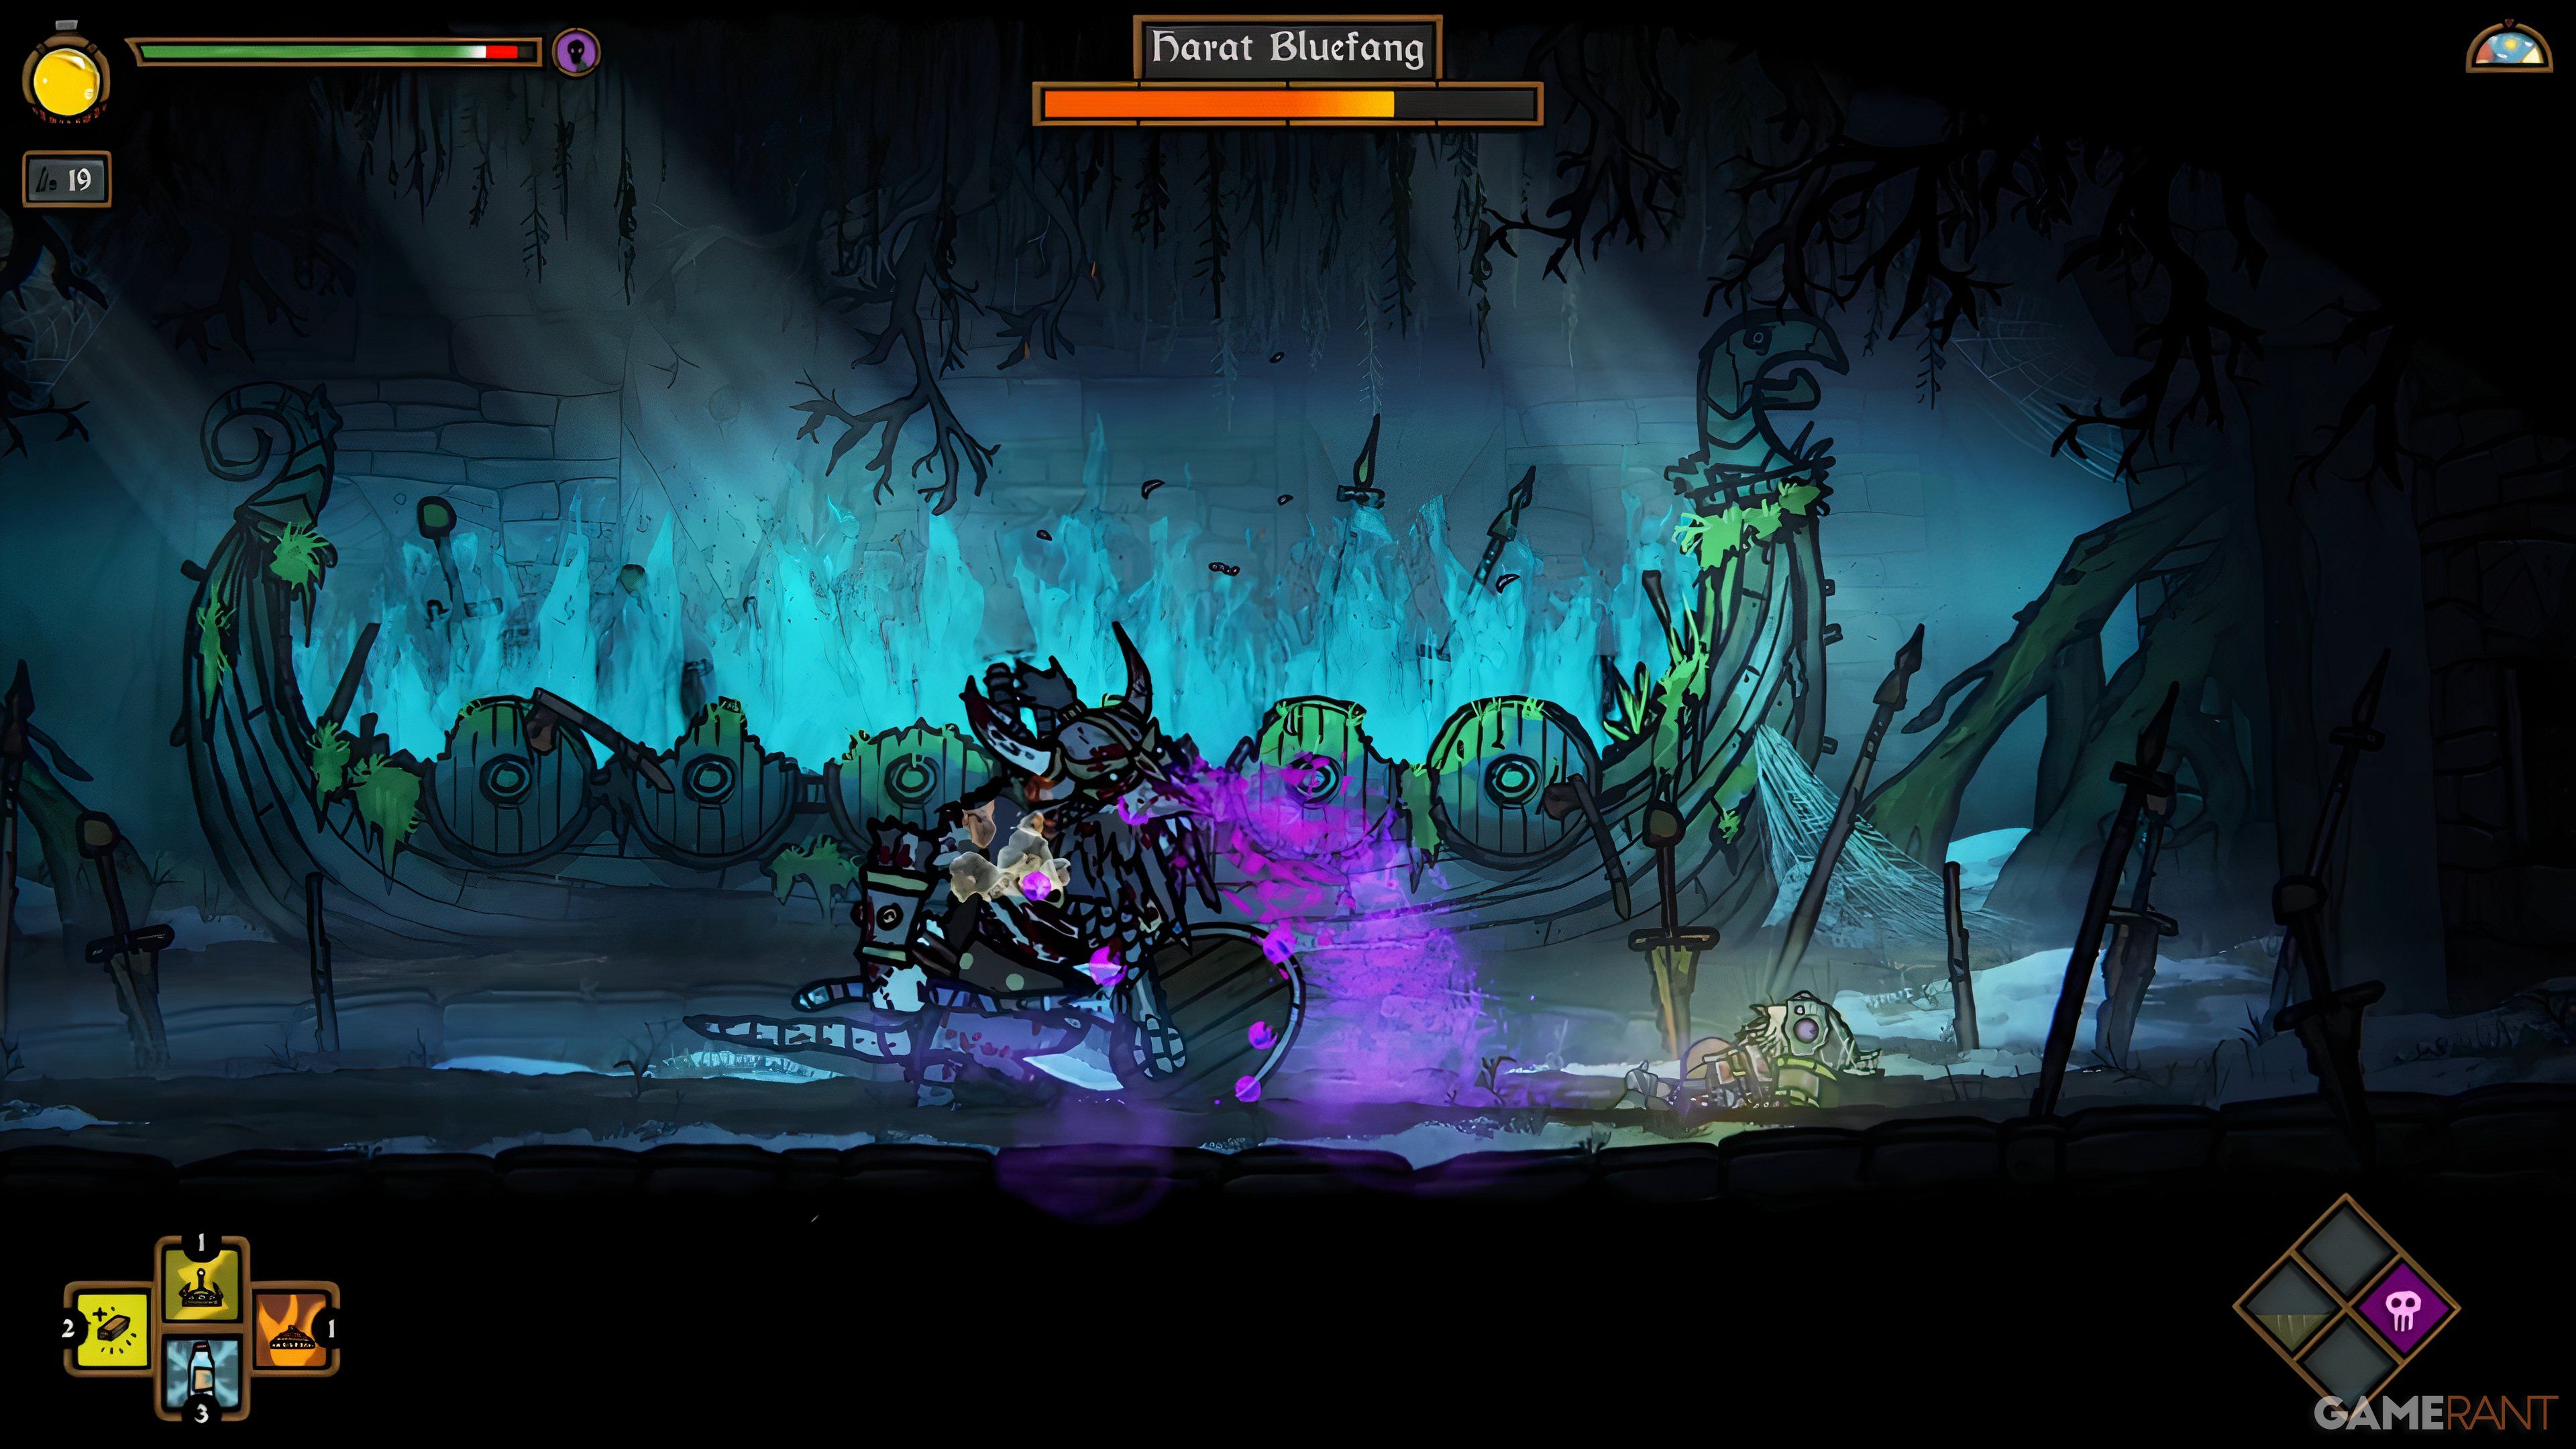
After gathering all the Runestone Keys, return to the Tomb of King Harat Bluefang and insert the Runestones into their designated spots. This action will open the door, enabling you to proceed downwards for a confrontation with the boss. If you’ve finished the main story and are using level 3 gear, the encounter will seem much less difficult. The boss inflicts both poison and electric damage, so put on armor that offers resistance to those elements to lessen the effect of his attacks.
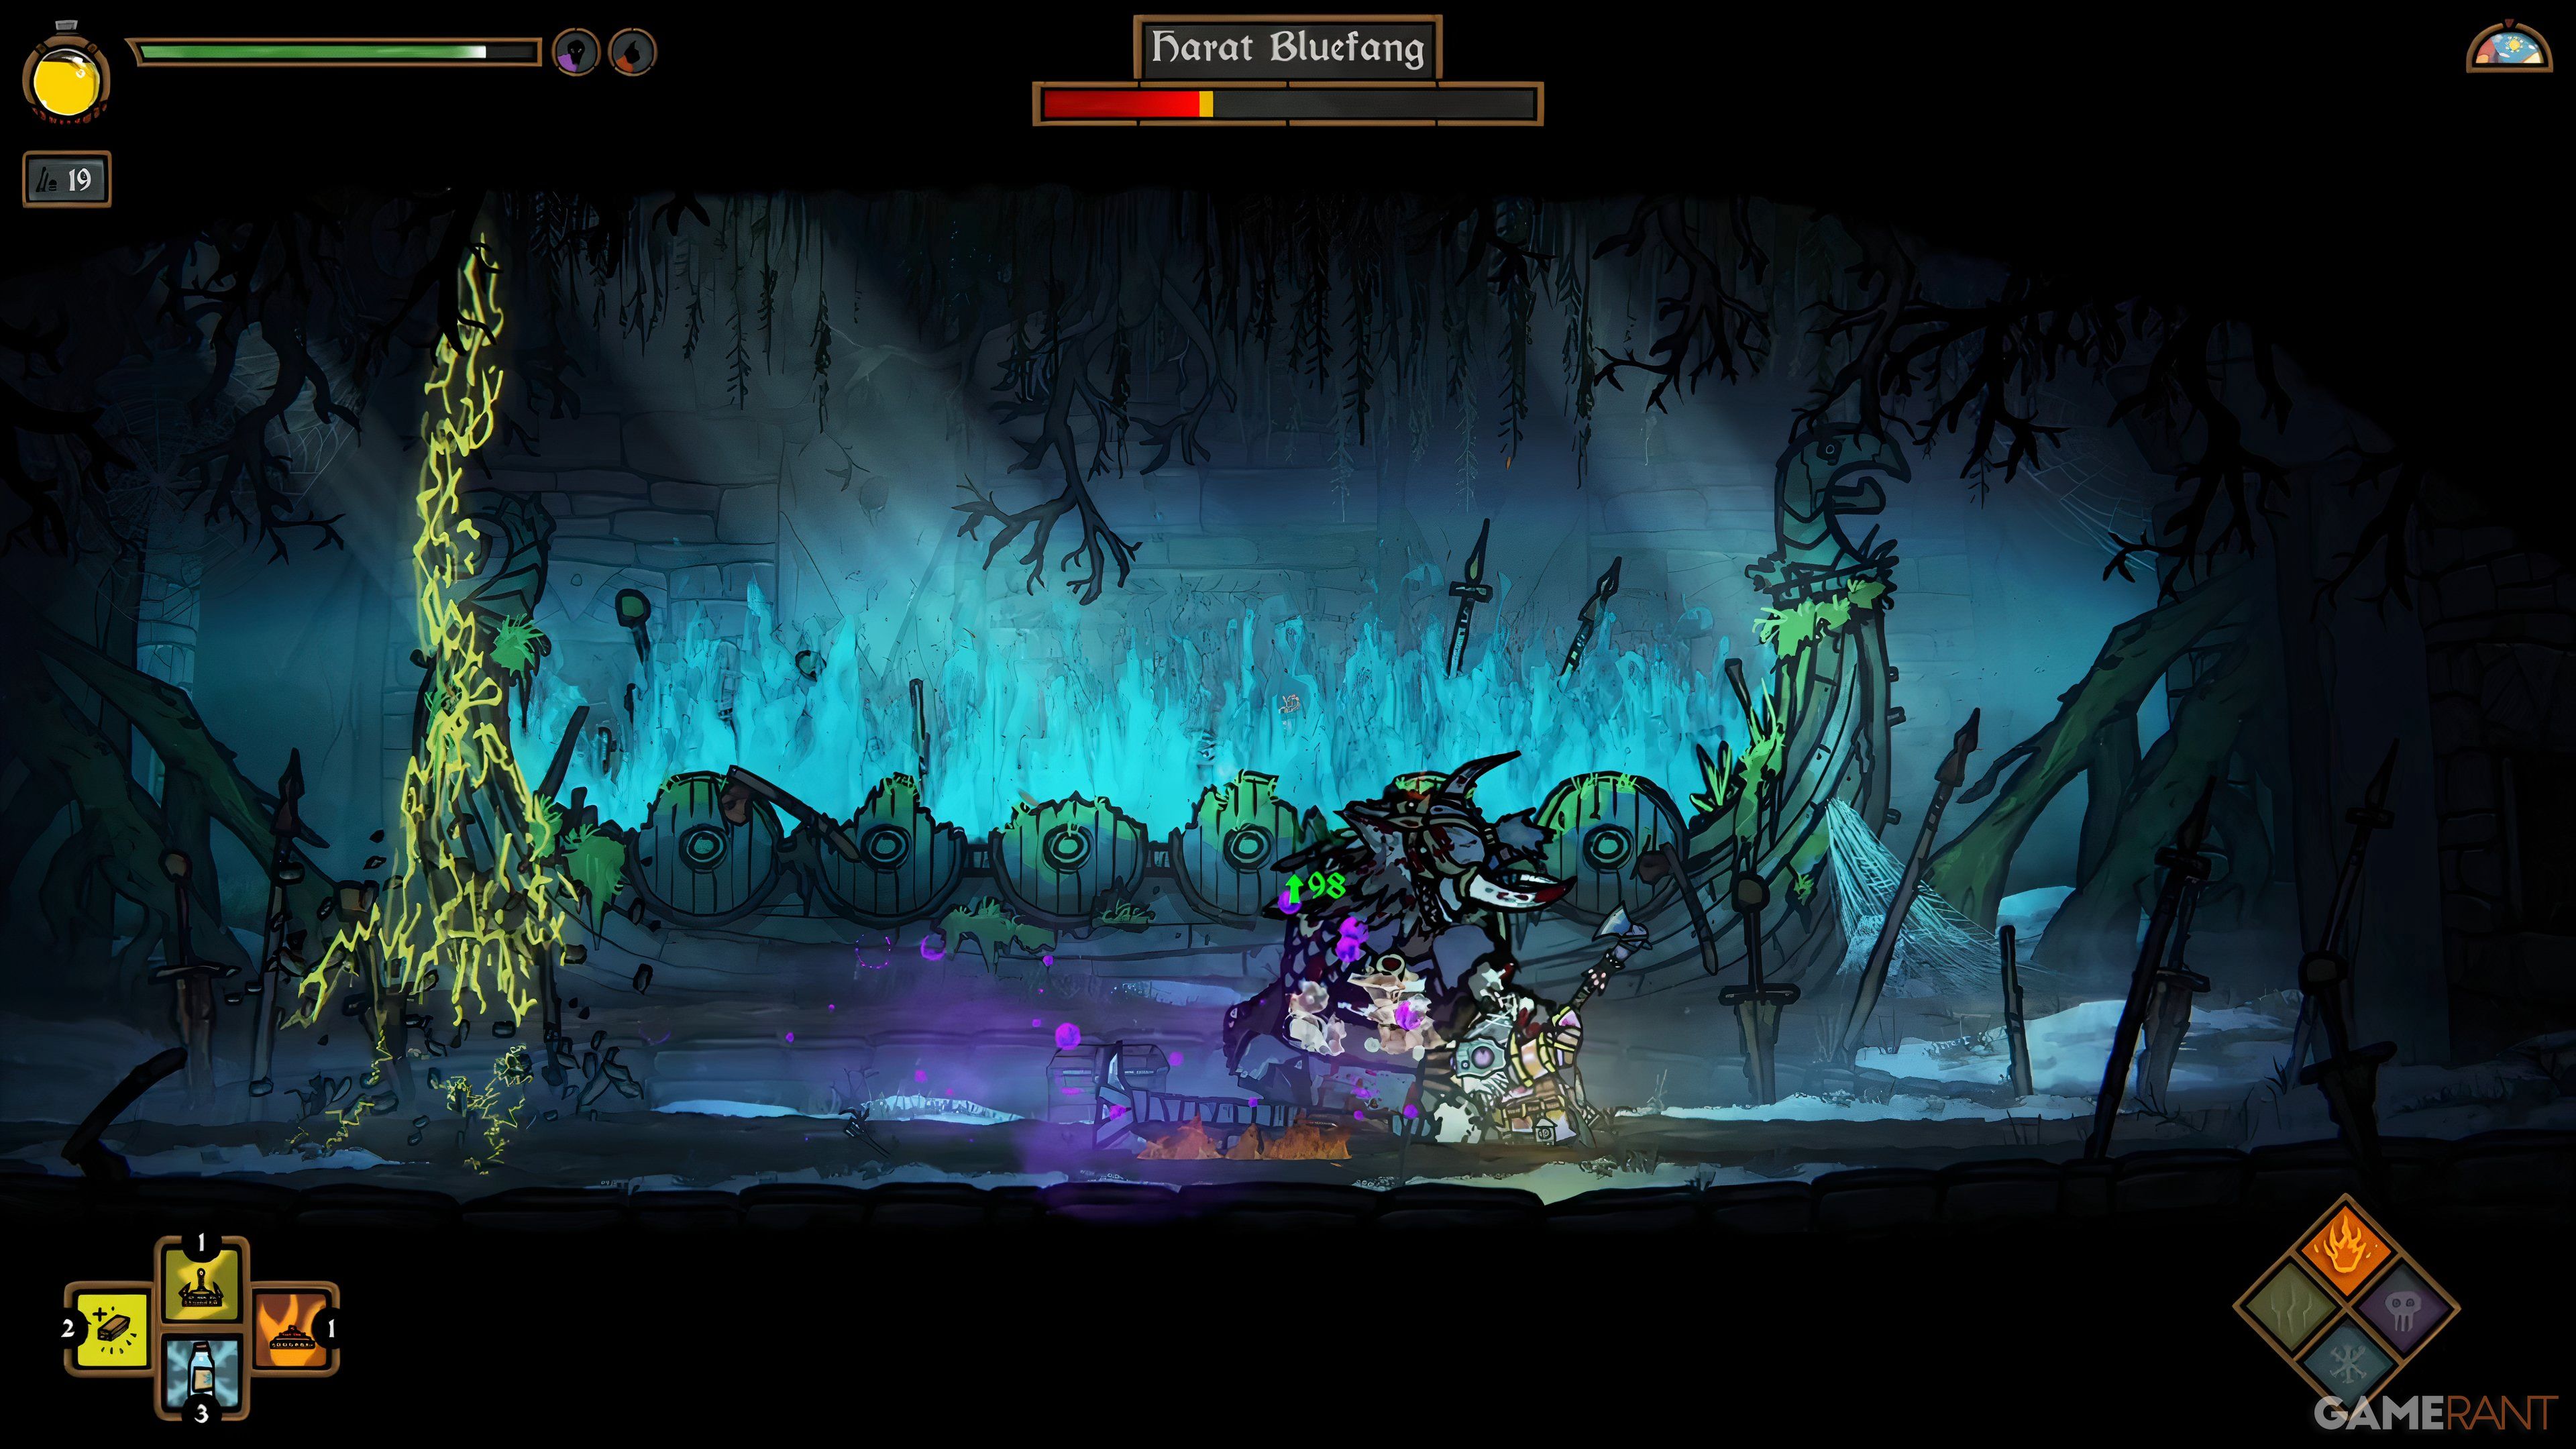
In other words, since Harat Bluefang sustains extra harm from fire, using a powerful fire weapon and setting up fire traps can provide you with an edge in the battle.
The manager isn’t particularly fierce and uses sluggish, predictable attacks that are easily dodged. But do take caution when it comes to “Poison Spit,” as it spreads a small portion of the arena with poison for an extended duration, restricting your mobility. Your long-range weapon will prove beneficial whenever the boss is at a distance from you.
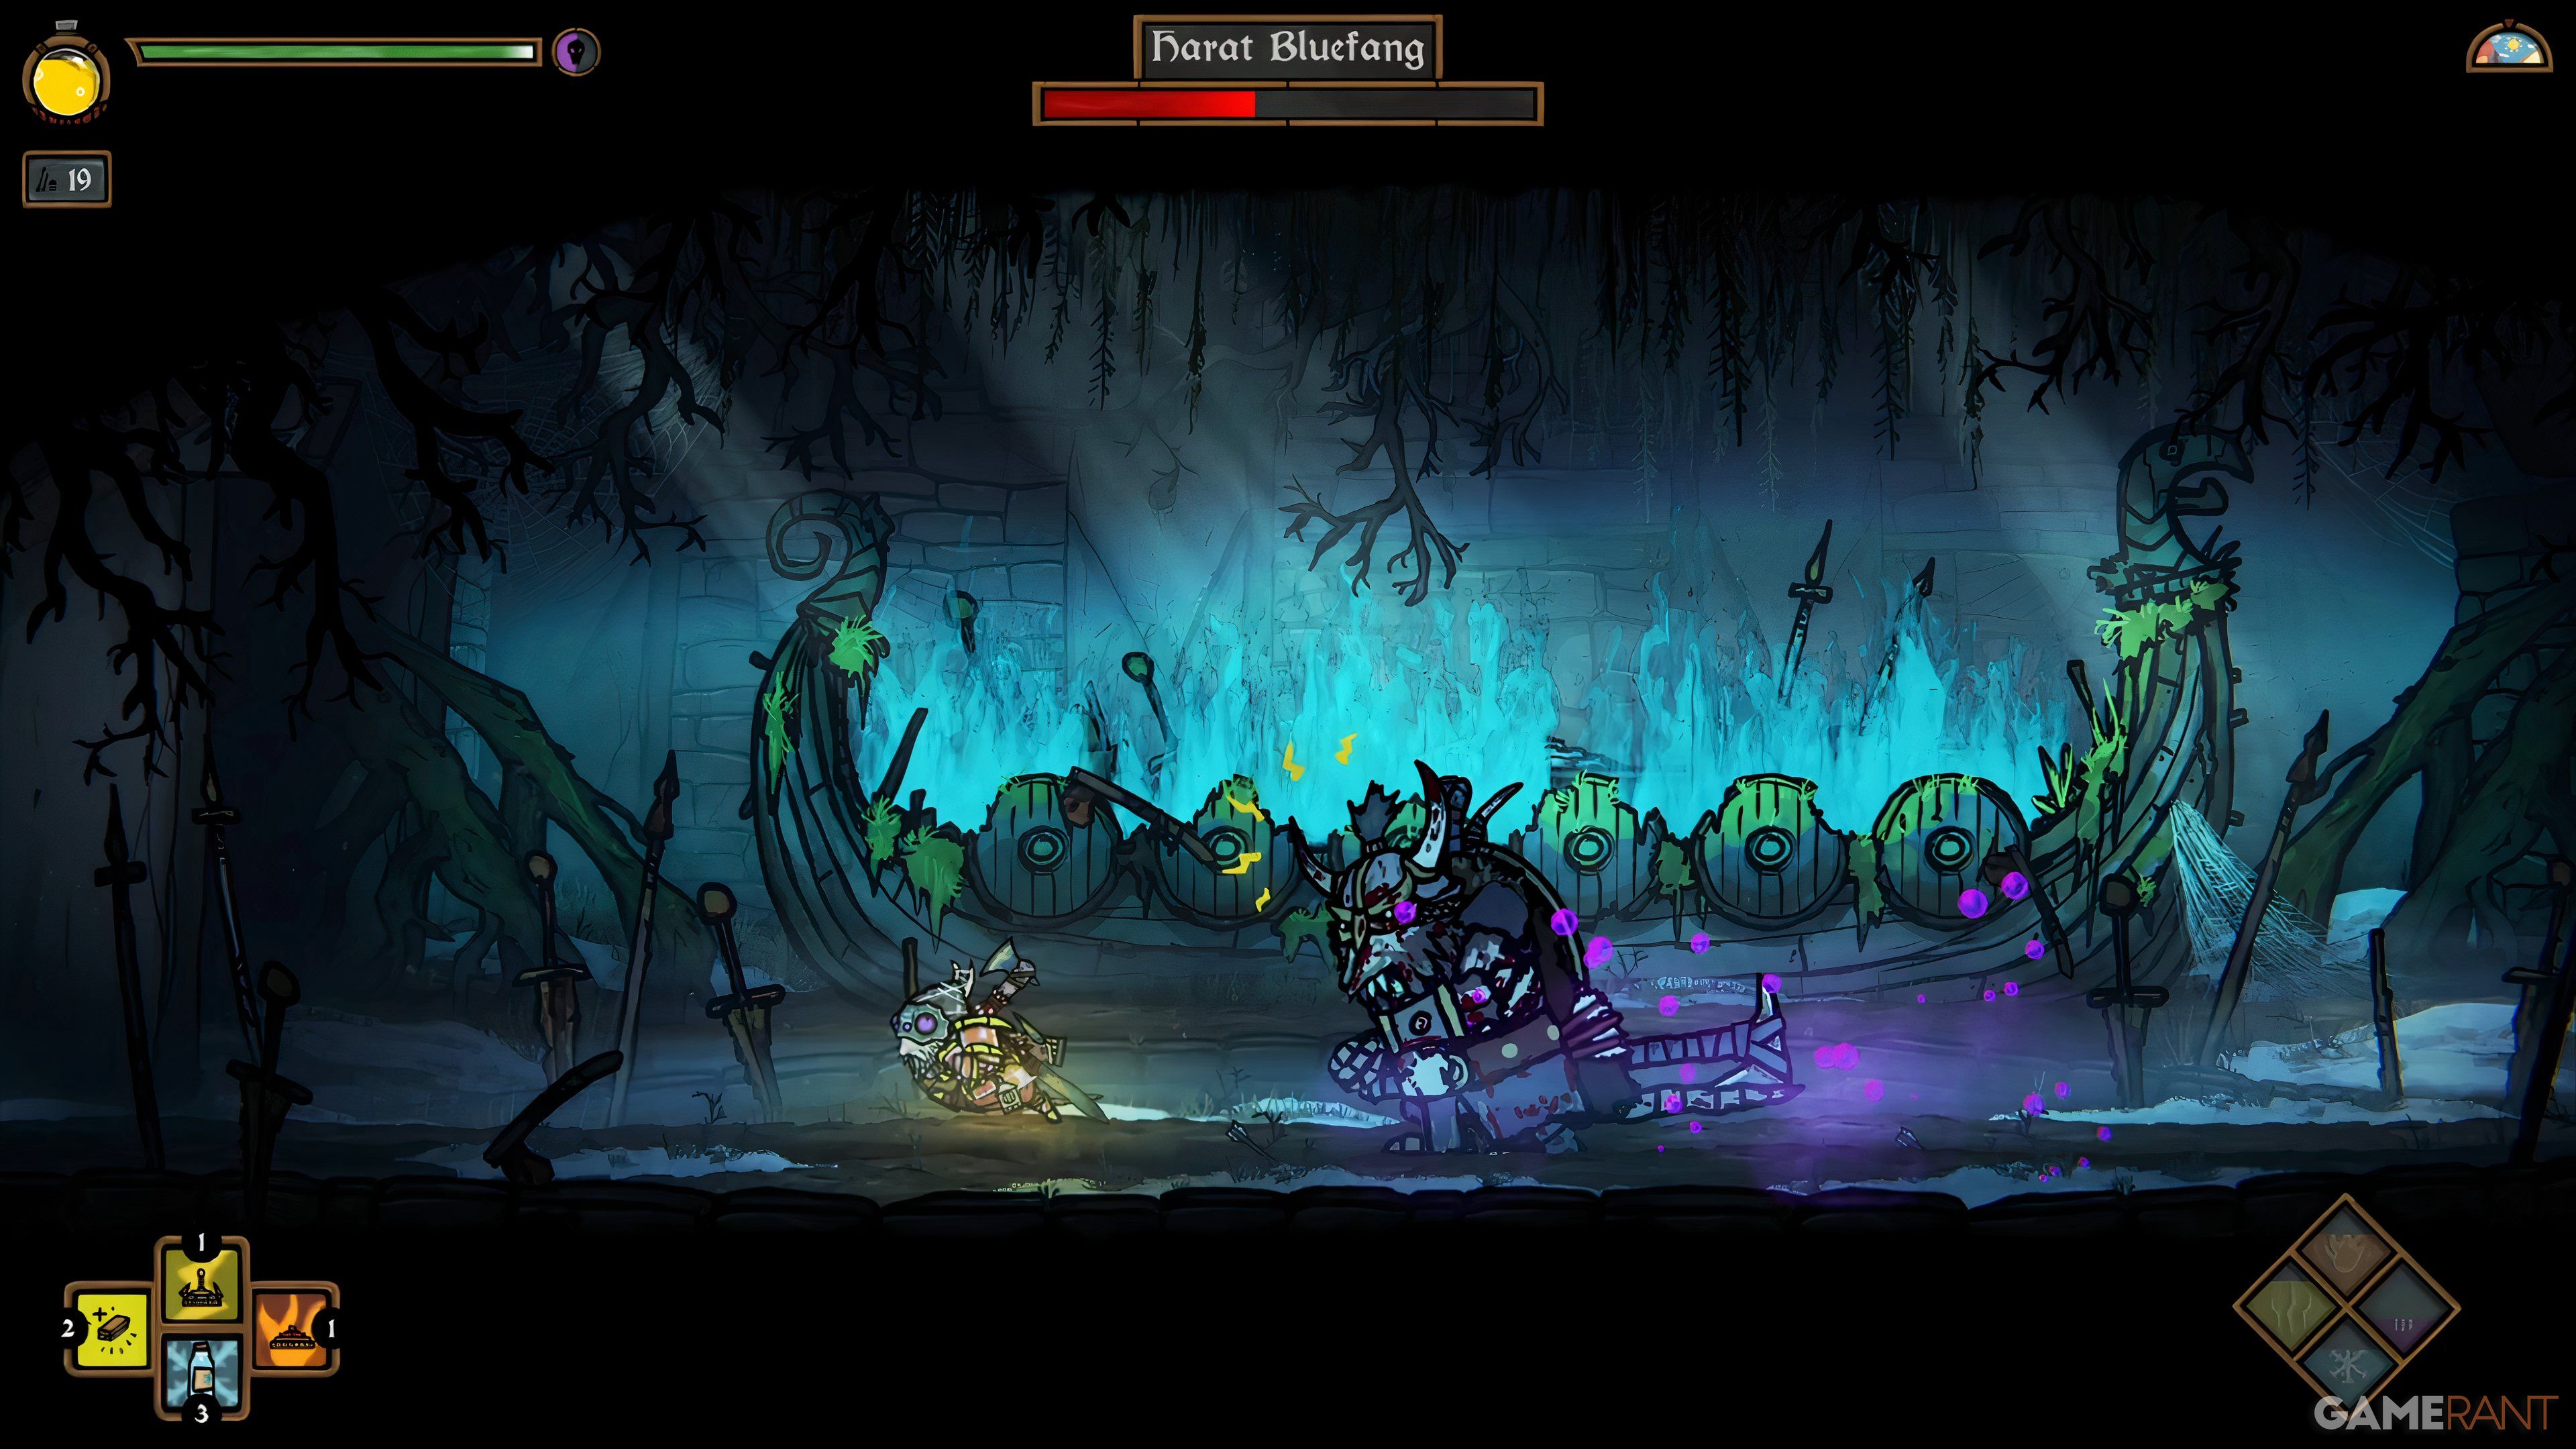
As the leader’s health decreases, he changes his weapon to a bow for long-range attacks and a Two-Handed Axe for melee combat. Additionally, he summons lightning bolts from above, which can be evaded but are somewhat predictable. Be mindful not to seek out additional strikes, as the most frightening aspect of this boss is the force of his attacks. If you find yourself too far away while he’s firing arrows, it would be wiser to employ your Shield for continuous blocking rather than risk sustaining damage.
Occasionally, your supervisor may yell and advance aggressively. Be sure to move towards, not away from, the boss when dodging, since moving backwards could still lead to being struck by the attack.
Once the boss has been defeated, he will drop the following rewards:
- Bluefang’s Axe (One-Handed Weapon)
- Steel Wall (Sheild)
- Iron Point (Two-Handed Weapon)
- Iron Sight (Ranged Weapon)
- Gold Horn (Helm)
- Gold Scale Armour (Cuirass)
- Iron Shoulders (Pauldrons)
- Coins x25
- Gold Ingot x5
- Silver Ingot x5
- Iron Ingot x10
- Diamond x2
- Saphire x1
- Ruby x1
- Emerald x3
Read More
- REPO: How To Fix Client Timeout
- REPO: All Guns & How To Get Them
- How to Heal in REPO
- How to Apply Custom Tattoos From the Gallery in The Sims 4
- All Balatro Cheats (Developer Debug Menu)
- Eiichiro Oda: One Piece Creator Ranks 7th Among Best-Selling Authors Ever
- BTC PREDICTION. BTC cryptocurrency
- LUNC PREDICTION. LUNC cryptocurrency
- FragPunk’s Top 10 Best Weapons Unveiled!
- POL PREDICTION. POL cryptocurrency
2025-02-05 15:07