While navigating through the initial chapter of the game known as Deltarune, players will encounter a mix of intricate puzzles and multiple combat scenarios. Some of these challenges can be quite demanding to conquer. Notably, hidden items are scattered throughout the level, some of which might elude the player’s notice. Additionally, there exists a secret boss battle within this first chapter for those who wish to engage with it. For players eager to explore every aspect of the game or those facing difficulties in certain areas, here’s a comprehensive walkthrough for Deltarune Chapter 1 that should prove helpful.
In contrast to how a player’s actions in Chapter 1 impact Chapter 2 being clearly defined, the influence of actions in Chapters 3 and 4 of Deltarune on each other isn’t as straightforward. Therefore, this guide might require minor adjustments if the subsequent chapters eventually change what constitutes a 100% completion.
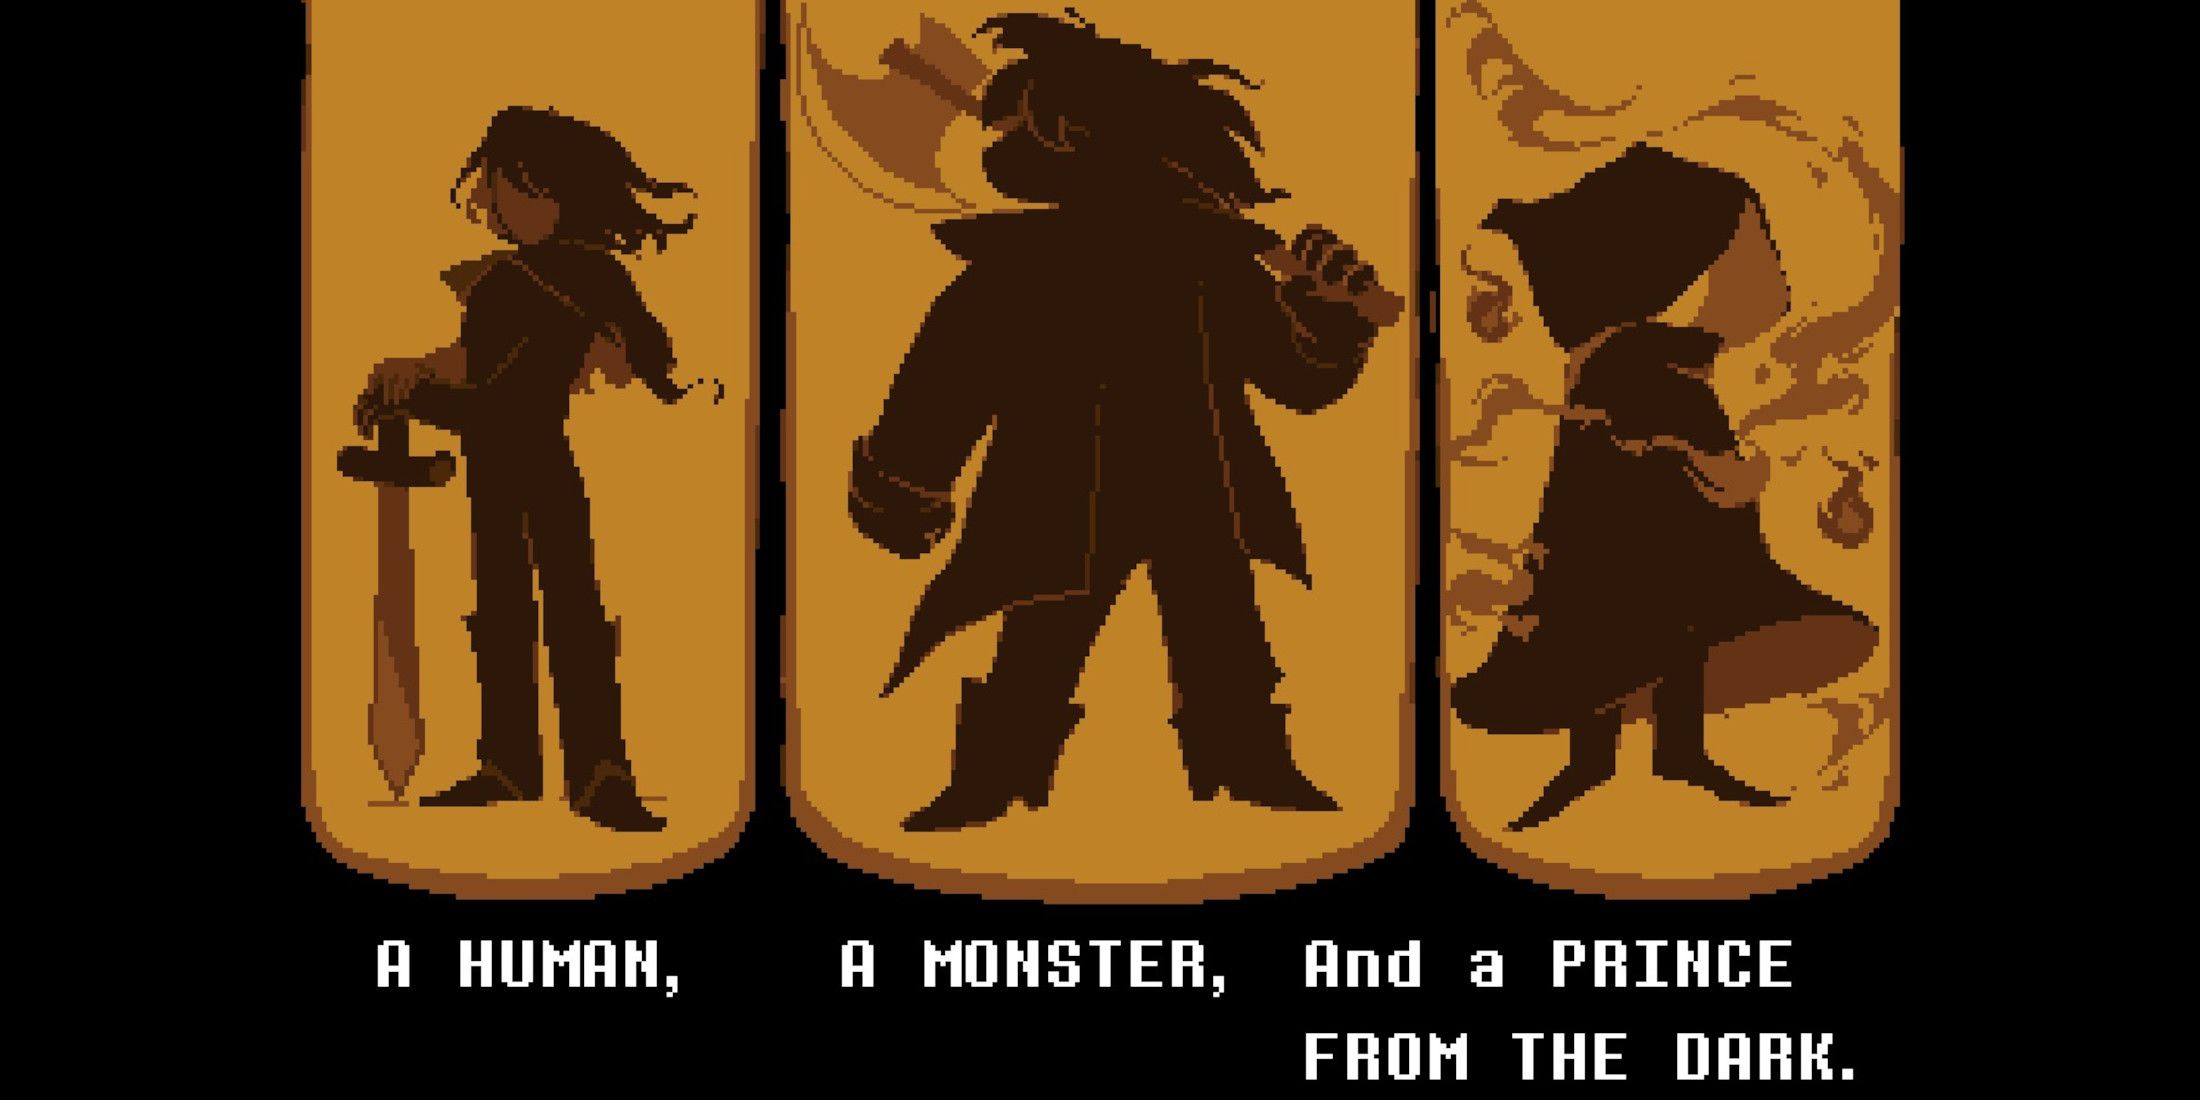
Deltarune Chapter 1: Violence vs. Nonviolence
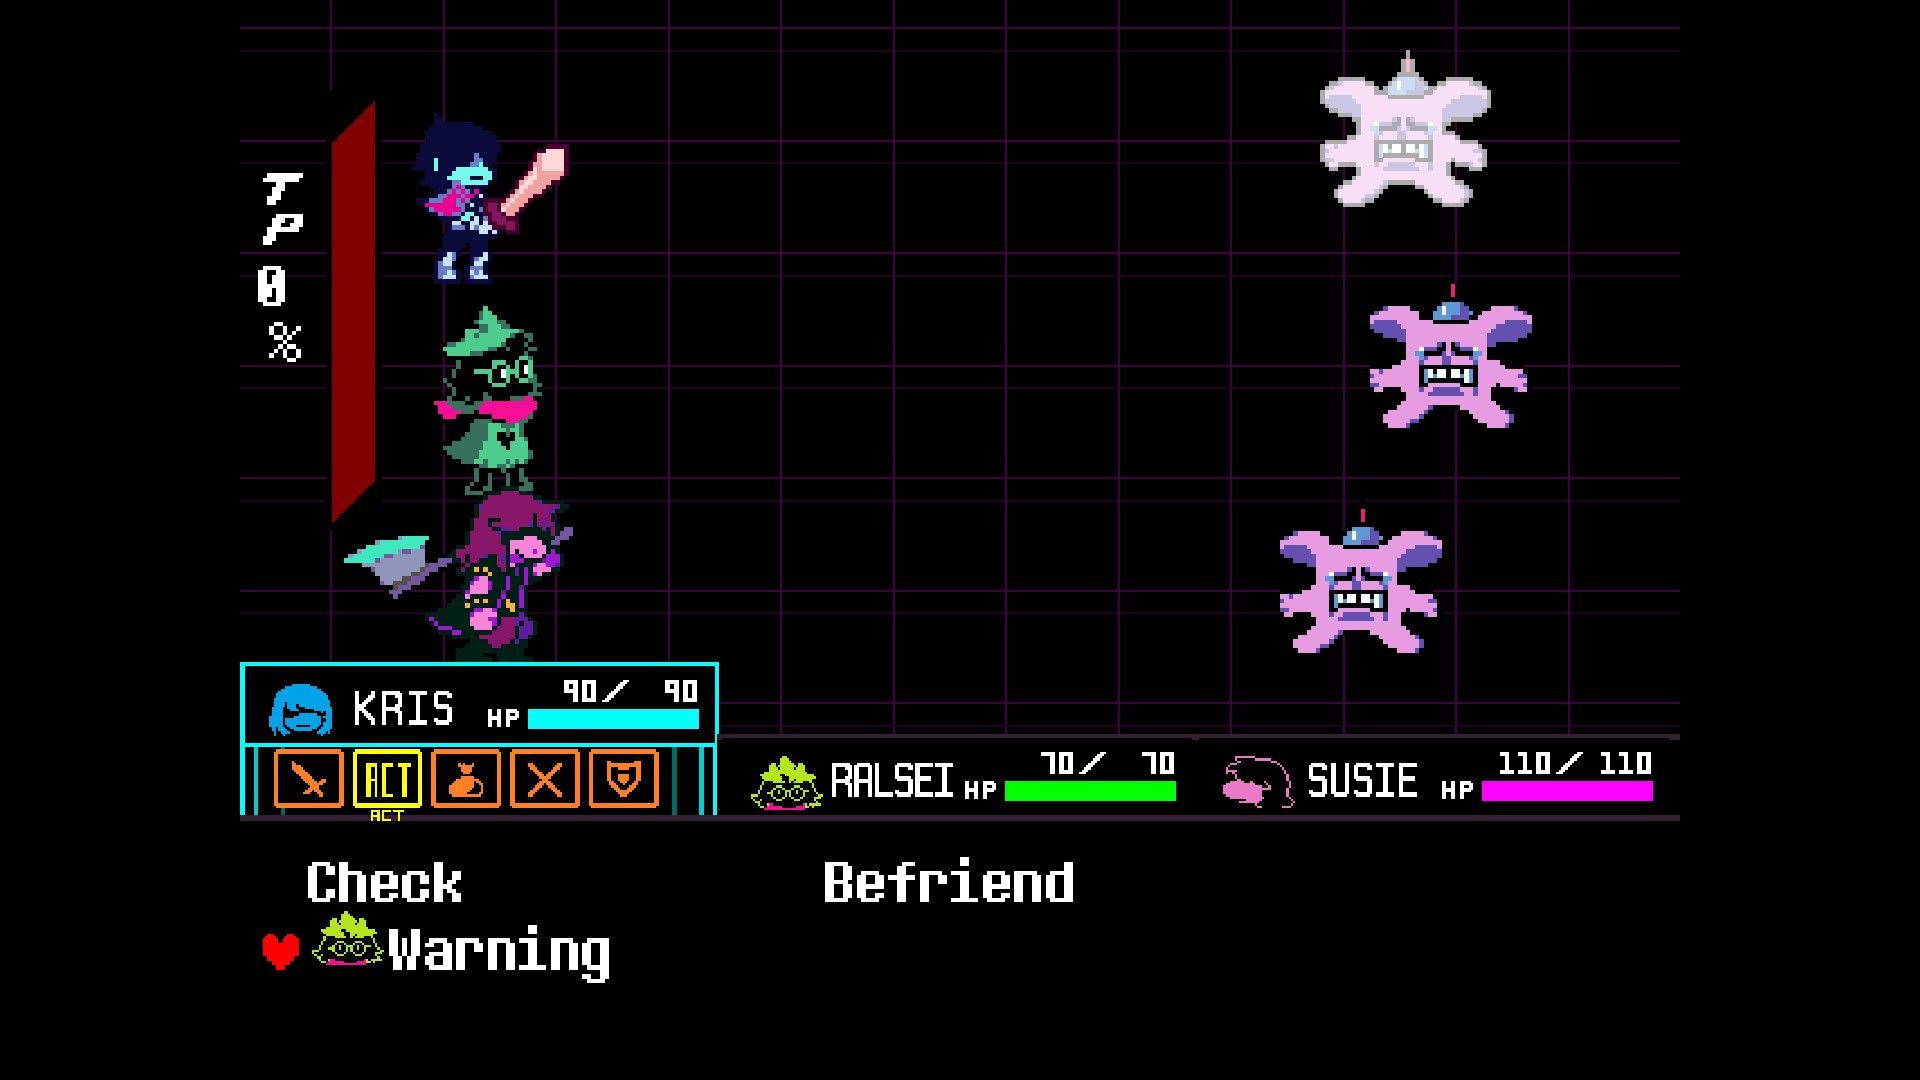
In Chapter 1, it’s crucial to note that players can choose between two strategies: using force (defeating enemies through damage) or peace (sparing enemies or employing Ralsei’s Calm magic). Both methods are valid, and at least for now, they don’t seem to influence the events of Chapter 2 in Deltarune. However, players who opt for a completely nonviolent approach will encounter an exclusive opportunity following the final boss that those with even one instance of violence will miss. Furthermore, it’s worth mentioning that any instances of violence are tracked in your save file and could potentially play a significant role in future chapters.
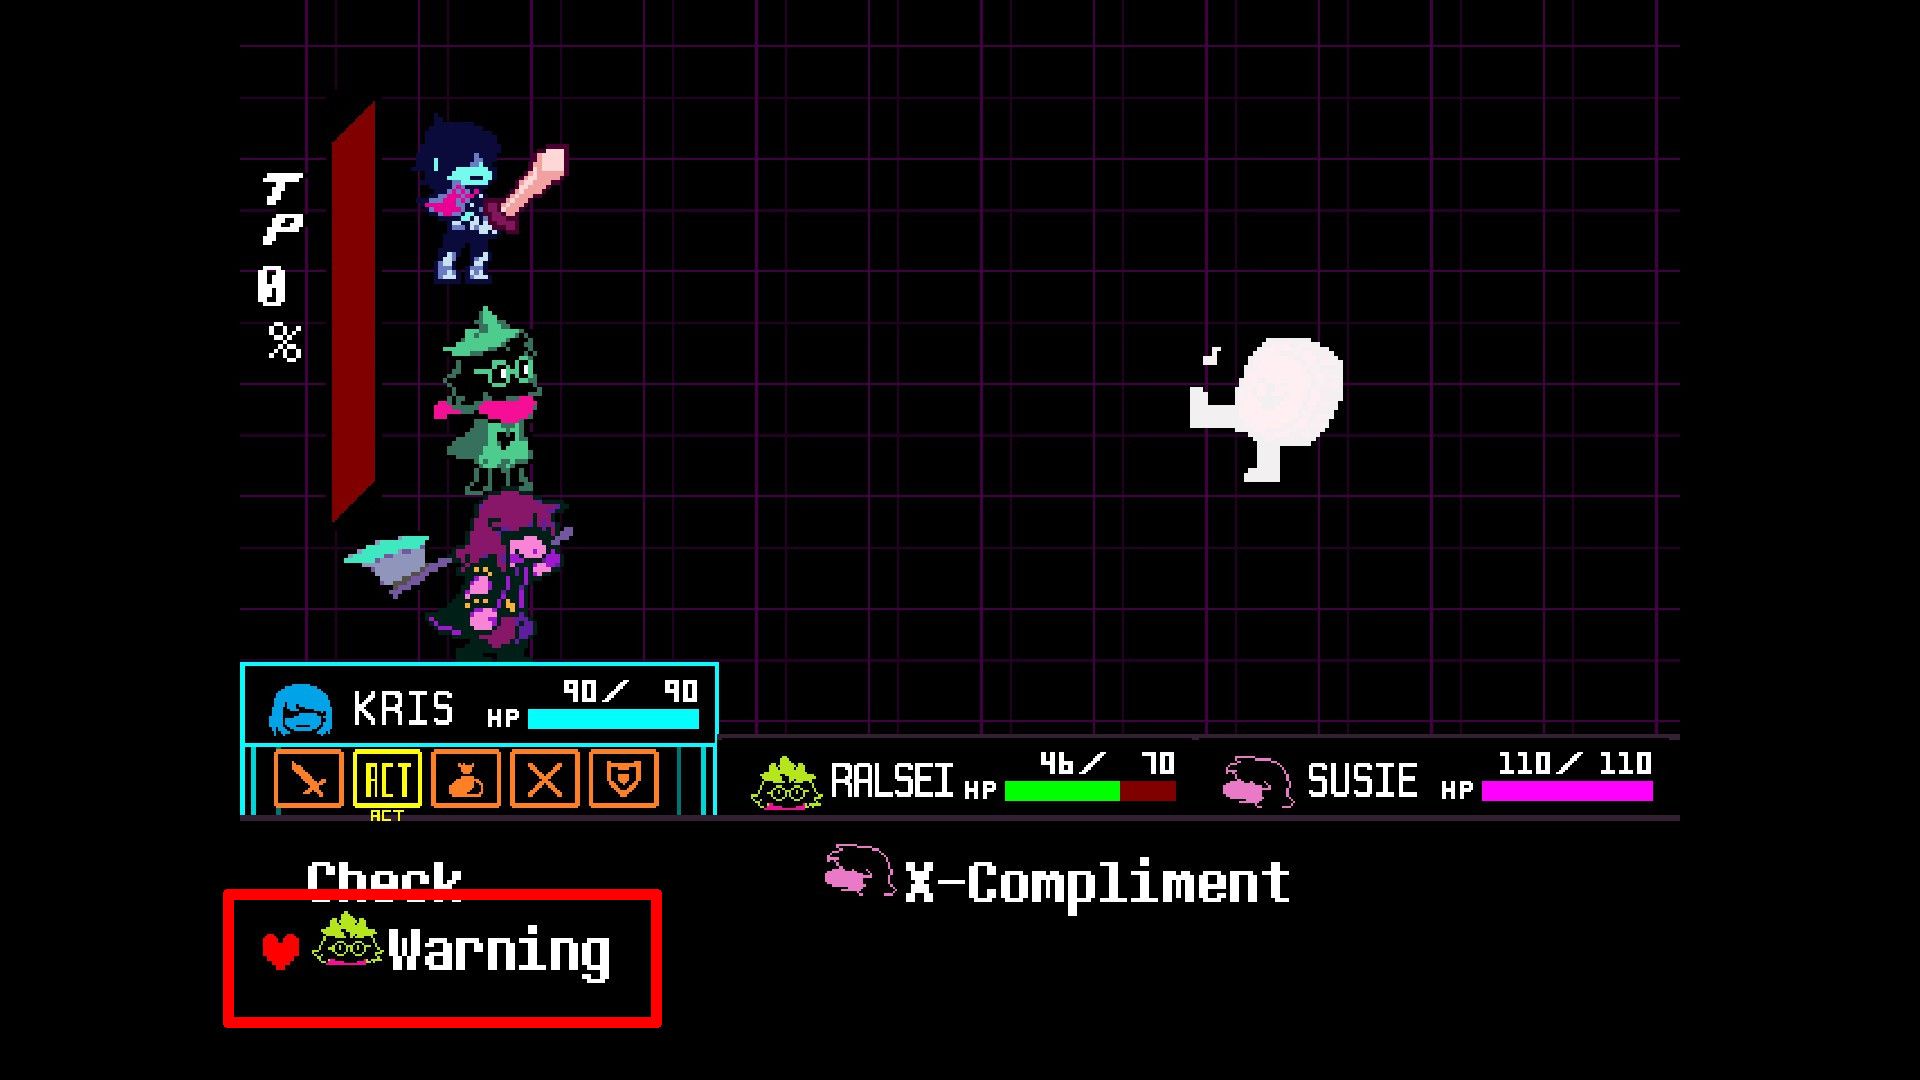
Individuals aiming for a nonviolent approach might find it beneficial to study Kris’s actions, especially the crucial one titled “Warning“, as it plays a significant role when Susie is part of the group.
Deltarune Chapter 1: Dark Dollars
In Deltarune, players are advised to accumulate plenty of Turnip Points (TP) by the conclusion of each battle. This TP can later be exchanged for Dark Dollars (D$) during Chapter 1. Consequently, it’s beneficial for players to strive for a substantial amount of TP at the end of their battles so as to amass a larger quantity of the currency earned.
Make a Vessel & School – Deltarune Chapter 1 Walkthrough
Make a Vessel
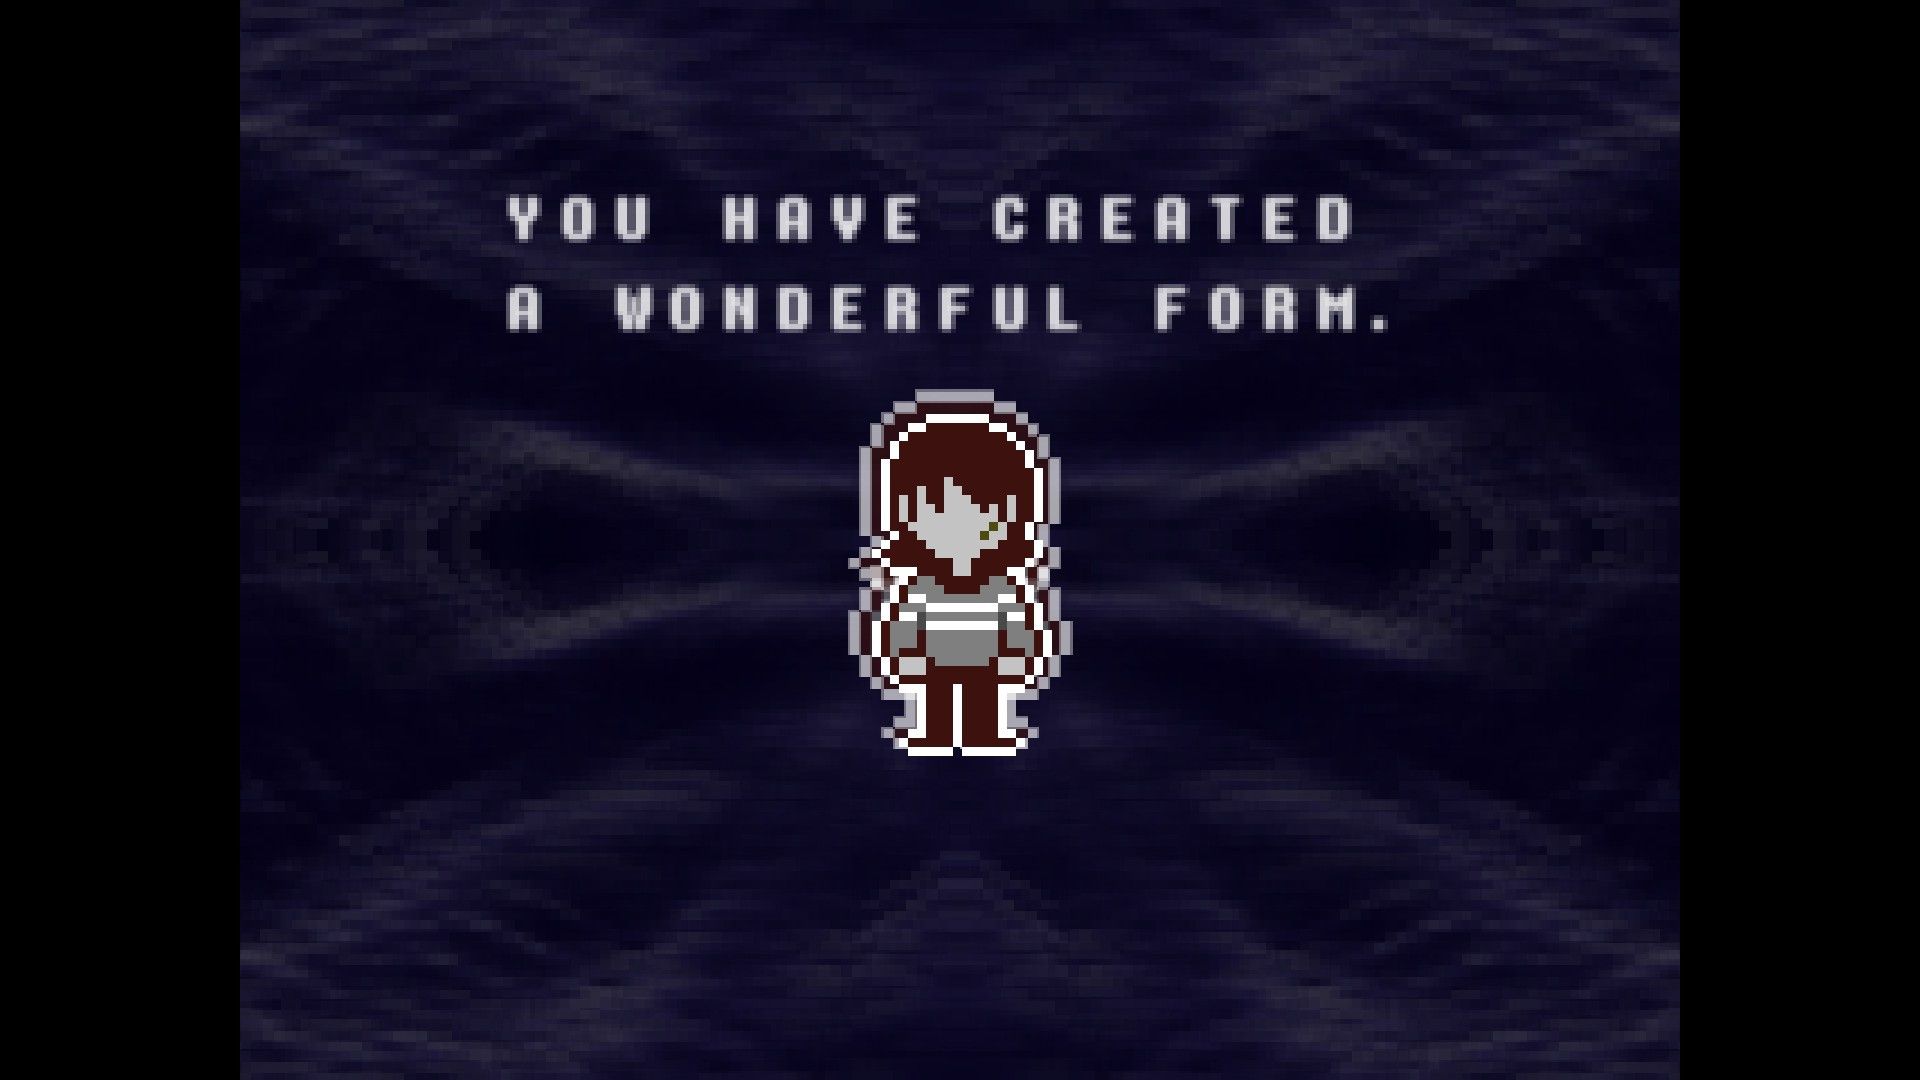
Players will initiate Deltarune’s Chapter 1 by crafting a Vessel. Although a player’s choices during Chapters 1 and 2 won’t have significant consequences, they are saved for future reference. Thus, players might want to spend some time making an appealing Vessel since it could be relevant in later chapters.
In case additional details about constructing Vessels become crucial in upcoming sections, this guide will be expanded accordingly.
To School
As a movie enthusiast, after crafting The Vessel, I’ll find myself assuming control over the character named Kris. The journey ahead involves navigating through the house and eventually escaping via the right-side door in the living room. Once outside, I’m rewarded with a brief cinematic sequence where Toriel drives Kris to school.
At School
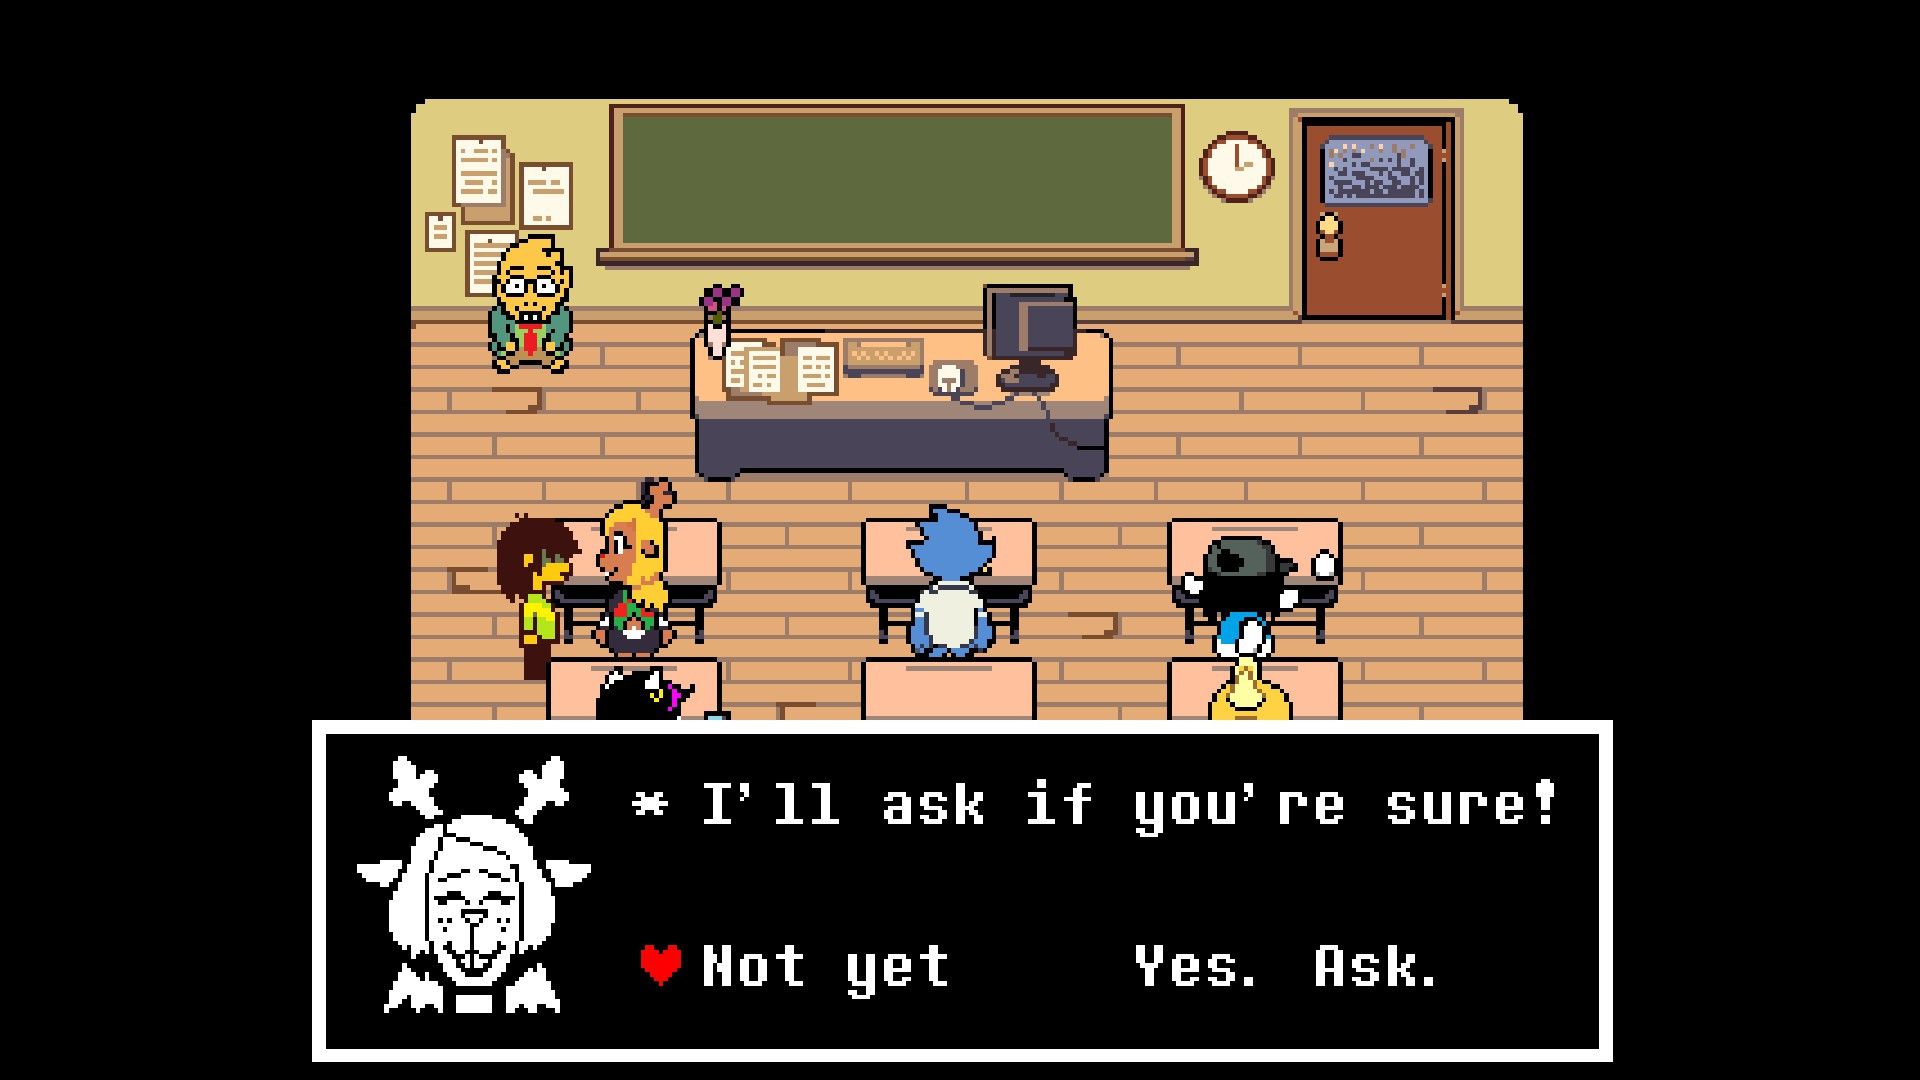
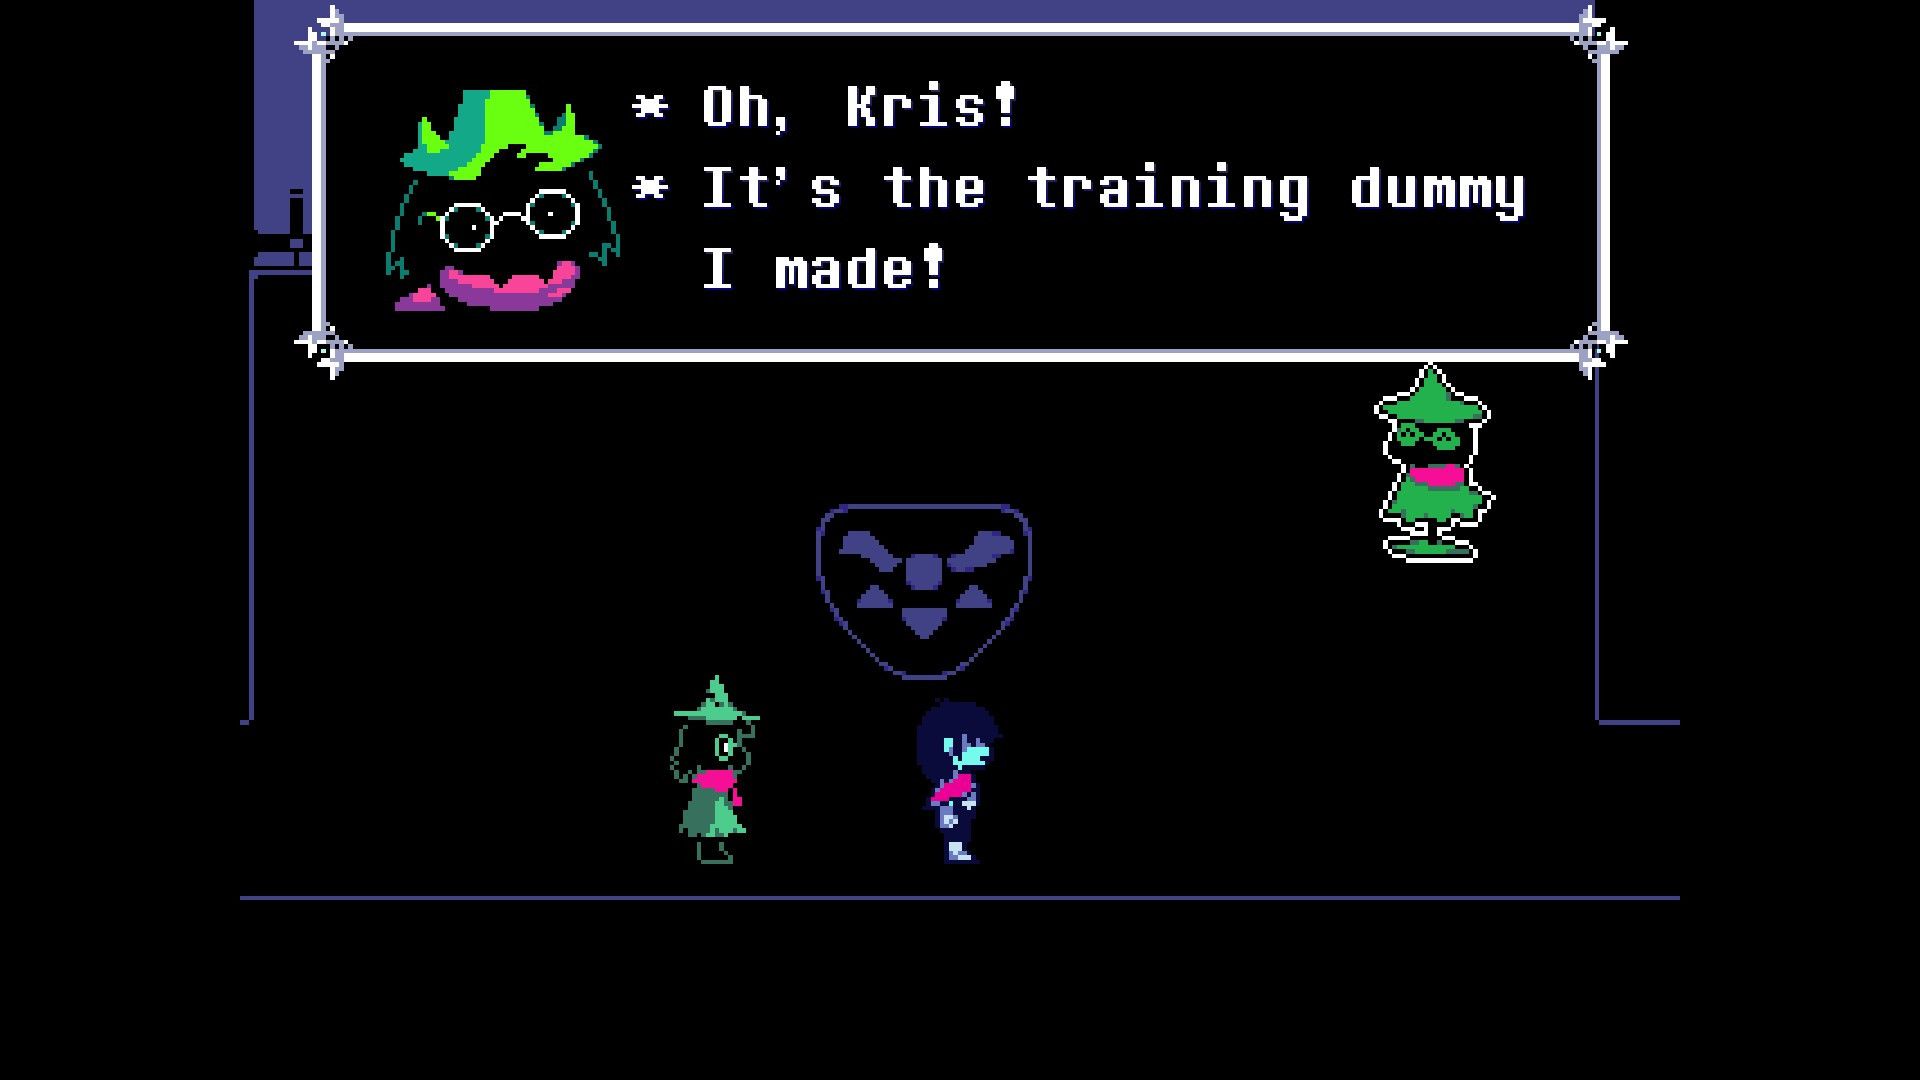
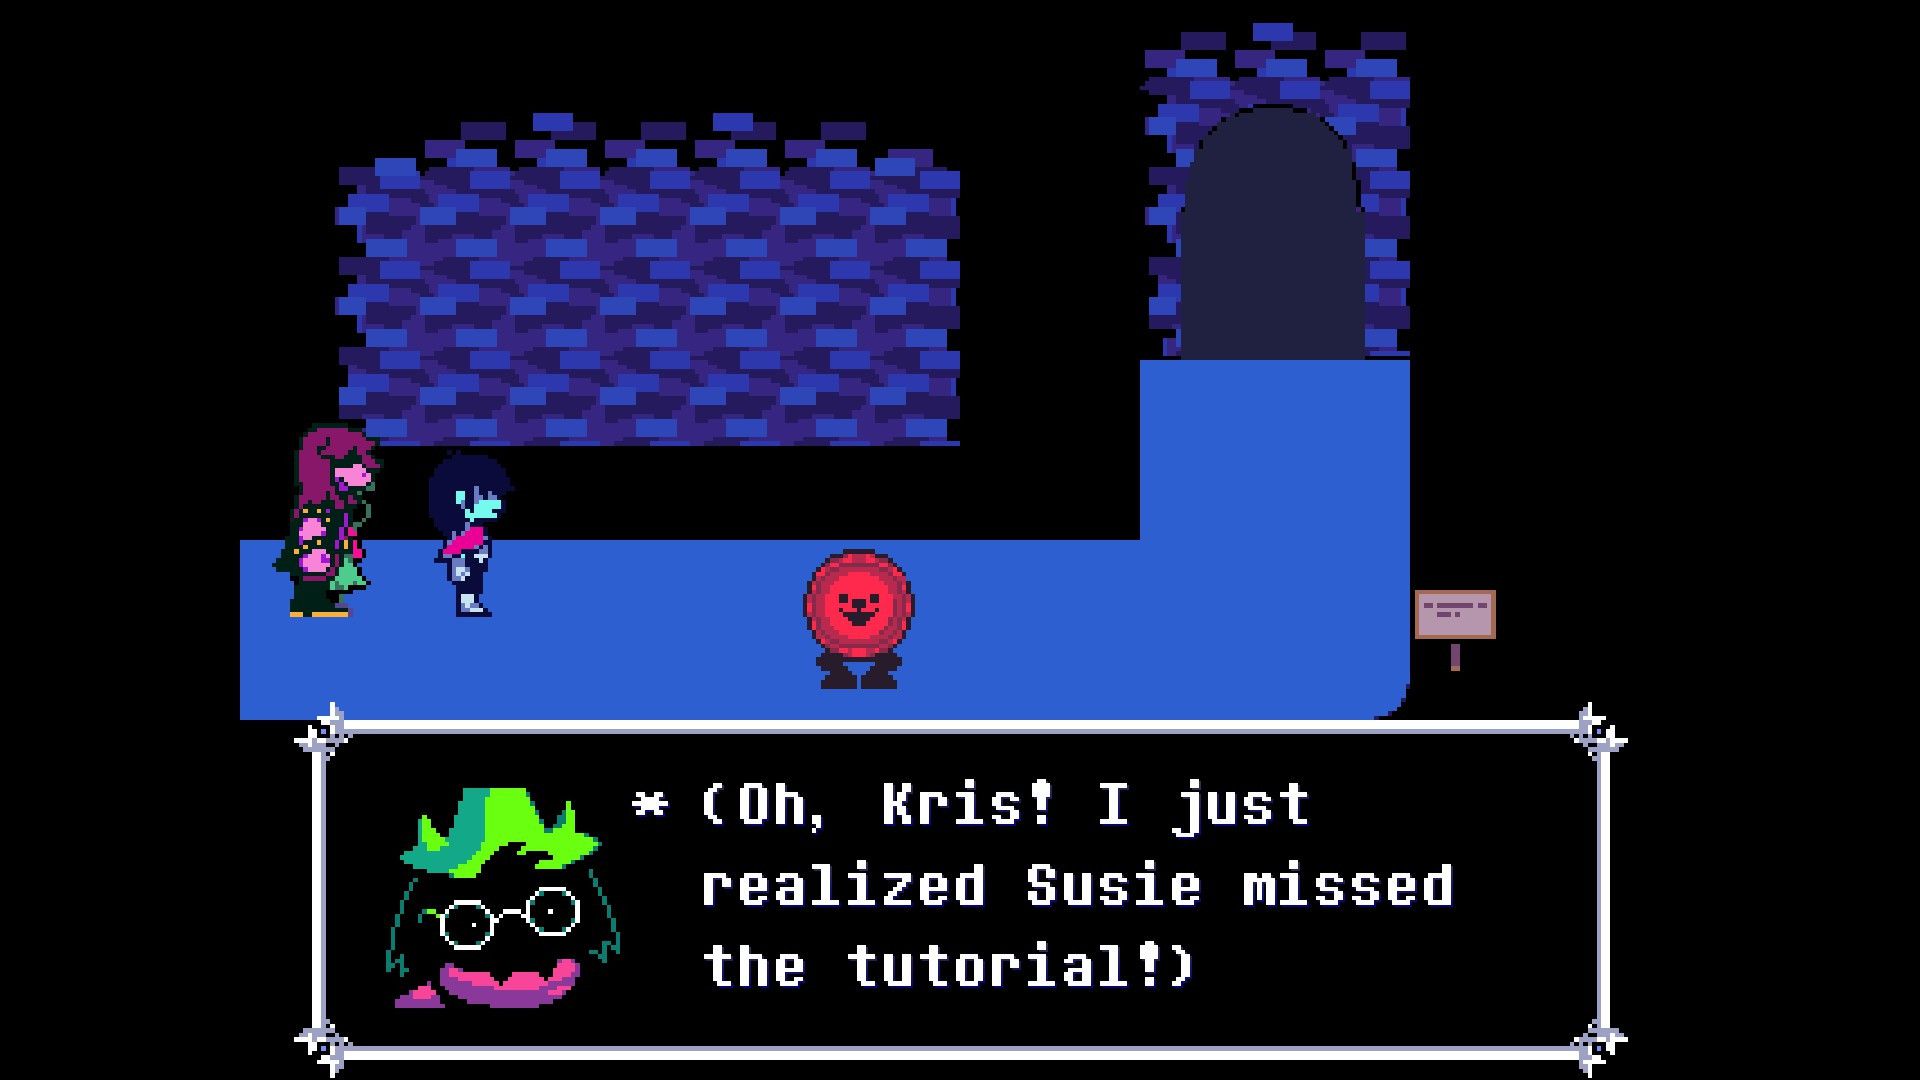
Towards the conclusion of the scene, players will wind up in Kris’s classroom. Here, they are advised to interact with Noelle, who appears to be a monster resembling a reindeer and is stationed at the desk positioned on the top-left corner. Players should now verify if they wish for Noelle to initiate a discussion about forming a partner group, which in turn will set off a series of events resulting in Susie’s entrance into the room.
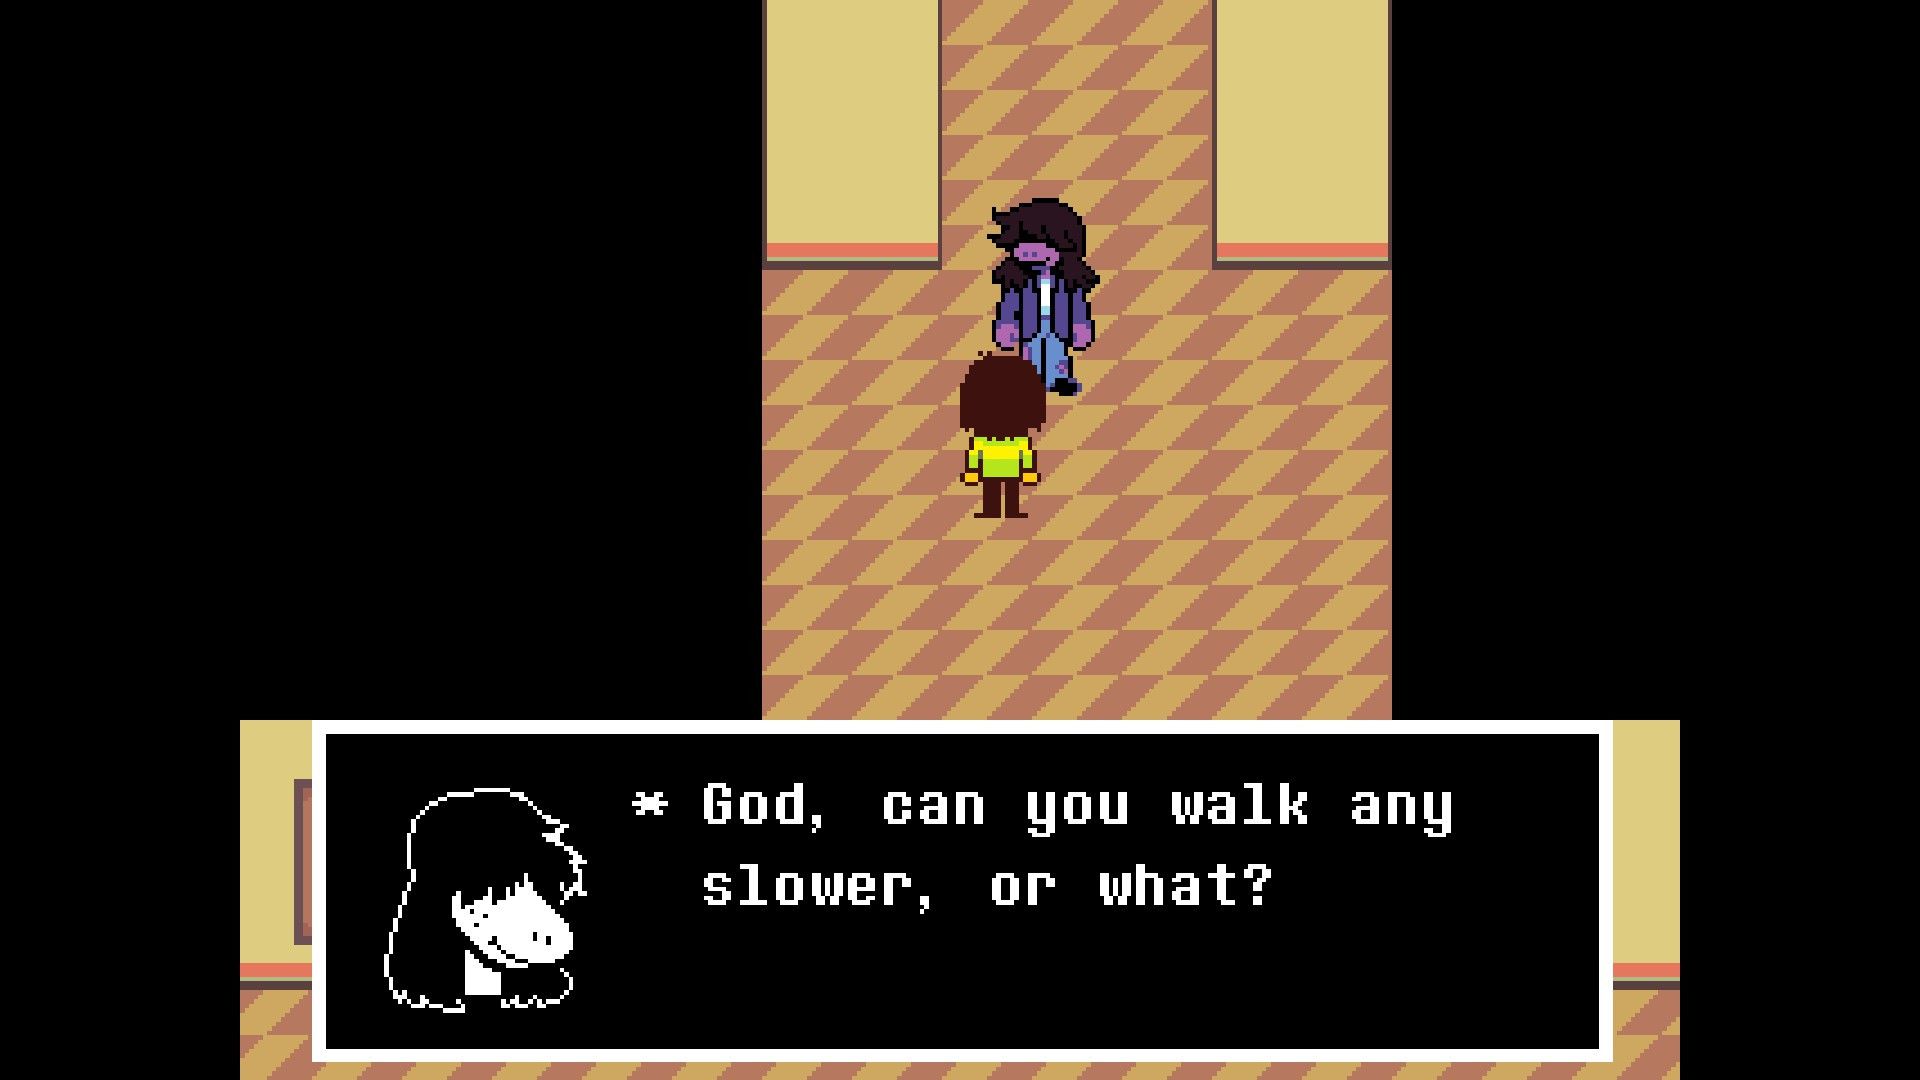
As a movie aficionado, let me guide you through my experience: In this film, I was tasked to traverse the corridors of the school alongside Susie. Eventually, we ventured into a wardrobe that led to an unexpected turn â entry into the enigmatic realm known as the Dark World. Here, Kris finds himself in a whole new environment.
The Dark World & Castle Town – Deltarune Chapter 1 Walkthrough
To Castle Town
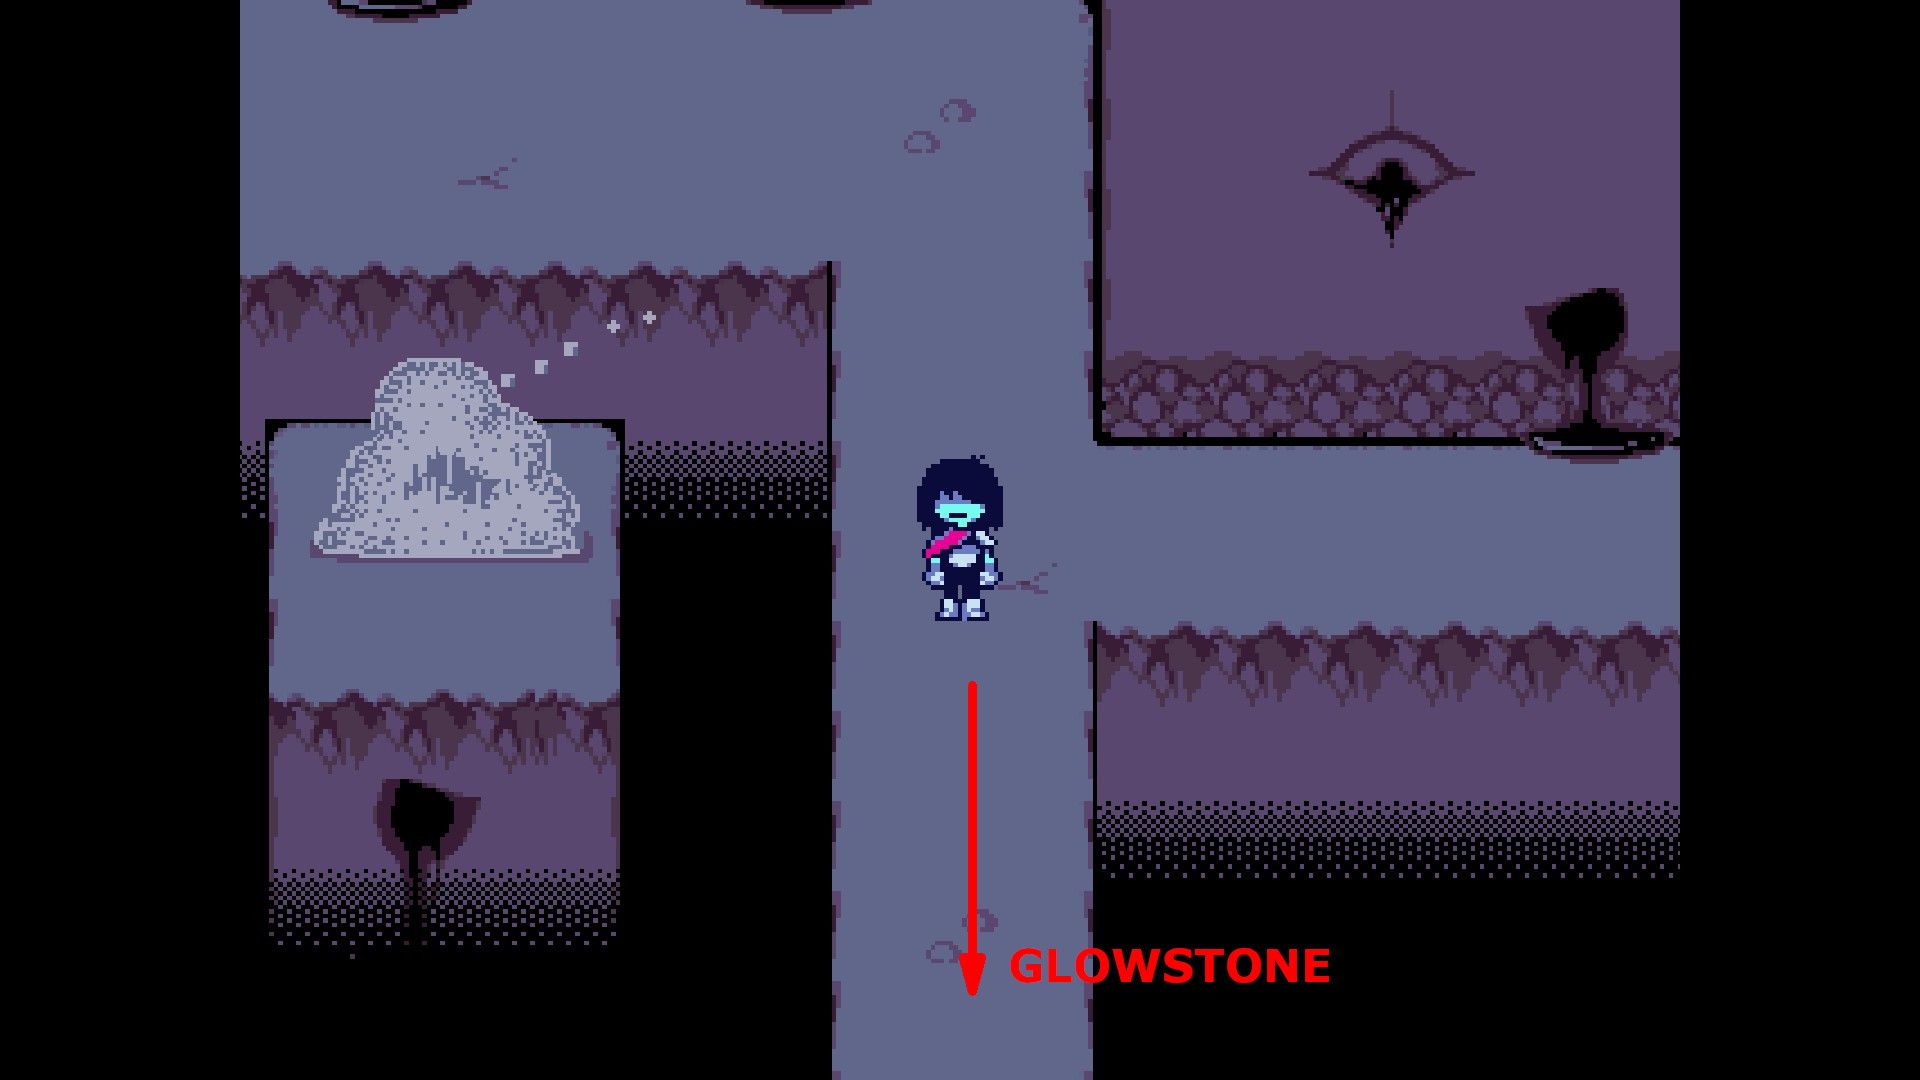
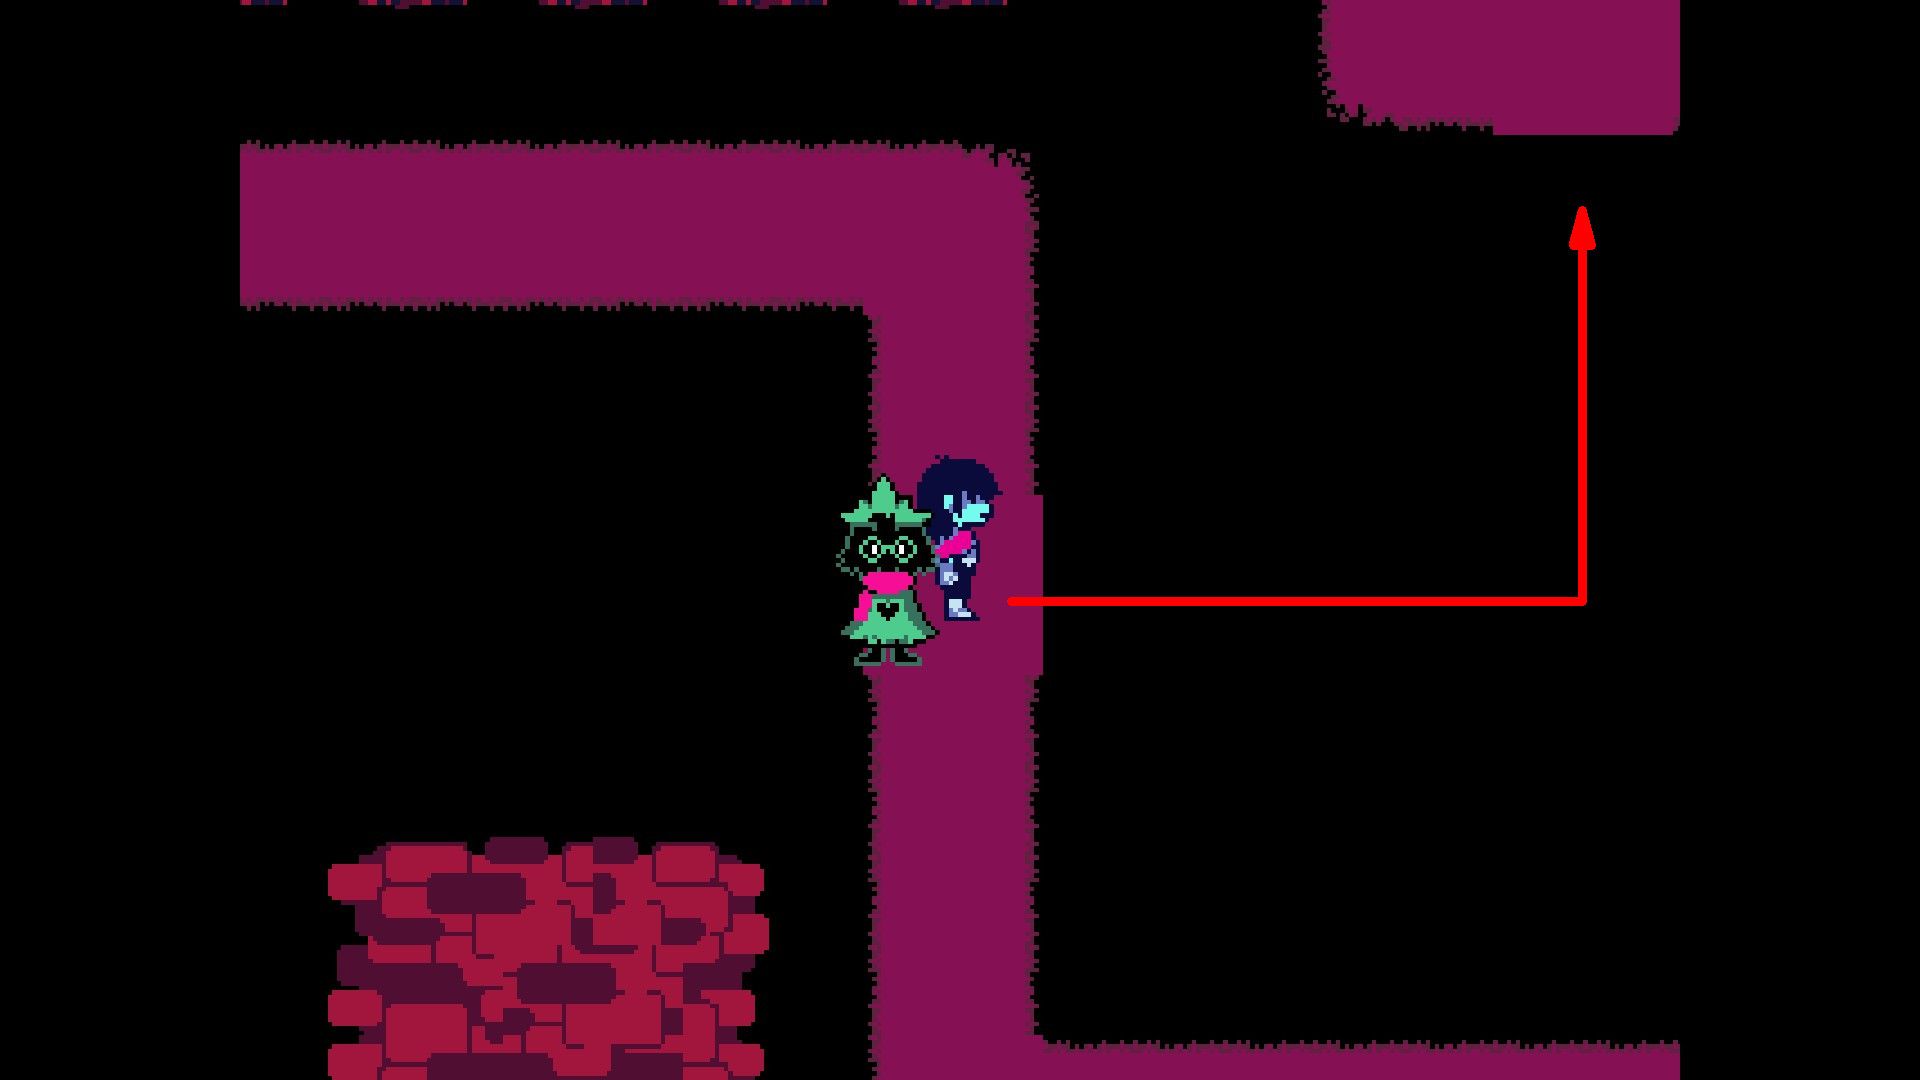
Following the repossession of Kris, gamers ought to traverse the route until they arrive at a crossroads. At this juncture, players should descend and engage with a hole in the wall to acquire a Glowstone. Subsequently, they can retrace their steps to the crossroads and carry on along the path to the right.
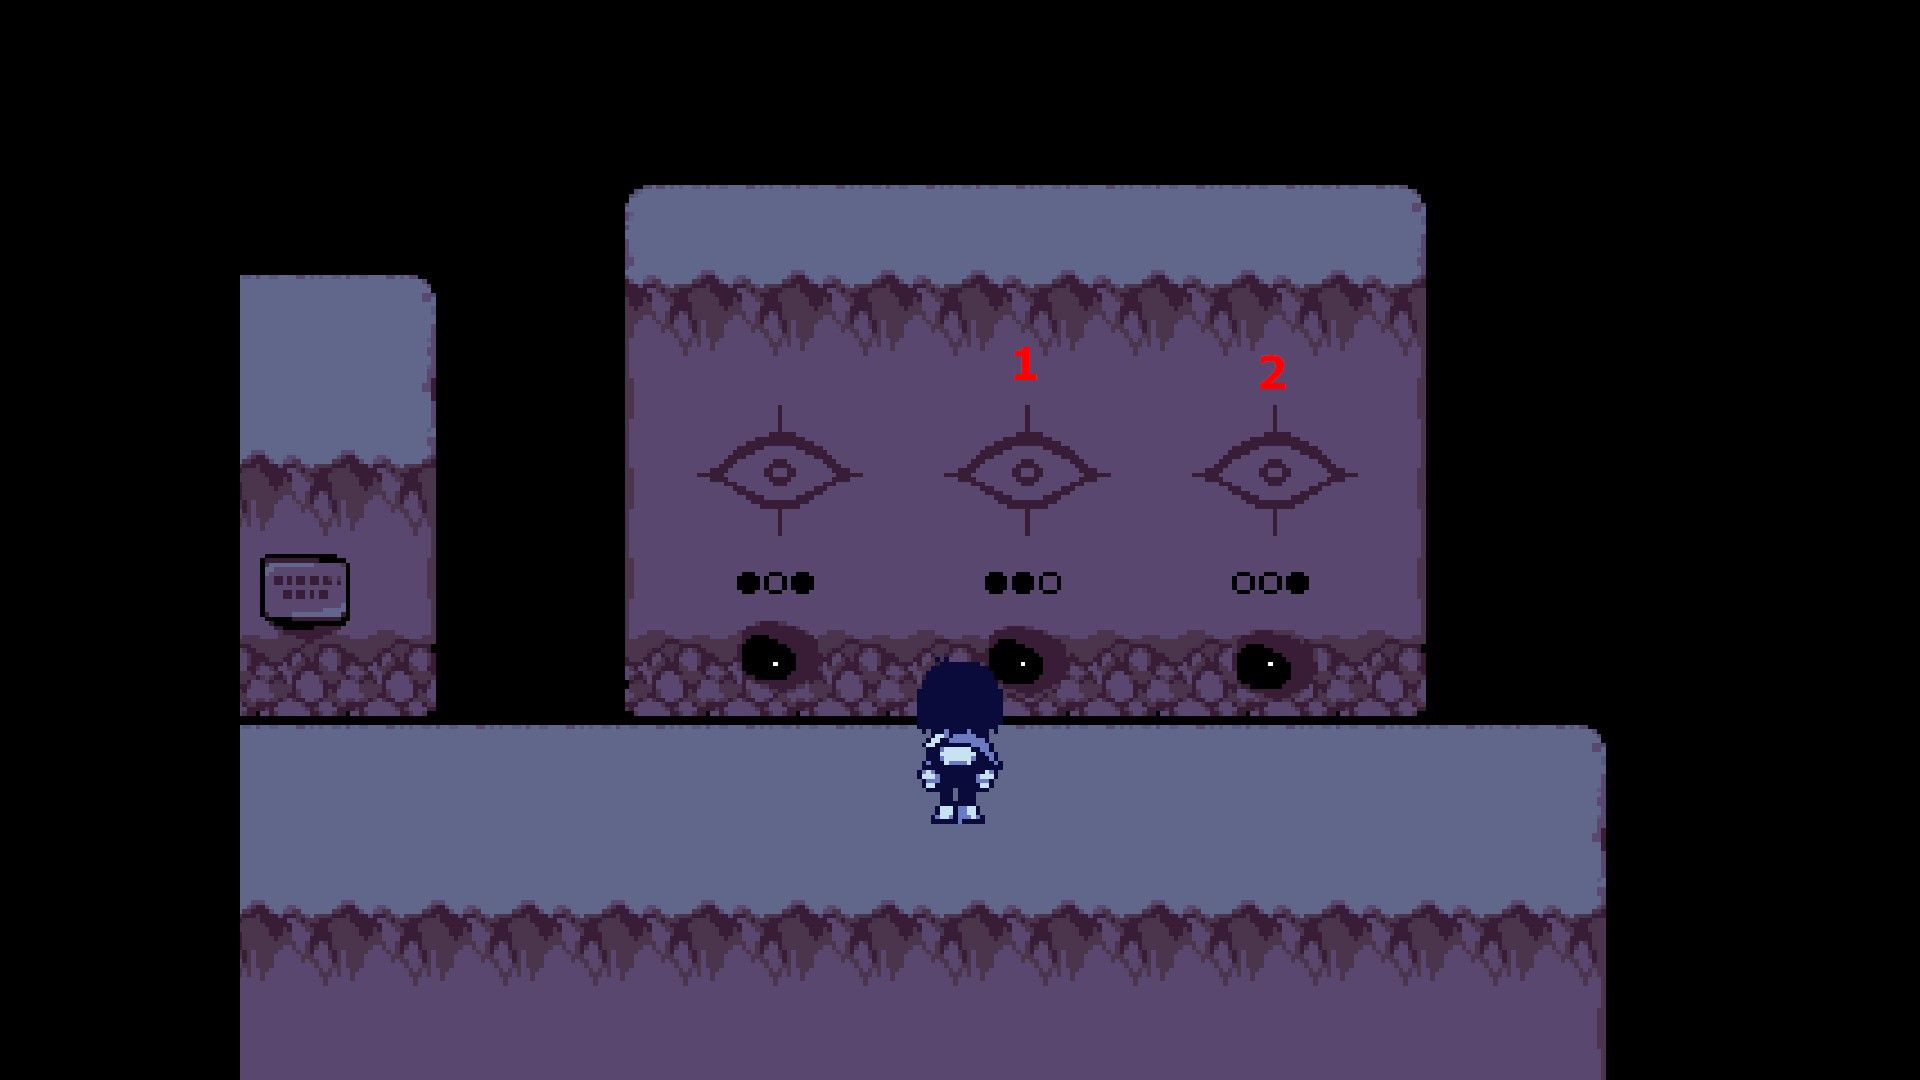
Shortly following the fork in the path, players will stumble upon an intriguing riddle known as an “eye enigma.” To unravel this puzzle, players must first engage with the hollow space beneath the middle eye, followed by the hollow space beneath the third eye. Once they’ve solved it, they should proceed to their right until they come across a mound, and interacting with that landform will bring Susie into view.
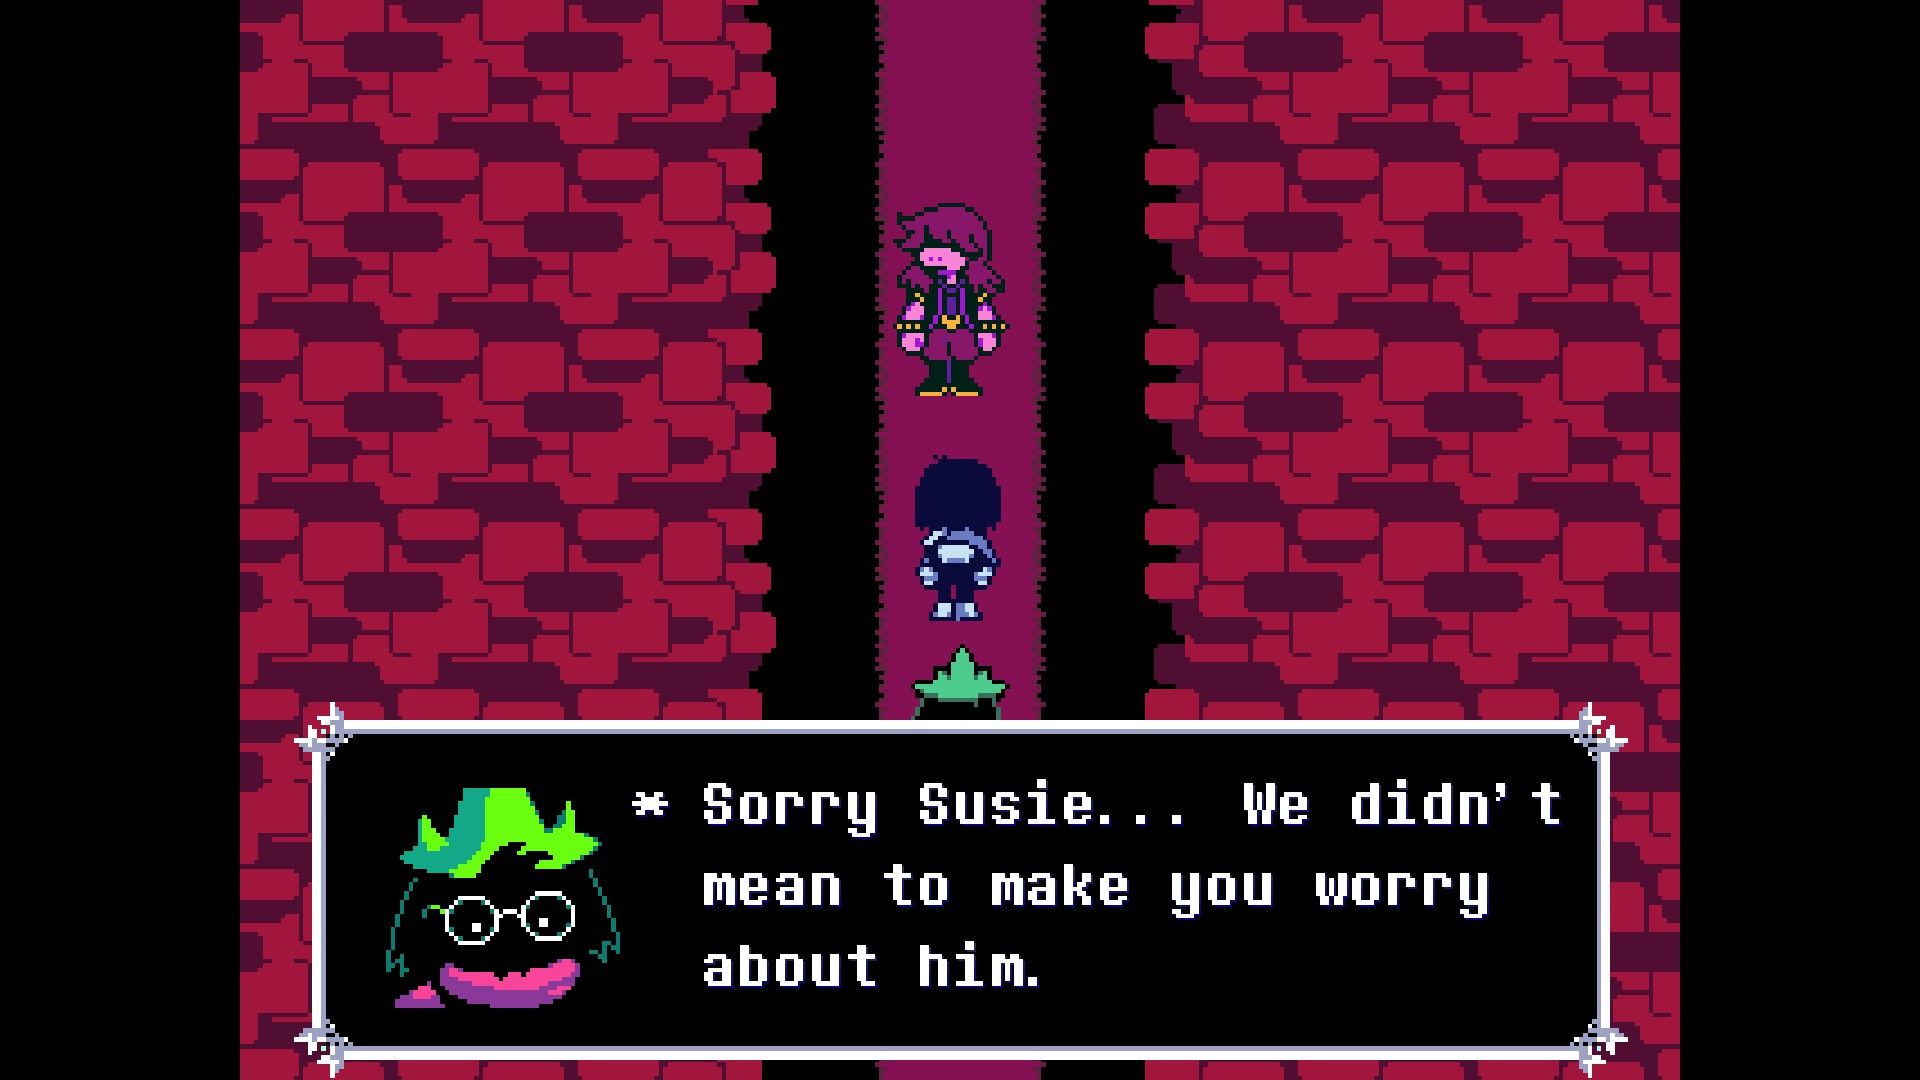
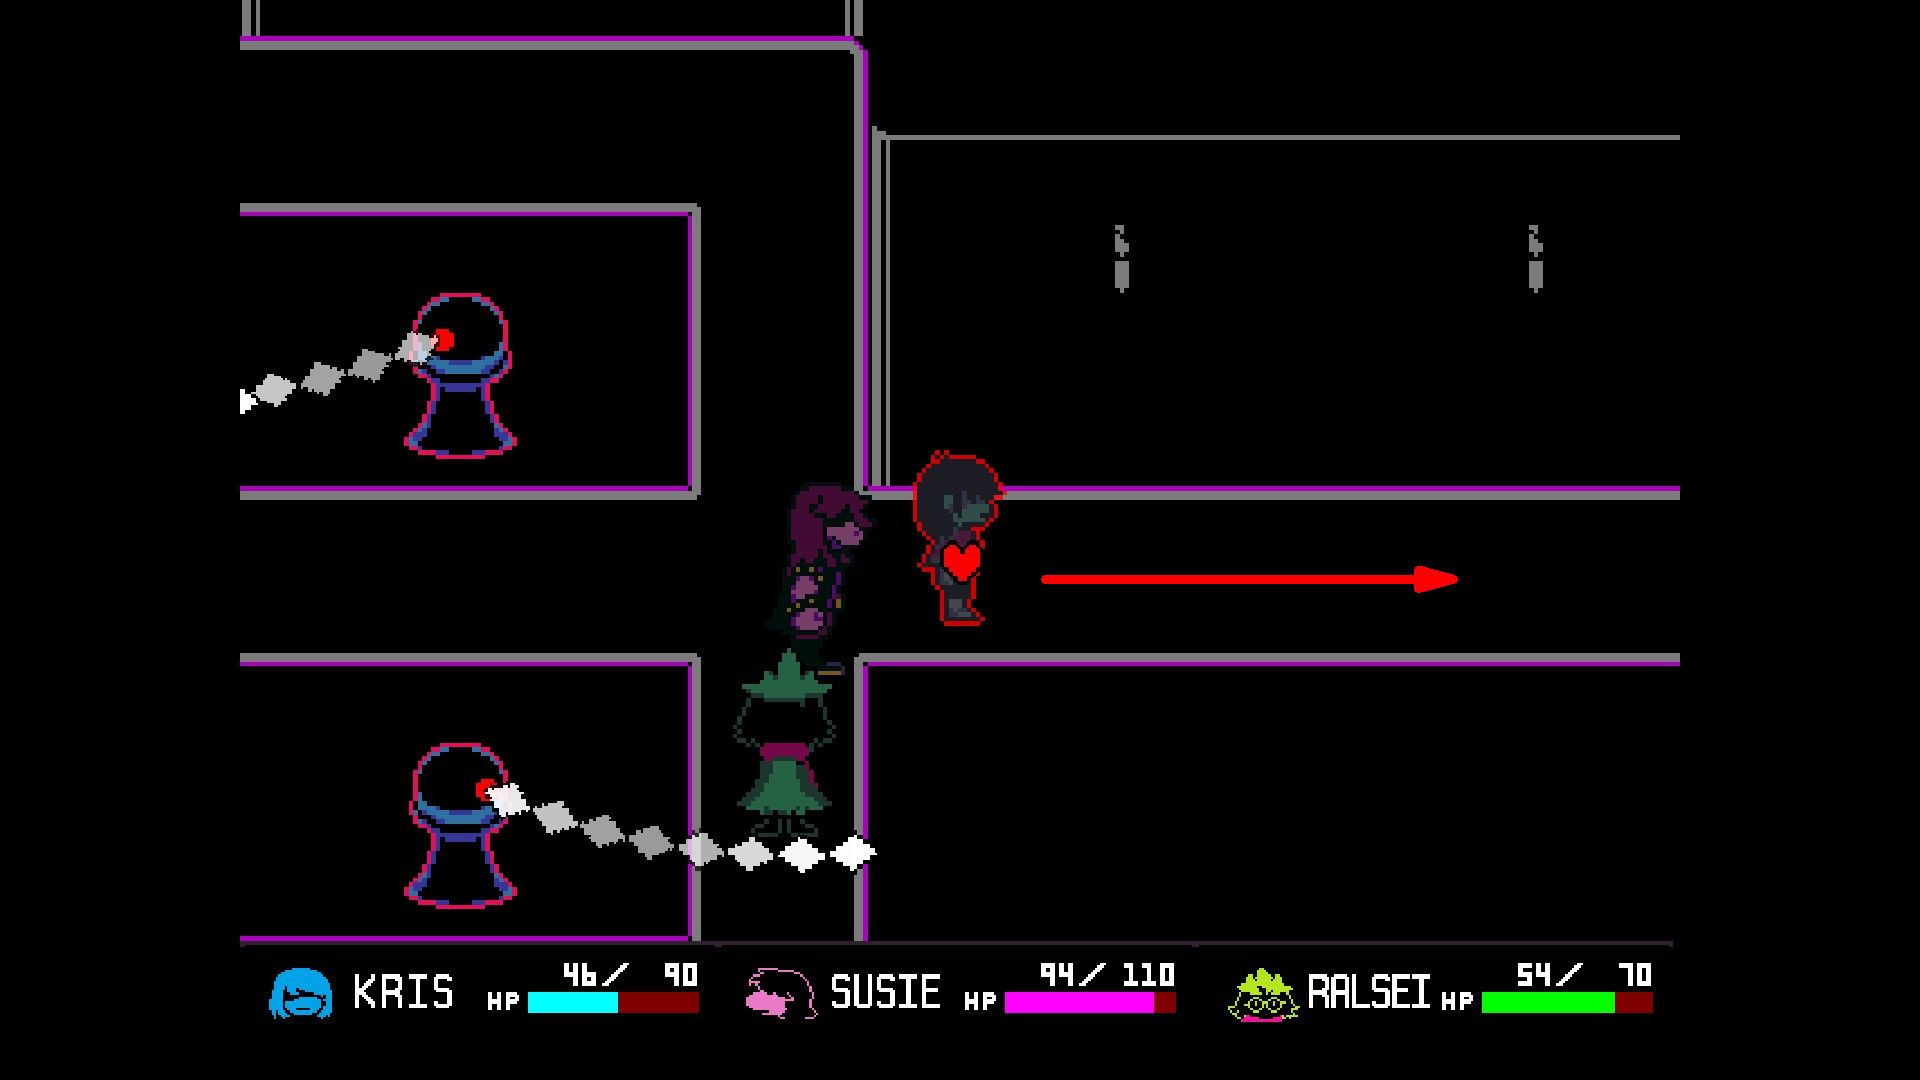
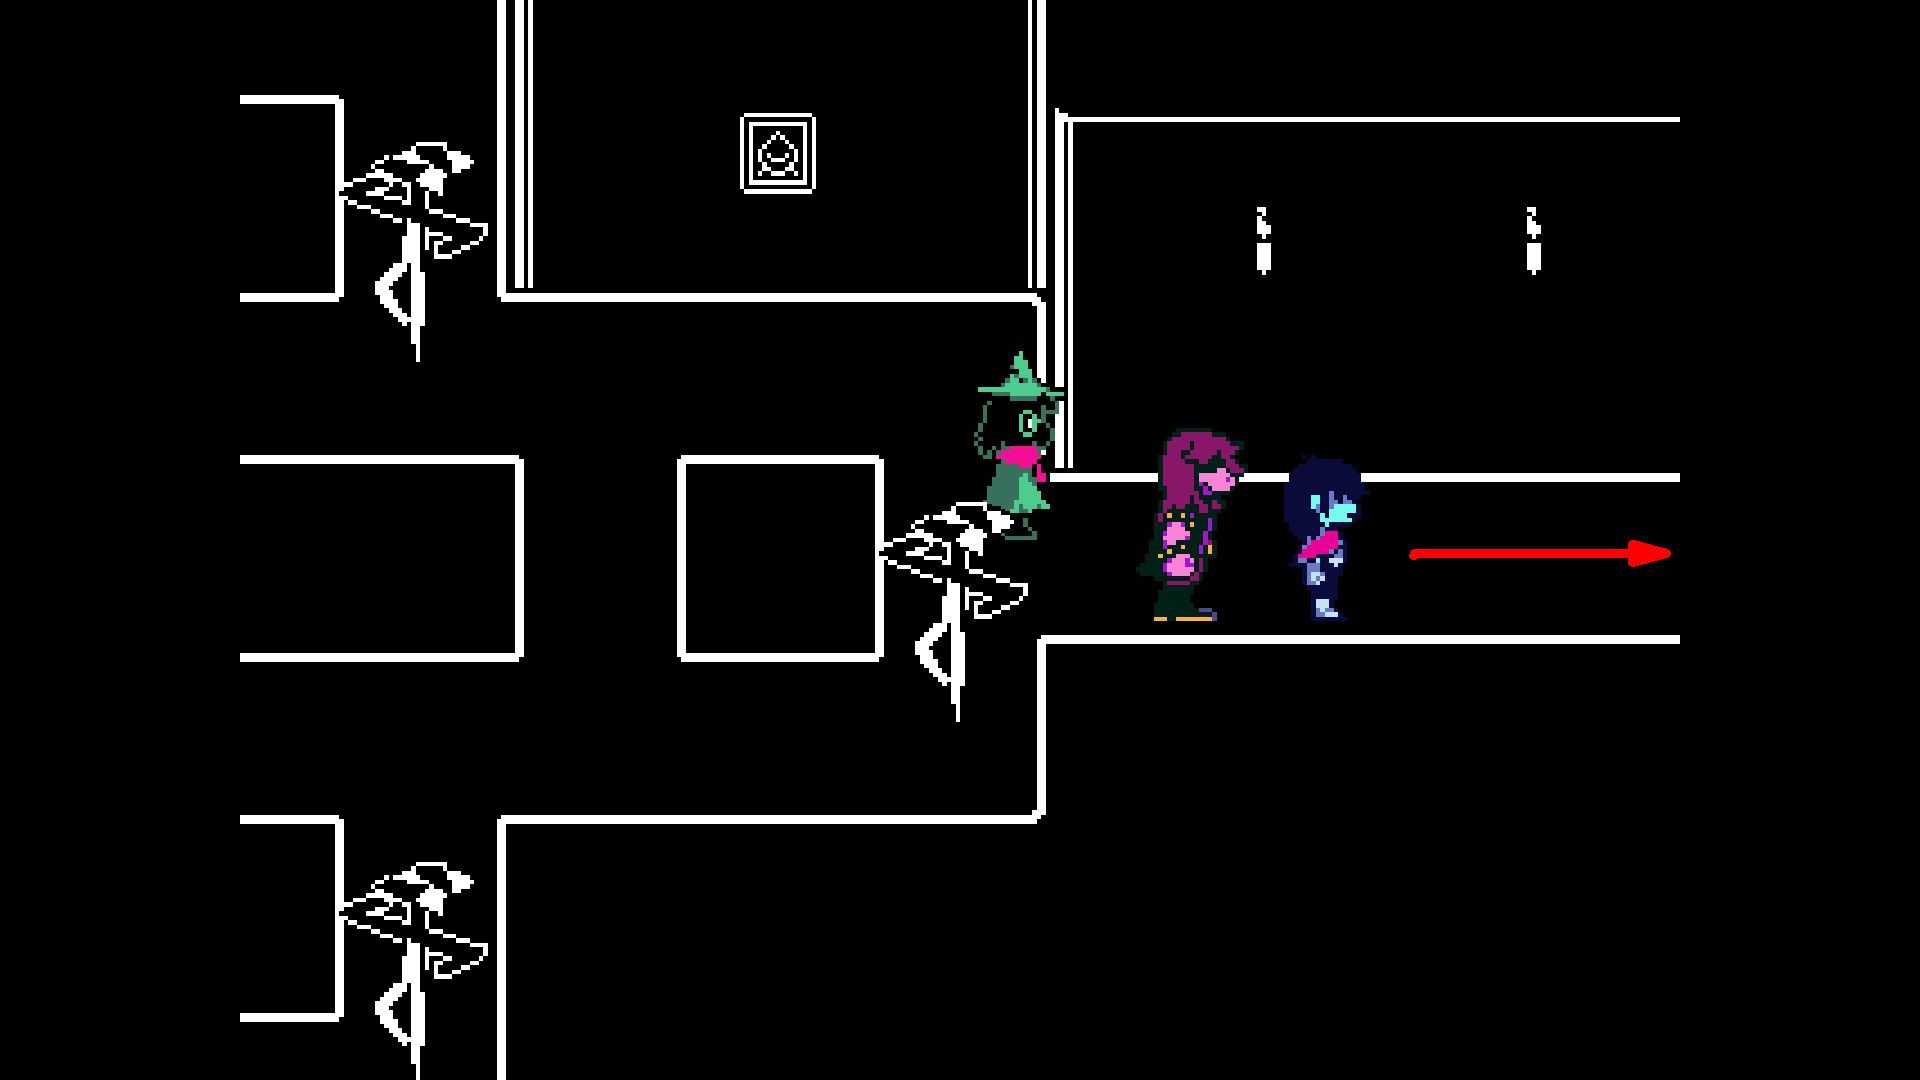
As the player advances forward, Susie flees and Kris chases after her. They’ll encounter an area filled with white spade projectiles that must be dodged. Eventually, players will locate Susie at the end of this area. Upon finding her, they should engage in conversation with her and make their way to Castle Town.
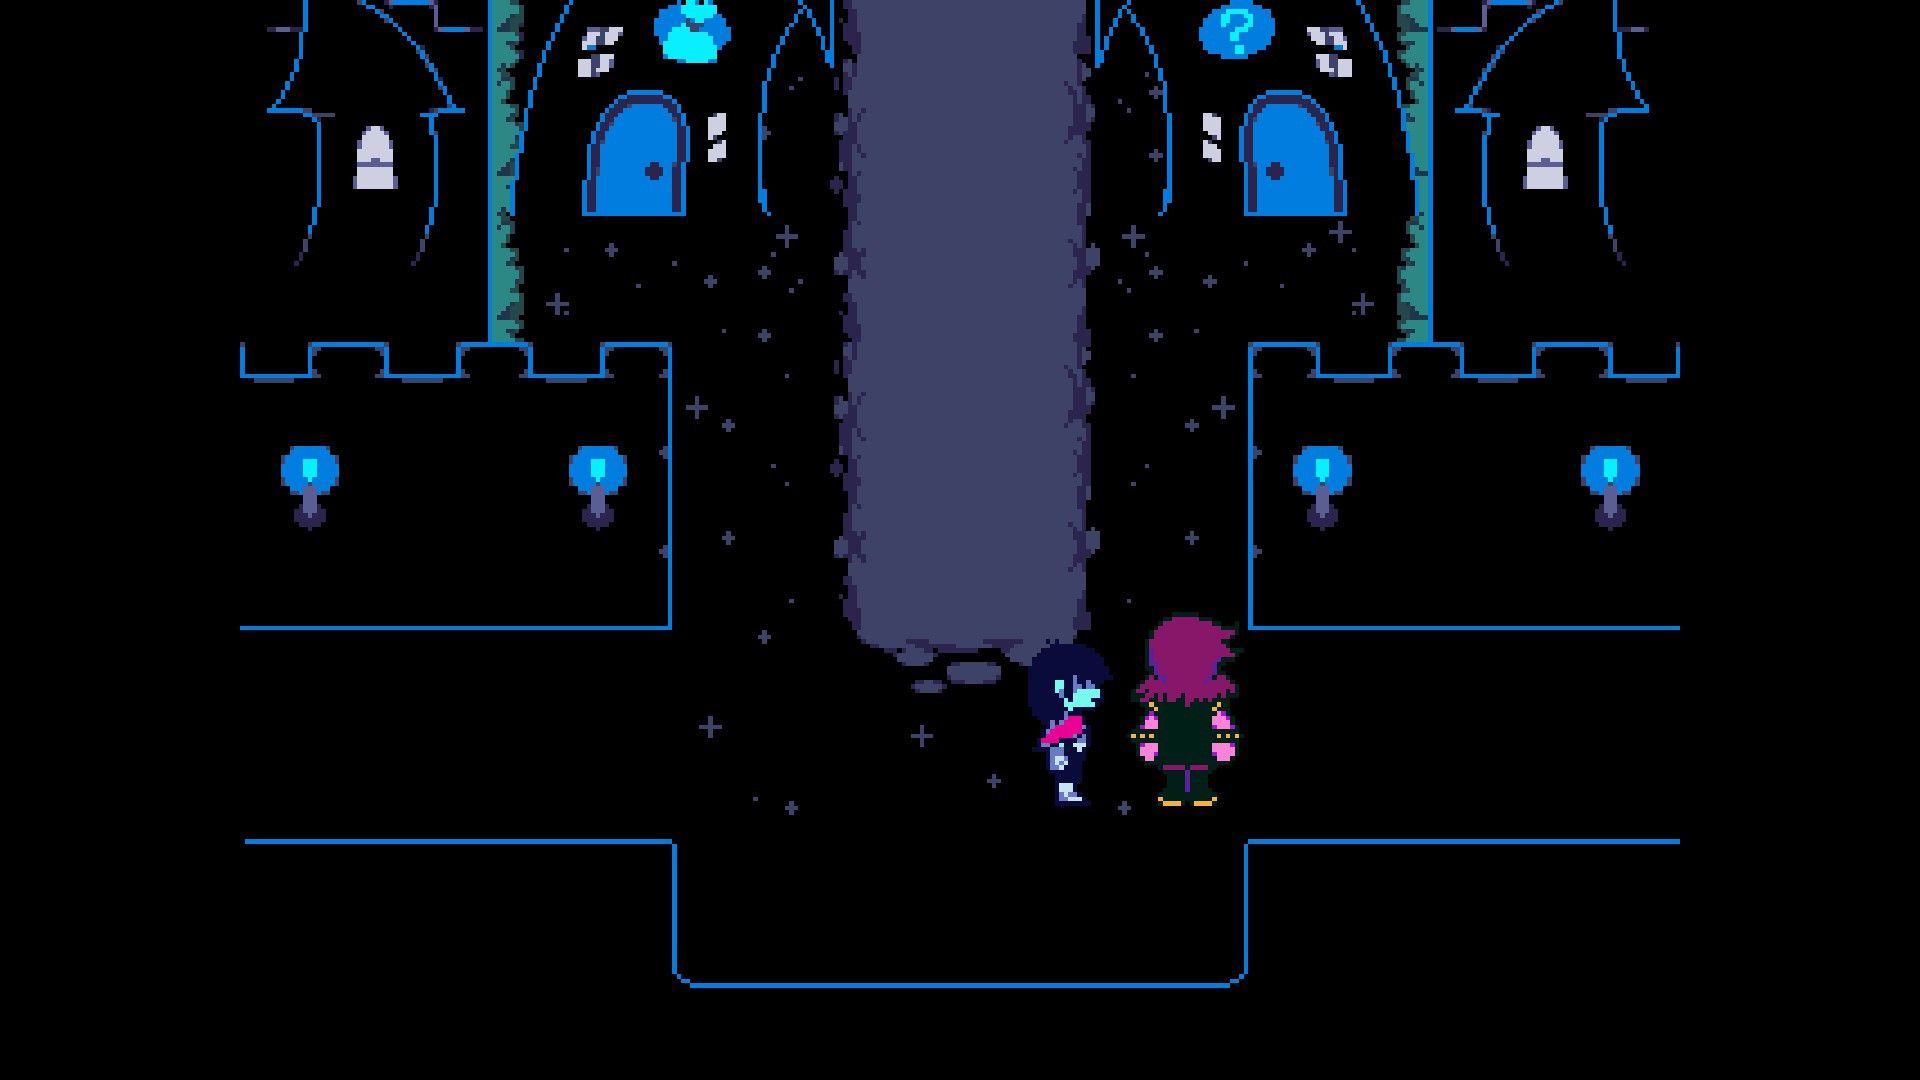
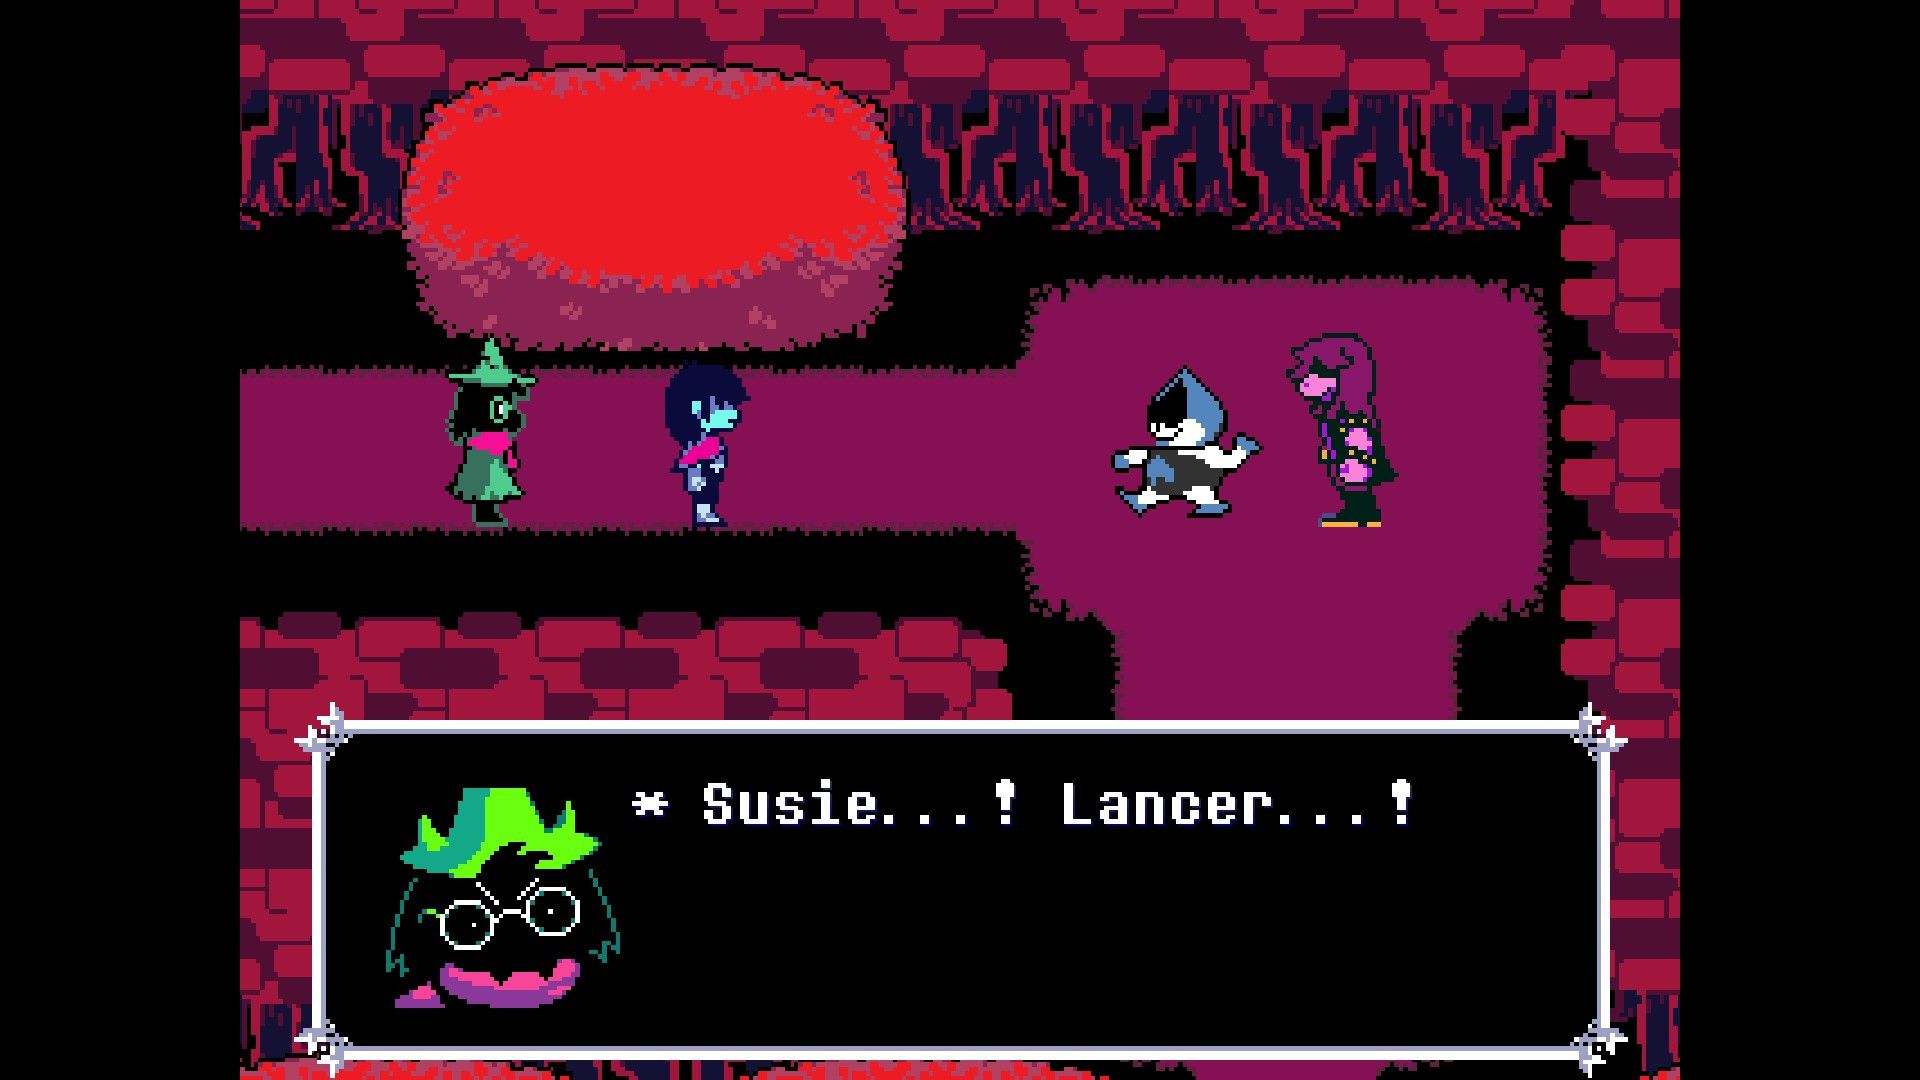
In Castle Town & To Field

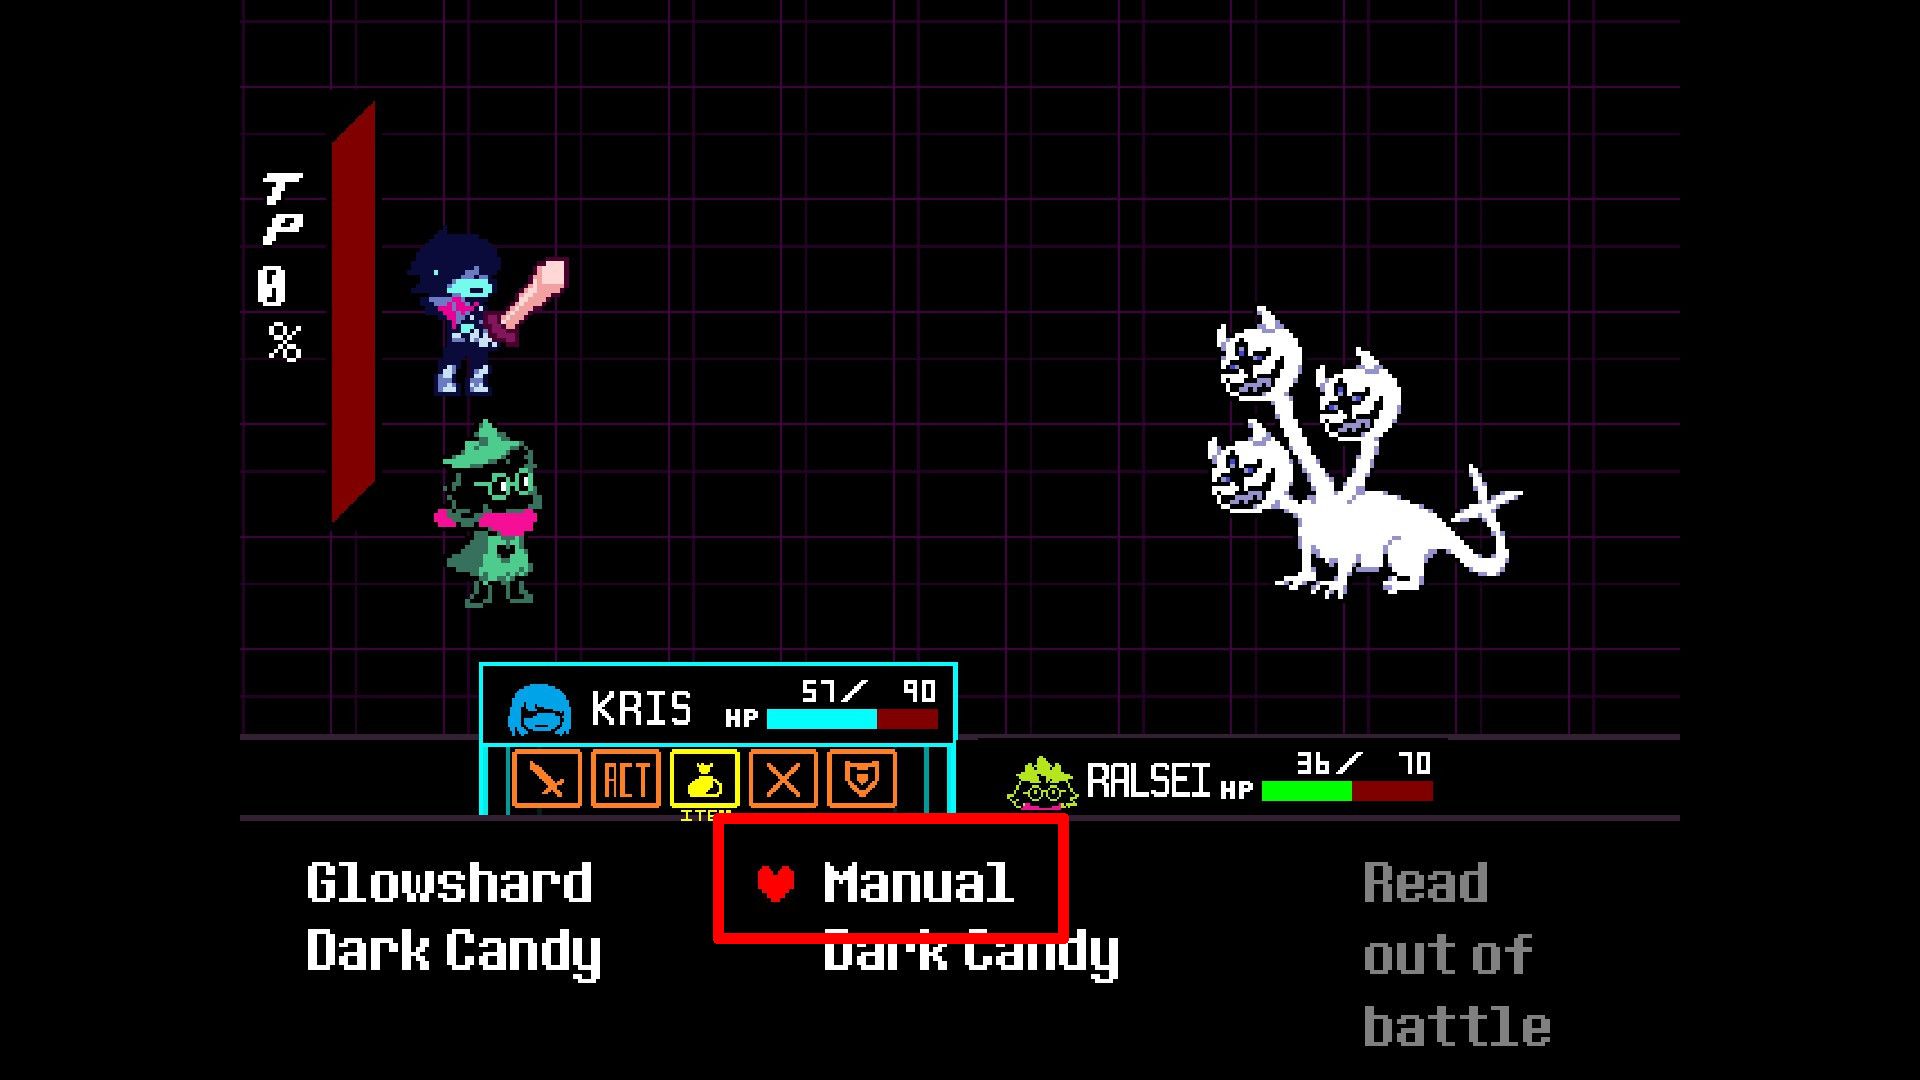
Upon entering Castle Town, players will meet a mysterious, cloaked individual. It’s advised they heed the prophecy this figure shares. Following this, players will engage in combat with Lancer, a character who shall withdraw after a brief skirmish. Later, it’s unveiled that the enigmatic figure is Ralsei, who subsequently teams up with Kris.
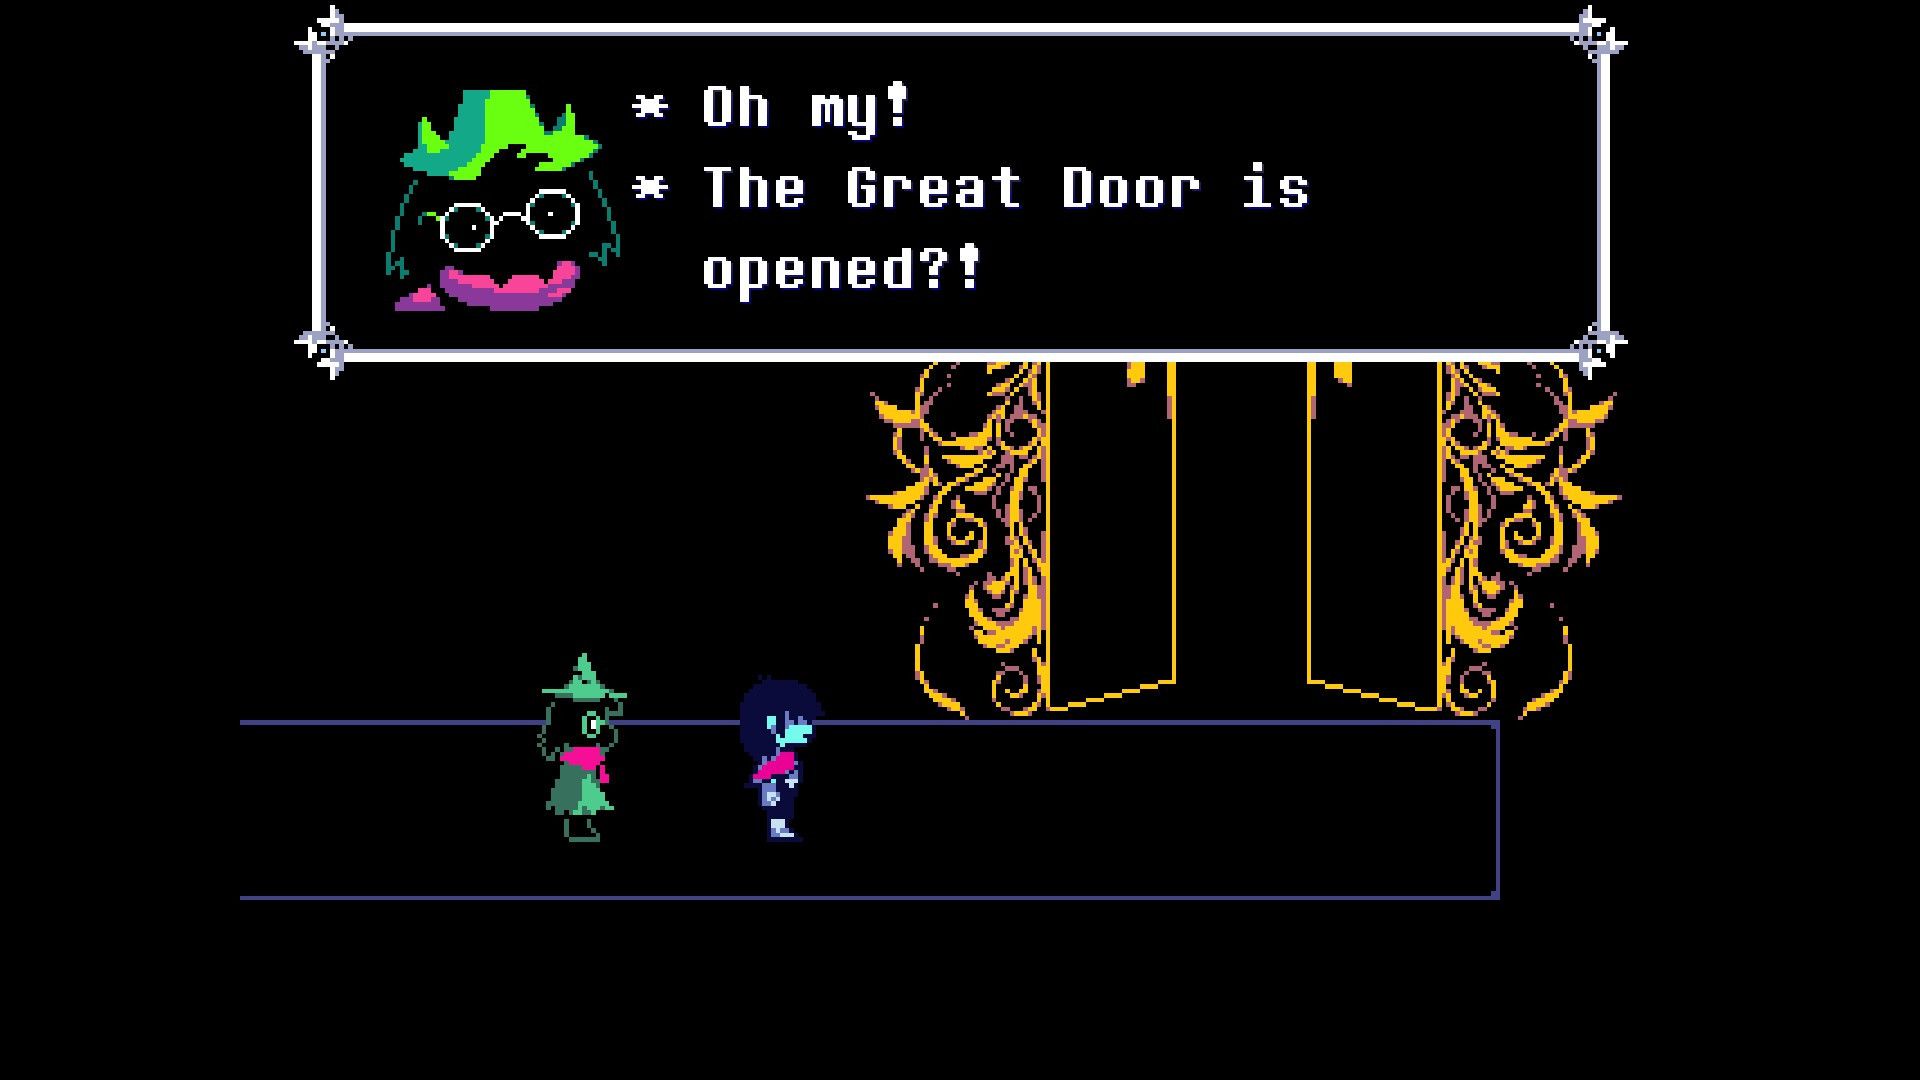
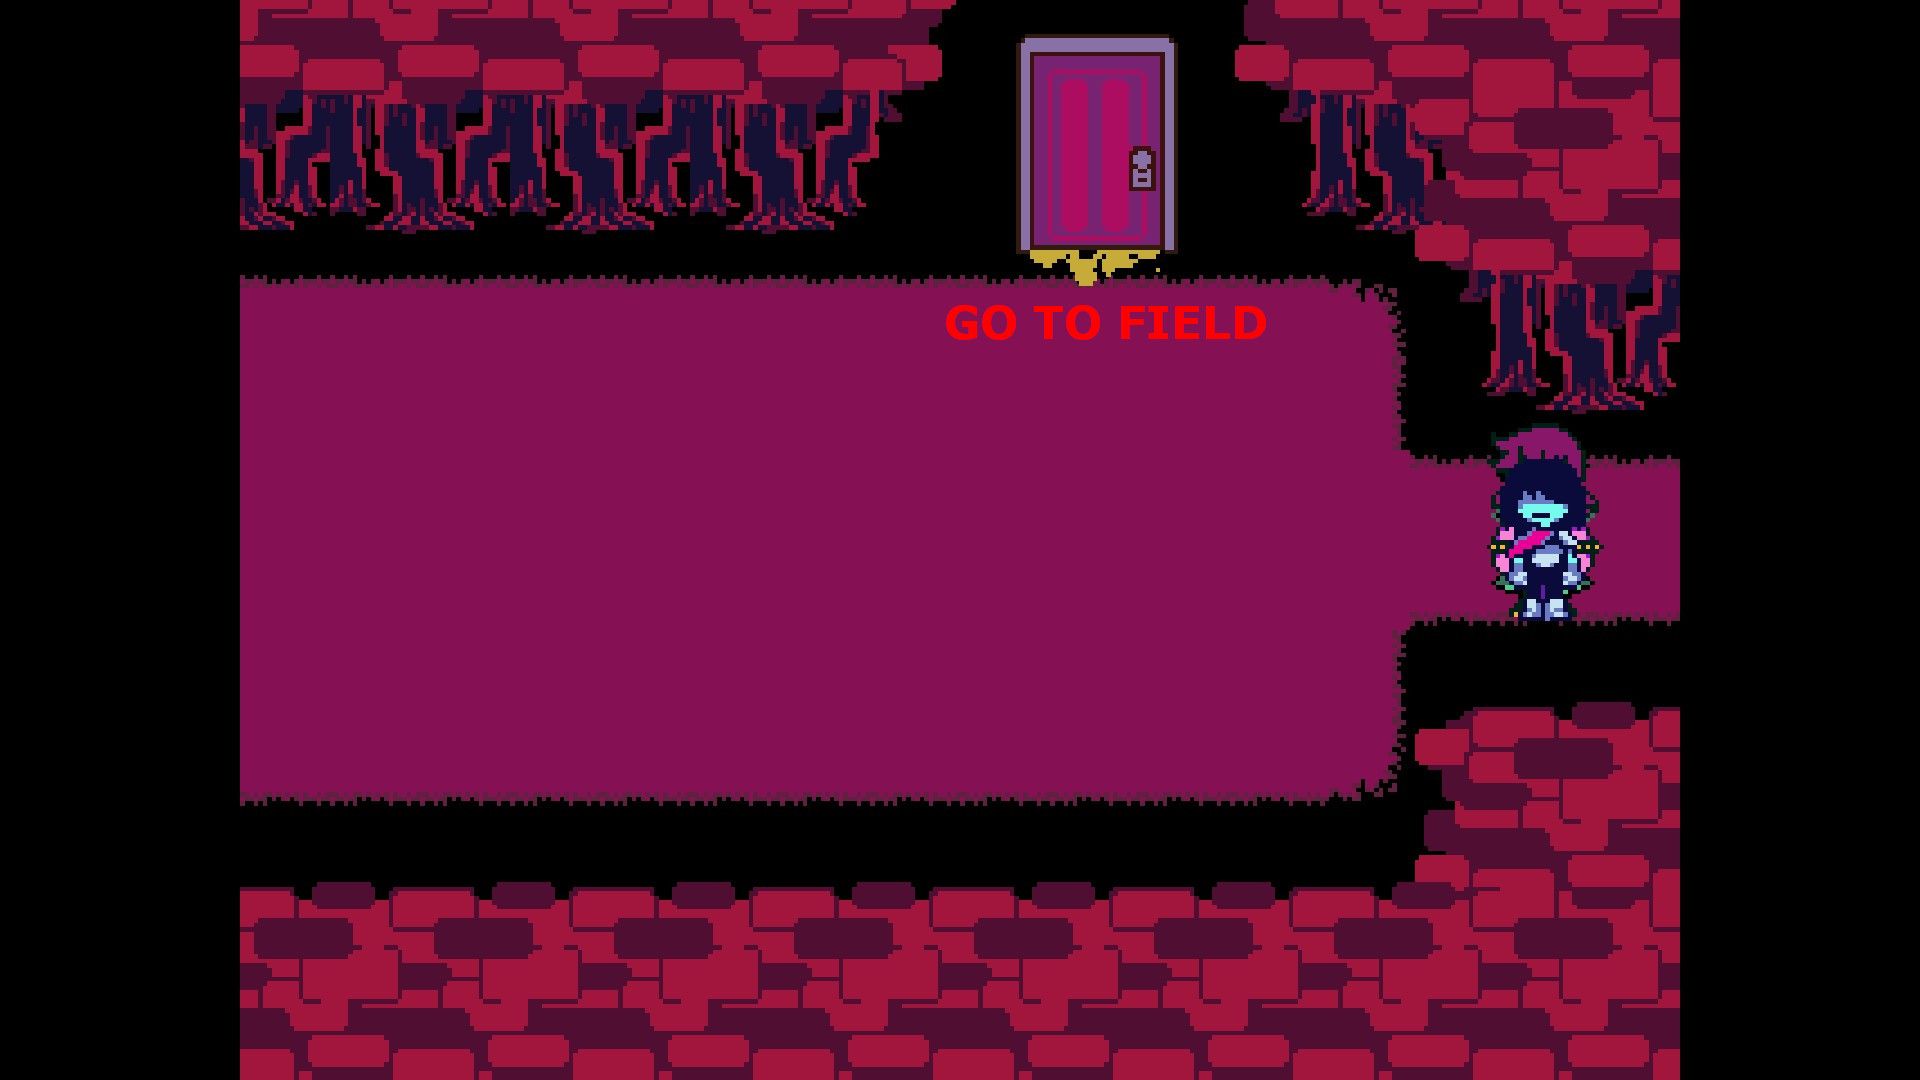
Now, it’s time for the players to depart from Castle Town and head towards the route that veers downwards and to the right. Along this path, Ralsei will offer a combat tutorial. Upon completing the tutorial, he will hand over a Manual to Kris. Once they have the Manual, players should proceed further along the right side of the path to encounter a substantial door that opens into the Field.
In Chapter 2 of the game, if the player chooses to hold onto the manual, a suitable stand for it will materialize in Kris’s room within Castle Town. Conversely, should the player decide to discard the manual on two separate occasions, a trash can will appear instead of the stand.
The Field – Deltarune Chapter 1 Walkthrough
In the Field
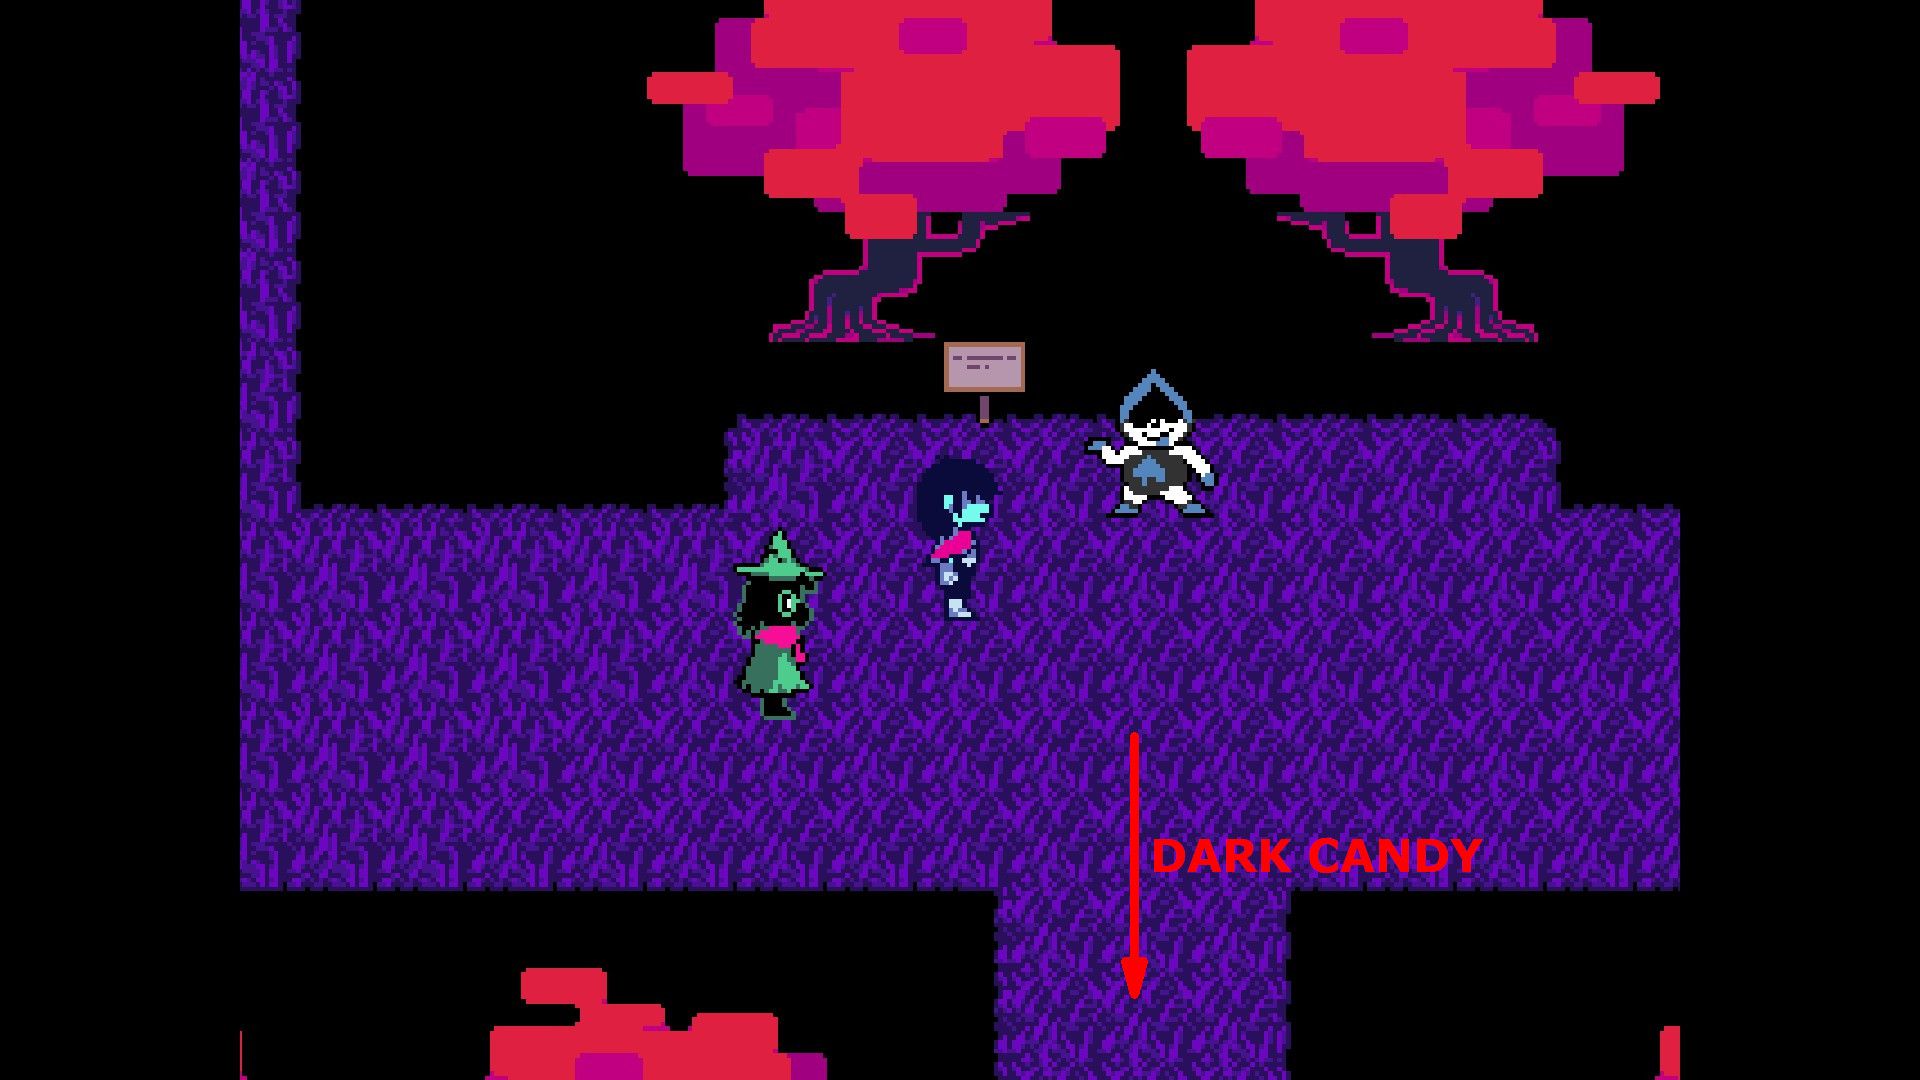
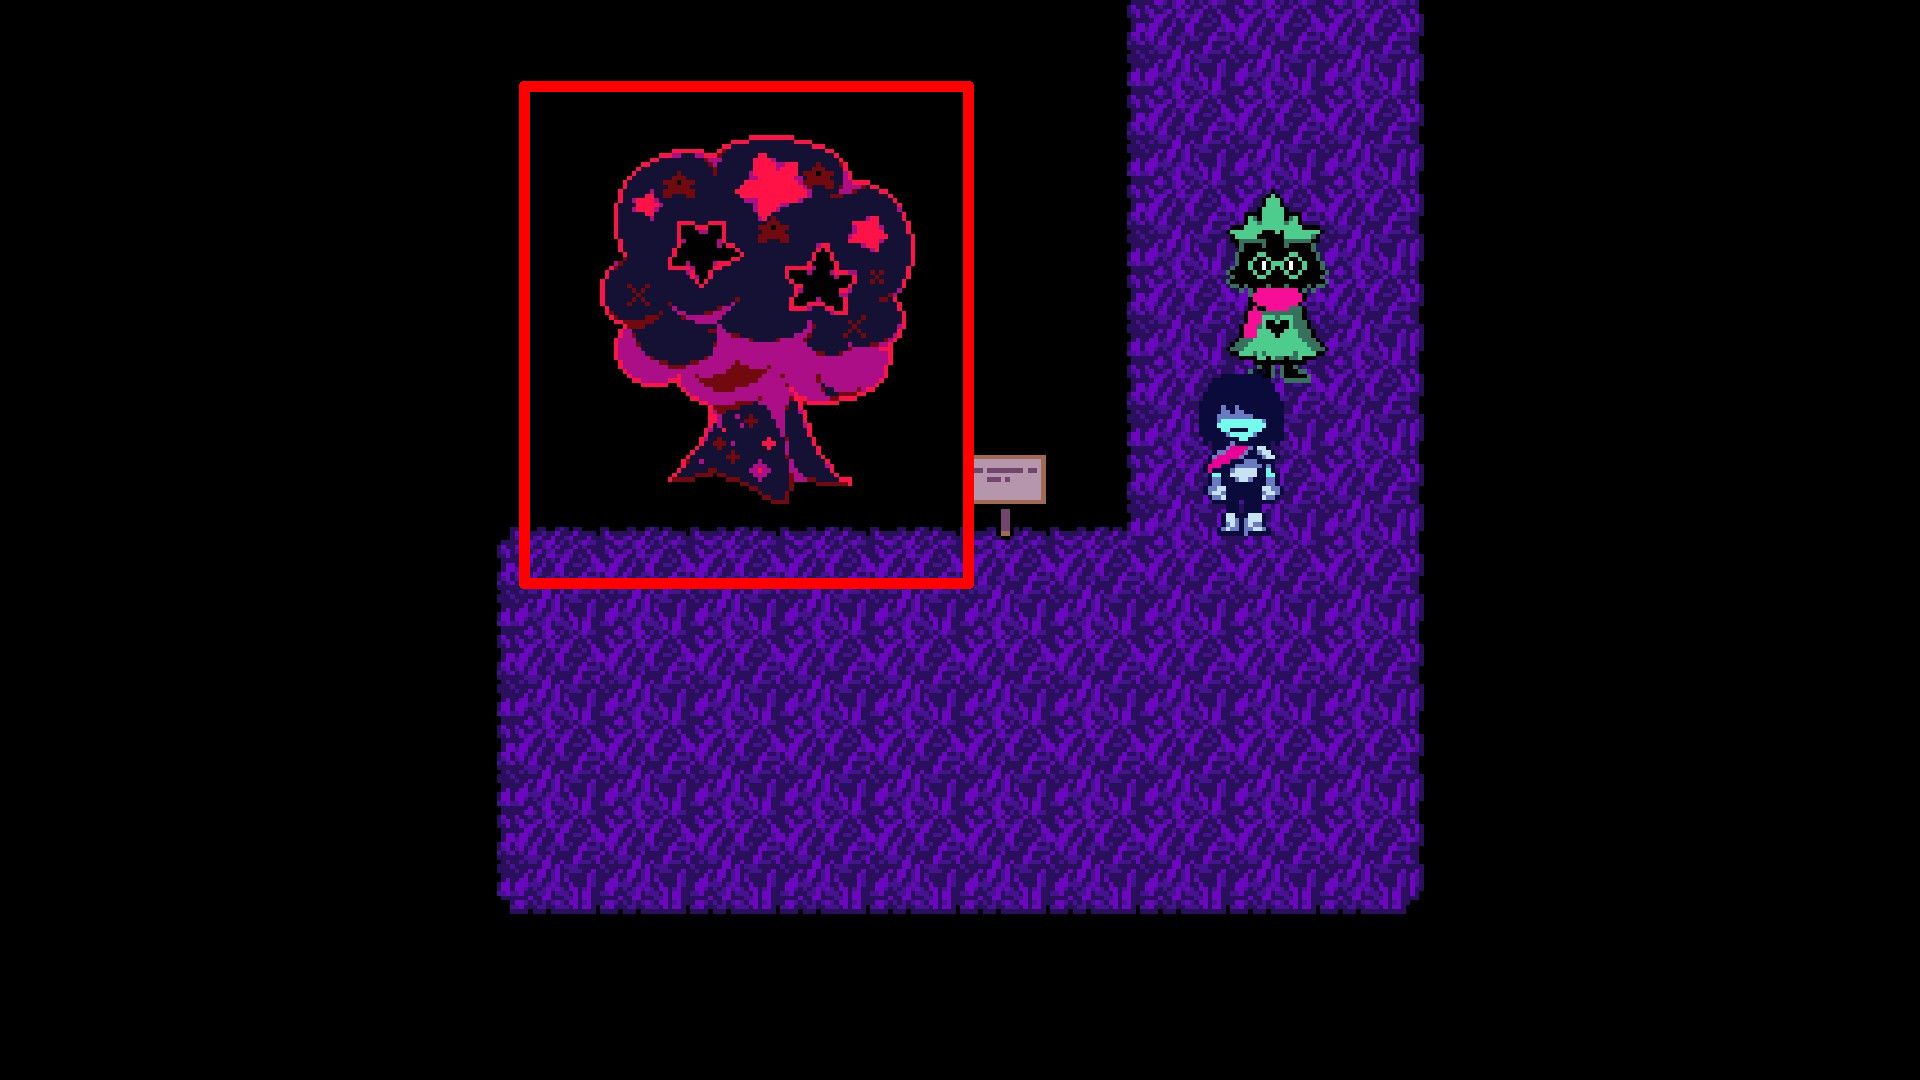
To get to Lancer, take the designated route. Once you arrive at a location featuring a solitary tree, descend to find it. Gather the pair of Dark Candies hidden in that tree. Afterward, retrace your steps back to Lancer and carry on walking along the path towards the right.
As you journey along, you’ll run into Topchef, a friendly yellow Non-Player Character (NPC). Once you chat with him, look for an object hovering above him and pick up a fragment from it to get the essential Broken Cake key item.
After finishing Topchef, players will encounter another tree providing two Dark Candies, and to the side, there’s a puzzle known as a clock puzzle in Deltarune Chapter 1. To solve it, players must engage with the wall clock and position themselves on the floor squares that light up, ensuring Ralsei steps onto any additional squares as well.
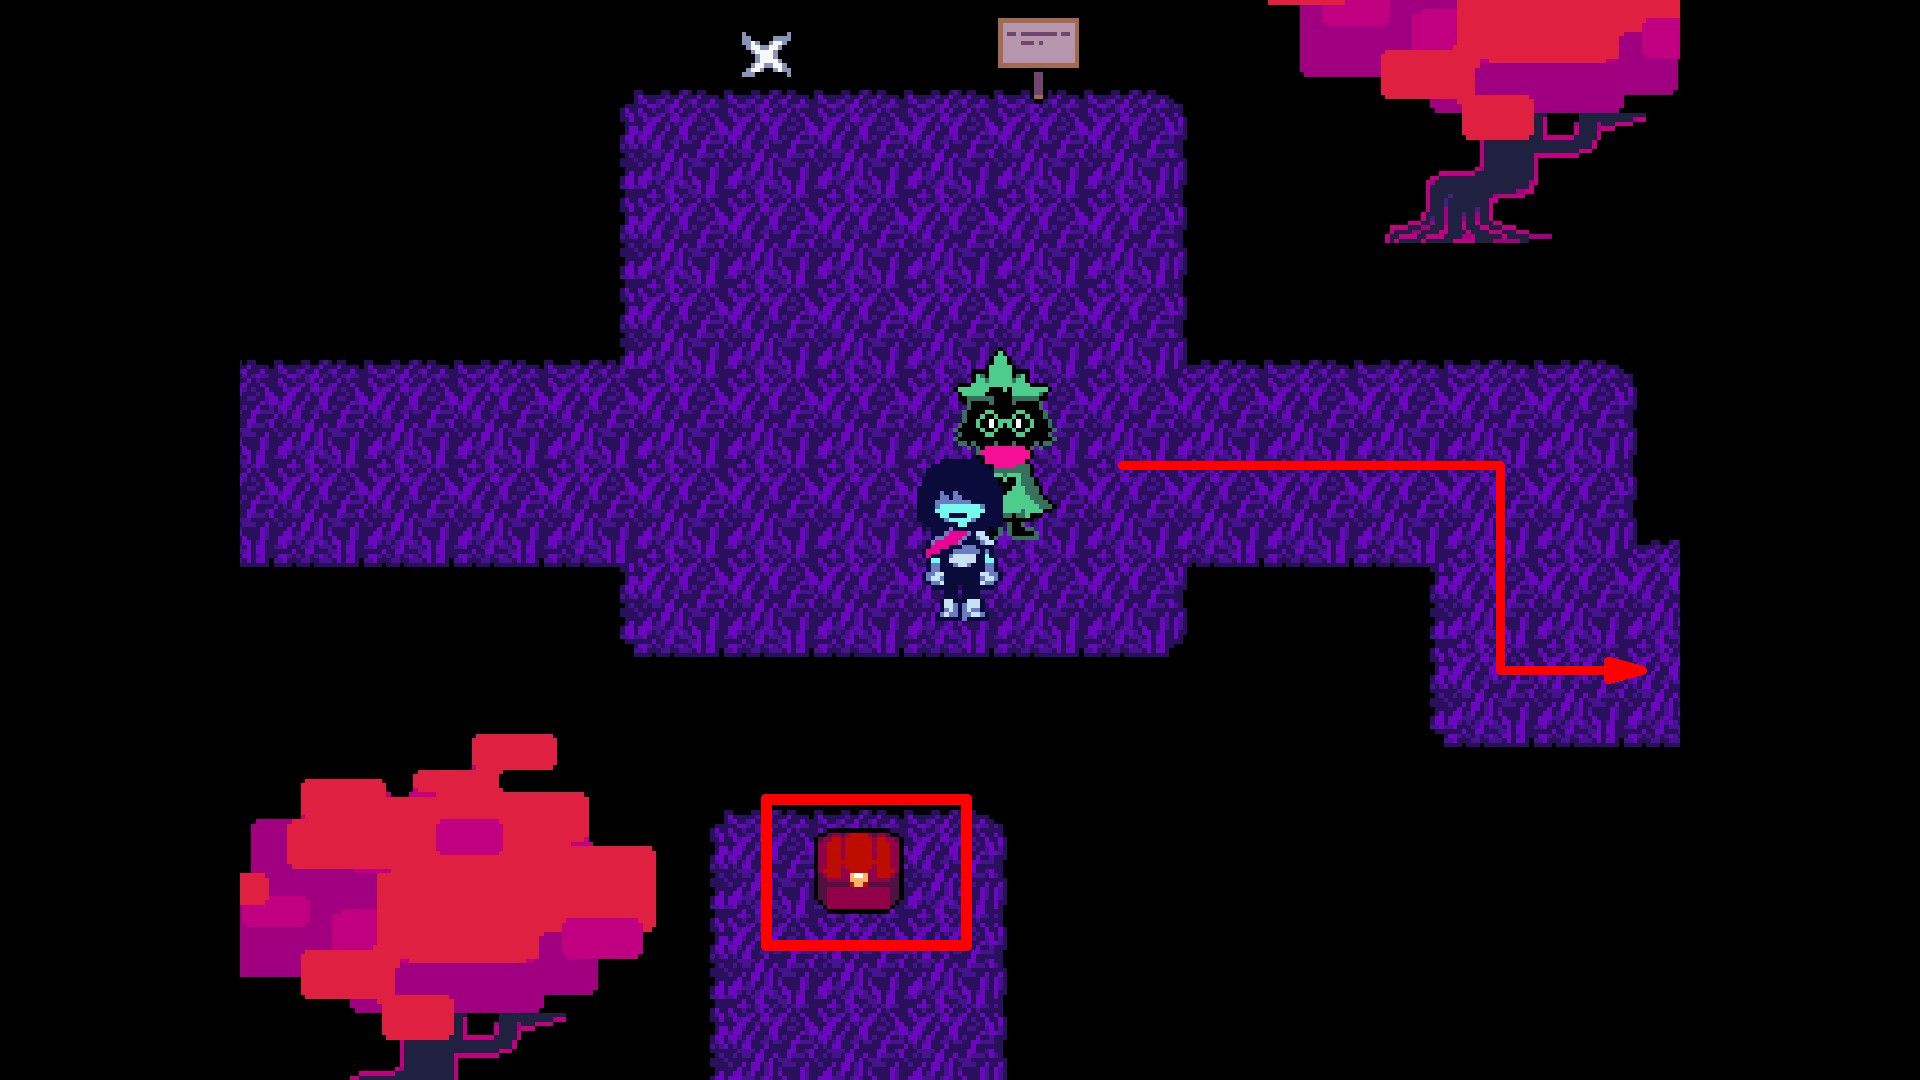
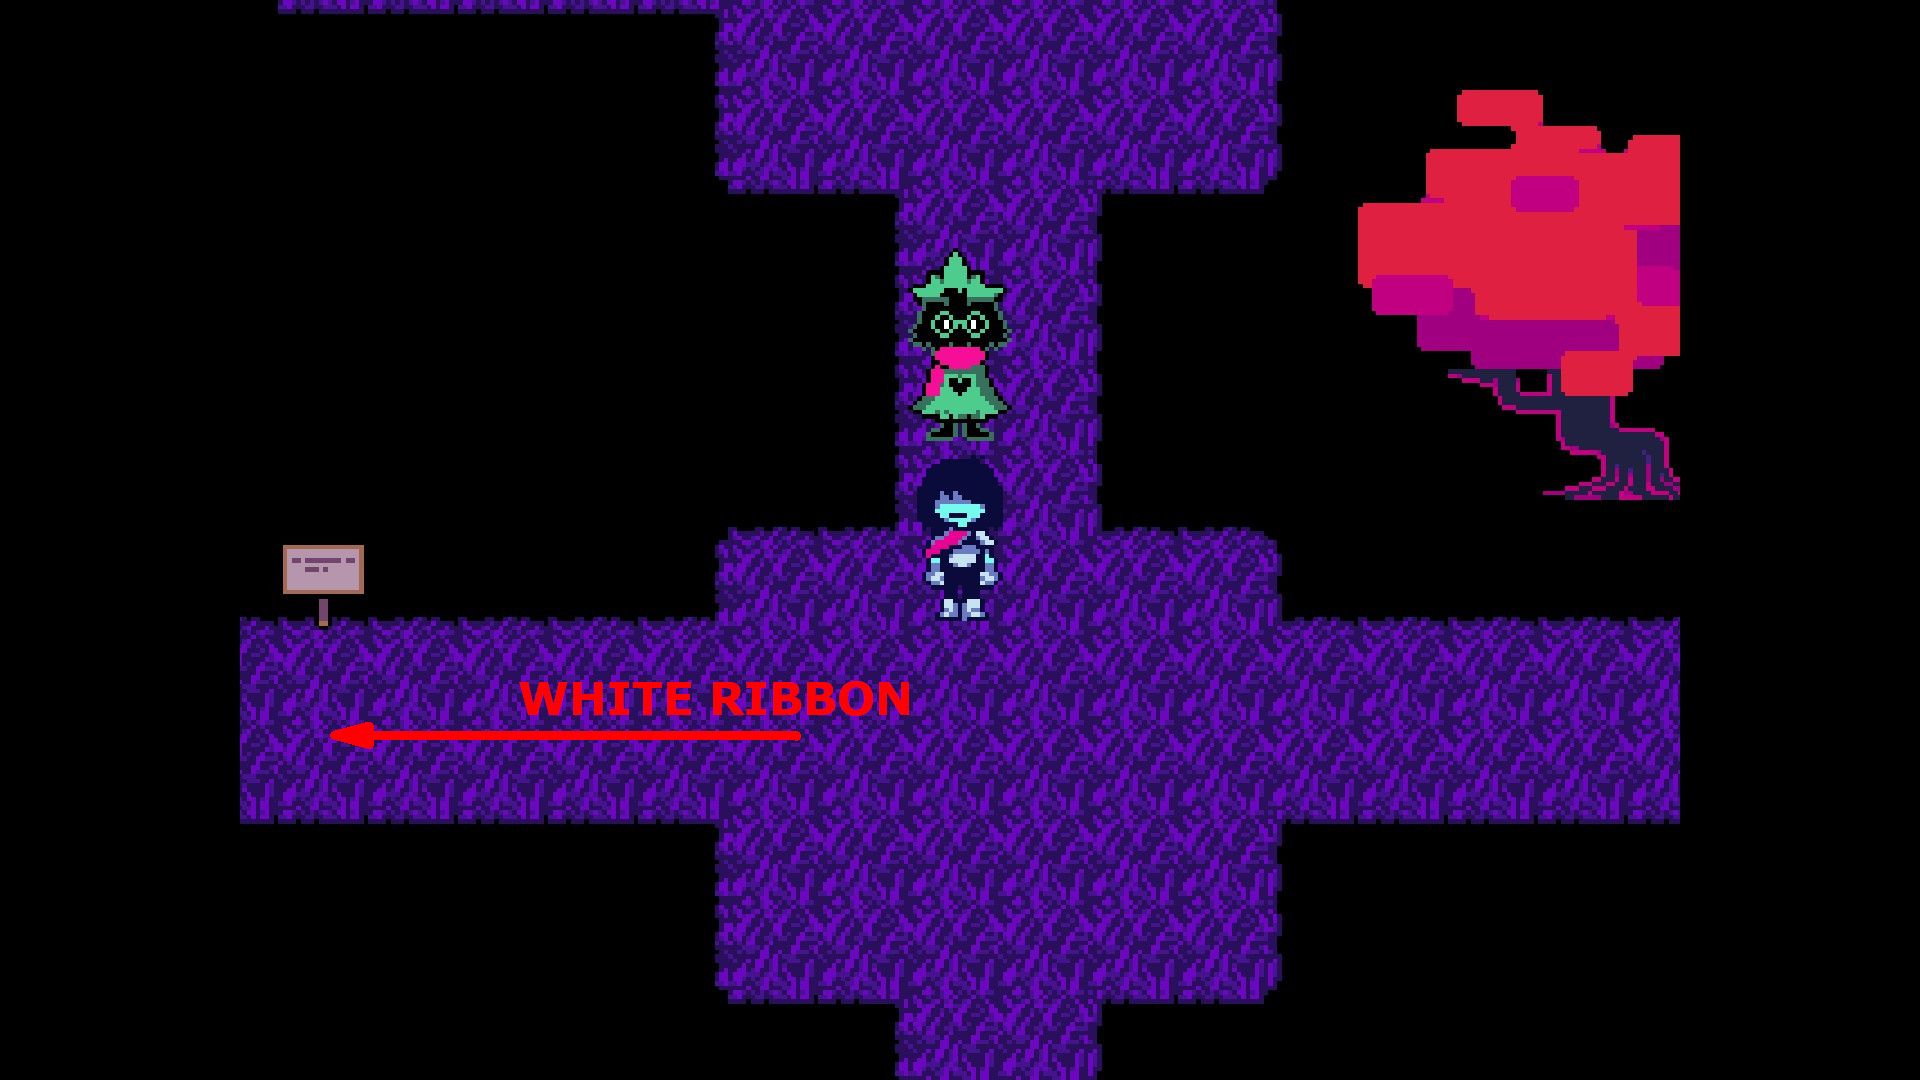
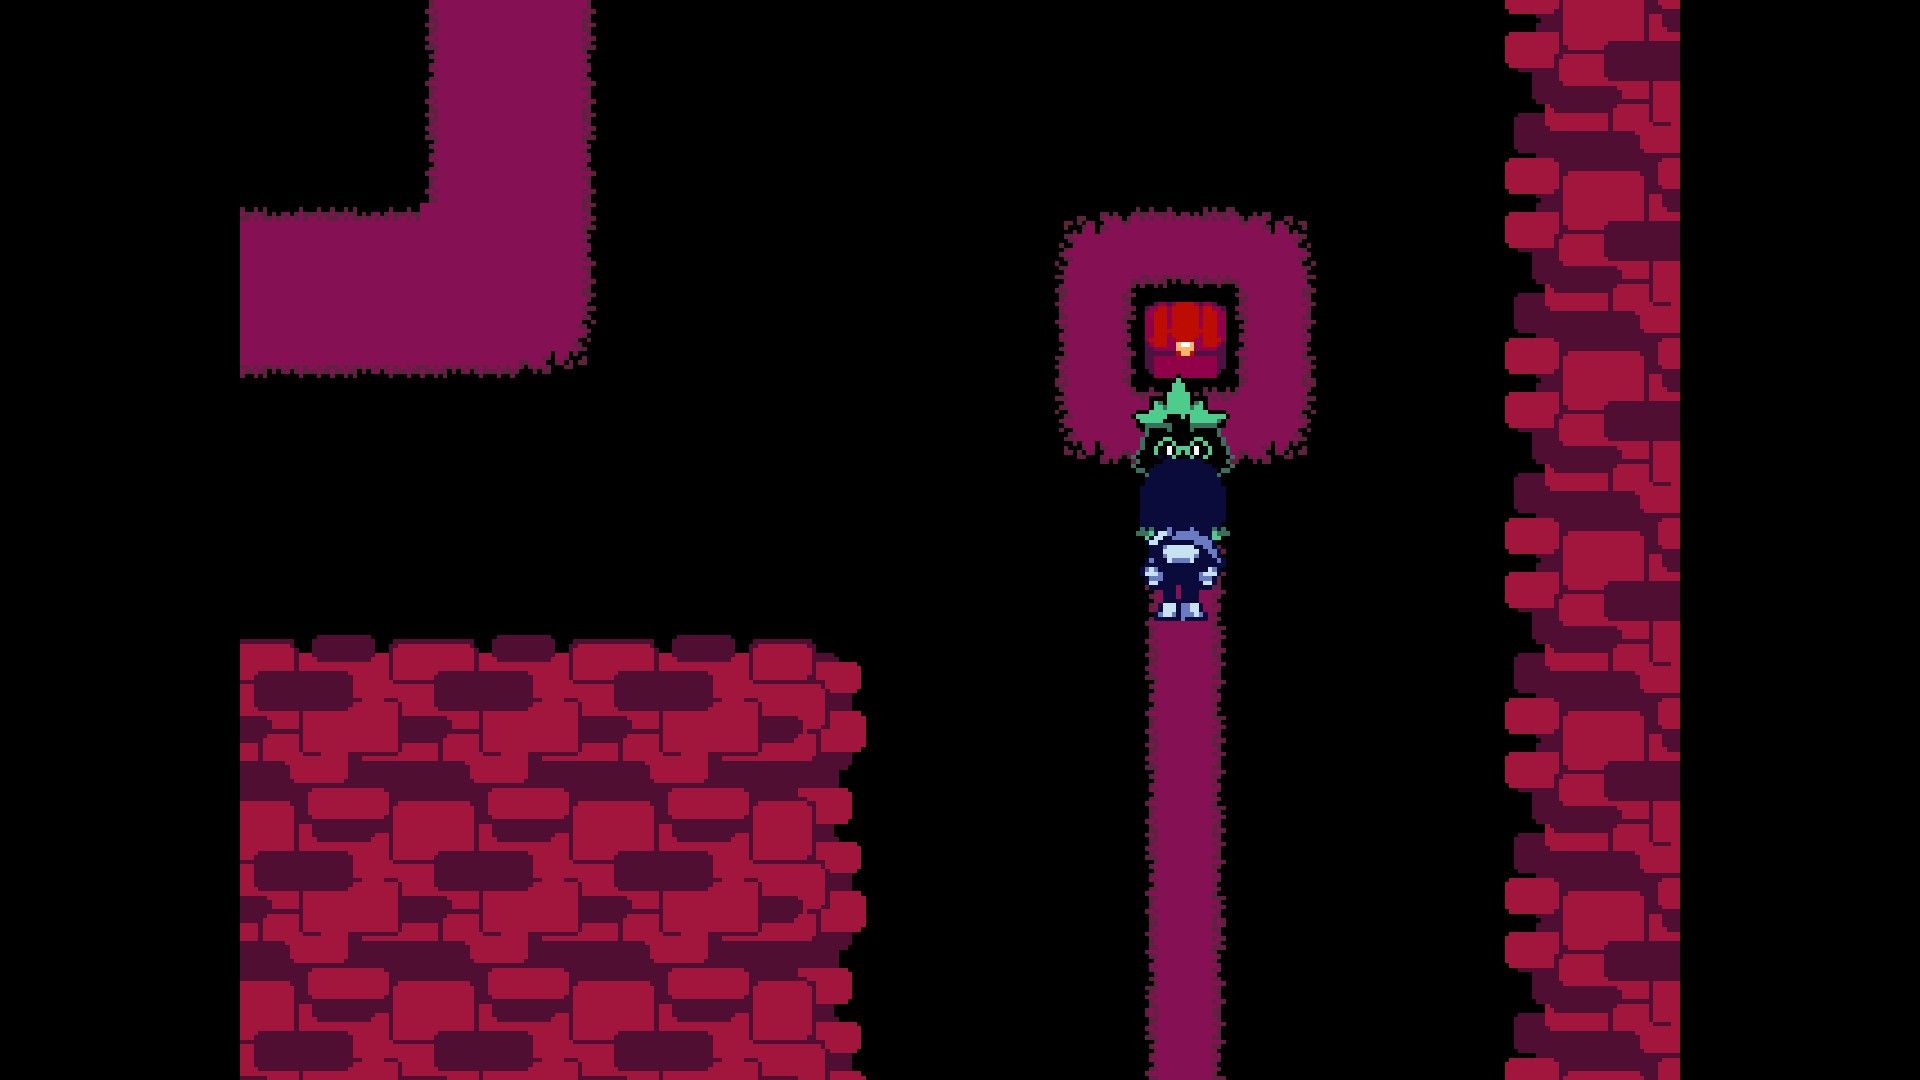
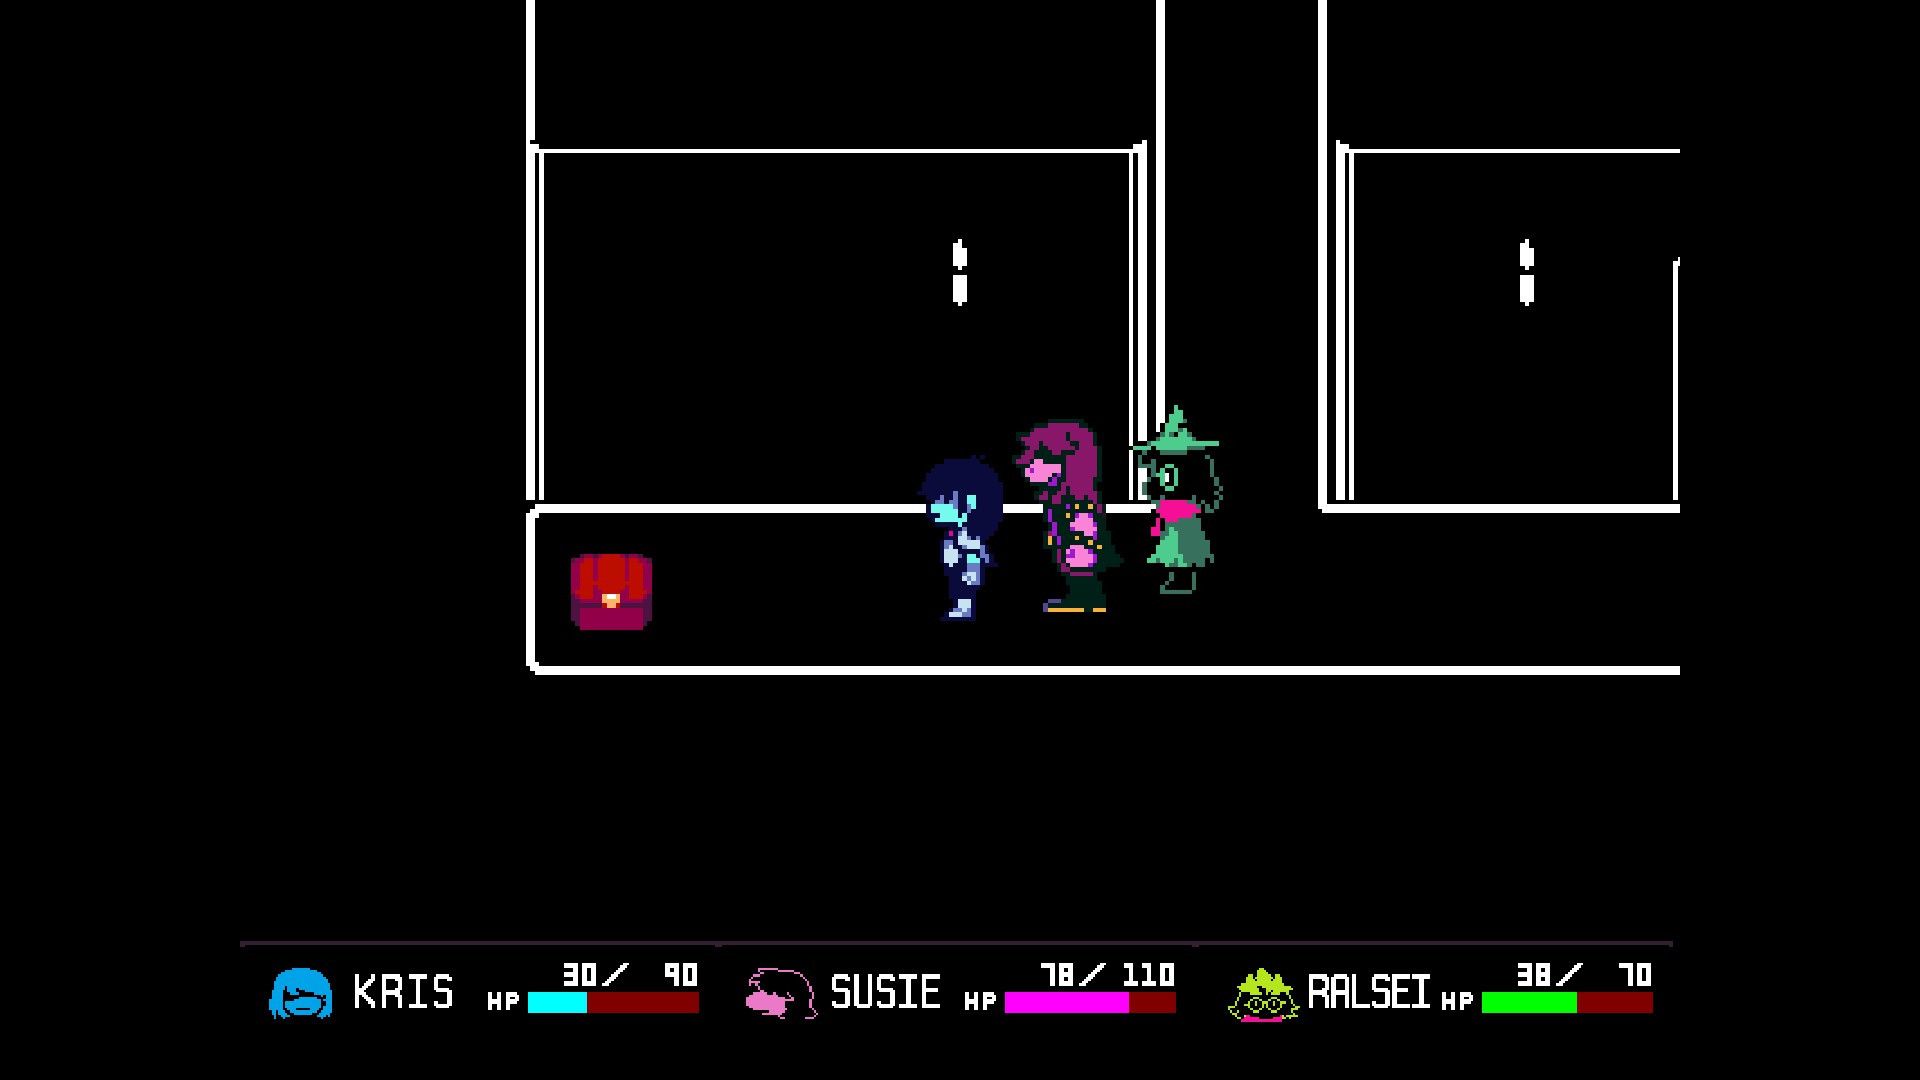
Players encounter a chest beyond the puzzle’s solution, but it lies out of immediate reach. To unlock this chest, players are advised to proceed along the path and take a left turn at the first junction. This hidden spot contains the White Ribbon.


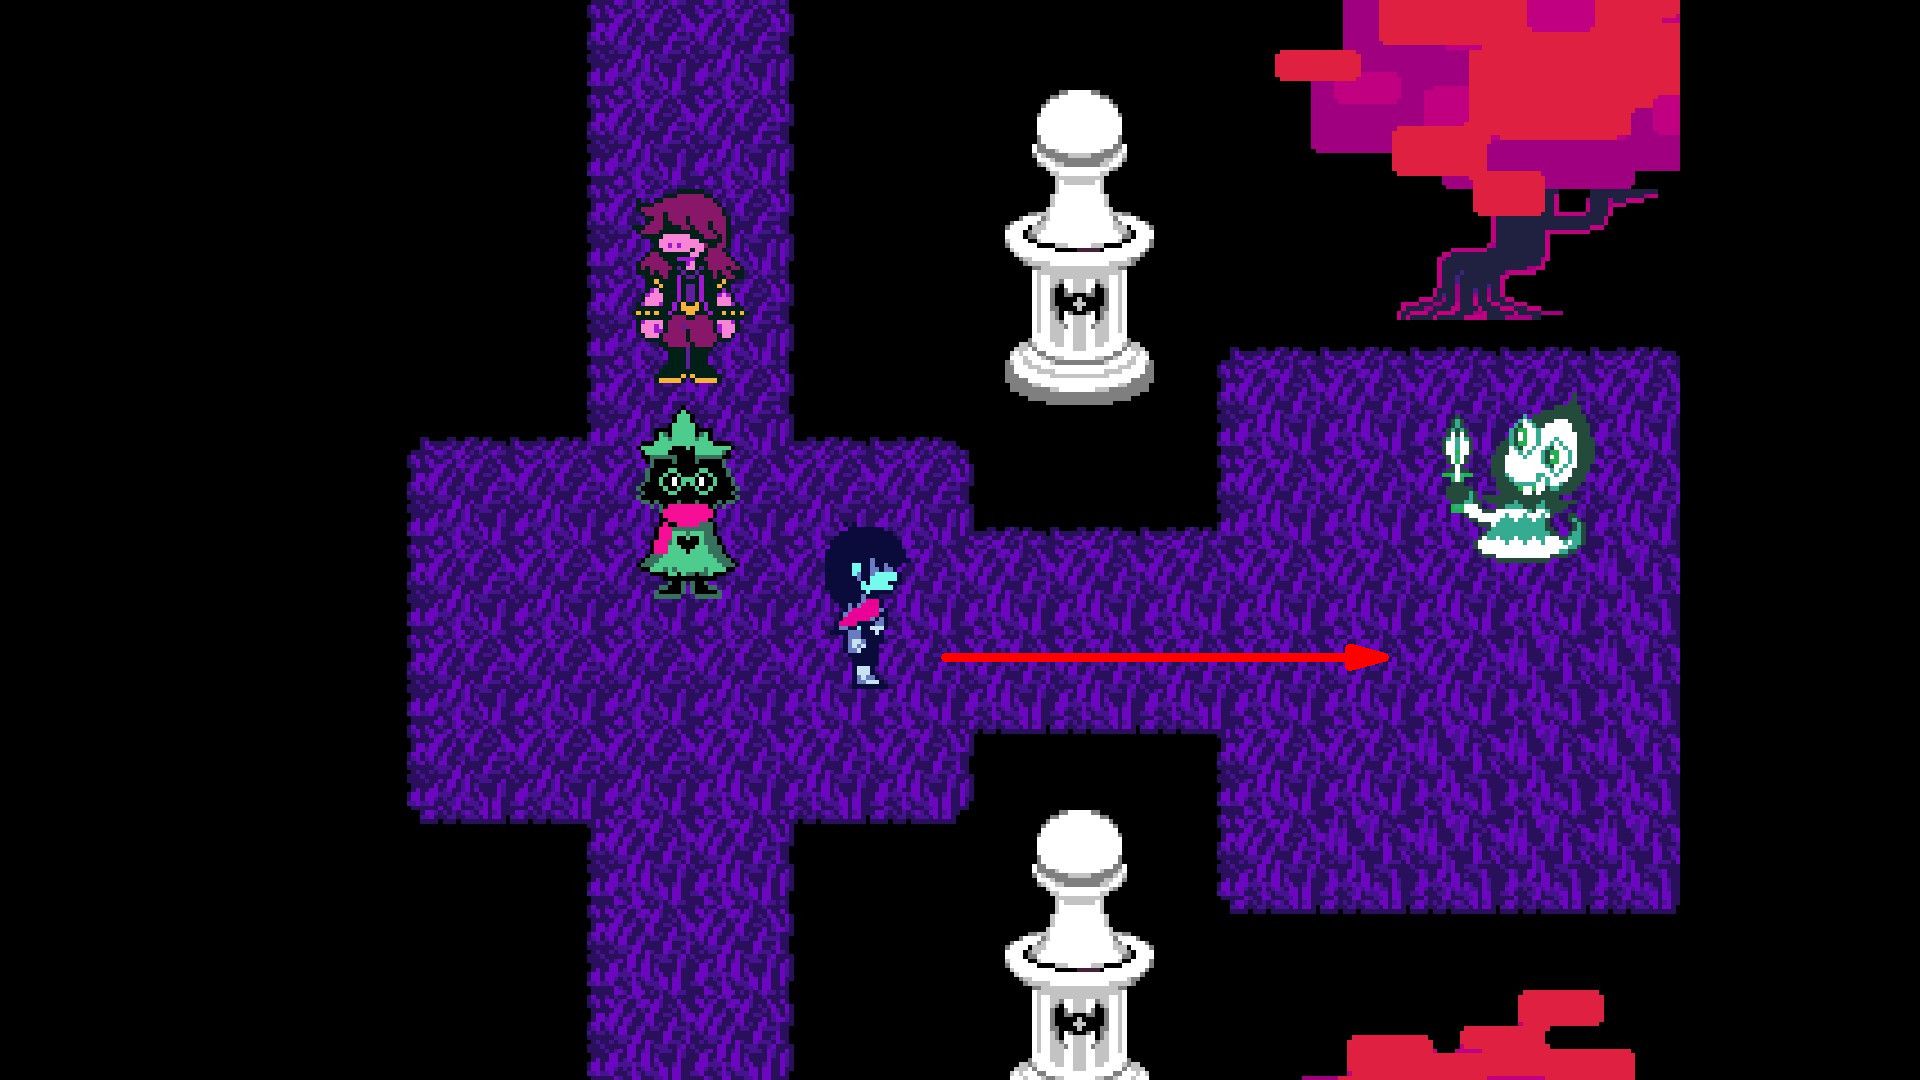
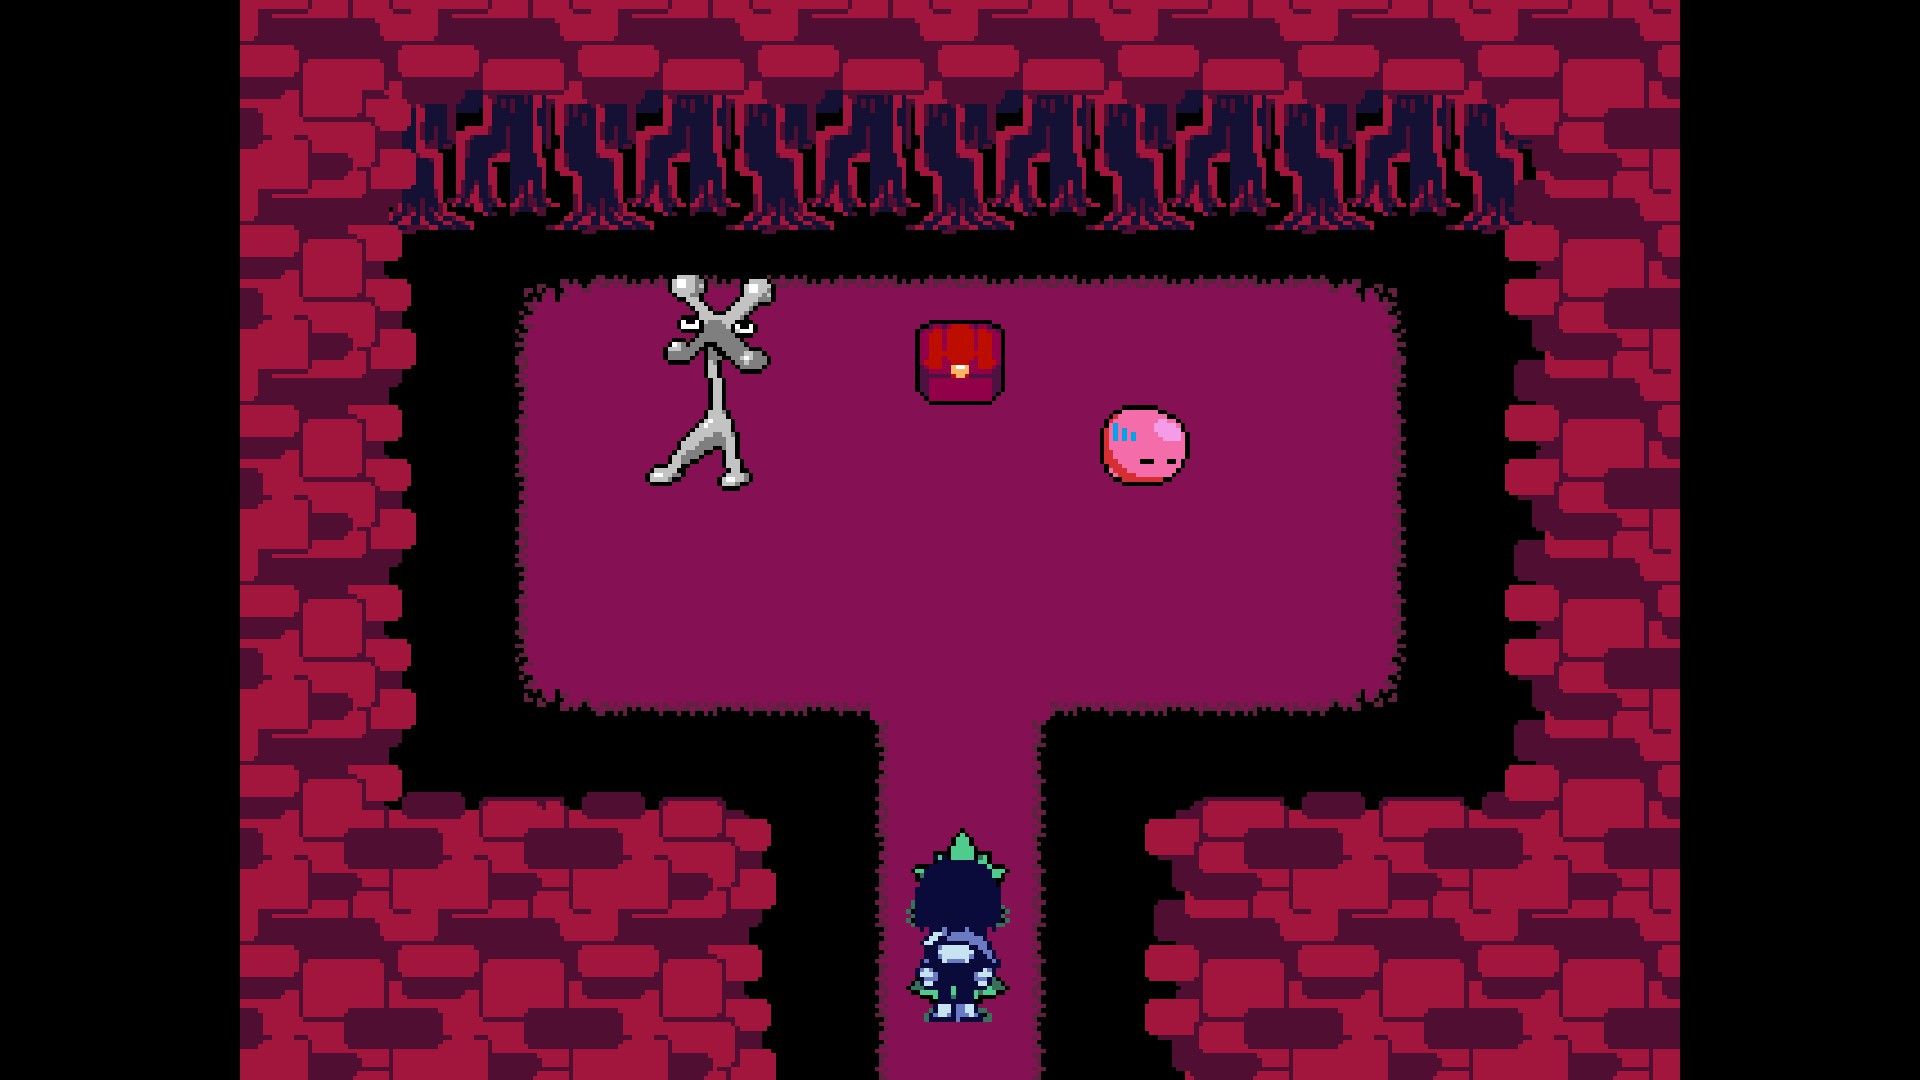
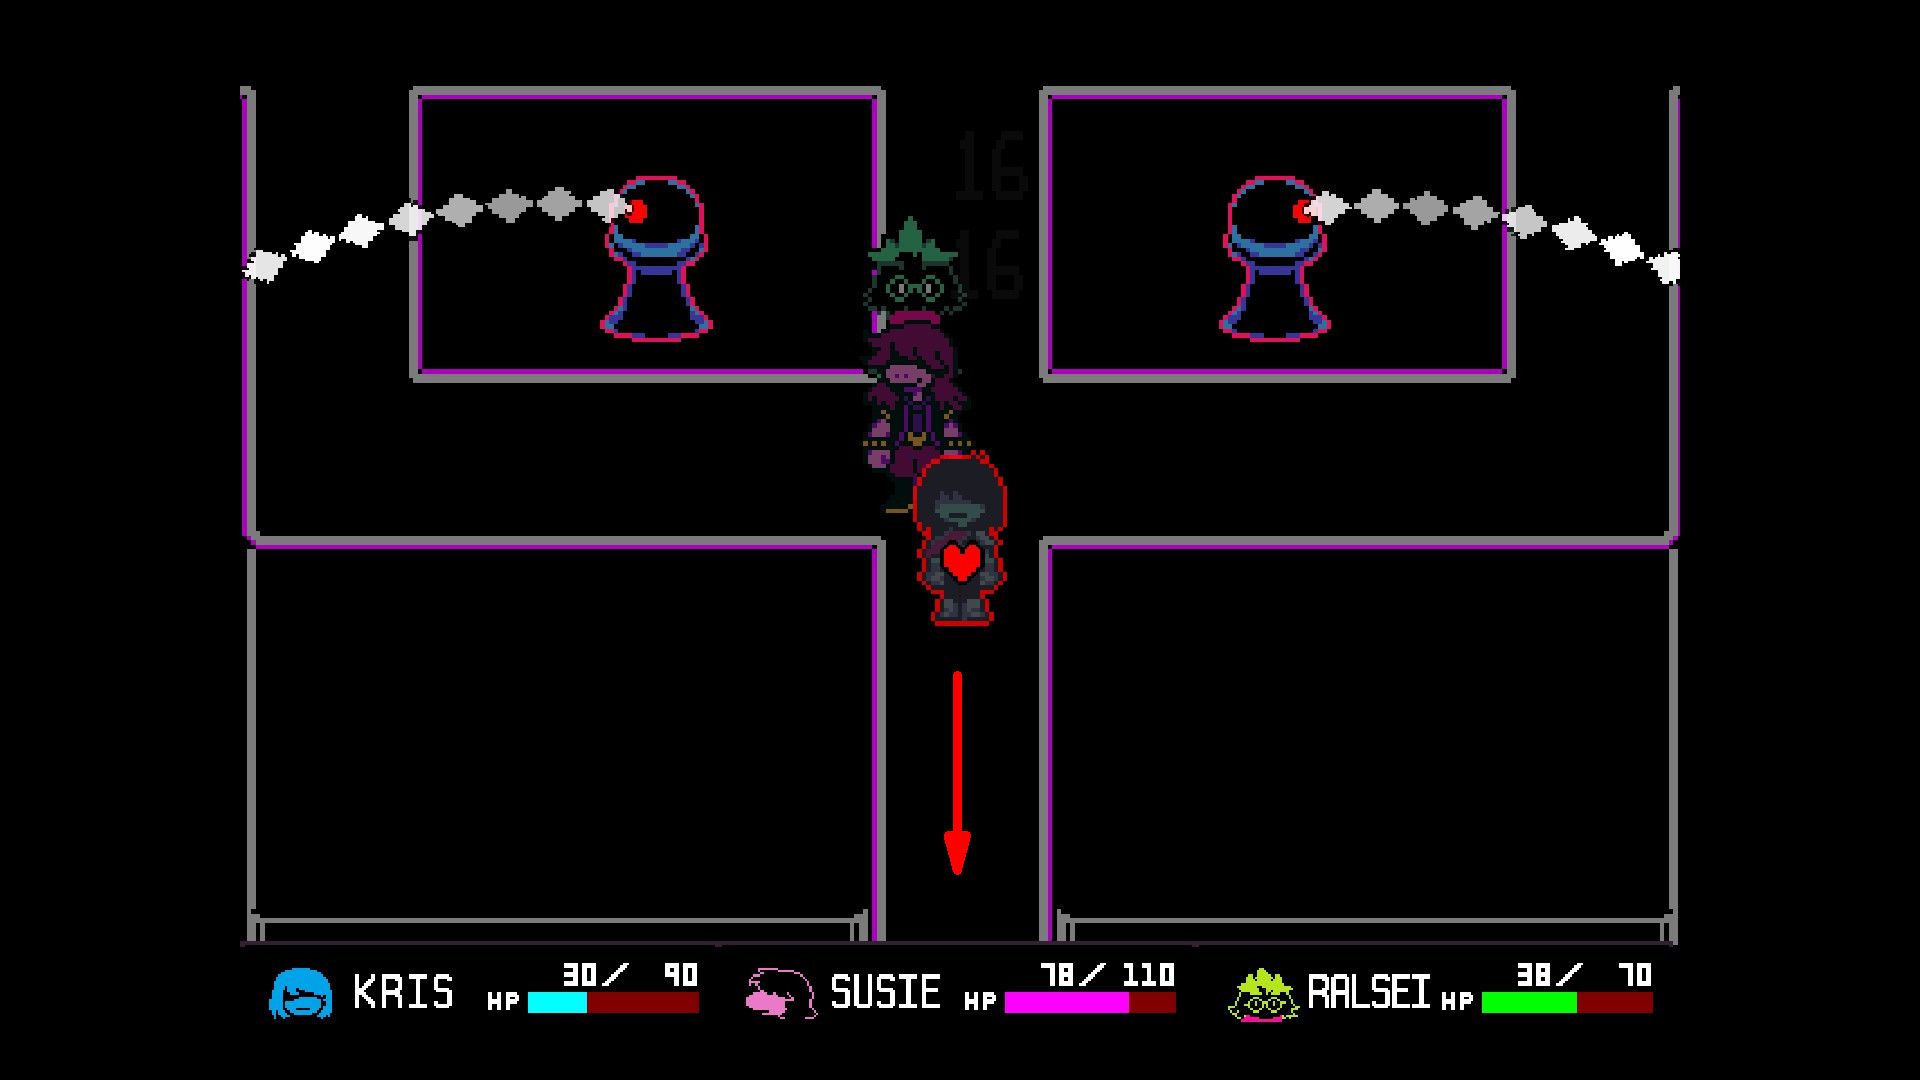
Players are asked to head back to the fork, take the path leading away, and continue until they locate Susie. In a group of three, you can tackle the puzzle displayed on the screen to the left now. Once that puzzle is resolved, retrace your steps back to where Susie was found. Here, players will meet an adversary named C. Round, whom they must defeat.
Players who are pursuing Nonviolence should make sure to use the Warning act straightaway.
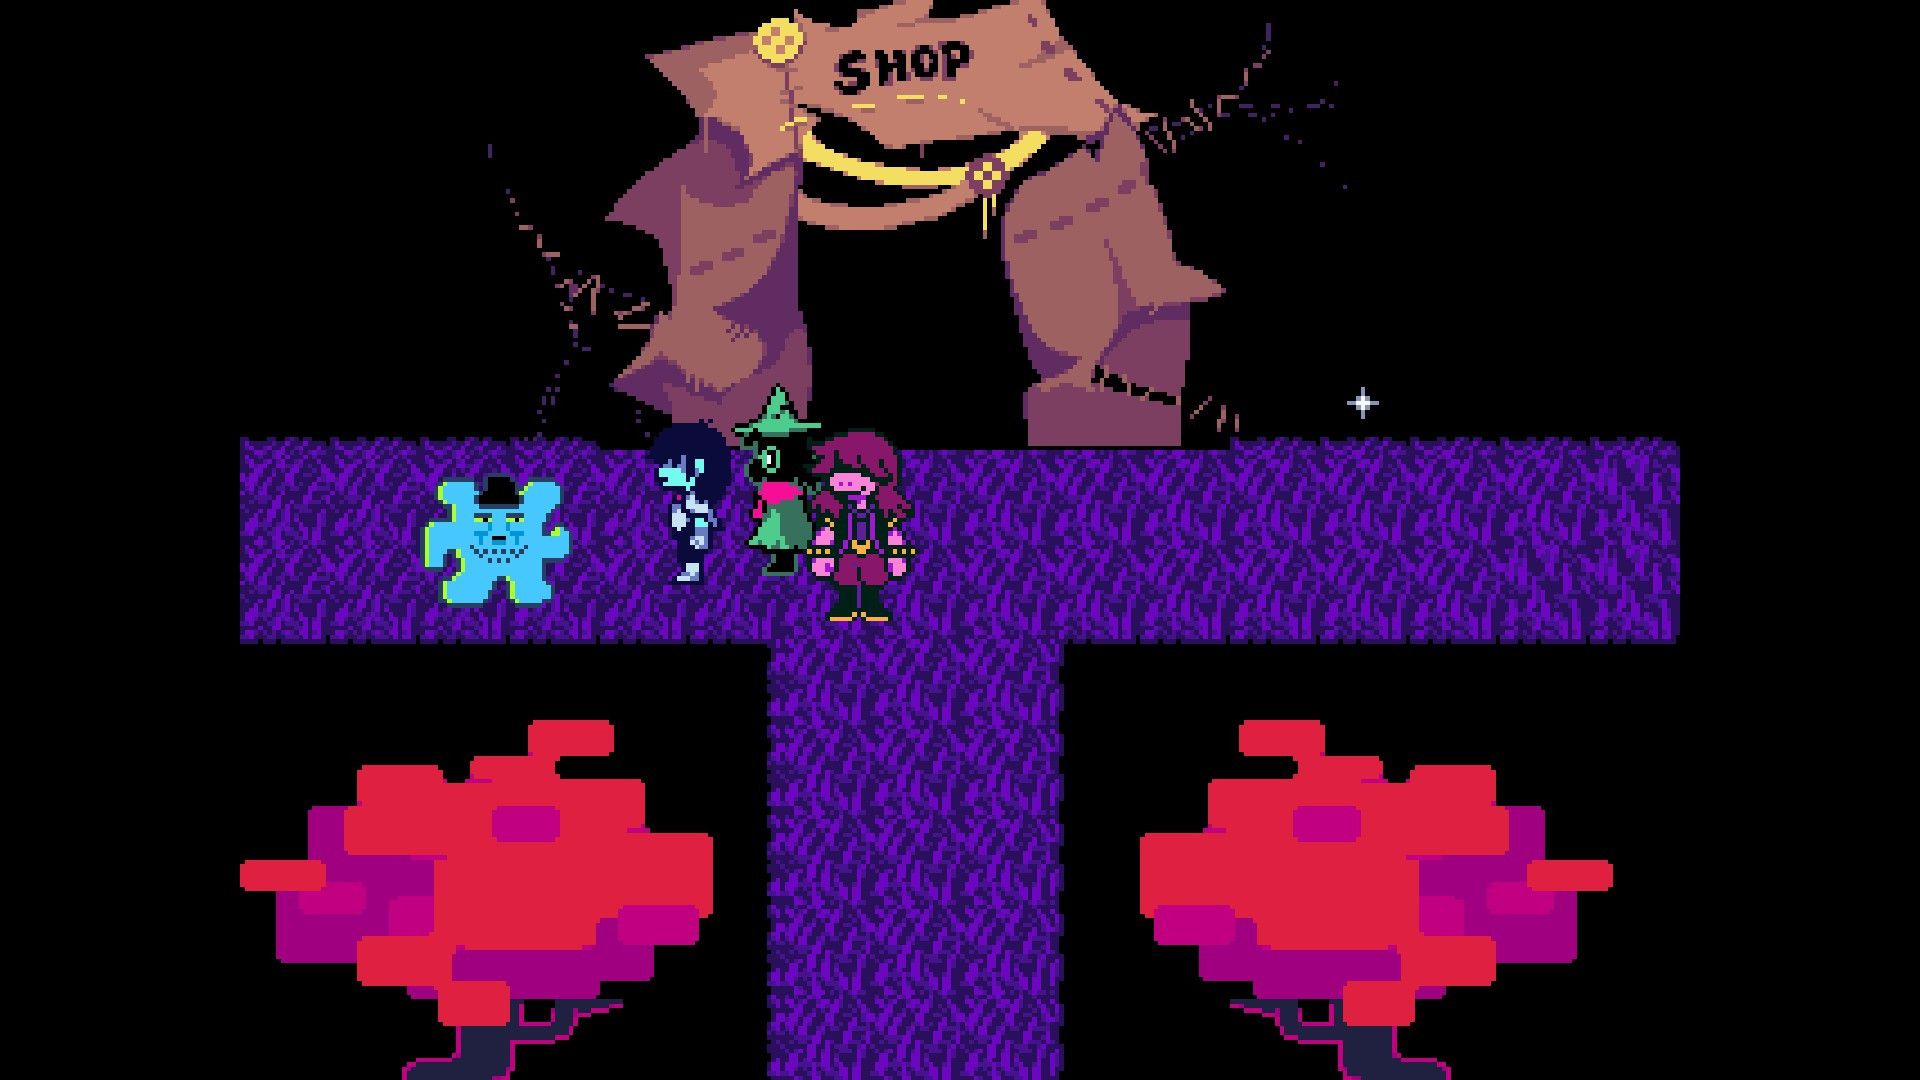
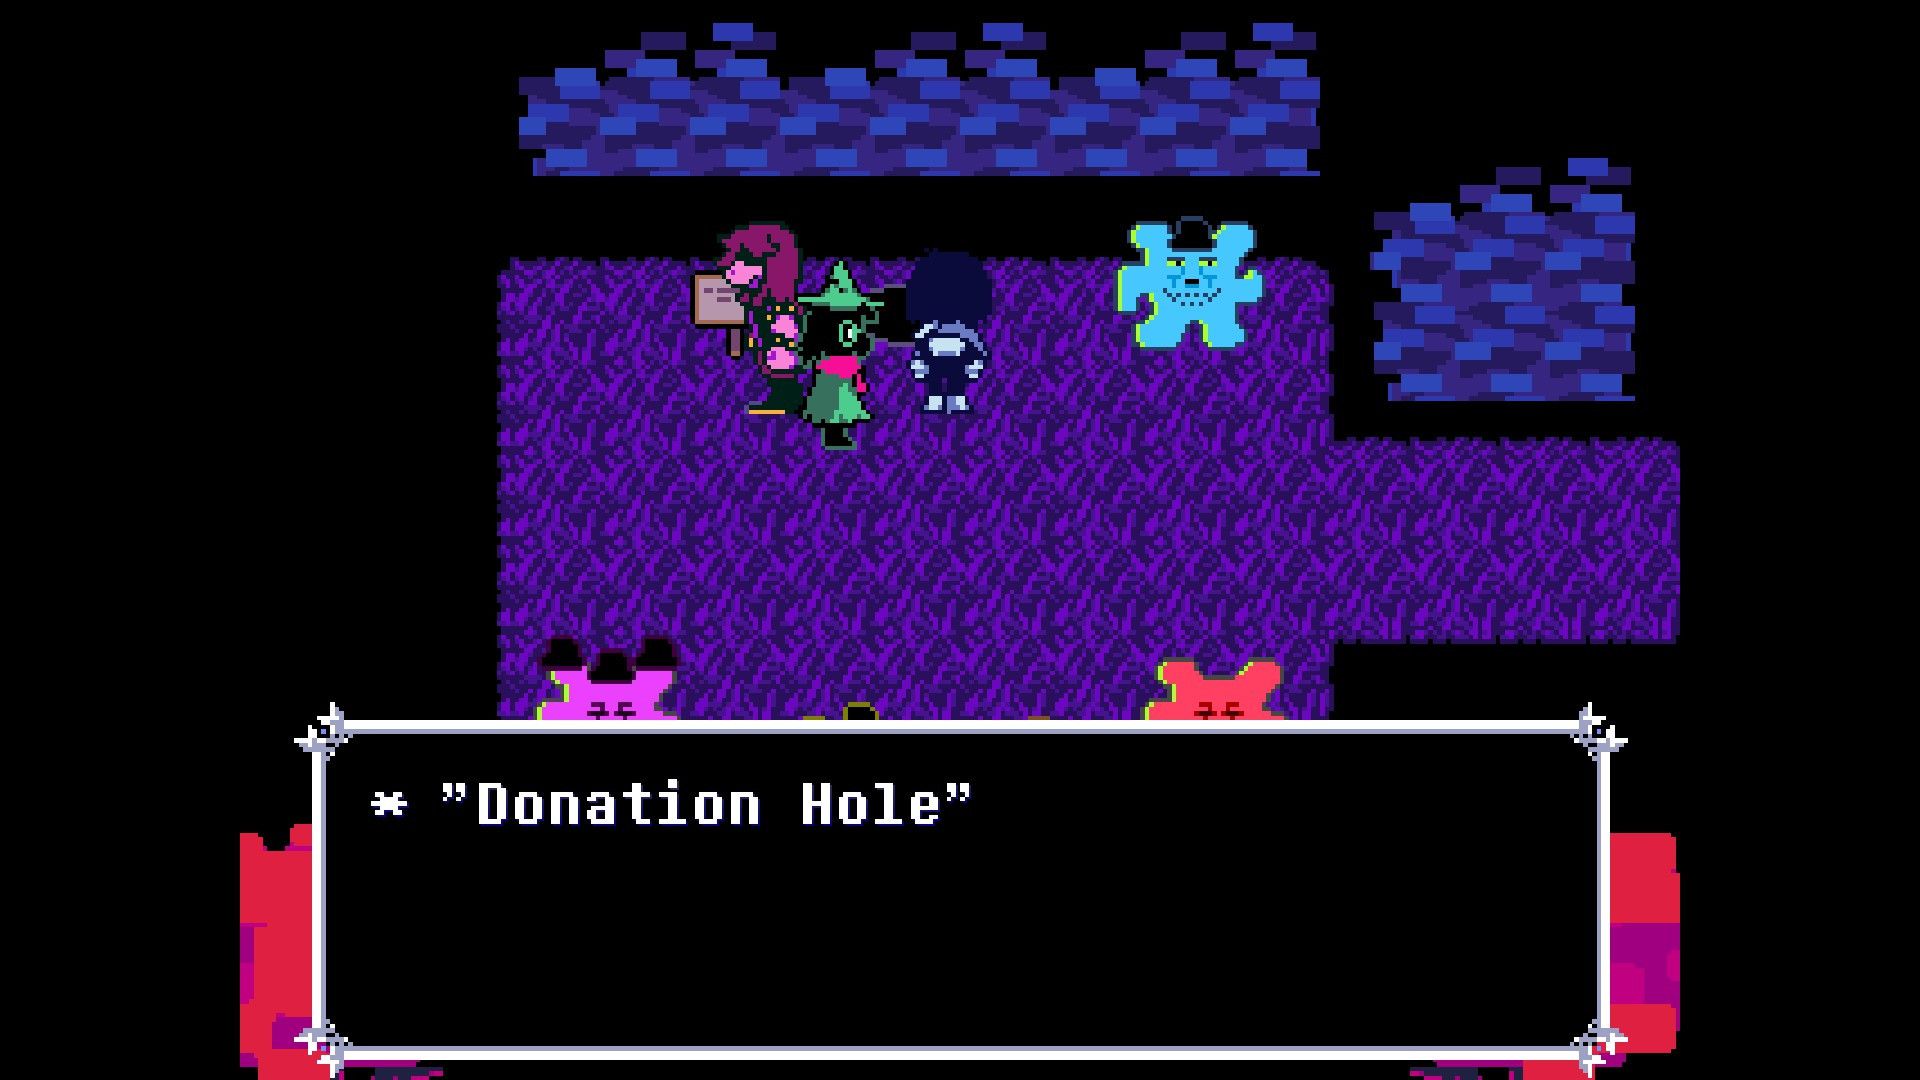
Players now advance on their journey where they’ll meet a character resembling a jigsaw piece, who will propose a tutorial for a fee to the group. However, if players persistently refuse to pay this character, they will still be granted access to a screen located to the left. On this screen, they’ll discover various jigsaw pieces that provide insights about Deltarune. To unlock some exclusive dialogue in Chapter 2, players should deposit $1 into the hole at the top of the screen.
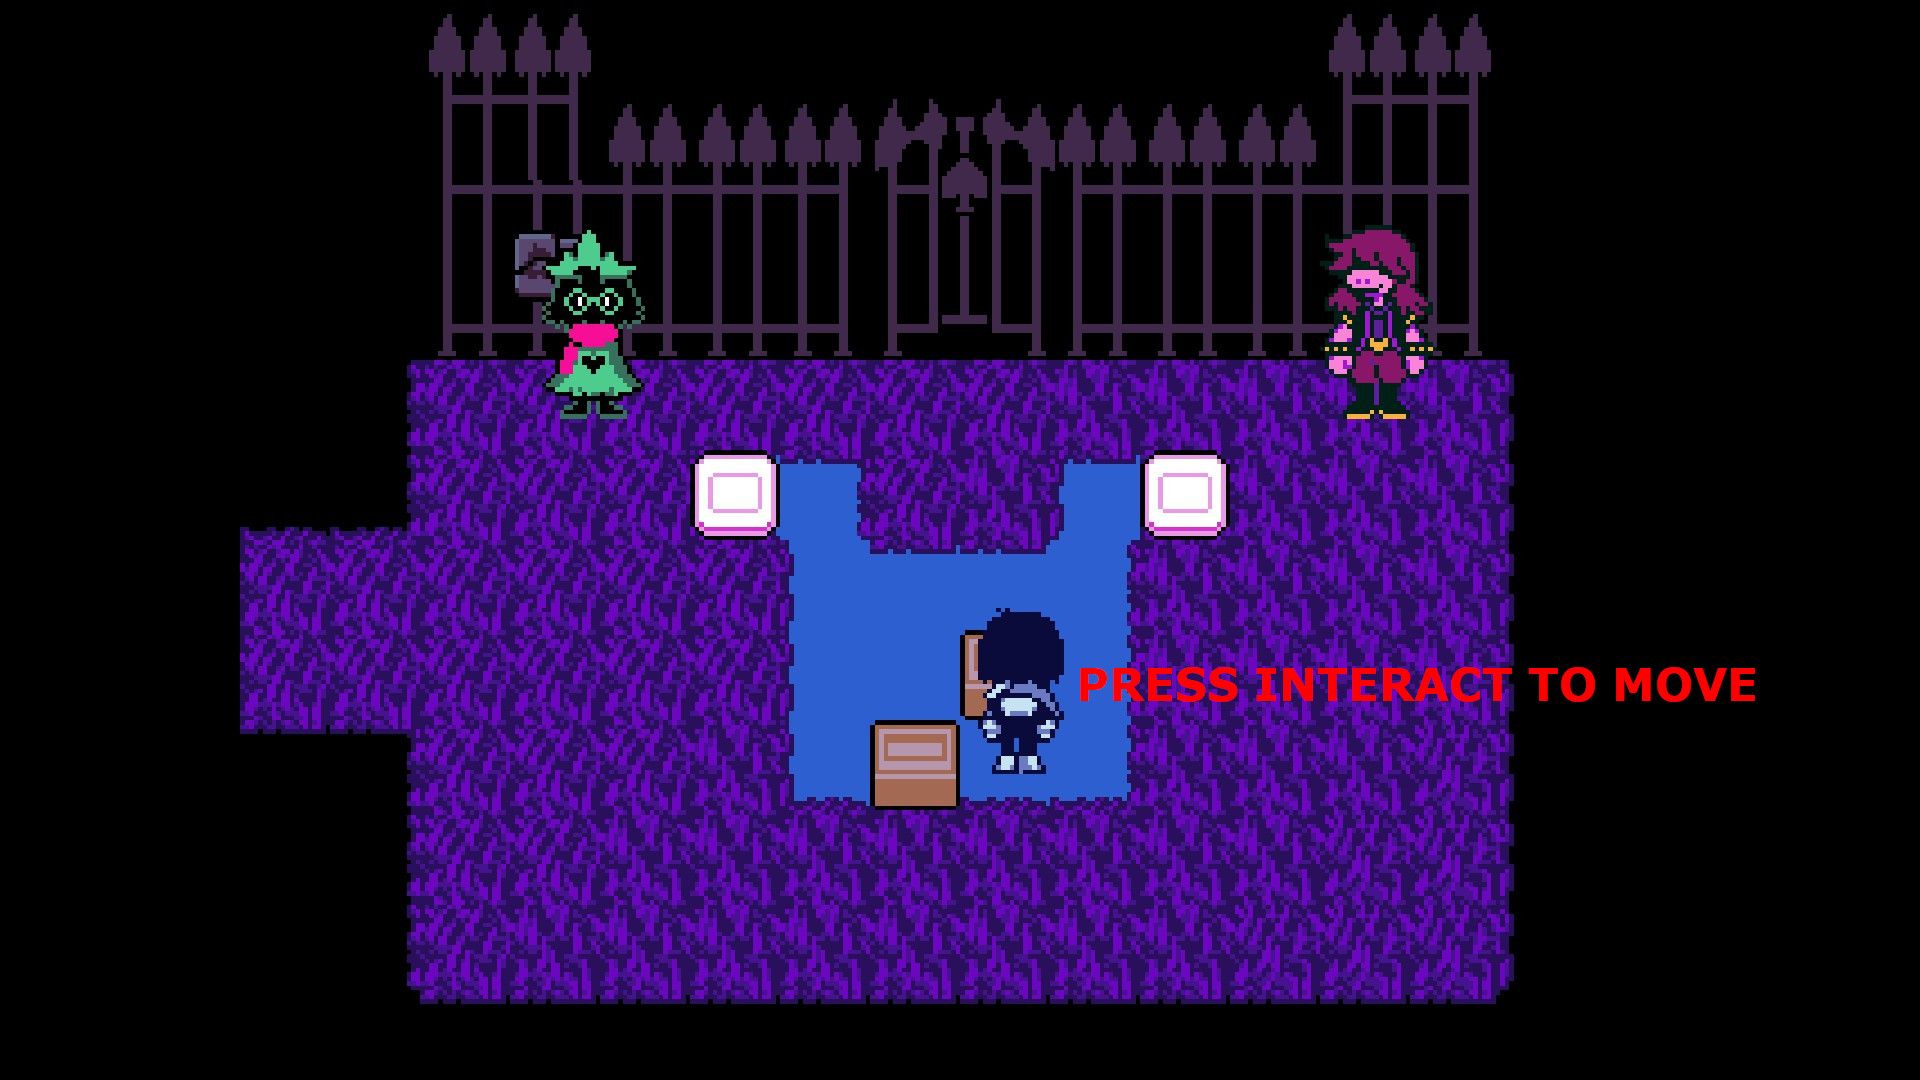
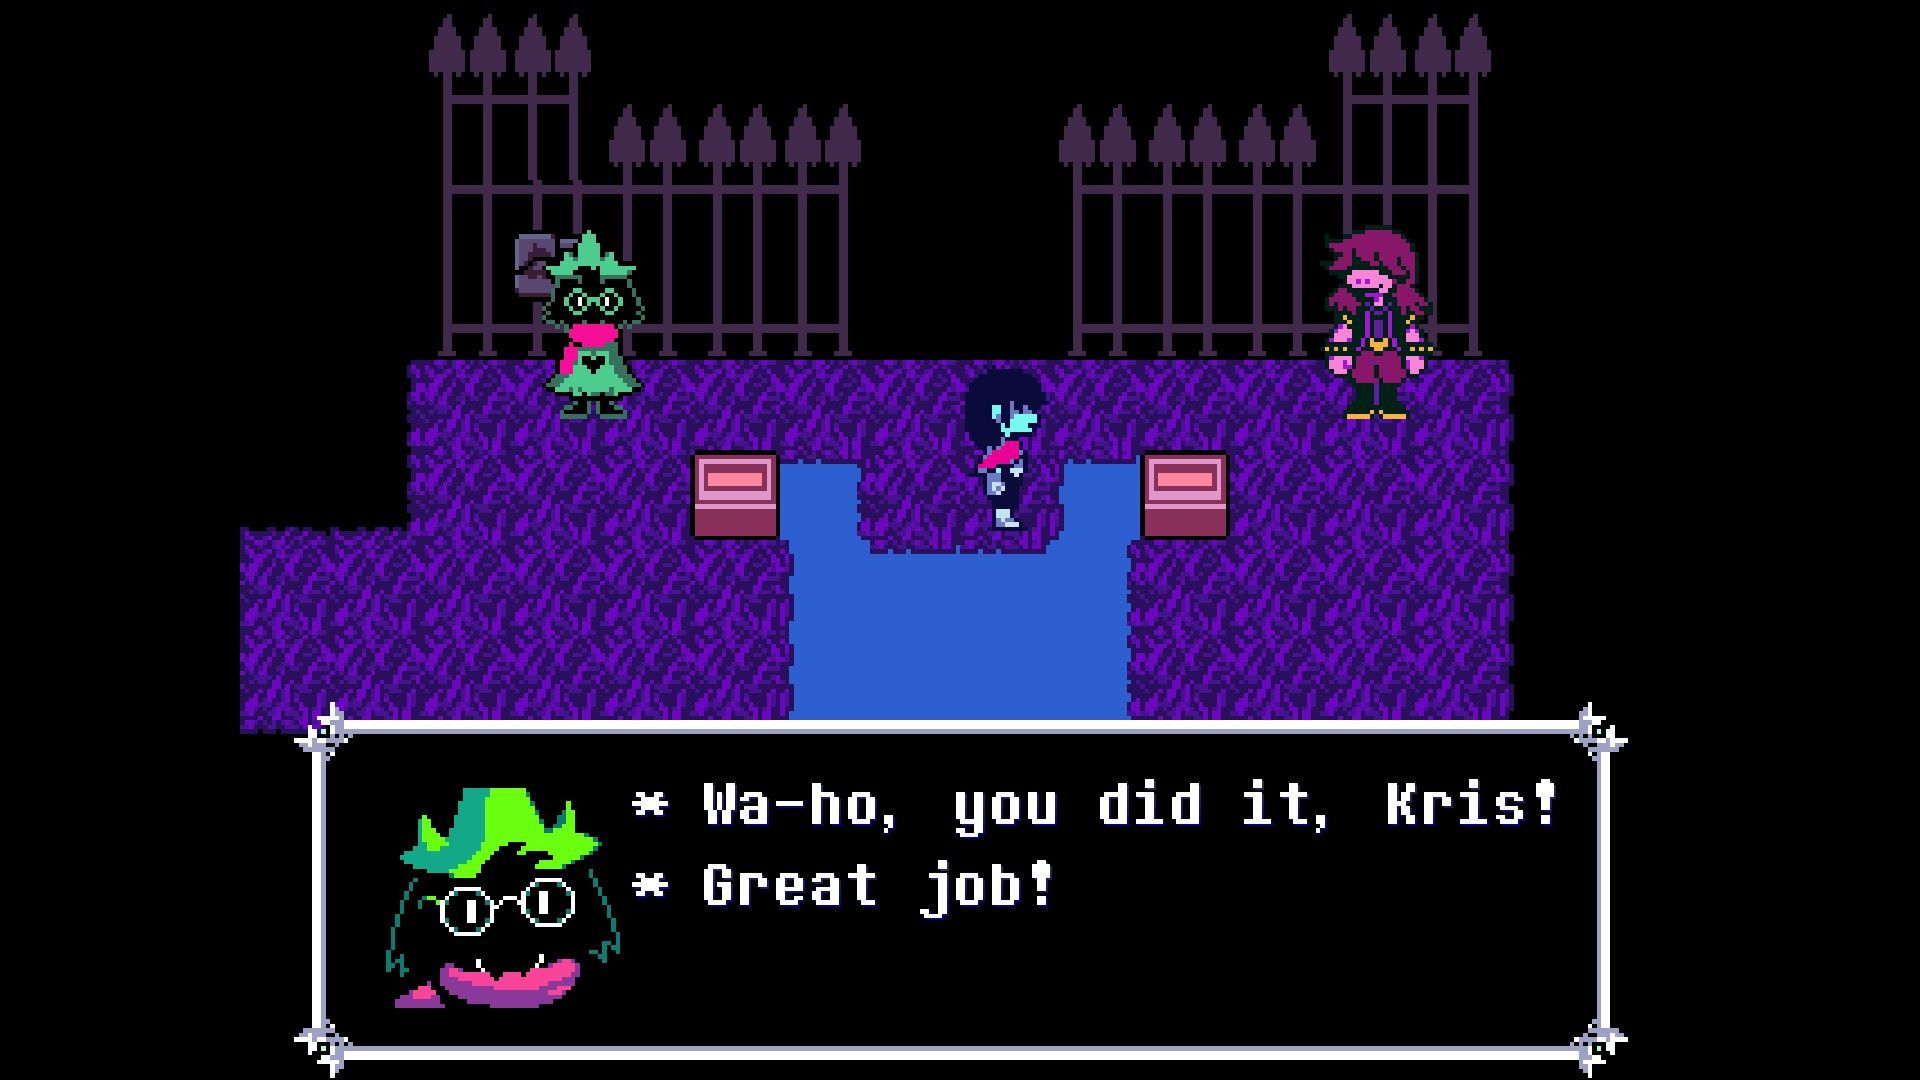
Players should now move right, engage in a combat with Lancer, then enter a screen featuring a puzzle. To unravel this puzzle, players need to place Kris next to the boxes at the bottom, press the interact button to push them, and position them over the two buttons.
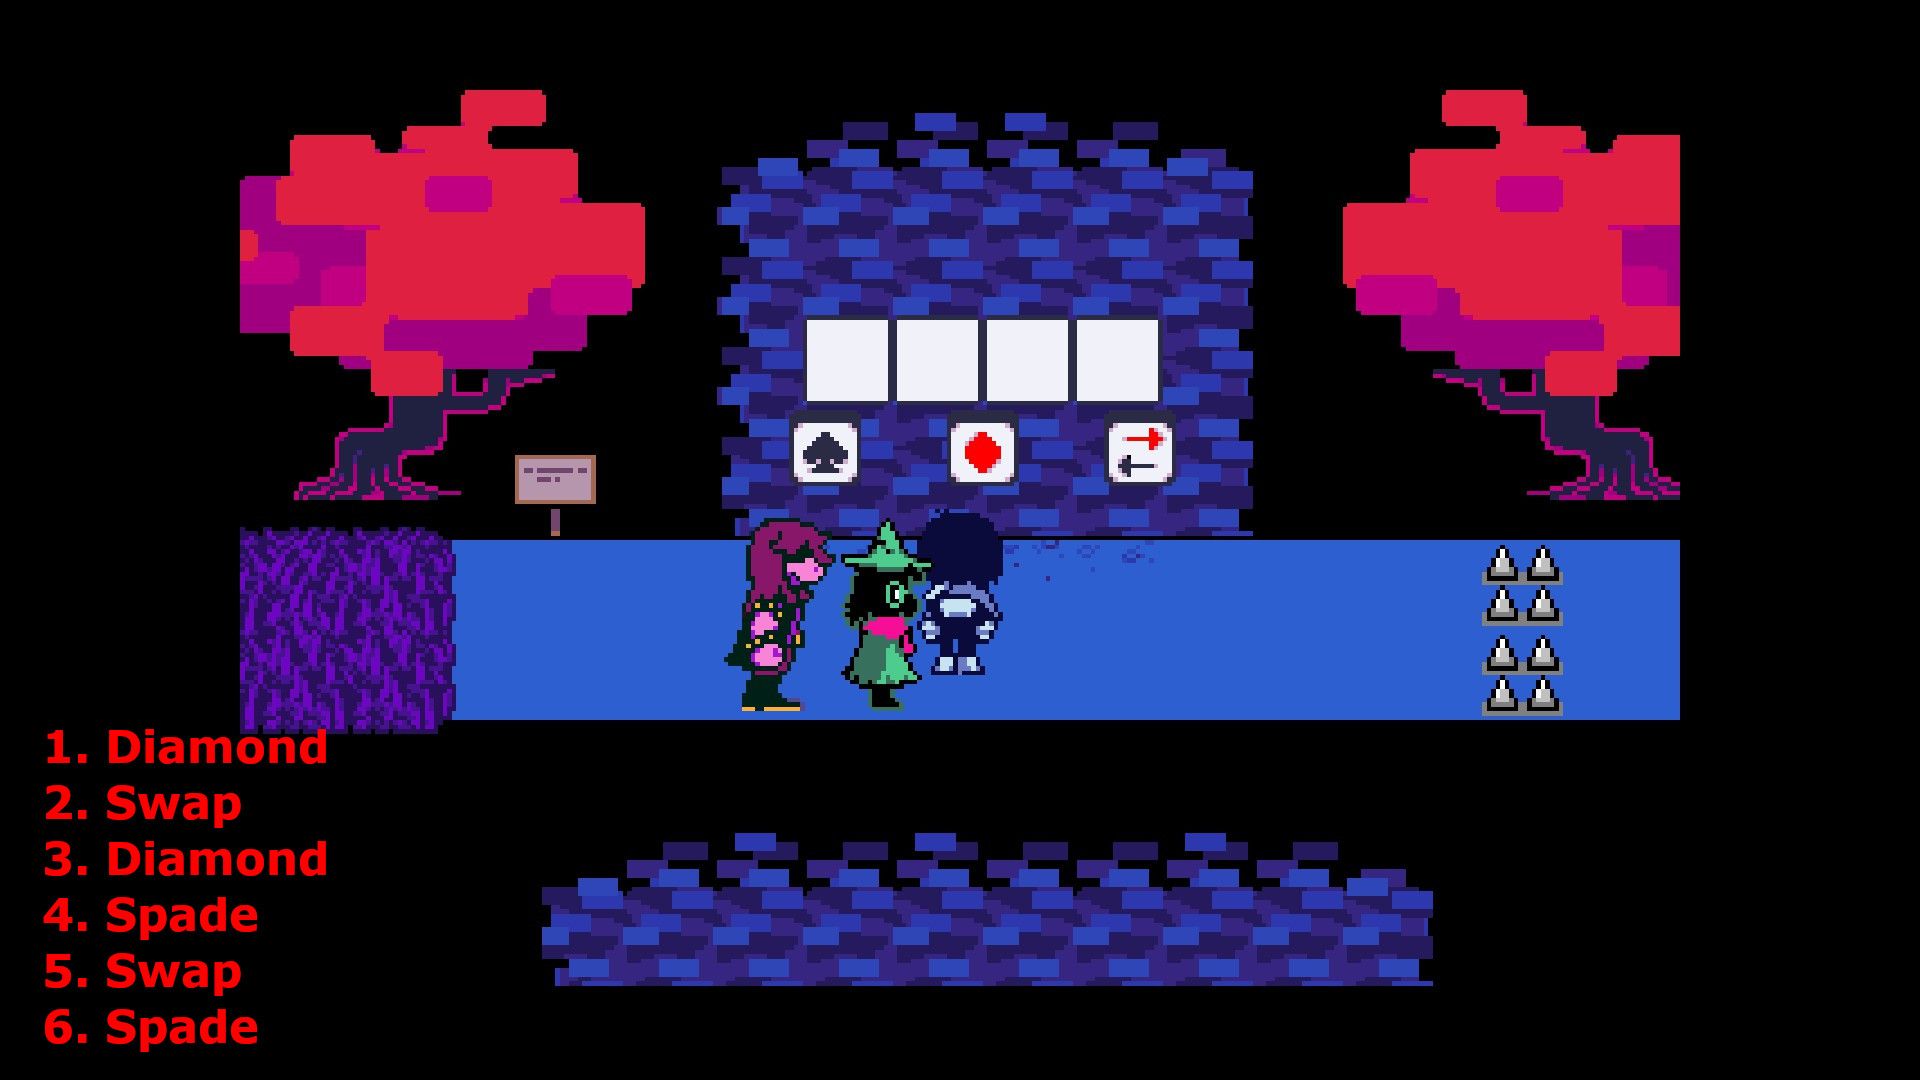
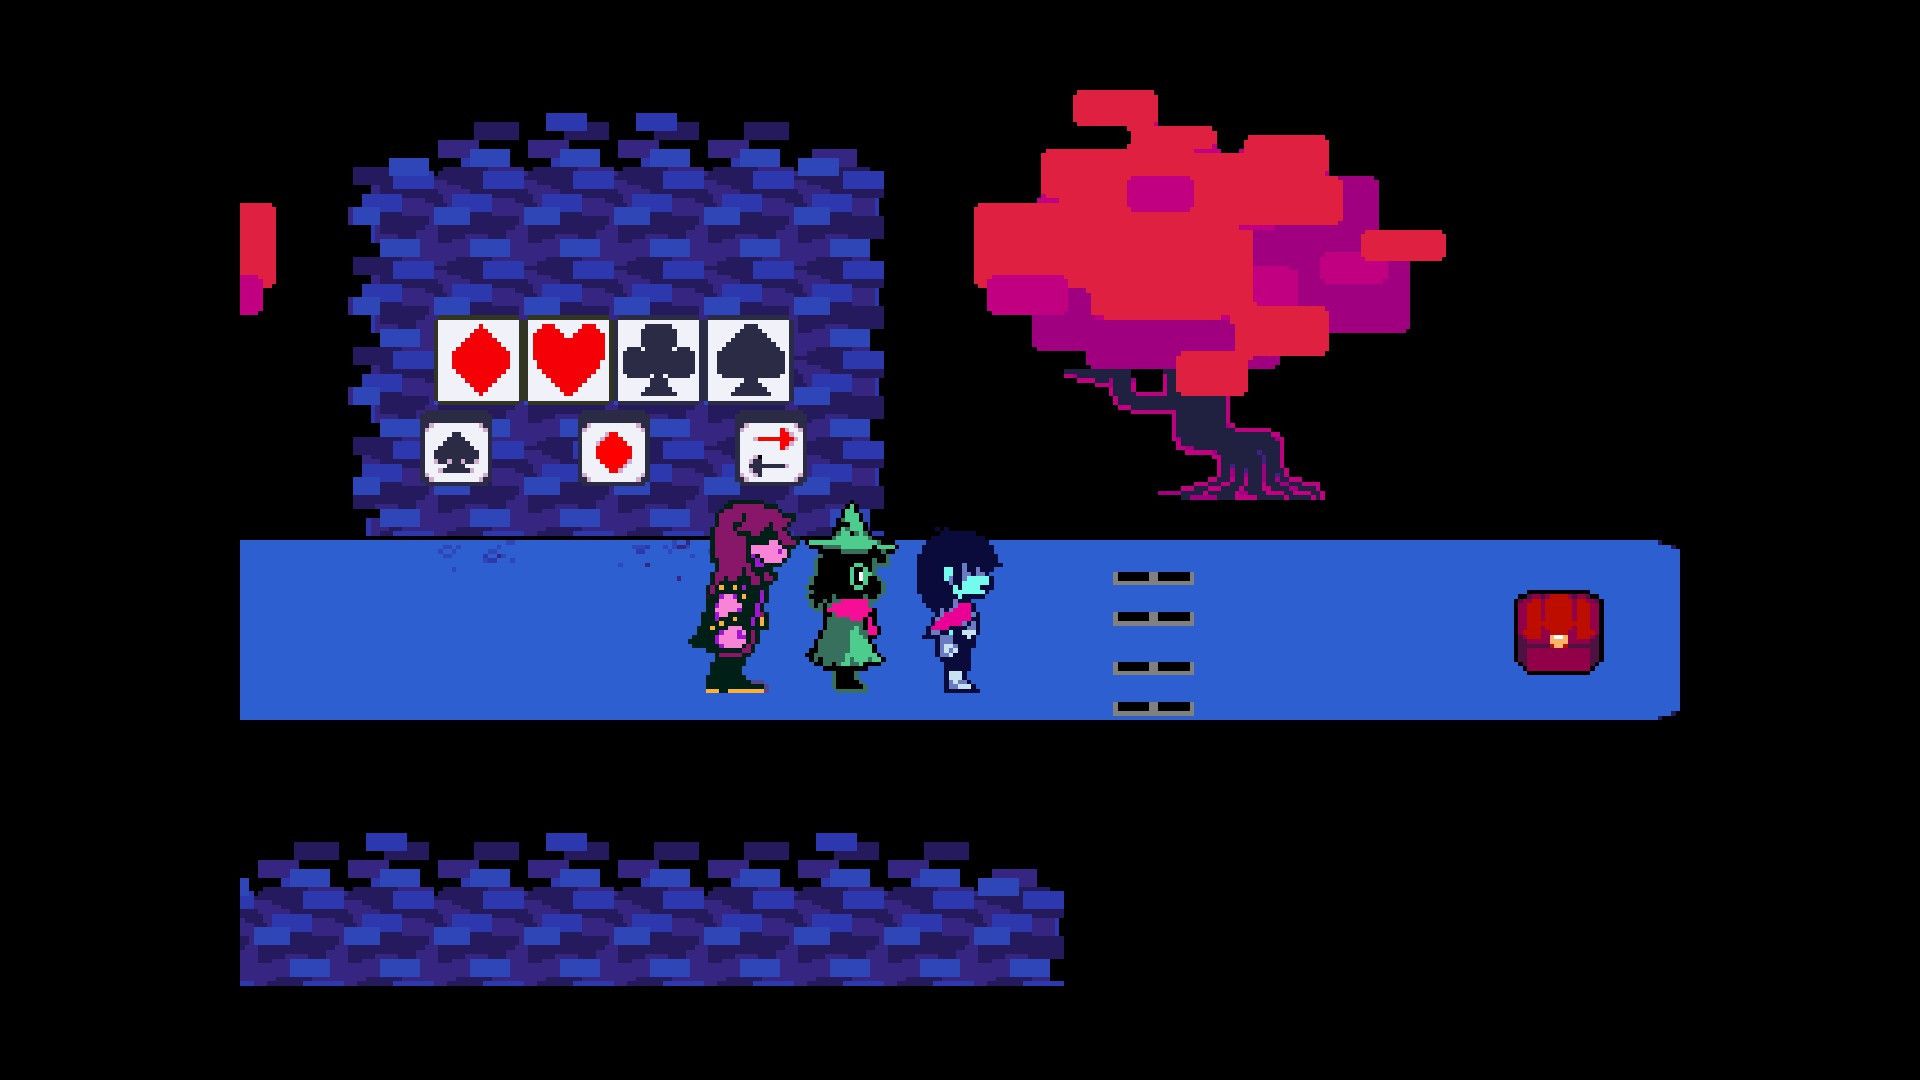
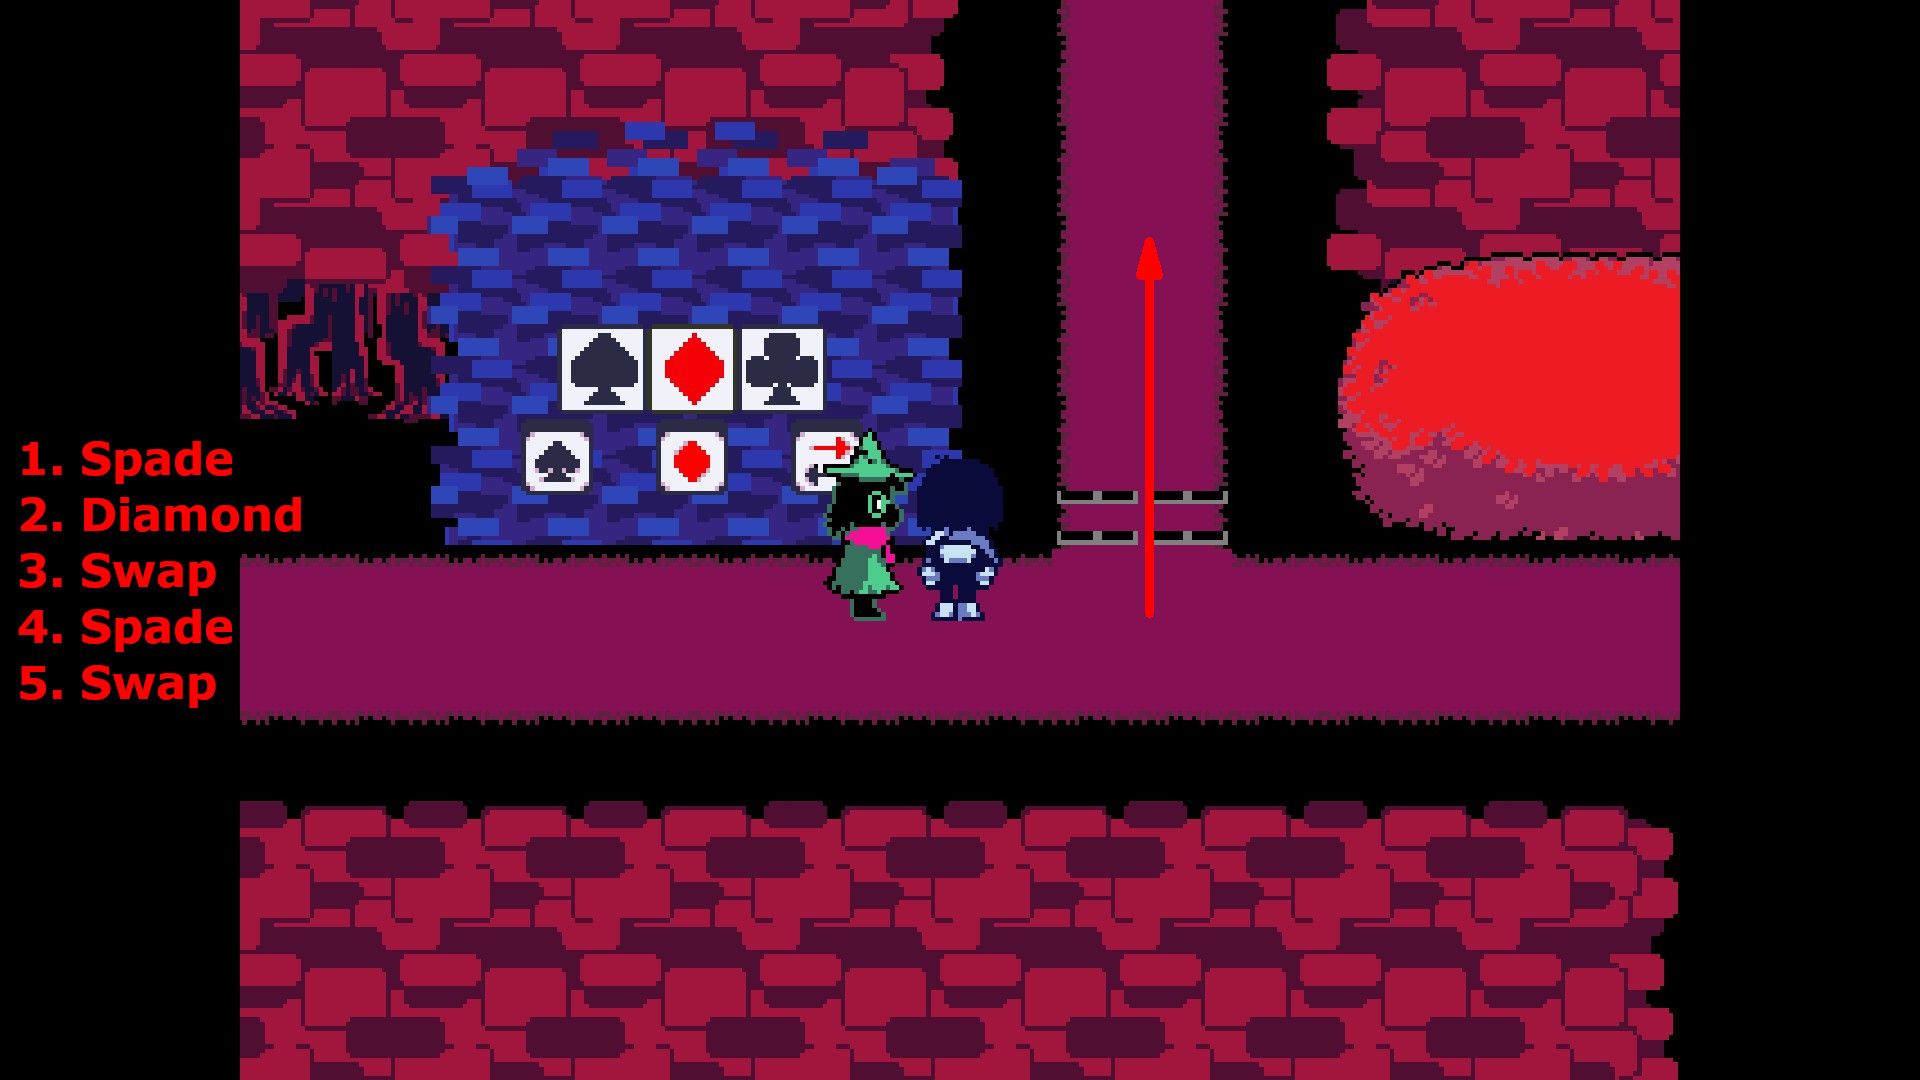
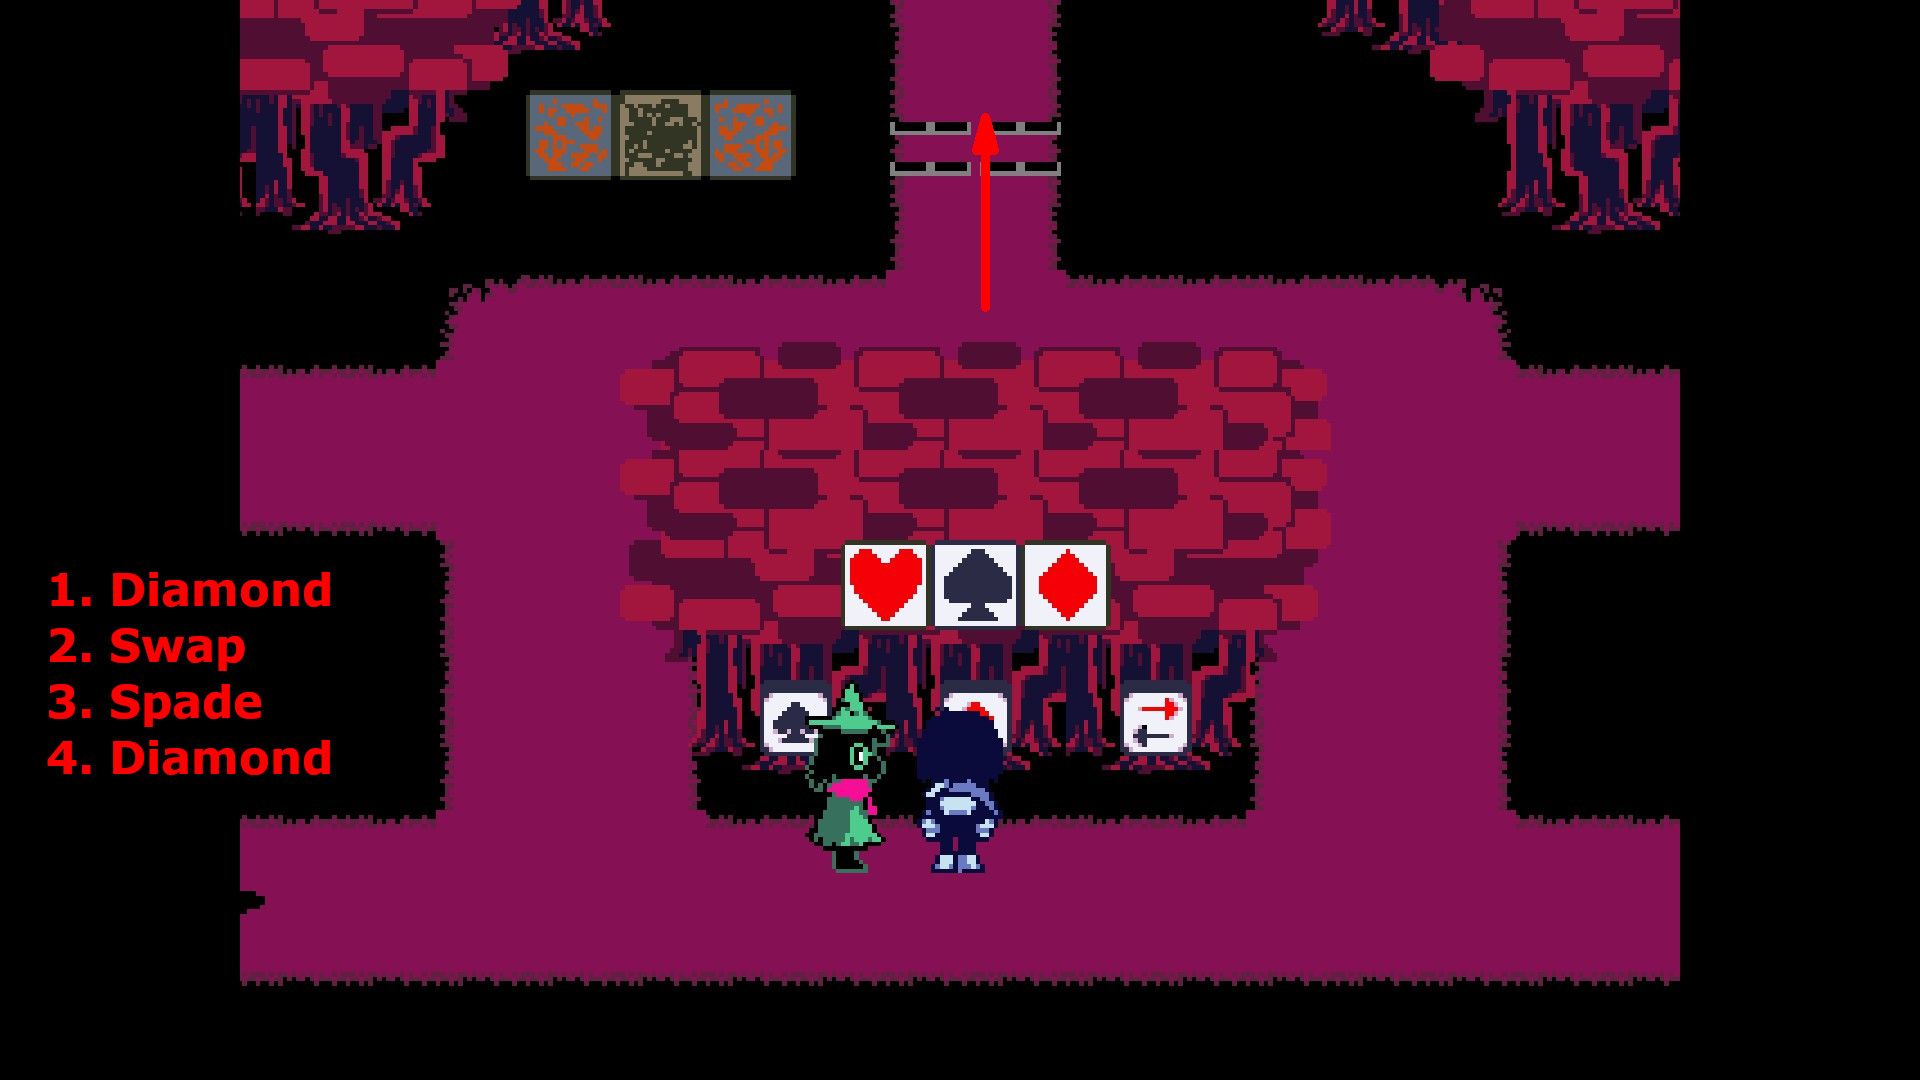
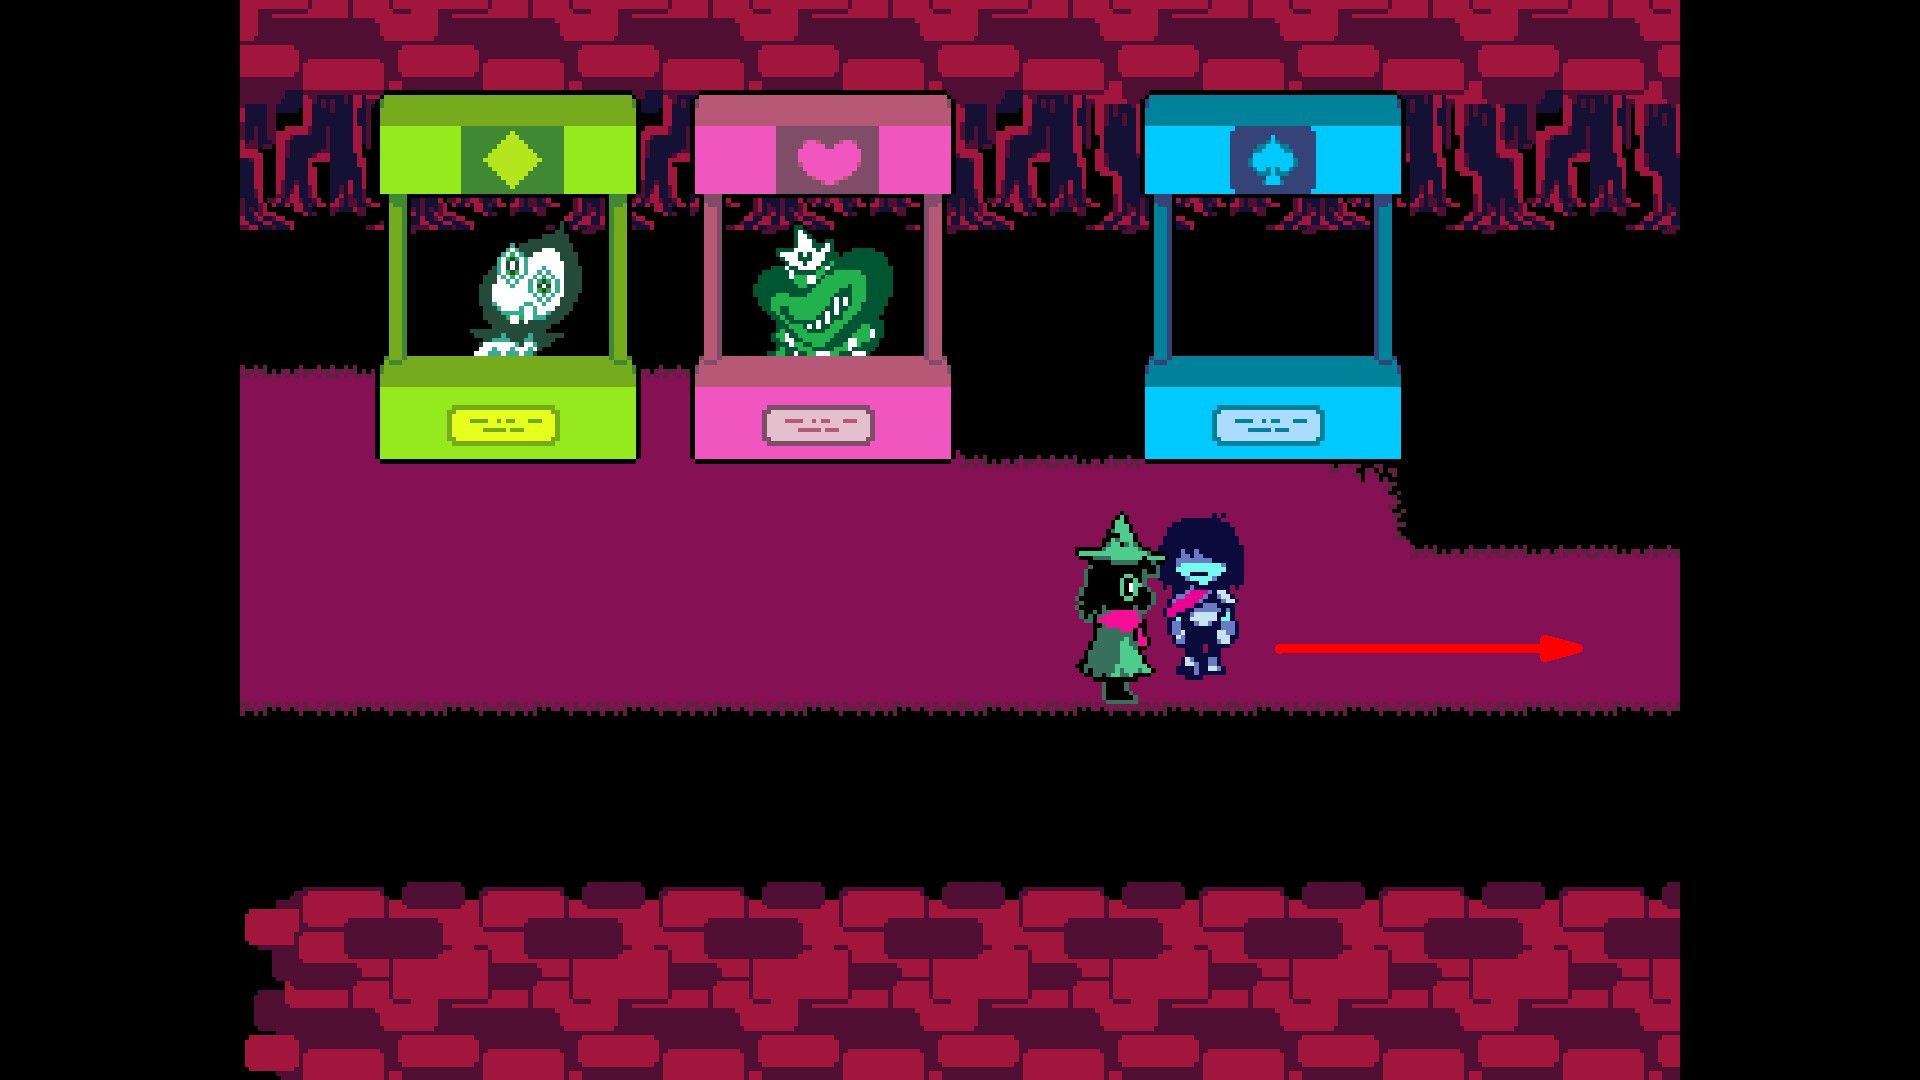
After solving the floor puzzle, players should continue moving forward until they reach an impasse where they must turn right. At this point, they will come across a puzzle involving walls, which revolves around spades and diamonds. Here’s how to solve it:
- Press Diamond.
- Press Swap.
- Press Diamond.
- Press Spade.
- Press Swap.
- Press Spade.
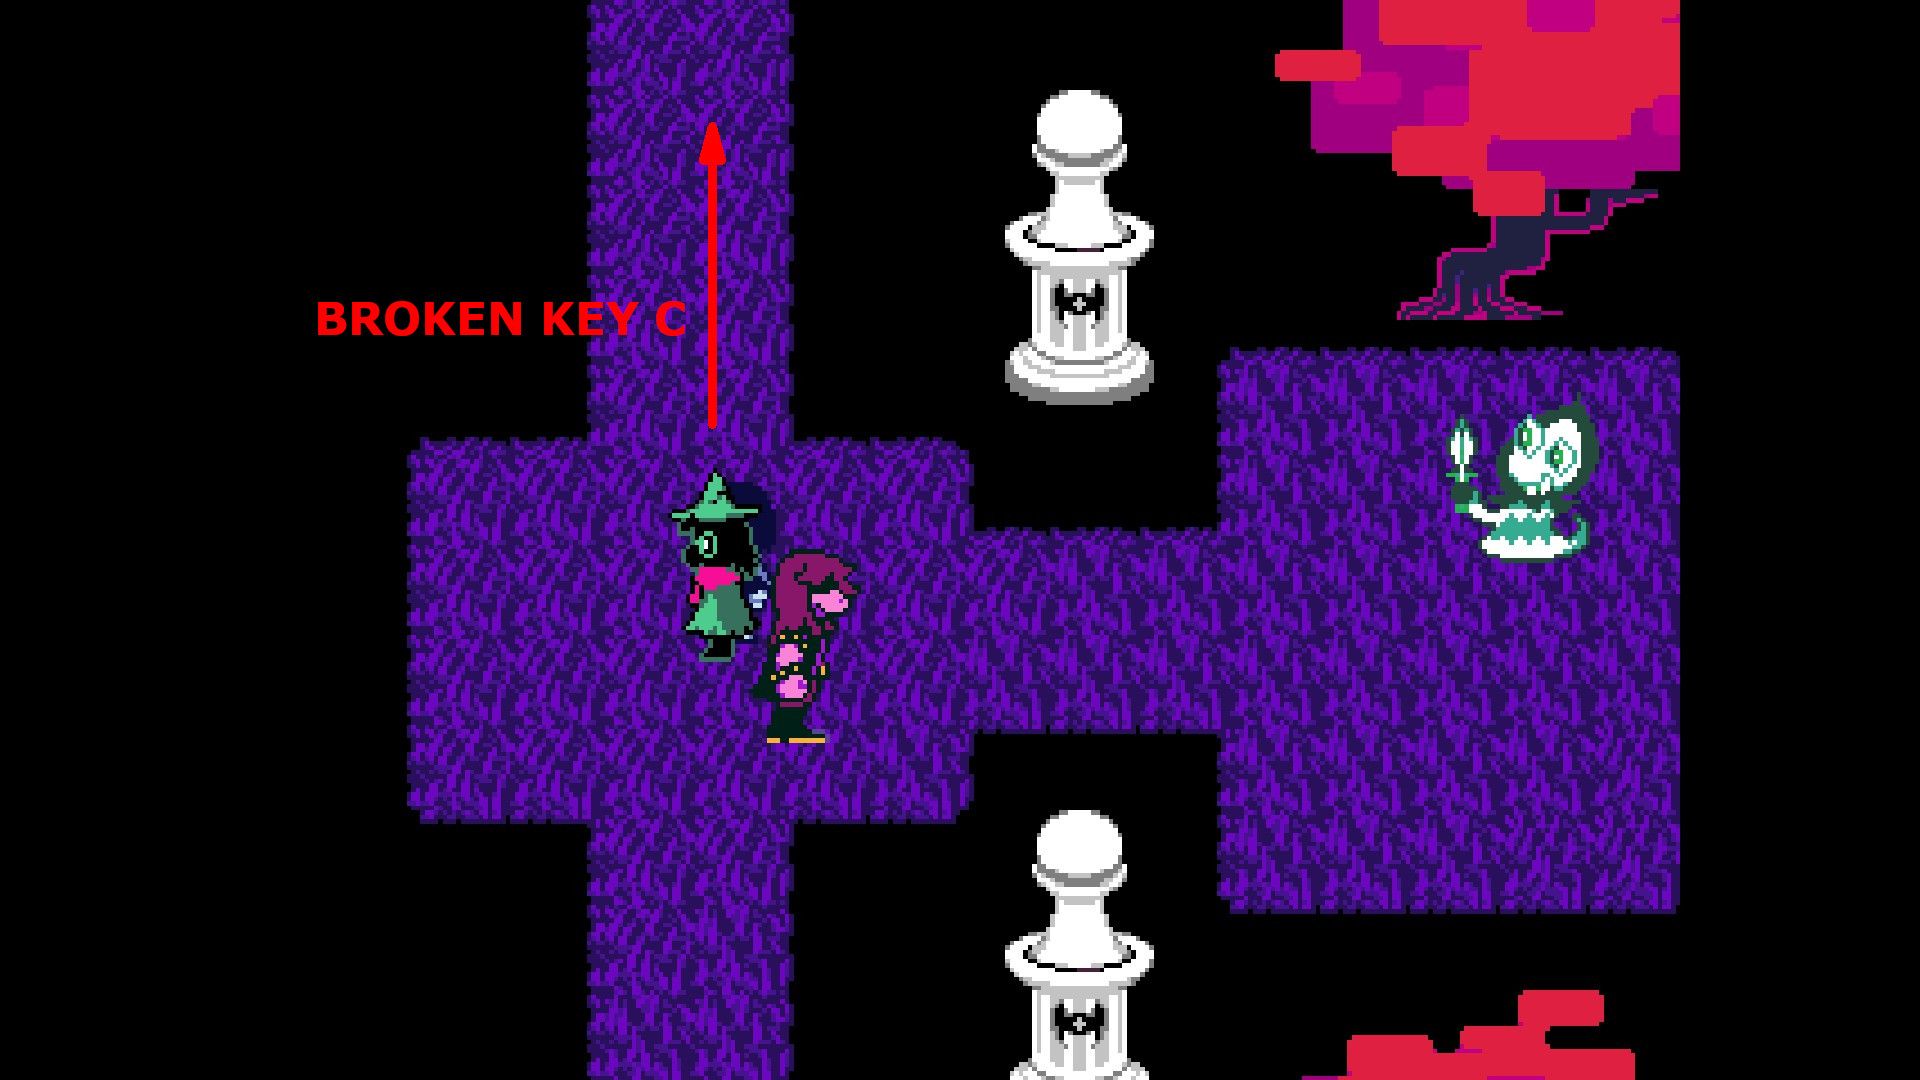
Solving this puzzle gives players access to a chest to the right, which holds Broken Key C.
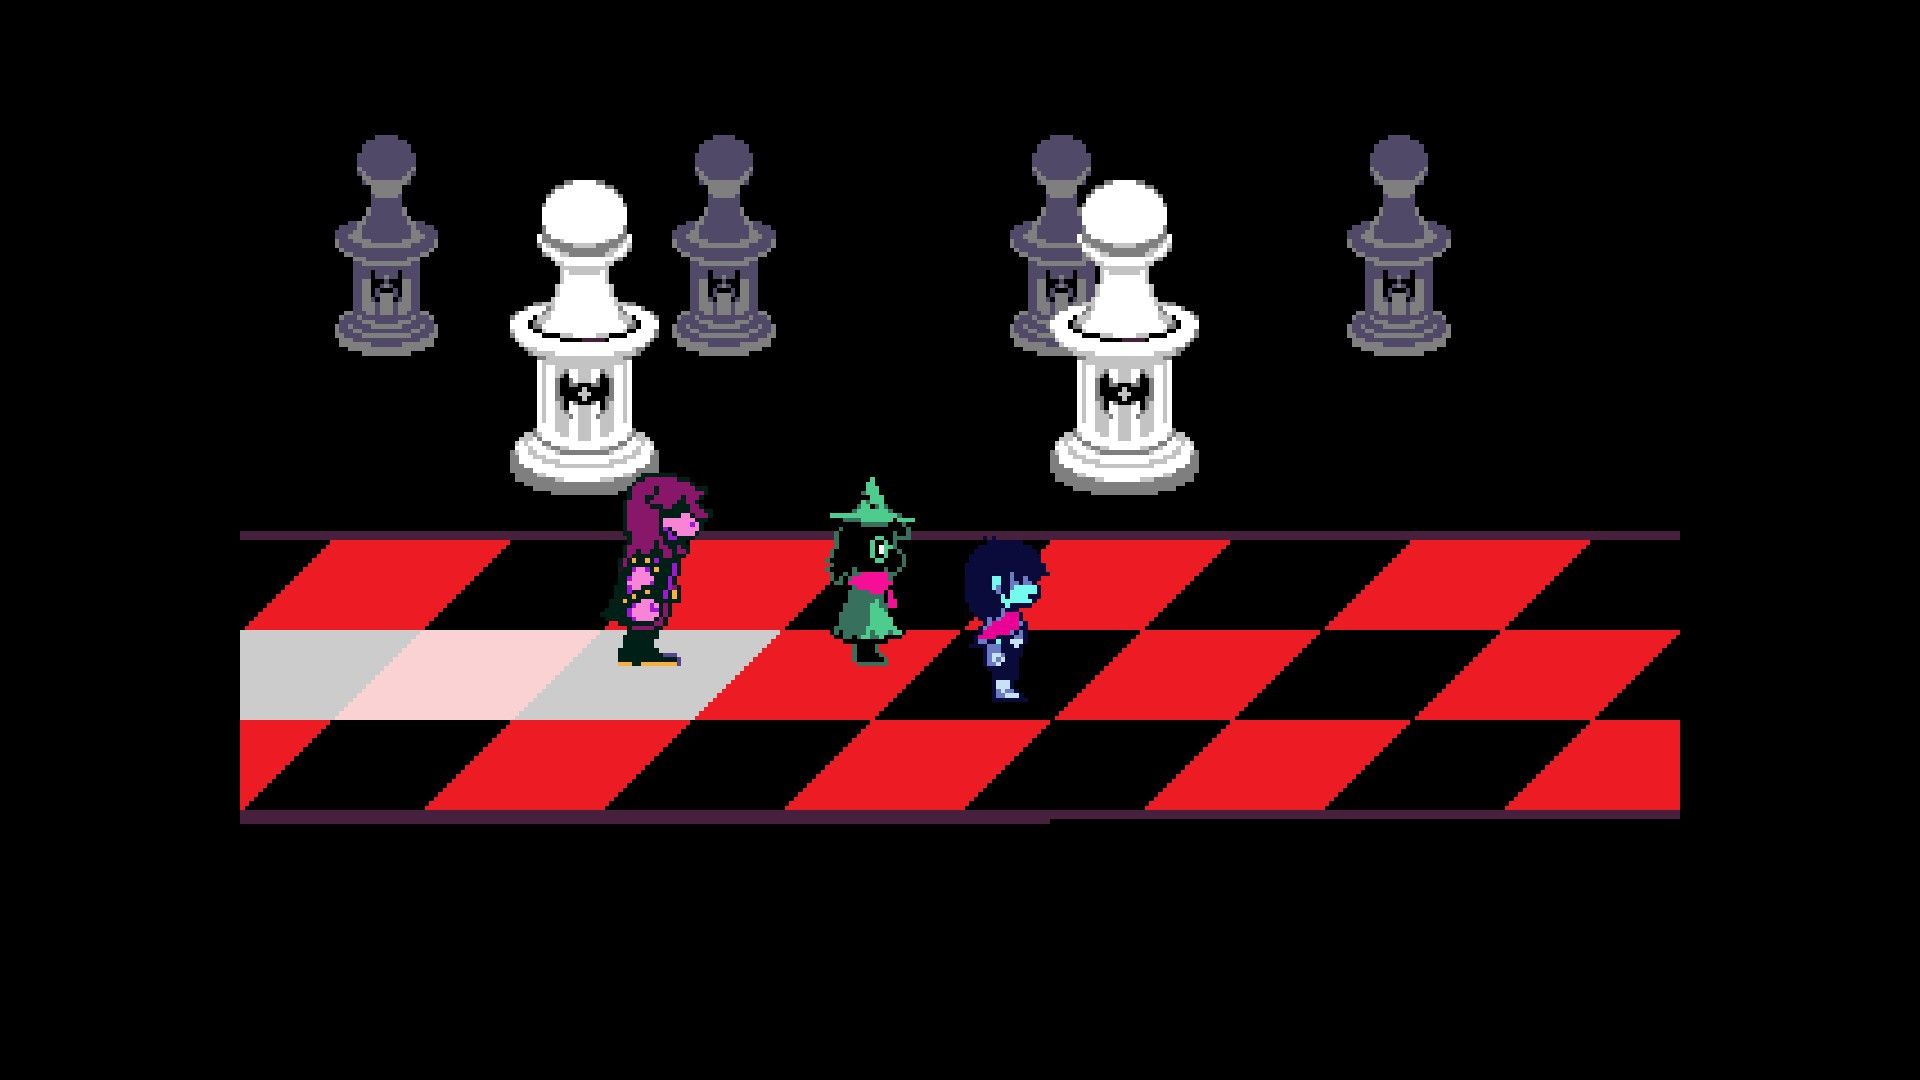
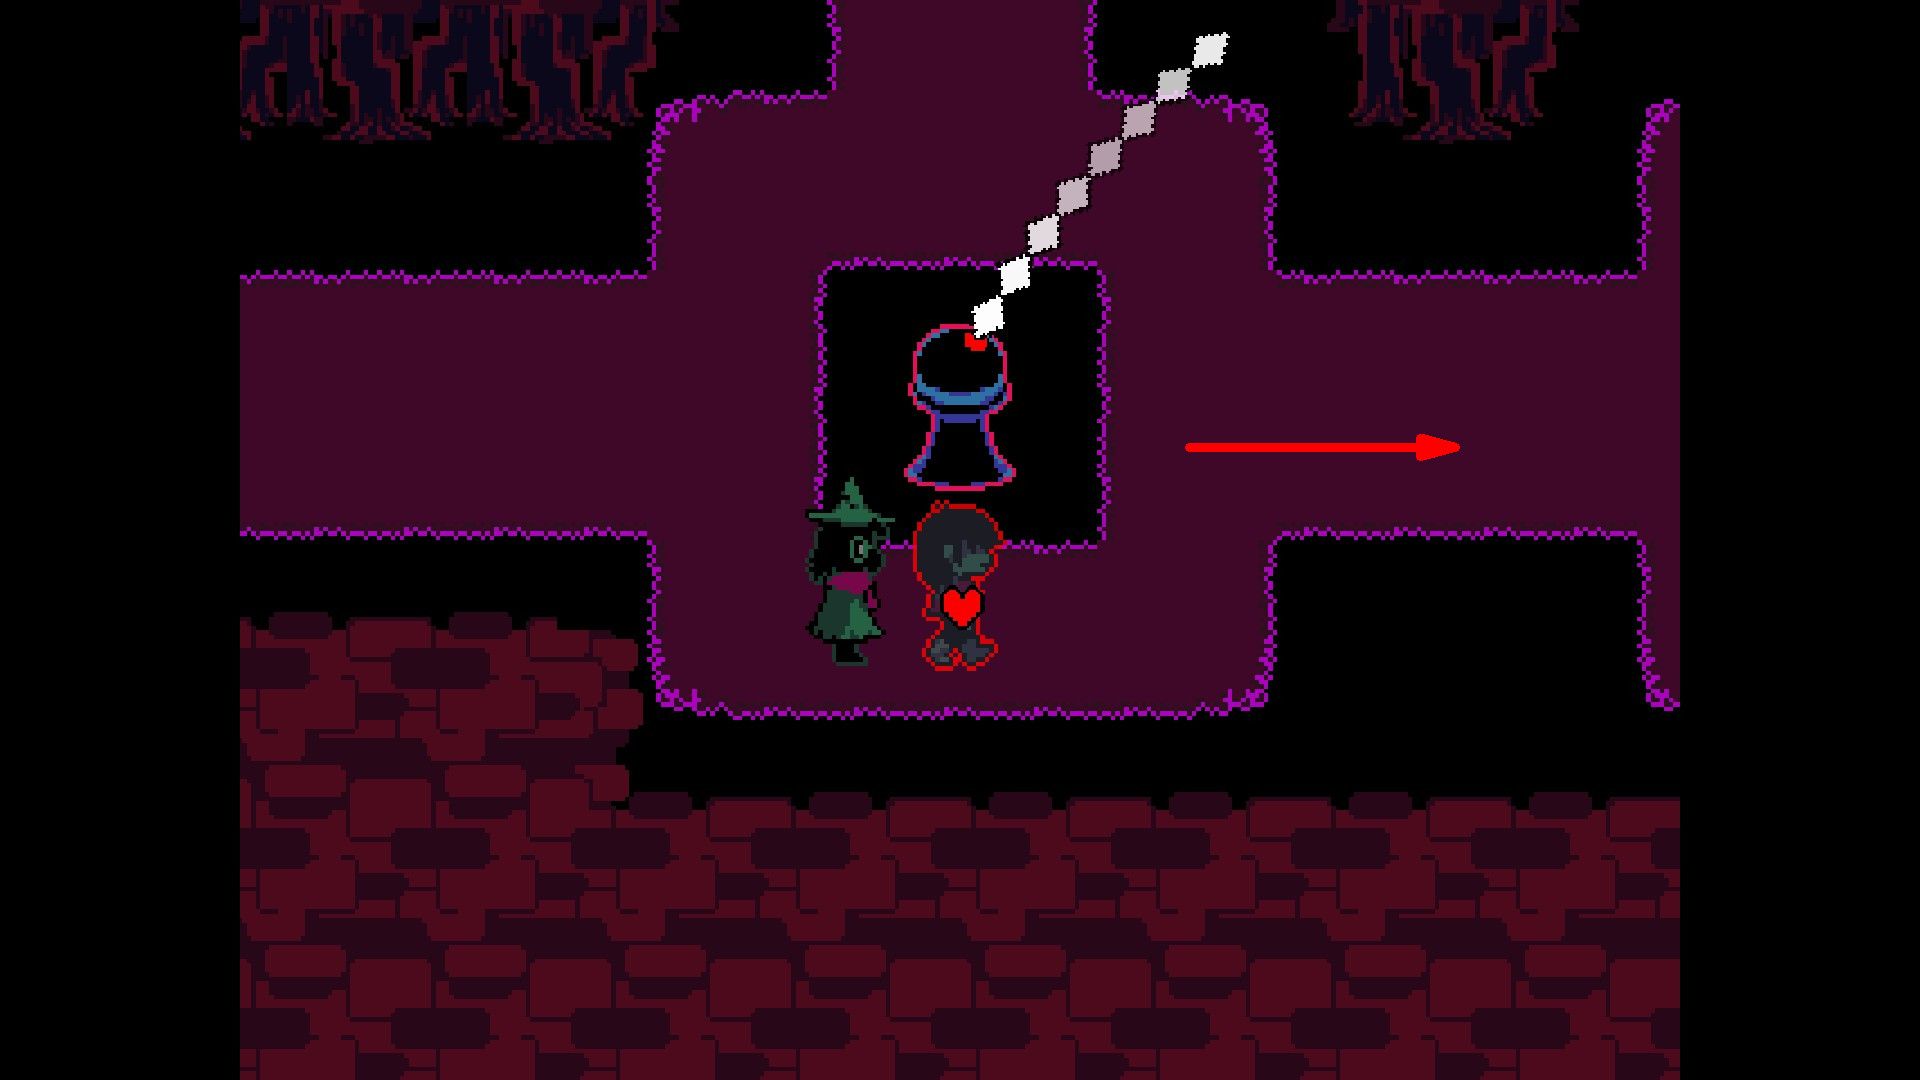
Players should now make their way towards the Great Board, located below and to the right. They must navigate through it by coordinating their movements with the non-illuminated spaces to progress. At the end of this path, players will meet K. Round, and they can perform the Deep Bow action to cause its crown to tumble down.
The Forest – Deltarune Chapter 1 Walkthrough
In the Forest

Following their initial save in the Forest, players need to proceed along the given path. Along this route, they’ll meet Susie and Lancer on two separate occasions. Continue moving forward until you encounter a rotating challenge. At this point, move upward and then left to uncover a chest containing the Ragger.

As a movie buff, I’d say it like this: “Alright, folks! Let’s retrace our steps back to that spinning challenge. Once you’ve conquered it, veer to the right. You’ll find yourself in a room with a brain-tickling wall puzzle and some familiar faces – Susie and Lancer. To crack this code, follow these steps, and when you’re done, move on to the right.
- Press Spade.
- Press Diamond.
- Press Spade.
- Press Swap.

Players will now encounter yet another wall puzzle, and they can solve it with these steps:
- Press Spade.
- Press Diamond.
- Press Swap.
- Press Spade.
- Press Swap.
Resolving the riddle will take out a few spiky obstacles, thereby opening up a route to a box containing the Dice Brace for the players.
Players can now return to the critical path and solve a third wall puzzle by taking these actions:
- Press Diamond.
- Press Swap.
- Press Spade.
- Press Diamond.
Once the puzzle is solved and the threatening spikes are cleared, players should ascend to initiate a showdown with Clover. Those looking for a non-violent approach to this encounter are recommended to choose ‘Manual’ twice (from the Items section) followed by using ‘Spare’.
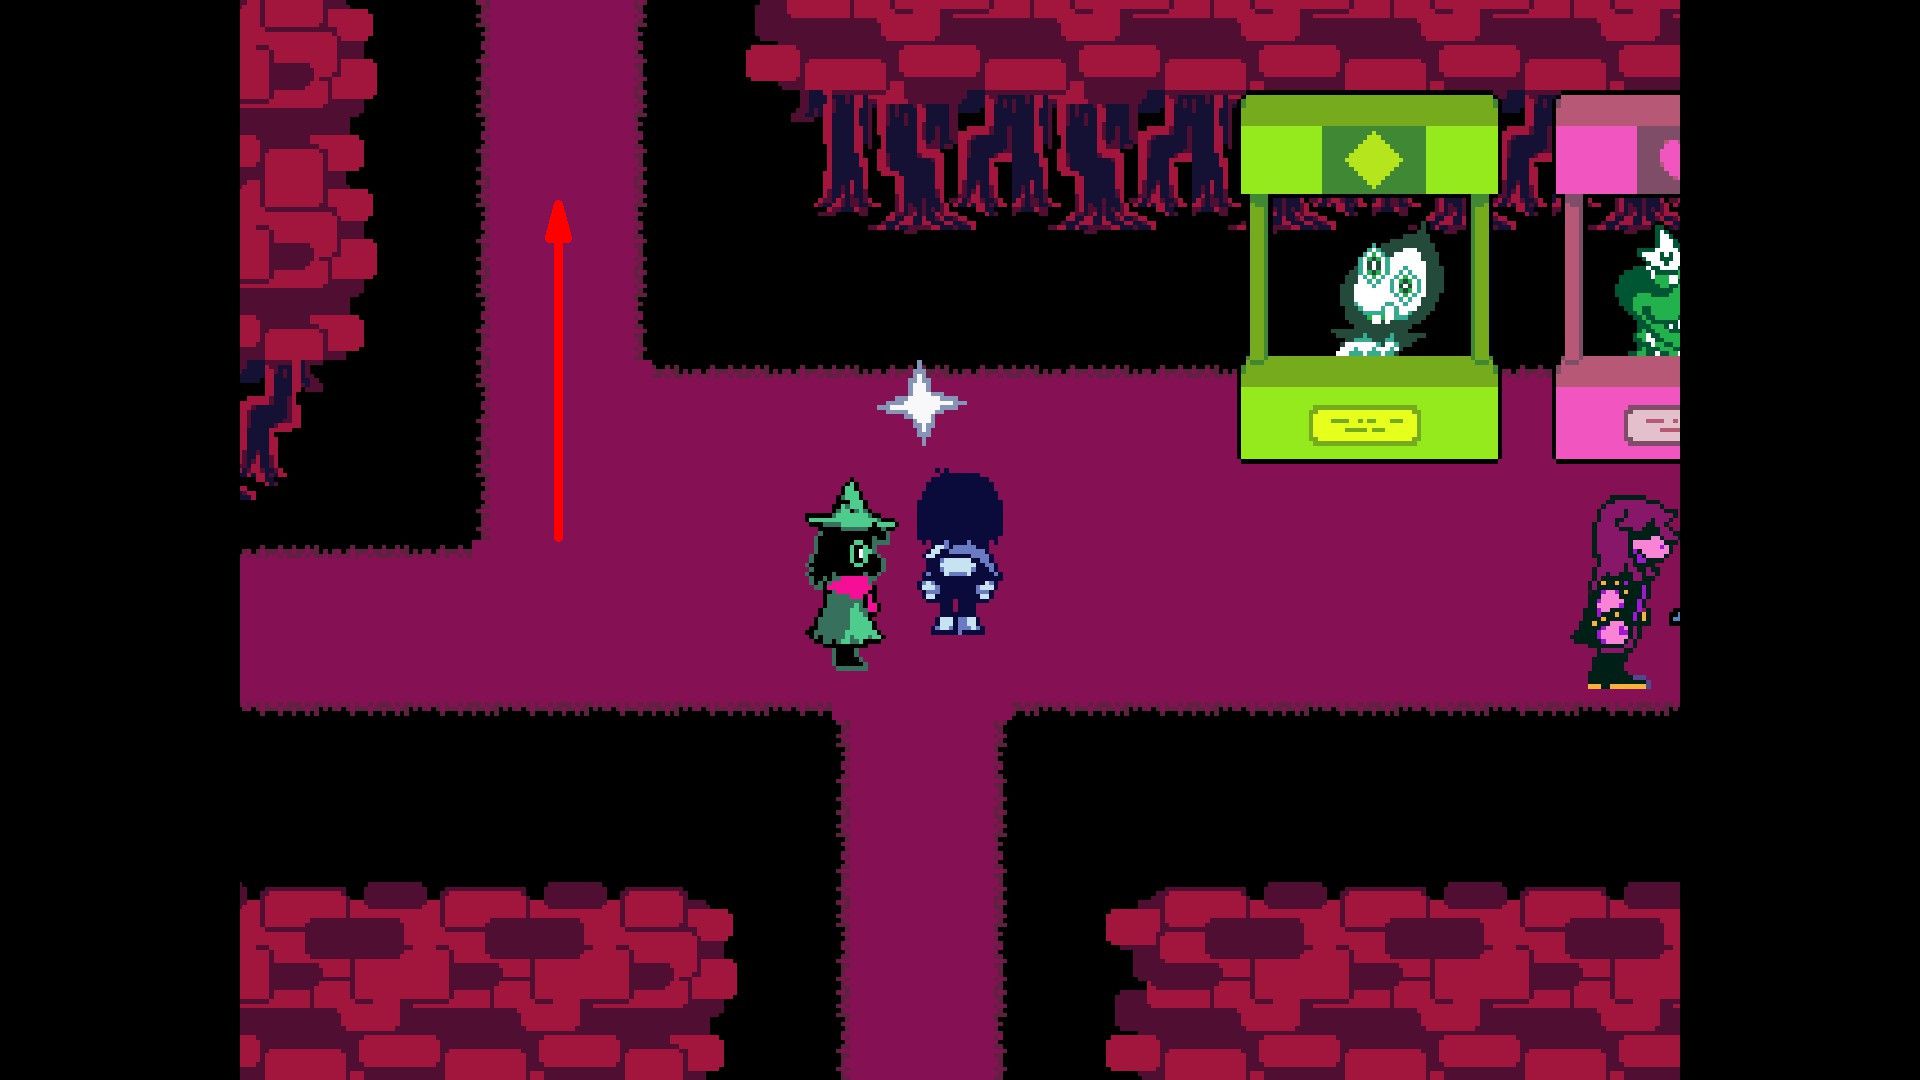
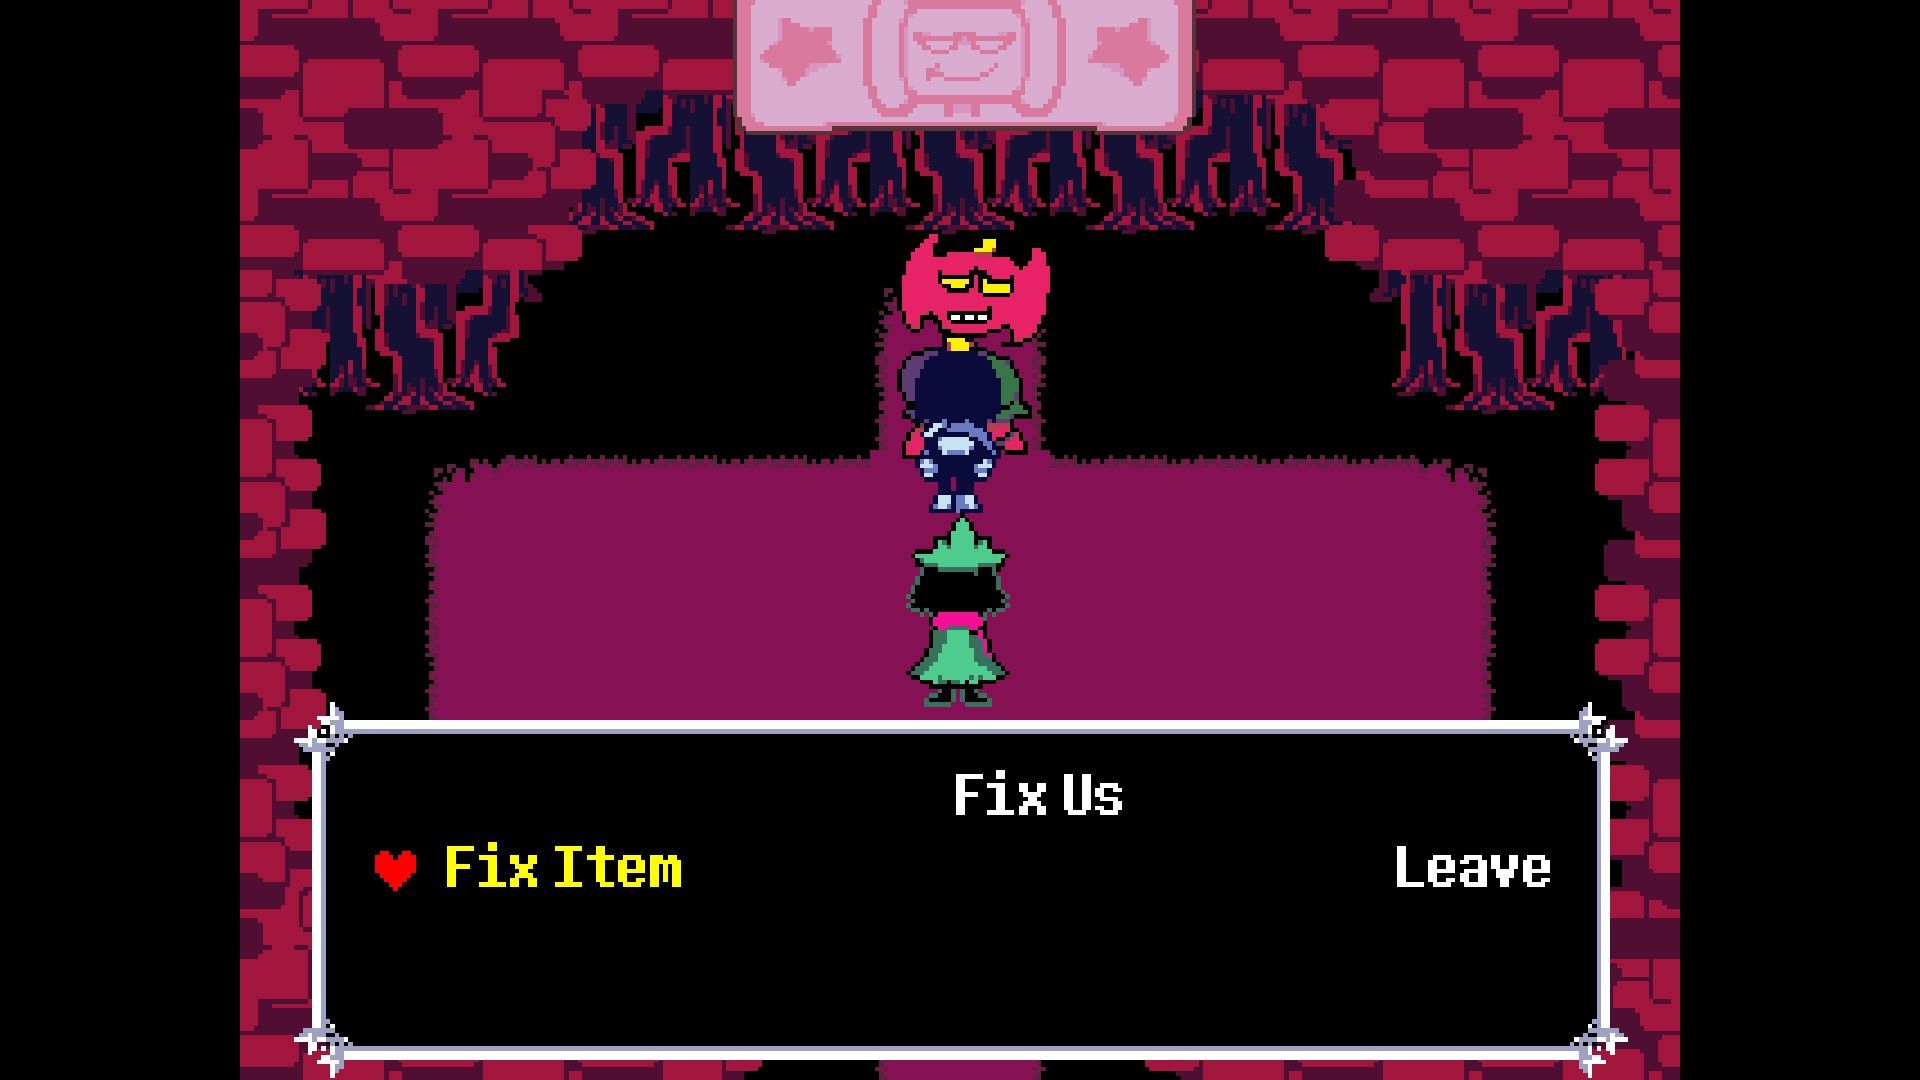
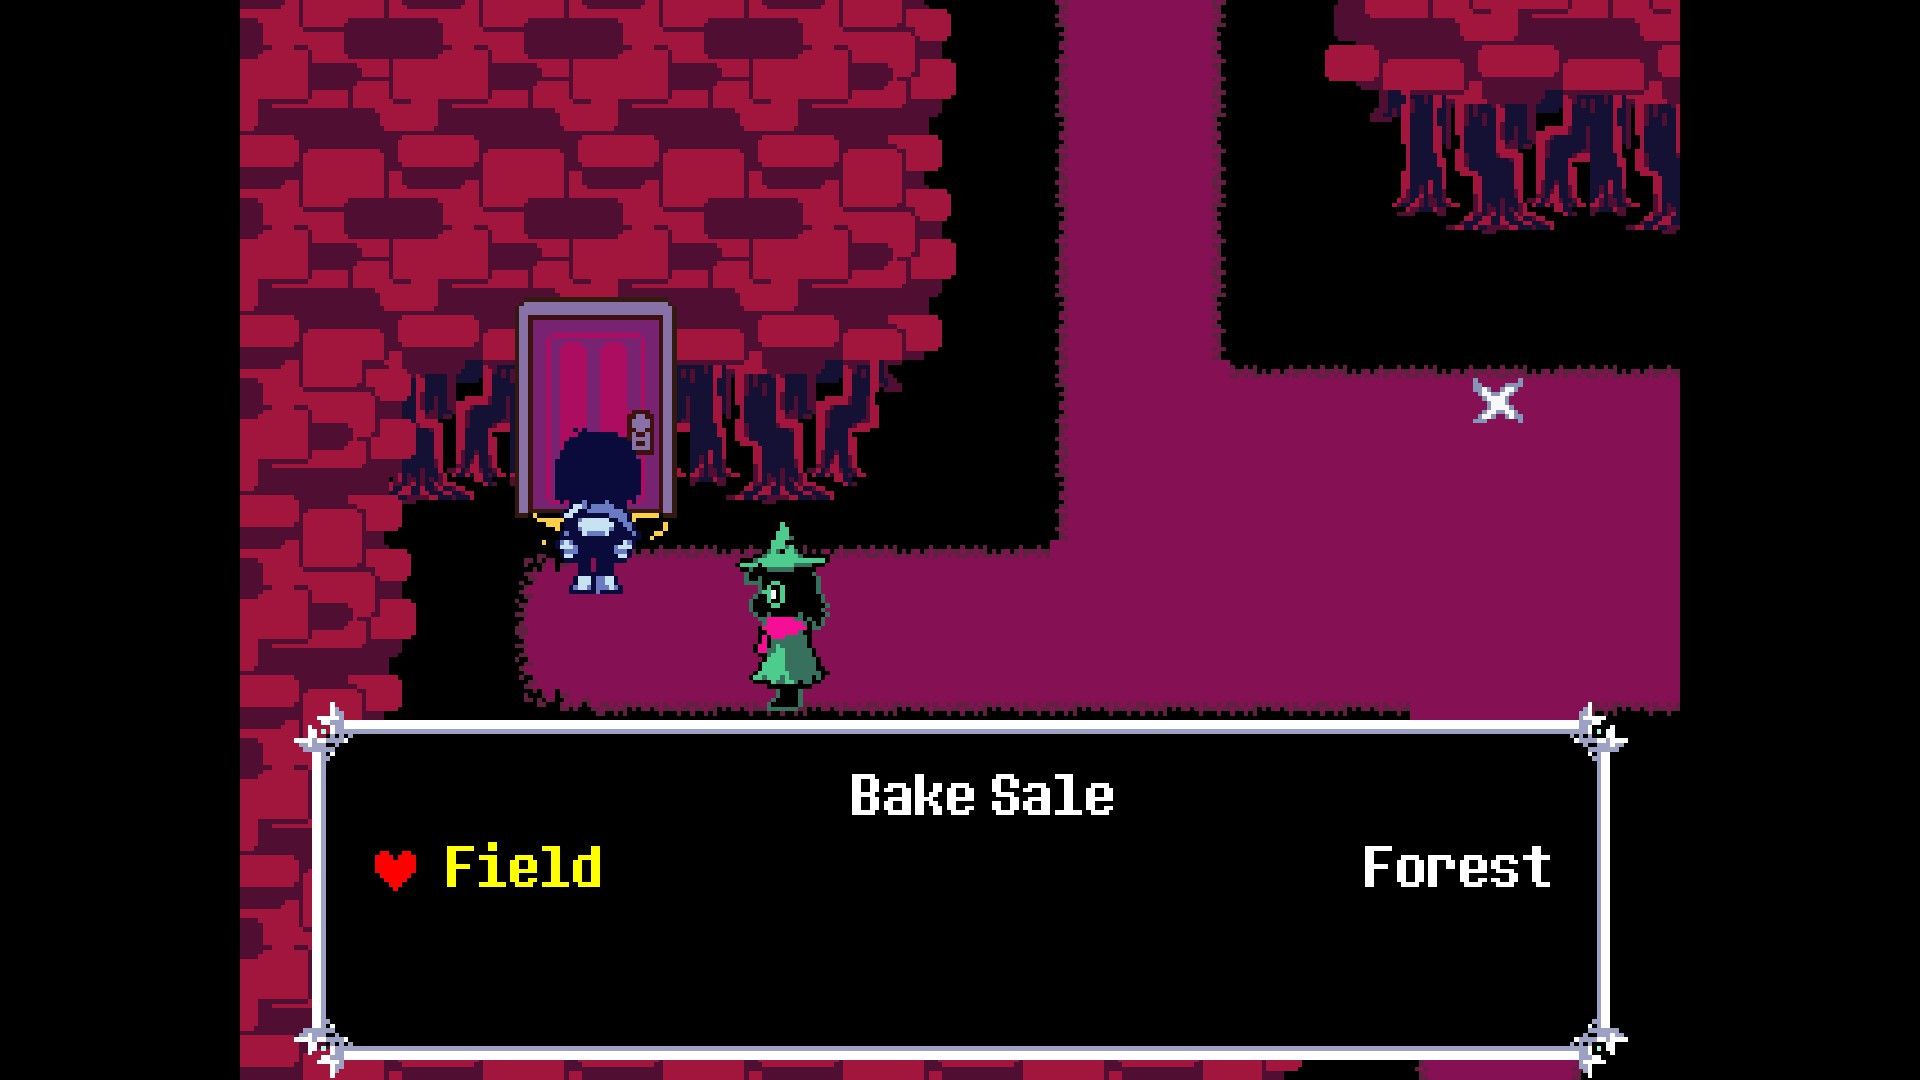
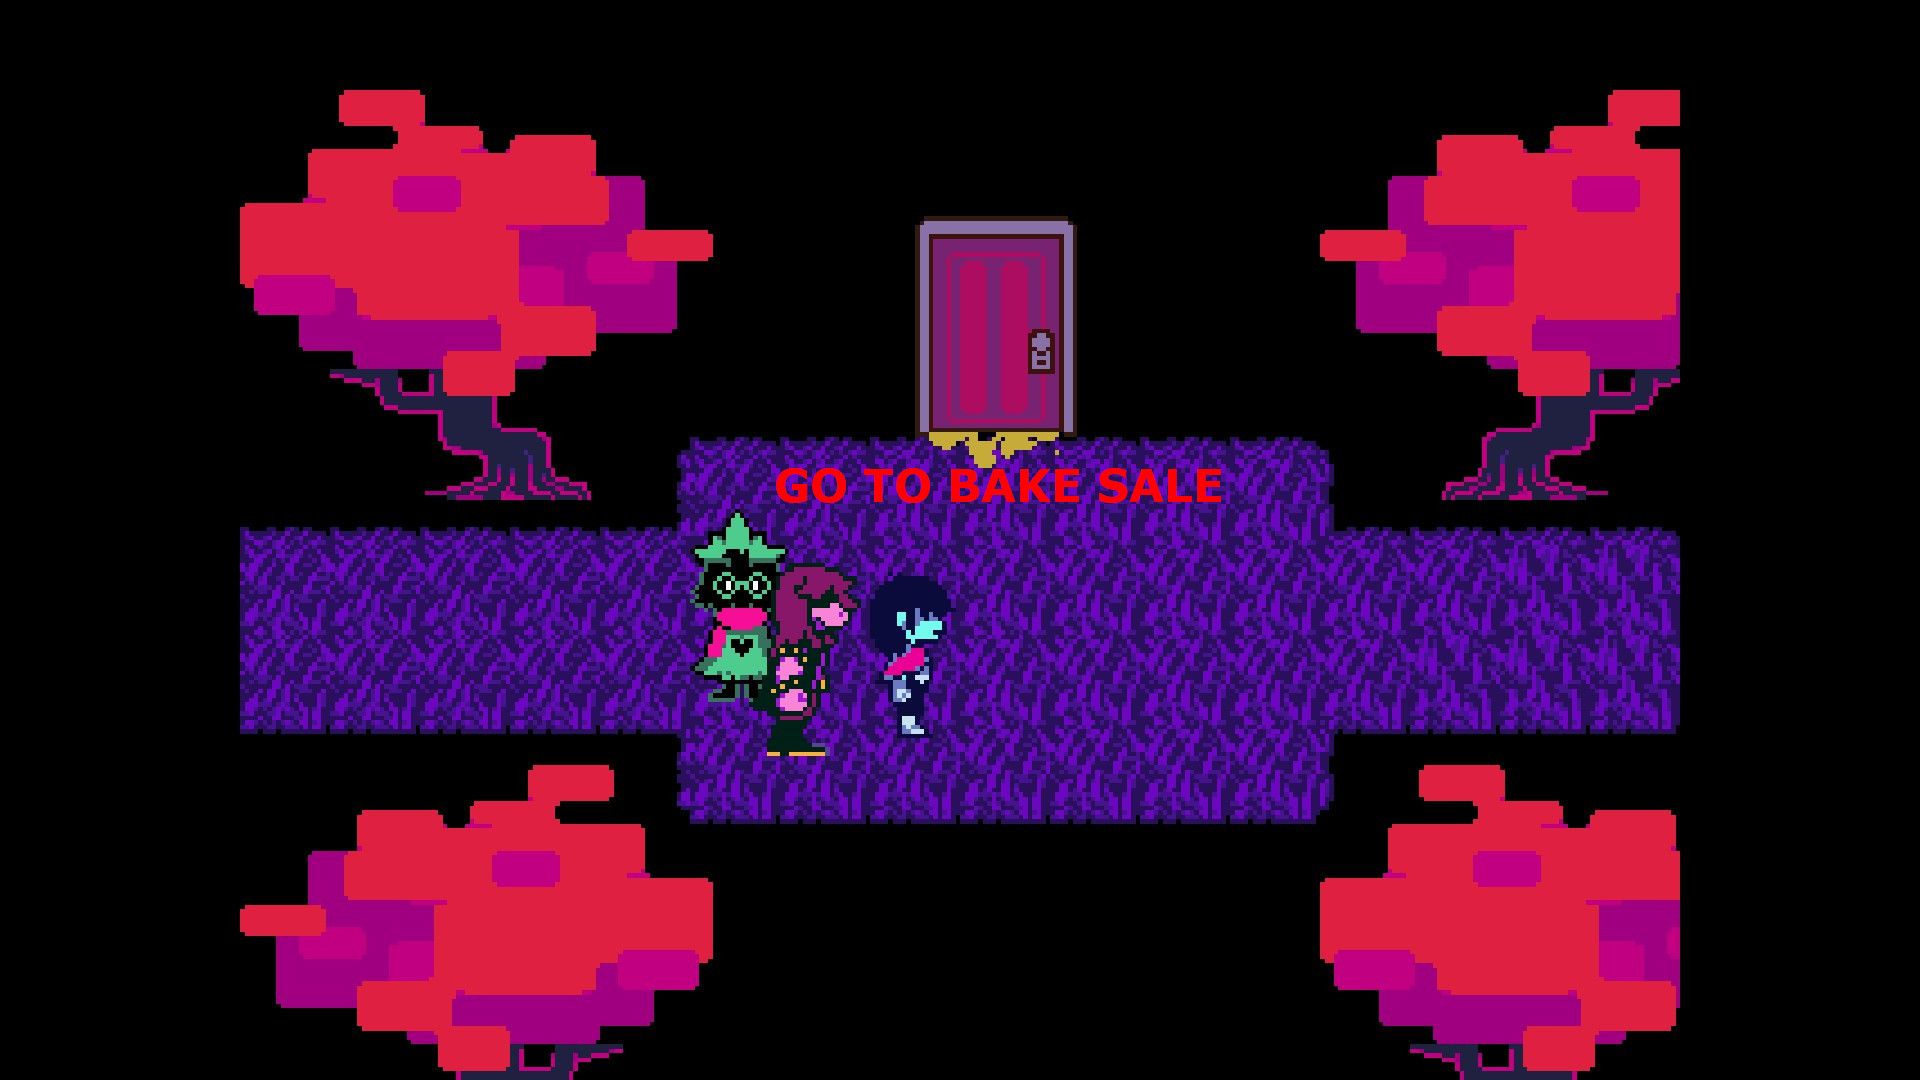
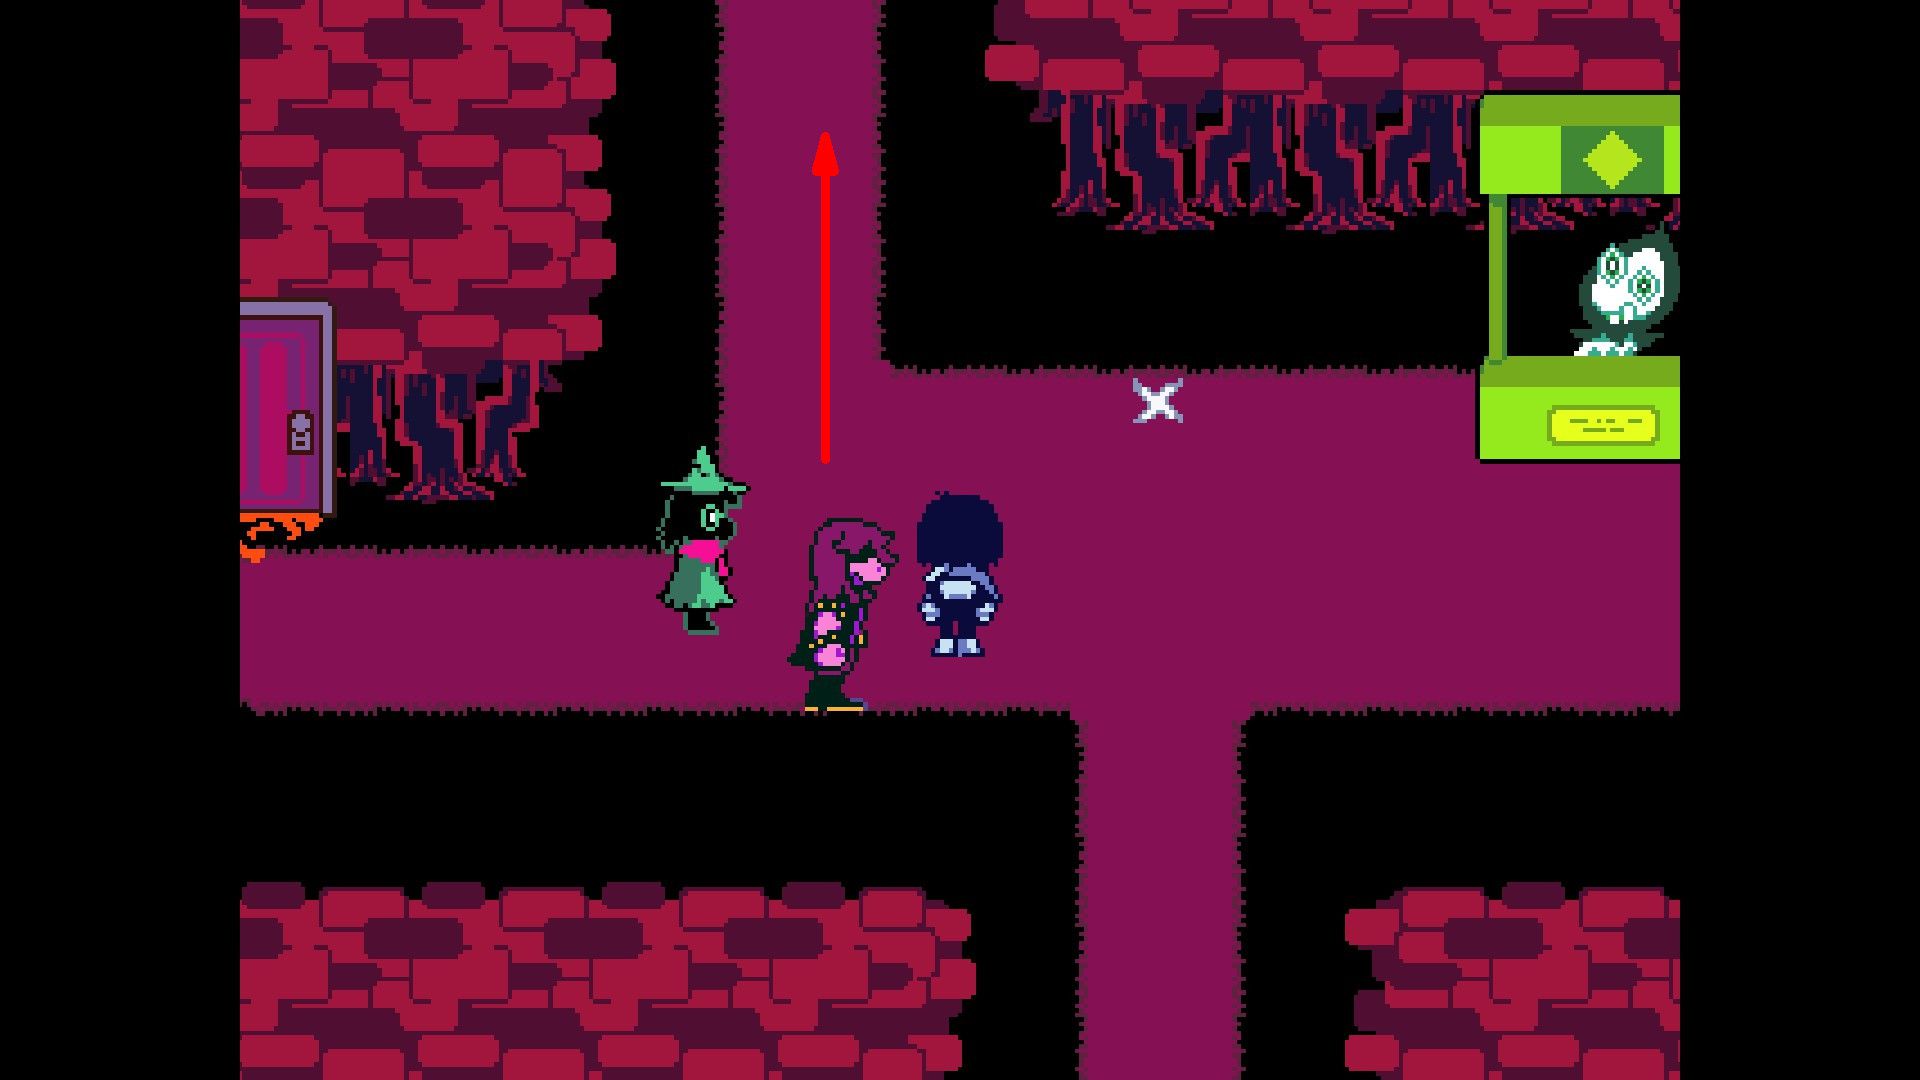
Following their interaction with Clover, players will find themselves in the Bake Sale section. Here, they can purchase goods from any of the three vendors, including Susie and Lancer. Subsequently, they should utilize the path to the left of the vendors as a means of ascension, which leads to Malius, an NPC capable of mending the Broken Cake. Once the cake has been repaired, players can make their way through the nearby door near the Bake Sale save point to traverse to the Field. By backtracking and returning to where they were before, they will eventually reach Topchef. If they deliver the fixed cake to this NPC, they will be rewarded with the Spin Cake.
After using a Spin Cake from their inventory, players can obtain more by conversing with Topchef once more.
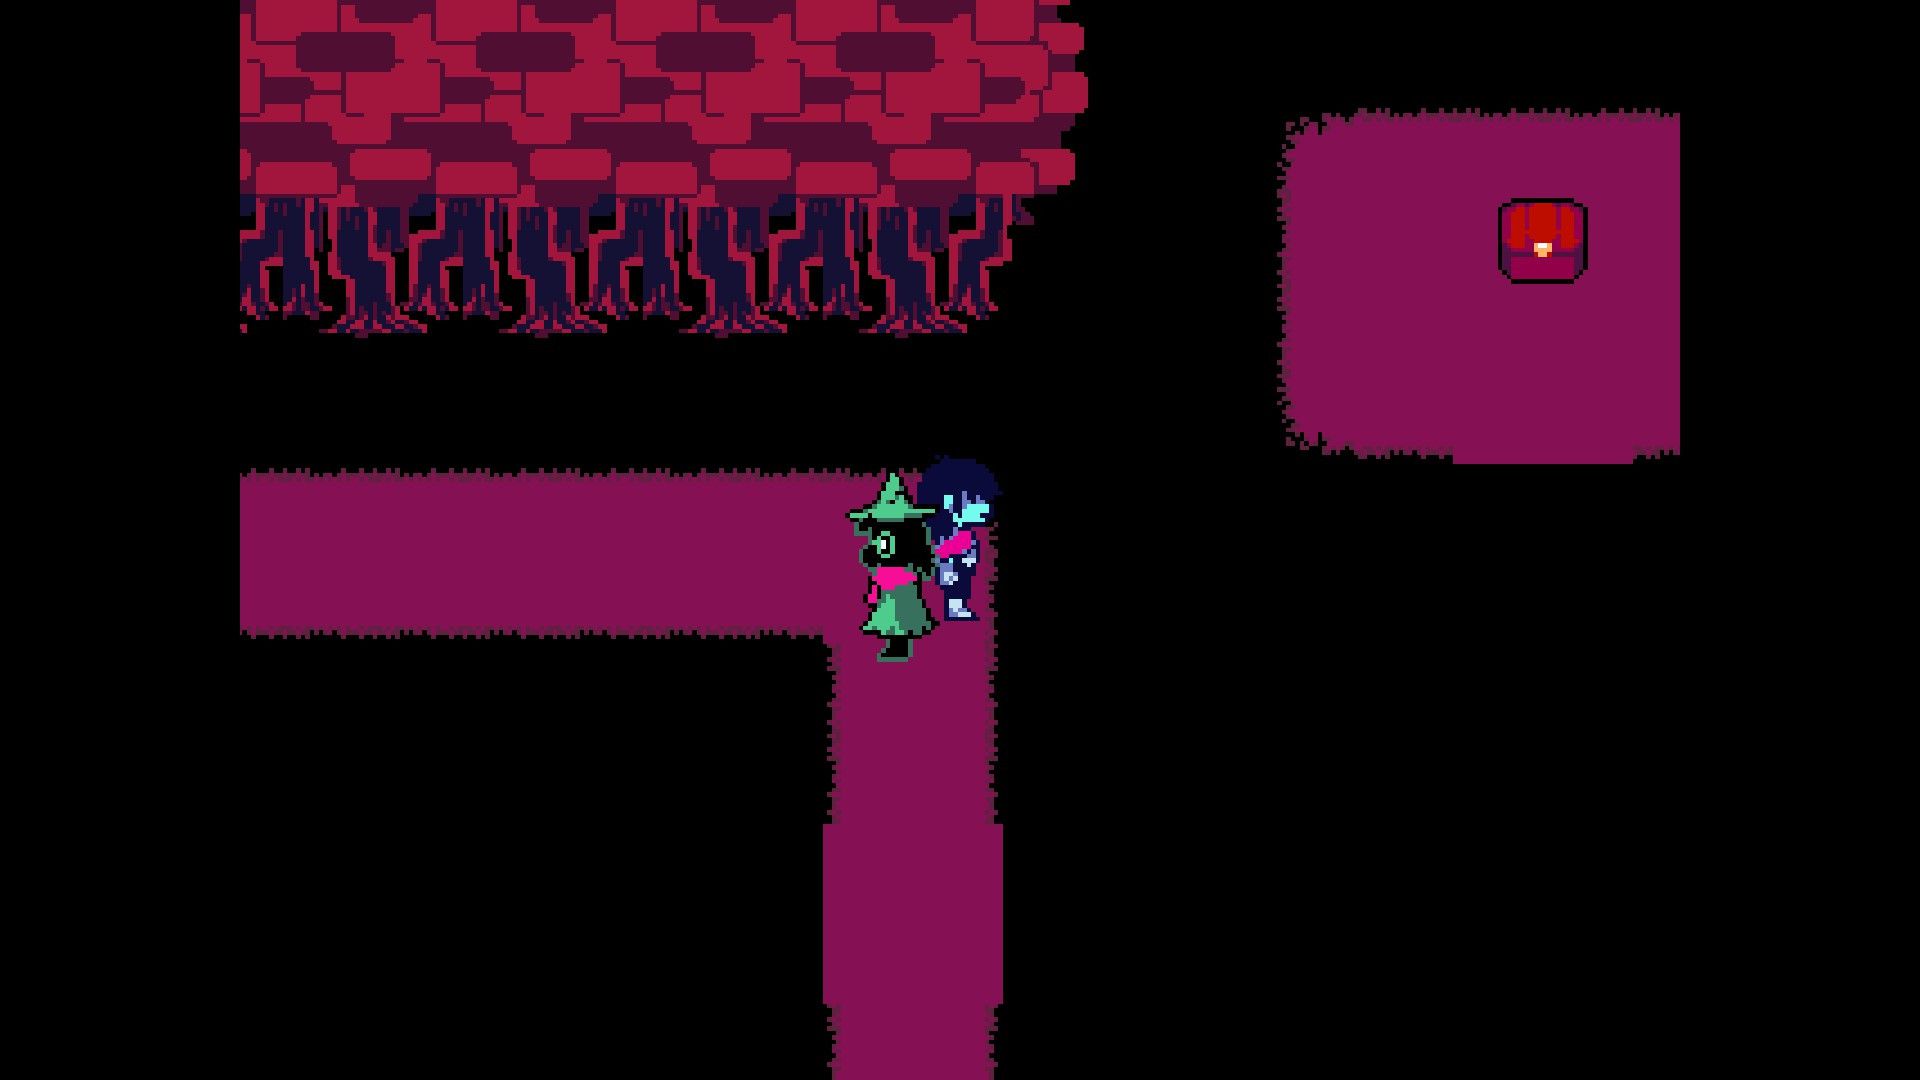
As a movie buff, I’m guiding you back to the Bake Sale now. Take the path to your right near the vendors. On the following screen, you’ll spot a seemingly unreachable chest. Don’t worry, there’s an invisible path leading to it, as shown in the previous image. This mysterious box contains 40 Dark Dollars! Keep exploring!
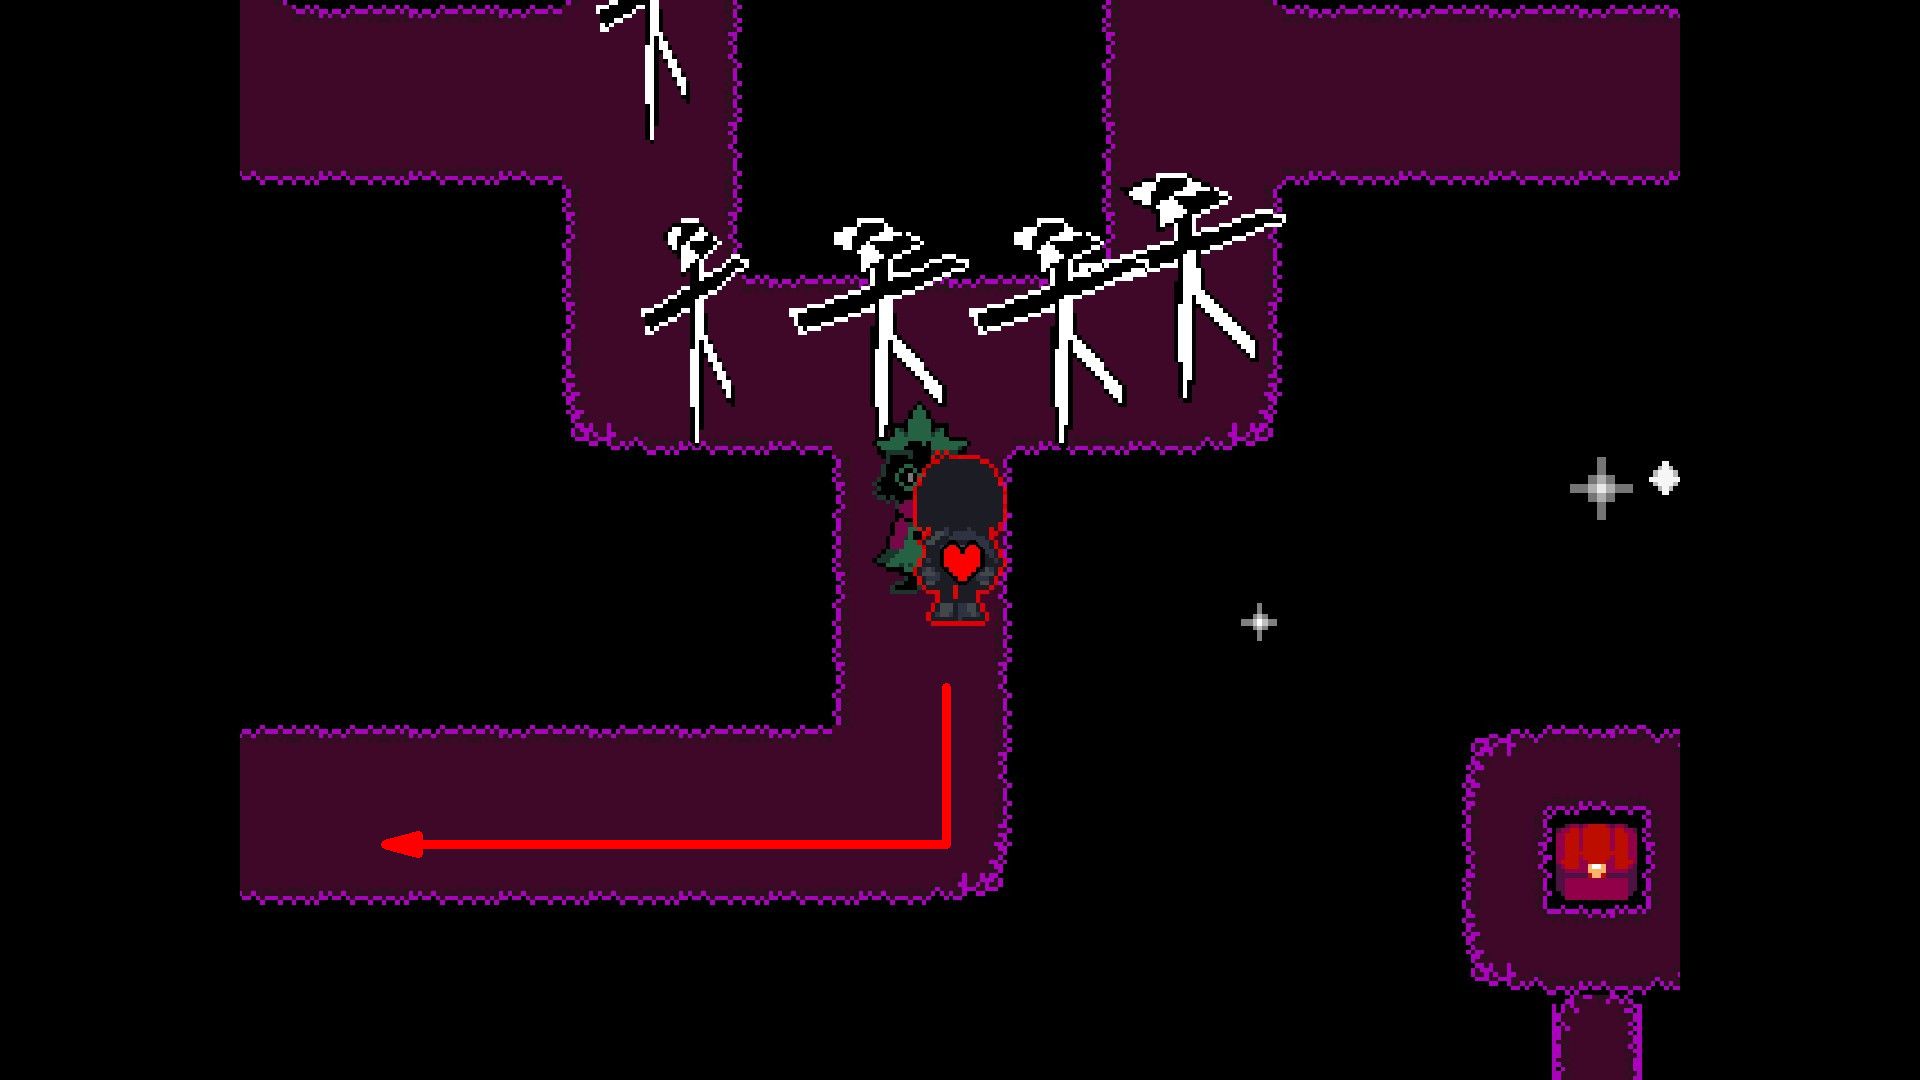
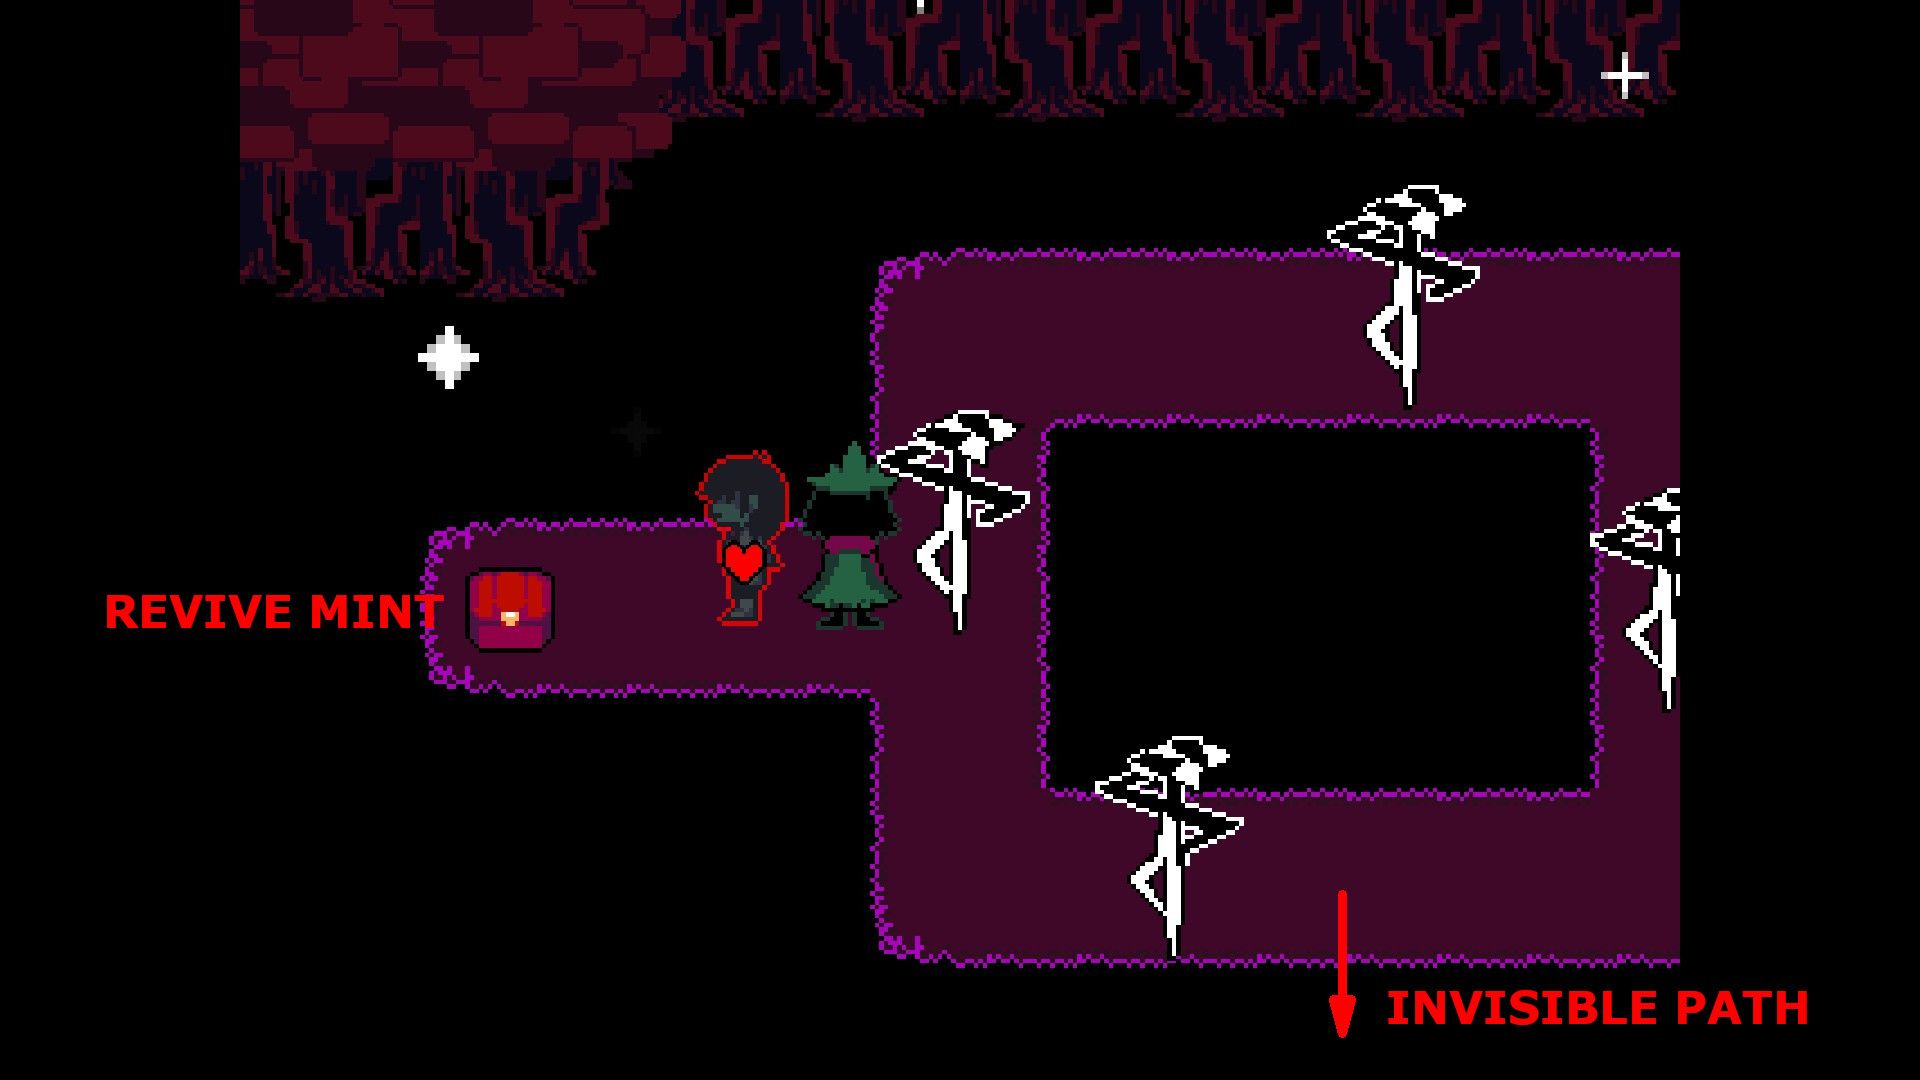
On the following screen, players need to navigate towards the lower-left region, being cautious to steer clear of the Scissor Dancers. Their destination is a chest containing a Revive Mint. After that, they should move to the bottom of the loop right before this chest and utilize an unseen path to descend. Those who persist on this path will eventually arrive at a chest with Broken Key B inside it.
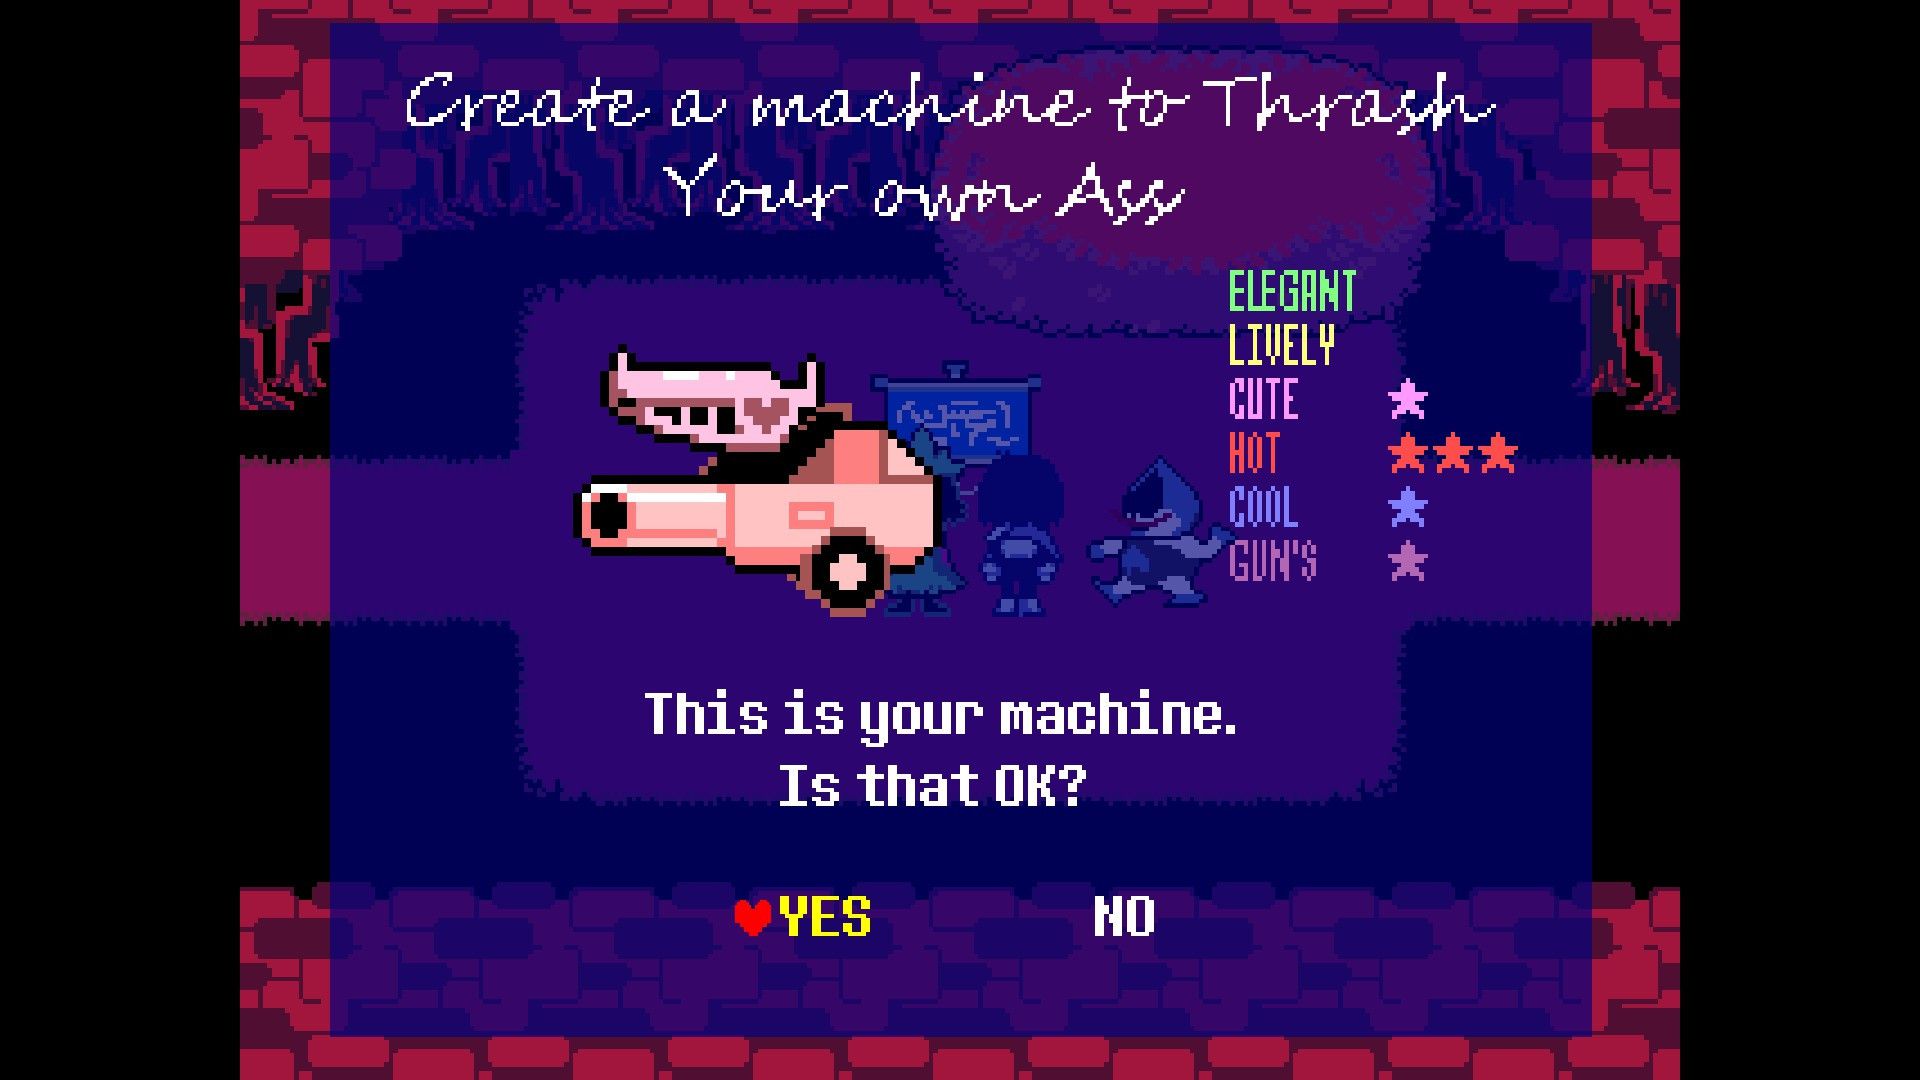
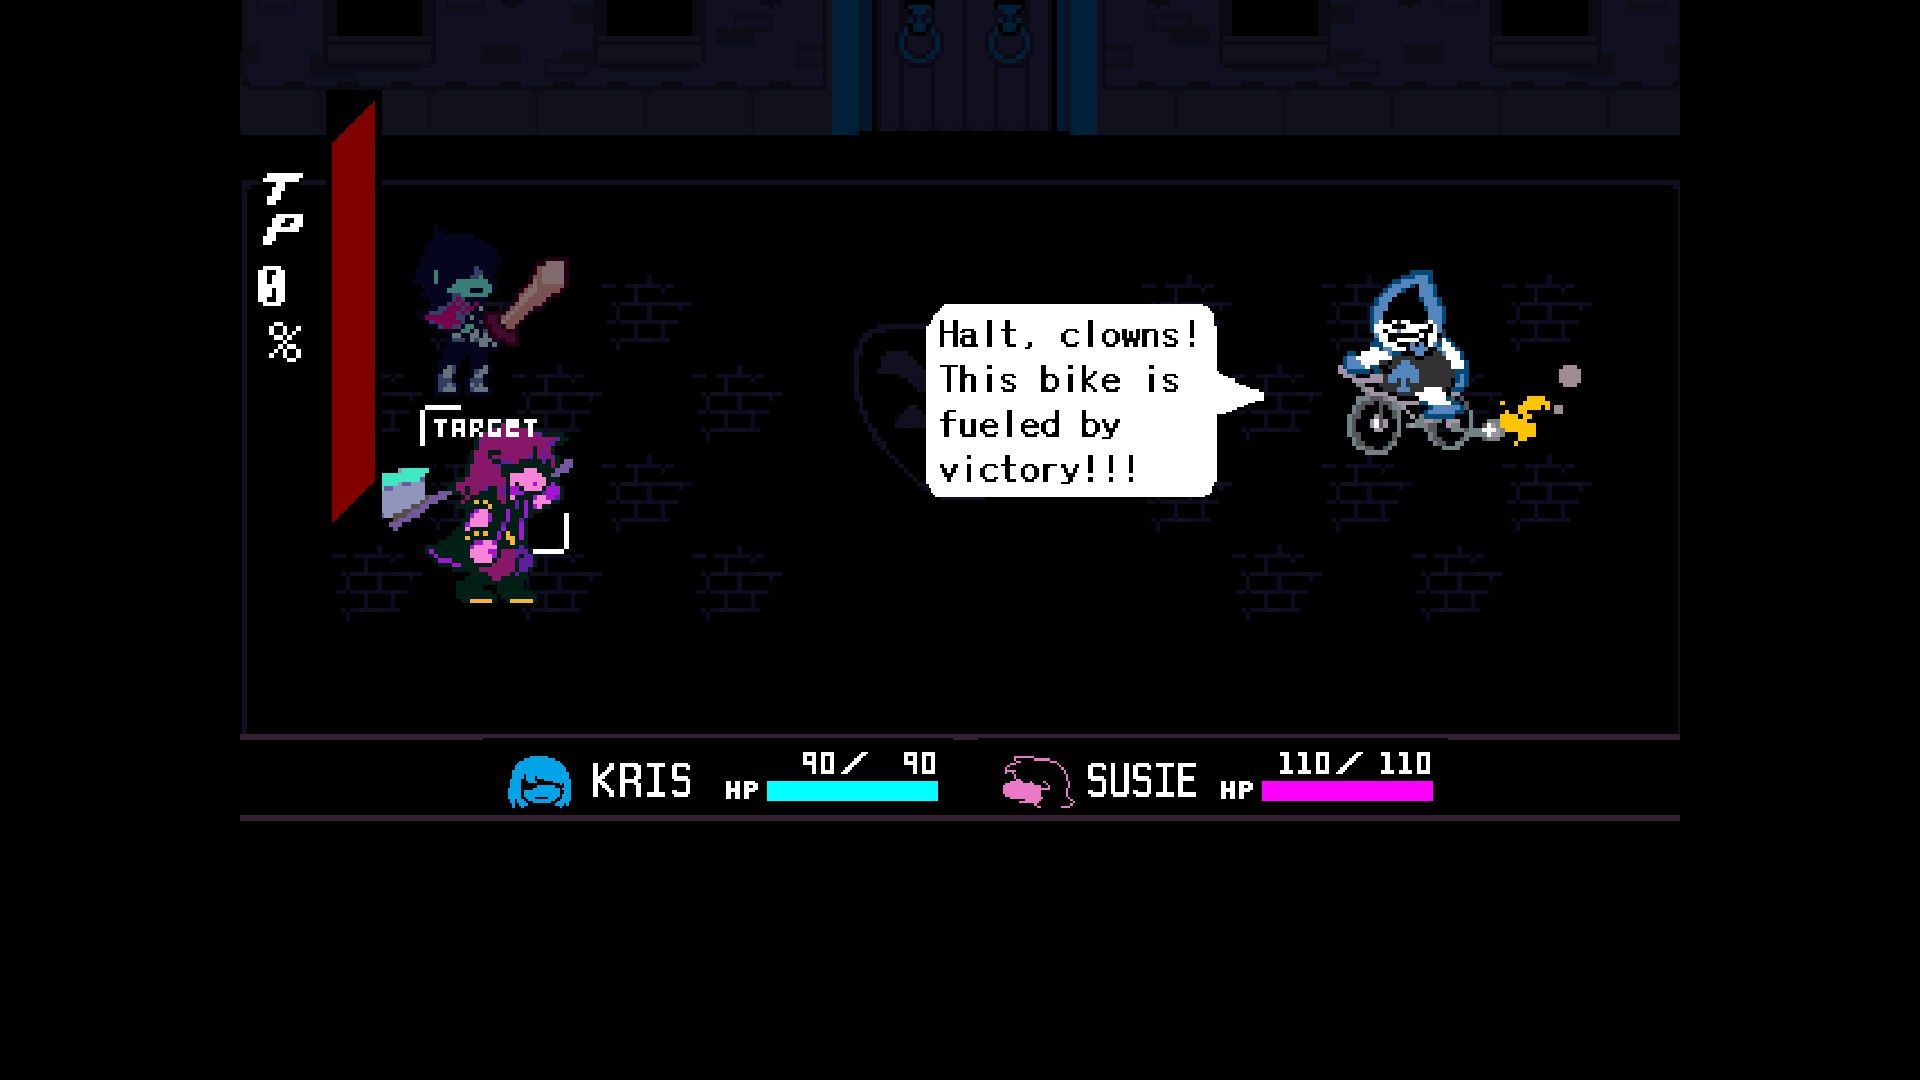
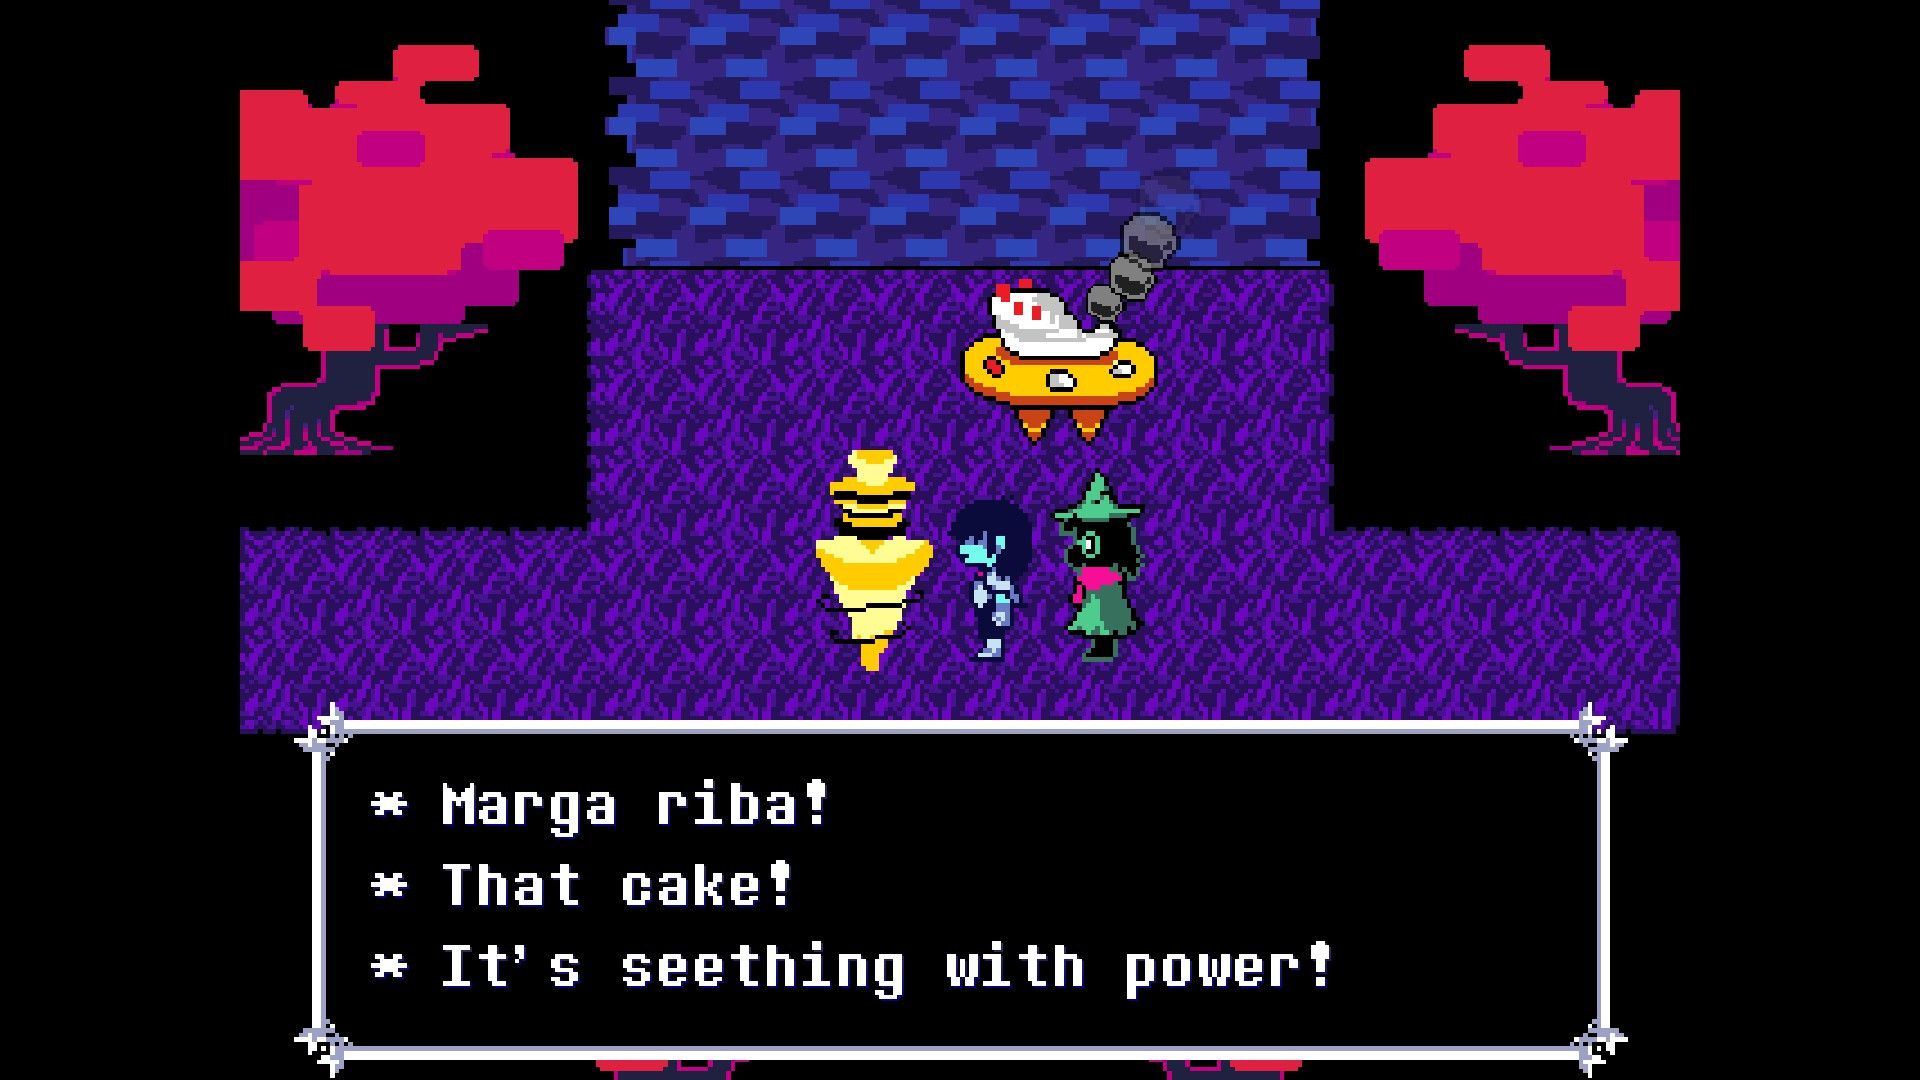
As a devoted cinephile, I’m delighted to guide you back to the mesmerizing Scissor Dancers segment. To proceed further, simply move towards the right exit, and there you’ll find Lancer. This interaction will set off a chain of events that ultimately results in constructing a machine. In a future fight sequence, it’s crucial to note that the Flame head offers the most significant advantage.
Besides affecting the gameplay, it appears that the other components and colors of the machine don’t play a significant role. However, reaching specific stat levels can trigger distinct conversations.

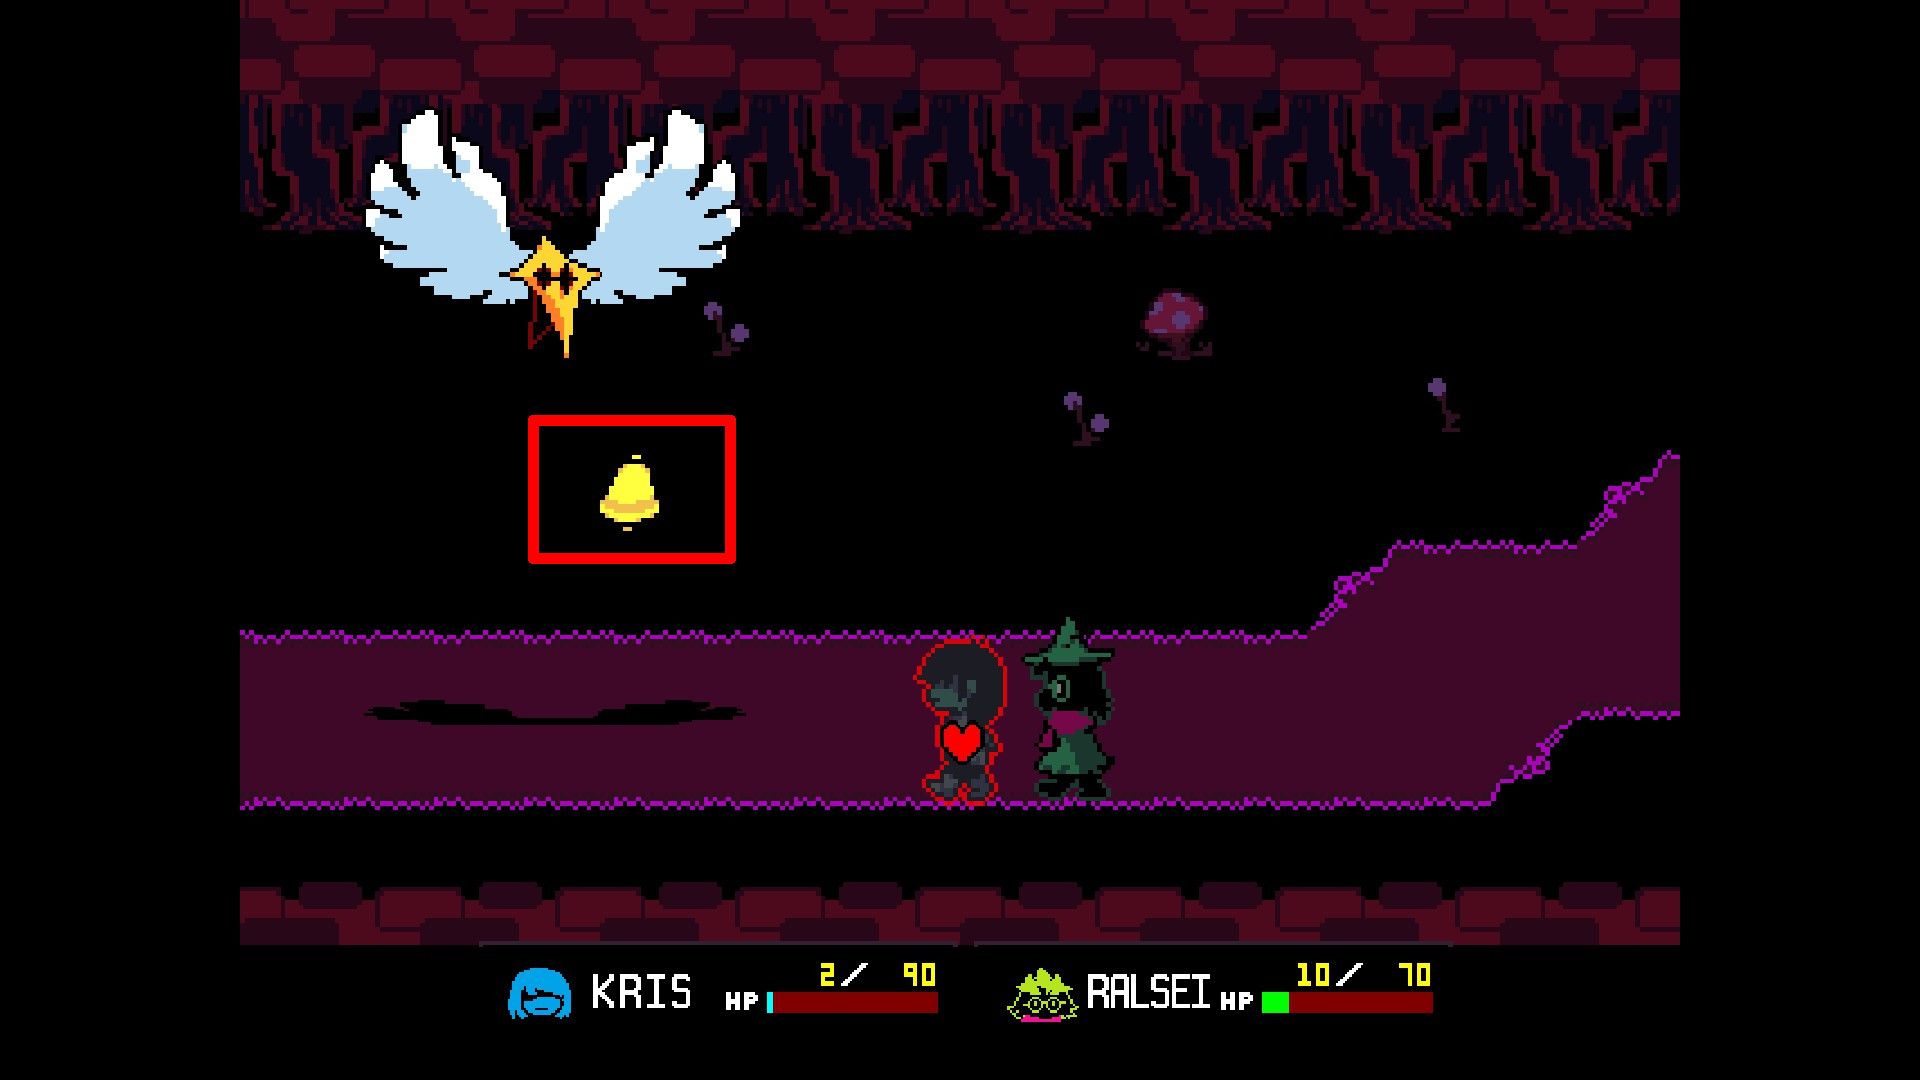
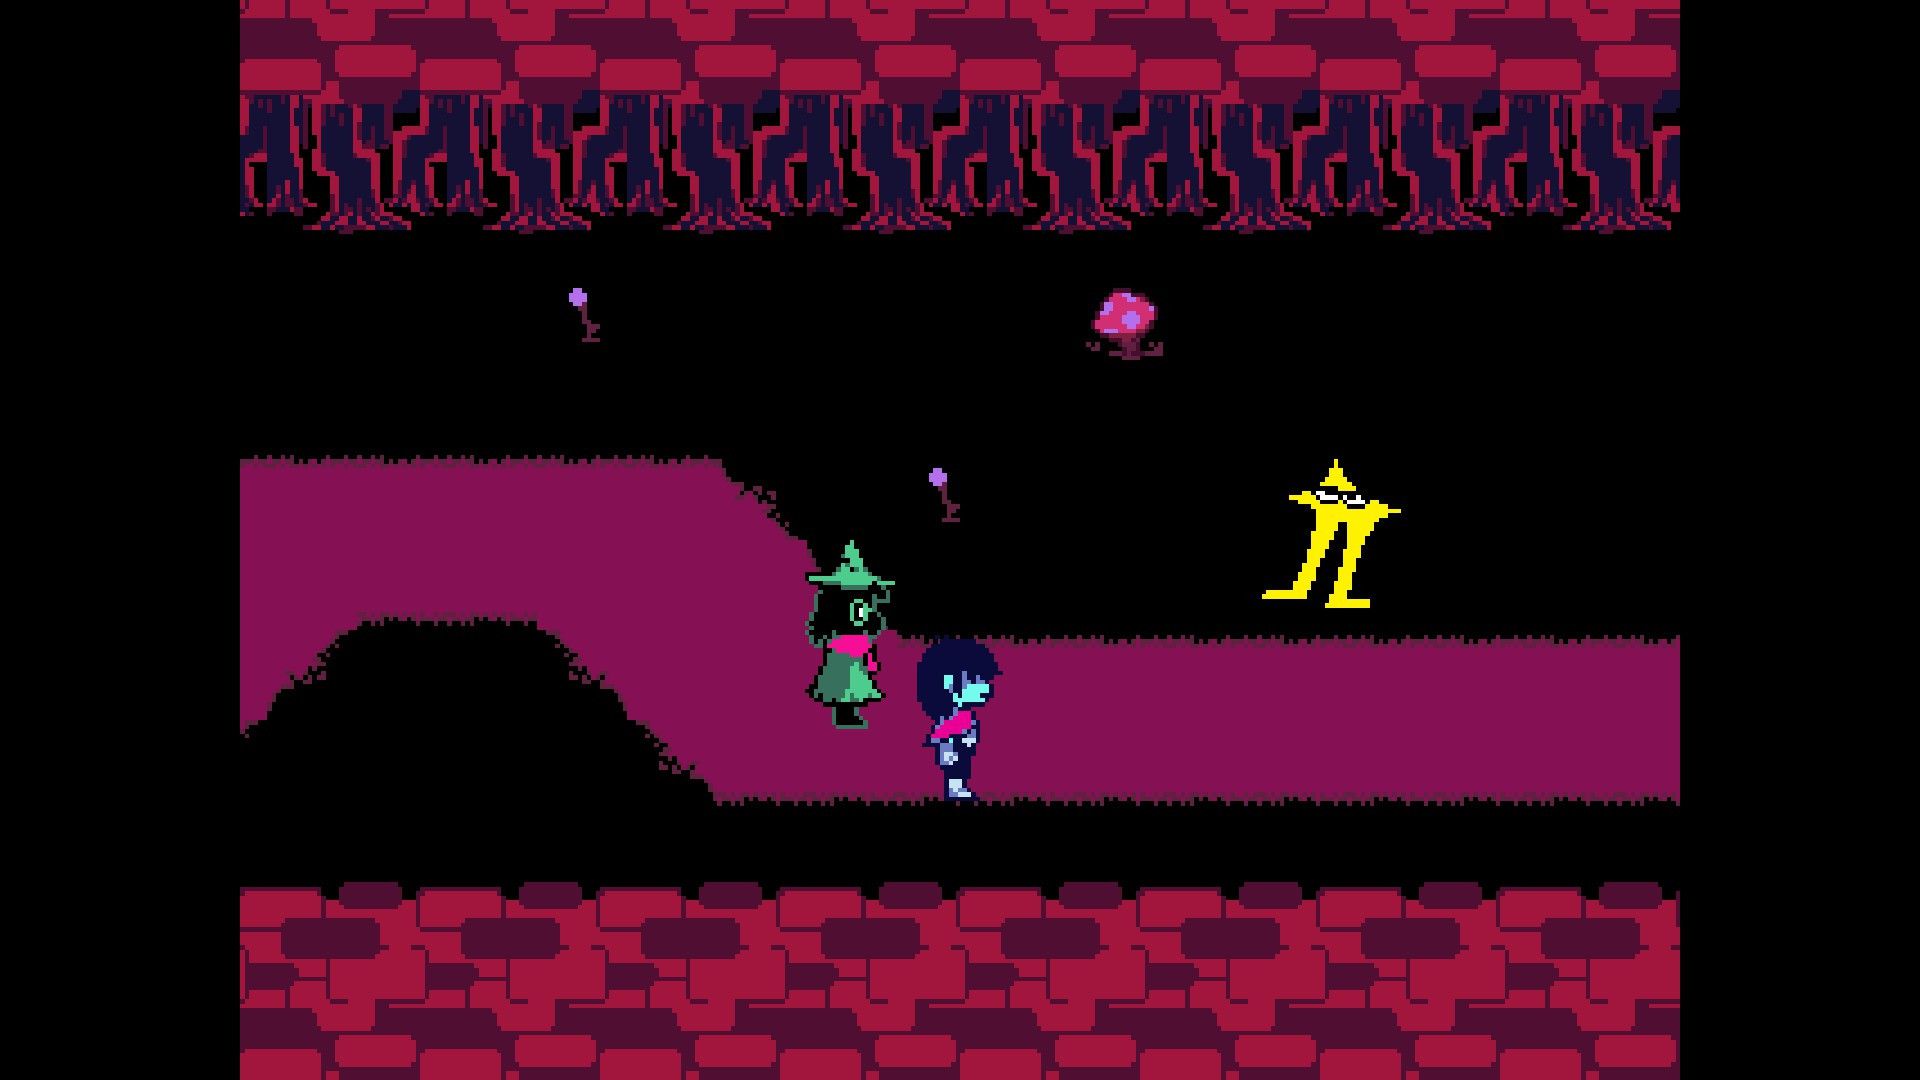
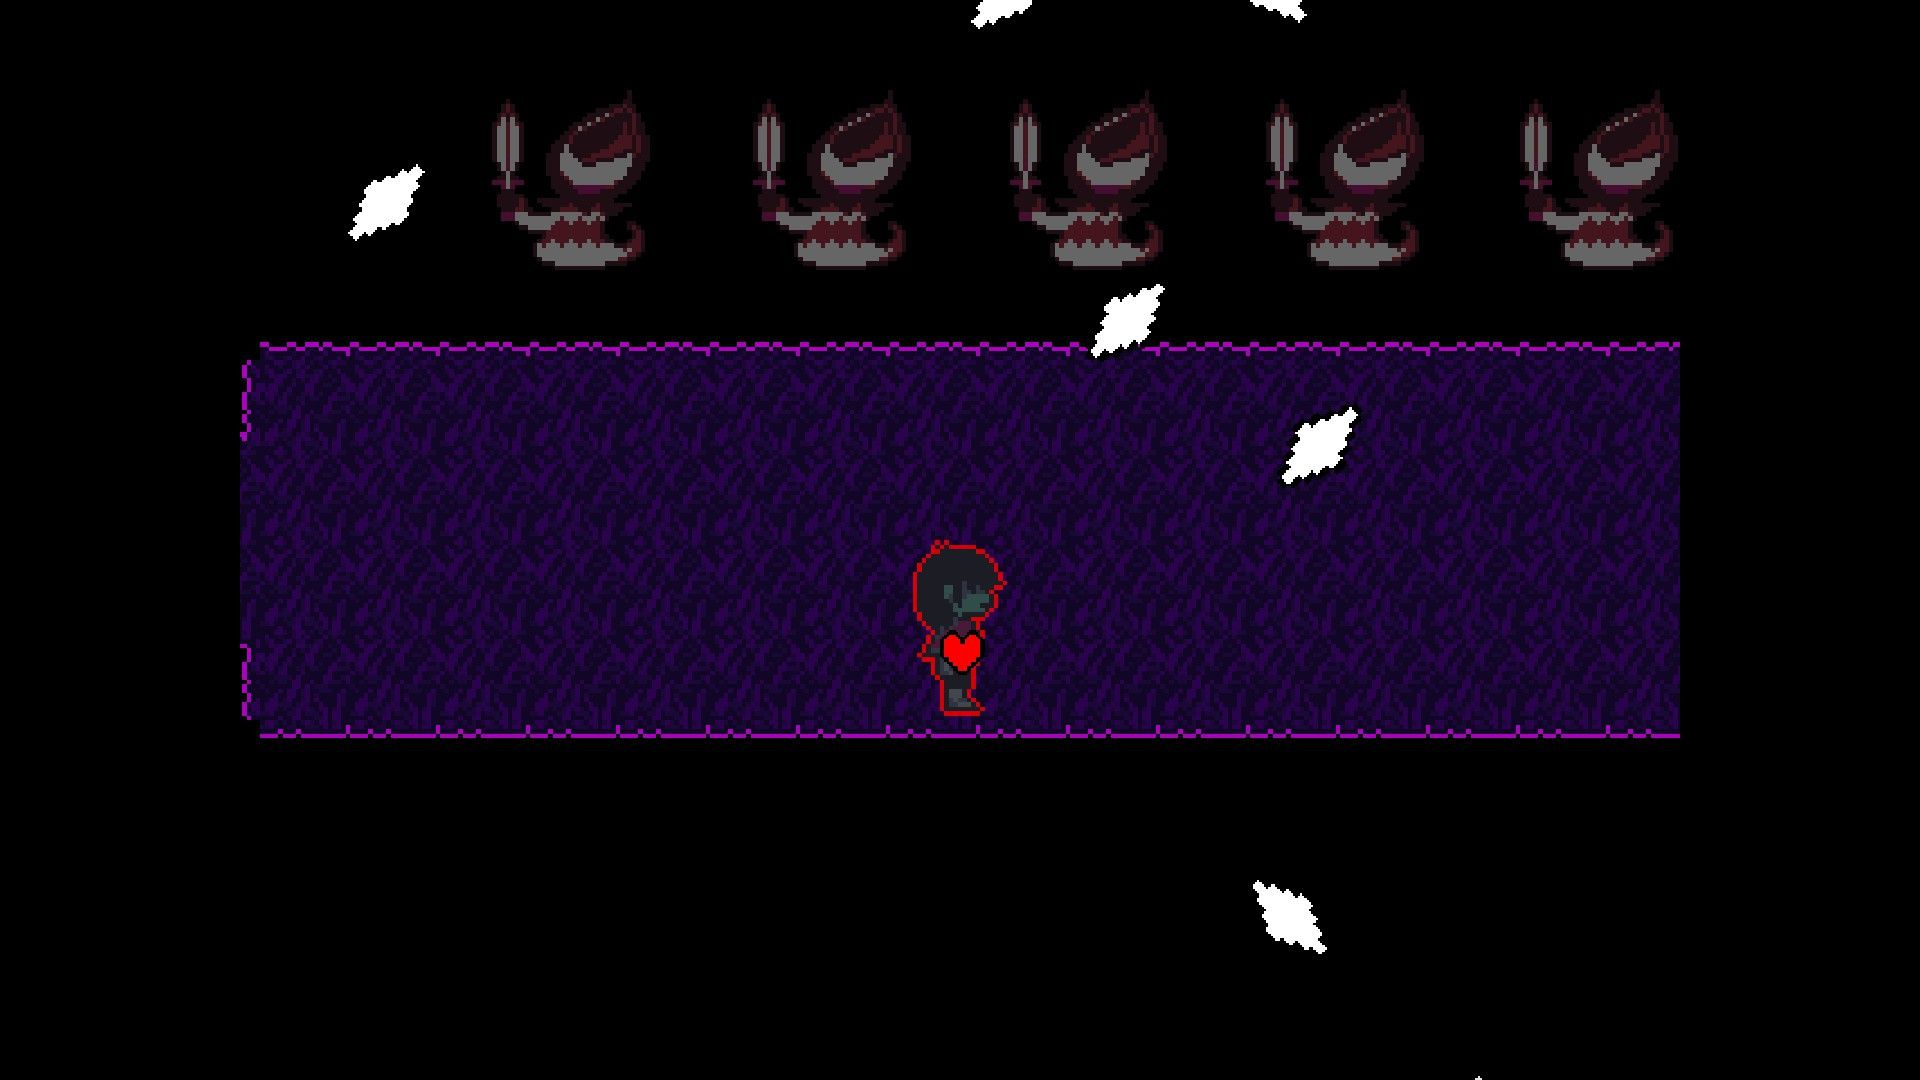
In my opinion, as you embark on this captivating gaming experience, you’ll be tasked with navigating a screen filled with the menacing attacks of the Starwalker Bird. To progress, you need to exit that screen towards your right, only to return moments later. Your goal now is to dash to the left where you’ll stumble upon a bell, which you must interact with before heading back rightward again. As you follow the path, a new character, the original Starwalker, will mysteriously appear. It’s crucial that you engage in conversation with him at this point.
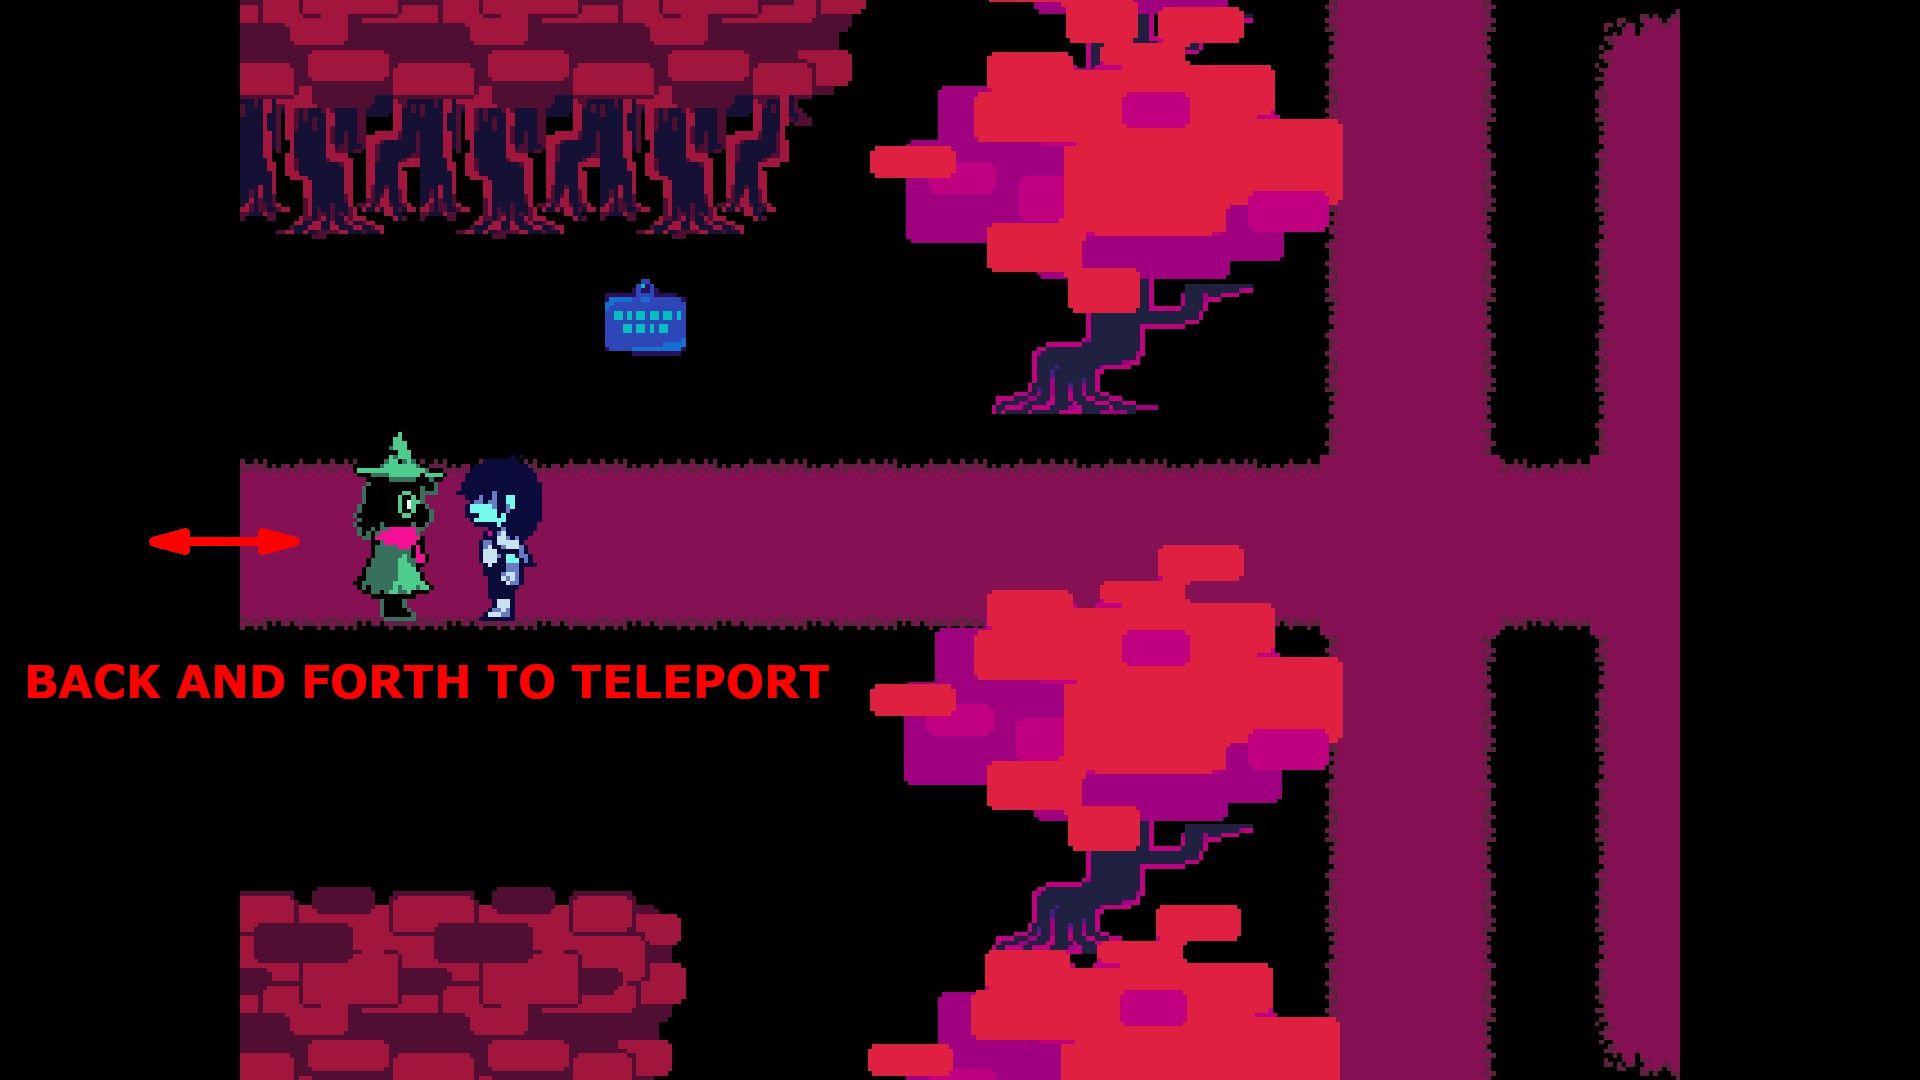
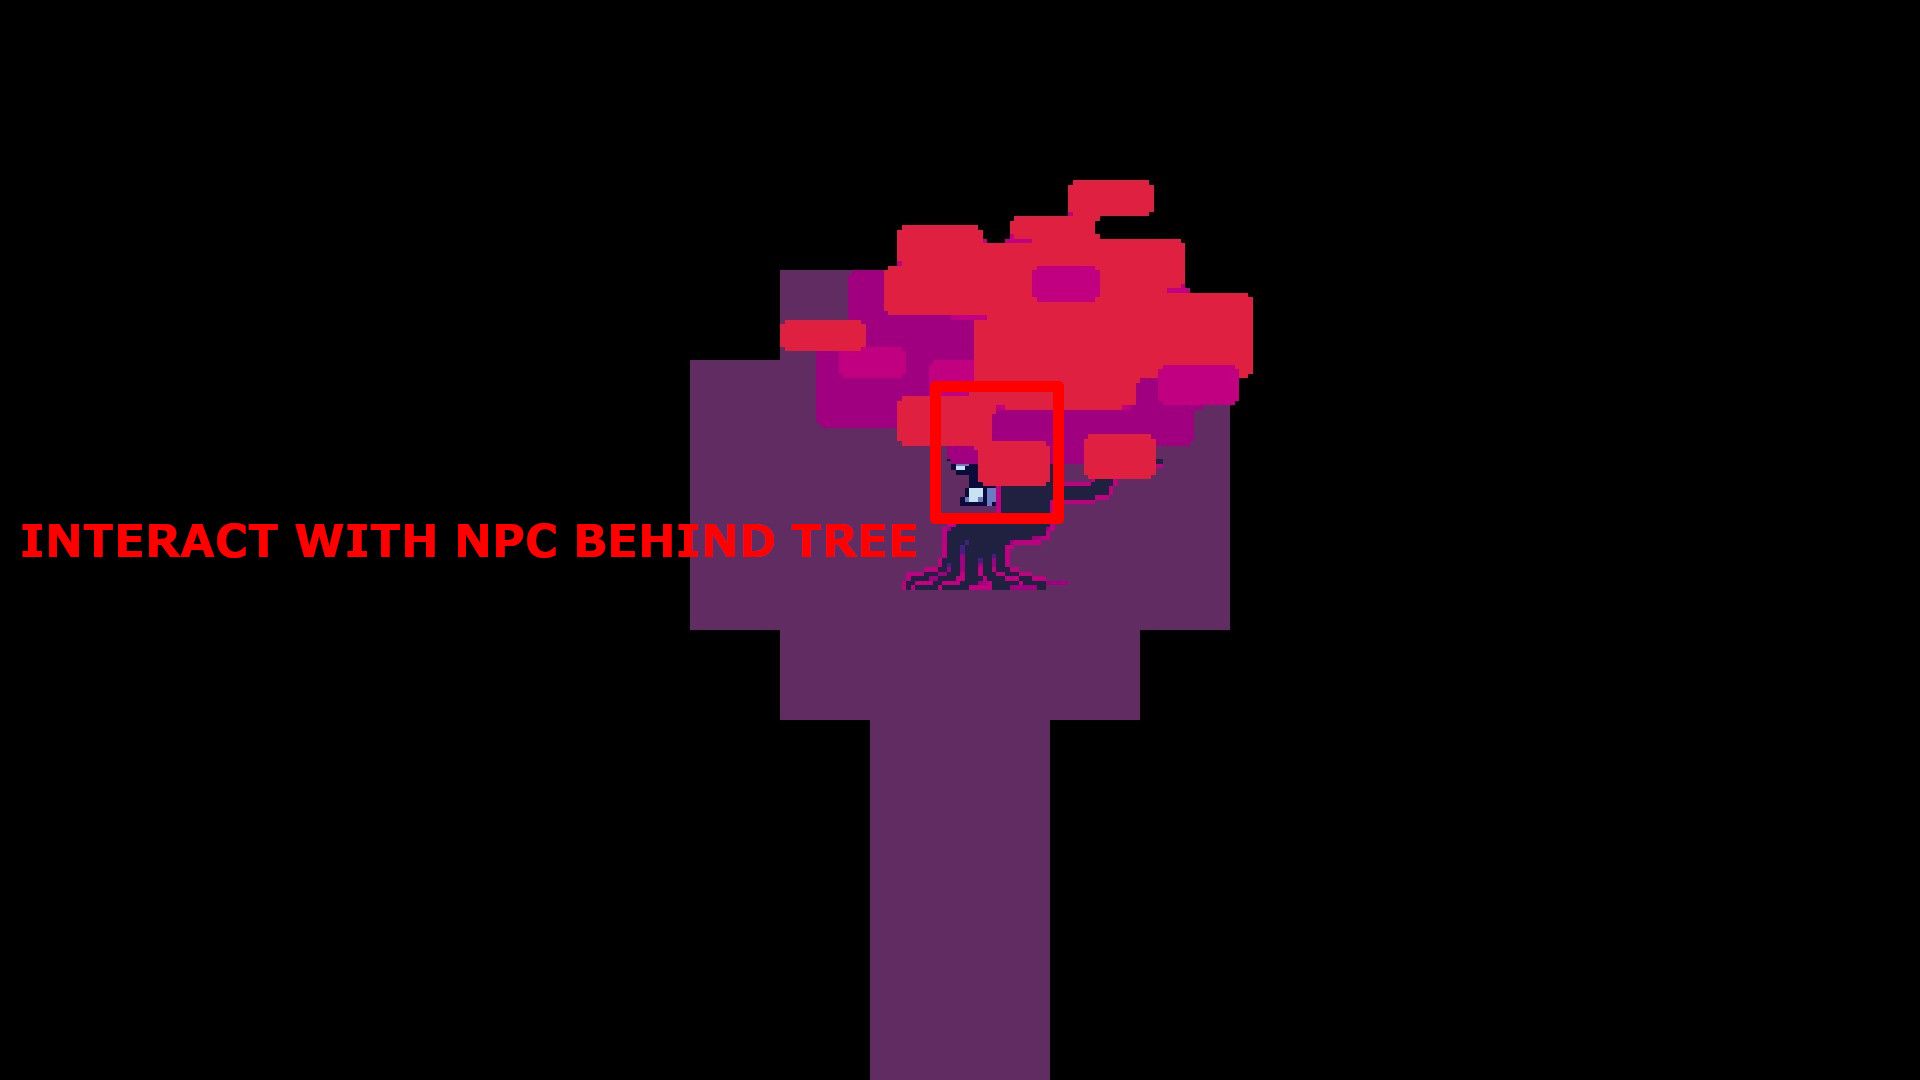
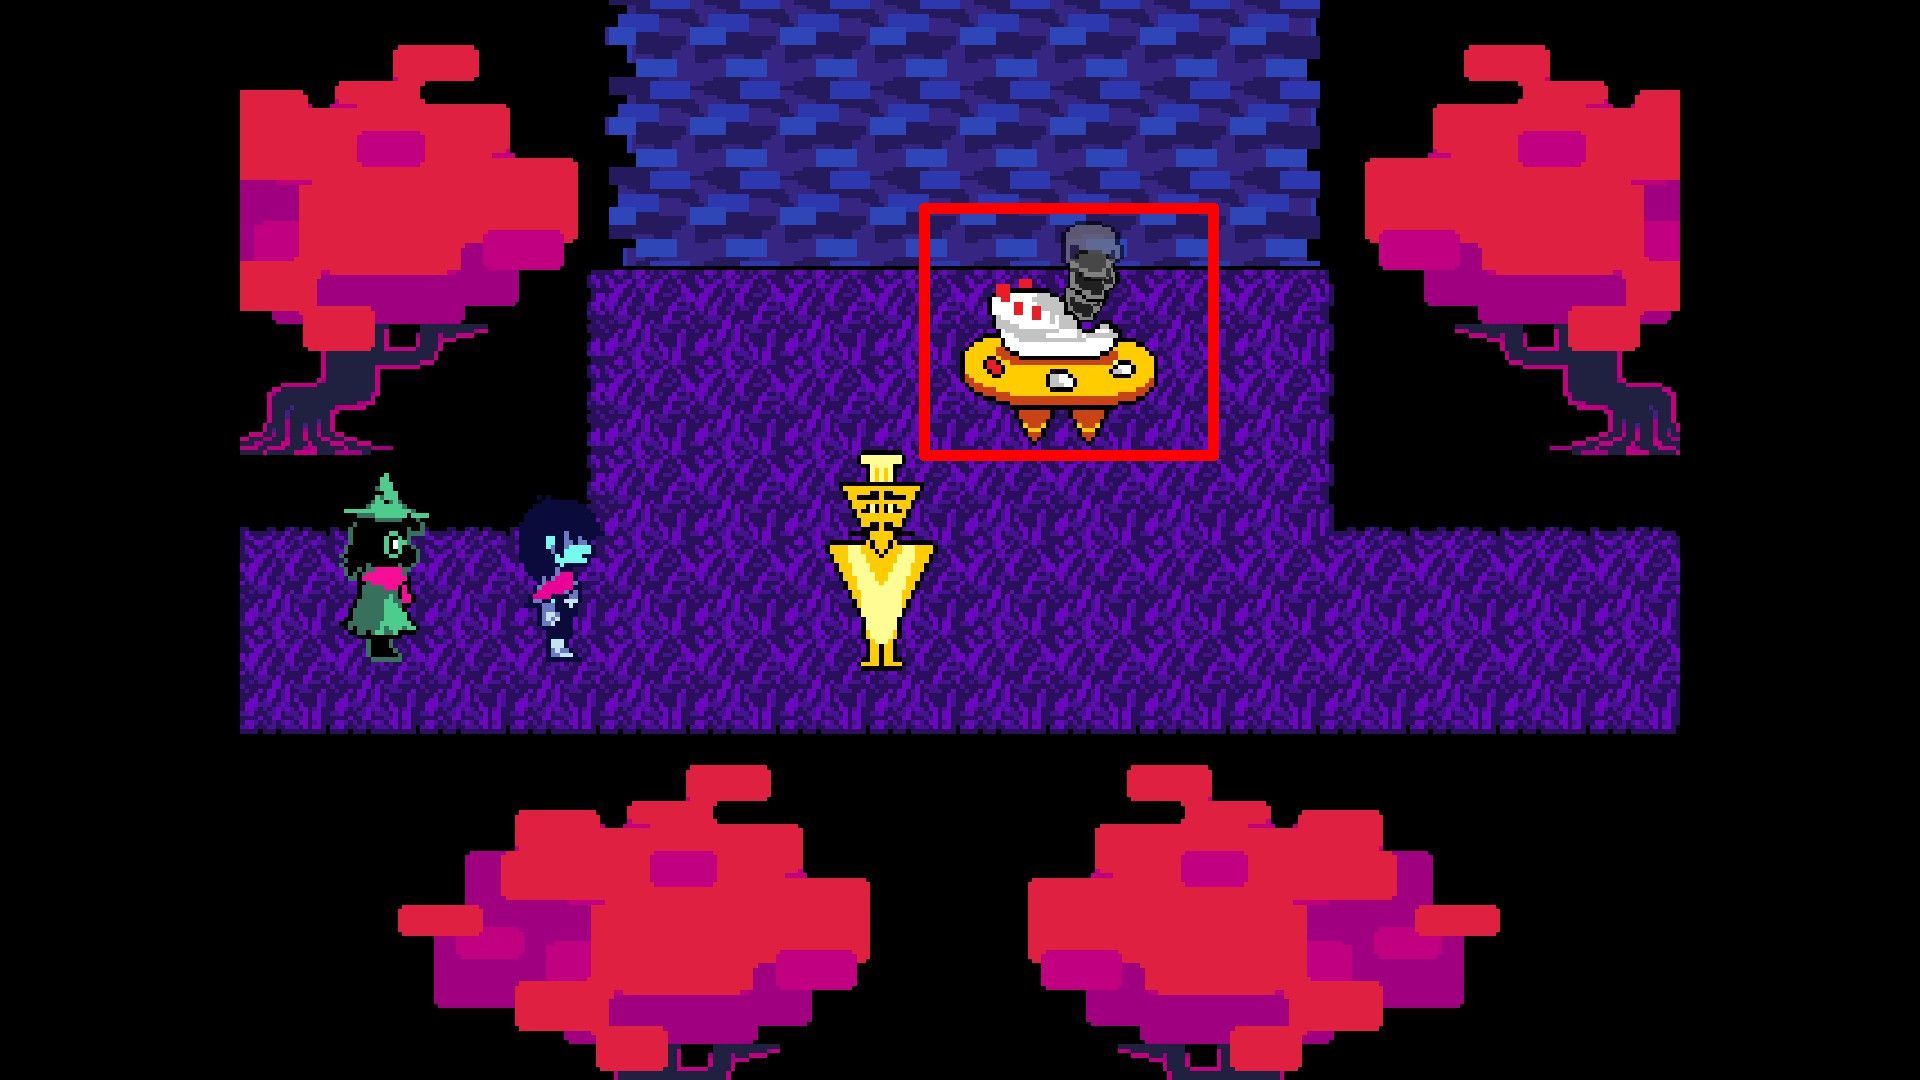
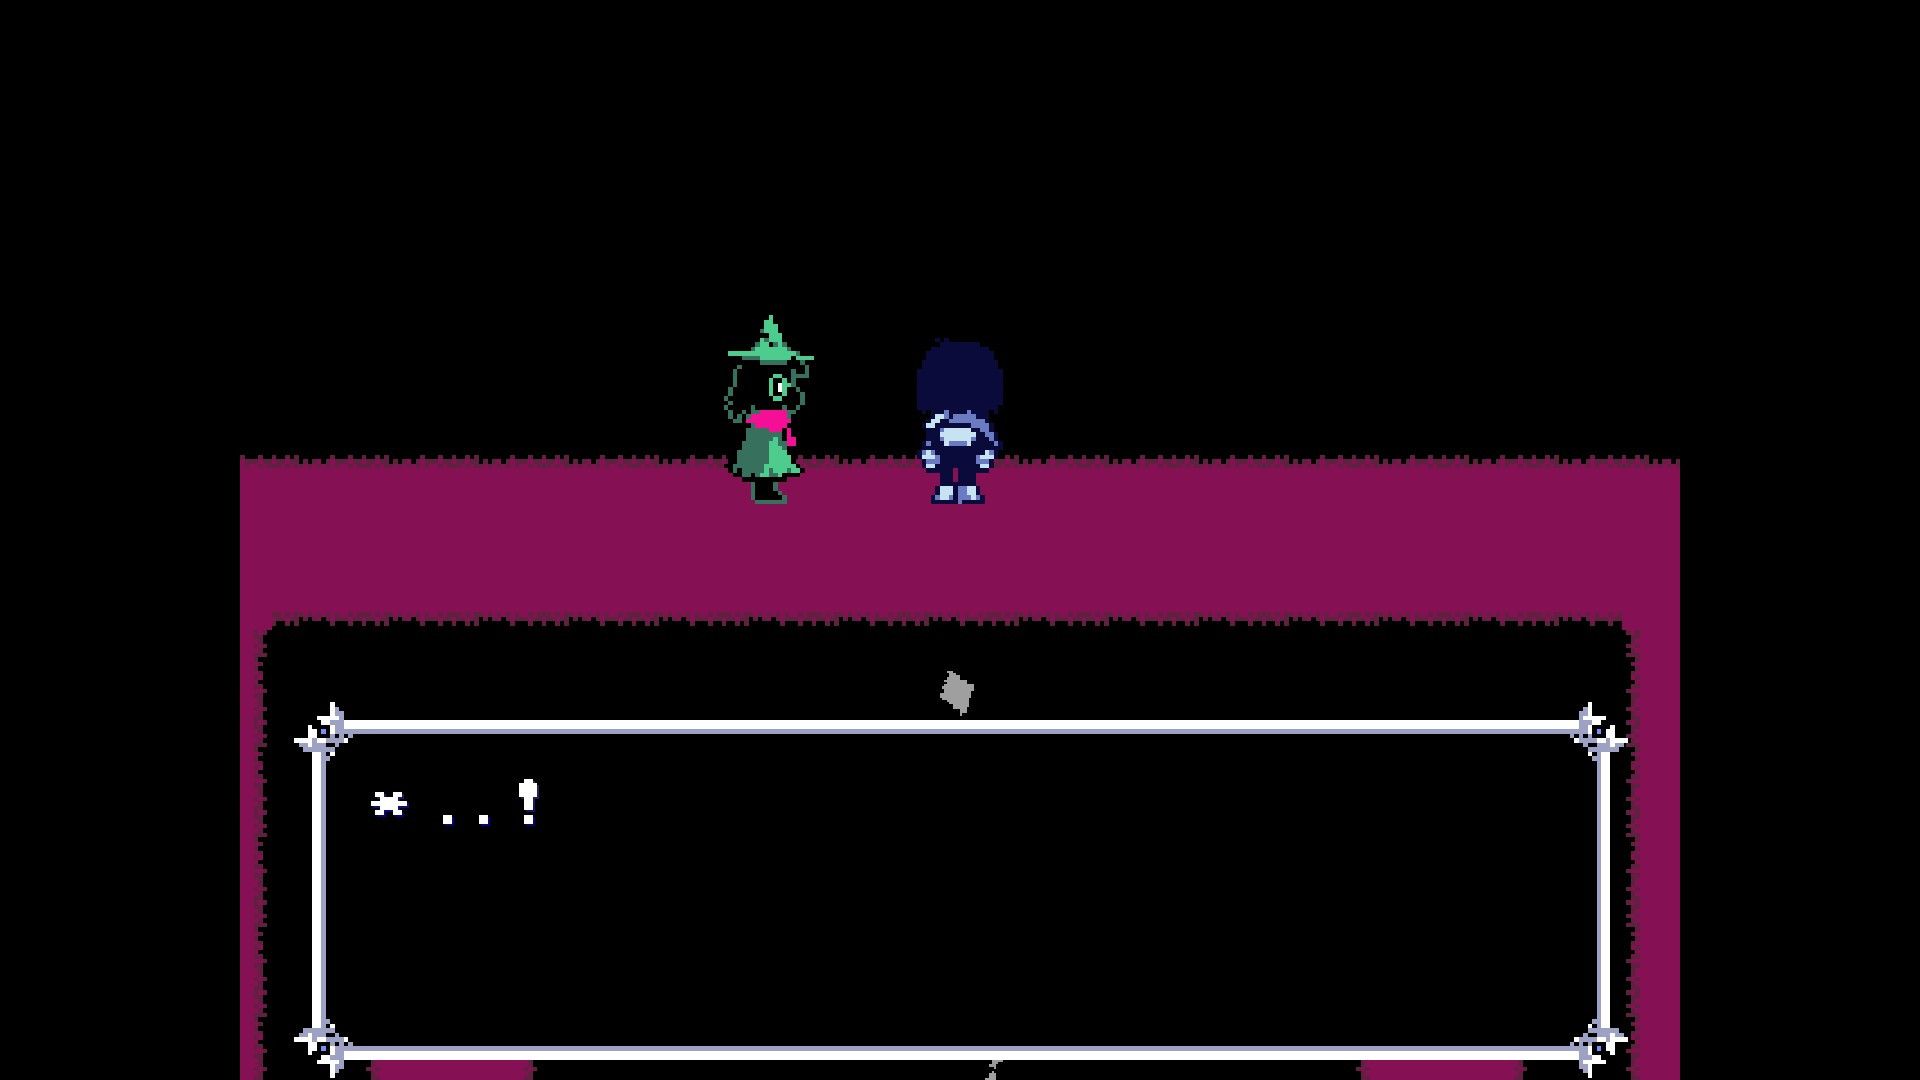
To advance in the game, players need to leave the Starwalker Bird’s chamber to the right and keep going back into it multiple times until Kris gets transferred to a location featuring a solitary tree. A secret character is concealed behind this tree. If players engage with this character, they will be rewarded an Egg.
After exiting the concealed zone containing the Egg, players will reappear at the Bake Sale location. From there, they need to move towards the screen located past the Starwalker Bird. In this area, players should navigate to the center of the circular path that hovers above the rotating challenges and interact with the dark spot. This action will result in a tree on the right side vanishing, enabling Kris to advance further.
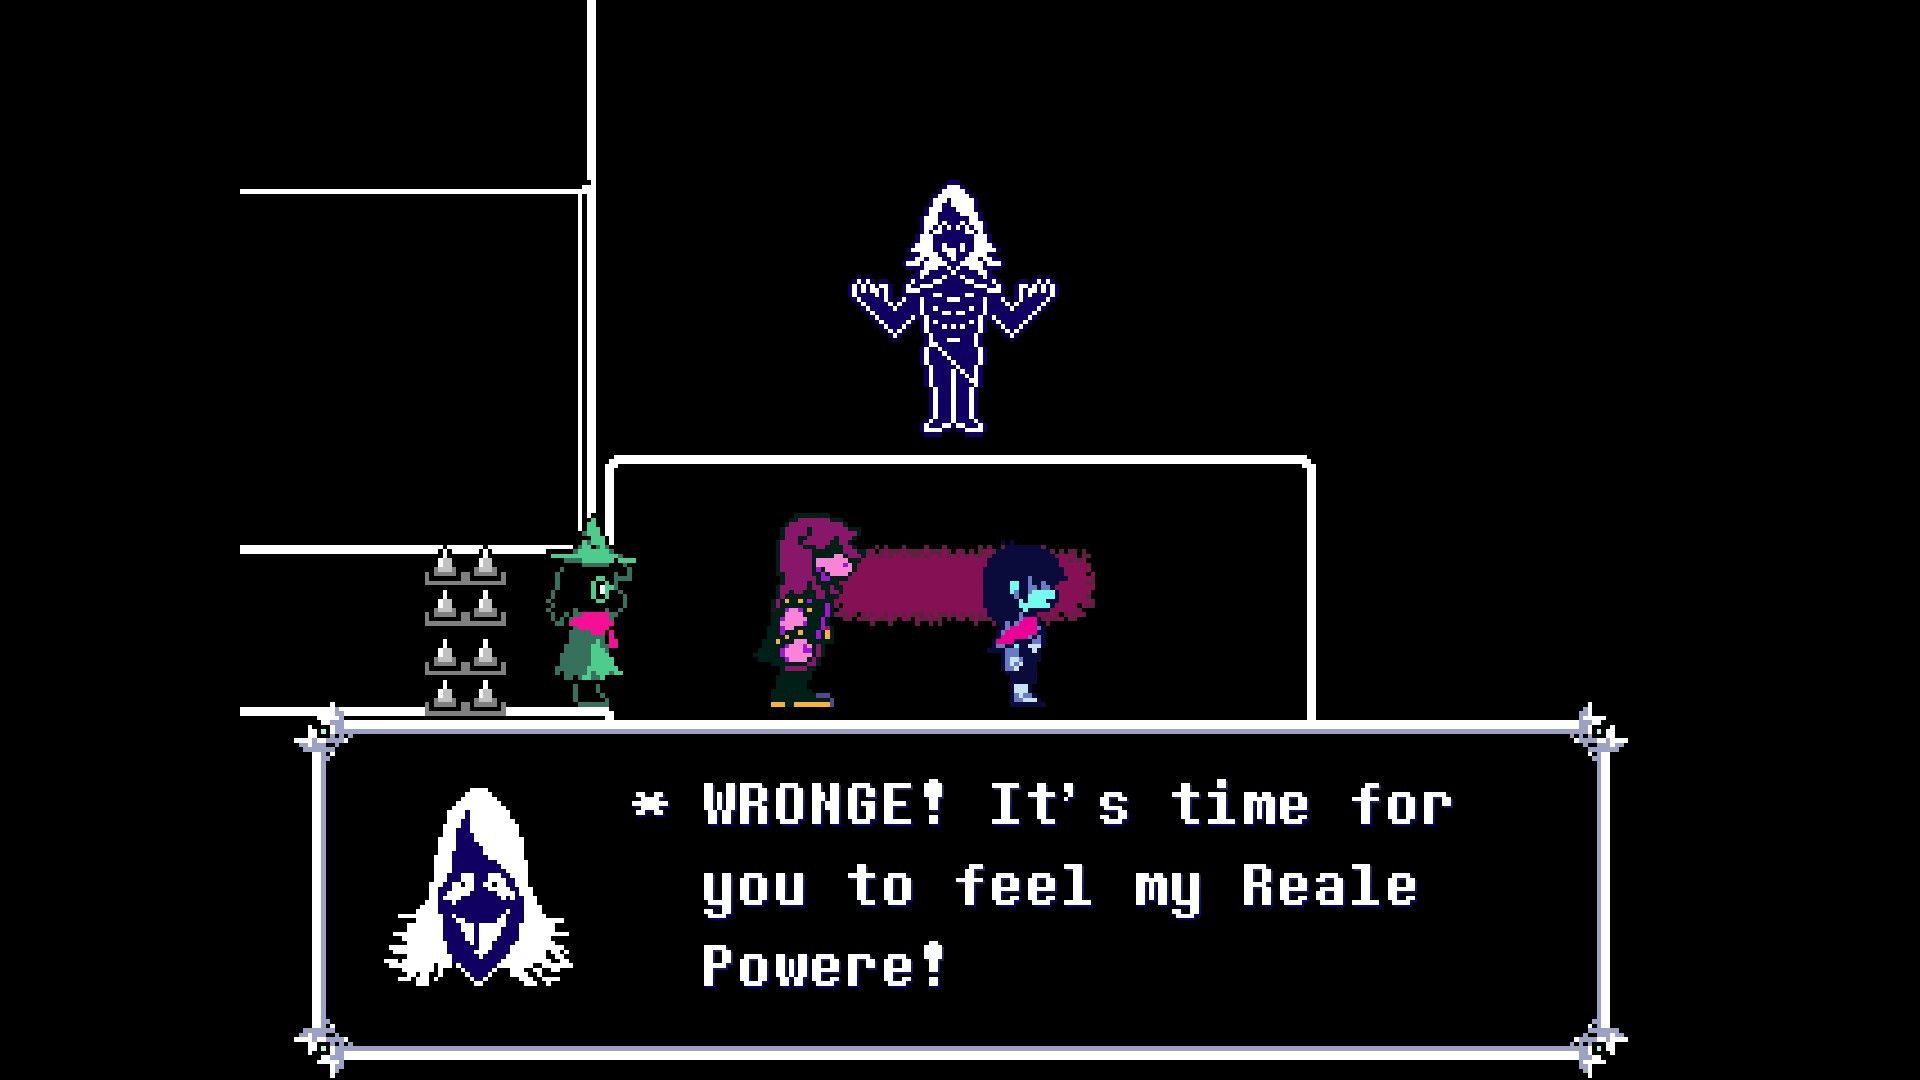
Players will now meet characters Lancer and Susie, with a labyrinth lying ahead of them. To navigate through the labyrinth successfully, players must choose the paths that neither Lancer nor Susie are taking.

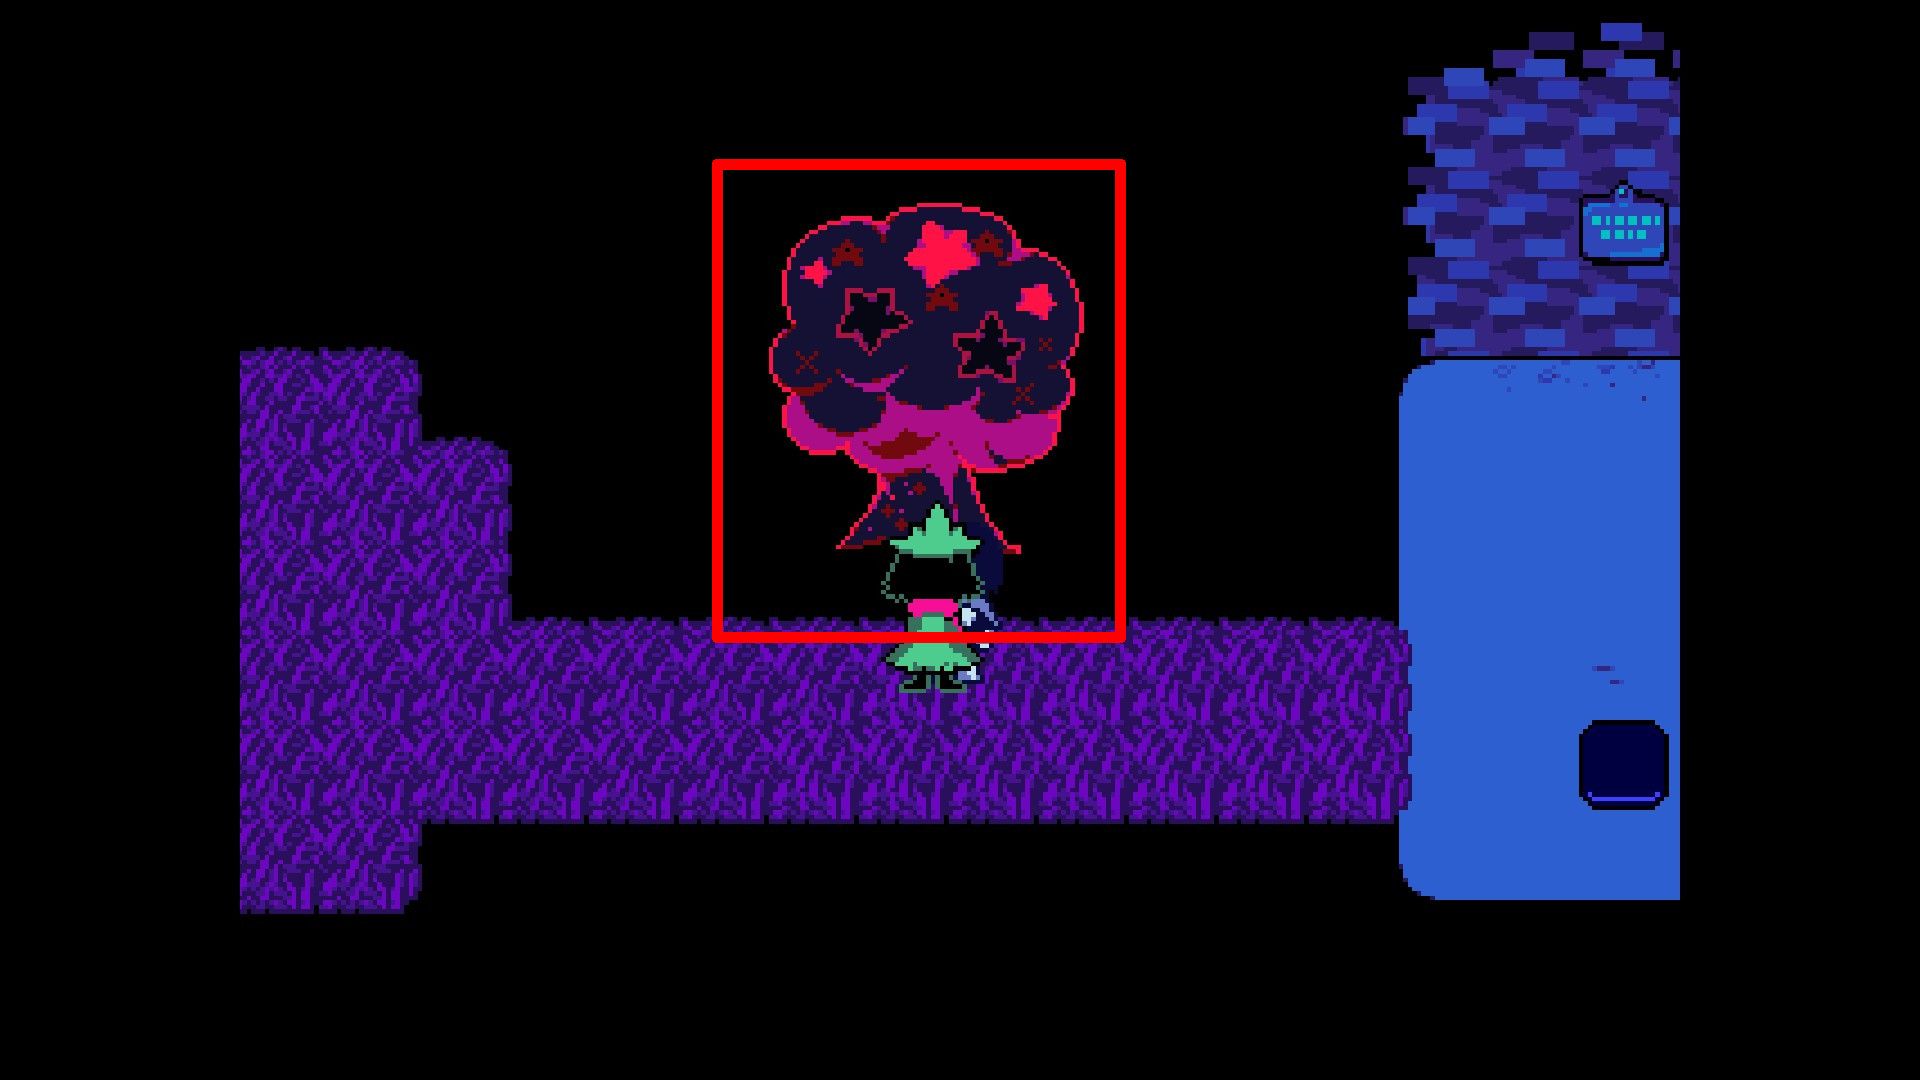
Following my journey through the labyrinth, I’ll encounter both Lancer and Susie in combat. To emerge victorious, I can either inflict damage on them or utilize the ‘Anything’ and ‘X-Anything’ abilities specifically against Lancer. It’s worth mentioning that if I choose to deal the decisive blow to Lancer, I must employ the ‘Anything’ ability for the final strike.
When the fight concludes, participants ought to proceed along the path to their right. Eventually, they’ll reach an area requiring them to evade incoming objects, culminating in a prison cell where Kris and Ralsei will be confined.
The Castle – Deltarune Chapter 1 Walkthrough
In the Castle
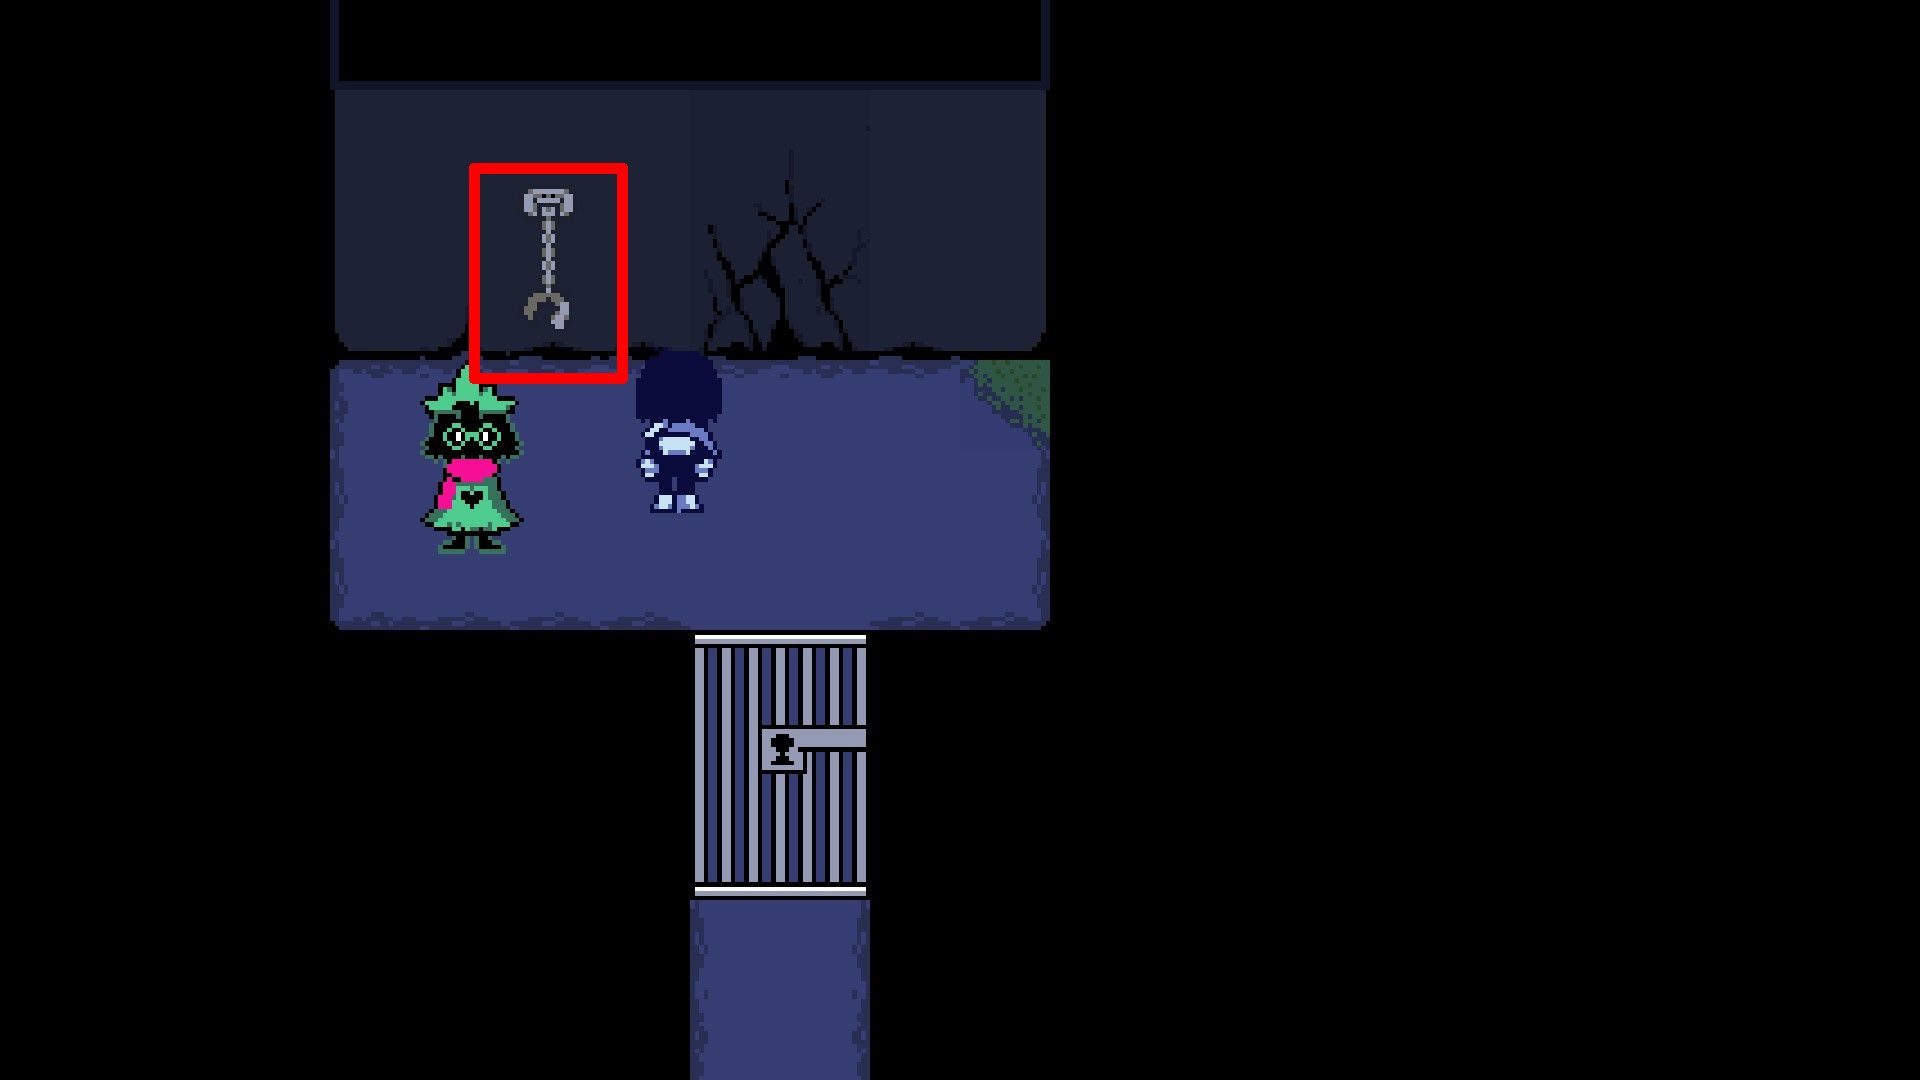
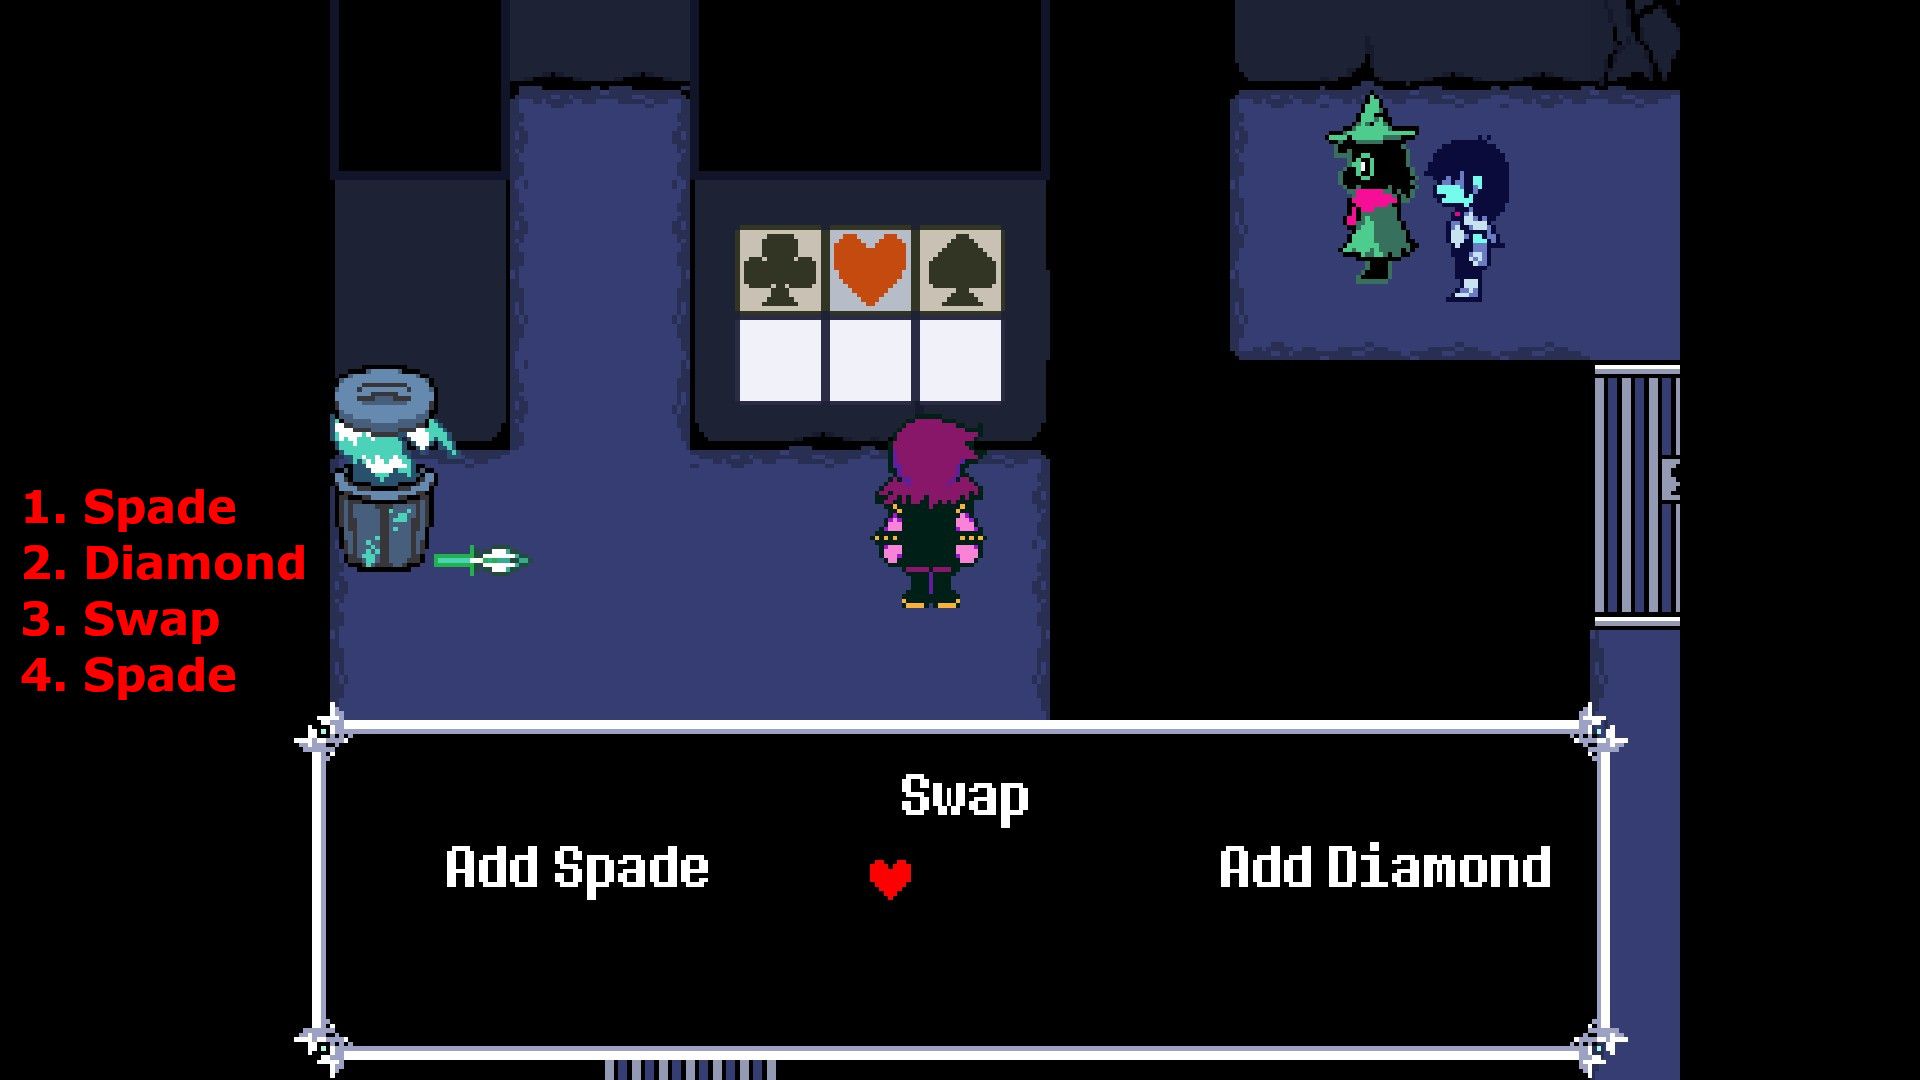
Inside the cell, characters need to work with the wall-mounted chains to get the Iron Chains. Afterward, they should interact with the fissures in the wall, followed by the moss on the floor, and finally Ralsei. This sequence will prompt Susie to talk, and players must follow this series of actions to assist her in solving a wall-related riddle or puzzle.
- Add Spade.
- Add Diamond.
- Swap.
- Add Spade.
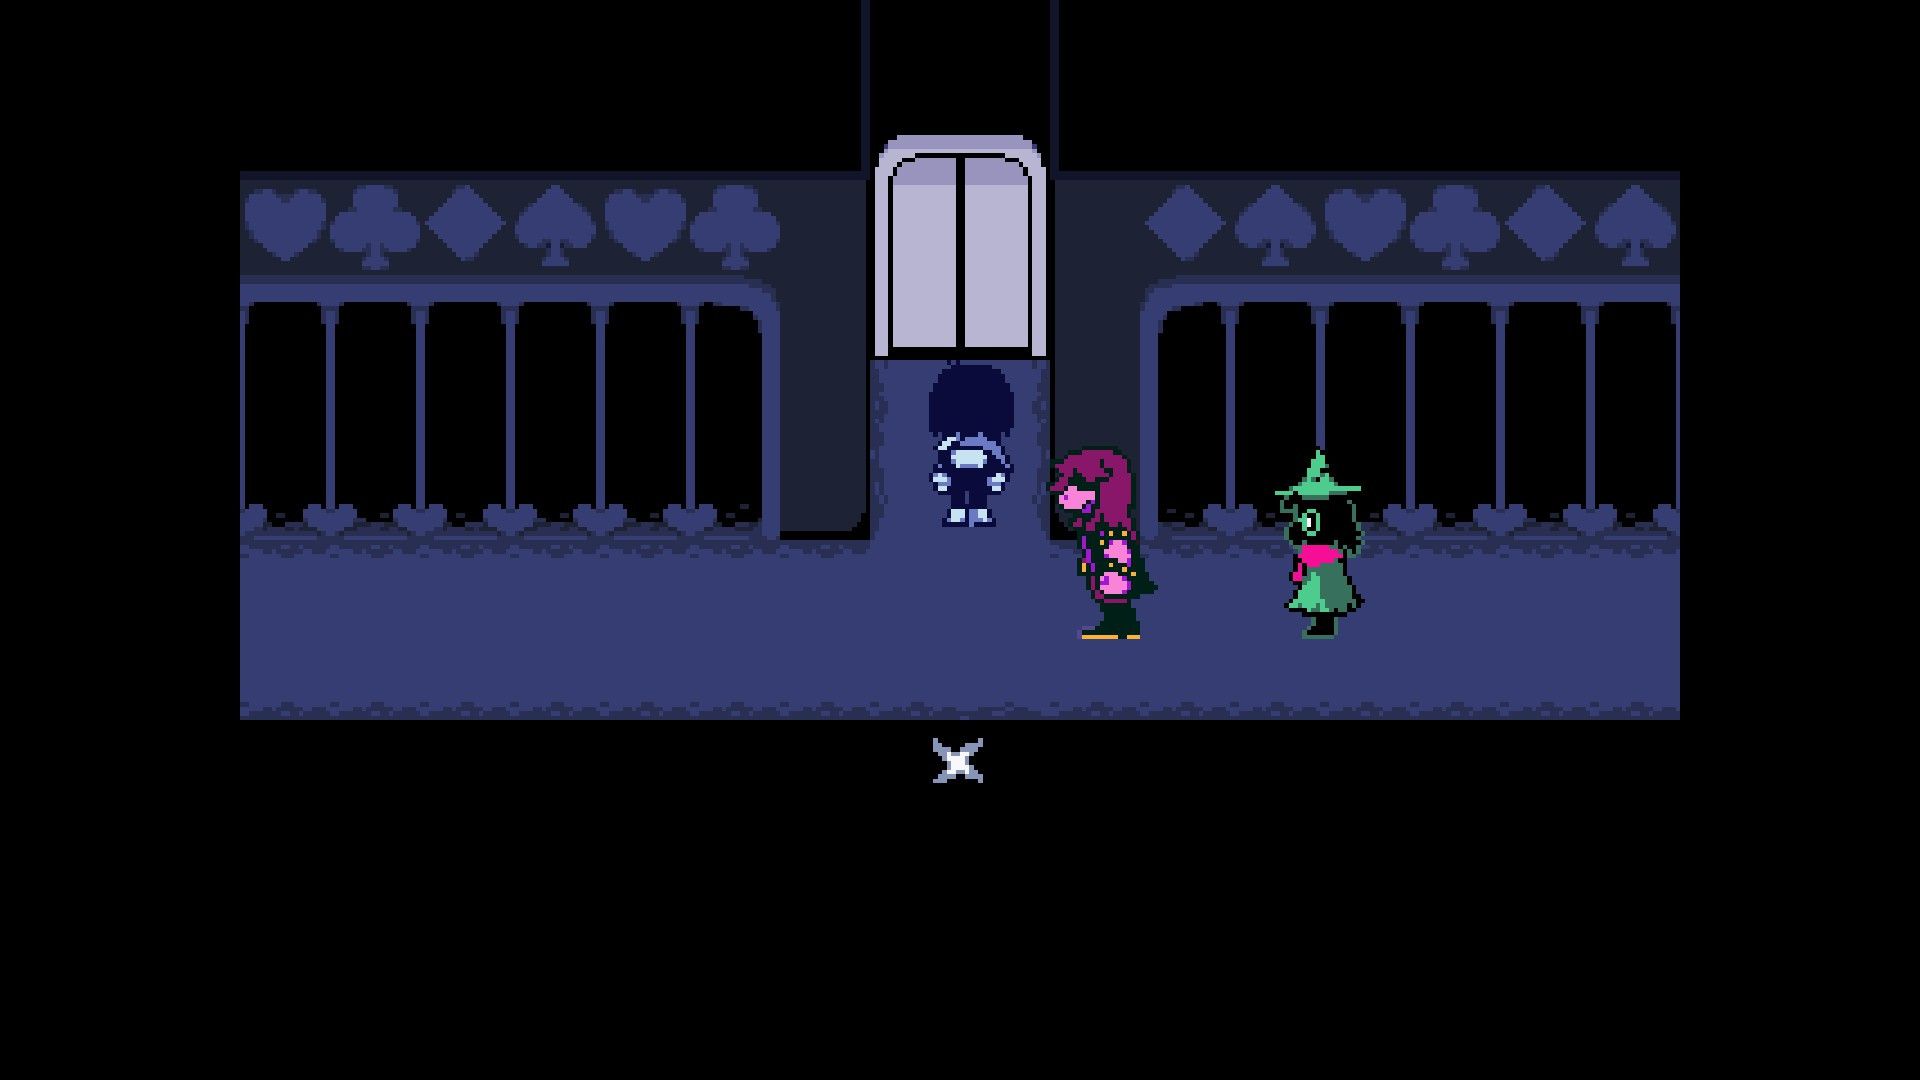
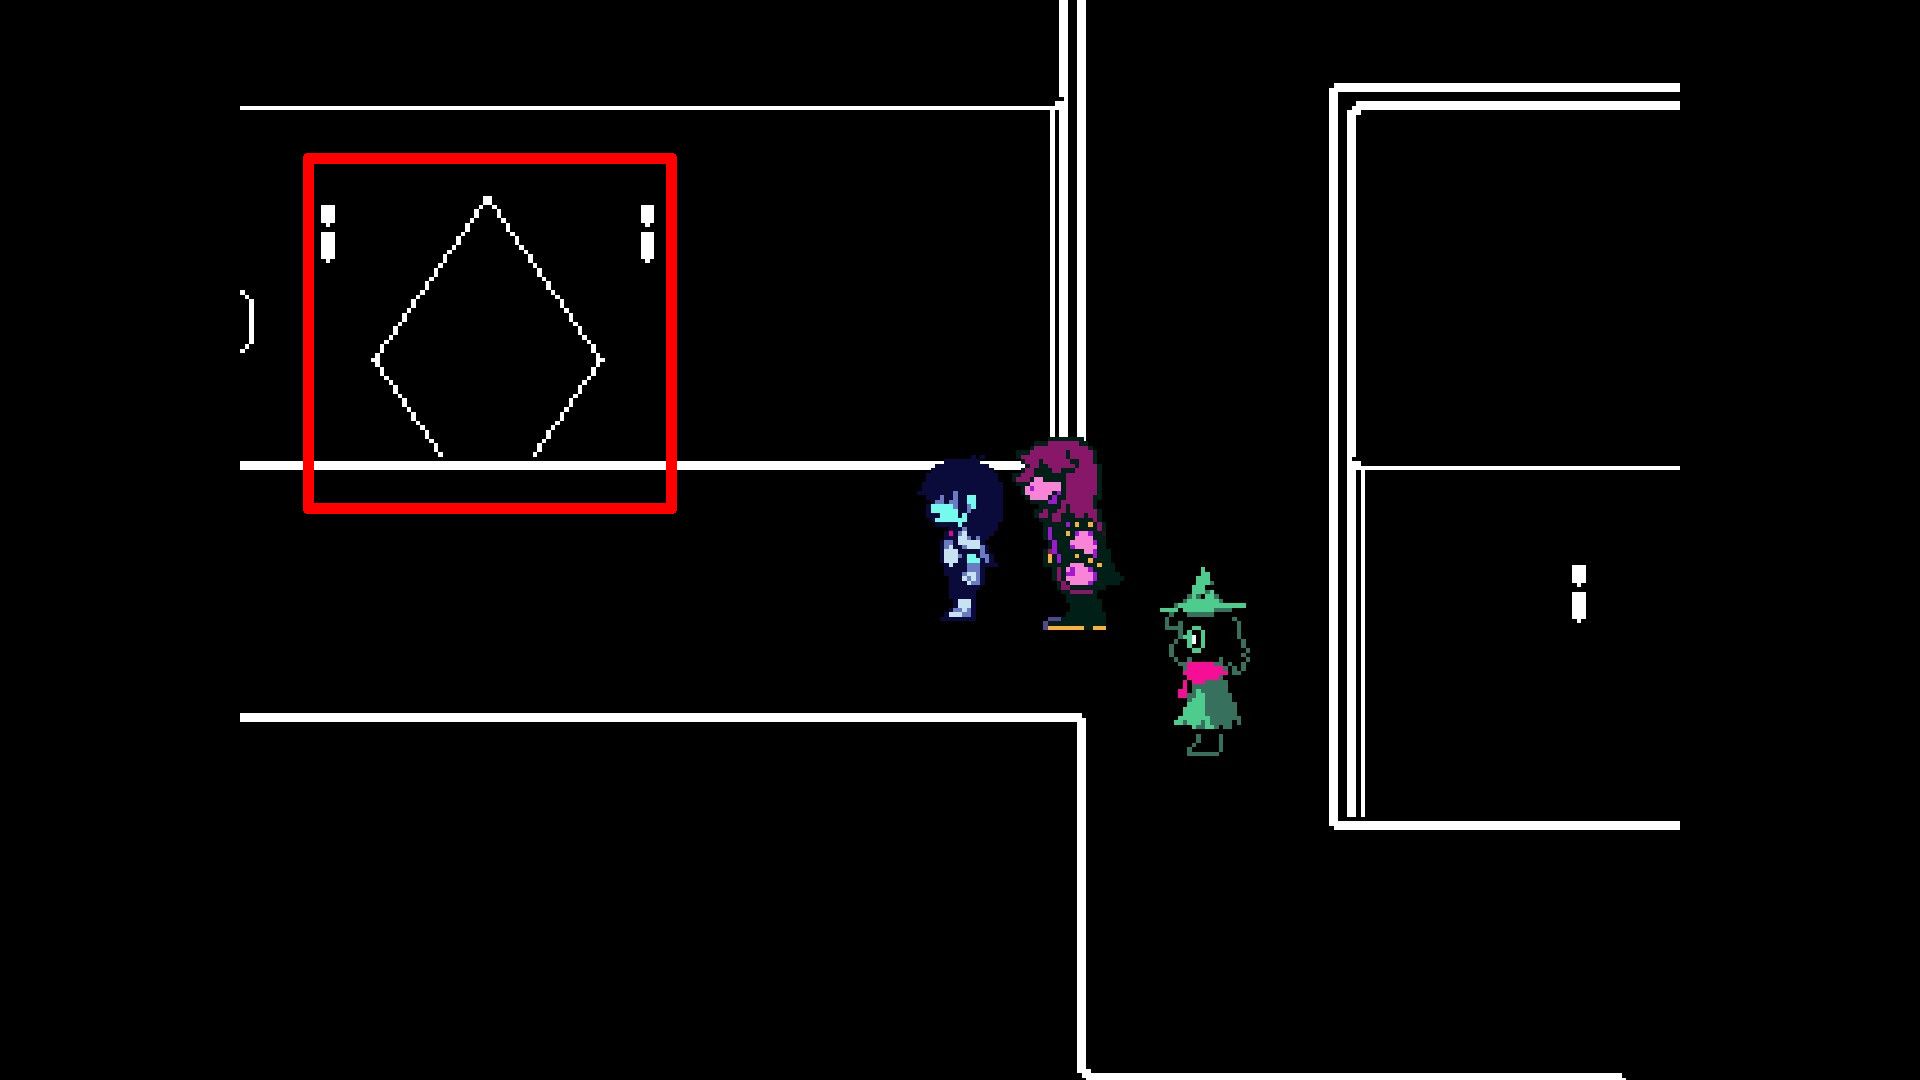

Following Susie, the players release Kris and Ralsei, enabling them to depart from the cell and proceed towards an elevator. Upon its arrival, they should disembark and travel leftwards to find a room with a diamond-shaped entrance. If players converse with the Rudinn on the right side of this chamber, they will have the opportunity to express remorse for any violence they may have inflicted upon other Rudinns, which in turn decreases the Violence tally by one. Those who haven’t wronged any Rudinns receive a Choco Diamond instead.
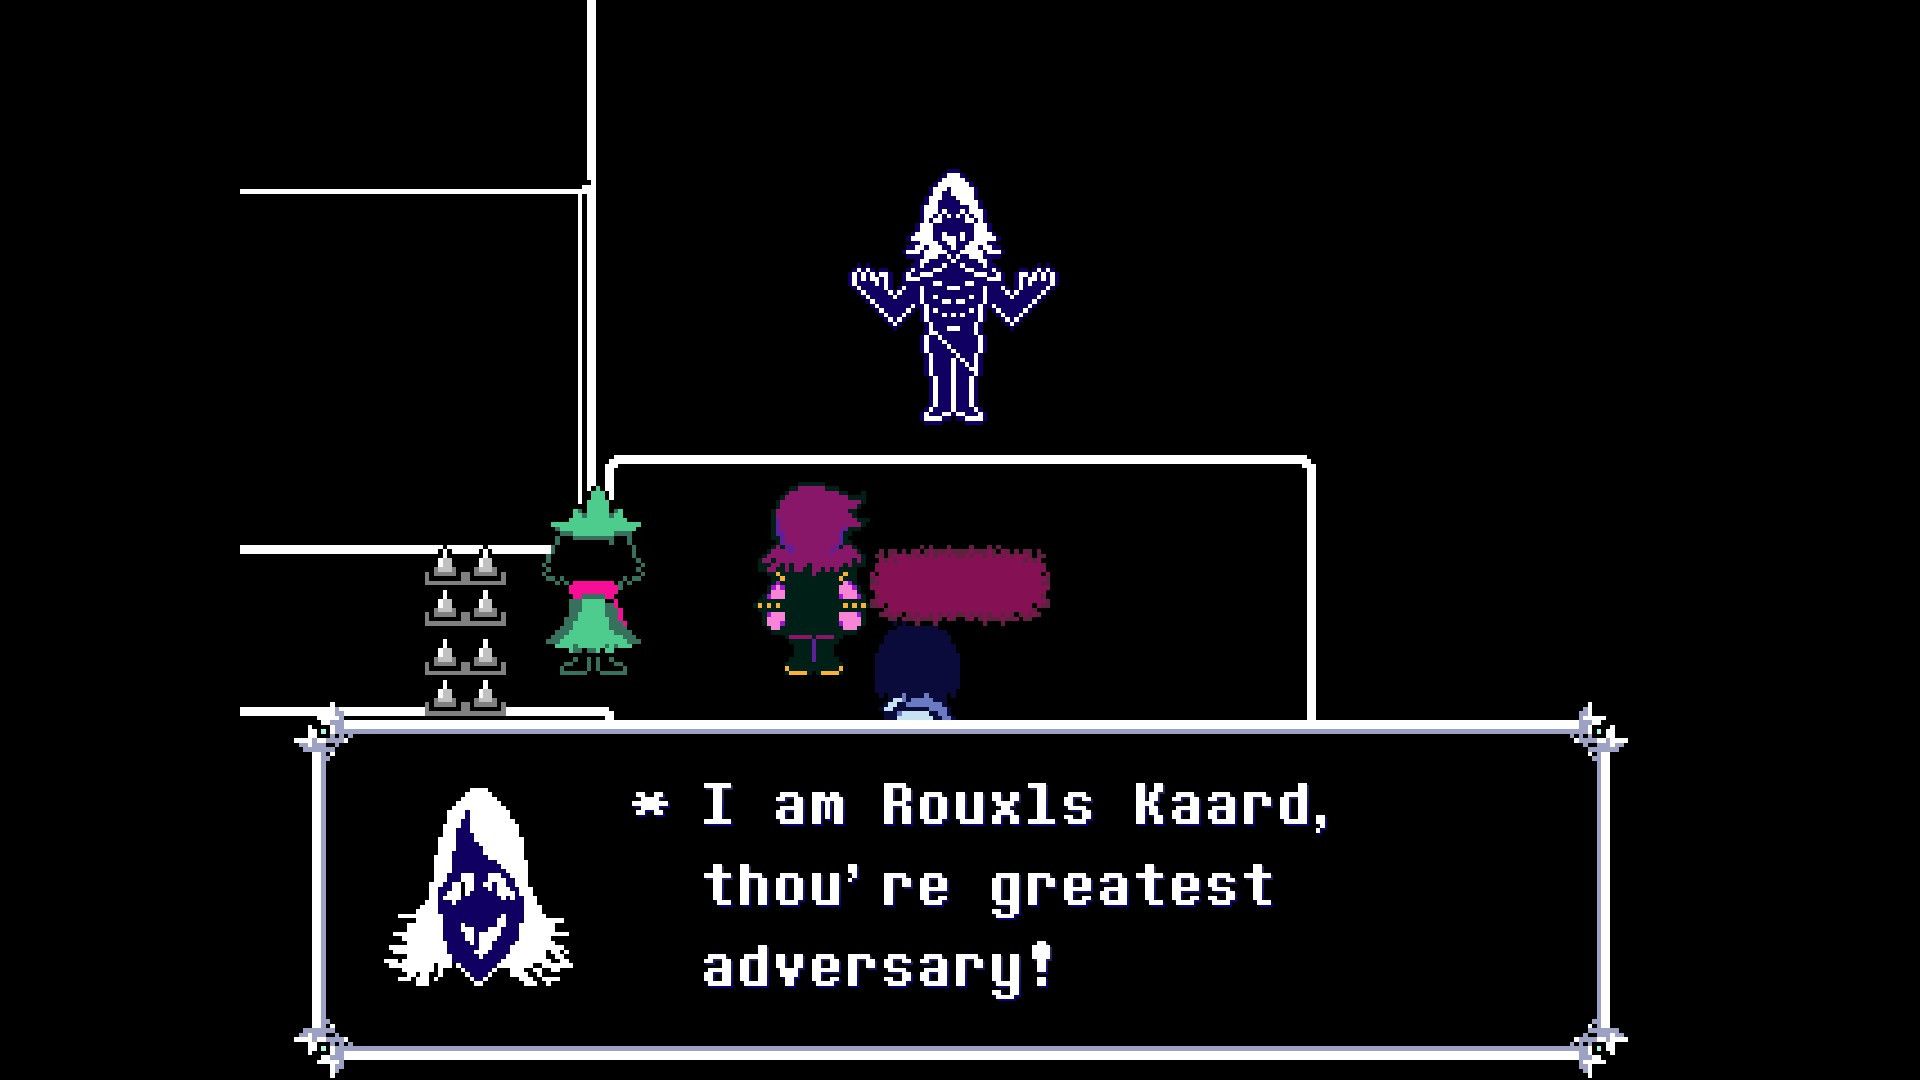
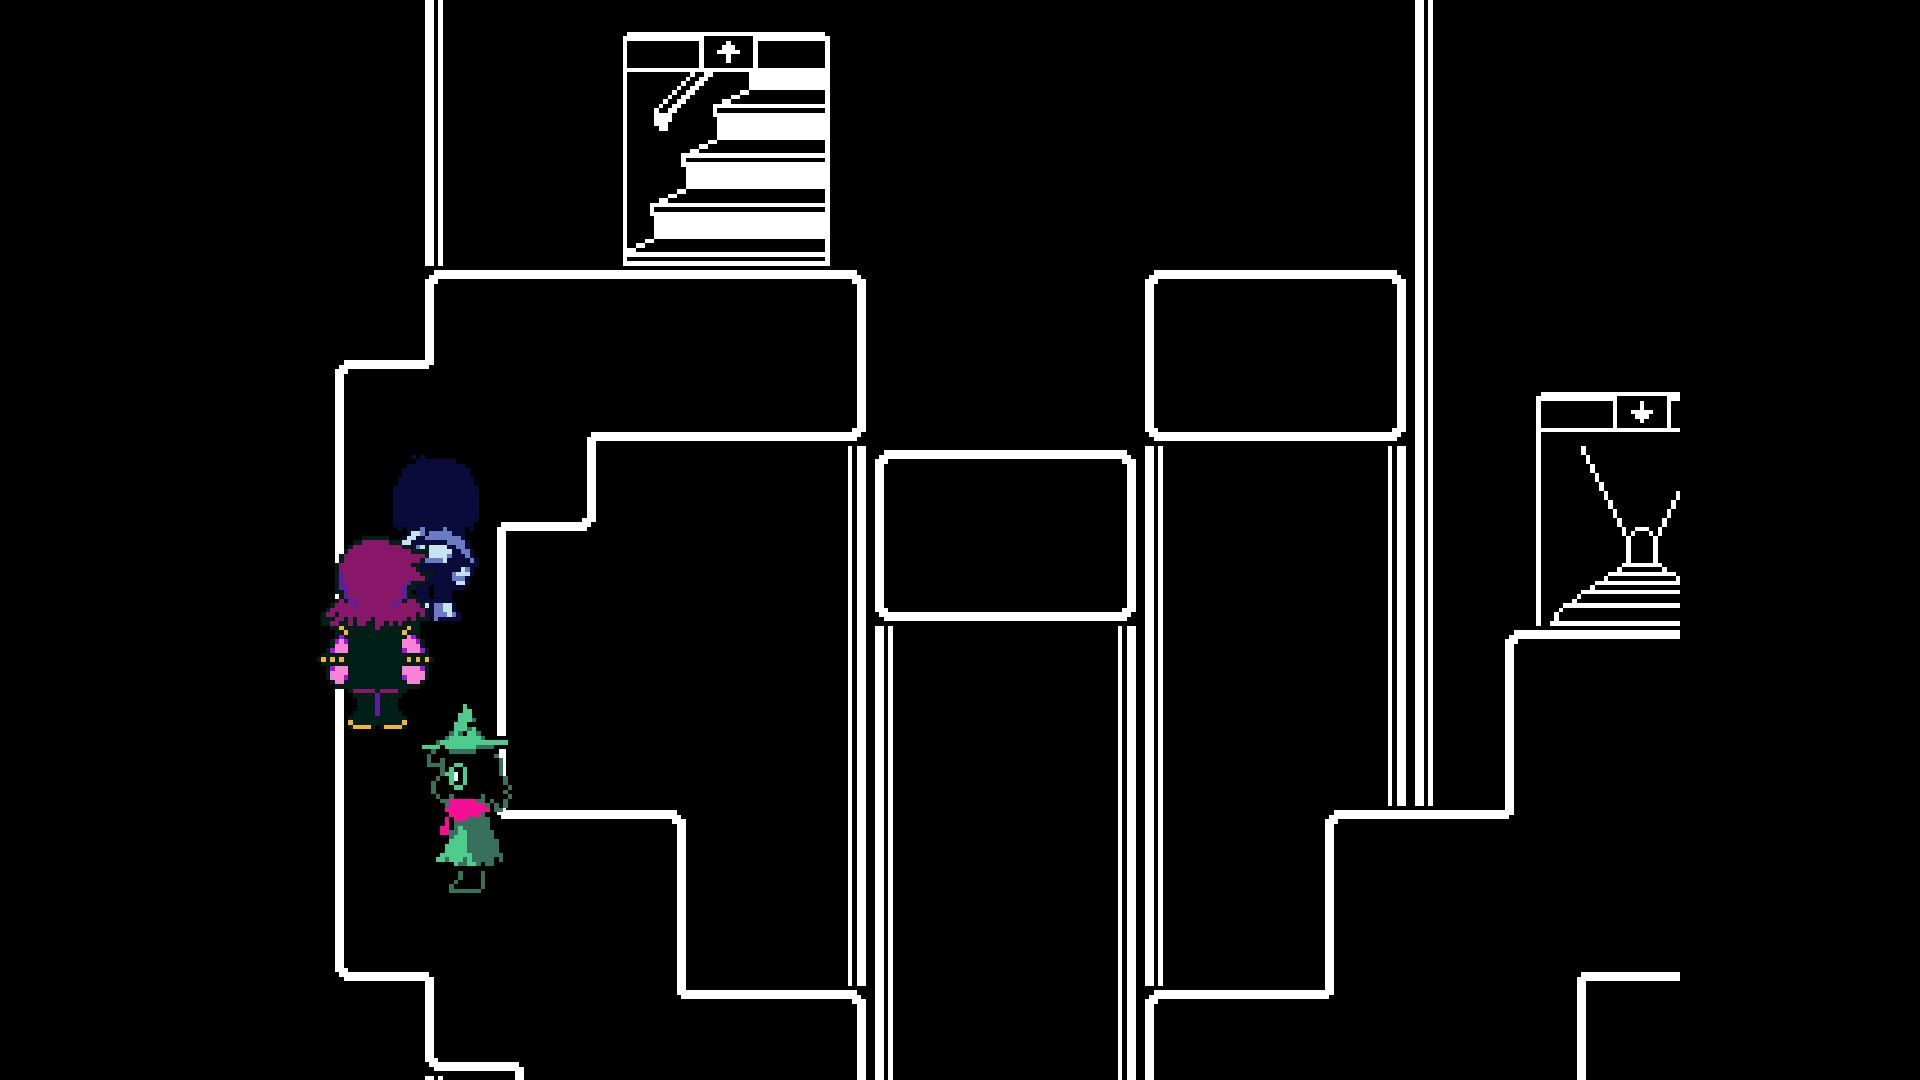
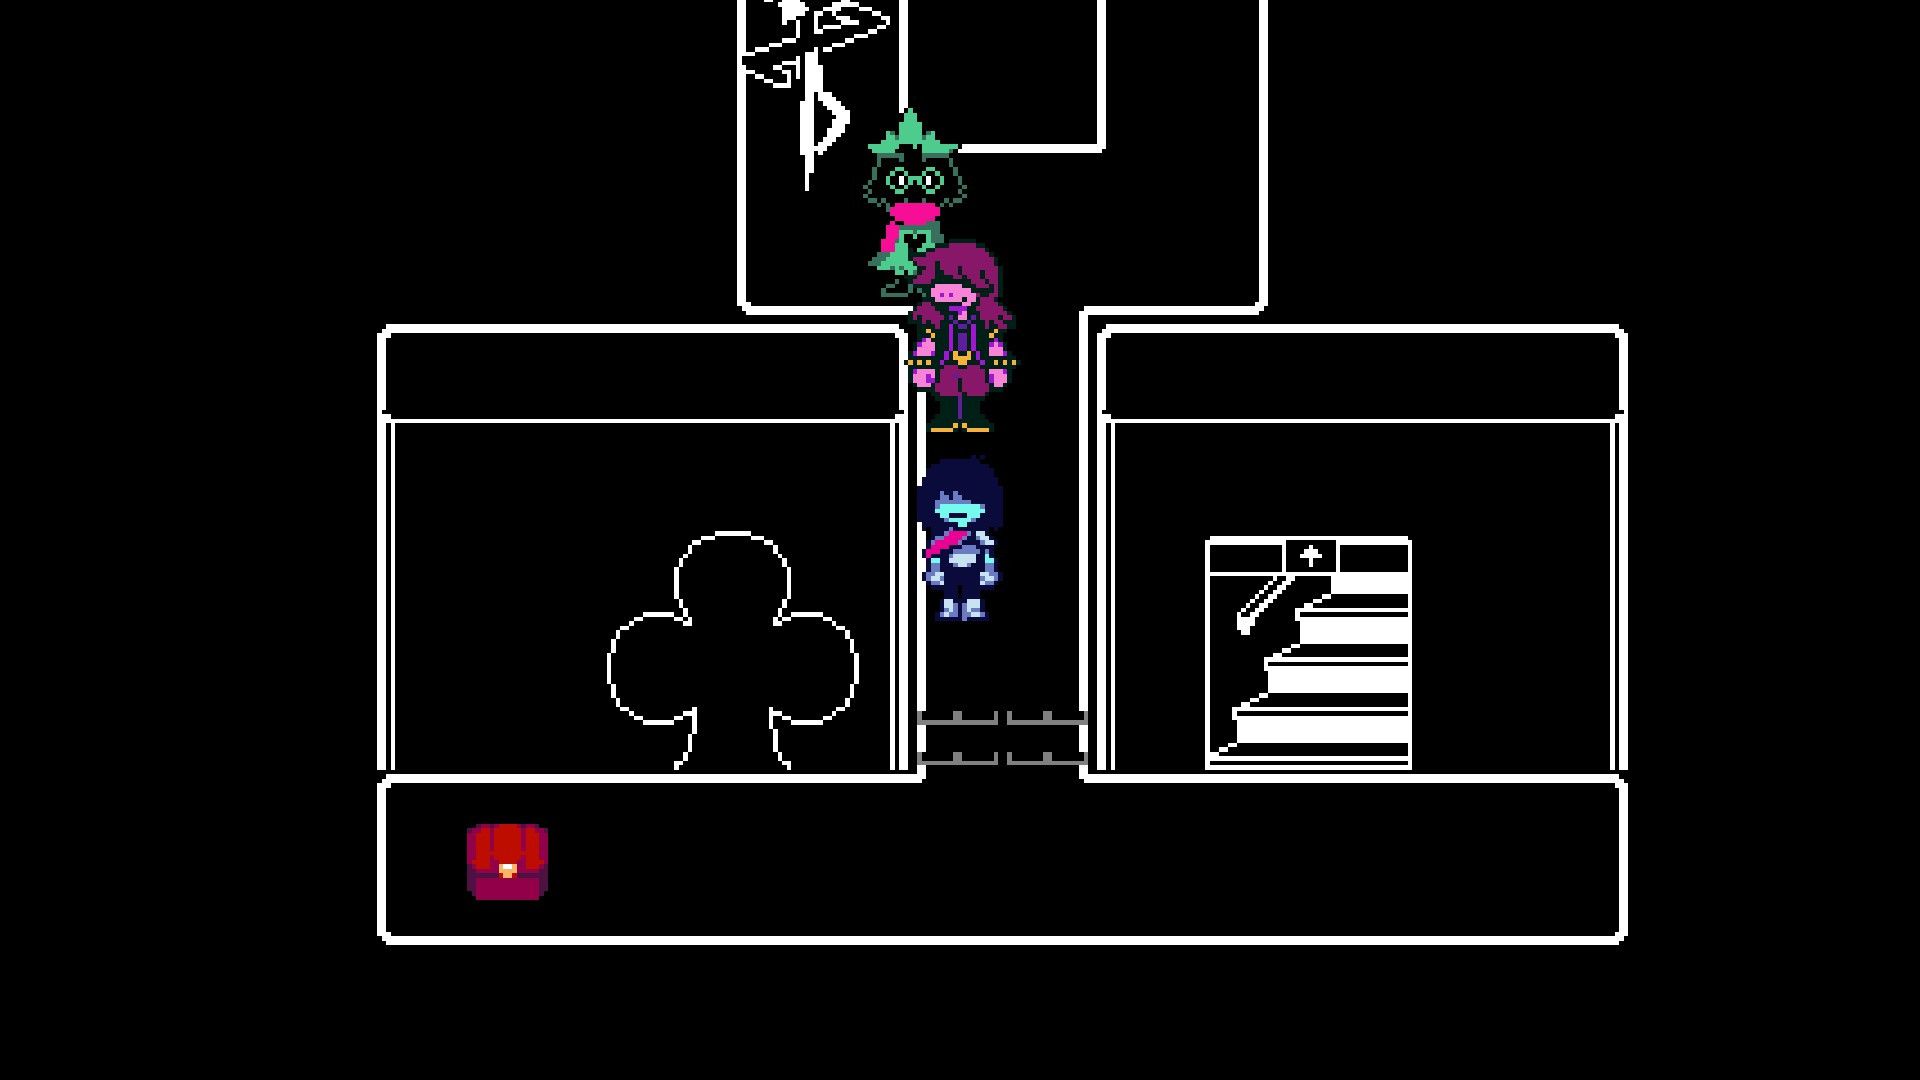
Now, it’s time for players to leave the room and head towards the nearby set of stairs to ascend to the Castle’s upper level. Following that, they should follow the path to their right, steering clear of the rotating challenges, and engage with the “puzzle” instigated by Rouxls Kaard. Afterwards, players should retrace their steps back to the room containing the spinning obstacles and descend to discover a chest filled with a tasty Clubs Sandwich.
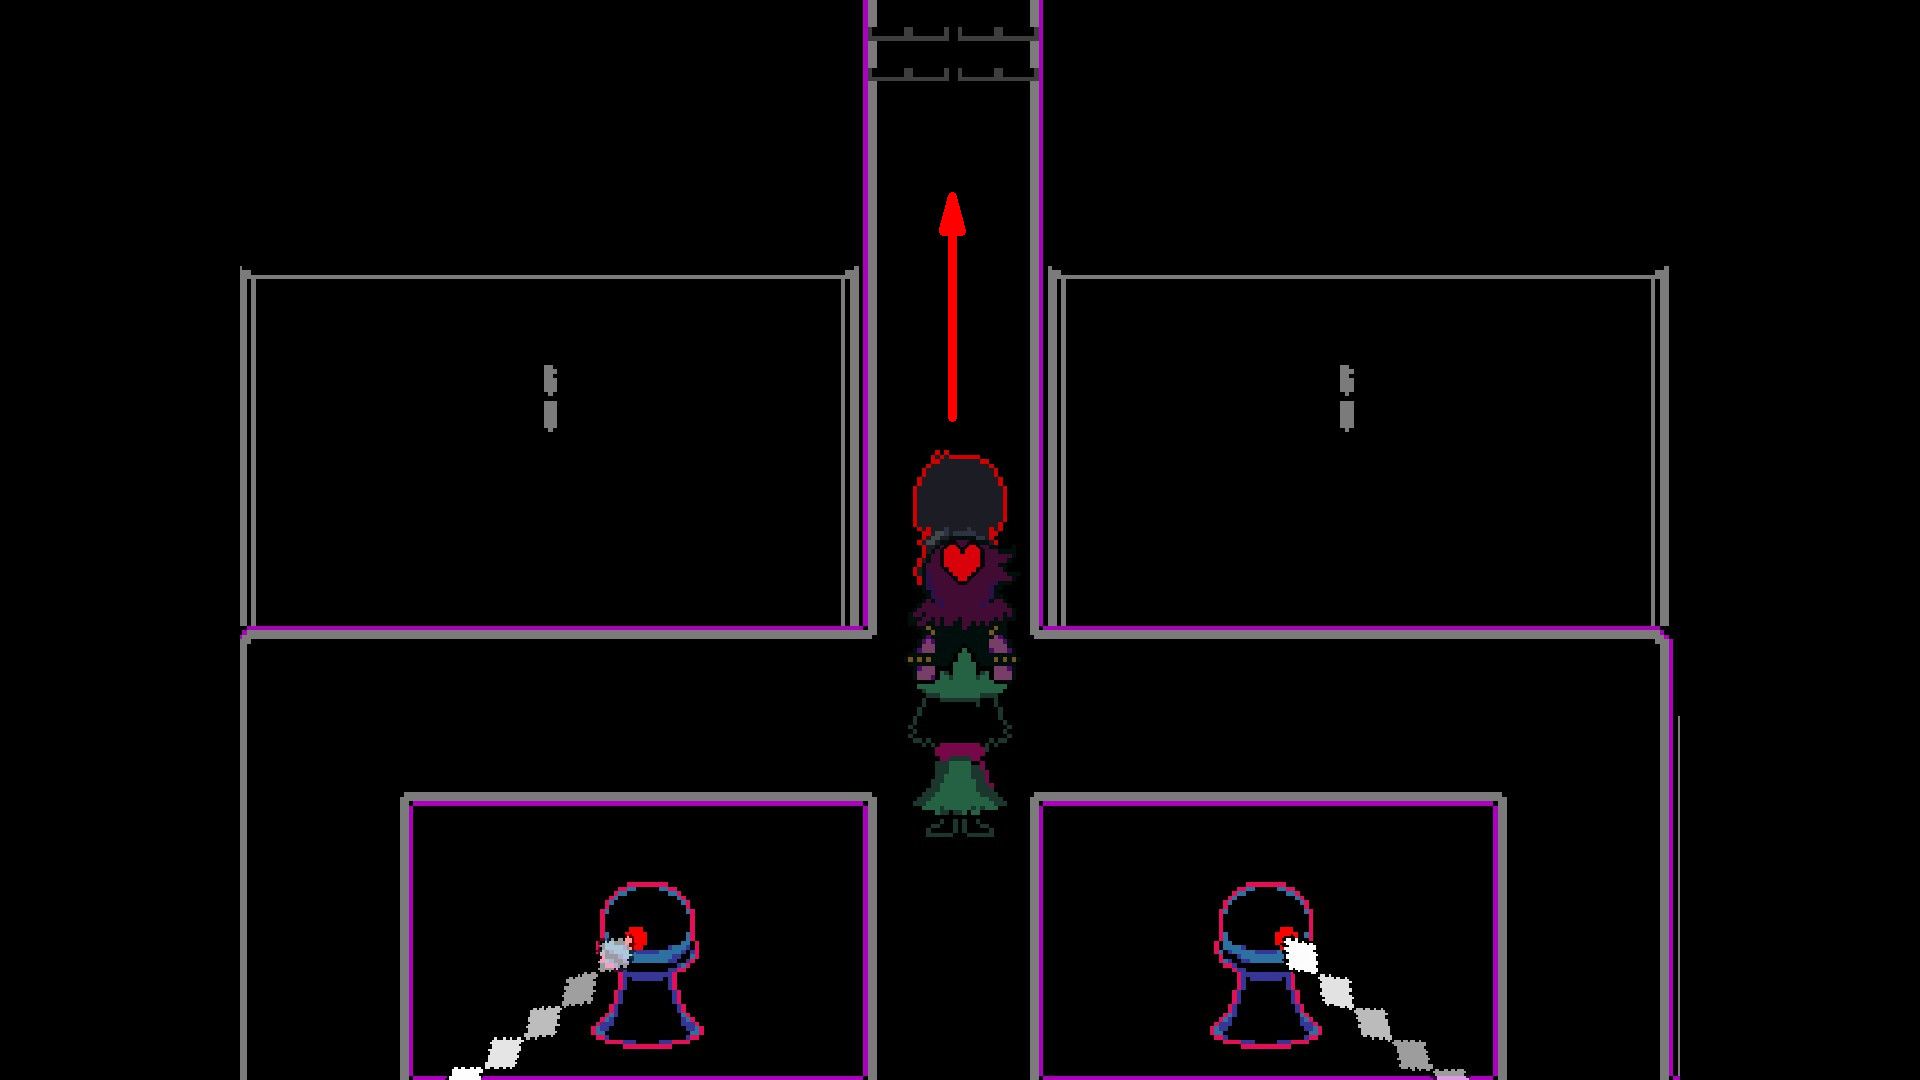
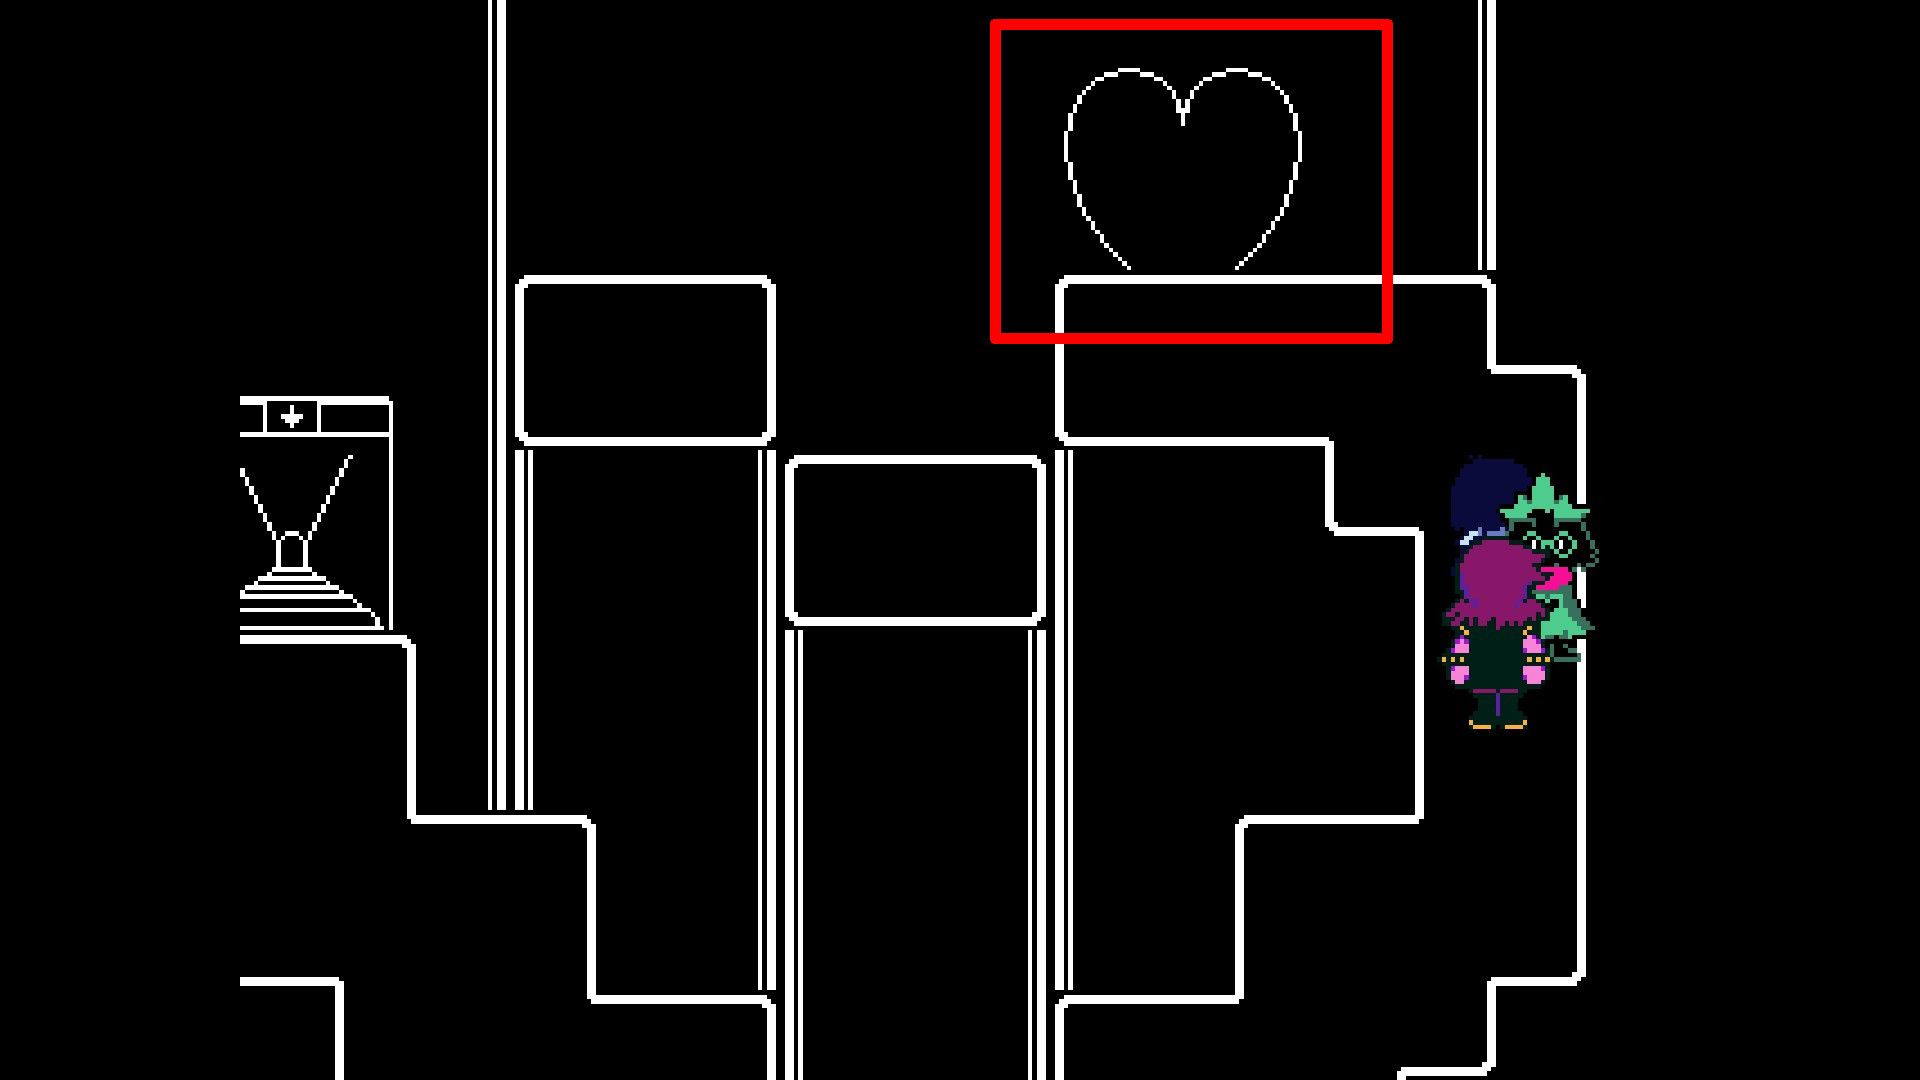
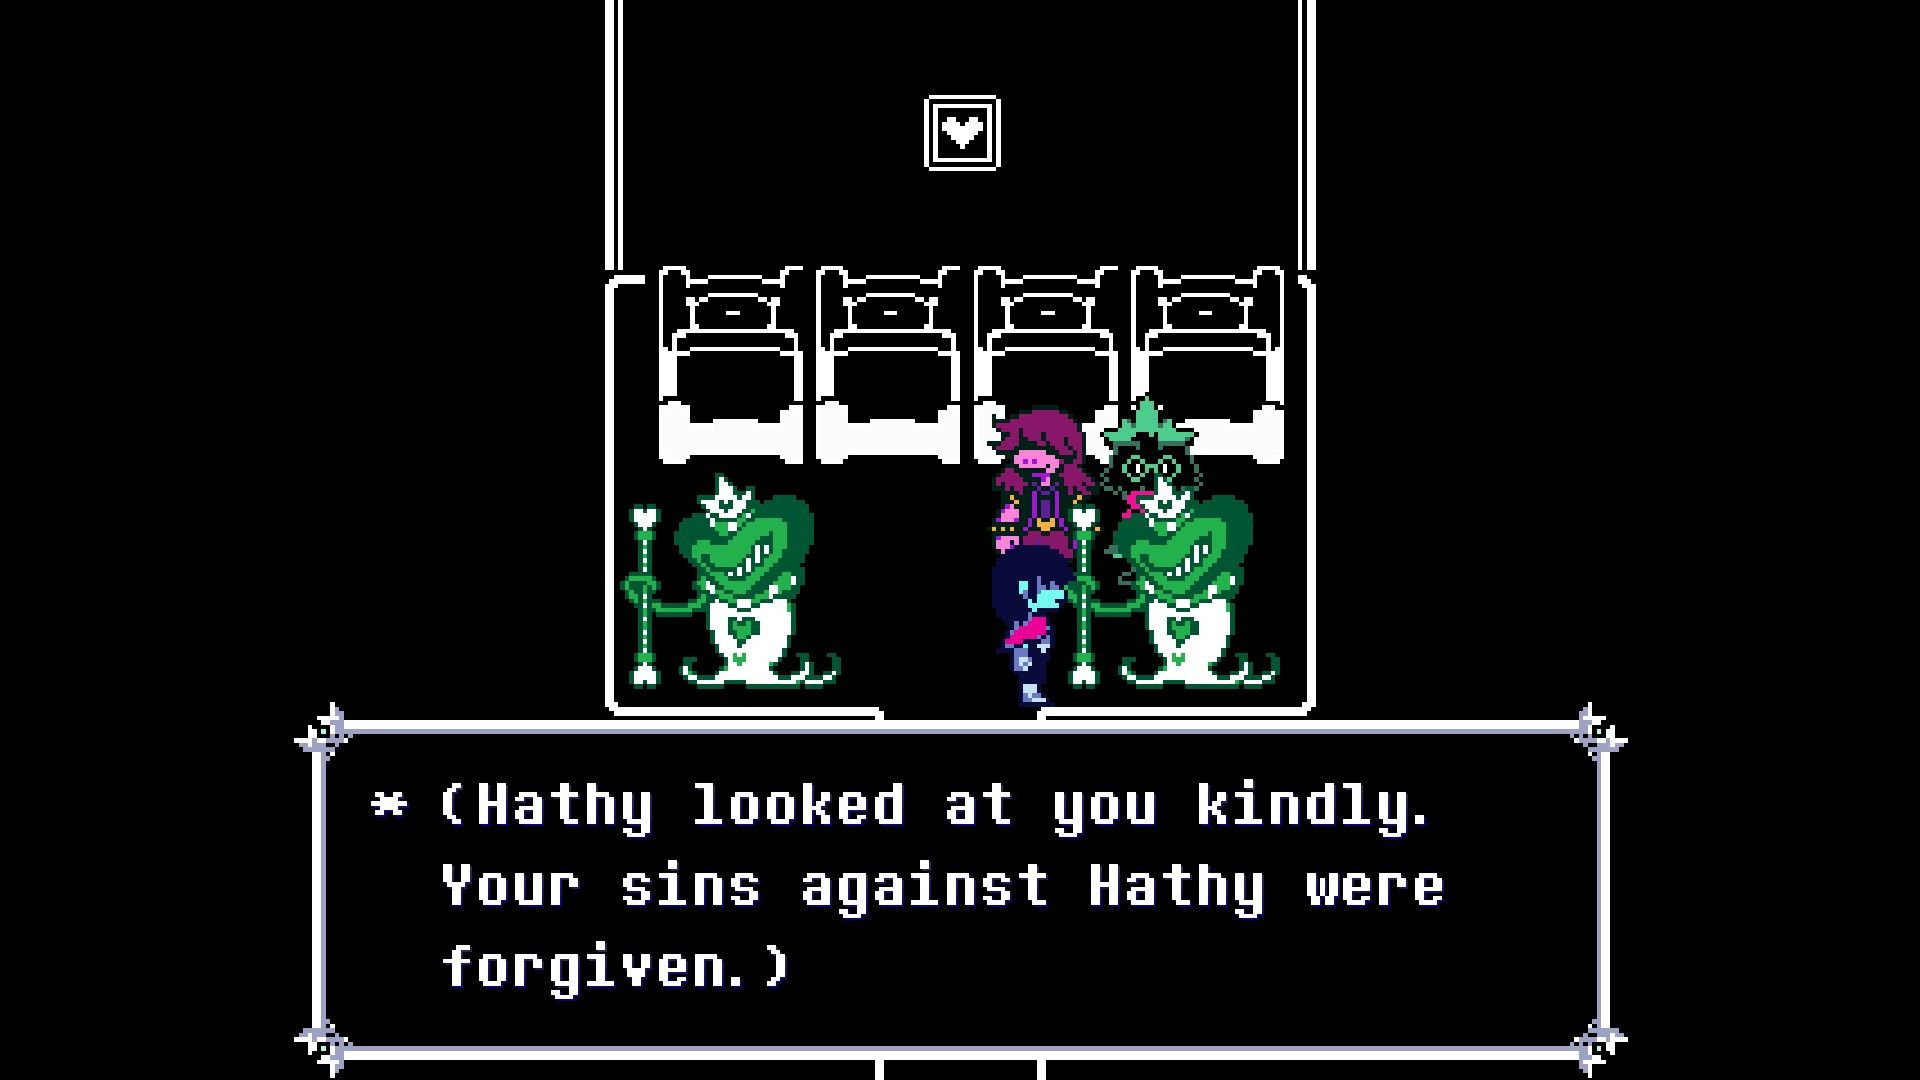
At the highest point of the room, you’ll find a staircase leading to spinning challenges. After navigating these, players should proceed right to discover a heart-shaped door. By checking each of the four beds in this very room, Kris can earn the title of ‘Bed Inspector’. Also, if a player has committed Violence towards no more than two Hathies, they can converse with the NPC on the right, thereby reducing their own Violence count by one.
1. Players need to vacate the current room now, then head up the stairs on your left (as you face the screen). This will take them to a location featuring Scissor Dancers.
2. After leaving this room through the right exit, players should tackle another of Rouxls Kaard’s brain-teasers. Once they’ve solved it, they must return to the previous room.
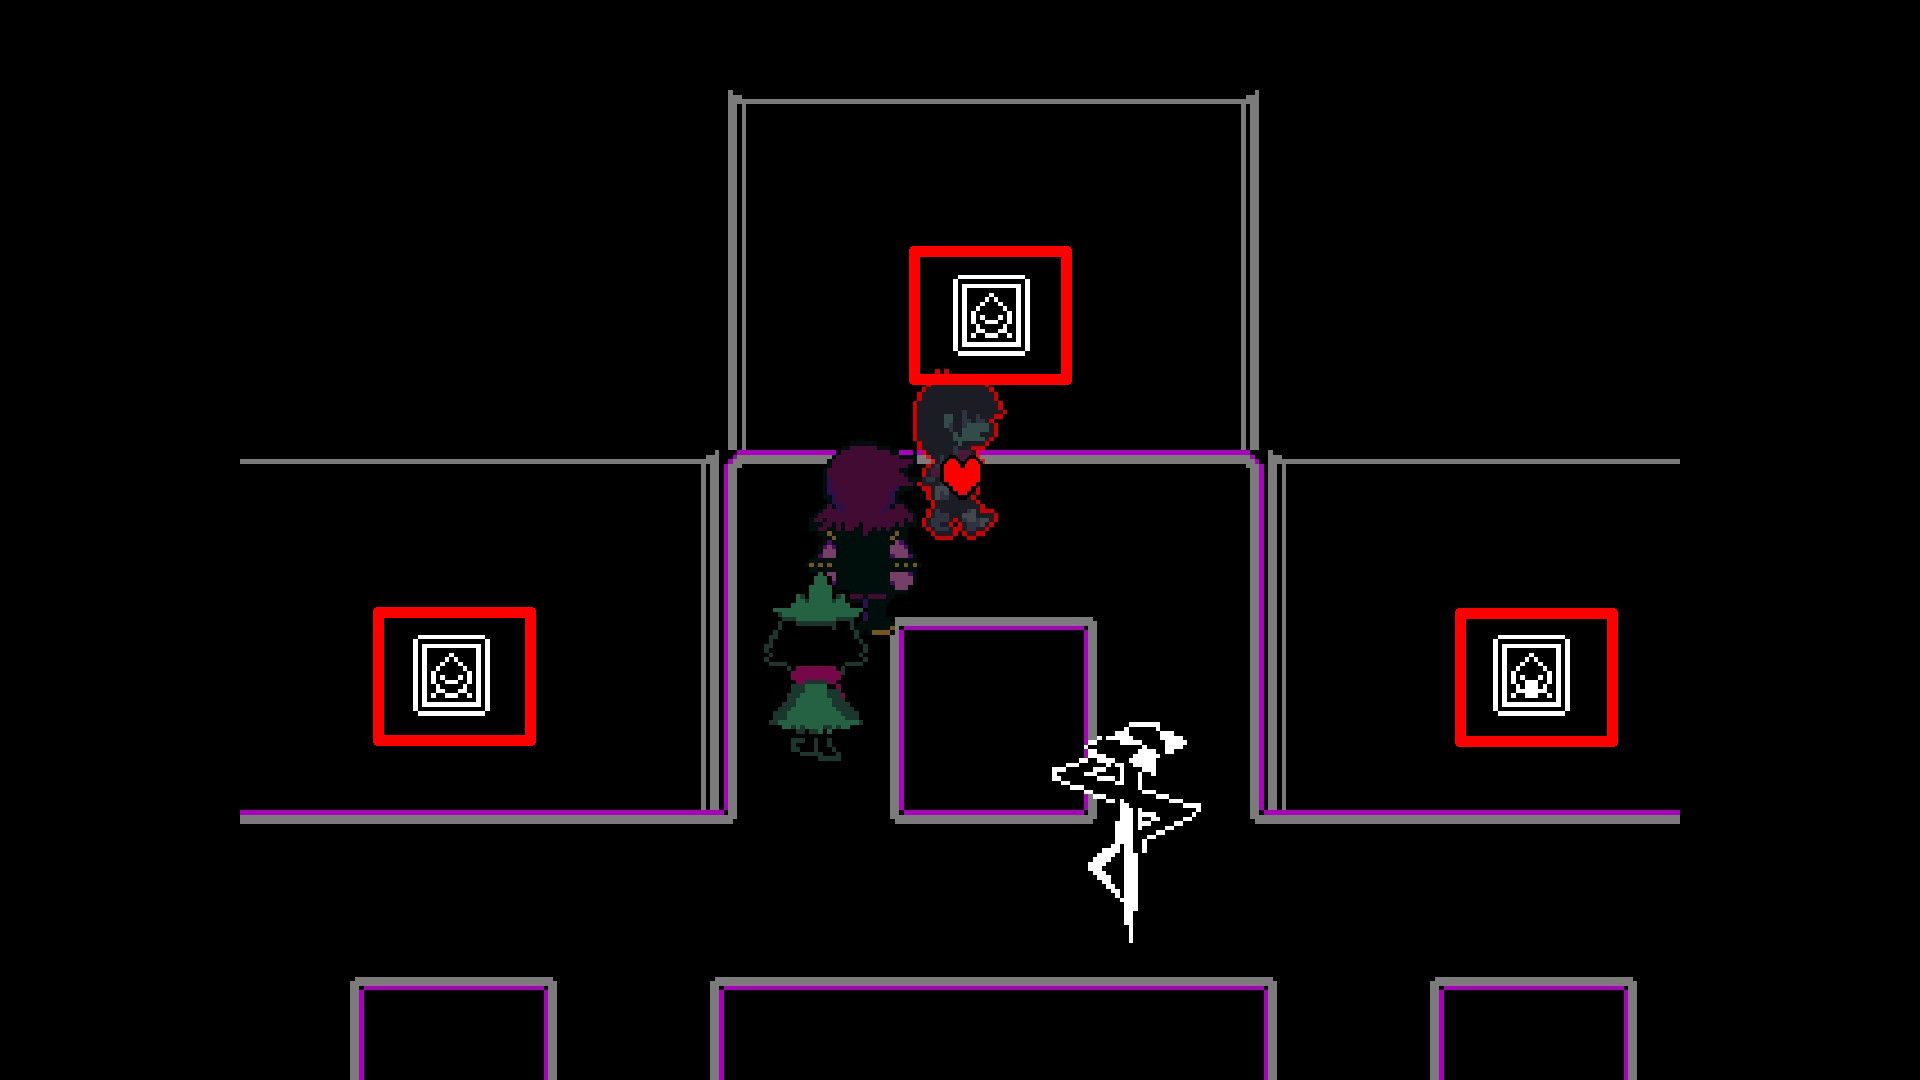
3. On the upper wall of the current room, there are three images that can be interacted with. Doing so will cause a chest containing a Revive Mint to materialize at the bottom.
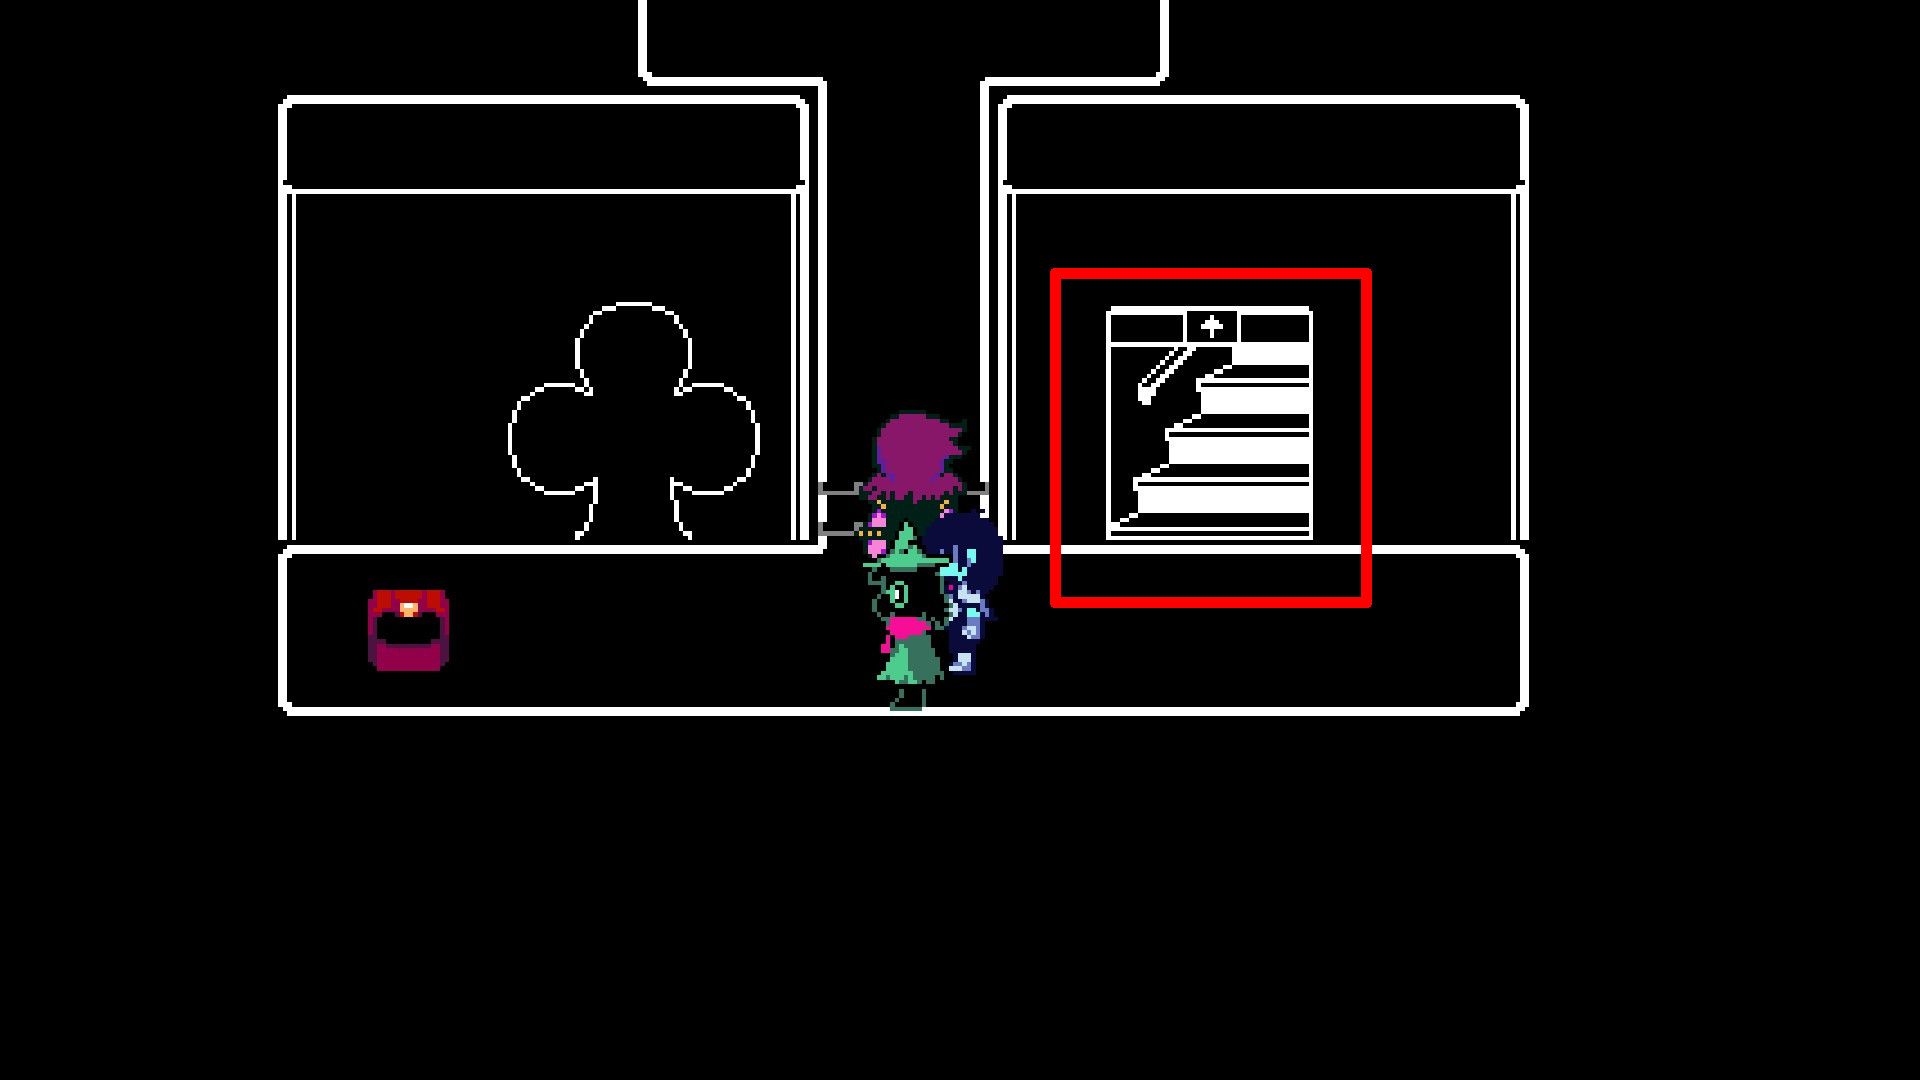
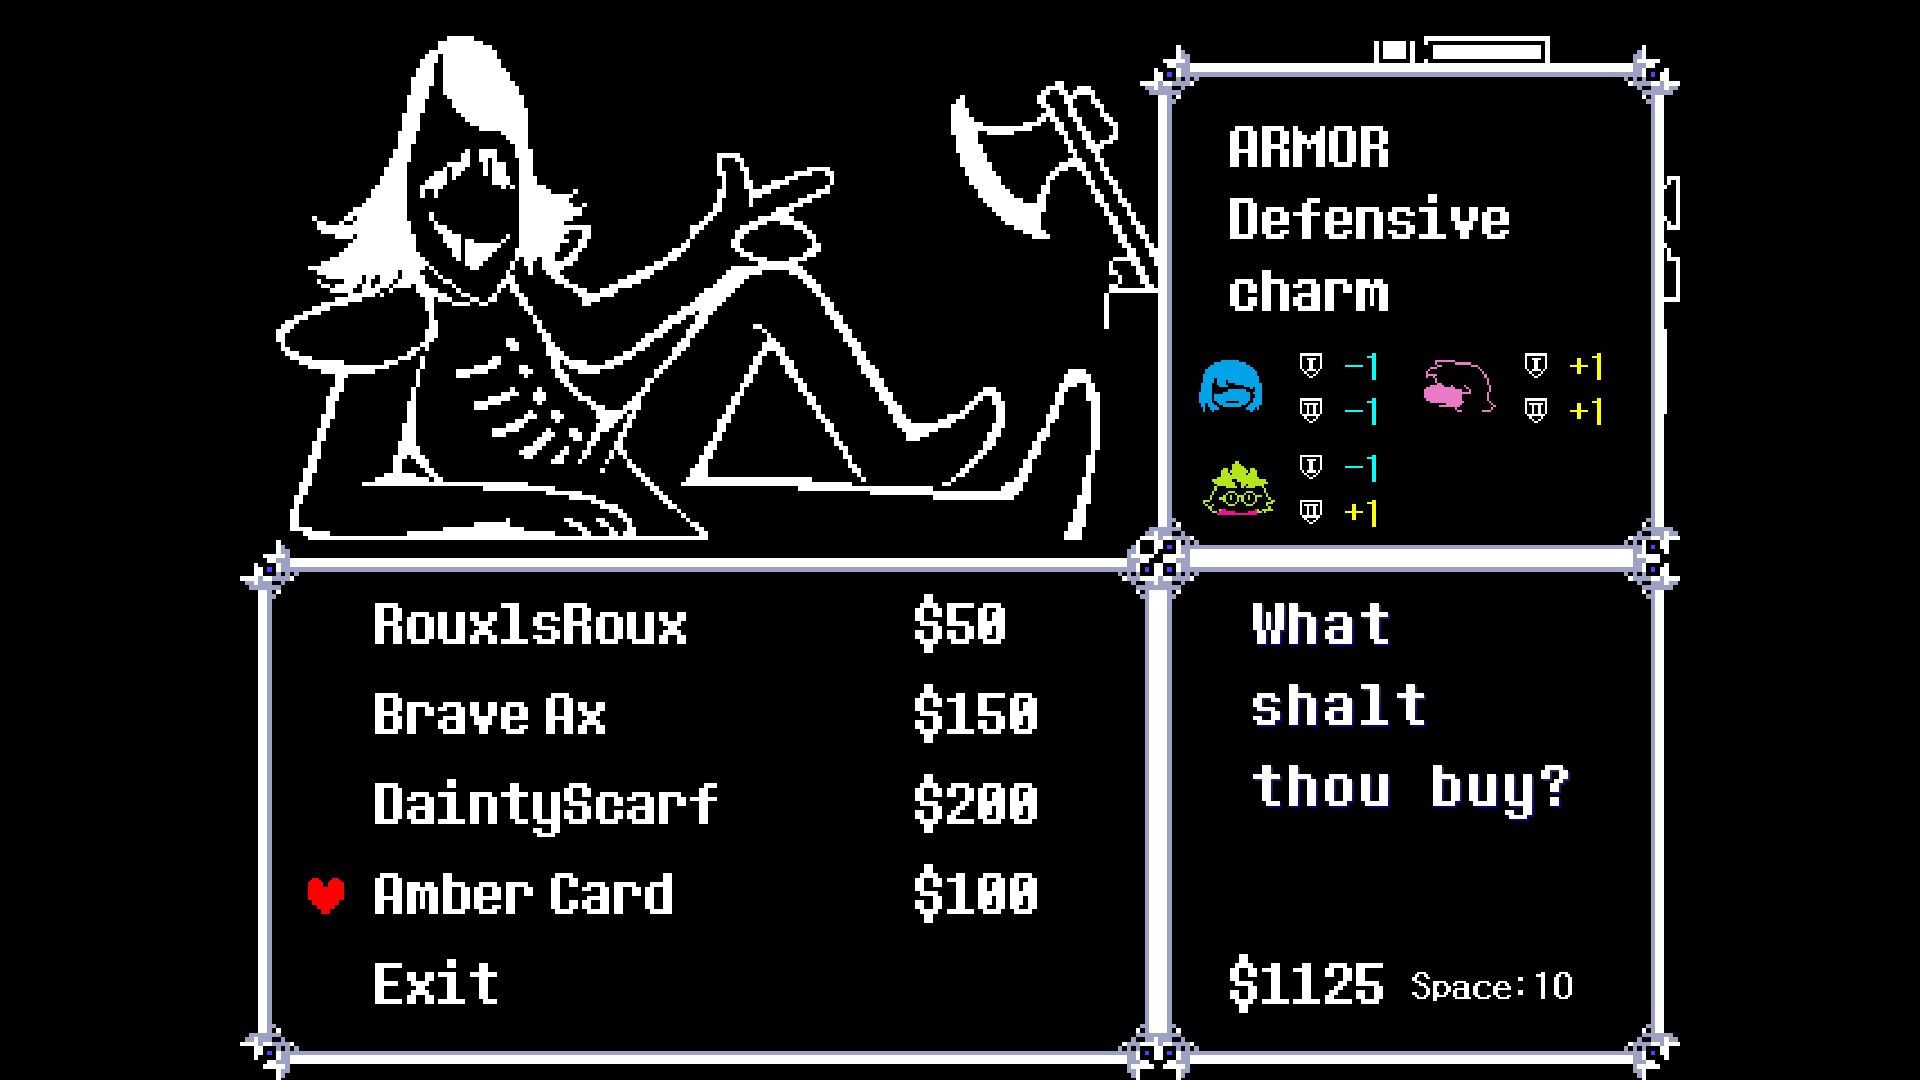
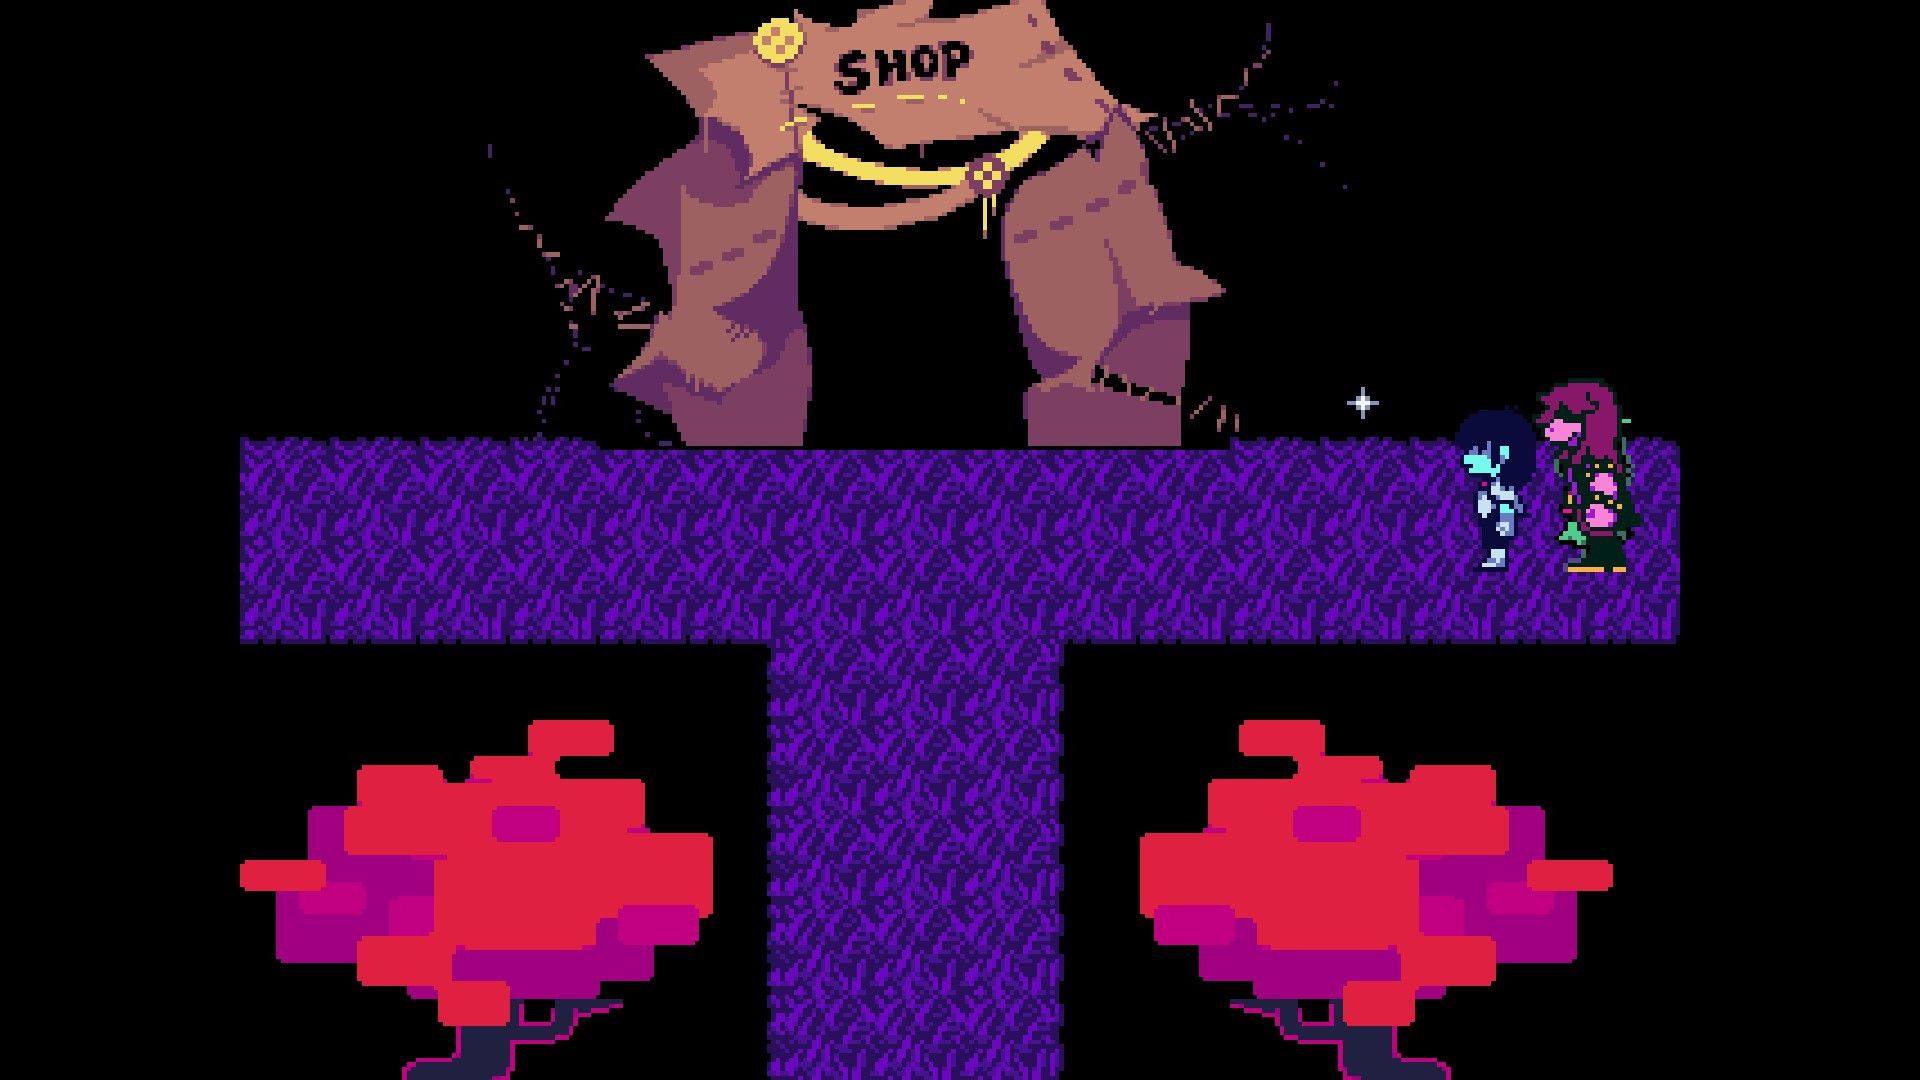
The staircase beside the trunk takes you to a section housing a store where players are advised to purchase a Courageous Axe, a Tactful Scarf, and three Luminous Cardboards.
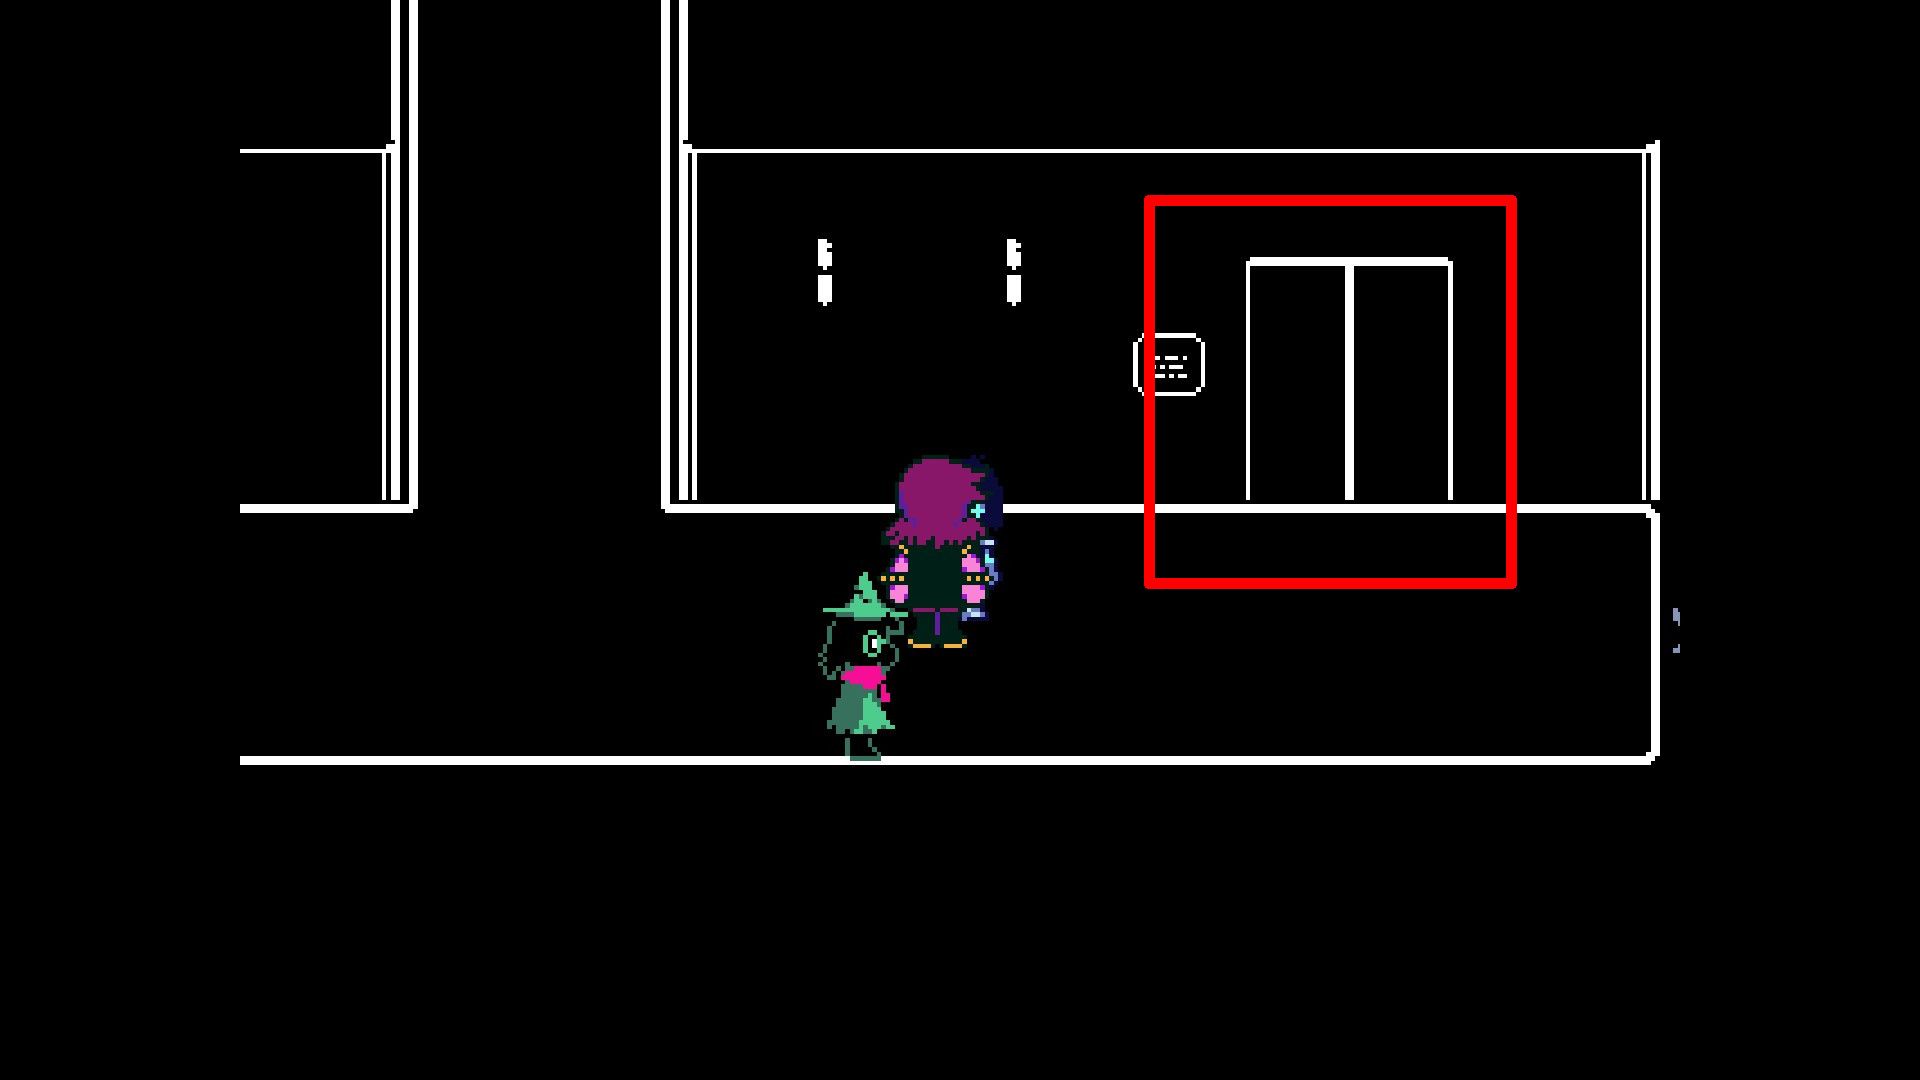
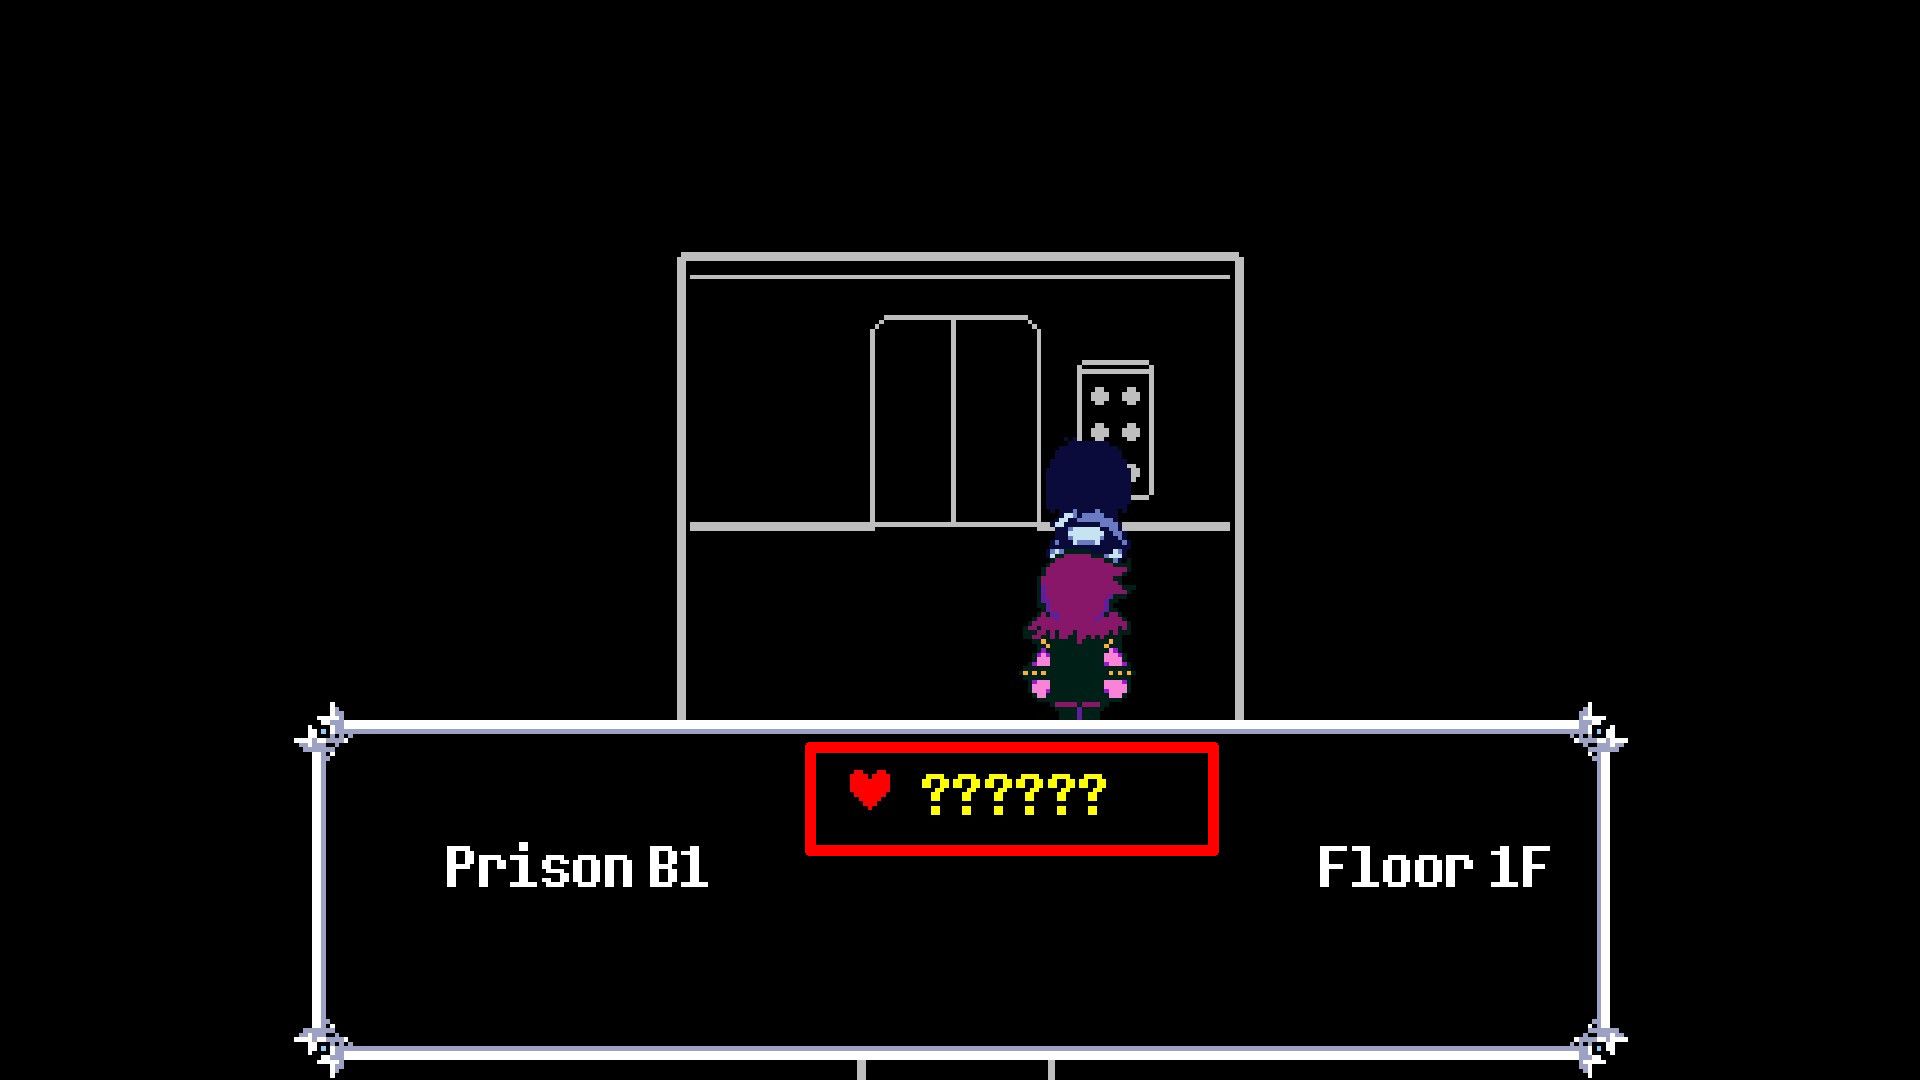
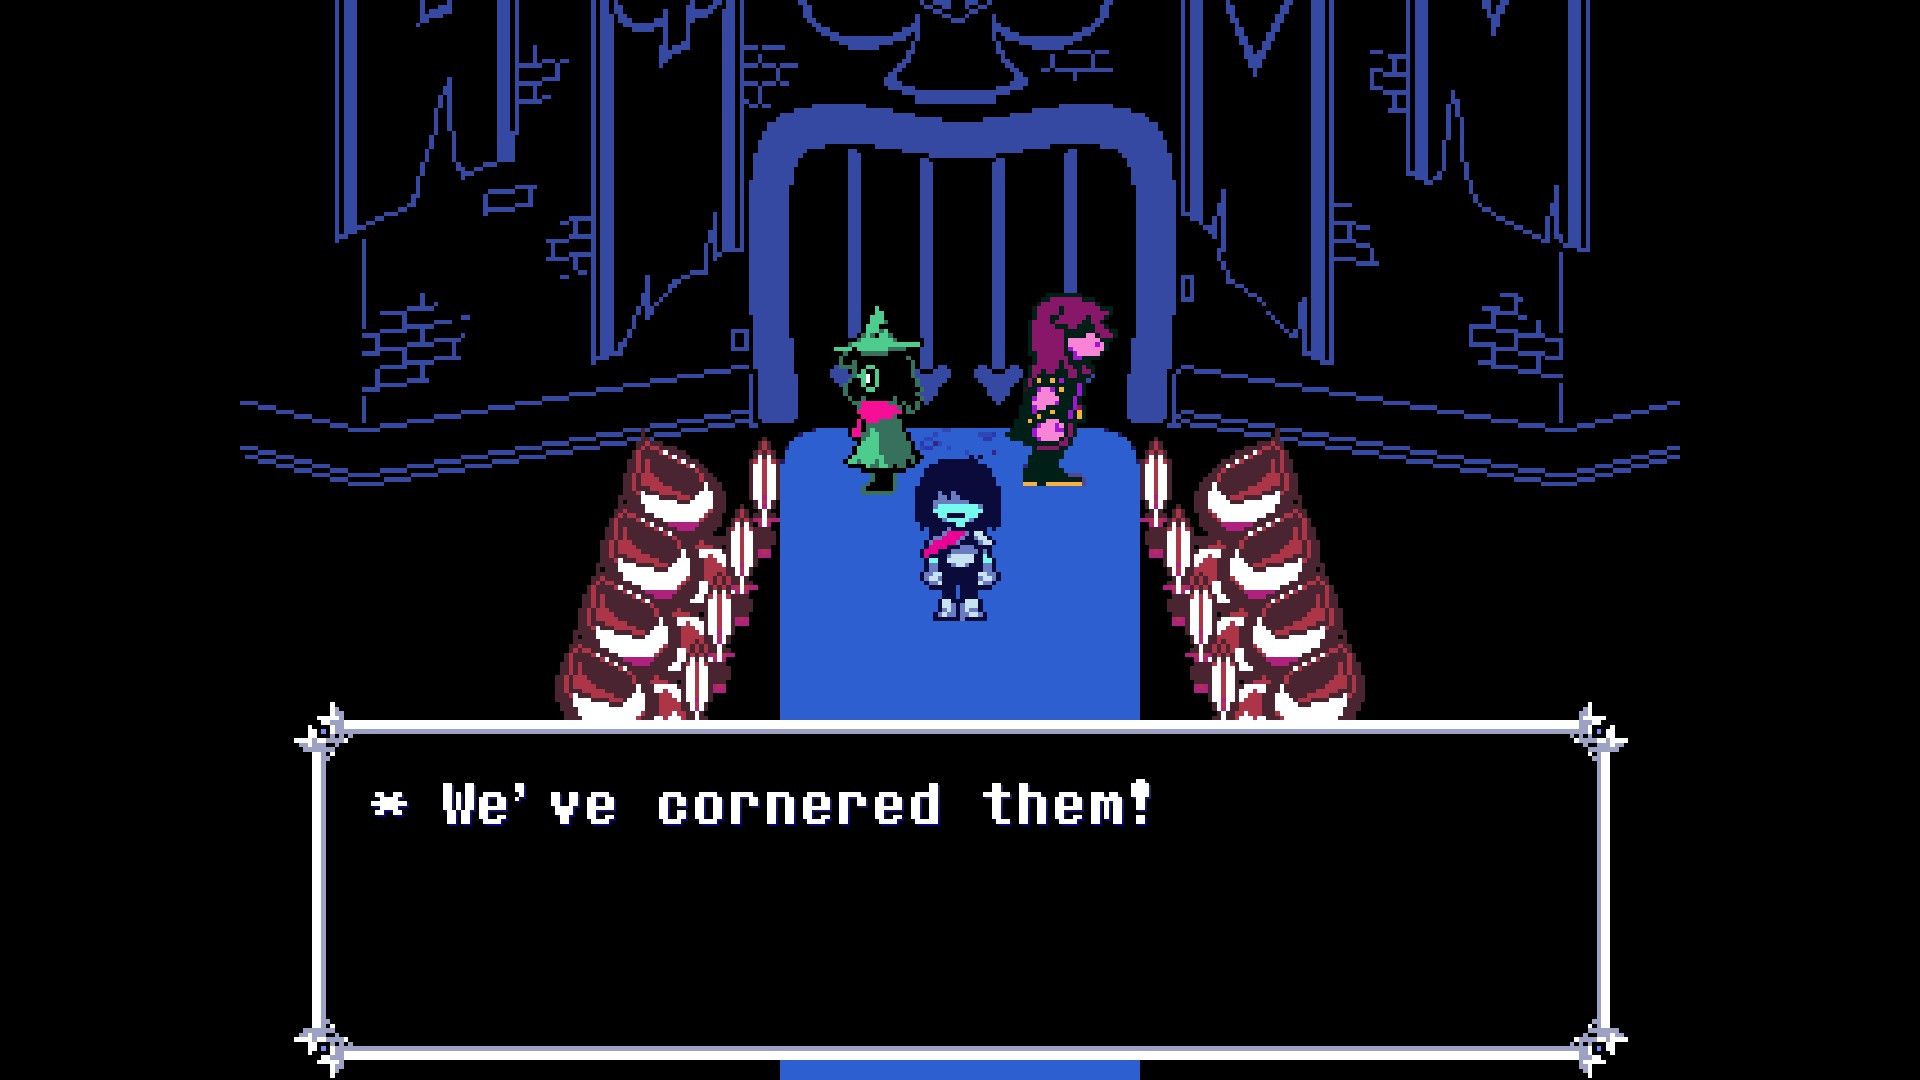
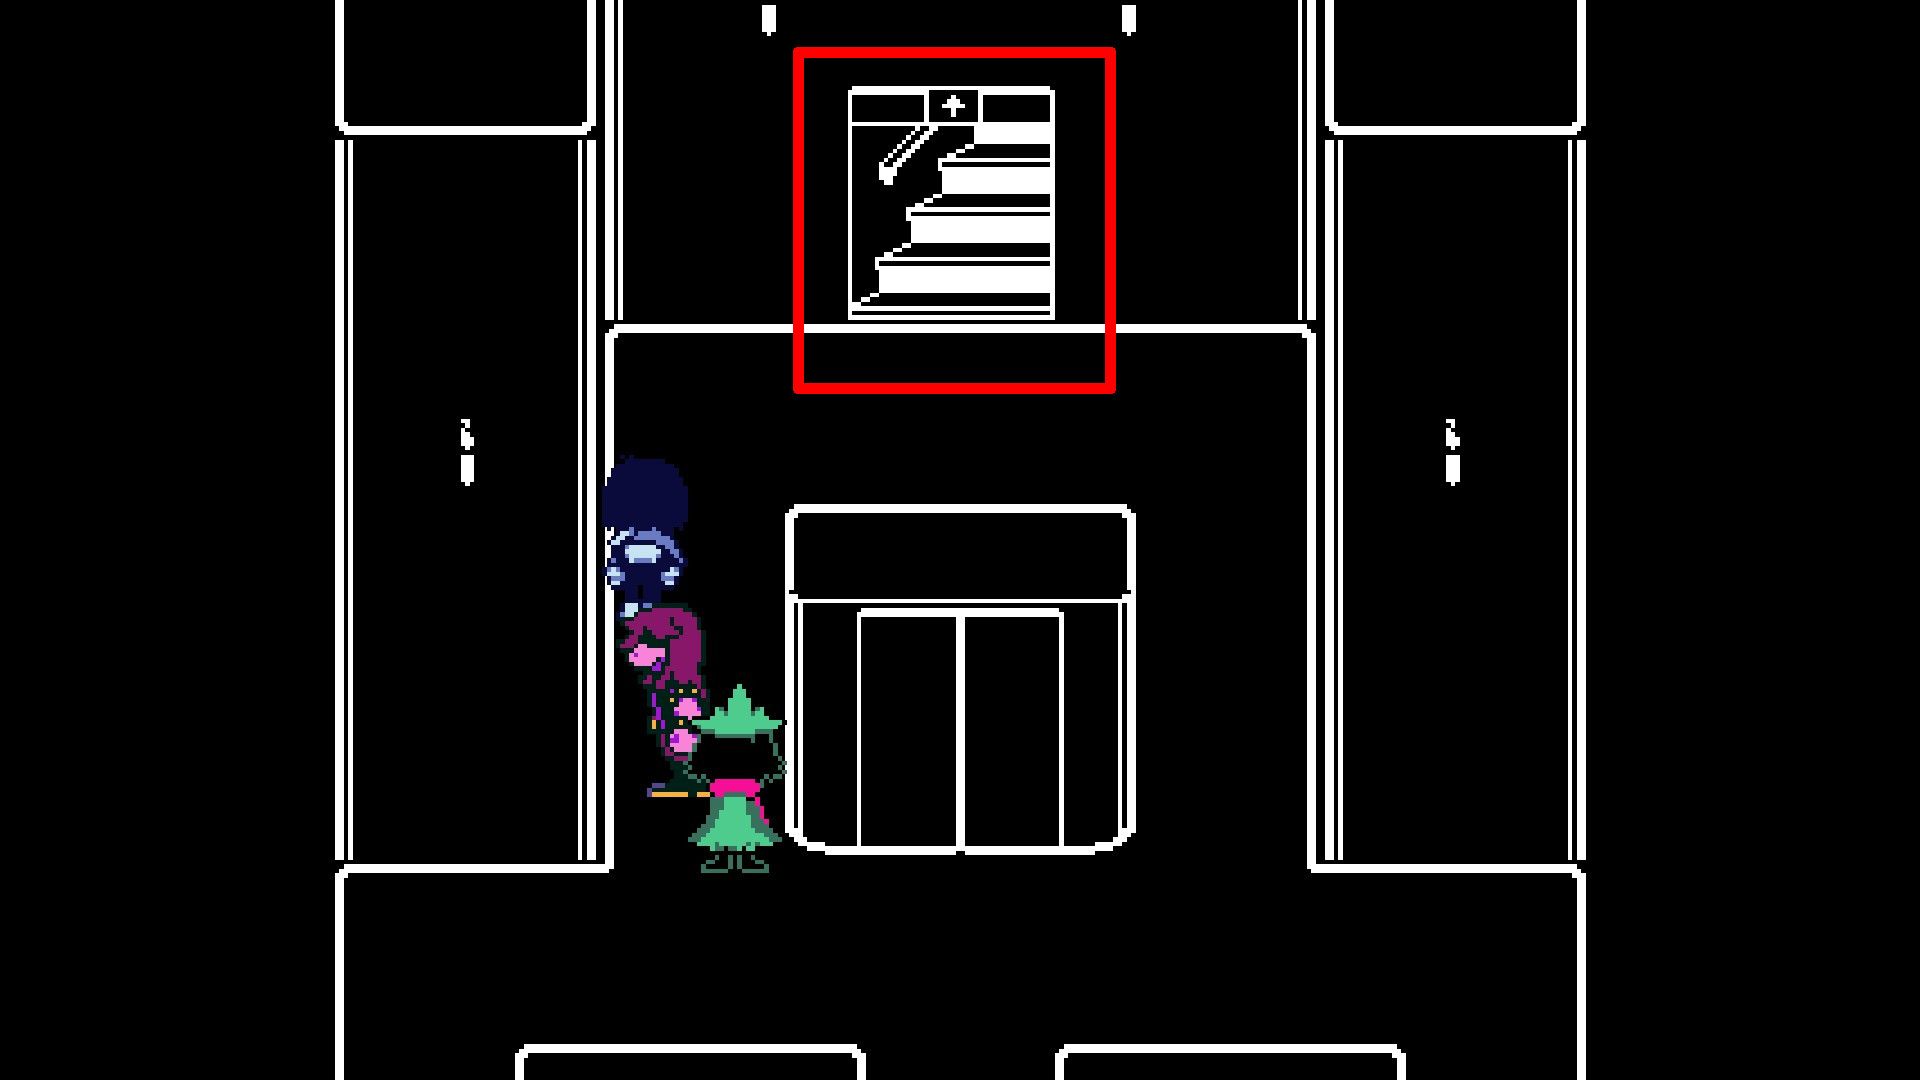
Players are instructed to utilize the elevator located over the store for their return to the ground level now. Upon exiting the lift, they should proceed downstairs and move towards the right direction. Their destination is the elevator heading to the prison, where they will find a button labeled ““??????”“. After interacting with these buttons, select the labeled option. Once the elevator has stopped, players should disembark, take the stairs, and approach the cell at the end. Here, they should engage in interaction and consent to participate in the prisoner’s game.
Back to Field
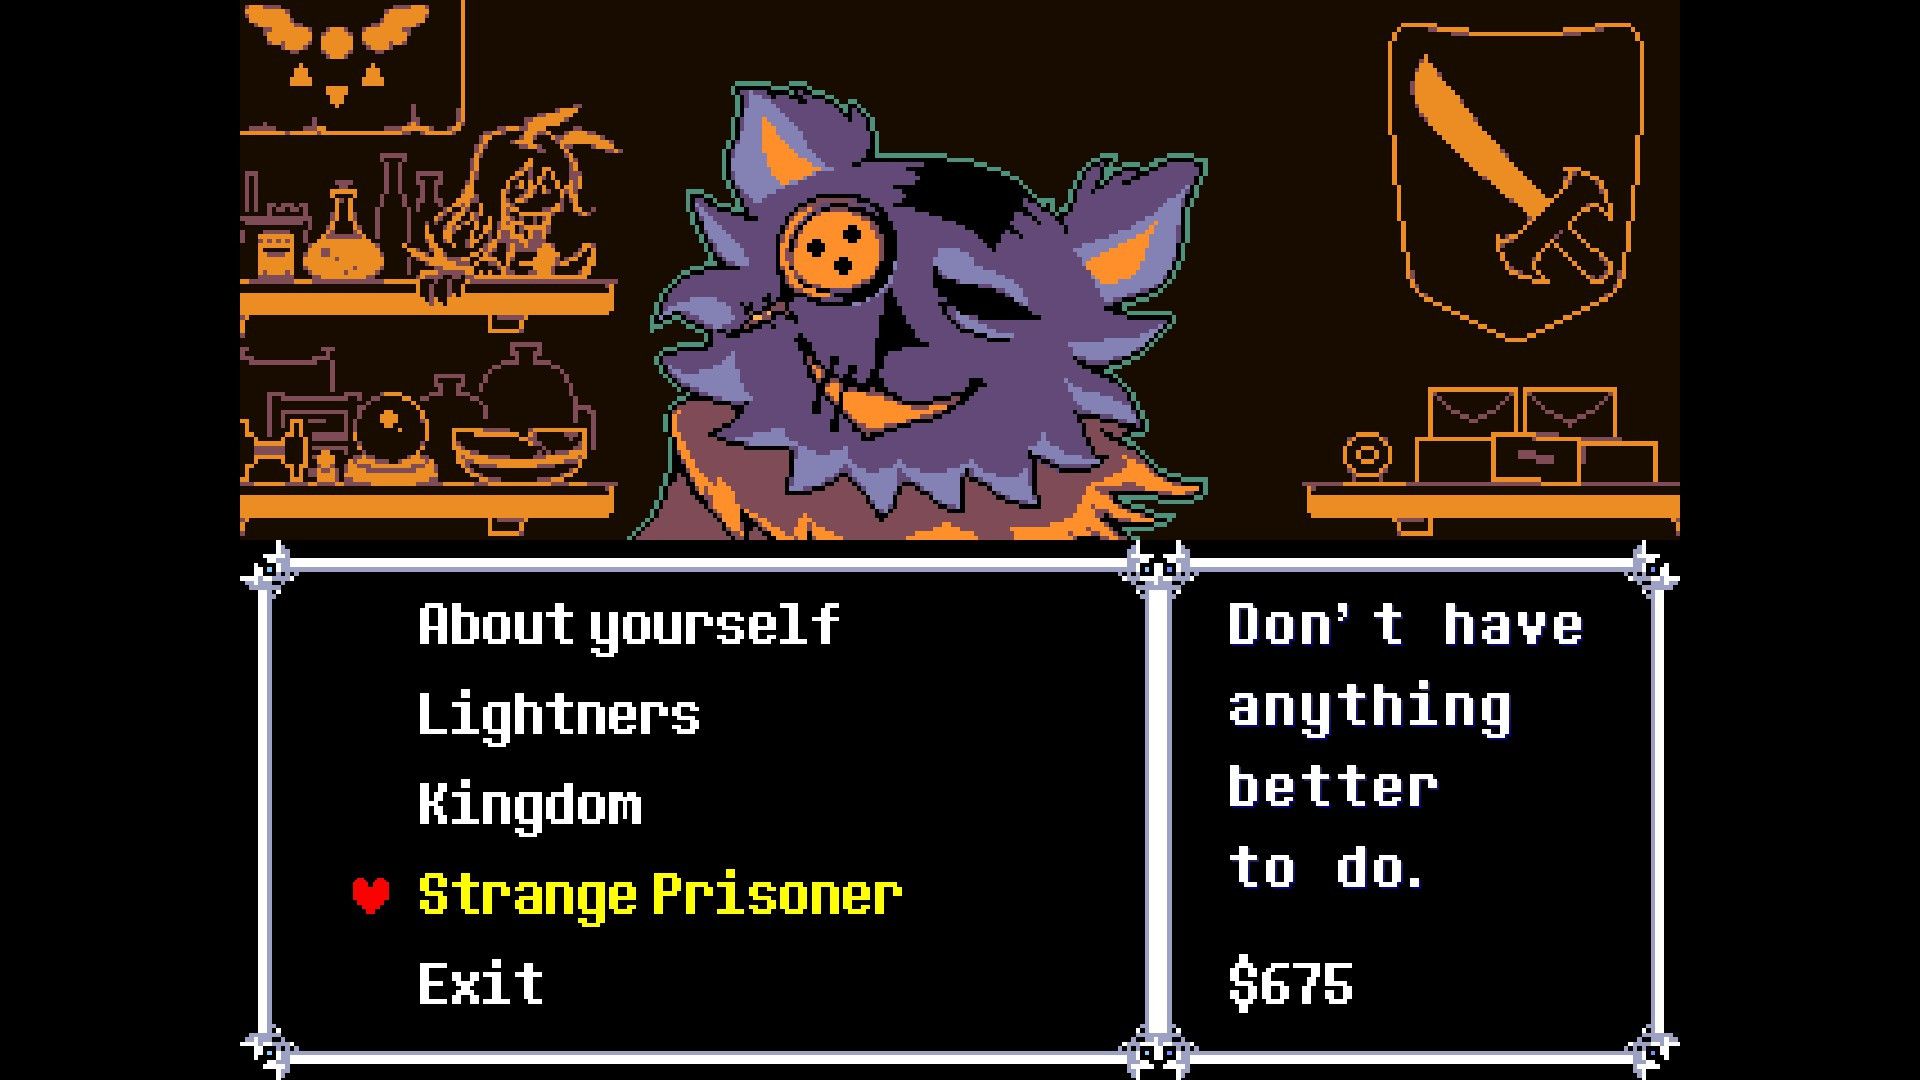
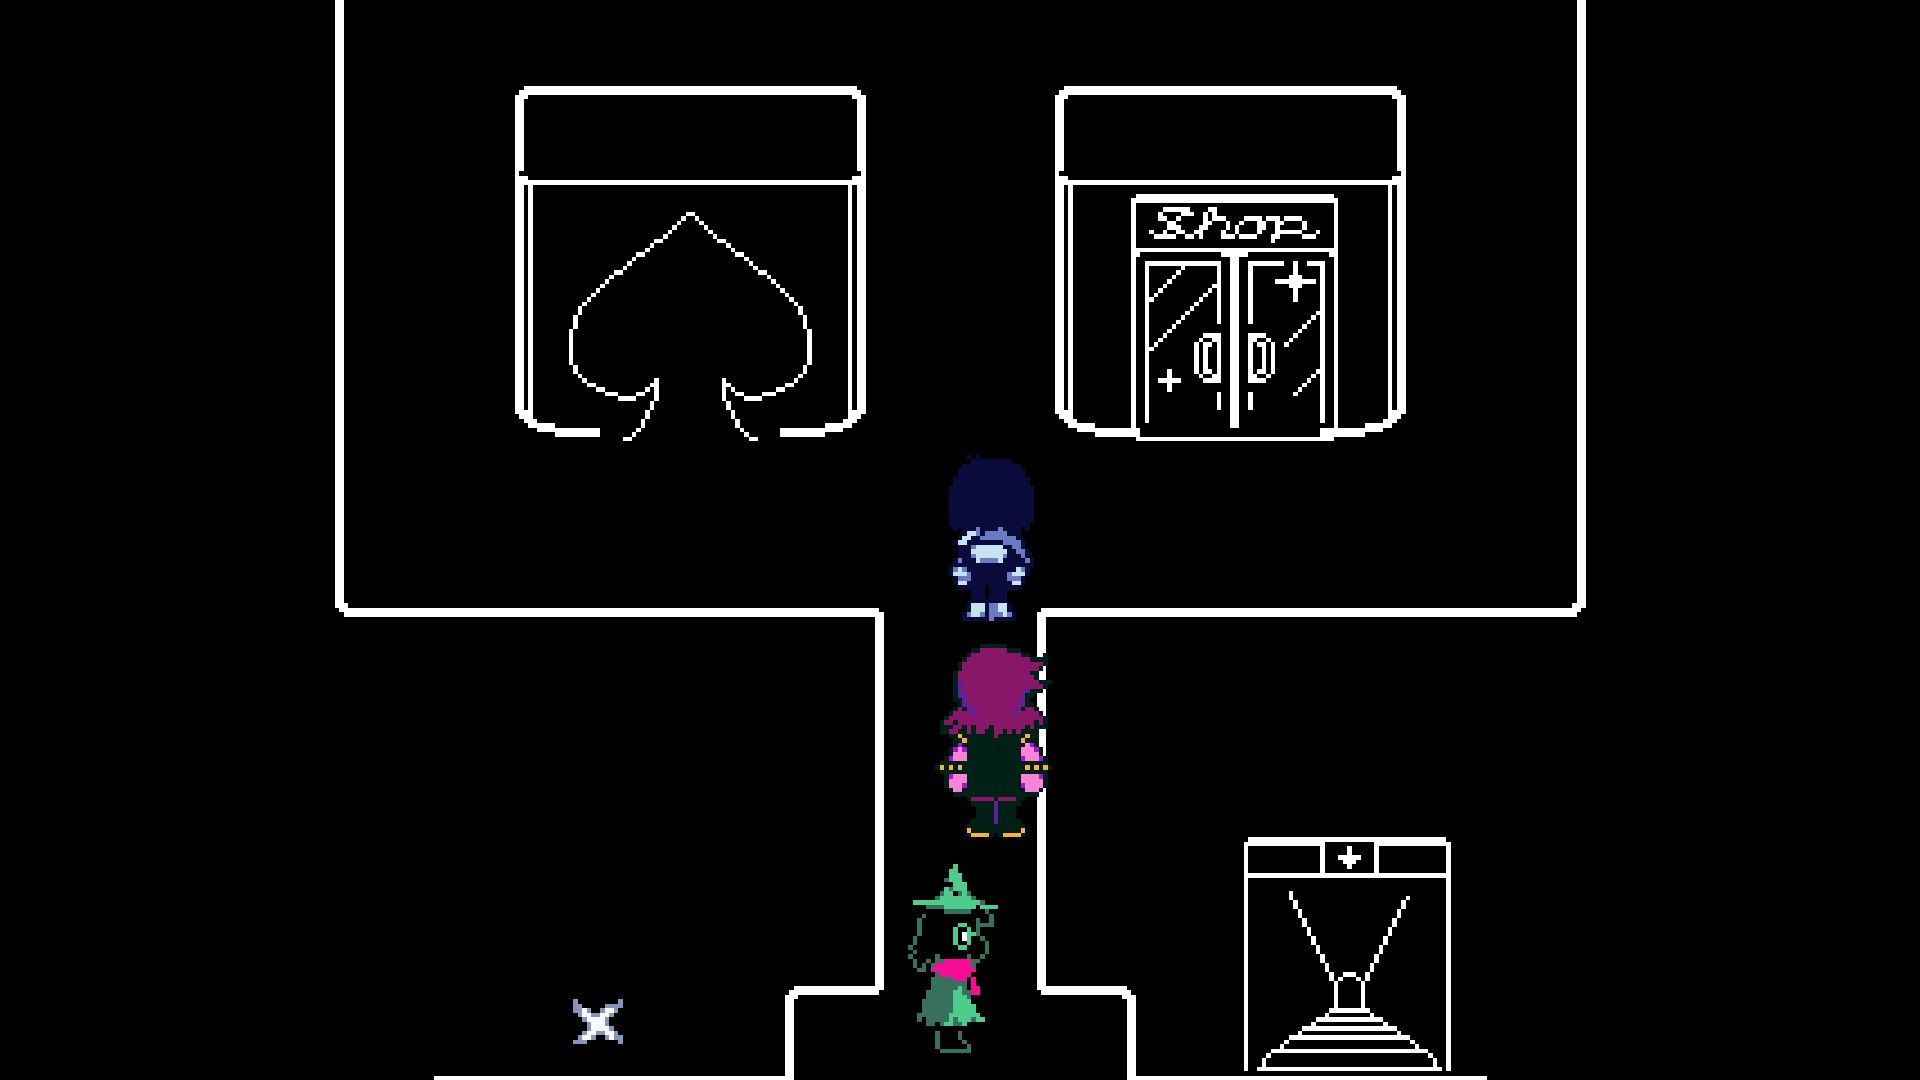
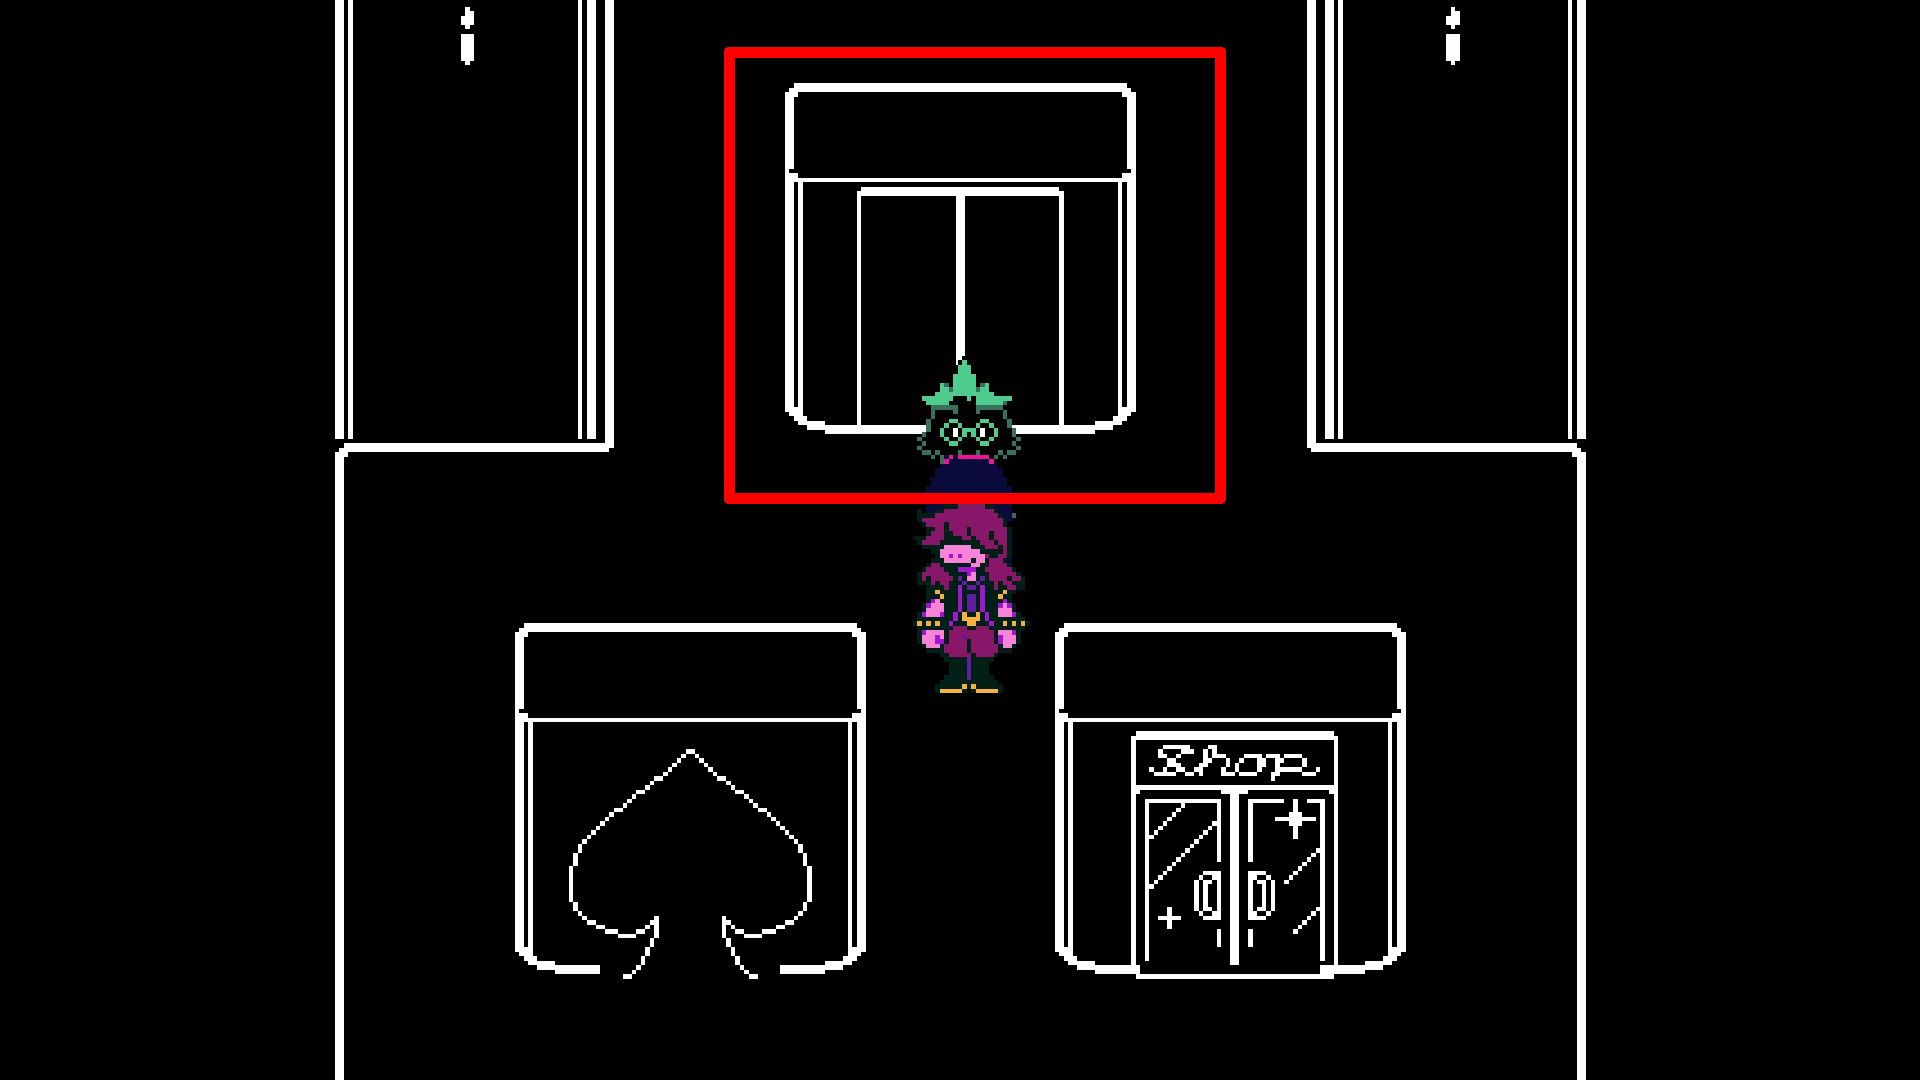
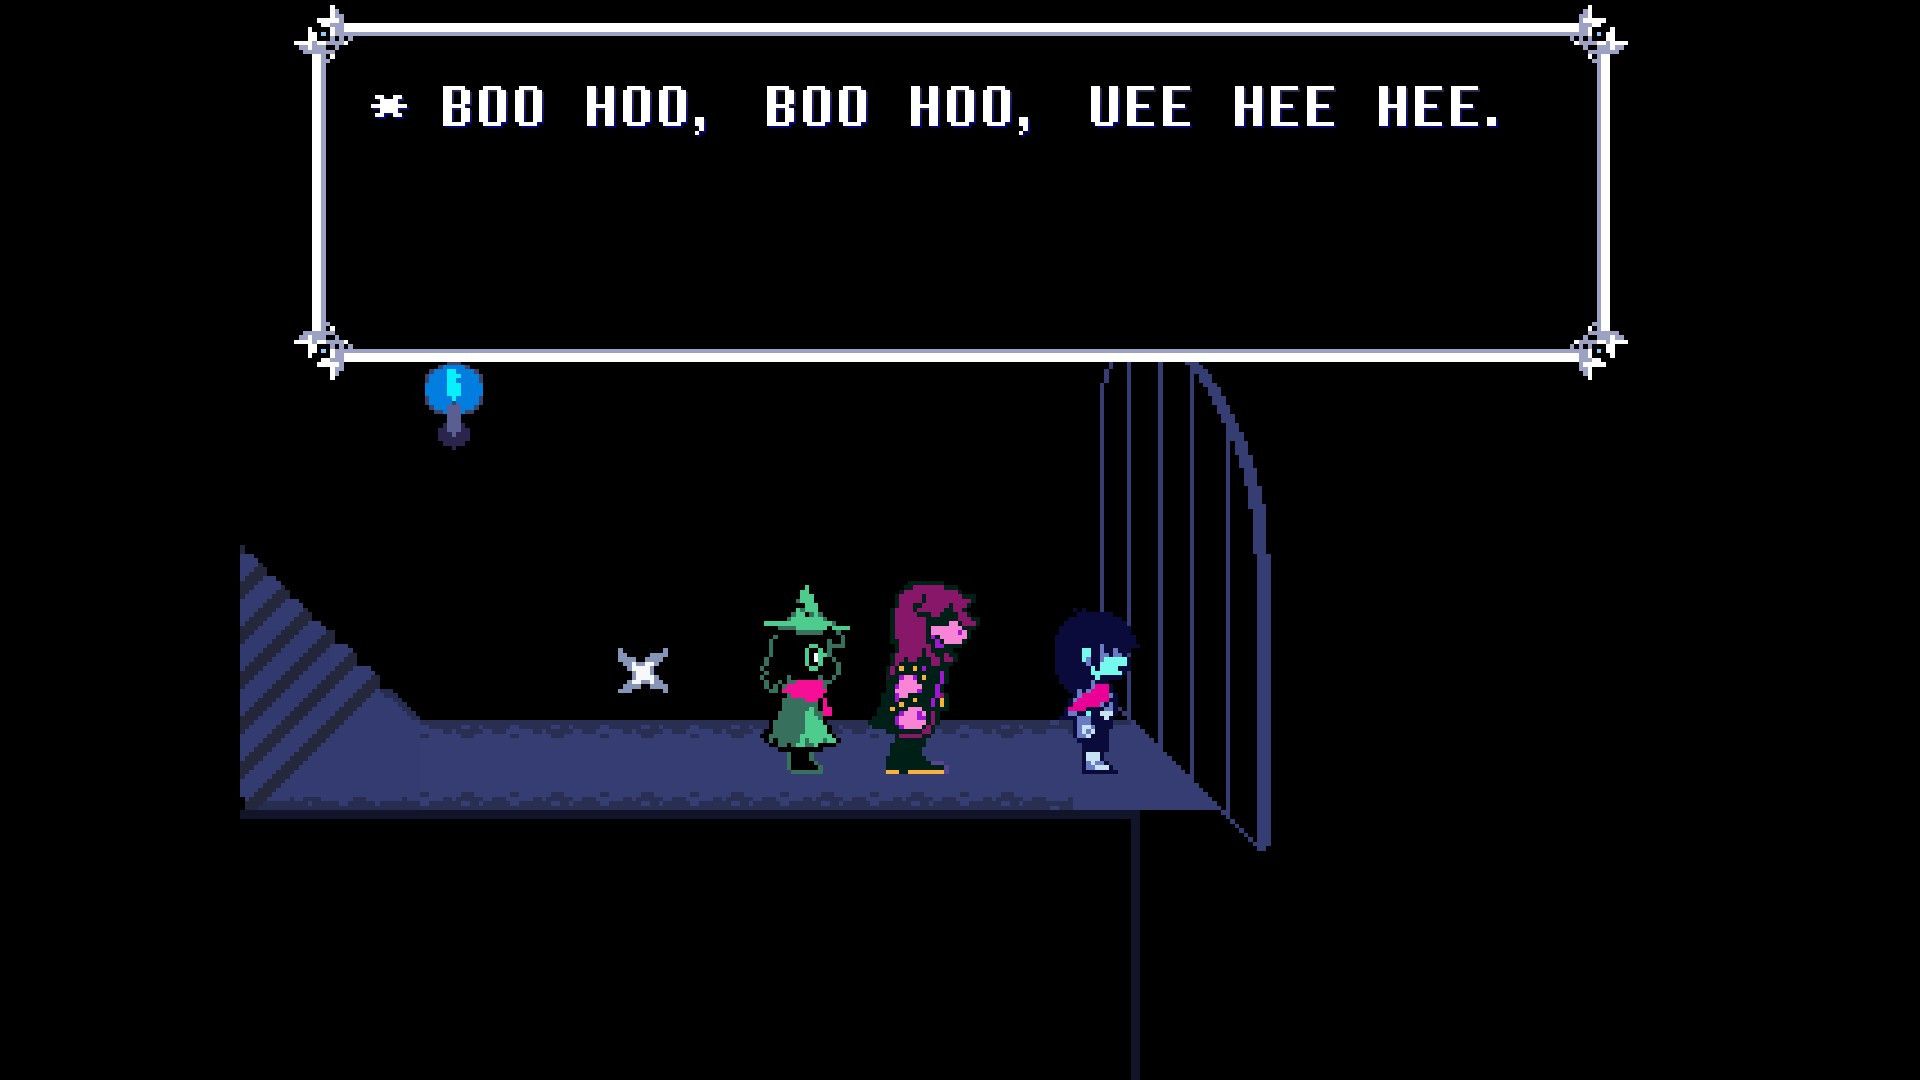
Once the chat with the prisoner is over, players should take the elevator back to the ground floor and exit the screen at the bottom, thereby leaving the castle. Upon leaving, they will encounter a door that leads them to the Field. They should proceed left and pay a visit to the Shop. Here, players can chat with Seam, the shopkeeper, about the Mysterious Prisoner to obtain the Broken Key A. While in the shop, they can also purchase the Spookysword and some Darkburgers from Seam.
Back to Bake Sale
As a passionate film enthusiast, you now possess all three fragments of the Broken Key. You can traverse to the captivating locale known as the Bake Sale by utilizing the door situated to the right of Seam’s Shop. Once there, follow the path leading upward and have Malius mend the key for you.
Back to Castle
As a fan, I’d put it like this:
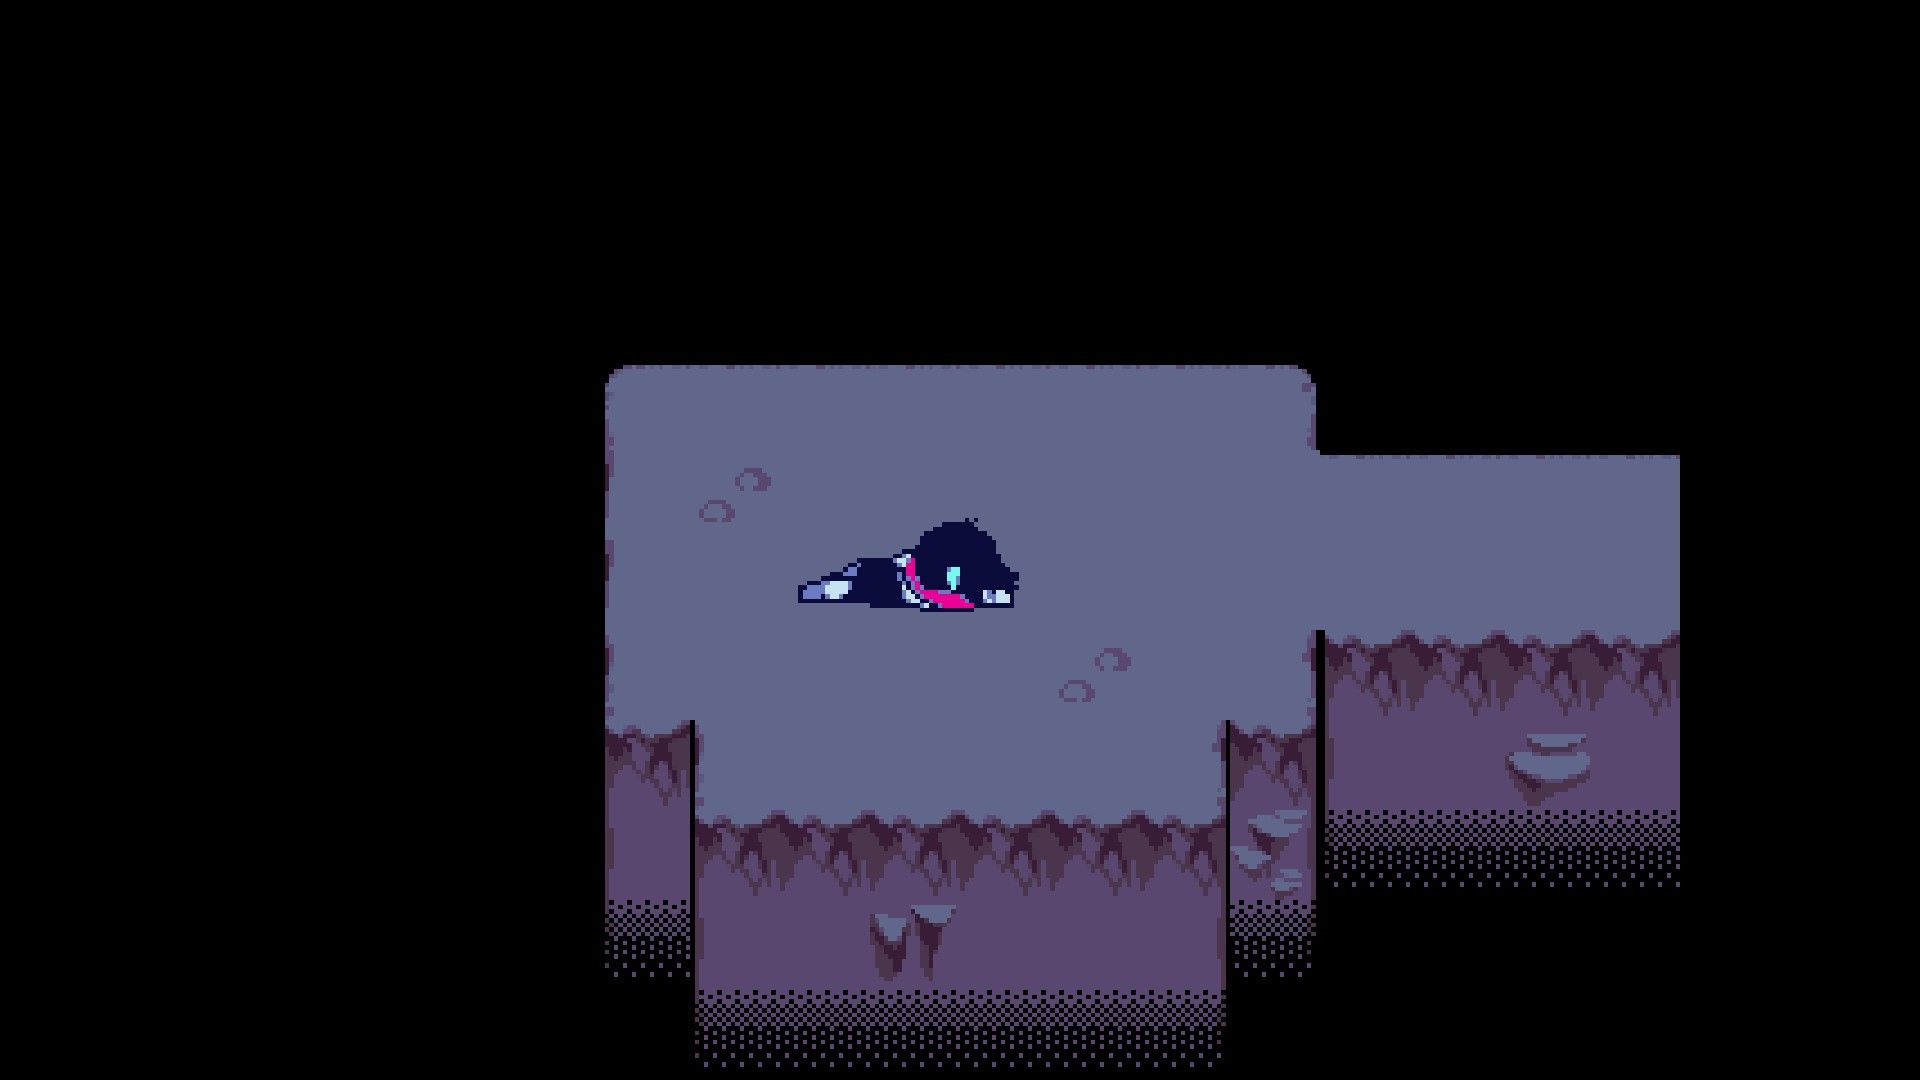
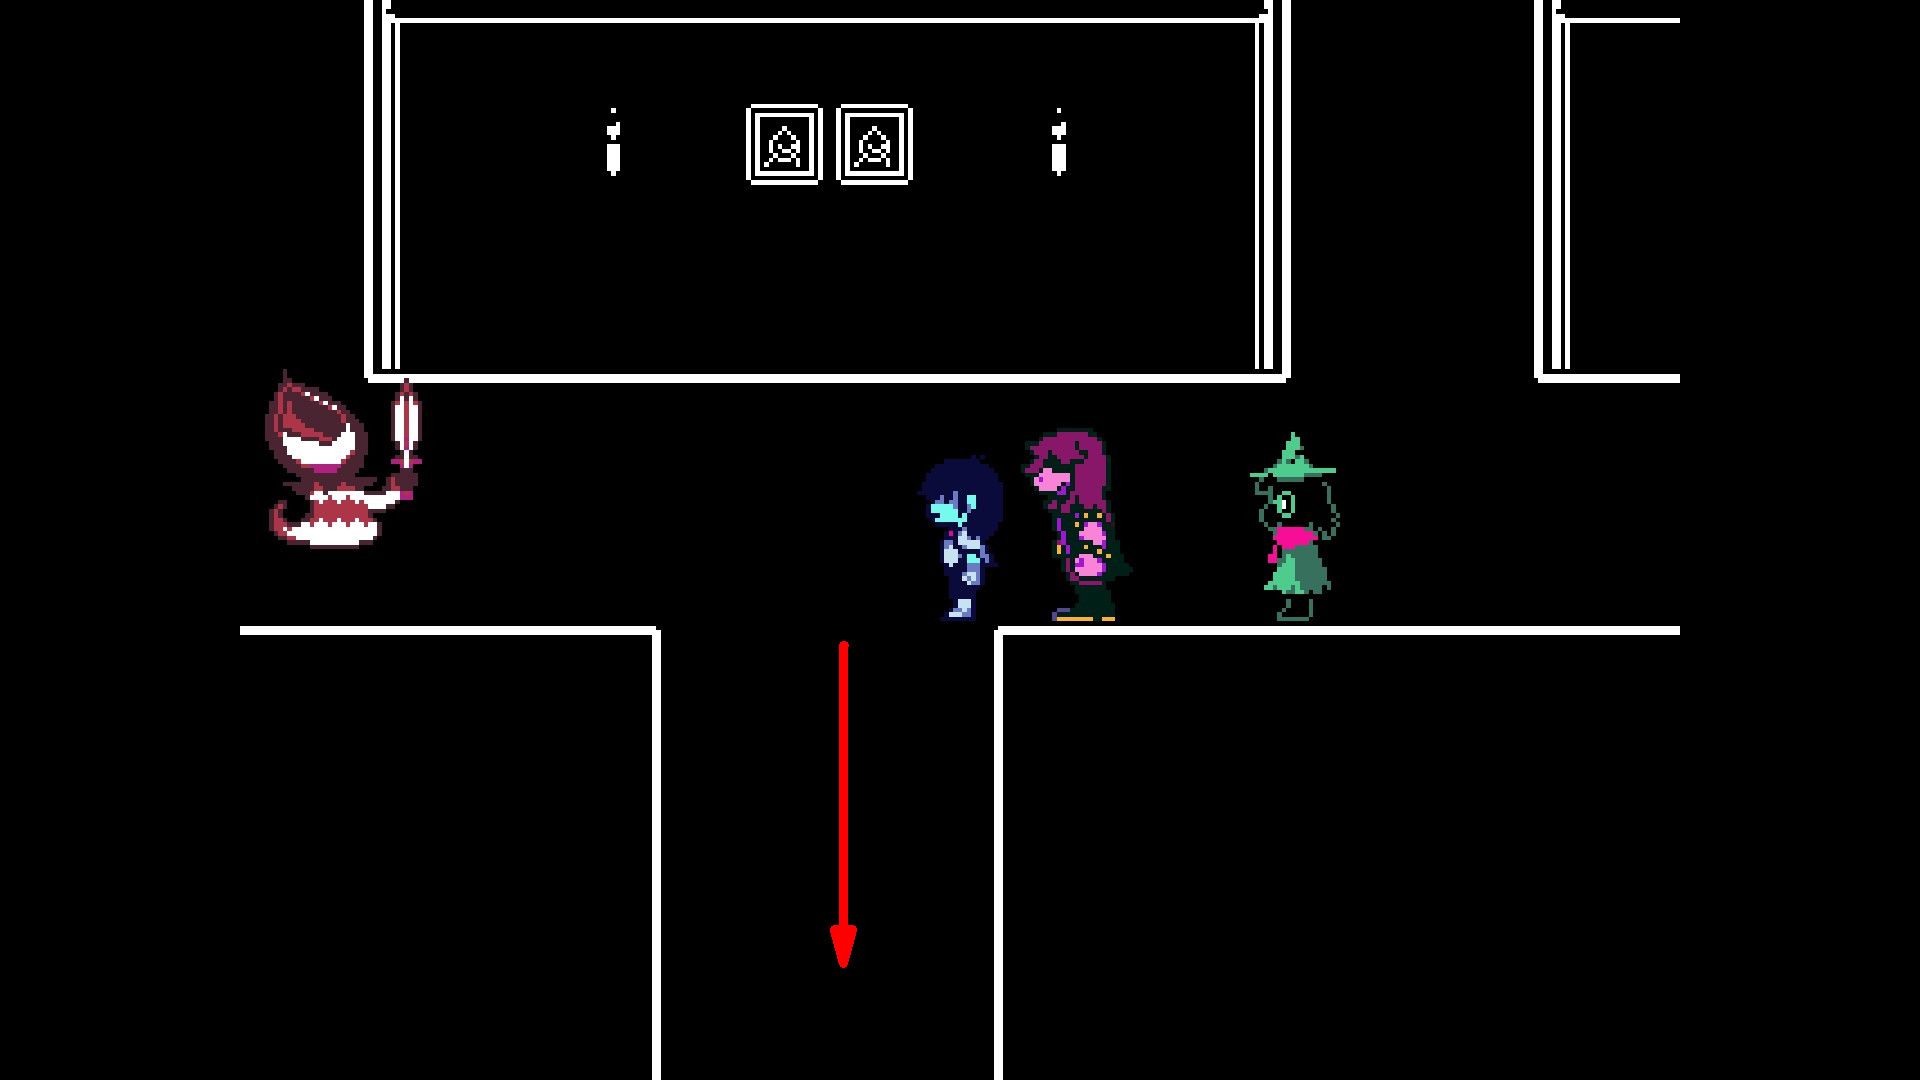
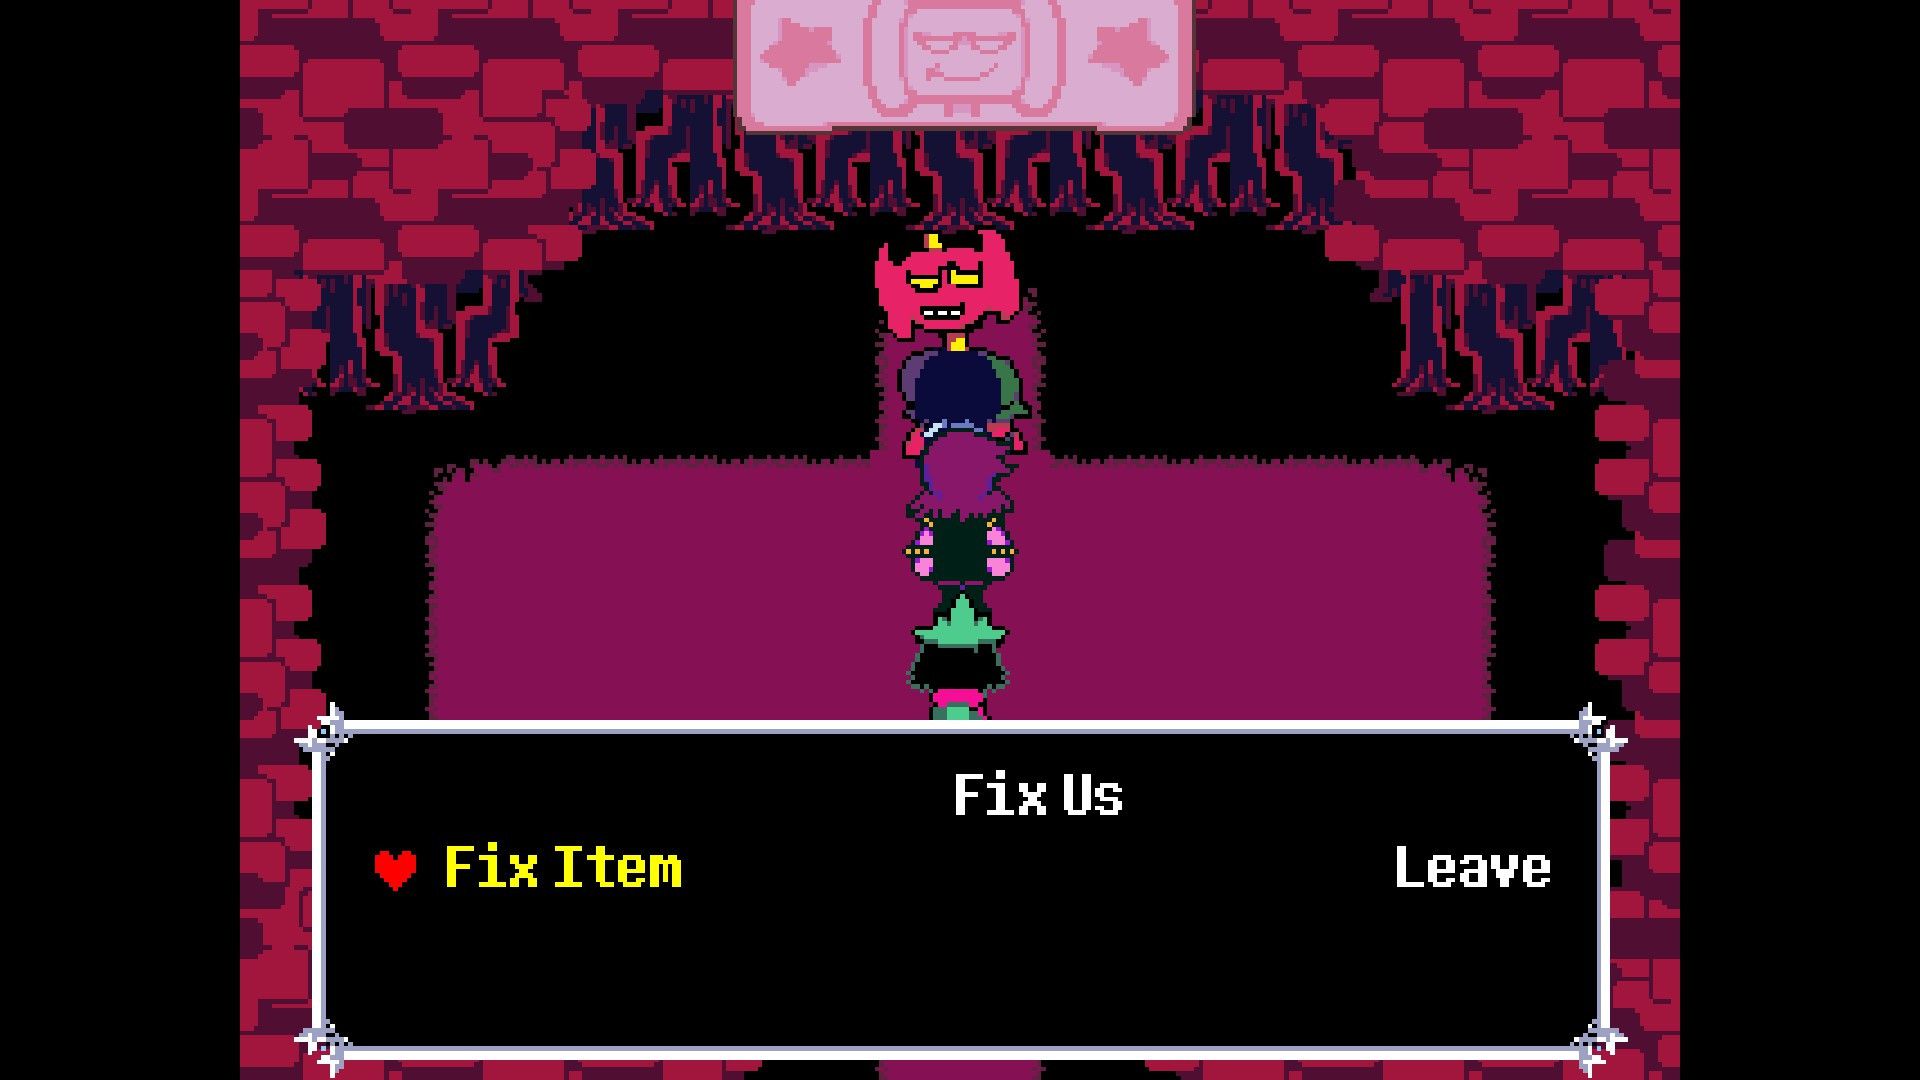
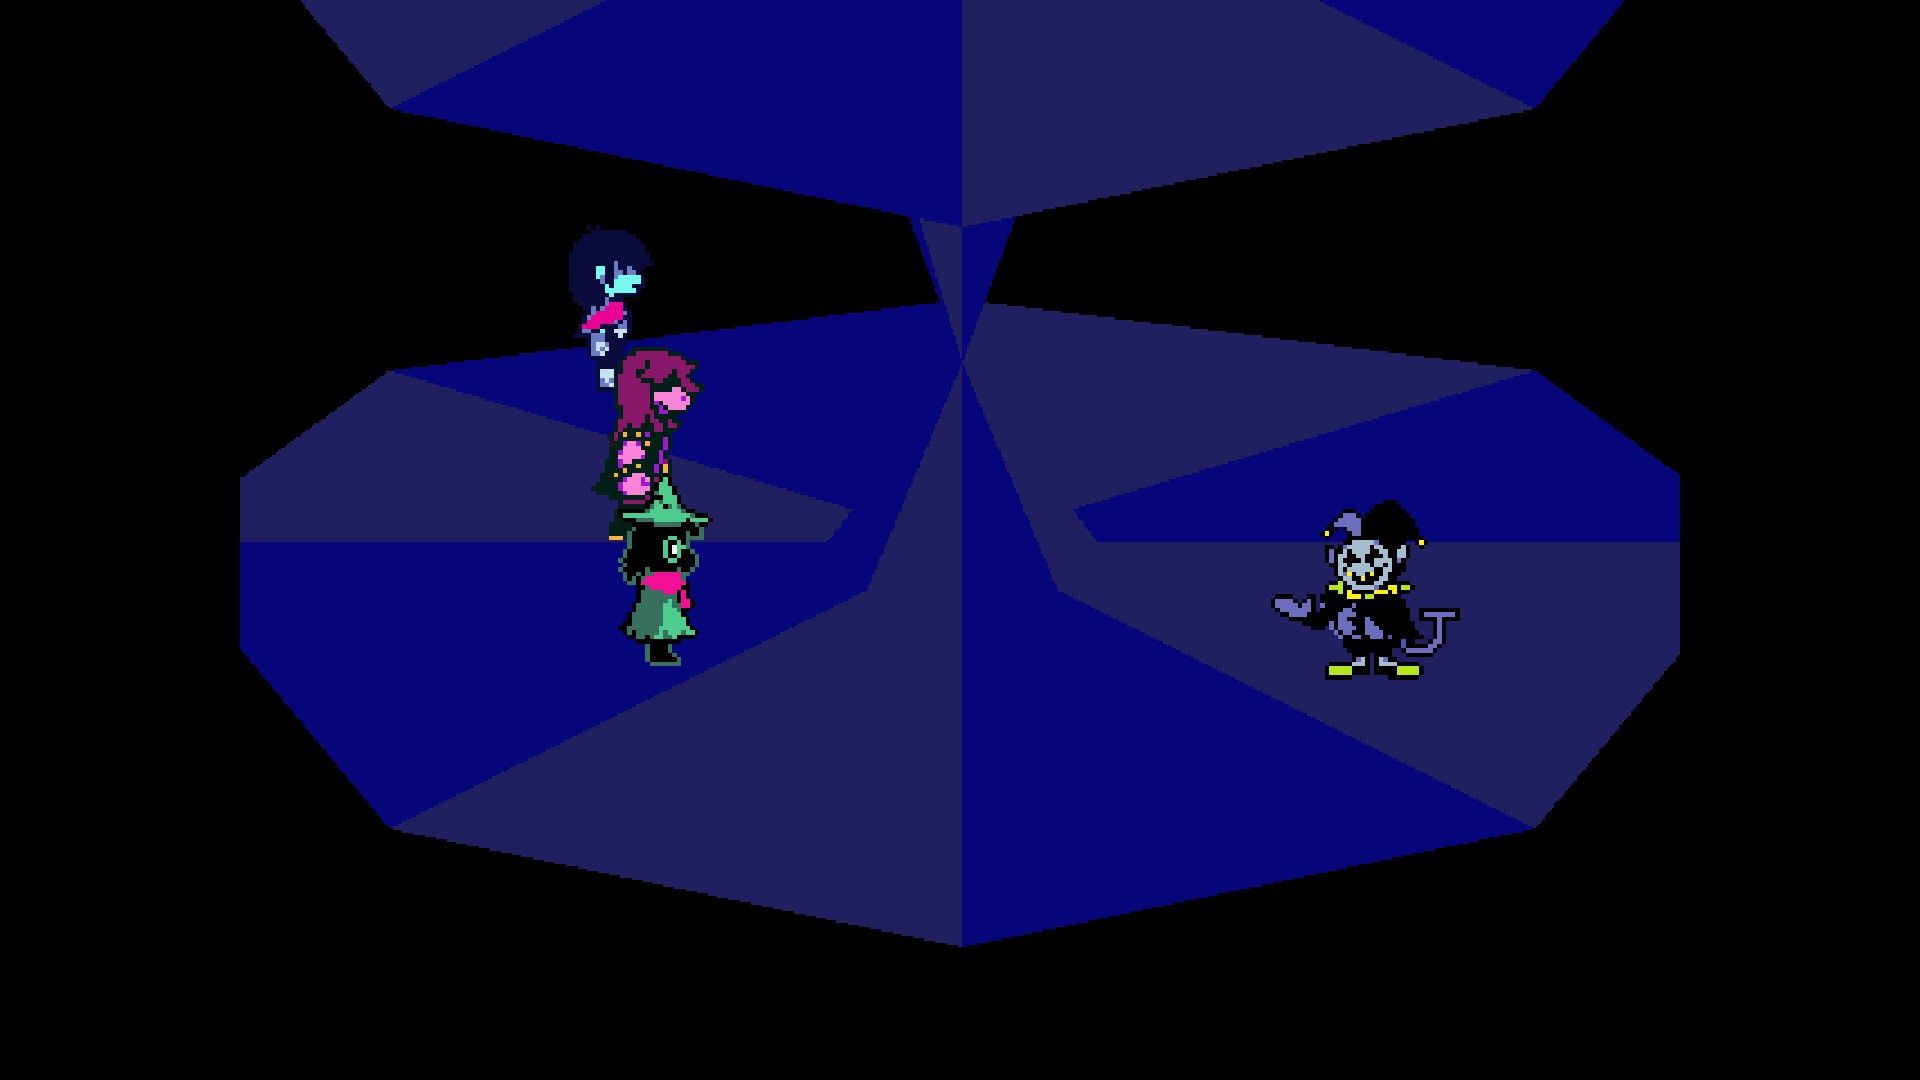
With the Prison Key clutched tightly, I guide myself back to the Castle by using the door nearby. Once on the first floor, I hop onto the prison elevator and make my way back to where it all began, that mysterious place. Interacting with the cell once more is essential at this point. After employing the key, I step into the cell to engage in a fierce battle against none other than Jevil.
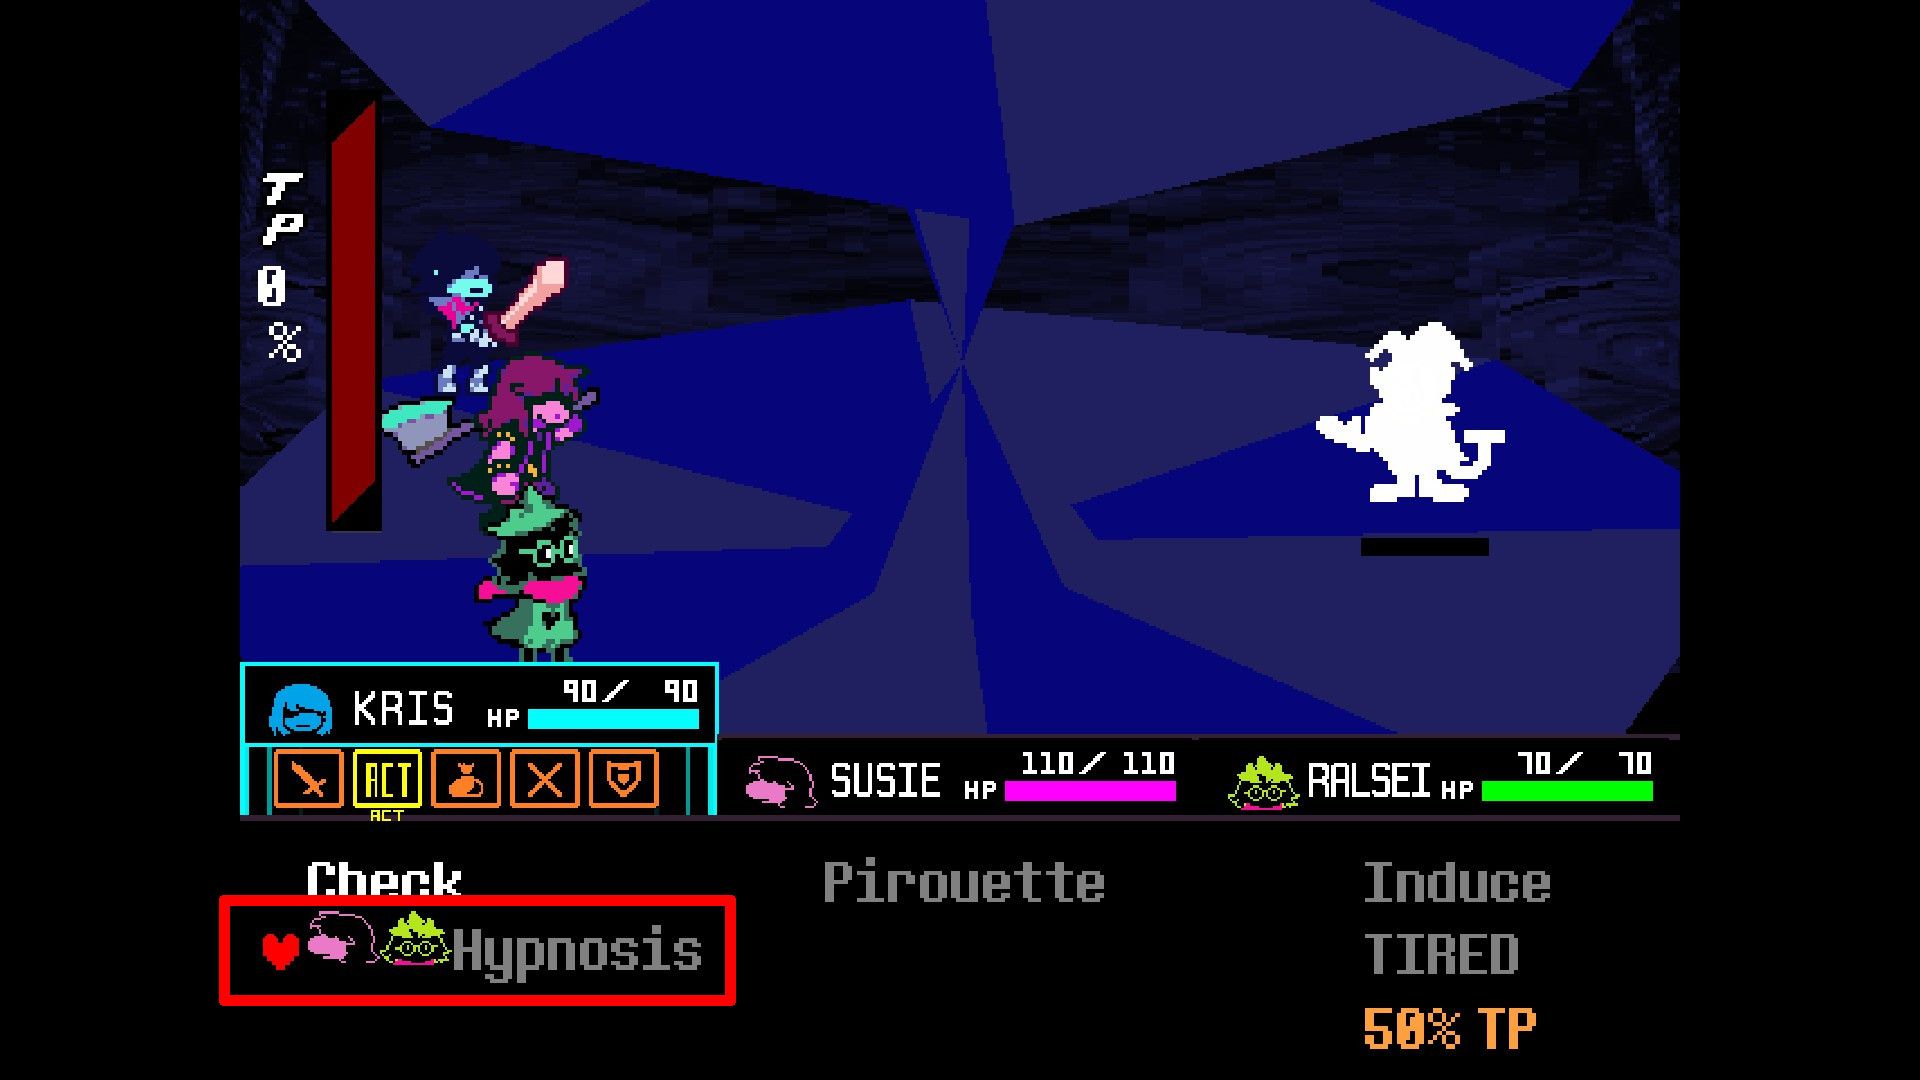
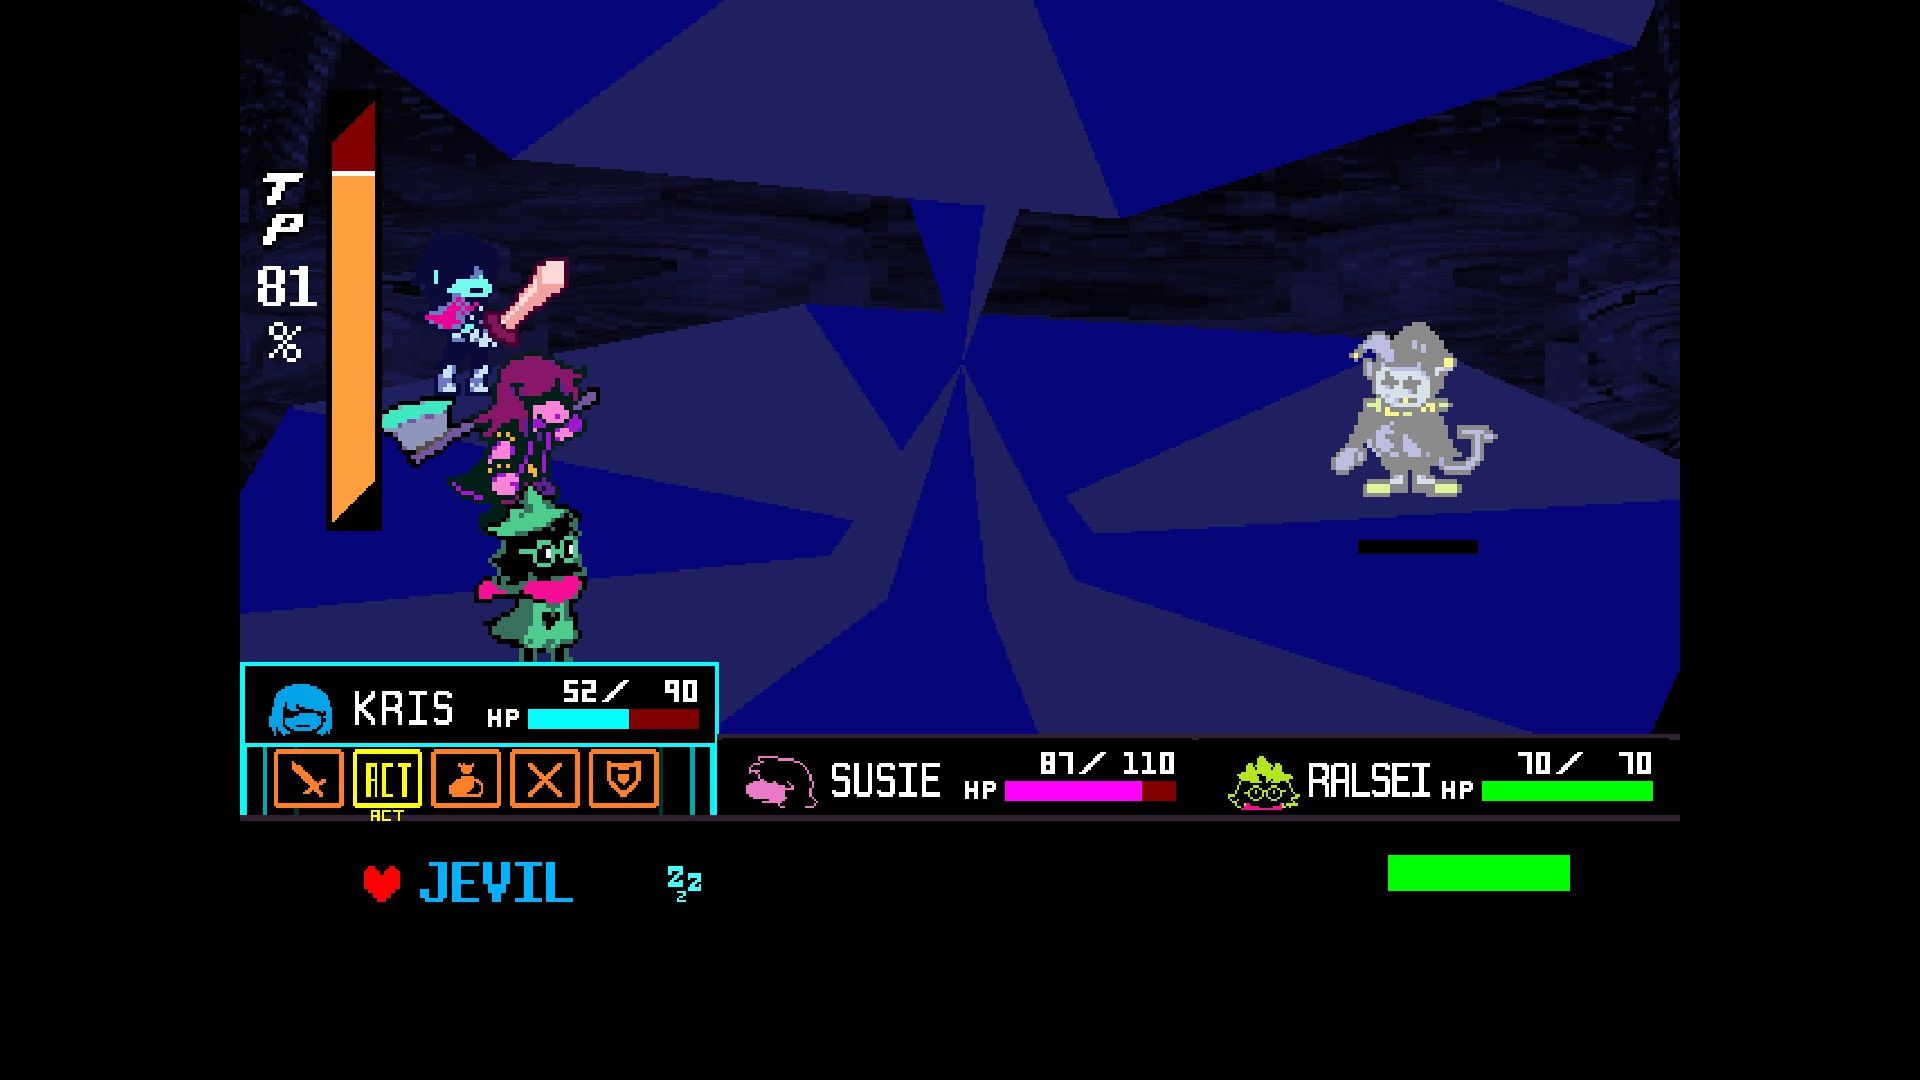
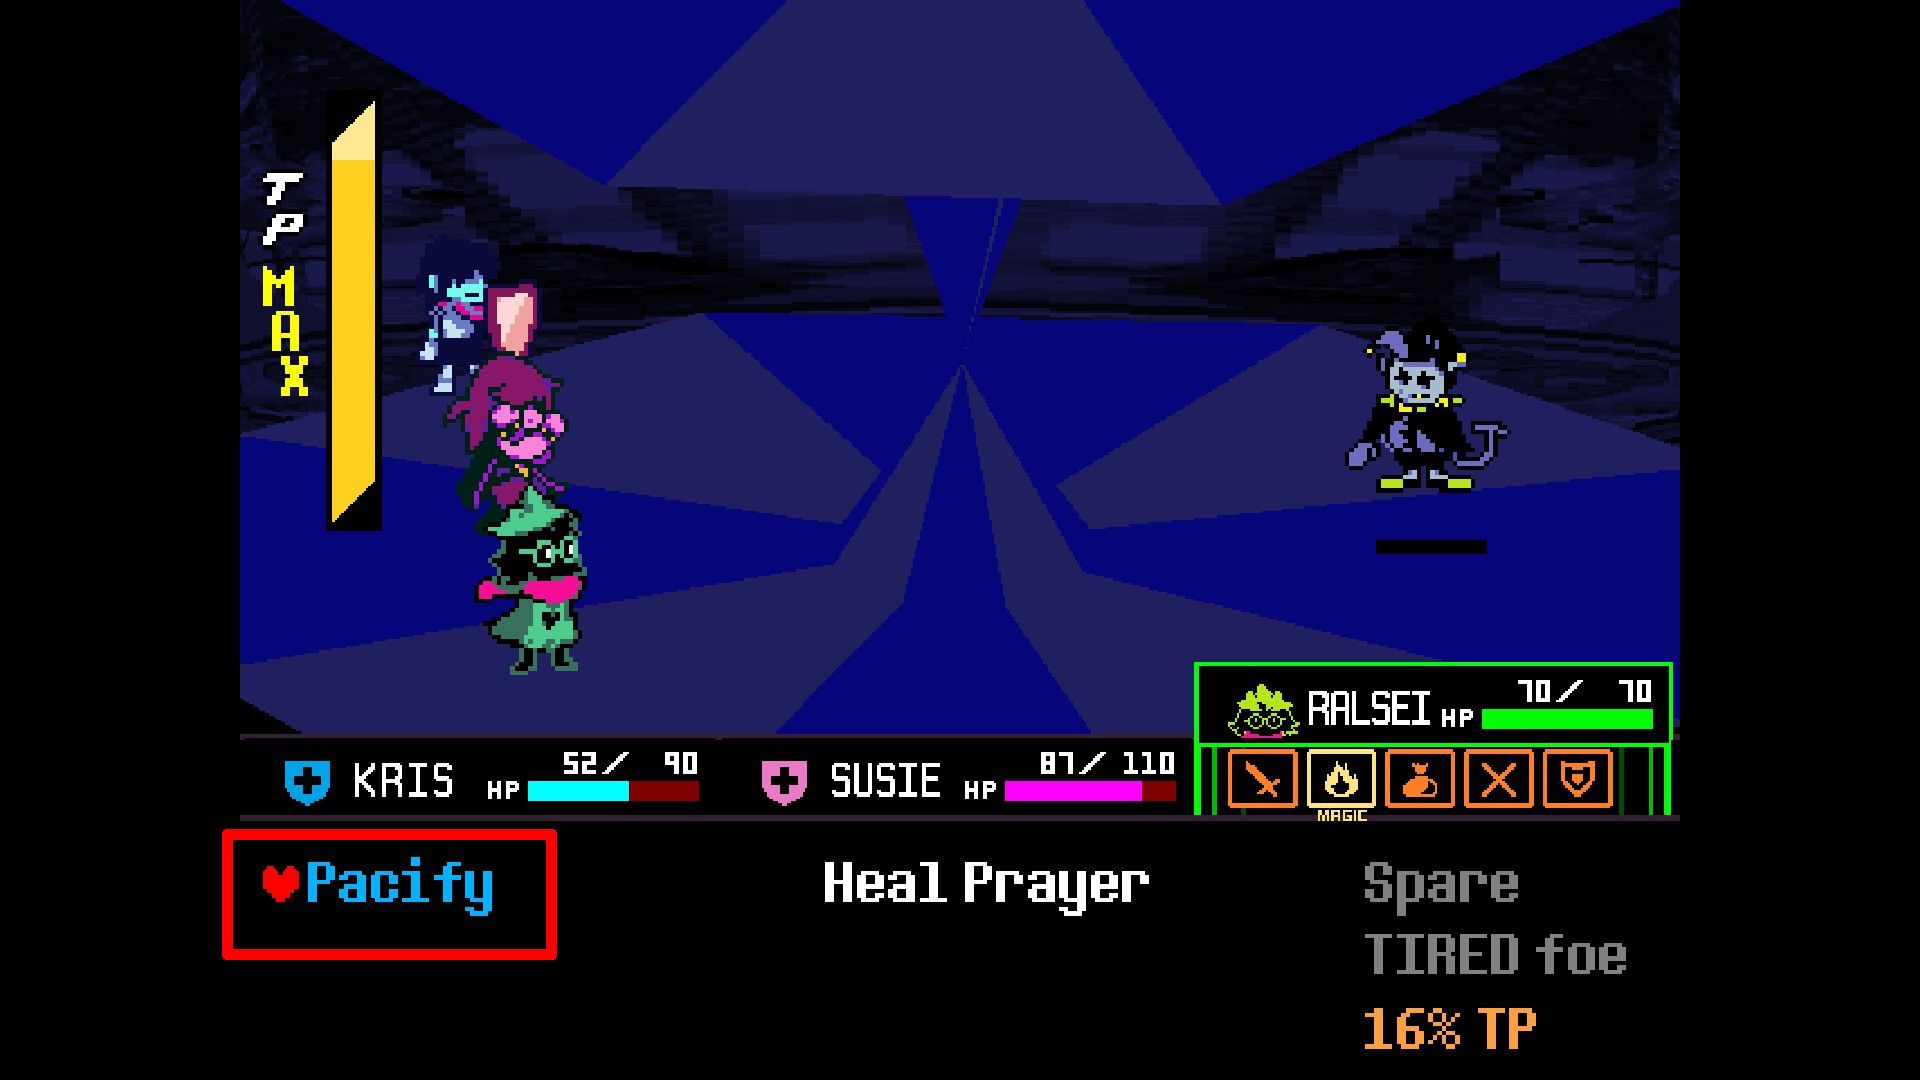
There are two strategies for overcoming Jevil: players can opt to engage in combat with him, or they could repeatedly employ the Hypnosis skill (and strike him with Ralsei’s Pacify magic when he is fatigued). Those who elect to vanquish Jevil through damage will earn the Devilsknife, a powerful axe for Susie that boosts Attack by 5, Magic by 4, and reduces Rude Buster’s TP consumption by 10%. Meanwhile, players who opt for the Hypnosis approach will acquire the Jevilstail, an armor piece that offers Defense +2, Attack +2, and Magic +2. Furthermore, all players will be rewarded with a Shadow Crystal, which can be utilized to trigger a special conversation.
For those finding it tough against Jevil in Deltarune, here’s a helpful guide on how to defeat him. Good luck!

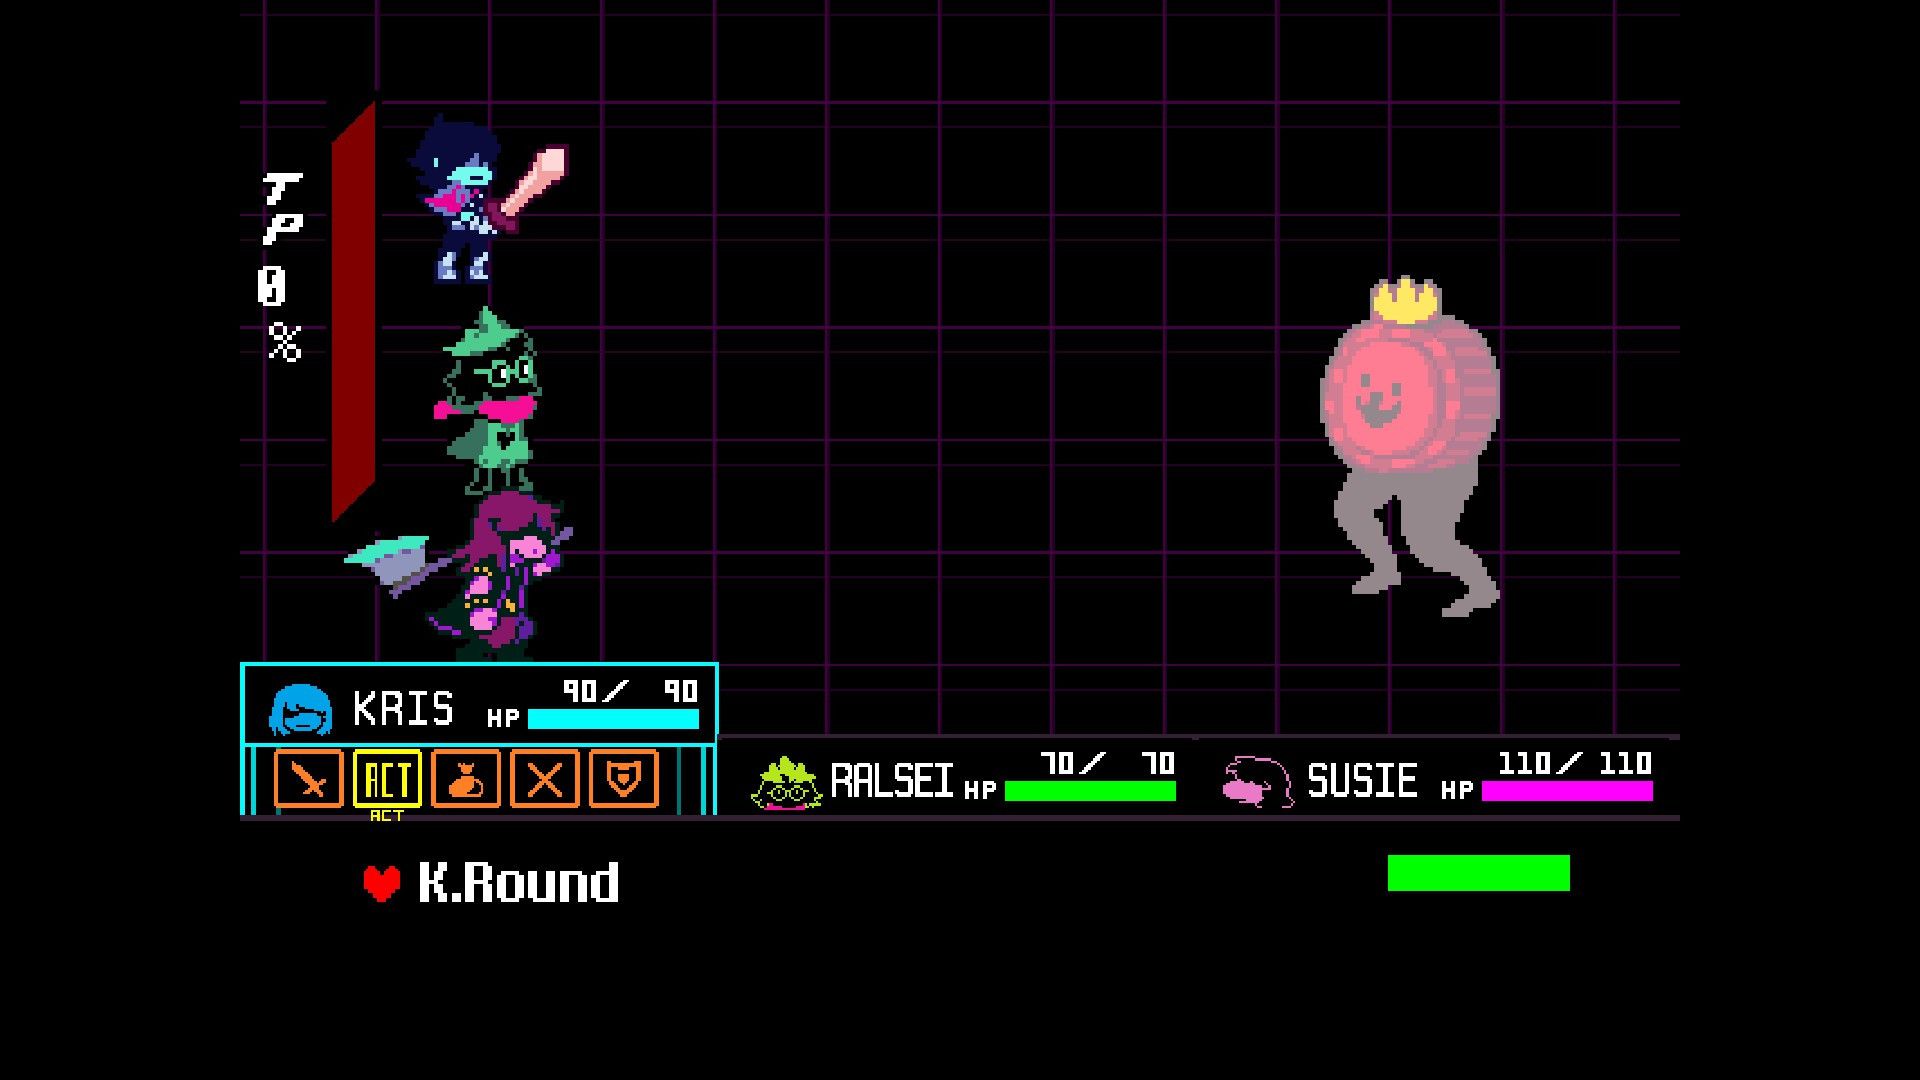
After vanquishing Jevil, players are advised to utilize the elevator to go back to 1F. Located at the top of the screen, players should enter the elevator and ascend to the shop-filled area. In this location, players can ascend the stairs found at the screen’s summit and proceed forward to trigger a battle with K. Round. To navigate this confrontation, players can employ Susie’s Idea and Throw abilities.
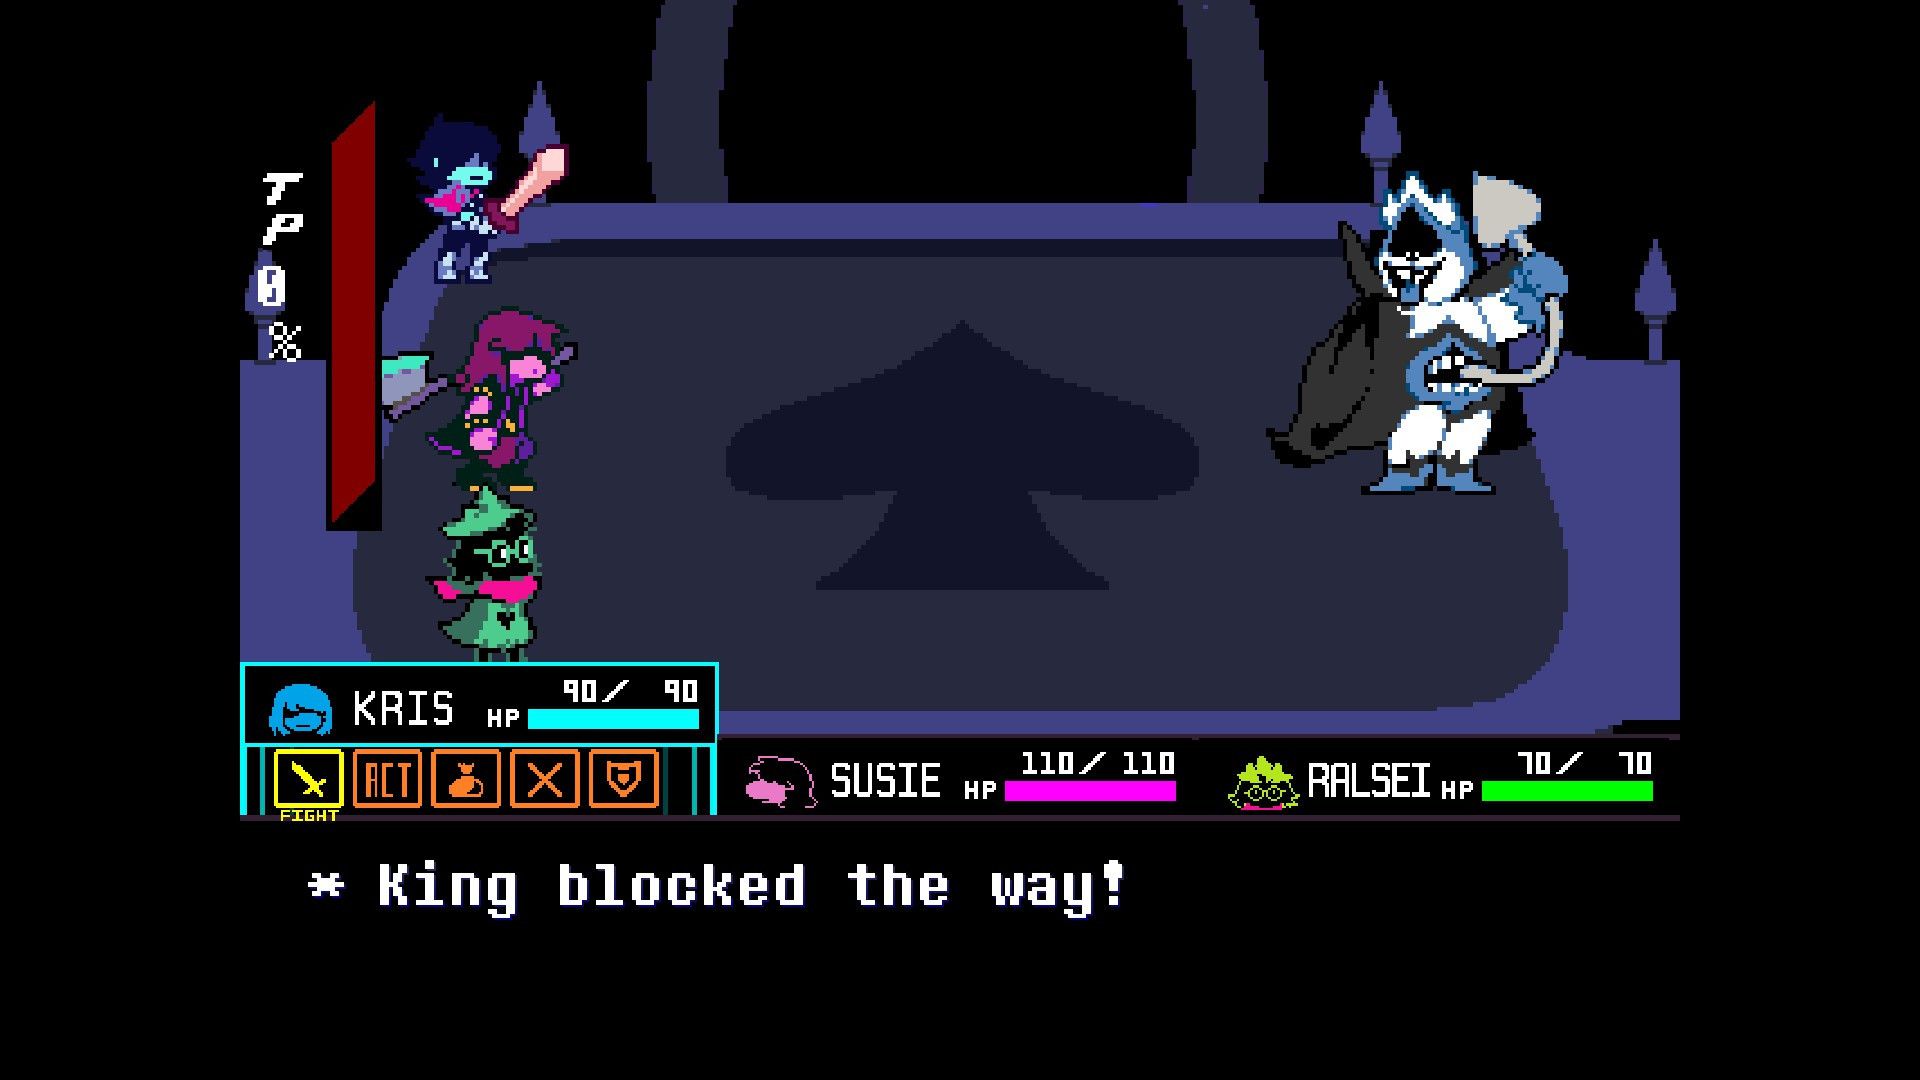
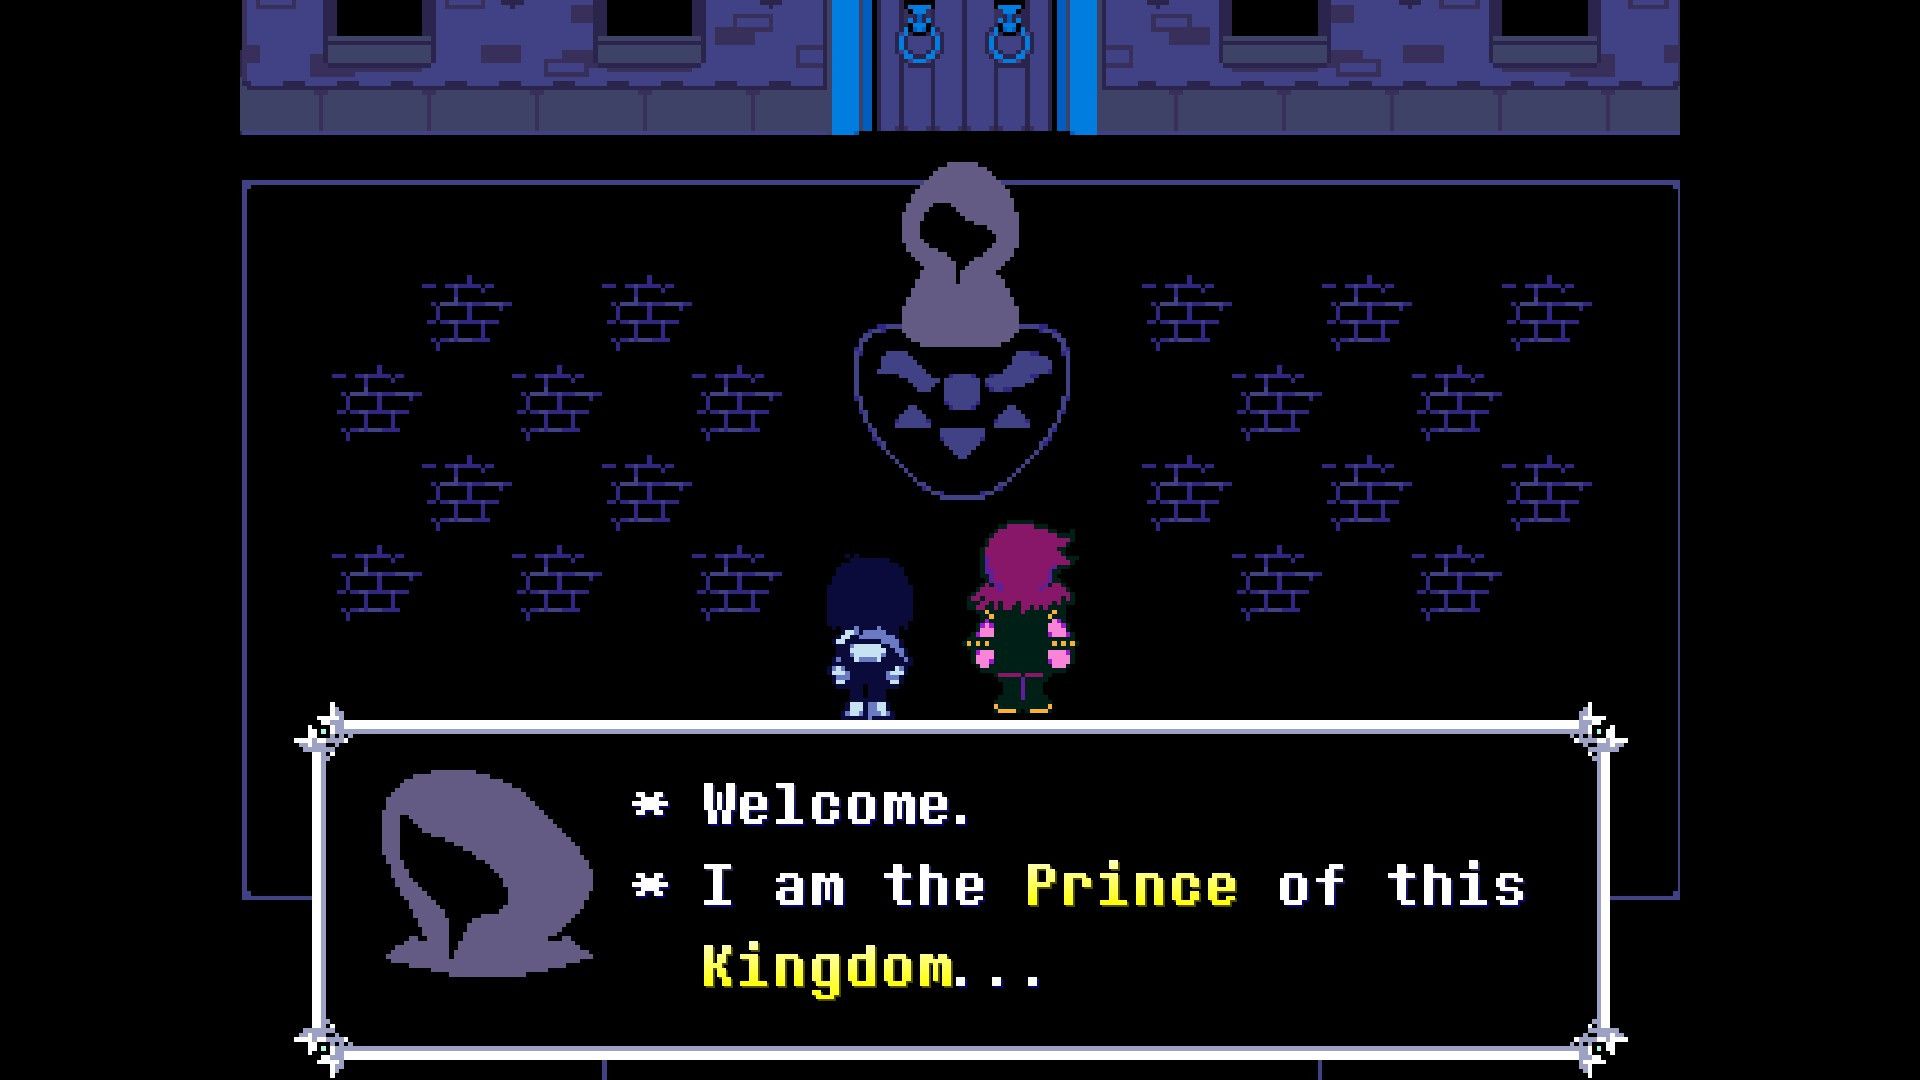
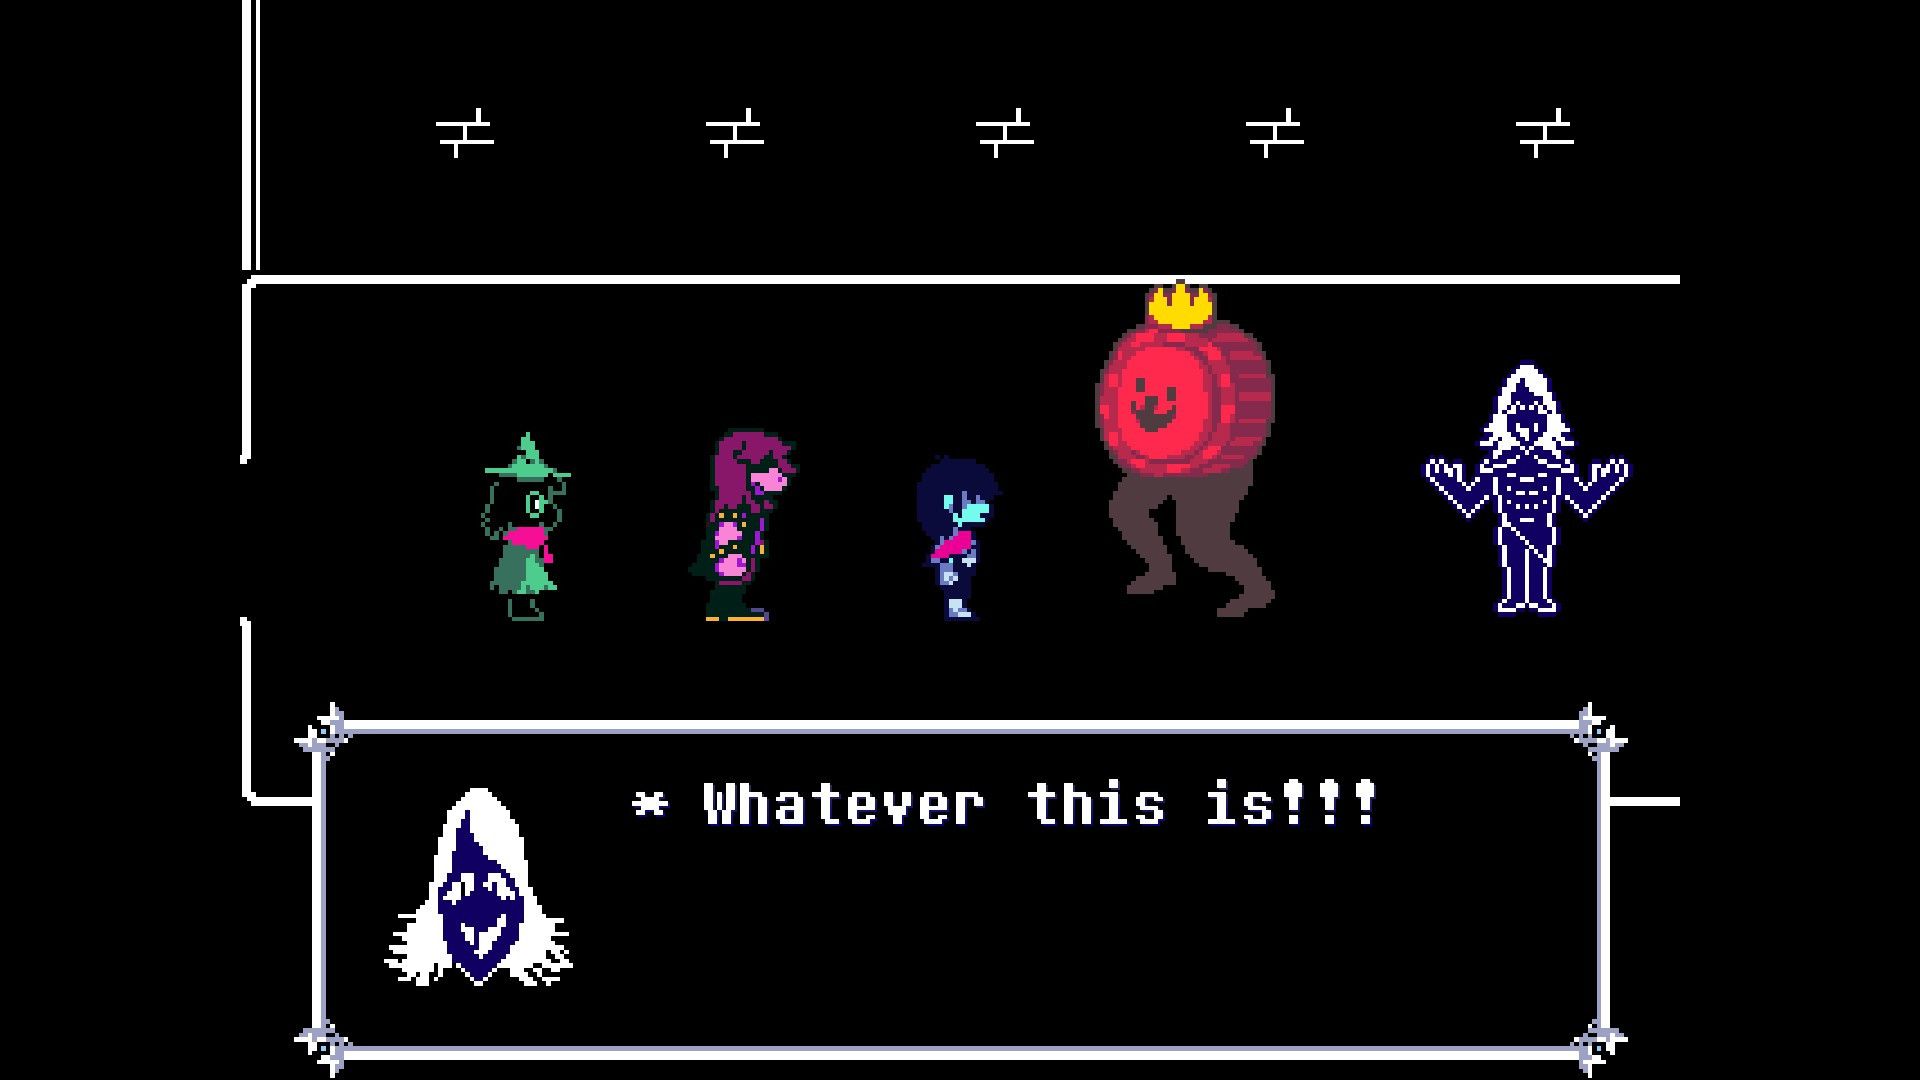
Following my intense battle against Knight Round, I find myself on a journey that leads me to a grand chamber adorned by an imposing throne. Beyond this chamber lies the enigmatic figure of Lancer. Unveiling his whereabouts will inevitably trigger a confrontation with none other than the mighty King.
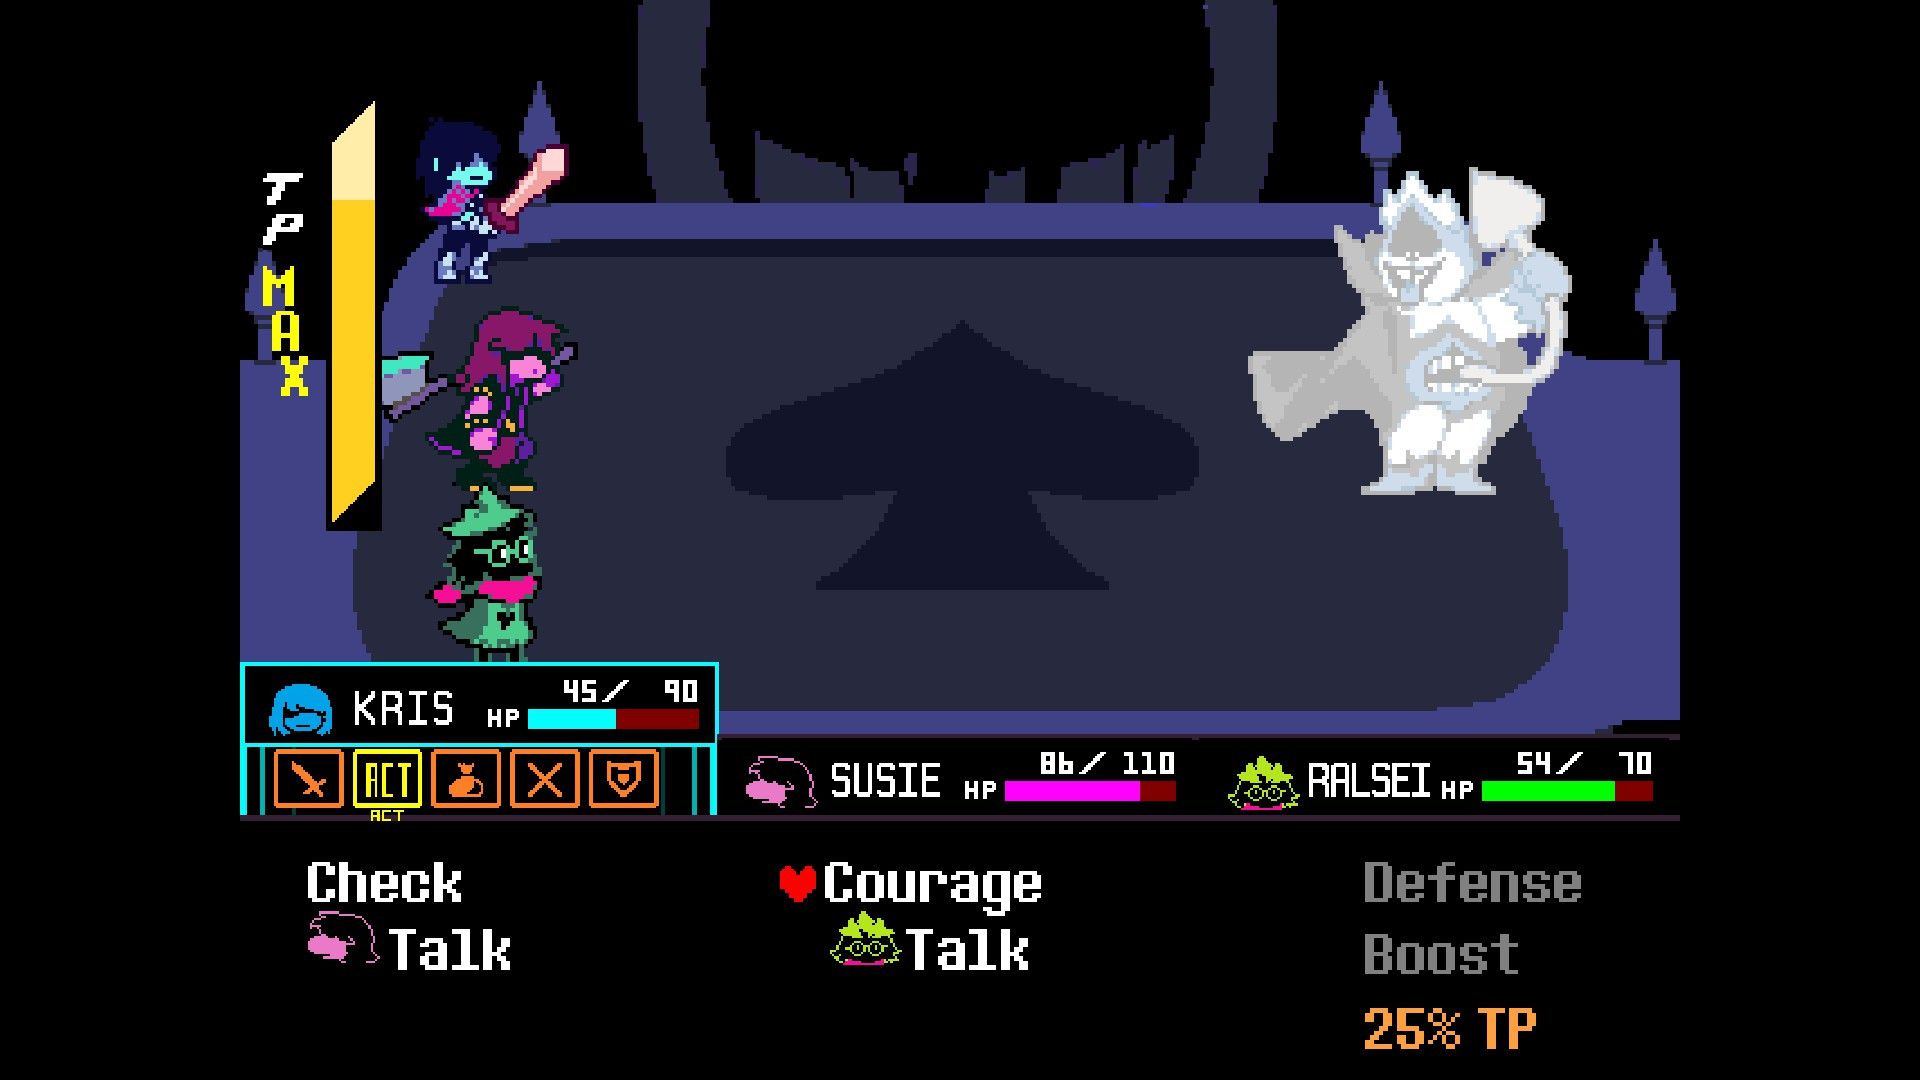
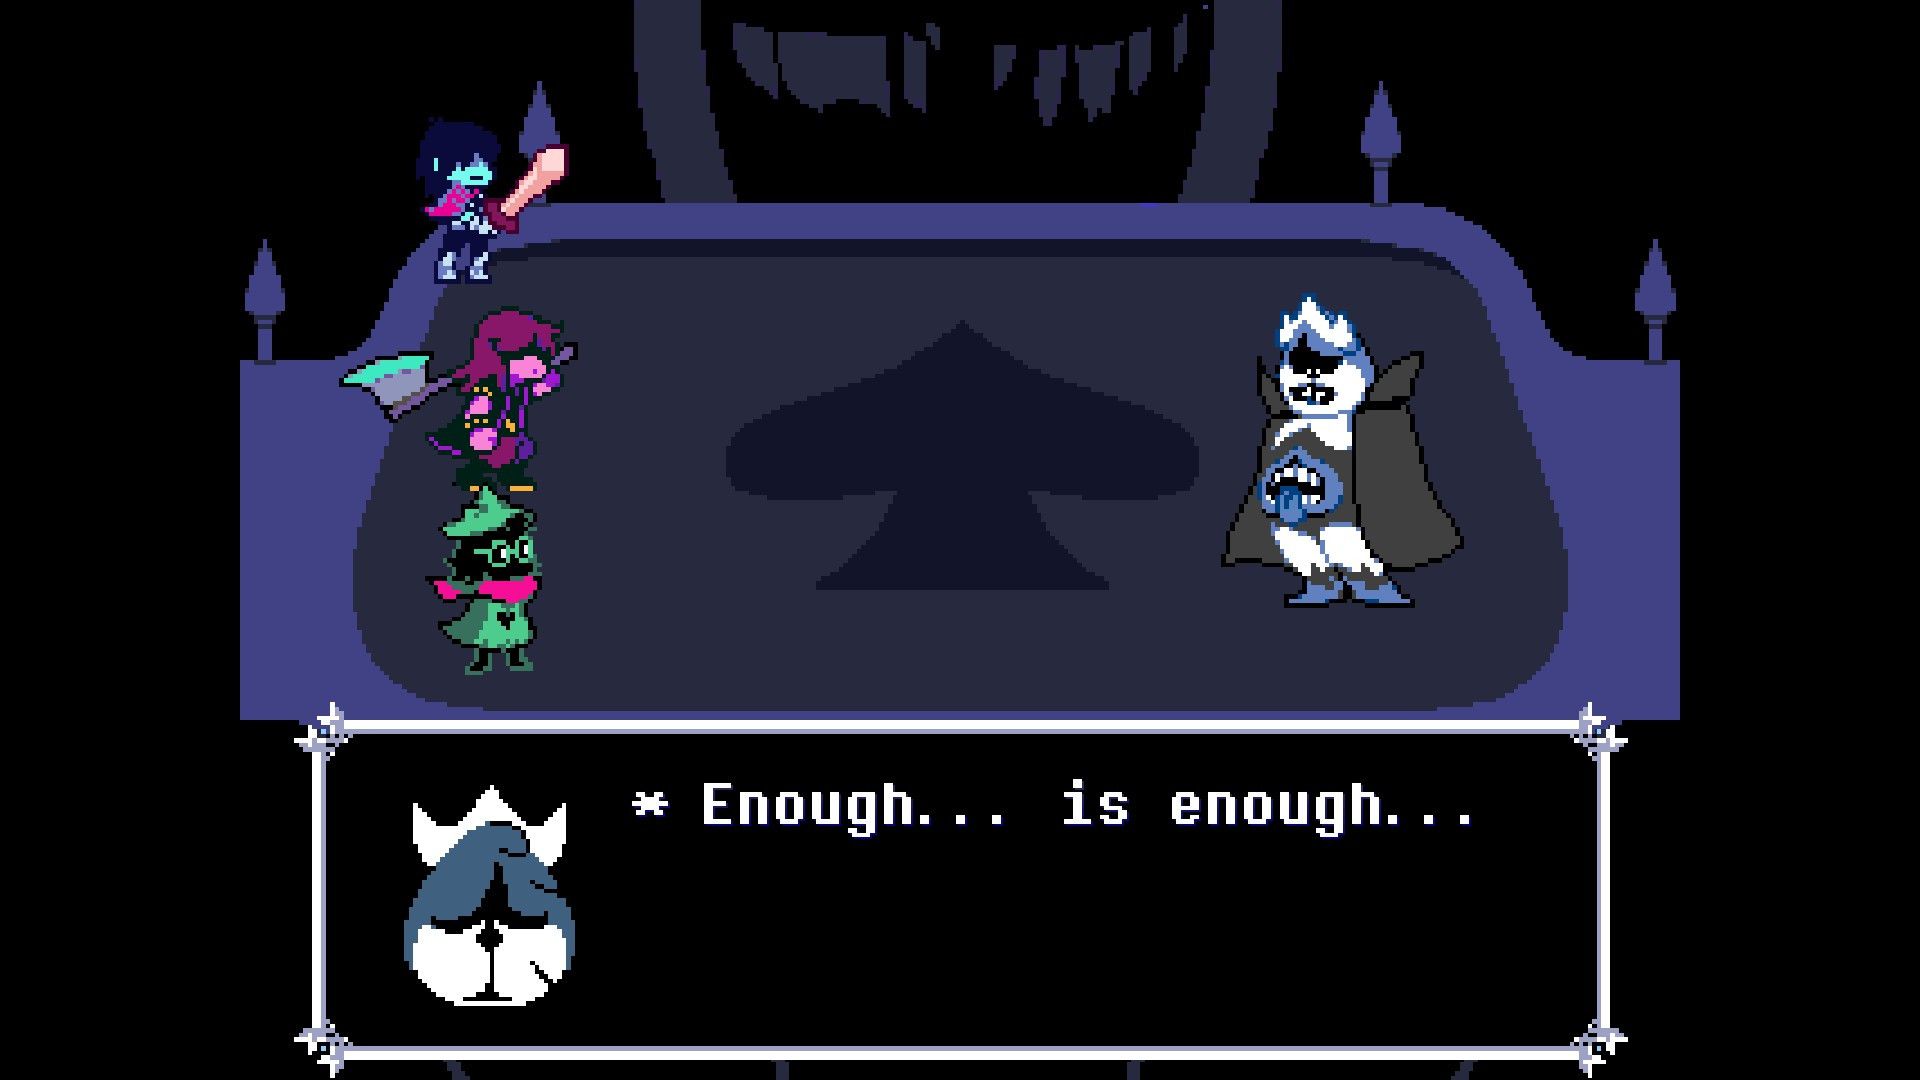
Players face two strategies for this battle: they can inflict harm on the King, or they can opt to let some turns pass by, making use of the Courage action and Defend to reduce incoming damage as much as possible. Regardless of the chosen path, the fight will eventually come to an end. The outcome’s specifics will be determined by whether the player has predominantly relied on Aggressive or Peaceful tactics during their gameplay.
In Chapter 1, players who chose nonviolent approaches can now engage in conversations with several NPCs they previously met.
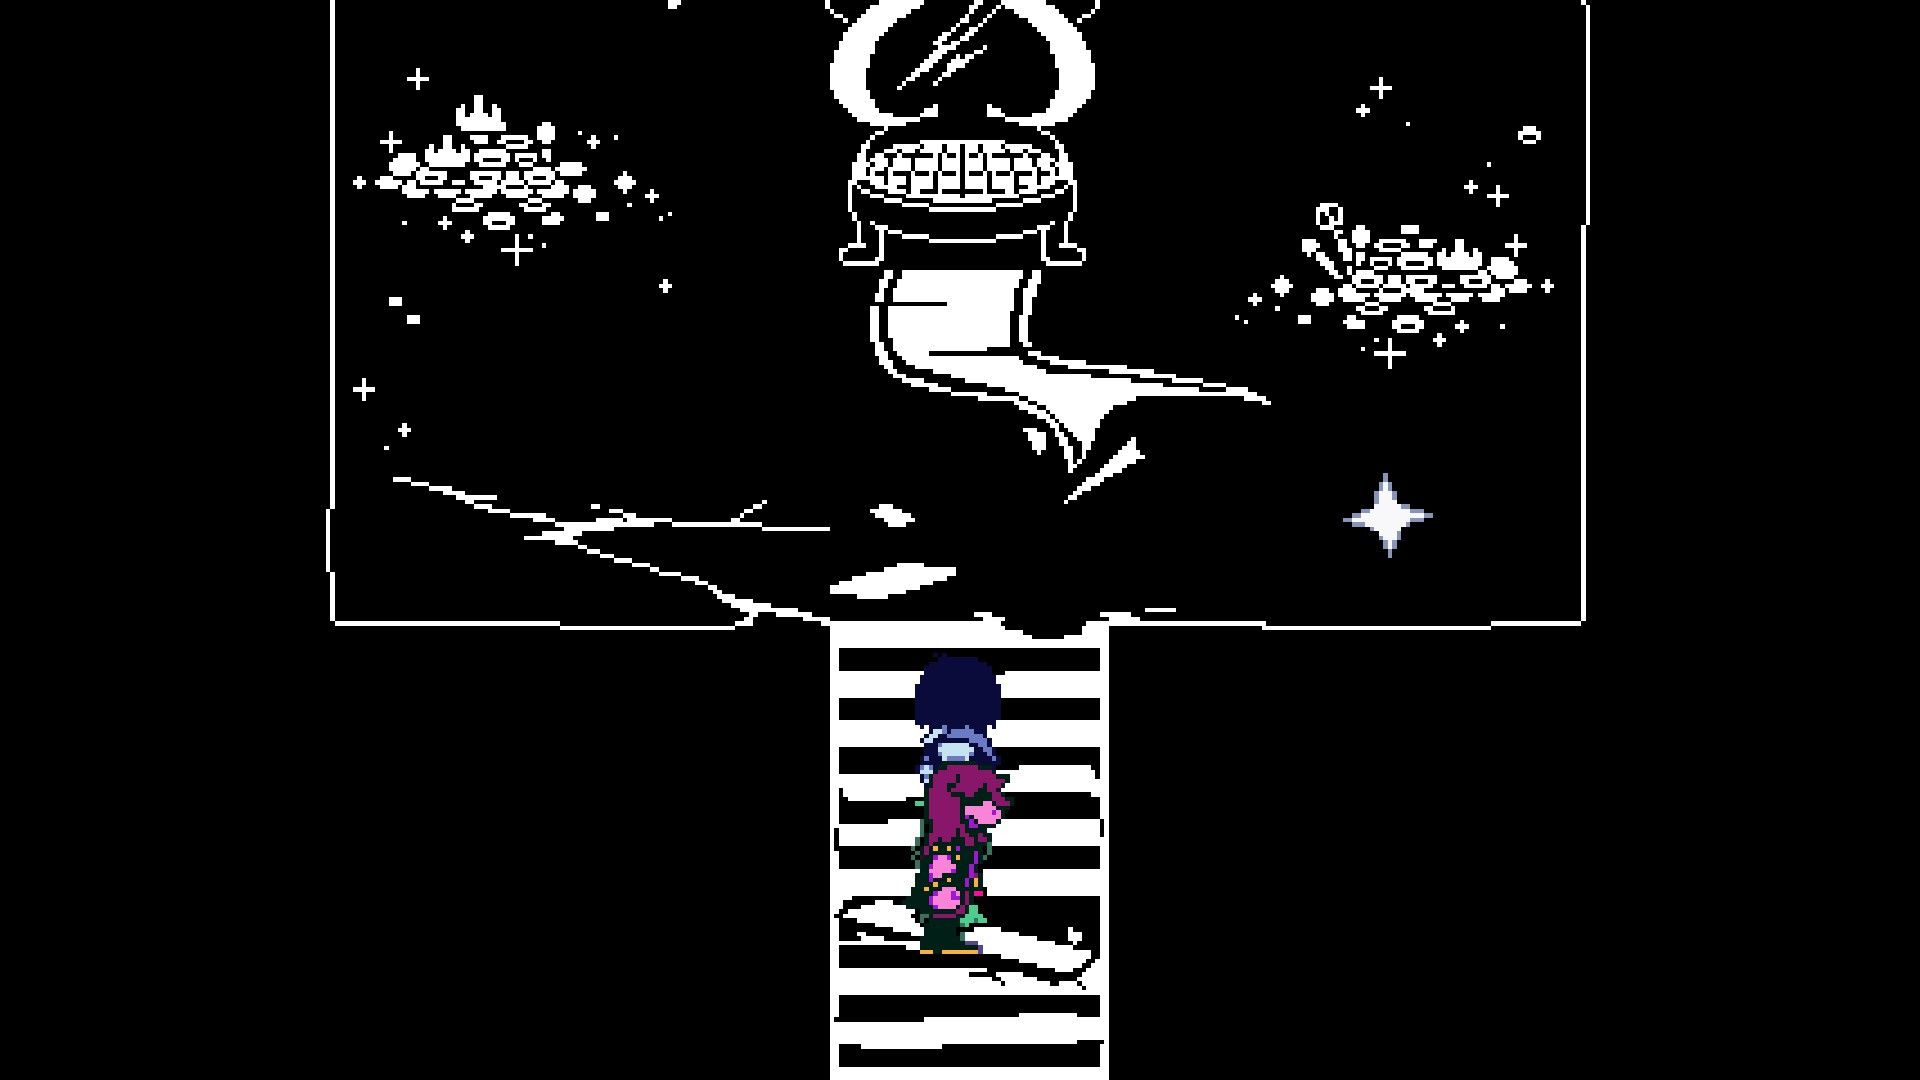
Now, all we need to do is walk along the way that will take us to the fountain. Following this path will result in its closure and Kris and Susie making their way back to the World of Light.
Light World – Deltarune Chapter 1 Walkthrough
The End


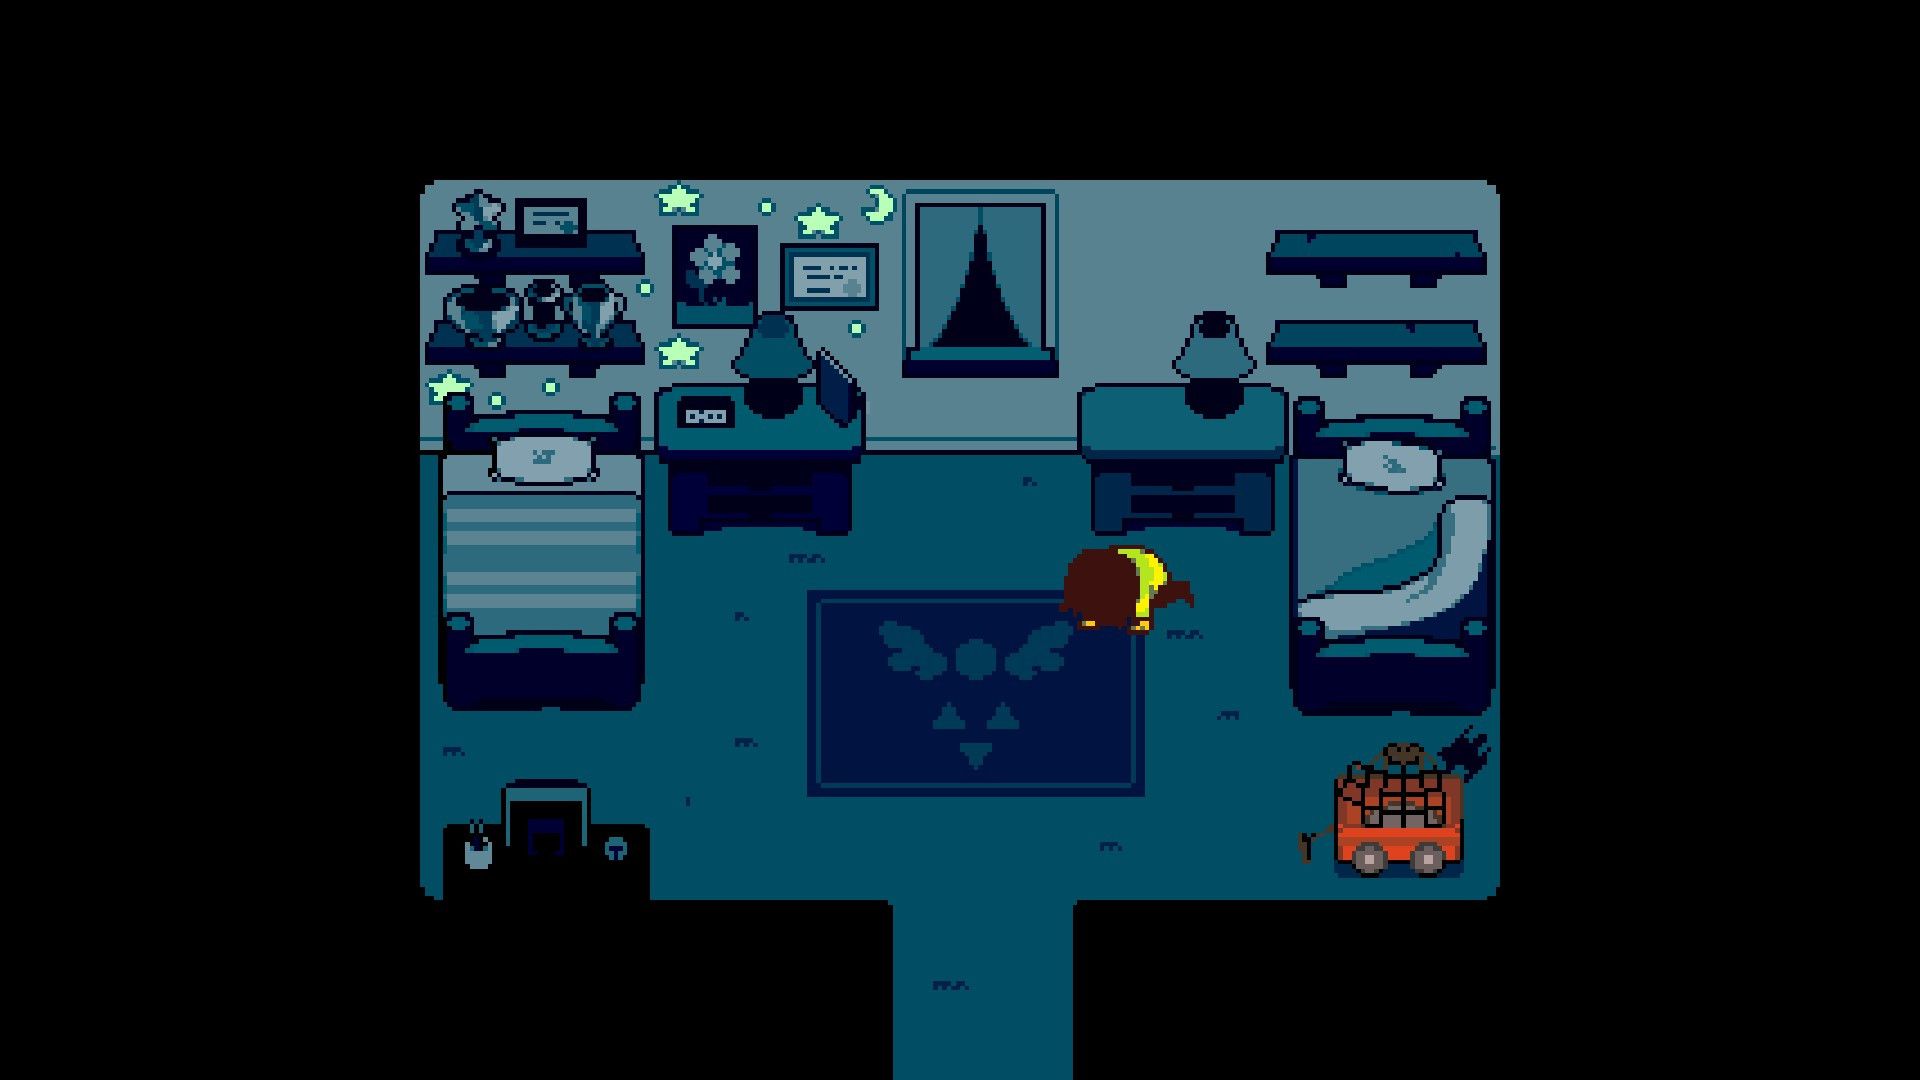
Players have the opportunity to revisit Kris’s residence now, leading them to their own room for the conclusion of Chapter 1. Yet, it is highly recommended that they complete certain tasks before proceeding:
1. Save the game (if not already done) – This will ensure progress is secure and can be resumed later if needed.
2. Explore the immediate surroundings – Players might find hidden items or clues that could aid them in future challenges.
3. Interact with other characters – Engaging in conversation with other characters may provide useful information or hints for upcoming events.
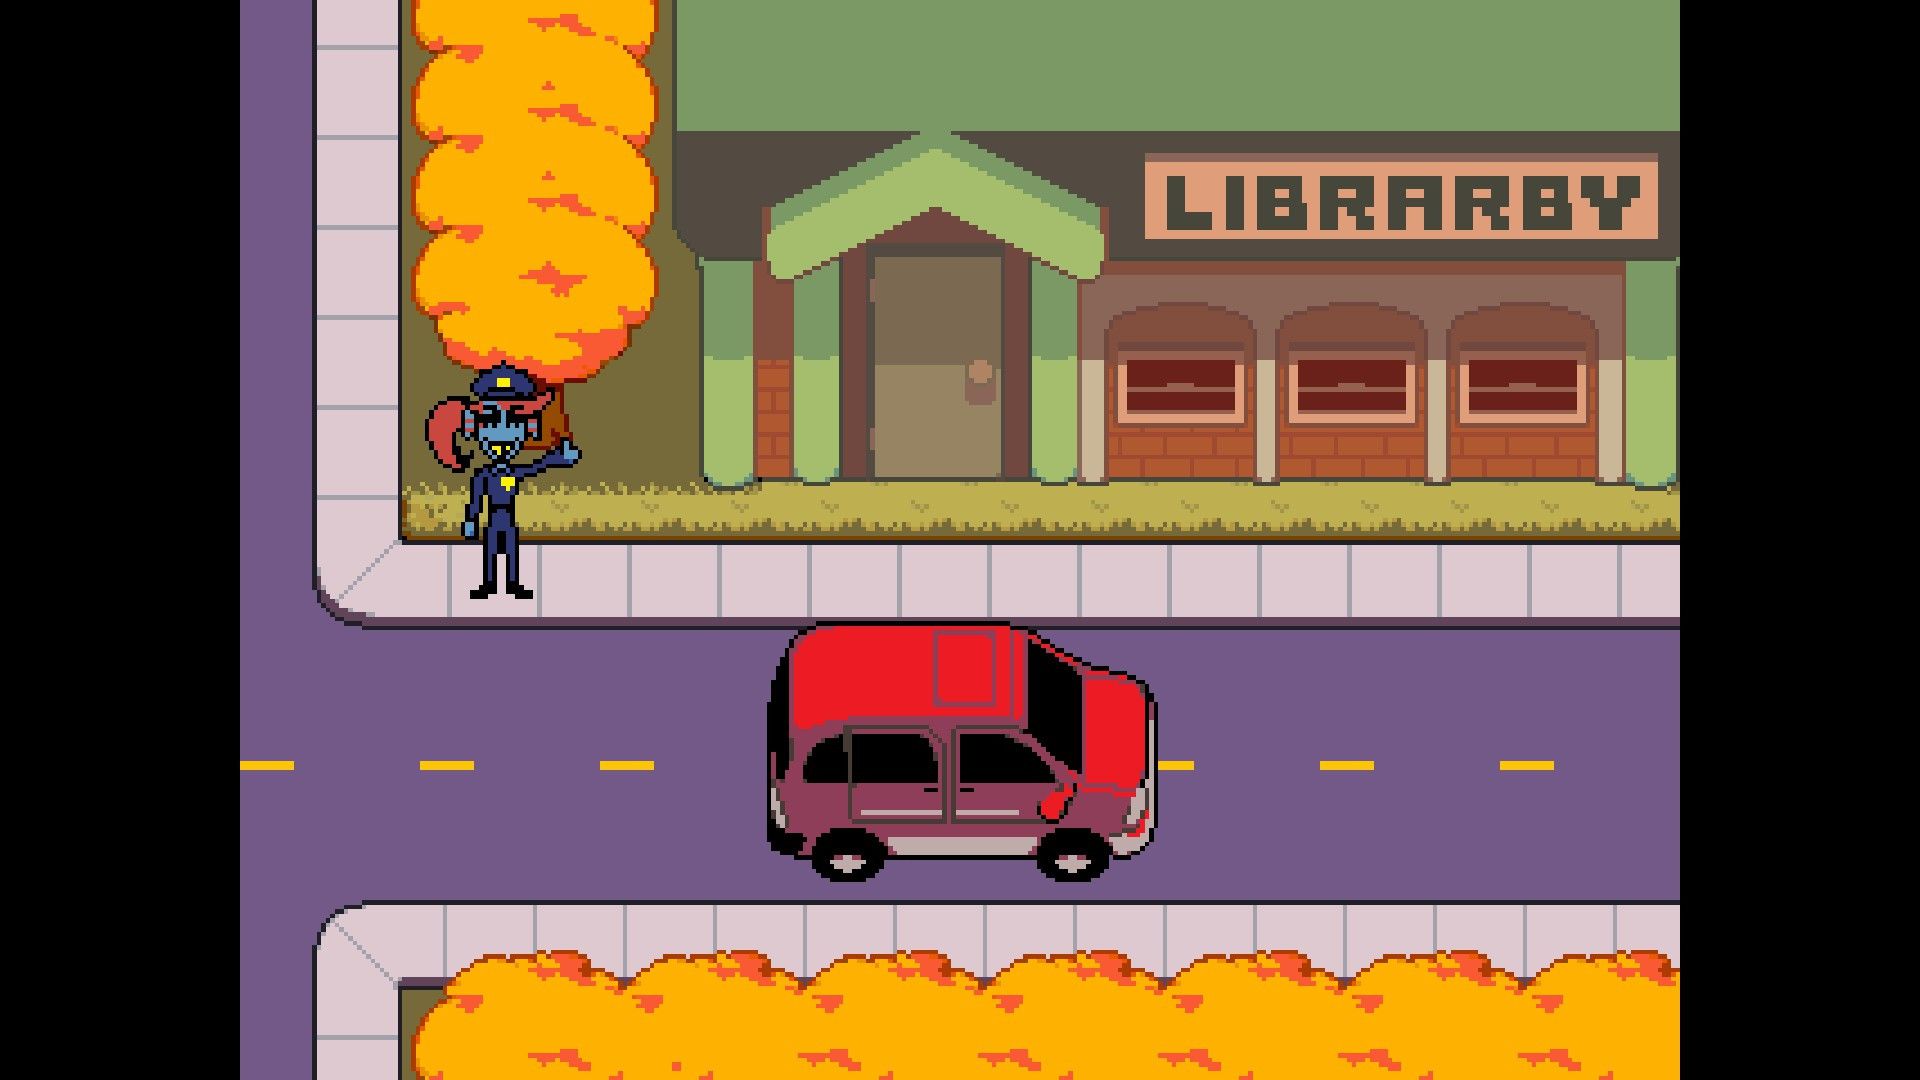
- Talk to all the NPCs around town, including in the buildings, as these conversations can impact Chapter 2. In particular, players are advised to exhaust the dialogue options with the characters to the left of ICE-E’s P’E’ZZA, the character in the alley to the right of Sans, and the character that appears after standing at the edge of the water to the right of Flower King (choose to befriend them).
- Find Noelle in the Hospital, and then find her again by a fence down and to the left of Kris’s house. Tell her that Susie likes to eat chalk.
- Go to Flower King and interact with the fridge in the basement to place the Egg inside. Players will also receive a bouquet for Kris’s mother during this visit.
Deltarune Chapter 1: Missable Items & Secrets
* Key locations visited
* Quests accepted and completed
* Important characters met
* Skills or abilities learned
* Items obtained
* Areas explored and secrets uncovered
This way, you can quickly review the main points of Chapter 1 and ensure nothing was missed.
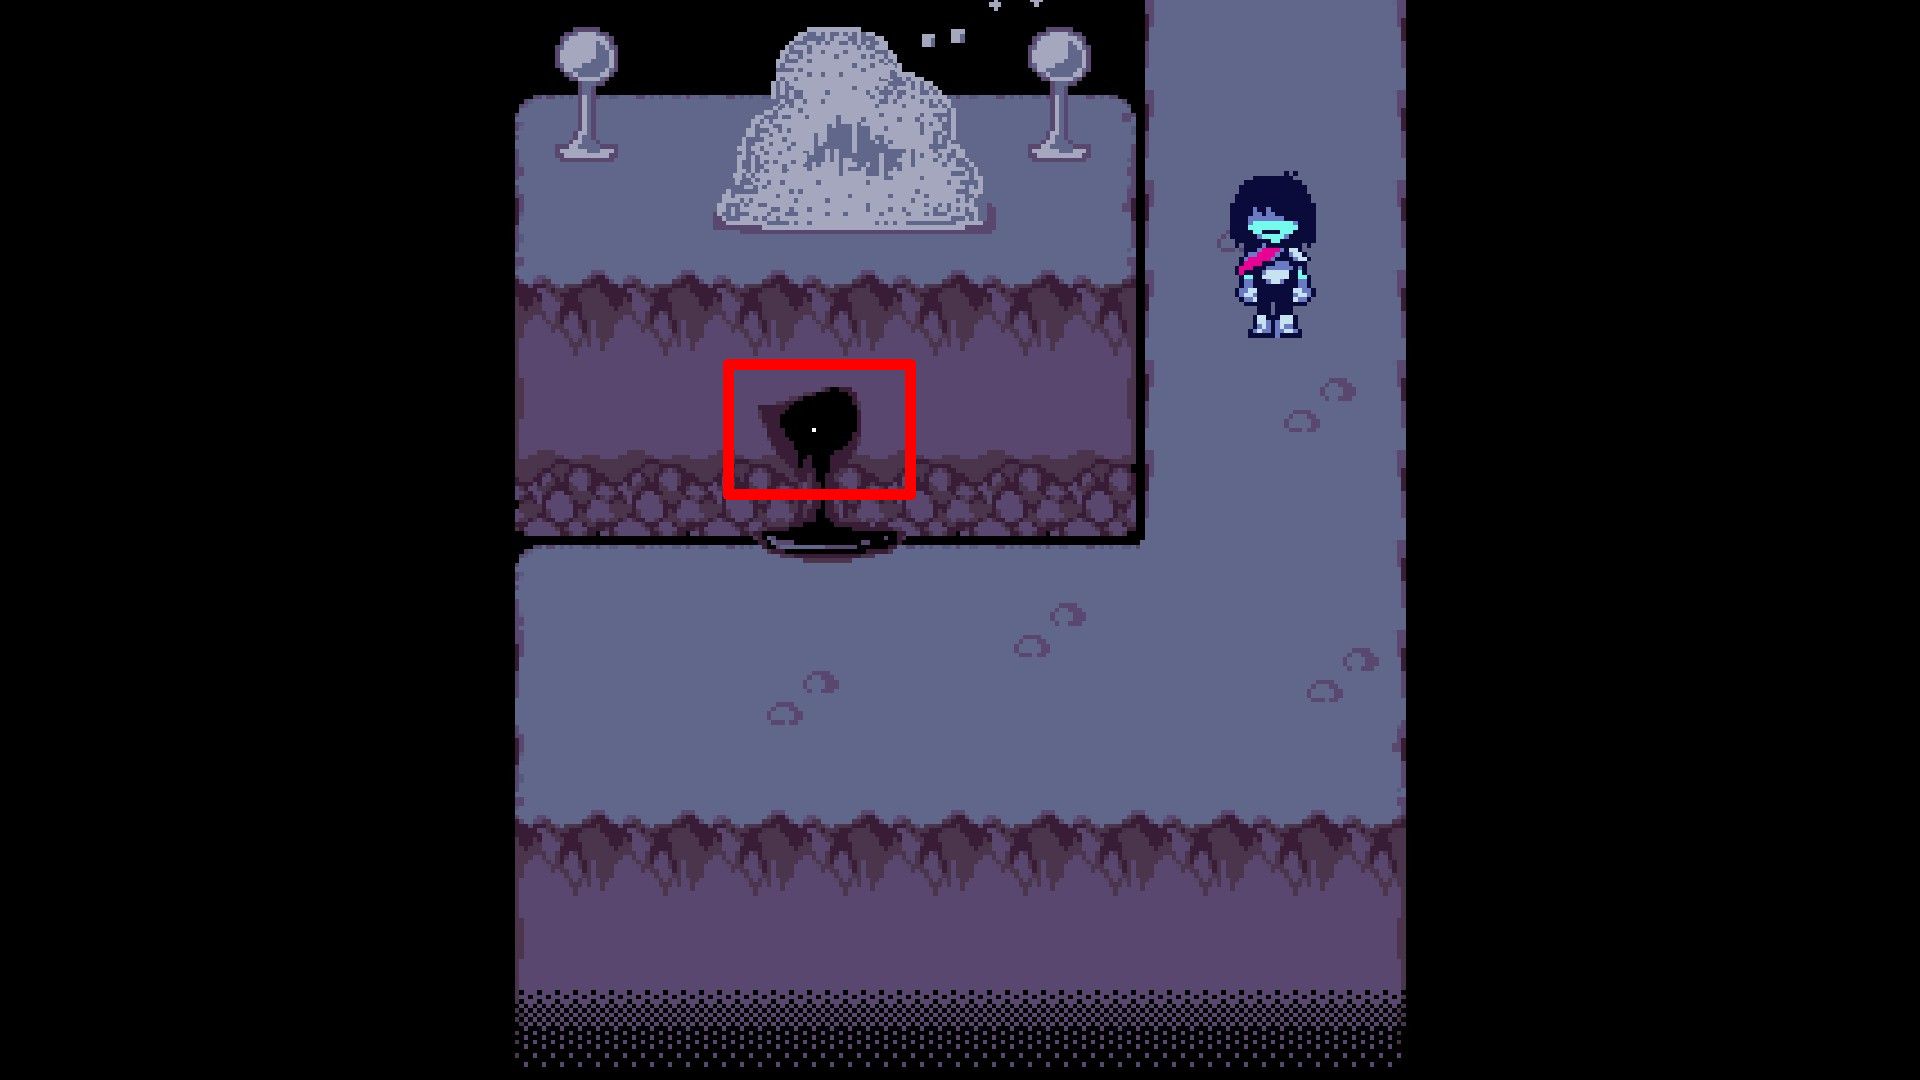
- Glowstone: After arriving in the Dark World, follow the path to reach a fork. Go down and interact with the hole in the wall to find this item.
- Spin Cake: Upon entering the Field, interact with the object above Topchef, a yellow NPC, to receive the Broken Cake. Travel to the Bake Sale, and follow the path to the left of the vendors to find Malius, an NPC that will fix the Broken Cake. Return to Topchef to receive this item.
- White Ribbon: After solving the puzzle that is just past Topchef, players will see a chest that they cannot immediately reach. This item is in that chest, and players can acces it by following the path and going left at the first fork, and it holds the White Ribbon.
- Broken Key C: In the Field, solve the puzzle that centers around pushing two boxes and then use the path to go up as far as possible. Solve the wall puzzle at the top to gain access to a chest that holds this item.
- Ragger: Upon entering the Forest, and reaching the section with the spinning obstacle, players should go up and left to find a chest with this item.
- Dice Brace: Solving the second wall puzzle in the Forest gives players access to a chest with this item.
- Broken Key B: After passing the Bake Sale, and entering the area with the Scissor Dancers, players should head to the bottom left corner. There is an invisible path at the bottom of this loop, near the chest with a Revive Mint, and it leads to this item.
- Egg: In the Forest, players will pass through a screen where they are chased by the Starwalker Bird. Once players exit the bird’s screen on the right side, they should repeatedly enter and exit it to get transported to an area with a single tree. There is an NPC hidden behind that tree, and players who interact with them will receive this item, which they should put in the fridge in Flower King’s basement upon returning to the Light World.
- Iron Shackle: In the Castle, interact with the shackles on the wall in Kris’s prison cell to earn this item.
- Bed Inspector (Title): Players can get this title for Kris by entering the room with the heart-shaped door in the Castle and interacting with every bed.
- Broken Key A: Interact with the cell on the “??????” floor of the Castle, and then go to the shop in the field. Talk to the shopkeeper about the Strange Prisoner to earn this item.
- Jevil (Secret Boss): After obtaining all three Broken Key pieces, have Malius near the Bake Sale fix the key. Return to the “??????” floor of the Castle and use the key on the cell to fight Jevil. Beating Jevil yields two items: Devilsknife if he is defeated with damage, and Jevilstail if he is defeated with Pacify.
In this collection, you won’t find any crucial dialogues that might be overlooked during gameplay. However, if you’re keen on chatting with all NPCs, even those appearing at the end of each chapter in the Light World, you should catch most of them. Keep in mind though, it’s impossible to catch every dialogue snippet in a single playthrough. Also, this list doesn’t include any items that can be missed or any that can be bought from the three shops within the current chapter.
Read More
- Poppy Playtime Chapter 5: Engineering Workshop Locker Keypad Code Guide
- Jujutsu Kaisen Modulo Chapter 23 Preview: Yuji And Maru End Cursed Spirits
- God Of War: Sons Of Sparta – Interactive Map
- Who Is the Information Broker in The Sims 4?
- 8 One Piece Characters Who Deserved Better Endings
- Poppy Playtime 5: Battery Locations & Locker Code for Huggy Escape Room
- Pressure Hand Locker Code in Poppy Playtime: Chapter 5
- Poppy Playtime Chapter 5: Emoji Keypad Code in Conditioning
- Why Aave is Making Waves with $1B in Tokenized Assets – You Won’t Believe This!
- Engineering Power Puzzle Solution in Poppy Playtime: Chapter 5
2025-06-05 18:13