Quick Links
- How It Works – Overview
-
Modifiers
- Augmentations
- Hazards
- Runes
-
Tips And Tricks
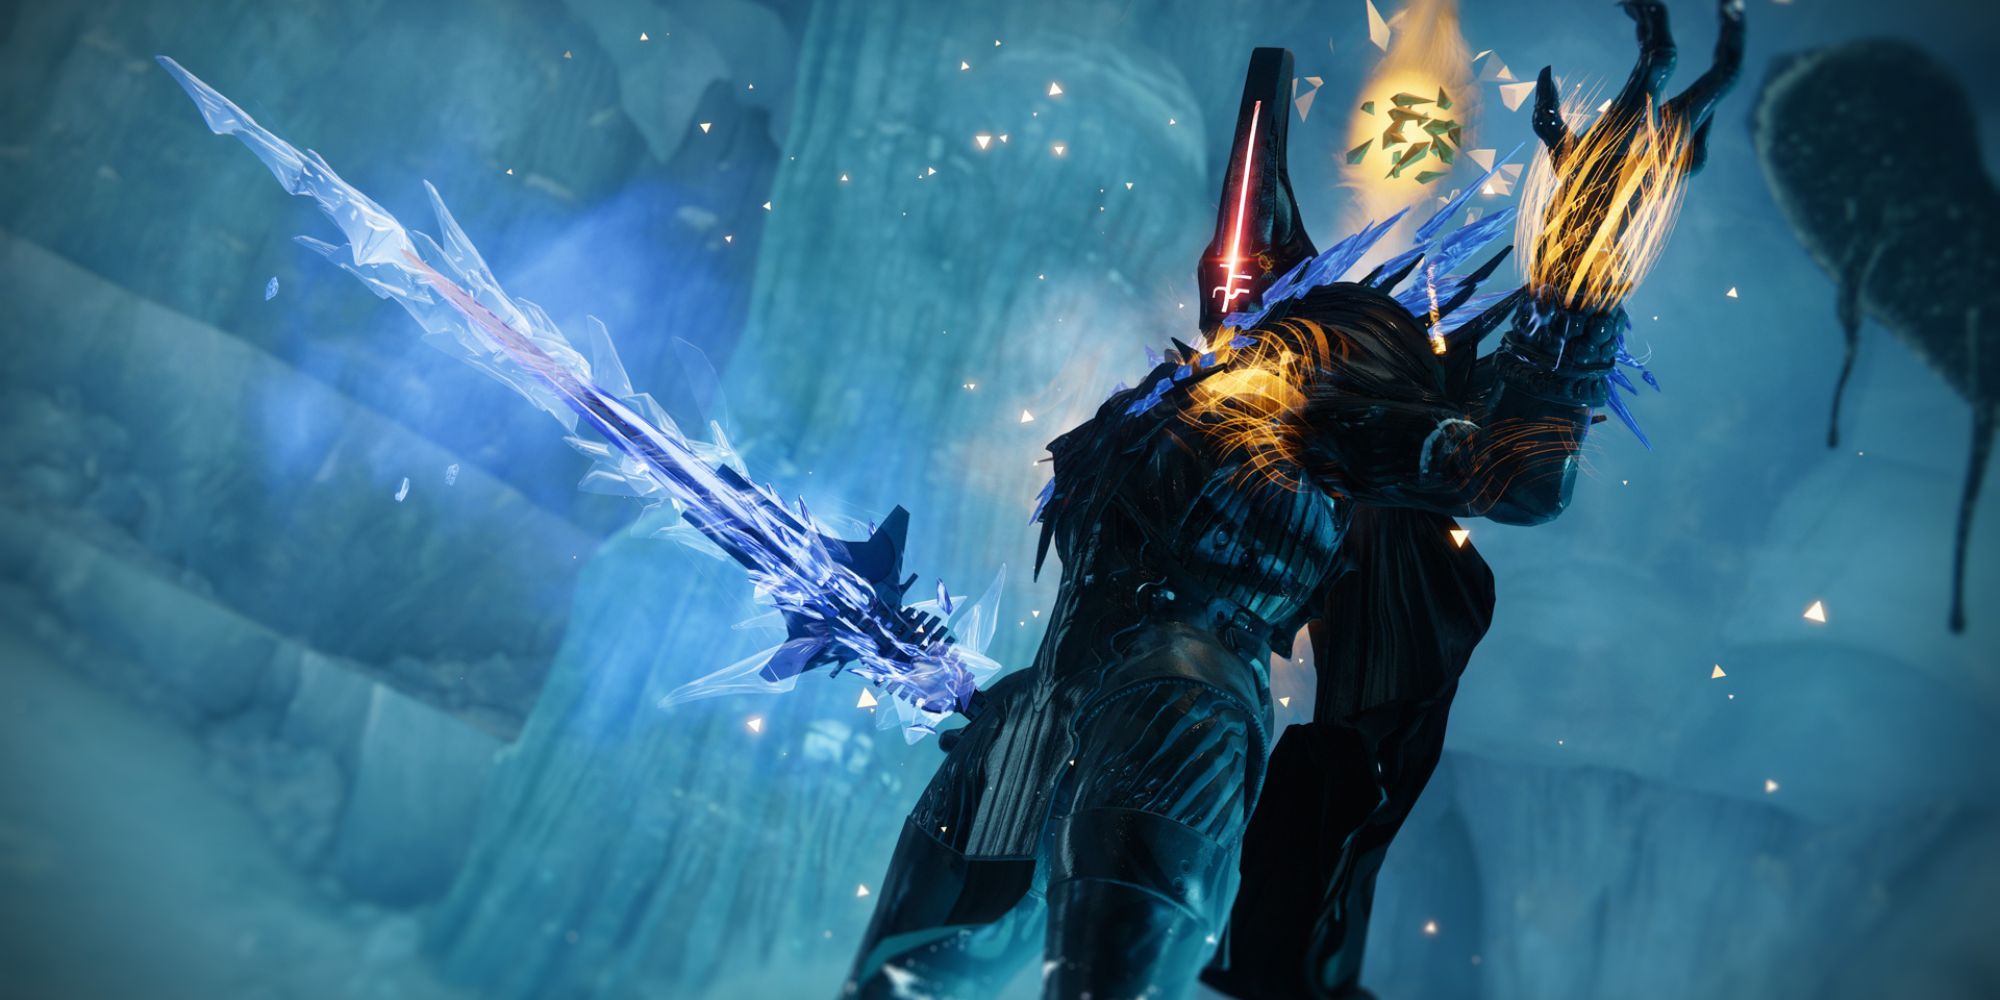
In the second episode of ‘Destiny 2’, titled Heresy, we’ve been introduced to a fresh activity on the Dreadnaught. Additionally, the character from The Taken King, Oryx, makes his comeback as the Echo of Navigation. This new phase brings forth a novel challenge in the form of Court of Blades, which resembles the boss-rush activity known as Rushdown, featured in this year’s Guardian Games.
To keep amassing loot from the Dreadnaught, that’s one option. However, if you want to obtain the newly introduced weapons from Act 2, your path lies exclusively through the Court of Blades.
Here’s a simple walkthrough to help you boost your rewards, plus some useful strategies for leveraging the specific features of the gameplay.
In this way, the text maintains its original meaning but is presented in a more accessible and engaging manner.
What Is The Court Of Blades?
In a nutshell, Court of Blades is a solo or team-based boss challenge similar to Destiny 1’s Court of Oryx, but with a private instance for you and your team. Unlike the Nether, there’s no need to fret over healing restrictions in this game.
You can find the Court of Blades node in The Last City destination on your Director.
You can opt to engage in either the Standard or Advanced version. Both versions possess identical mission modifiers, yet adversaries in the Advanced version exhibit predictable traits such as having greater health reserves and delivering more powerful attacks. Additionally, the factions you’ll encounter in Advanced mode rotate periodically.
Expert mode is the only way for you to earn rare Adept and shiny versions of Act 2’s new weapons.
To excel in Standard mode, feel free to explore and make some mistakes as the supervisors are lenient. However, if you aim to gather top-tier loot, Expert is the recommended choice. Of course, to survive longer and inflict significant damage on enemies, you’ll want to equip your most effective gear and setup.
How It Works – Overview
Regardless if you choose the Standard or Expert mode, you’ll essentially carry out the same tasks towards the same objective: acquire upgrades, vanquish bosses, and garner your prizes.
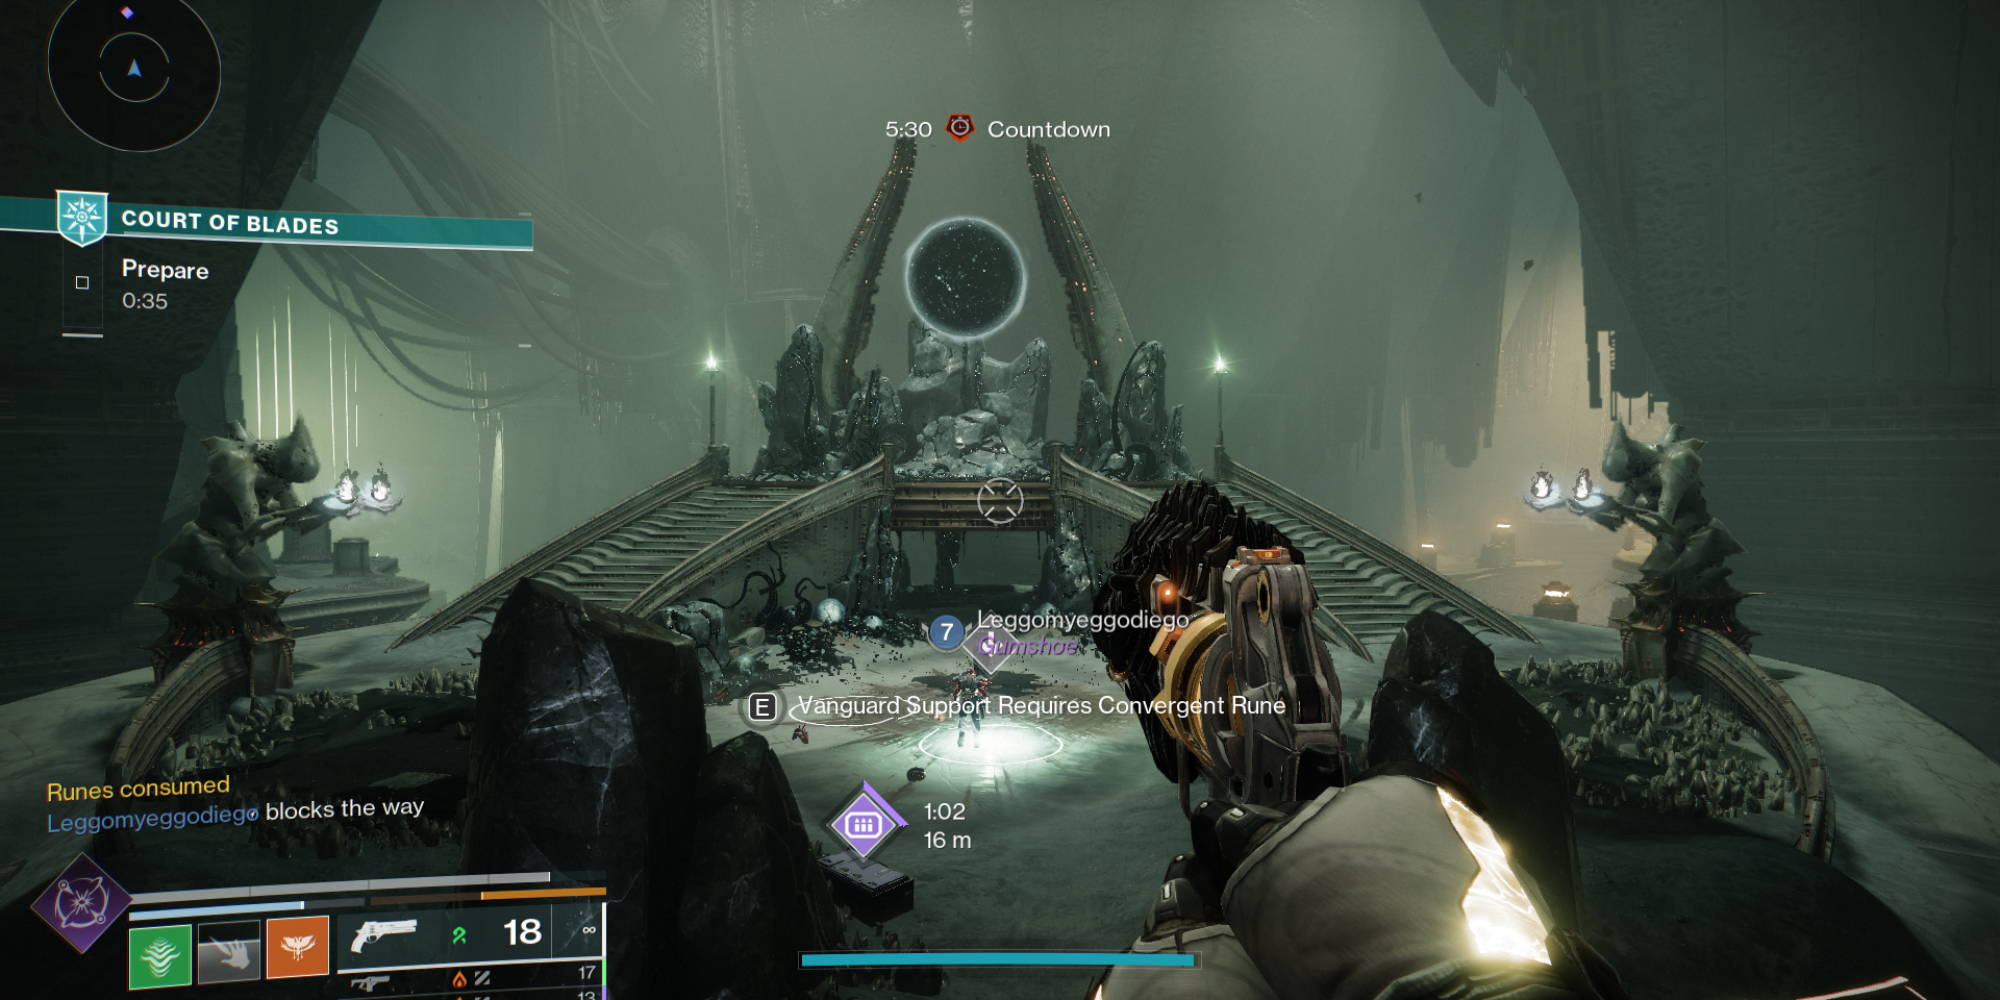
At the outset, you’ll initiate the action near the Court of Oryx’s entrance. Down the hallway, you’ll encounter a handful of opponents ready and waiting. Overcoming these adversaries will grant you access to three marked spots on the floor where you can position yourself.
There’s a hive worm in the underpass for the new quest for the Barrow-Dyad exotic weapon.
Stand in one of the three circles to begin the activity. A portal will open for you to cross.
The portal will transport you to any of these three locations: Rathmore Underground on Europa, the Ruins of Silver on Io, or an Unknown Hive Ship.
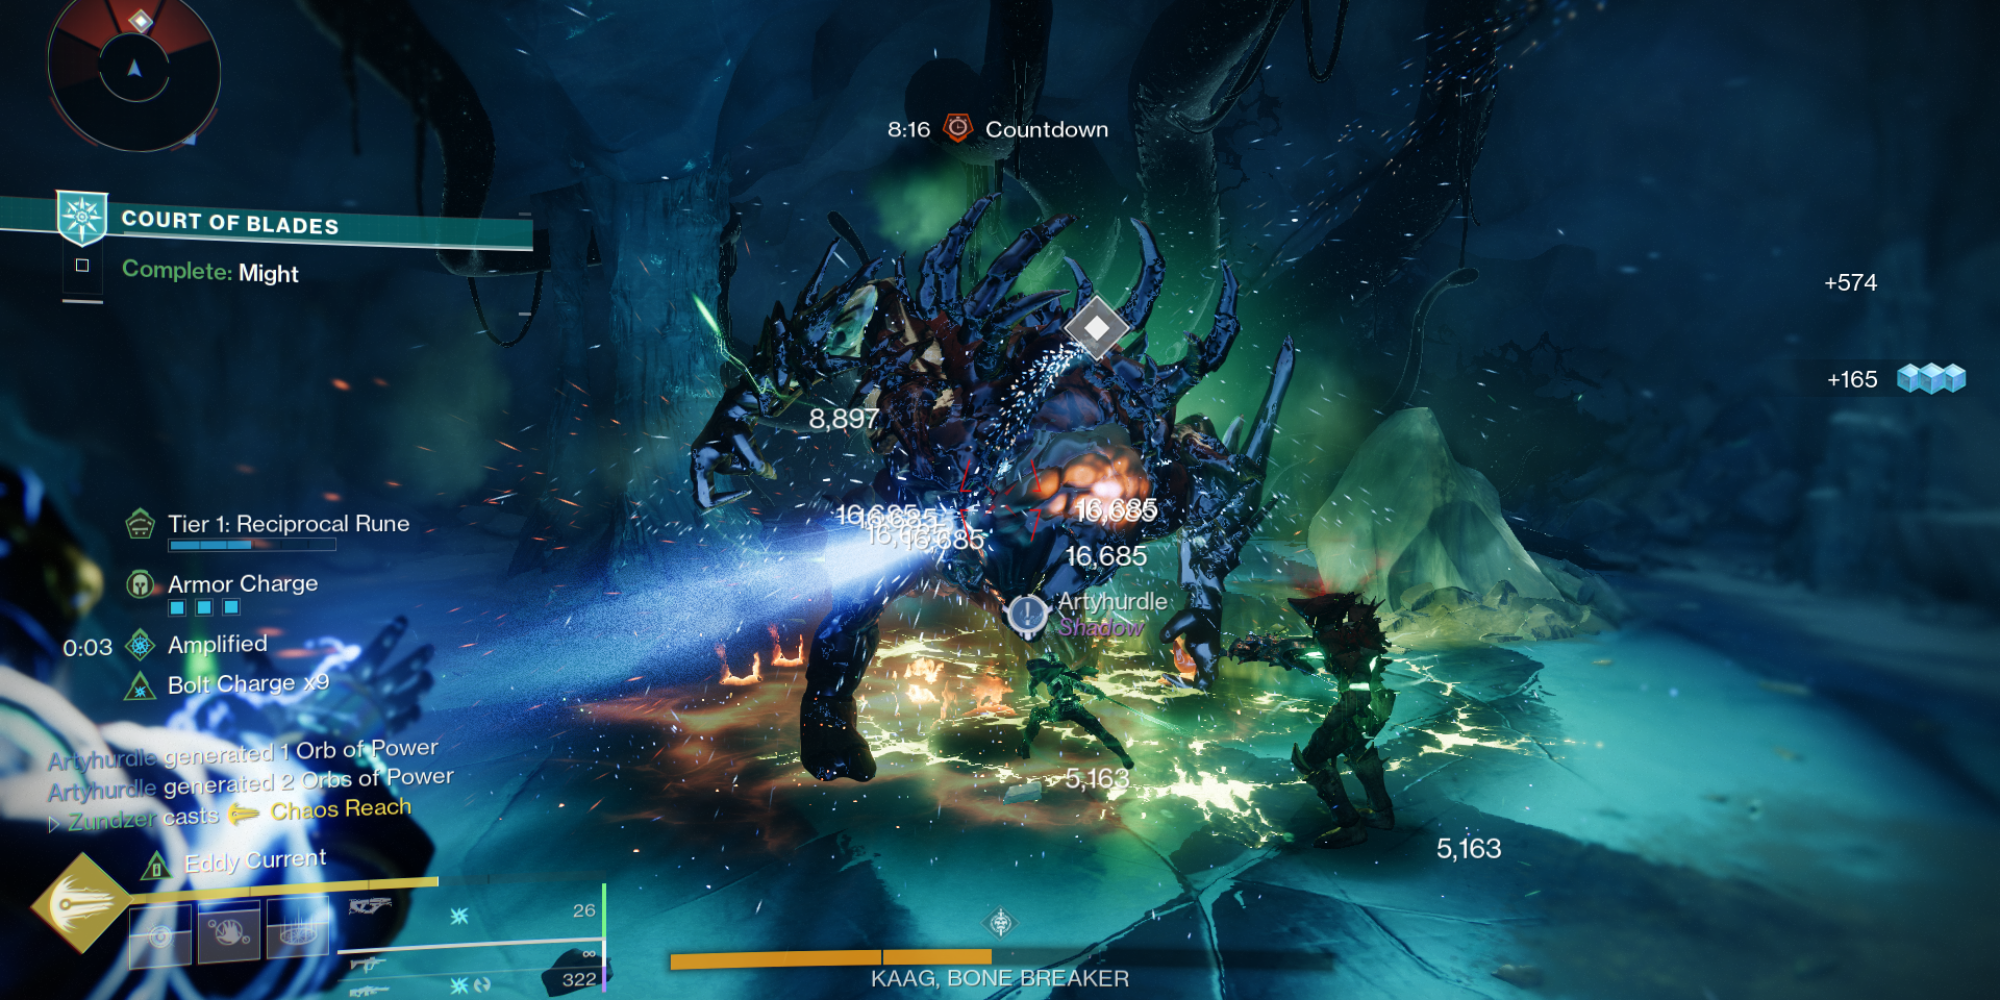
In the course of this interaction, you’ll face a formidable foe, either several tough opponents or a single massive adversary that you must vanquish. Following your victory, another enemy boss will materialize.
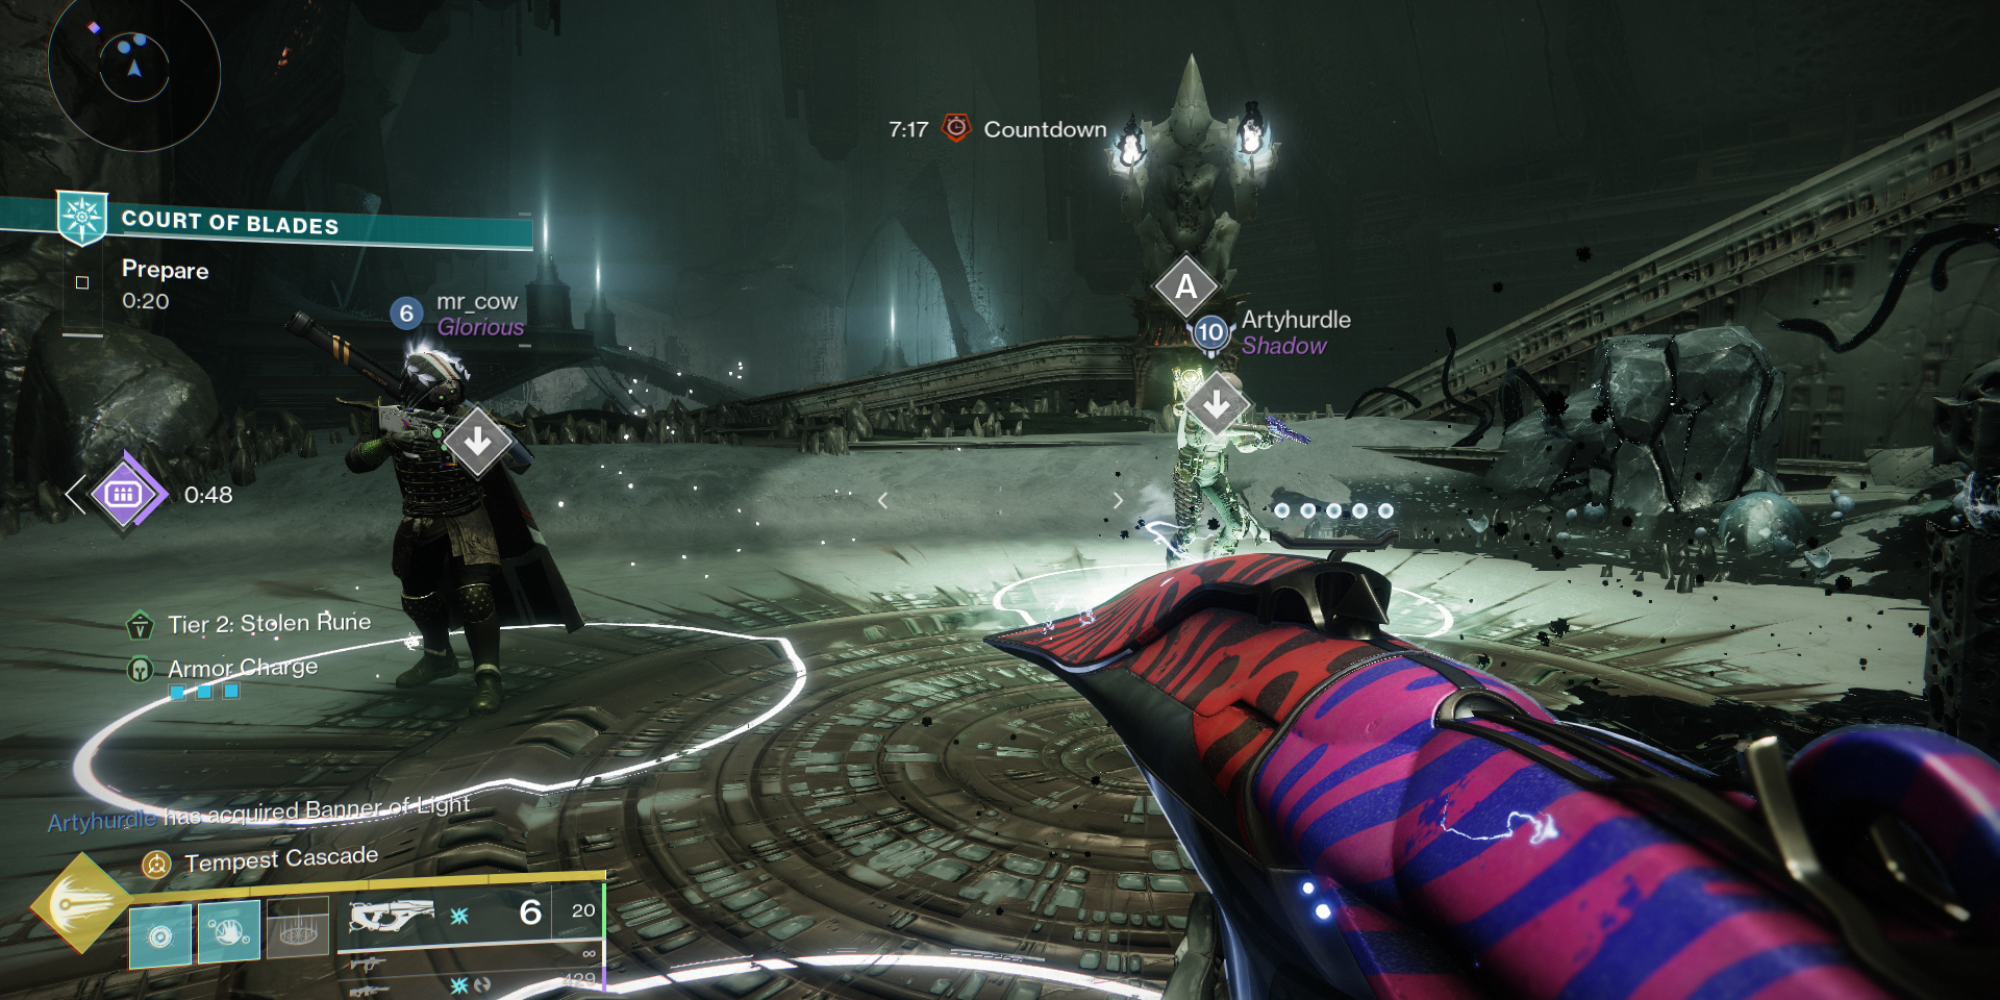
Once the interaction is over, you’ll have 45 seconds to reload your ammunition (the ammo crate only partially refills, but you can enhance that on the shaping slab), purchase weapons, and prepare for the following encounter. If you’re in a hurry, you can initiate the next encounter immediately by standing on the circles again.
In the next 10 minutes, you aim to battle as numerous bosses (referred to as Challengers) as possible. Once the timer expires, that current round will mark the end of the activity, and you’ll be able to gather your rewards.
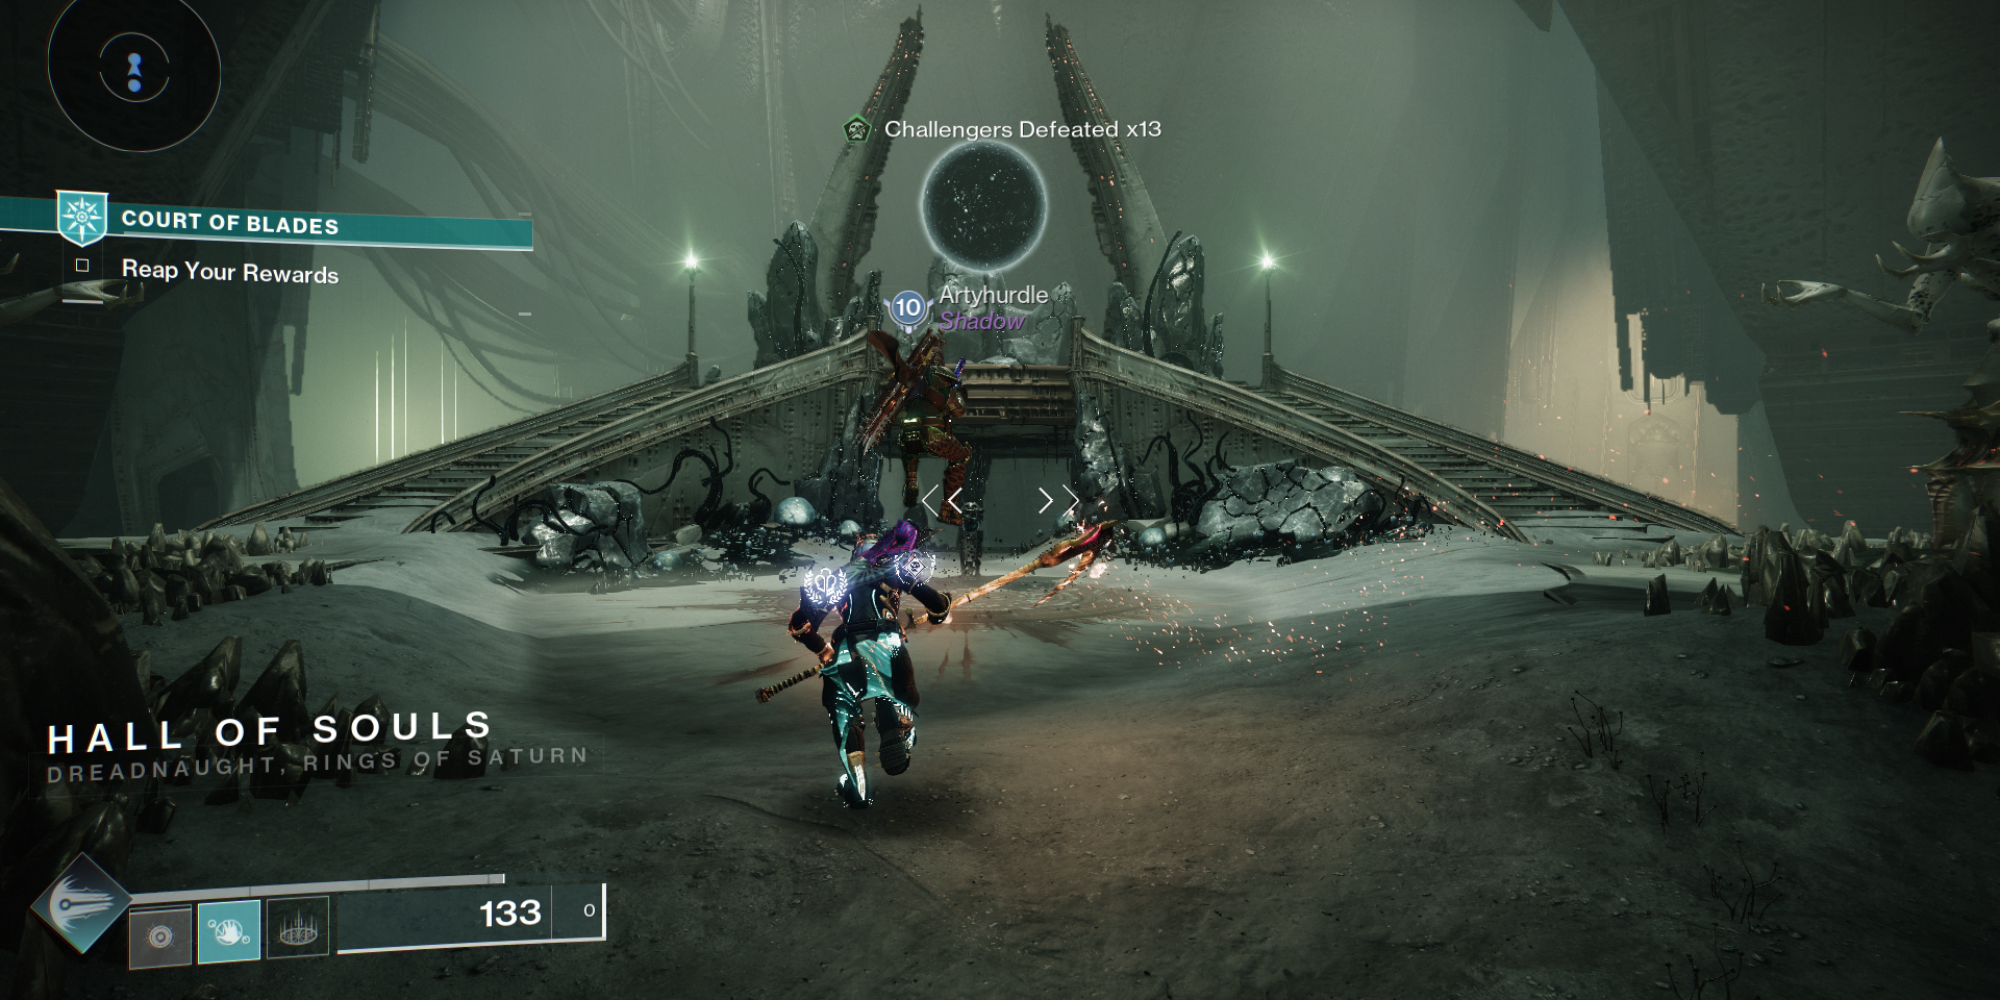
Should you successfully conquer the 13 Challengers in just 10 minutes, you’ll be rewarded with the highest possible loot haul. With a bit of luck, you might even score some top-tier equipment and valuable treasures.
Additionally, once you’ve completed the task, you can place five units of Metastasized Essentia into a compact, dimly lit pedestal to secure some additional rewards.
Modifiers
After each meeting, you’ll head back to the Oryx’s Court to reload your ammunition and buy improvements.
You’ll also notice that there is a Hive statue on either side of the area with their arms out.
Each statue could be grasping anywhere from one to two fiery orbs, with a possible total of up to four, symbolizing the potential alterations in the forthcoming encounter.
These modifiers can either make the activity harder or change up the flow of battle.
During the break, it’s beneficial to quickly glance over the details about the upcoming Augmentations and Hazards before proceeding with the next encounter. Luckily, the information provided is quite clear.
Augmentations
Rather than inflicting damage as usual, Augmentations occasionally introduce variations to battles by bestowing special traits or occurrences upon bosses or enemies. These traits might either simplify matters or add complexity to the fray.
It’s crucial to understand how to handle these issues when they arise, because completing them within the given timeframe will earn you Runes.
- Adapt – The boss will have an elemental shield that takes massively reduced damage to anything not matching its element.
- Bound – You’ll fight two bosses, which will have immunity shields when standing near each other. You need to stand on a marked area to draw one of them away to make them vulnerable to damage.
- Descend – Several giant hovering blights appear and slowly float up. Destroy them by shooting them.
- Sharpen – the boss will have a strong damage-resistant shield. To remove it, you’ll need to find a kneeling knight and a Hive crystal. Destroy the crystal to make the knight vulnerable, which will drop a Hive sword that you can use to bring down the boss’ shield with its heavy attack.
- Bulwark – A large Taken blight spawns in the middle of the room, which gives the boss a damage resist shield. You need to destroy the blight by shooting three smaller blights that drop taken balls for you to throw into the giant blight. Rinse and repeat until the blight is destroyed.
- Miasma – Taken goo will spawn all over the floor. Touching it will make the boss immune. Avoid stepping in the goo.
- Burst – The boss will have a shield. On the other side of any given room is an Ogre with a Corrupted Light bomb (a la King’s Fall raid). Stand near it until the game indicates you’ve detonated it, then book it to an aura shield before the bomb explodes.
- Banish – There are several casters around the room. Kill them before they can drag you to the Ascendant Realm. If you do get dragged, you’ll need to fight your way back.
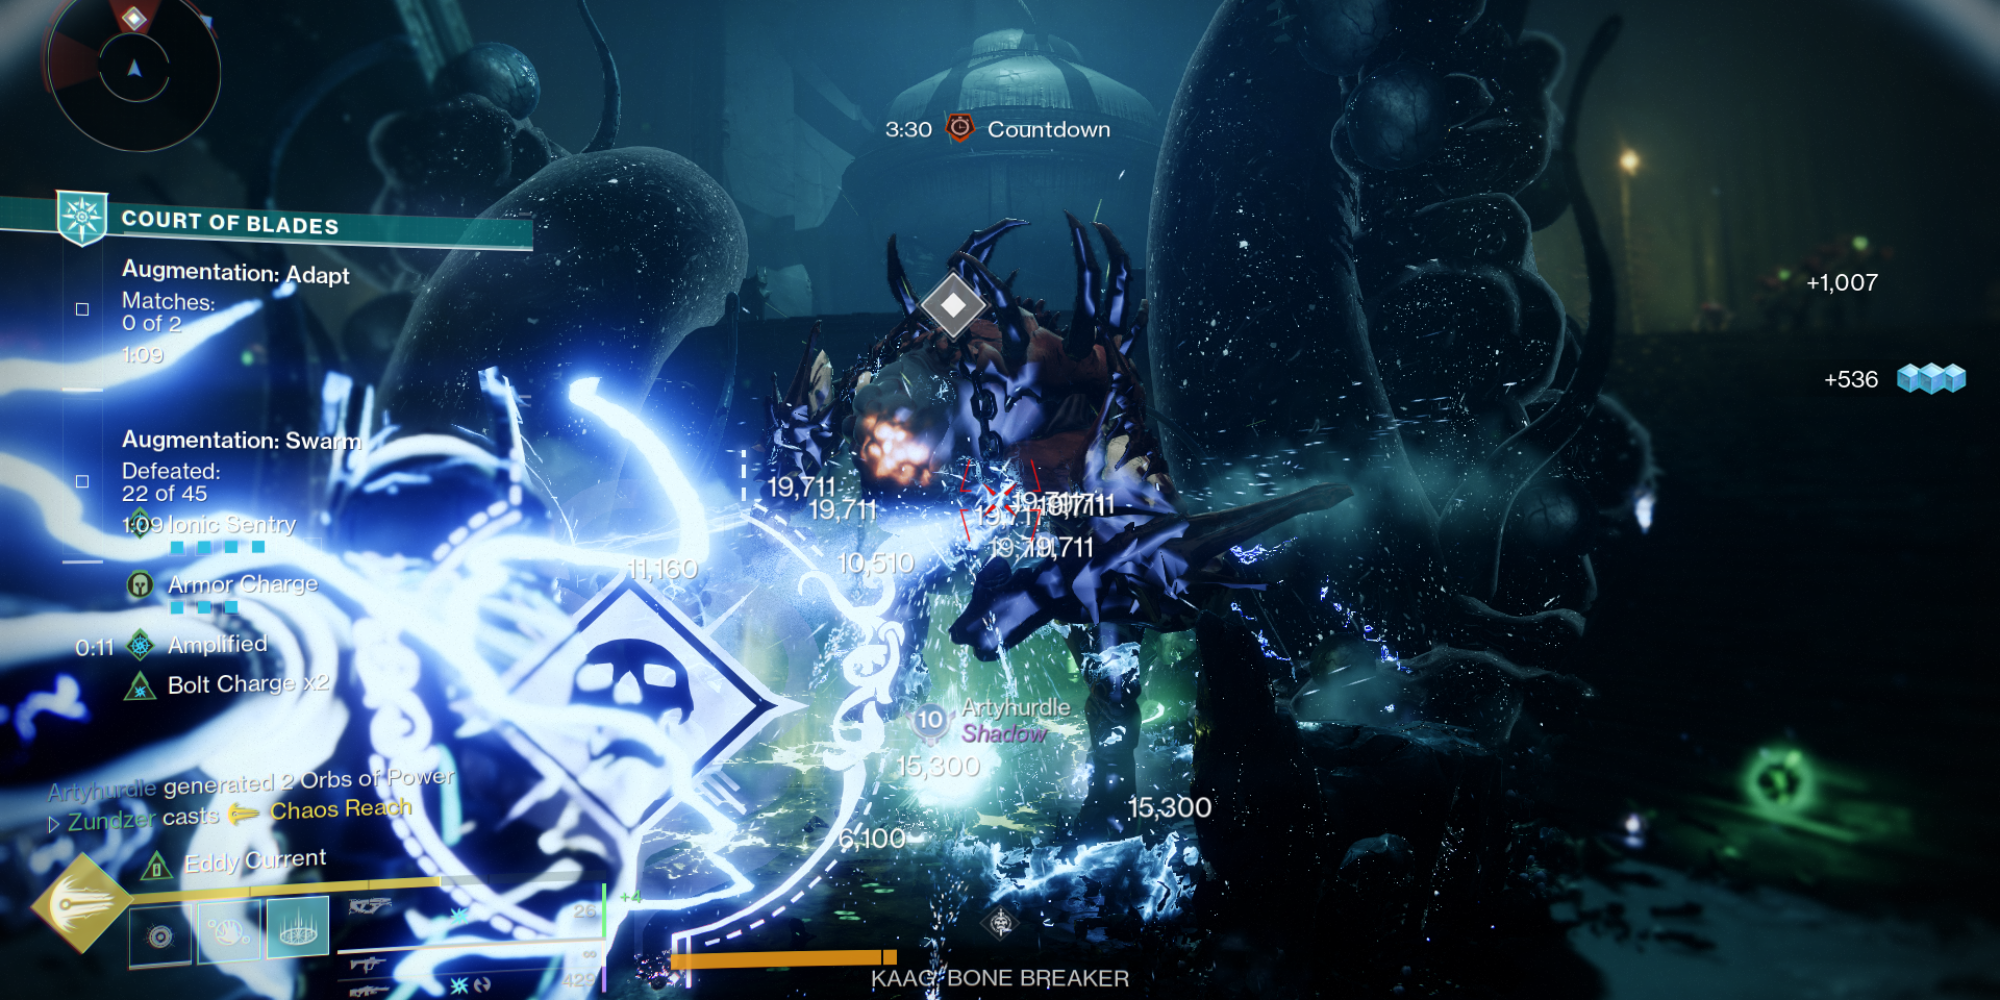
- Swarm – Extra adds will appear, along with the occasional Grim (enemies may vary depending on the faction encountered). Kill 45 enemies to complete this Augmentation.
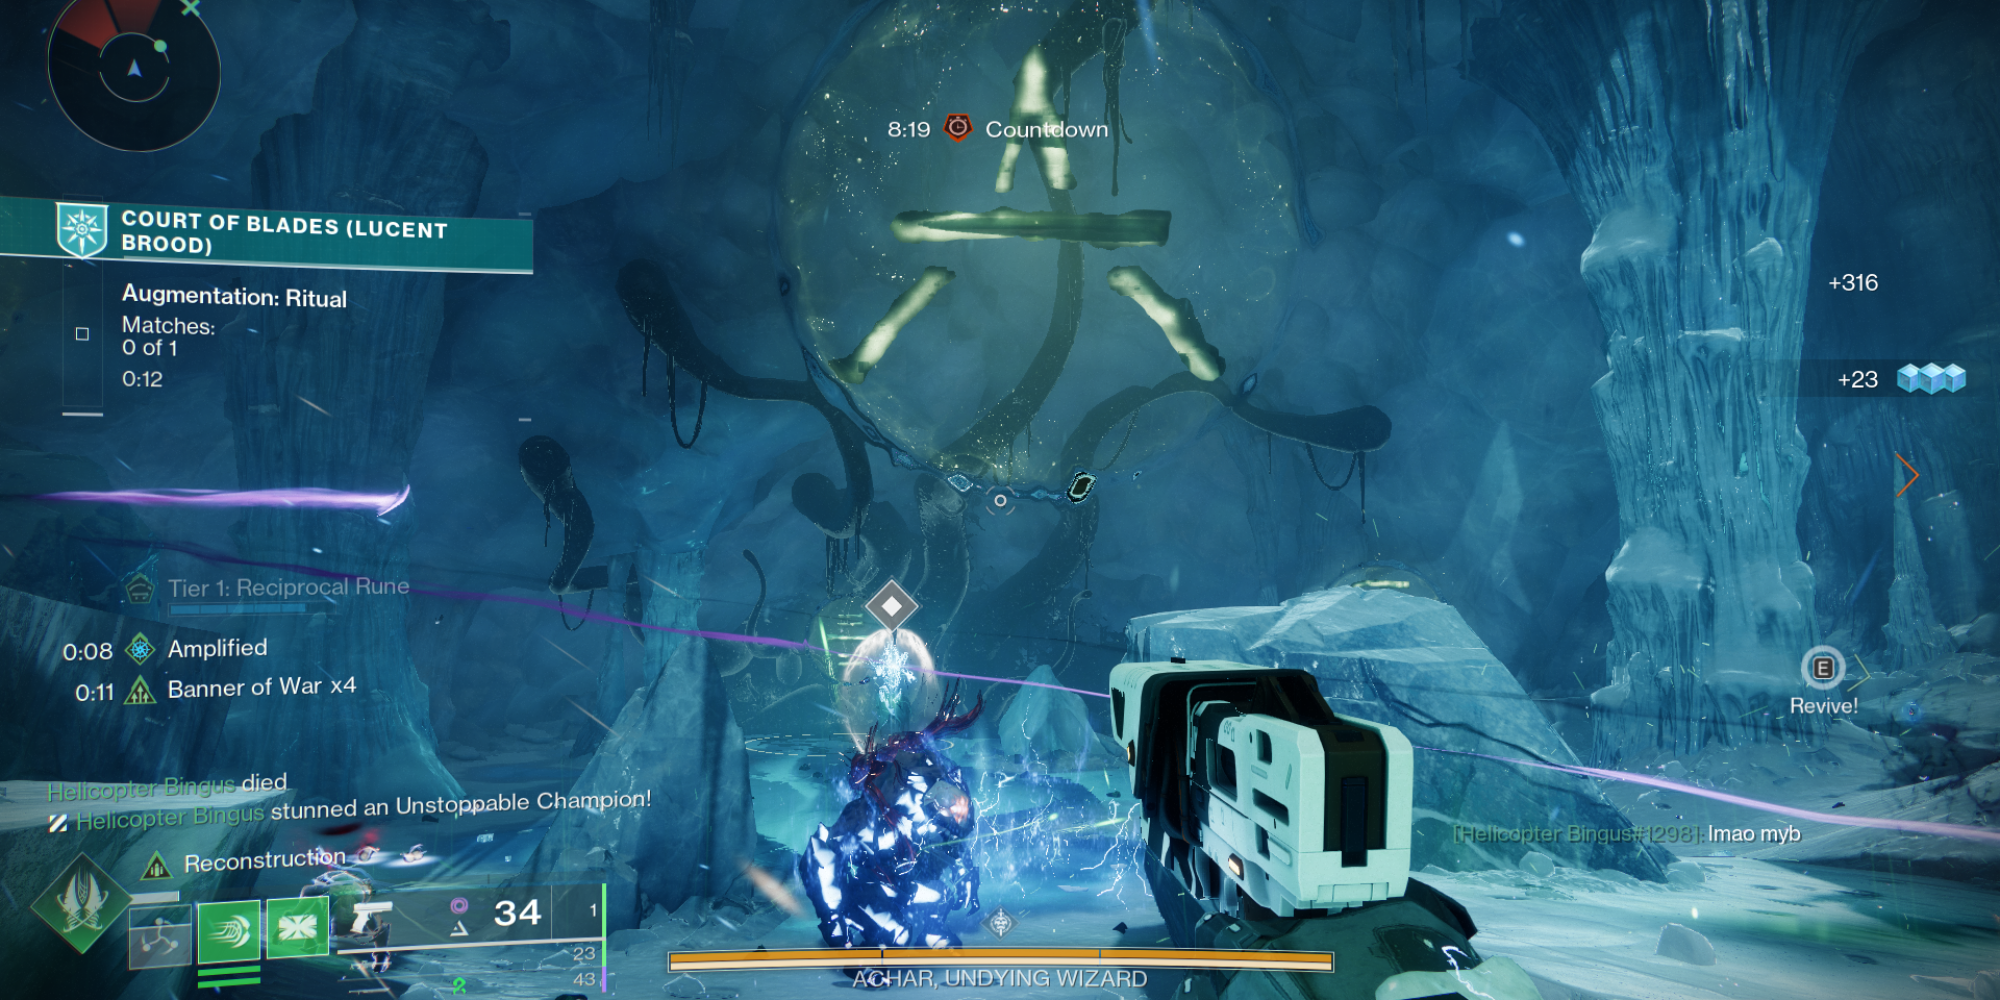
- Ritual – Hive runes will appear around the arena. The boss will be immune, and a symbol will appear near them. Stand near the corresponding glyph to make the boss vulnerable to your attacks.
Hazards

Risks, as their title implies, are potentially harmful factors that can make a situation or task more difficult and require you to exercise caution and strategic thinking.
Before embarking, it’s crucial to identify potential dangers that may lie ahead. Failing to do so could lead to surprise encounters during a conflict, leaving you bewildered about the cause of your demise.
During the “Gaze of the Deep” peril, colossal eldritch eyes will appear. If they’re visible on your screen, they accumulate the Suffocating Terror debuff. Reach 20 stacks and you’ll be eliminated. To avoid stacking up, simply look away from them.
Runes
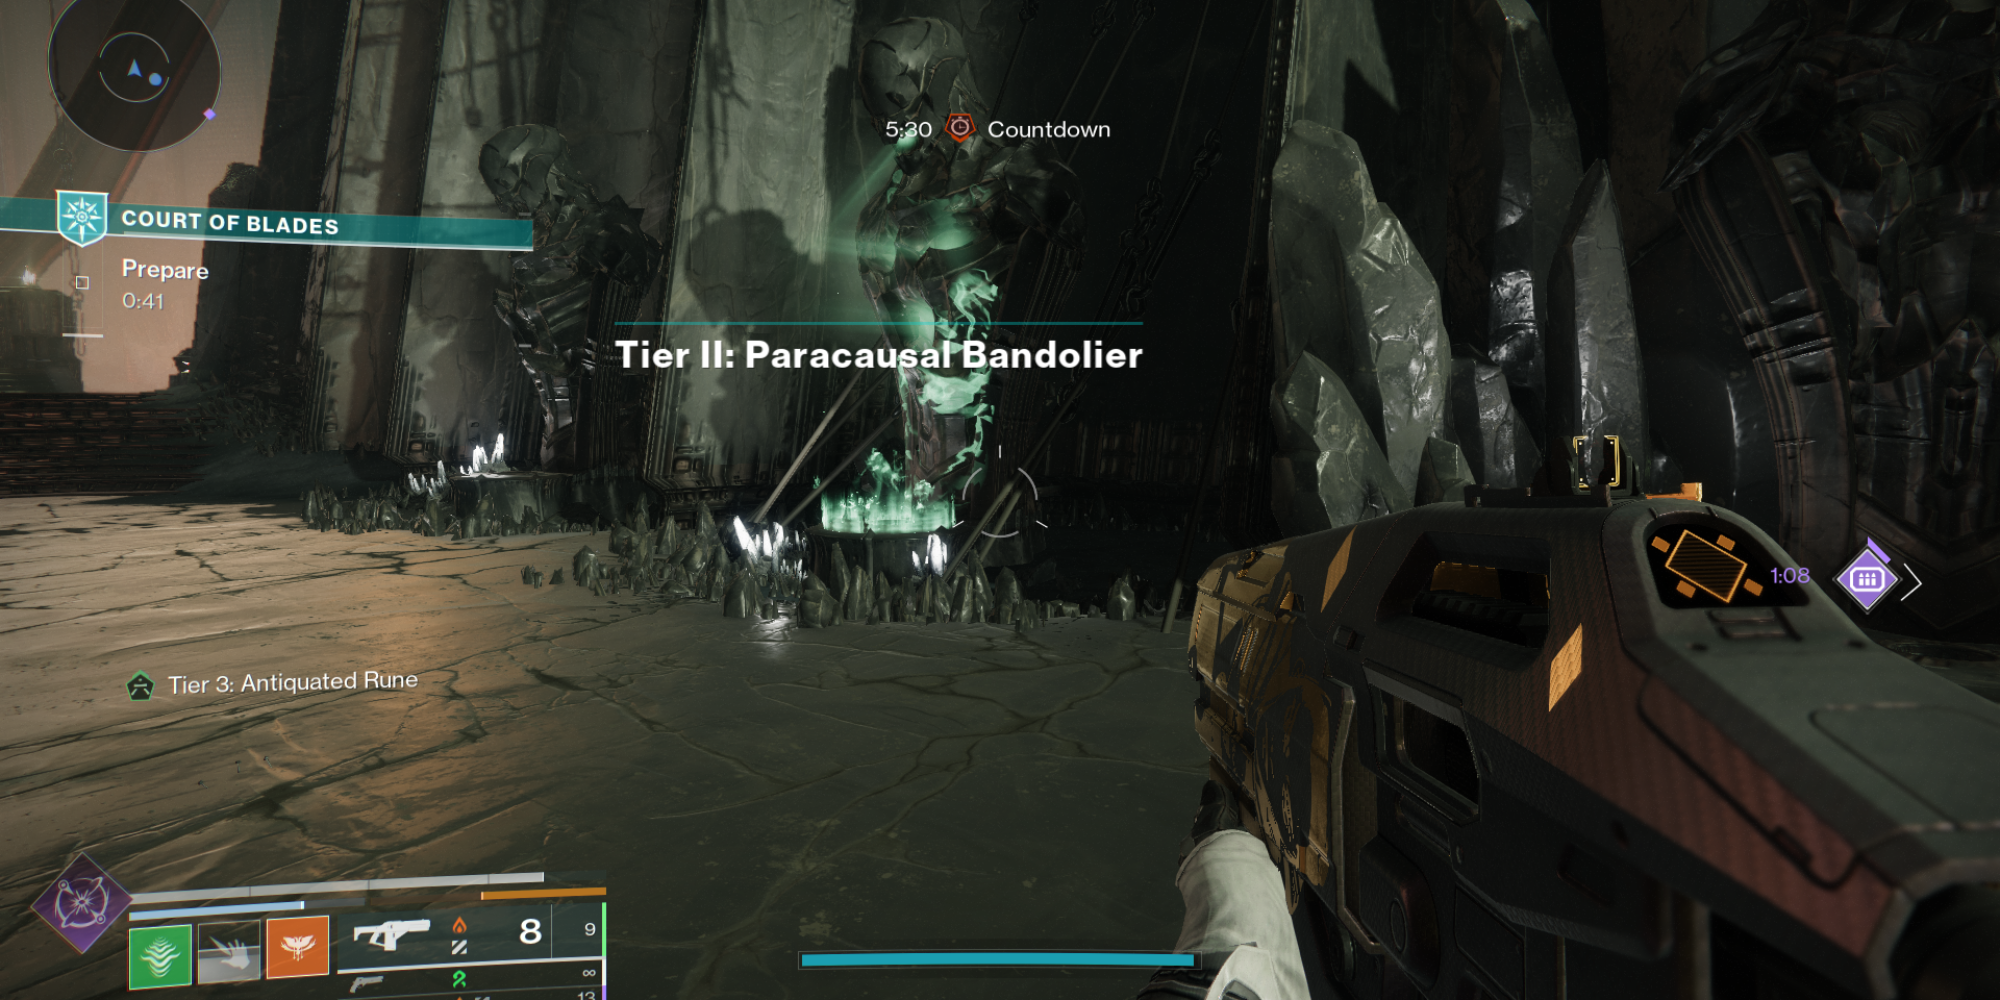
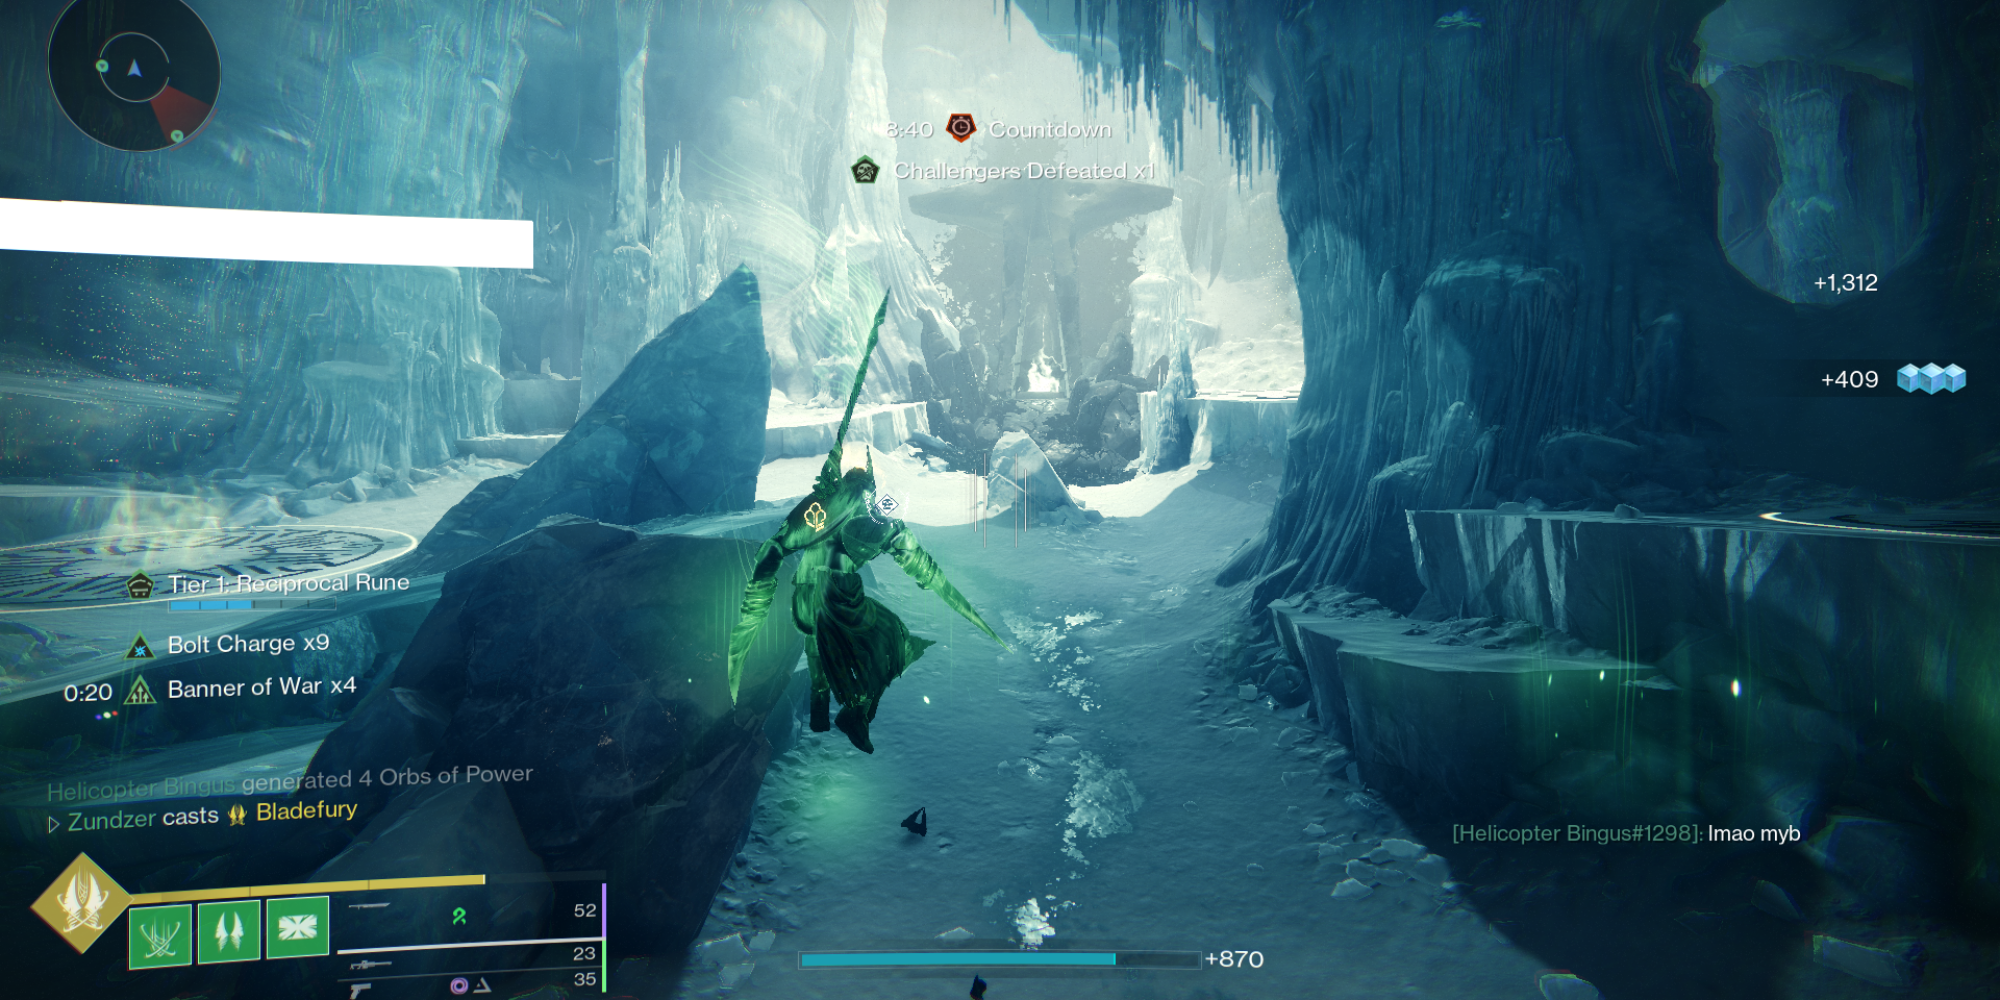
As you make your way, you’ll spot six intricate Hive statues lining the corridor leading to the Court of Oryx. Each of these figures holds weapons, which are known as Armaments. These buffs remain active throughout your journey and can be obtained using Runes.
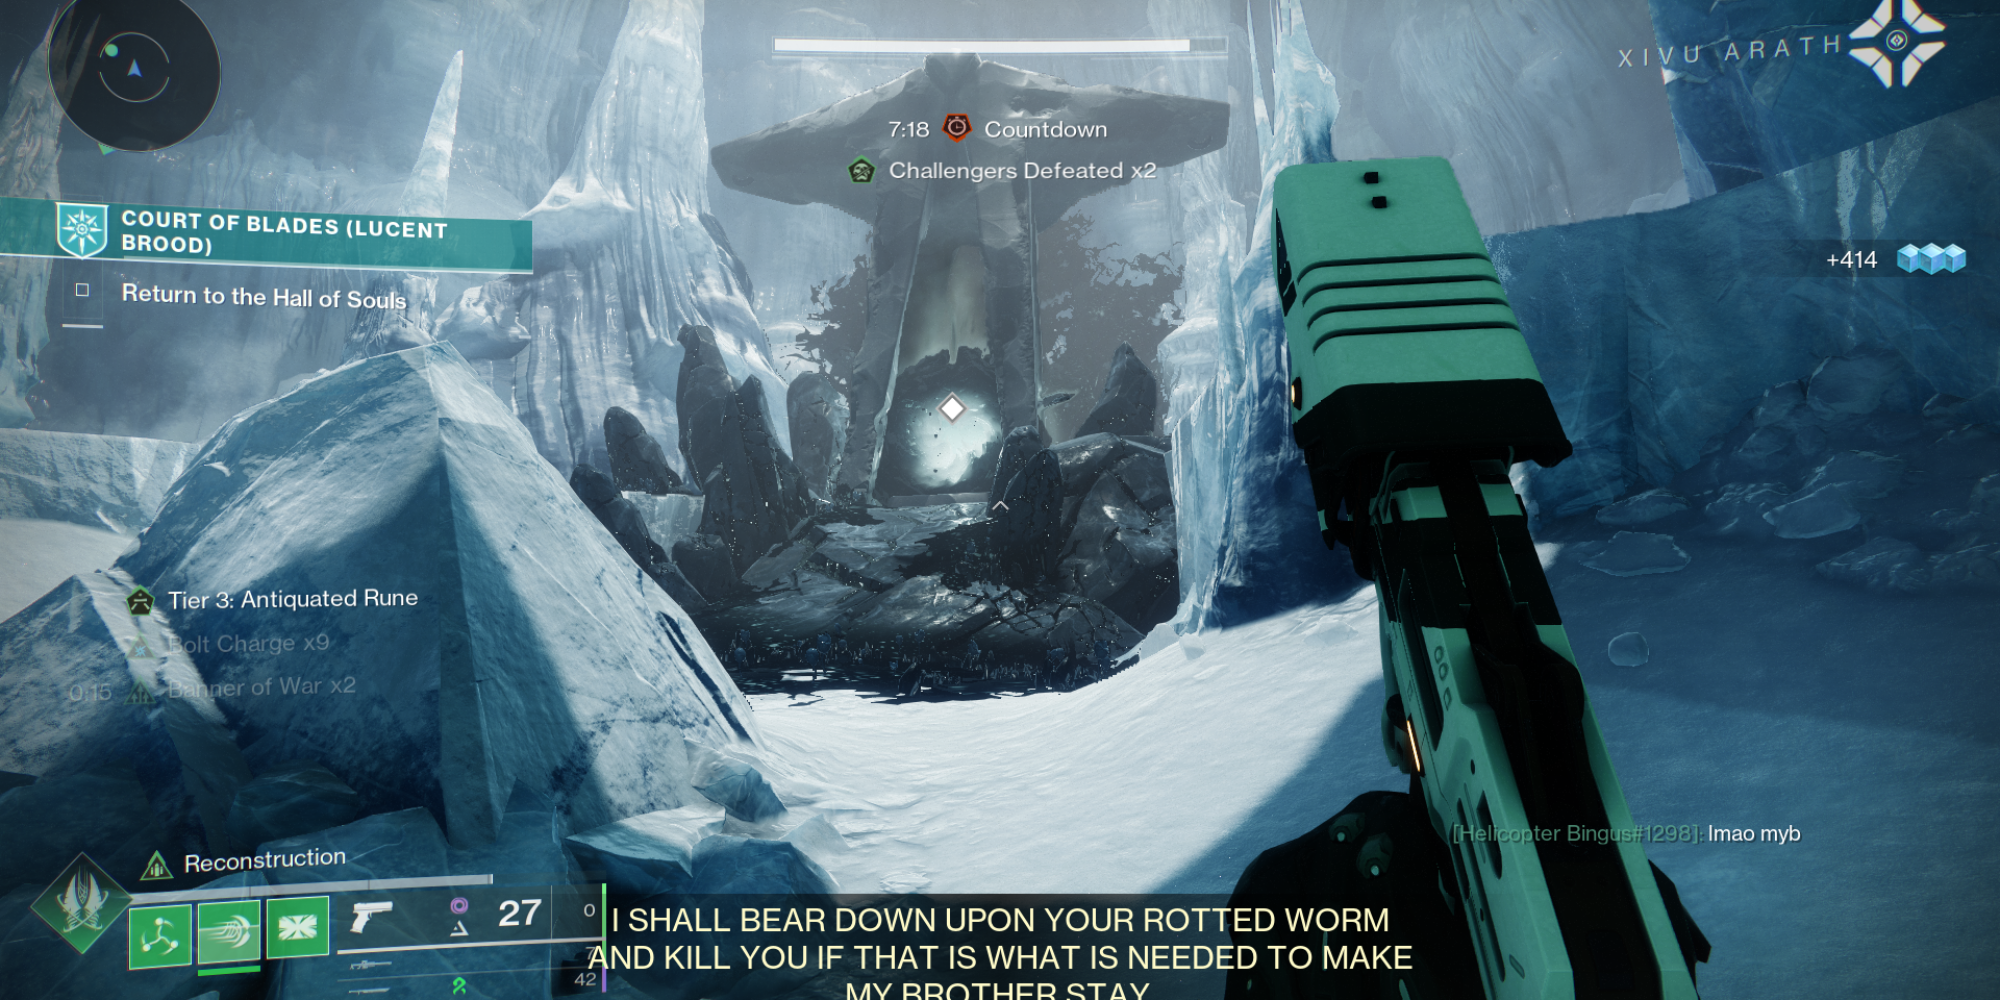
On the left side of your screen, you’ll see a meter as well. This gauge shows the number of Runes required for upgrading tiers. As your tier increases, more choices become accessible to you.
Runes can be obtained by finishing encounters or finding bonus items within Augmentations. The quantity amassed is contingent on your performance, and as you gather more, they progressively advance into tiers.
During the break, I can utilize my Runes to purchase weapons. Should I possess a Tier 3 Ancient Rune, I would be entitled to acquire any available weapons on offer.
Purchasing any kind of weaponry will always eliminate the Rune, no matter its tier level. For instance, if you possess a Tier 3 rune and buy a Tier 1 weapon, your rune won’t degrade to Tier 2. Be mindful when selecting your weapons.
Tips And Tricks

Since Standard isn’t particularly challenging, these techniques and strategies are most suitable for those aiming to conquer the Expert level.
Ensure you’re equipped with your optimal gear sets (loadouts) and always consider the Champions you’ll be facing. Aim for a mix of offensive and supportive weapons, ensuring you have at least one ranged weapon handy. I’ve found that relying solely on melee can be tricky when trying to hit certain enemies like Shriekers.
For a Titan character, you might find success exploiting the vulnerability of Bolt Charge and utilizing Storm’s Keep more often. A Synthocep loadout is also effective in this scenario since your character will frequently be in close quarters.
It turns out, boosting a Stronghold construction with a sword equipped for Flash Counter significantly amplifies the ‘tank’ role immersion for any Titan character.
In terms of Warlocks, a Prismatic build featuring Bleakwatcher and Devour is undeniably the top choice for any PvE scenario. This setup ensures that your health stays full at all times due to constant healing, and your grenade regeneration speed is significantly increased thanks to Devour.
Among my favorites is the combination of the Warlock class, equipped with Geomag Stabilizers, and the Ionic Sentry, armed with the Fusion Rifle known as Delicate Tomb.
One of my favorite pairings includes a Warlock utilizing Geomag Stabilizers and an Ionic Sentry wielding the Delicate Tomb fusion rifle.
Instead of hunters relying on certain builds, they can depend on trustworthy configurations such as the Void Hunter Gyrafalcon setup, or the Prismatic one with Gifted Conviction.
Be sure to buy Court of Blades enhancements from the Runic Enhancement tab on the Shaping Slab located within Eris’s Apartment, as these upgrades will greatly improve your gameplay.
Given that you’ll accumulate sufficient Sigil Shards for all runes eventually, it would be wise to invest your Sigil Shards into these specific runes initially.
- Sigil Rune
- Armament Rune
- Echelon Rune
- Remunerate Rune
- Adamantine Rune
Read More
- All Shadow Armor Locations in Crimson Desert
- Dark Marksman Armor Locations in Crimson Desert
- Sega Reveals Official Sonic Timeline: From Prehistoric to Modern Era
- Genshin Impact Dev Teases New Open-World MMO With Realistic Graphics
- How to Beat Antumbra’s Sword (Sanctum of Absolution) in Crimson Desert
- The Limits of Thought: Can We Compress Reasoning in AI?
- Where to Pack and Sell Trade Goods in Crimson Desert
- Enshrouded: Giant Critter Scales Location
- Who Can You Romance In GreedFall 2: The Dying World?
- All Frostcursed Armor Locations in Crimson Desert
2025-03-30 06:11