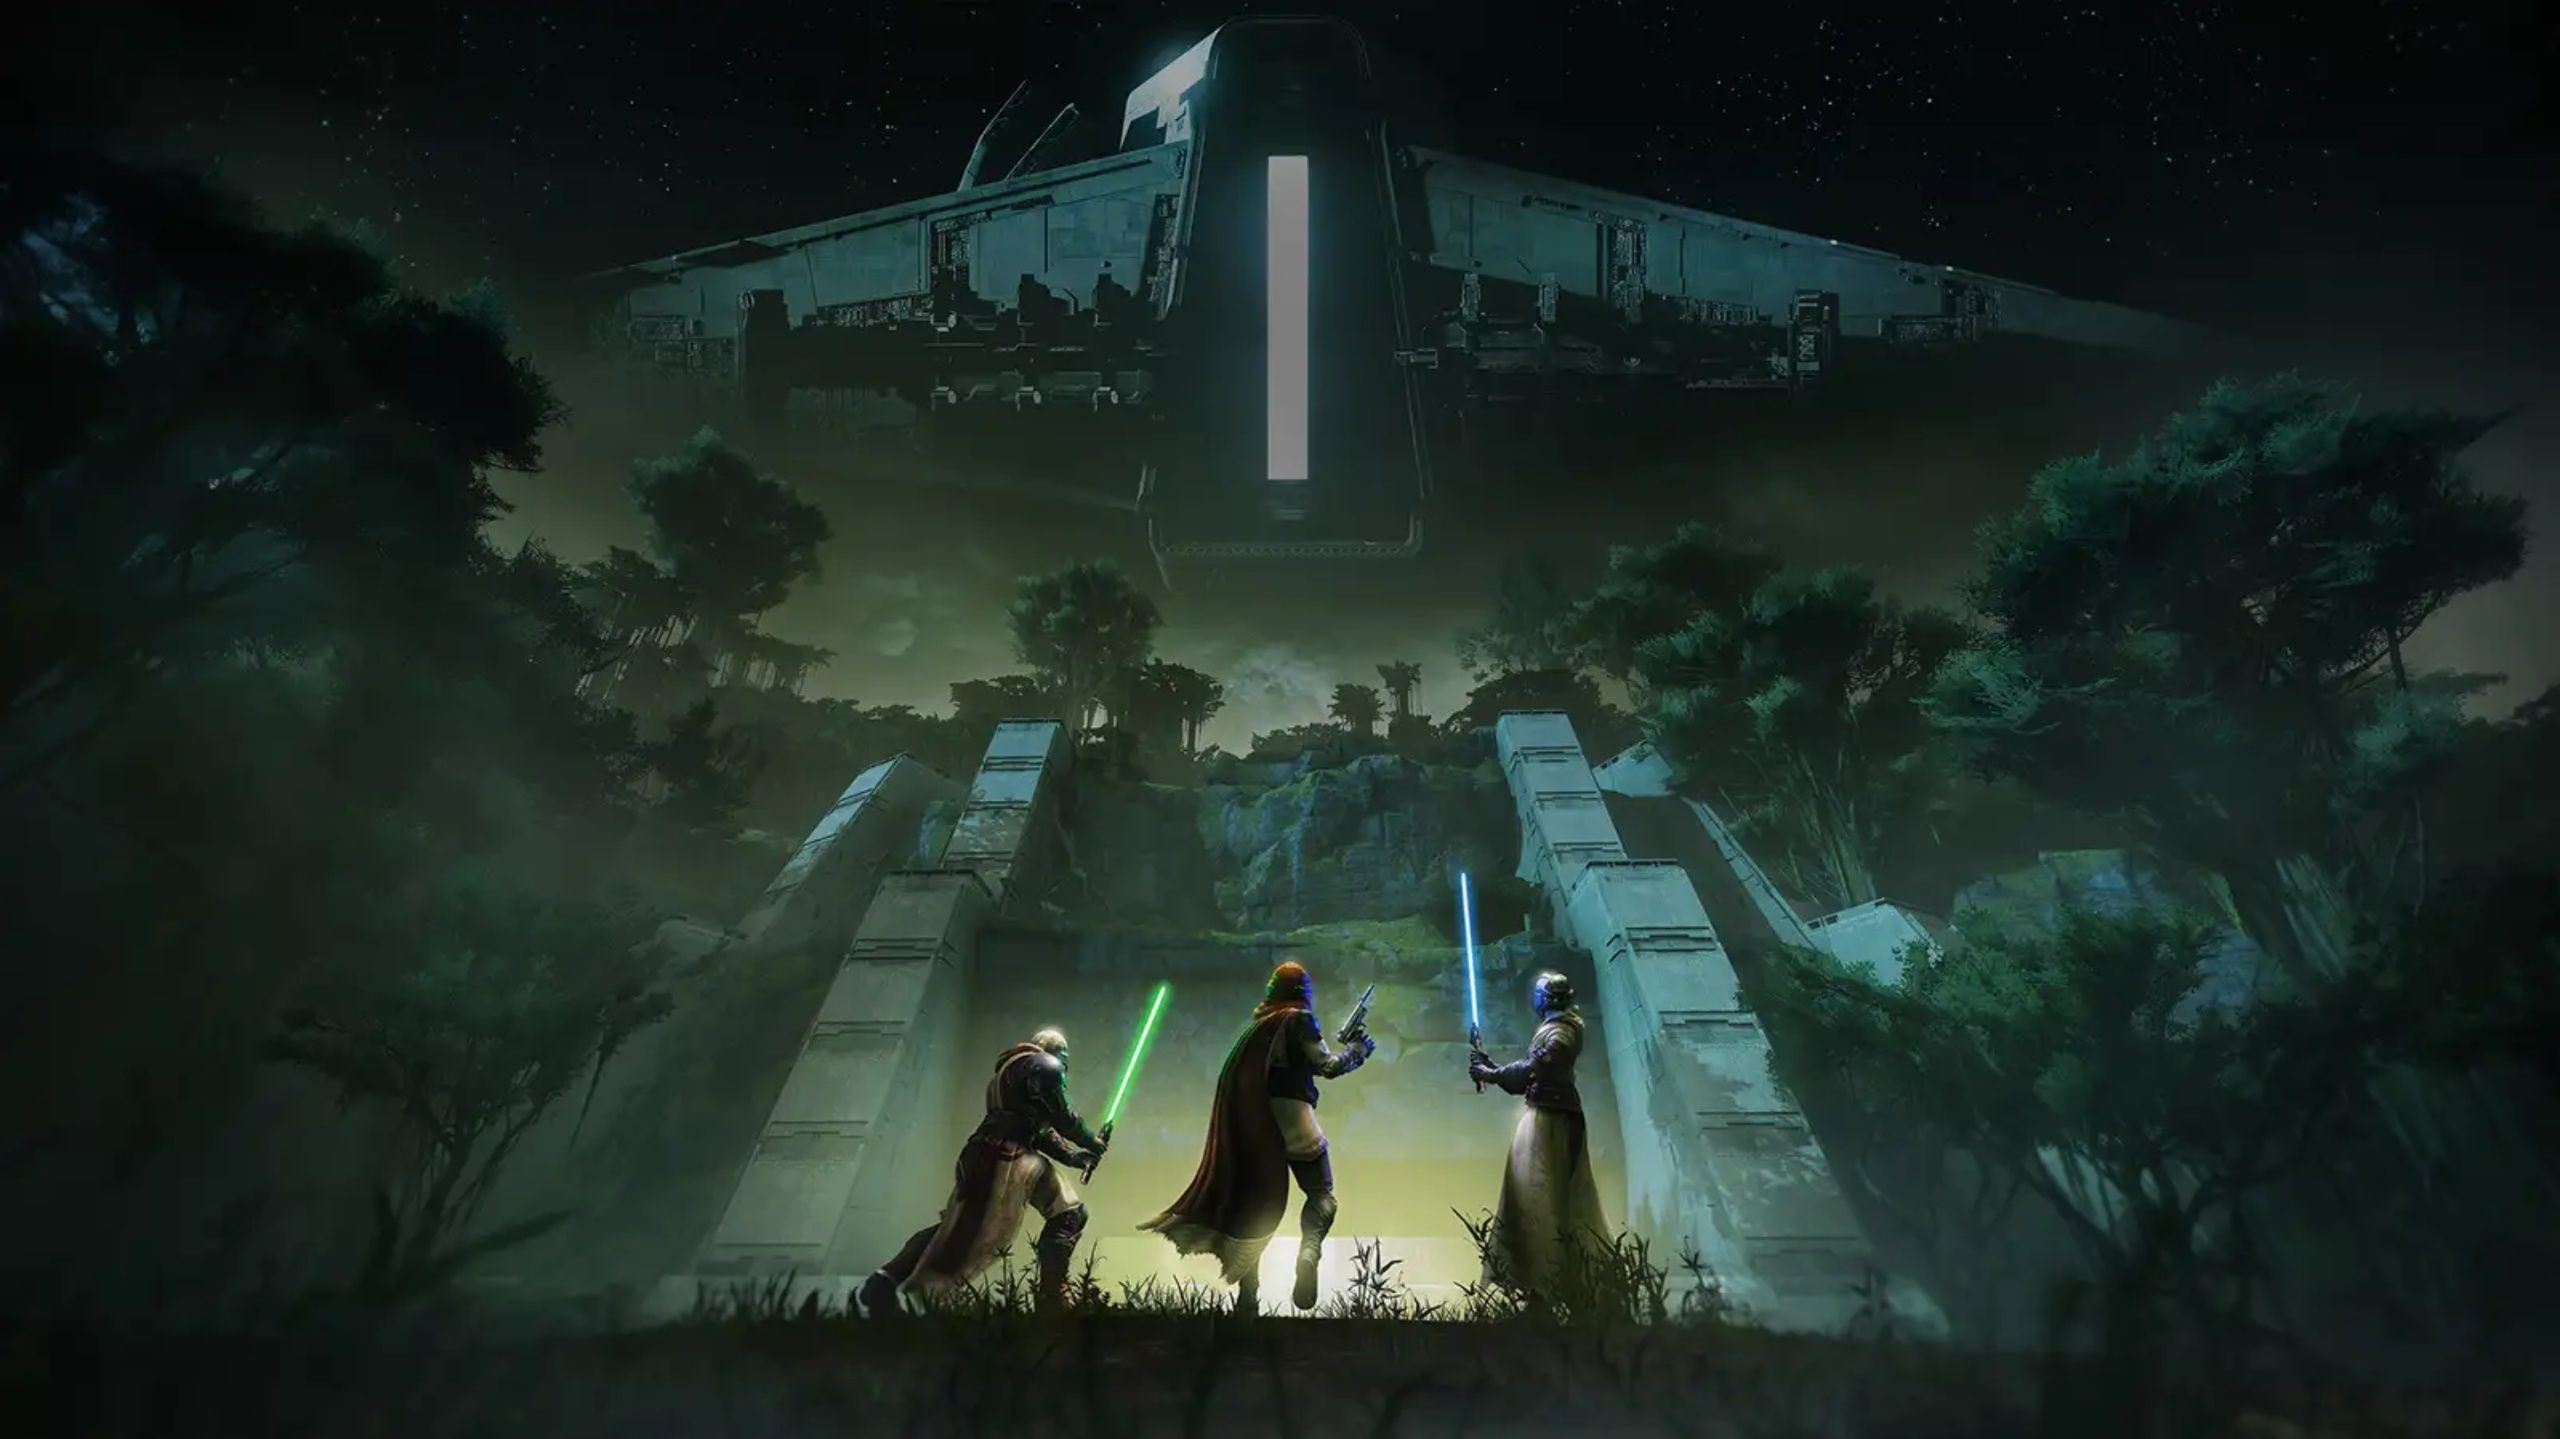
In Destiny 2: Renegades, a Praxic Temple is under attack by Bael’s Dredgen army and the Imperium, and it’s up to you and your fireteam to stop them. While the Equilibrium Dungeon in Destiny 2 is a lot of fun, new players might find it a little confusing at first.
We’ll break down every part of the Equilibrium Dungeon in Destiny 2, explaining the challenges and how to overcome them. We’ll also guide you through the jumping puzzles so you can navigate quickly and efficiently with your team, minimizing frustration and deaths.
Equilibrium Opening Encounter

To begin the Equilibrium Dungeon, first travel to the Lawless Frontier area on Venus through The Portal. After landing, proceed through the Temple Grounds and defeat the Cabal enemies you encounter. Continue forward and descend near the waterfall – this will lead you down a straightforward path to the Praxic Temple, a rally banner, and the start of the dungeon’s first challenge.
Equilibrium Encounter #1 — Harvester

To start, approach the Harvester ship near the Praxic Temple in the arena. The main goals of this encounter are to first gain enough Gathering Shadows to become a Shadow Novice, allowing you to break the shields of the Nameless Apprentices, and then to defeat the Behemoths that appear once the Apprentices are down.
To start, you need to activate the Gathering Shadows buff by interacting with one of the antennas near the red shield walls. Once you activate an antenna, its power source will become visible. To destroy it, simply bring a Nameless Apprentice close enough to explode – they detonate automatically when near the battery.
Once you’re inside, you’ll discover a faster, armed Sparrow vehicle. Hop on and race around the open area to collect the glowing light pools called Gathering Shadows. Collecting these fills a meter and gives you the Shadow Novice buff for 45 seconds – you can collect more pools to extend the buff’s duration.
The Shadow Novice ability lets you switch between using grenades and a new Shadow Power. Use the Shadow Power grenade on an enemy Nameless Apprentice while they’re preparing to explode – this will break their shield, allowing you to defeat them and summon a powerful Behemoth. You’ll face 6 Nameless Apprentices, each summoning a Behemoth when defeated. After you’ve taken down all 6 Behemoths, the first part of this challenge is finished. Then, simply interact with the Harvester ship to move forward.
Equilibrium Traversal Puzzle #1
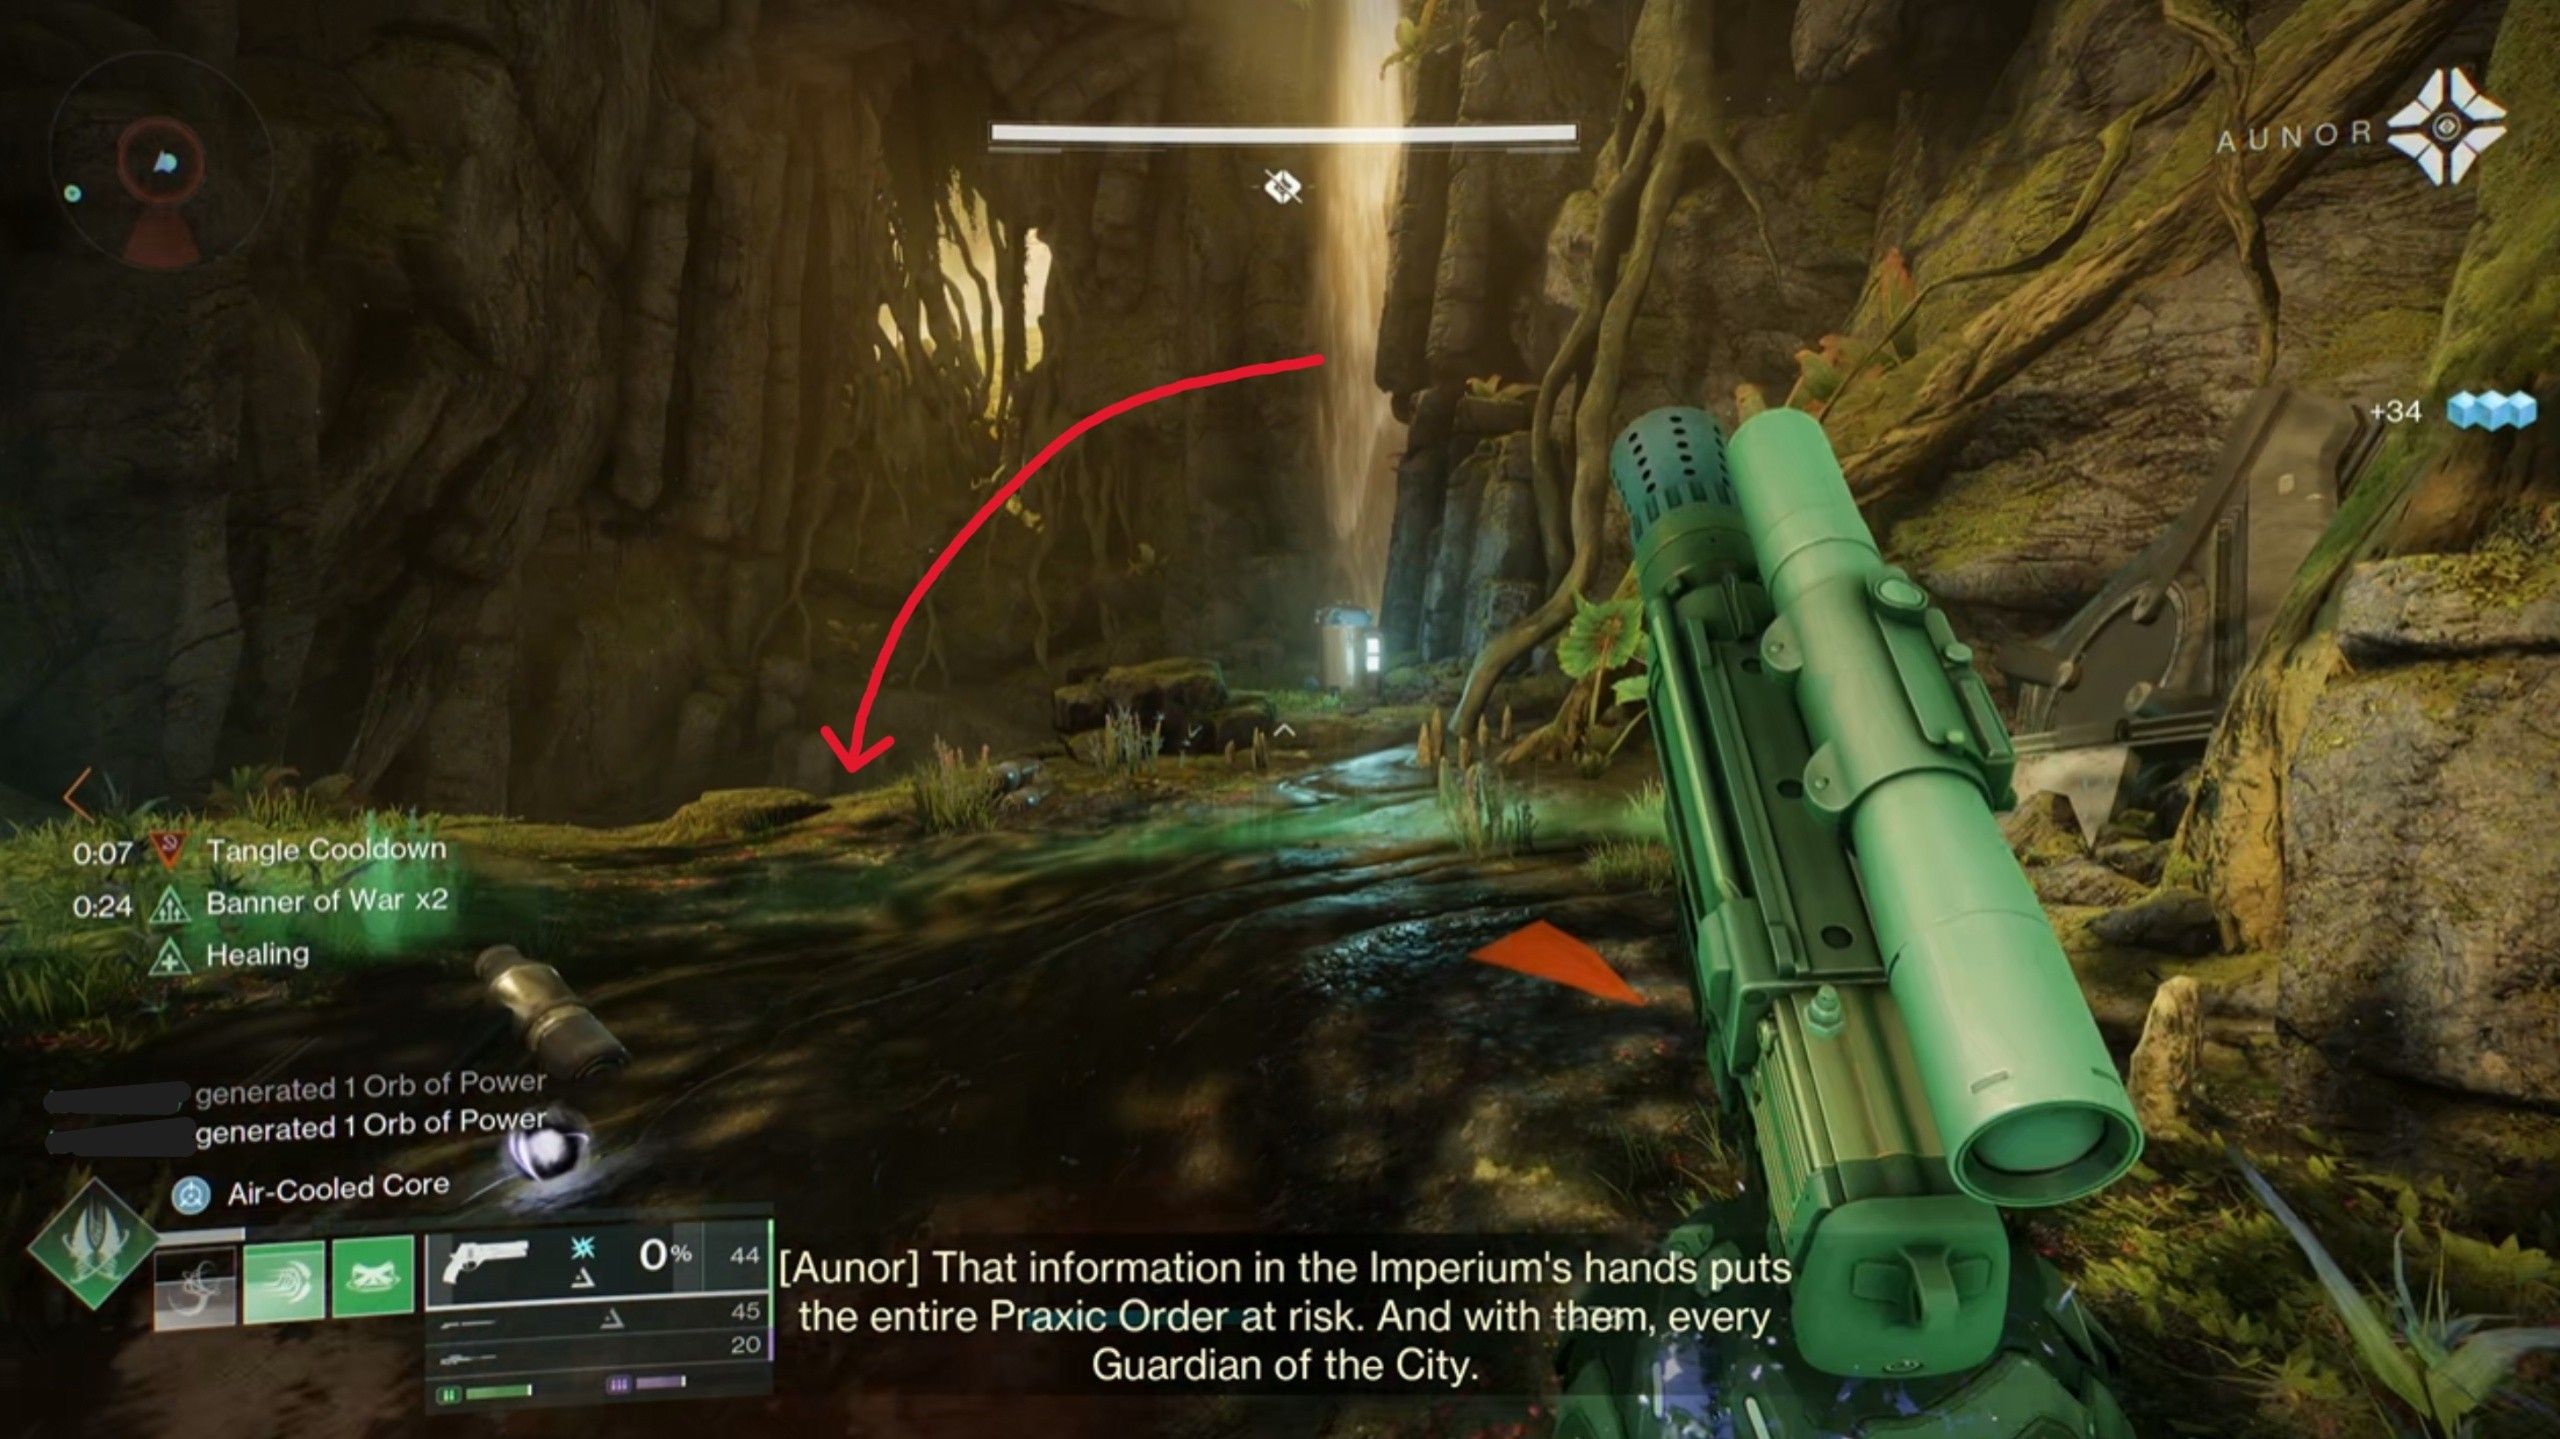
Once you’re on the Harvester, you’ll start inside a large Imperium ship. Look up right away and jump onto the platforms. You’ll see a vent you can shoot open to crawl inside. Follow the path forward, and you’ll come to a locked door. To open it, shoot the three blue batteries – they’re near the door and across from each other.
The ship is about to accelerate using its NLS drive. To move to the next platform, stand as far to the left as possible – the drive’s speed will carry you to the right. After landing, go left and destroy the blue fuse inside the room.
You can find a hidden chest in the central room. To reach it, jump onto the platforms in the middle and then crawl into the low space underneath.
Go forward and destroy the next blue fuse to unlock the door. Once you enter the next room, look to your right for a vent. This vent leads to the second area, where you’ll fight the first boss.
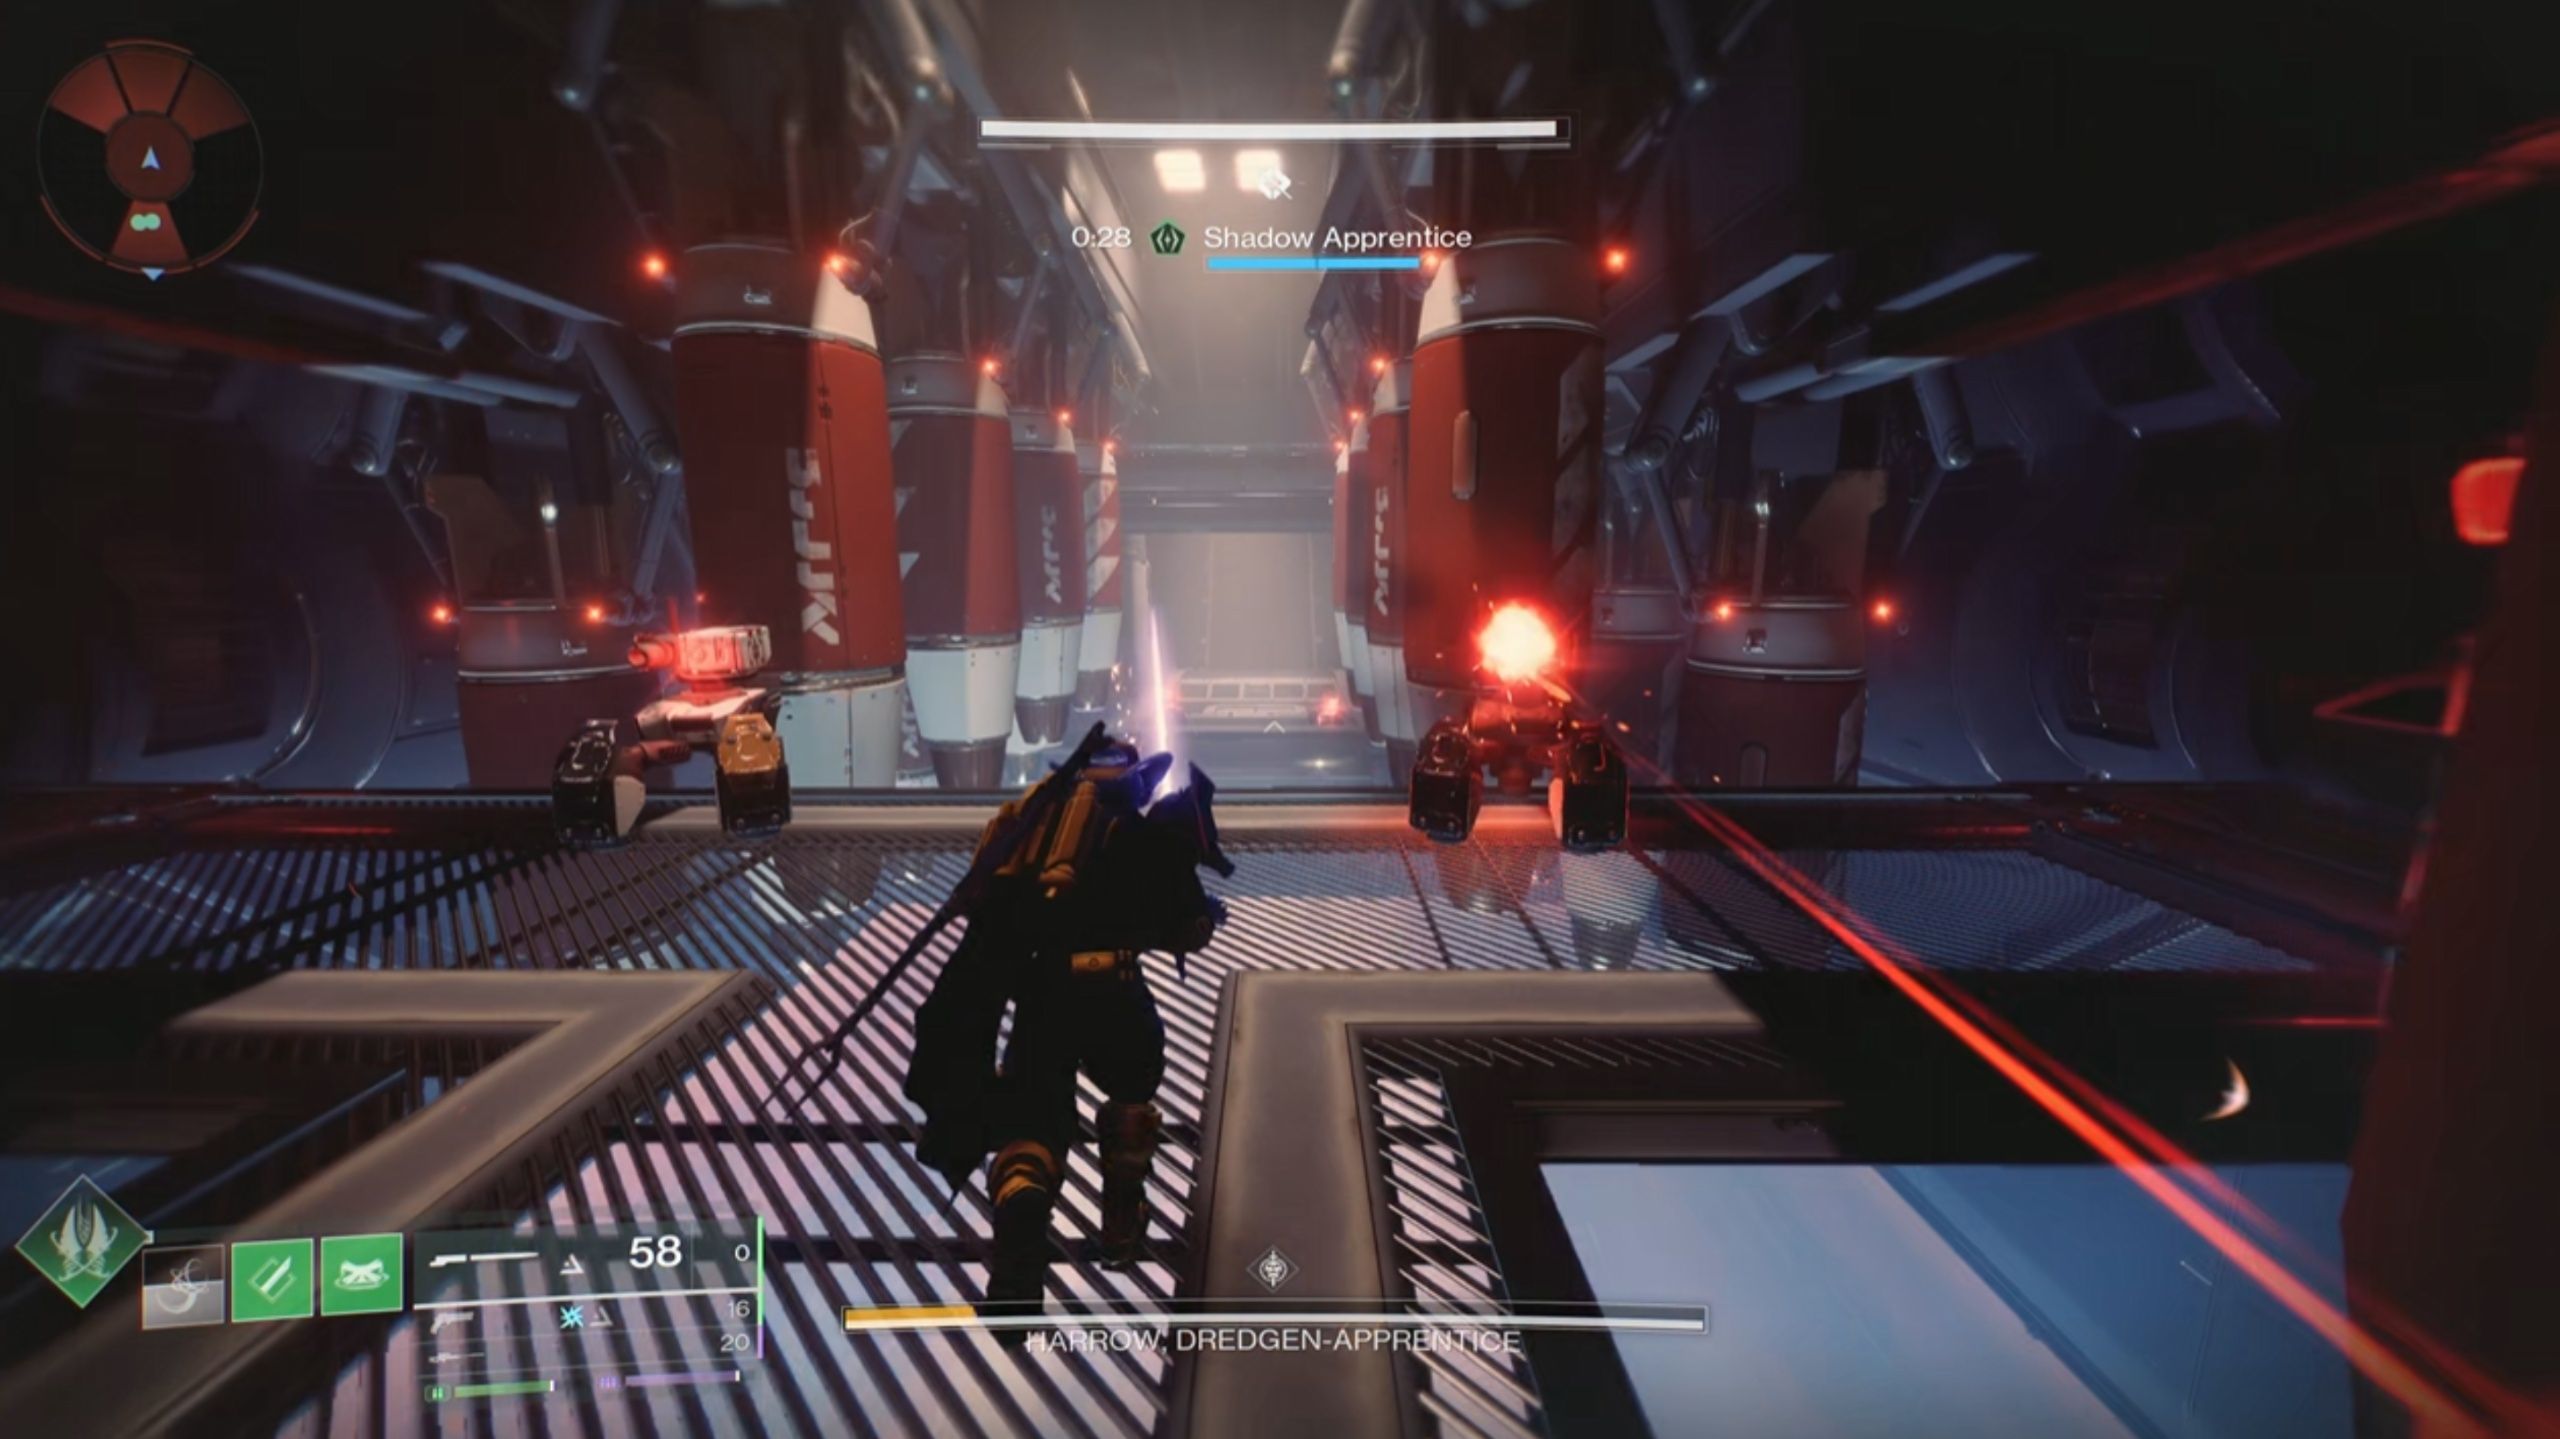
Equilibrium Encounter #2 — Dredgen Disciple Harrow

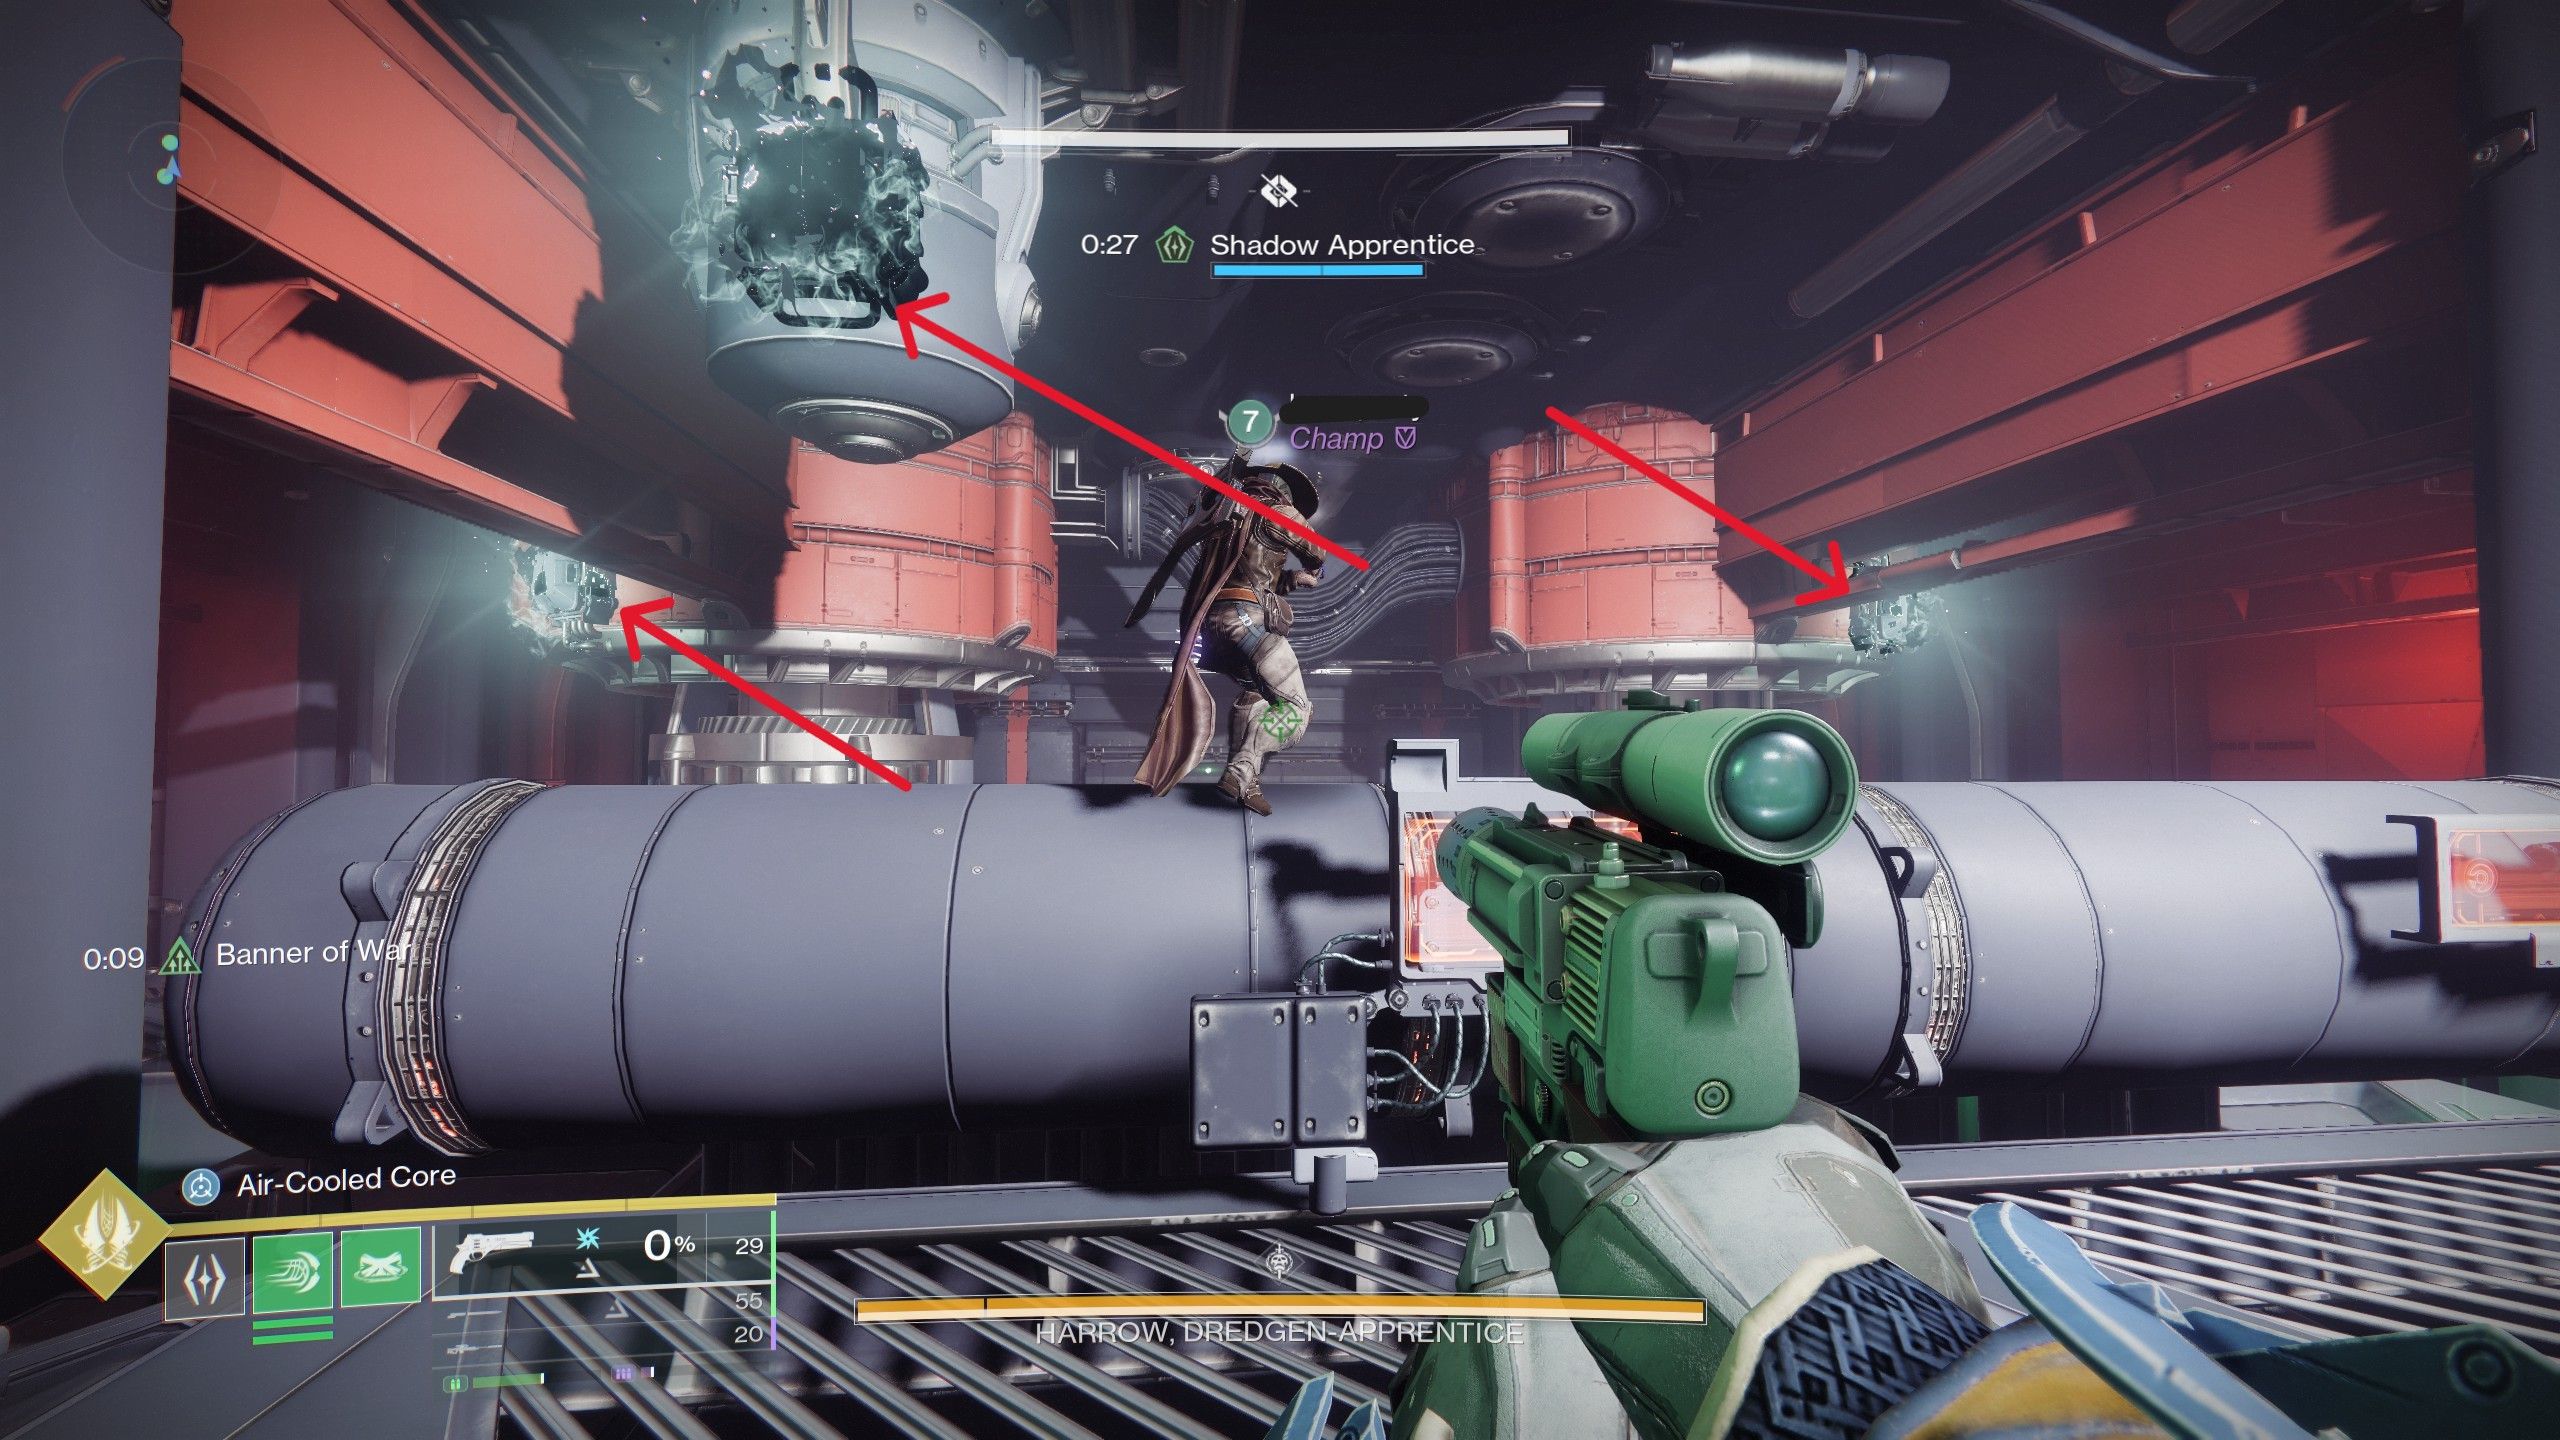
After using the rally banner, turn around and shoot the blue fuse on the locked door. This will open a trap door in the floor, letting you fight the boss alone. Harrow will appear with his special blades and a protective shield, so it’s best to avoid him at first. Instead, go through one of the doors that opens when the Cabal soldiers attack.
Once you’re inside, you’ll need to defeat Psion Lackeys to get the Gathering Shadow buff. Each room also contains a Centurion Lackey that provides this buff, so defeat enough of them to become a Shadow Apprentice. Once you have the buff, return to the three large outer rooms where you fought the Centurion Lackeys. You’ll find three energy batteries, infused with Taken energy, on the walls of each room.
Use your Shadow Power to shoot the batteries and close their protective panels. You’ll know you’ve completed a room when three green lights appear above the doorway. Once you’ve done this in every room, a message will appear at the bottom left of your screen saying “Emergency subsystems active.” This means you can go back to the central room with Harrow.
During the Harrow fight, you can weaken his shields by shooting the blue fuses on the walls. This opens a hatch that you can lure Harrow into, causing him to lose a third of his shield. Repeat this process twice. Then, use the Shadow Apprentice buff to target the batteries on the walls and activate the large blue generators, again luring Harrow to take the hit. This will break his final shield layer and start the damage phase.
You can also use Shadow Power to force Harrow into the generators while he jumps back up. Or, have him strike the generators during the damage phase to make the phase last longer.

Once you’ve damaged Harrow enough to trigger his last stand, he’ll start running through the ship. You’ll need to follow him, but watch out for turrets and enemy Cabal soldiers. You can defeat Harrow in the final room, but if you don’t, he’ll recharge his shields. To disable his shields, shoot the blue fuses in the room, which will open a hatch and cause him to fall. Once Harrow is defeated, a chest will appear with your rewards!
Equilibrium Traversal Puzzle #2
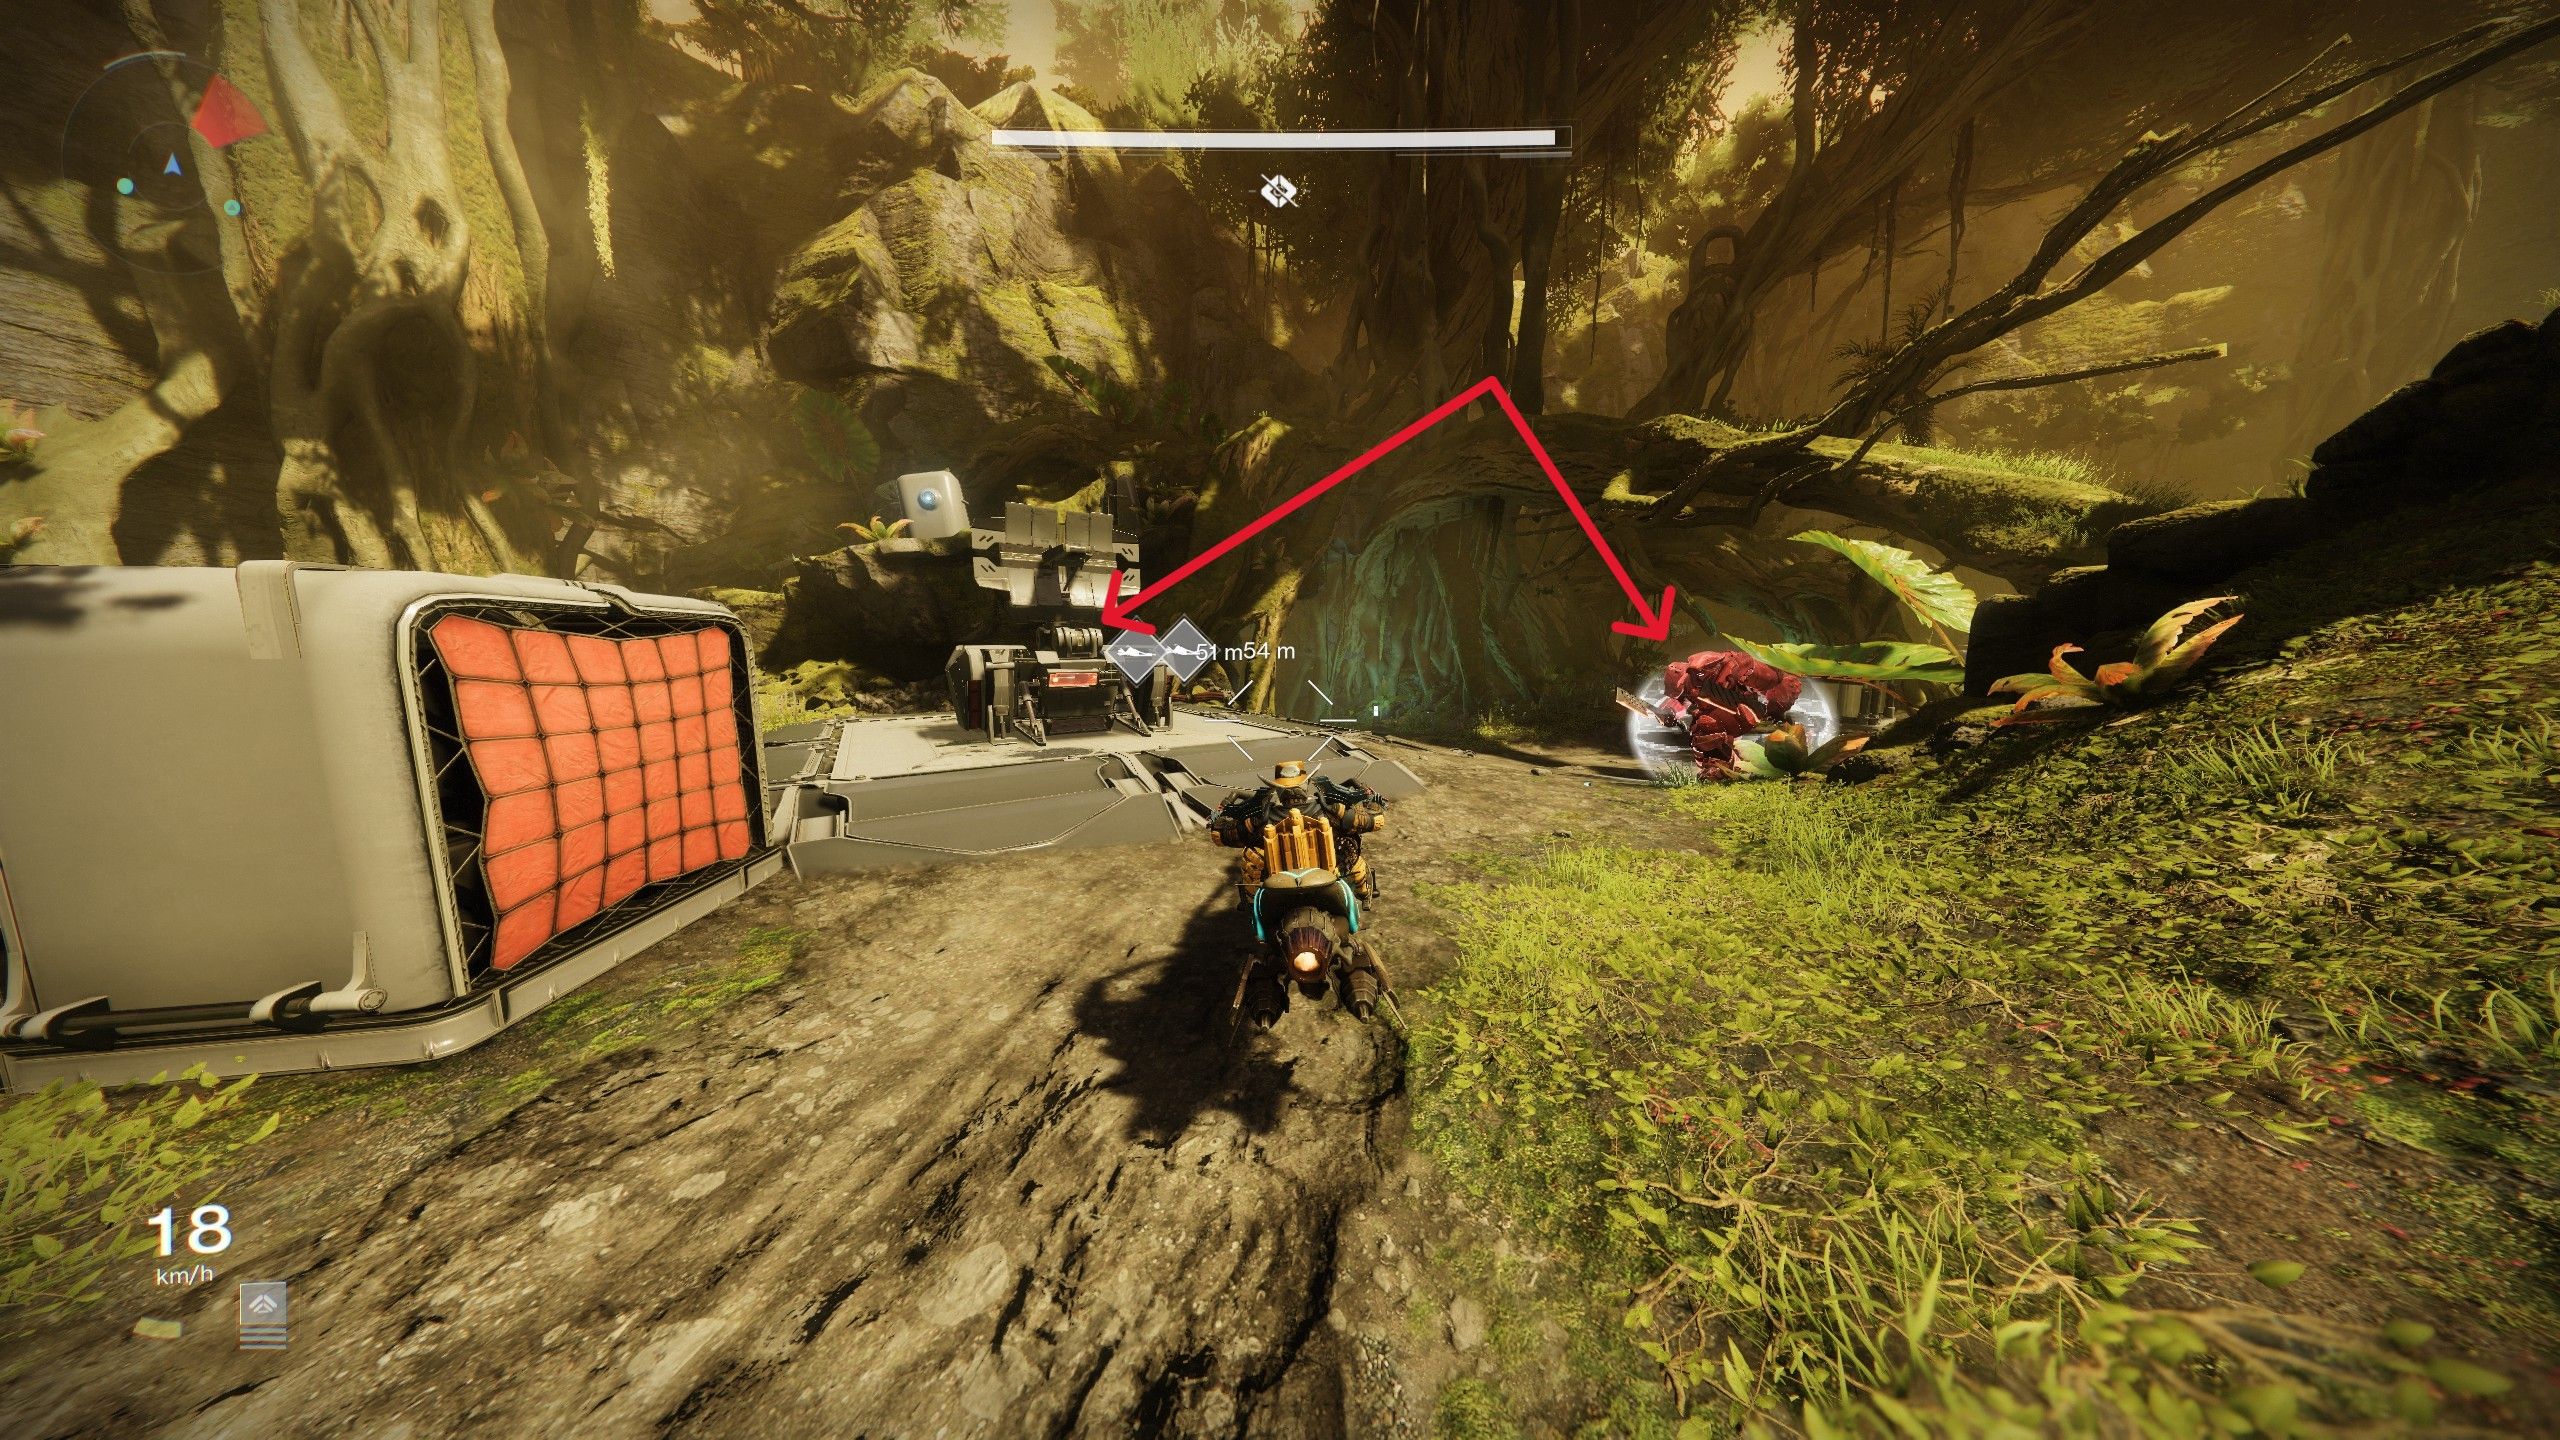
After defeating Harrow, go to the middle of the room and pull the lever. This will lower a platform, letting you exit lightspeed and jump onto the newly arrived ship on the left. Once on board, follow the path to the left until you find two red lights with switches. Flipping these switches will unlock access to the ship’s interior.
Keep following the path until you reach the vent system, which will lead you to the large shipping hangar. Once inside, defeat all the Cabal enemies and the Behemoth. Then, use the console to activate the moving platforms. Look up – you’ll find the next area through a hatch in the center.

Keep moving forward, and when you reach the tank, go underneath its platform. You’ll see four openings, each leading to a different route. Only one of these routes will take you where you need to go – the others are all dead ends.
You’ll then enter a large room where you need to collect more Gathering Shadow. Climb the platforms and use a Shadow Power grenade on another panel covered in Taken energy. This will open a hatch in a red pipe, giving you access to the final challenge.
Equilibrium Encounter #3 — Dredgen Sere
Dredgen Sere is the last boss in the Equilibrium Dungeon. You start the fight by walking up to him, but it’s best to attack from far away. He has a strong attack that can seriously damage or defeat you quickly.
Okay, so Dredgen Sere is a pain – sometimes he’ll lock onto you, and when he does, you’ll see pink text saying “Face your death!” That’s your cue to move because he starts blasting lightning, and it doesn’t stop until you’re dead. Luckily, there’s a way to stop it! If you shoot his hands, you can stun him and break the attack. Seriously, aim for the hands – it’s the key to surviving!
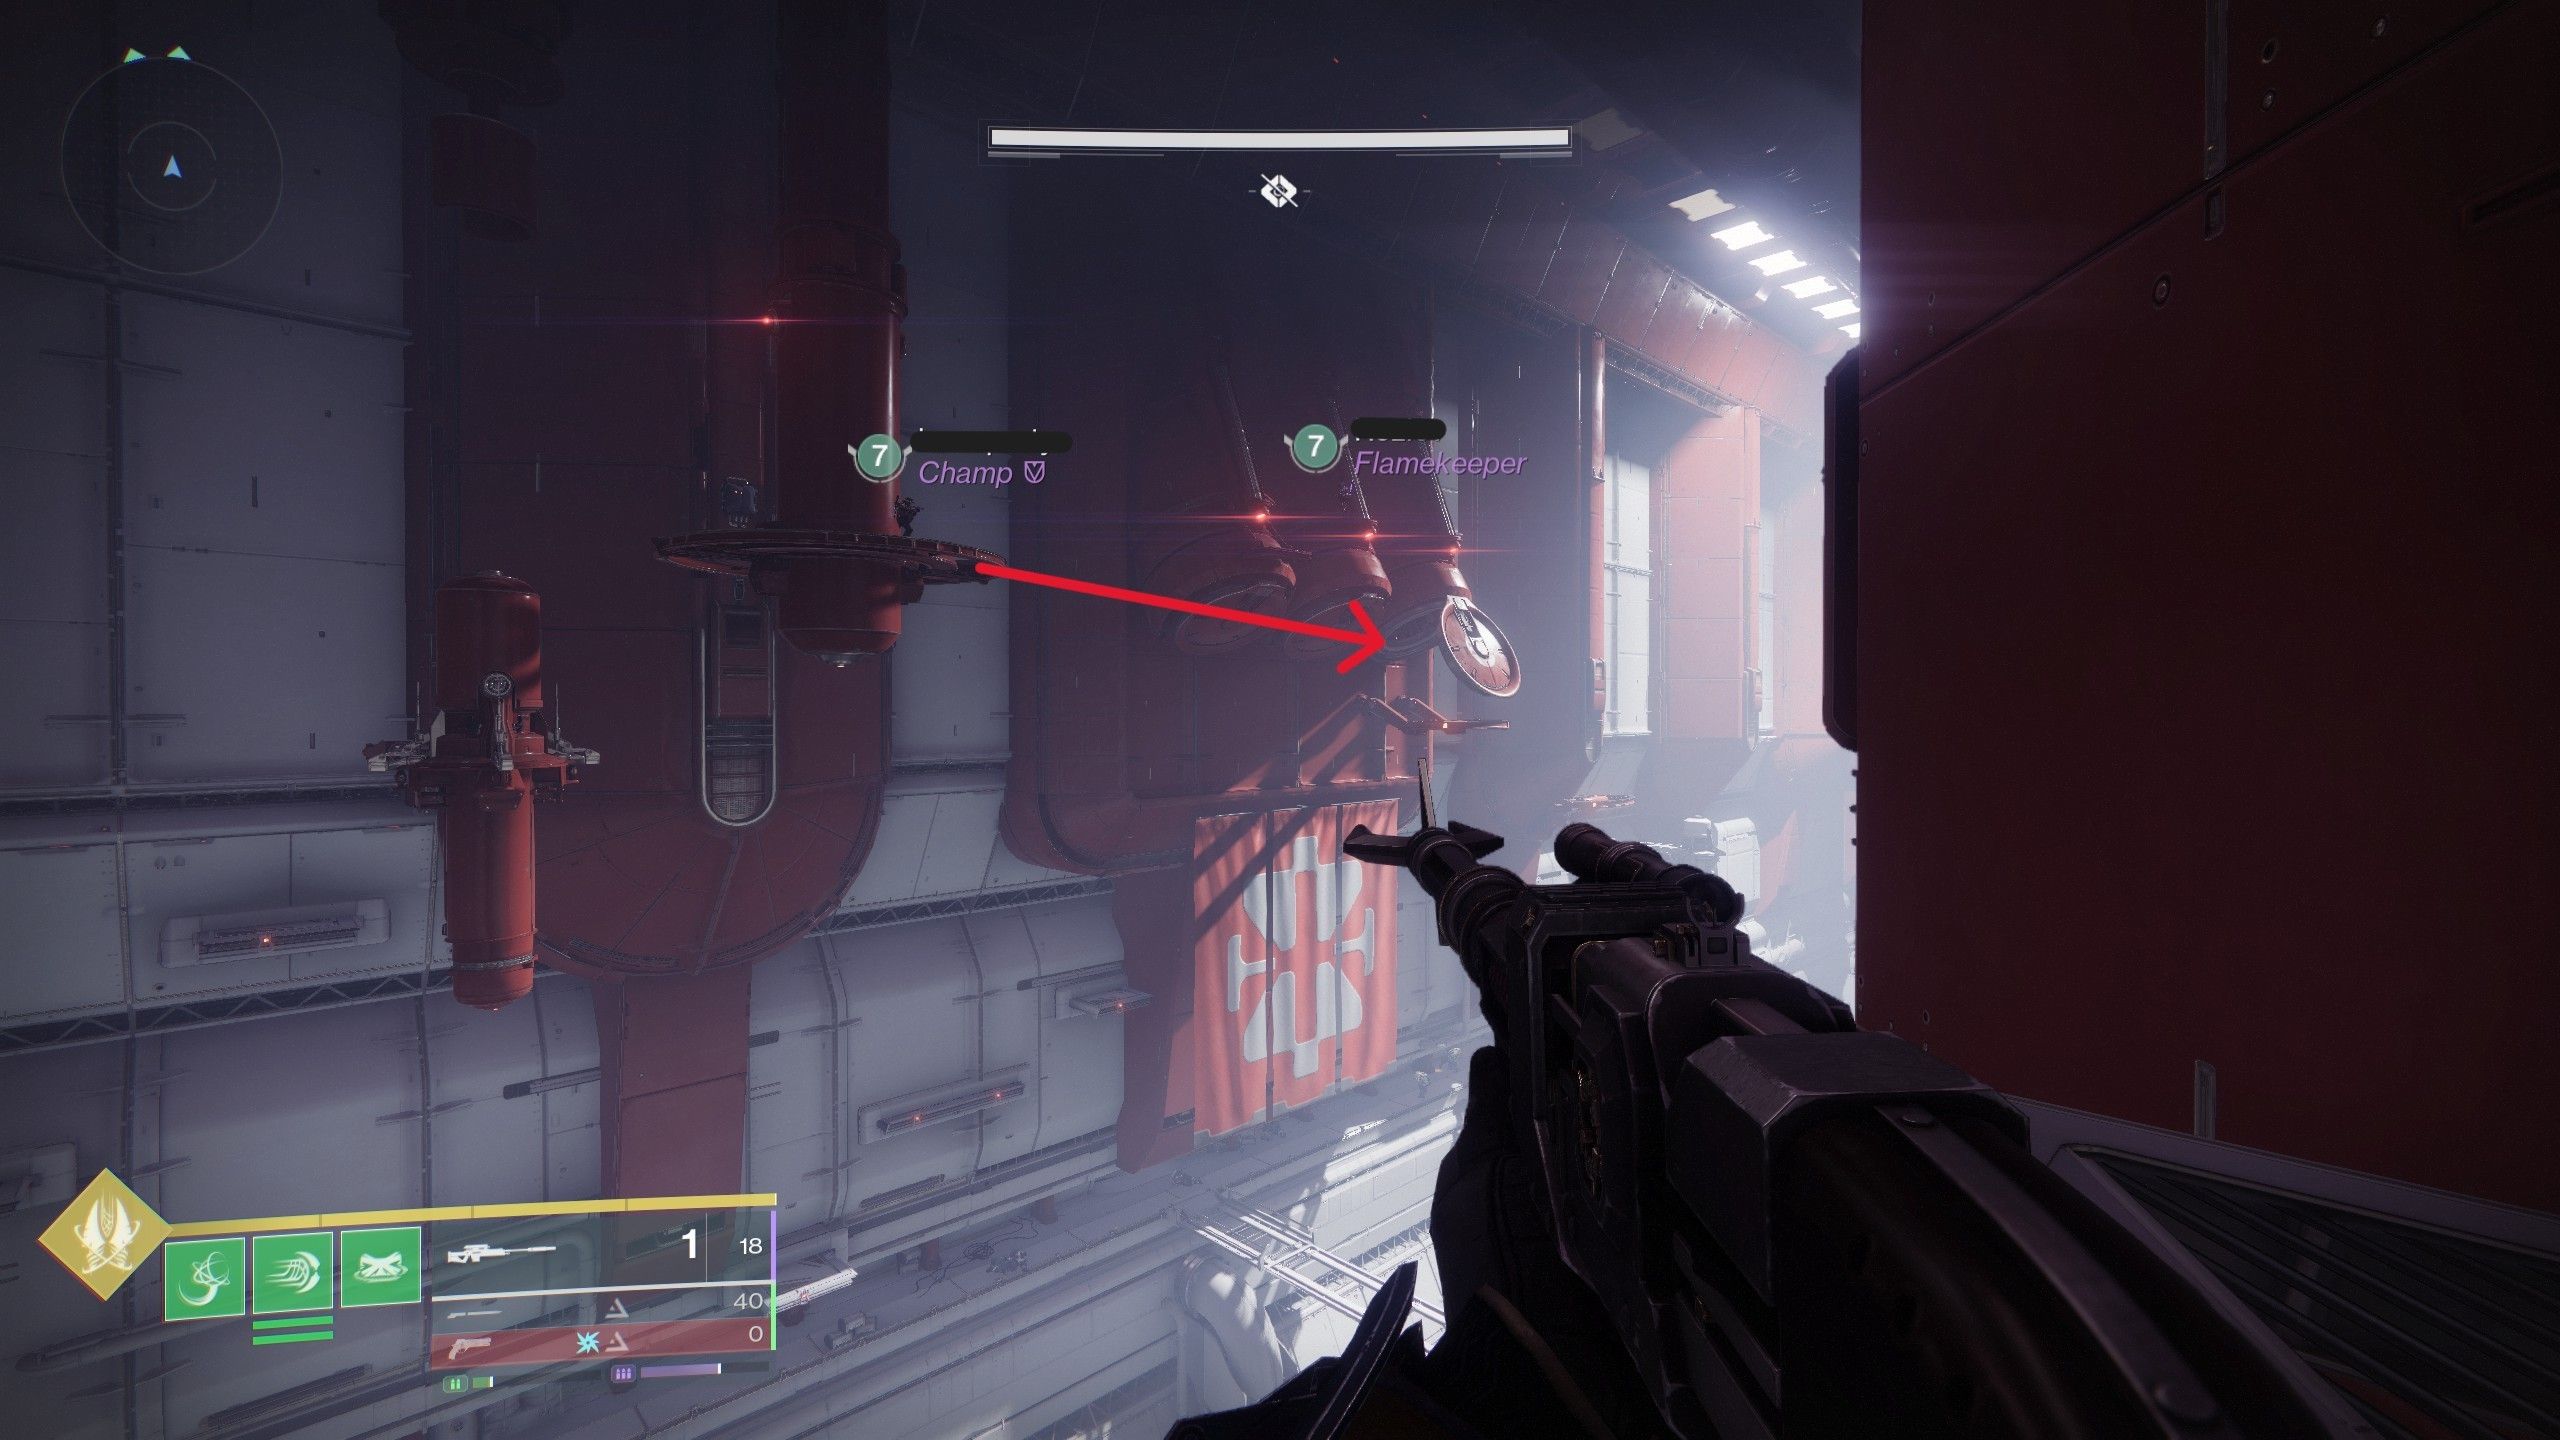
The Dredgen Sere encounter works like this: Defeat Centurions to charge up your Gathering Shadow, eventually becoming a Shadow Master. Then, use your Shadow Power grenade to break the shields of the five Nameless Apprentices and defeat them. Each time an Apprentice dies, a Taken orb in the center will lose its shield. Destroying these orbs gives you extra time before the ‘Lure of the Dark’ buff forces you into the Ascendant Realm.
After entering the Ascendant Realm, your first task is to defeat the five Blistered Shadow enemies located throughout the arena. While you can defeat them normally, using the Shadow Master ability lets you instantly defeat them by interacting with them. This also destroys a Taken orb back in the regular realm.
You’ll find the 5th Blistered Shadow floating above the main structure. To reach it, you need to climb the Taken platforms that appear as you go. However, these platforms only become available after you defeat the first four Blistered Shadows. Destroying the Taken growths on the central pillar after each Shadow falls will give you more time inside the Ascendant Realm.


After you’ve destroyed all the Taken orbs in both areas, you’ll start dealing damage to Dredgen Sere. He’ll also summon lightning from the towers around the arena, but you can disable these towers by shooting the panels on the walls with your Shadow Power. If you deal enough damage during these phases, Sere will be defeated, and you’ll receive your final reward chest.
Read More
- All Shadow Armor Locations in Crimson Desert
- How to Get the Sunset Reed Armor Set and Hollow Visage Sword in Crimson Desert
- Best Bows in Crimson Desert
- Jujutsu Kaisen Season 3 Episode 12 Release Date
- Wings of Iron Walkthrough in Crimson Desert
- All Golden Greed Armor Locations in Crimson Desert
- All Helfryn Armor Locations in Crimson Desert
- How To Beat Ator Archon of Antumbra In Crimson Desert
- How to Craft the Elegant Carmine Armor in Crimson Desert
- Dark Marksman Armor Locations in Crimson Desert
2025-12-14 06:11