As a seasoned Guardian who’s navigated through countless Crucible matches and Raids alike, I must say this Vesper’s Host dungeon is quite the challenge. The boss fight, in particular, has left me scratching my head more than once, but fear not, fellow Guardians! With a bit of strategy and teamwork, we shall conquer this beast and claim our rightful rewards.
In Destiny 2, the second episode has introduced a brand-new Braytech-themed challenge, Vesper’s Host. Packed with novel puzzles and intriguing lore enigmas, this dungeon refashions the pre-existing mechanics of Deep Stone Crypt to offer both rookie and seasoned players an invigorating adventure.
In Vesper’s Host, you’ll find three instances where you can collect loot, with two of them being boss fights. What makes this journey interesting are the smaller segments between these encounters – these include platforming challenges and puzzles focused on resource management, which offer hints about what lies ahead in the upcoming fight.
Quick Links
- How To Access Vesper’s Host
-
Preparation – Suggested Loadouts
-
Core Mechanics
-
Opening Encounter – Scanner and Operator
-
First Encounter – Dunking Nukes
-
Navigating The Maze And Dunking More Nukes
-
Second Encounter – Raneiks Unified
- DPS Phase Set Up Example (Step By Step)
- Maximizing DPS
-
Jumping Puzzle
-
Third Encounter – The Corrupted Puppeteer
- First Section – Radioactive Clones And Shooting Panels
- Second Section – Depleting Boss’s Immunity Shield
- Damage Phase
How To Access Vesper’s Host

Before visiting Spider in The Last City, it is necessary that you own the dungeon pass from The Final Shape game first, as this will grant you access to the dungeon. Once there, Spider will provide you with a quest about an unusual occurrence on a deserted space station close to Europa.
This dungeon offers a worthy challenge, since completing it grants you some fantastic treasures. Additionally, there’s a possibility that you could acquire the revamped Destiny 1 exotic known as Icebreaker upon successful completion.
Preparation – Suggested Loadouts
It’s advisable to choose a build that aligns with your gaming approach, as it can significantly enhance your gameplay experience. However, including any of the following items in your equipment setup can notably simplify your journey:
Every item on the list comes with a brief description of the situation it’s most suitable for, enclosed in parentheses. Items that are highly recommended are emphasized in bold.
| Recommended Gear and Abilities | ||
|---|---|---|
| Supers and Abilities | Weapons | Exotic Armor |
|
|
|
Core Mechanics
Just as the Deep Stone Crypt features three key abilities – Operator (Red), Scanner (Yellow), and Suppressor (Blue) – Vesper’s Host operates similarly. If you’re familiar with Deep Stone Crypt, these roles should already be recognizable. However, in Vesper’s Host, they function slightly differently:
- Operator buff allows you to shoot glowing red panels scattered throughout each puzzle.
- Scanner shows which correct targets to shoot. Targets will appear as yellow, hexagonal markings on your radar, and will disappear if it’s the wrong one. You’ll know you have the correct object if it turns white on your radar (there will also be an audio cue).
- Suppressor disables a boss. By pressing your grenade button, you deploy a blue, man-shaped decoy with a rather wide radius. Shooting it triggers an explosion that can make certain bosses vulnerable.
As a gamer, let me share my perspective: The main distinction between Vesper’s Host and Deep Stone Crypt lies in the timer for their buffs, which lasts a minute. If this timer expires, you’re toast! So, it’s crucial to be vigilant and regularly dip into the receptacles found in each room to renew these timers. We’ve affectionately dubbed these receptacles “showers.
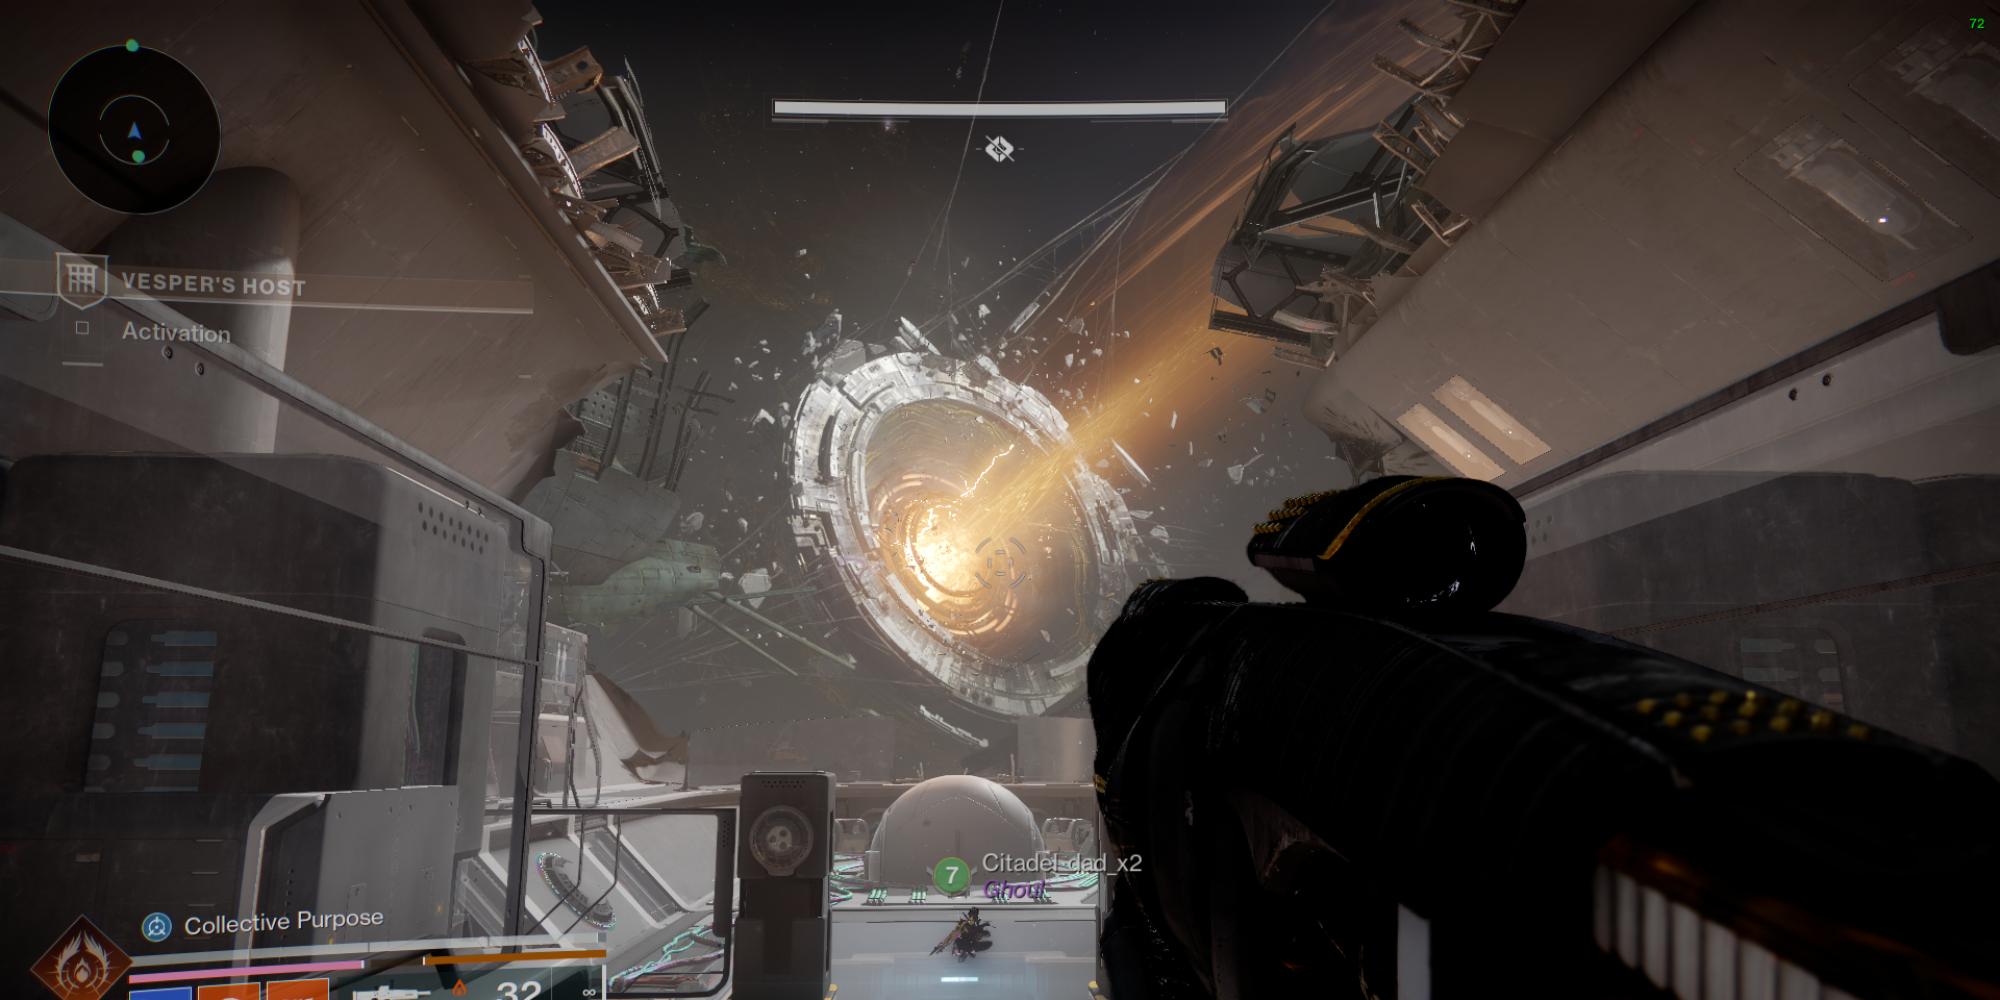
Opening Encounter – Scanner and Operator
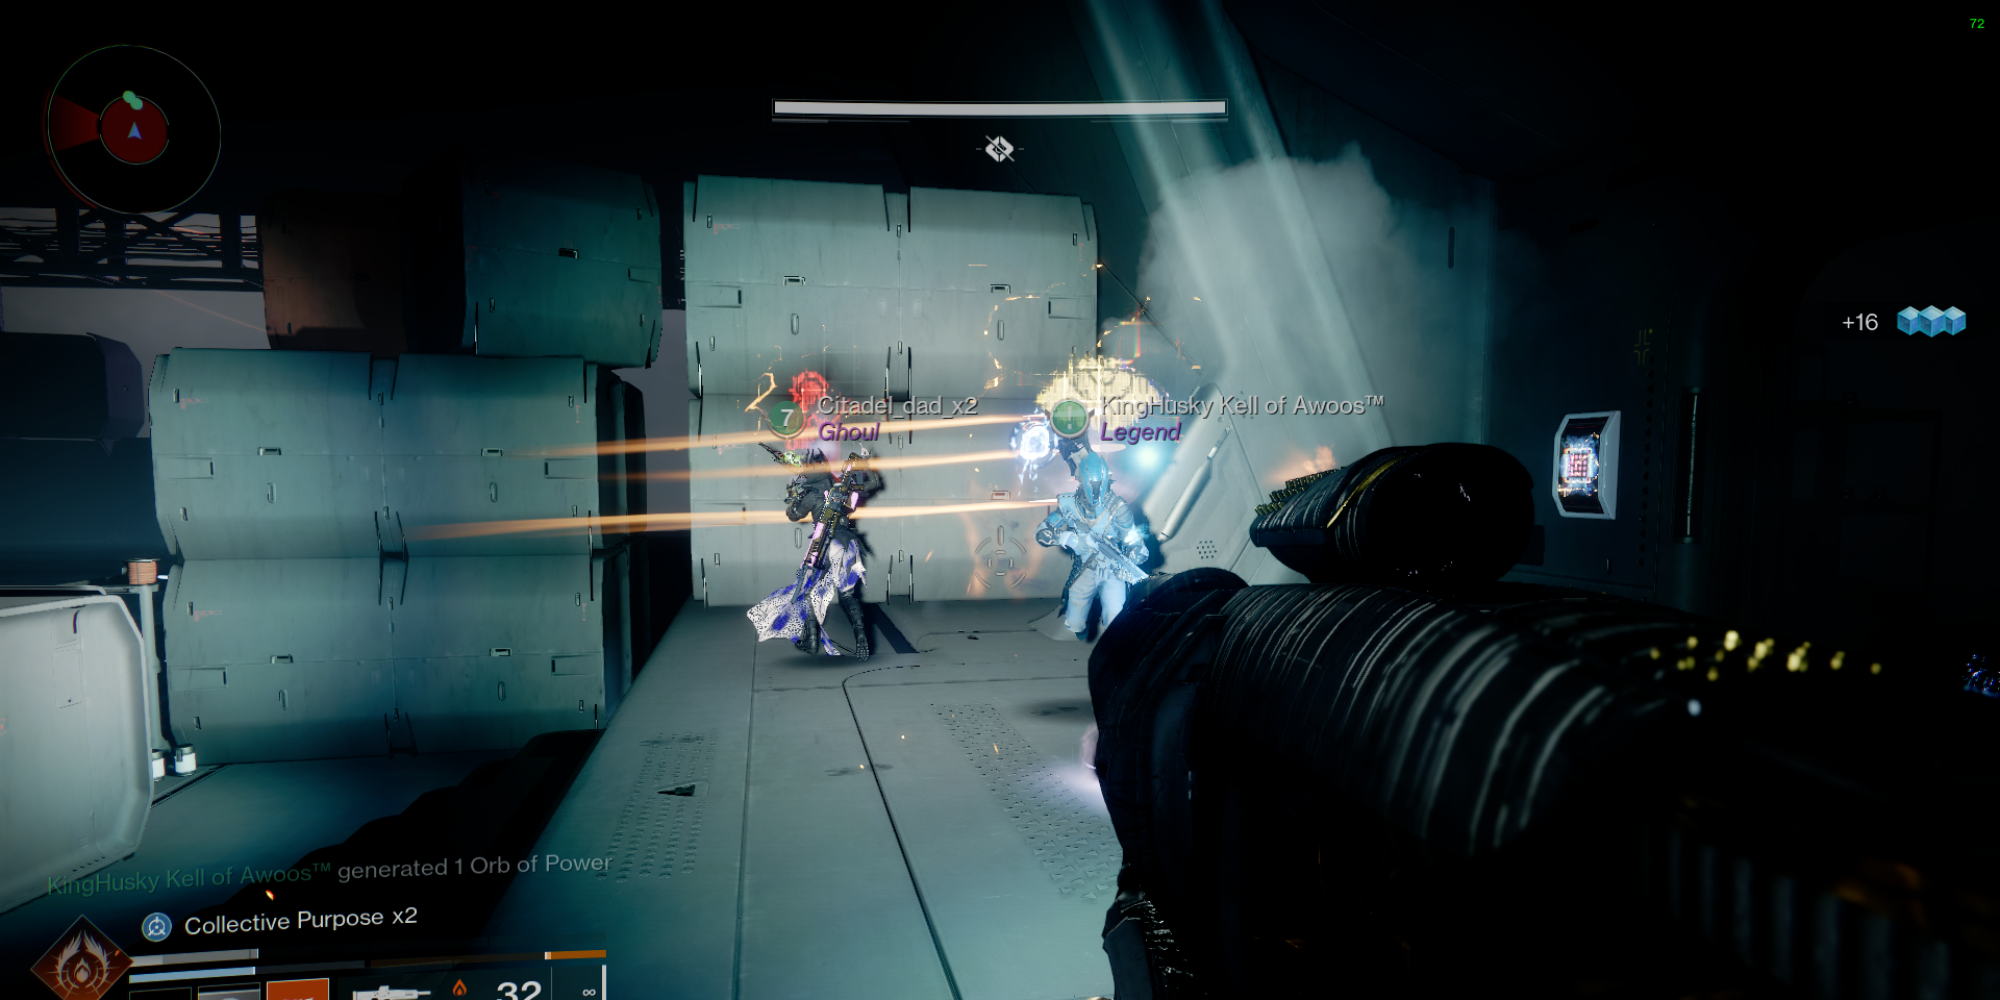
As soon as you enter the dungeon, you’ll be acquainted with both the Operator and Scanner functions. The initial part of the game is straightforward: eliminate enemies for rewards, collect enemy bonuses, and locate panels to fire at.
In a well-coordinated team, it would be ideal if one member carries the Scanner device and another has the Operator equipment.
Using the Scanner buff, your task is to move around the room and locate four specific targets. The first image in the gallery demonstrates what these targets appear as on your radar screen, while the second image shows how they look once you’ve successfully identified them. Remember that the number four plays a significant role throughout this dungeon; many encounters will necessitate shooting four panels to activate whatever follows.
First Encounter – Dunking Nukes
After completing the initial part and making your way through the labyrinth, you will ultimately arrive at a clean, vast chamber. In order to conquer this stage, you must locate the nuclear cores and place them into the three receptacles located towards the end of the room.
Your top priorities are staying alive and add clearing. The only boss-type enemies you need to worry about are the invisible mini-bosses and the Fallen Brigs, which you could just pop your Super on.
Set off the event, and a Fallen Brigadier will land right in the center of the room. Defeat it, and adversaries endowed with the Operator and Scanner advantages will appear.
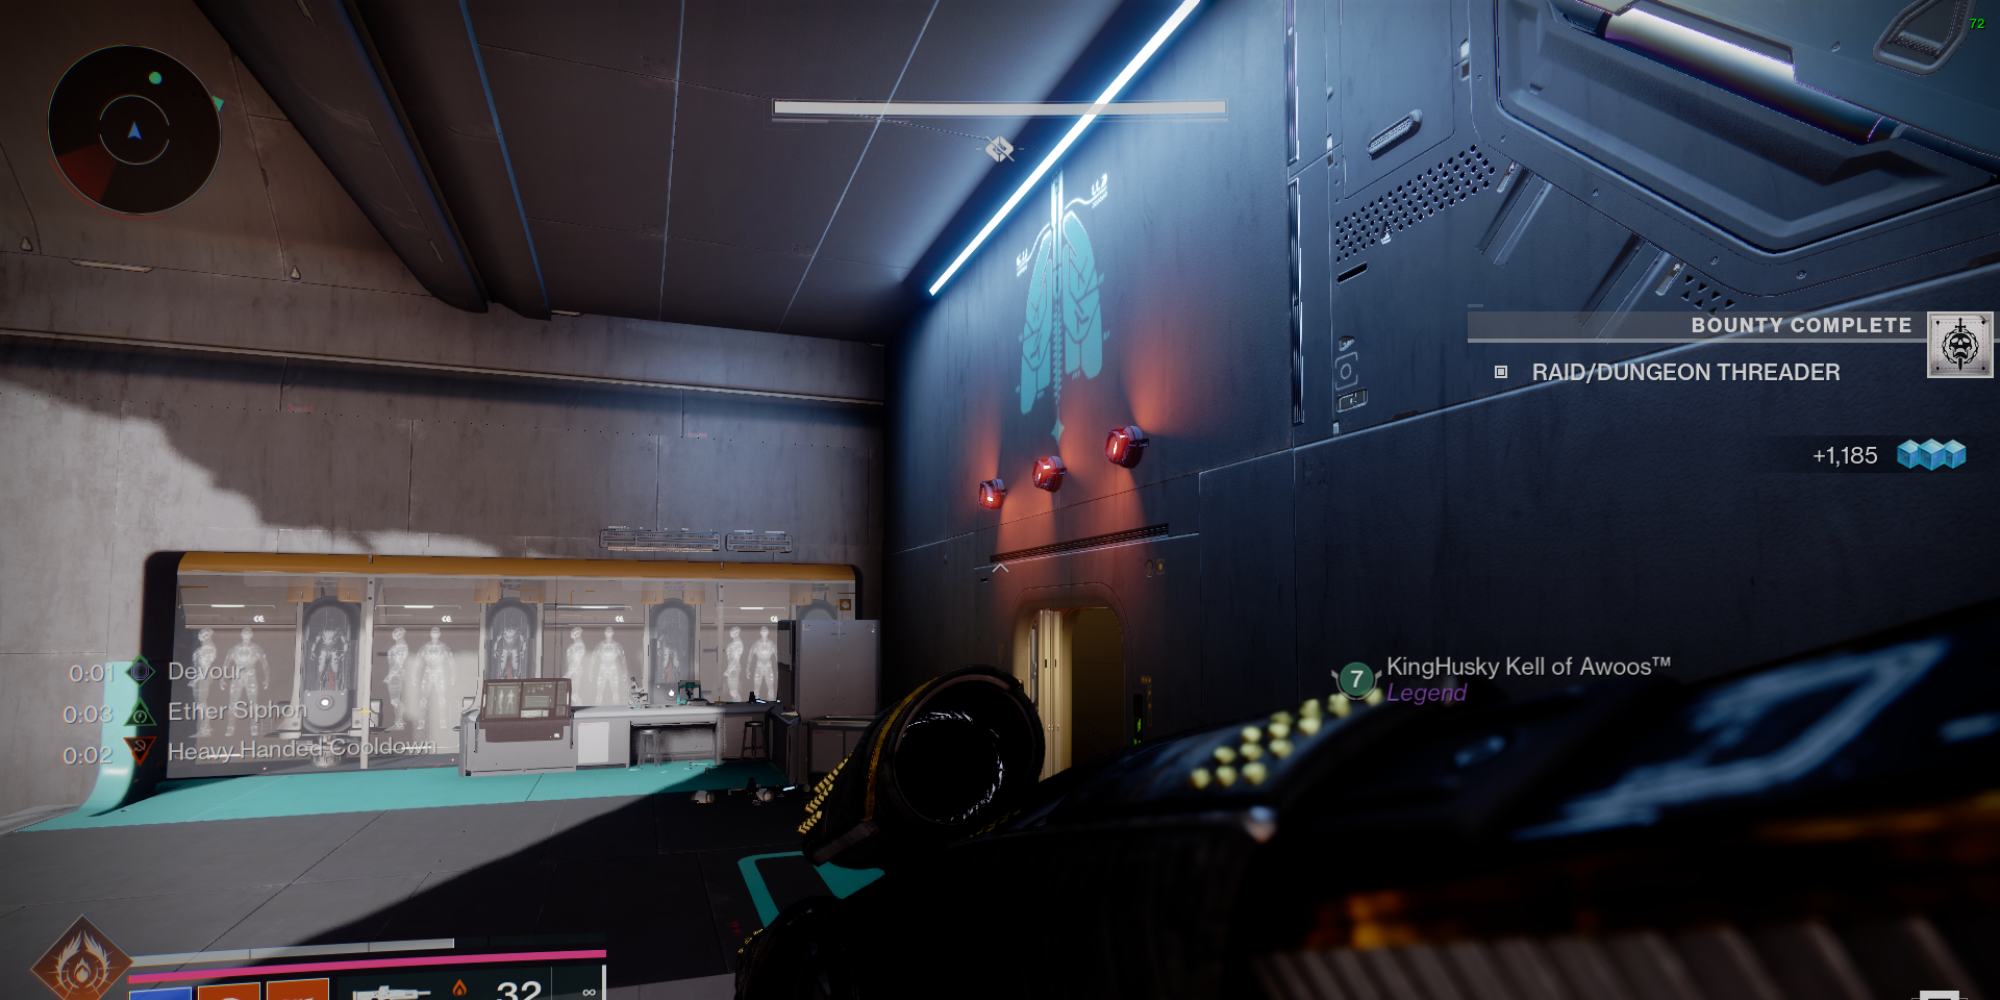
After this, you’ll find flashing red lights above the doors labeled with Brain, Lungs, and Heart icons. These lights signal which rooms you should enter.
Feel free to step into any of these rooms, but remember to have both the Operator and Scanner items with you. Be cautious as hidden mini-bosses might appear in these areas. If you aren’t watchful, they could potentially overpower you.
After completing these segments, you’ll encounter endless enemies that spawn as you search for the panels with the Scanner and use the Operator to switch them on.
Following firing off 4 sections, a loud alarm will sound and a nuclear core will appear in a container close by. Pick it up and carry it back to the main area to drop off the core. Perform this action thrice, and you’ll finish the event.
As a gamer, here’s the legitimate strategy I can share for this game challenge:
Carrying a nuclear core causes a “Radiation Poisoning” effect that gradually intensifies. When this effect reaches ten times its initial level, it results in immediate death. To alleviate the effect temporarily, you can “change weapons,” or request a team member to take the nuclear core from you.
Navigating The Maze And Dunking More Nukes
Following your initial meeting, you’ll find yourself trapped within a labyrinth with the first boss, Raneiks Unified, hot on your heels. However, since you aren’t ready to engage in combat just yet, you’ll have to skillfully maneuver through the maze to elude it.
The boss will have three attacks:
- The typical AOE Servitor attack (triggered by getting close to it)
- Spewing out explosive mini-servitors
- “Integration” attack. Tethers you in with a purple beam that kills you within 5 seconds. Breaking the line of sight prevents you from dying from Integration.
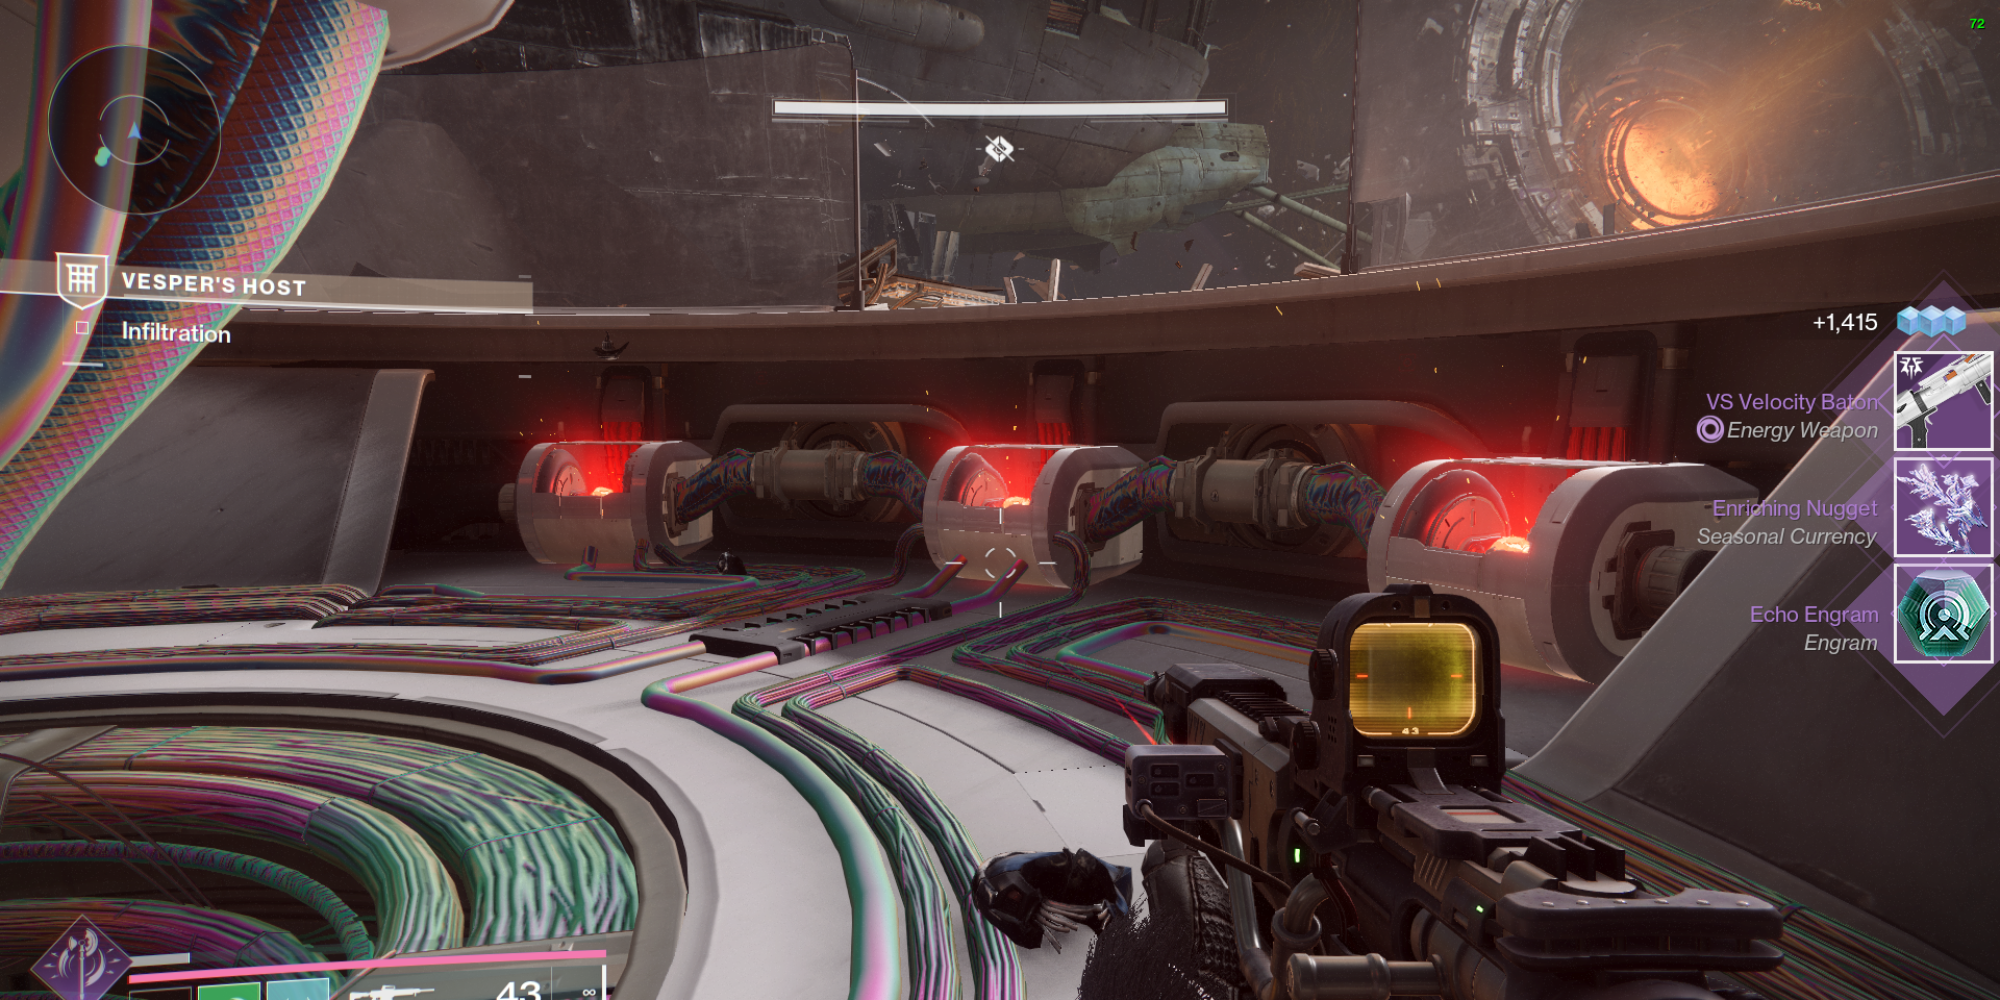
Above your Super bar in your HUD, you’ll see a “Power Reserve” buffer labeled. This resource is crucial for your escape from the labyrinth. You can obtain a single charge of power by deactivating any Fallen terminal (as shown in Image 1).
Opening doors will cost a single charge, but closing them refunds it. Make sure to close any doors to maintain your Power Reserves.
Search for Fallen Captains, as eliminating them rewards a nuclear core which you can collect. However, remember not to simply store them in any container. The containers are numbered from “1” to “5”, so you’ll have to place them in the containers according to this sequence.
Once you submerge the fifth nuclear core, it will allow you to navigate out of the labyrinth and face the boss for the second time.
Second Encounter – Raneiks Unified
During this confrontation, you’ll finally get a chance to battle the elusive boss from the last labyrinth. The objective here is to break down the boss into manageable parts in order to inflict substantial harm on it.
As you step into this captivating space, you’ll spot a series of numbered panels strategically placed all around the room, from “0” to “9”. Take a moment to glance at the images provided for reference. These panels will play a crucial role in initiating the damage phase. I’d recommend taking a quick tour and jotting down their locations in your mind, as some of them are cleverly concealed.
In this confrontation, it would be beneficial to focus on dealing high burst damage and area-of-effect (AOE) damage that affects multiple enemies simultaneously. I’ve noticed that a complete squad of Titans utilizing their Glacial Quake Super ability is capable of defeating the boss in a single phase.
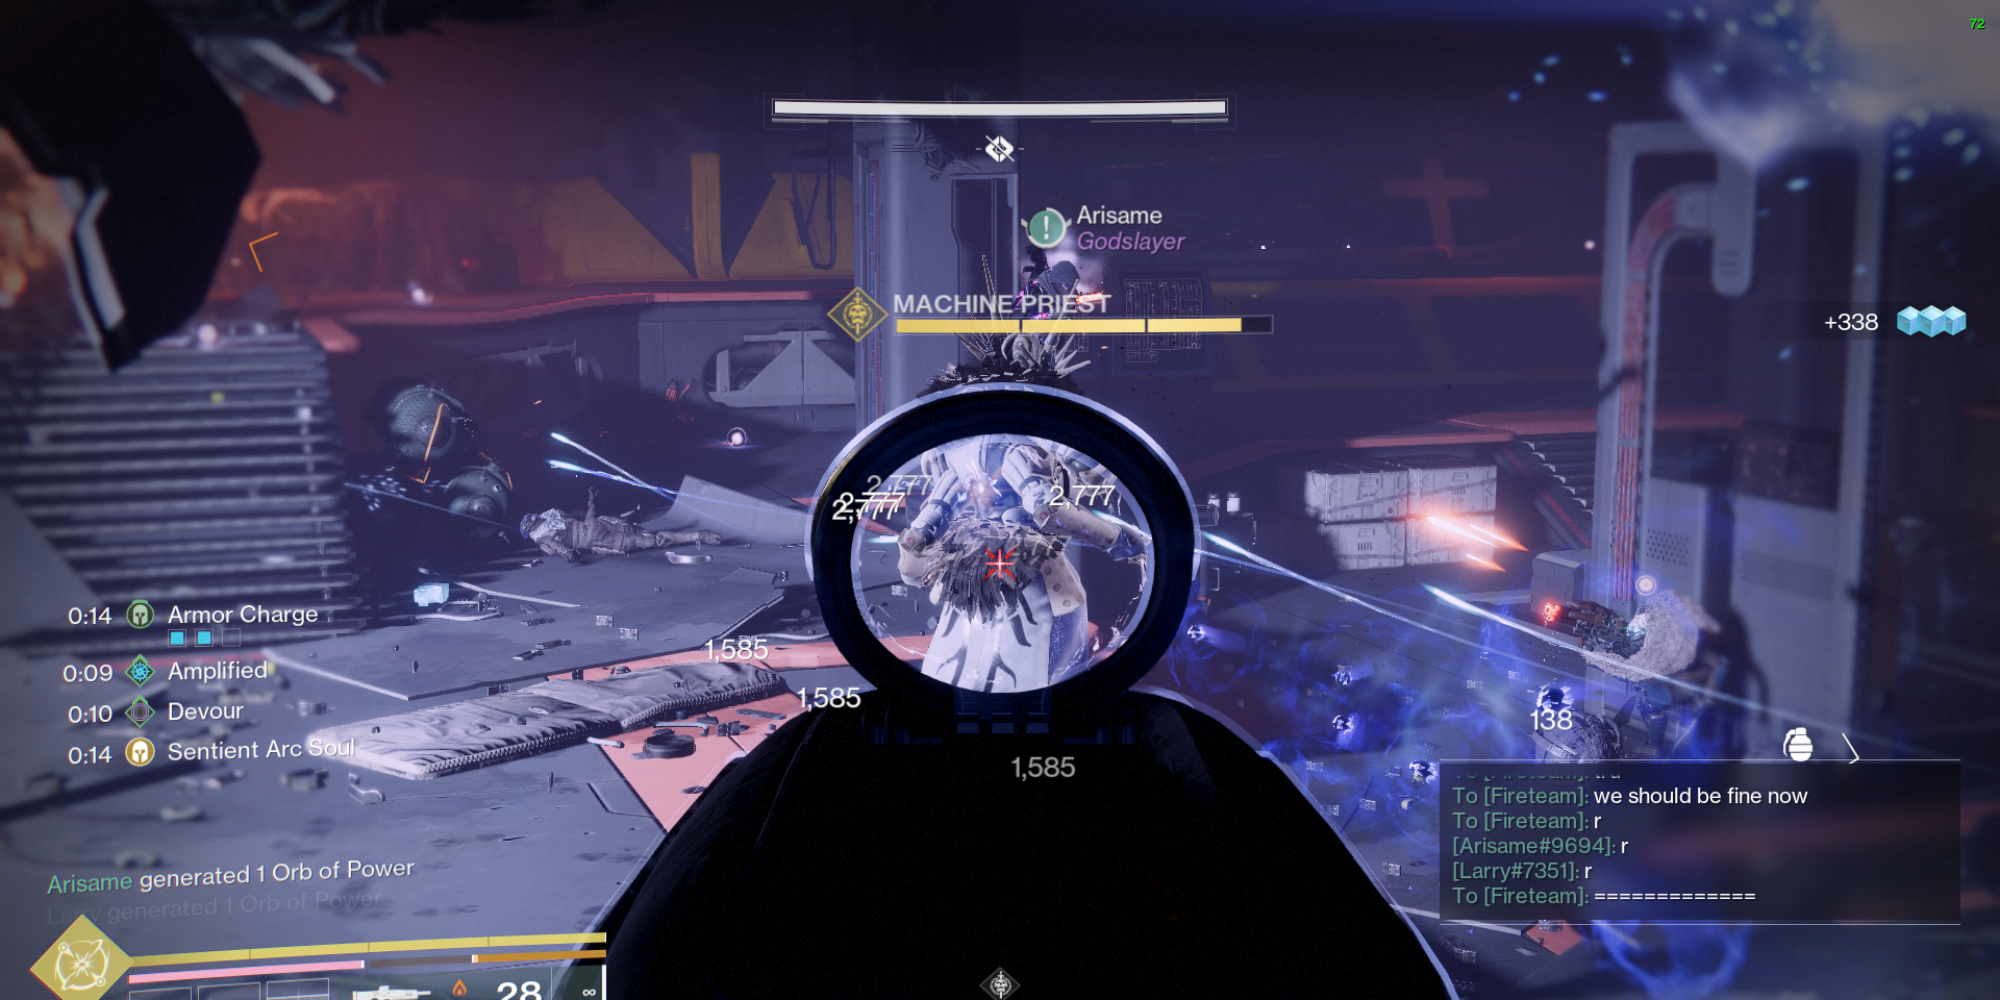
Whenever I dive into the fray, ads start popping up. I keep battling until a formidable mini-boss, resembling a Mechanical Priest, makes its entrance.
Following his demise, you and your comrades will be whisked away to a spot just beyond the room’s threshold. Be prepared for a horde of shanks to descend upon you. Remember, these are not ordinary shanks; they have explosive capabilities that can instantly incapacitate you, even outside of contest mode. Stay vigilant!
Destroying all Shanks causes a new one to appear with the Suppression buff. Be mindful when placing your decoy for suppression, as Raneiks Unified may continue to emit explosive Servitors and cause damage.
After you overpower the boss, it’ll gradually break down into approximately ten smaller fragments. Be vigilant for two of these that appear slightly brighter with red marks on what seems like their “faces.” The digit next to their name will signify which numbered panels you should target with your shots. Repeat this action twice during each damage phase.
DPS Phase Set Up Example (Step By Step)
- Kill adds and Machine Priest.
- Get teleported and kill Shanks.
- Kill last Shank holding the Suppressor buff.
- Pick it up and suppress Raneiks Unified.
- Red dots appear on Raneiks-1 and Raneiks-5.
- Keep a mental note of that (or put it in the team chat).
- Repeat steps 1-4.
- Red dots appear on Raneiks-6 and Raneiks-0.
- Those numbers form the code 1-5-6-0. Find the corresponding panels and shoot them with the Operator buff.
By entering the correct key, all additional enemies will vanish, and another suppressor shank will materialize. Remember, Raneiks Unified is in the room and ready to attack, so exercise caution when defeating the shank. Additionally, use the buff to quell the boss again, initiating the true damage stage.
Shooting the wrong panel with the Operator buff will instantly kill you and reset the code. I’ve noticed that weapons with ricochet or explosive bullets can set off nearby panels, so I recommend being very careful when doing this.
Maximizing DPS
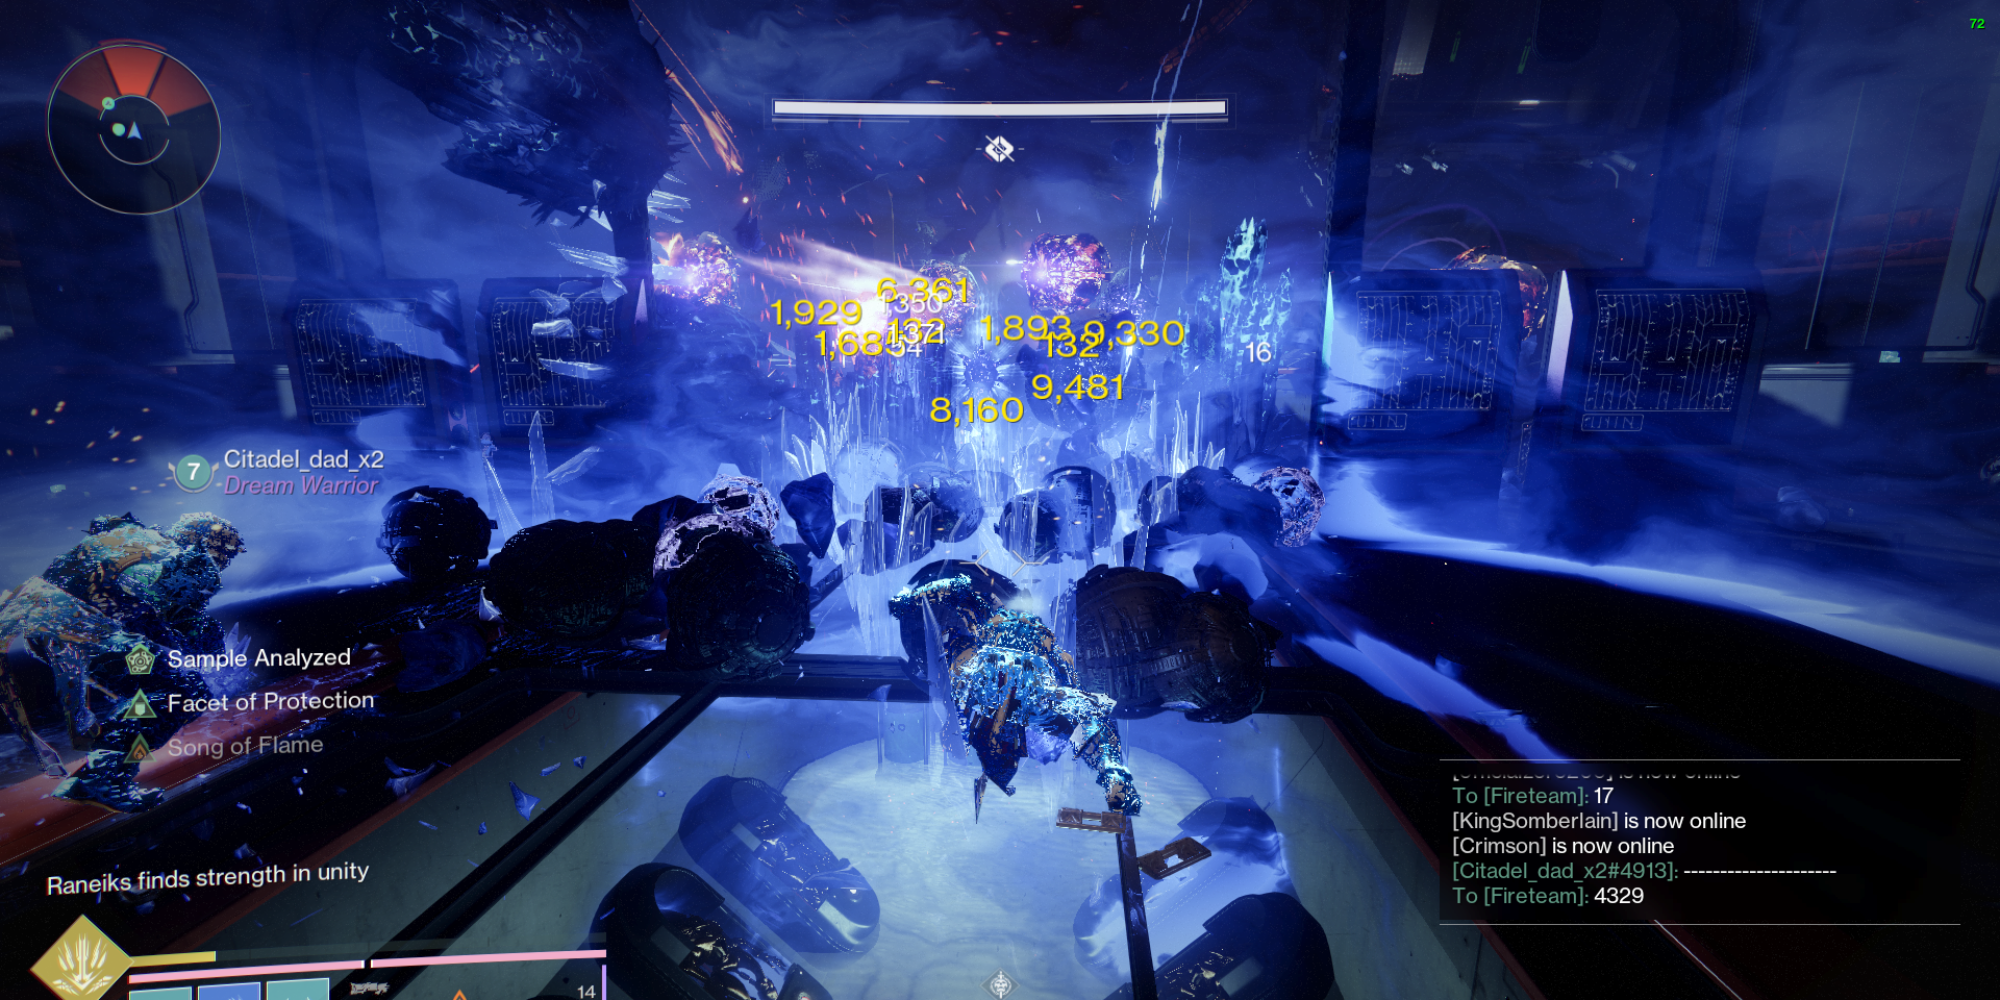
After the merger of Raneiks Unified ceases, it will fragment into ten separate entities, providing ample opportunities for destruction. Since the DPS phase is relatively brief, prioritize using high-impact weapons and area-of-effect abilities for maximum damage output.
- If you are a Titan or have a teammate who is one, make sure to equip the Glacial Quake Super. Stay in the middle of the room and spam heavy attacks. This will spawn dozens of Stasis blocks and deal large chunks of damage to each of the mini Raneiks.
- Tractor Cannon, or any other avenue of inflicting the Weaken status effect, is highly recommended.
- Parasite at Worm’s Hunger x20 can deal massive damage.
- Make sure to put Weapon Surge mods on your leg armor that match your weapon’s element.
- Since you’ll be dealing damage in one place, a Warlock can place a Well of Radiance.
Currently, there appears to be some problems with the Void Tether ability, as it tends to eject players from the game when numerous enemies are tethered together. This error is indicated by the “Guitar” code. Until this problem gets resolved, I would advise against employing this Super.
After the damage round, keep the momentum going until Raneiks Unified falls. Don’t slack off just because Raneiks’ overall health is nearly drained. Remember, each smaller version of Raneiks has its own health gauge, so ensure you eliminate all ten to bring an end to this boss battle.
Jumping Puzzle
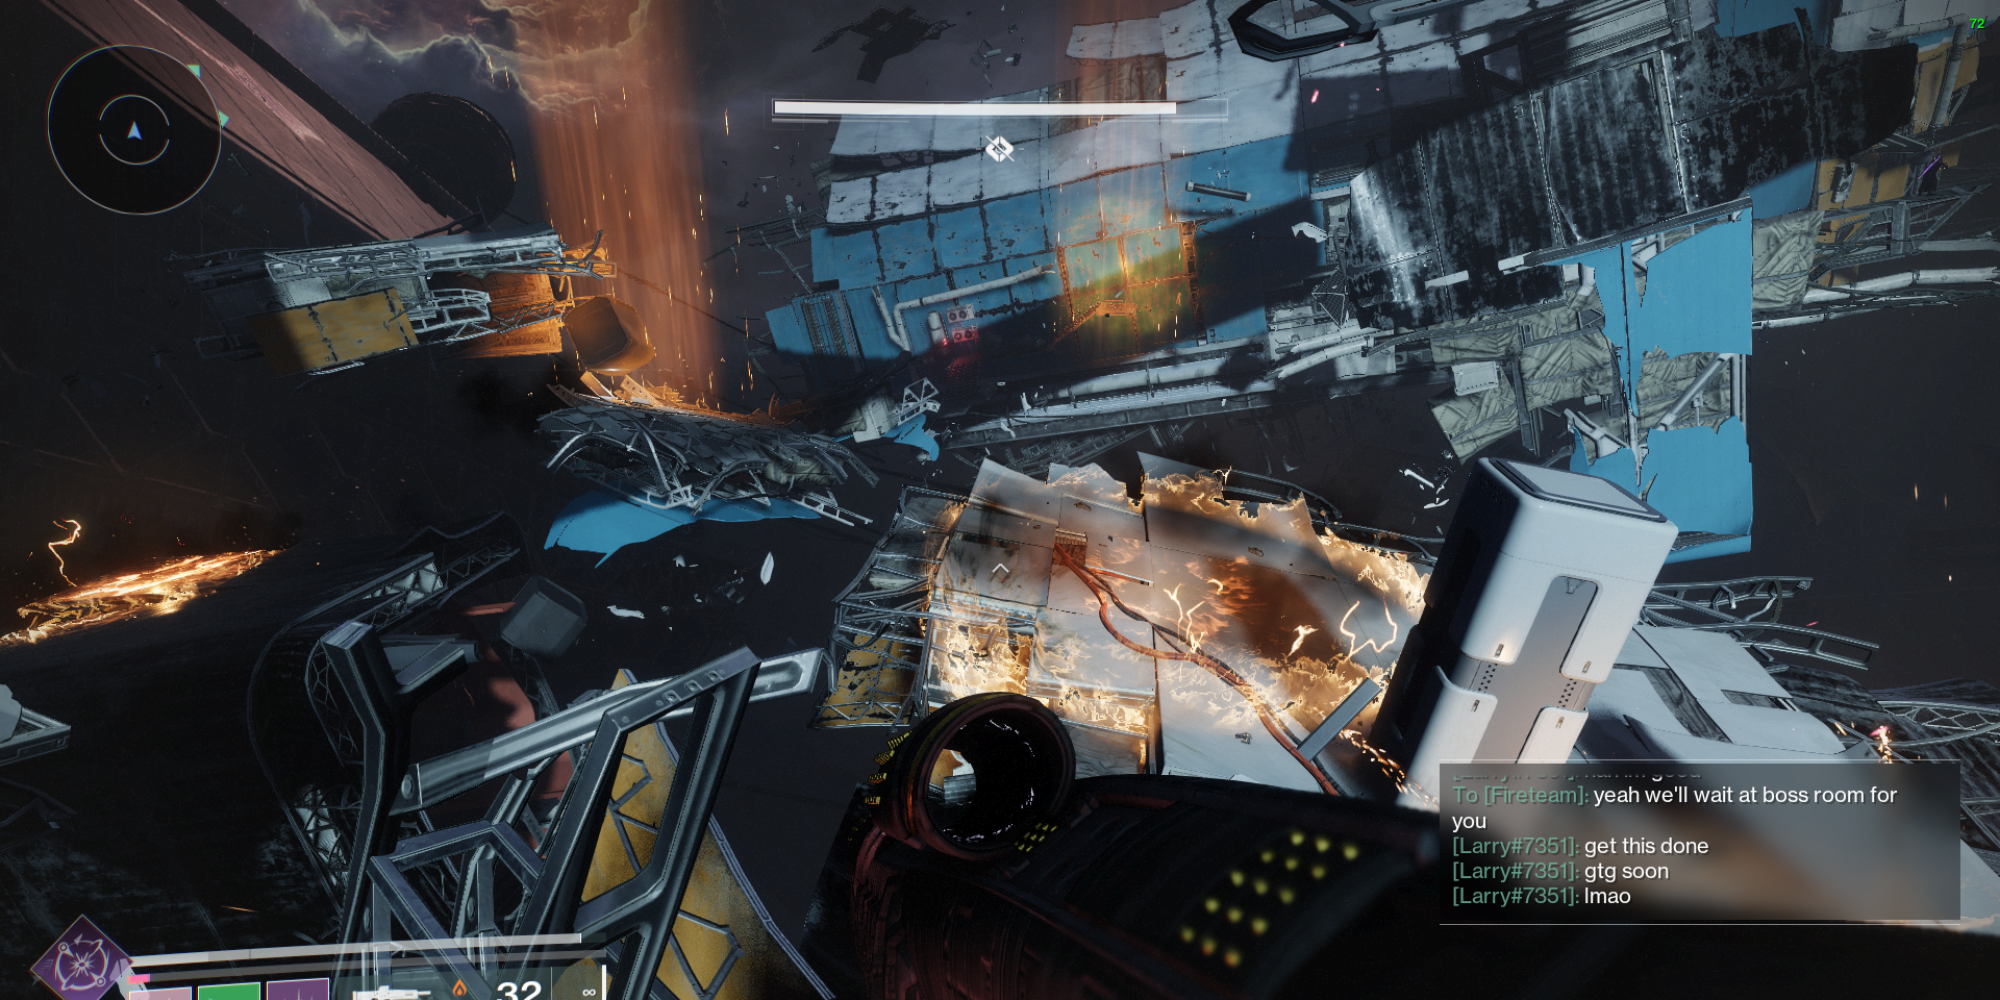
After the destruction of Raneiks’ Unified structure, you’ll climb through the gap in the ceiling and maneuver your way through a sequence of jumps.
Watch out – Lightning occasionally strikes, which has the potential to instantly fatalize you upon impact. Moreover, the area remains charged even after the strike, causing continuous shocks and gradually reducing your vitality.
A simple method to determine if you’re within the impact area is when your screen emits a faint, slightly orange or yellow tint.
After completing the rooftop jumping challenge, you’ll find yourself standing before Atraks-1, now known as The Corrupted Puppeteer, who has undergone a disturbing transformation. Upon spotting you, she connects with some strange anomaly and triggers a wipe mechanism. To engage her in battle, leap down the airlock shaft and prepare for the encounter.
Third Encounter – The Corrupted Puppeteer
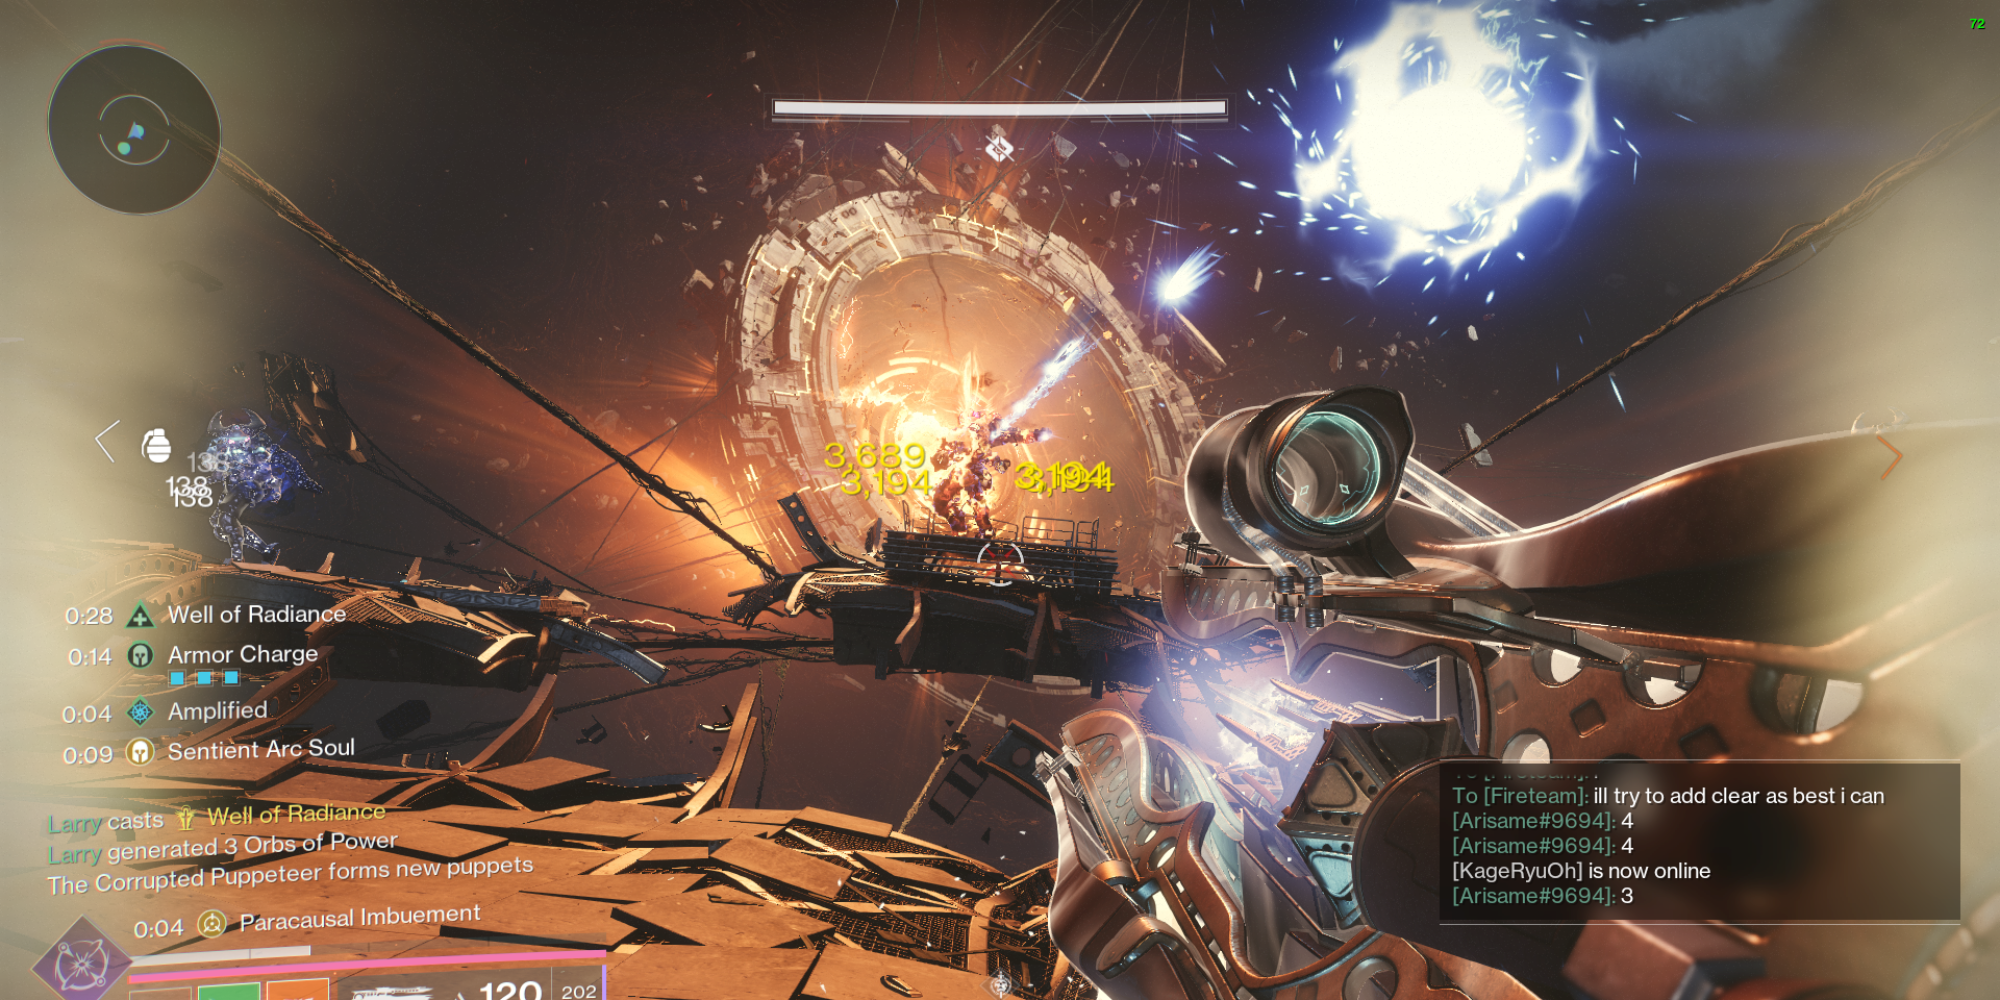
This is the second-to-last battle you’ll face. It’s a tough and rewarding fight, but with all the knowledge you’ve gained while exploring the dungeon, you’ll be able to conquer it. Your objective is to vanquish the Corrupted Puppeteer, but before you can reach the damage phase, you need to break through her protective barrier first.
During the battles with The Corrupted Puppeteer, the focus is primarily on dealing continuous damage from a distance, unless you’re an adventurous risk-taker who prefers melee combat. For this encounter, both Grand Overture and Microcosm are particularly effective. However, if neither of these weapons is at your disposal, I would recommend rocket launchers, snipers, or linear fusion rifles as viable alternatives.
As a gamer, I find that Grand Overture lets me stack up to 20 rockets by aiming at the panels like targets. However, be cautious not to meet an untimely demise since that resets my missile load.
First Section – Radioactive Clones And Shooting Panels
- First, the boss will appear and summon two radioactive clones. Slay adds until you can find the Suppressor buff.
- Use the suppressing decoy to make the clones vulnerable, and kill them.
- Killing each pair of clones spawns an add that carries the Scanner buff, and doing so again spawns the Operator buff.
- With the Scanner buff, look for BLUE NUMBERED PANELS scattered across the room. Like previous encounters, the correct one will turn white on your radar.
- With the correct number in mind and the Operator buff, look for the four RED NUMBERED PANELS that match the blue panel and shoot them.
- For example, if the correct blue panel is labeled 2, you’ll use the Operator buff to shoot every panel with the number 2.
Simple, right?
After that, the boss will withdraw or step back. Store your advantages in the locker room for future needs. Follow the blinking red signals, descend into the chutes to the floor beneath, and keep following the lights until you arrive at either of two rooms, often referred to as the “Orange” and “Blue” rooms.
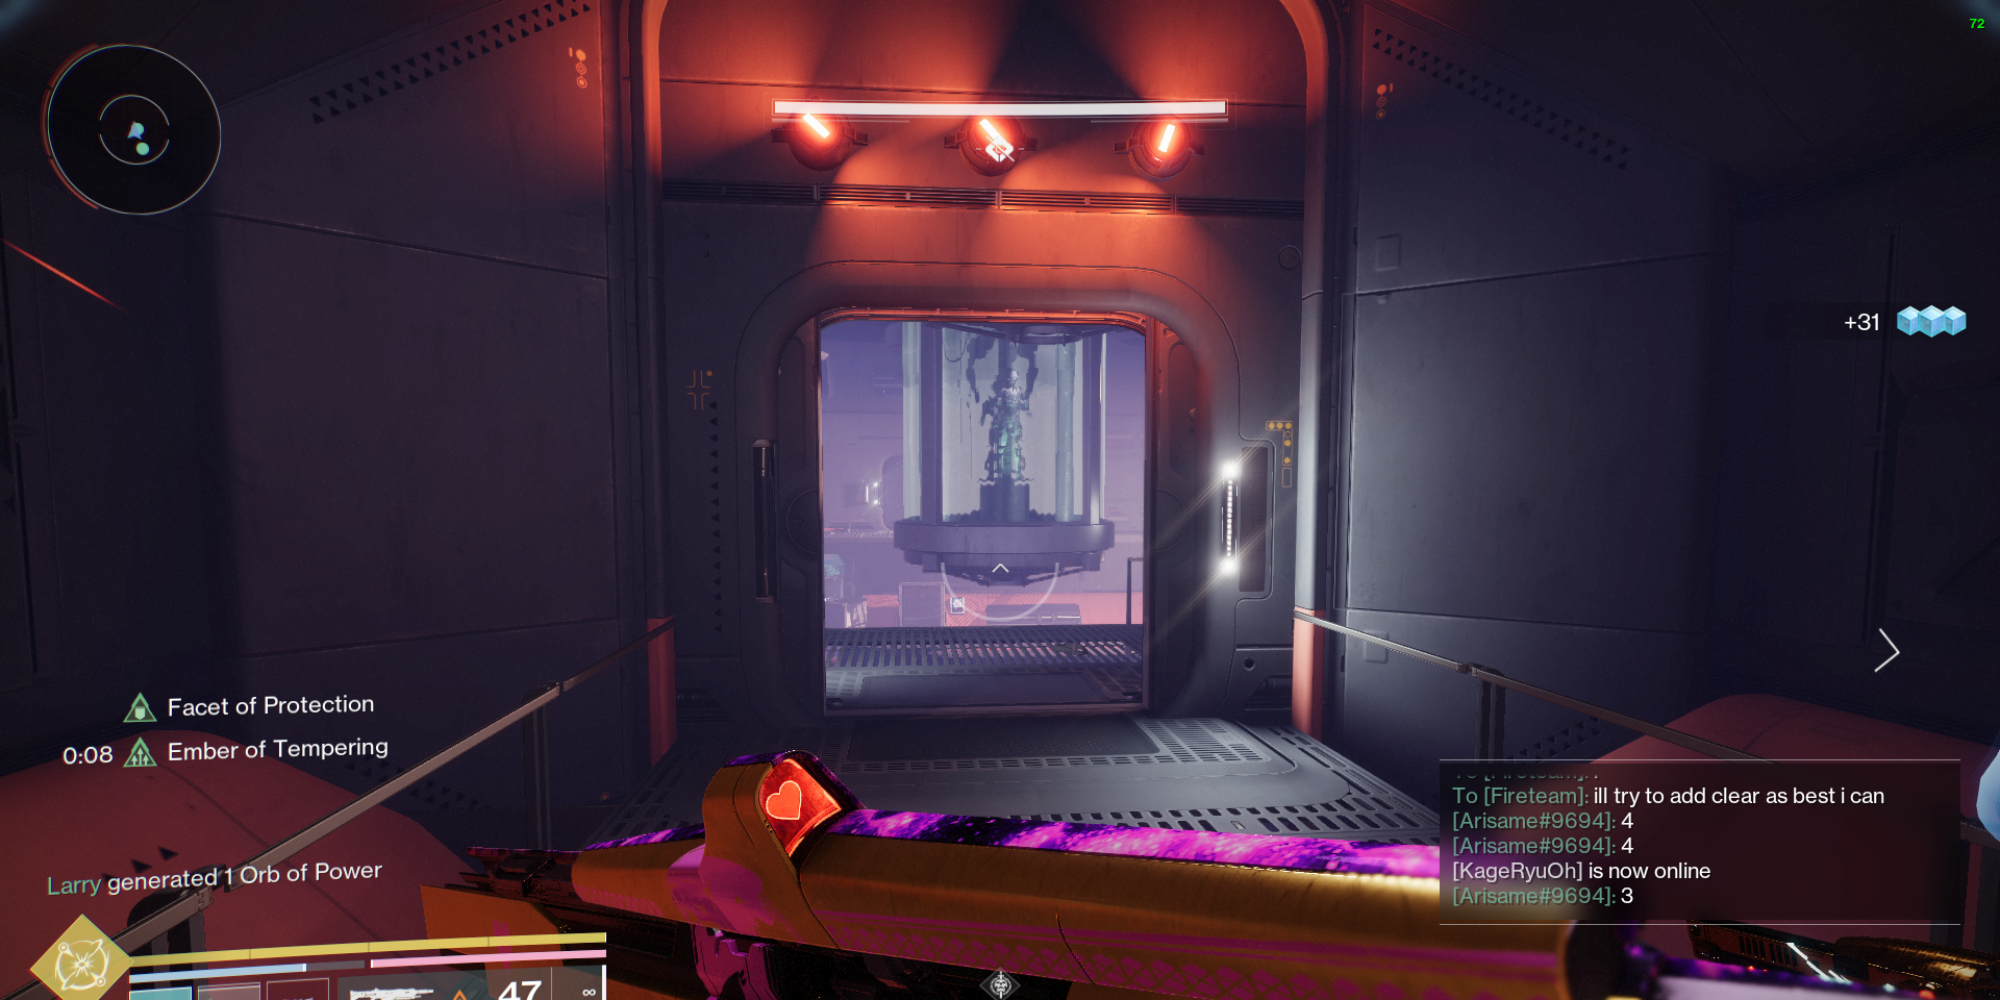
Second Section – Depleting Boss’s Immunity Shield
Inside the room, you’ll find your boss. Take note of a fortress-like construction in the center of the room – this detail might be crucial later.
- With the Operator buff, find four panels hidden throughout the room and shoot them, triggering the boss to spawn four additional, non-radioactive clones.
- With the Scanner buff, the next step is to find the correct clone. Nuke it and it’ll drop a nuclear core.
- Make sure to deposit your buff in any available shower before entering the bunker, as they’ll be immediately available to pick up for the next section.
- Pick it up and enter the bunker.
- (Ignore if solo) Make sure all teammates are inside. Save yourself the hassle of a revival.
- Deposit the core, which will eliminate all clones and take out half of the boss’s shields, forcing her to retreat.
Mistakingly eliminating the incorrect duplicate may activate a sweep mechanism. Broad area-of-effect abilities such as a Super or a Consecration might inadvertently destroy the incorrect duplicate, so ensure your attacks are well-targeted.
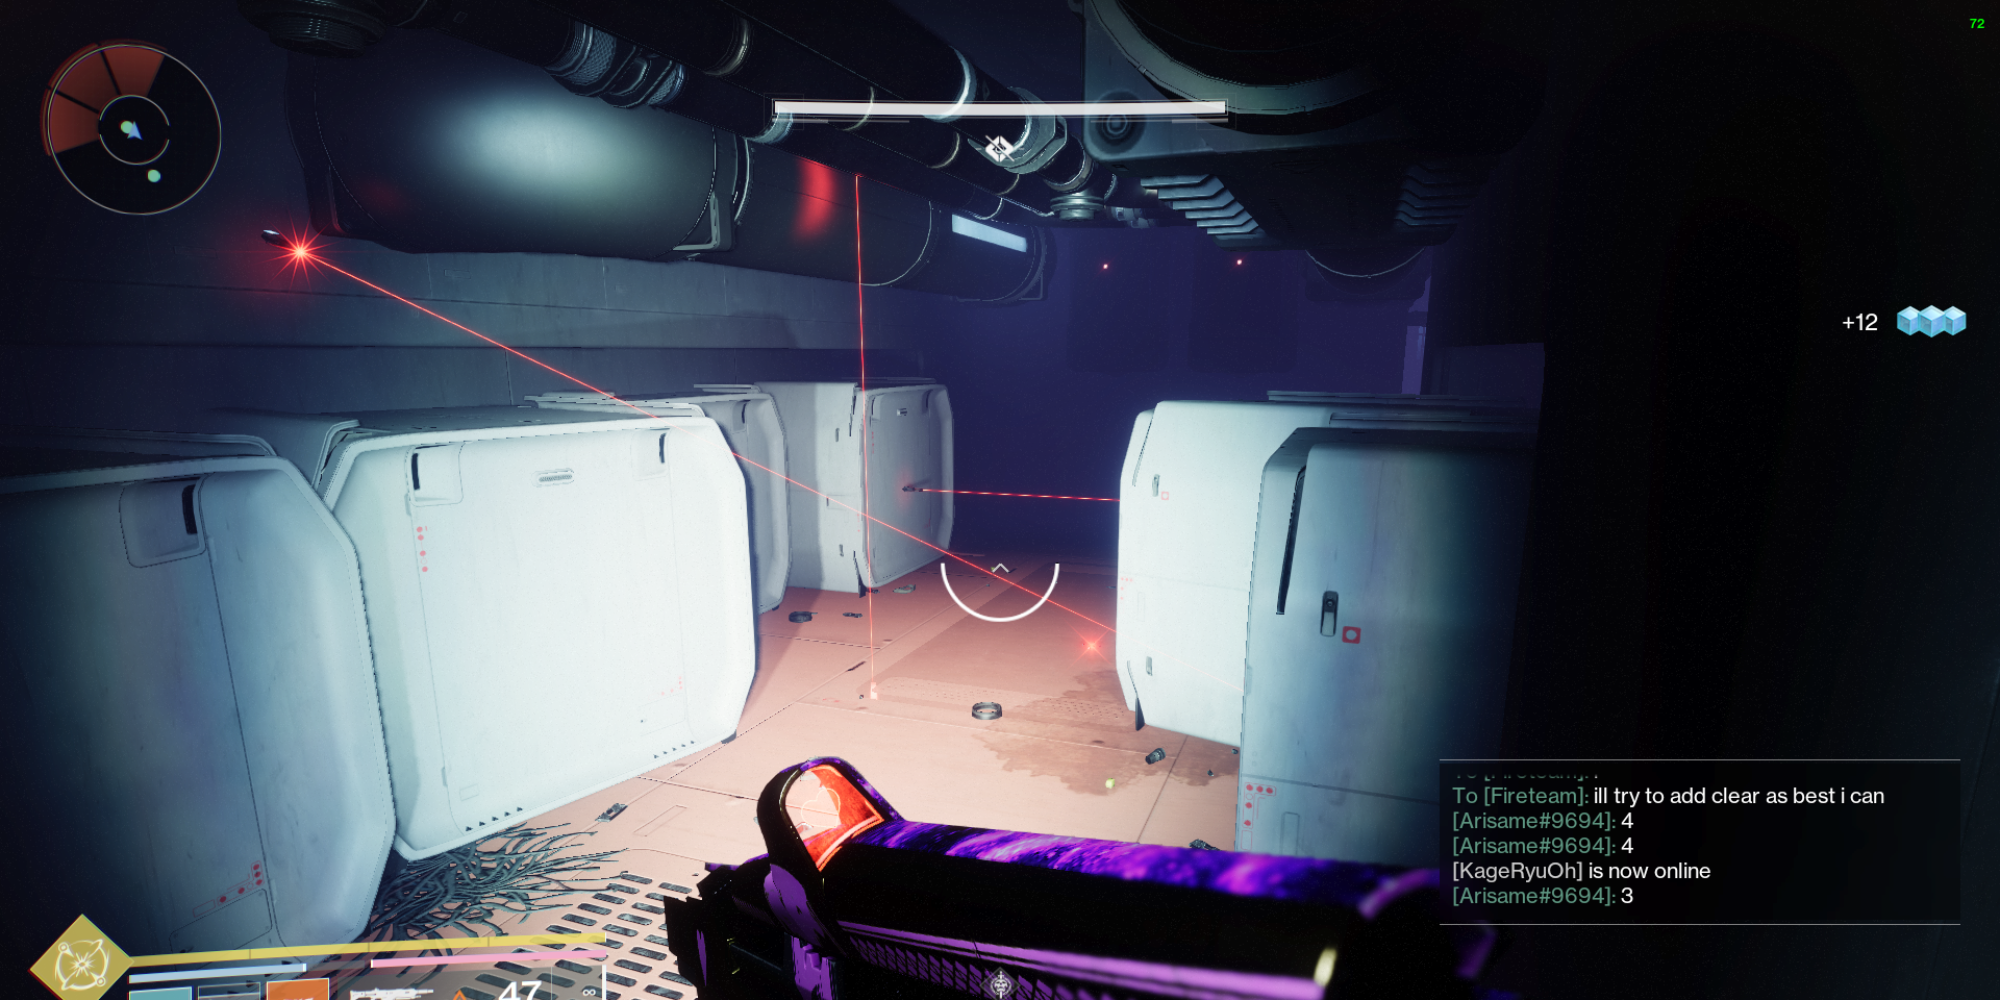
After the boss withdraws, a door will open, revealing a dimly lit passageway strewn with tripwires and sticky web mines. Furthermore, you’ll be pursued by duplicates of yourself throughout this stretch. My advice is to use parkour techniques to navigate over and under these hazards. It’s more efficient to avoid engaging the clones or disarming the traps. This will eventually lead you to another hallway that will take you to the next room.
Follow these steps again: fire at the sections, eliminate the right duplicate, and place the nuclear heart. Once done, the boss’s defenses will be fully drained.
As a space enthusiast, stepping out of the chamber and re-entering the central hub feels like a blink-of-an-eye leap, thanks to our trusty teleporter! And when everyone’s gathered at the airlock, it gives us quite the boost back up to the ceiling for the crucial repair phase.
Damage Phase
If you’re causing trouble for the boss, she’ll create copies of herself to assault you and zip between three hovering platforms. Moreover, be aware of the electrical attacks that can strike randomly throughout the battlefield, so make sure to keep changing your position.
Although the Well of Radiance appears beneficial, it does not render you immune to lightning bolts. Therefore, I would advise against utilizing it during the damage phase. If your priority is survivability, then the Song of Flame could be a more suitable option for you instead.
Midway through DPS (Dynamic Puppet Show), two extra puppets appear on your stage. The Corrupted Puppeteer will then connect with the anomaly and initiate a clearing mechanism. To stop this, you must eliminate the correct clone, which will yield a nuclear core that should be deposited into the bunker located on the left side of the arena, thereby halting the clearing process.
Try to inflict maximum harm on her before she initiates the reset mechanism once more. When the airlock activates this round, it’s crucial for you to flee, marking the end of the attack phase. Repeat this process until the boss is defeated.
Hooray! You’ve triumphed over the Vesper’s Host dungeon! Here’s hoping the luck of the dice shines on you and showers you with delightful loot. More importantly, may fortune favor you with the coveted Icebreaker!
Read More
- FIS PREDICTION. FIS cryptocurrency
- LUNC PREDICTION. LUNC cryptocurrency
- Tips For Running A Gothic Horror Campaign In D&D
- EUR CAD PREDICTION
- XRP PREDICTION. XRP cryptocurrency
- OSRS: Best Tasks to Block
- Luma Island: All Mountain Offering Crystal Locations
- DCU: Who is Jason Momoa’s Lobo?
- INR RUB PREDICTION
- EUR ARS PREDICTION
2024-10-23 14:40