Unraveling the Mysteries of “The Midnight Walk”: A Step-by-Step Guide to Gathering All Collectibles in Chapter 1
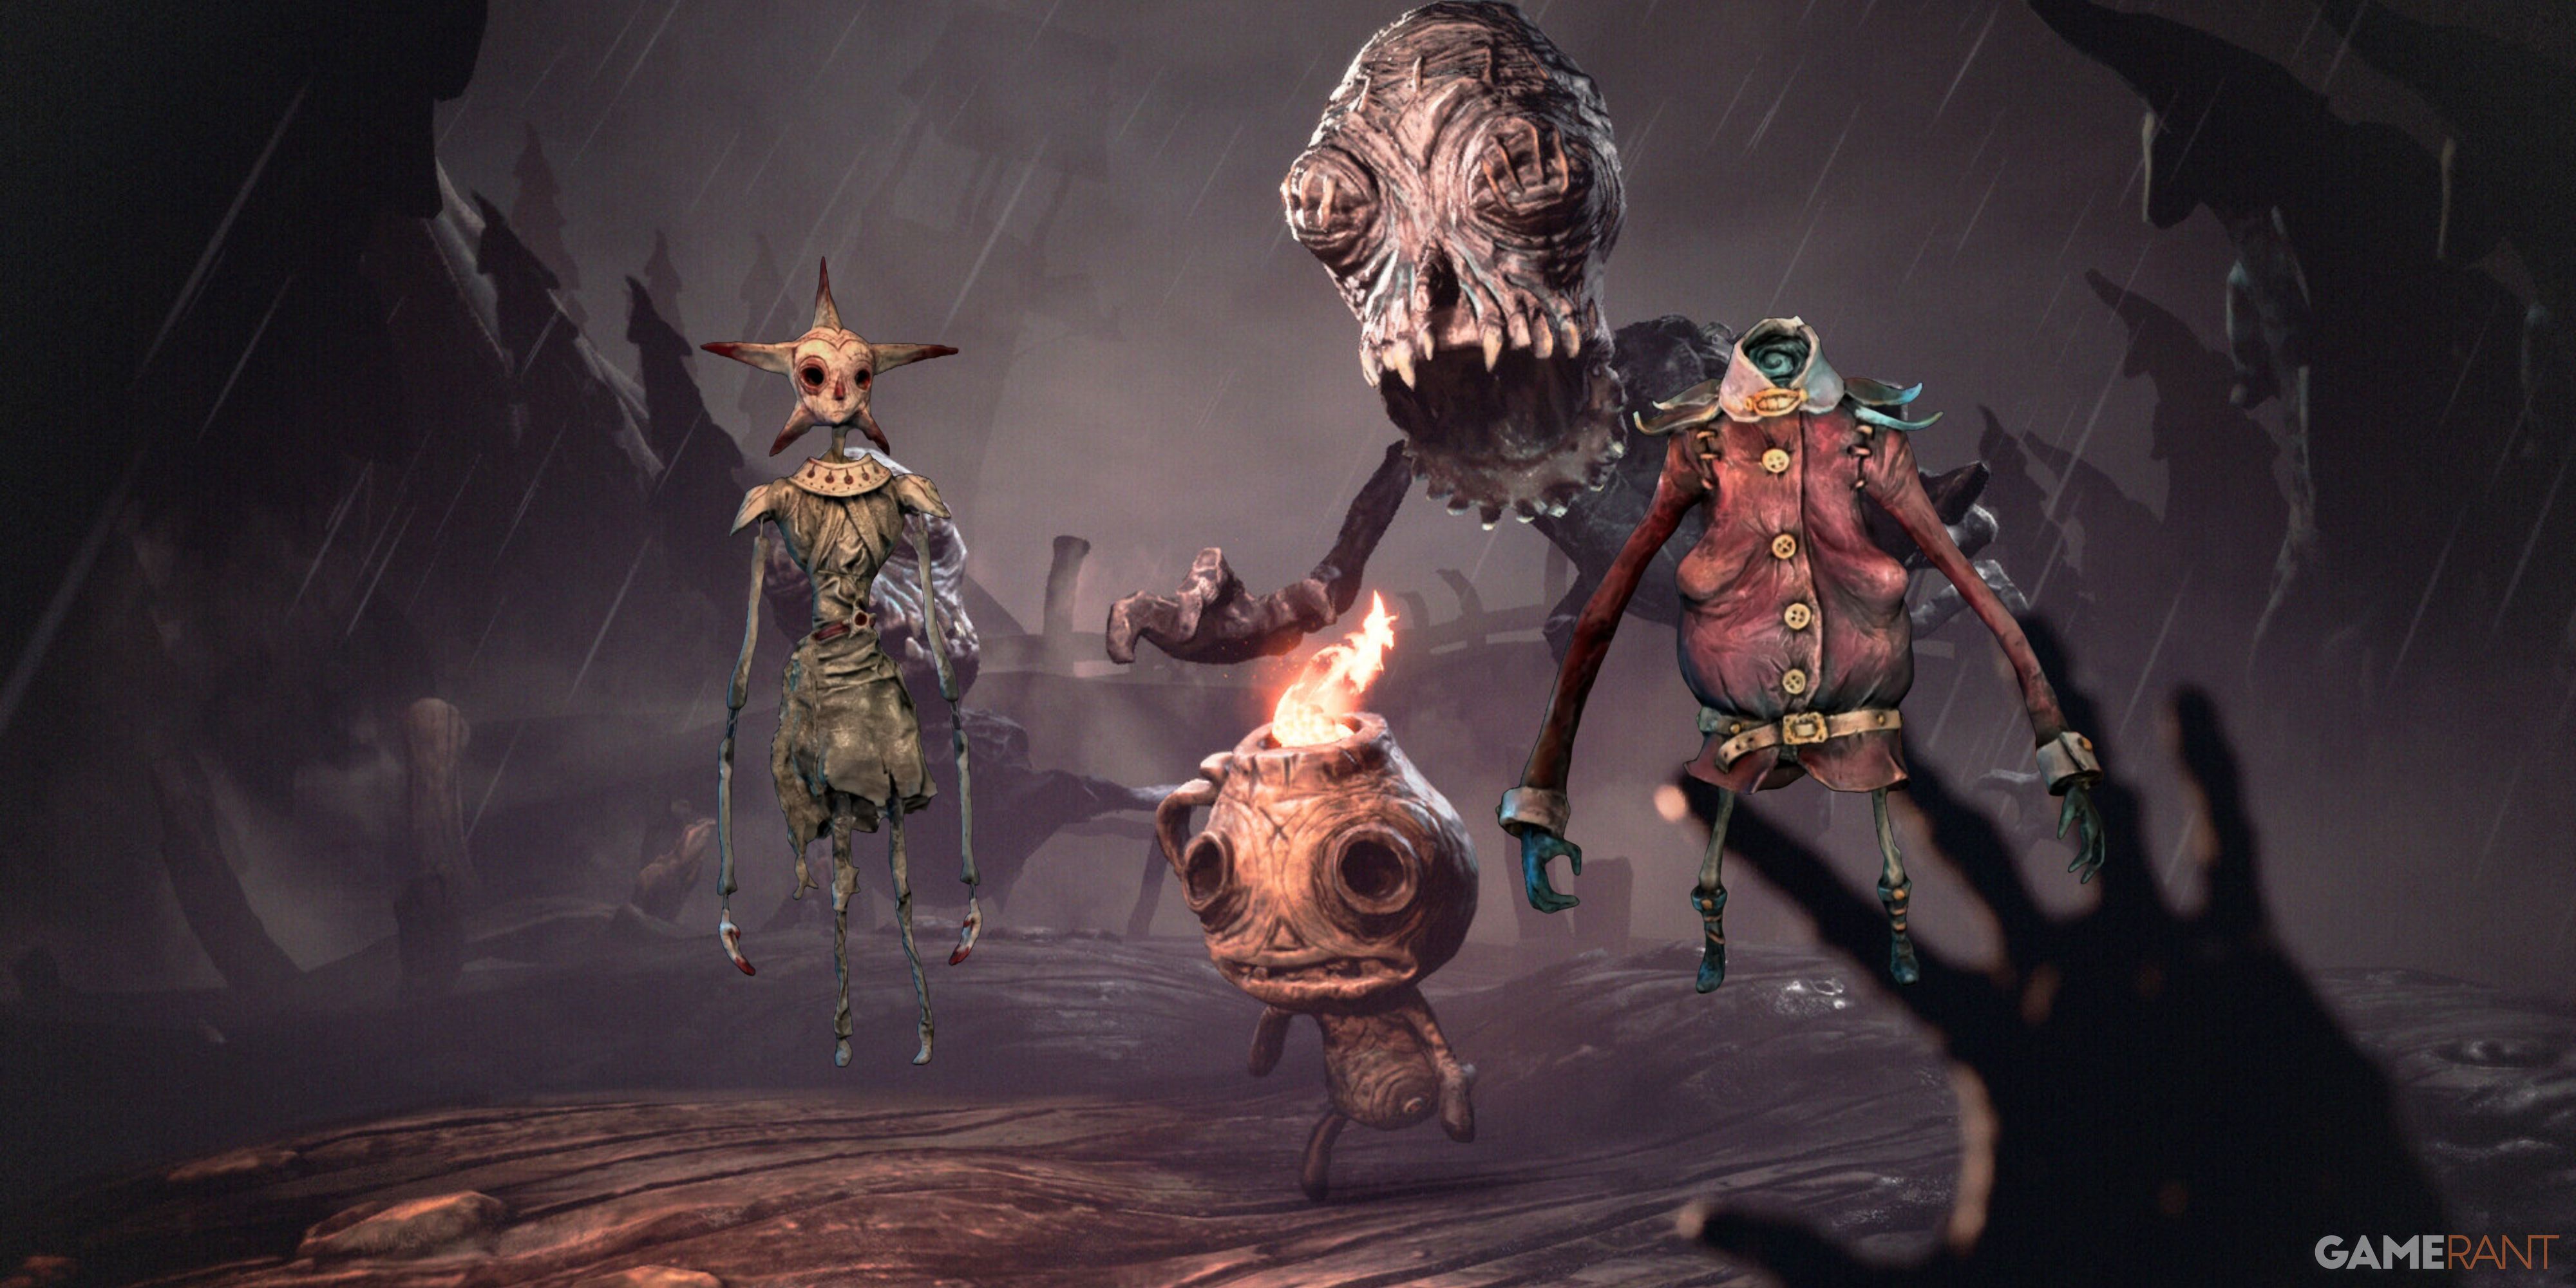
Embark on a spine-tingling adventure with “The Midnight Walk,” a brief yet terrifying indie horror game that immerses you in its eerie corridors, dimly lit pathways, and the suspenseful atmosphere. With a single match as your only source of light and monsters lurking at every turn, each breath you take is filled with anticipation and the fear of being discovered. This walkthrough will guide you through Chapter 1, helping you track down all the collectibles while ensuring you don’t miss a single one – even when faced with the constant threat of being caught by those sinister creatures.
Let’s begin your journey into the heart of darkness!
1. Start at the entrance: Upon entering “The Midnight Walk,” players will find themselves in an open area with a wooden door to their right and a pathway leading forward. The collectible for this section is located on the ground near the wooden door. Keep your eyes peeled as you approach the door, and pick it up before proceeding down the path.
2. Follow the candlelight: As you move forward along the dimly lit corridor, follow the faint glow of a solitary candle until you reach a large room with two paths diverging ahead. Take the left path to find the second collectible on a table near some barrels. Proceed carefully – monsters may be lurking nearby!
3. The hidden alcove: Continue down the main path, and soon, you’ll come across a large wooden door with a window on your right. To the left of this door is a narrow passageway that leads to an alcove containing the third collectible. Be cautious as you venture into the alcove, as monsters may be lurking in ambush.
4. The key to survival: In the same large room where you found the second collectible, look for a locked door on your right. To unlock it, return to the entrance and search the wooden shelves near the fireplace – you’ll find the key hidden among them. With the key in hand, open the locked door and grab the fourth collectible inside.
5. The final stretch: With all four collectibles now in your possession, make your way back to the entrance and continue down the path until you reach a large wooden gate. Open it and follow the path until you emerge into the open air. Congratulations! You’ve completed Chapter 1 of “The Midnight Walk” and found all the collectibles.
Remember, every breath could be your last in this chilling game. Stay alert, keep moving, and good luck on your journey through the darkness!
All Chapter 1 Collectibles in The Midnight Walk
Shellphone #1
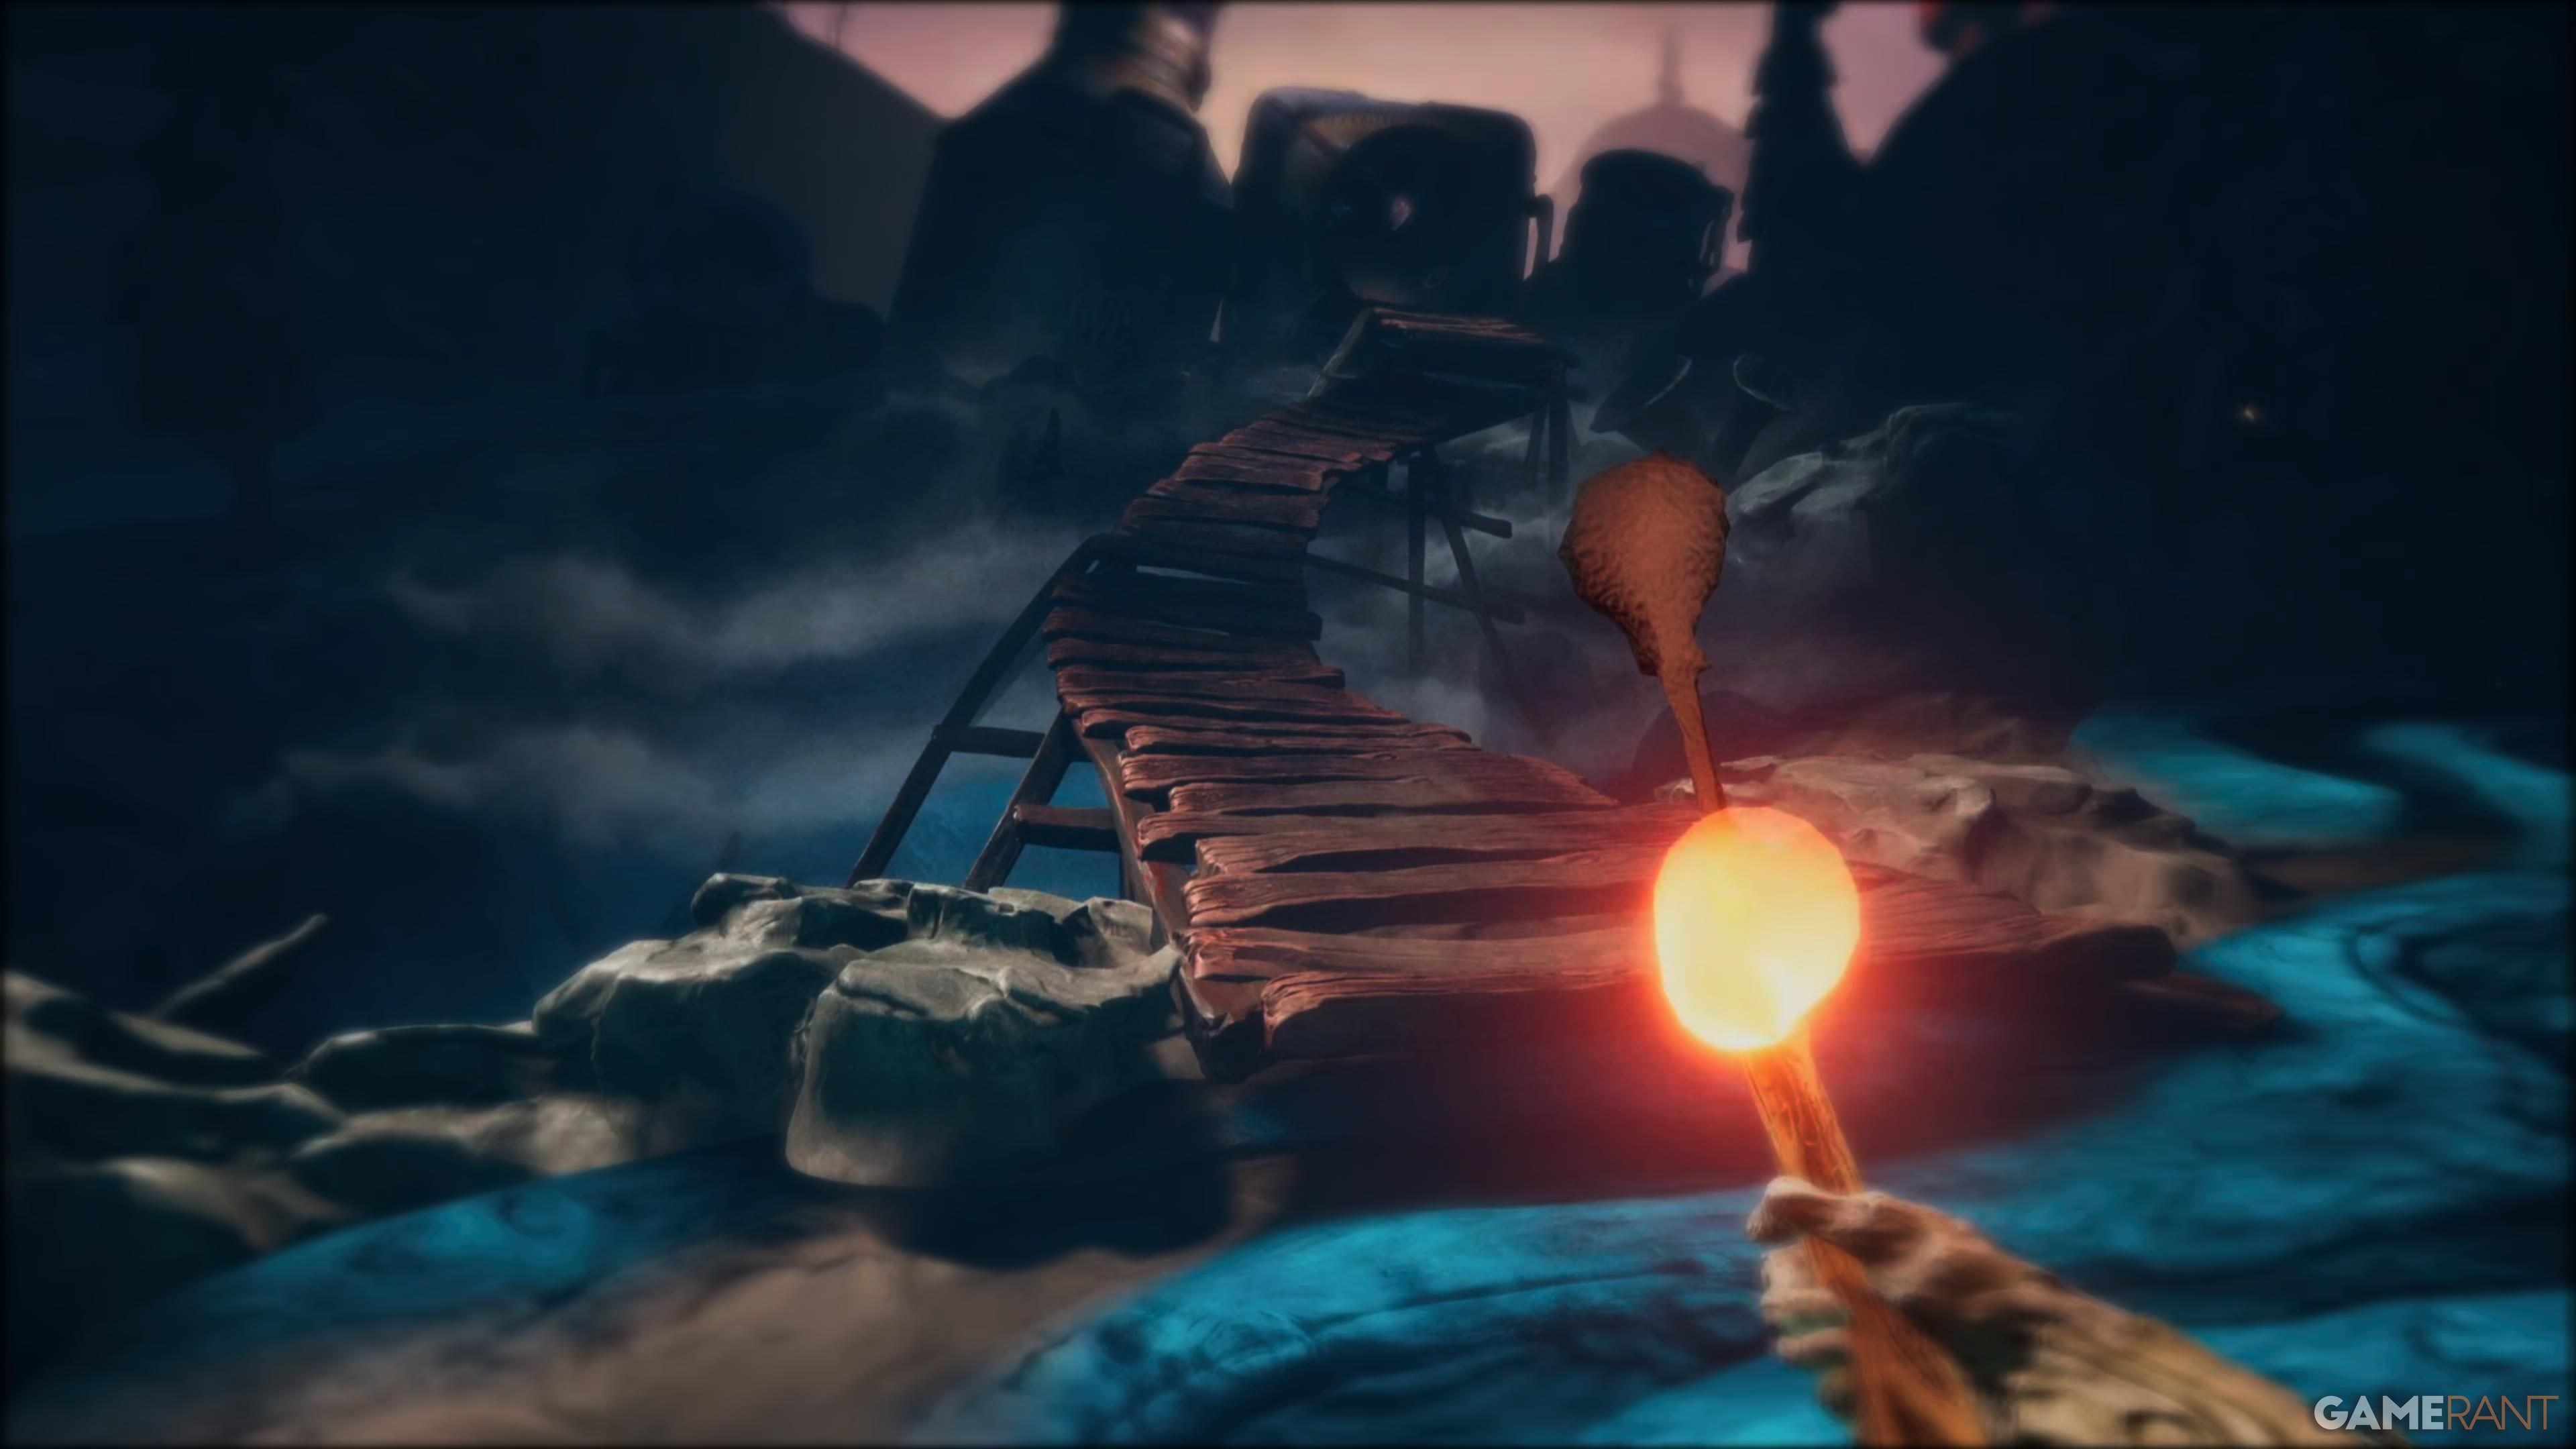
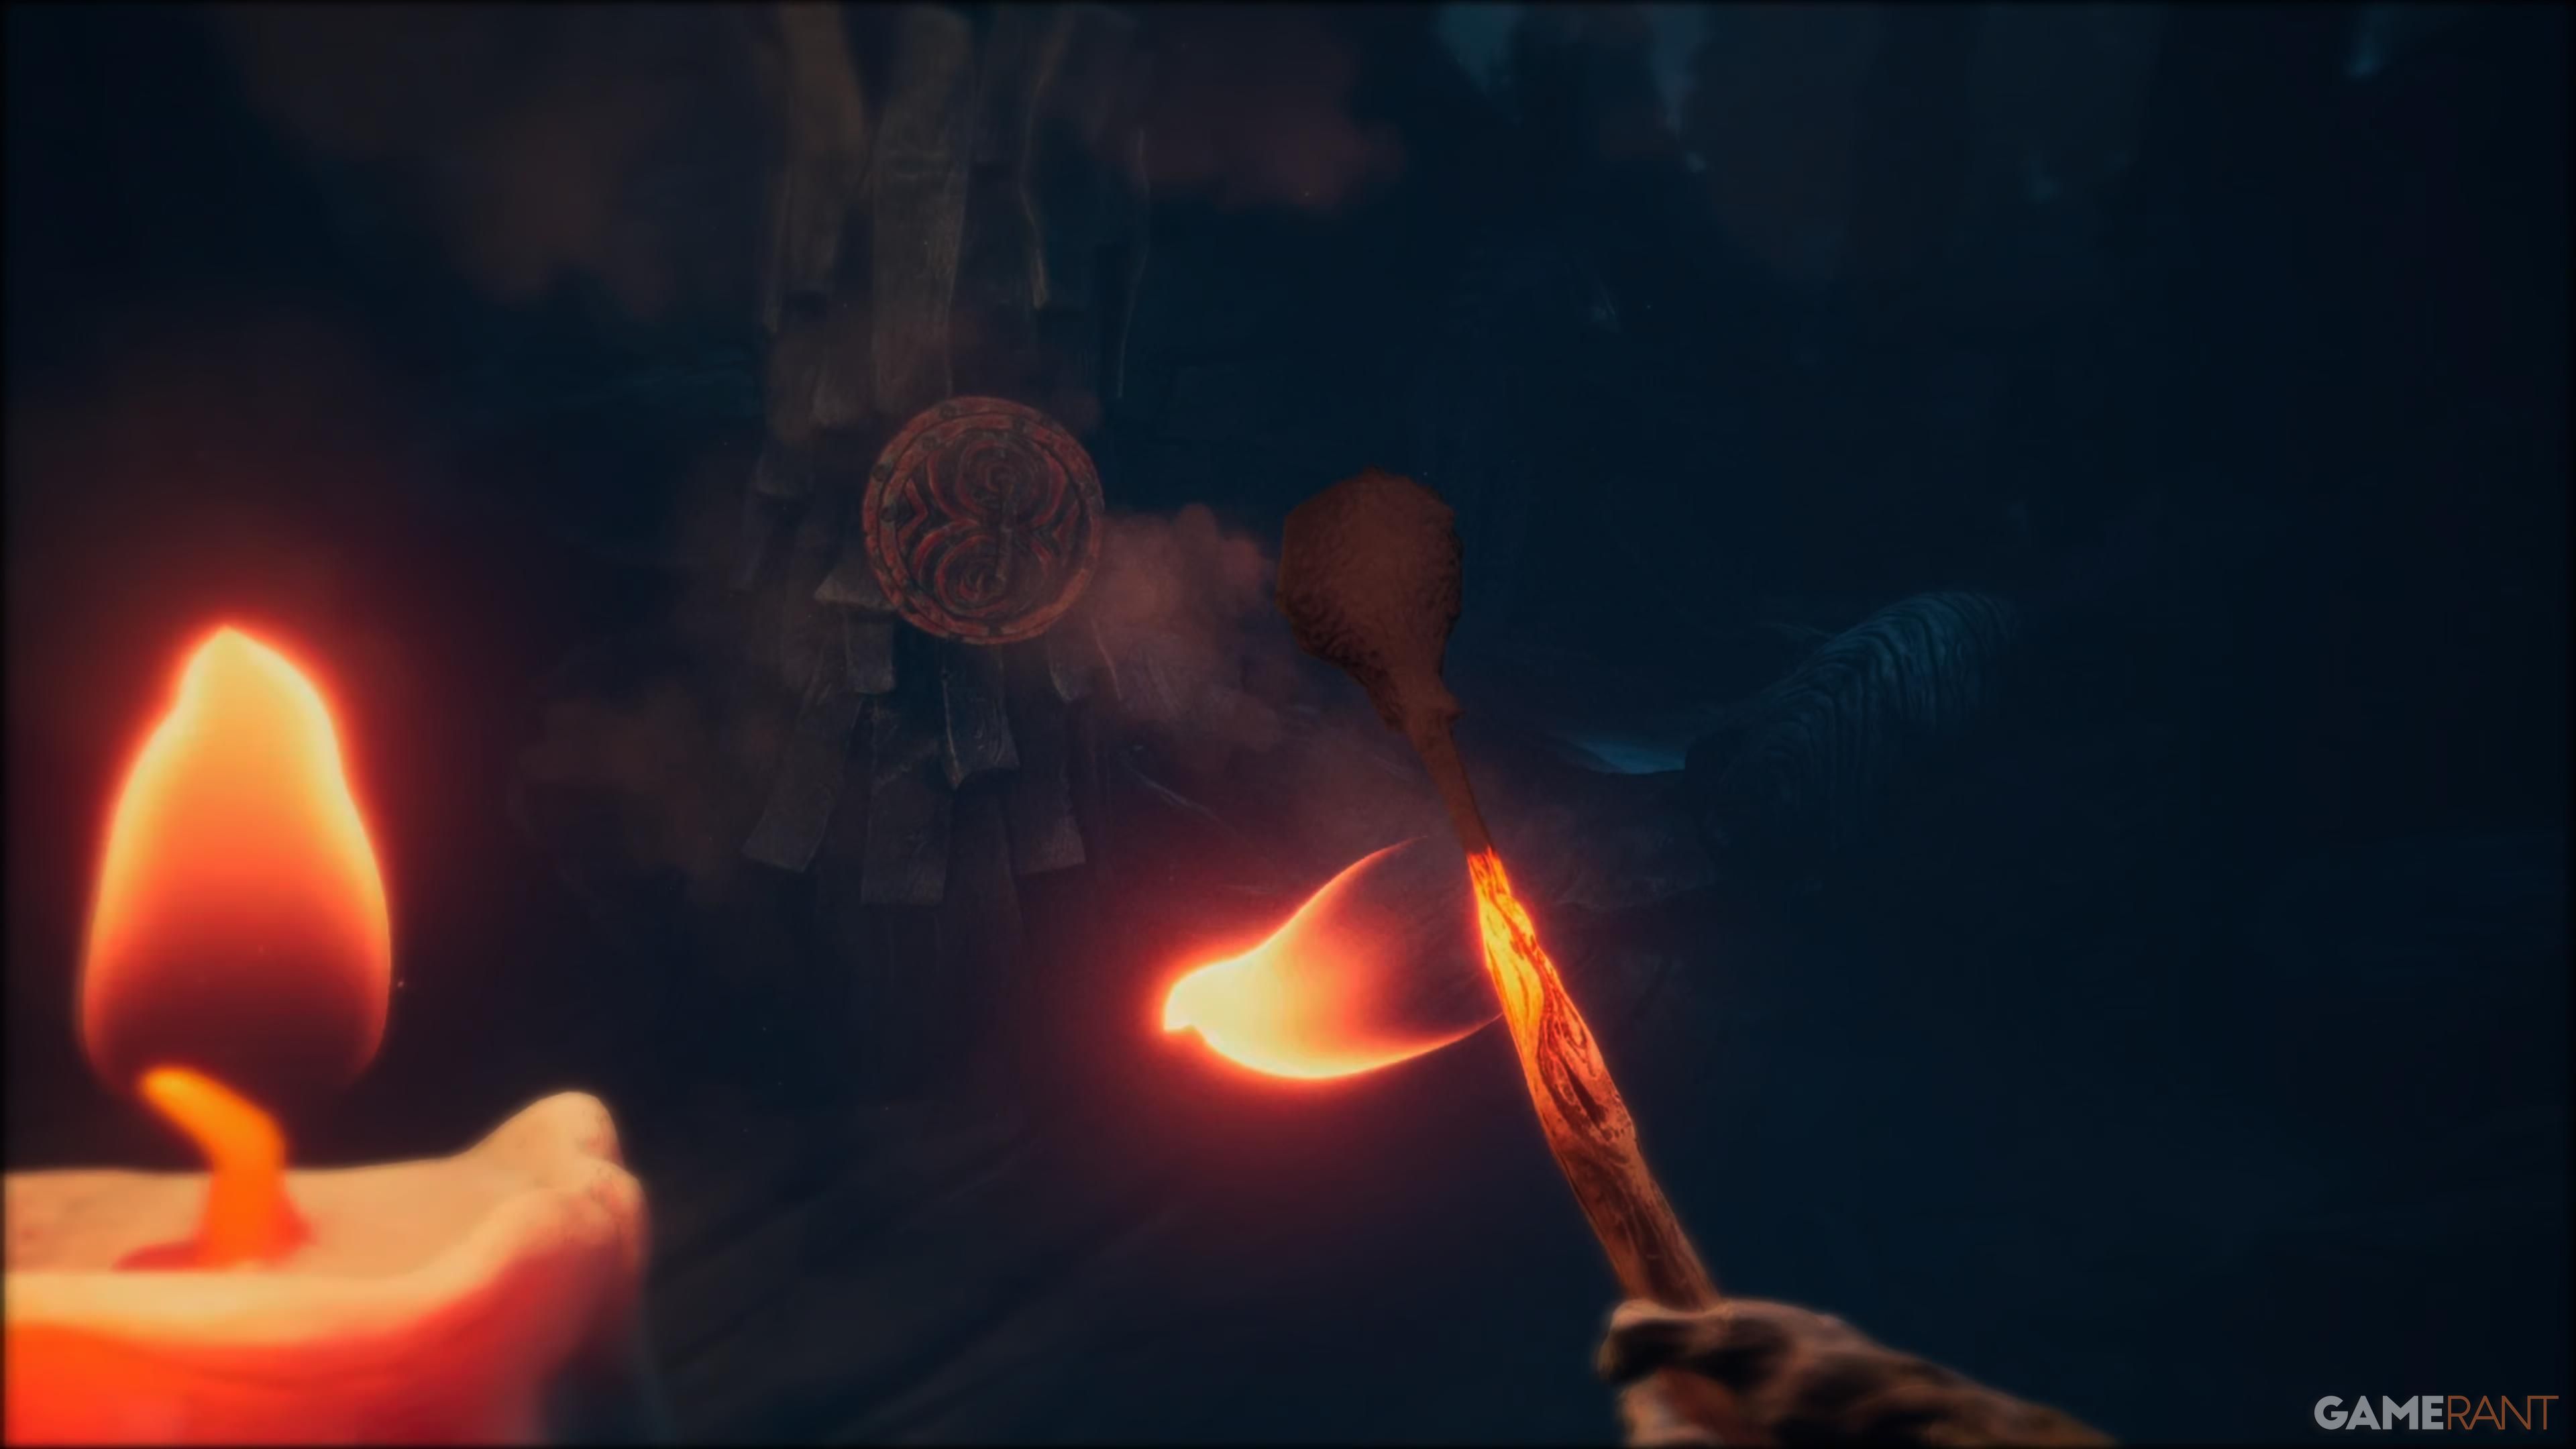
Following the acquisition and ignition of the campfire with a matchstick, venture leftward down the path ahead, and you’ll come upon another matchbox. To proceed further in the narrative, pick up another matchstick and light a candle en route. Upon lighting the second candle, bypass the path on your right and move straight across the wooden bridge to discover the first collectible of this eerie chapter.
Clay Figurine #1 (The Ragdoll)

Starting from where your collectible was last found, make your way back to the matchbox and pick up a matchstick this time. Instead of taking the familiar route, opt for the path on the right instead. Light the candle at the end of that path to reveal the entrance to the cave. Keep progressing, and just beyond a quick scare, you’ll spot your first Clay Figurine located on the right side of the main path.
Clay Figurine #2 (The Daughter)


Directly advance and squat low to dodge the enemy guarding the region. Instead, take the left route and stealthily move towards the cave. Stick to the primary path, and soon after closing your eyes to sense the direction, you’ll discover another matchbox. Grab a matchstick and ignite the candle on your left side—right beside it, you’ll find the second Clay Statuette.
Clay Figurine #3 (The Soothsayers)

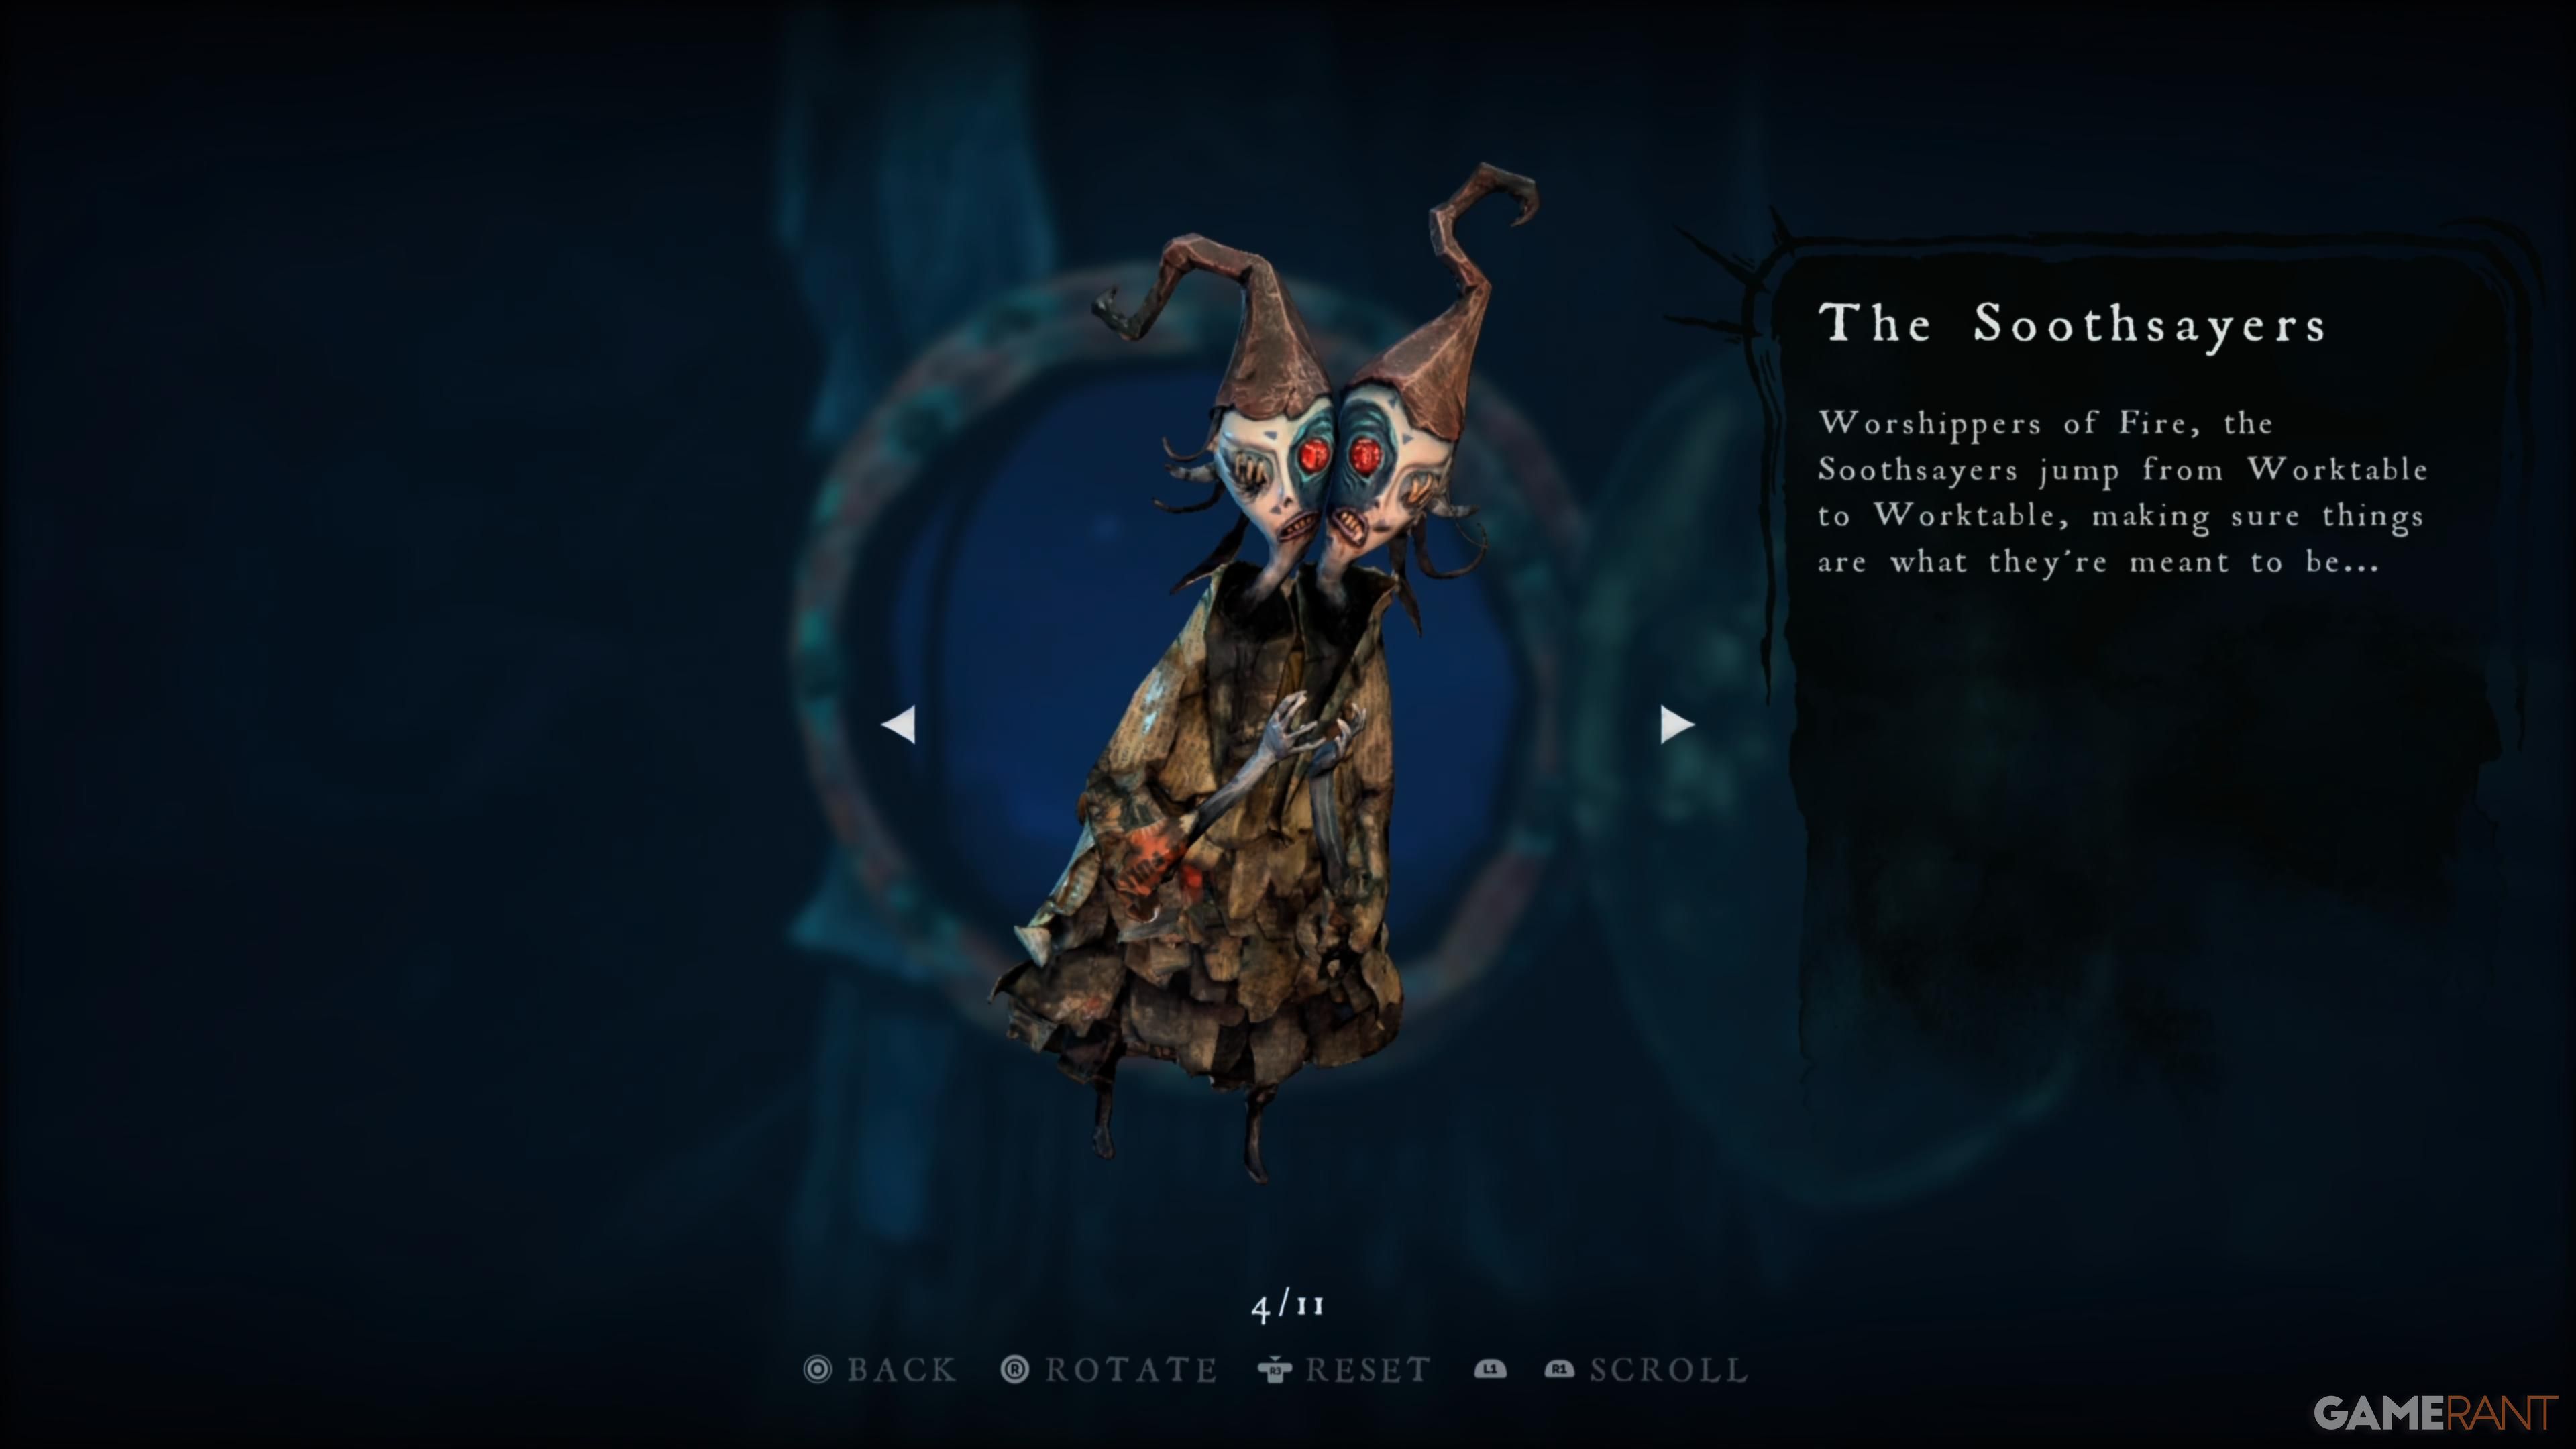
As a passionate collector, I found the second clay figurine! Keep walking along the same path, maintaining your course. Soon enough, you’ll find yourself descending into an area with a matchbox and another captivating clay figurine tucked away on your right side. Enjoy the hunt!
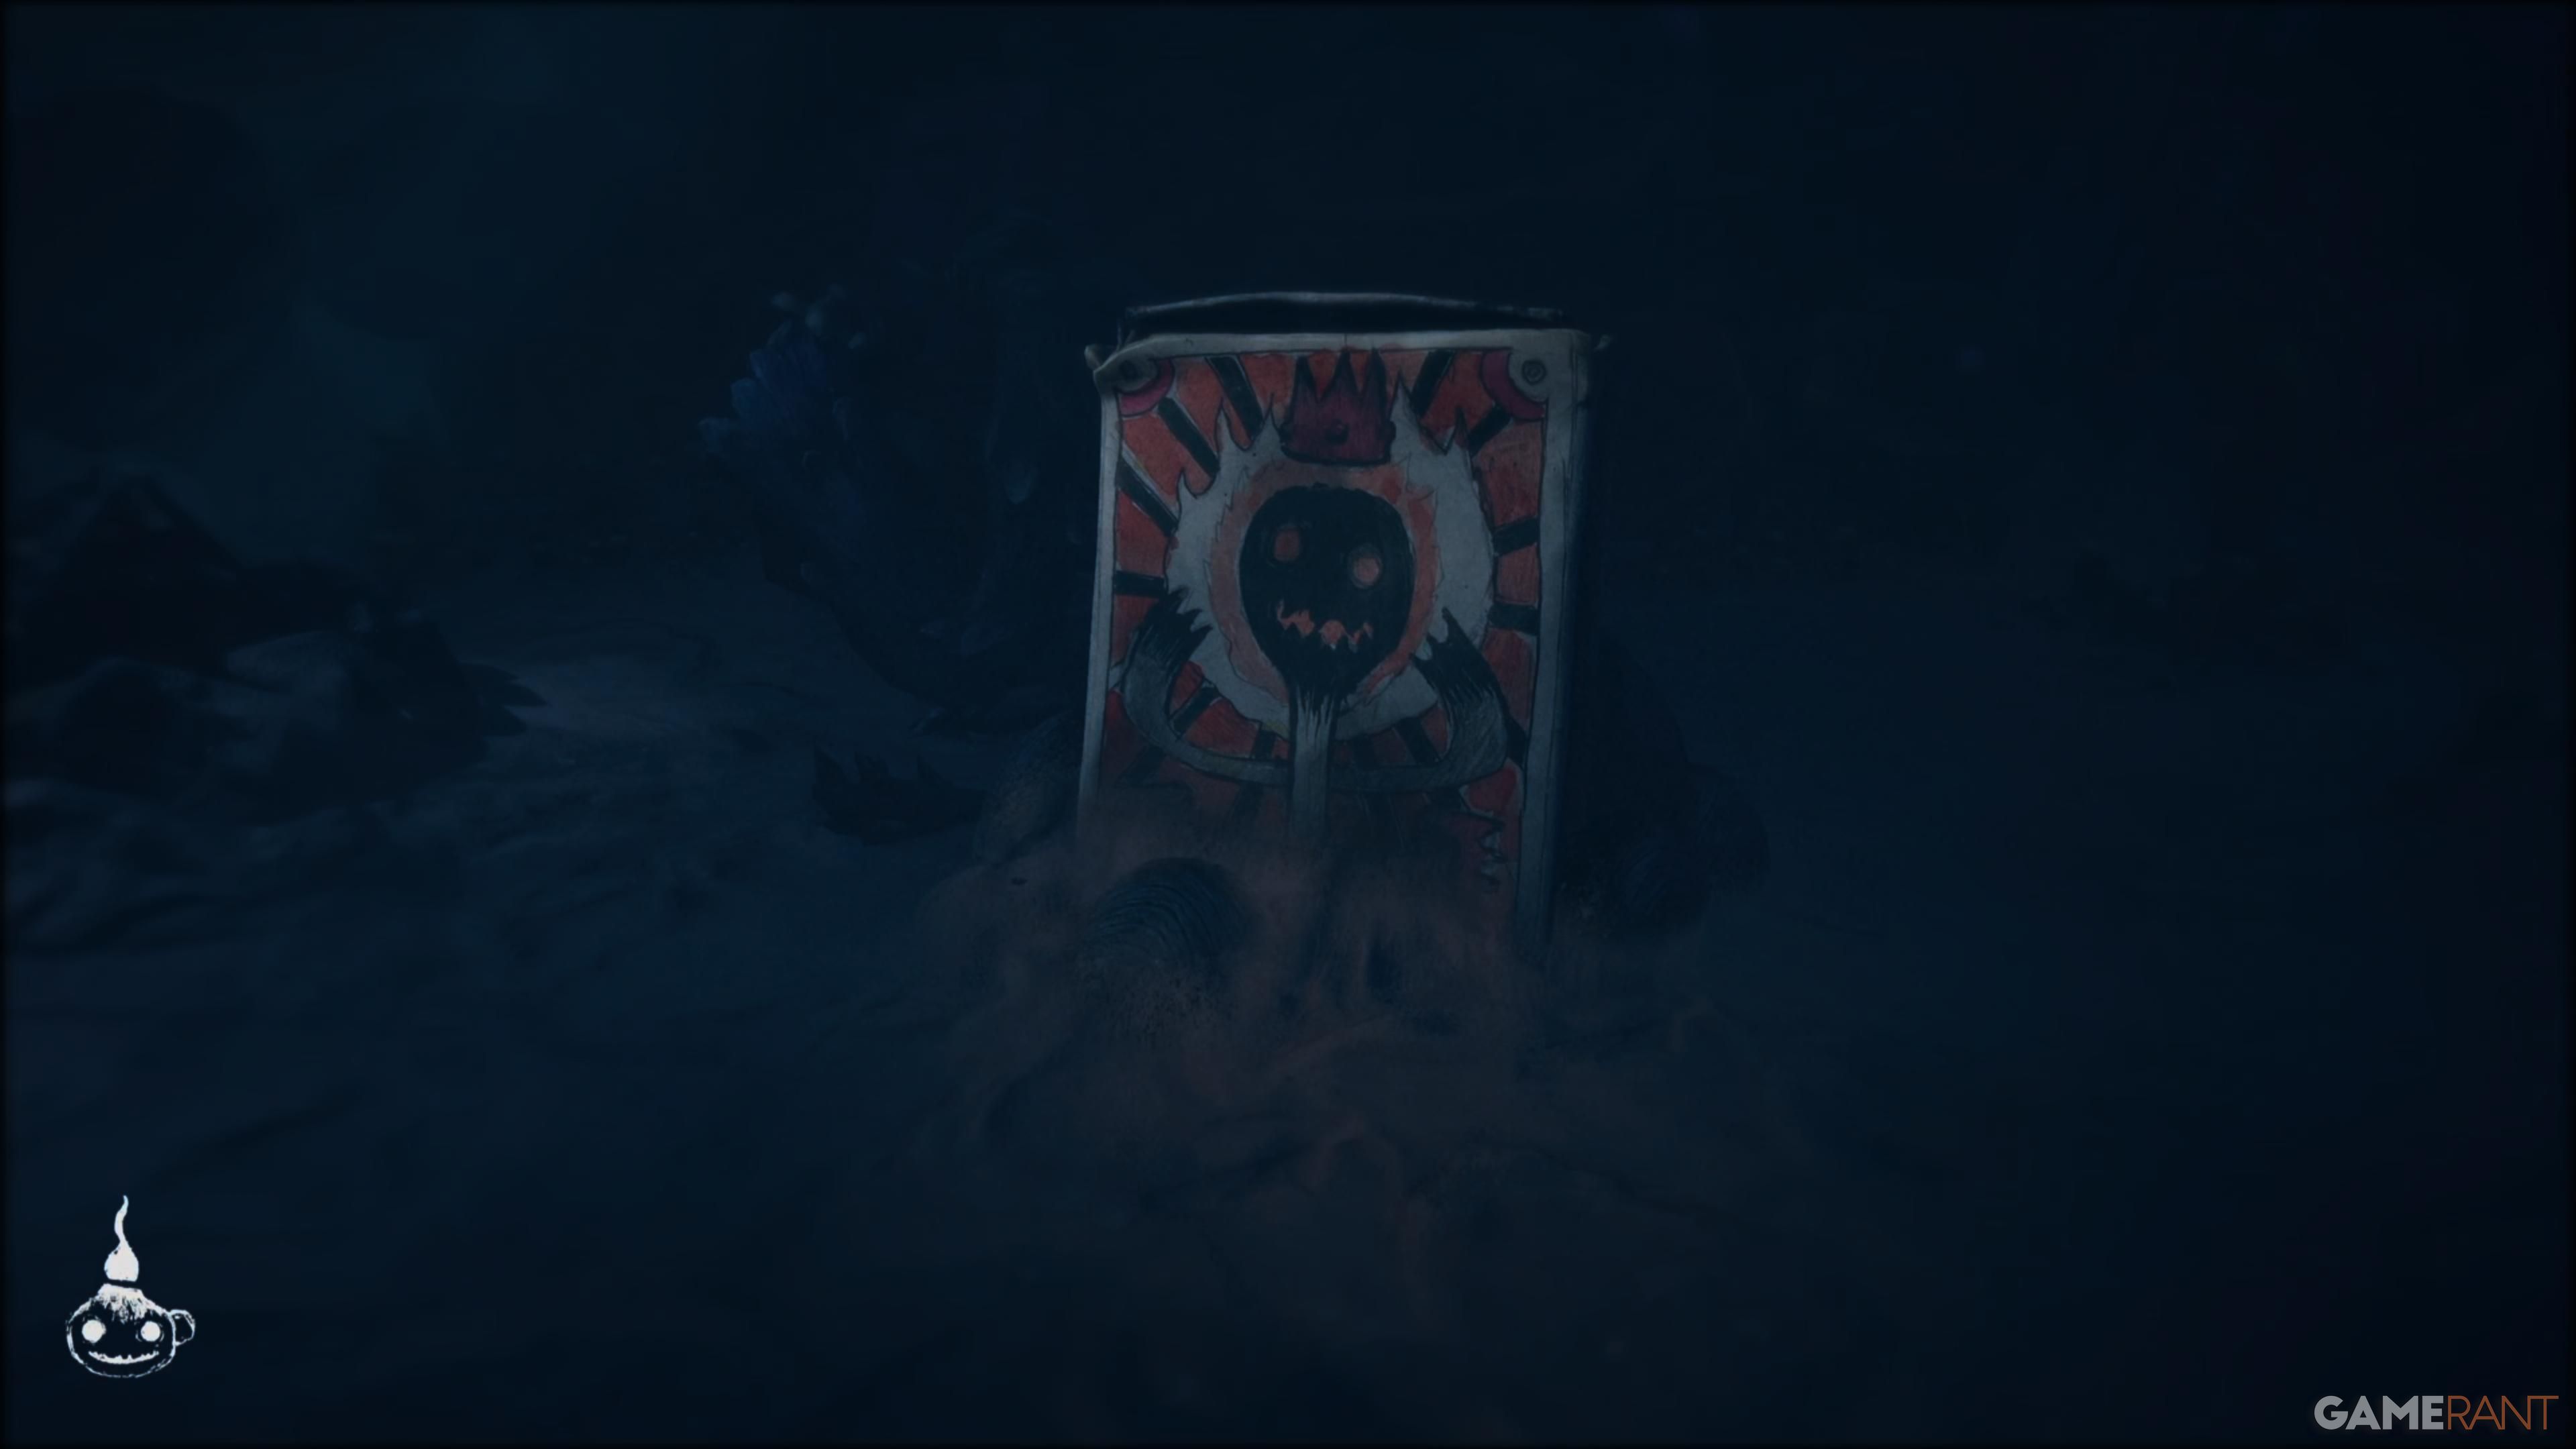
Story Page #1 (Who Took The Sun Away?)

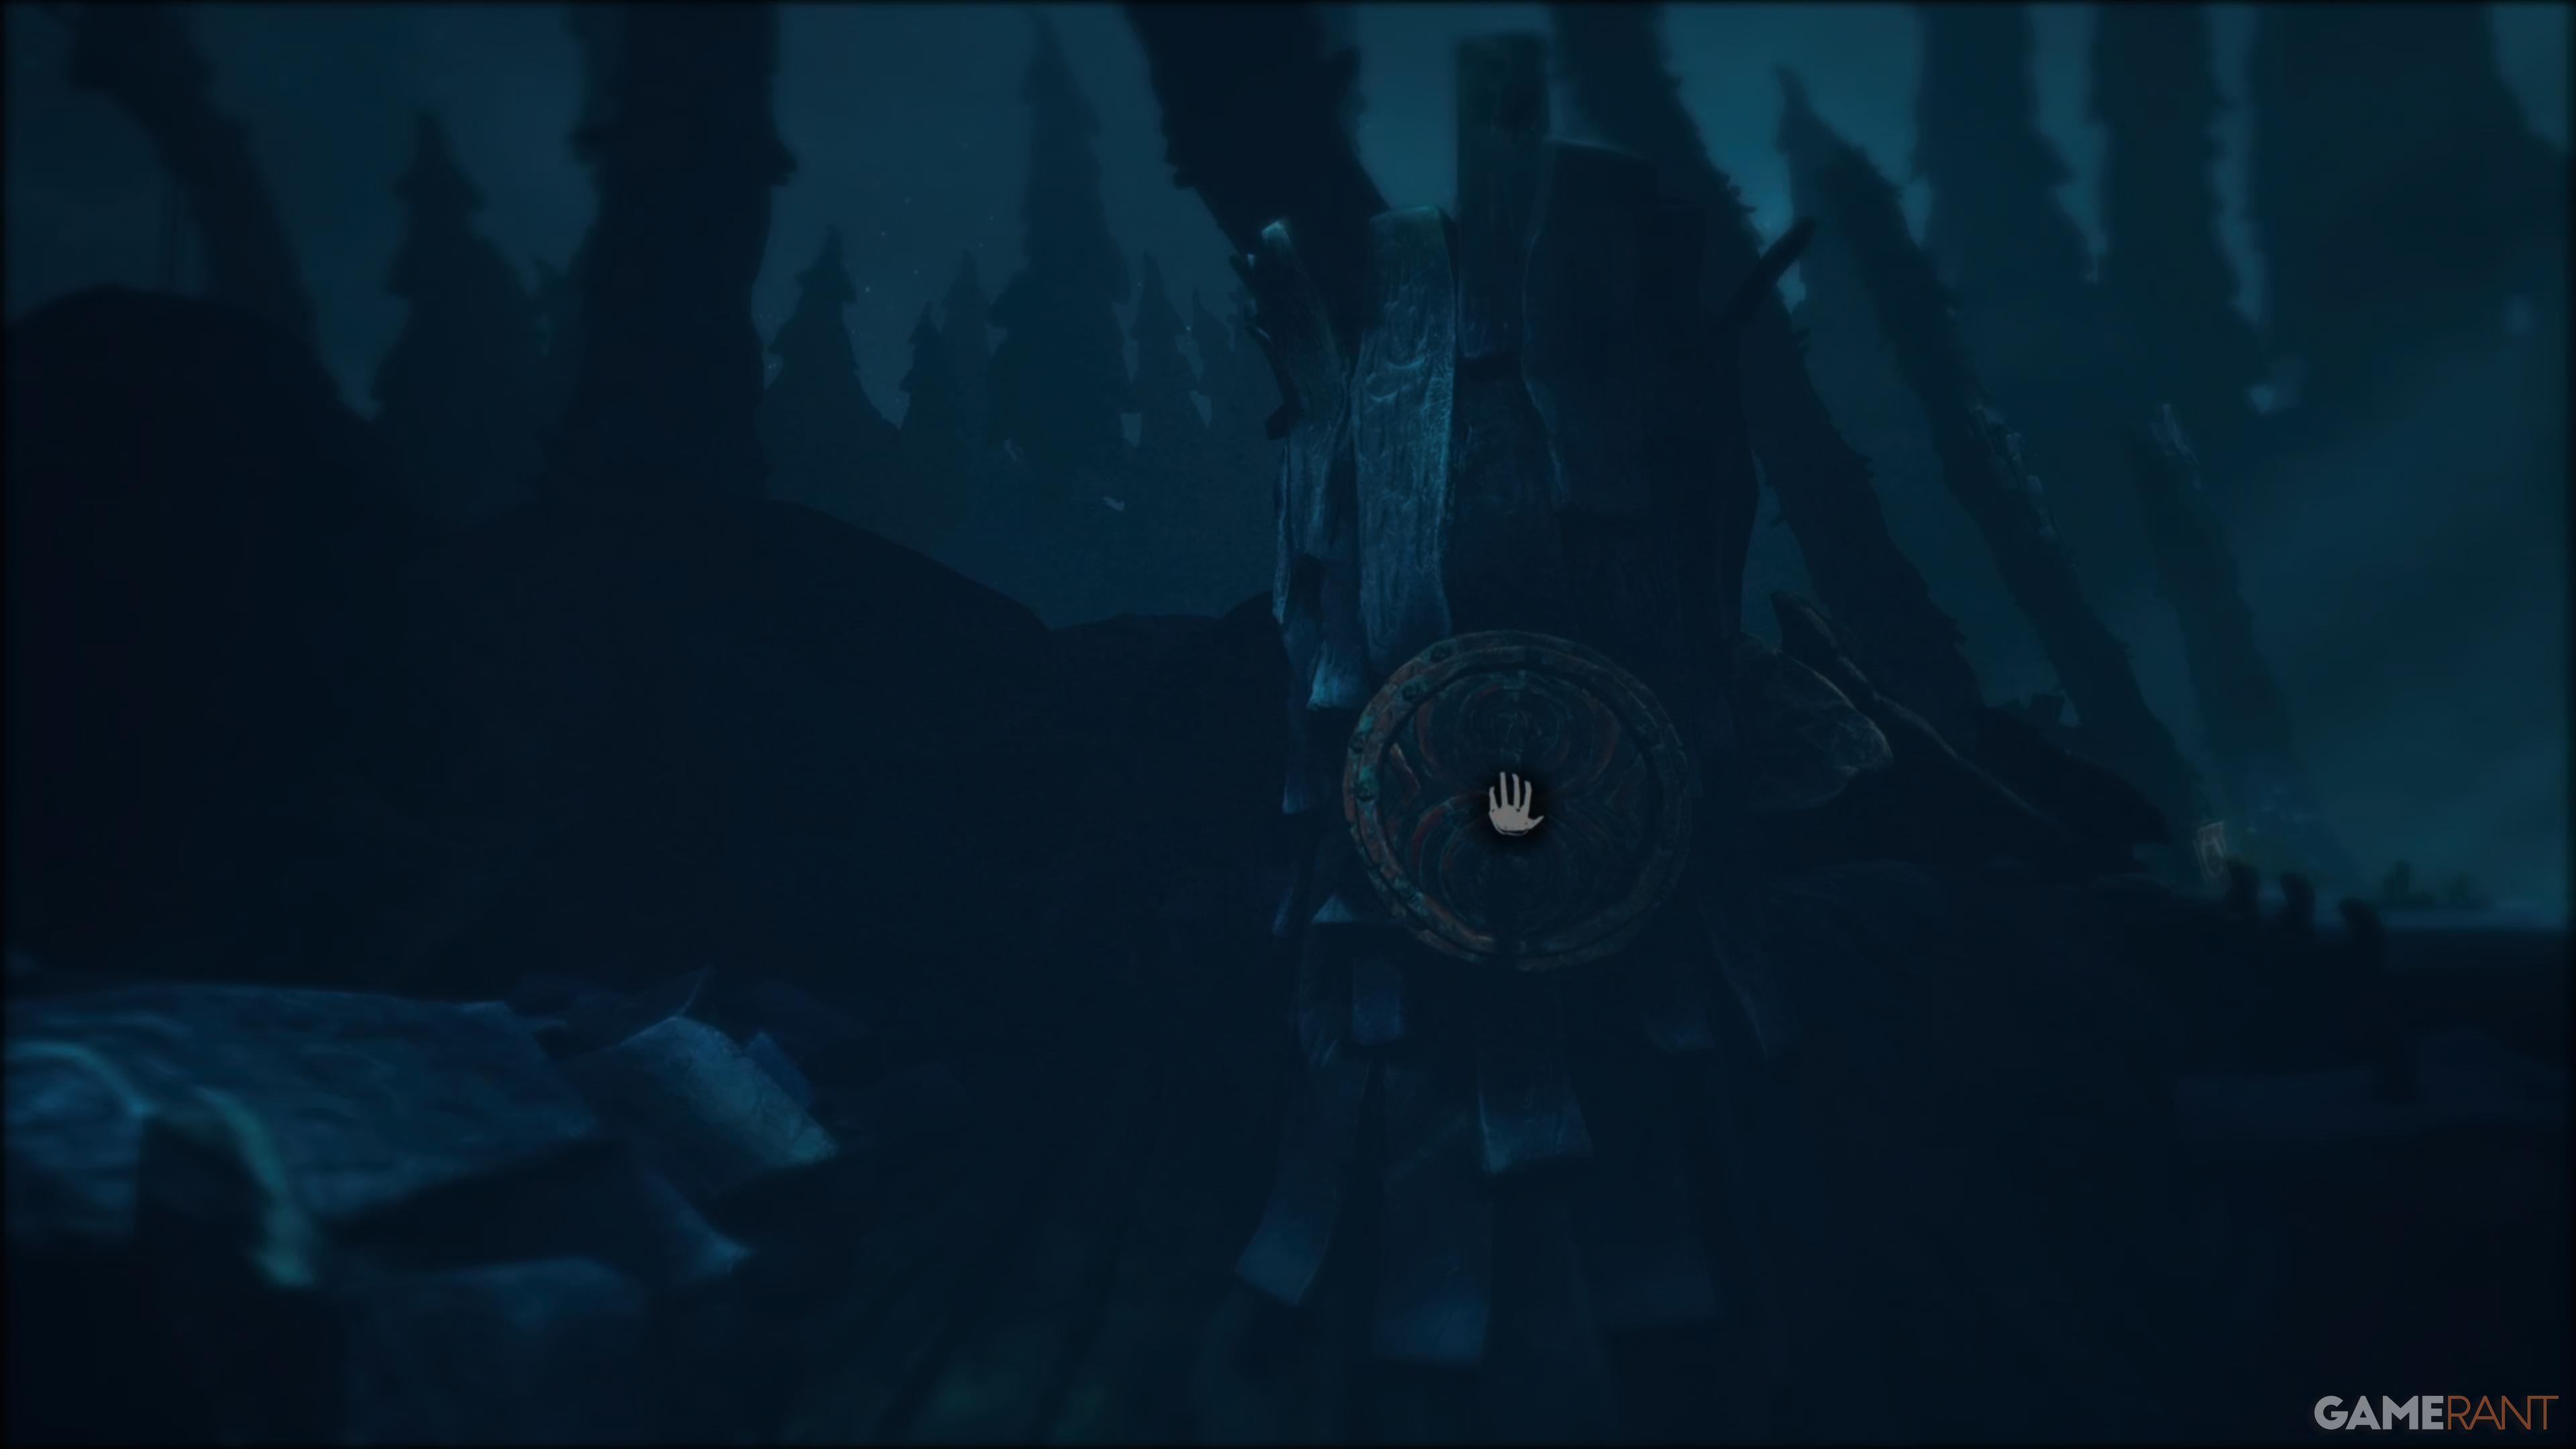
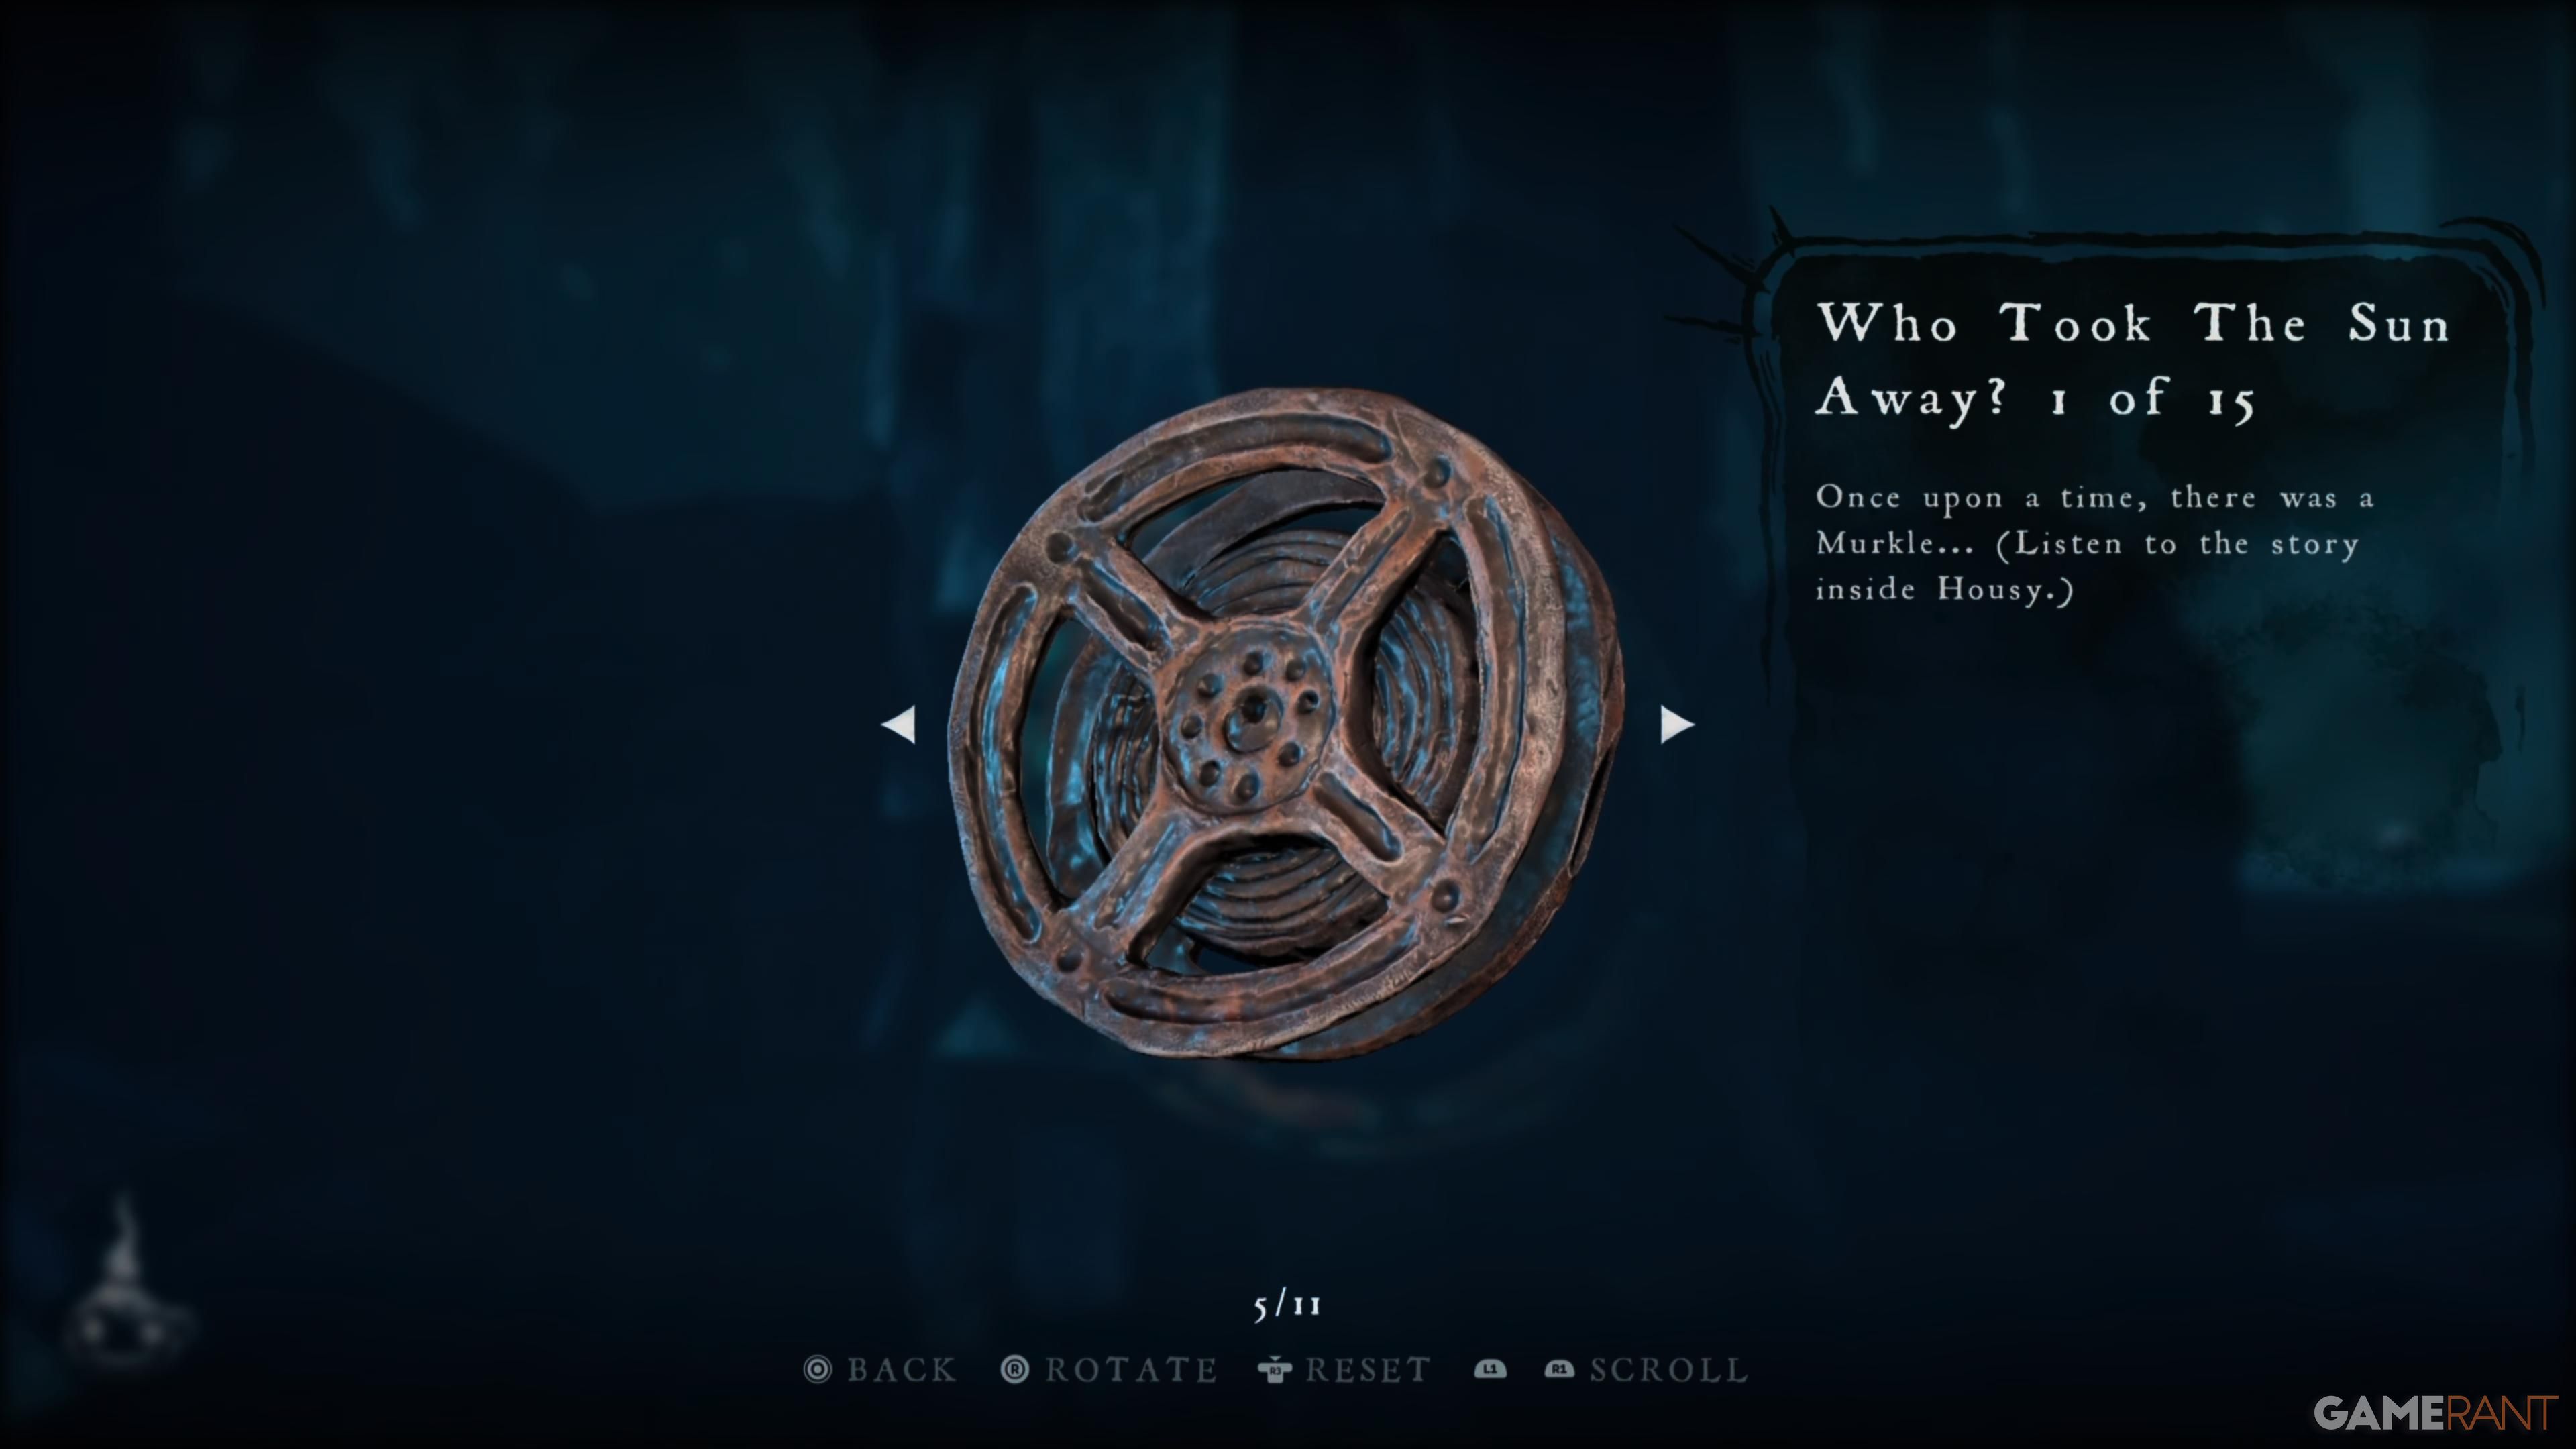
From where I just picked up that collectible, I’d recommend heading to the left. Eventually, you’ll notice a giant, overturned tree on your path, with a hidden story page tucked next to it.
Gramophone Disc #1 (The Soulfisher’s Secret)
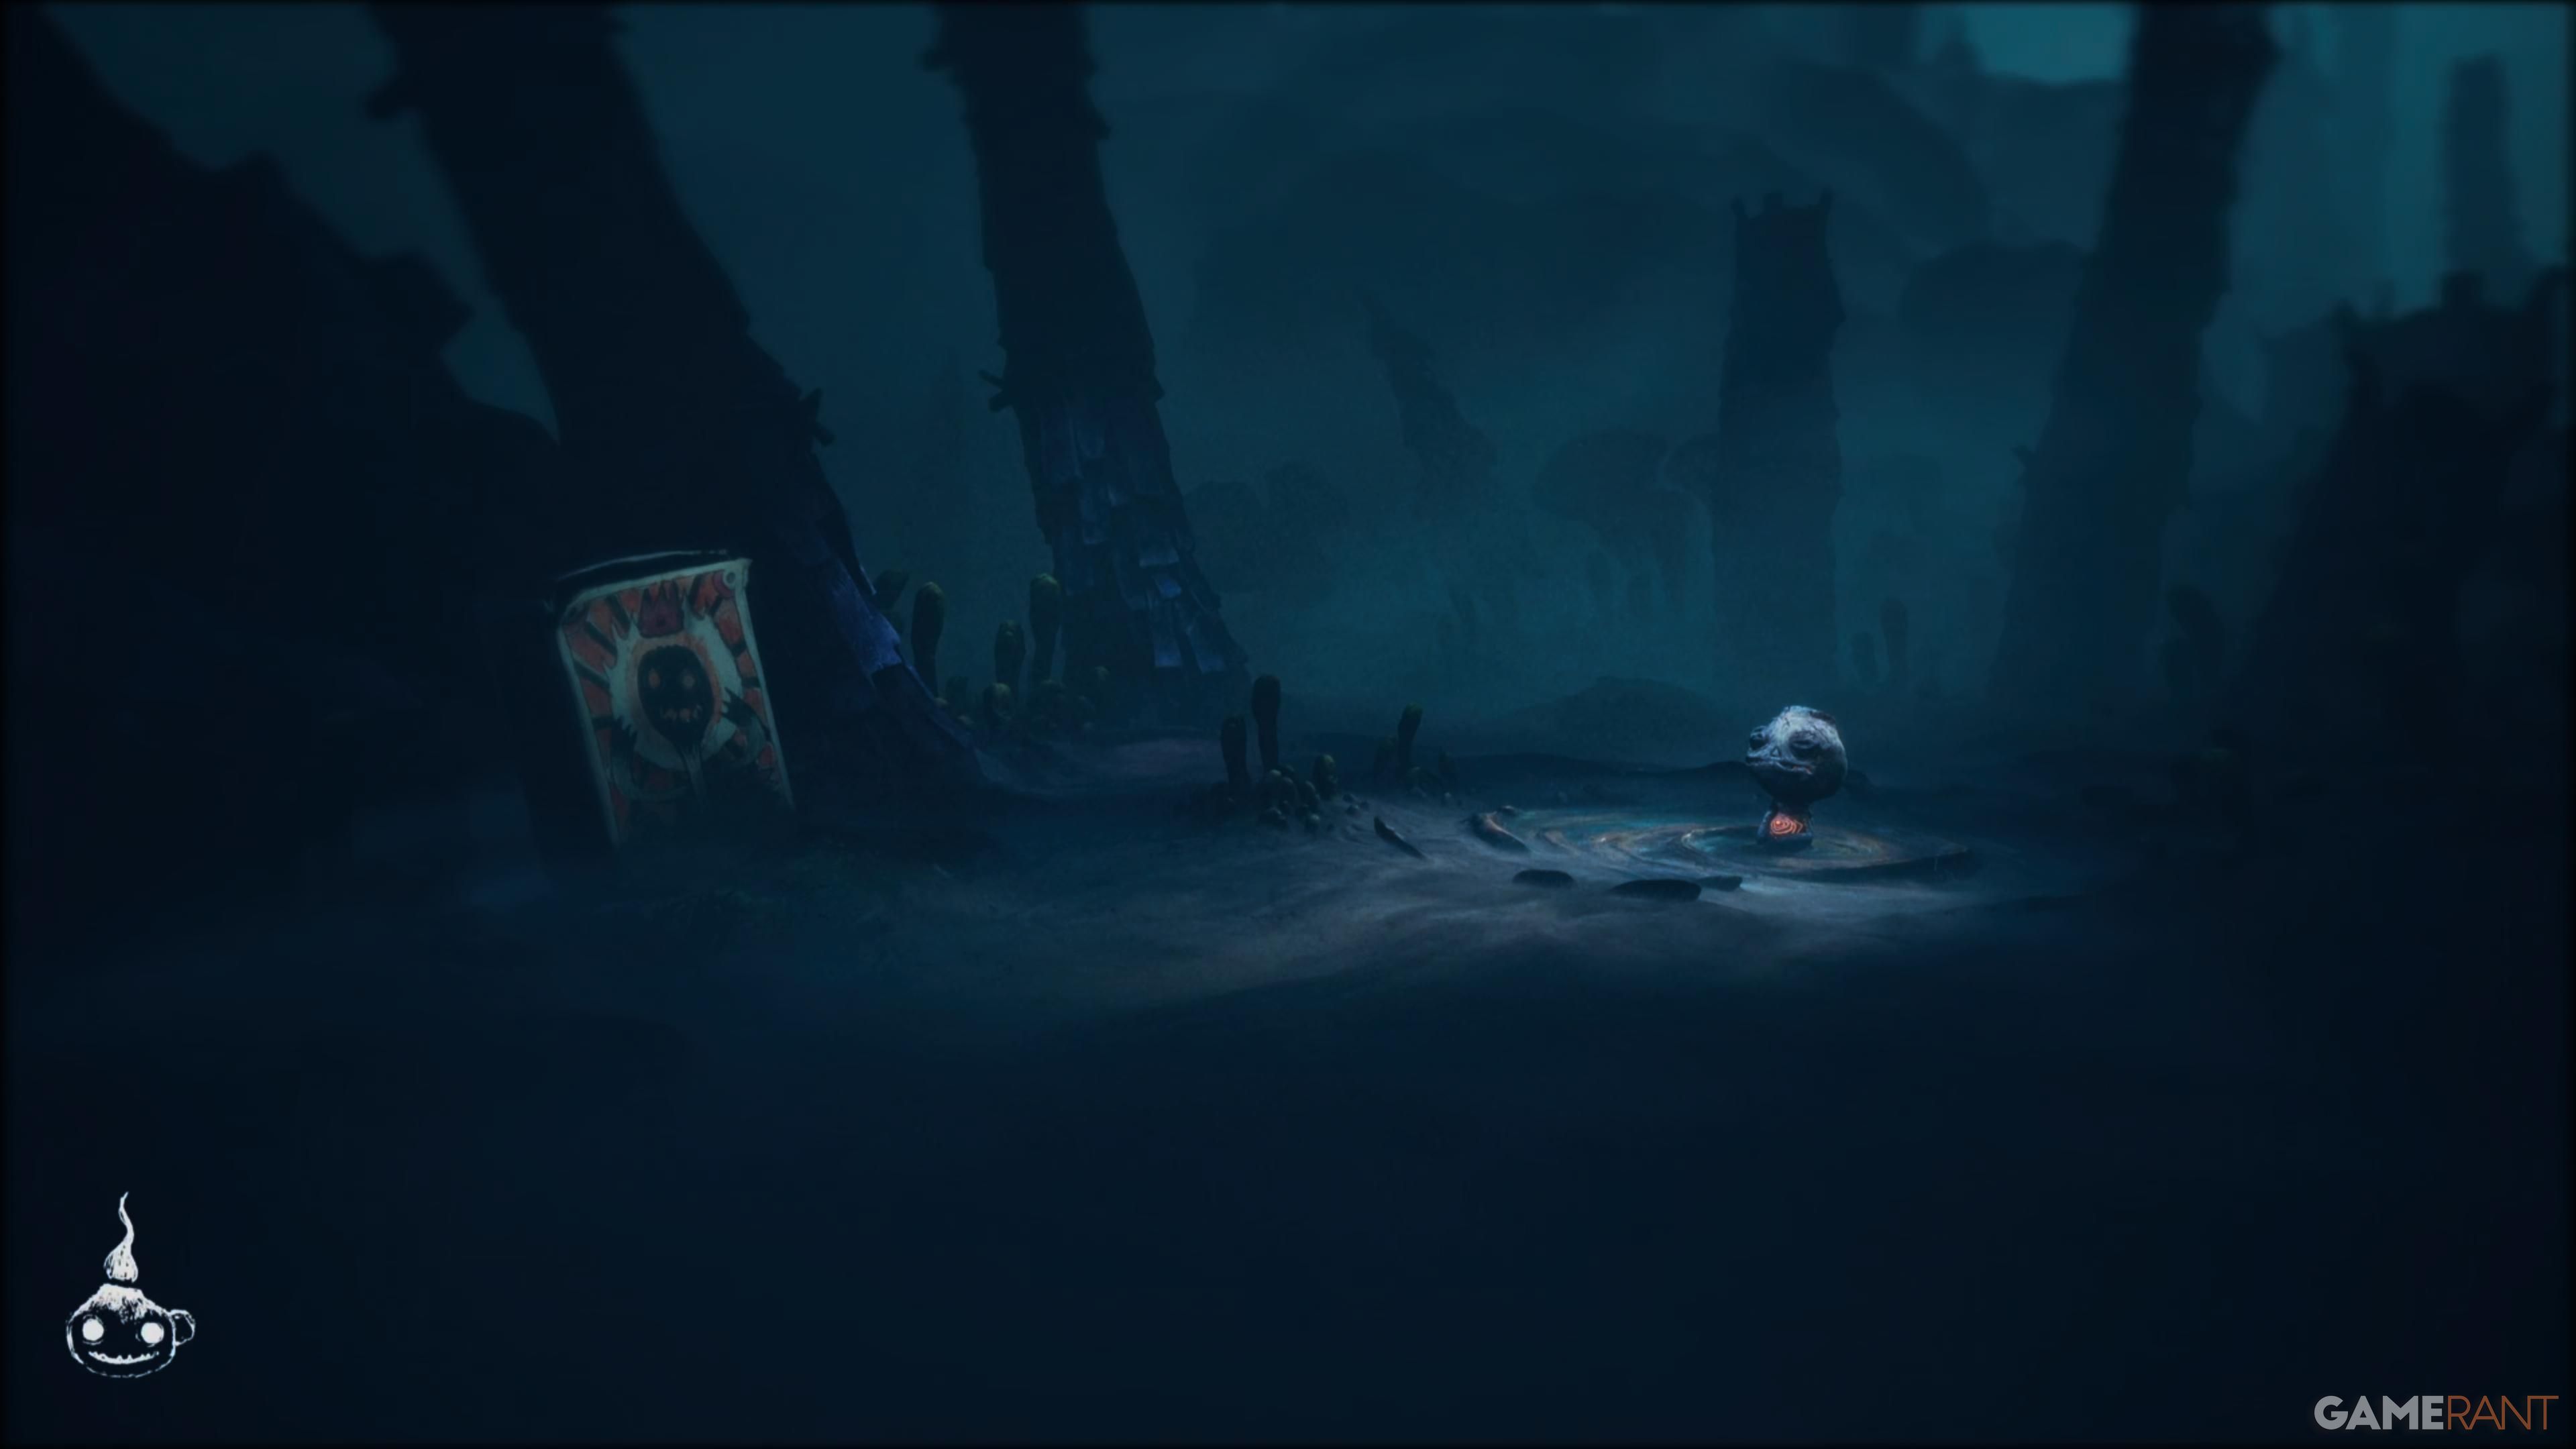
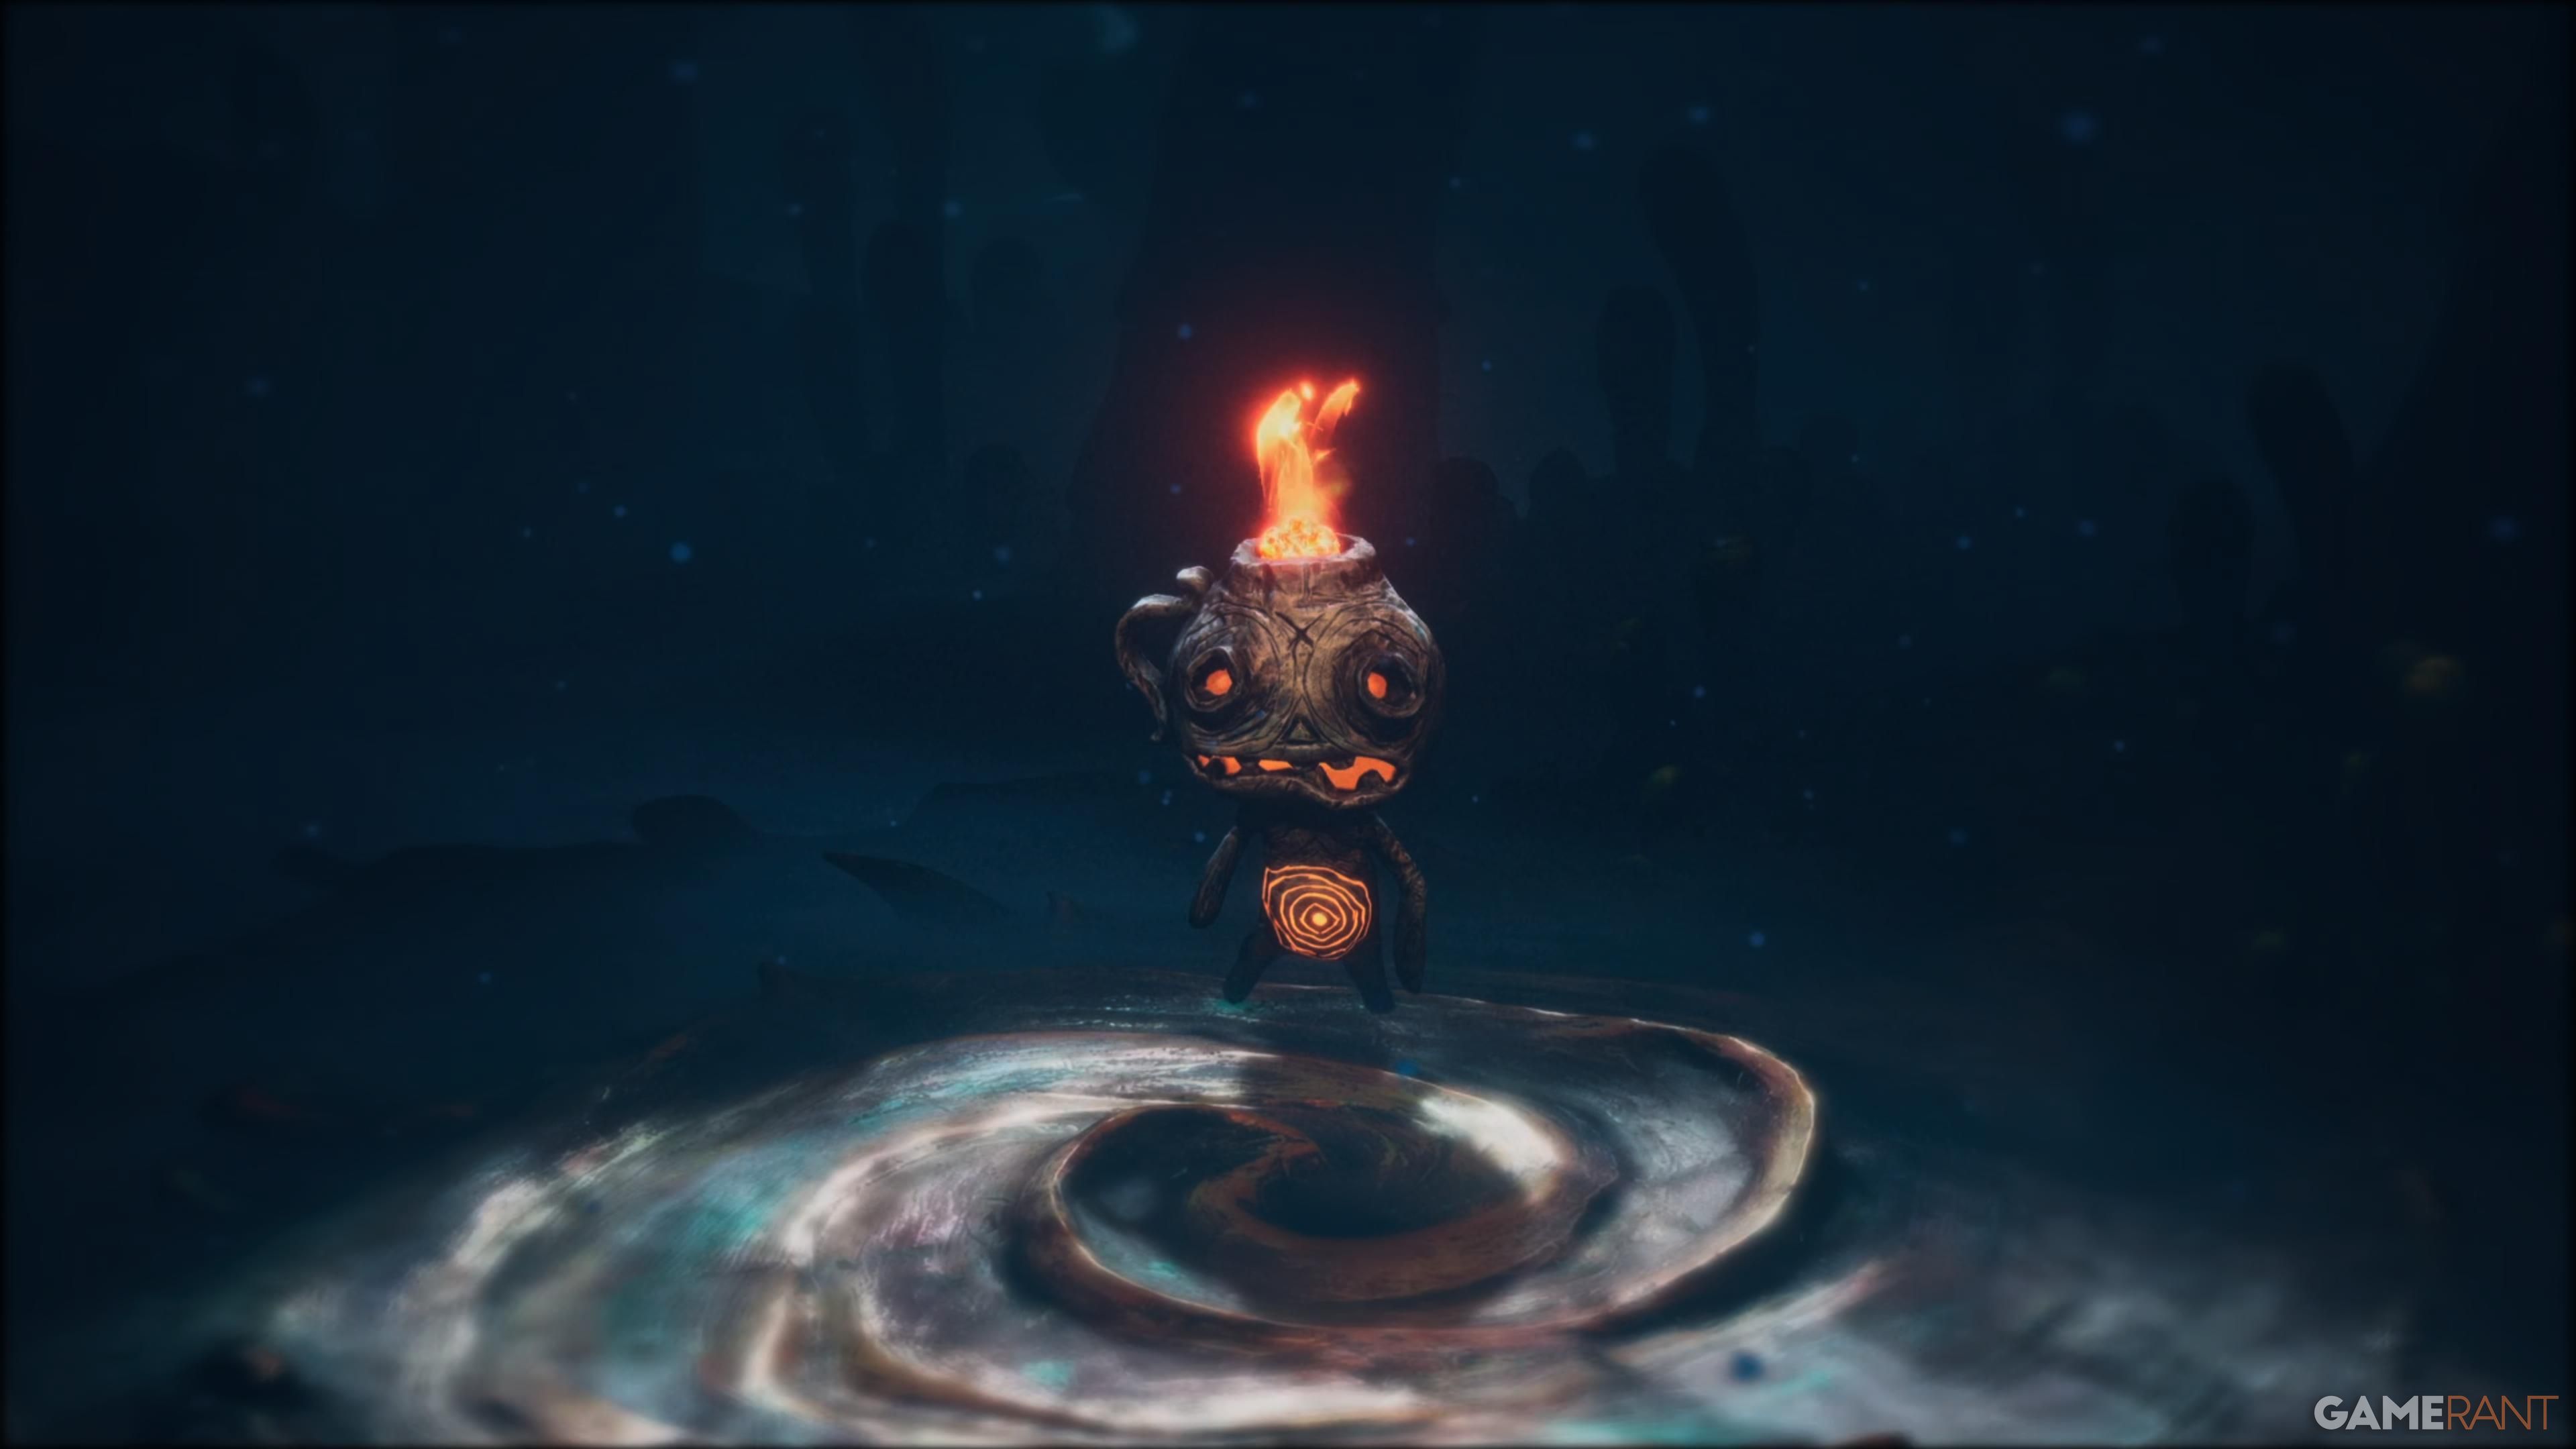


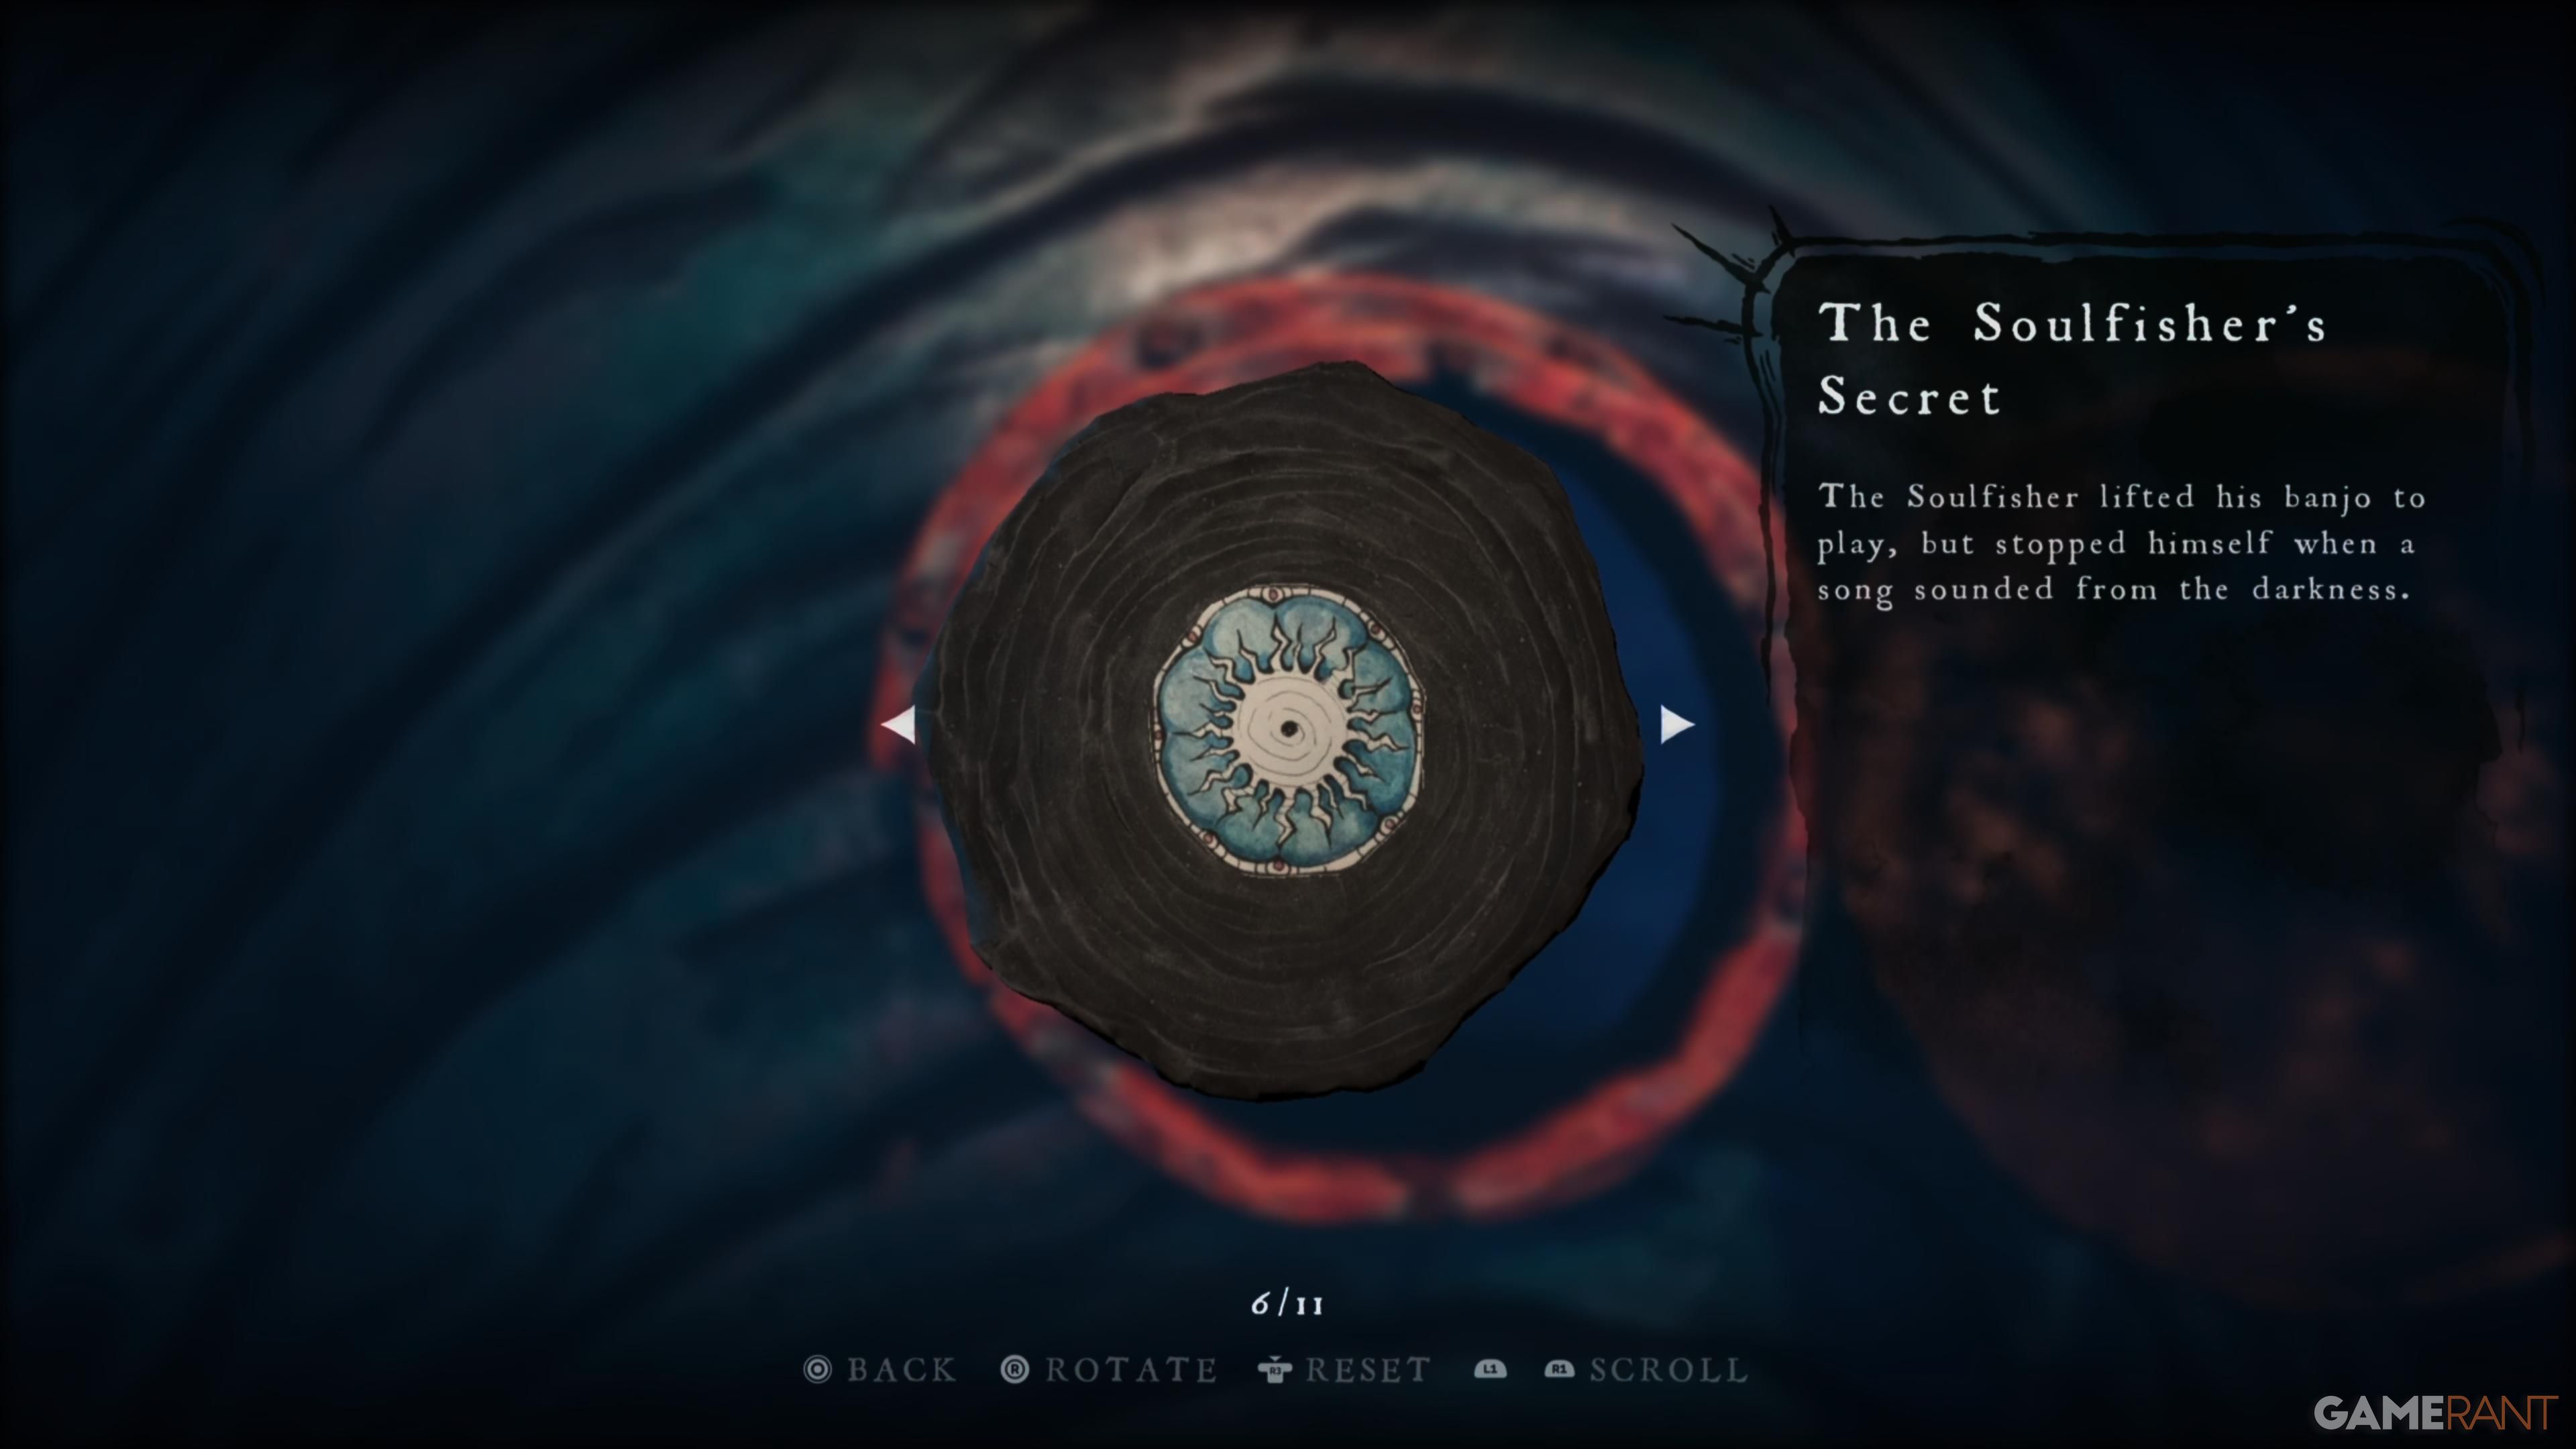
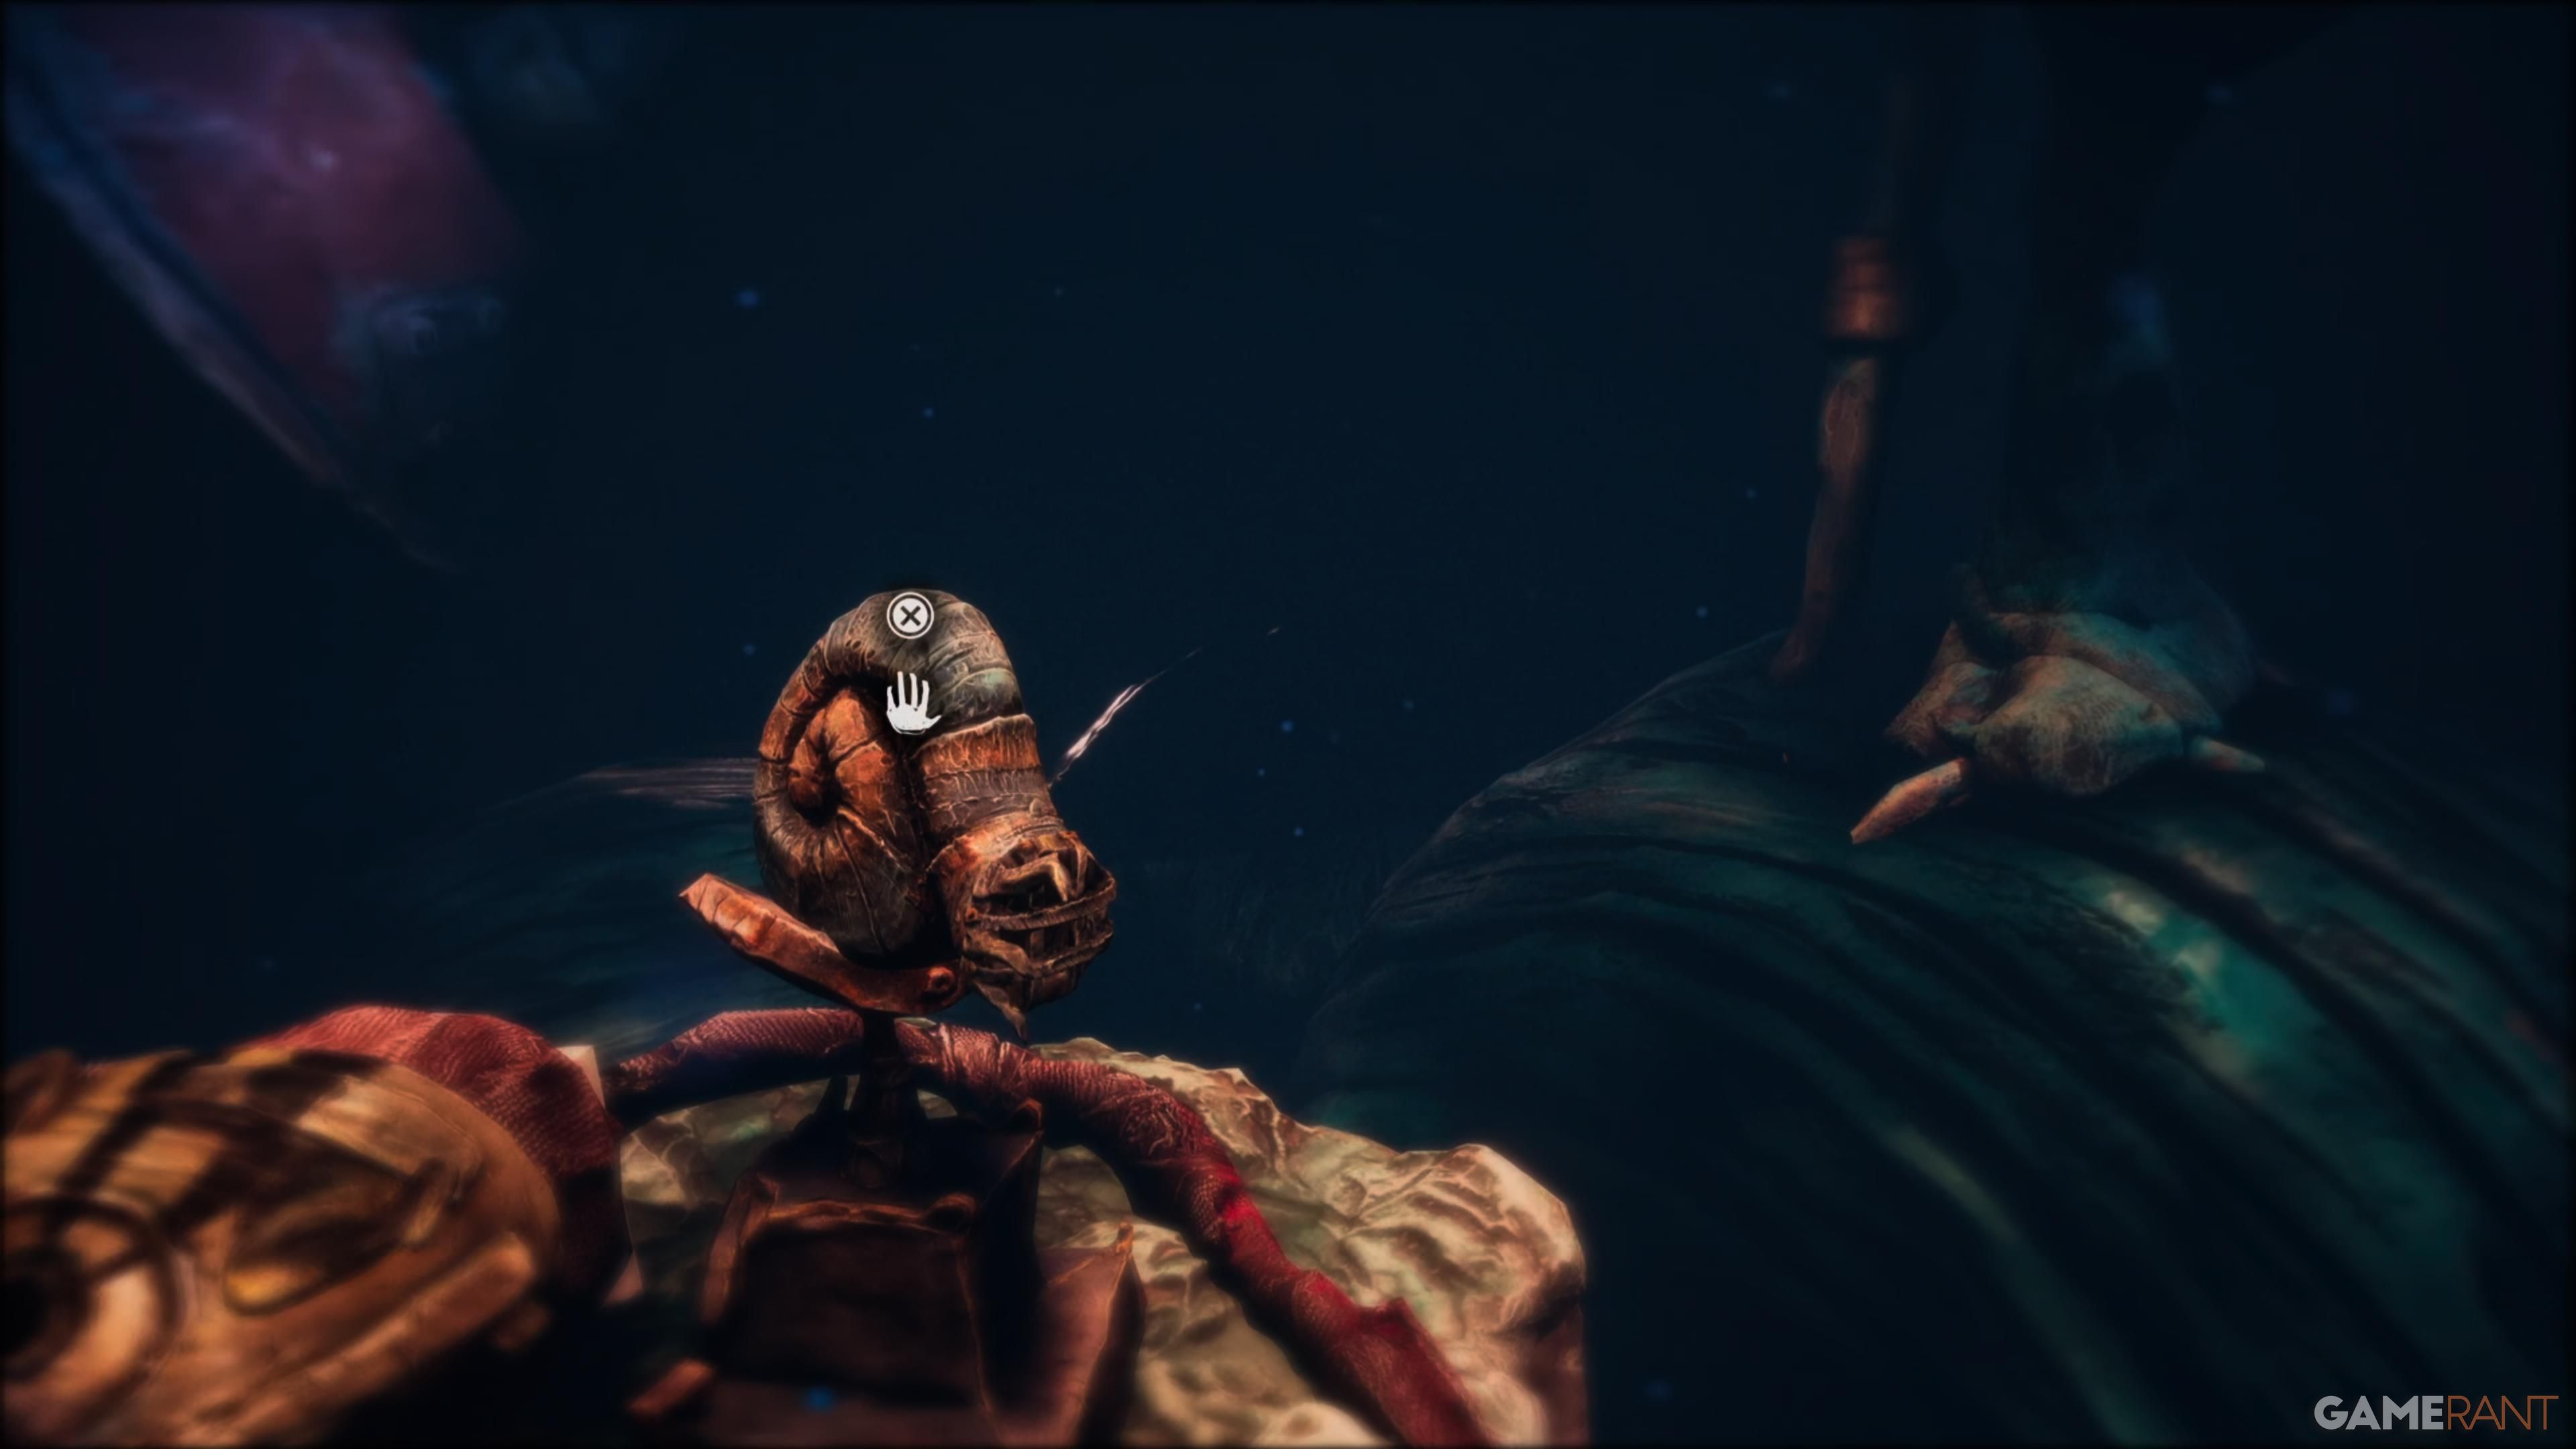
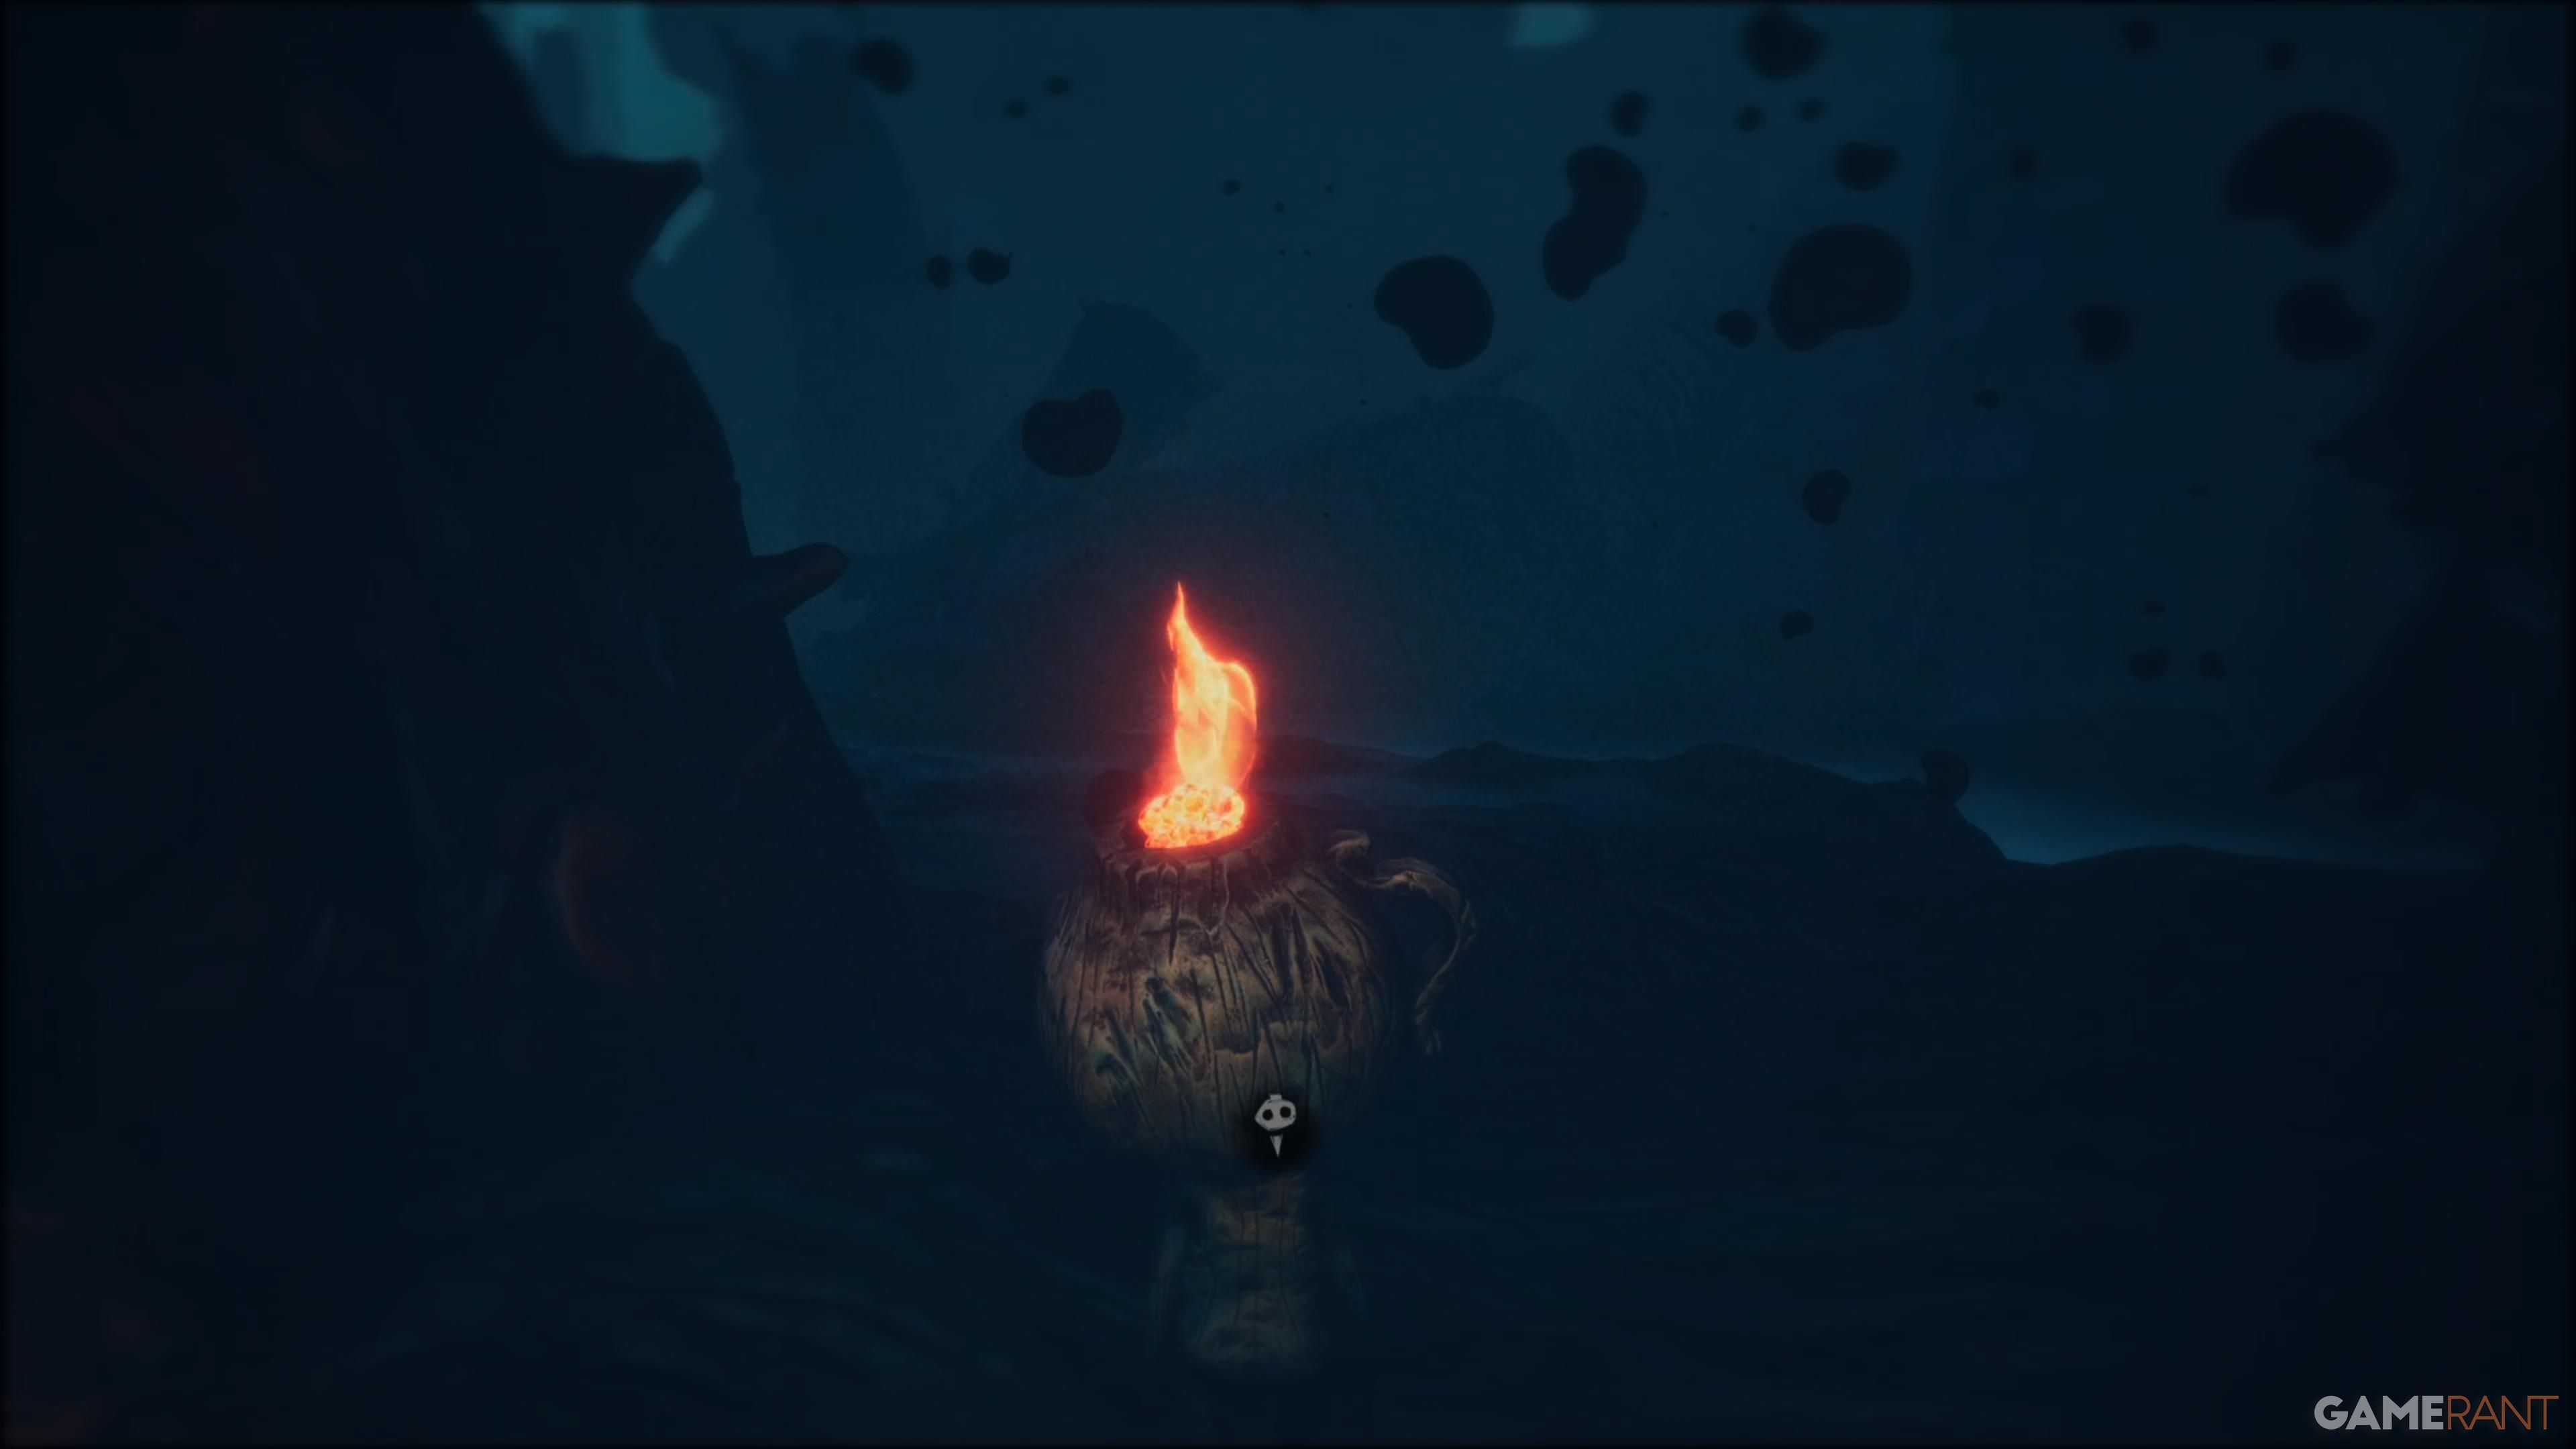
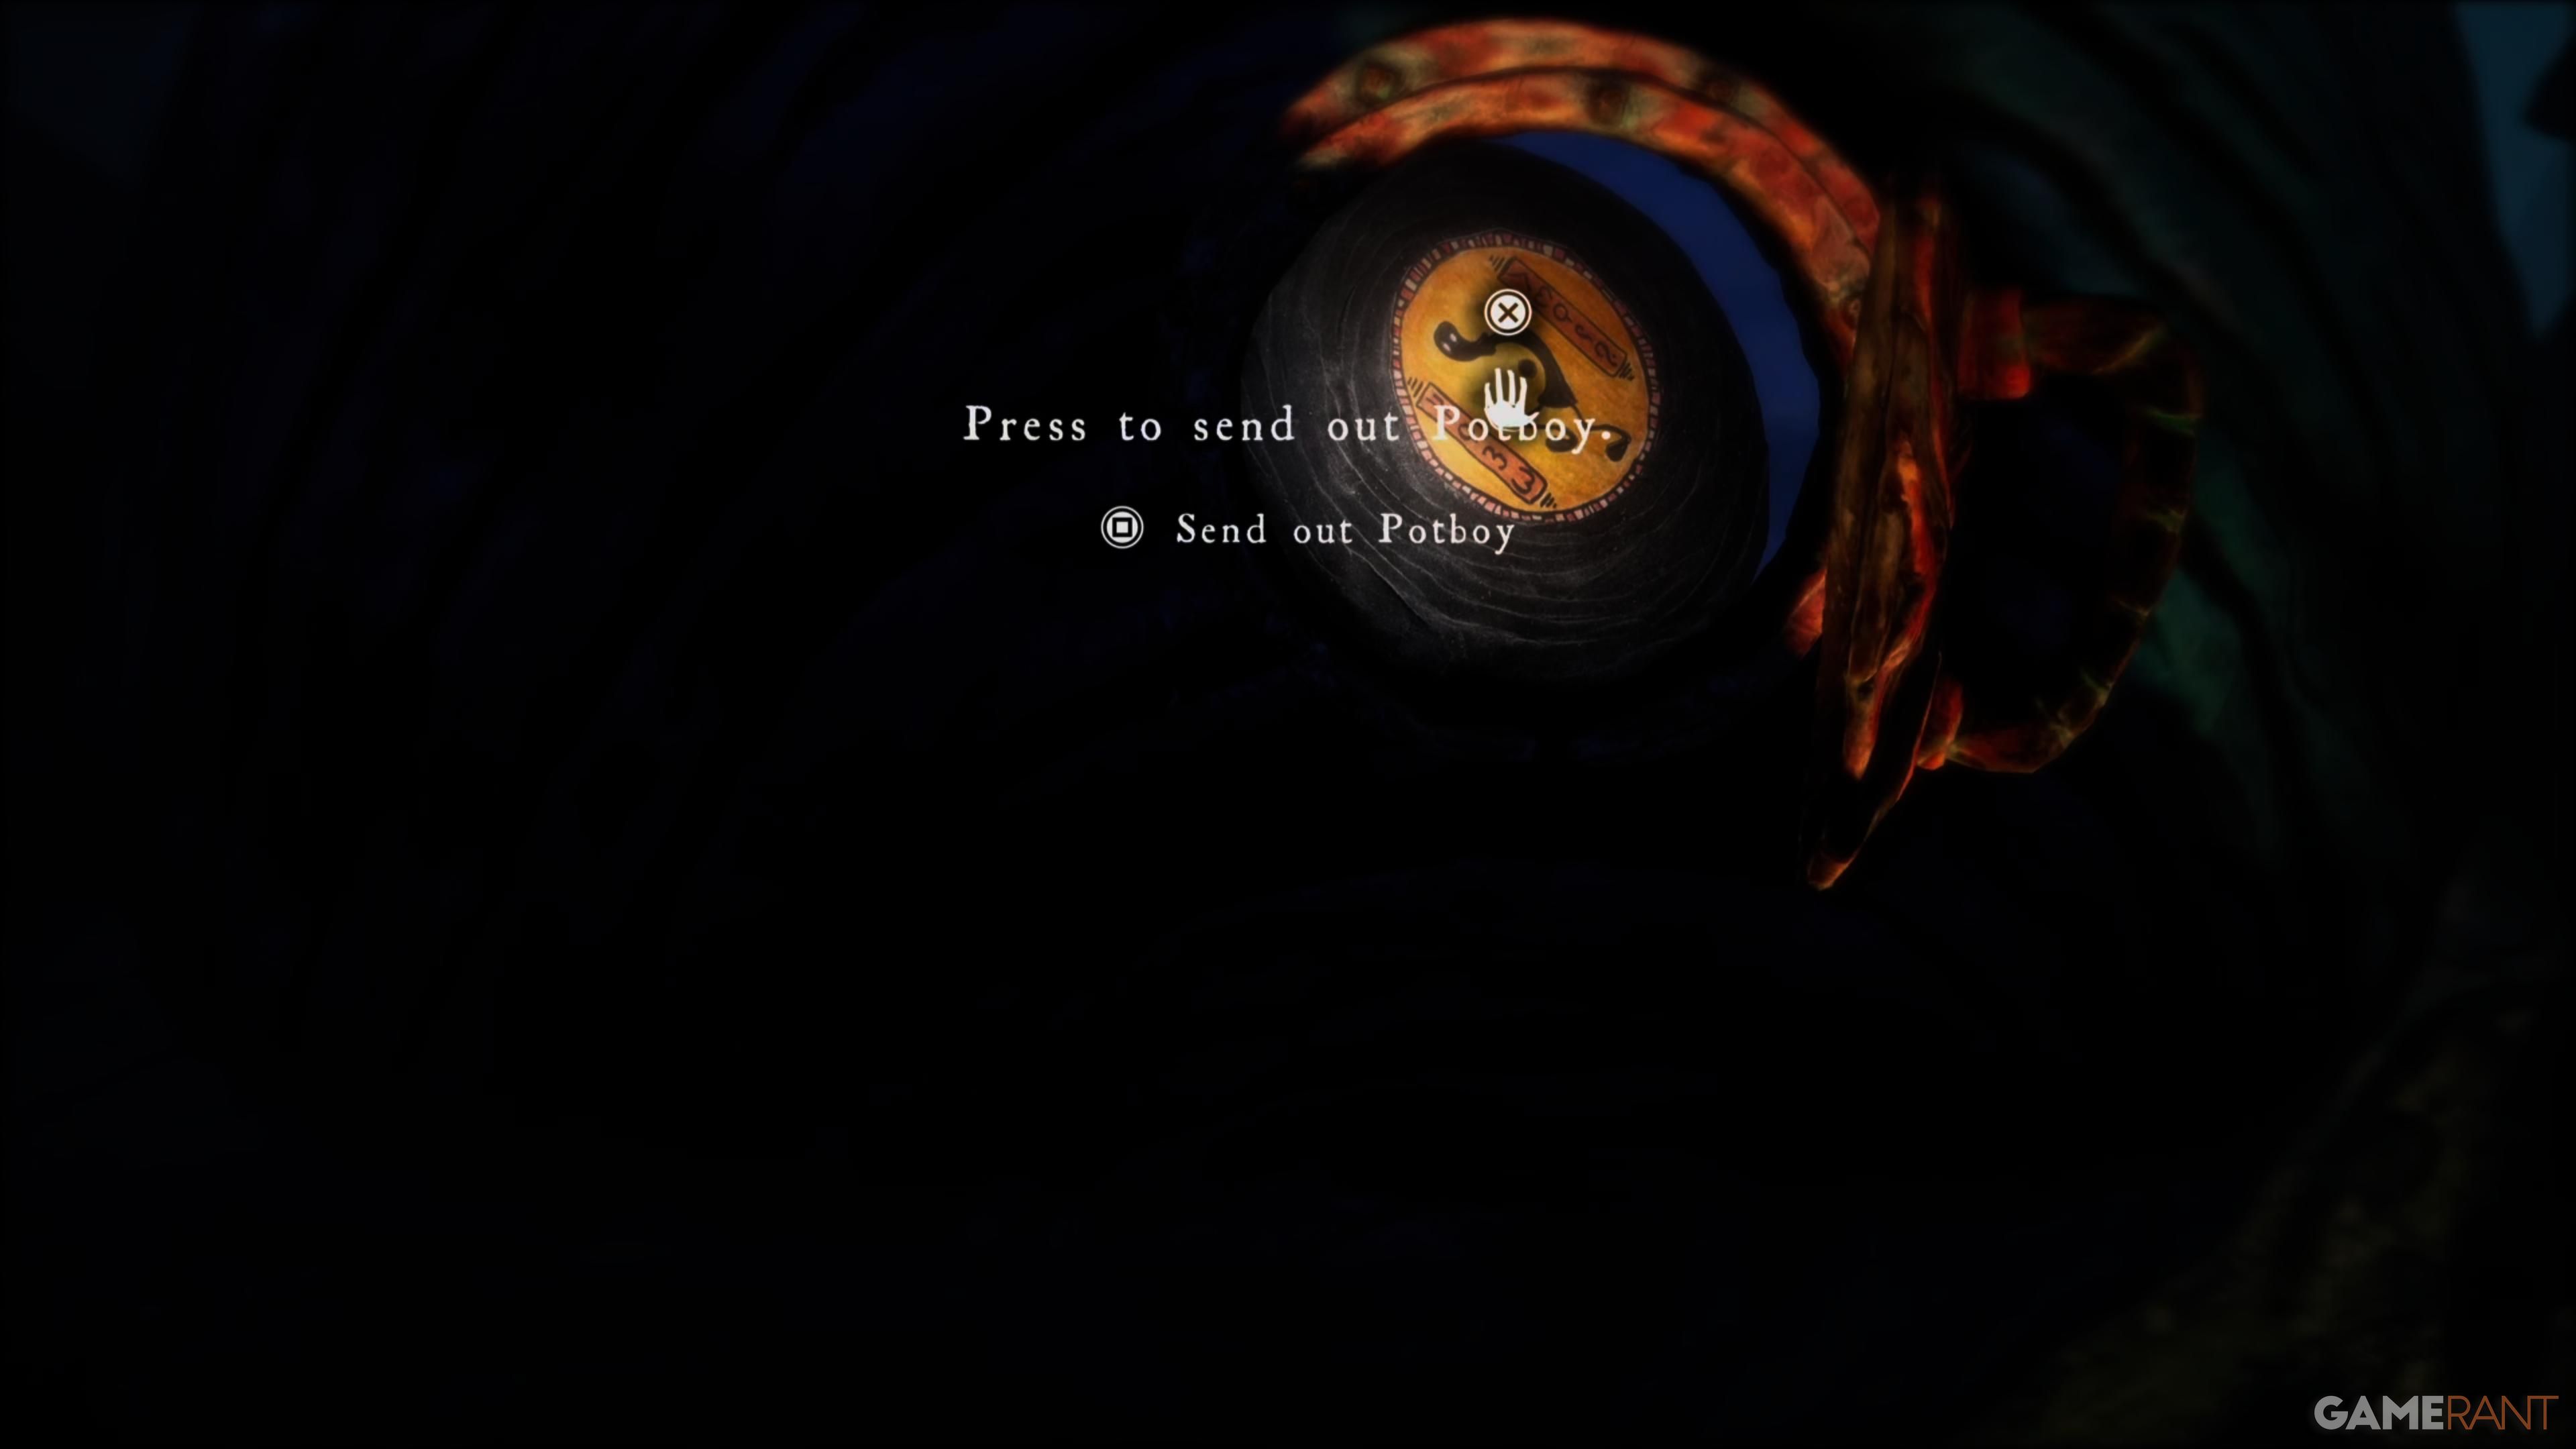
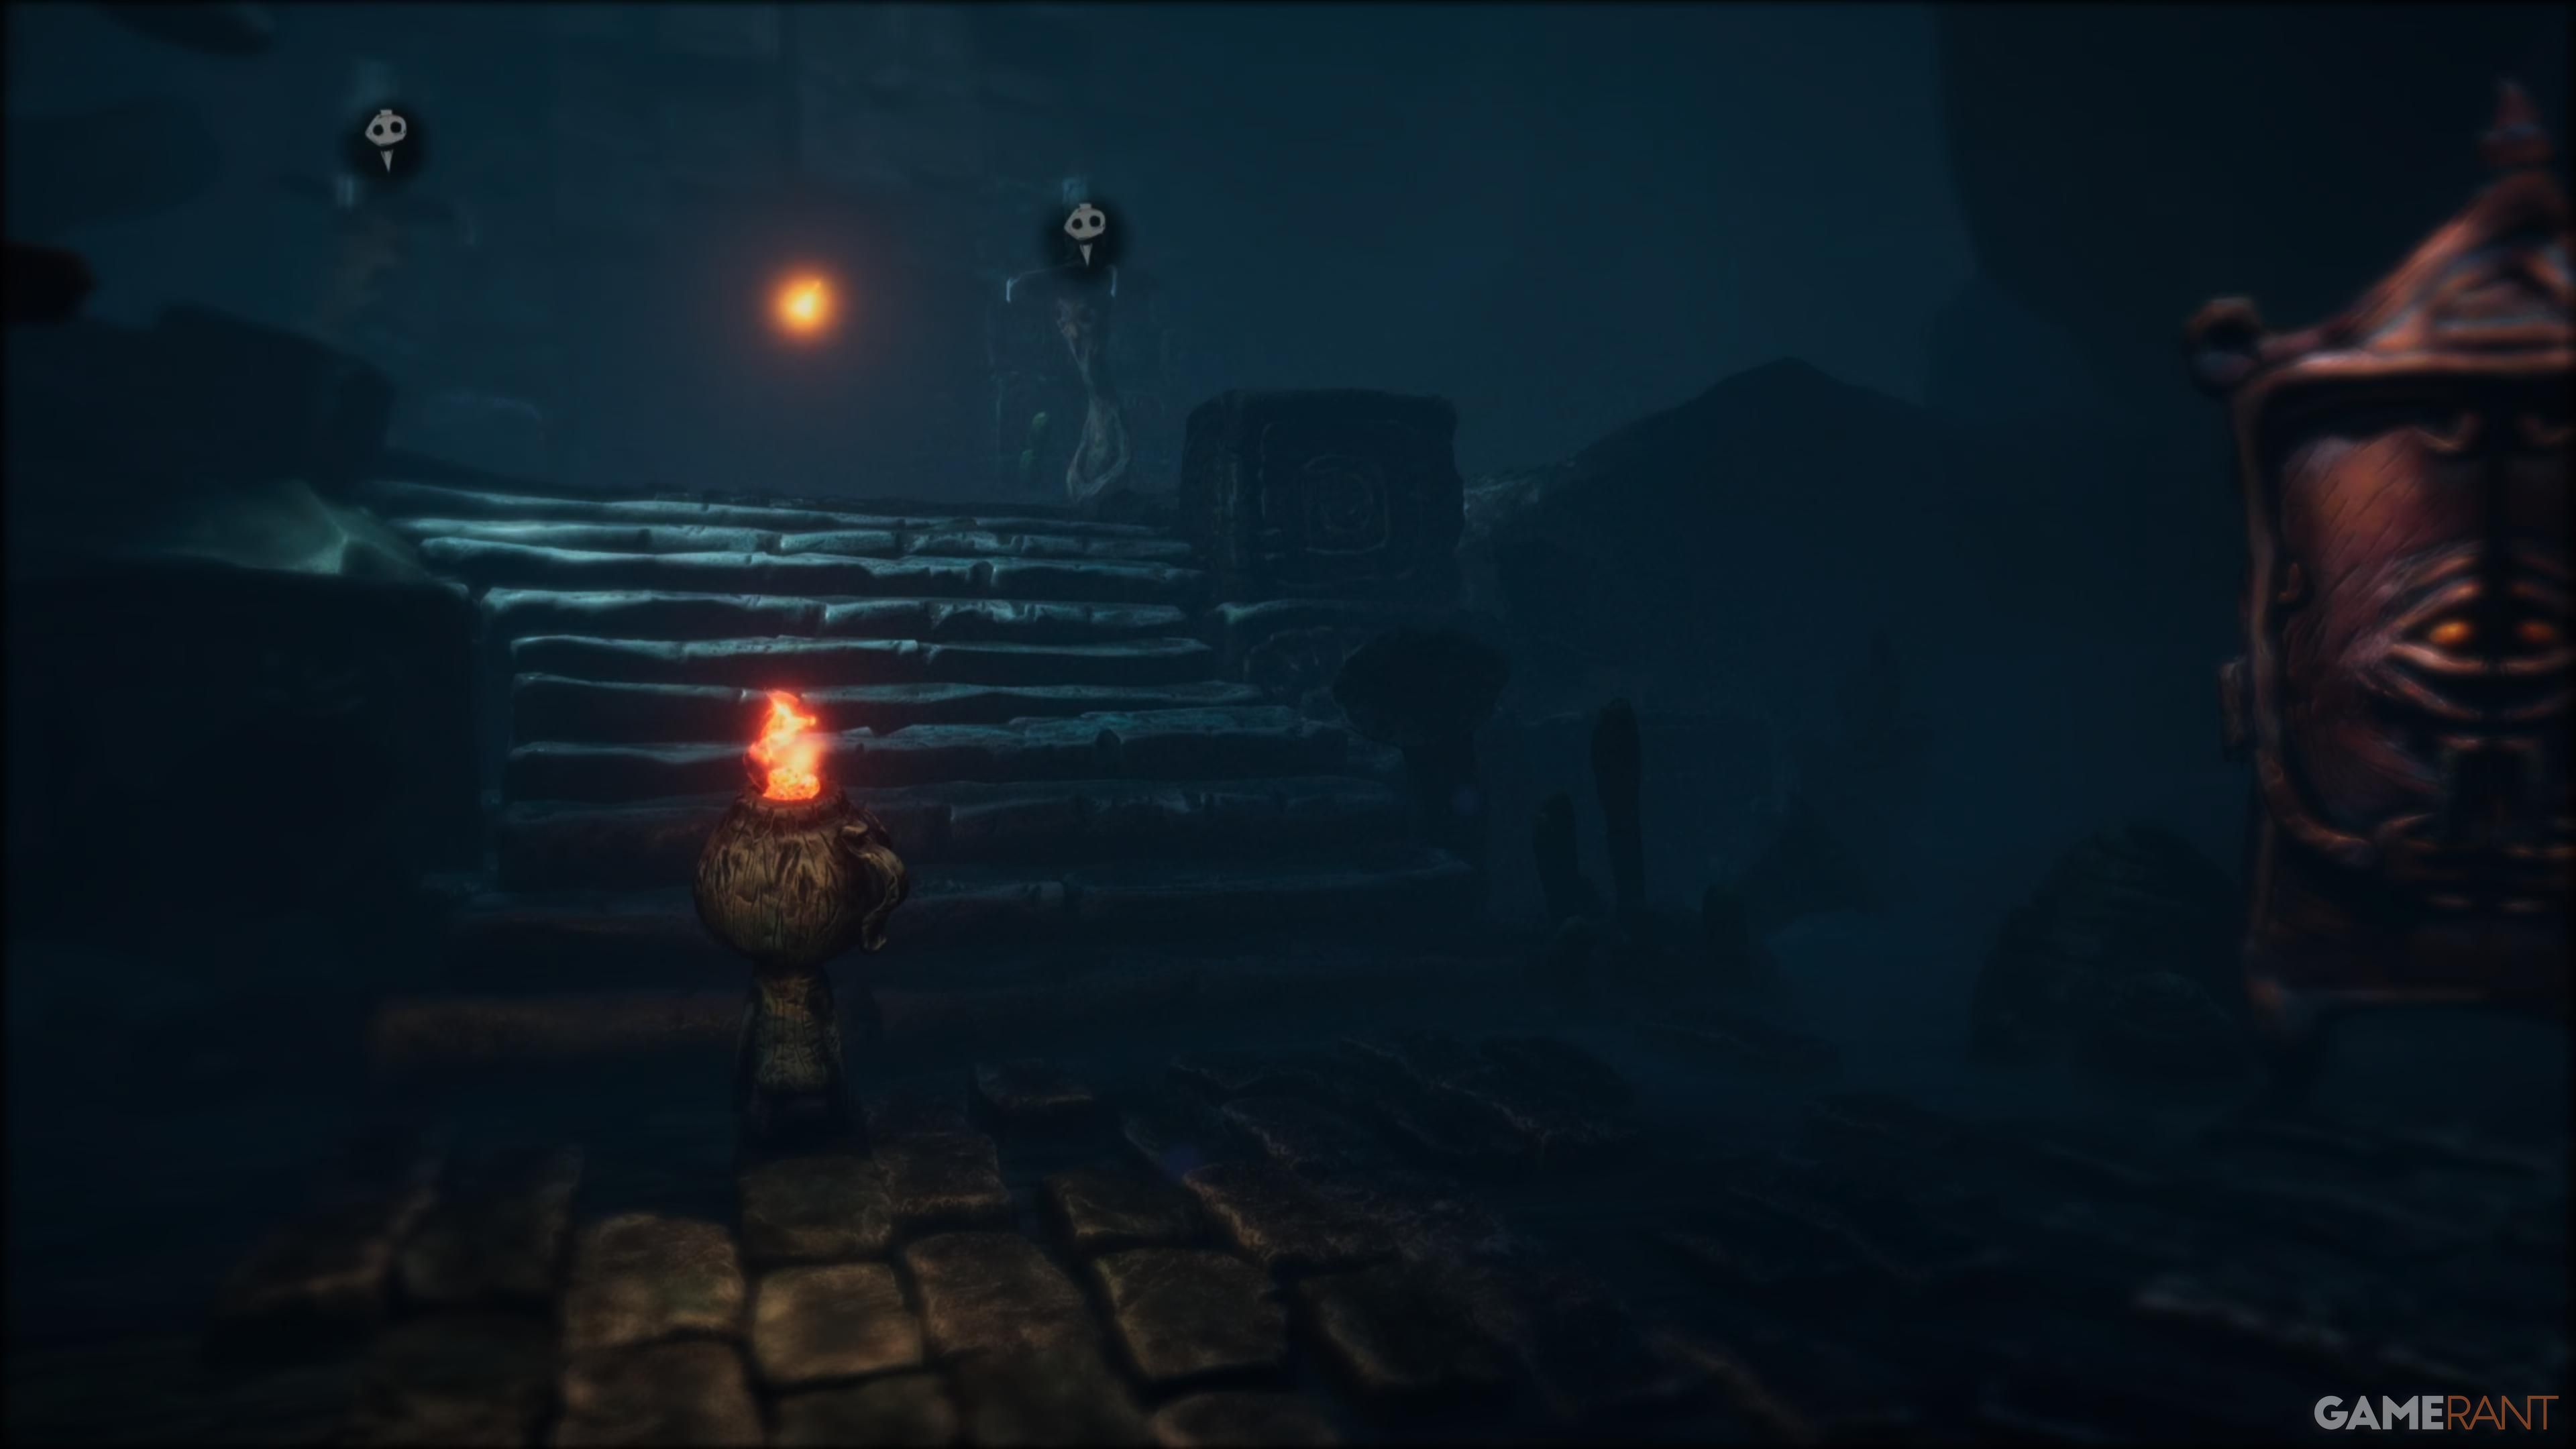
Starting from where you last kept your collectible, make your way directly towards the distant matchbox. Once there, pick up a matchstick and use it to ignite Potboy at its top. As it flees, follow it around the bend. When Potboy hides for the second time and moves uphill, glance to your left to discover the Gramophone Disc.
Shellphone #2
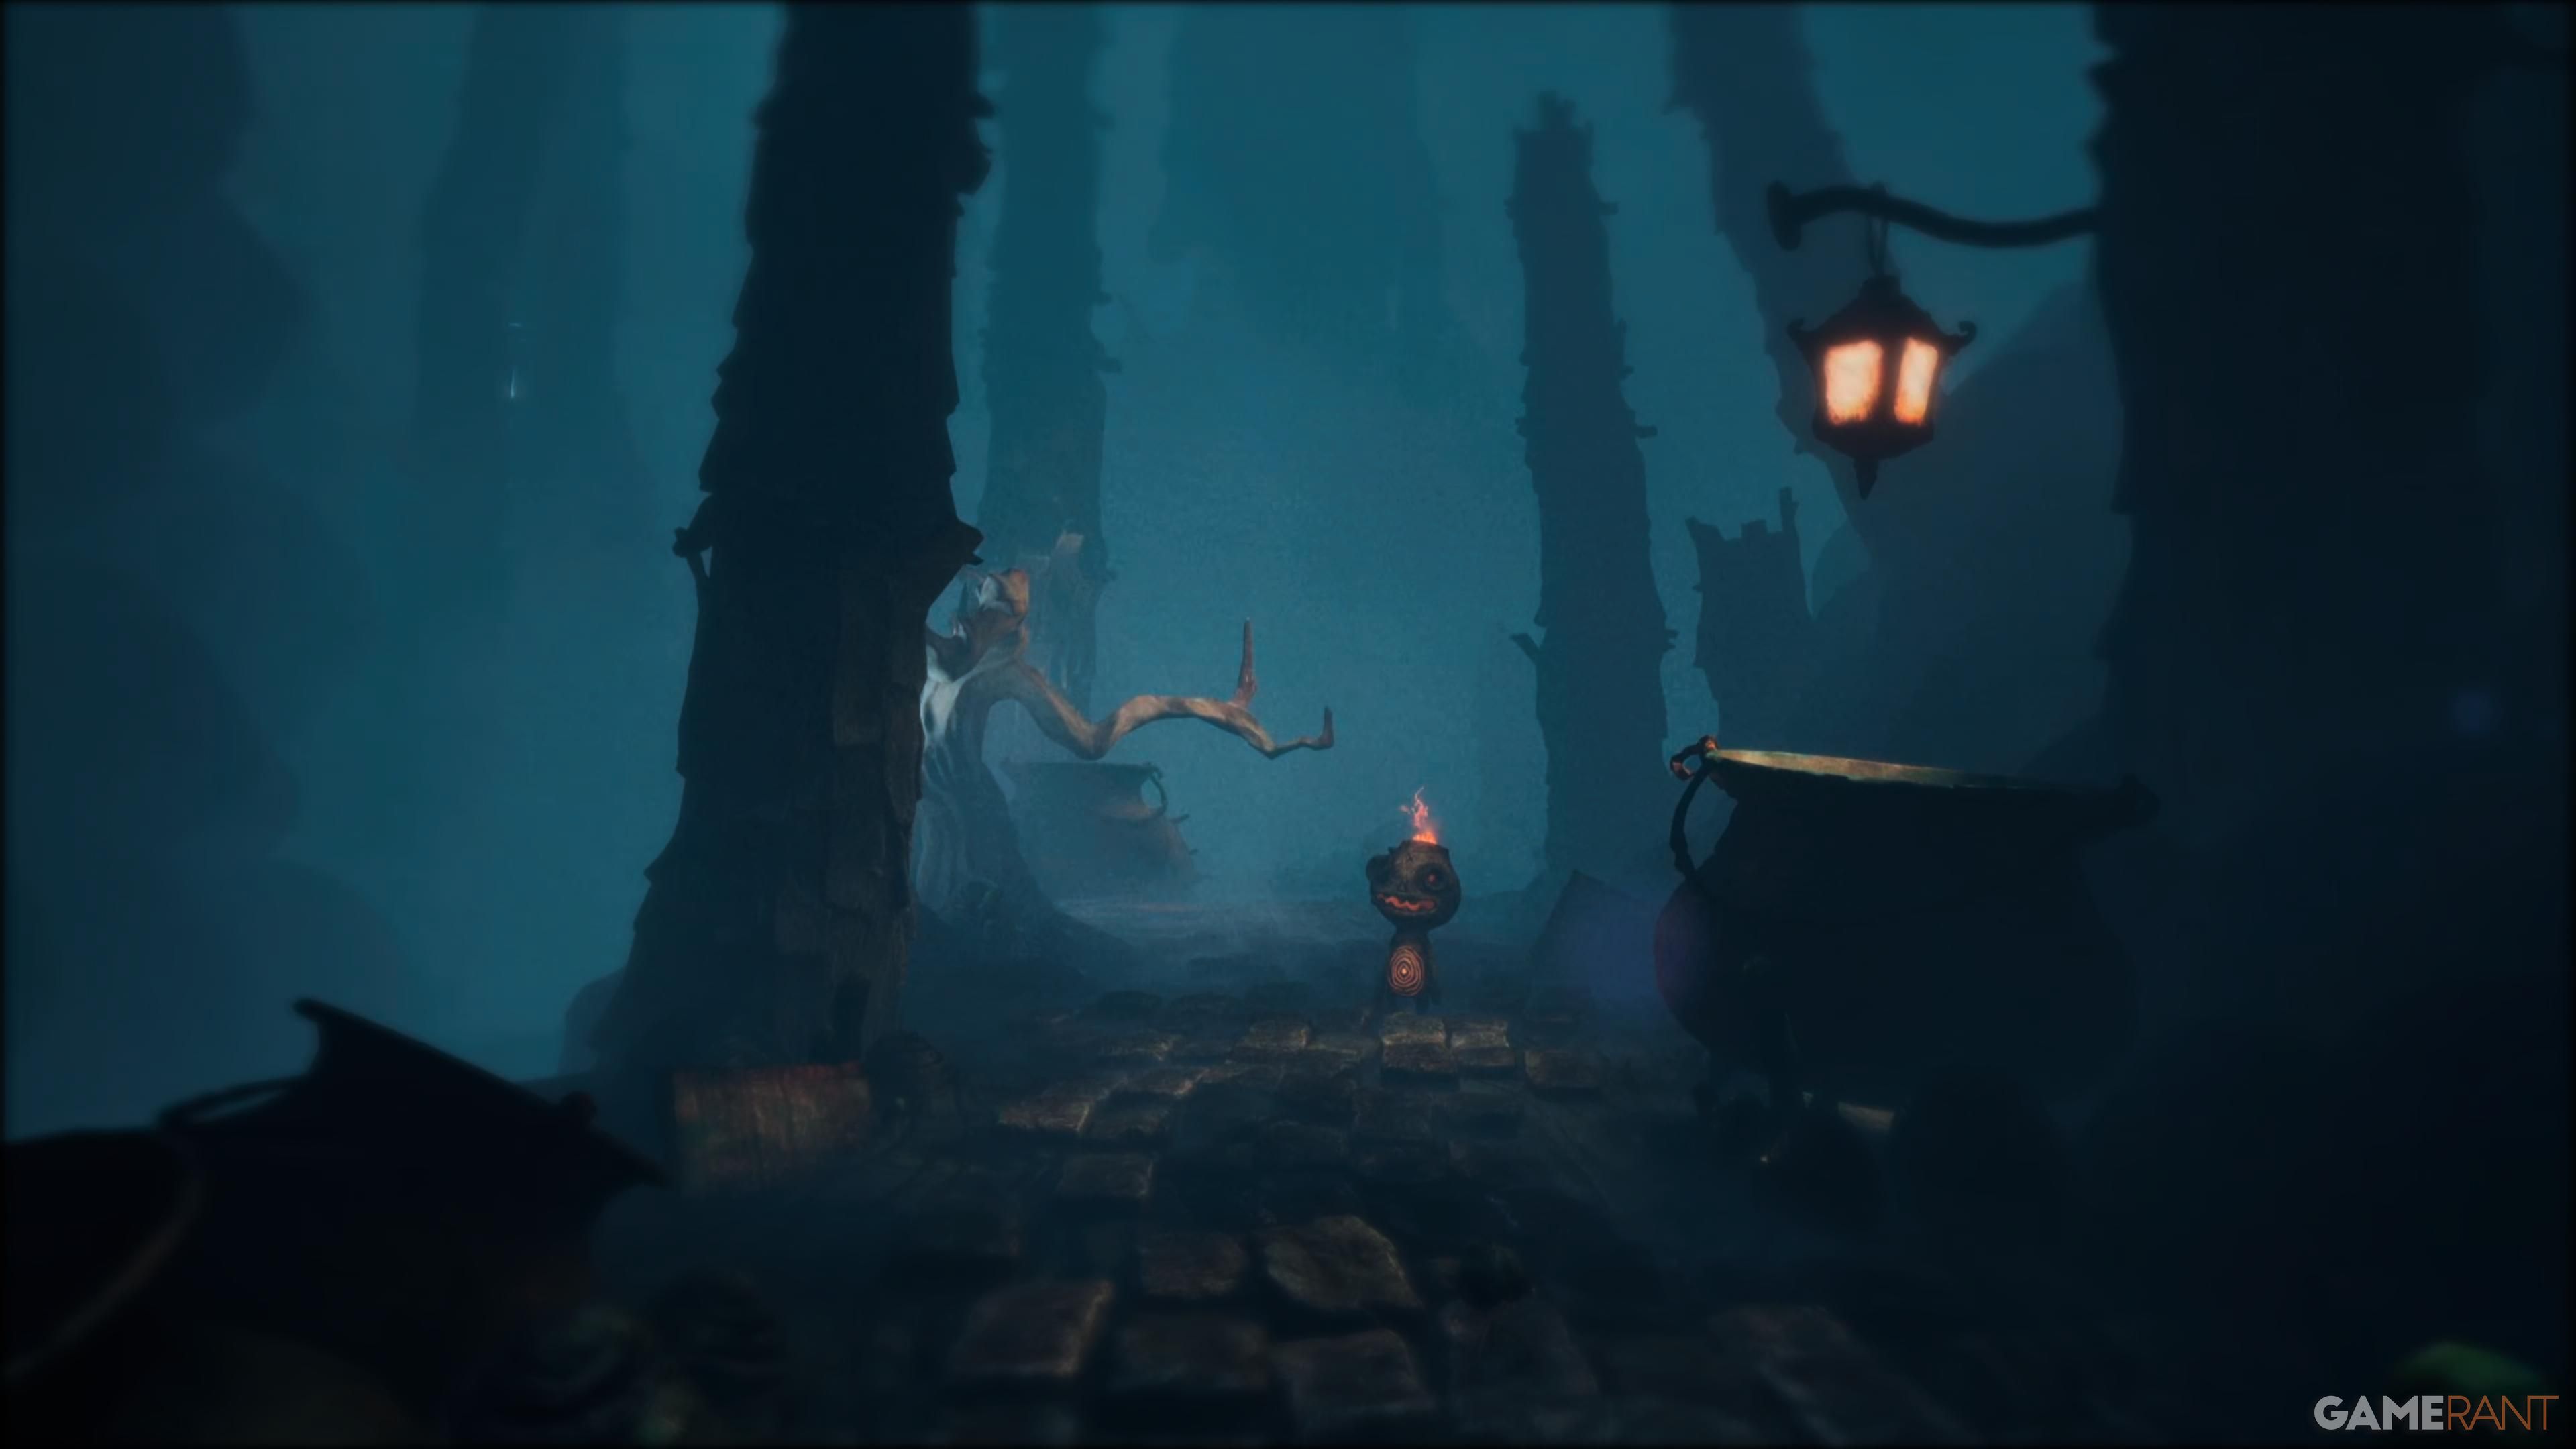
After giving Potboy coal on two occasions, proceed on the primary trail with him. Over time, you’ll reach a point where you can instruct him to navigate through a narrow tunnel and place a plank for you to step over. Immediately following this, look to your right to discover the second Shellphone.
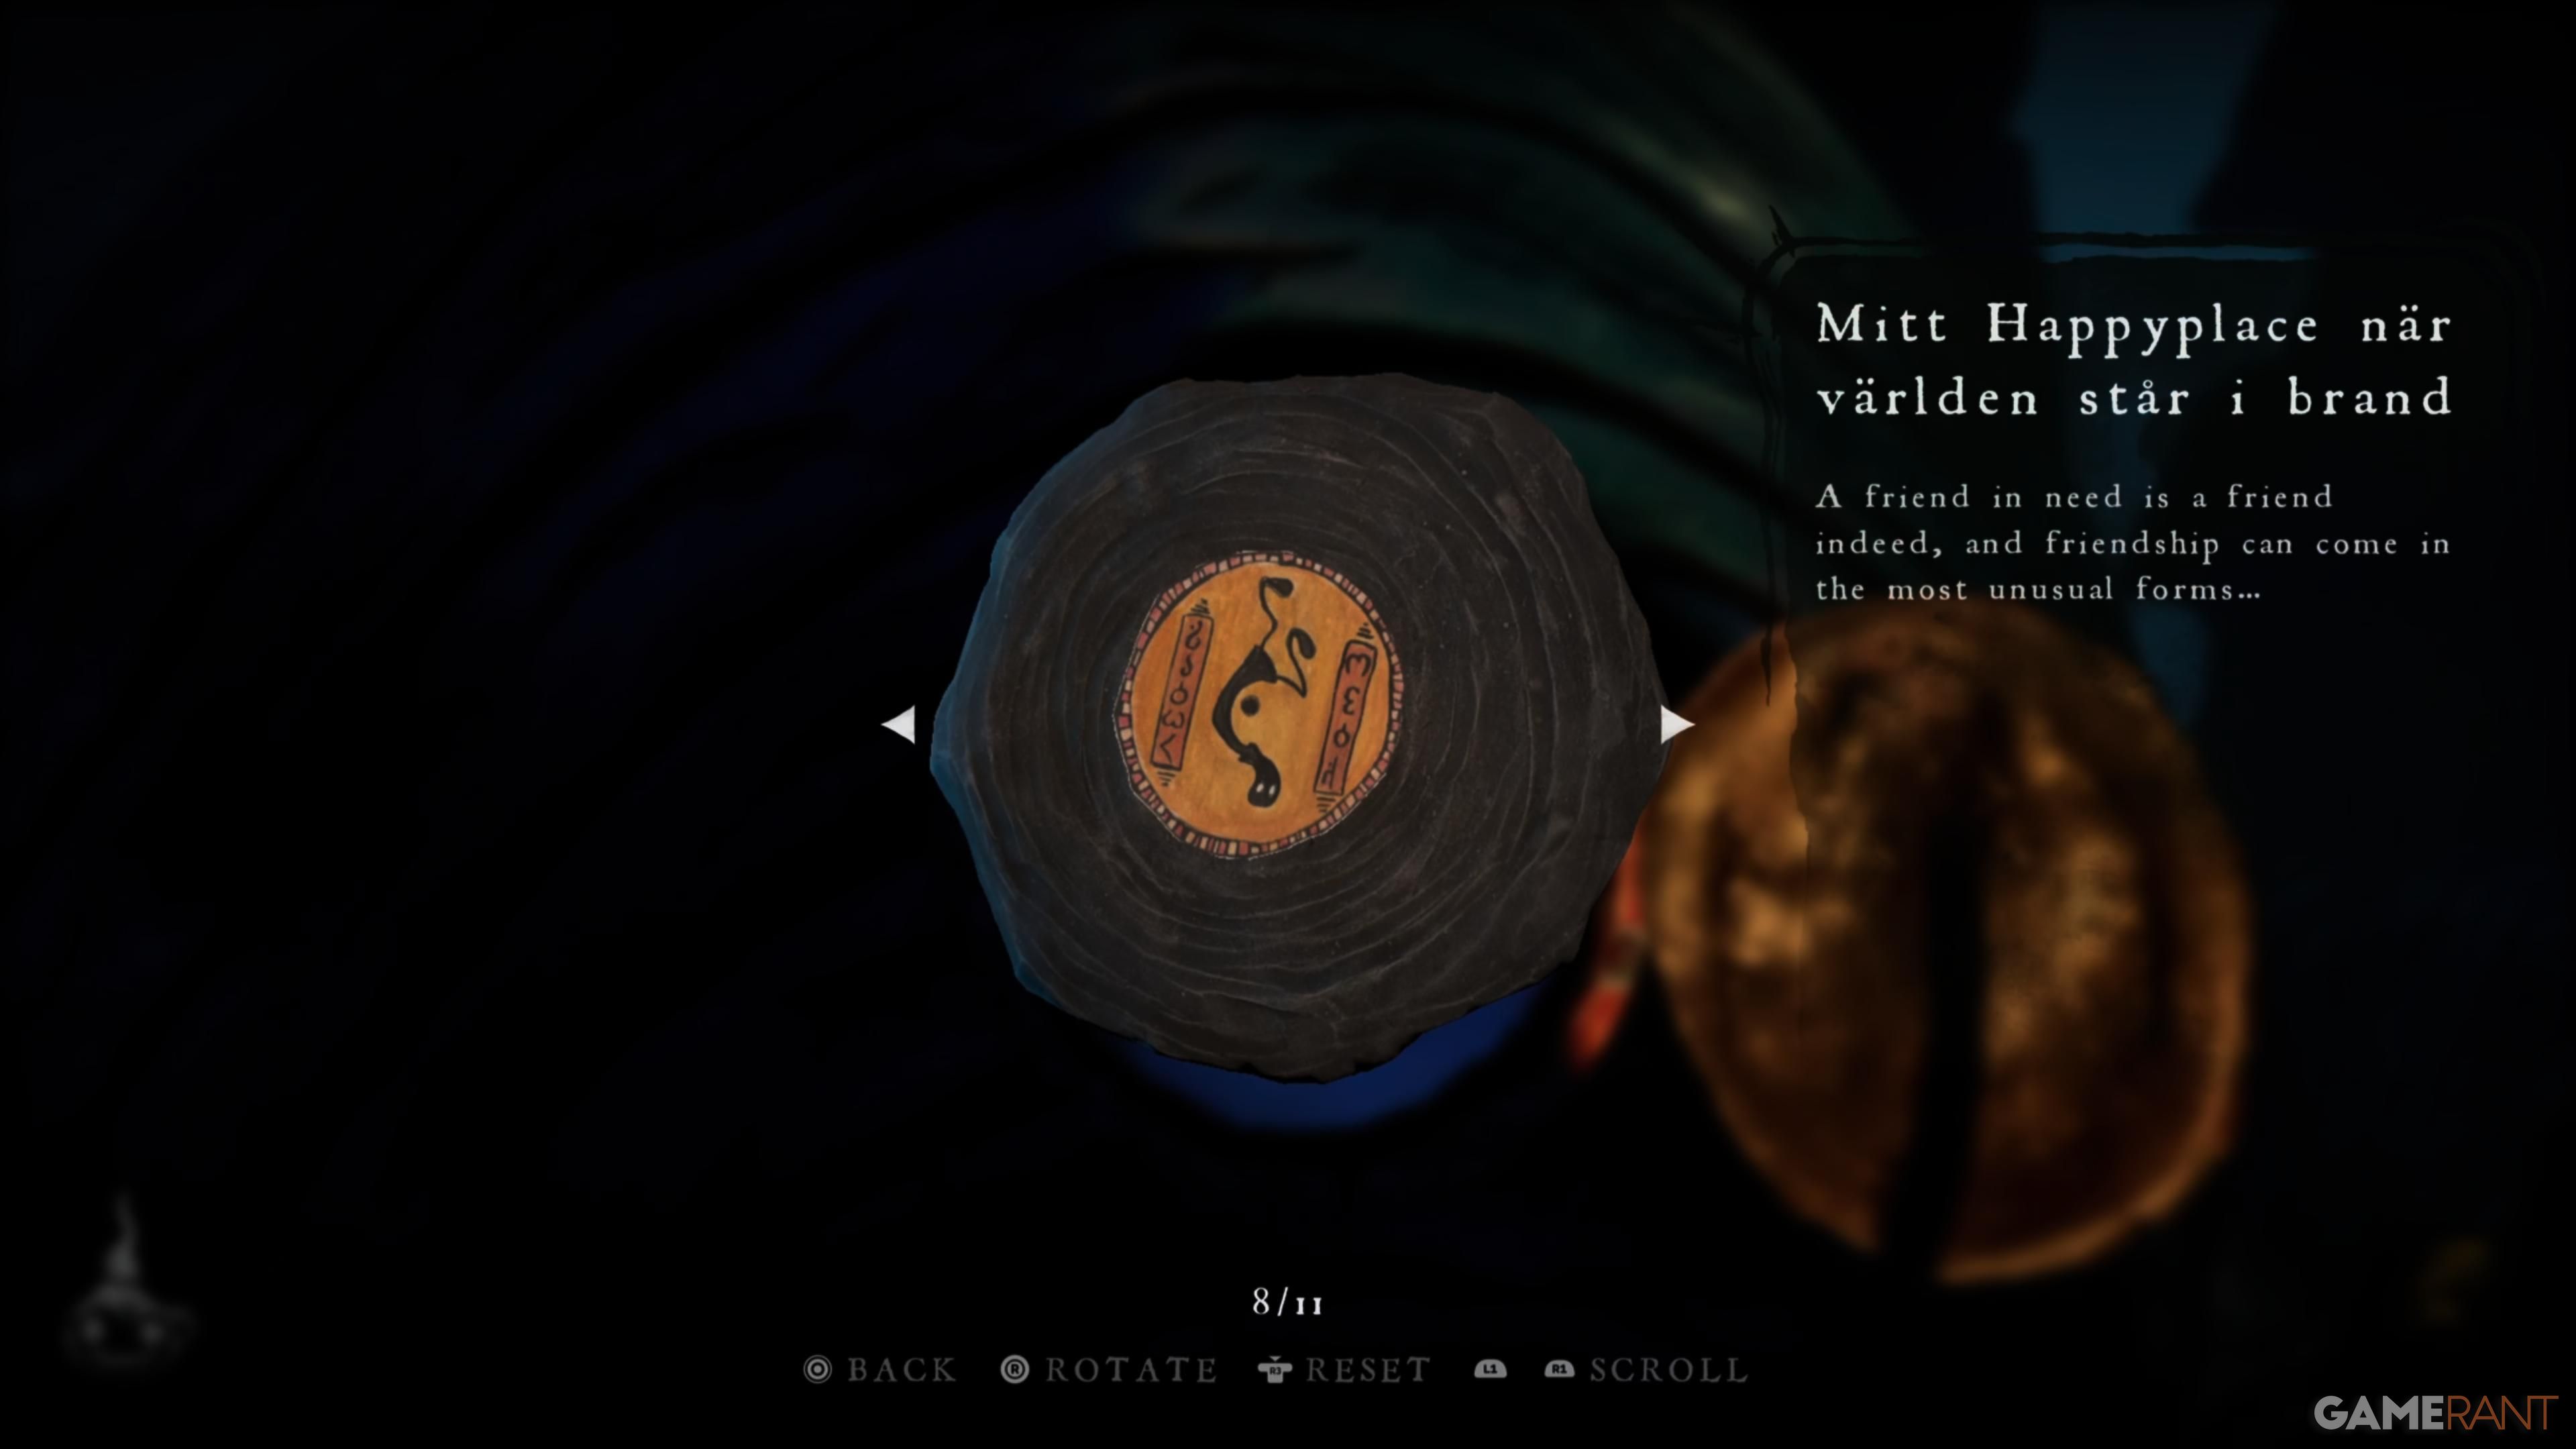
Gramophone Disc #2 (Mitt Happyplace Nar Varlden Star I Brand)

Cross the wooden bridge, and the second Gramophone Disc will be on your right.
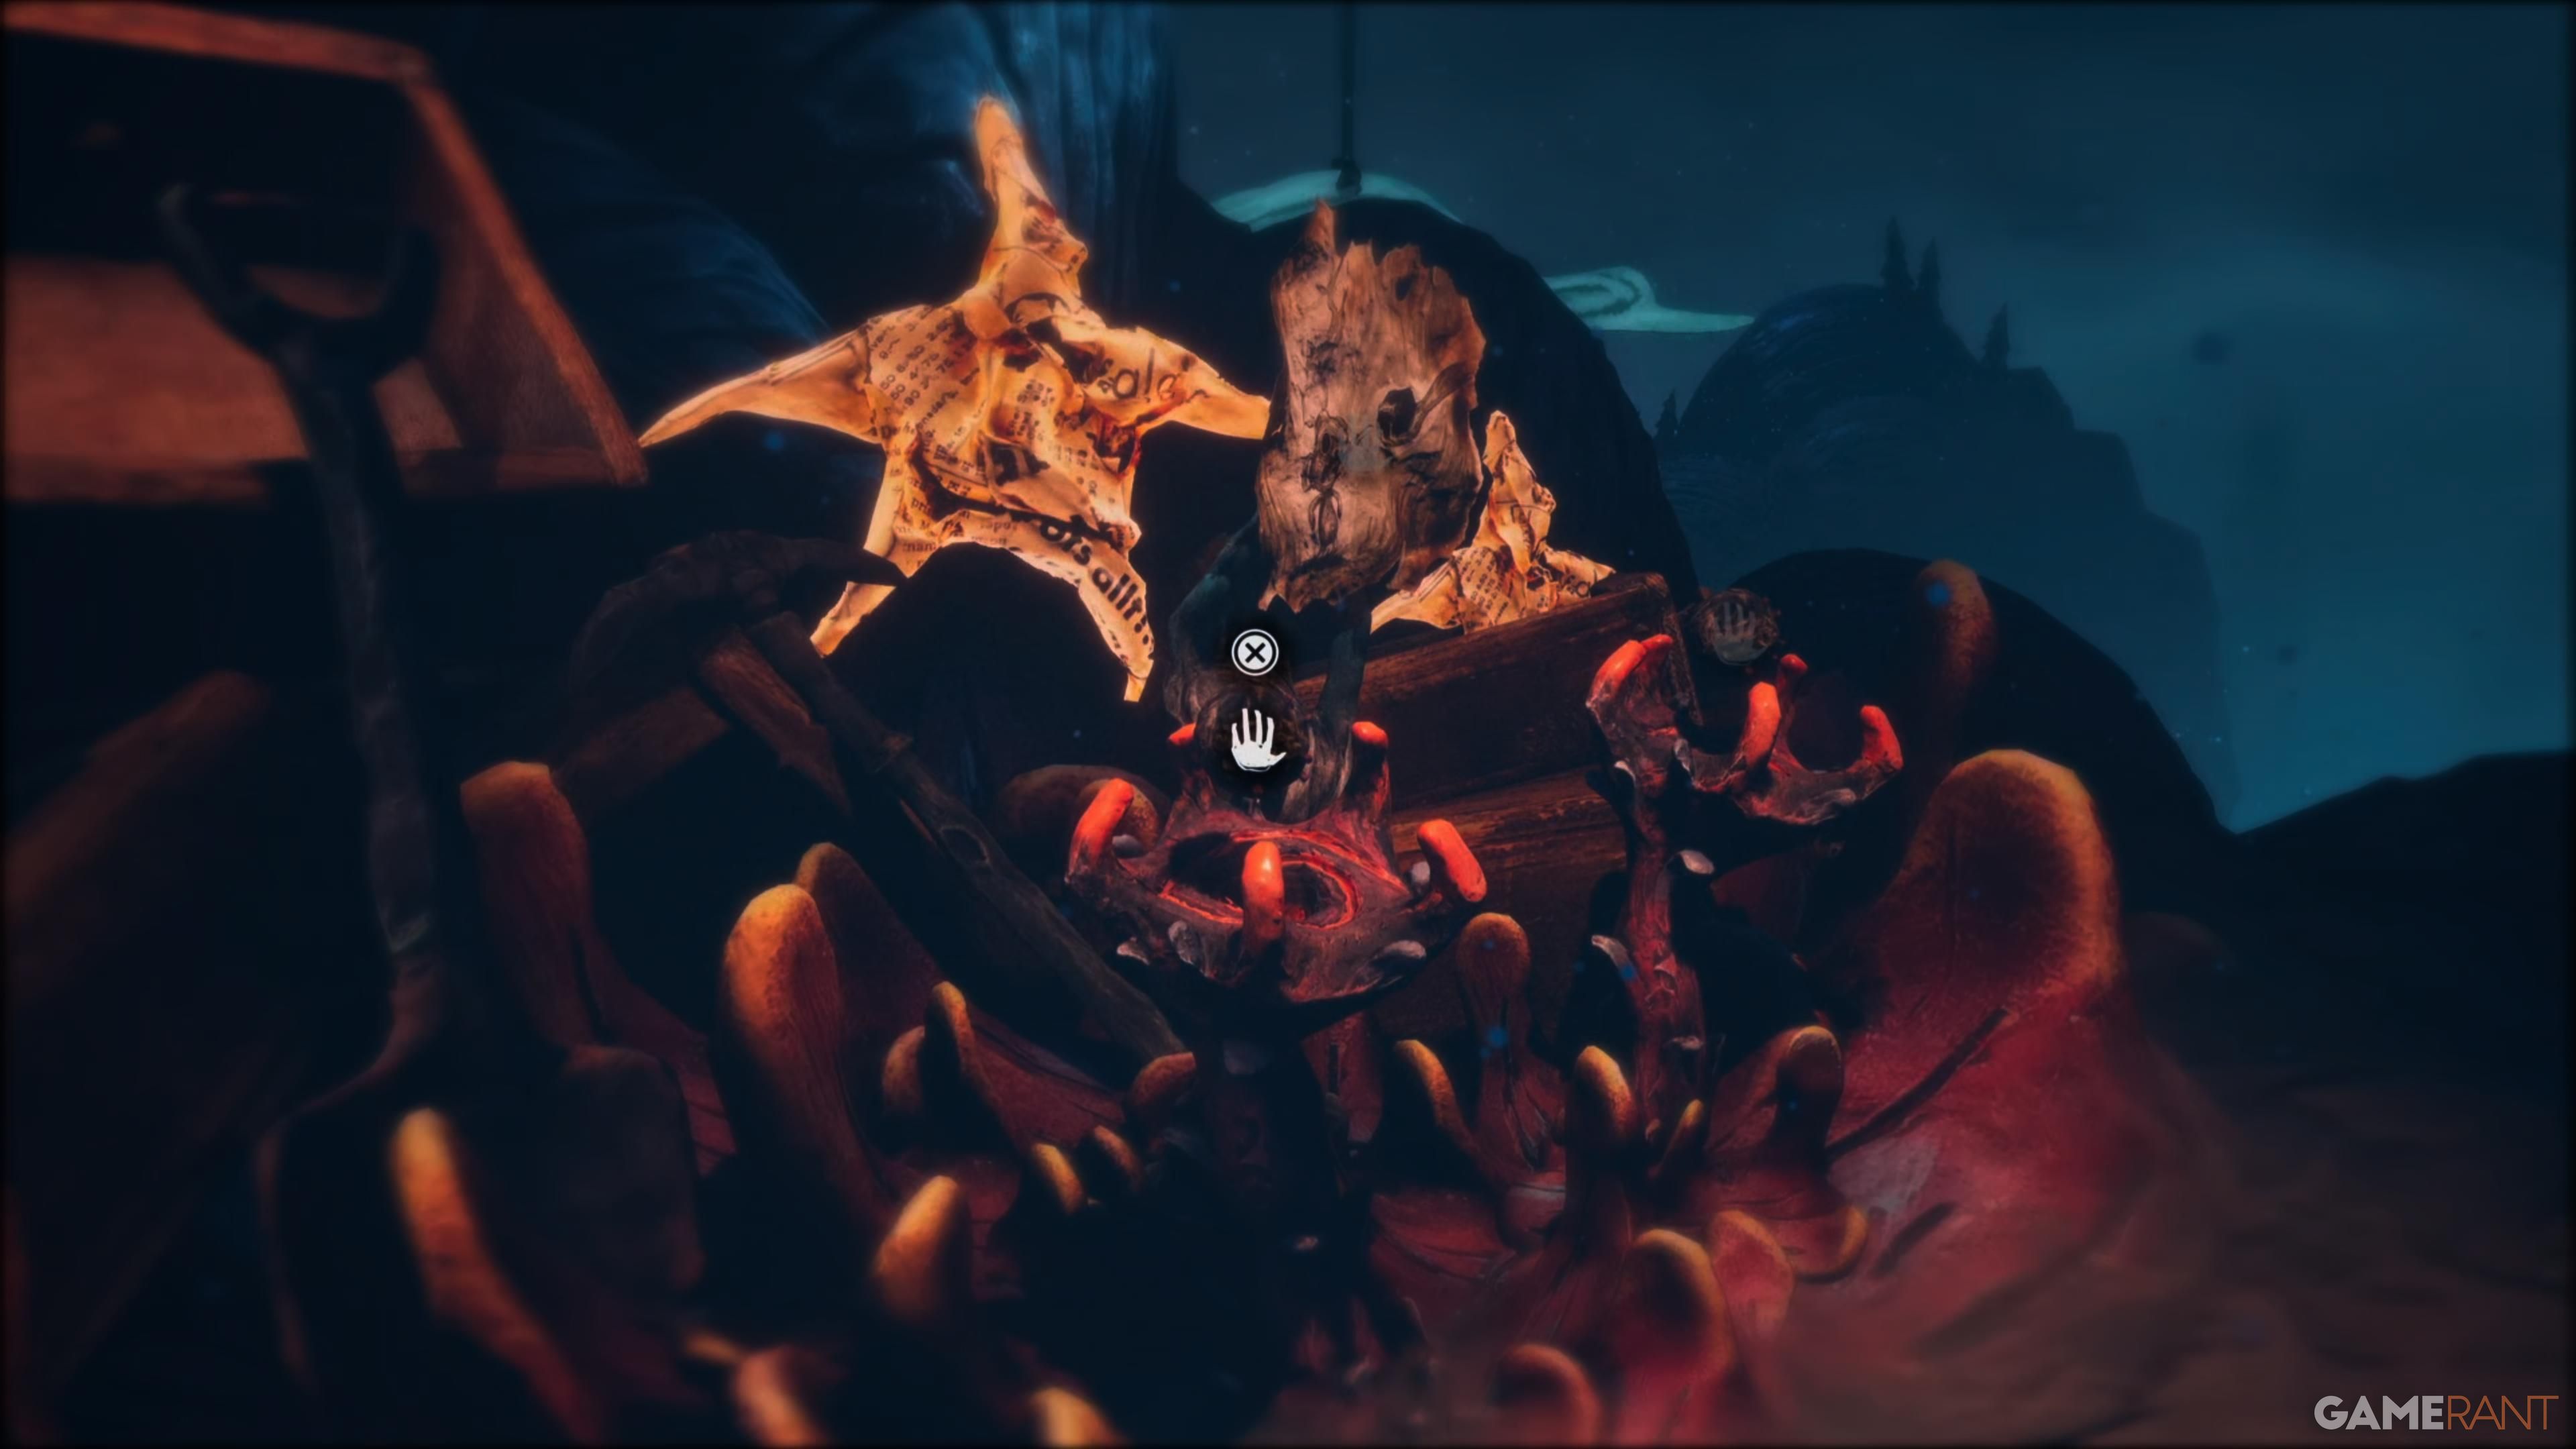
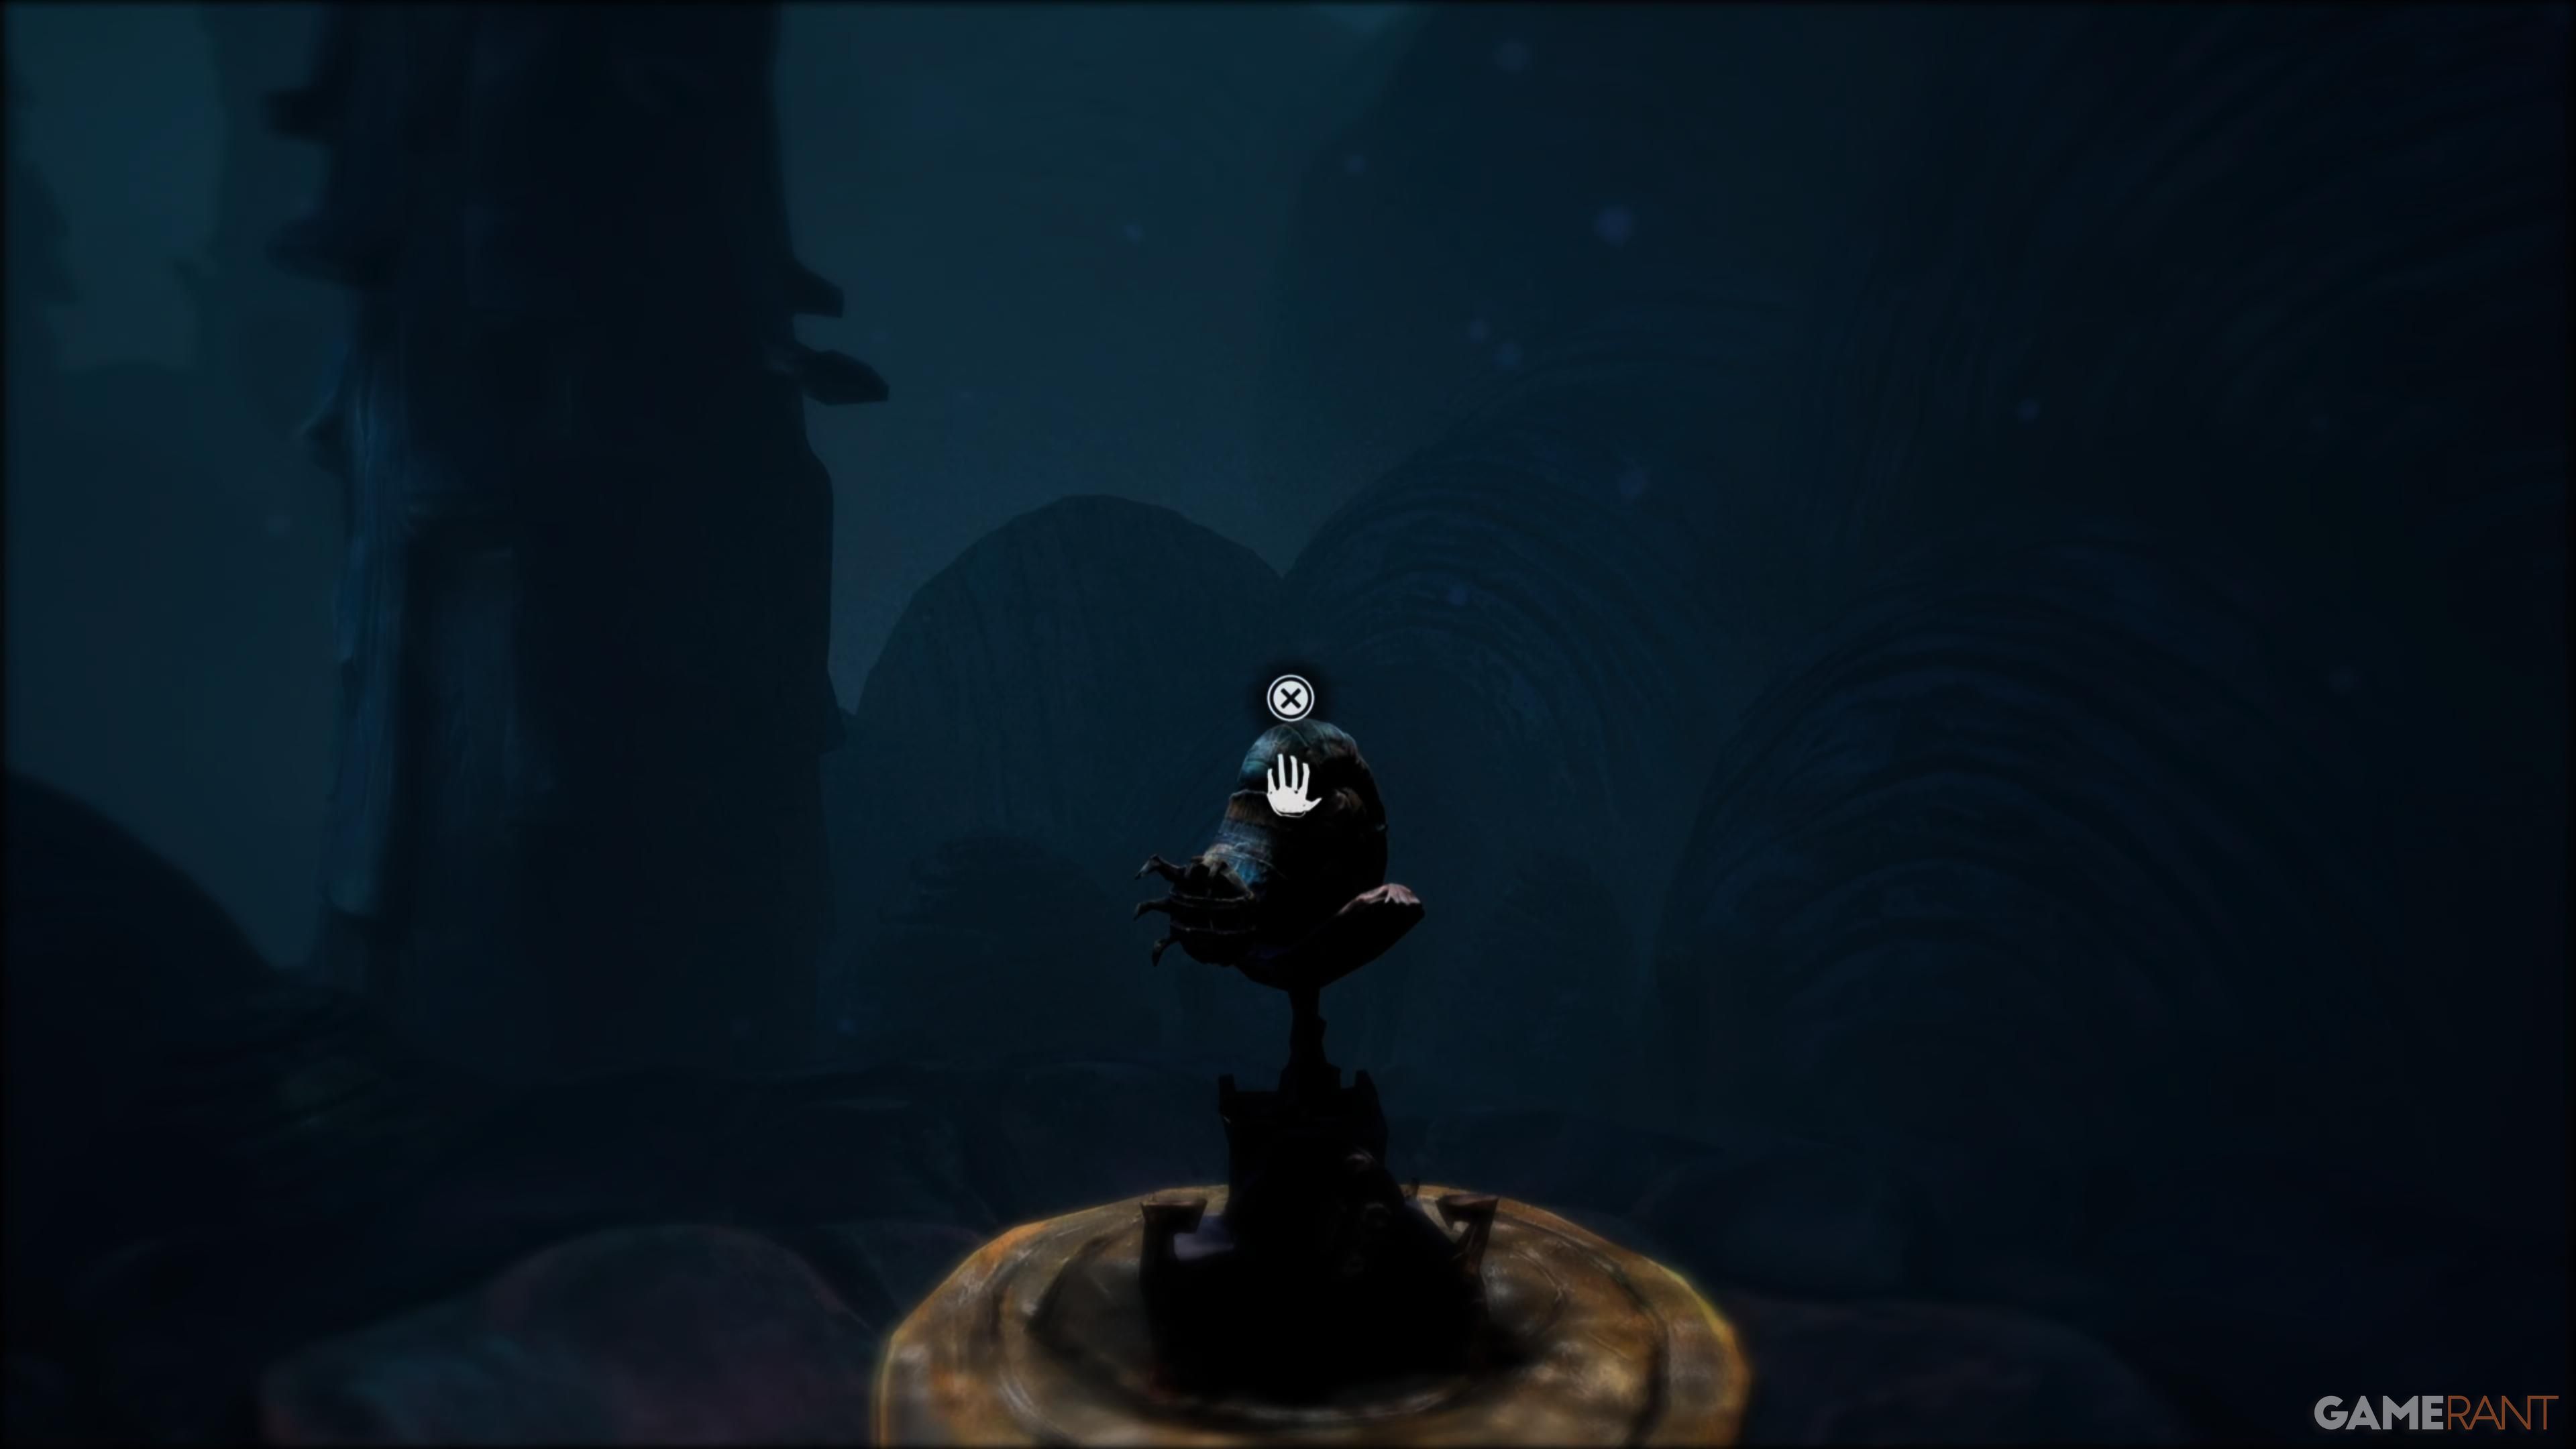
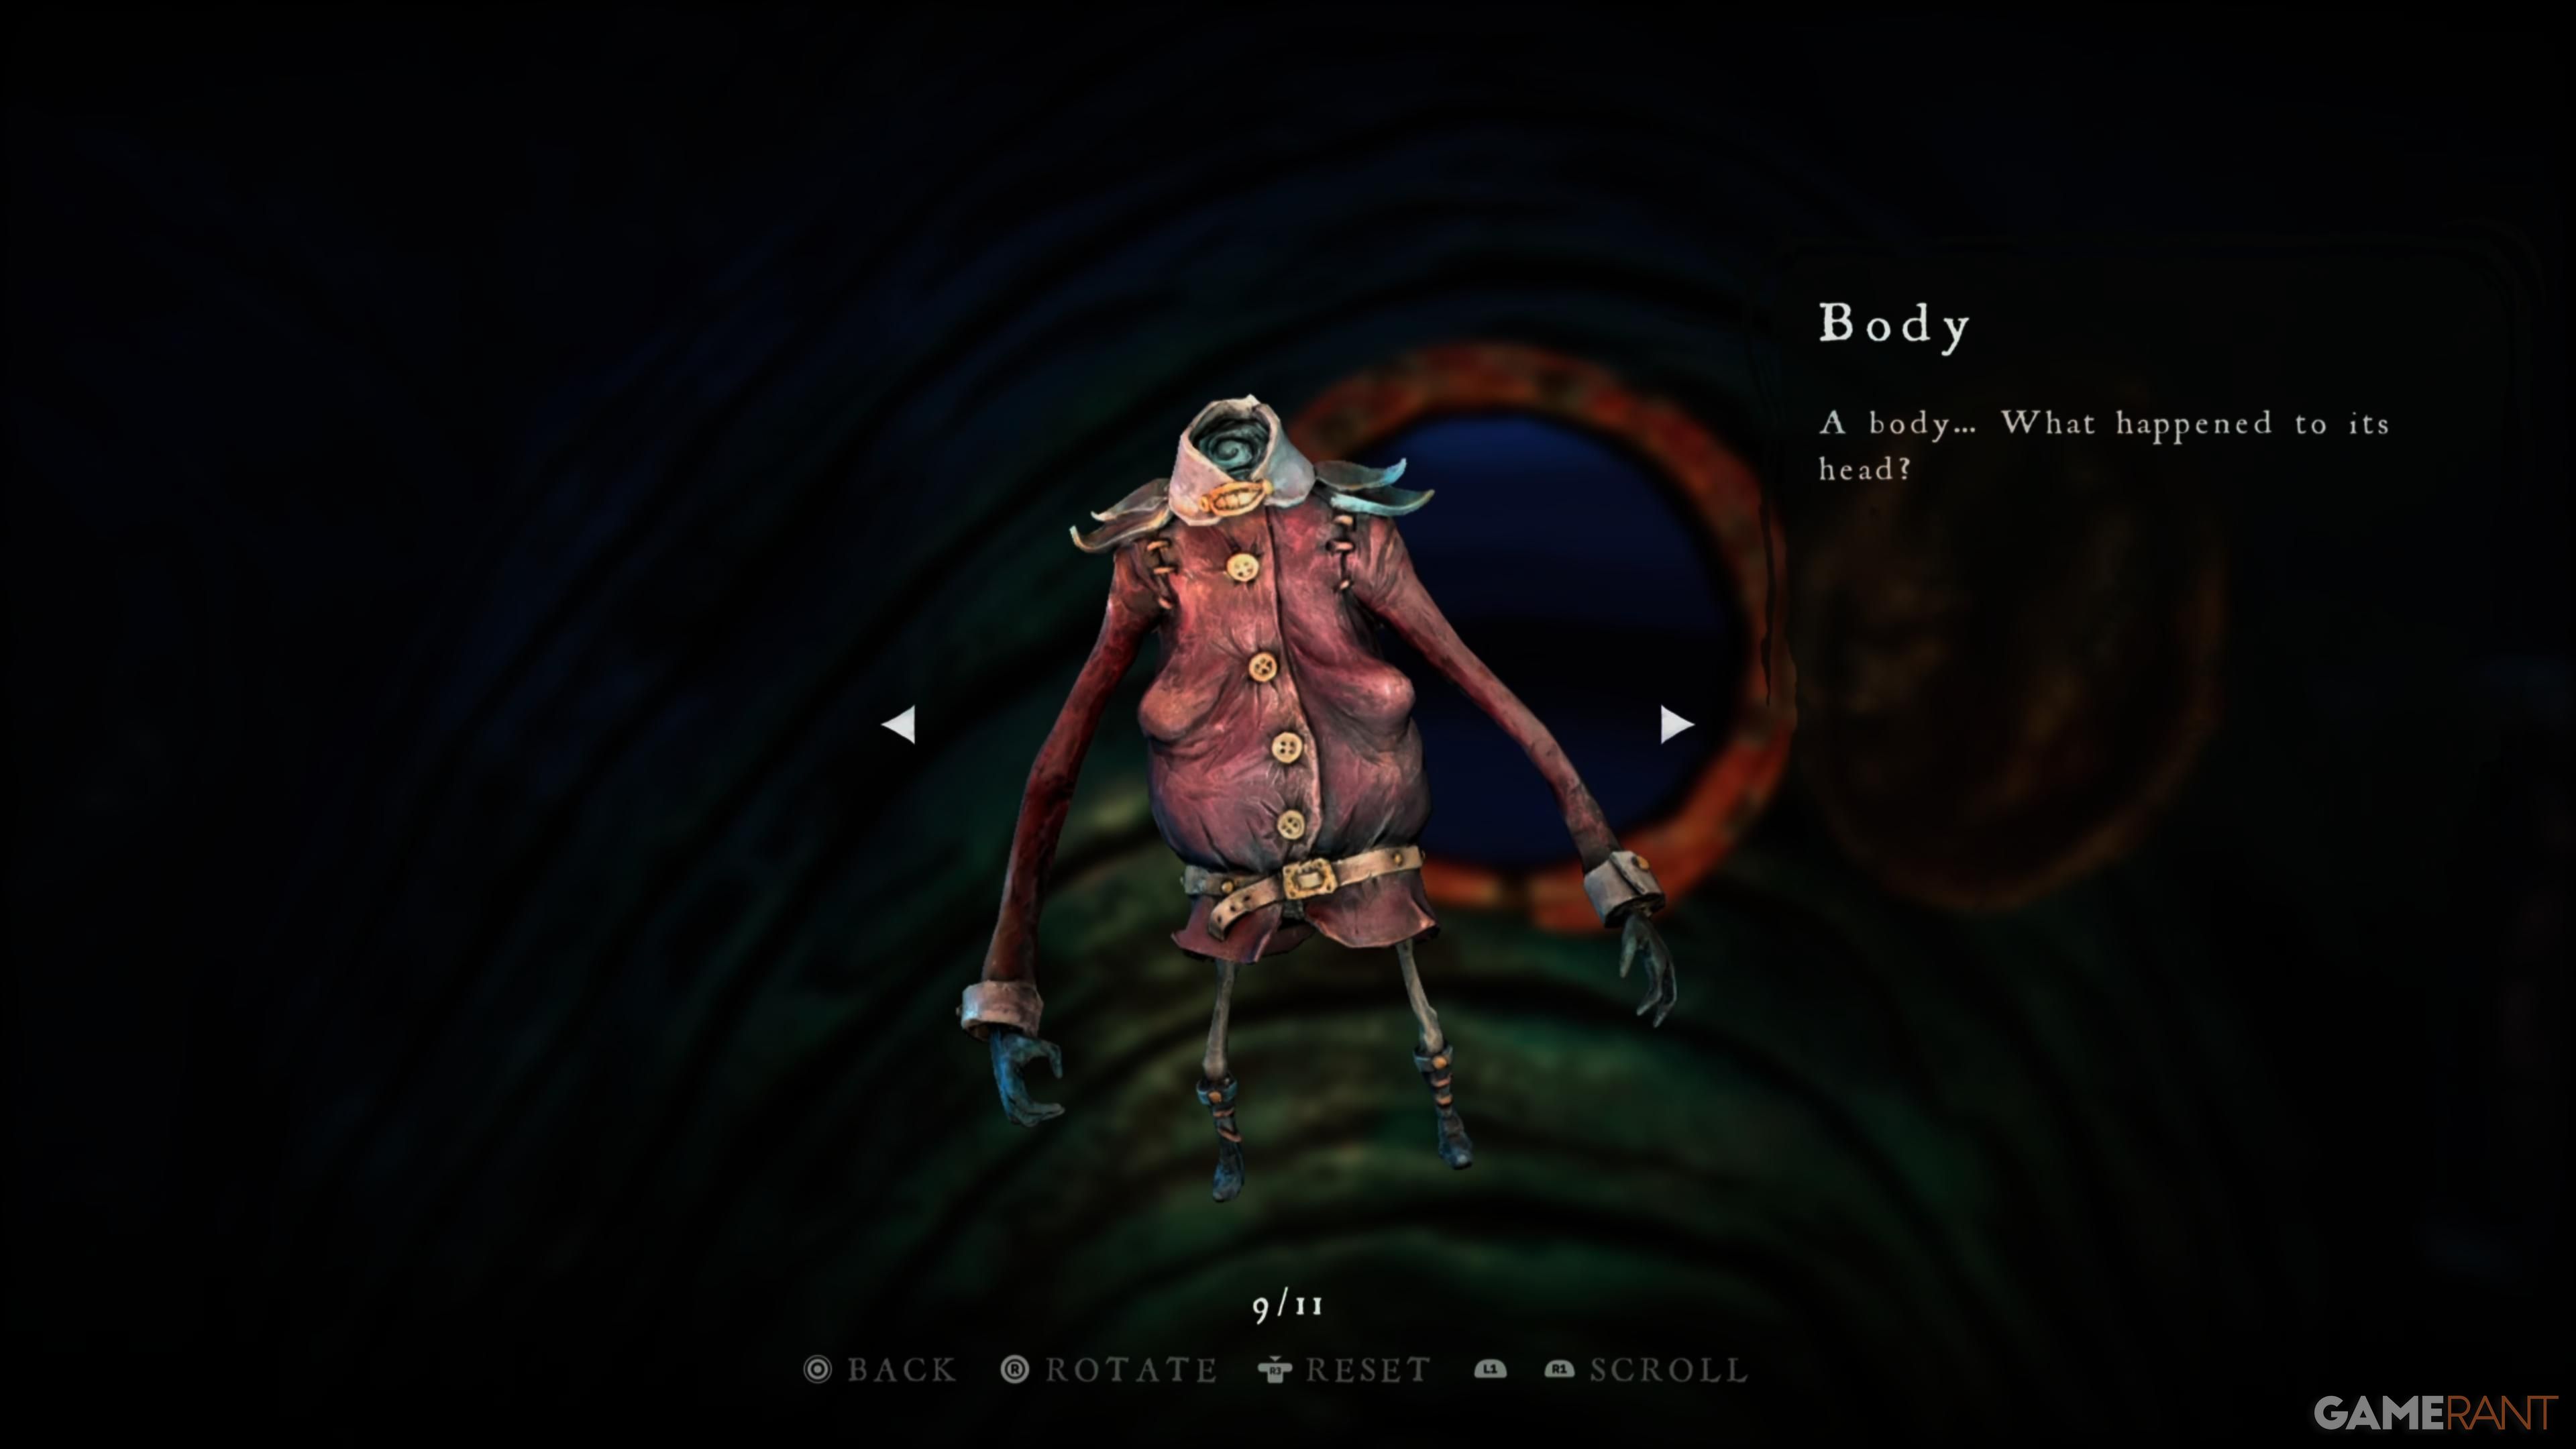
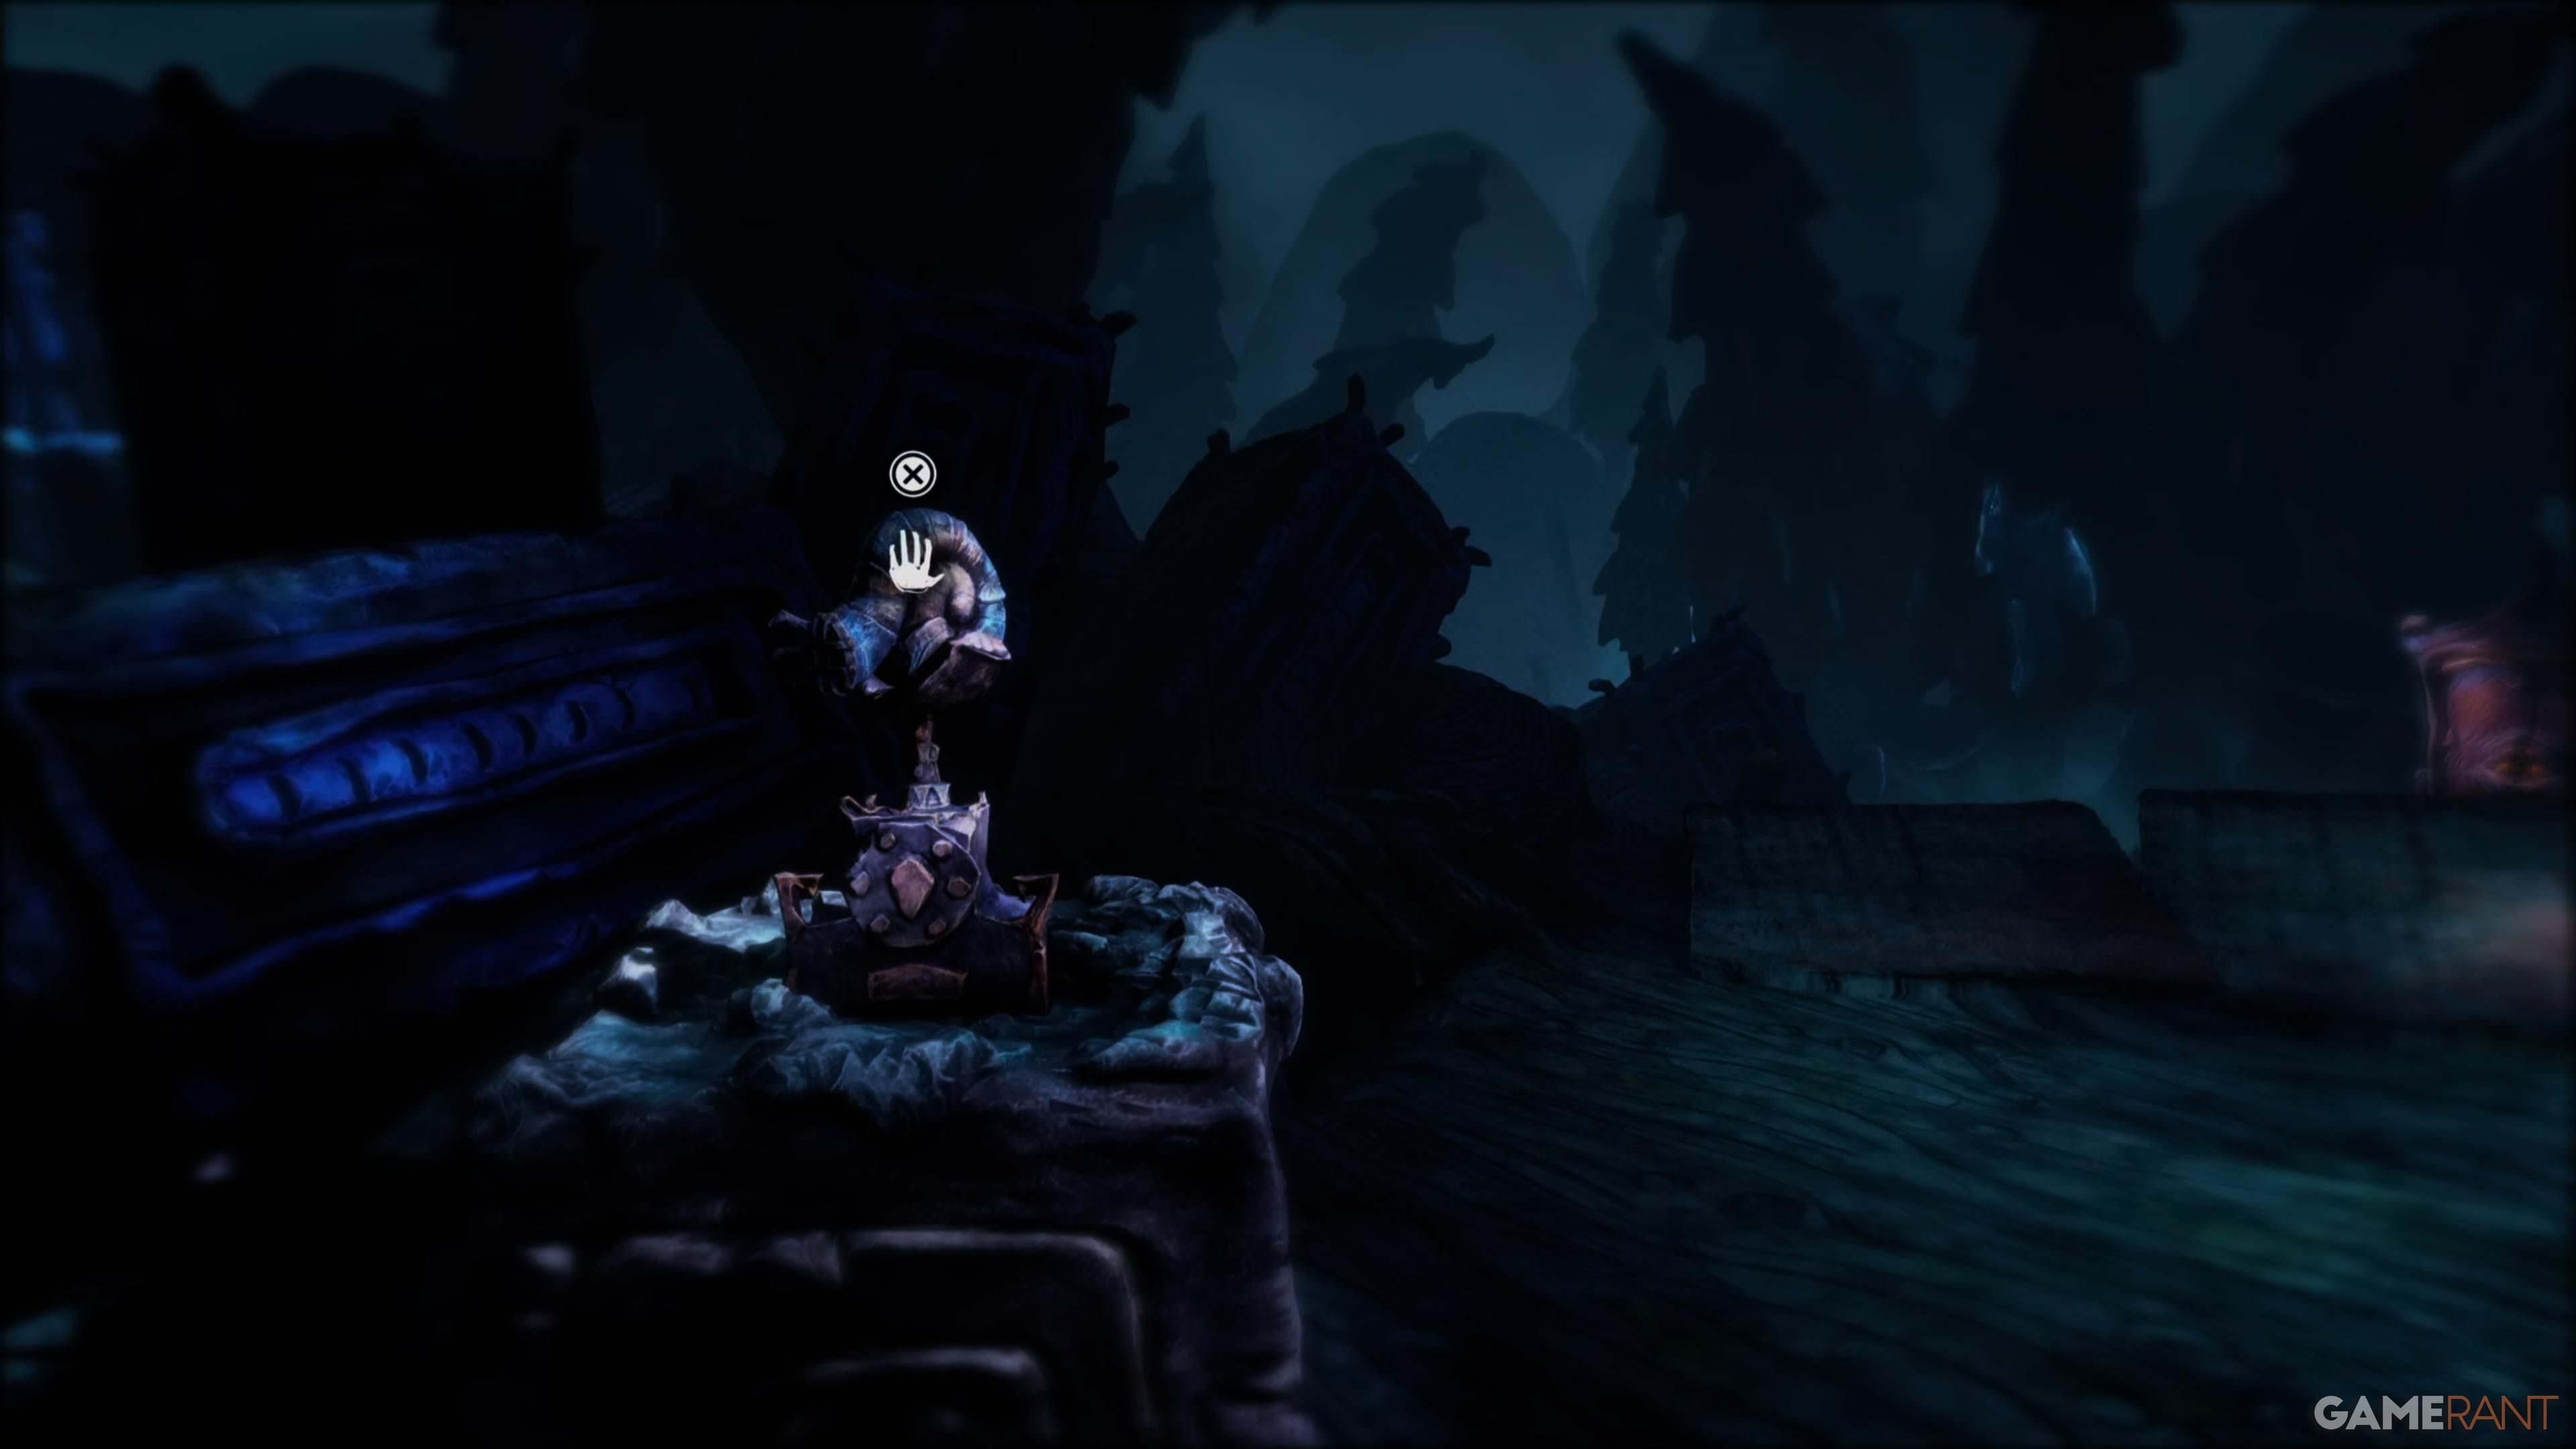
Clay Figurine #4 (Body)
To progress with your collectible item, first make Potboy stand on one platform and position yourself on the other pad. This action will open the door. Next, instruct Potboy to light the candle on the left side. After that, have him gaze at the eye located on the right and close your own eyes simultaneously to uncover a concealed creature. Take shelter in the wardrobe until it departs. Once it has vanished, light the nearby candle and proceed towards the staircase’s door. Finally, ignite the last pair of candles, then turn right before advancing any further to locate the final Clay Figurine for this chapter.
Shellphone #3
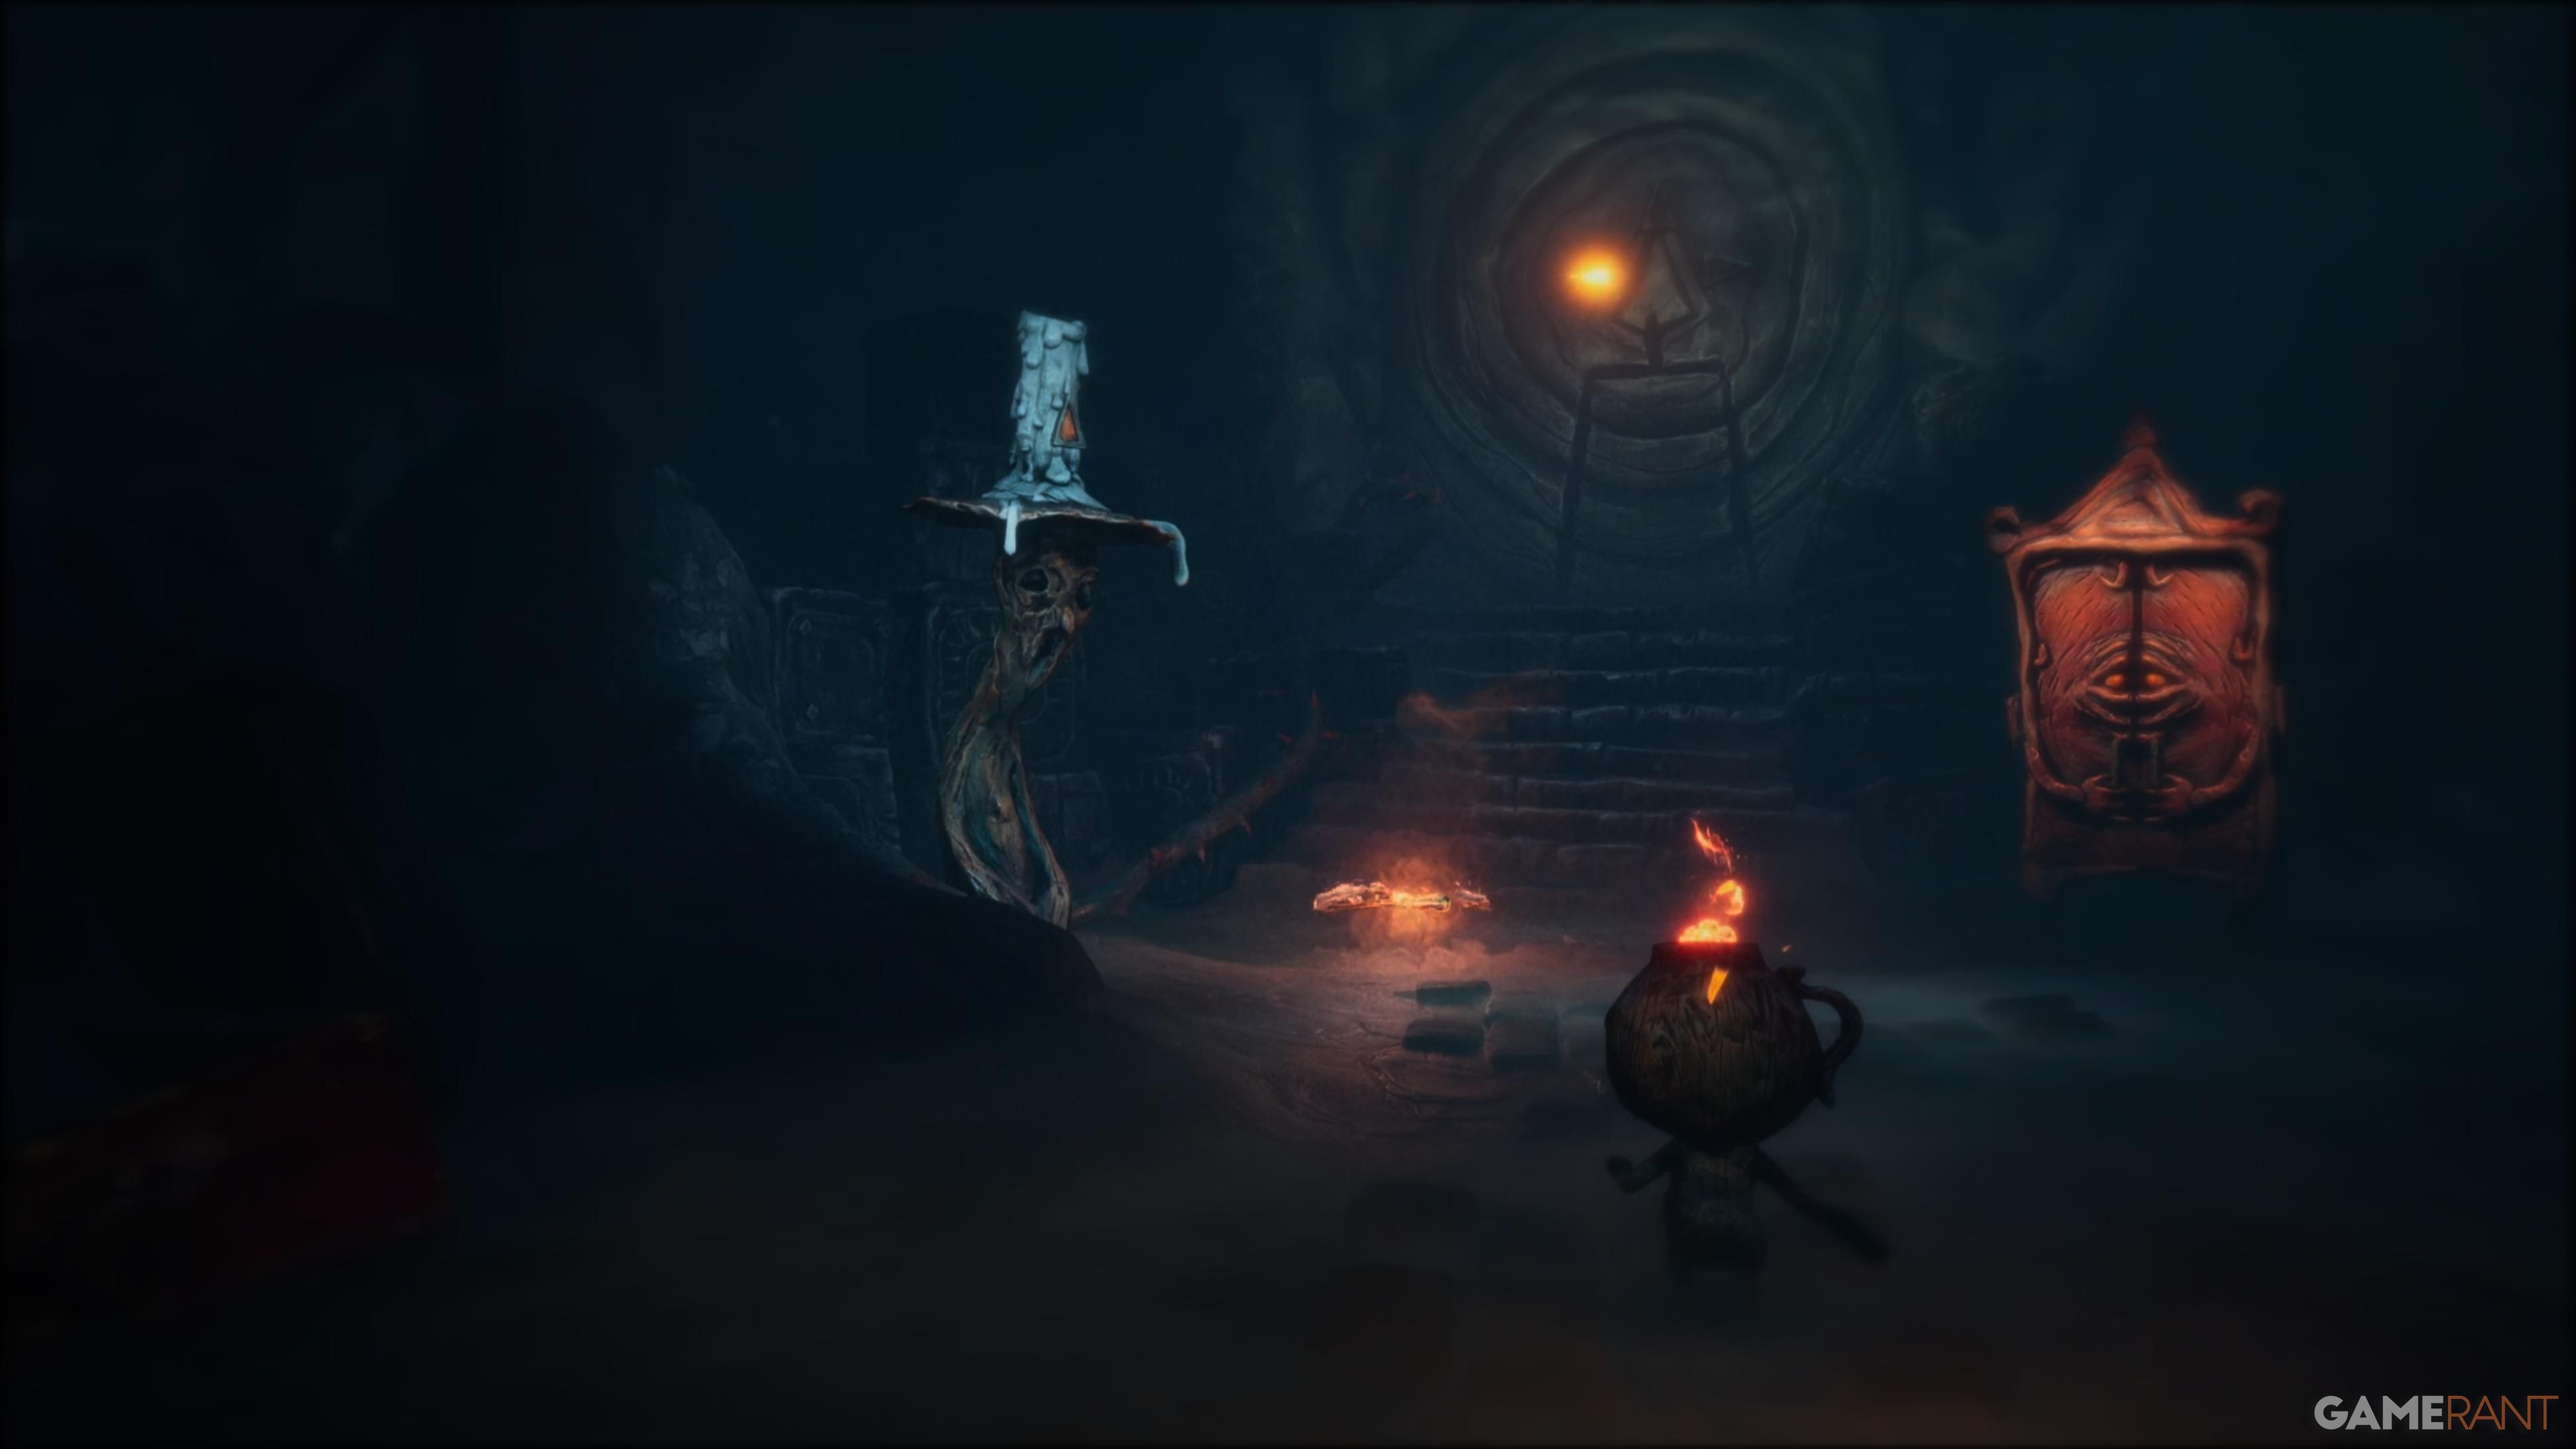

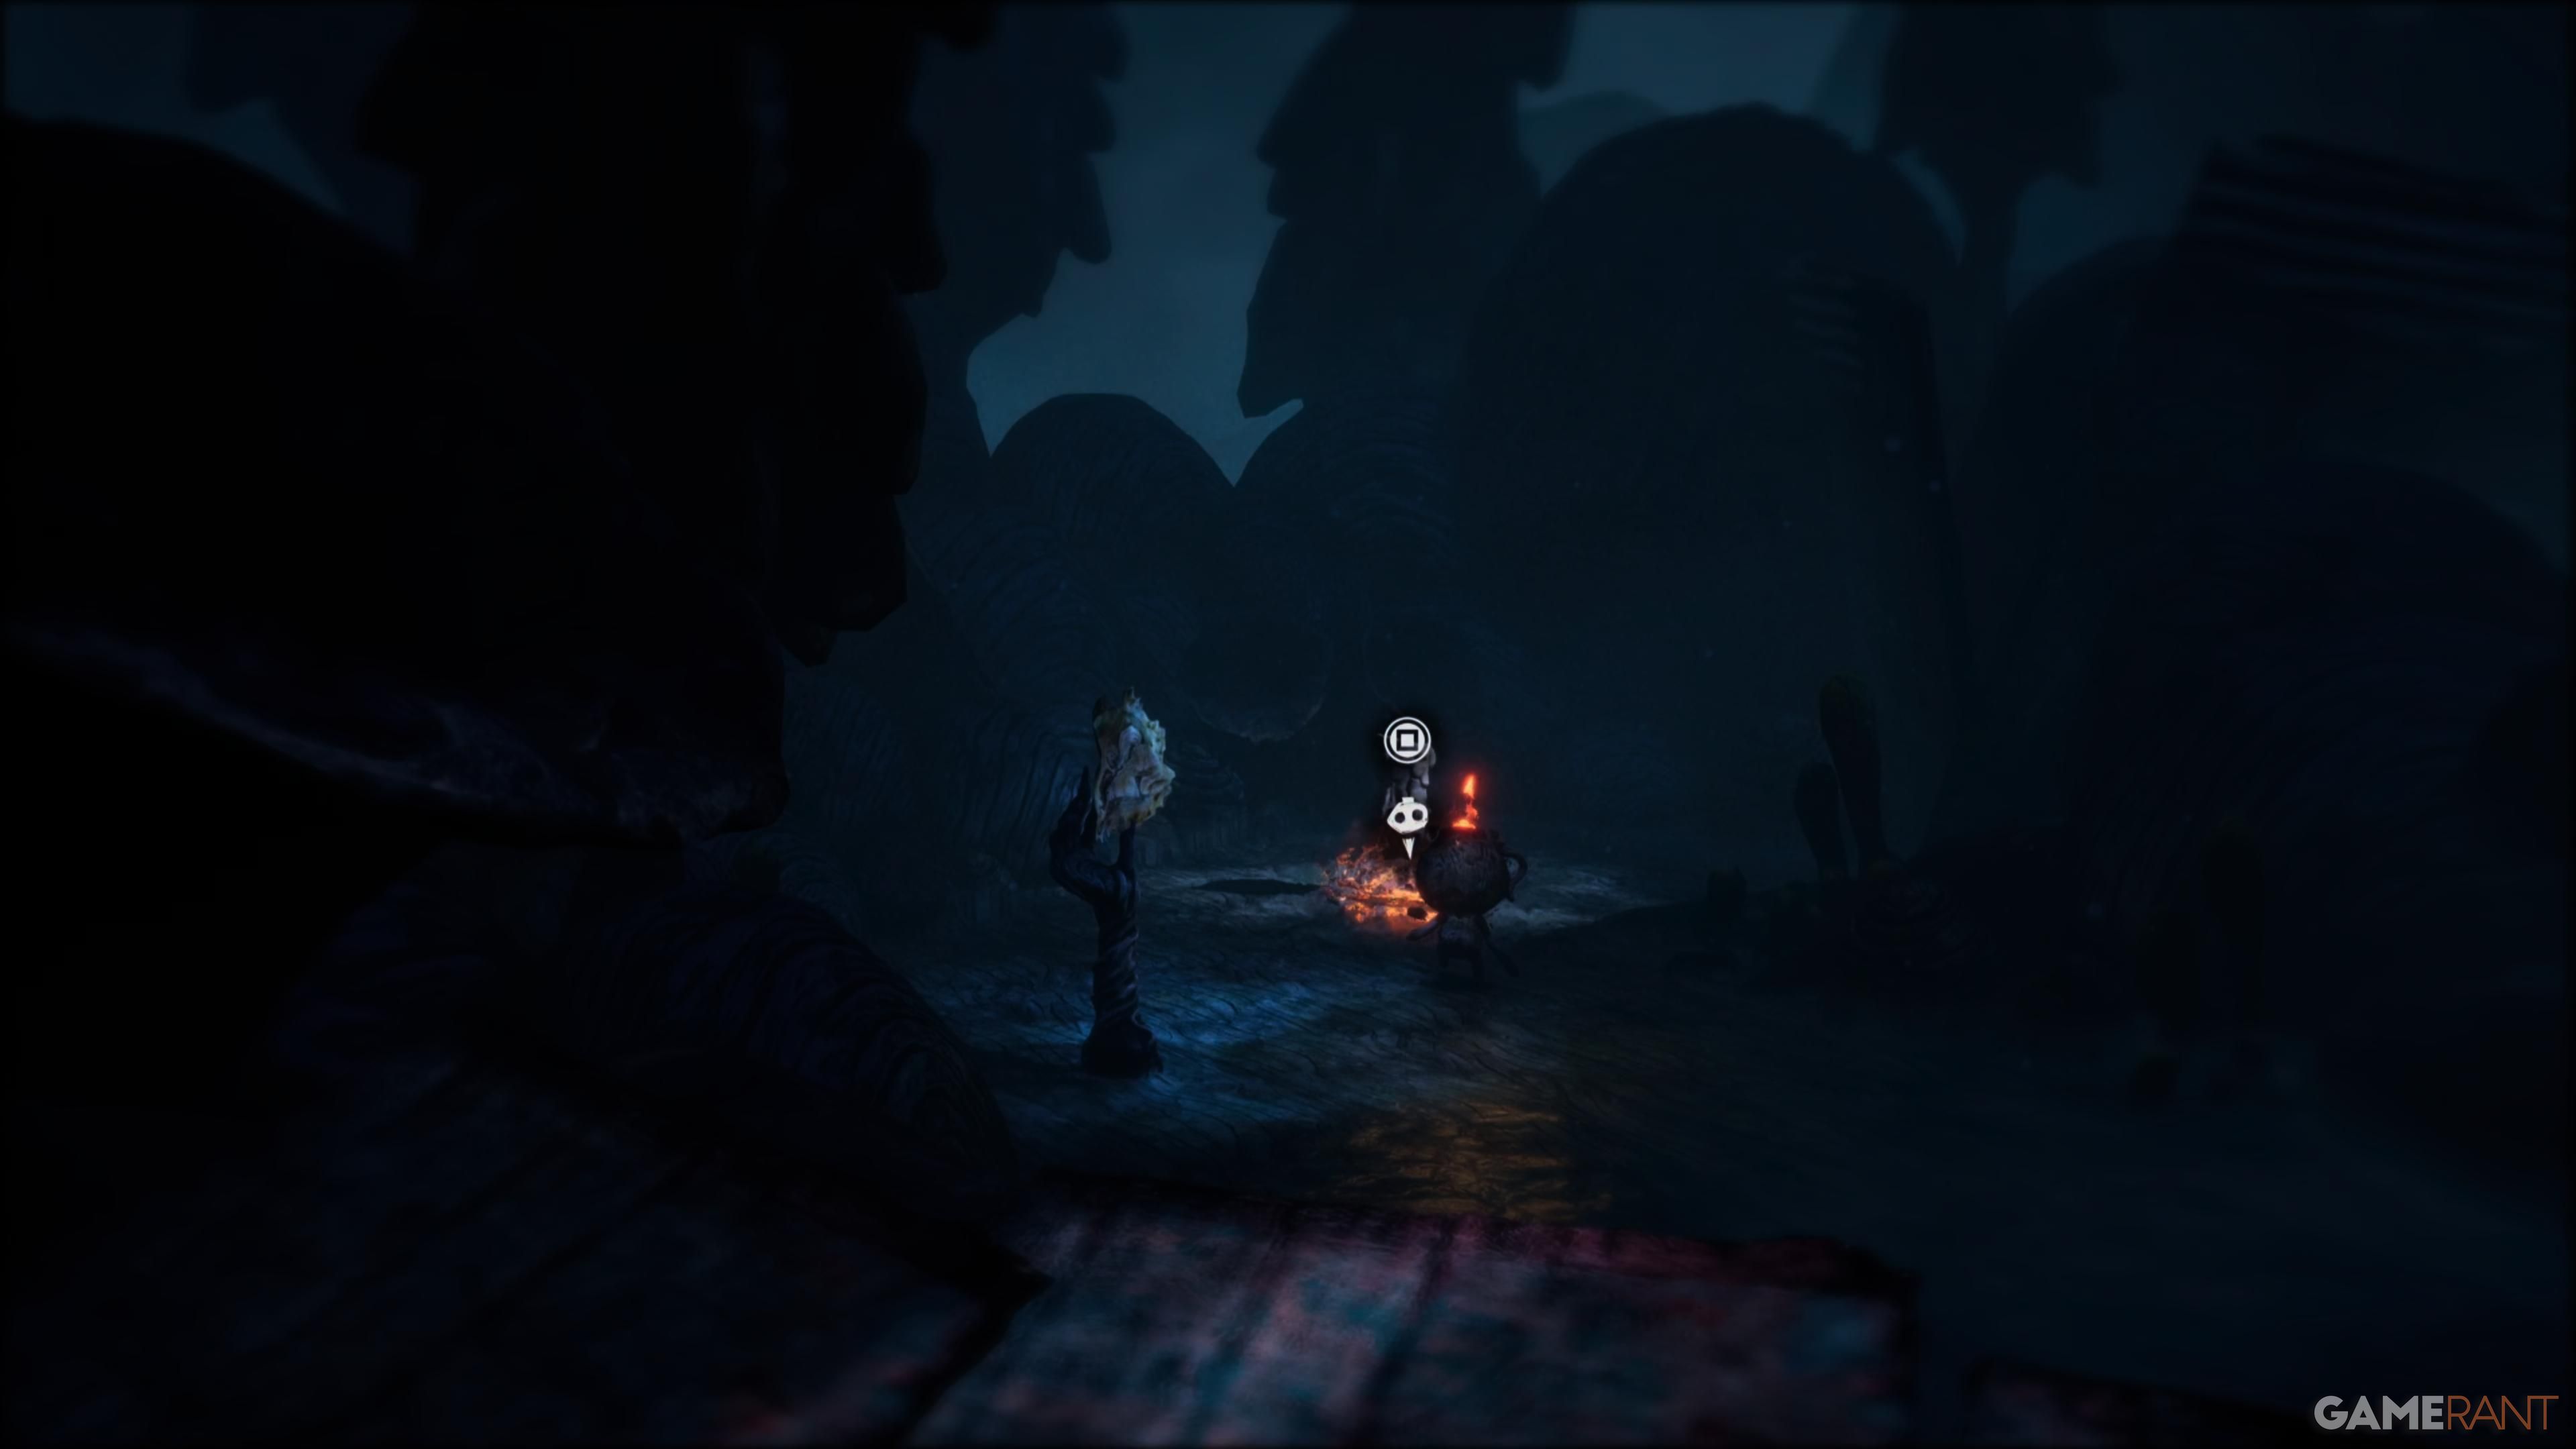
Pass through the gate, ignite the candles positioned in front of you. After that, gaze upward, close your eyes to eliminate an impediment, and direct Potboy towards the pipe so it falls onto the other side and illuminates the third candle, thereby opening the gate. Proceed forward, and on your left, you’ll discover the third Shellphone.
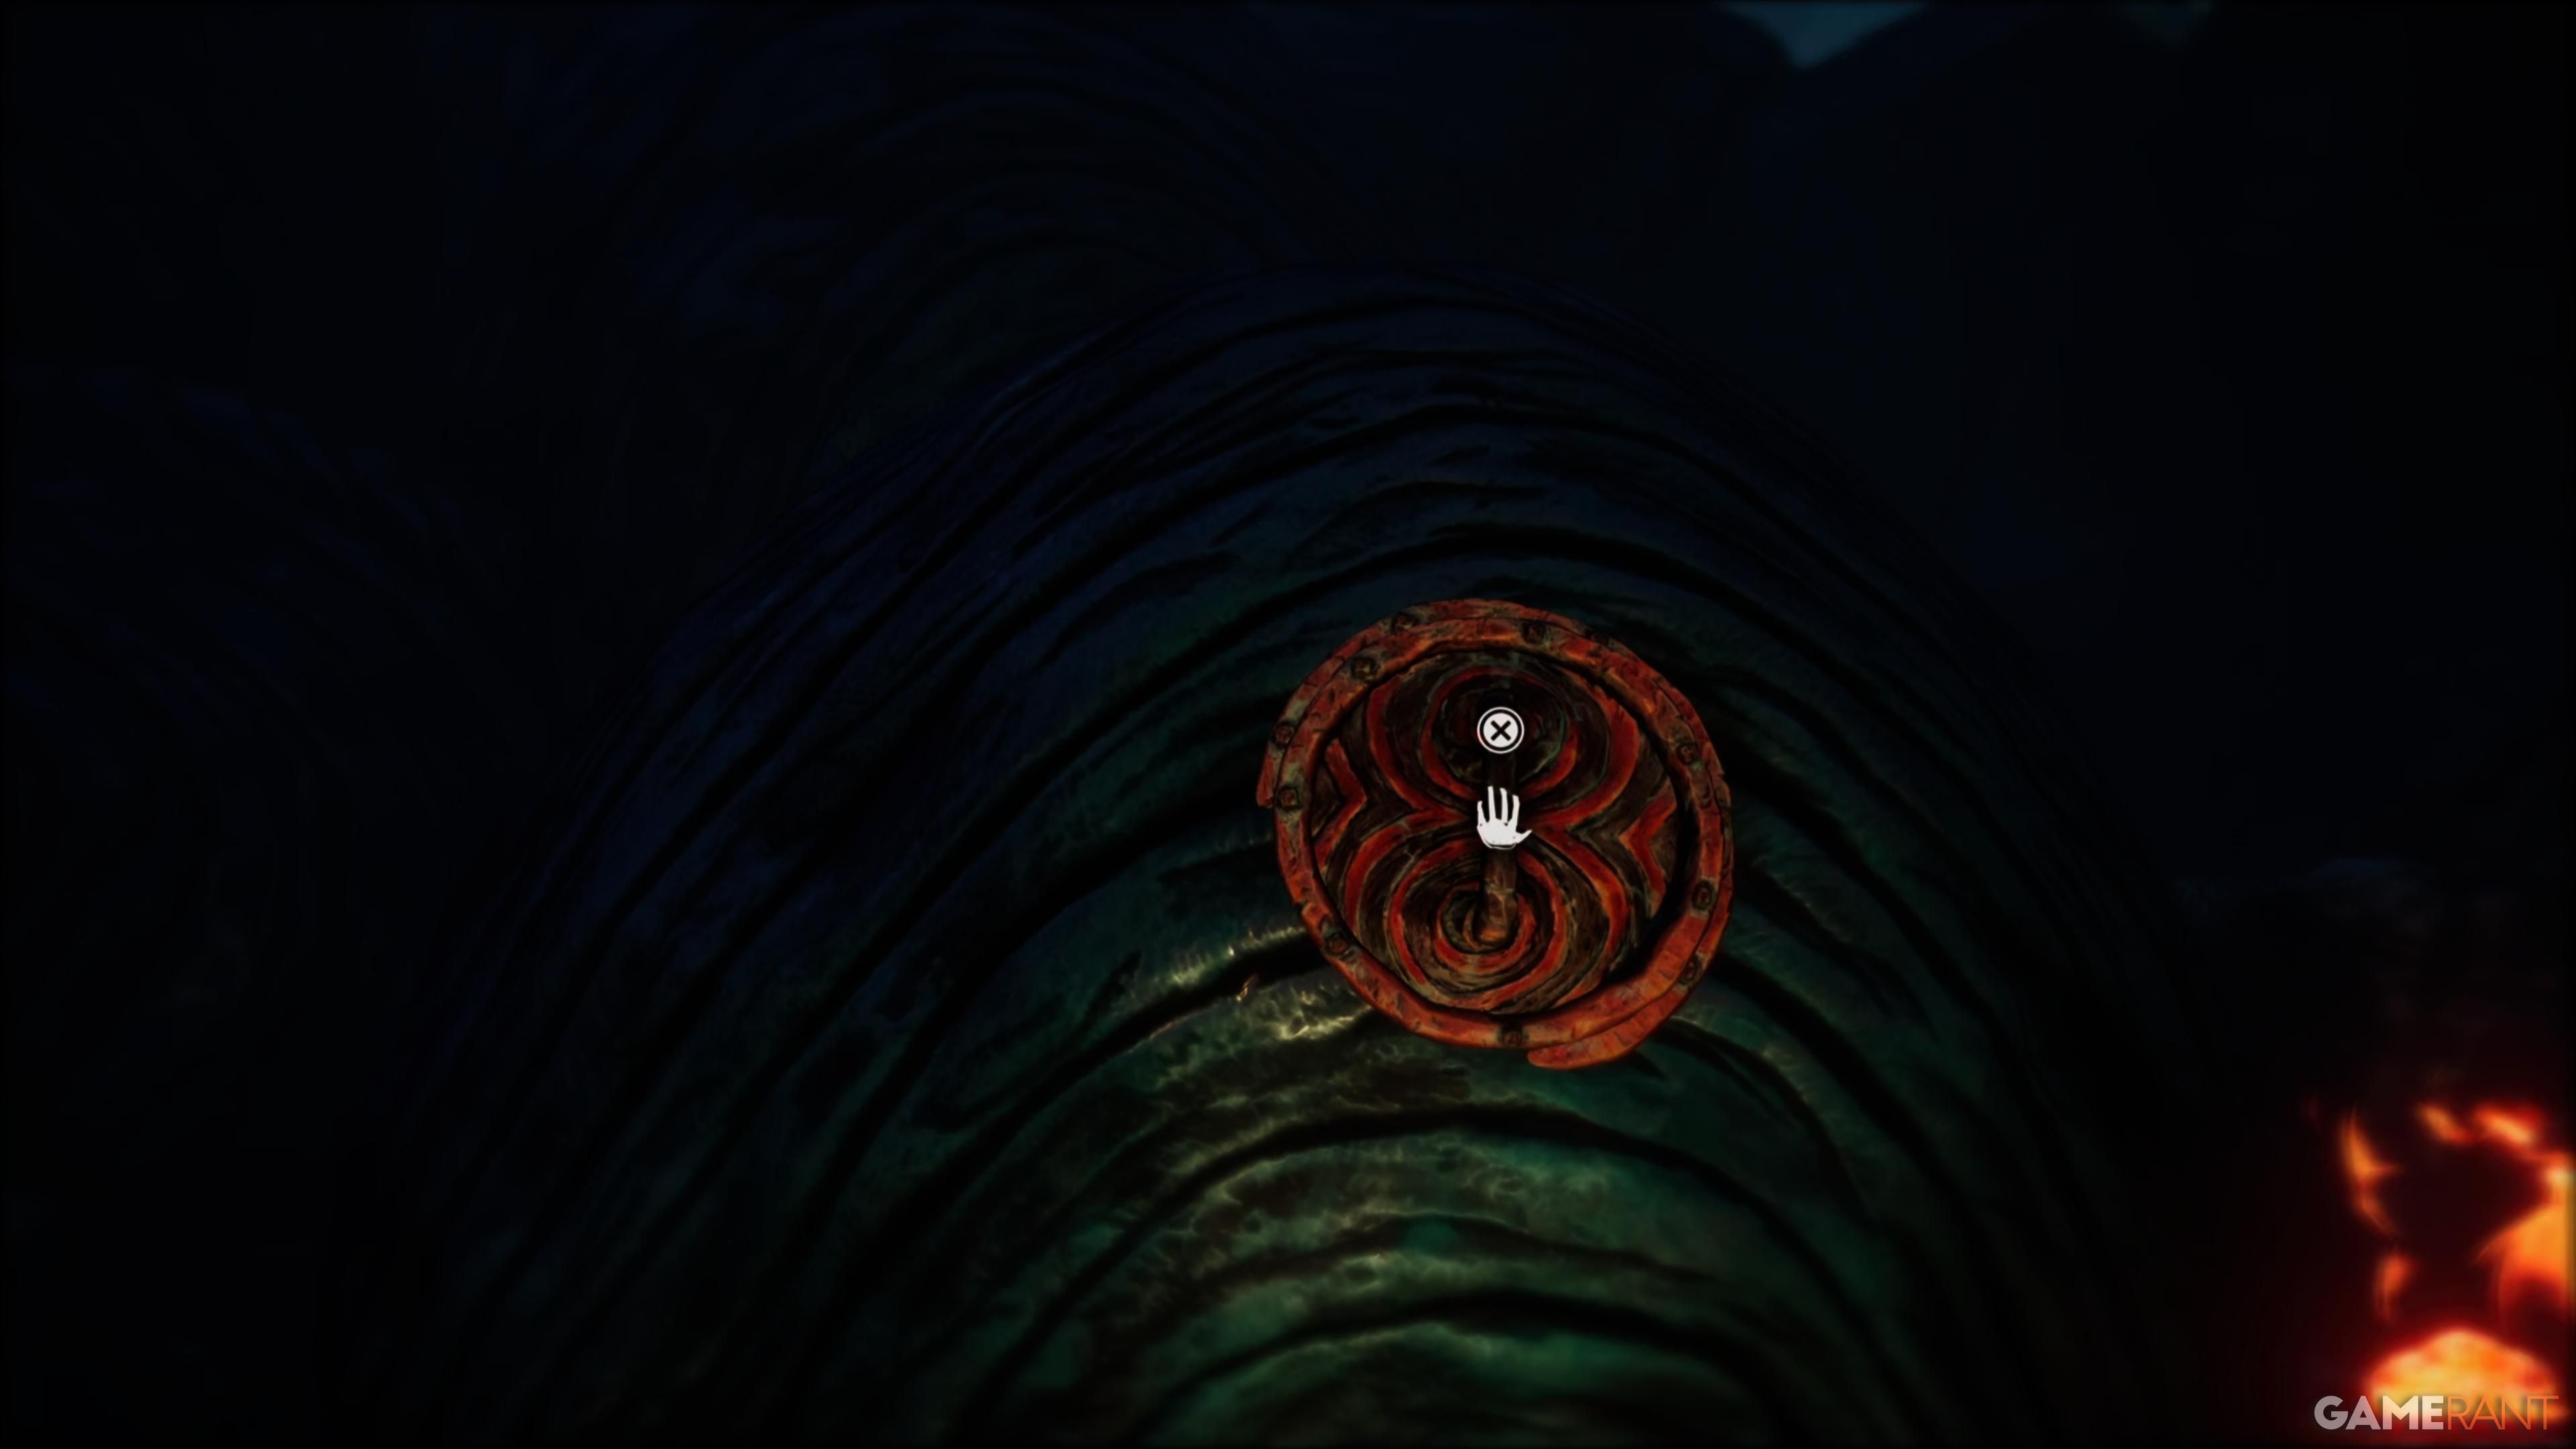
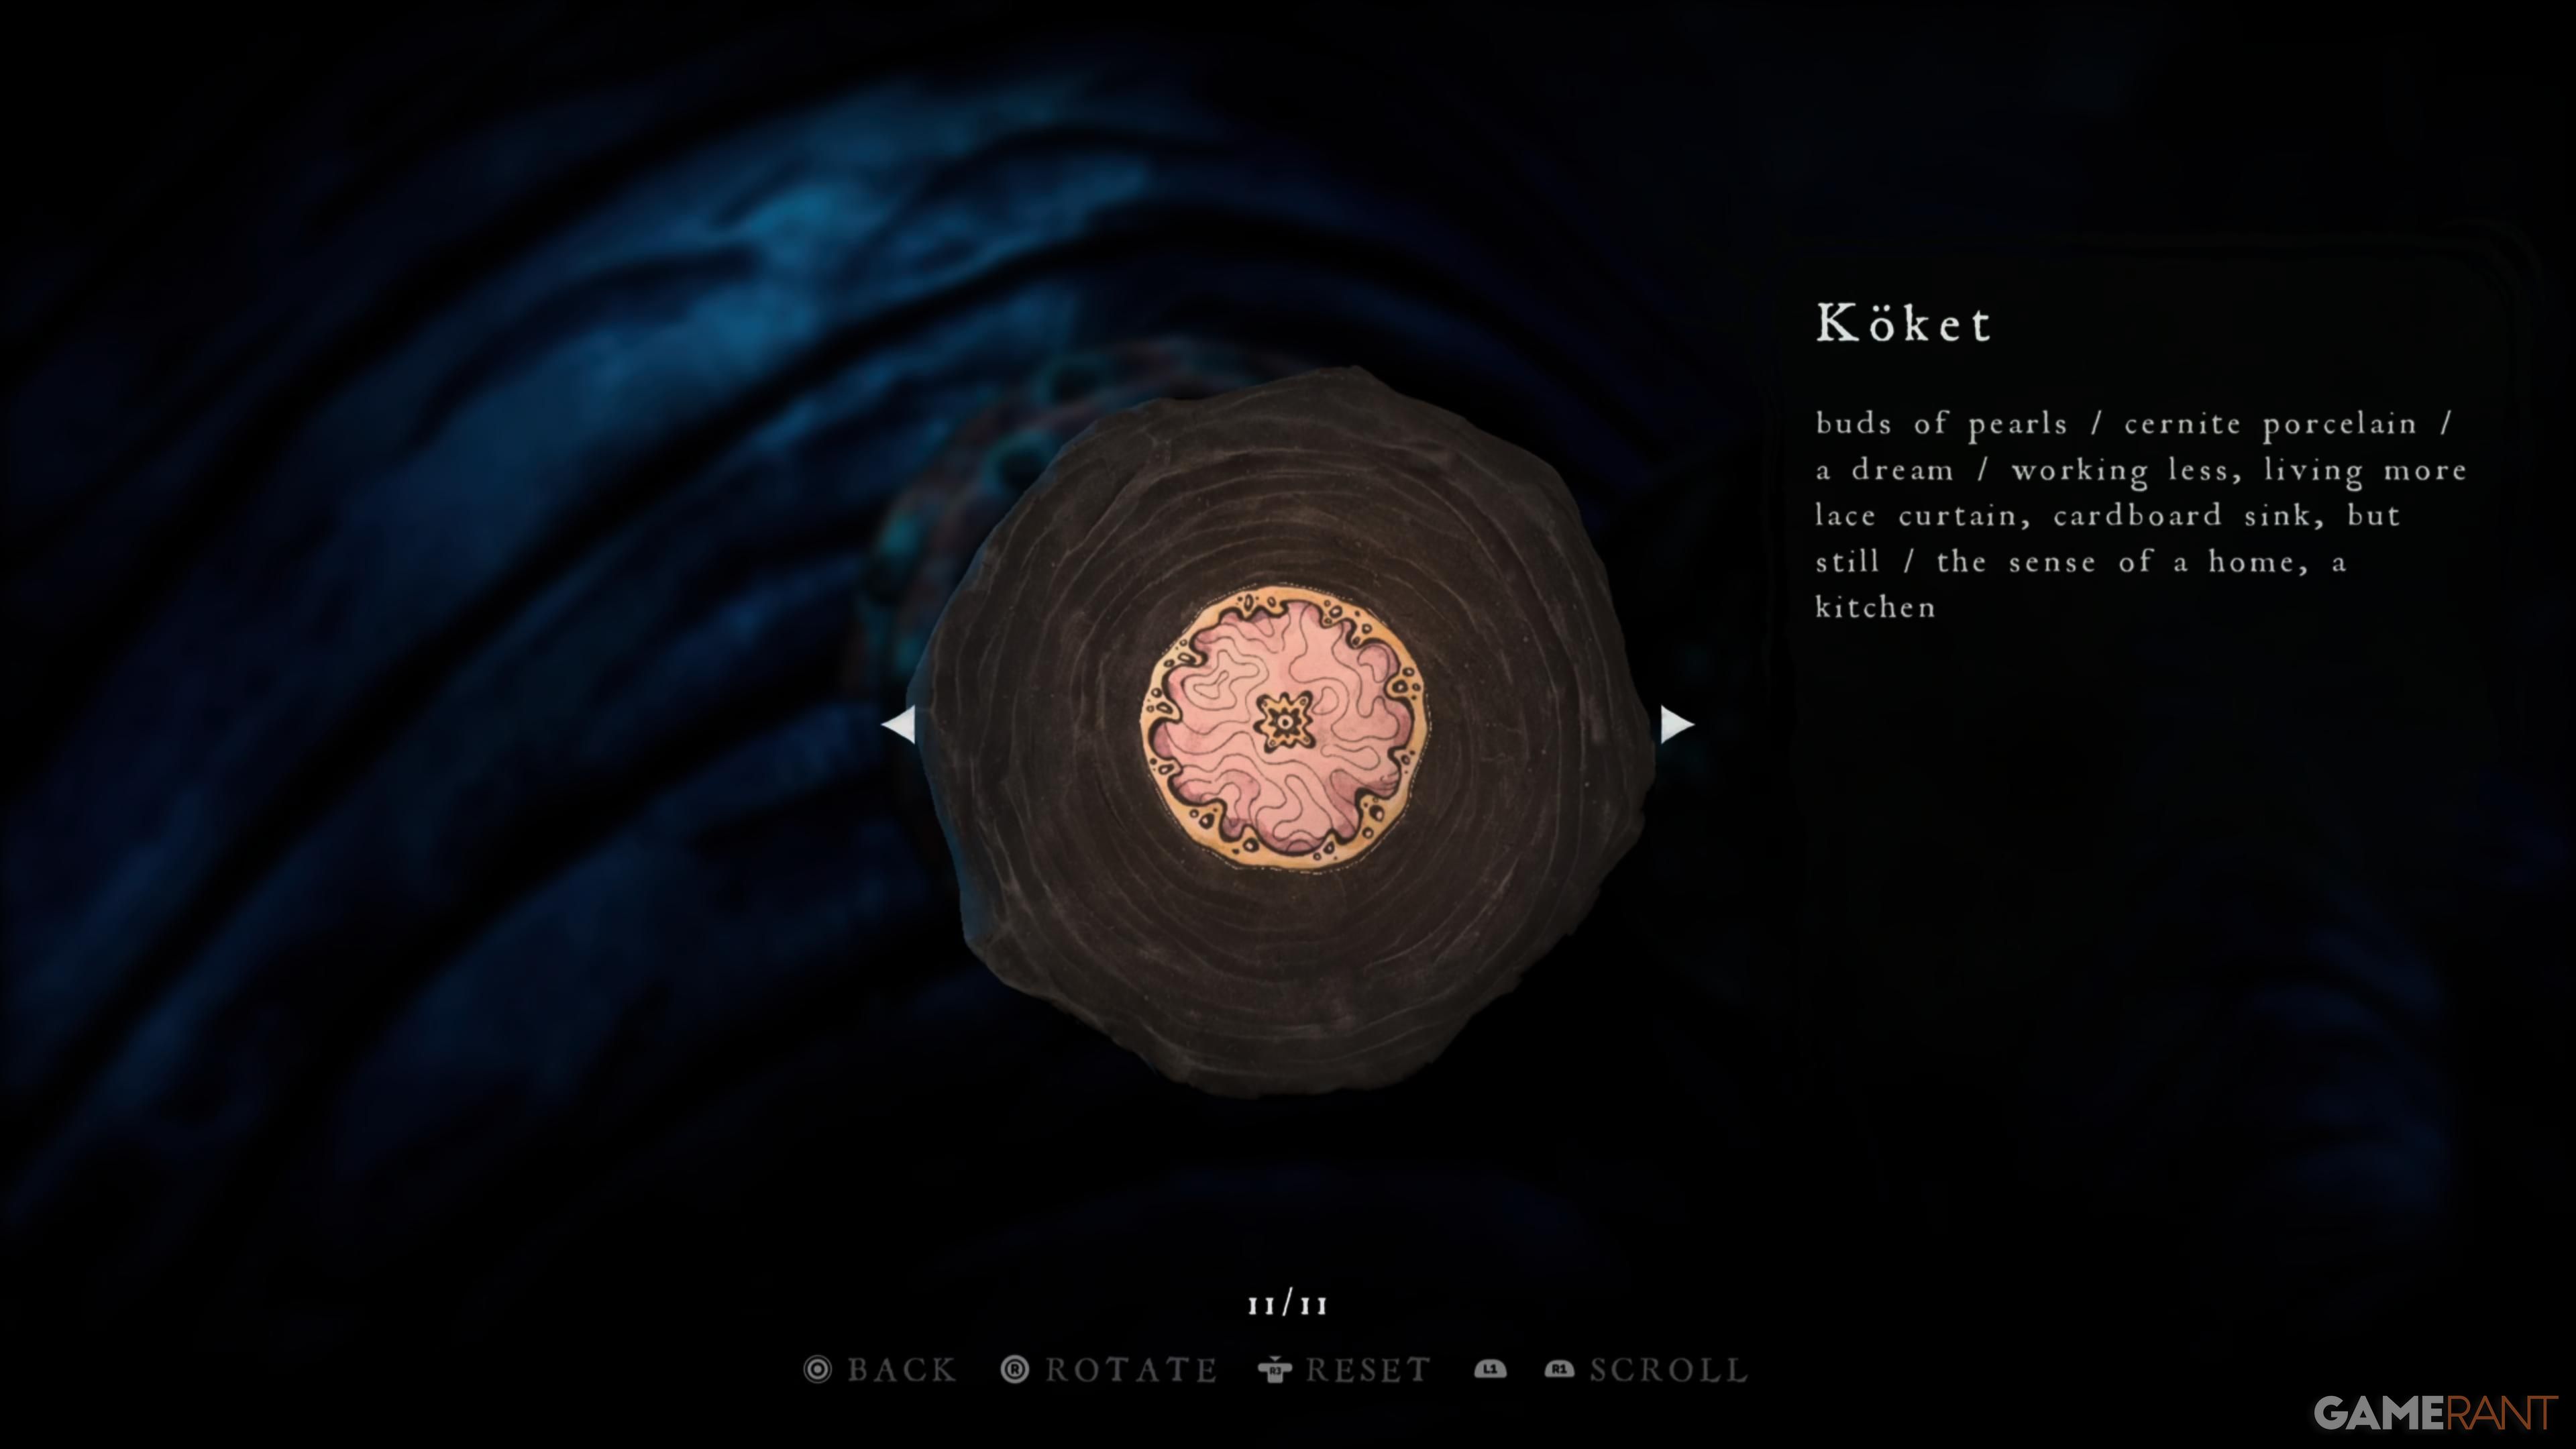
Gramophone Disc #3 (Koket)

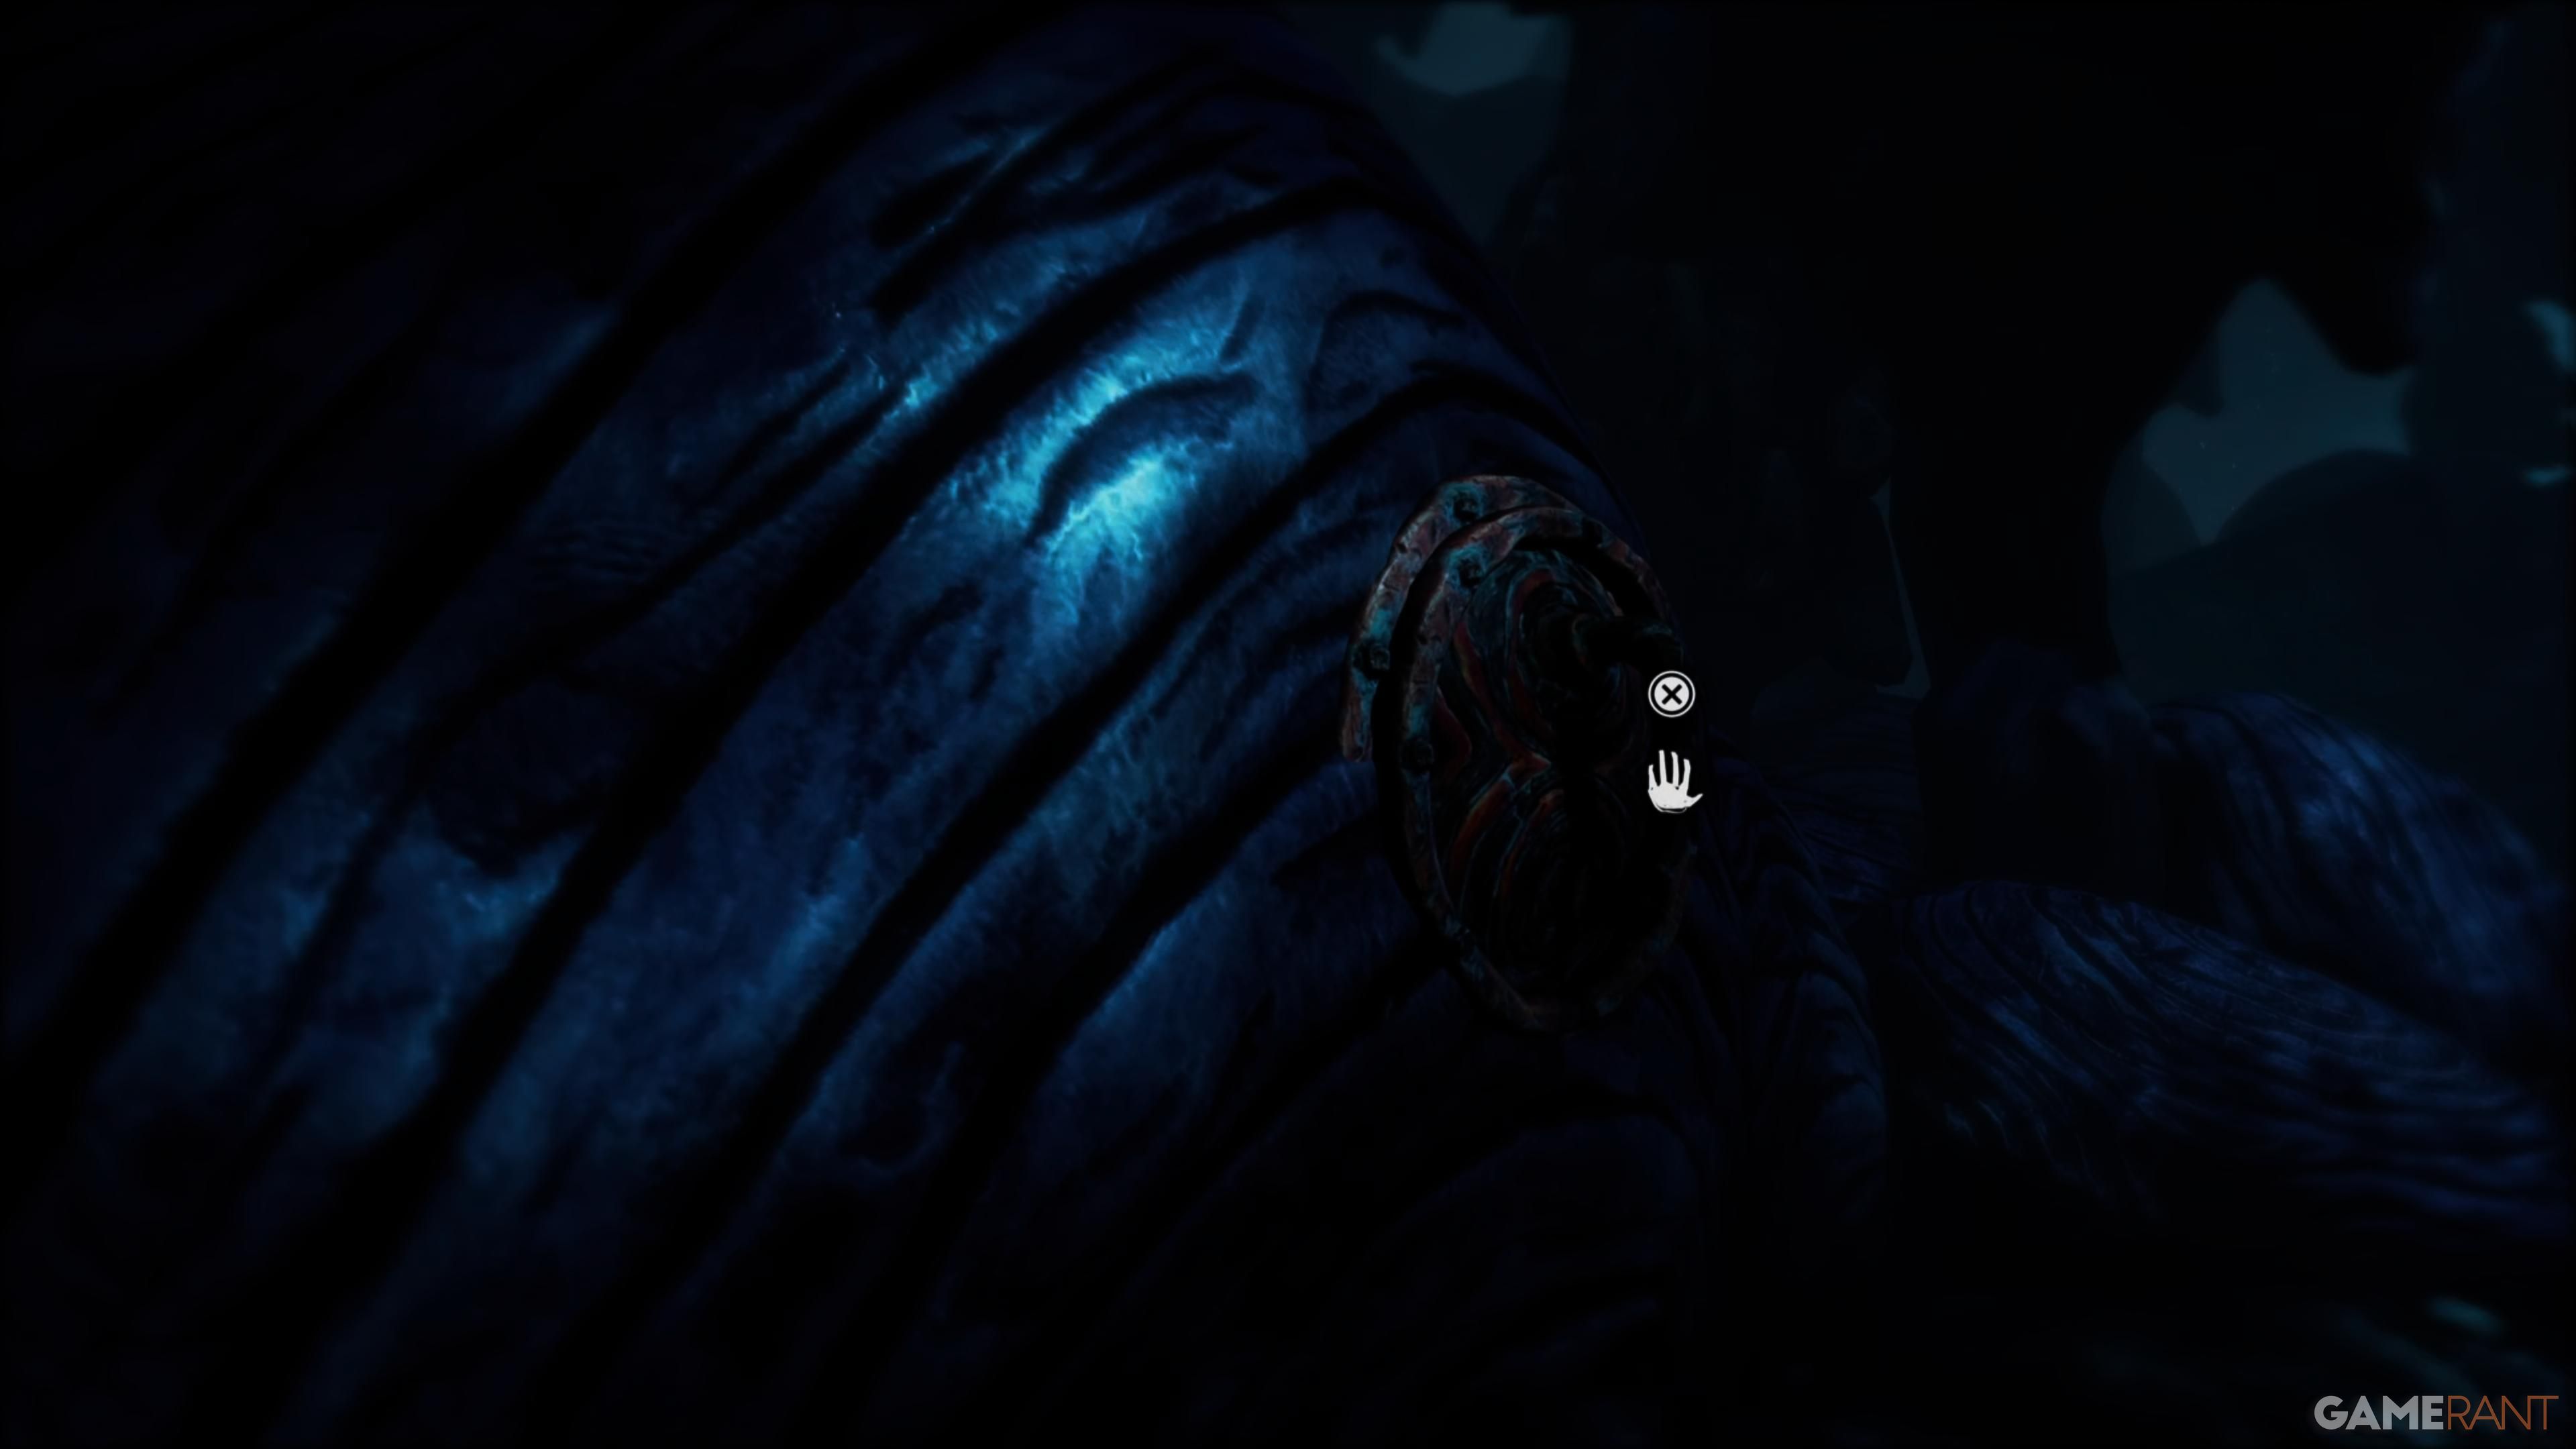
Proceed towards the cabinet, then veer to your left. Ask Potboy to ignite the candle positioned to your left, doing so will draw the monster towards it. As a result, you’ll have an opportunity to snatch the Gramophone Record on the right side.
Read More
- All Skyblazer Armor Locations in Crimson Desert
- How to Get the Sunset Reed Armor Set and Hollow Visage Sword in Crimson Desert
- All Shadow Armor Locations in Crimson Desert
- Marni Laser Helm Location & Upgrade in Crimson Desert
- Best Bows in Crimson Desert
- All Helfryn Armor Locations in Crimson Desert
- All Golden Greed Armor Locations in Crimson Desert
- How to Craft the Elegant Carmine Armor in Crimson Desert
- Keeping Large AI Models Connected Through Network Chaos
- One Piece Chapter 1179 Preview: The Real Imu Arrives in Elbaf
2025-05-09 03:27