As a seasoned fan of adventure games with a particular affinity for Dungeons of Hinterberg, I can confidently say that the Abandoned Mineshaft is a thrilling and engaging dungeon that truly tests one’s problem-solving skills and magical abilities. With my trusty Wrecking Ball and Ball & Chain at the ready, I eagerly approached this second dungeon, anticipating the challenges that awaited me.
In “Dungeons of Hinterberg,” the deserted mineshaft serves as the second challenge for players. To progress, they must employ their freshly acquired magical skills. The Wrecking Ball and Ball & Chain spells are essential in overcoming the obstacles within this dungeon. This guide aims to provide further insights, enabling fans to successfully finish the Abandoned Mineshaft adventure in “Dungeons of Hinterberg.”
As players draw near to the deserted Mineshaft’s entrance, they will stumble upon a brainteaser. To conquer this enigma, enthusiasts of adventure games need to insert a Wrecking Ball into the elevator, use a Ball & Chain to strike the orb suspended above, and subsequently trigger the explosion of the Wrecking Ball once it ascends to the level of the cracked wall.
Dungeons of Hinterberg: Abandoned Mineshaft Walkthrough
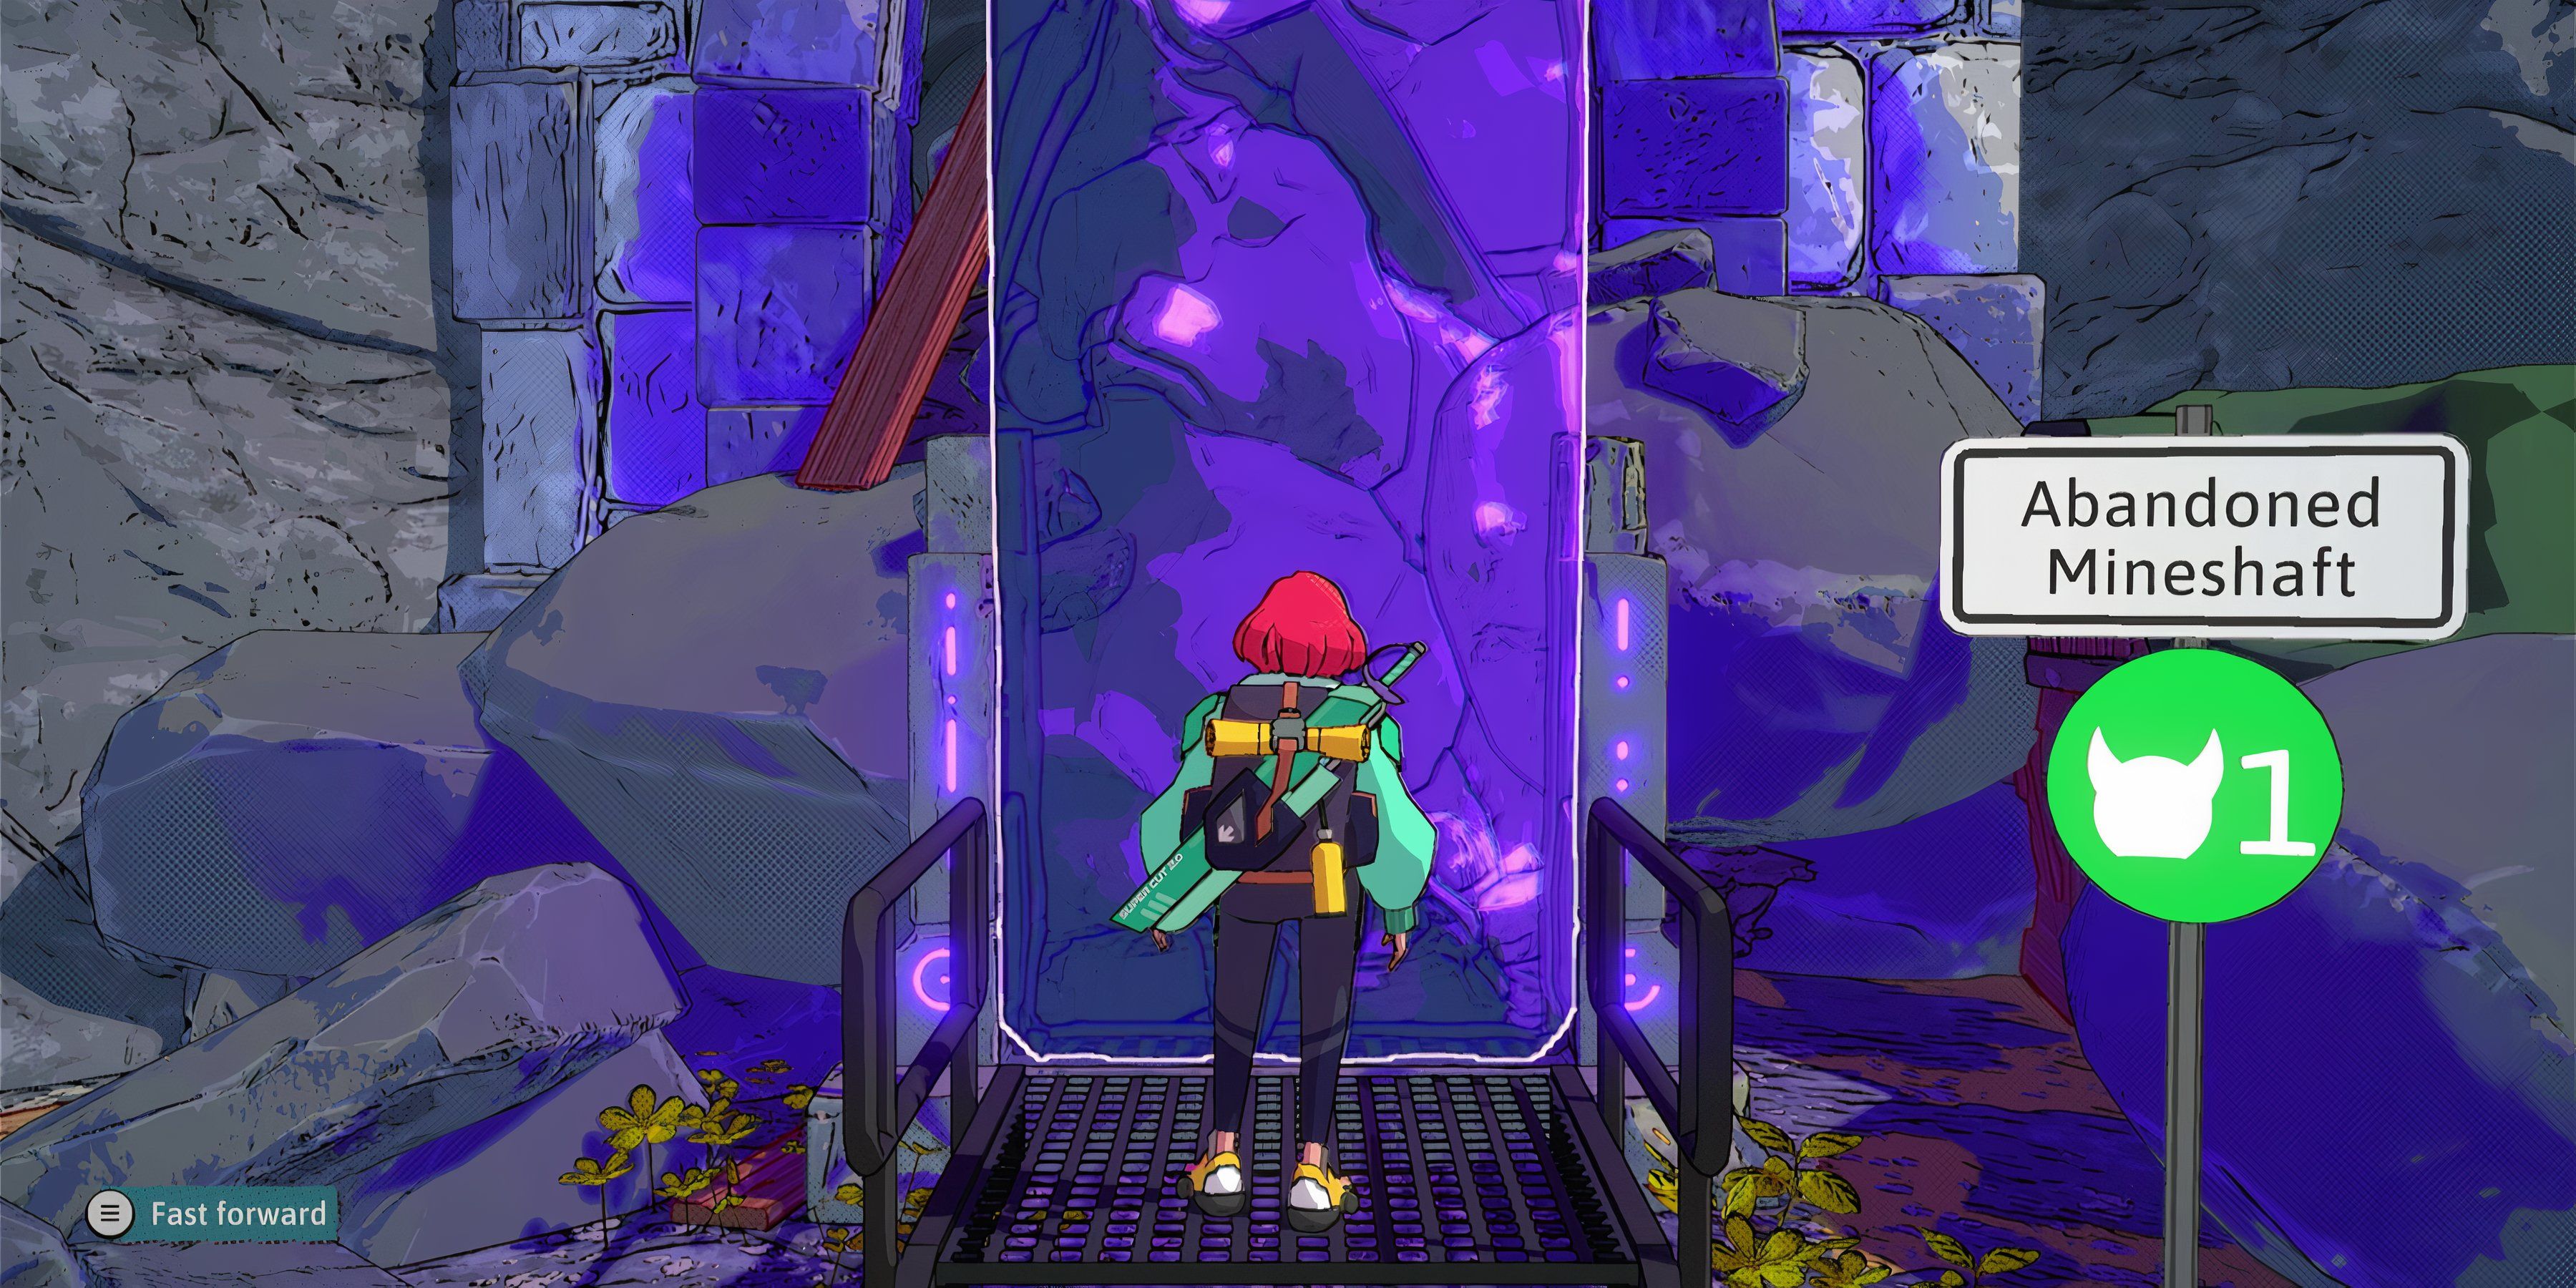
Entrance
When players step into the Abandoned Mineshaft, they need to walk along the given path to find a ladder. This ladder will help them reach the depths of a chasm below. Action game enthusiasts will encounter enemies there, which they must defeat. Once these foes are vanquished, they should tackle the mineshaft’s initial puzzle.
Three Button Puzzle
To figure out the solution to this riddle, start by nudging the mine cart close to the room’s entrance towards the nearby yellow switch. Next, players can employ their Ball & Chain skill to knock down the vines obstructing a second mine cart and move it onto another yellow button. Lastly, utilize your Wrecking Ball power to position a heavy ball on top of the third yellow button, allowing access to the exit and encountering an NPC named Travis.
Optional: Three Button Puzzle Room Chest
In the three-button puzzle chamber, there’s a suspended chest that players can cause to drop using their Ball & Chain skill.
Gap
As an avid RPG player who just spoke with Travis, I’d suggest you to scale the cliff close by and continue along the trail until you encounter a chasm that’s too wide to jump over. To bypass this challenge, simply aim your Ball & Chain ability at the rectangular object lying on the other side of the gap and hurl it across. Then, retract the Ball & Chain back to create a bridge for yourself to cross over safely.
Magic-Shielded Enemy
As a gamer, I step up to the edge of the chasm, my heart pounding with excitement. Beyond this gap lies a challenging cliff face climb and a thrilling path leading to an epic battle against a magic-shielded adversary. Once I’ve bested this formidable foe, I make my way into the adjoining room and ascend the conveniently placed ladder. Finally, I leap into the awaiting mine cart for a thrilling ride, hurtling toward the dungeon’s next puzzle.
Optional: Chest Before Magic-Shielded Enemy
As a gamer, when I come across a glowing gate obstructing my way between a chasm and an enemy shielded in magic, here’s what I do: I look to my left and spot some stairs leading up. I climb those stairs and once I reach the top, I turn right to find a room. Inside that room, there’s a cracked wall that needs dealing with. I pull out my trusty Wrecking Ball ability and swing it at the wall until it collapses, allowing me to proceed past the gate.
Scale Puzzle
To crack the enigma hidden behind the mystical barrier guarding the enemy, gamers need to step onto the ground-level platform and set a Wrecking Ball on the raised platform close by. For players fond of distinctive game art, next comes climbing the wall and flinging a Ball & Chain at the objective situated opposite the room. Following this, they should descend to the ground, aim the Ball & Chain at the now reachable orb, retrieve it to spin the track, and finally board the mine cart.
Mine Cart Ride
Players will now find themselves in a mine cart ride, where they must press the correct directional keys to move forward. Initially, this involves pressing right at certain wooden markers and then left. However, more experienced players will soon need to swiftly avoid obstacles by adjusting their input directions.
Mine Cart Puzzle
Towards the end of this part, you’ll need to traverse a cliffside to reach the chamber containing the Abandoned Mineshaft’s last enigma. Here’s a guide on cracking that puzzle, and prepare for battle against the dungeon’s boss once solved.
- Ride the mine cart at the top of the ramp.
- Ride the mine cart again and hold left, forcing it to follow the track that passes by the gate.
- Press the button to open the gate.
- Ride the mine cart along the track to the left of the gate, throw a Ball & Chain at the orb near the end of the track, and retract it to rotate another section of track.
- Ride the mine cart back to the starting room, and press the button to close the gate.
- Ride the mine cart, and press the button to open the gate.
- Ride the mine cart and hold left to send it along the track to the right of the open gate.
Optional: Mine Cart Puzzle Room Chest
In this puzzle segment of the game, there’s a treasure chest filled with one thousand HBs. Independent video game enthusiasts can get to it by hopping on the mine cart and traveling along the track situated to the right of the open gate, prior to implementing Step 4 from the earlier given solution.
Exit
Players need only defeat the boss and engage with the nearby Stamp Machine now. For enthusiasts of “Zelda”-style games, a doorway close to the Stamp Machine becomes accessible, marking the end of their journey through the Abandoned Mineshaft.
Read More
- LUNC PREDICTION. LUNC cryptocurrency
- BTC PREDICTION. BTC cryptocurrency
- USD COP PREDICTION
- MNT PREDICTION. MNT cryptocurrency
- ETHW PREDICTION. ETHW cryptocurrency
- Ethereum (ETH) Crashes Dramatically, What’s Next? Solana (SOL) Can Still Reach $200, XRP Struggling Before $0.63 Test
- SOL PREDICTION. SOL cryptocurrency
- ALPINE PREDICTION. ALPINE cryptocurrency
- Lucky Animal Crossing: New Horizons Player Discovers Infinite Clam Glitch
- I Physically Need WWE 2K25’s Showcase to Feature The Bloodline
2024-07-18 22:35