As an experienced adventurer with countless hours delved into the mystical realms of Dungeons and Dragons, I’ve come to appreciate the intricacies of puzzles that challenge both my wit and reflexes. The Jelly Tunnels in Hinterberg’s dungeon have proven no exception. Following the instructions meticulously, I climbed onto the orange bridge-like platform, traversed the jelly platforms with my trusty Ball & Chain ability, and sent a Wrecking Ball soaring across the gap to shatter those pesky purple vines.
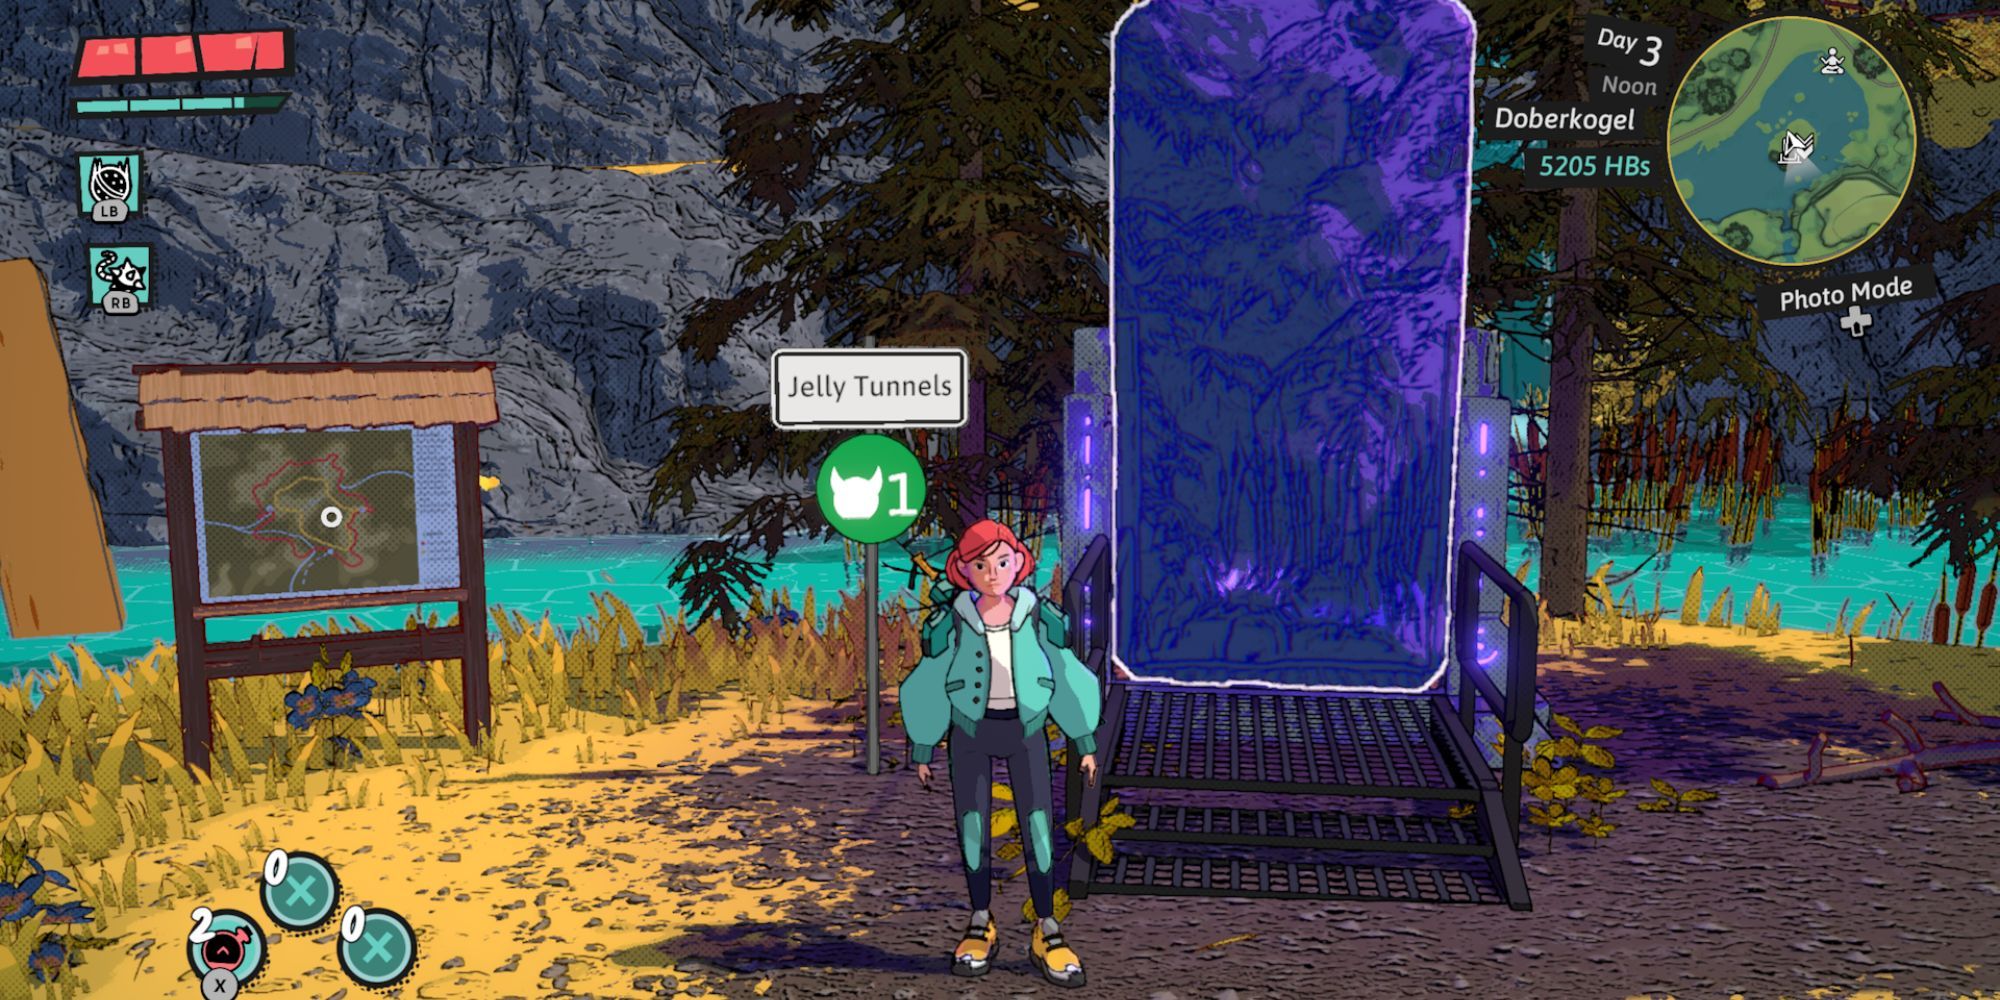
The fourth dungeon in Dungeons of Hinterberg is named Jelly Tunnels. Upon entering, you’ll soon understand why as you encounter its watery labyrinths filled with jelly-like platforms. No boss awaits you here, but instead, expect a test of wit and dexterity through puzzle platforming and problem-solving. Use your Ball & Chain and Wrecking Ball abilities to traverse these gelatinous passages. The challenges become increasingly complex as you progress, with the final puzzle in Jelly Tunnels posing a particularly daunting task.
To make it through the challenging puzzles of Jelly Tunnels, you’ll need to use all your intelligence, as they involve timing and utilizing your abilities to advance. Luckily, this walkthrough is here to assist fans in overcoming the obstacles of this perplexing labyrinth and obtaining their logbook stamps with minimal effort.
Jelly Tunnels Map Location In Dungeons Of Hinterberg
How To Start The Jelly Tunnels Dungeon
Once you finish the Abandoned Mineshaft in Dungeons of Hinterberg, The Jelly Tunnels will be accessible to you. Look for this dungeon in the heart of Doberkogel, which lies in the middle of the Lake. You’ll find it to the southwest as shown on the map above and by following the wooden signs and crossing the water. Keep an eye out for minor monster enemies along the way, as well as an optional chest as a reward for your efforts.
All Jelly Tunnels Puzzle Solutions In Dungeons Of Hinterberg
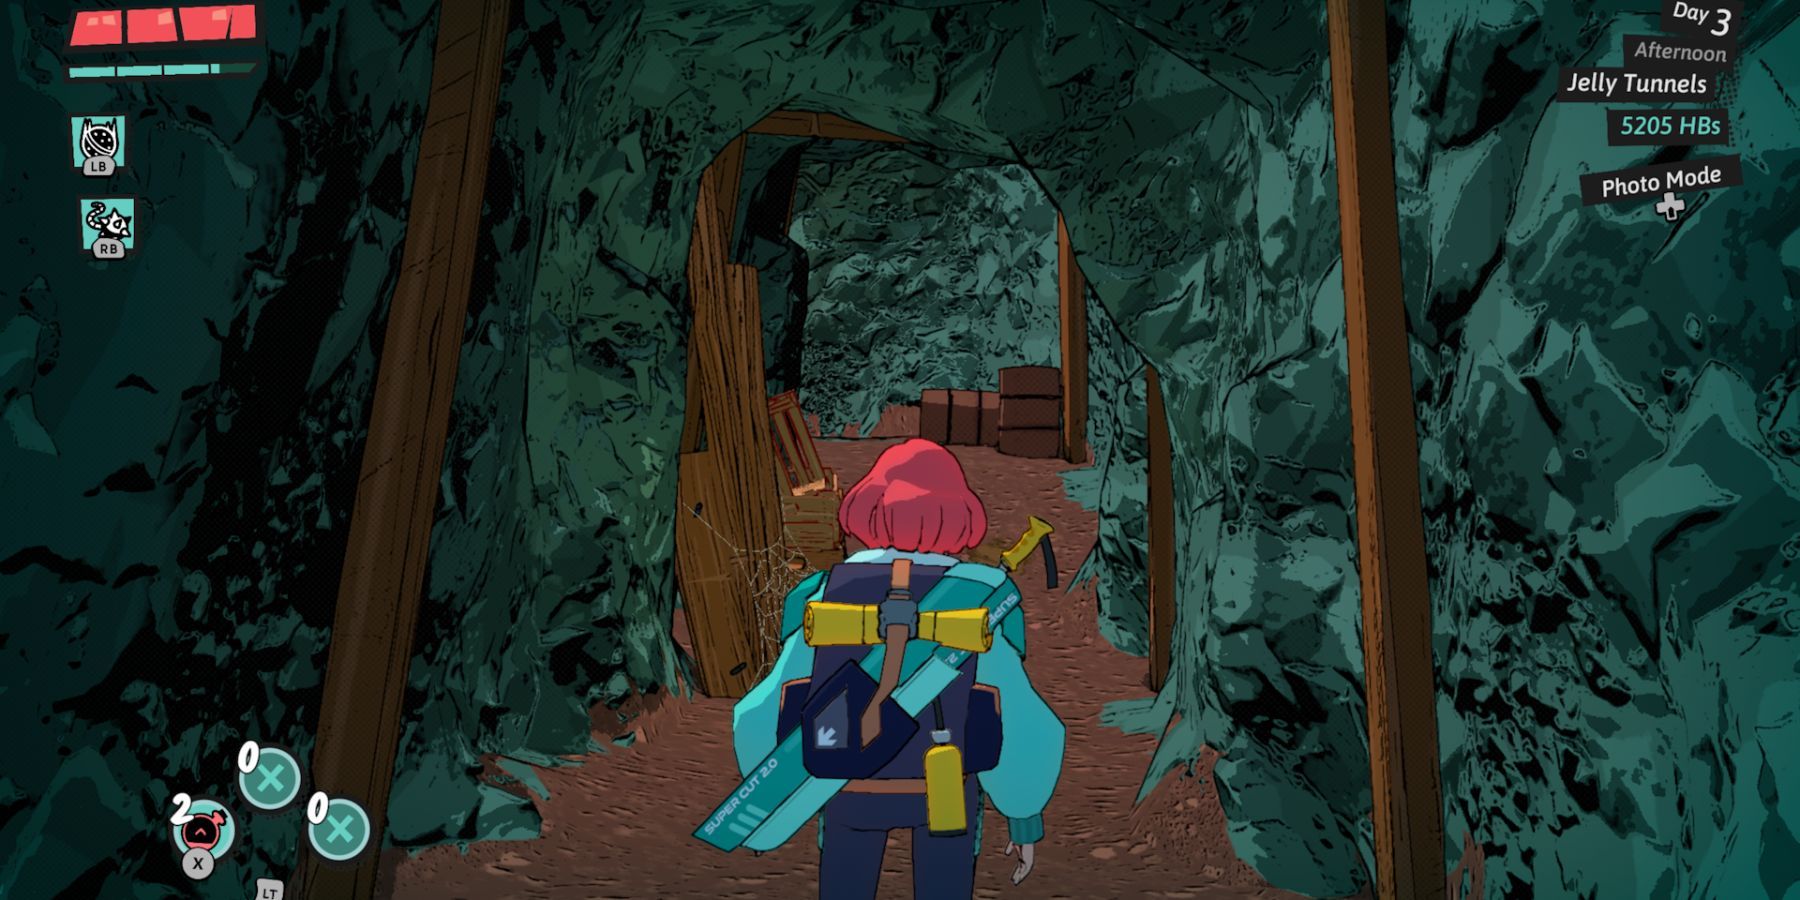
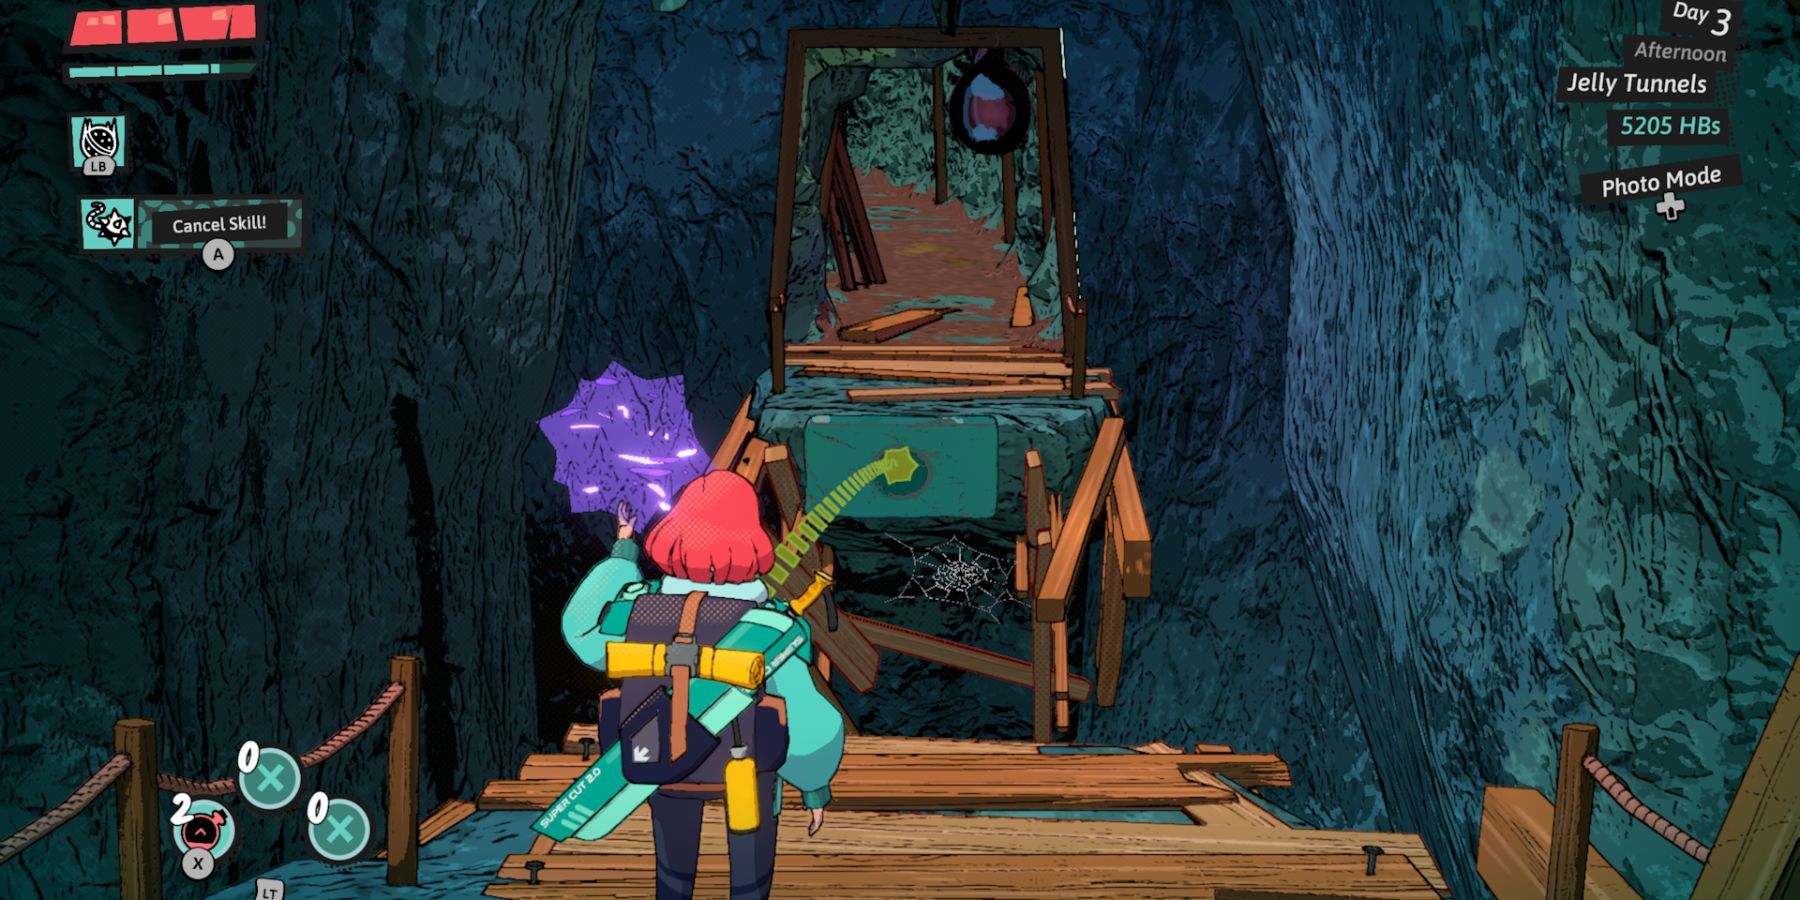
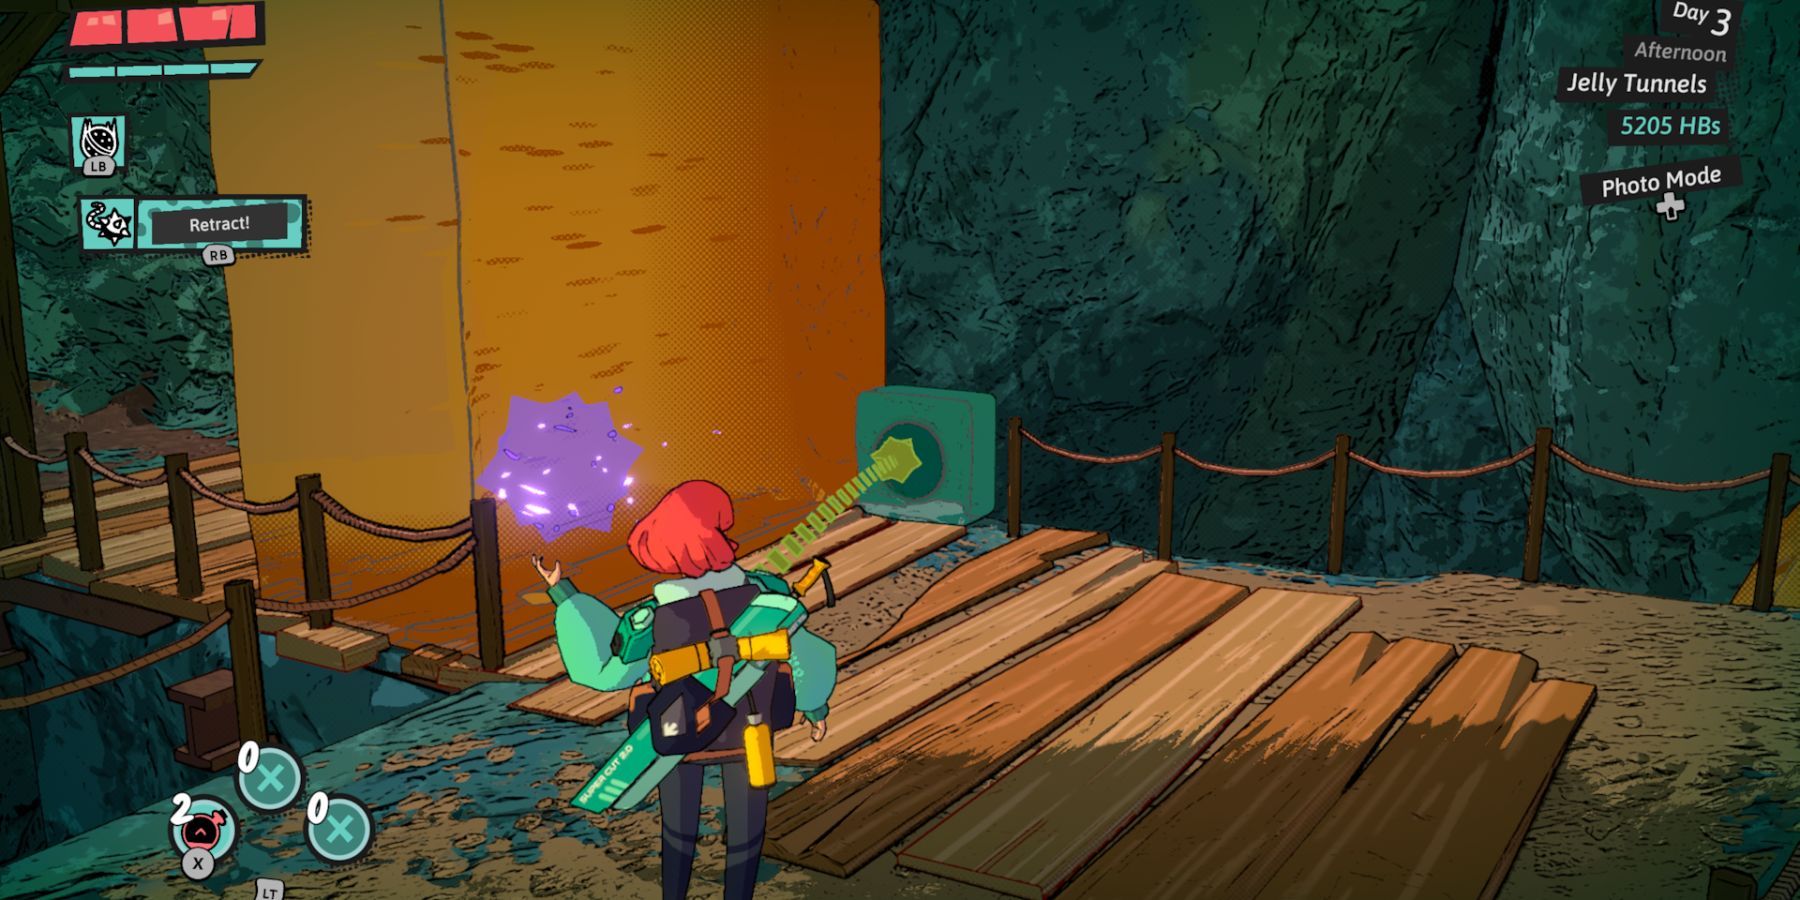
Upon entering the Jelly Tunnels, proceed forward, and you’ll eventually reach a space with a gap in the path that needs to be crossed. Utilize your “Ball and Chain” skill by connecting it to the green platform ahead. Target the circle in the center and press “Retract” to draw the platform toward you, transforming it into an orange one. Now, you may safely run across the platform.
As a seasoned adventurer who has explored many dungeons, I’ve encountered my fair share of challenges. But the Jelly Tunnels dungeon seems particularly intriguing with its unique obstacles. So, let me guide you through the next steps.
Jelly Tunnels Puzzle 1 – Wall And Scale
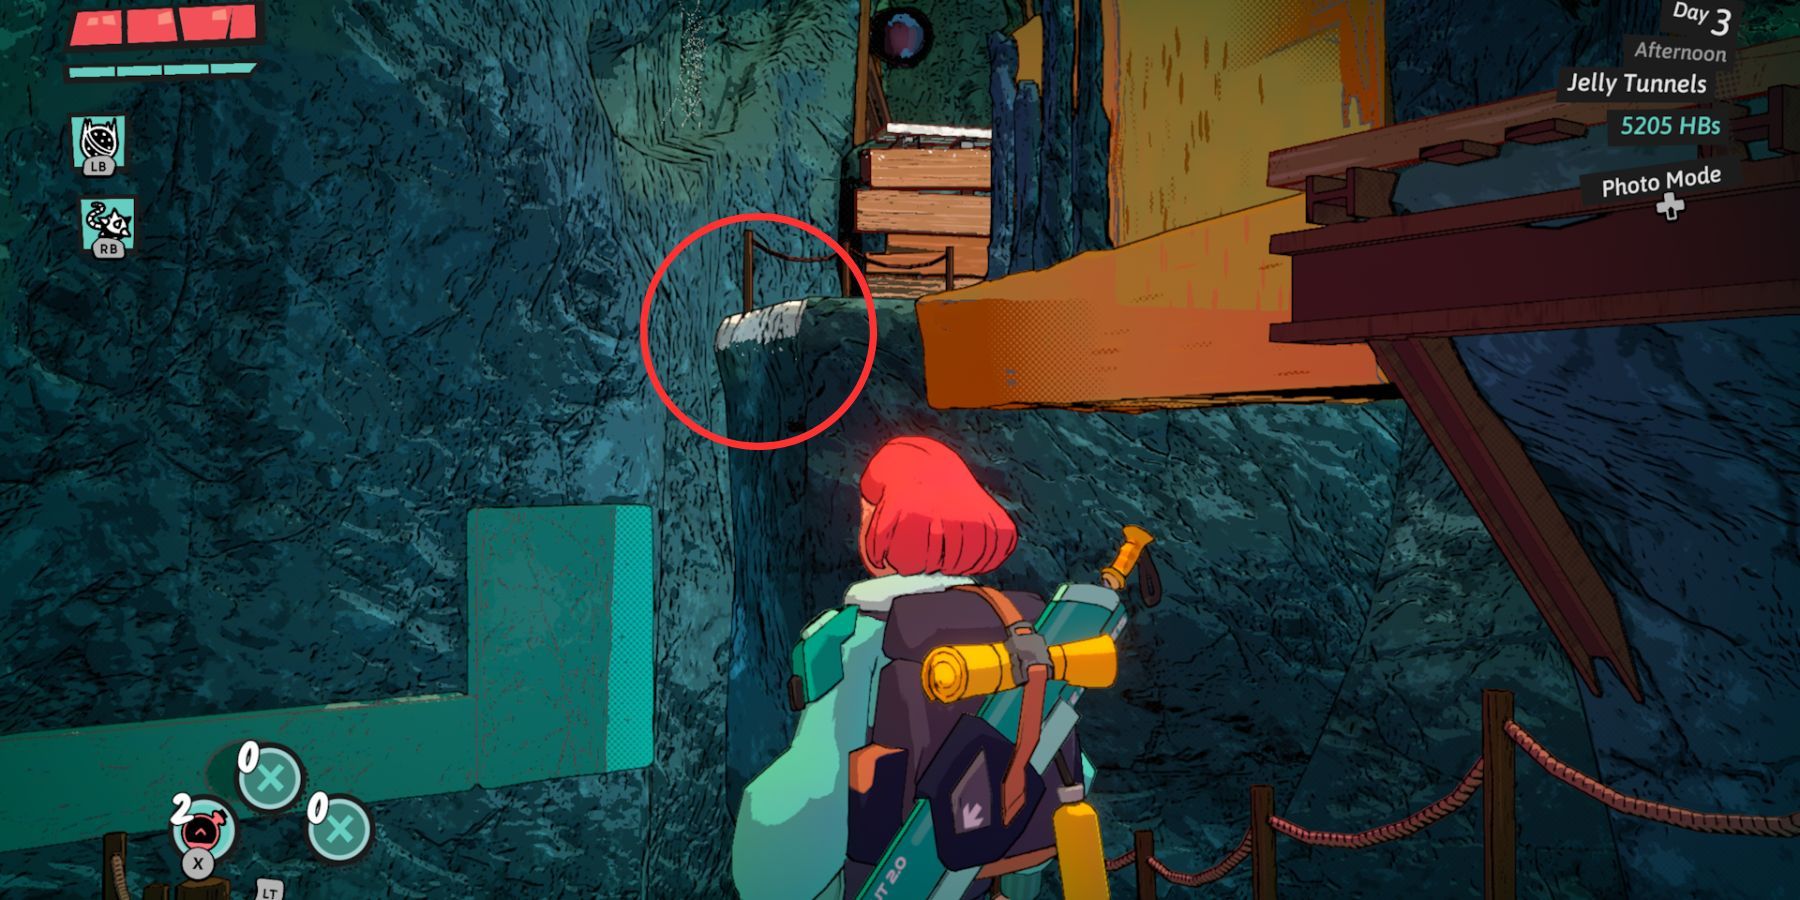
To begin with the first challenge in Jelly Tunnels, you’ll be on a wooden platform facing a rocky cliff and a large abyss. Employ your Ball & Chain tool to attach it to the green platform on the wall, then tug it towards you so you can advance and ascend onto the white-painted ledge on the right. Obstacles in the form of rocky barriers hinder your progress, so apply your Ball & Chain once more to the wall to your right and gain access to the next wooden platform.
As a seasoned adventurer with years of exploring treacherous terrains under my belt, I’ve learned to assess my surroundings swiftly and efficiently. So, let me guide you through this challenge with my unique perspective.
After crossing safely, continue on the path and confront a group of smaller monsters in the corridor ahead. Press forward, and you’ll reach the next challenge.
Jelly Tunnels Puzzle 2 – Circular Platform
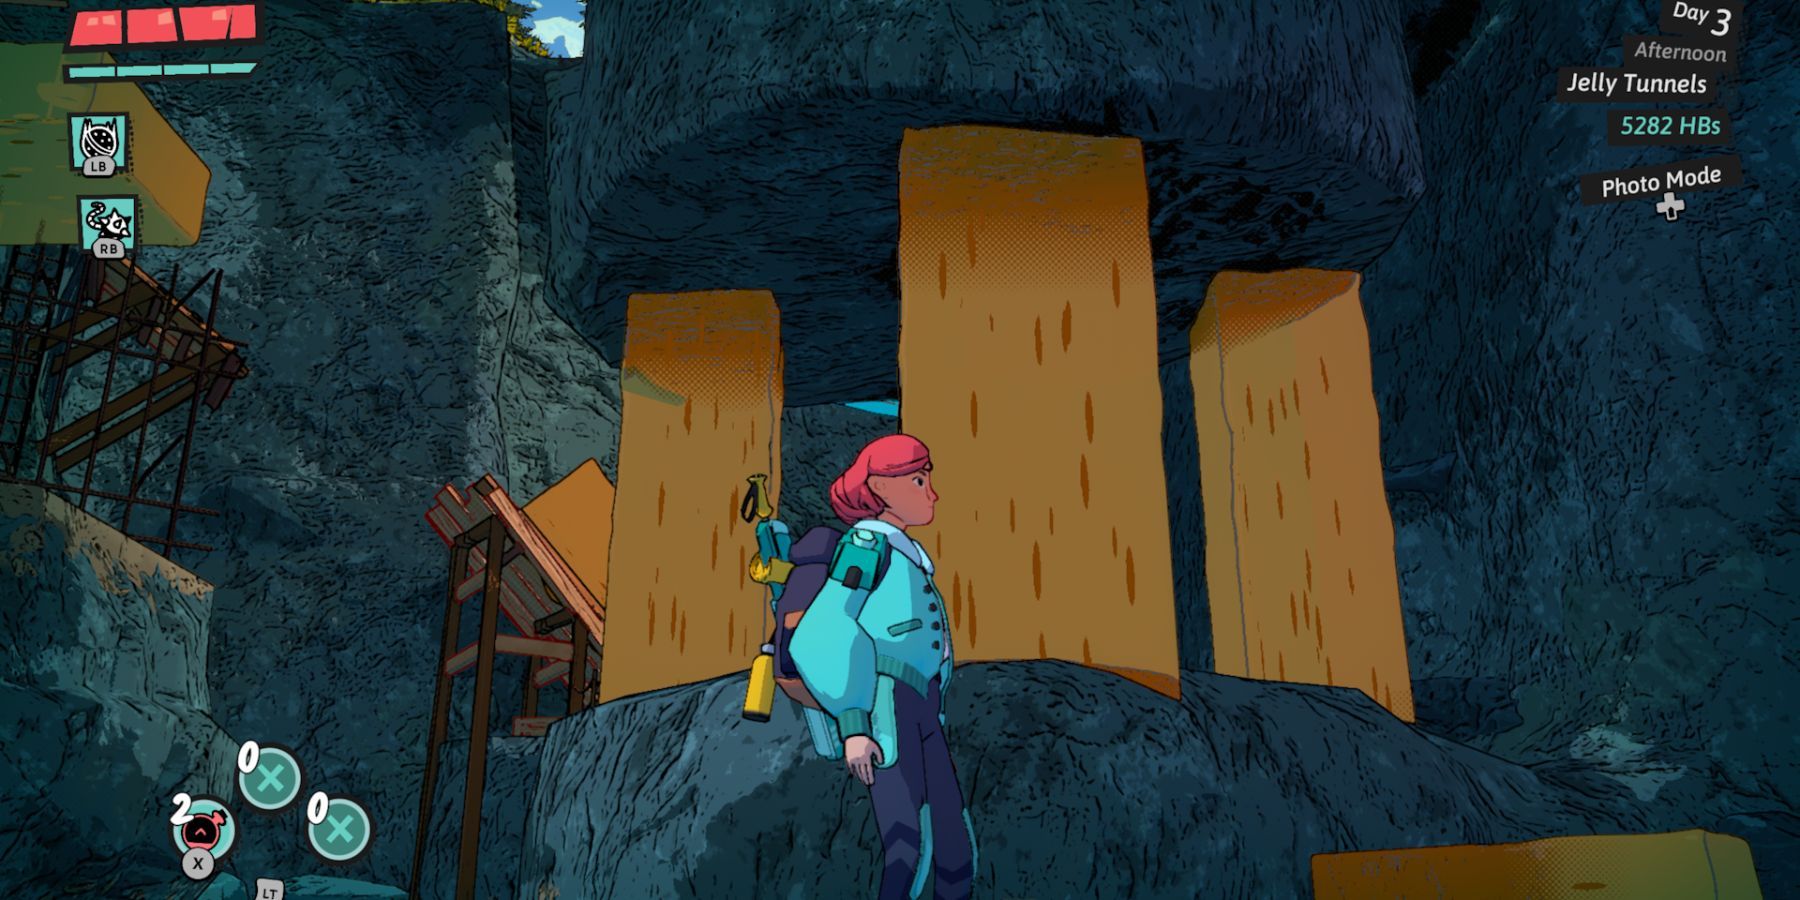
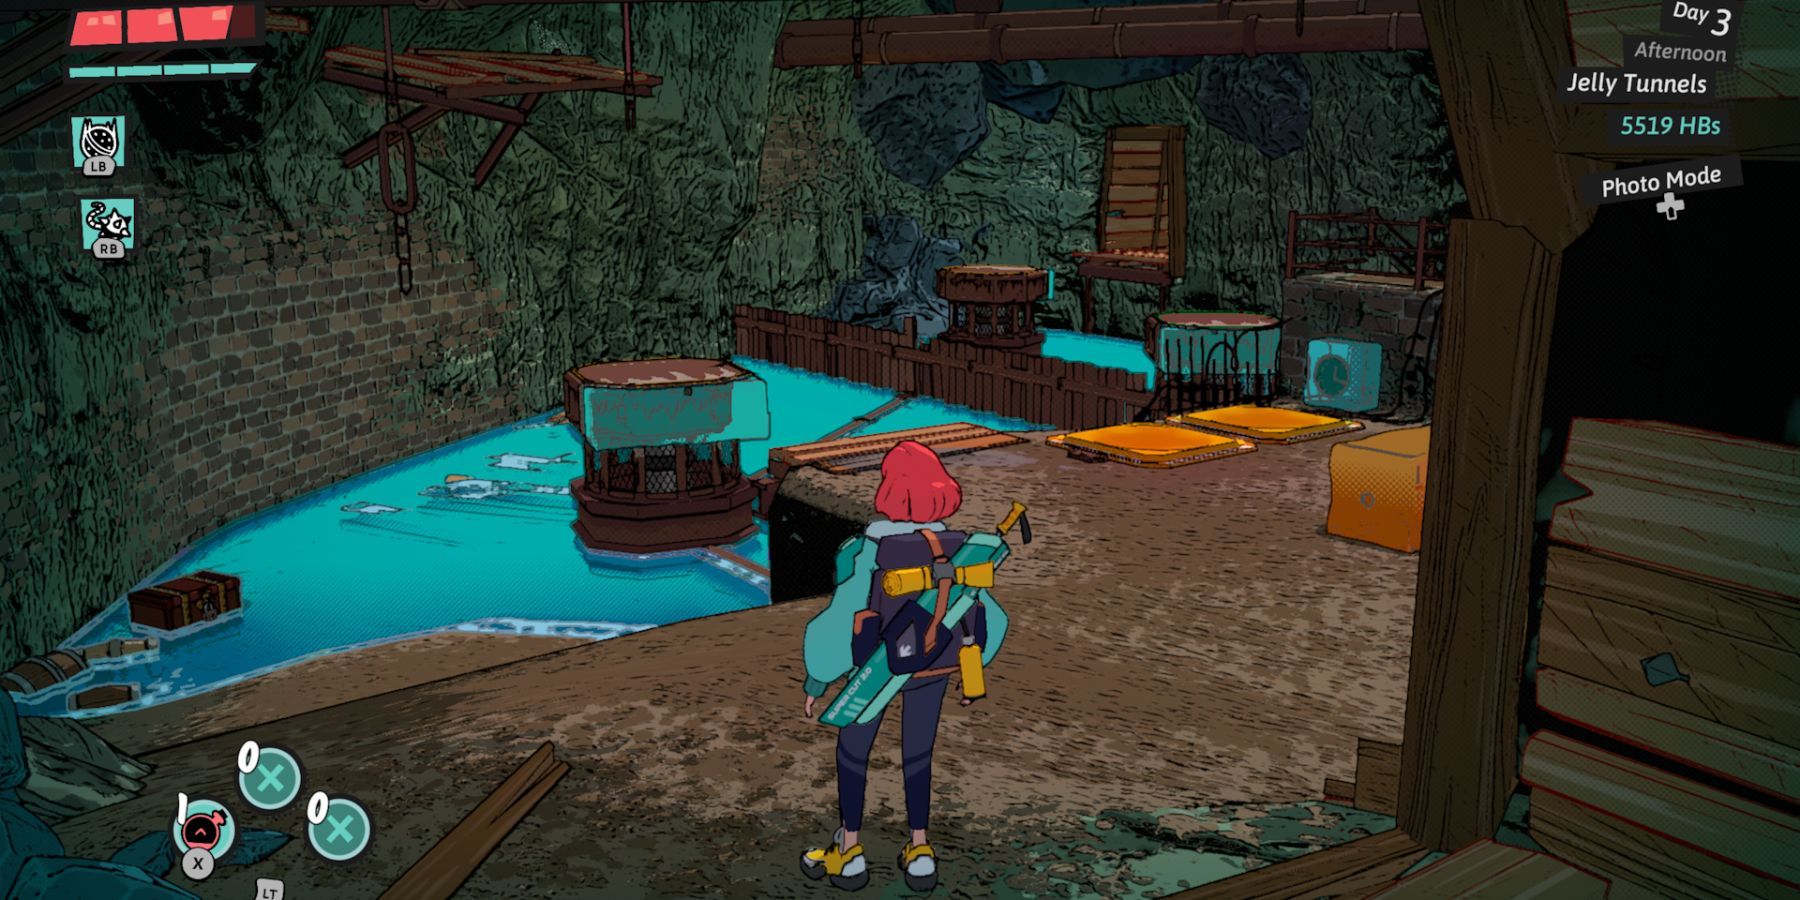
The second challenge in Jelly Tunnel involves a rocky platform that you can lift up or down with your Ball & Chain skill, as shown in the image above. For now, keep it down and proceed up the incline to the left, bypassing the destroyed ladder. Once you reach the summit, look for a white-painted edge on the central circular structure and leap towards it to grab hold.
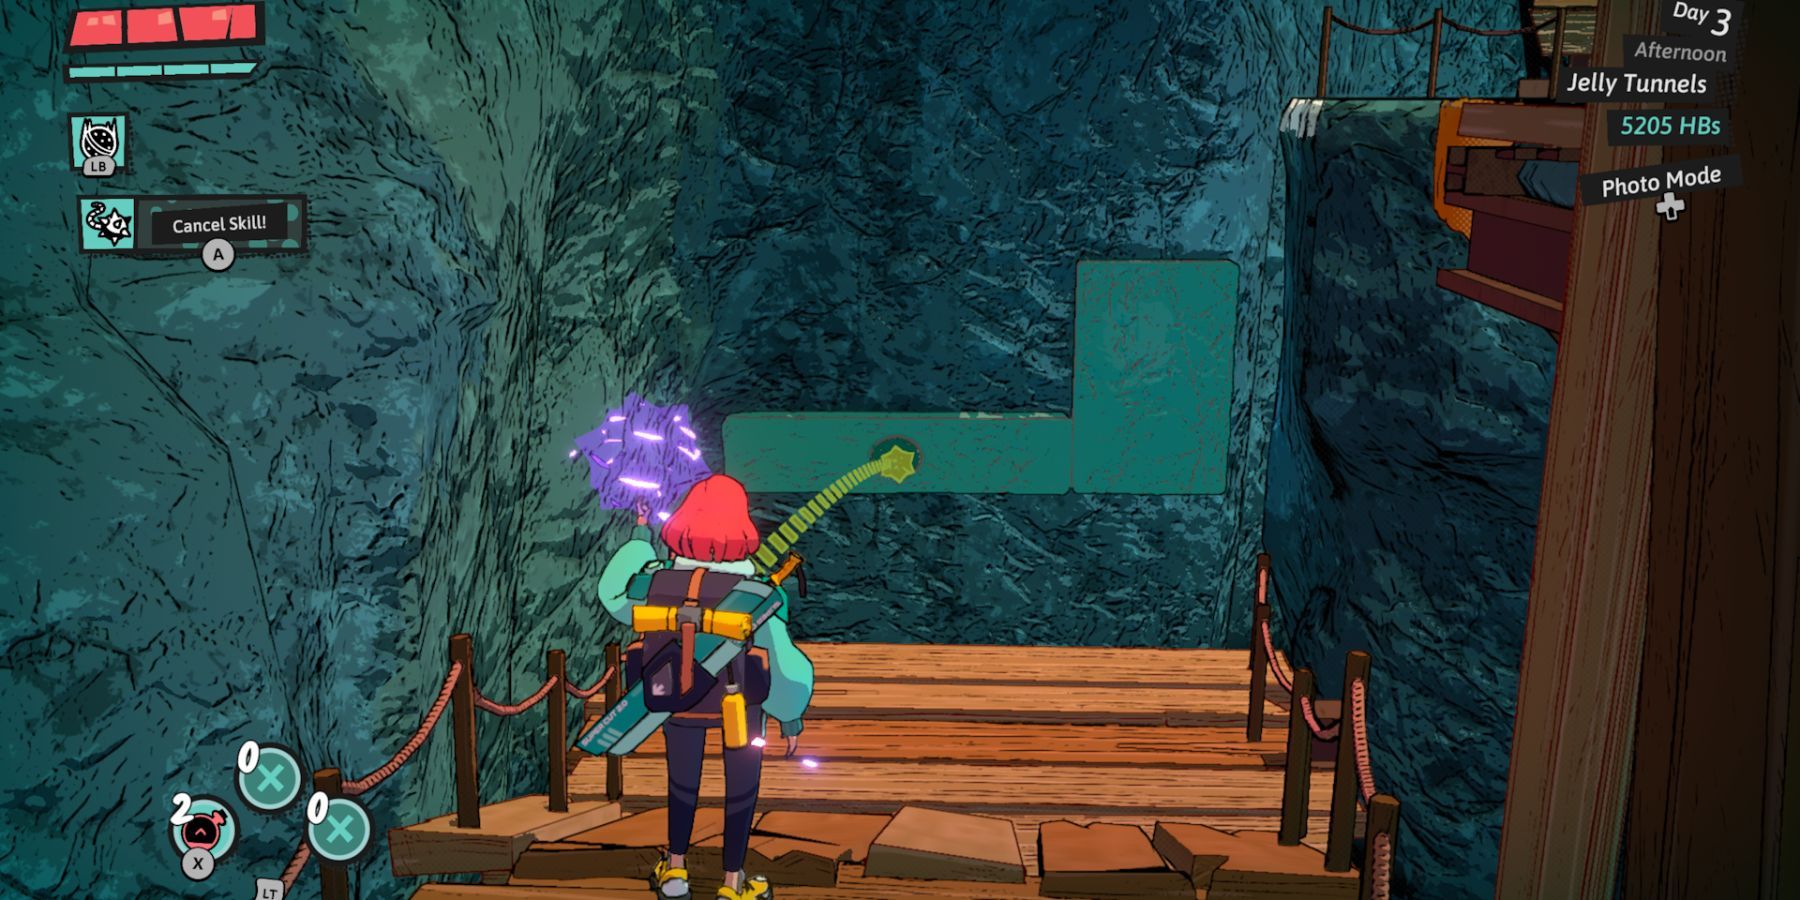
Hang on to the leftside ledge and traverse the orange, arch-shaped platform. Reach the next ledge connected to it, where you can modify a group of jelly platforms with your Ball & Chain skill. Prior to doing this, position a Wrecking Ball atop the diagonal platform behind the jelly ones, then swiftly apply your Ball & Chain ability on the front jelly platform. If executed promptly, the Wrecking Ball soars upwards, shattering the purple, wriggling vines and unleashing the hidden ladder to the ground below.
As a gamer, I drop down from this ledge and make my way up the ladder that towers above me. At the top, there’s an optional chest to my right, offering both a reward and a health boost for my effort. Next, I leap across the gap, propelling myself up to the circular platform at the center. Utilizing my Ball & Chain ability, I smash the green jelly platform at the summit, causing the entire structure to lower and reveal an orange platform. This platform is my pathway to advance further into the dungeon. Here, I take a moment to use the Waystone on the left side to save my progress, acting as a checkpoint around the halfway mark of this challenging stage.
Jelly Tunnels Puzzle 3 – Rotating Platforms
Upon stepping into the room at the staircase’s peak, be prepared for multiple waves of adversaries to appear. Conquer them while keeping an eye on the floor for flames erupting from a panel. In this very room, you’ll notice the dungeon exit portal hovering above. However, before making your escape, there’s one more challenging puzzle left to solve.
To complete the last challenge in Jelly Tunnels, proceed towards a submerged grotto featuring three adjustable platforms. Activate your Ball & Chain tool on the jelly pad to the right, causing these platforms to spin. In order to advance, step onto the separate green and orange floor switches to maneuver the rotating platform structures. The green button controls the green-lit platform, while the orange button manipulates the orange-lit platform. Position the platforms as shown in the image to safely leap onto them and finish the level.
The last platform is the most challenging to access and calls for some careful planning in timing. Position the platforms so that they align with the directions depicted below. When the platforms spin, you can step onto them by staying near the edge of each orange ledge and making a casual leap, rather than attempting a big jump which might not work out successfully.
As a gamer, I can tell you that setting up the platforms is just the beginning. Navigating them successfully can be quite a challenge, but it’s definitely doable, as you can see in the video below.
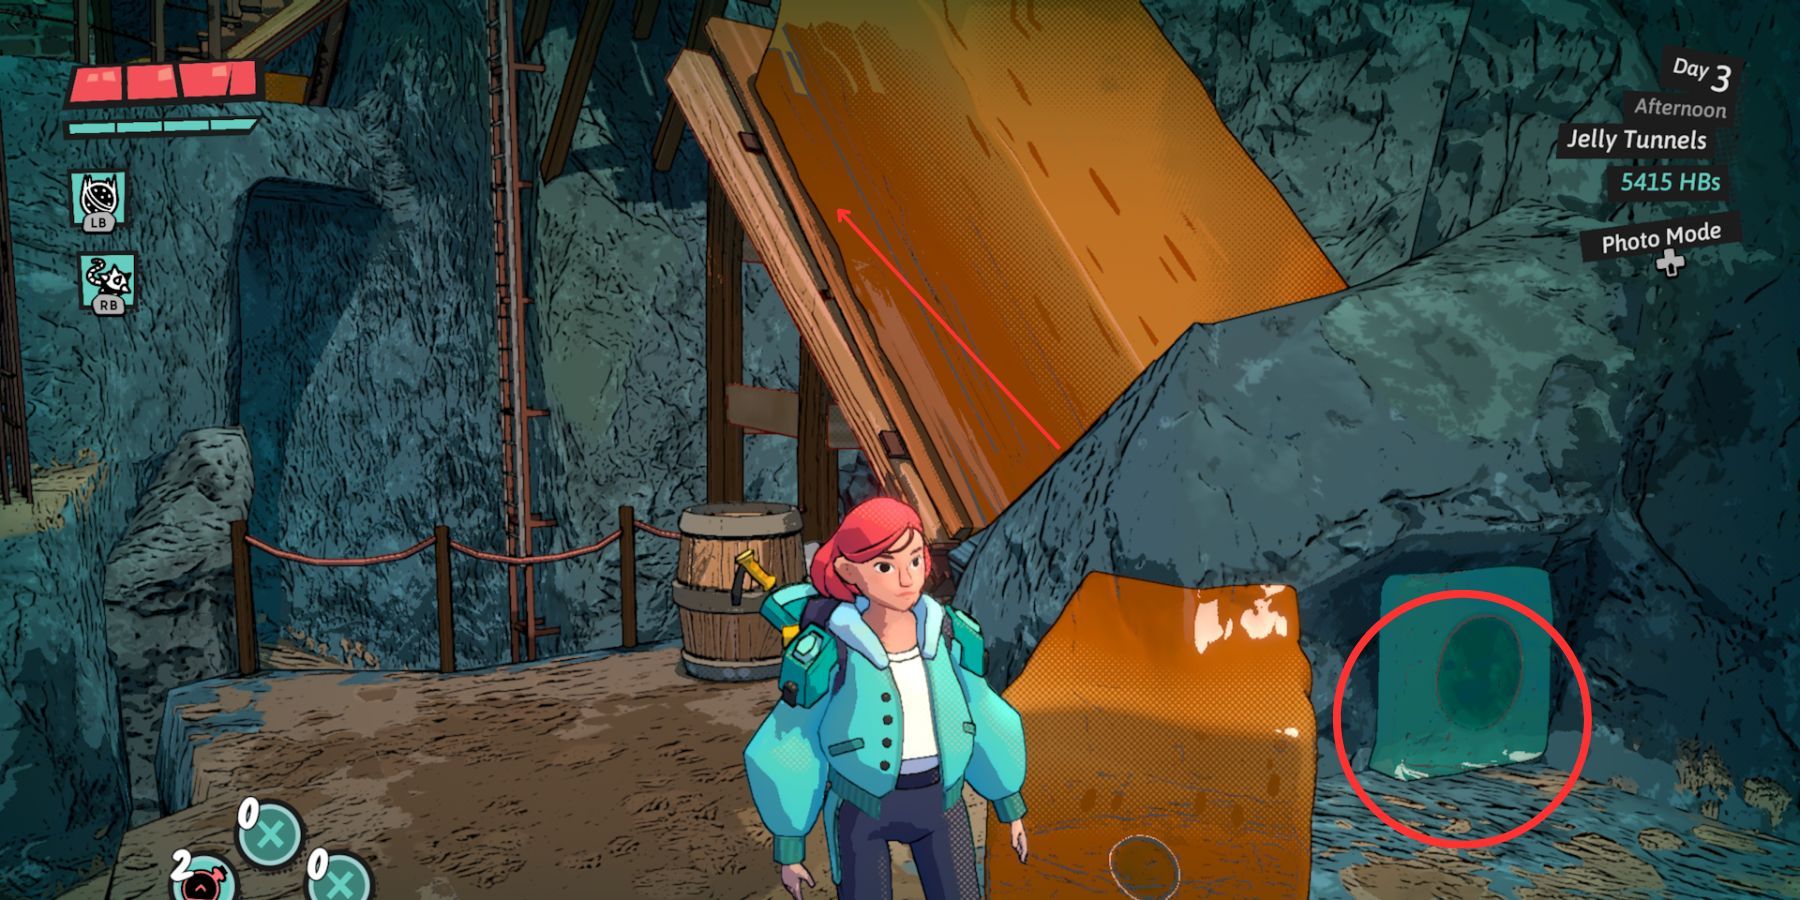
Following that, make your way through the last tunnel, turn the corner, and climb up to discover a green jelly platform against the right-hand wall. Utilize your Ball & Chain skill to tug at it and reveal a flight of yellow steps.
Head across the stairs to reach the dungeon exit point — congratulations, you made it!
Based on my own experiences, I strongly advise you not to overlook the importance of opening the optional chest before making your exit through the portal. As someone who once forgot this crucial step, I can tell you that it can lead to unnecessary regret and missed opportunities.
Read More
- LUNC PREDICTION. LUNC cryptocurrency
- BTC PREDICTION. BTC cryptocurrency
- USD PHP PREDICTION
- USD ZAR PREDICTION
- BICO PREDICTION. BICO cryptocurrency
- SOL PREDICTION. SOL cryptocurrency
- USD COP PREDICTION
- USD CLP PREDICTION
- MOVR PREDICTION. MOVR cryptocurrency
- RDNT PREDICTION. RDNT cryptocurrency
2024-07-19 20:24