
As an ardent admirer of Elden Ring: Nightreign, I can attest to the importance of its diverse armamentry in my journey through the Lands Between. From the mighty greatswords to the stealthy daggers, and not forgetting the enchanting spellcasting tools hidden across this realm, each weapon plays a pivotal role in my quest. However, finding weapons that suit my playstyle can sometimes be elusive, especially when I’m unaware of the various tactics that can help me more efficiently track down these coveted items.
In our Elden Ring Nightreign Guide, we’ll be exploring strategies for locating superior melee weapons, ensuring you’ll come across staves, sacred seals, or bows, and enhancing the weapon you begin each journey with to ensure it performs better against the toughest opponents Limveld presents. This advice is particularly beneficial for classes that focus on spellcasting or ranged combat, as knowing how to find a staff, sacred seal, or bow more effortlessly can significantly reduce stress and increase enjoyment during your expeditions in these roles.
It’s crucial to understand that Nightreign’s gameplay heavily depends on an element of chance. While these strategies will significantly boost your chances of discovering the item you need, they don’t offer a definitive guarantee that you’ll always find the exact item you’re searching for. If the game determines that your Tricephalos expedition won’t yield any holy weapons, then your options are limited without specific relics under those circumstances.
How to Get Weapons Quickly in Elden Ring Nightreign
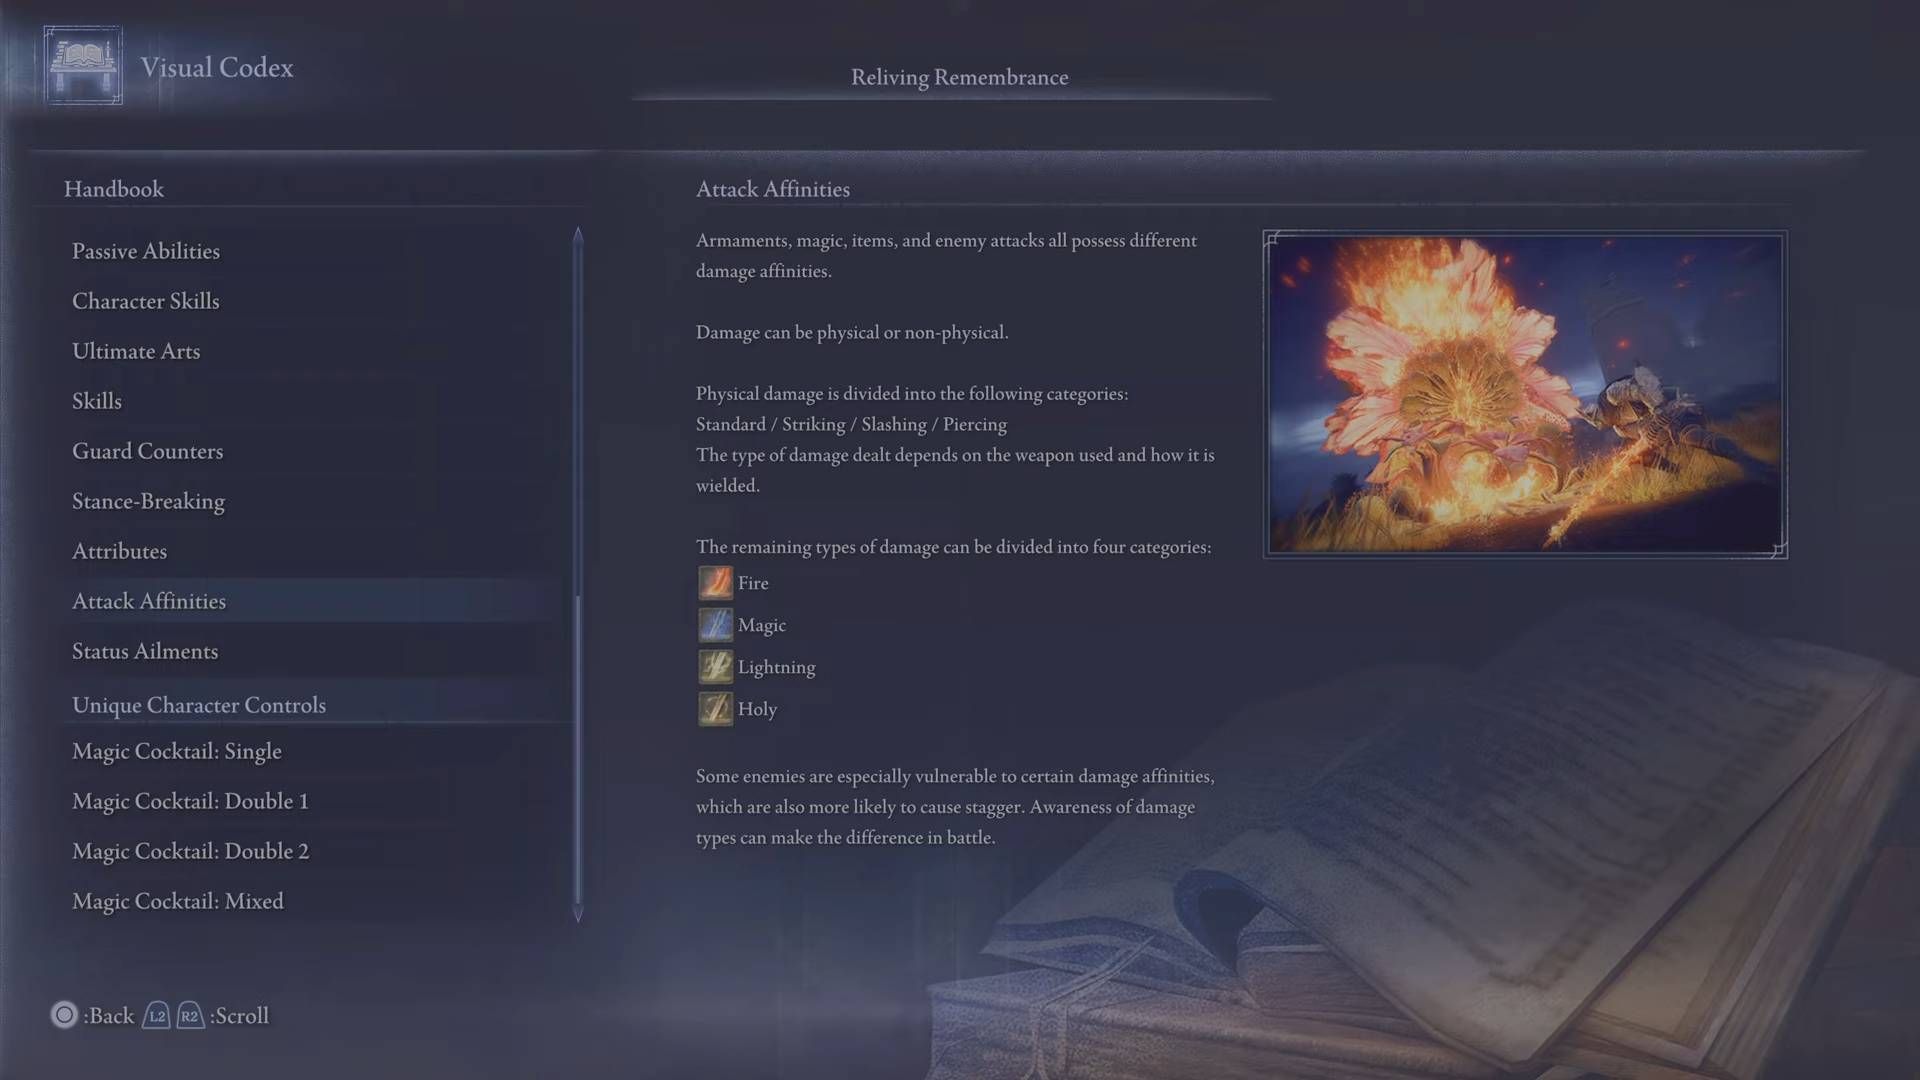
At the beginning of an expedition, players typically find themselves near a modest camp filled with feeble adversaries and multiple chests upon entering the map. These chests often hide several weapons and beneficial consumable items, making it advantageous to explore and plunder these camps first upon landing, as it increases your chances of discovering something valuable for your character’s build. After looting this initial camp, it is recommended to consult the map when searching for weapons. If you are not overly concerned with the type of elemental damage, aim for any fort, camp, or large church and defeat the boss residing there.
When powerful bosses or formidable foes are vanquished, they’ll deposit a “Sleeping Power” behind. Engaging with these will present each player with a selection of three prizes, and usually one of these options is a weapon. If you’re particular about the kind of damage your weapons inflict, keep an eye out for certain emblems near some structures on the map. Look for the icon that matches the damage type you desire. Bosses in those areas will drop weapons that deal that specific damage type upon defeat, making it simpler for you to acquire the damage type you need. The same principle applies if you’re searching for a particular status effect on your weapons.
How to Get Bows, Staves, and Sacred Seals Quickly in Elden Ring Nightreign

You can also secure a Bow, Staff, or Sacred Seal by employing an alternative acquisition method. With this approach, the items you gather are guaranteed to be from one of the three weapon categories. However, it’s important to note that whether the necessary weapon racks appear in the map is still largely dependent on chance.
In various settings like camps, castles, and forts, you’ll come across equipment storage units known as Weapon Racks. Just like chests, they release contents when opened. However, it’s important to note that each type of Weapon Rack only dispenses items of a particular kind. For instance, a rack marked with staff symbols will consistently offer staff-type weapons, whereas a bow symbol indicates that the rack will provide bows exclusively. Consequently, players focusing on bows, staves, or sacred seals might want to prioritize finding and using the suitable weapon racks during their initial stages of exploration.
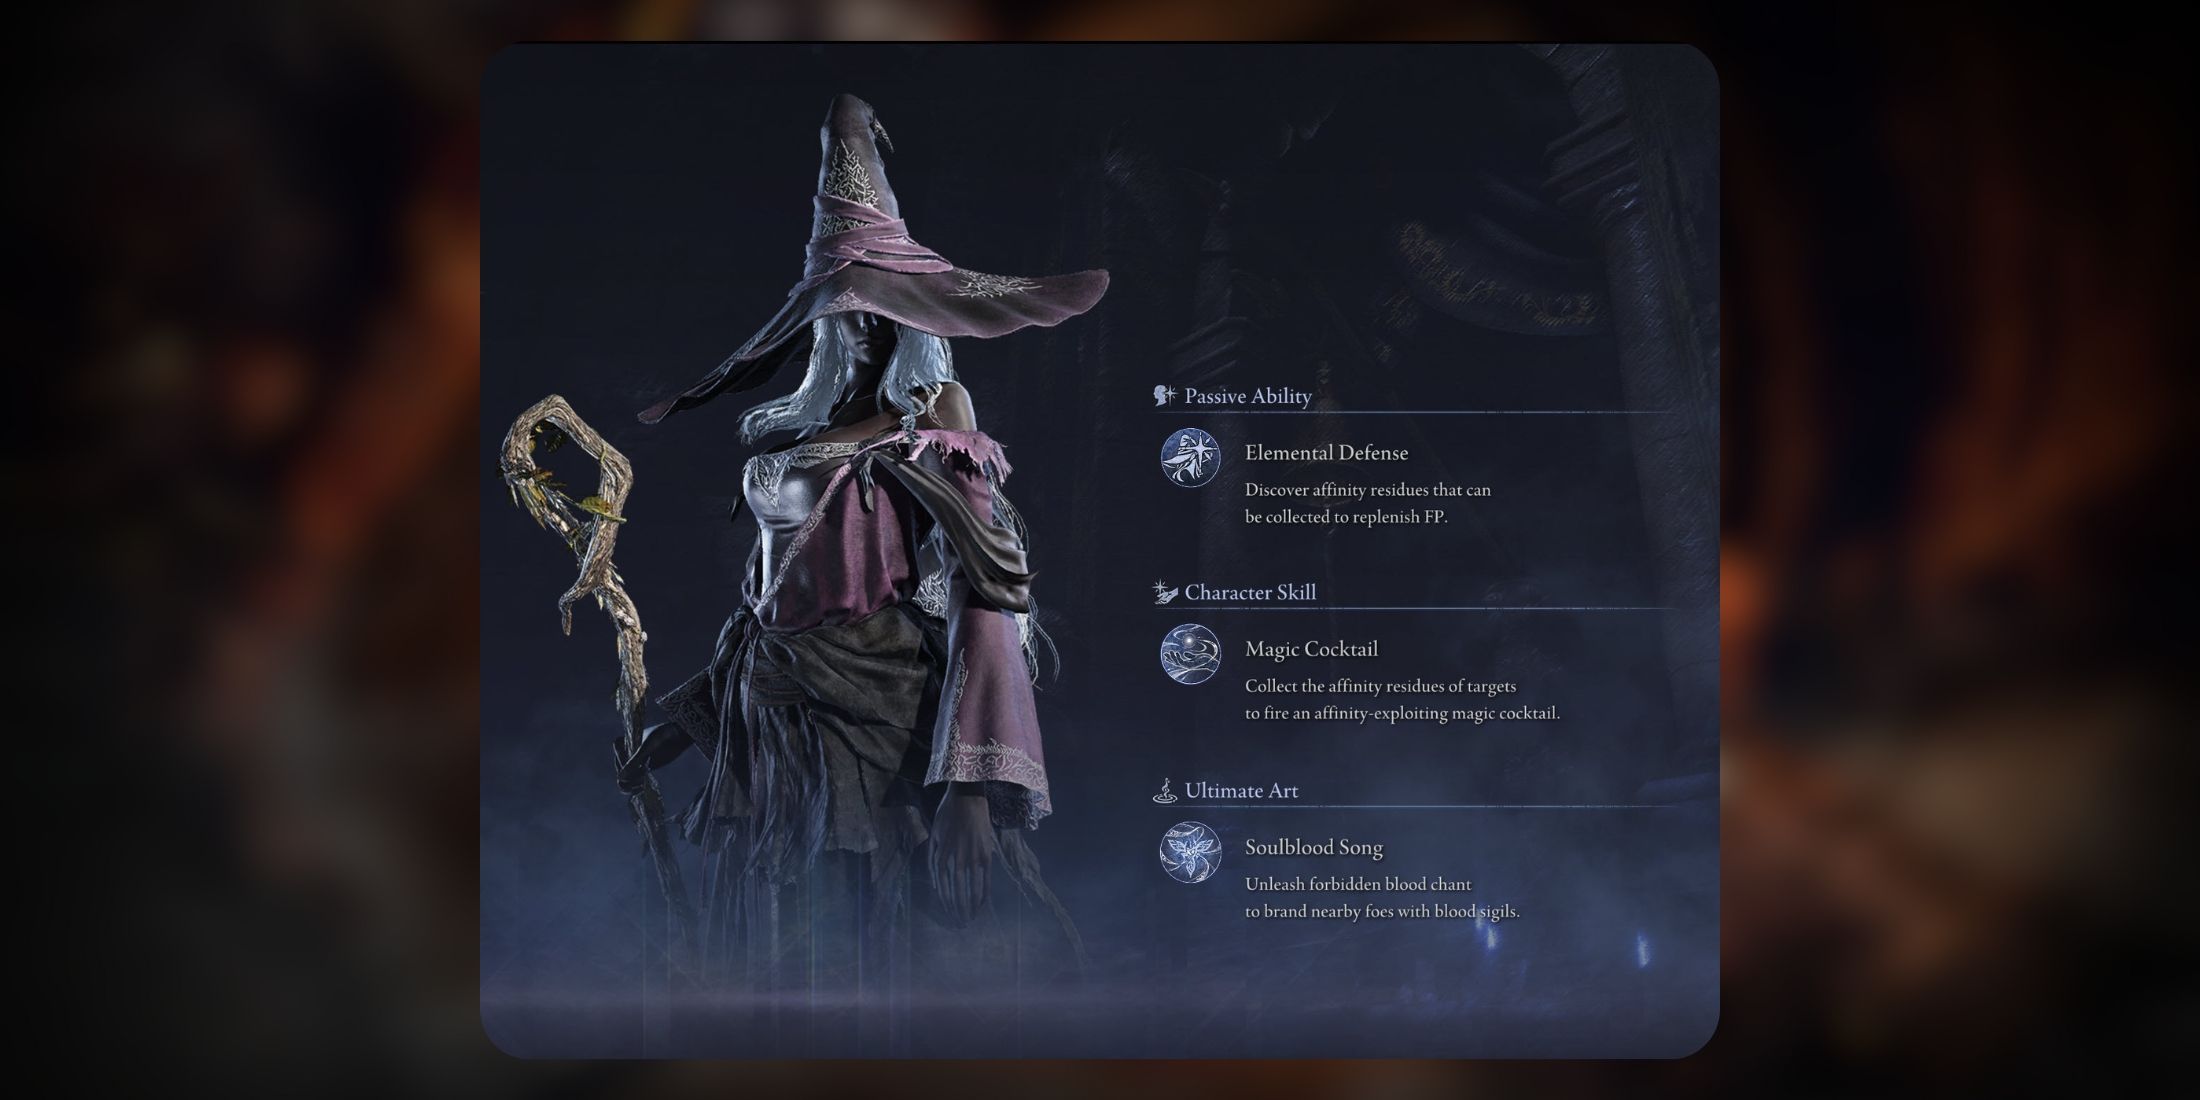
Characters like Ironeye (with Bows), Revenant (using Sacred Seals), and Recluse (wielding Staves or Sacred Seals) really shine when they make use of weapon racks, so if you’re a fan of these characters, don’t miss out on this opportunity. The Duchess particularly thrives with Staves due to her high intelligence, while the Executor can show unexpected strength through the use of status-inflicting spells and magic.
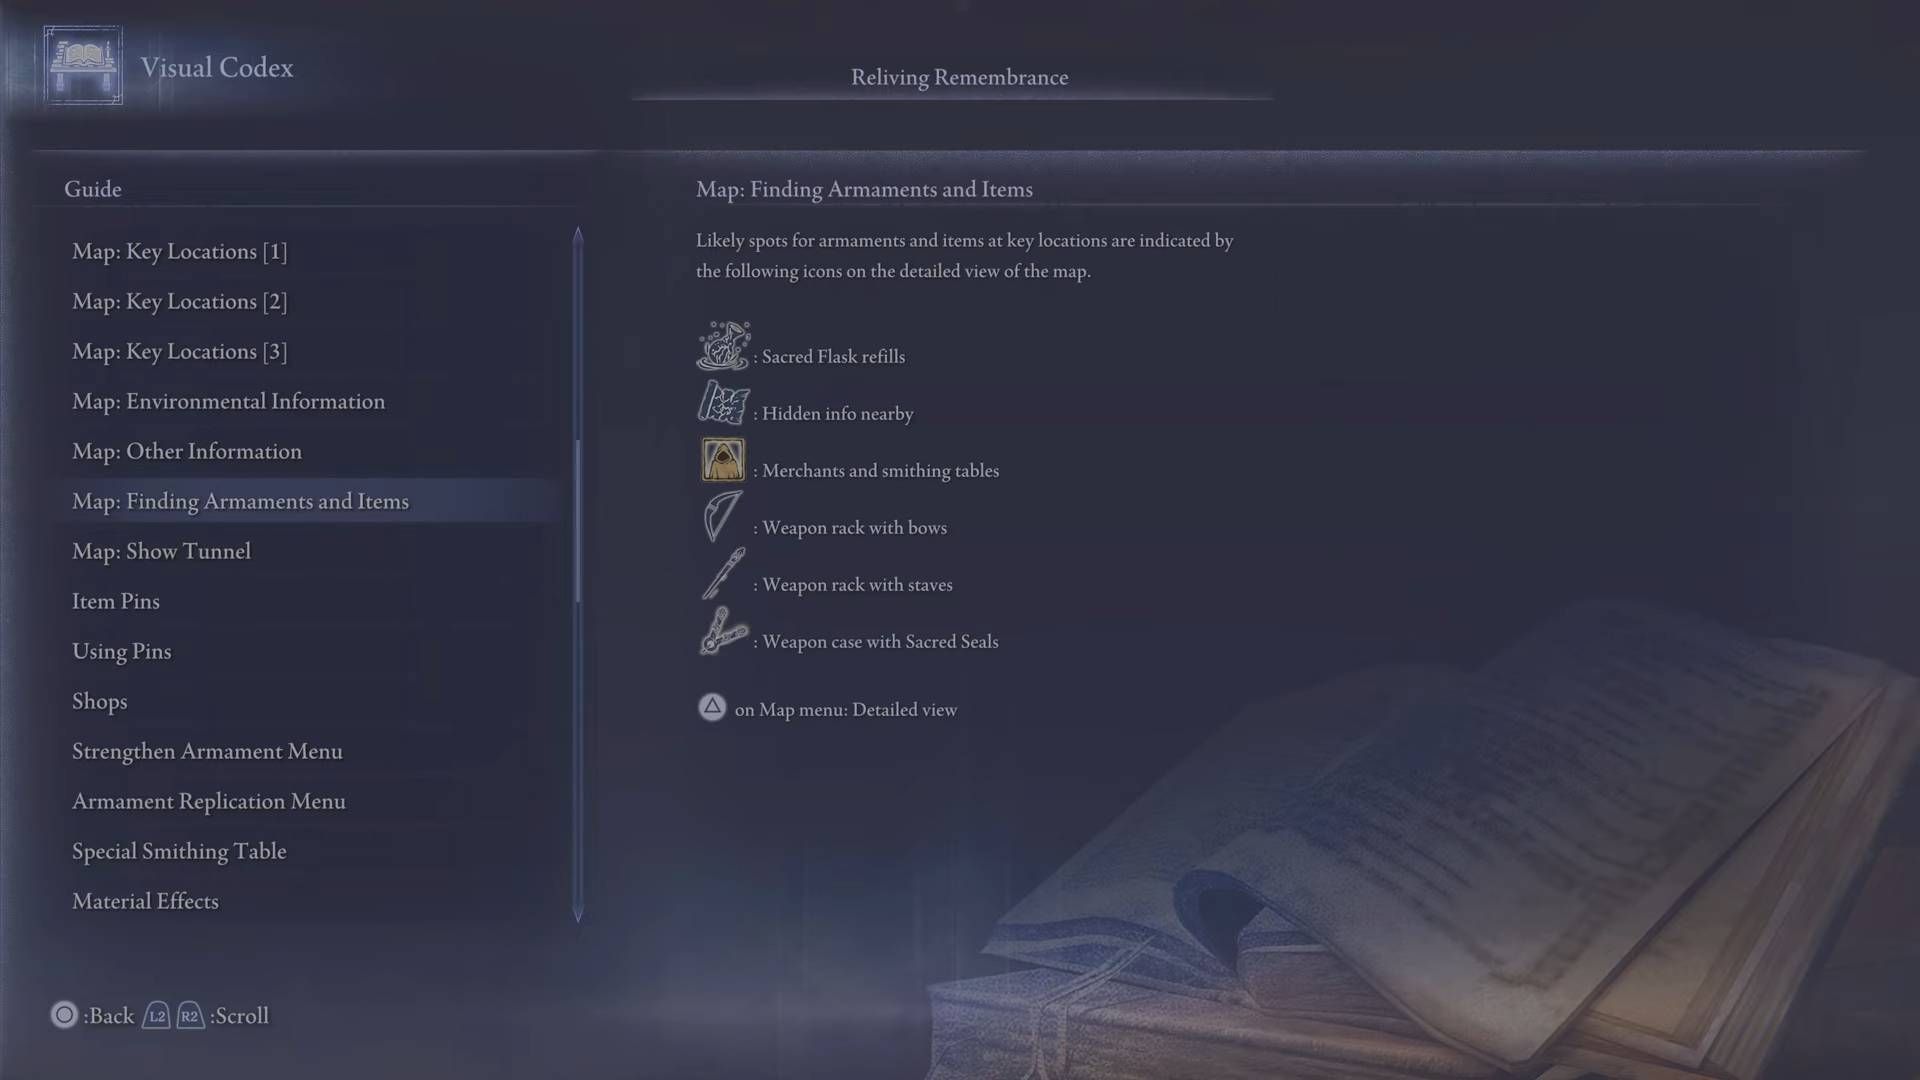
To locate weapon racks on your map, first, ensure it’s open. Then, change to the “detailed view” by pressing the interaction button (the triangle icon if you’re using a PS5). In this mode, you can spot icons for various items like Sacred Flask Refills, Hidden Information, Merchants and Smithing Tables, Weapon Racks with Bows, Weapon Racks with Staves, and Weapon Cases with Sacred Seals. Once spotted, choose the one that suits your character or current build from the list.
How to Improve your Starting Weapon in Elden Ring Nightreign
To always have a powerful weapon at your disposal, consider utilizing different techniques to boost your initial weapon. Each character in Nightreign offers a unique starting weapon tailored to their usual playstyle; for example, Wylder wields a Greatsword and the Duchess has a dagger. While these weapons are initially serviceable, they may lack status effects and secondary properties that become essential as your expedition progresses, and their damage might weaken towards the end if not improved.
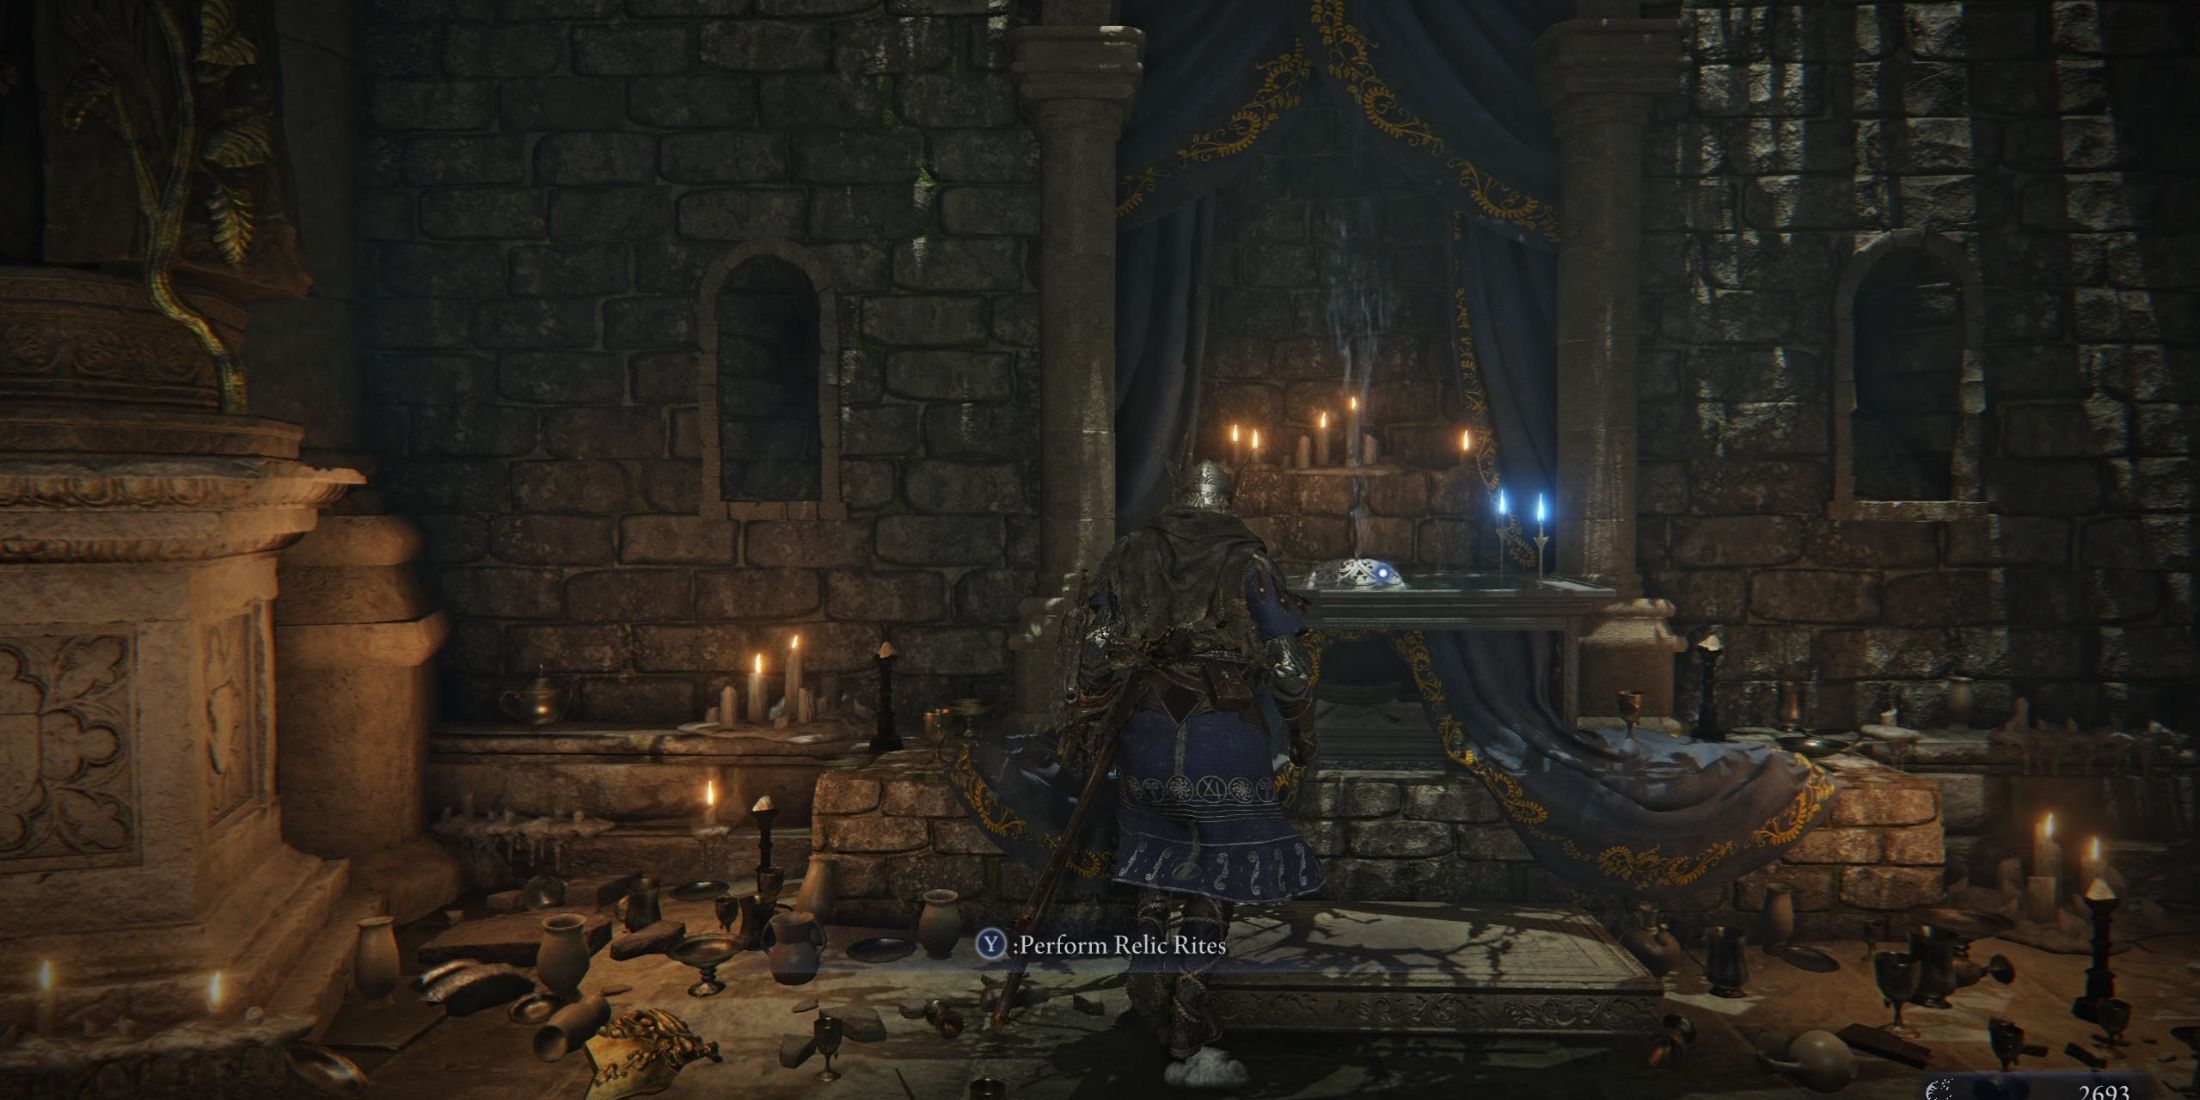
It’s fortunate that you have options to enhance your initial weapon, and some of these techniques can be applied even before embarking on the journey. Certain Relics, found at the Roundtable Hold, can alter the type of damage your starting weapon deals or build up status effects when equipped. Using these can provide an advantage, but keep in mind that their power may dwindle without additional effort during the expedition. Relics are randomly distributed and can be acquired after completing an expedition, regardless of success or failure. Additionally, you can purchase some from the Small Jar Bazaar, or earn special Relics by vanquishing Night Lords.

To enhance your weapons while you’re on the move, it’s advisable to seek out a mine and gather some smithing stones from the formidable foes hidden within. Once you have a map with detailed information, look for merchants and smithing tables and make your way there. At the smithing table, you can boost your weapon from a common grade to an uncommon one, then further upgrade it from uncommon to rare. For the initial improvement, you’ll need a Smithing Stone 1, while the more valuable Smithing Stone 2 is required for the second enhancement.
To transform your initial weapon into a legendary one, you should aim to access the unique forge that becomes available during the Shifting Earth event, specifically the Crater location. Within the Crater, a Magma Wyrm stands as protector. By utilizing this special forge within the Crater, you can instantly upgrade any weapon to a legendary status, thereby unlocking its full potential.
Read More
- All Skyblazer Armor Locations in Crimson Desert
- How to Get the Sunset Reed Armor Set and Hollow Visage Sword in Crimson Desert
- All Shadow Armor Locations in Crimson Desert
- Marni Laser Helm Location & Upgrade in Crimson Desert
- All Golden Greed Armor Locations in Crimson Desert
- All Helfryn Armor Locations in Crimson Desert
- Best Bows in Crimson Desert
- Keeping Large AI Models Connected Through Network Chaos
- All Icewing Armor Locations in Crimson Desert
- How to Craft the Elegant Carmine Armor in Crimson Desert
2025-06-01 05:05