
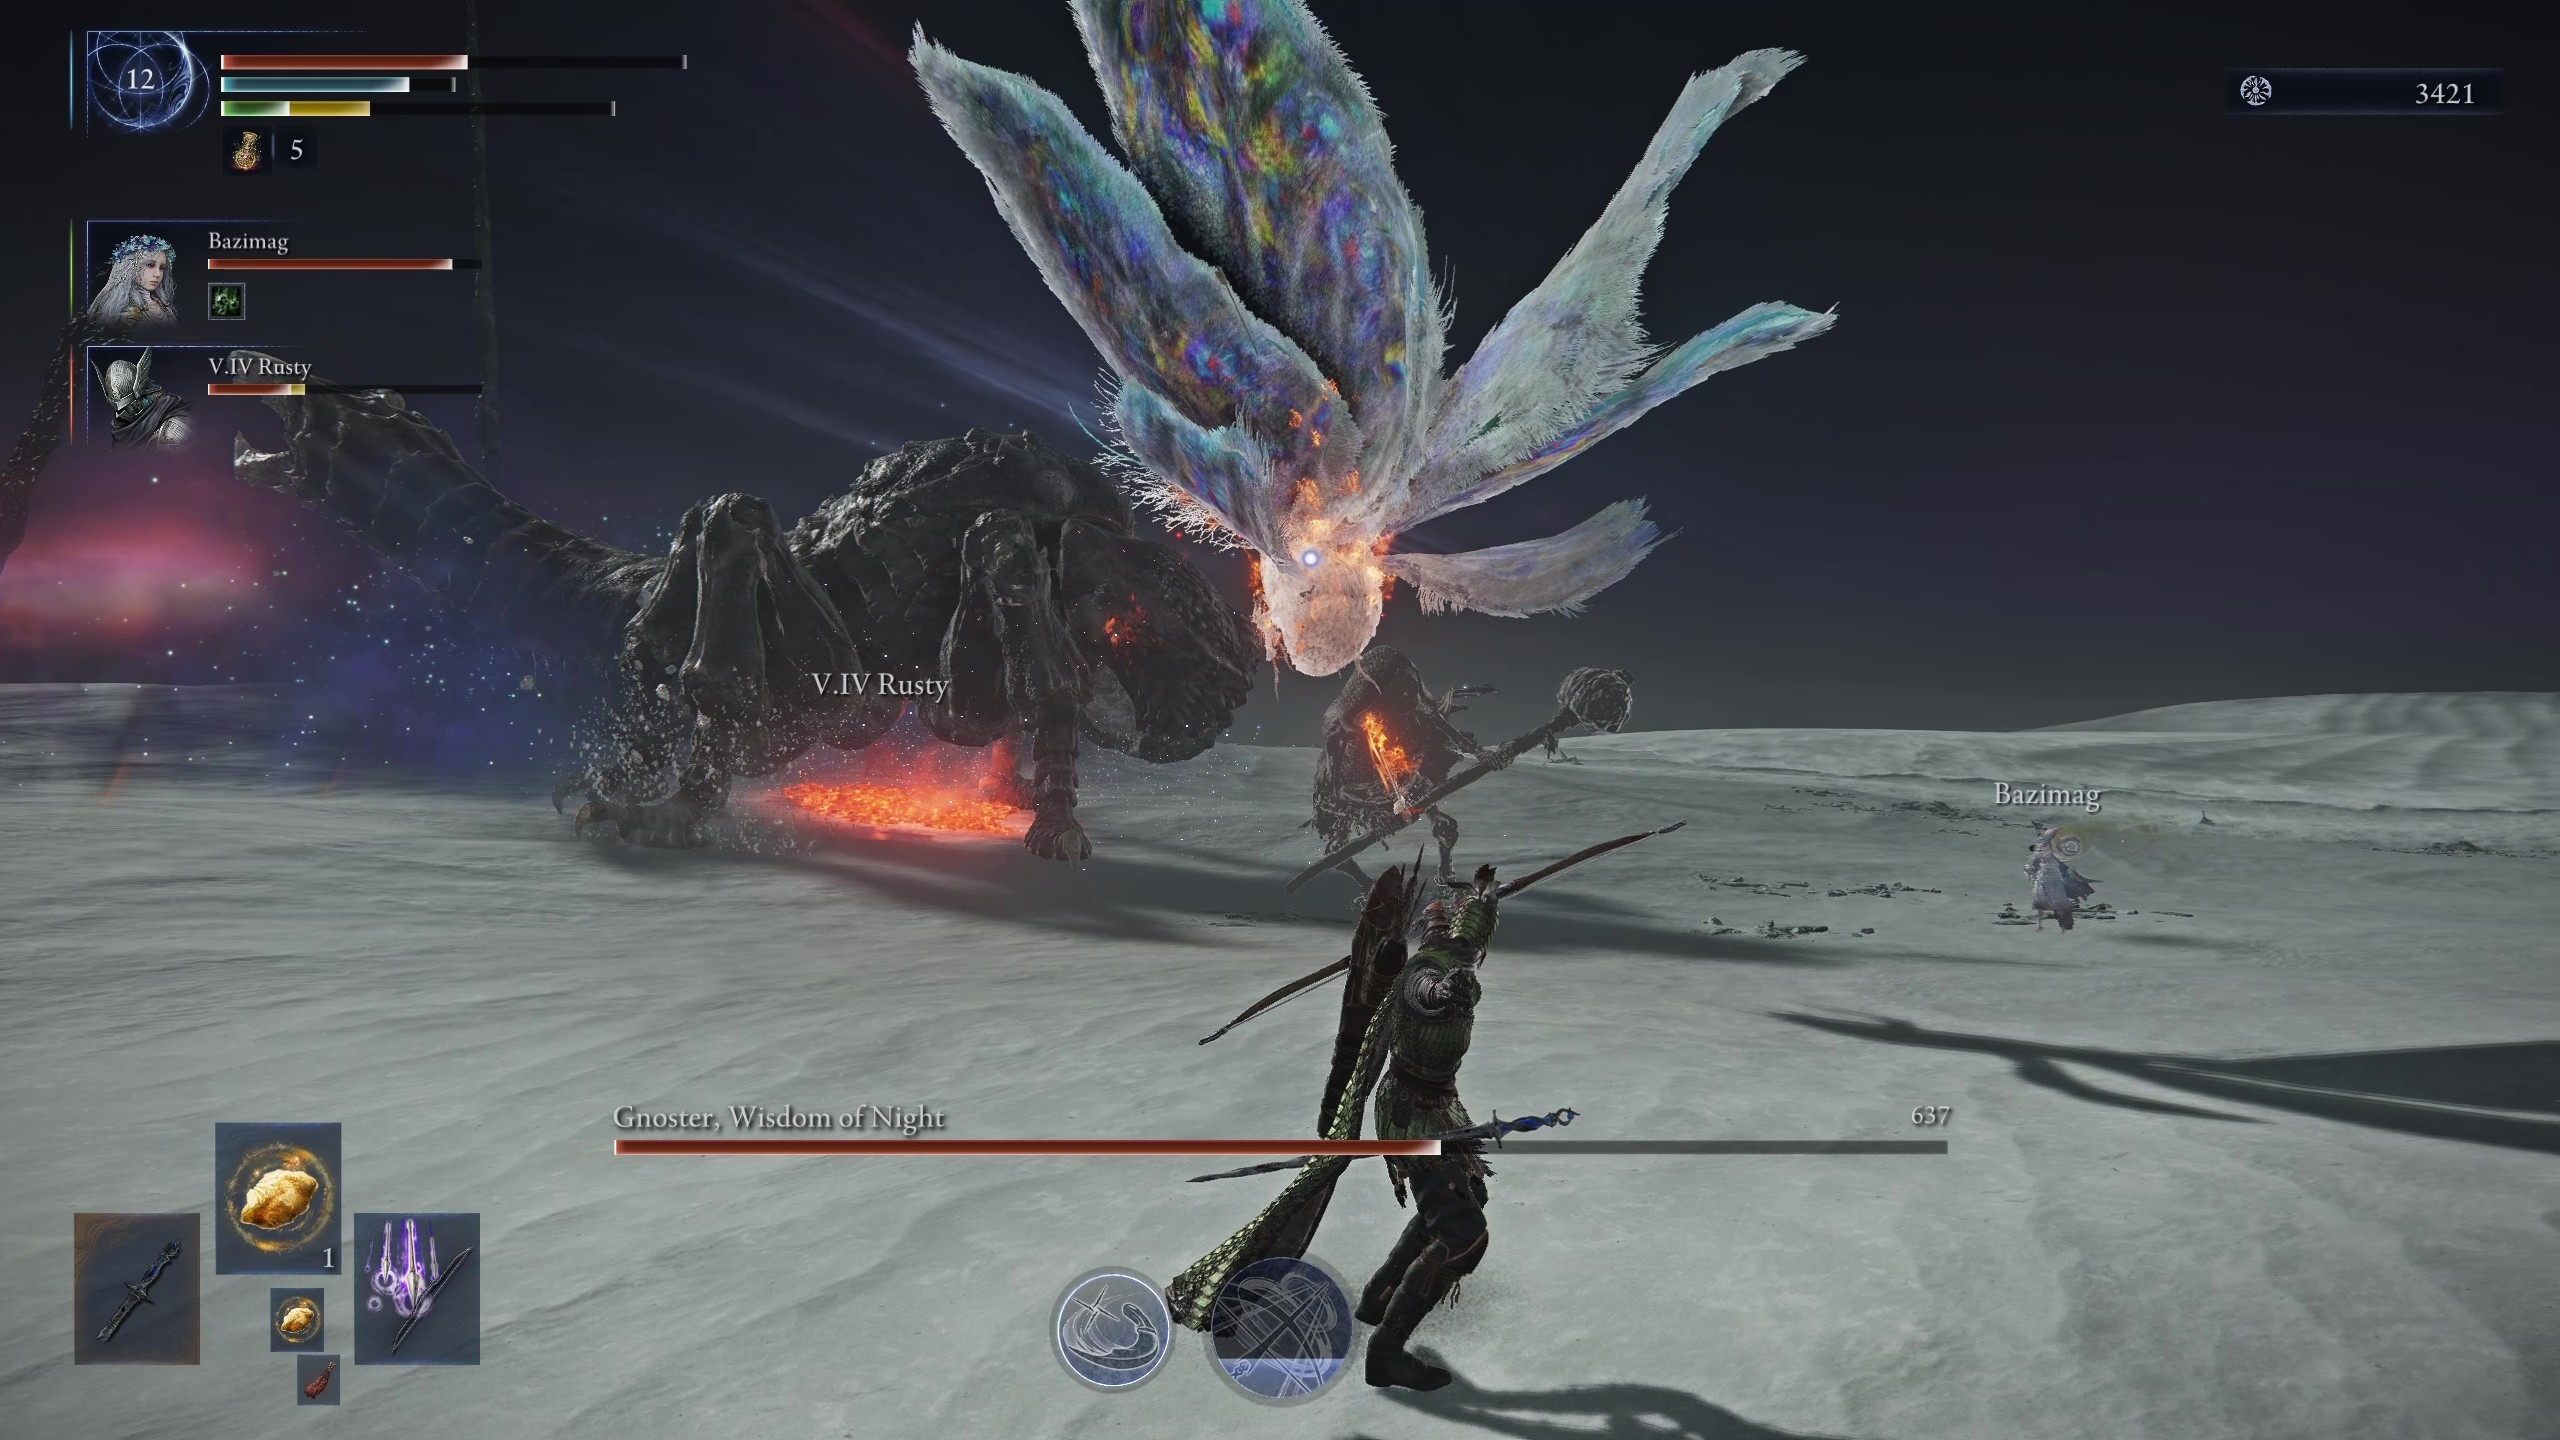
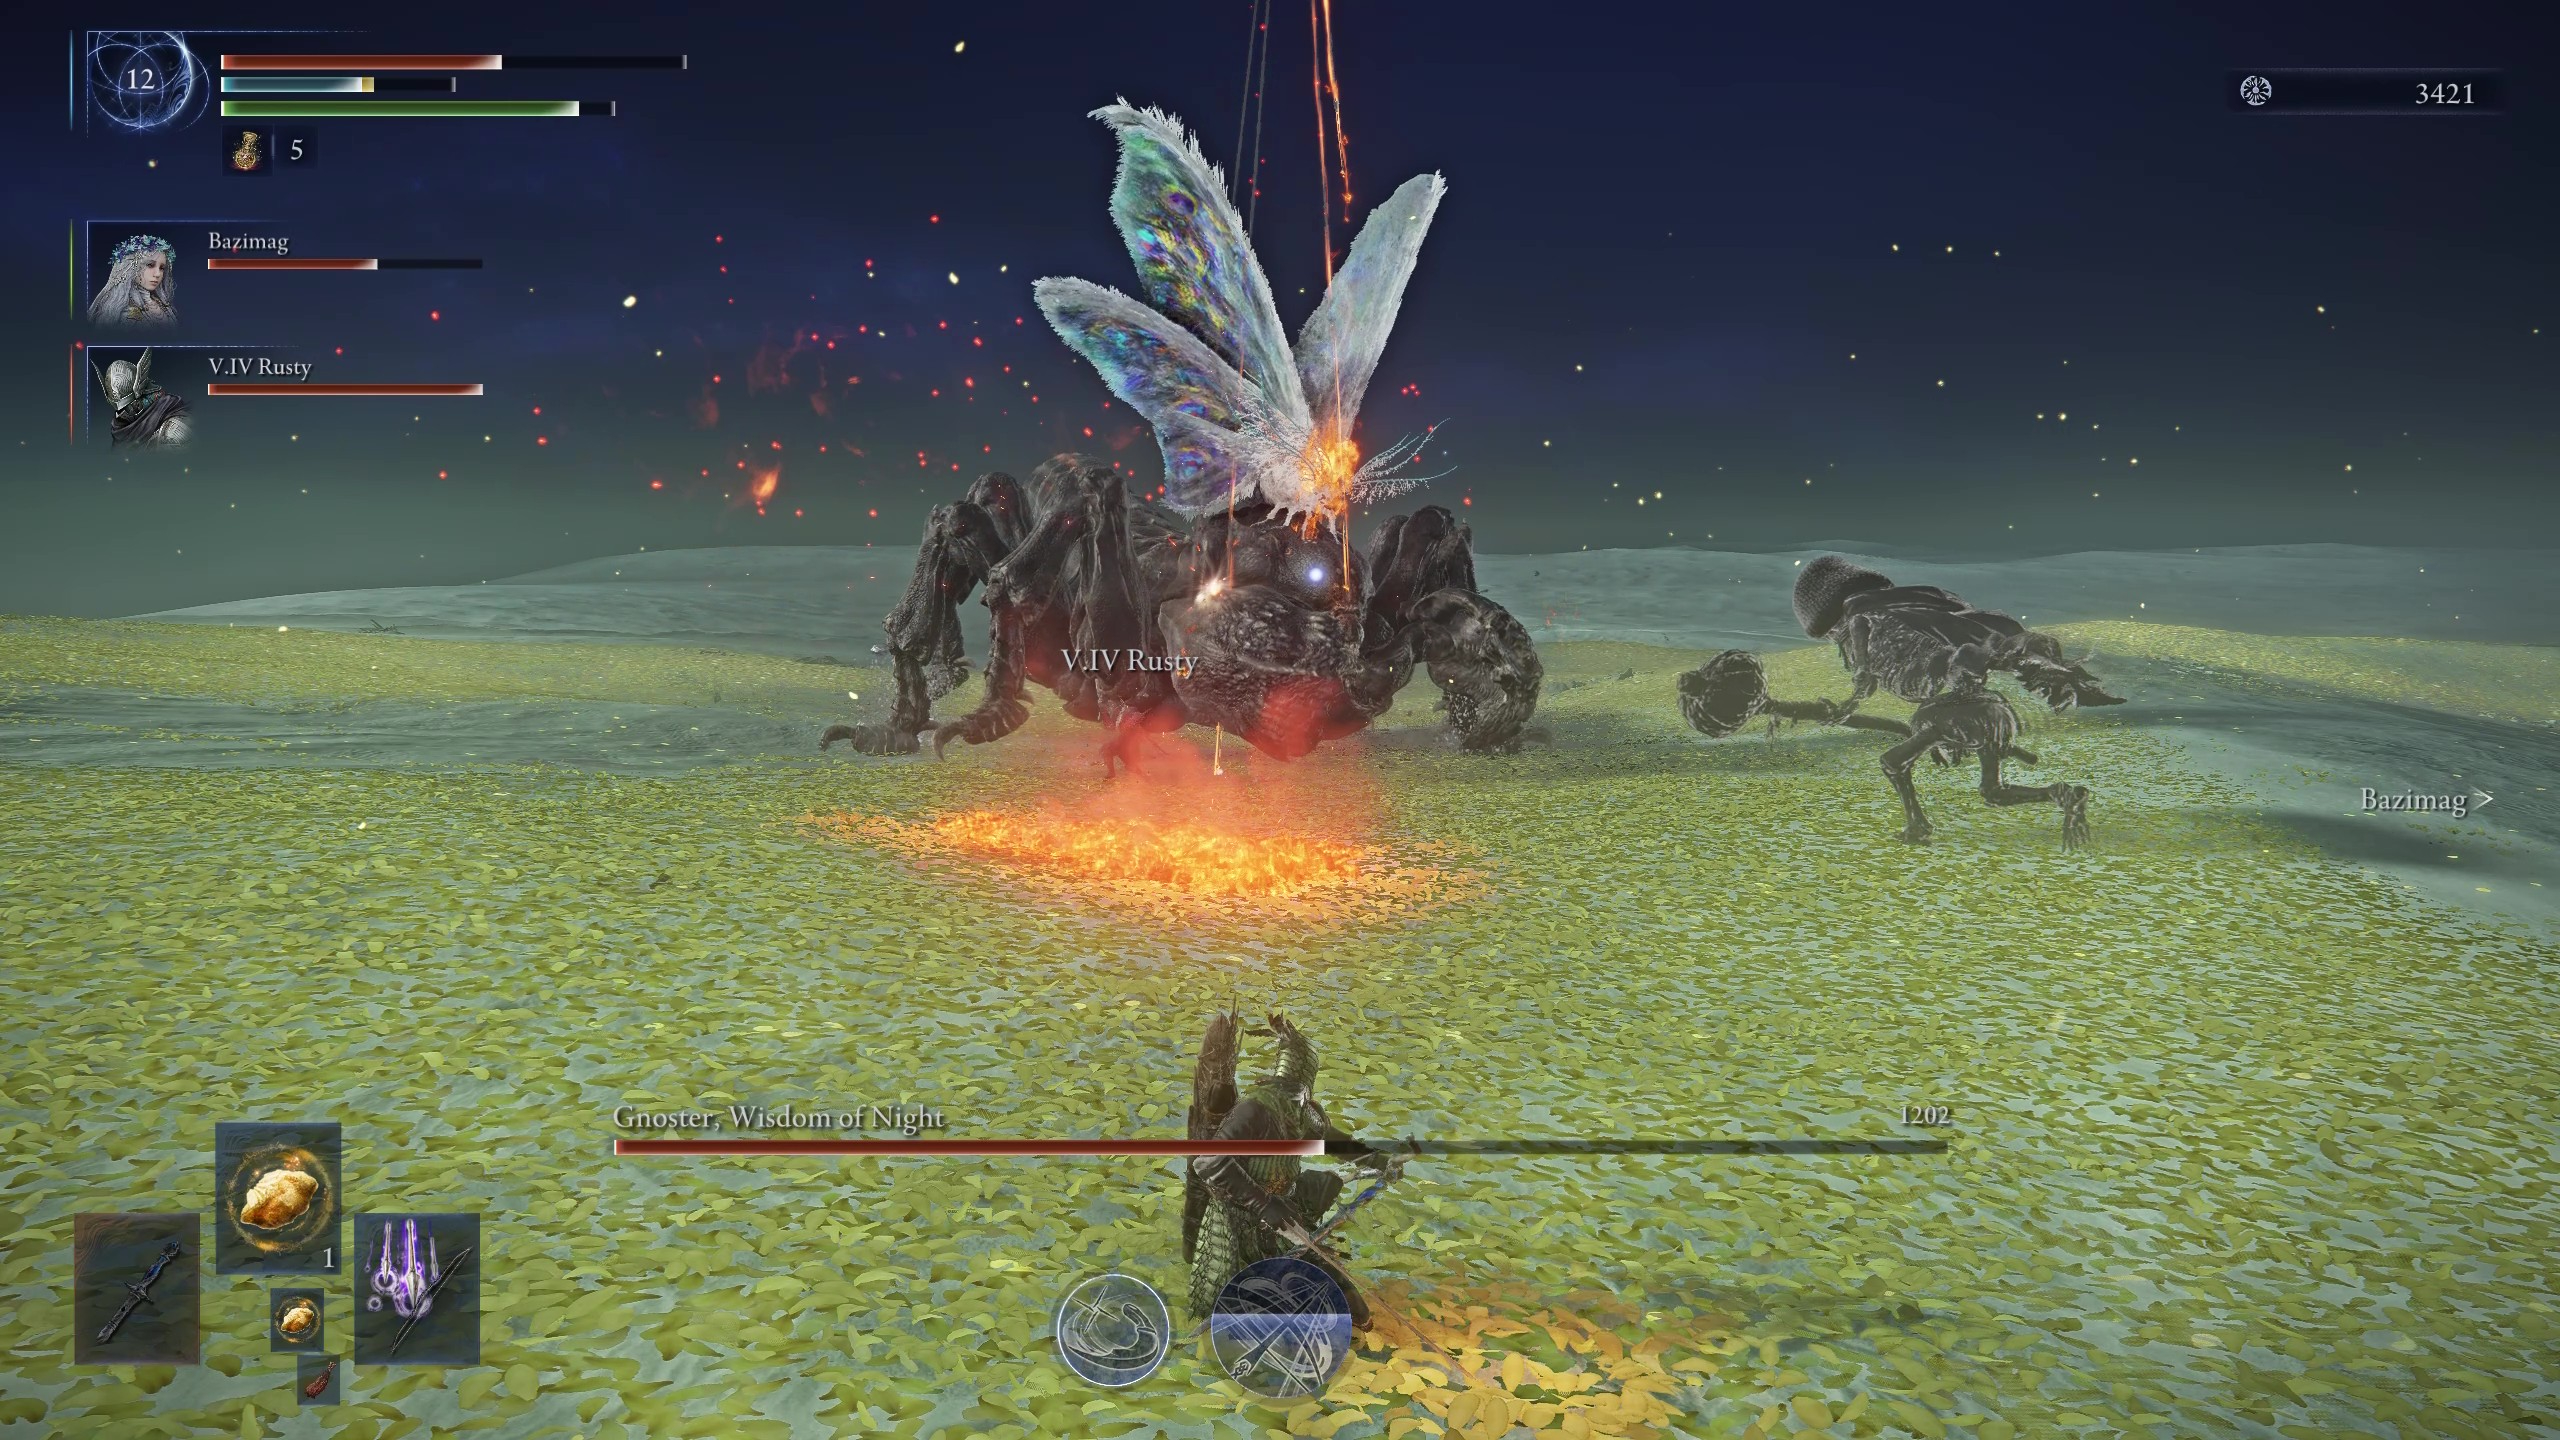
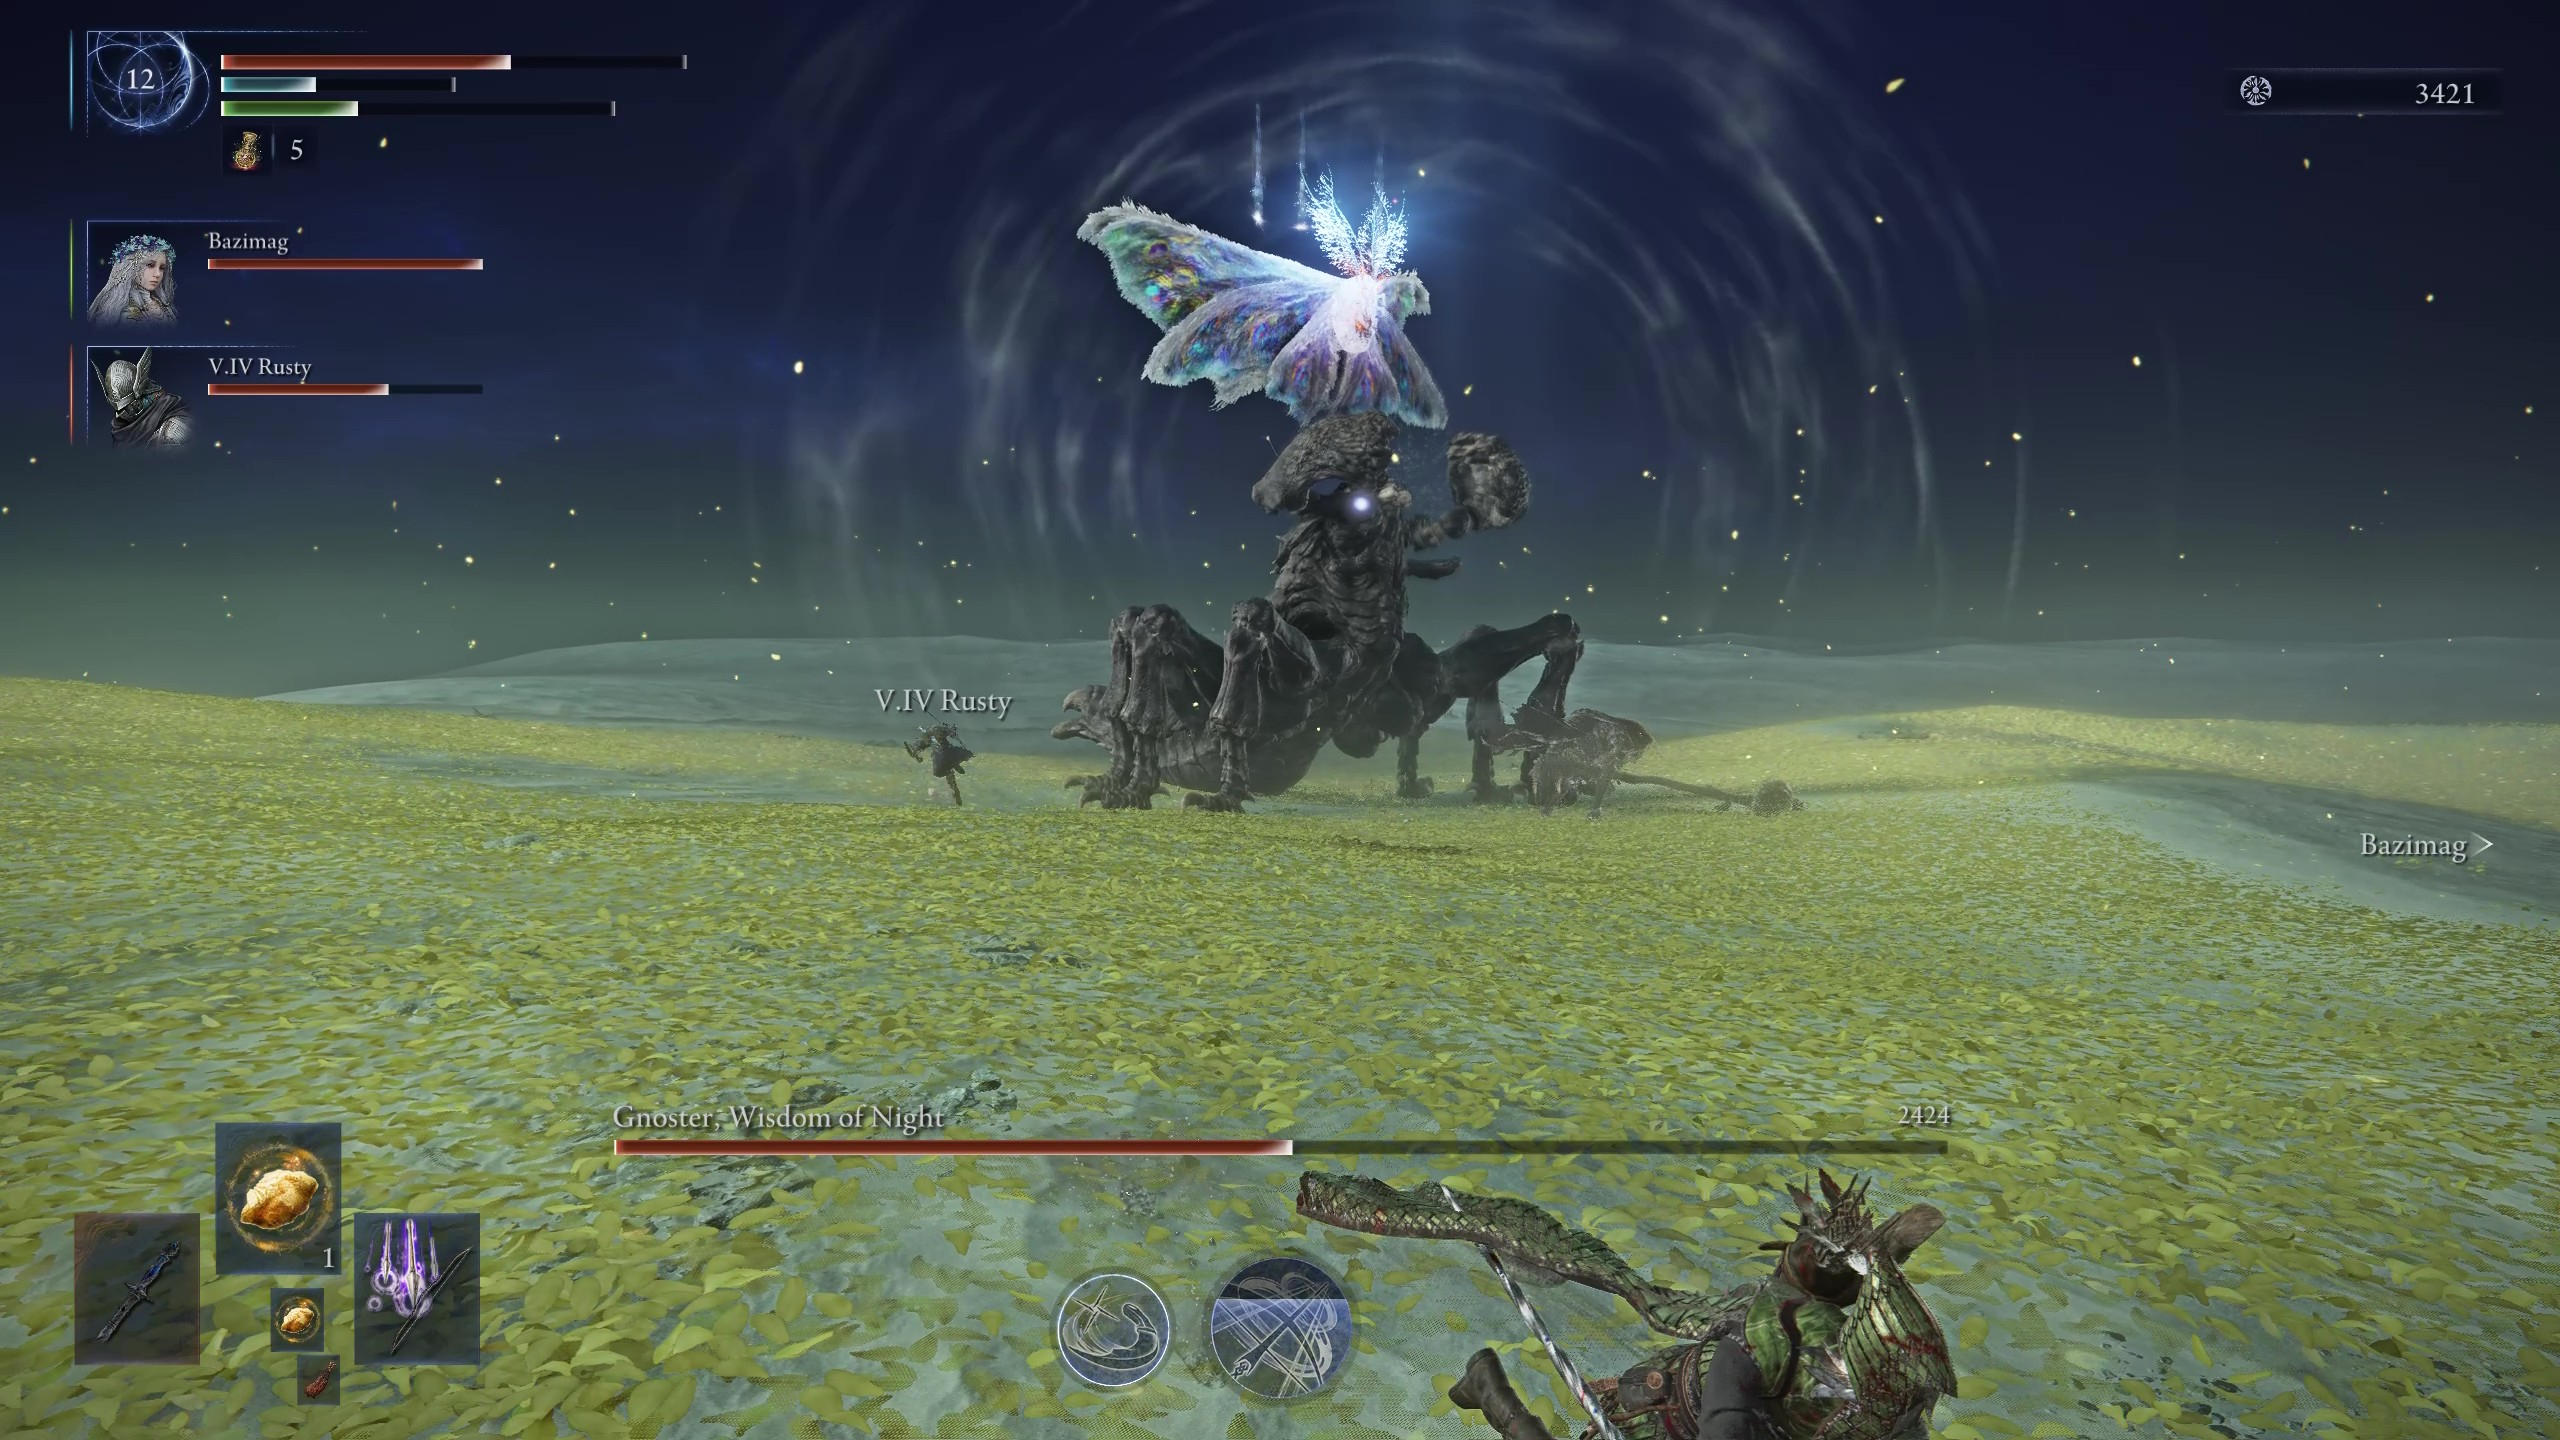
Have you ever pondered what a mechanical creature might resemble if it were crafted from insects? If not, let me introduce you to the Sentient Pest – a colossal scorpion with a moth perched on its back, navigating like an enchanted tank. With its two bosses merged into one formidable arthropod adversary in Elden Ring: Nightreign, figuring out how to conquer Gnoster proves quite the puzzle.
Among the six Nightreign bosses you encounter post-defeating Gladius for the first time, Gnoster is one of them. To access the true final boss, Night Aspect, you must vanquish three additional Nightlords. While Sentient Pest may prove challenging, remember it’s not as formidable as the Darkdrift Knight. Therefore, I advise focusing on mastering its defeat to mark another Nightlord off your list.
As a devoted follower, it’s essential to mention an intriguing aspect: the Sentient Pest can infiltrate expeditions against fellow Nightlords, manifesting as a hostile force that swarms you with locusts, effectively stealing your runes. Handling this invasion is a unique challenge distinct from their dedicated boss, so I’ll save discussing that for another time.
Elden Ring Nightreign Sentient Pest tips
To conquer the two pesky bugs, having the proper gear is crucial. Not only should you optimize your rune collection and seek out legendary weapons tailored to your character’s playstyle, but also be aware of some finer details: there are specific aspects to grasp as well.
- Get a fire weapon or spells
Crater event is active, it may also prove beneficial for enhancing your weapon’s fire properties.
Additionally, you might acquire a special enhancement on relics exclusive to Wylder, which infuses his skills with fire damage. This makes Wylder an especially powerful choice for melee combatants against this boss.
- Prioritise poison resistance and magic damage negation
In a simpler phrase, Gnoster inflicts two distinct forms of damage that aren’t just physical: scorpions and moths emit poisonous fog, while the moth additionally shoots magical projectiles. To protect yourself from these toxins and magical attacks, consider items like talismans, relics, or passive upgrades that provide resistance to poison and magic damage nullification. However, don’t forget about antidotes called neutralizing boluses, which not only cure poison but also secretly heal you and boost your overall resistance levels.
- Level up and get flask upgrades
Instead of Gnoster being the toughest foe, it’s wise to reach level 12 before engaging in battle with the bugs. The reason behind this advice is that the fight could turn out to be lengthy, and a crucial tactic involves separating from your teammates. To make the encounter easier, collect relics that boost rune acquisition, and don’t forget to pick up the buff from trees with a golden radiance. Additionally, ensure you have fully charged flasks by visiting churches, so you have ample healing resources at hand.
How to beat Gnoster, Wisdom of Night, in Elden Ring Nightreign
In the game Nightreign, The Sentient Pest is arguably the most exceptional boss, and defeating it requires an equally distinctive strategy. Although many characters on our Nightreign top tier list can do well, I suggest the following combination for a strong team setup:
1. A character with high damage output and crowd control abilities to handle The Sentient Pest’s aggressive attacks.
2. A supportive character that provides healing and buffs to help your team survive against its powerful assaults.
3. A tanky character that can absorb some of the boss’s damage and keep it focused on them, allowing your damage dealers to unleash their full potential.
4. An agile character with evasion and speed abilities to dodge The Sentient Pest’s attacks and position themselves for optimal damage output.
5. A crowd control specialist who can immobilize or disable additional enemies that may aid the boss during the fight, ensuring your focus remains on The Sentient Pest itself.
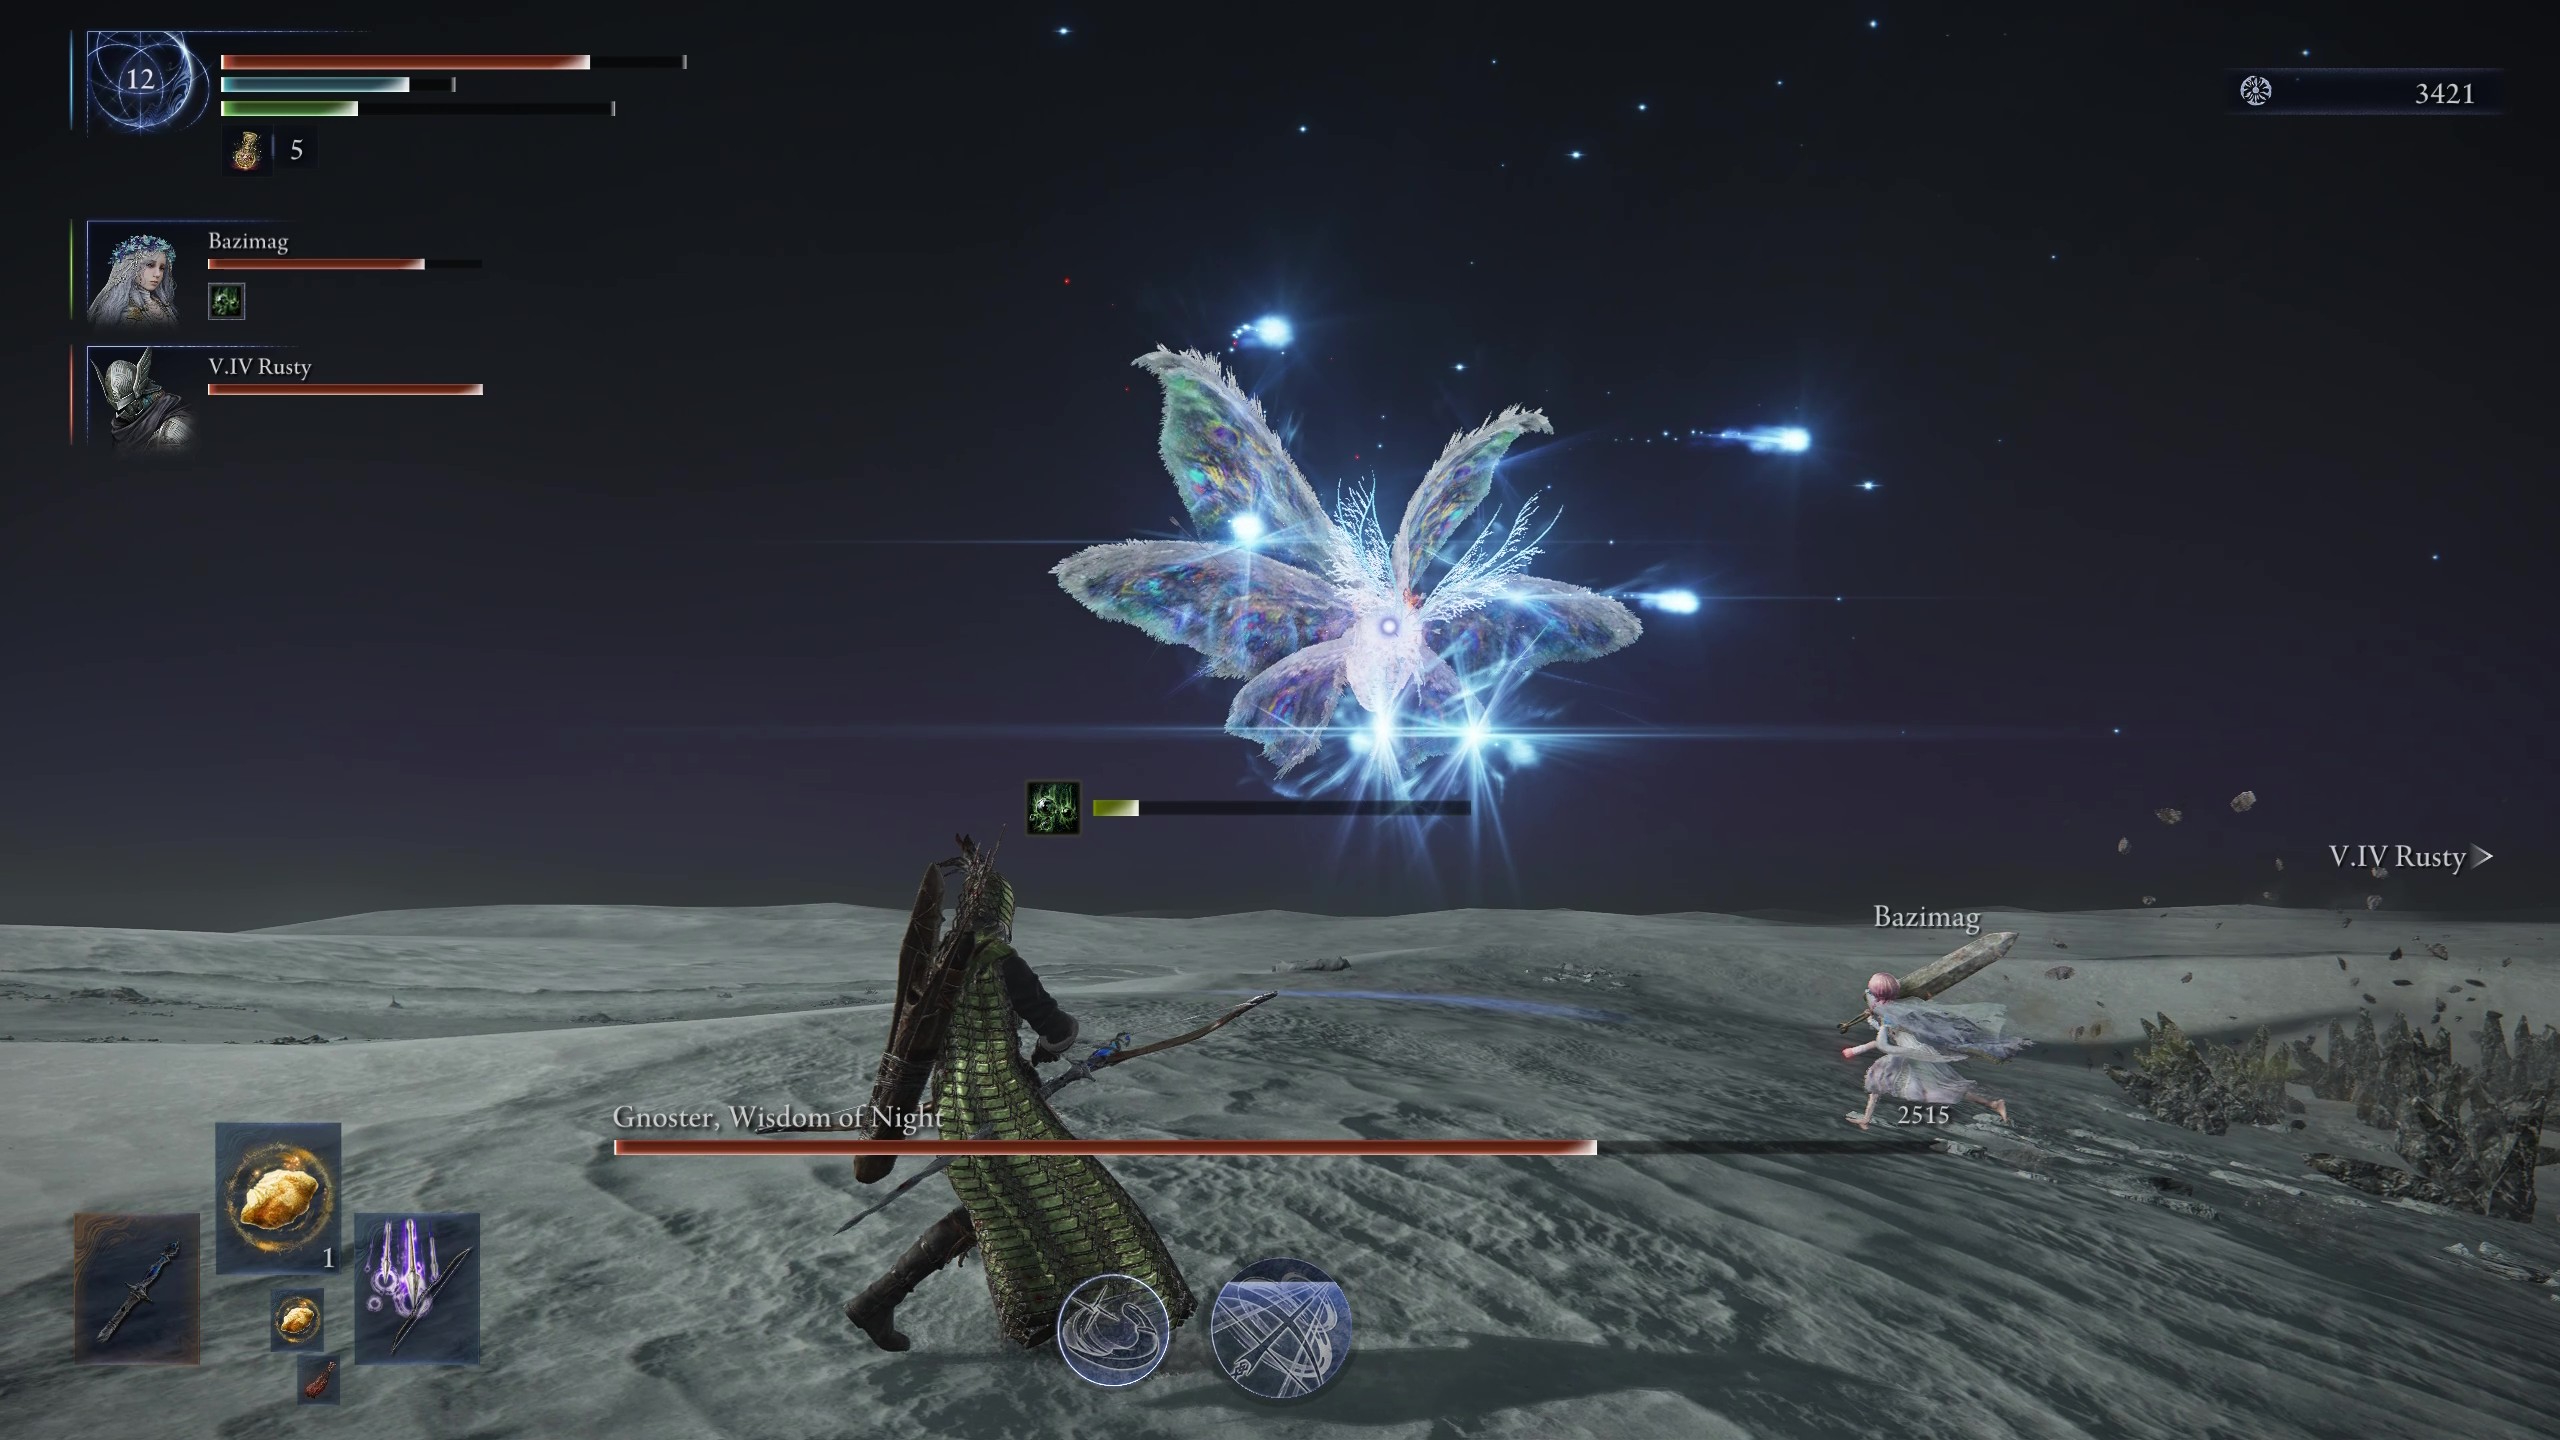
- Ironeye: Ranged weapons are the only way to damage the moth when they’re flying, and no one does this better than Ironeye. Add his Marking skill into the mix, which increases the damage your entire team deals to the target, and he’s a must-pick against the Sentient Pest.
- Wylder: He’s a mobile fighter who can keep up with the pace of the fight much more than other melee characters. His ultimate art also deals massive damage, including high stance damage. If you have his unique relics that add fire damage to his skills, even better.
- Duchess: Her Restage skill repeats recent damage against targets (including the affinity boost from using fire against Gnoster), easily adding bonus burst damage when you get an opening. Thanks to her high intelligence stat, Duchess is just as good with a staff as she is with daggers, so she works well against both bugs, and she has decent dex, so she can use a bow in a pinch.
- Raider: His slow, hard-hitting melee playstyle largely limits him to dealing with the scorpion (unless you find a great bow), but that’s not an issue when he does it this well. High stagger damage and survivability mean he can go toe-to-toe with the scorpion while your ranged allies focus on the moth.
Generally, it is advisable to assemble a team consisting of two long-range characters, one melee combatant (such as Duchess, who can also function as a hybrid), and then strategically divide your group. The ranged units should focus on battling the moth, while the melee fighter distracts the scorpion until the creatures unite. This way, each member of the team has a specific role to ensure a successful battle plan.
- Watch out for these attacks
Due to Gnoster being essentially a single entity composed of two separate bosses, managing various aspects becomes crucial based on whom you’re engaged in combat with. As their shared health dips below 60%, these creatures merge into a solitary form, sharing certain skills:
| Attack | Explanation | Counter |
|---|---|---|
| Magic missile (moth) | The moth’s basic attack is a quick barrage of magic bolts that track towards you. | Dodge towards them or run in any other direction to cause the bolts to hit the ground next to you instead. |
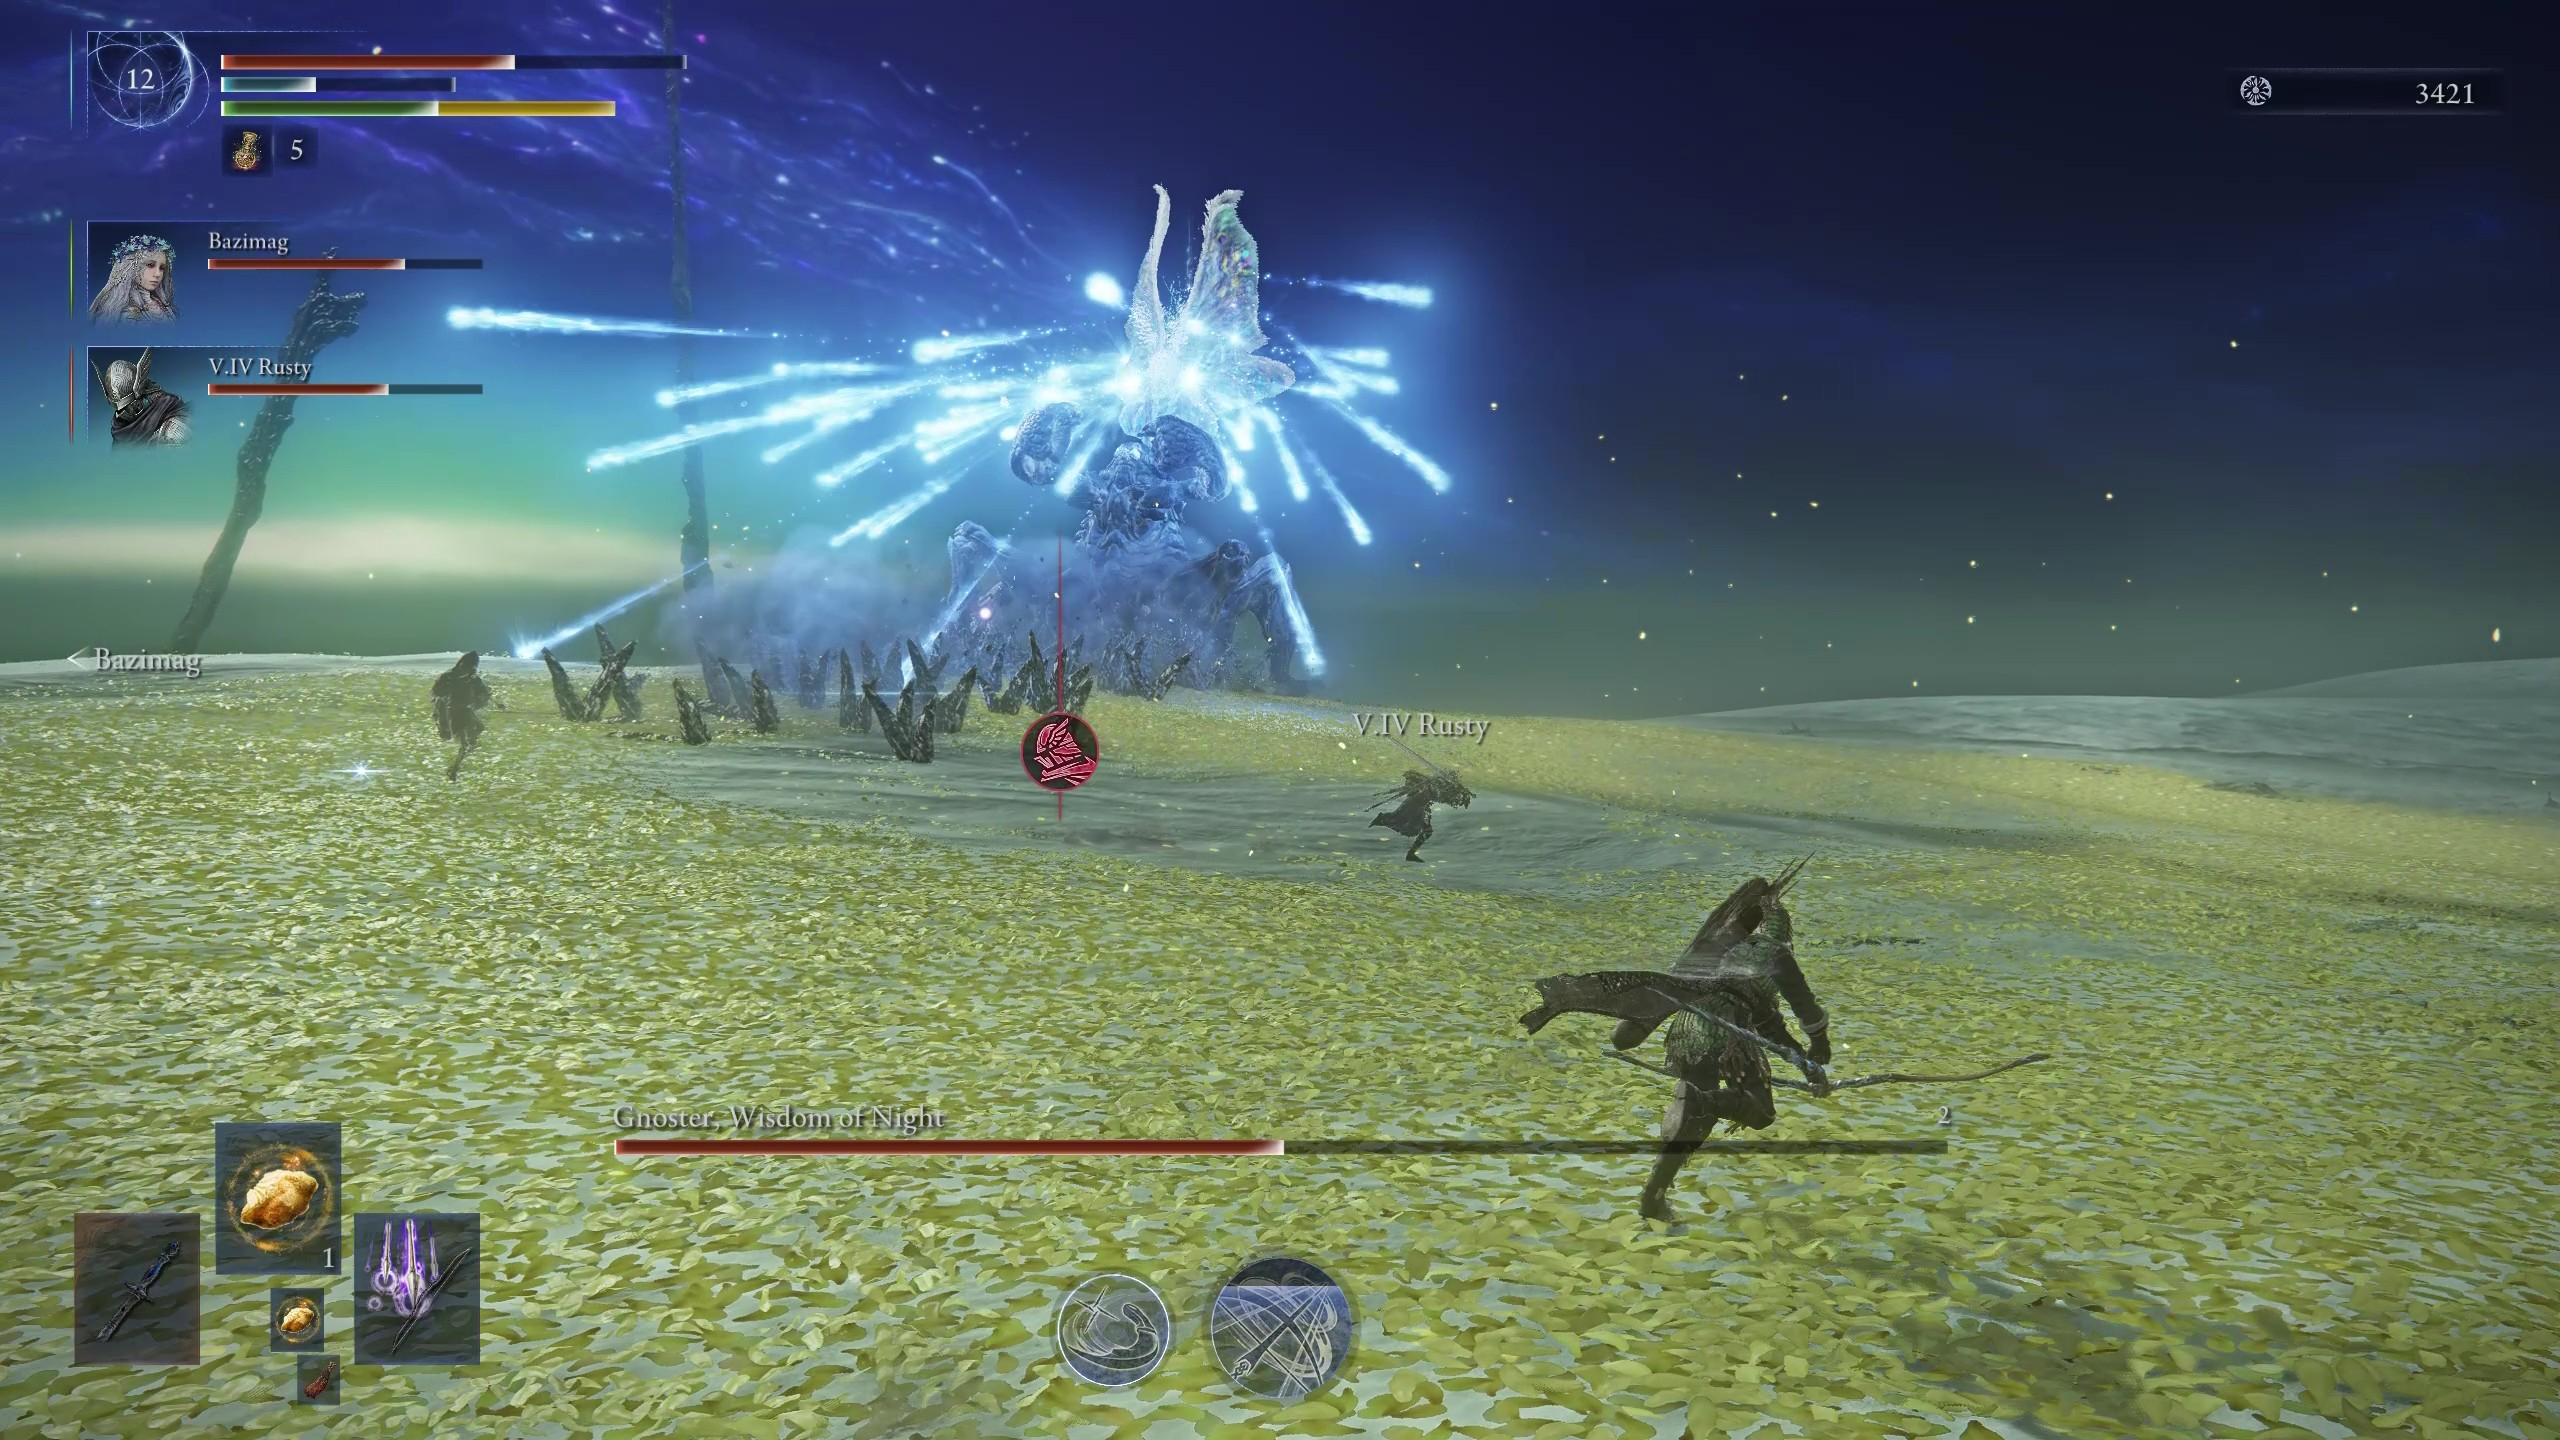
| Magic rain (moth) | When the moth flies even higher into the sky (and the scorpion hardens), it will unleash a barrage of magic that rains down on the ground and spreads out further as the attack goes on. | To avoid this move, dodge towards the wave of rain so that any remaining bolts hit the ground behind you. If you try to dodge or run away, you’ll only be keeping yourself in the danger zone. |
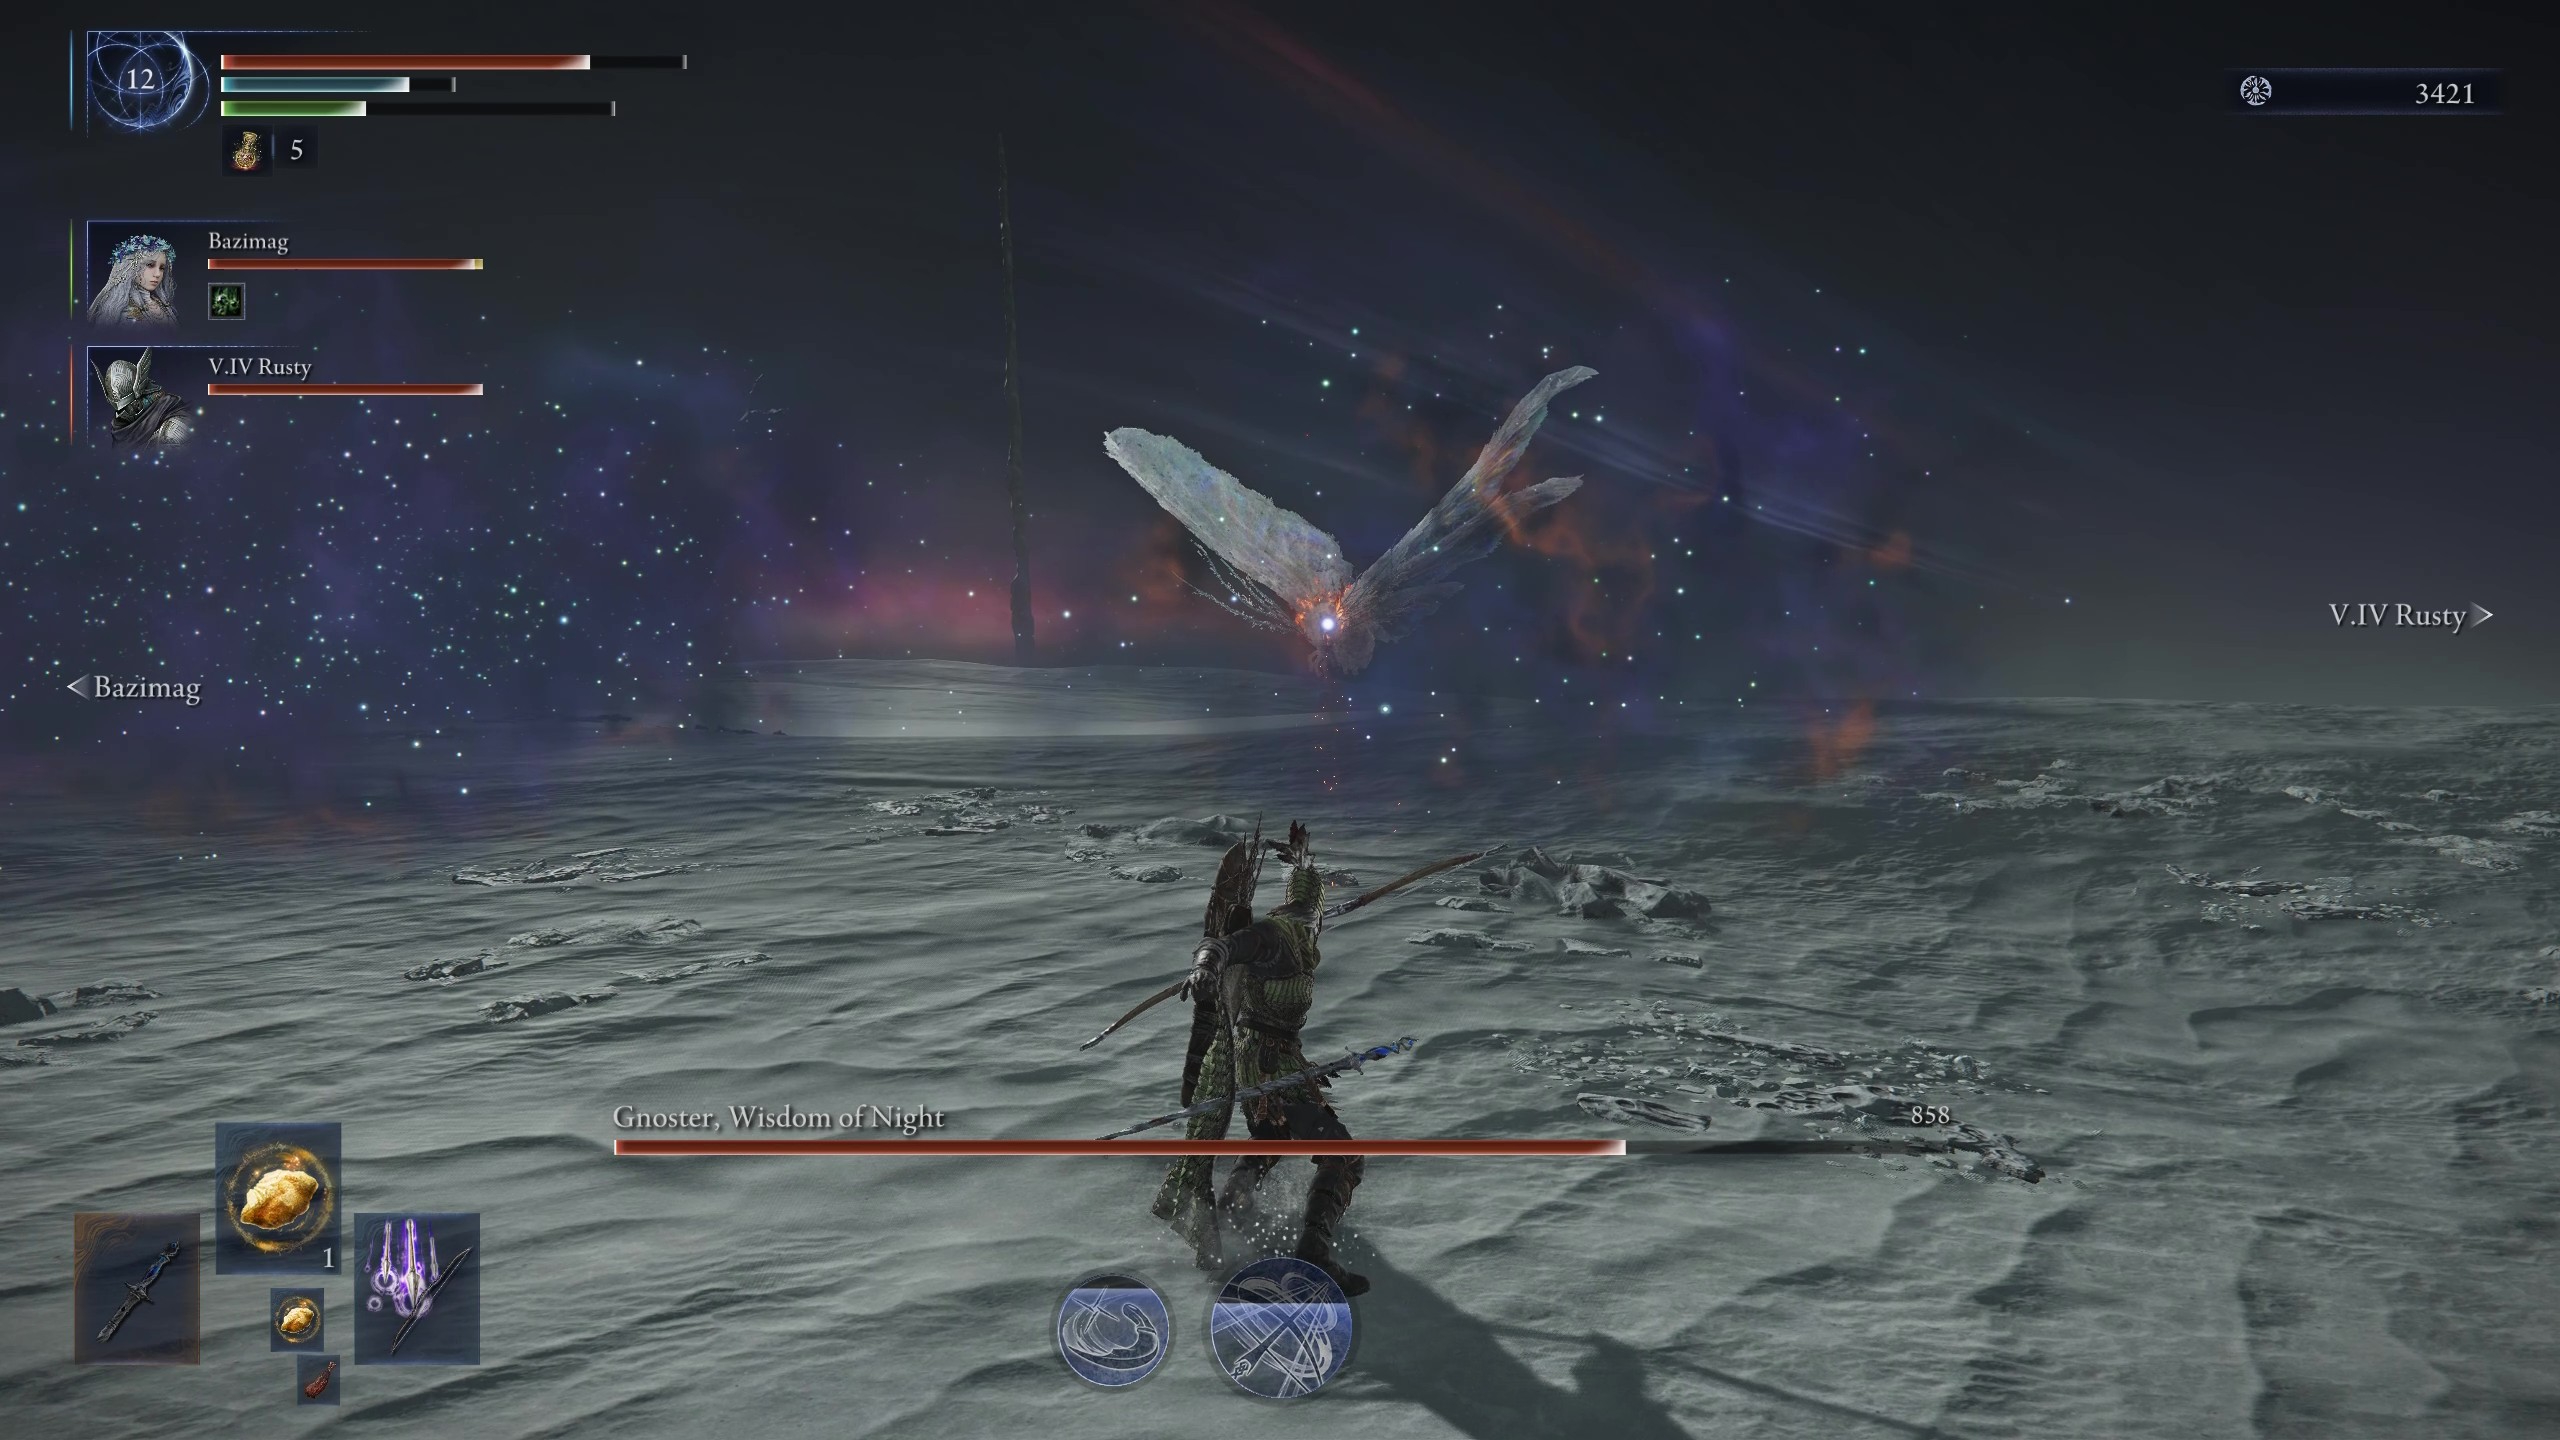
| Poison mist (moth) | When the moth flies down to the ground, it can breathe poisonous mist that hangs around before it dissipates. | You’ll want to get out of this mist by dodging and running backwards as quickly as you can to avoid being poisoned. |
| Grab (moth) | If the moth quickly flies towards you, it’s going in for a grab attack. This deals damage and can poison you. | You can avoid being grabbed by dodging or running to the side. It’s tricky to time it right, so it might take a few attempts. |
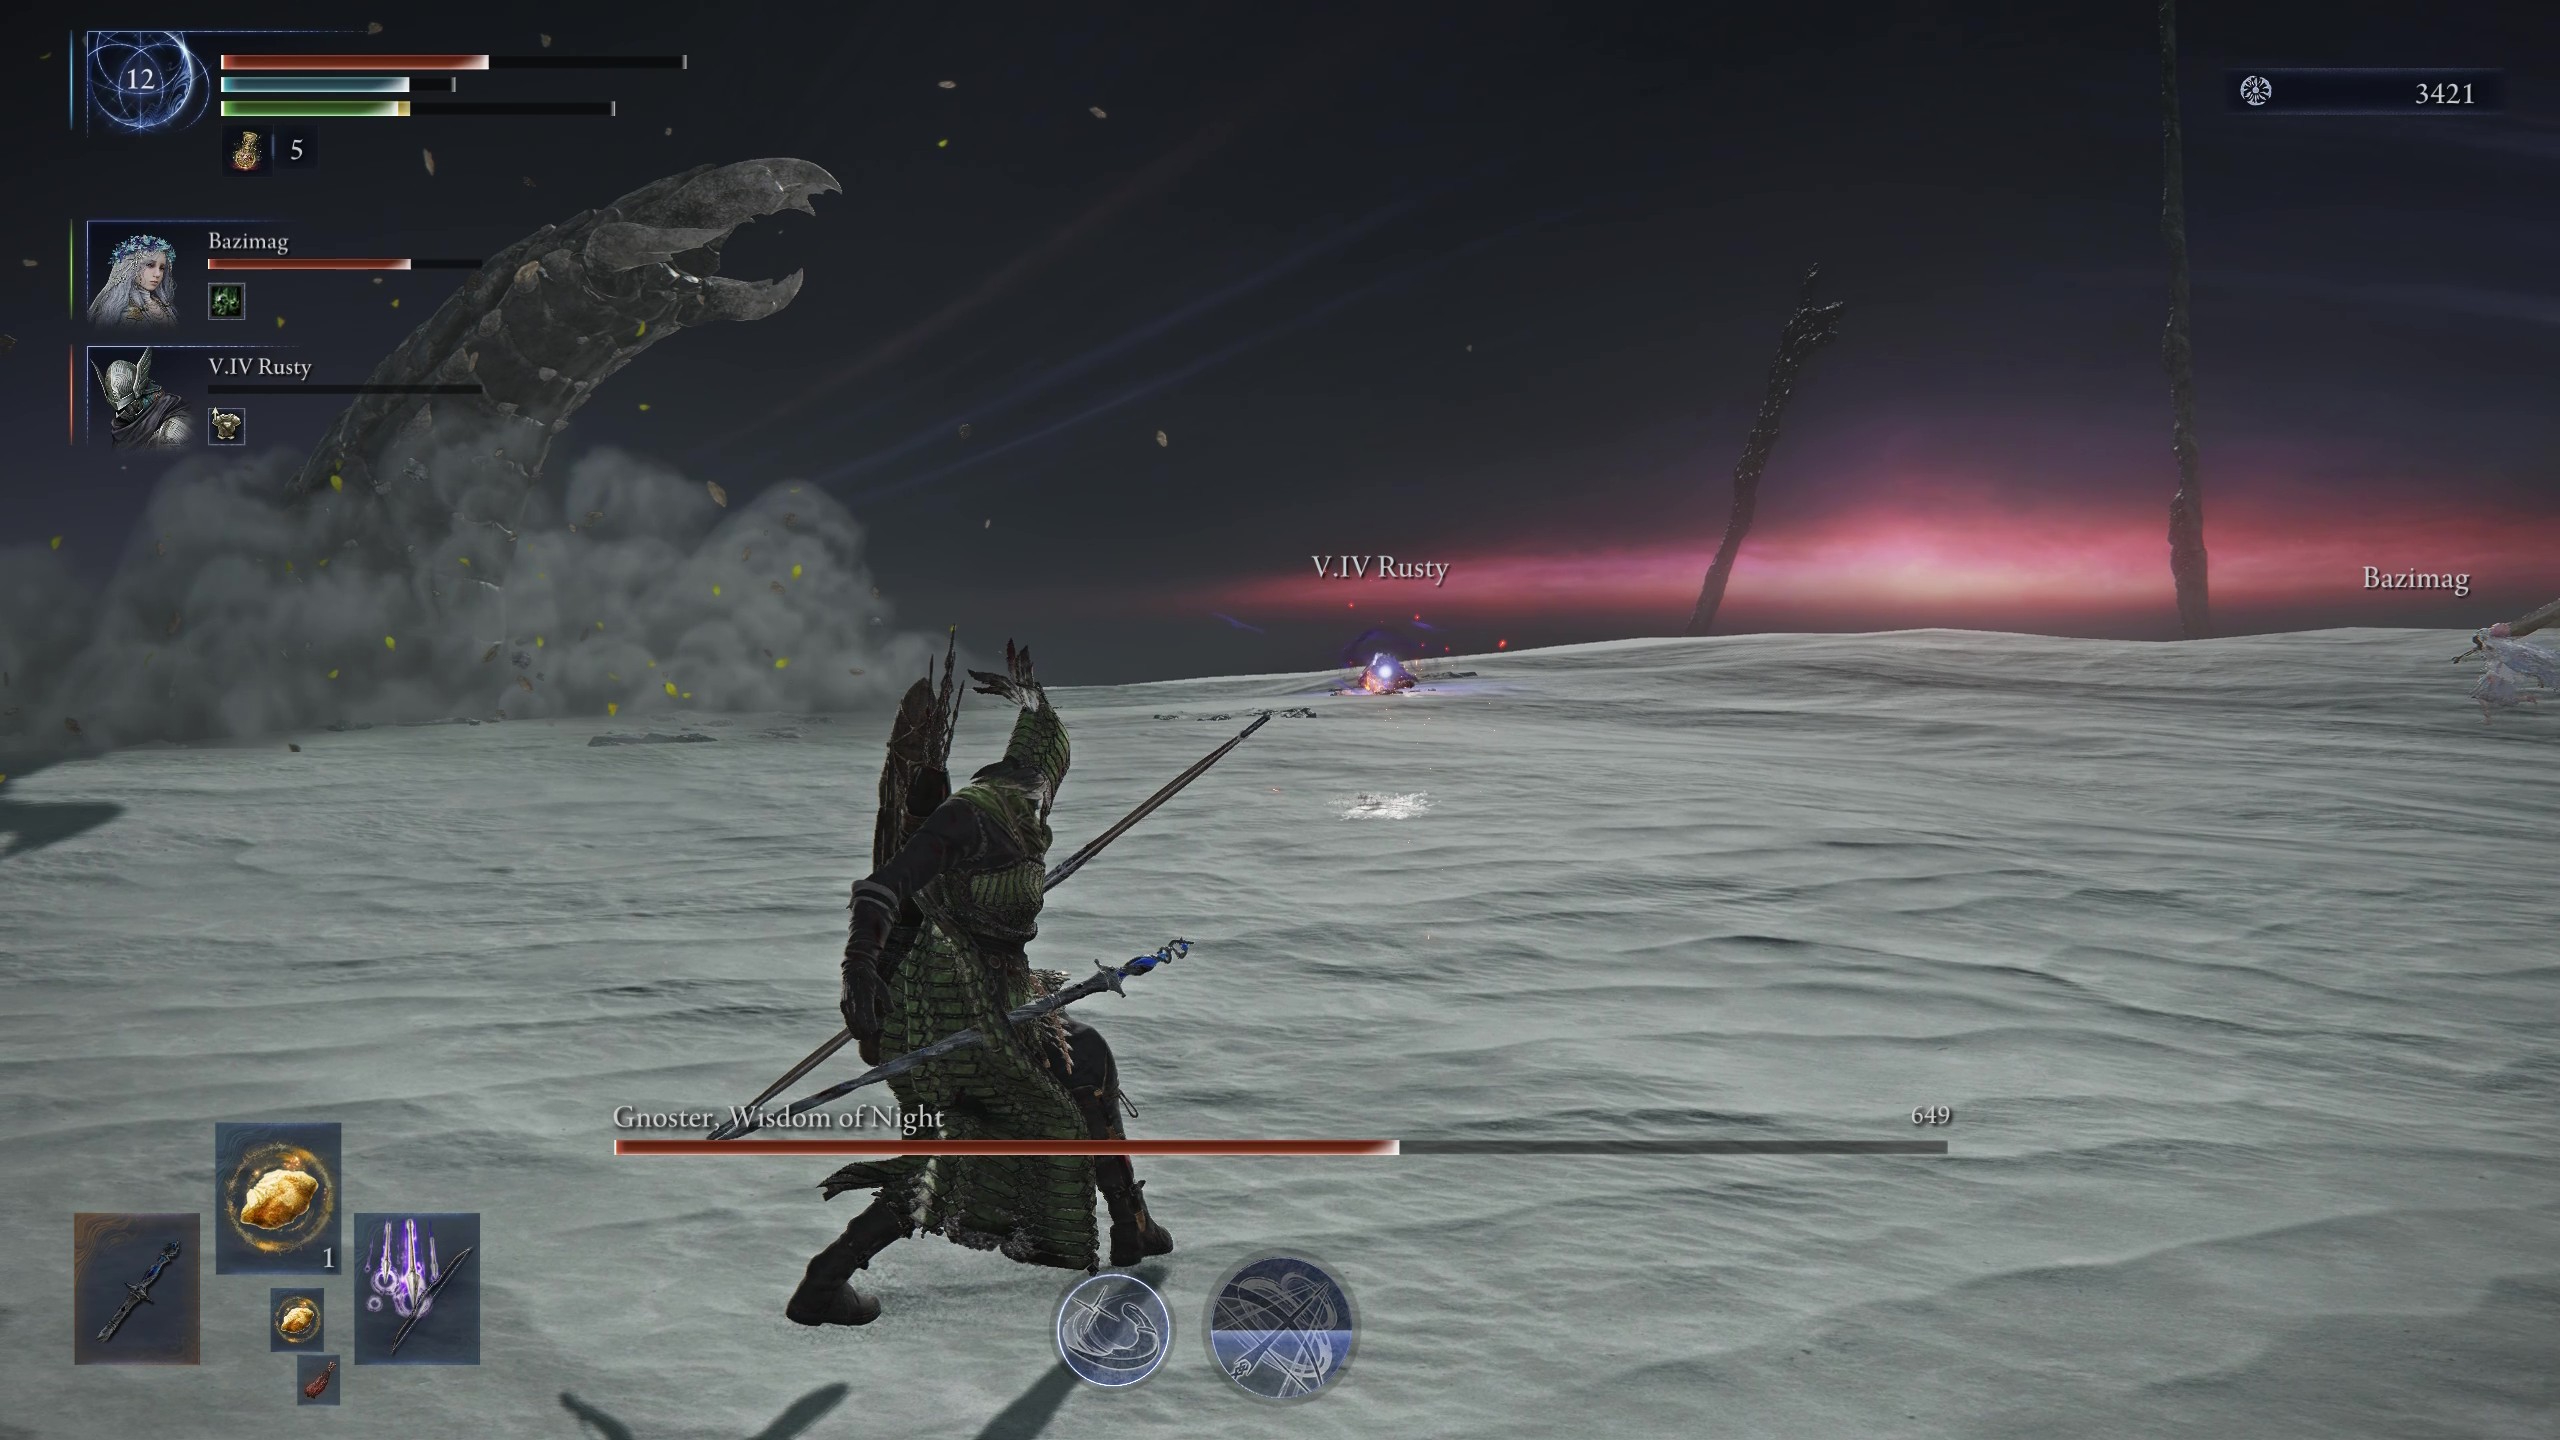
| Burrow (scorpion) | The scorpion will occasionally burrow underground and begin to charge at you, where it will then erupt from the ground. | Keep an eye out for the dust trail as the scorpion burrows, so you know who it’s targeting and where it’ll emerge. Spread out if multiple people are fighting the scorpion. Dodge and run away when you notice it stops, just before it emerges. |
| Slam (scorpion) | When the scorpion stands up on its hind legs, it’s preparing to smash on the ground ahead of it, dealing damage on impact and creating a small wave of damage. | This attack impacts a small radius directly ahead of the scorpion, so you can roll forwards to get under and around the sides to avoid being caught in the shockwave. |
| Stomp (scorpion) | Using its many legs, the scorpion can quickly stomp to its side. This attack can follow the slam, so be careful if they come in quick succession. | This attack is easy enough to avoid by dodging to the side of the stomping leg. |
| Orbital laser (combined) | A small patch of light appears on the ground before a laser beam begins firing. | When you see the beam of light appear on the ground, run away quickly to avoid the subsequent laser. These only have a small radius and short duration, so they’re easy enough to avoid. However, be careful as multiple lasers can be activated at once. |
| Charge (combined) | One of its most deadly attacks, the scorpion stands up and roars before they both charge at you several times. The scorpion stomps while the moth fires a barrage of magic.
There is a second variation of this attack where the moth fires a barrage of projectiles, followed up by the scorpion jumping at you immediately after. |
As soon as you see the scorpion roar, stop attacking and be prepared to move. Repeatedly dodge sideways to avoid being hit by the charge and the magic bolts. |
- Split up in phase one
In phase one, it’s usually challenging to handle just one leader, so avoid engaging with both the scorpion and the moth simultaneously. Ideally, a few individuals should focus on the moth as it inflicts more damage, while another takes on the scorpion in a different part of the arena. This way, you minimize potential harm to your teammates from their attacks. However, remember to stay vigilant because sometimes they might switch targets and strike randomly, so always monitor the boss you’re not currently fighting.
- Bring ranged damage
In my initial attempt, I had a squad composed entirely of melee fighters striking at clouds. However, it’s extremely challenging to defeat Gnoster without having at least one character capable of dealing ranged damage. Ideally, you should bring multiple ranged damage dealers for the best results.
While it’s possible to bypass the moth during phase one and solely focus on damaging the tanky scorpion, this strategy will result in both bosses attacking you simultaneously. This situation leads to utter chaos, increased damage intake, and extended battle time because the scorpion has a higher resistance to damage.
- Save ultimates for phase two
When the moth flutters around and appears to teleport, and the scorpion digs or fortifies its shell, it can be challenging to execute a powerful ability or take advantage of any potential stun. It’s advisable to store up high health and stagger damage ultimates like Wylder’s Onslaught Stake or Ironeye’s Single Shot for when the creatures merge, making it easier to land both abilities and maximize their impactful strikes.

Guide for Building a Nightreign Duchess, Executor, Guardian, Ironeye, Revenant, Recluse, Raider, or Wylder
In this tutorial, we’ll explore various build options for the Nightreign faction characters: Duchess, Executor, Guardian, Ironeye, Revenant, Recluse, Raider, and Wylder. Let’s dive into the strategies and equipment recommendations for each character to maximize their potential in battle!
1. Nightreign Duchess Build Guide
2. Nightreign Executor Build Guide
3. Nightreign Guardian Build Guide
4. Nightreign Ironeye Build Guide
5. Nightreign Revenant Build Guide
6. Nightreign Recluse Build Guide
7. Nightreign Raider Build Guide
8. Nightreign Wylder Build Guide
Read More
- All Skyblazer Armor Locations in Crimson Desert
- How to Get the Sunset Reed Armor Set and Hollow Visage Sword in Crimson Desert
- All Shadow Armor Locations in Crimson Desert
- Marni Laser Helm Location & Upgrade in Crimson Desert
- All Helfryn Armor Locations in Crimson Desert
- All Golden Greed Armor Locations in Crimson Desert
- Best Bows in Crimson Desert
- All Icewing Armor Locations in Crimson Desert
- How to Beat Stonewalker Antiquum at the Gate of Truth in Crimson Desert
- Legendary White Lion Necklace Location in Crimson Desert
2025-06-04 18:18