3D printing technology has advanced significantly over time, with printers consistently becoming more efficient and user-friendly. For nearly a decade, Elegoo has been a notable player in this field, offering both FDM (Fused Deposition Modeling) and Resin 3D printers. The latest addition to their lineup is the Elegoo Centauri Carbon, which marks their first Core-XY printer with an enclosure. This model provides a seamless experience for hobbyists venturing into this field, while also offering a streamlined prototyping process for professional users.
3D modeling through Fused Deposition Modeling involves constructing a physical 3D object by successively laying down layers of material. This technique is distinct from Resin printing, and here’s the breakdown: An FDM printer utilizes an extruder, hot end, and build plate, while a resin printer employs a pool of resin, UV lights, and a build platform. Simply put, FDM uses material extrusion in a layer-by-layer fashion, whereas resin printing involves curing liquid resin with UV light.
As a passionate movie reviewer, let me take you on a virtual tour of the mesmerizing world of FDM (Fused Deposition Modeling) printing. In this cinematic journey, the star is not an actor or a script, but rather a fascinating process that brings 3D objects to life.
Imagine a stage set where the spotlight shines brightly on the leading actor – the hot end. This charismatic character heats up and delivers its lines (the filament) onto our very own movie set – the build plate. The script for this performance is carefully prepared, as the filament is fed to the hot end through a spool, following a meticulously designed pattern.
One by one, each layer of the story unfolds, much like frames in a film reel. The hot end, our director, skillfully guides the filament onto the build plate, layer after layer, until the final 3D object stands proudly before us. The audience, in this case, is left marveling at the intricate details and the breathtaking transformation of a simple filament into a tangible, three-dimensional masterpiece.
So, sit back, relax, and enjoy the show as we delve deeper into the world of FDM printing – where every layer brings us one step closer to the final scene!
A Core-XY printer is a type that uses two stationary motors to manage the movement of the print head along the X-axis and Y-axis. This setup enables swifter printing speeds compared to conventional Cartesian 3D printers, where the nozzle travels on the X, Y, and Z-axes.
What’s in the Box?

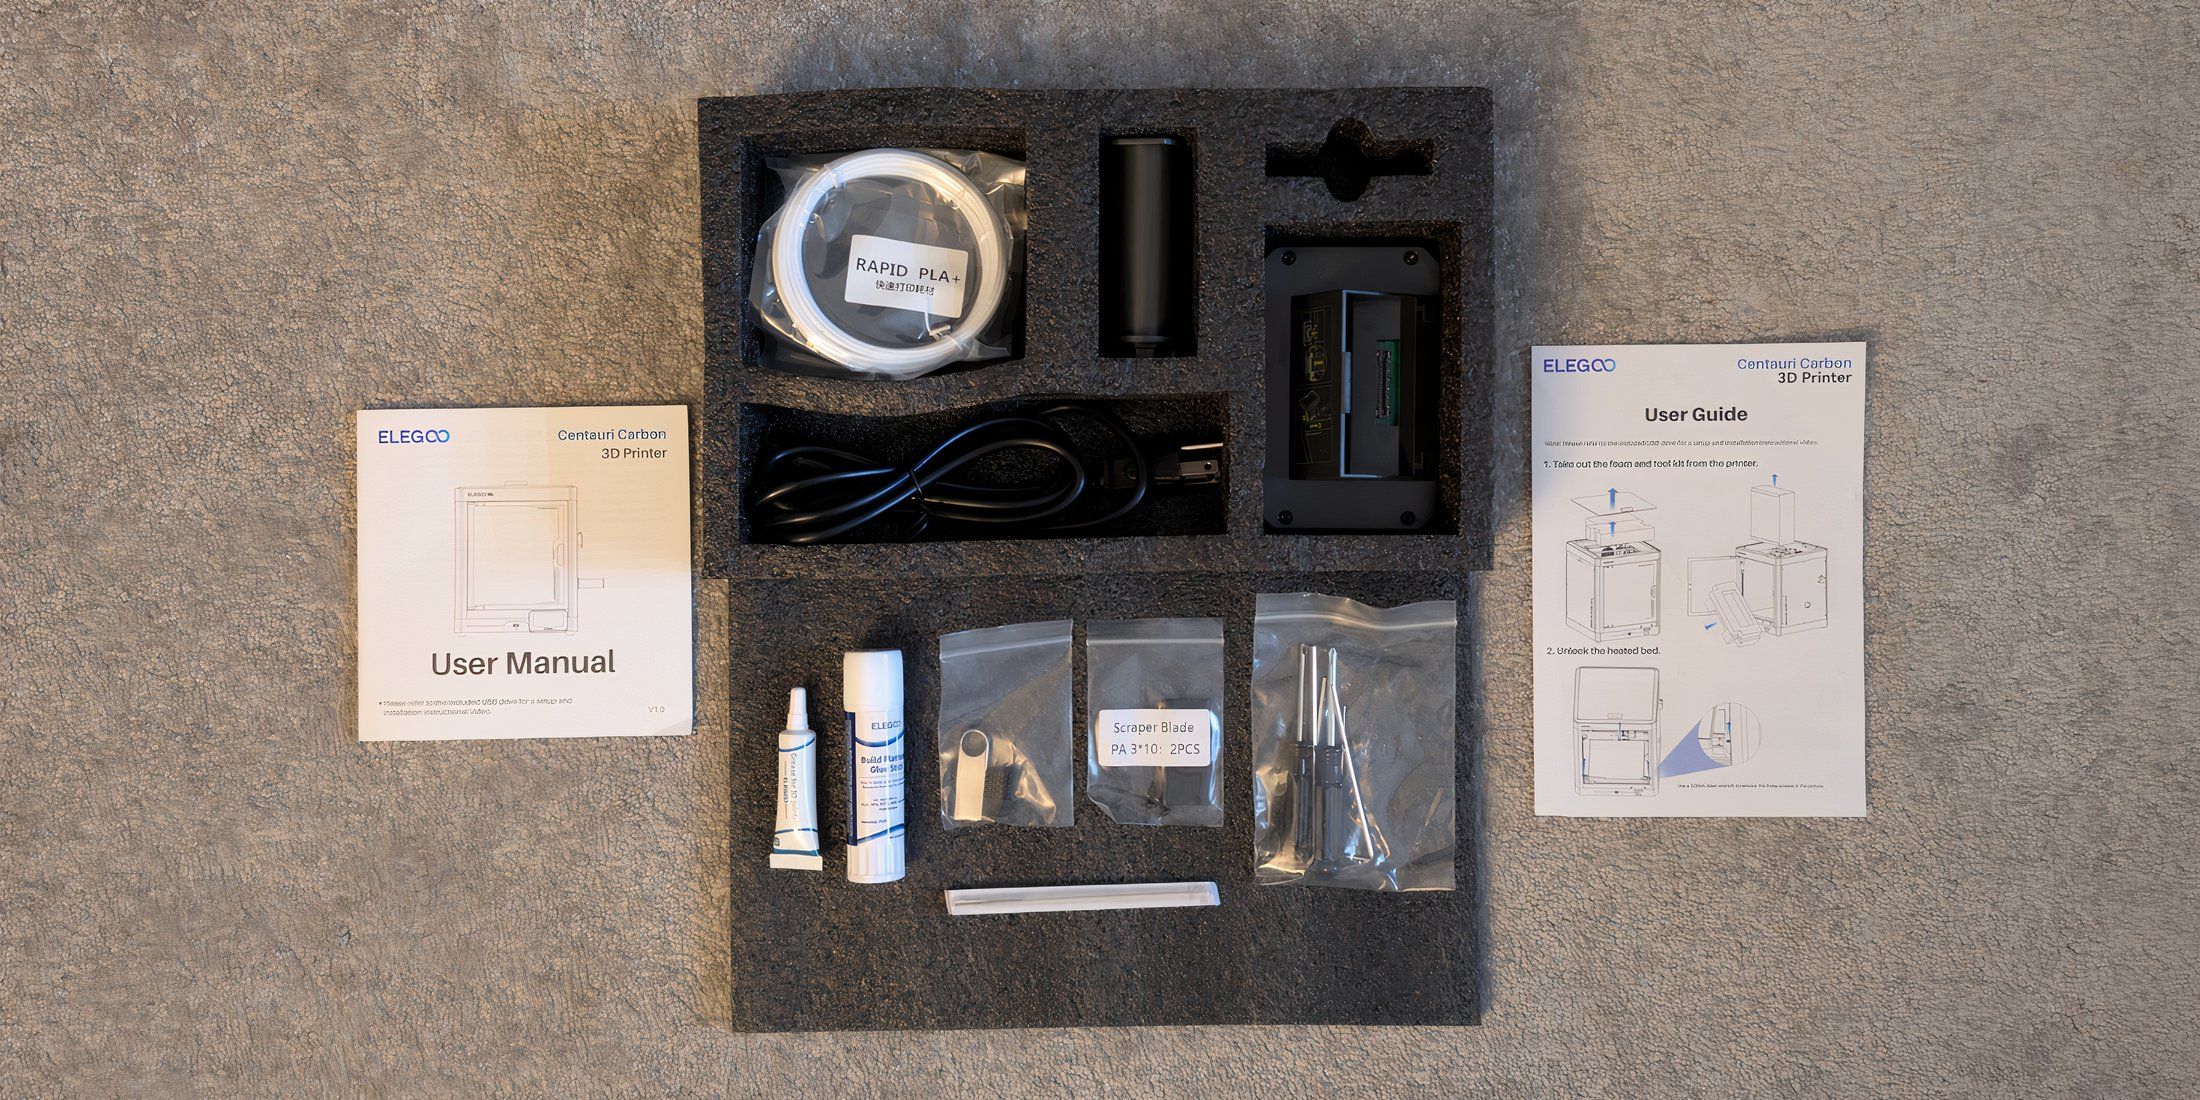
- Elegoo Centauri Carbon 3D printer
- Top glass panel
- Documentation
- Tools for maintenance
- Screen
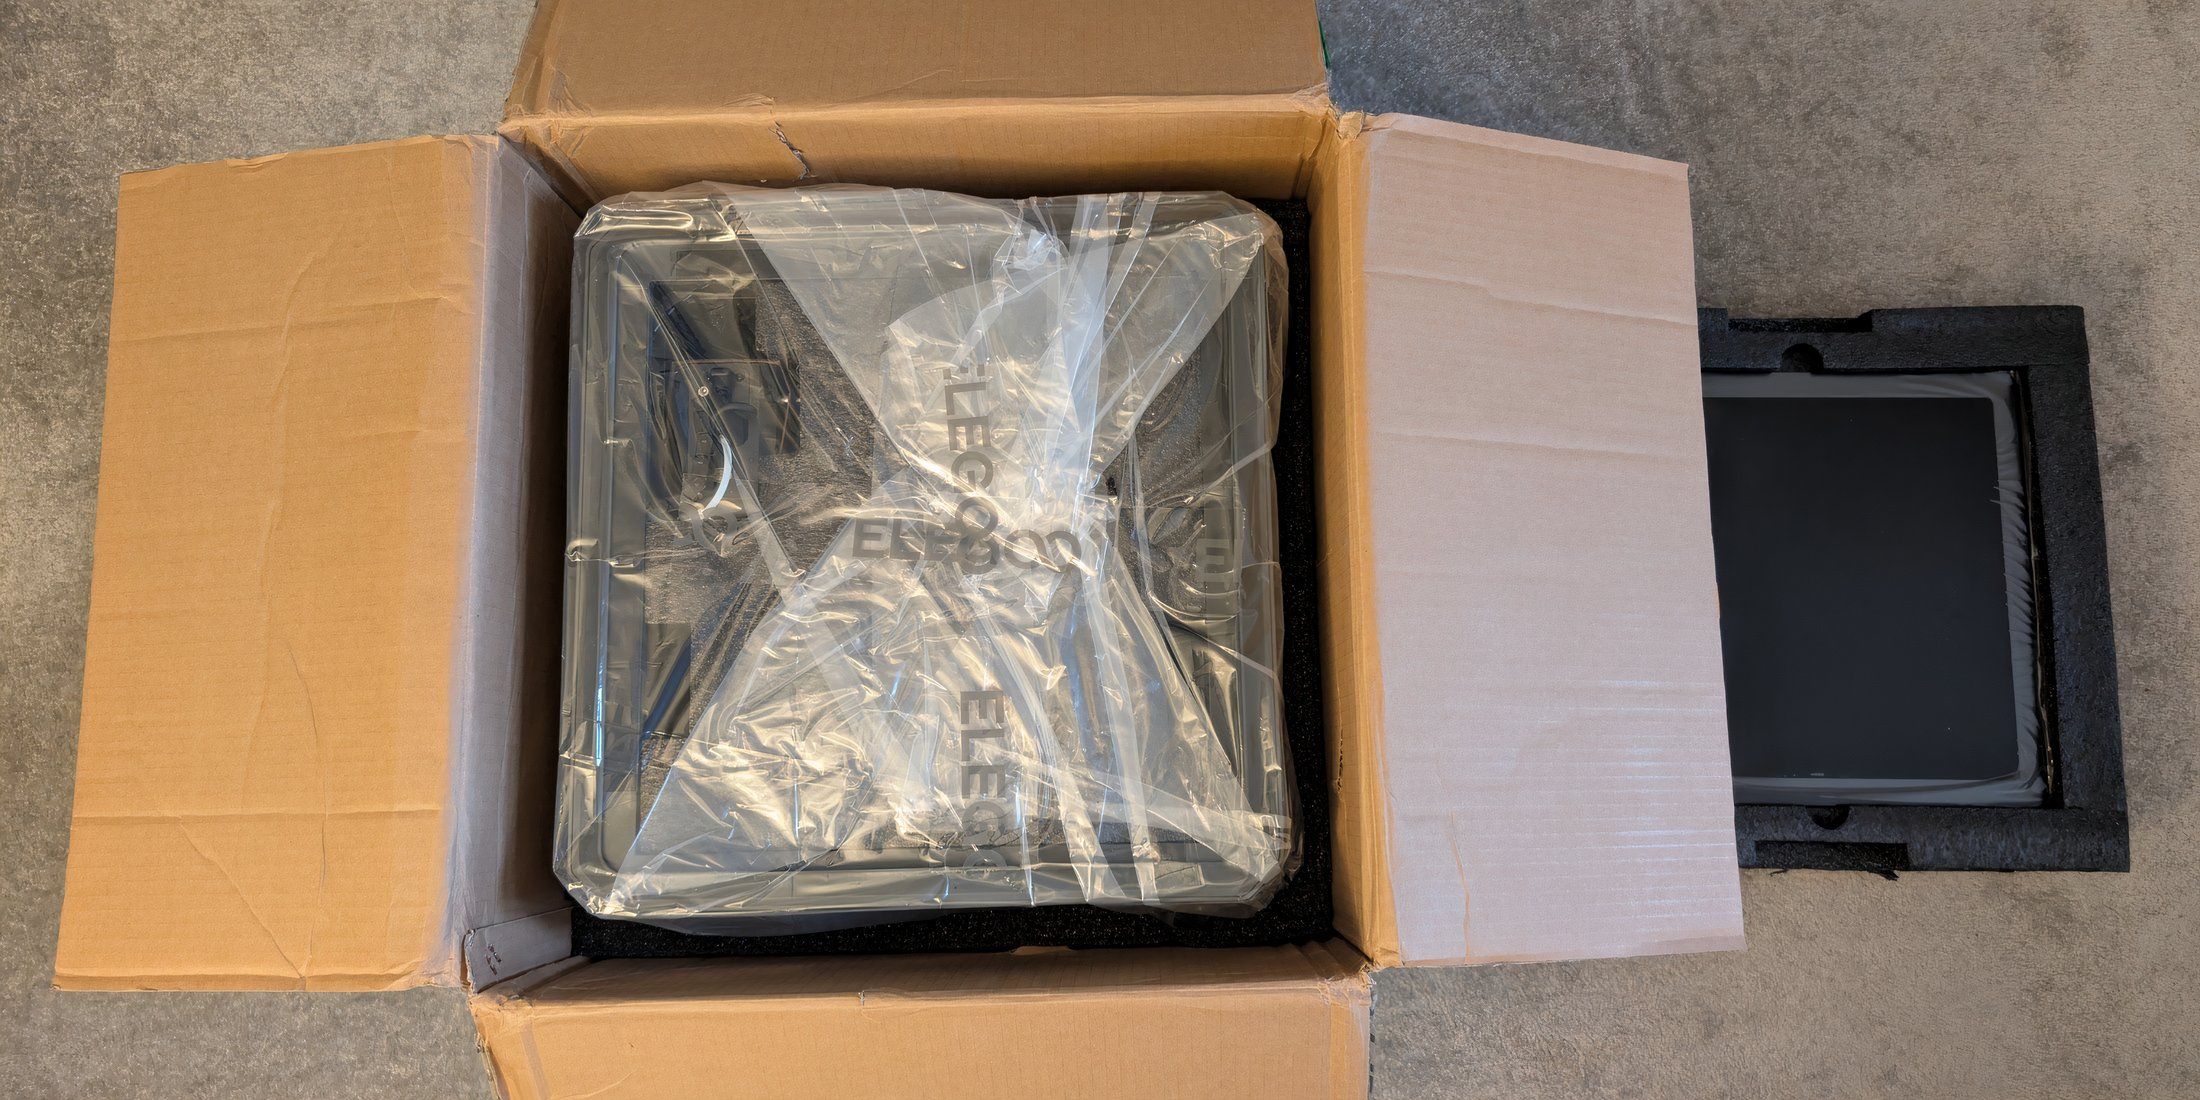
As a cinephile unwrapping the Elegoo Centauri Carbon 3D Printer, I found the setup process relatively straightforward. Most of the printer was pre-assembled, but the top glass panel came separately in its own packaging. While I managed to extract the device from the box solo, having an extra pair of hands would have made the whole process a breeze. Inside the enclosure, the screen and essential tools were neatly tucked away amidst protective foam.
The print head was shielded with some cardboard and zip ties for easy removal. The base of the enclosure needed to be unscrewed to remove the printing bed, and the instructions were included in a box alongside the screen. It’s suggested to check all the boxes and review the instructions prior to powering on the printer. Once the bed was detached, and the top glass installed, I was ready to start printing.
Specifications and Features
The Centauri Carbon features a standard construction space of 256x256x256 millimeters, a common dimension found in many FDM 3D printers. Although smaller and larger printers exist, this build volume generally caters to most applications. Larger objects can be divided in the slicing software to fit the print bed. I’ll delve deeper into that topic later on.
The print head component of this device is capable of reaching speeds up to 500 millimeters per second (print speed), with a top acceleration of 20,000 millimeters per second square. This matches or surpasses the speed capabilities found in similar models from brands such as Bambu Lab and Creality.
Some printers can reach print speeds of up to 700mm/s, however, they may not have rapid acceleration rates compared to other aspects of their performance.
The tip at the heating point can attain a highest temperature of around 320 degrees Celsius, whereas the construction platform can warm up to approximately 110 degrees. Interestingly, this platform is double-faced, flexible, and magnetic; one side is specifically designed for PLA material, while the other side works effectively with various types of filaments.
Regarding that matter, the Centauri Carbon is versatile as it works well with a variety of filaments such as PLA, PETG, TPU, ABS, ASA, reinforced versions like PLA-CF, PETG-CF, ABS-CF, ASA-CF, PET-CF, PA-CF, and standard materials such as PET, PC, and PA within its suitable temperature range.
Among the frequently used materials for 3D printing are PLA, PETG, and TPU. While many standard printers can handle these types, some other filaments may need a specially controlled environment, often provided by an enclosure, to ensure optimal results during the printing process.
In addition to achieving such high temperatures, a 3D printer requires cooling fans to regulate and lower them once printing is finished. The Centauri Carbon includes a Model fan positioned beneath the build platform, an Auxiliary fan for the hot end, and a Case fan, which helps maintain internal enclosure temperatures. All three of these fans work in unison for efficient temperature management.
On the exterior is a 4.3-inch color touchscreen display, which enables you to modify the printer settings and monitor the print progress. Adjacent to it is a USB port for transferring files directly to the printer. The Centauri Carbon supports network printing, so you can print without physically moving files or even using the screen for that purpose. Additionally, its internet connectivity allows for over-the-air software updates.
Ideal for Beginners
This 3D printer is excellent for beginners because it handles many of the necessary optimizations and calibrations, allowing you to focus more on printing. It comes with several helpful features like automatic leveling and z-axis compensation, PID tuning, Input Shaping, and a one-click self-check function, making setup and operation effortless for new users.
Auto-leveling ensures that the building platform remains even for an ideal adherence of the first layer in the printing process. PID tuning adjusts the hot end to function optimally. Input shaping or resonance compensation minimizes printer vibrations during printing. One-click self-check, as implied, fine-tunes all these settings with a simple click. It’s important to note that during calibration, the machine may produce various loud noises, which is normal during this process.
Additionally, it comes equipped with an onboard camera for tracking your prints and creating time-lapse sequences. While it may not be top-tier quality, it’s more than adequate for ensuring that your prints are coming out correctly.
Design and Build Quality
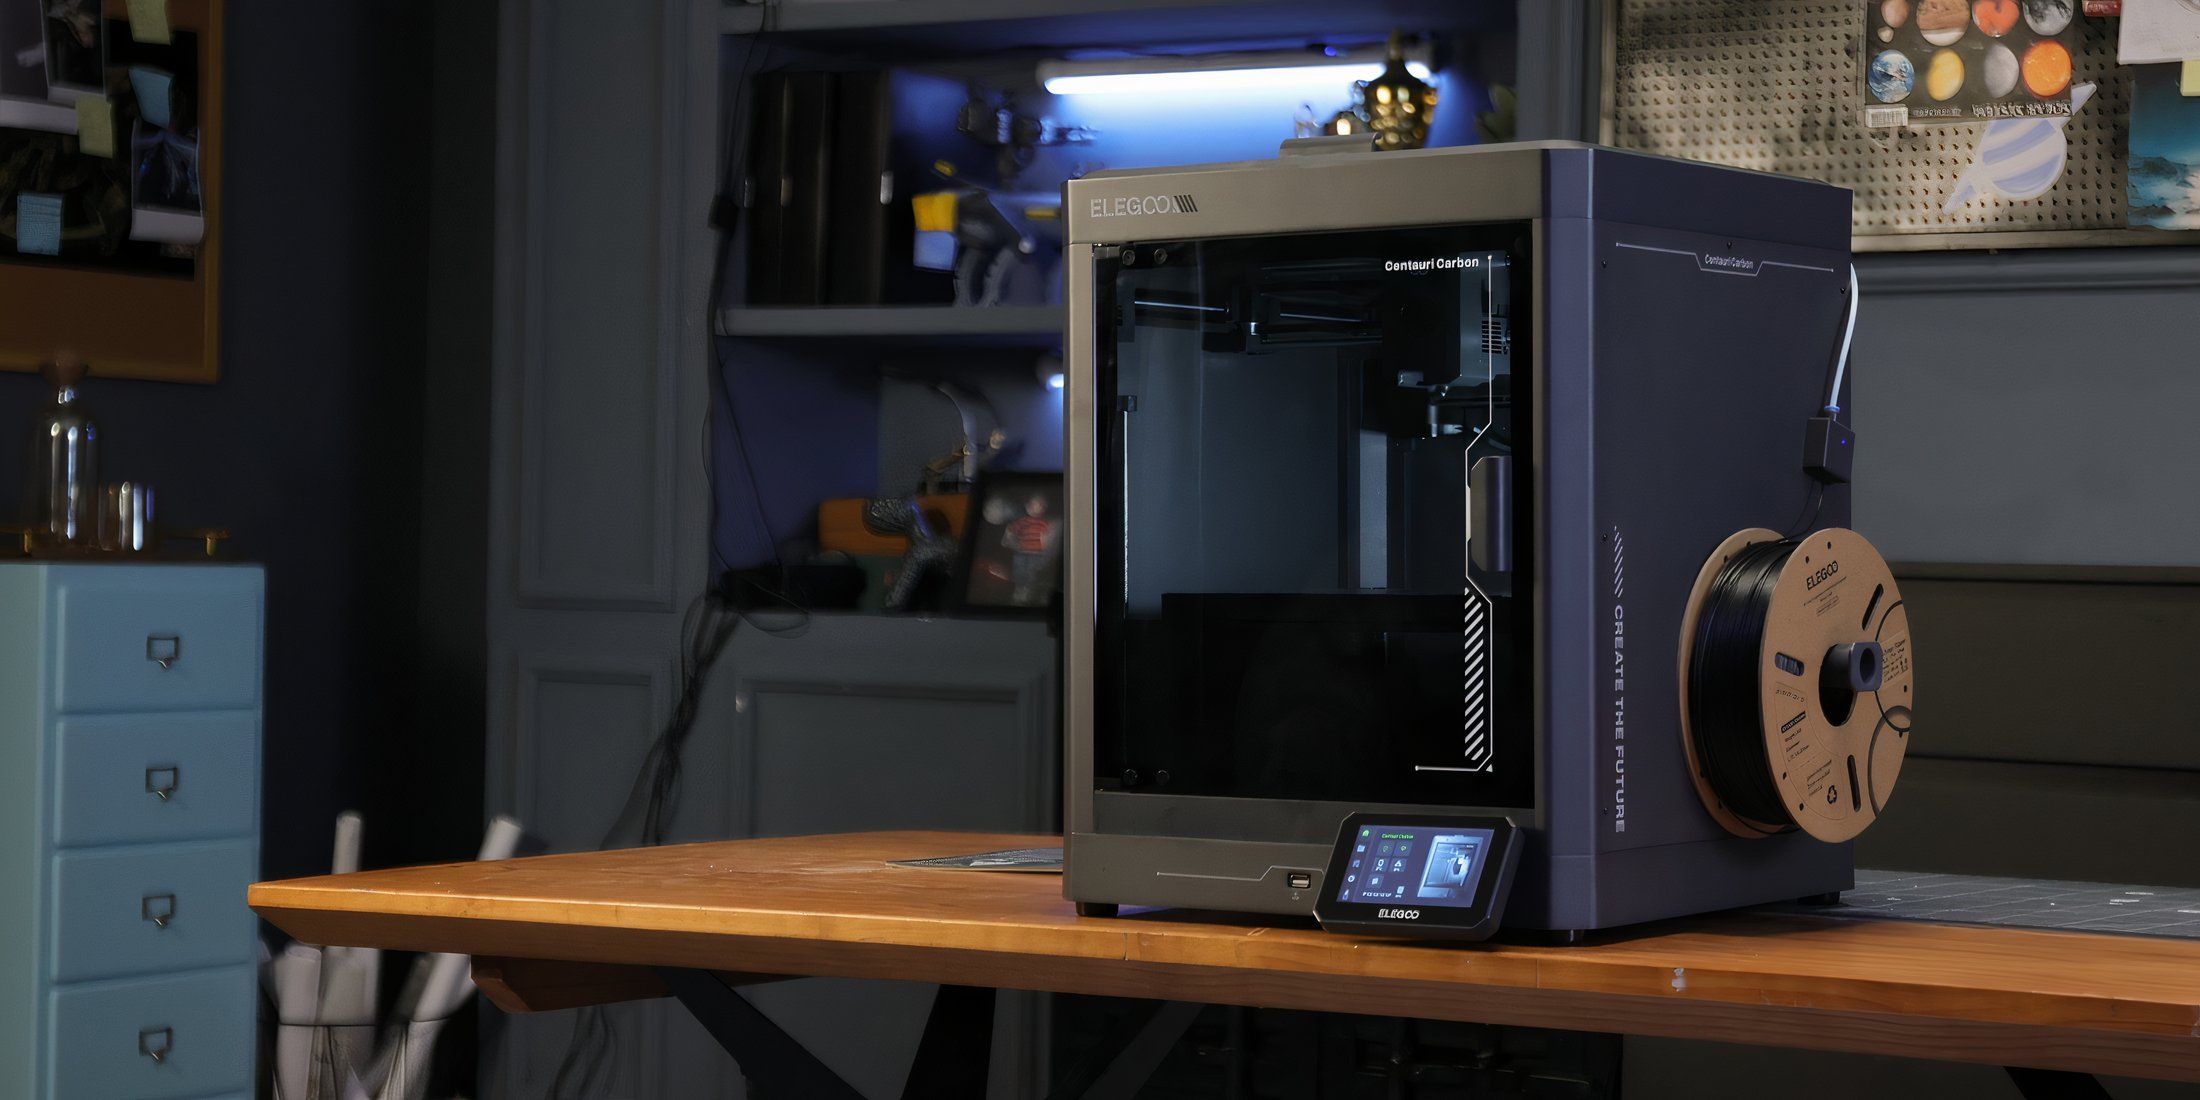
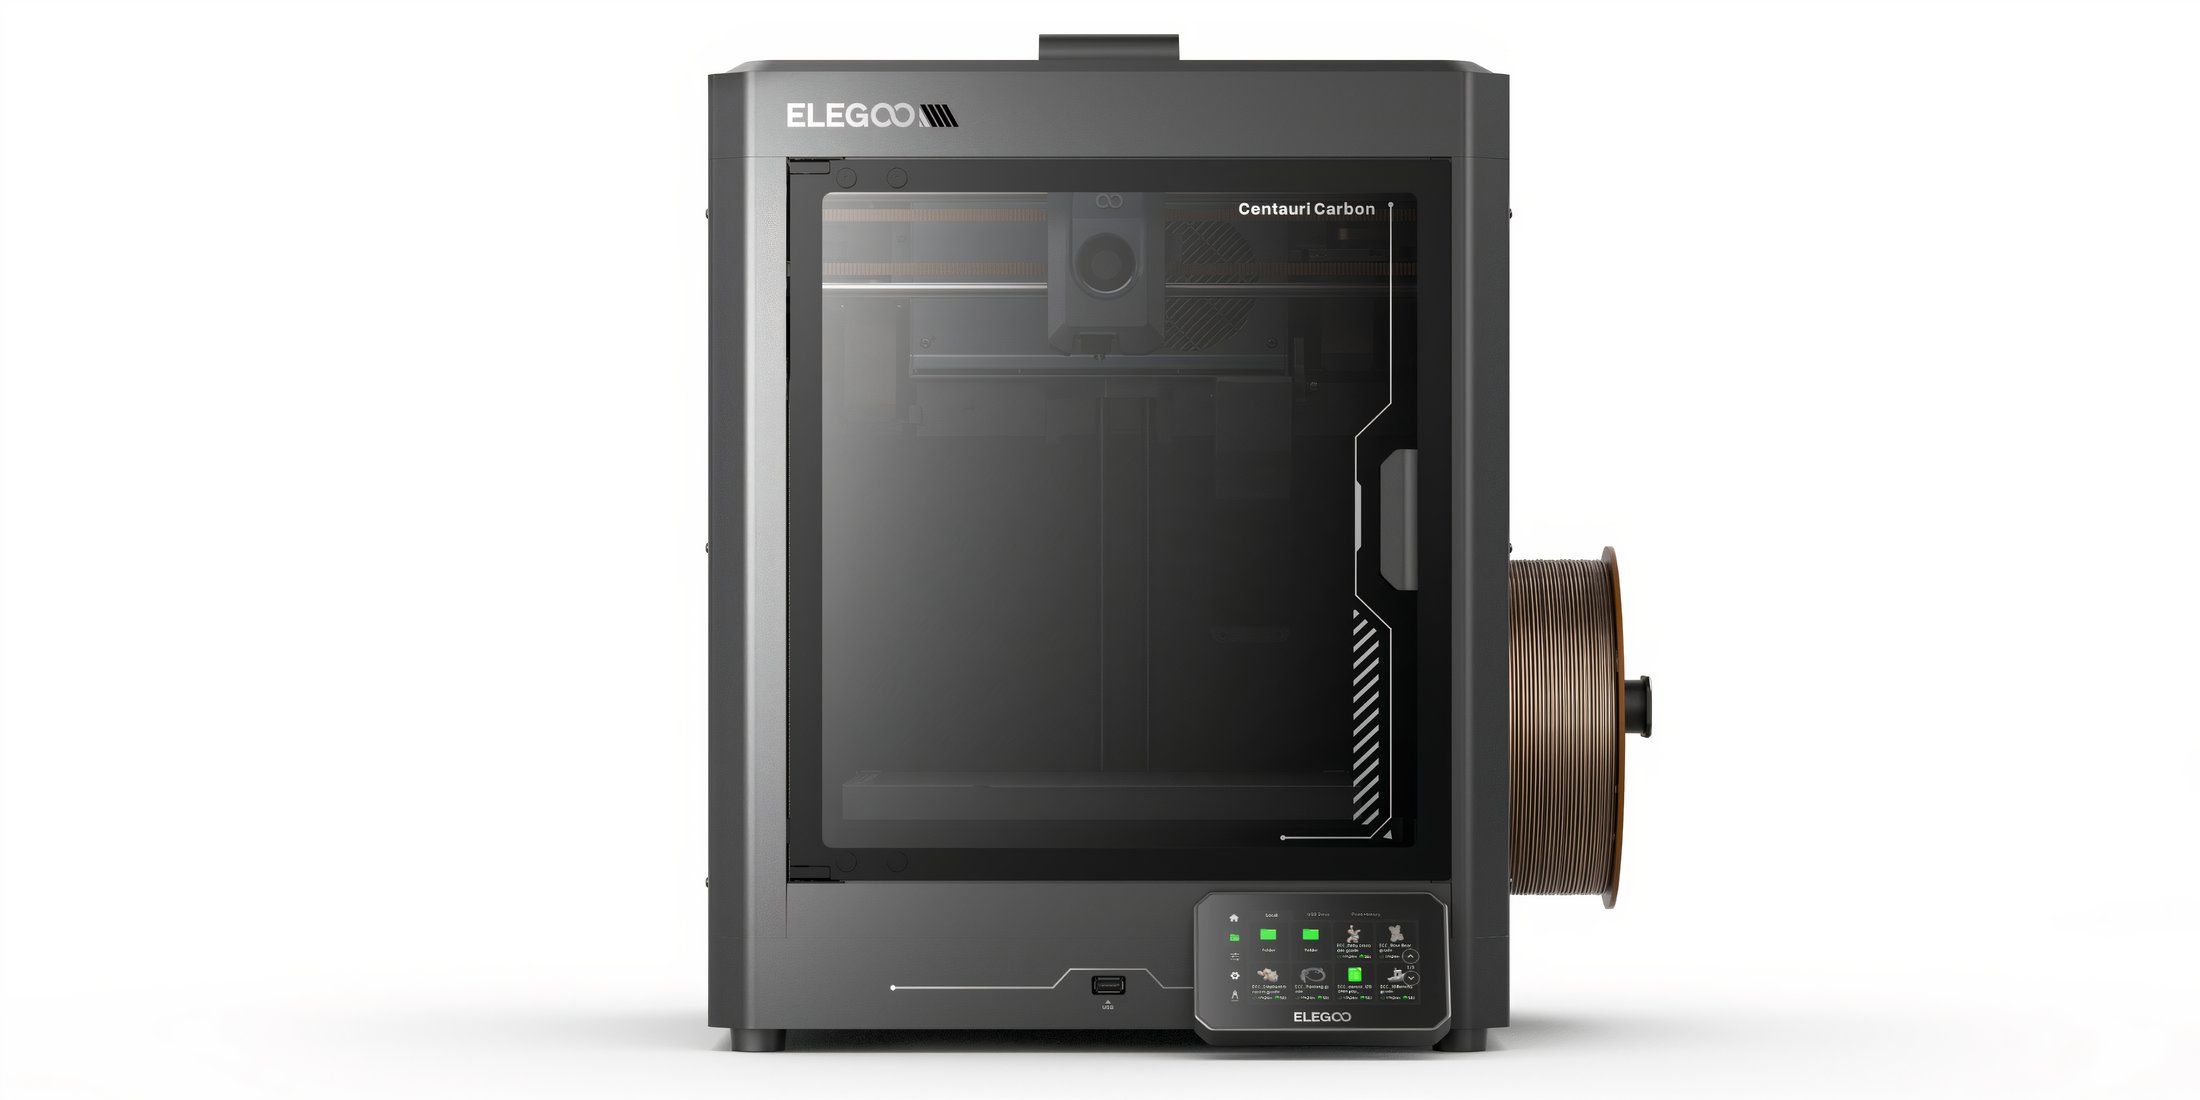
The Centauri Carbon’s casing is constructed with aluminum, featuring a glass pane up above and a glass entrance door at front. It exudes a sense of sturdiness and quality construction, whether viewed from the inside or outside. Power cables and PTFE tubes leading to the hot end are neatly tucked away within a flexible cable organizer, which is cleverly routed around the enclosure’s walls. The glass pane on top performs effectively in minimizing noise levels.
At the back of it, there’s an opening for waste material (commonly known as a ‘poop chute’) that expels extruded plastic outside the printer. The filament spool holder and sensor are both situated on the right side, although the placement of the sensor seems somewhat unusual. Functionality-wise, the sensor works perfectly fine, and I have no criticisms about the overall build quality of the Centauri Carbon.
Performance and Software
Right from the get-go, following the initial check, I linked the Centauri Carbon to my Wi-Fi network and initiated the Elegoo Slicer software. Setting up the connection was a breeze, and I promptly sent the initial test print command to the device without delay.
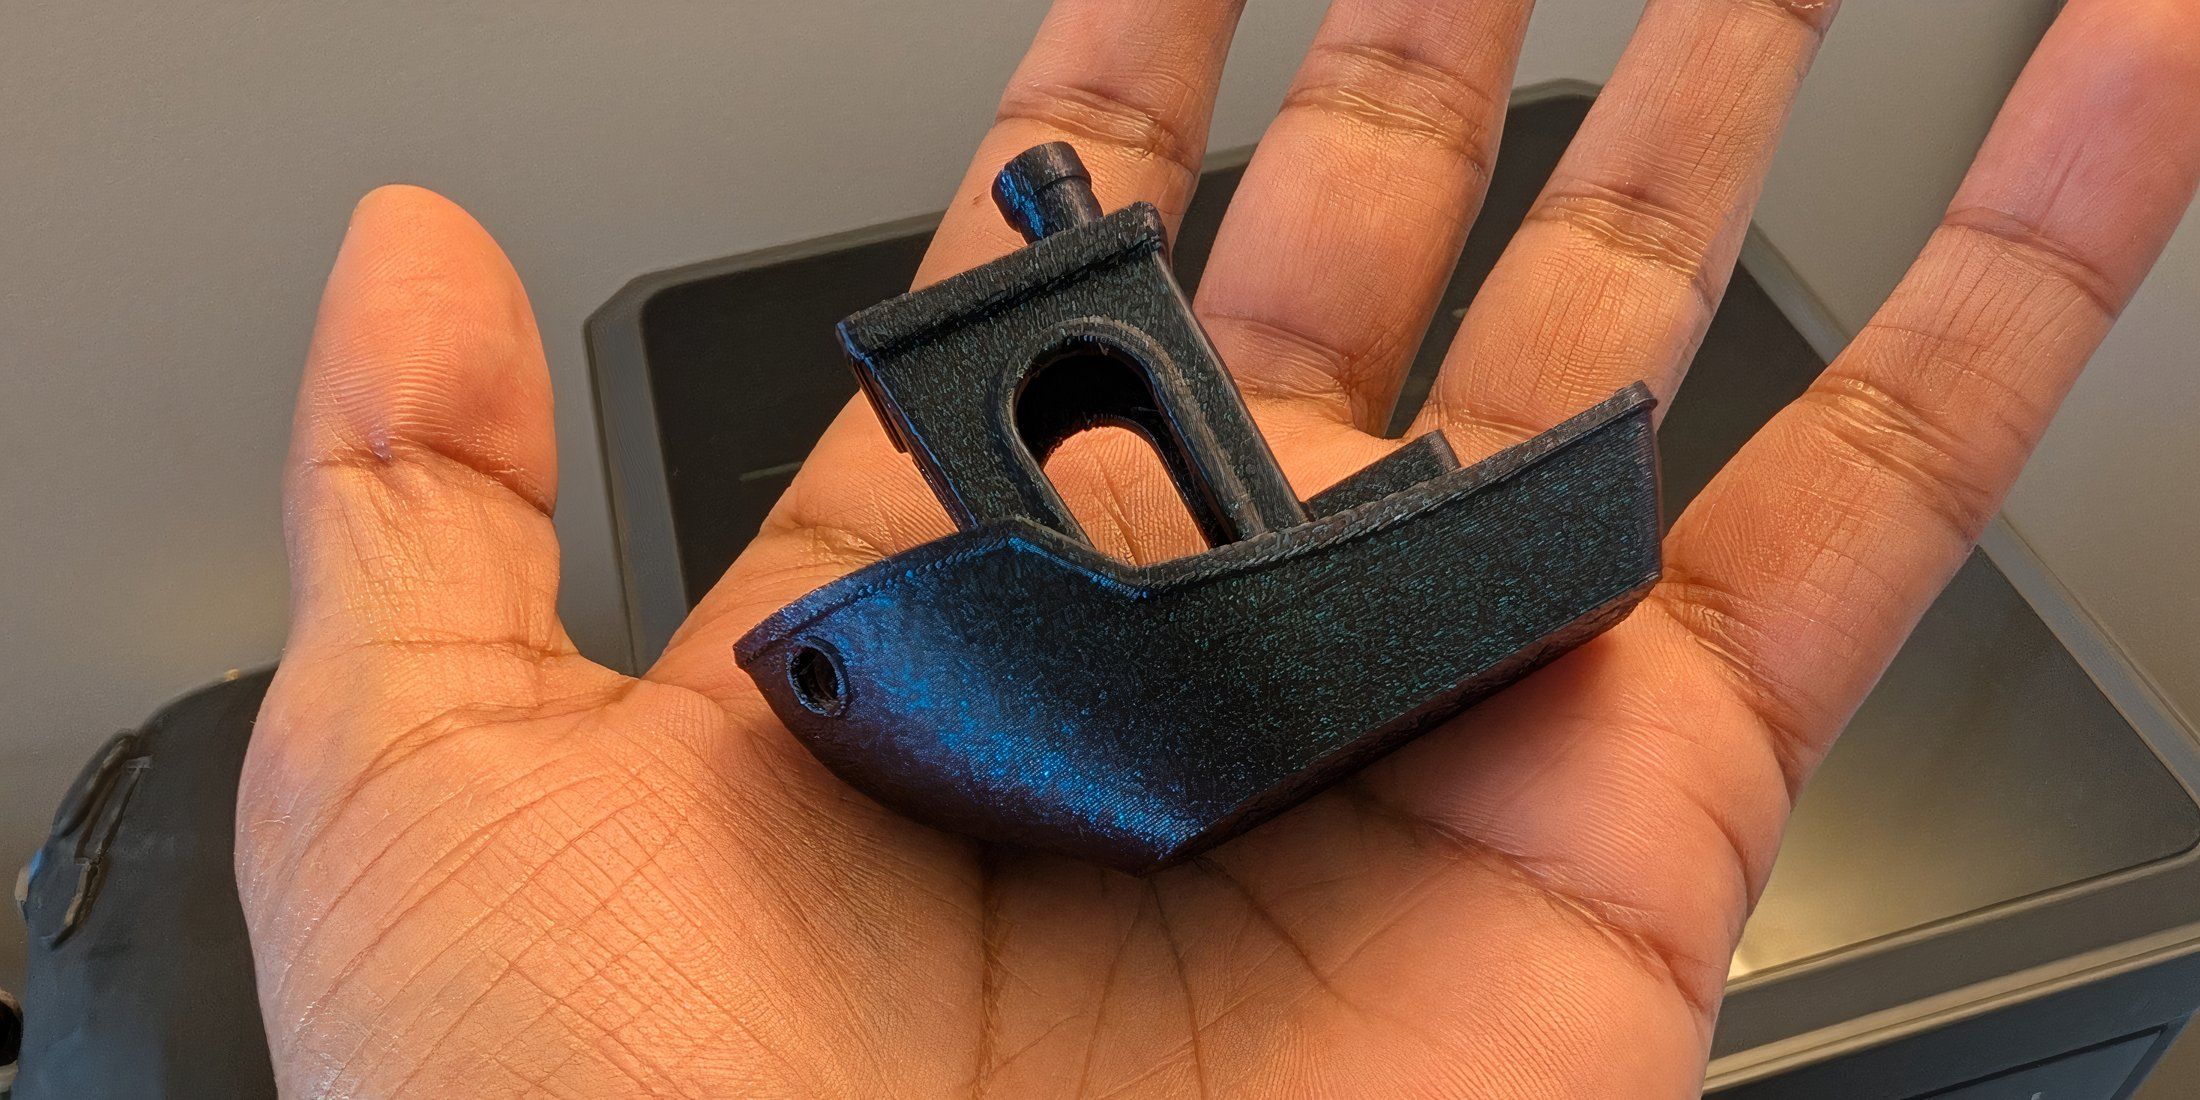
With each Elegoo printer purchase, you receive a USB drive filled with test prints and slicer software. Using the provided slicer software and Elegoo Galaxy Black PLA cartridge, I printed the ‘Benchy’ 3D model in approximately 30 minutes. The final product boasted nearly invisible layer lines across most areas, with no stringing or adhesion issues on the build plate. After successfully completing the Benchy print, I adjusted a few settings and moved on to creating more practical designs, all of which turned out splendidly.

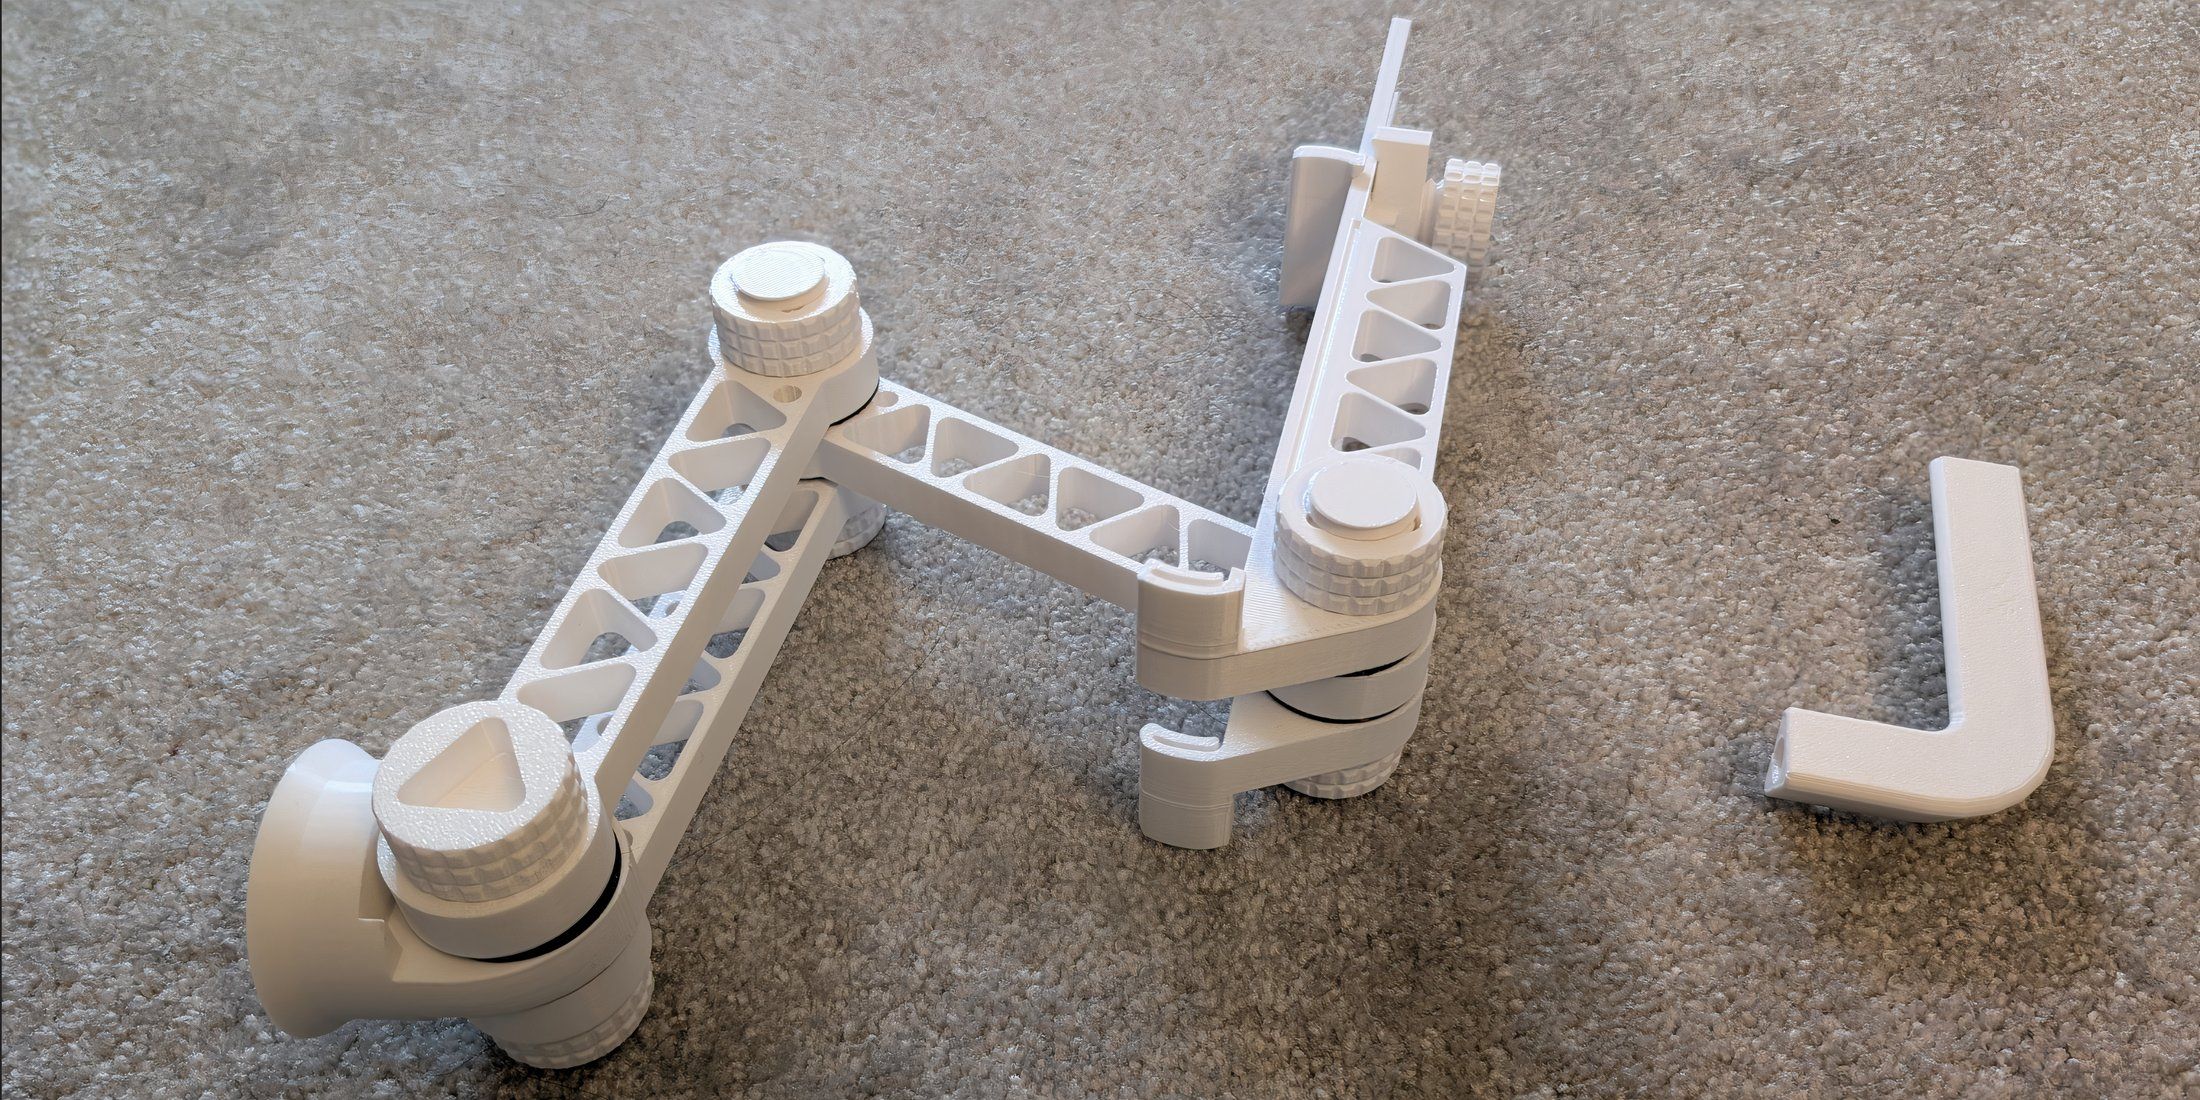
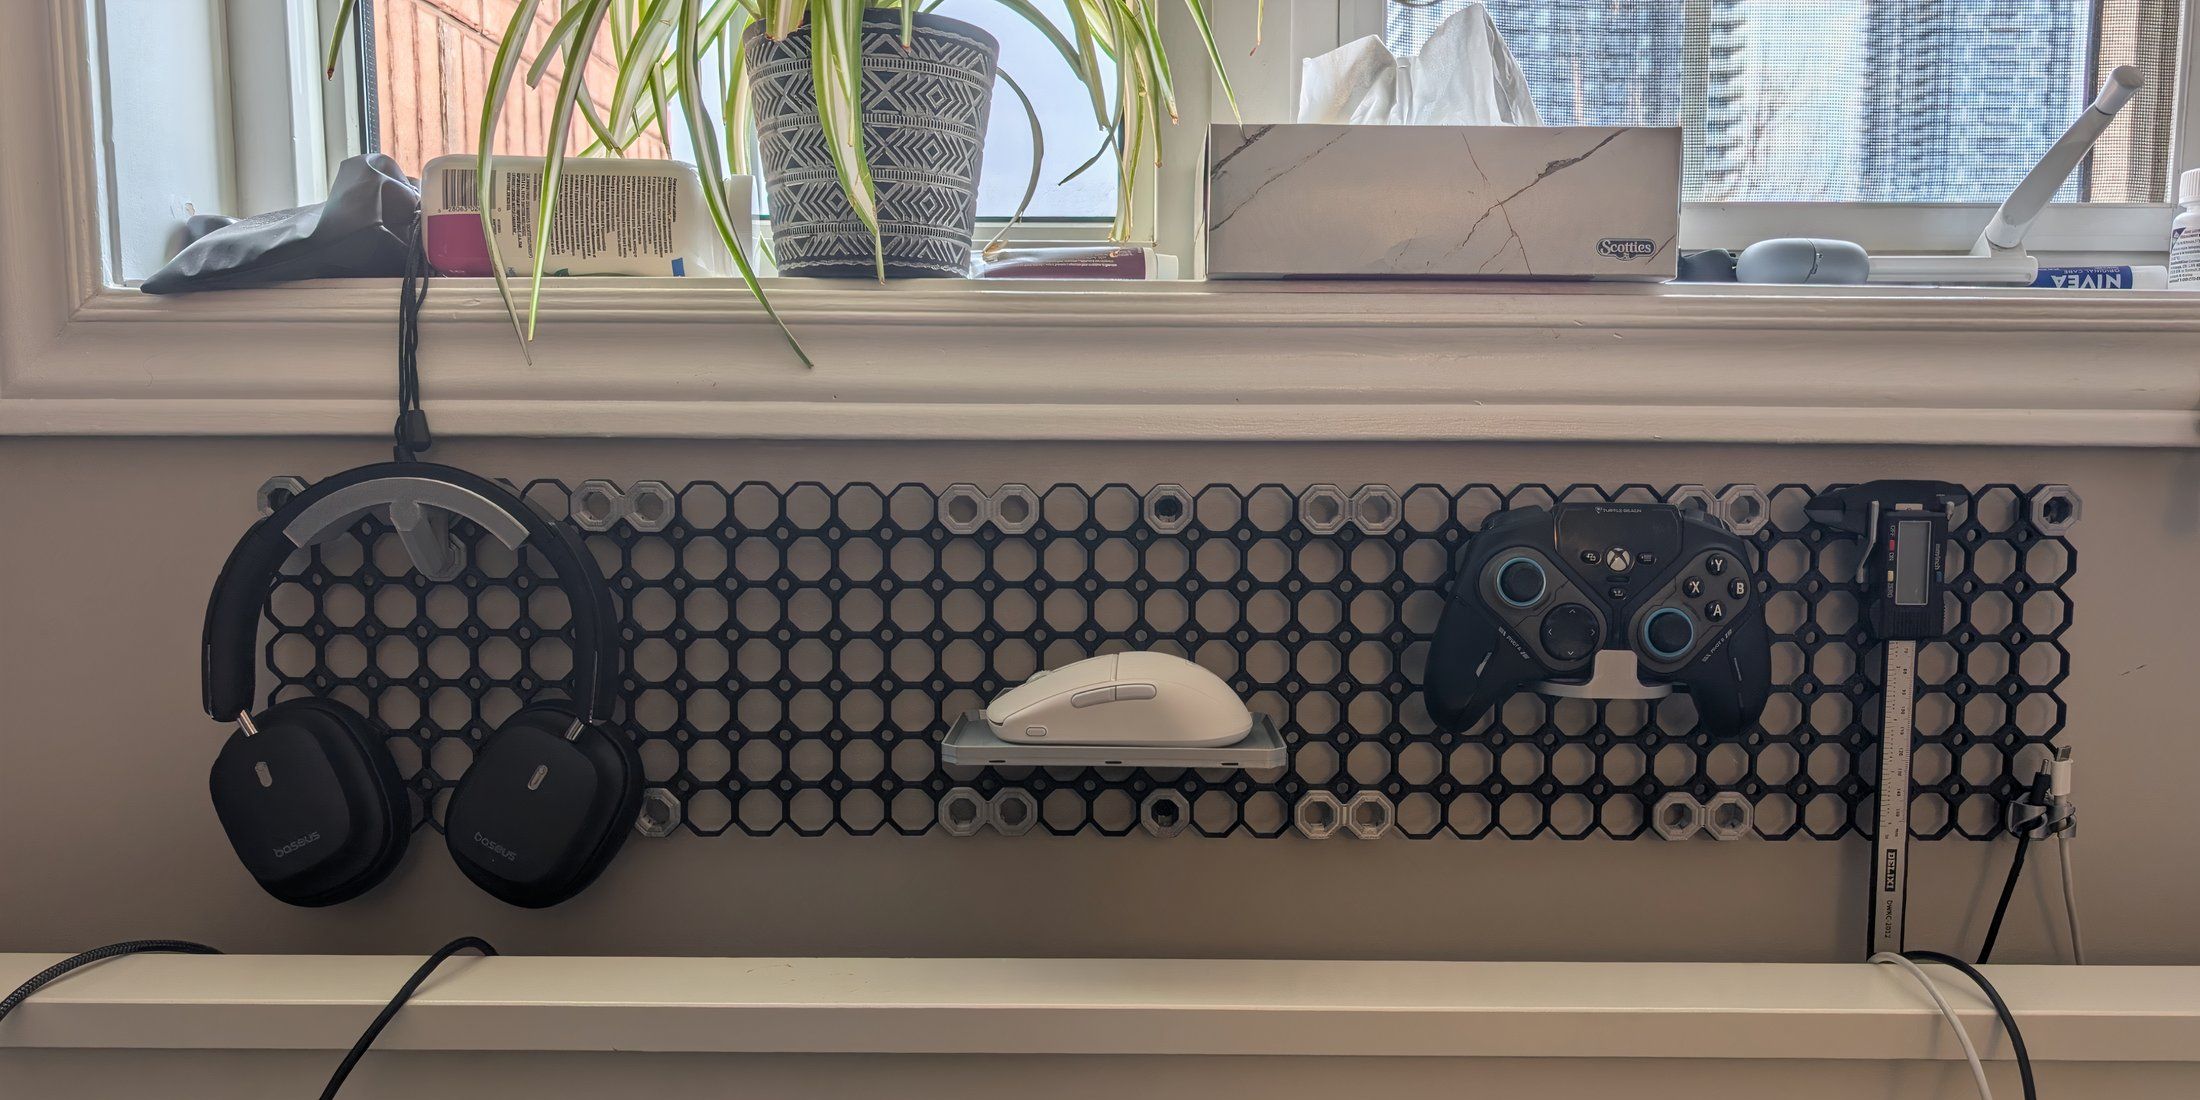
I’m thrilled to share that I achieved a consistently sticky first layer, essential for flawless prints, across various materials. From PLA and Rapid-PETG to TPU, ASA, and even PLA-Carbon Fiber, everything printed smoothly and without a hitch. Over the last week, I’ve been diligently testing different materials and objects, clocking in about 52 hours of print time. To my delight, there were no issues with build plate adhesion or hot end malfunctions throughout this period.
Issues Changing the Filament
In some instances, I found that adjusting the ‘Load’ setting twice was necessary because the filament wouldn’t extrude following a successful first loading process. This wasn’t effective when using TPU, which can be tricky to print due to its flexible characteristics. Instead, I needed to detach the PTFE tube connected to the tool end and gently tug on the filament to resolve the issue. Apart from that, printing various types of filaments was trouble-free for me.
Regarding the slicing software, Elegoo’s version is built upon Bambu Studio, itself derived from Prusa Slicer. At present, only Elegoo Slicer offers compatibility with the Centauri Carbon, though other software should follow suit in supporting this new printer soon. Similar to these other slicers, Elegoo’s software is user-friendly and can display essential settings if you prefer to avoid more complex options.
A slicer enables you to transform your STL or other 3D models into a Gcode file, which is essentially a set of instructions that a 3D printer can comprehend. This Gcode can later be wirelessly transmitted to the printer for easy printing. The ‘Device’ tab offers the ability to supervise your connected printer. Not only can you control the bed and tool head from here, but you also receive a live feed through the camera.
Final Thoughts
The Elegoo Centauri Carbon delivers an outstanding initial user experience, making it an ideal choice for individuals diving into the world of 3D printing. Its user-friendly design and construction will be highly appealing to novices. Assembly is straightforward, and network printing ensures a hassle-free process. Self-diagnostic tools and auto-leveling functions further simplify the experience. This all-in-one package caters primarily to beginners yet incorporates capabilities typically found in more sophisticated 3D printers.
Read More
- Unlock the Magic: New Arcane Blind Box Collection from POP MART and Riot Games!
- Top 8 UFC 5 Perks Every Fighter Should Use
- How to Reach 80,000M in Dead Rails
- Unlock the Best Ending in Lost Records: Bloom & Rage by Calming Autumn’s Breakdown!
- Unlock Roslit Bay’s Bestiary: Fisch Fishing Guide
- Jujutsu Kaisen Shocker: The Real Reason Gojo Fell to Sukuna Revealed by Gege Akutami!
- Unaware Atelier Master: New Trailer Reveals April 2025 Fantasy Adventure!
- How to Unlock the Mines in Cookie Run: Kingdom
- REPO: How To Fix Client Timeout
- MHA’s Back: Horikoshi Drops New Chapter in ‘Ultra Age’ Fanbook – See What’s Inside!
2025-02-05 03:06