As a dedicated fan of Flintlock: The Siege Of Dawn, I cannot stress enough the importance and value of completing Sapper quests like “Lost In Battle.” These side quests add depth to the game’s narrative by immersing players in the lives of camp members like Baz.
In the game “Flintlock: The Siege Of Dawn,” there are three kinds of missions for players: main quests, side quests, and Sapper tasks. Sapper tasks involve assisting people in your camp who are traveling with Nor. The initial one centers around Baz.
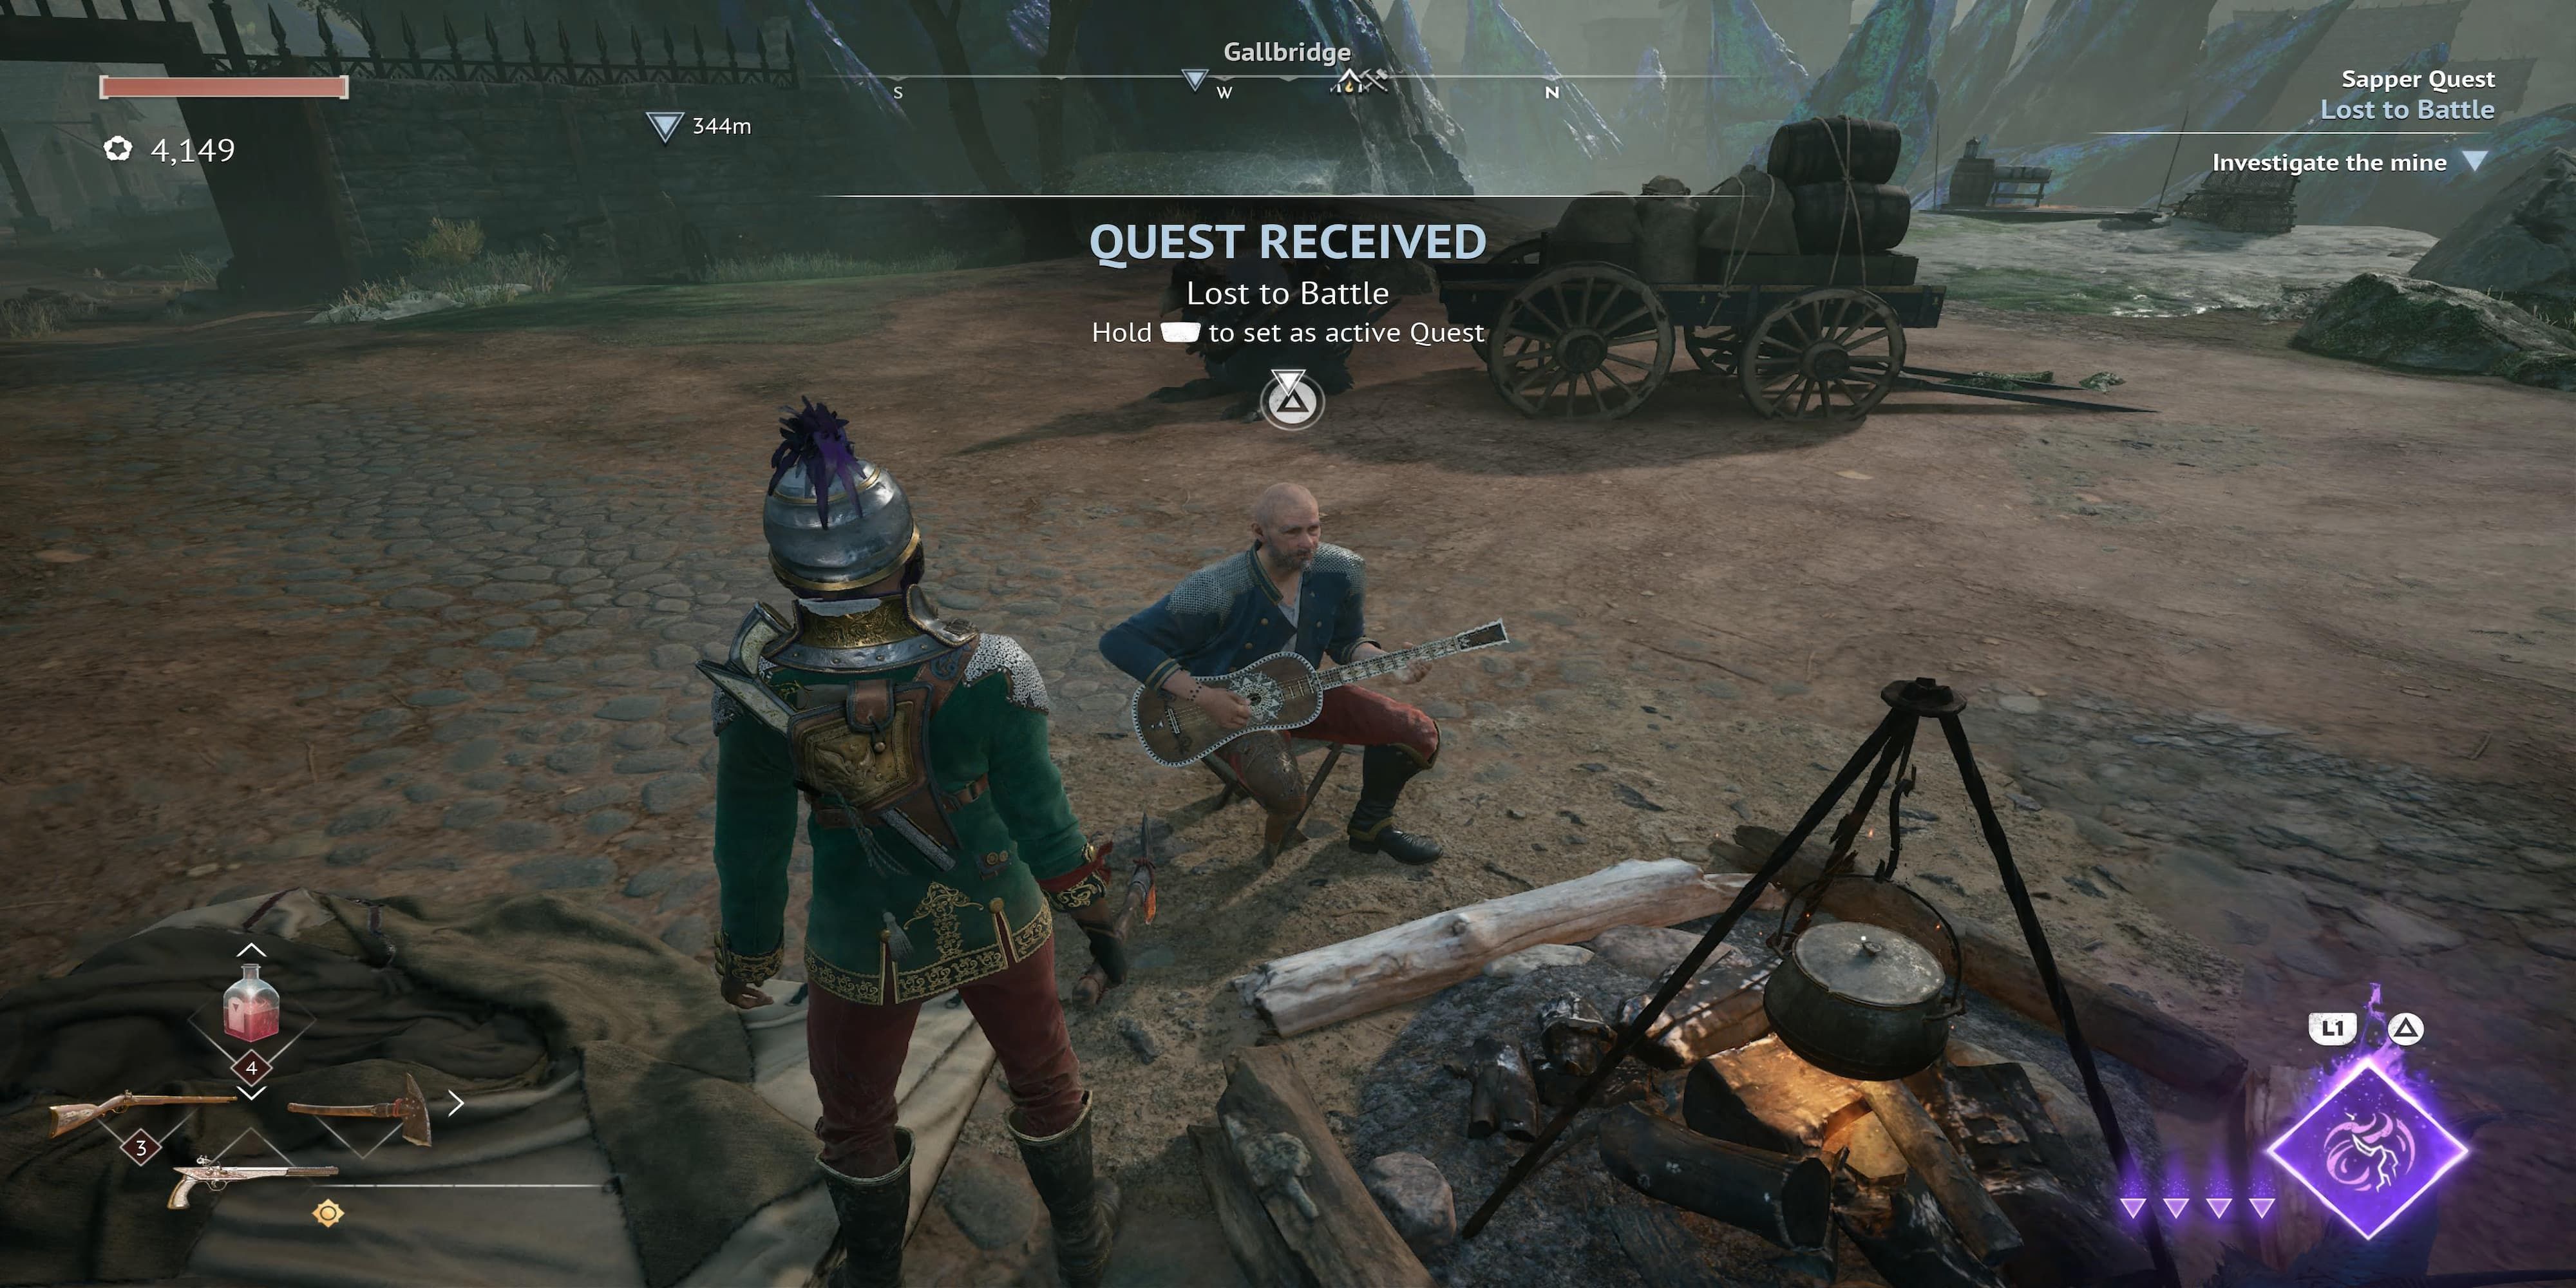
Prior to encountering the Revenant at Whitebridge, players will pass through a campsite and converse with Baz. He’ll share that he was recently robbed by deserters. The Revenant serves as the initial significant adversary for players to tackle. Engaging in the Sapper quest earlier can provide additional preparation.
How To Complete Lost In Battle In Flintlock: The Siege Of Dawn
As an old adventurer with years of exploration under my belt, I can tell you that the location for this quest lies to the west of the camp where our journey begins. The path to reach this cave is no walk in the park, let me tell you. You’ll have to navigate through a once bustling town now overrun by spiders and the undead. It’s a chilling sight, I can assure you. But press on, adventurer, for the northern route will lead you to an epic boss fight against the Revenant.
While venturing into the cave, keep going straight along the railroad track. After reaching the second turn to the left, take that path. You’ll come across a sizable chamber with a hole in its center. Utilize a quick succession of jumps just before landing (last-second double jump) to avoid taking damage and discover a Lodestone beneath. Turn southwest and proceed through the adjoining tunnel to encounter a room inhabited by a spider and an armored foe. Subsequently, follow the trail to the left.
The First Breaching Barrel
As you advance on the tight trail, you’ll encounter a chamber containing three adversaries, with no option of retreating to the previous area. Once you’ve defeated them, go right beside the pathway to discover the first Explosive Barrel. Players can employ it to blast open the obstruction that hinders your progression further. Remember to refill your health and take care of any Reputation matters before moving on to the next room.
The Second Breaching Barrel & Savage Swarm
In the following room, you’ll find significantly more space and an ample number of barrels that could explode. Near the cave-in straight ahead, you’ll encounter one of the individuals who robbed Baz. They will hand over a Blunderbuss to you.
- Shoots 10 pellets in a 60-degree spread
- Black Powder Charges: 2
- Damage: 4
- Stun: 8
As a seasoned gamer with years of experience under my belt, I’d say this pistol is not for the precision shooters out there. Instead, it shines when used in large groups, making it perfect for taking down hordes of enemies in a pinch. However, if you’re aiming for specific targets or barrels, you might want to stick with a more accurate weapon.
Holding Baz’s gun, proceed through the cave that was recently inhabited by a large group of enemies, moving on to the last chamber. In this room, there is a cluster of foes near a volatile barrel. To escape, leap onto the platform located to the right of the cave, which will lead you back outside. Utilize the vortex rift situated upward and to the right to make your way back to the primary path, ultimately taking you back to Baz. The major prize for completing this mission includes retaining his Blunderbuss, as well as a bonus of 500 Reputation points.
Read More
- LUNC PREDICTION. LUNC cryptocurrency
- SOL PREDICTION. SOL cryptocurrency
- BICO PREDICTION. BICO cryptocurrency
- BTC PREDICTION. BTC cryptocurrency
- USD ZAR PREDICTION
- VANRY PREDICTION. VANRY cryptocurrency
- USD CLP PREDICTION
- LAZIO PREDICTION. LAZIO cryptocurrency
- WELSH PREDICTION. WELSH cryptocurrency
- G PREDICTION. G cryptocurrency
2024-07-19 07:33