So, the raids in Ghost of Yotei Legends are seriously tough – they’re the ultimate challenge and you need a solid team of four to tackle them. When they first launched, there wasn’t a matchmaking system, which meant I had to jump onto Discord and find some people to play with. It was a bit of a hassle, but totally worth it when we finally beat the raid!
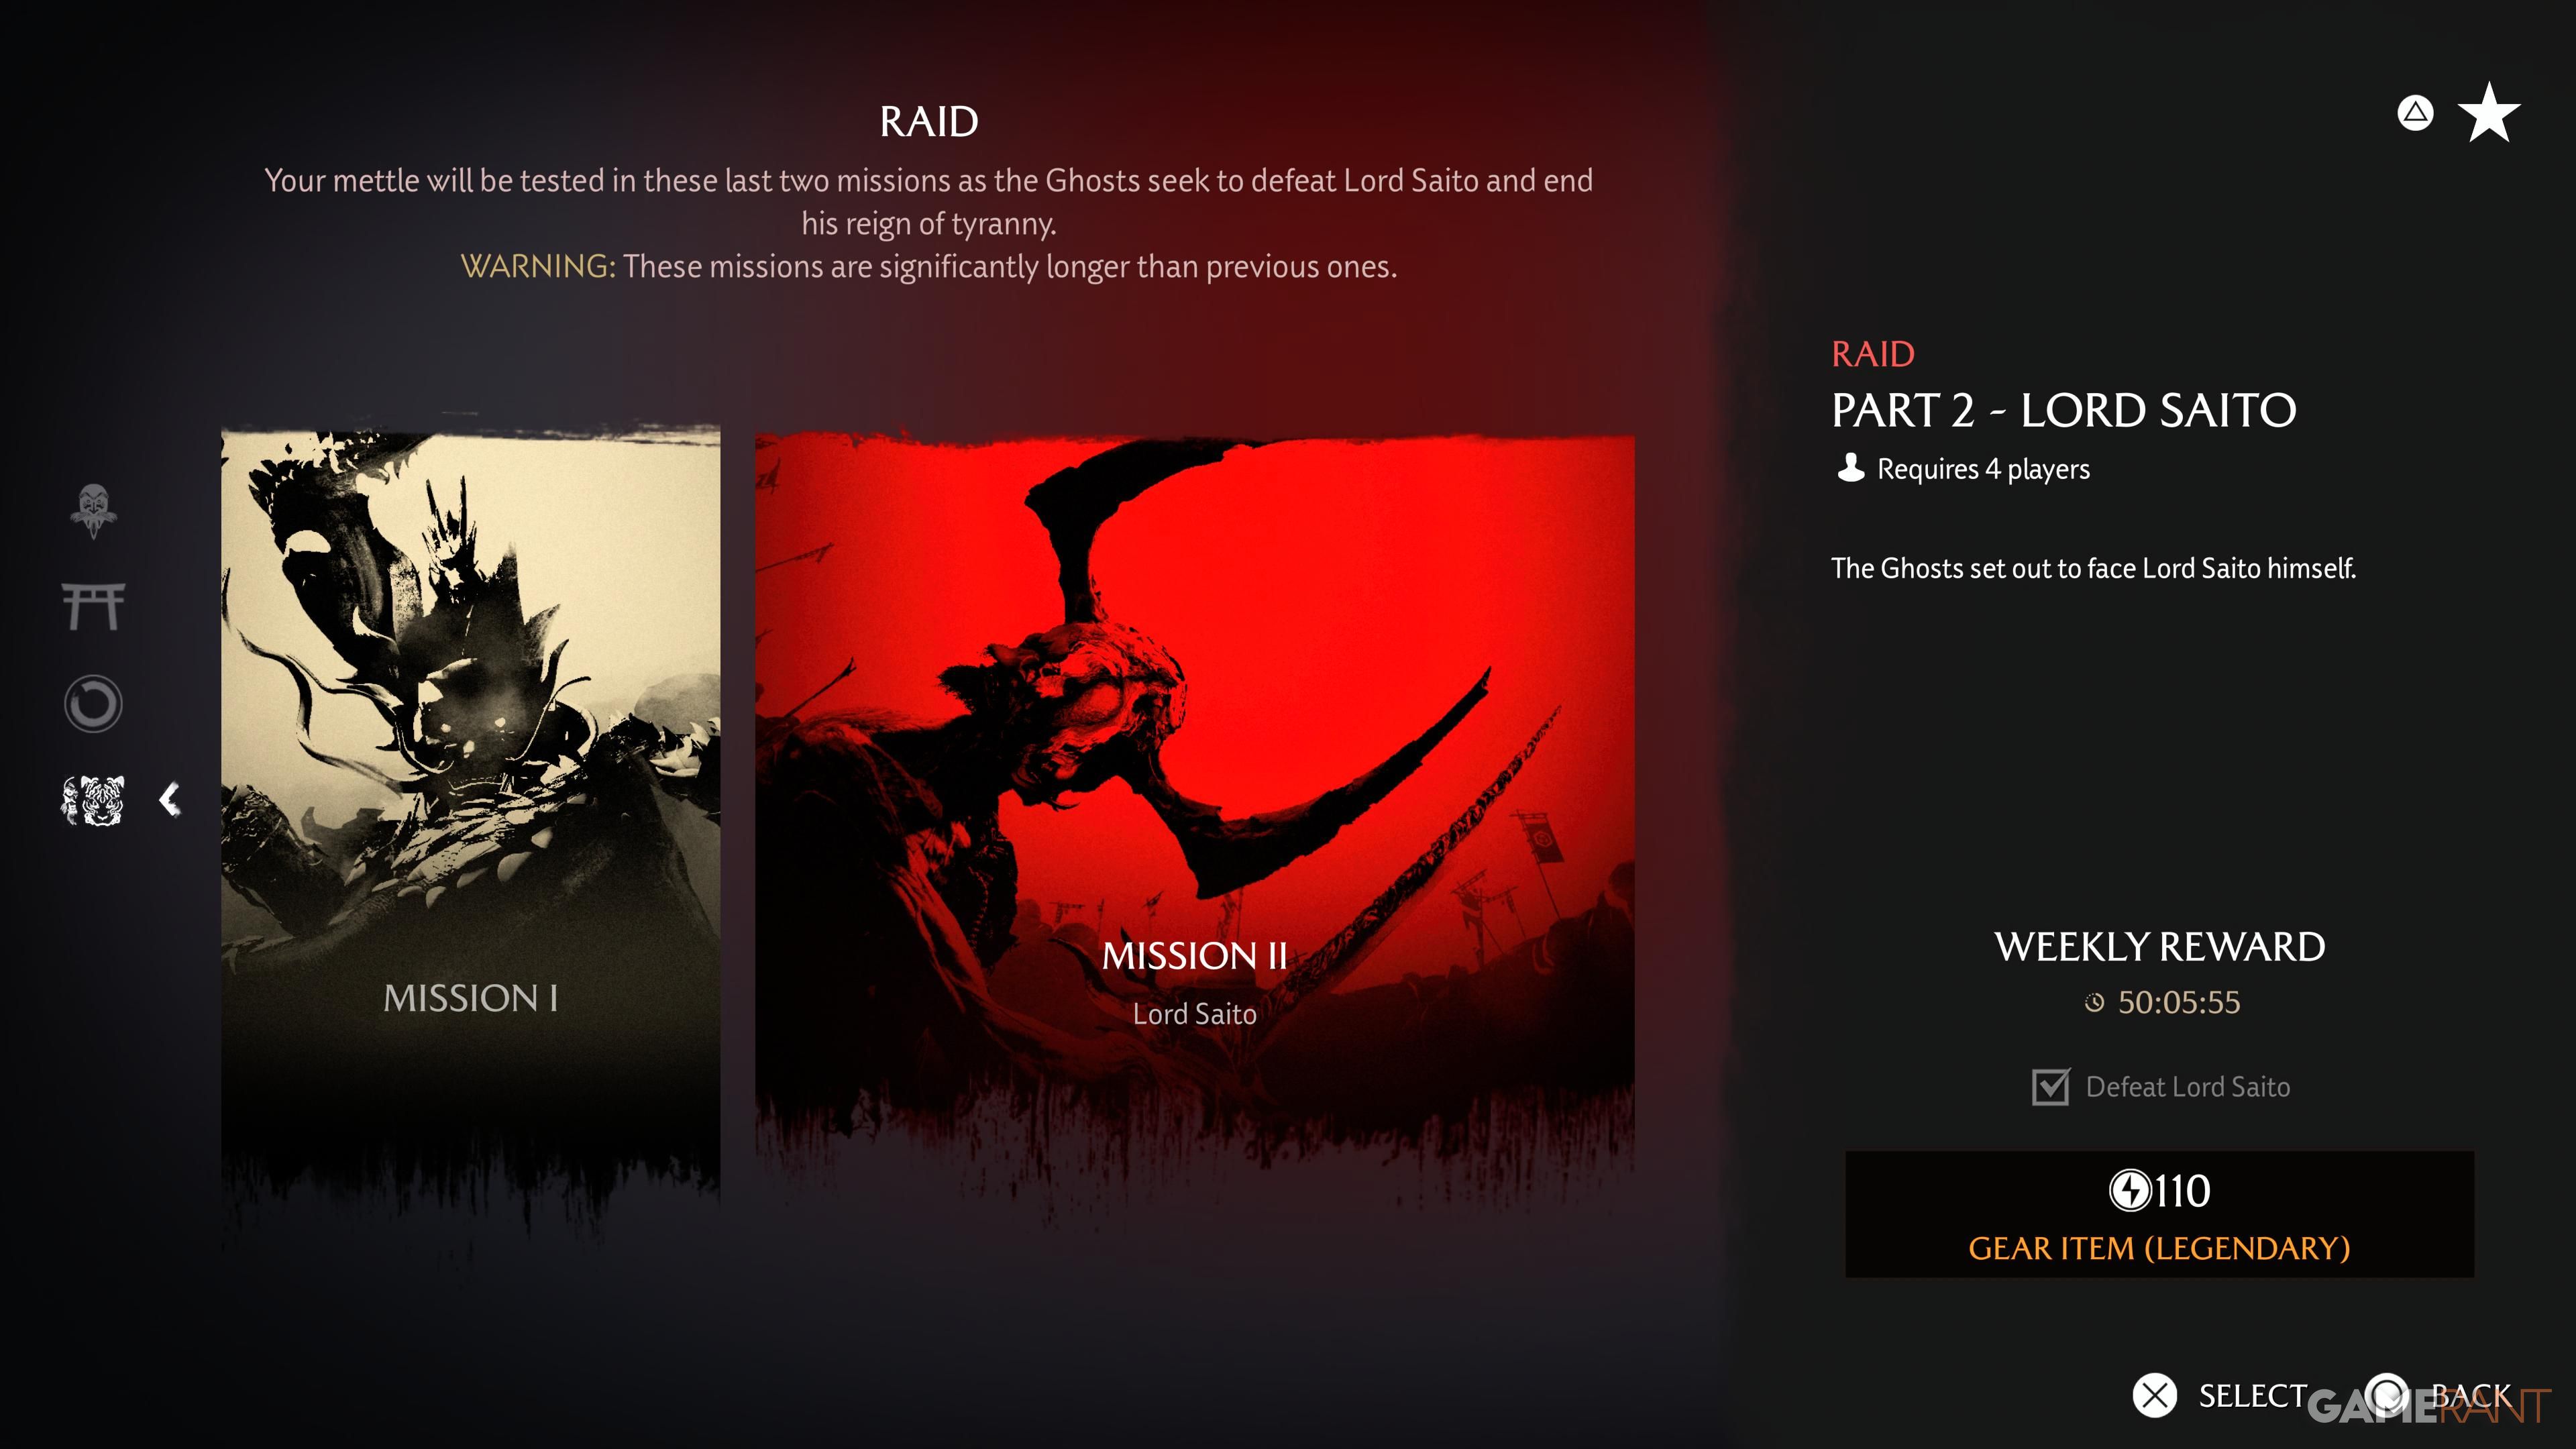
Once you finish the Dragon Raid, you’ll unlock a new raid against Lord Saito, letting you defeat him and finish the Legends storyline. This guide will walk you through all the puzzles before the boss fight and explain how Lord Saito attacks in Ghost of Yotei Legends.
Once you finish both raids, you’ll earn the Kaibyaku trophy. Completing the raids also gives you unique cosmetic outfits for each character class. If you’re looking for an easy way through a tricky part (explained below), make sure one player brings Vengeful Onibi Bombs.
How to Complete Lord Saito Raid in Ghost of Yotei Legends
Final Ascent
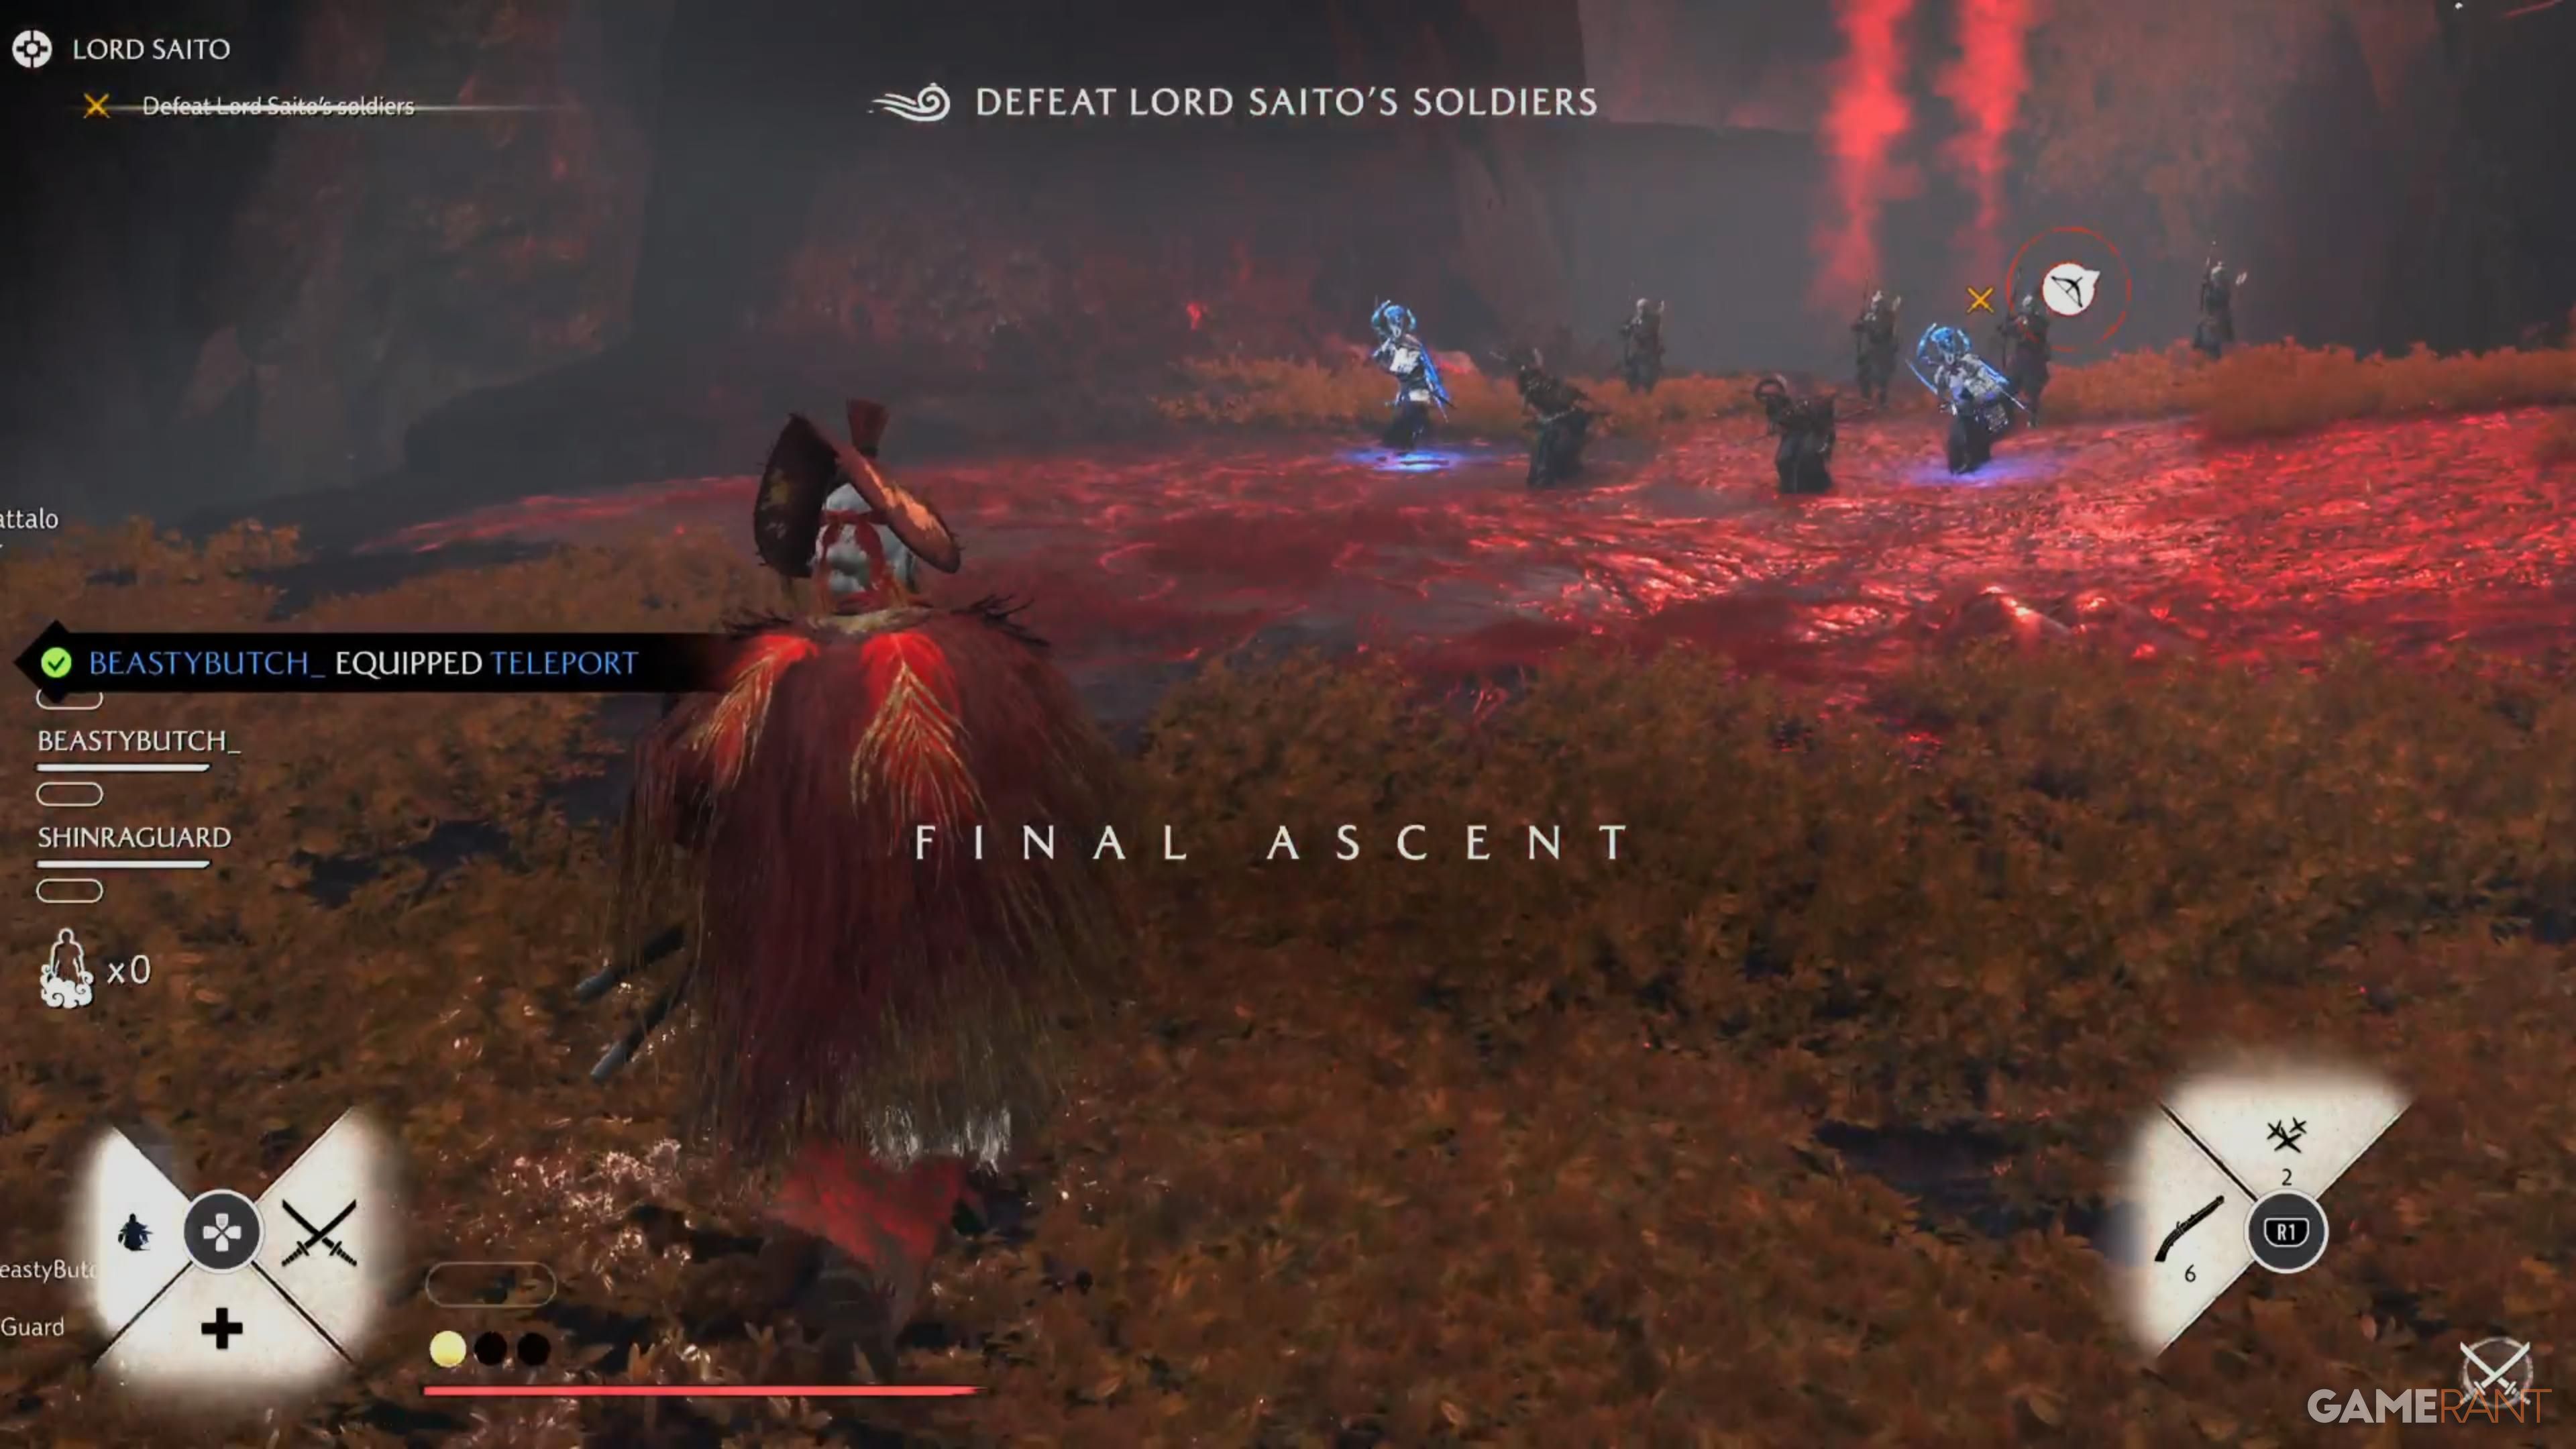
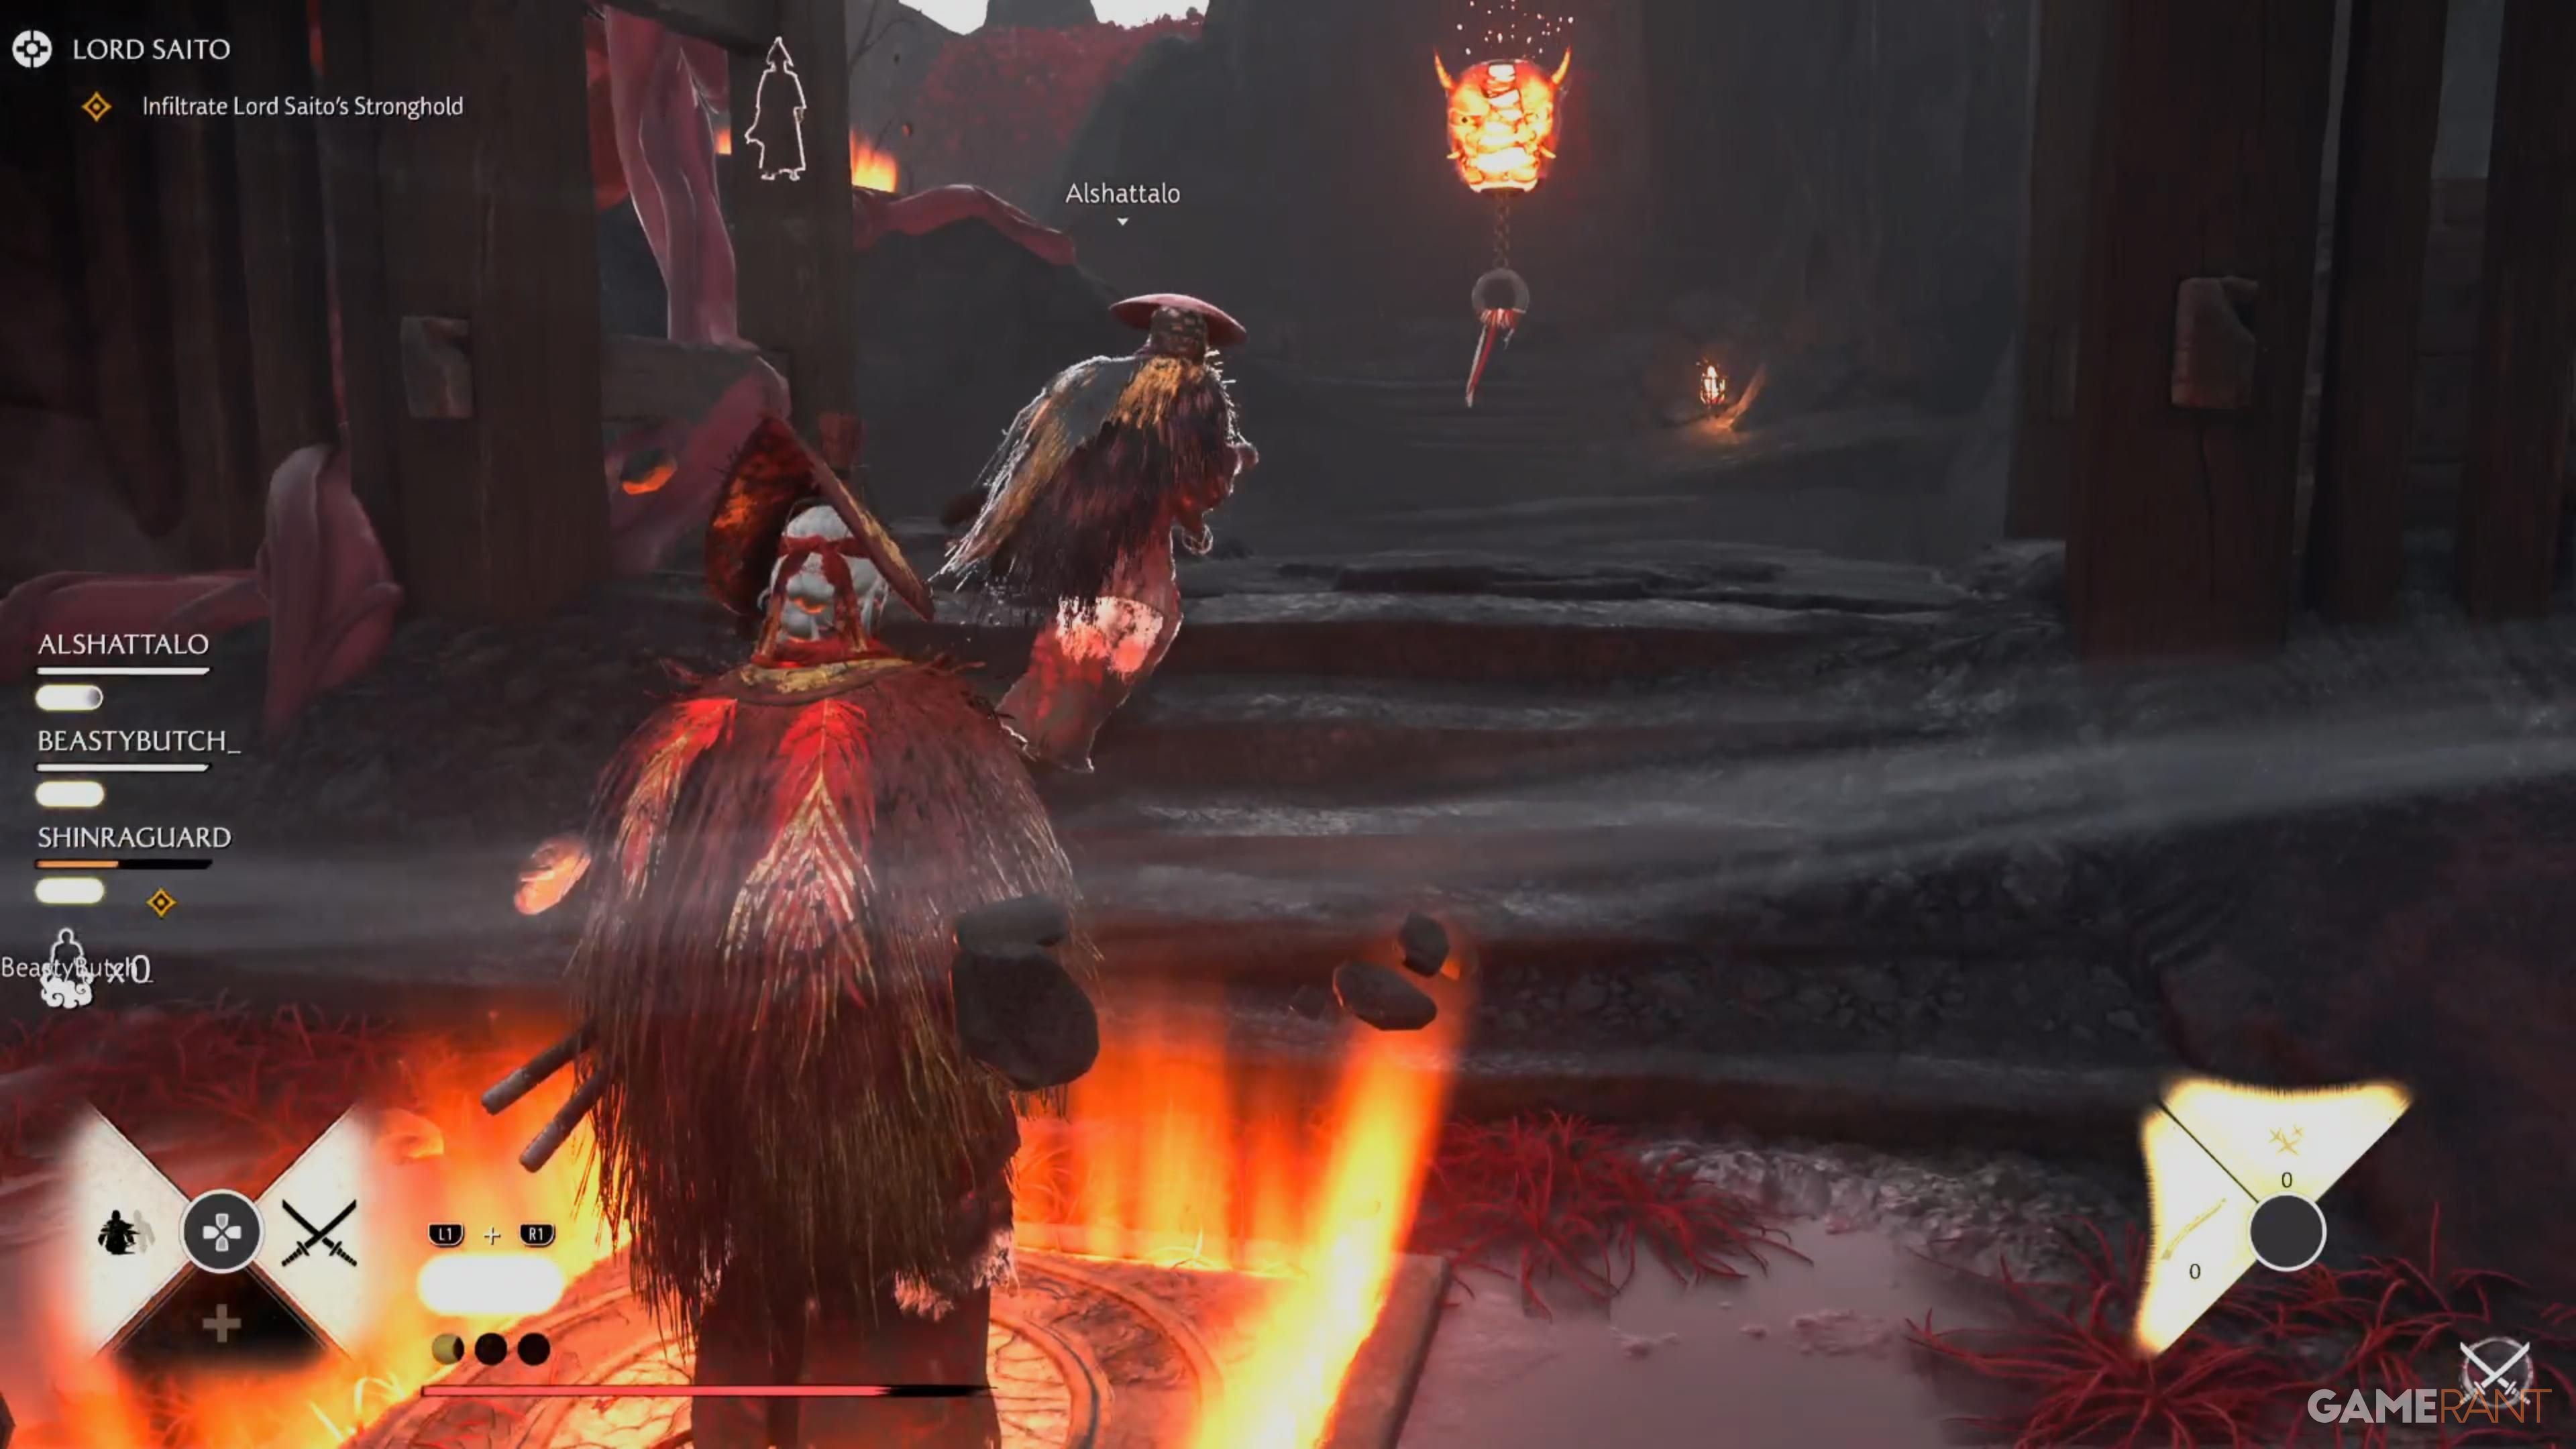
When the raid begins, immediately get the Kami’s Blessing to unlock Teleport and move forward. You’ll encounter a group of enemies, and after dealing with them, you can teleport to the Jubokko tree. Defeat the tree and any remaining enemies before tackling the pressure plate puzzle. There are three plates, but only two need to be activated to allow two players to proceed. To do this, stand on the plates closest to the Jubokko tree, and don’t use the one furthest away.
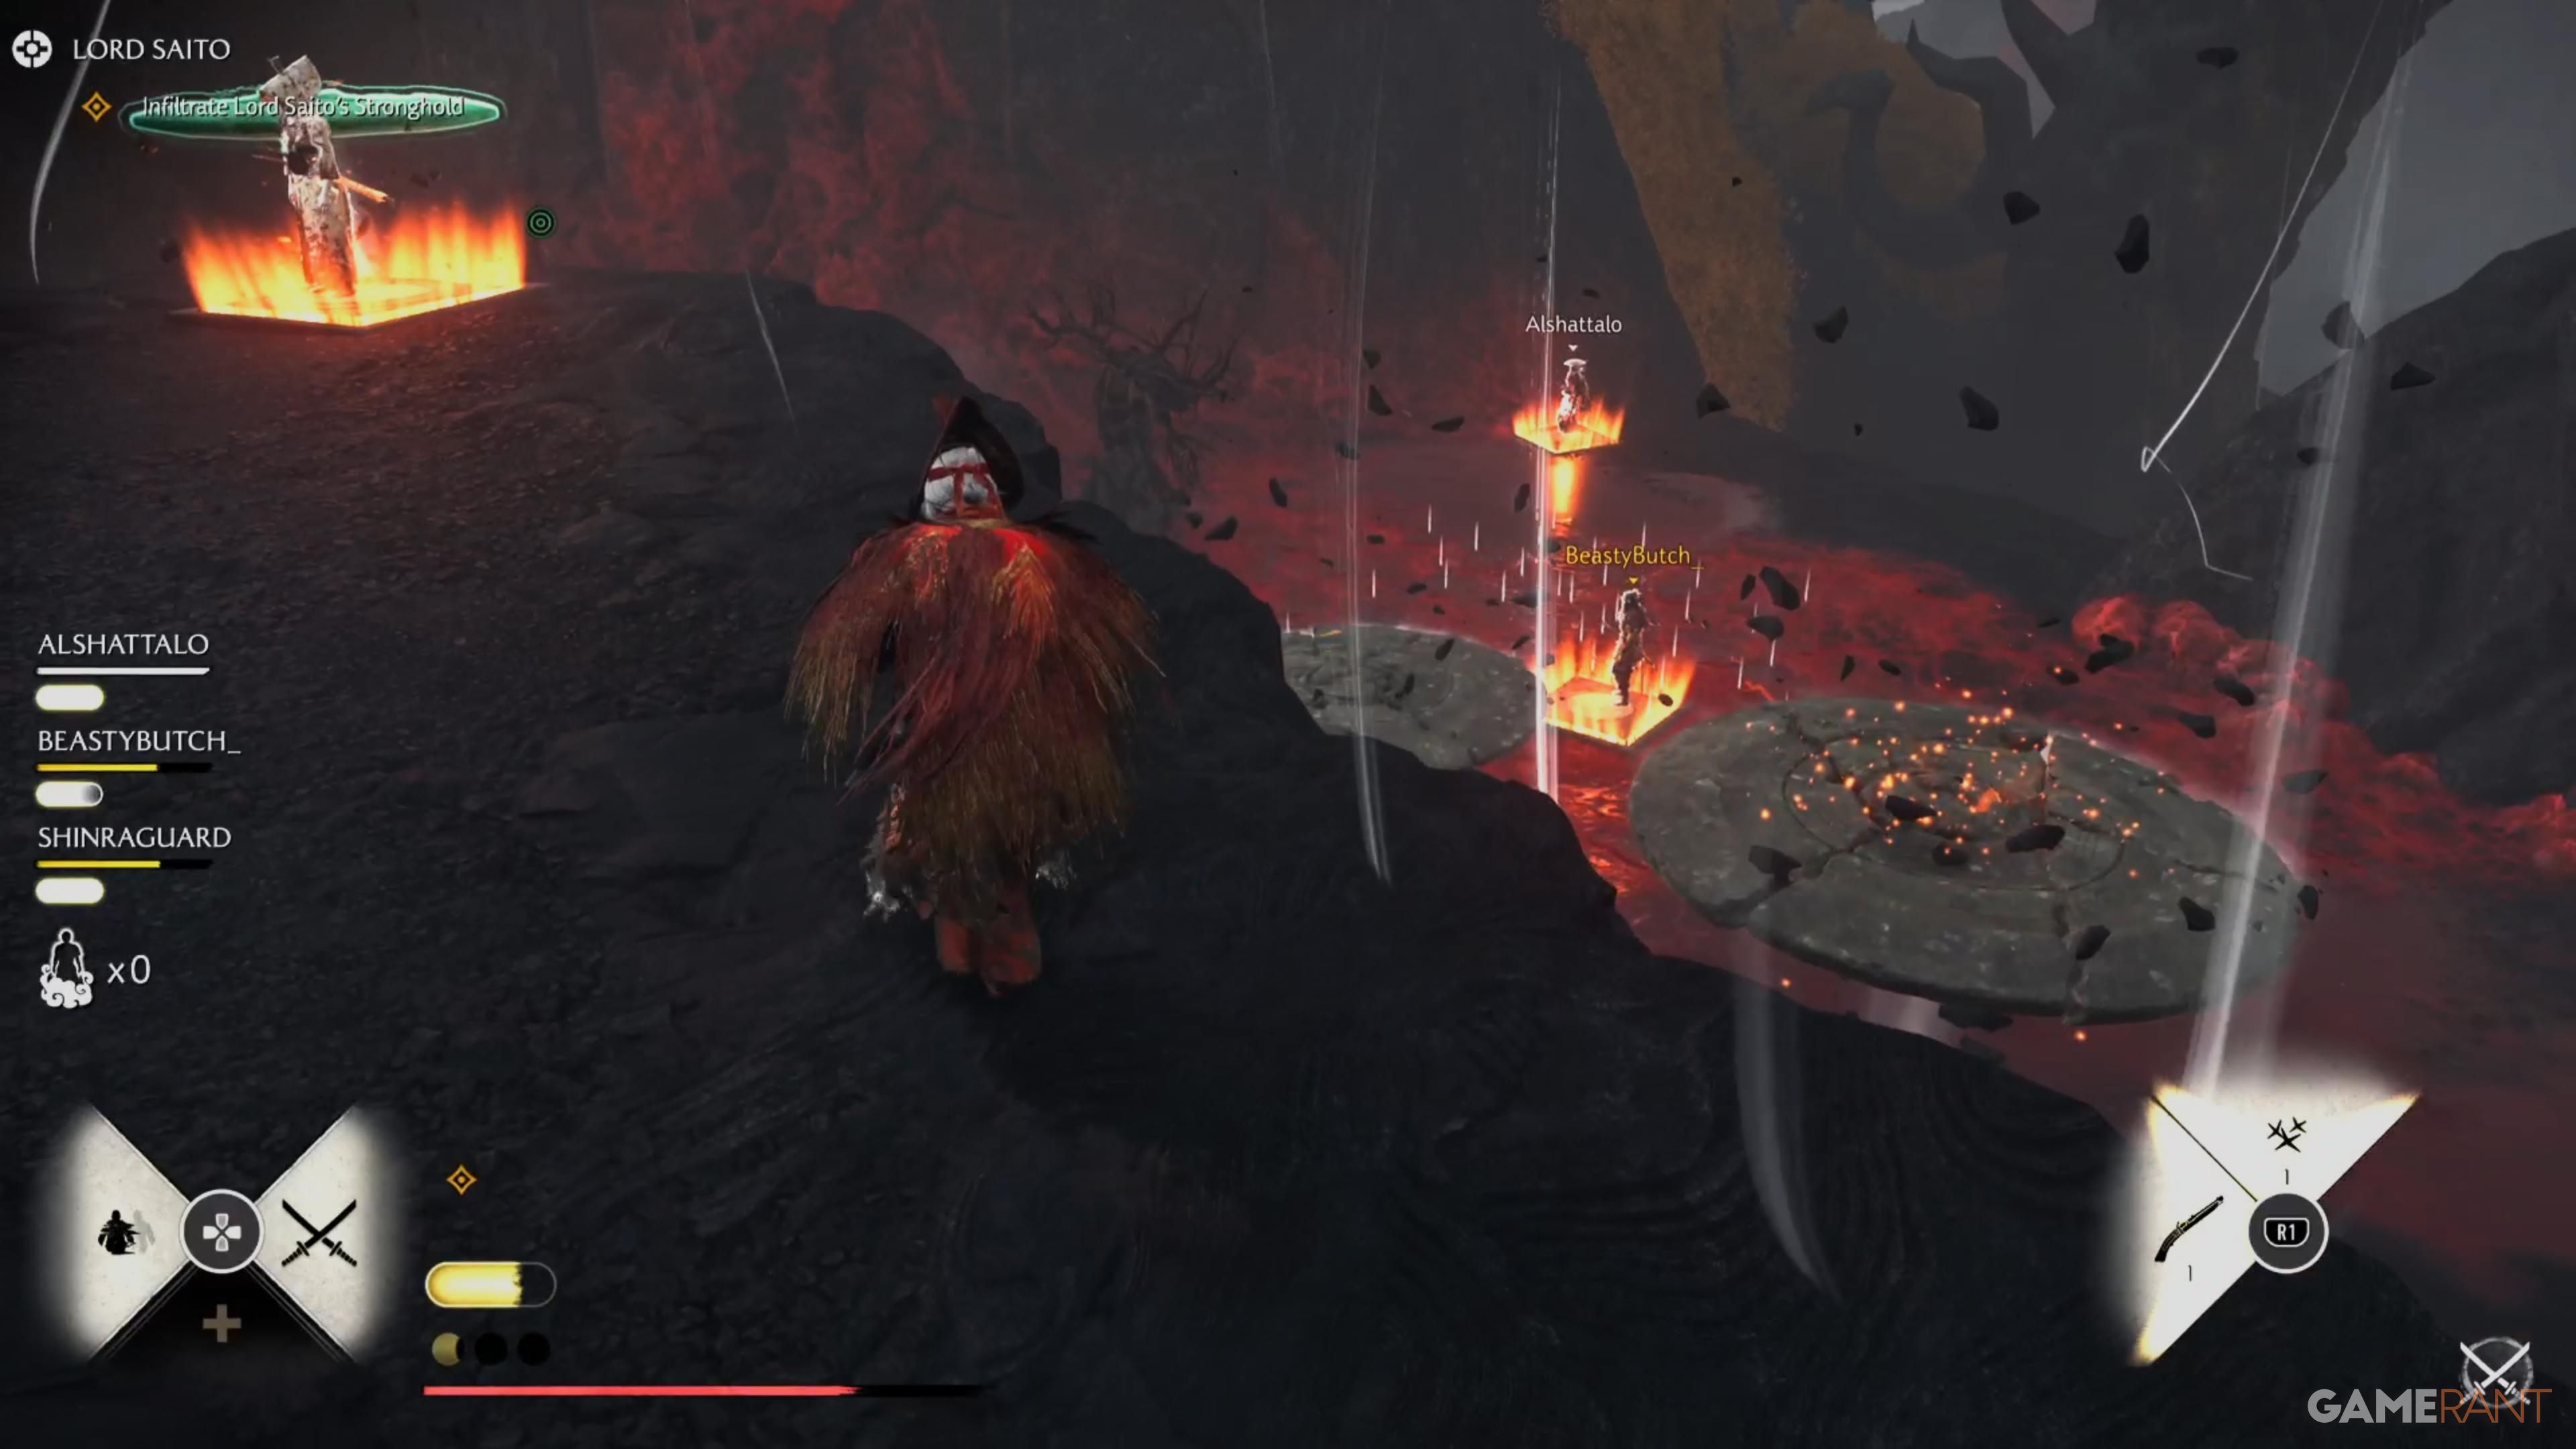
First, two players should climb up. Then, one player needs to stand on the pressure plate at the top, while the last player jumps onto the platform and uses the grappling point on the tree to climb up as well. Once everyone is up, defeat the two Jubokko trees and any enemies nearby. Finally, stand on the pressure plate next to the tree – from there, you can see your teammates below.
This opens a route for your teammates, allowing them to quickly reach the higher area. Once everyone is together, head to the pressure plate at the back – stepping on it will activate a lantern you can swing across. Two players should move forward, with one staying on the next pressure plate while the other jumps onto the platform and continues ahead to climb the structure. The player who activated the first plate can then rejoin the group.
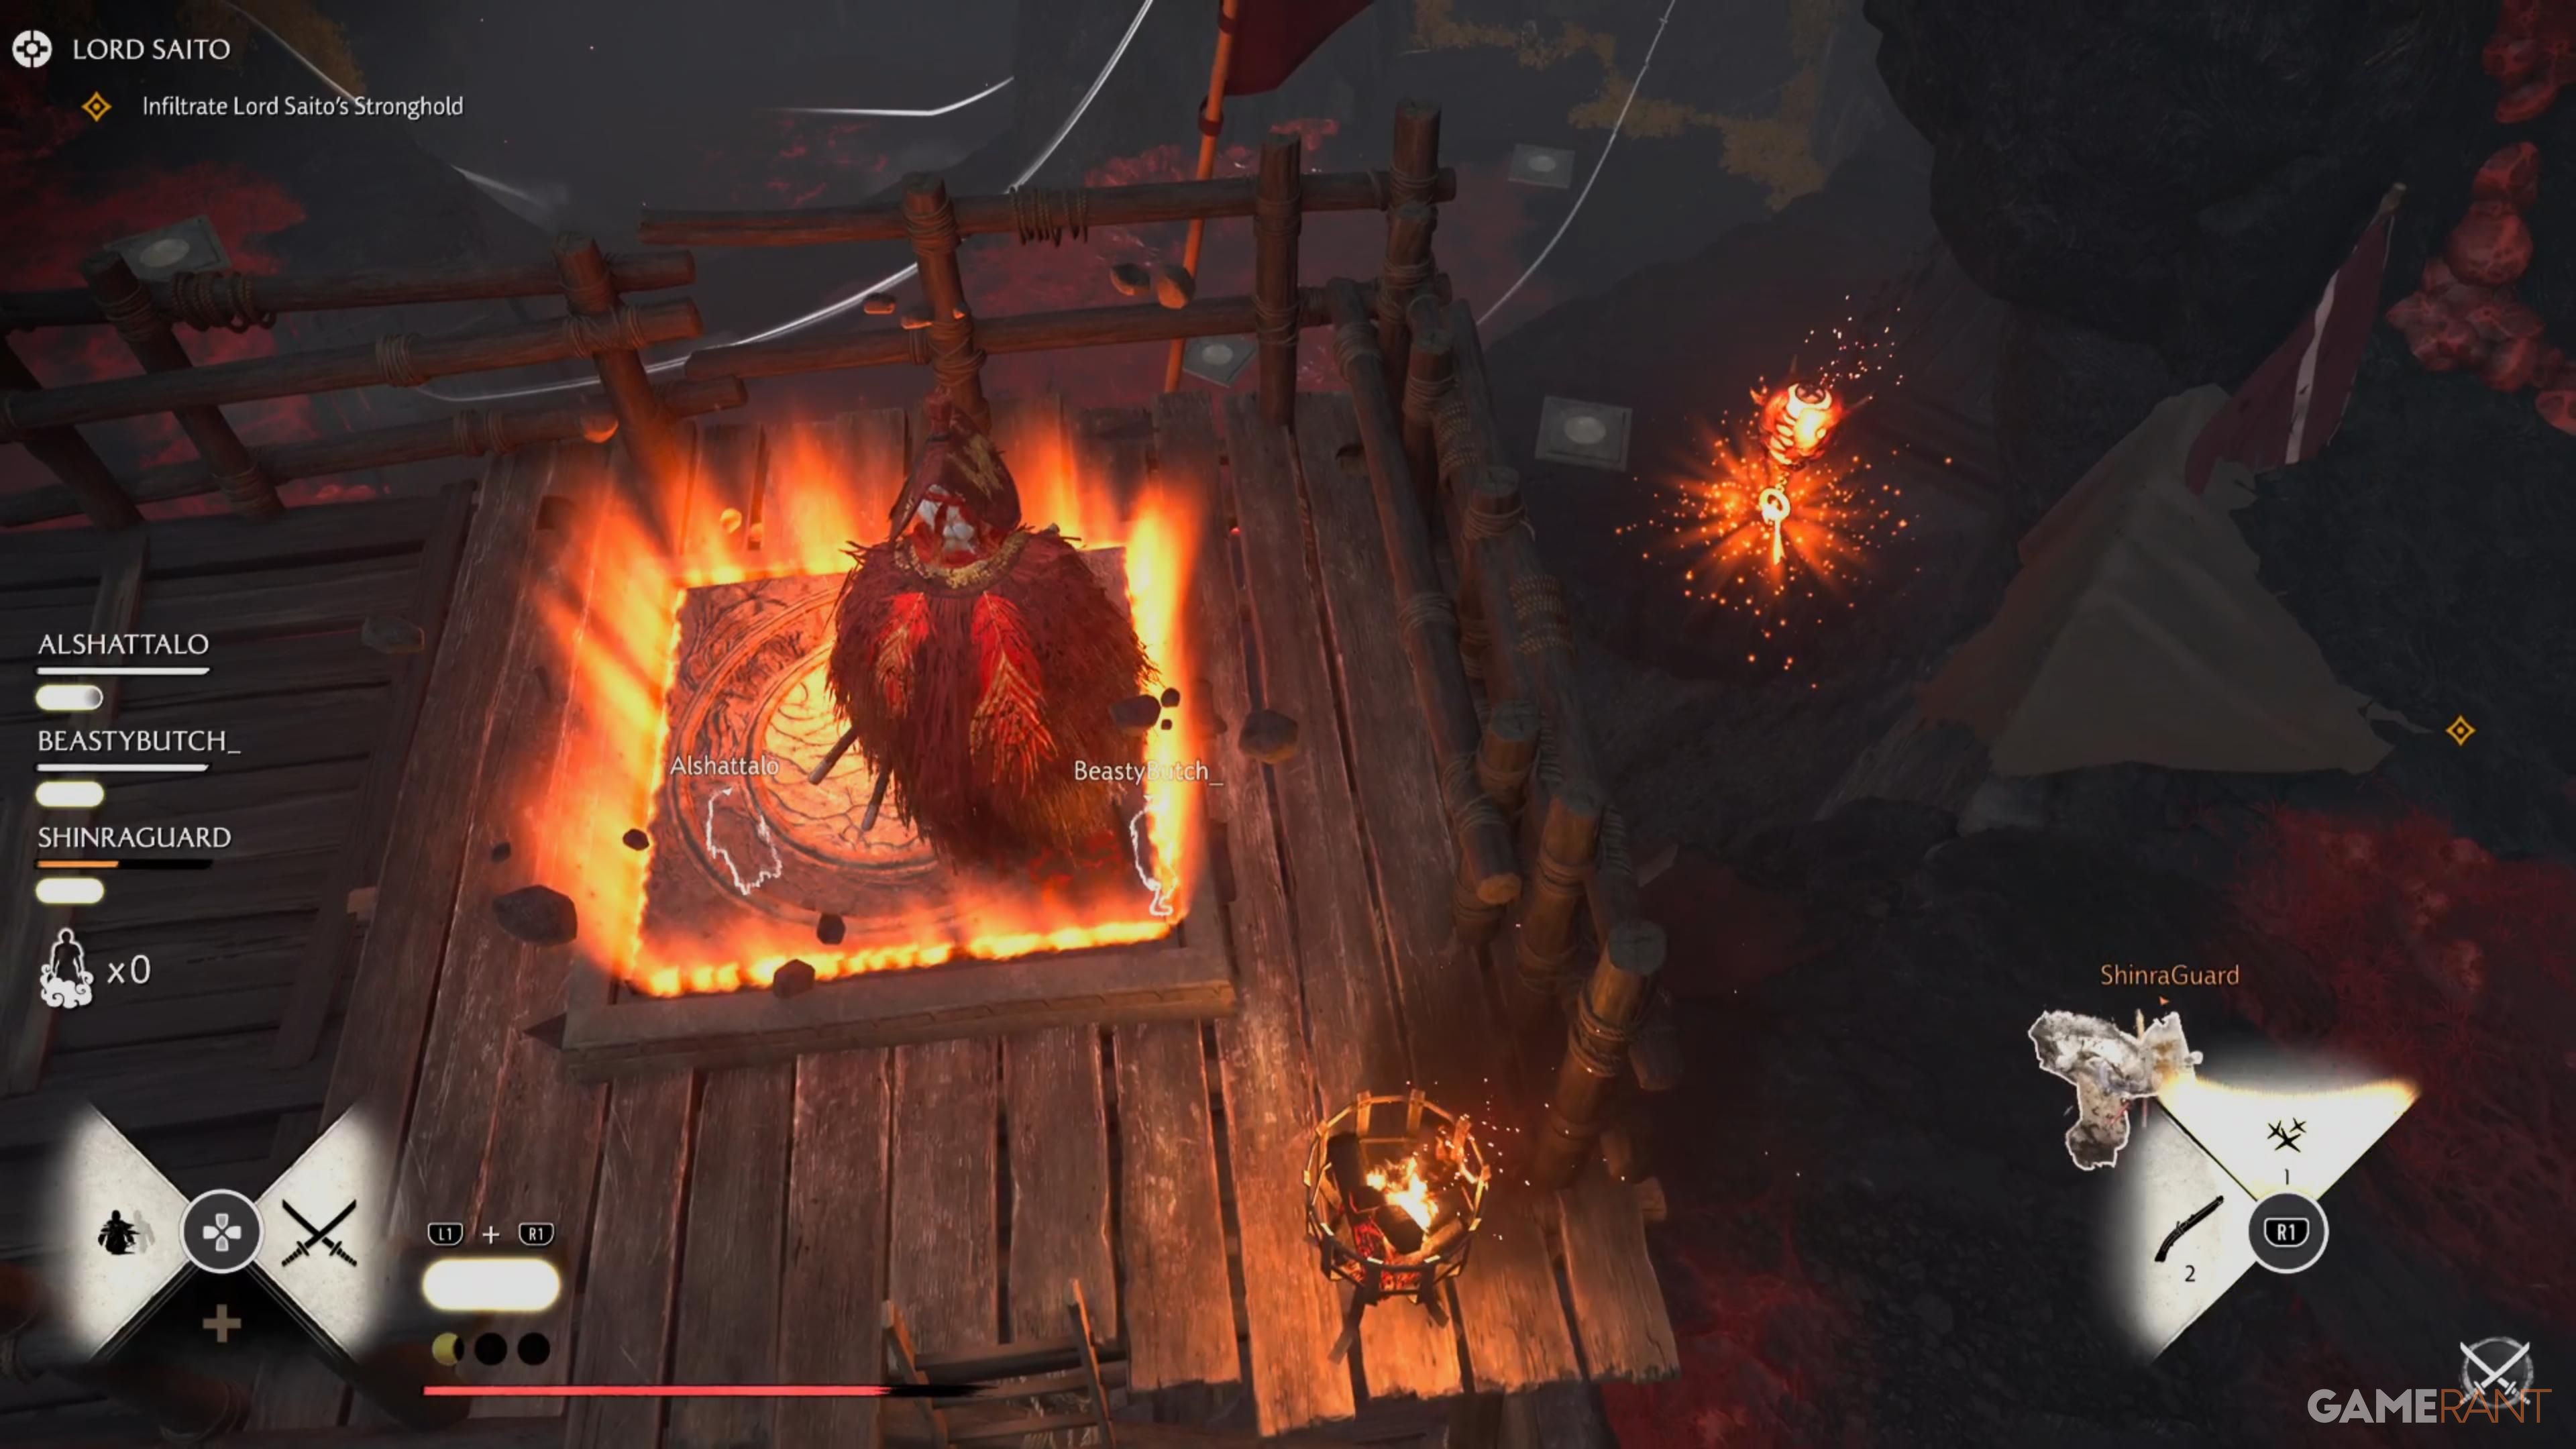
When a player steps on the upper pressure plate, another player should stand on the plate by the grapple tree. This will create two platforms allowing the remaining players to cross. One of those players needs to climb the wooden tower and step on its plate, which will create a lantern they can use to grapple back to the others.
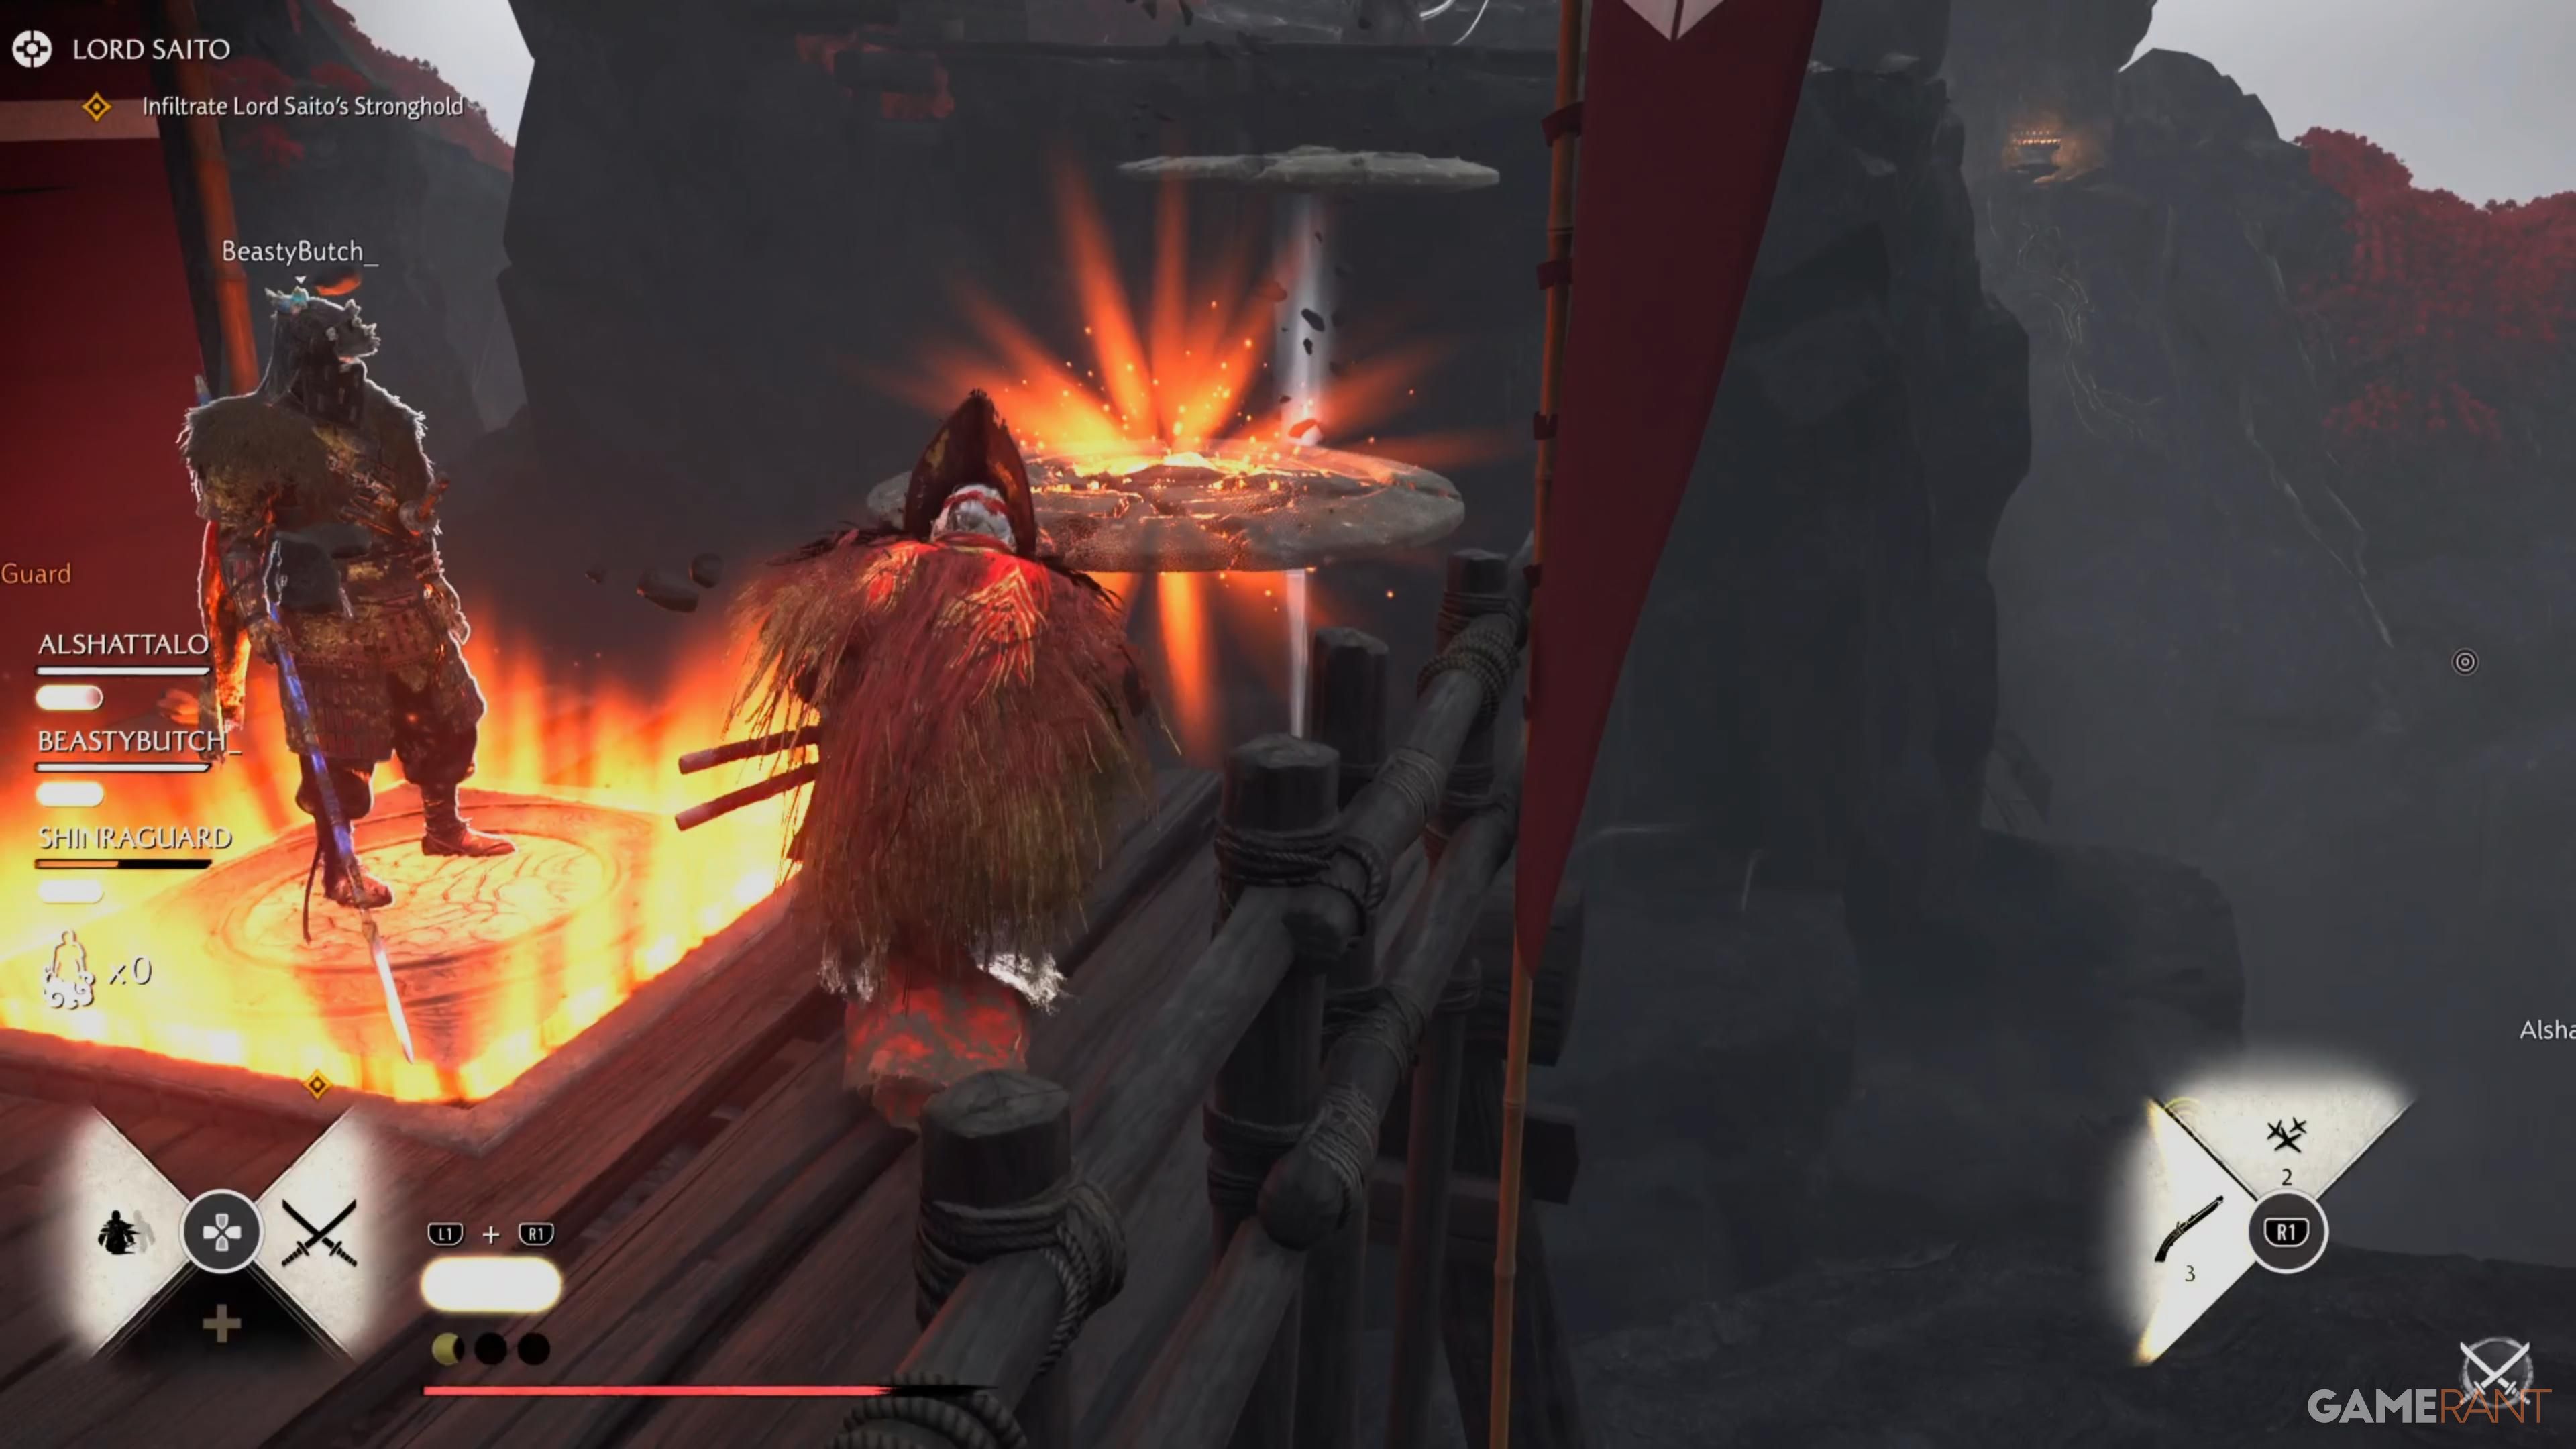
Climb the wooden ramp. One person should stand on the plate at the edge, and the other on the plate below and to the right. Then, jump across the platforms to the area with the lone Jubokko tree. Stepping on the plate there will create a lantern, allowing the other player to grapple across.

In the back, there’s a pressure plate that, when stepped on, raises two platforms, letting three players cross. While they do that, the remaining player can deal with the nearby trees, climb a wooden platform, and activate a lantern. This lantern signals the others, allowing everyone to reunite.
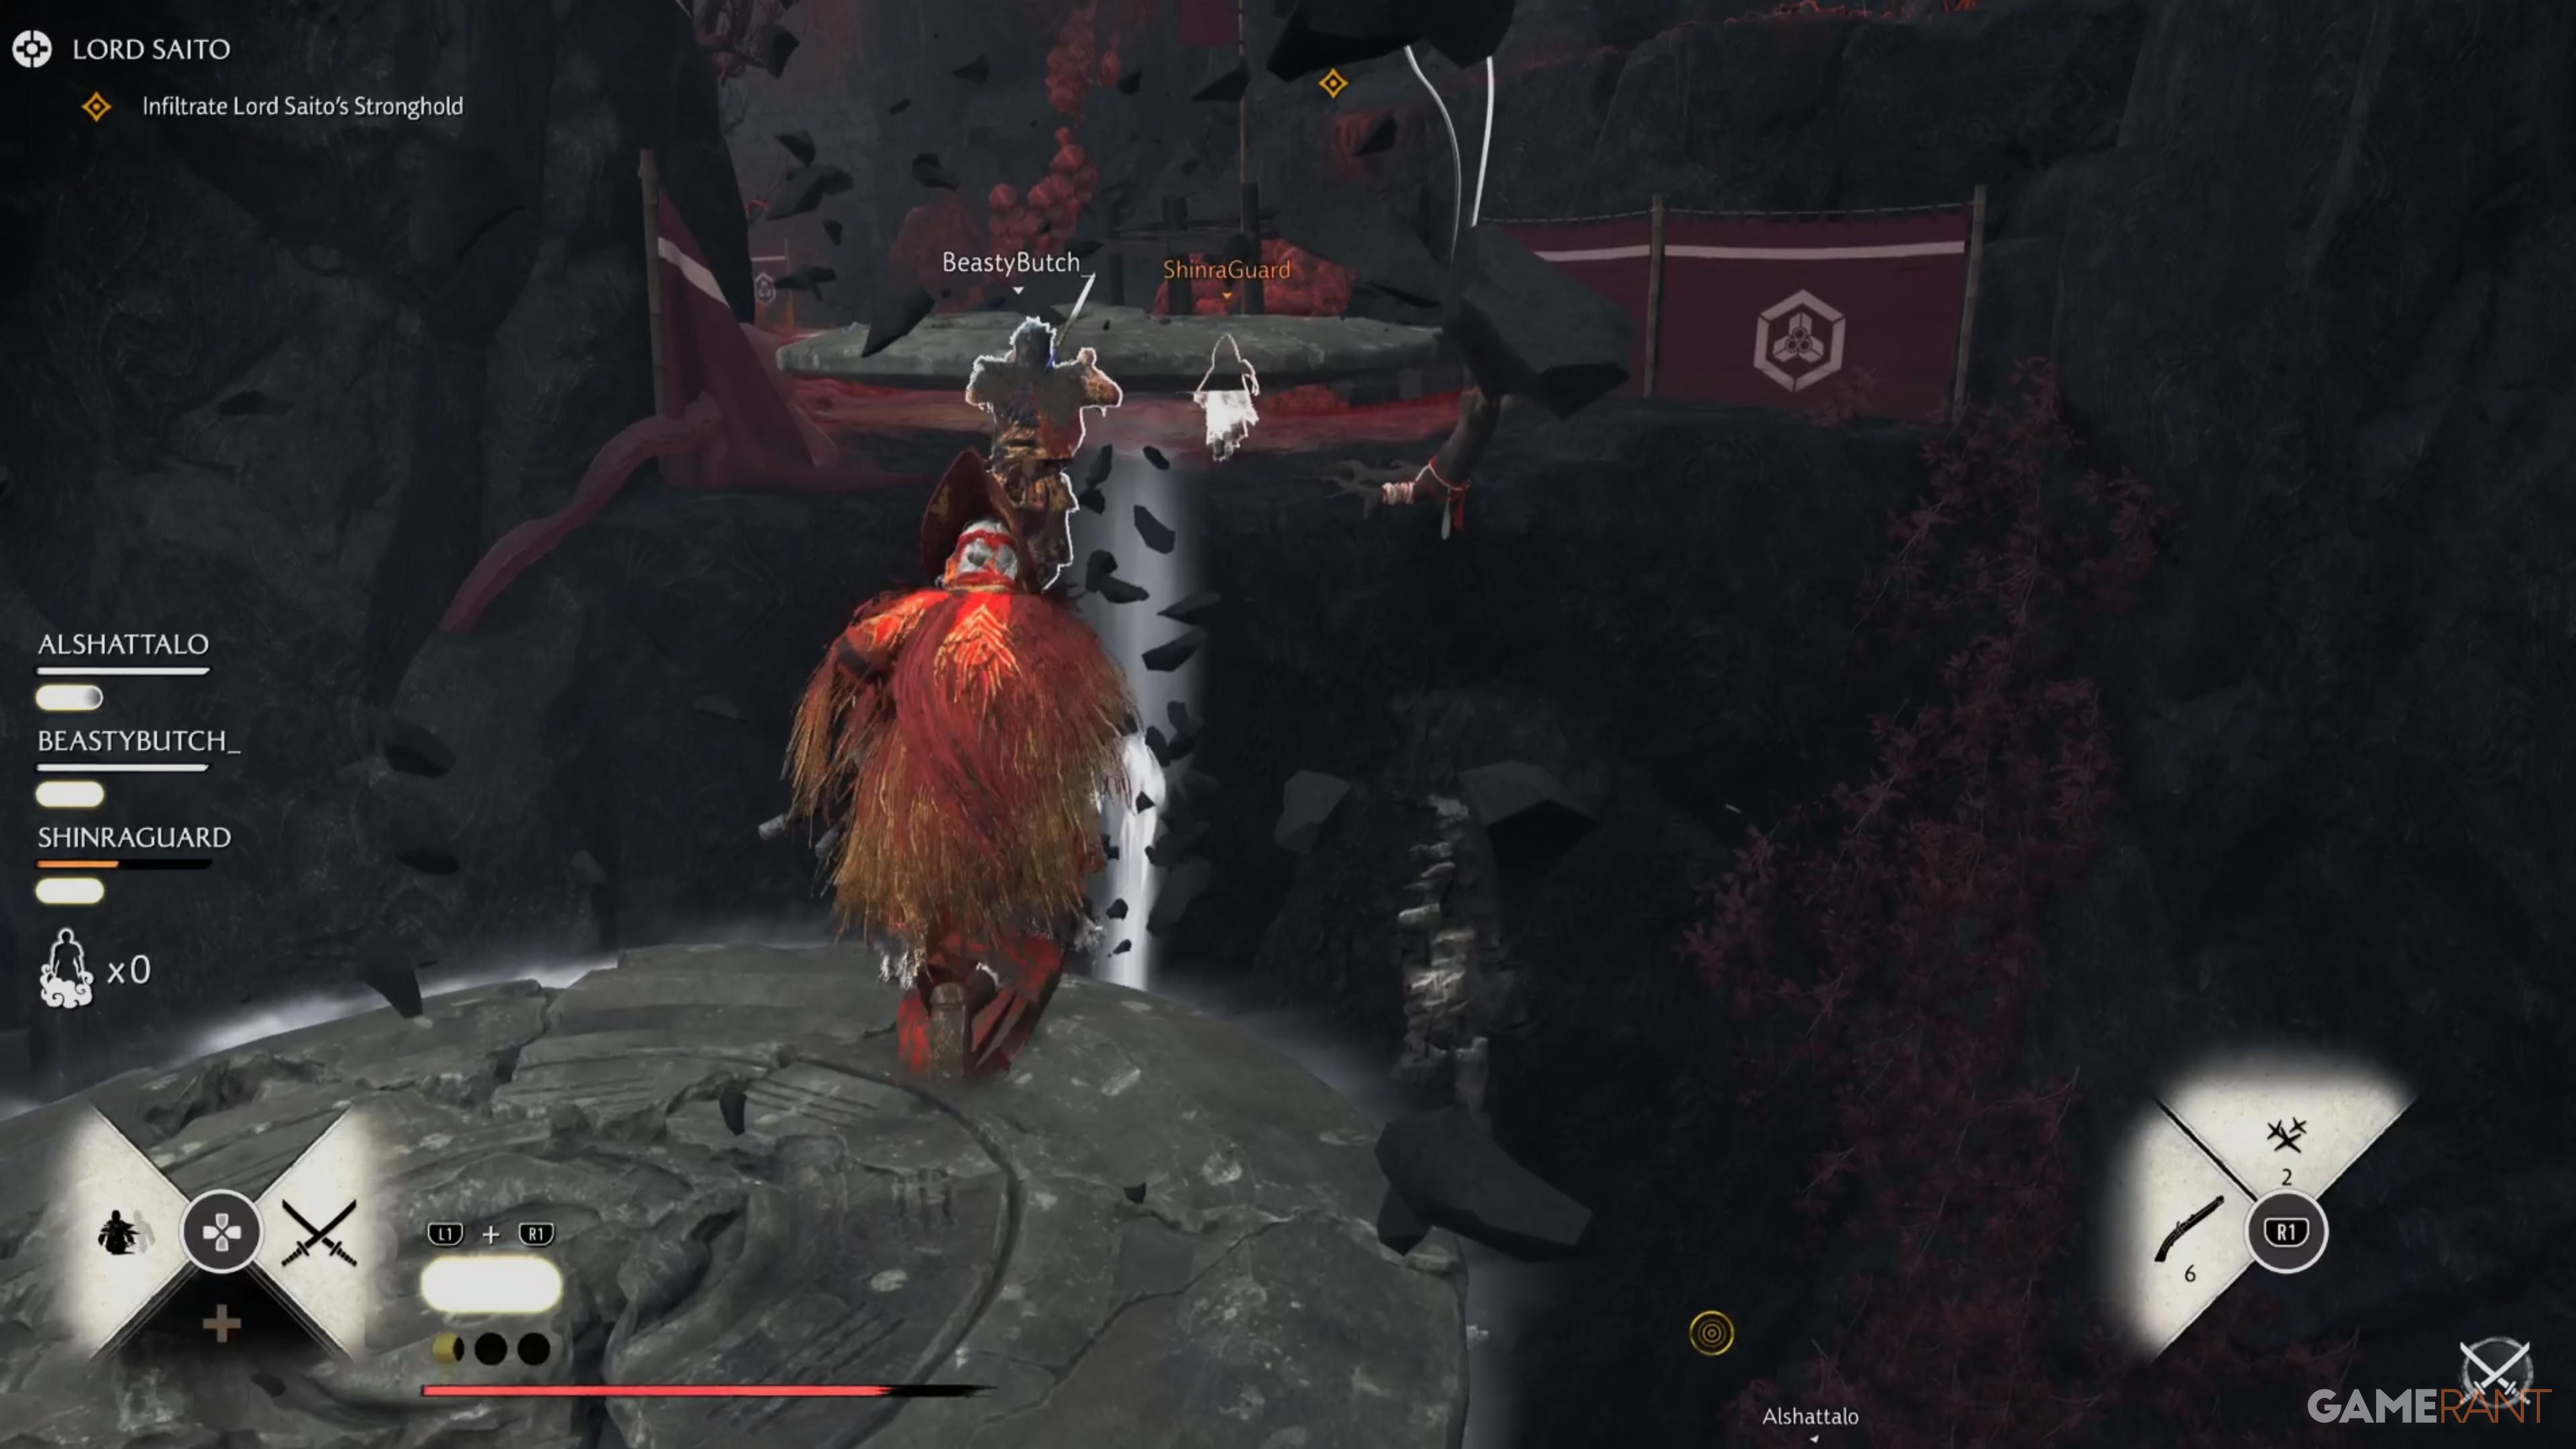
Head to the right, and you’ll find a pressure plate. Step on it to light a lantern, creating a safe path for your teammates. Then, two of them need to stand on the plates overhead, which will raise a platform allowing everyone to climb to the top.
The team moves forward with a rotating system. Three players advance while one remains to stabilize the platforms. As they progress, new platforms appear, causing the second player to stay behind while the others continue. This pattern repeats – after more platforms and a grapple point, a third player holds the platforms, allowing the final player to reach the Jubokko tree.
Okay, so there are these two plates we need to use. What we have to do is wait for at least two of us to get down to the lower area and stand on the plate that lights up the lantern on the left. Once two people are on those plates, two new platforms will magically appear way over on the left. That’s our cue for the person who didn’t grab the grapple to climb up and slide down to another plate!
The two players on adjacent plates can now try to grab on and move towards the platforms by the wooden wall. Once there, stand on a different plate to create two platforms – one from your current plate and one from the plate the fourth player used after sliding down.
The two players who climbed up will take turns standing on the plates, creating a path for you to follow. Once all three of you are on top, you’ll need to stand on the plates to activate portals. These portals will allow the player who started at the bottom to rejoin the group.
Three players will remain on the platforms, while the newest player can move forward to locate three more platforms. These lead to an area where players can gain attunements and activate a portal.
Who’s That Character? ![]() Identify the silhouettes before time runs out.
Identify the silhouettes before time runs out.
Blightwater Peak
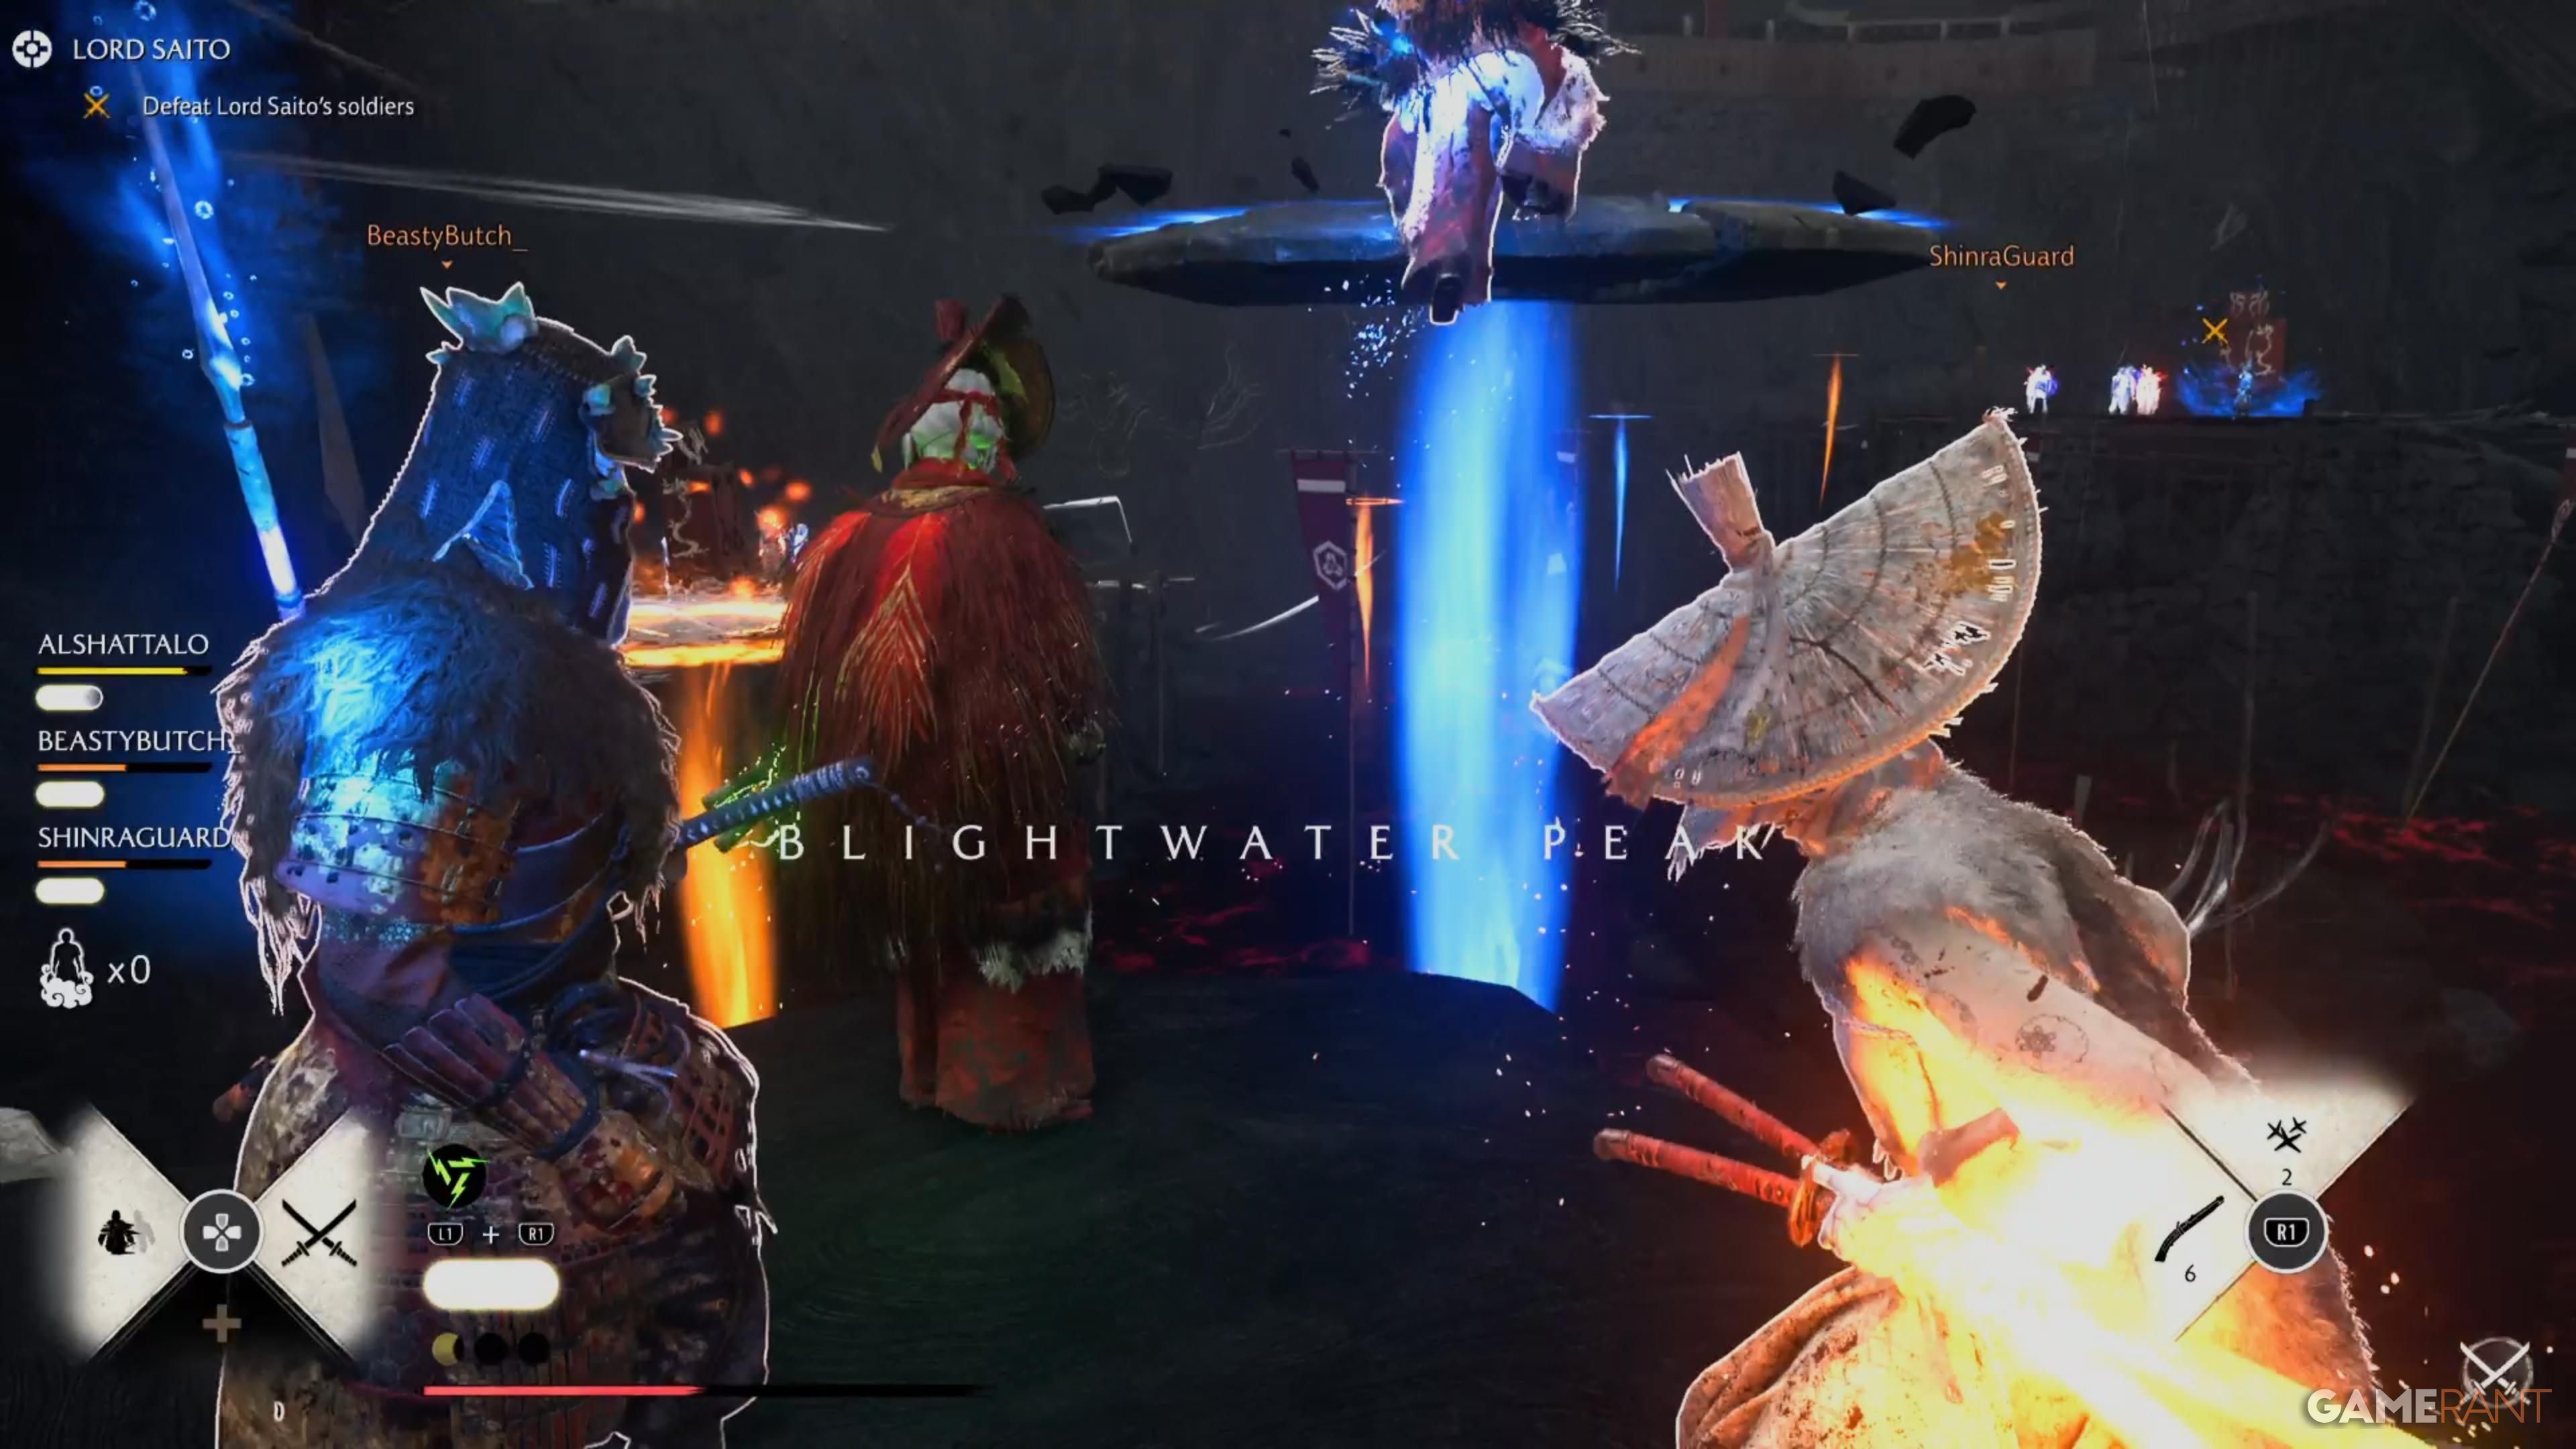
Once everyone is ready, activate the attunements. Like the platform challenges in Ghost of Tsushima, players will take turns climbing platforms that only become visible when the correct attunement is active.
Okay, so this part is tricky! We need to split up – two of us go left, and the other two head right. There are a bunch of enemies we have to take down using our attunements, plus a Jufu. We’ve gotta watch out for the corruption while we’re dealing with them and then find the final Jufu. Once that’s done, we teleport to the wind thing in the middle. Here’s the key: the player with the Sun Attunement has to activate the wind first! That lets them stay up on the platform in the air and make a bridge for the rest of us to cross.
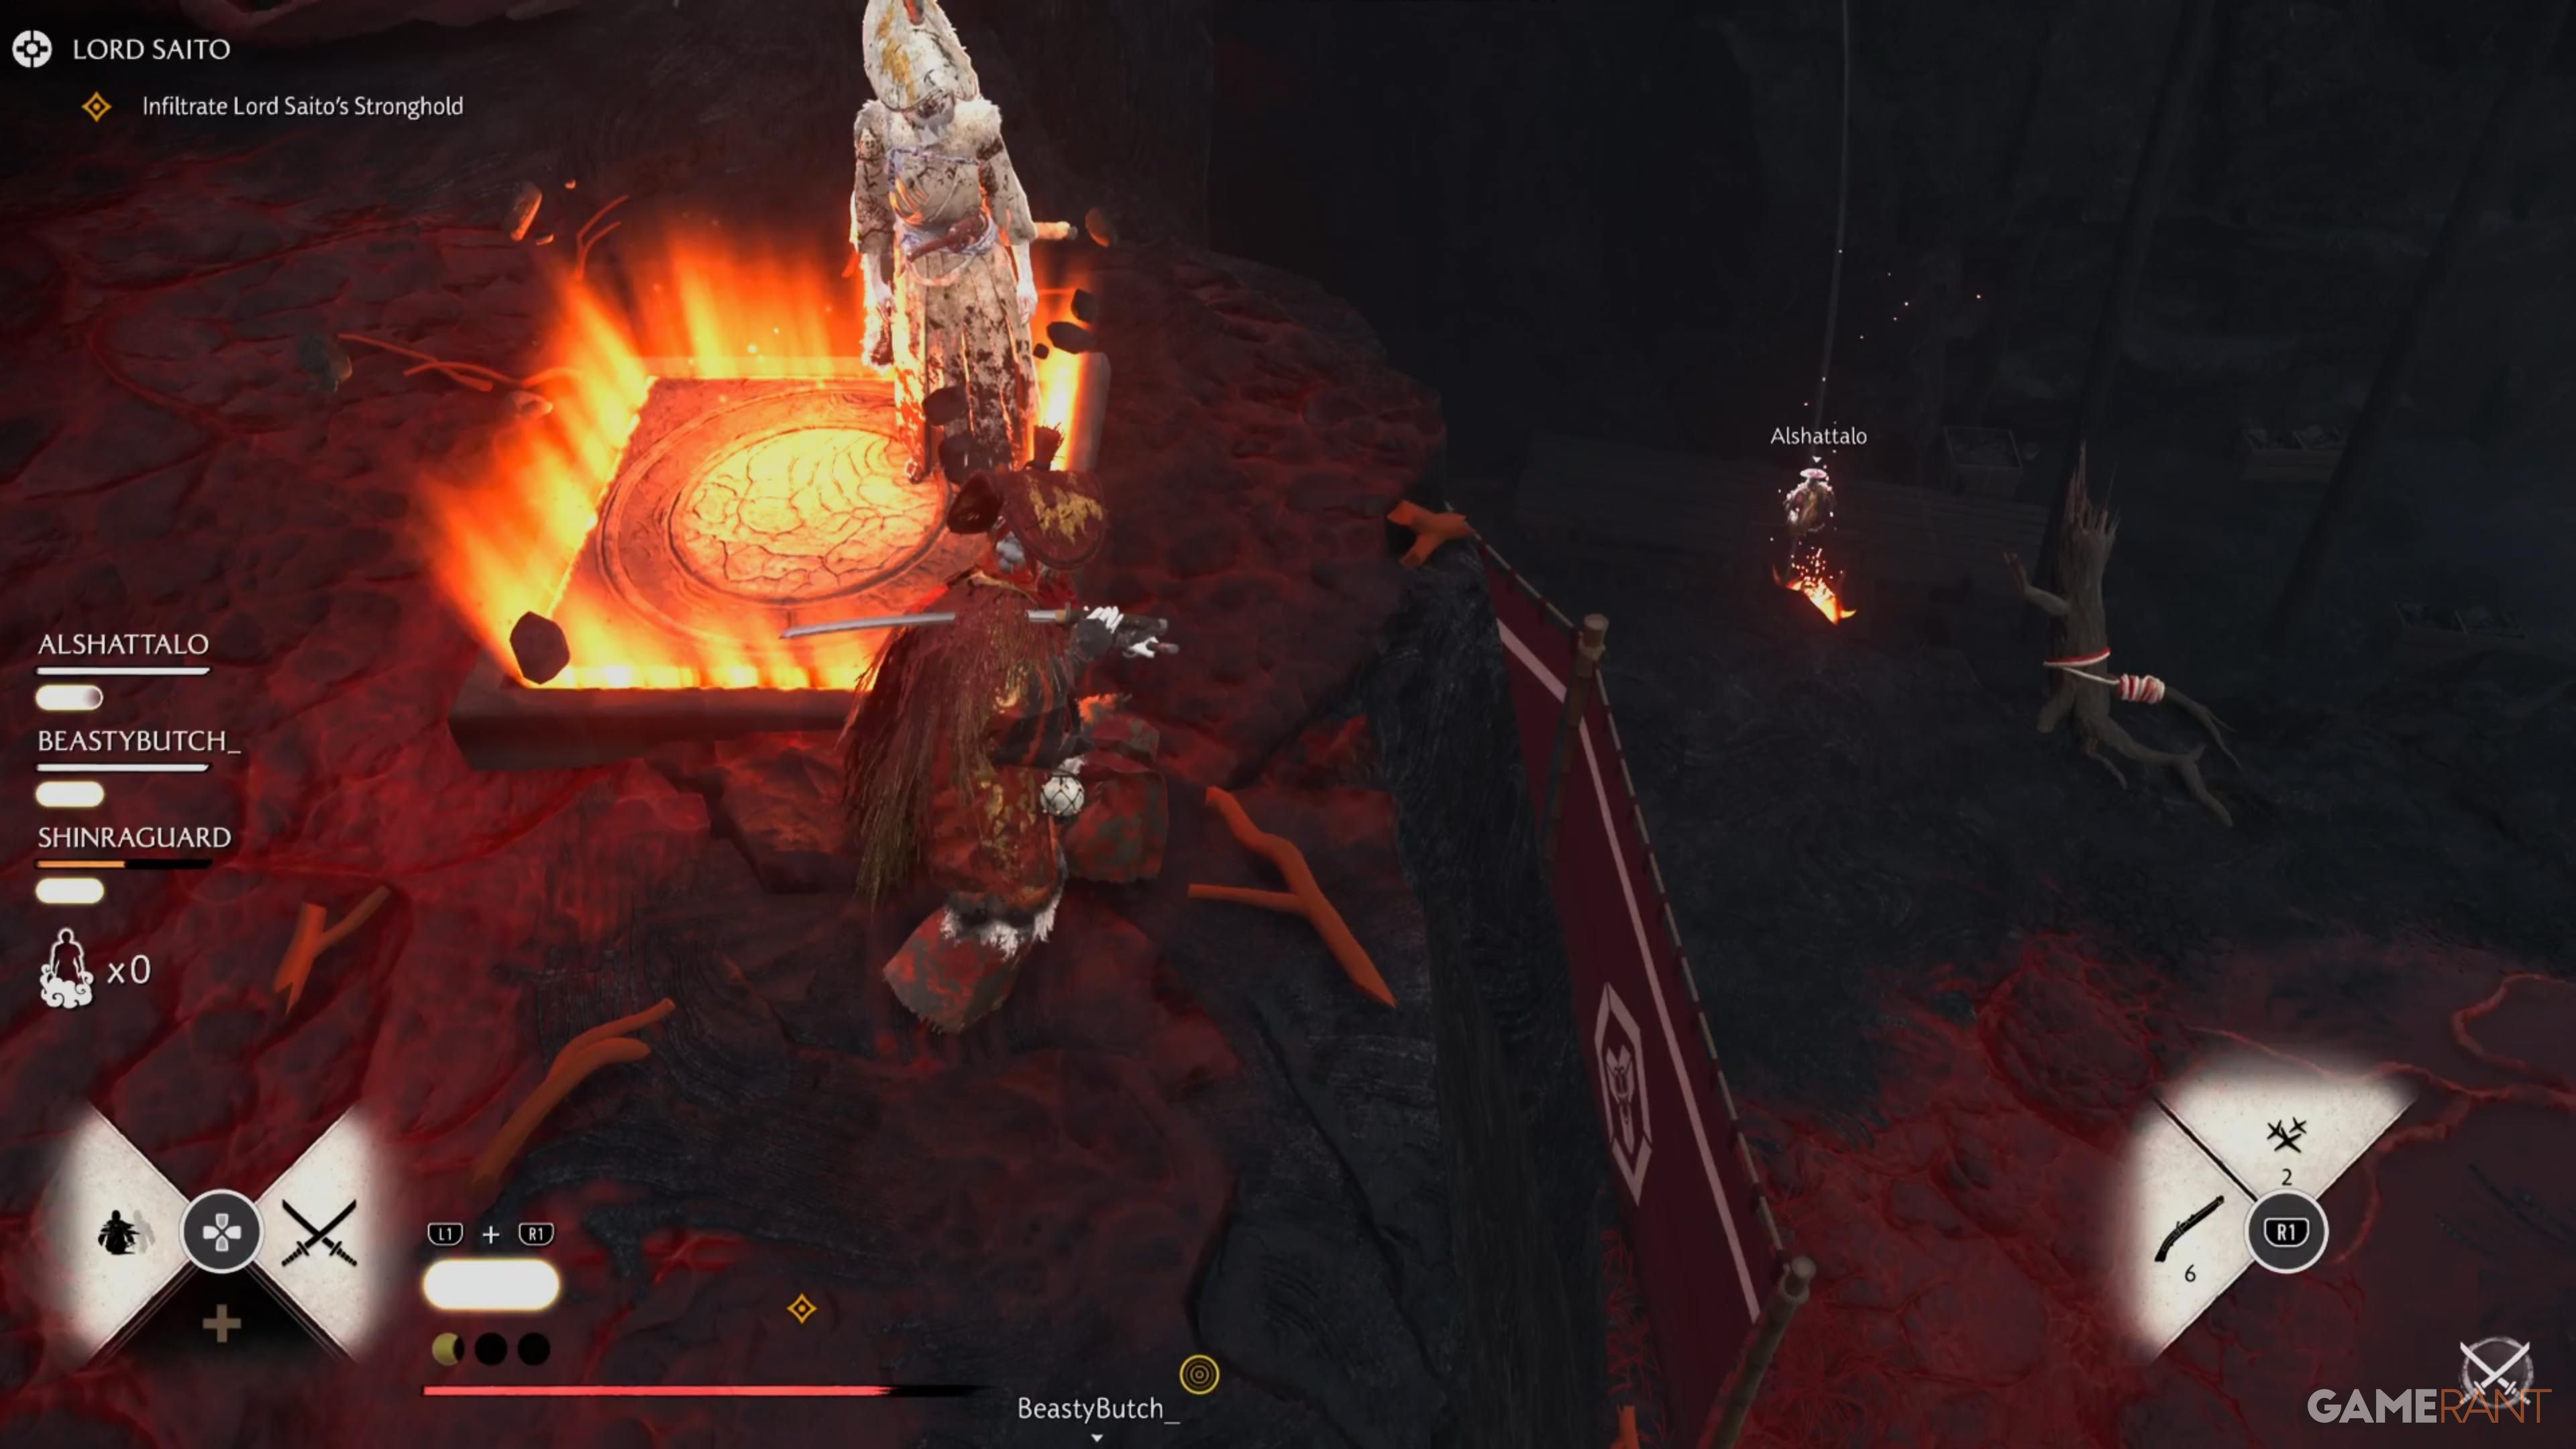
Fractured Caldera
Next, carefully lower yourselves onto the platforms in the right order and follow the path to the Gathering Stone. Once you reach it, switch to either the Storm or Wind Blessing. For the upcoming puzzle, we recommend one player use Fujin’s Wind while the other three use Raijin’s Storm.
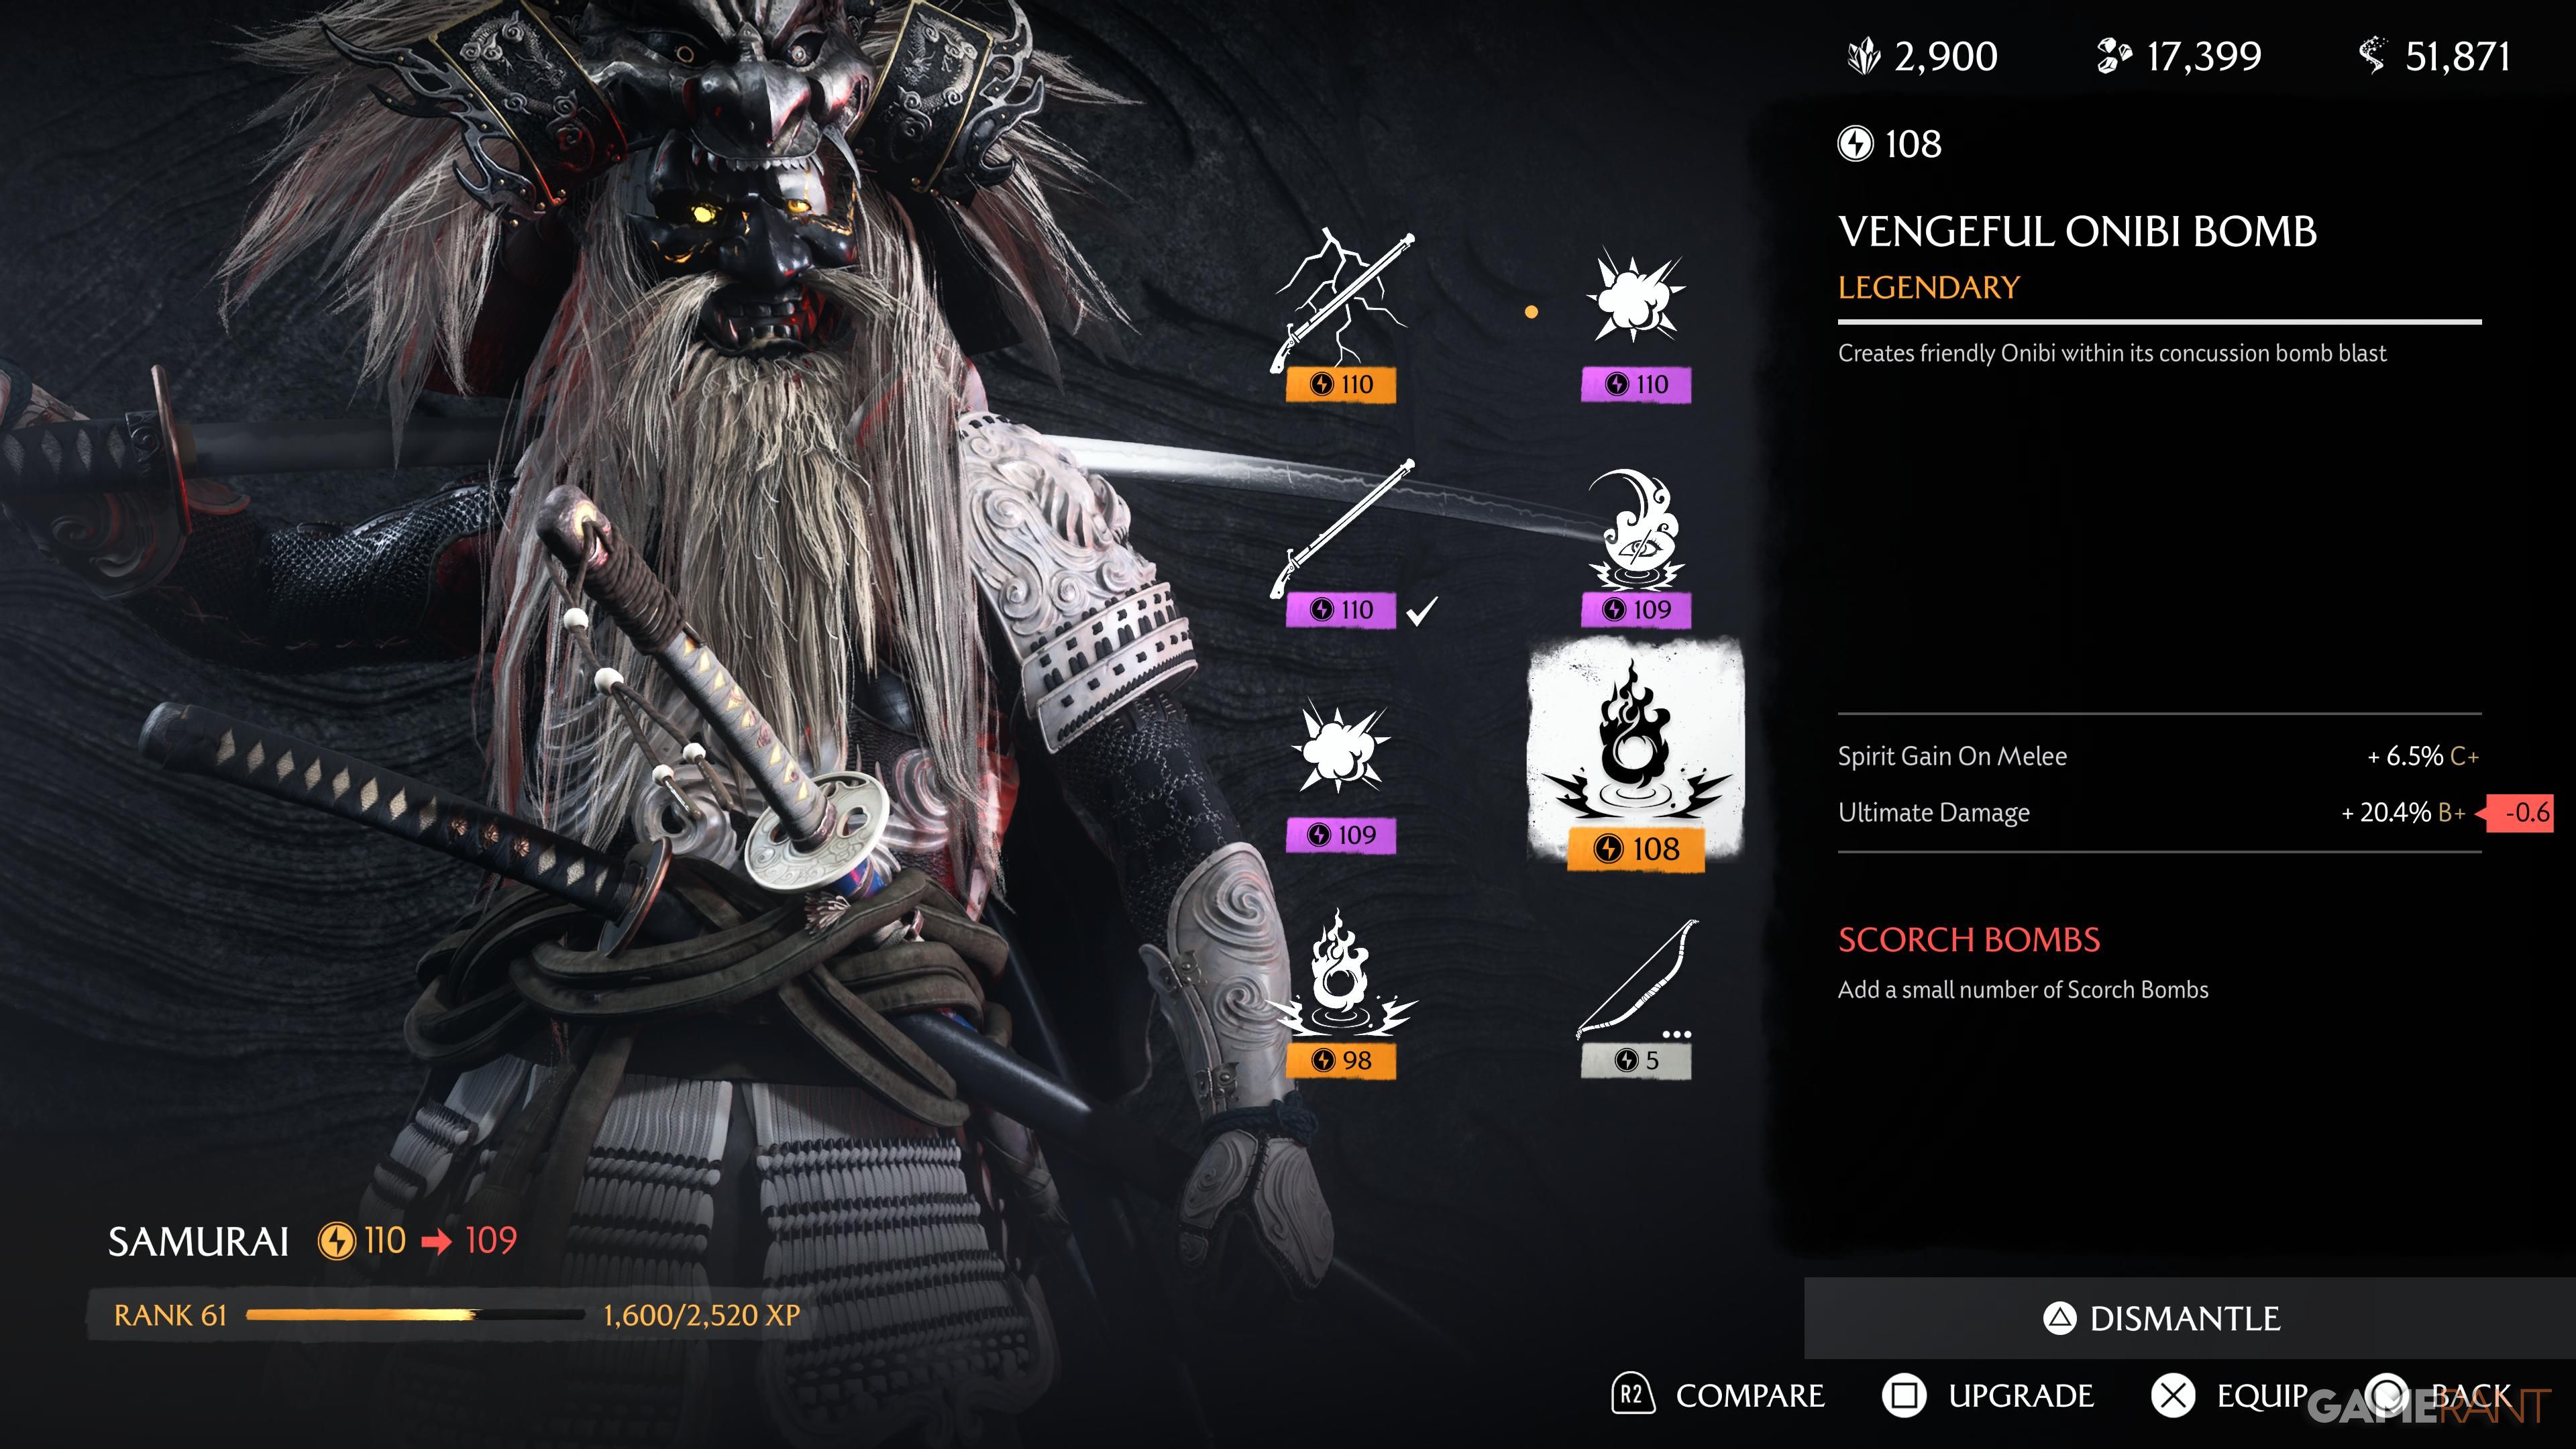
There’s a much simpler way to solve this puzzle: use a Vengeful Onibi Bomb. This powerful, legendary item can be used by any character class. You only need one! Otherwise, you’ll have to collect Onibi and navigate several platforms, which can take a long time. The bomb makes this complicated puzzle quick and easy.
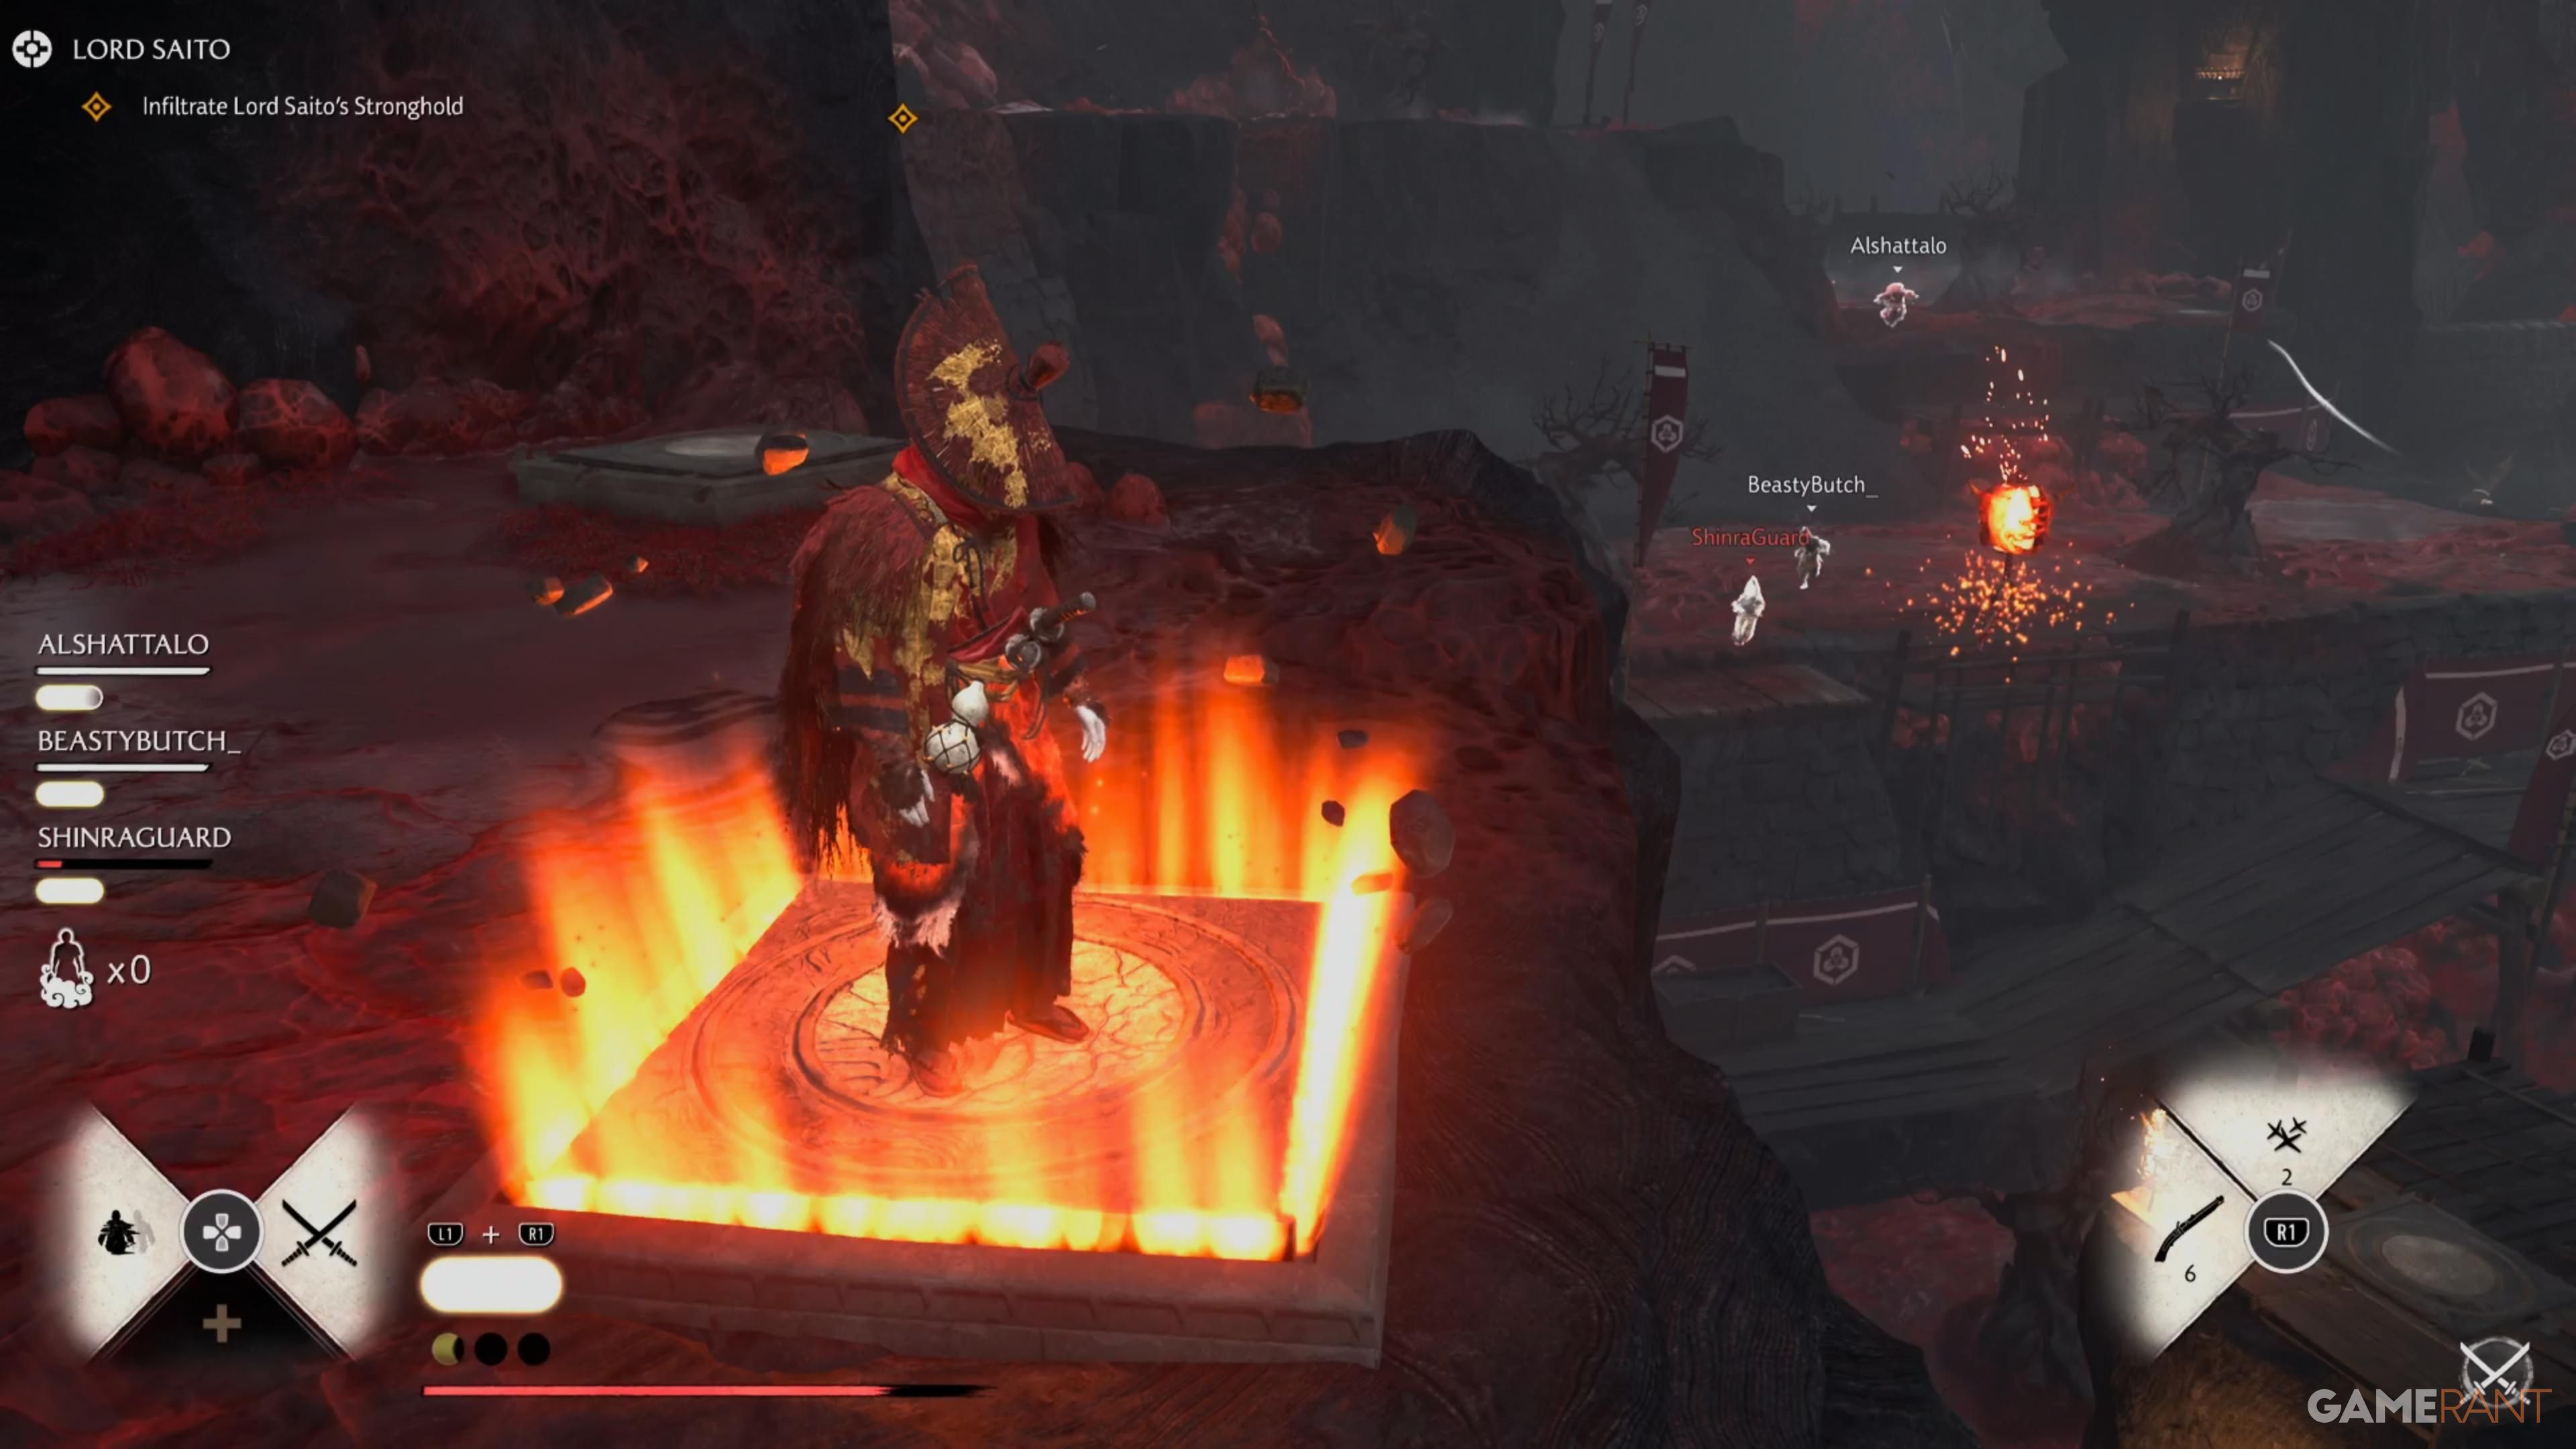
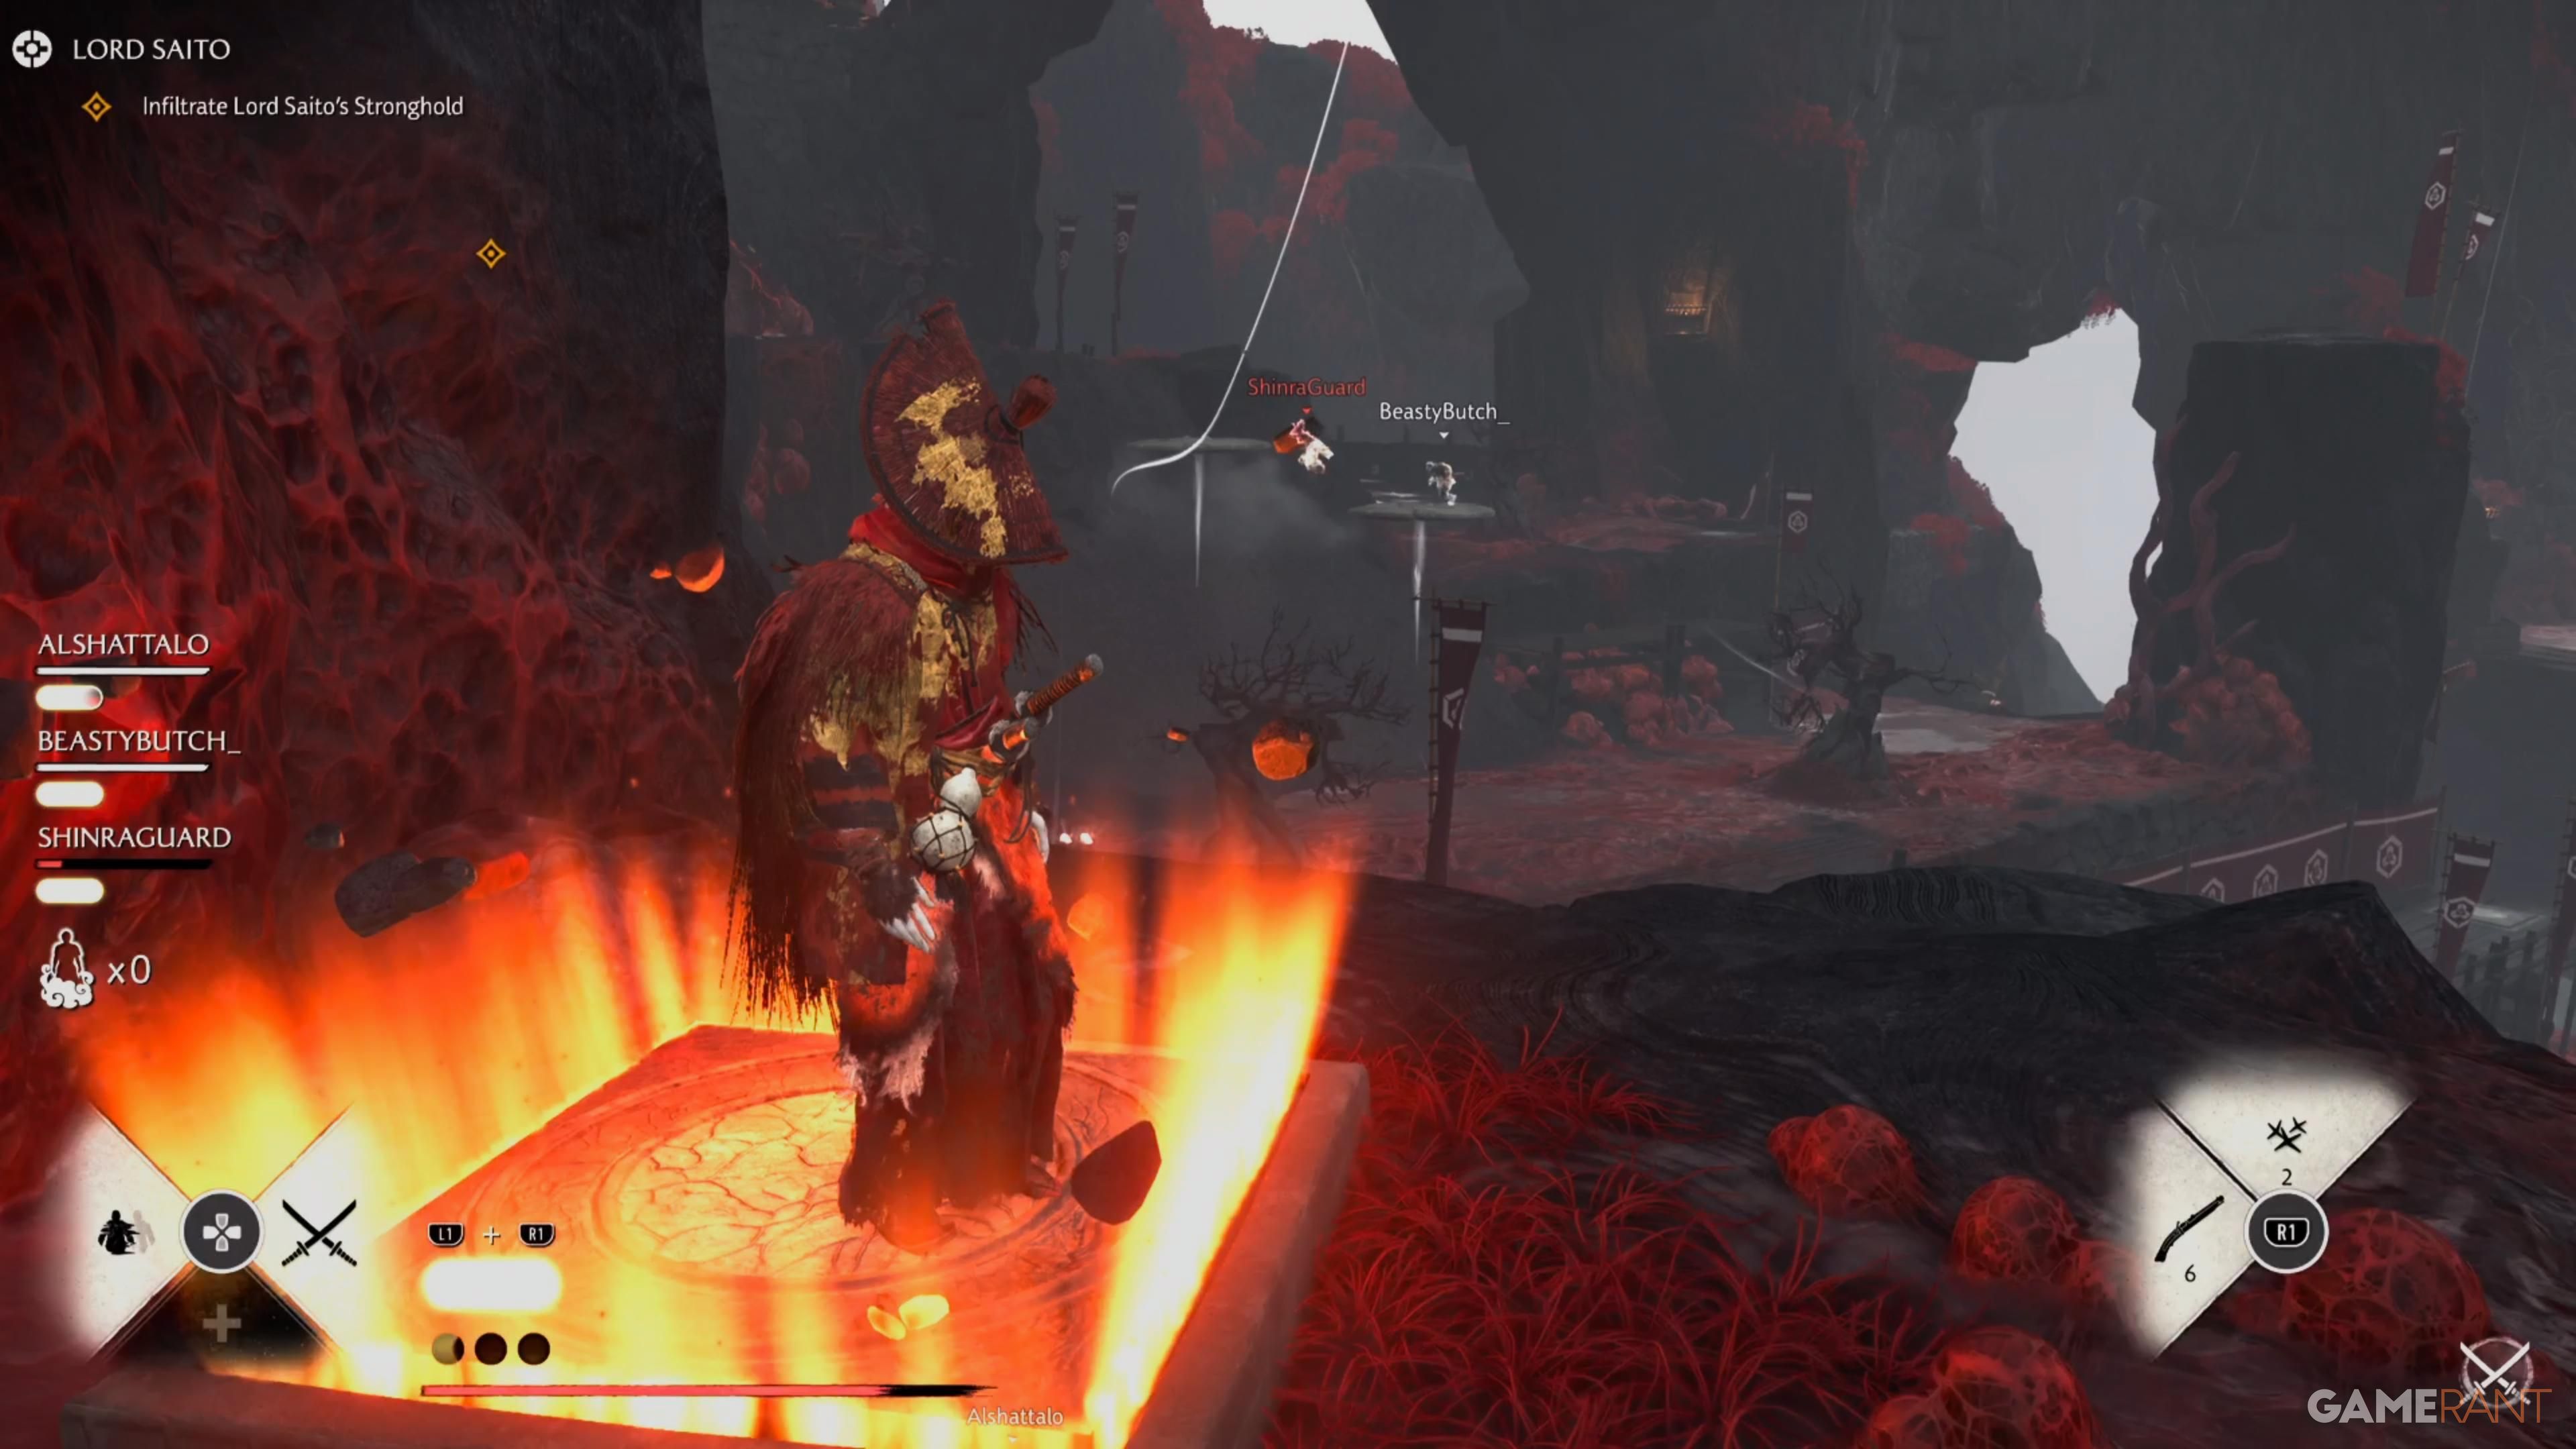
If you have the Vengeful Onibi Bomb, go to each of the five Onibi spots and use two bombs – each one will release four Onibi. This will open the first door, letting you defeat the Fire Spirits on the other side. Repeat this process for the second door. Then, you’ll need to open the door requiring ten Onibi. You can find extra bombs in the middle of the area. Collect them and throw three bombs at that final door to open it and proceed.
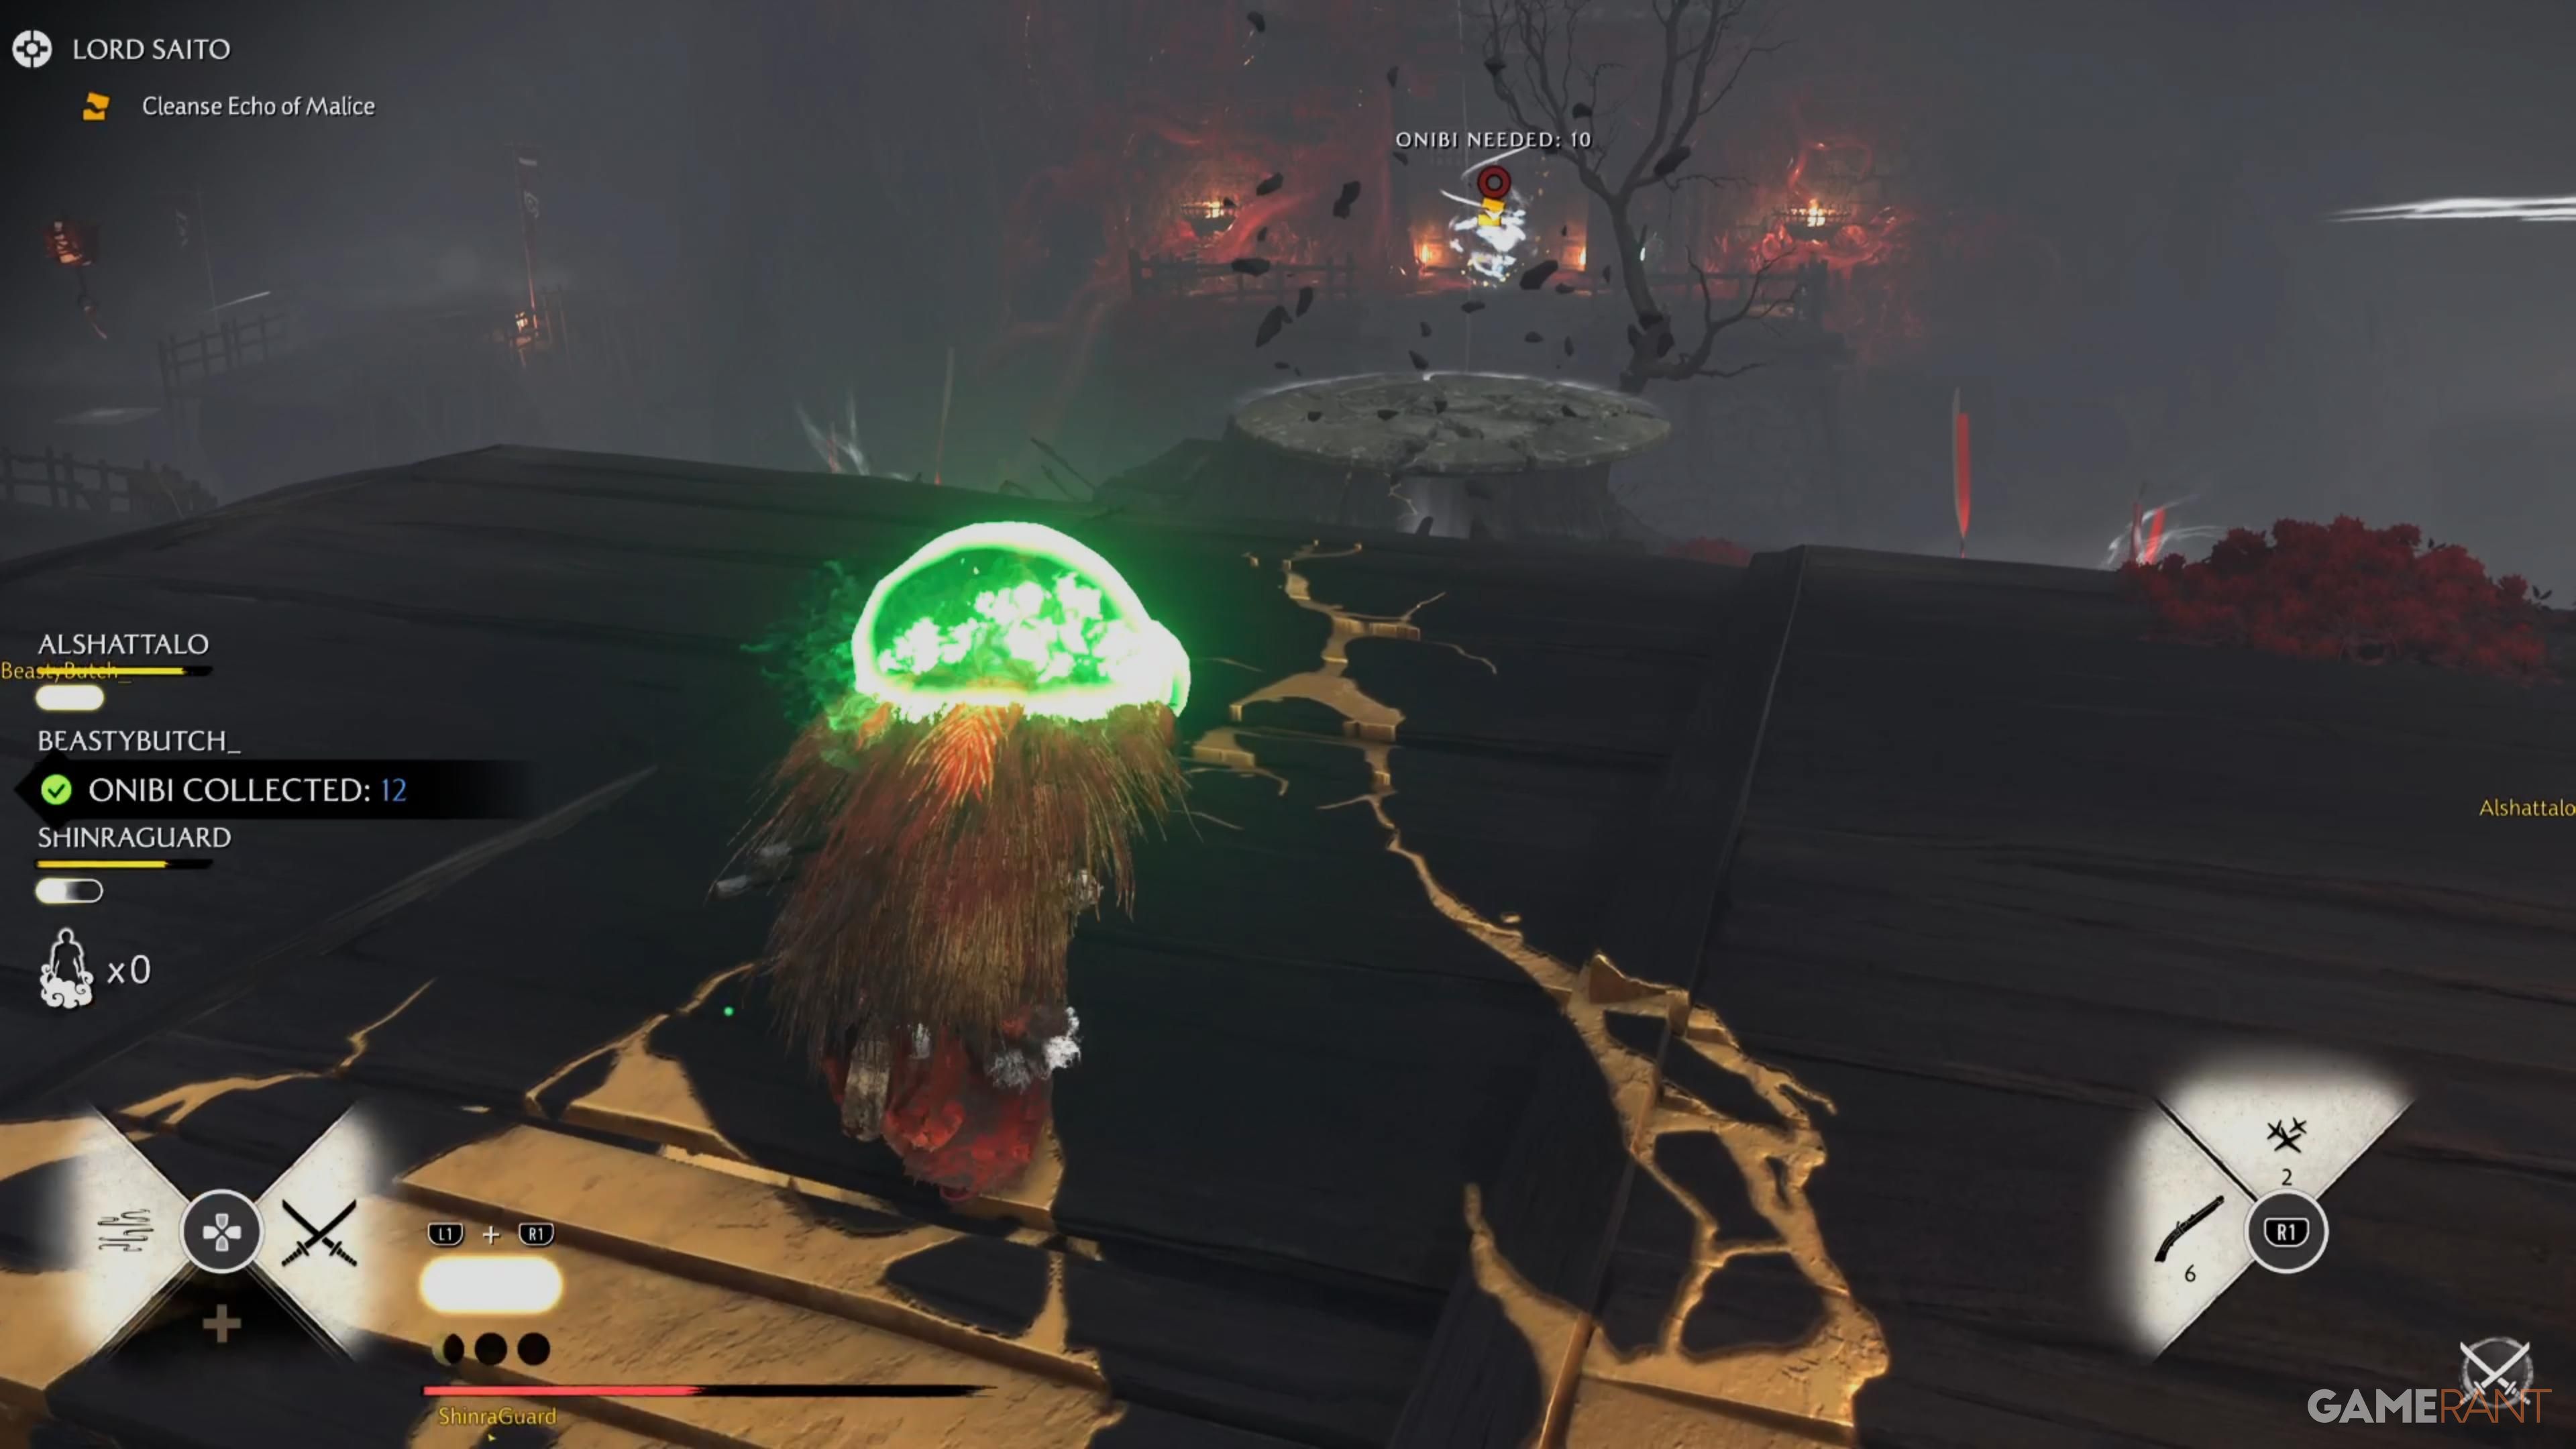
The typical strategy for this challenge involves players using Raijin’s Storm to quickly jump between the plates, constantly activating the skill to stay safe from the Fire Spirit. At the same time, one player needs to climb the rock formation, collect the Onibi, and then carry it to the doors.
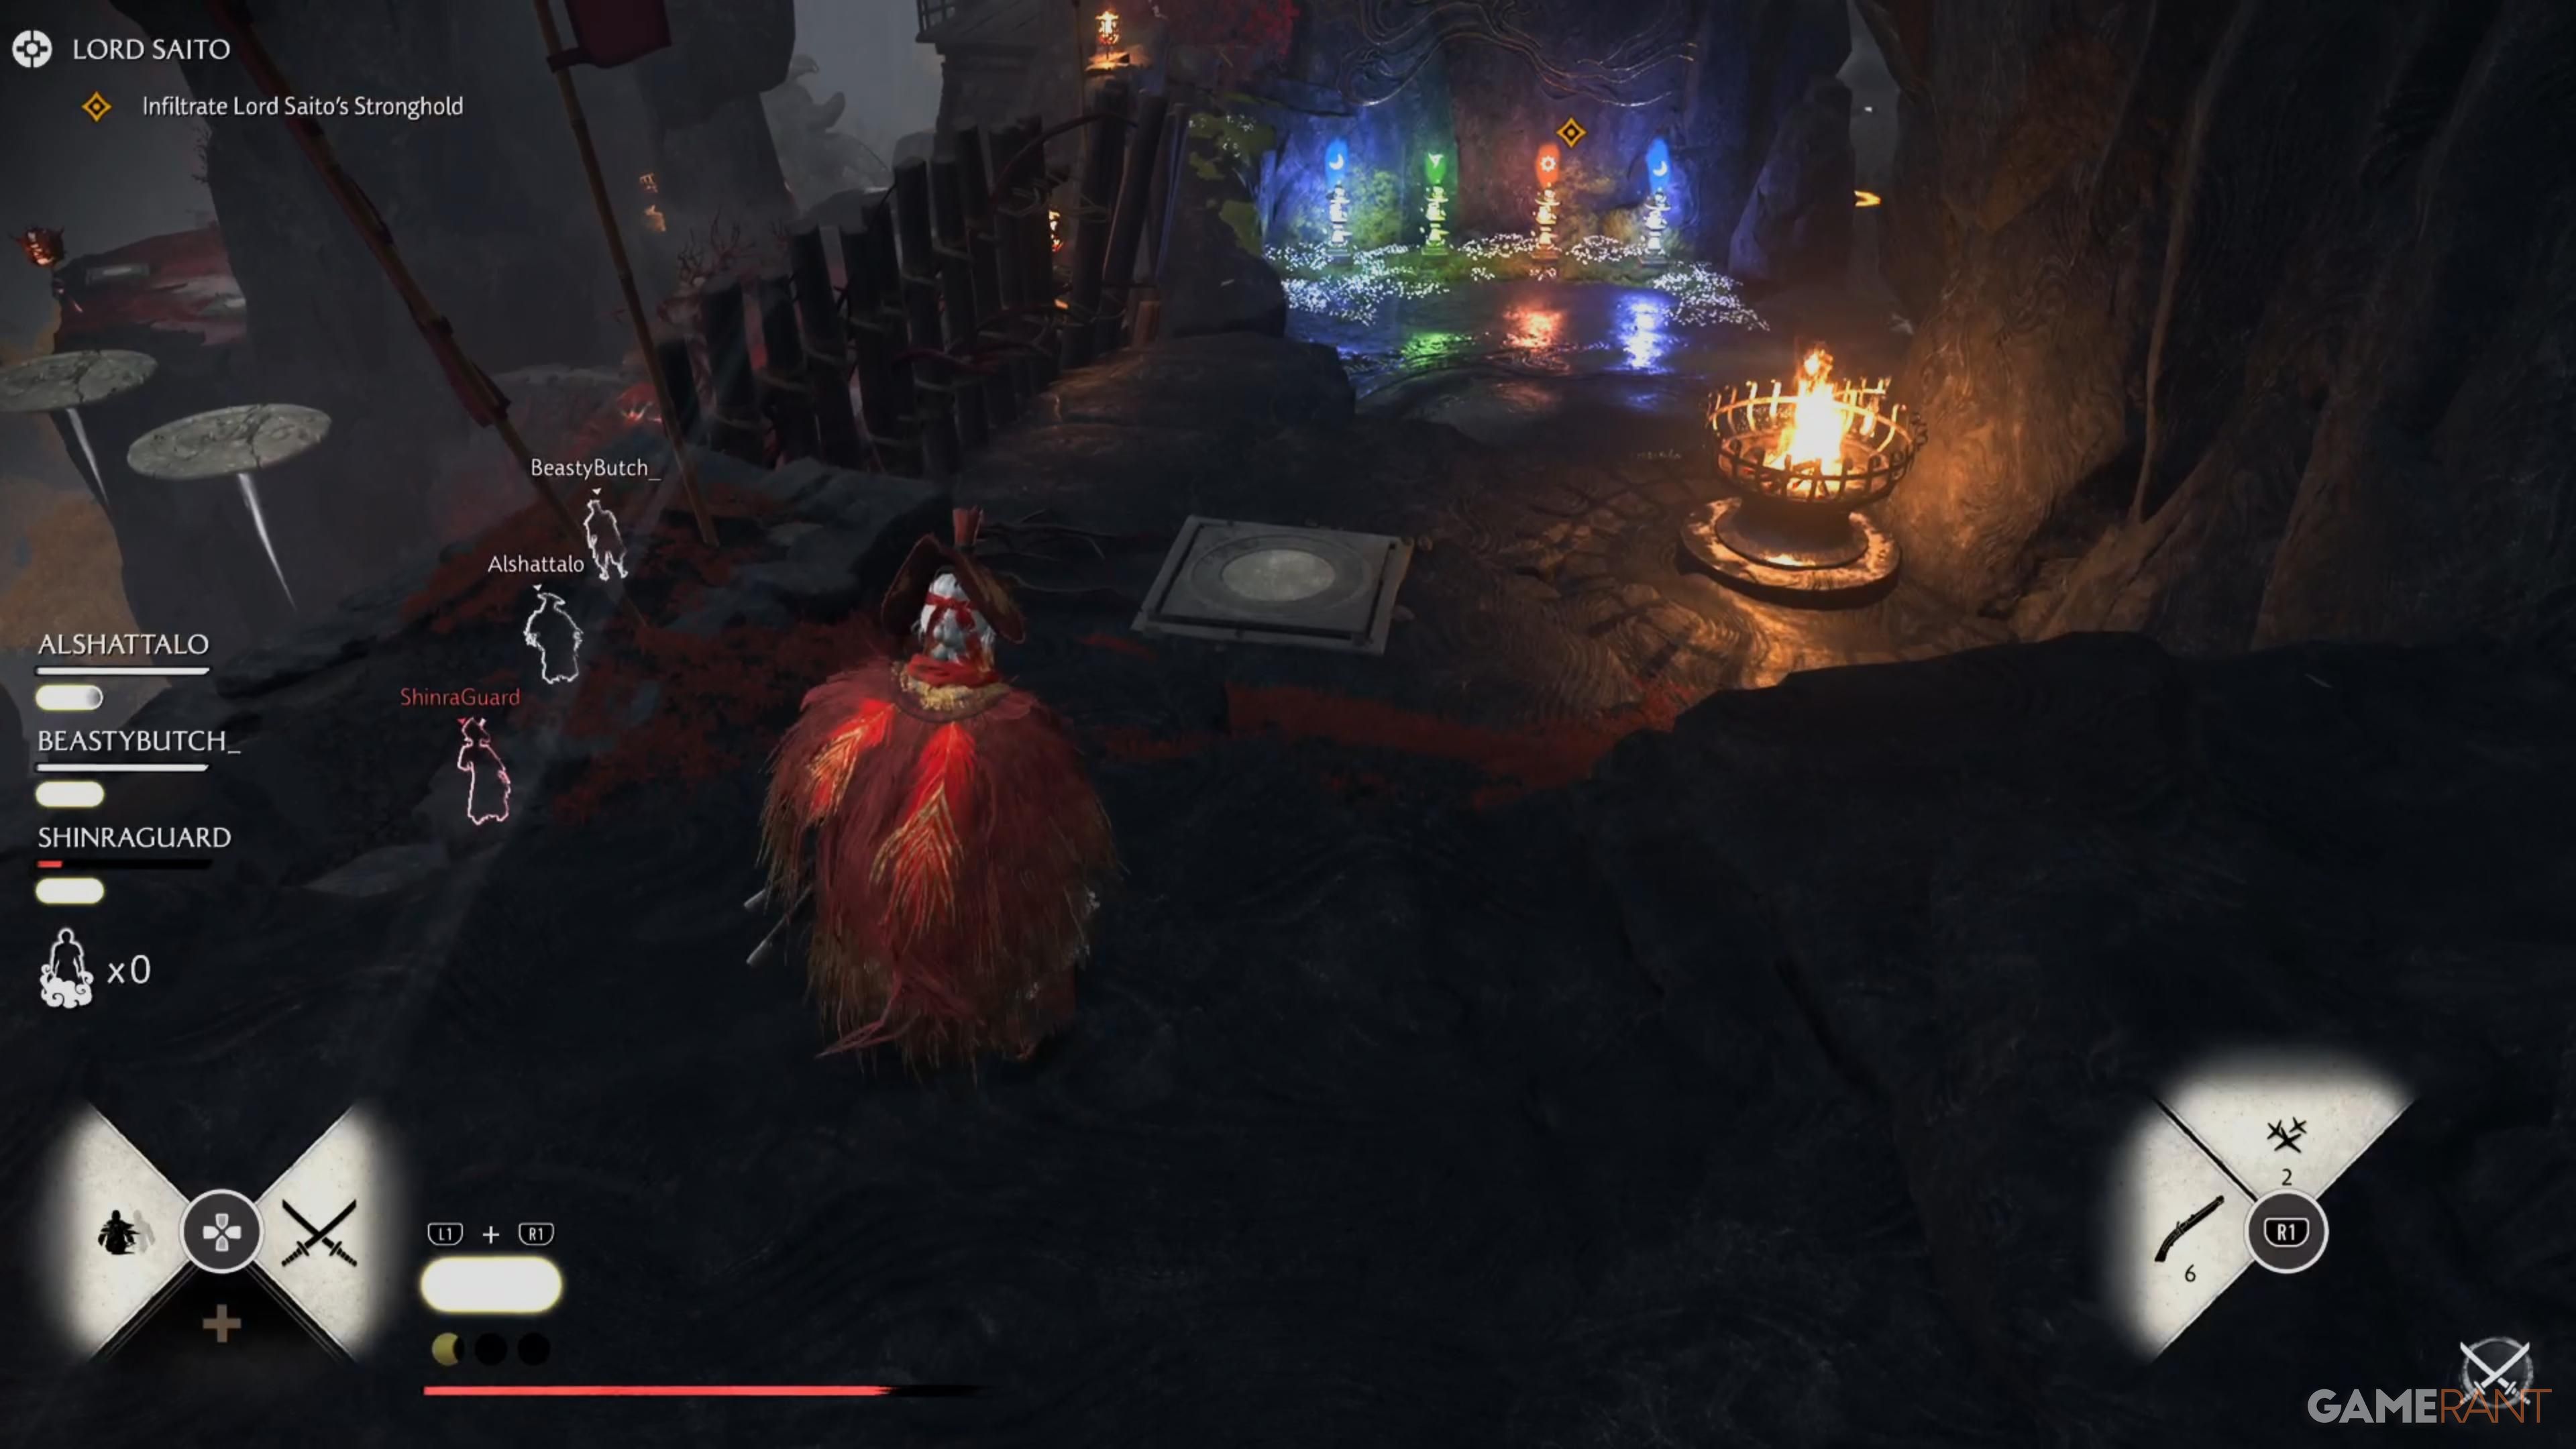
Head towards the Gathering Stone, where you’ll find a way down to the boss arena. But before you drop down, be sure to use the Modify Class stone to improve your weapons, switch your equipment, or even change your character class to prepare for the battle.
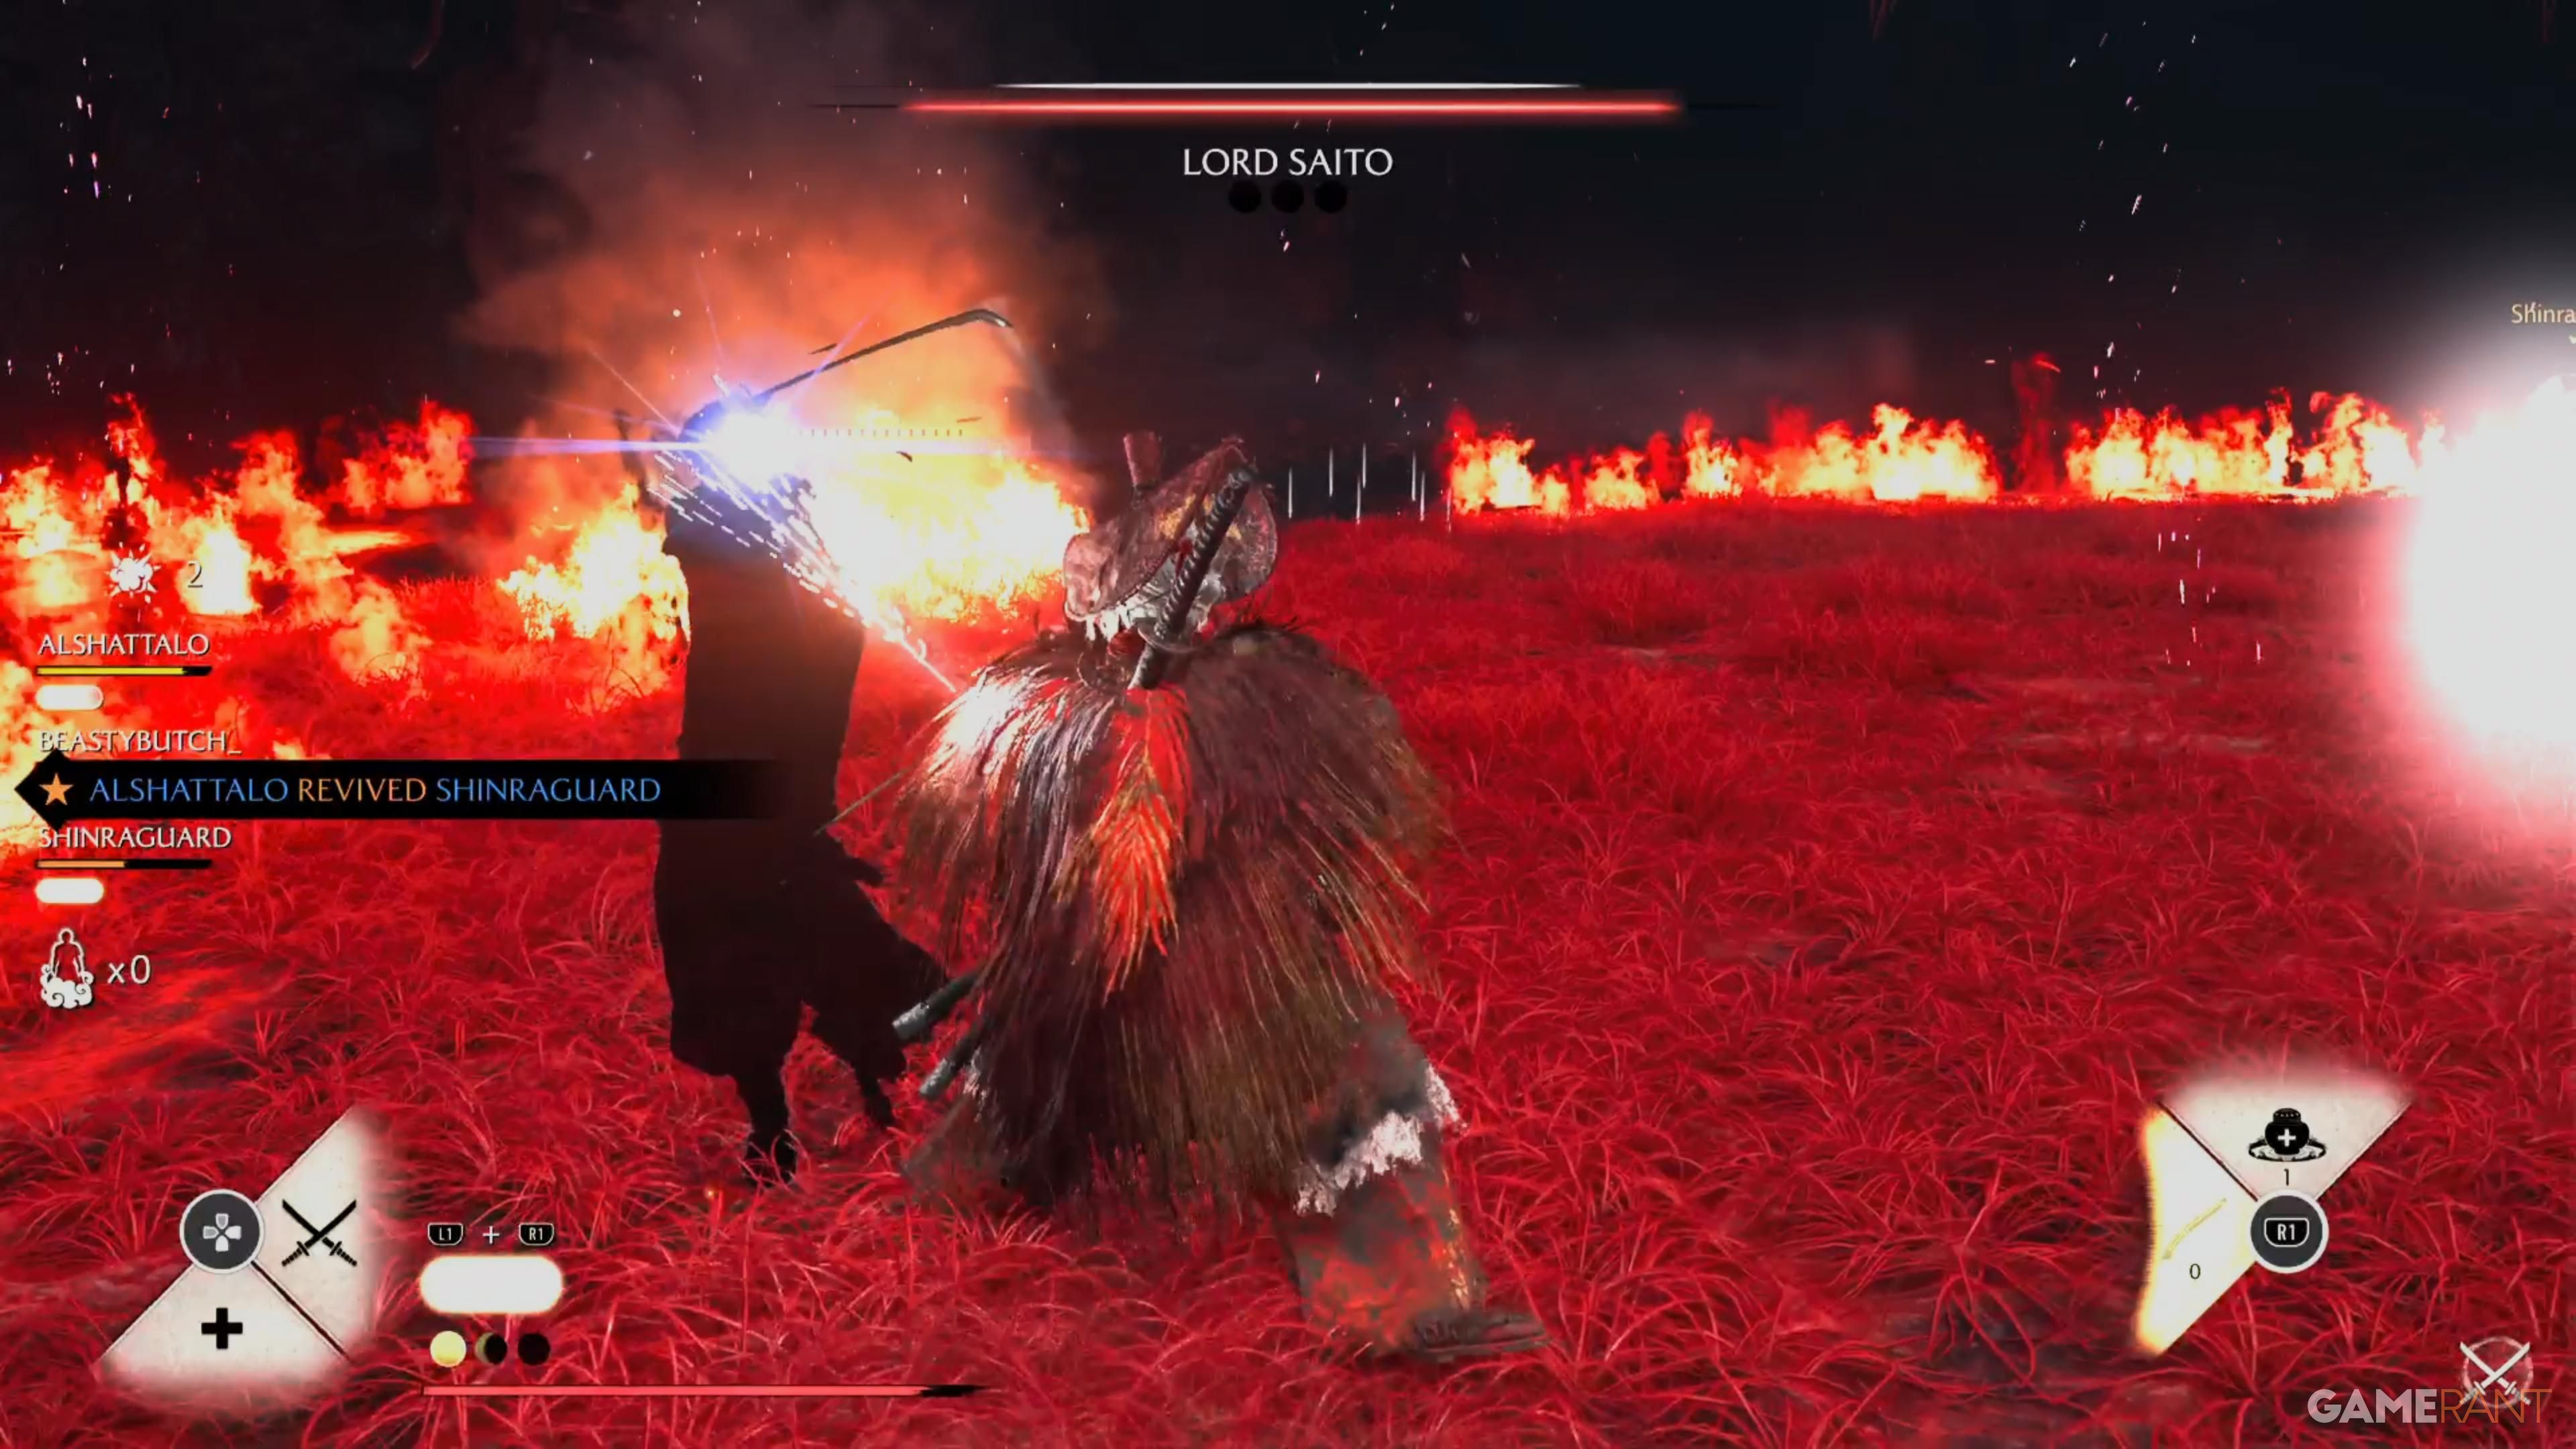
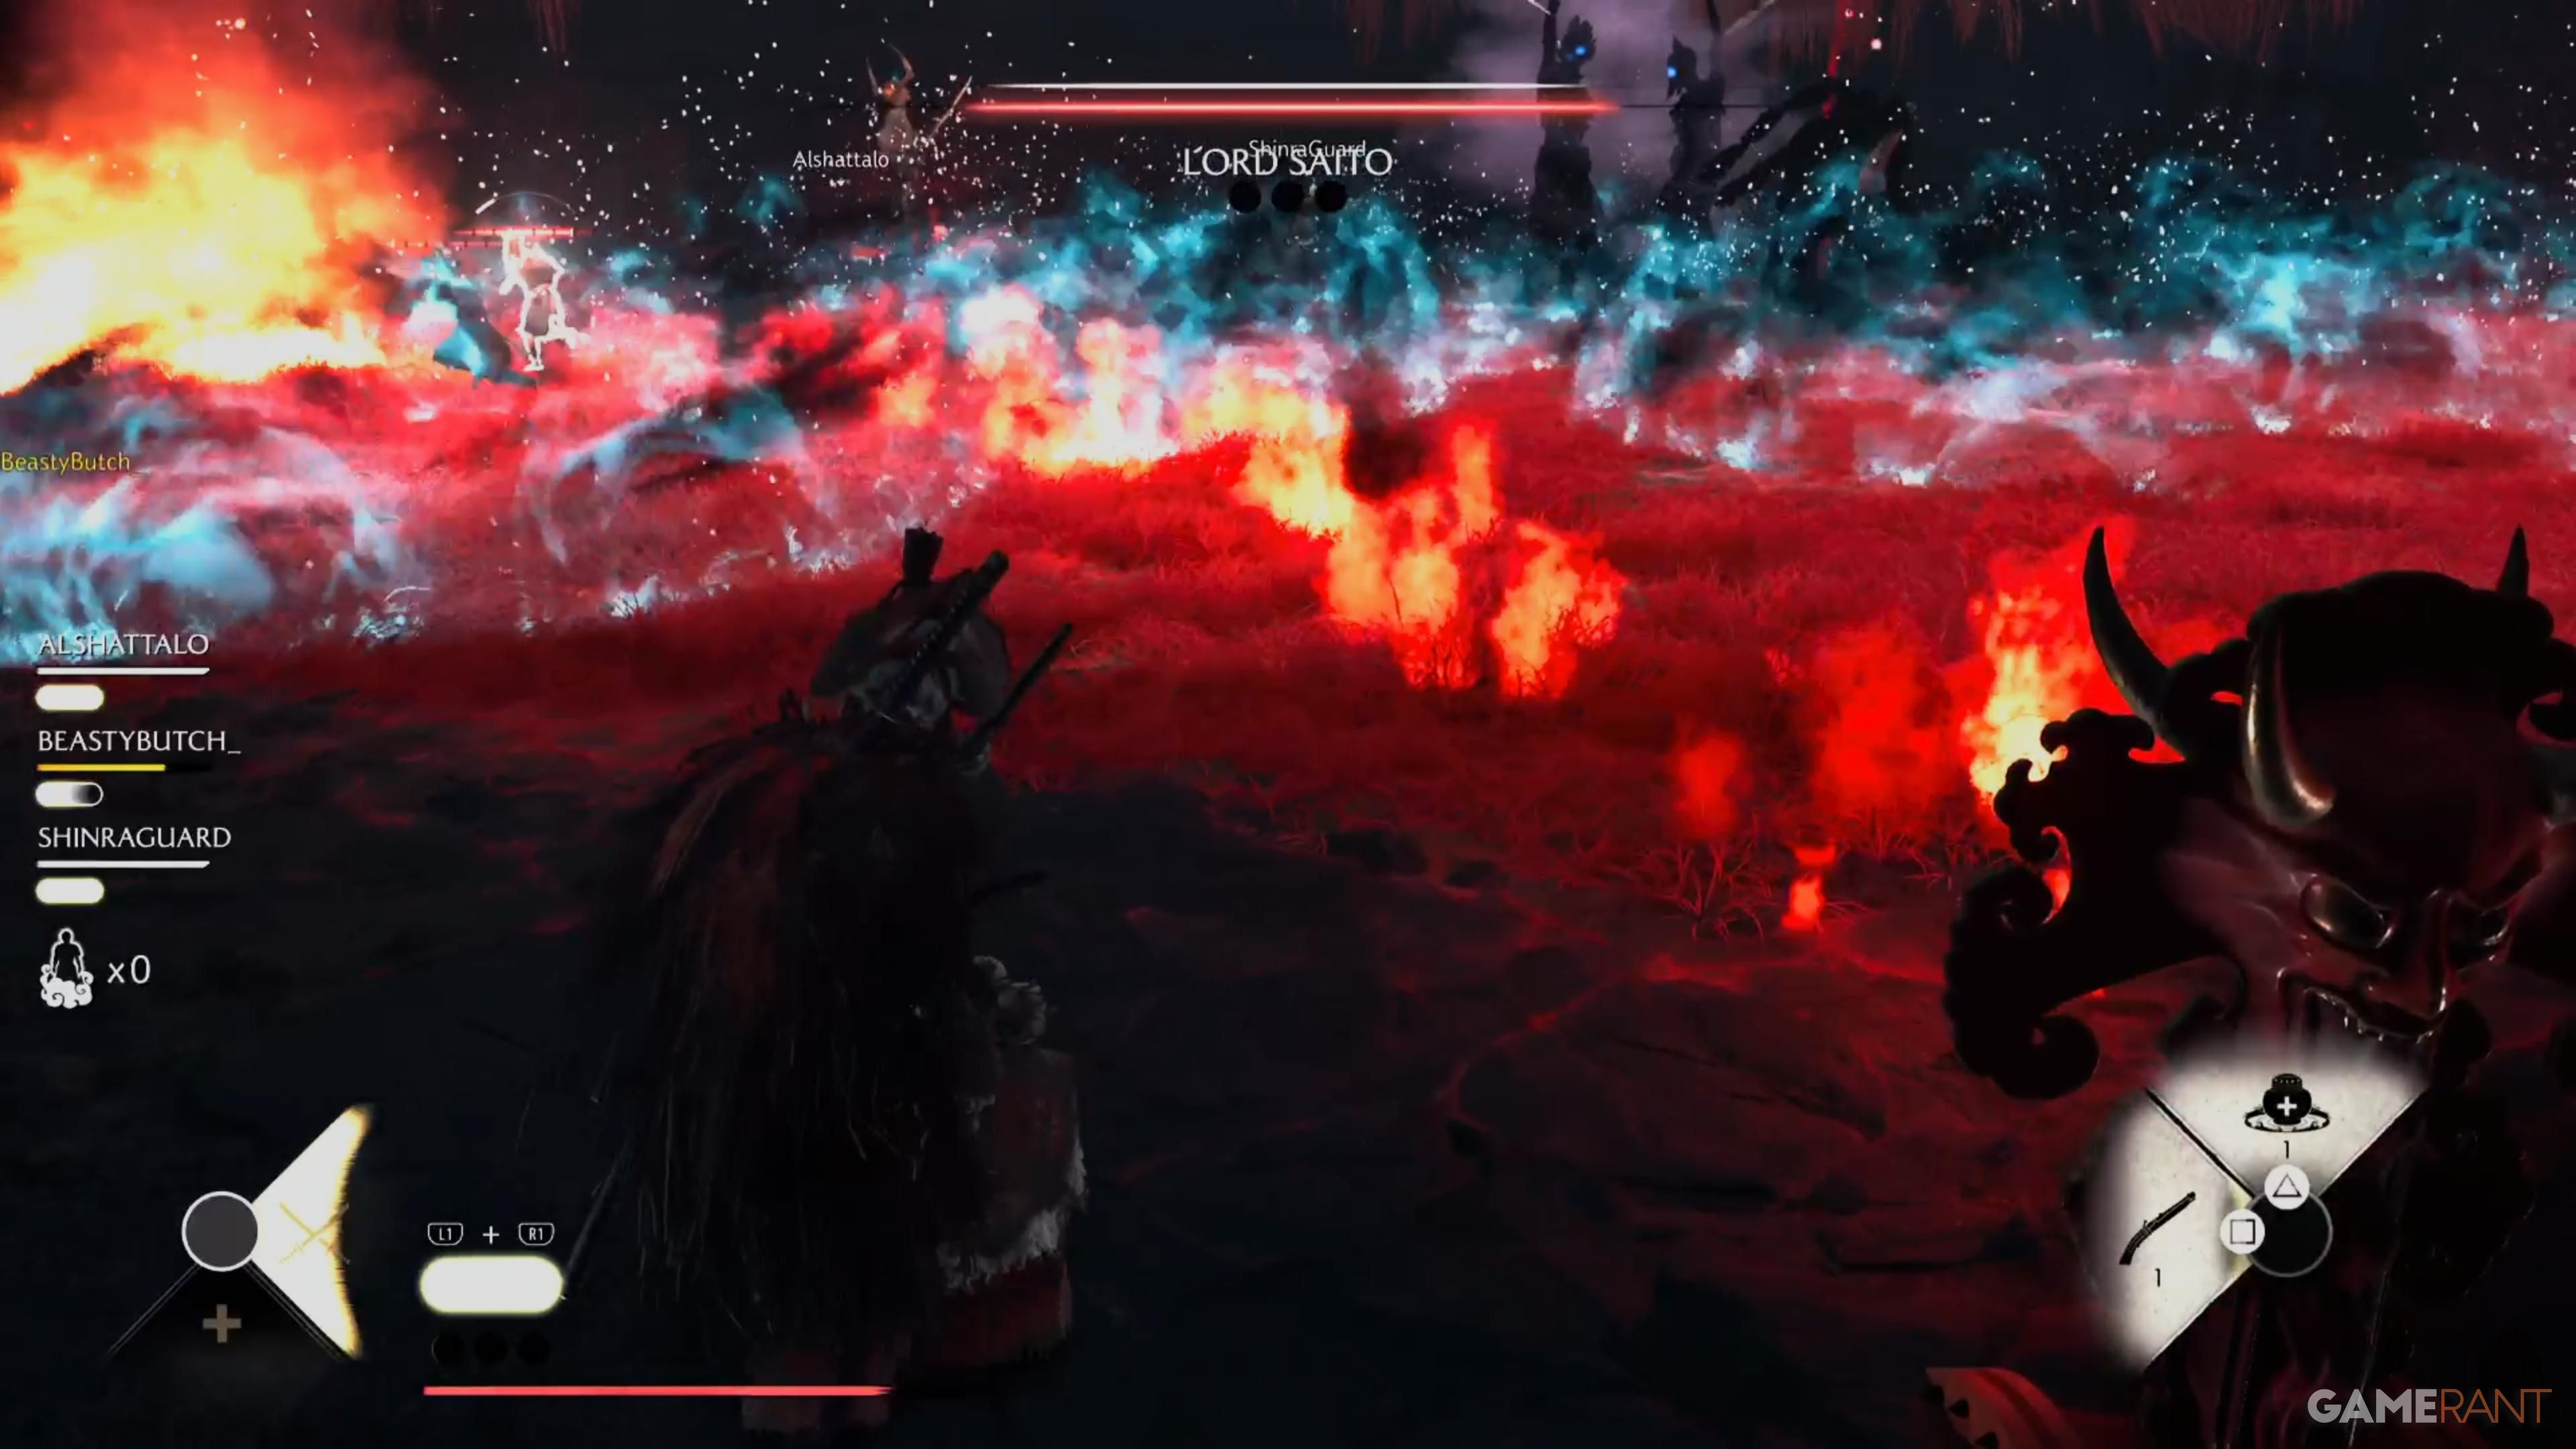
Lord Saito Boss Fight in Ghost of Yotei Legends
To make the boss fight easier, we strongly suggest at least two players each equip the Legendary Healing Incense, especially the version with the larger healing radius. It’s a crucial item for success.
When the fight with Lord Saito begins, prioritize eliminating the Bo-Hiya enemies using ranged attacks before targeting anything else. After they’re defeated, clear out the remaining enemies, and then concentrate your efforts on Lord Saito himself.
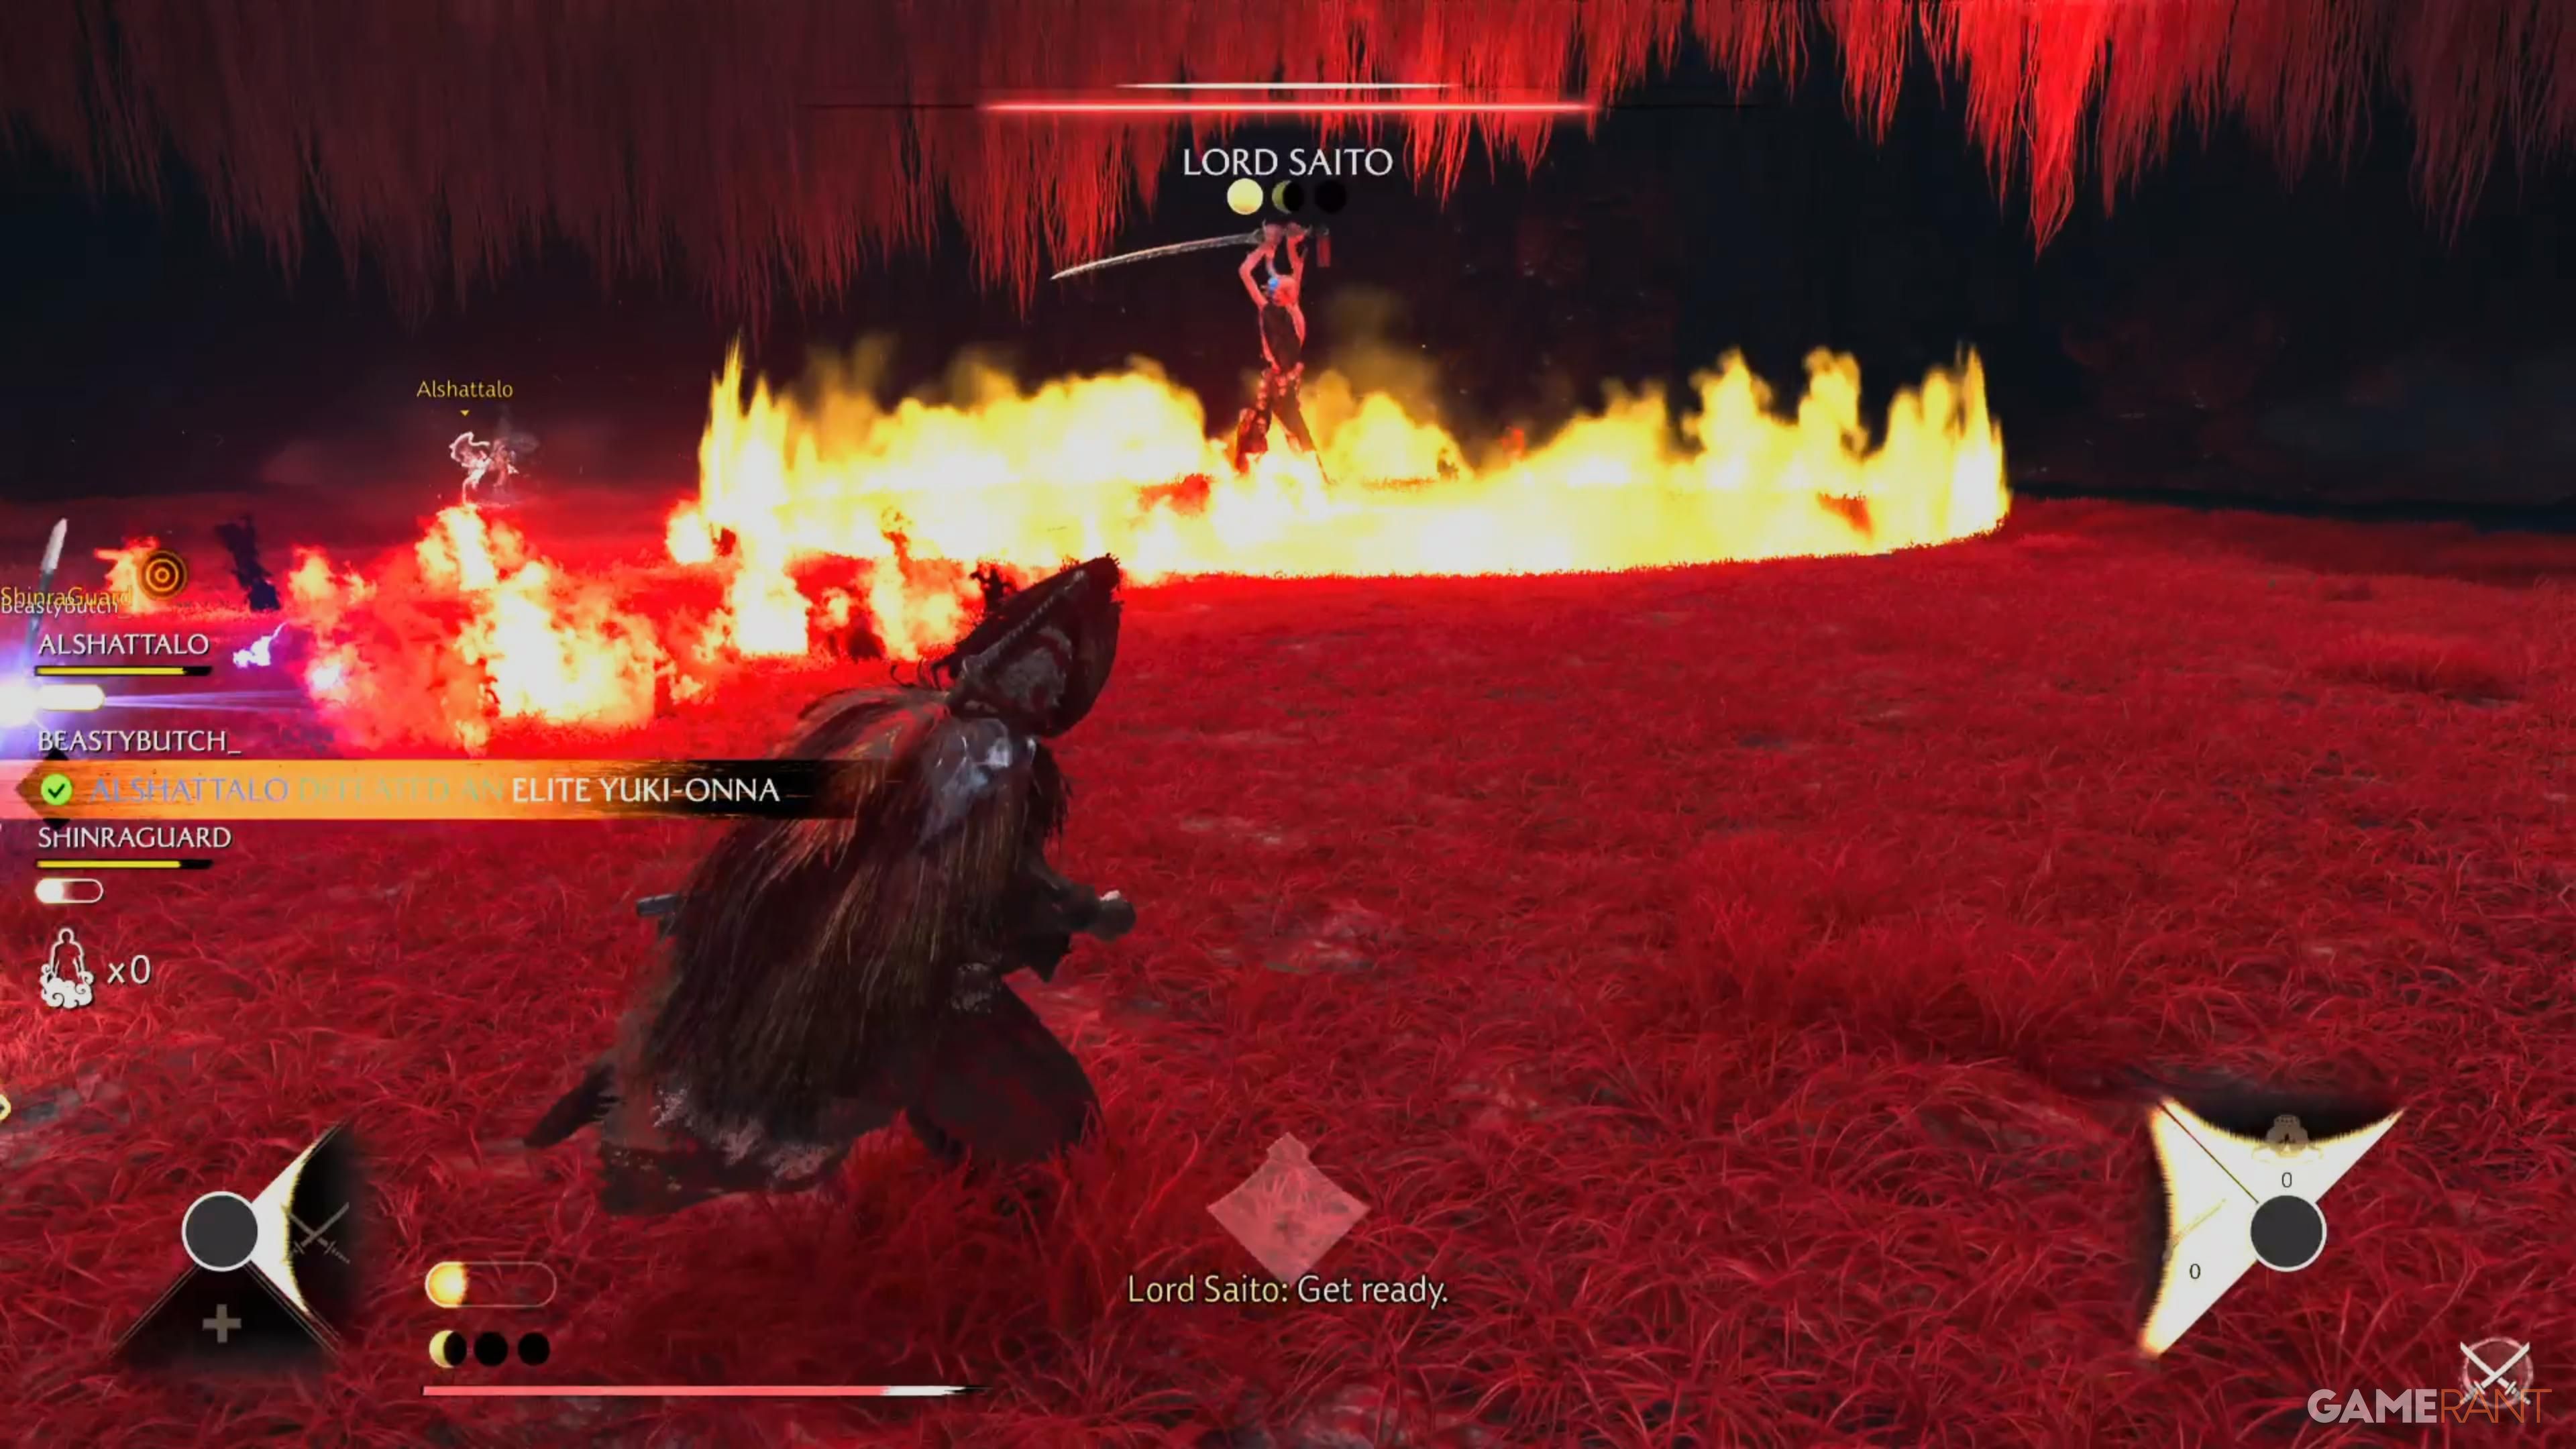
The boss leaves a damaging trail of fire with each attack, so avoid standing in it for too long – even a second can cause significant damage.
The boss uses a powerful special attack whenever his Spirit meter is full. During the first 25% of the fight, he’ll put away his sword and create quick shadow enemies. You need to time your blocks perfectly to counterattack these enemies.
During the fight, the boss will coat his sword in blue and summon two Kitsune shadows that release freezing attacks – be sure to dodge these. It’s generally easiest to do this by staying near the outer edges of the fighting area. Watch out for a Spider shadow as well, which creates patches of vines that can trap and hurt you.
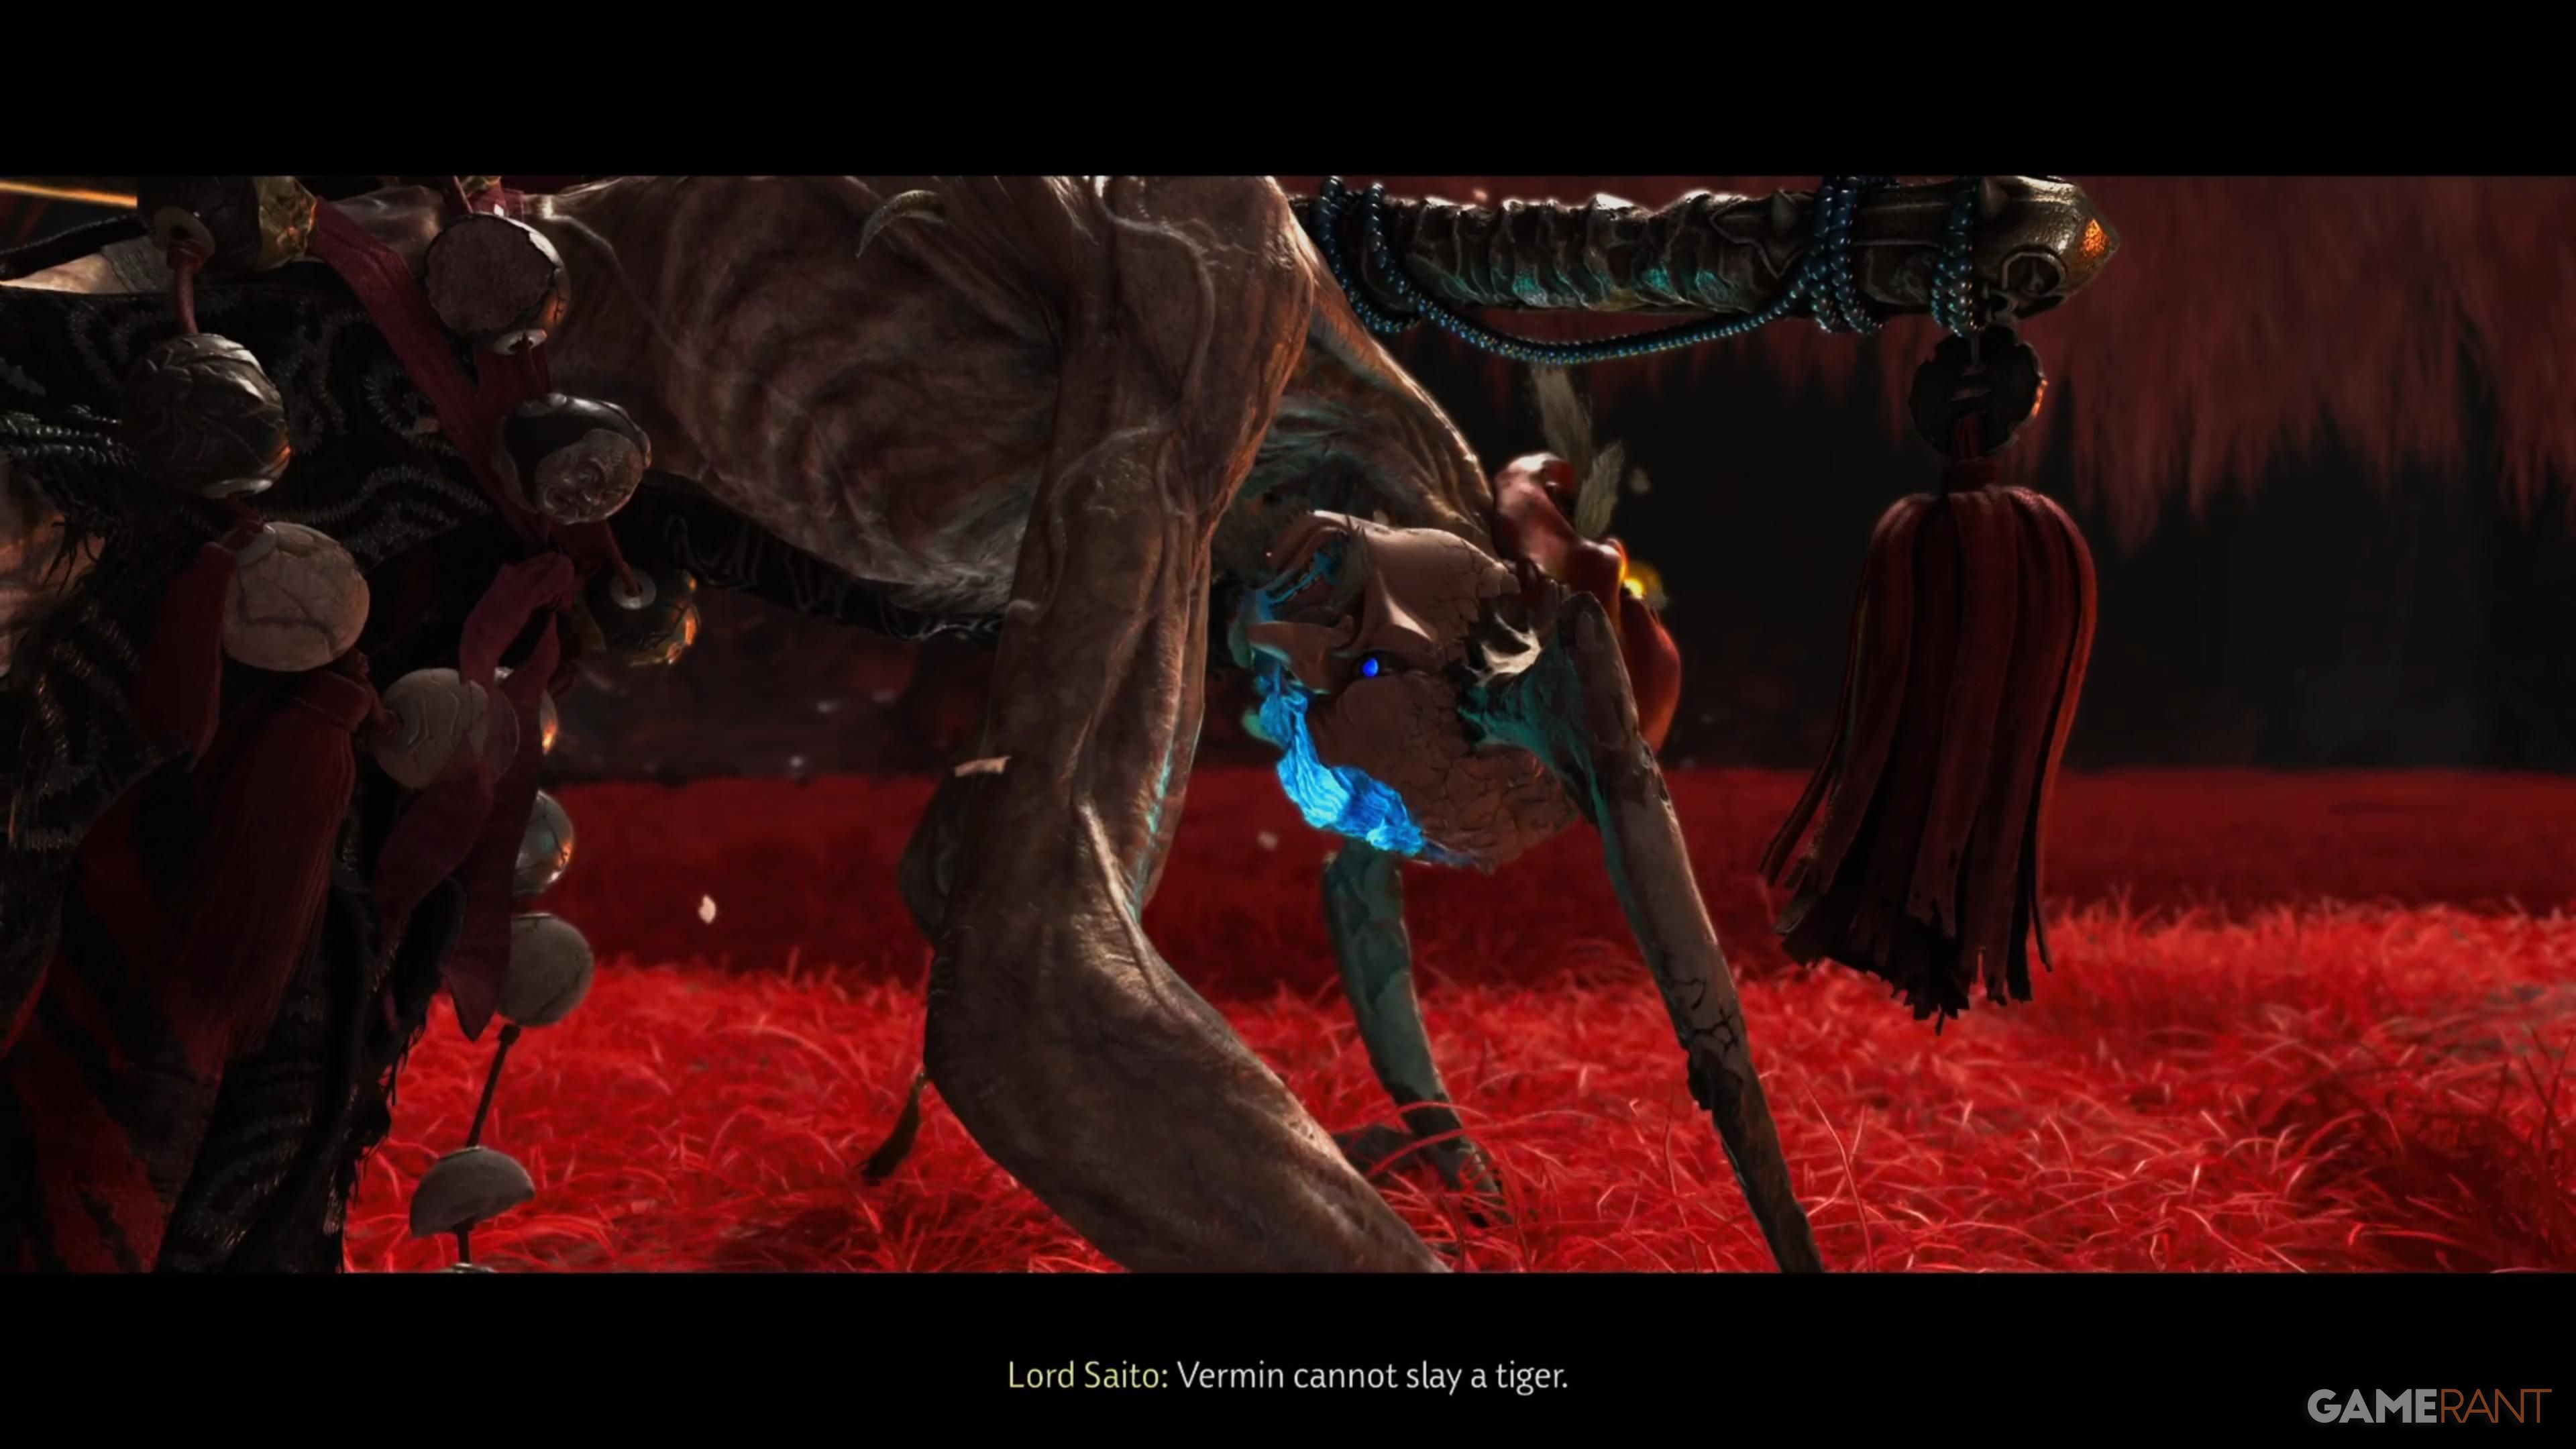
The boss has a couple of powerful special attacks. One involves summoning the shadows of a Dragon and a Snake. The Dragon will target several players with explosive attacks, and the Snake will cover most of the arena with a dangerous corruption, pushing you to stick to the edges or the center. His final attack summons the Oni and Snake shadows. The Oni will fire projectiles at you, and the Snake will attack in close combat.
You primarily brought the Healing Incense to counter the yellow attack. With most enemies, this means going in and using a strong attack to knock their weapon away. However, against Lord Saito, you need to first avoid his initial slam and the yellow area. Then, quickly rush in and use the Incense. While the Incense is healing you, Saito will release damaging red clouds, so be prepared.
Throughout the animation, keep hitting the boss to build up the stagger meter and reduce his health. The rest of the battle follows the same pattern: Lord Saito will summon smaller enemies, allowing you to defeat them and recover Spirit energy for healing.
Read More
- All Skyblazer Armor Locations in Crimson Desert
- One Piece Chapter 1180 Release Date And Where To Read
- All Shadow Armor Locations in Crimson Desert
- How to Get the Sunset Reed Armor Set and Hollow Visage Sword in Crimson Desert
- New Avatar: The Last Airbender Movie Leaked Online
- Cassius Morten Armor Set Locations in Crimson Desert
- Grime 2 Map Unlock Guide: Find Seals & Fast Travel
- All Golden Greed Armor Locations in Crimson Desert
- Euphoria Season 3 Release Date, Episode 1 Time, & Weekly Schedule
- Amber Alert Secrets & CDs In Crime Scene Cleaner Act 2
2026-04-13 19:46