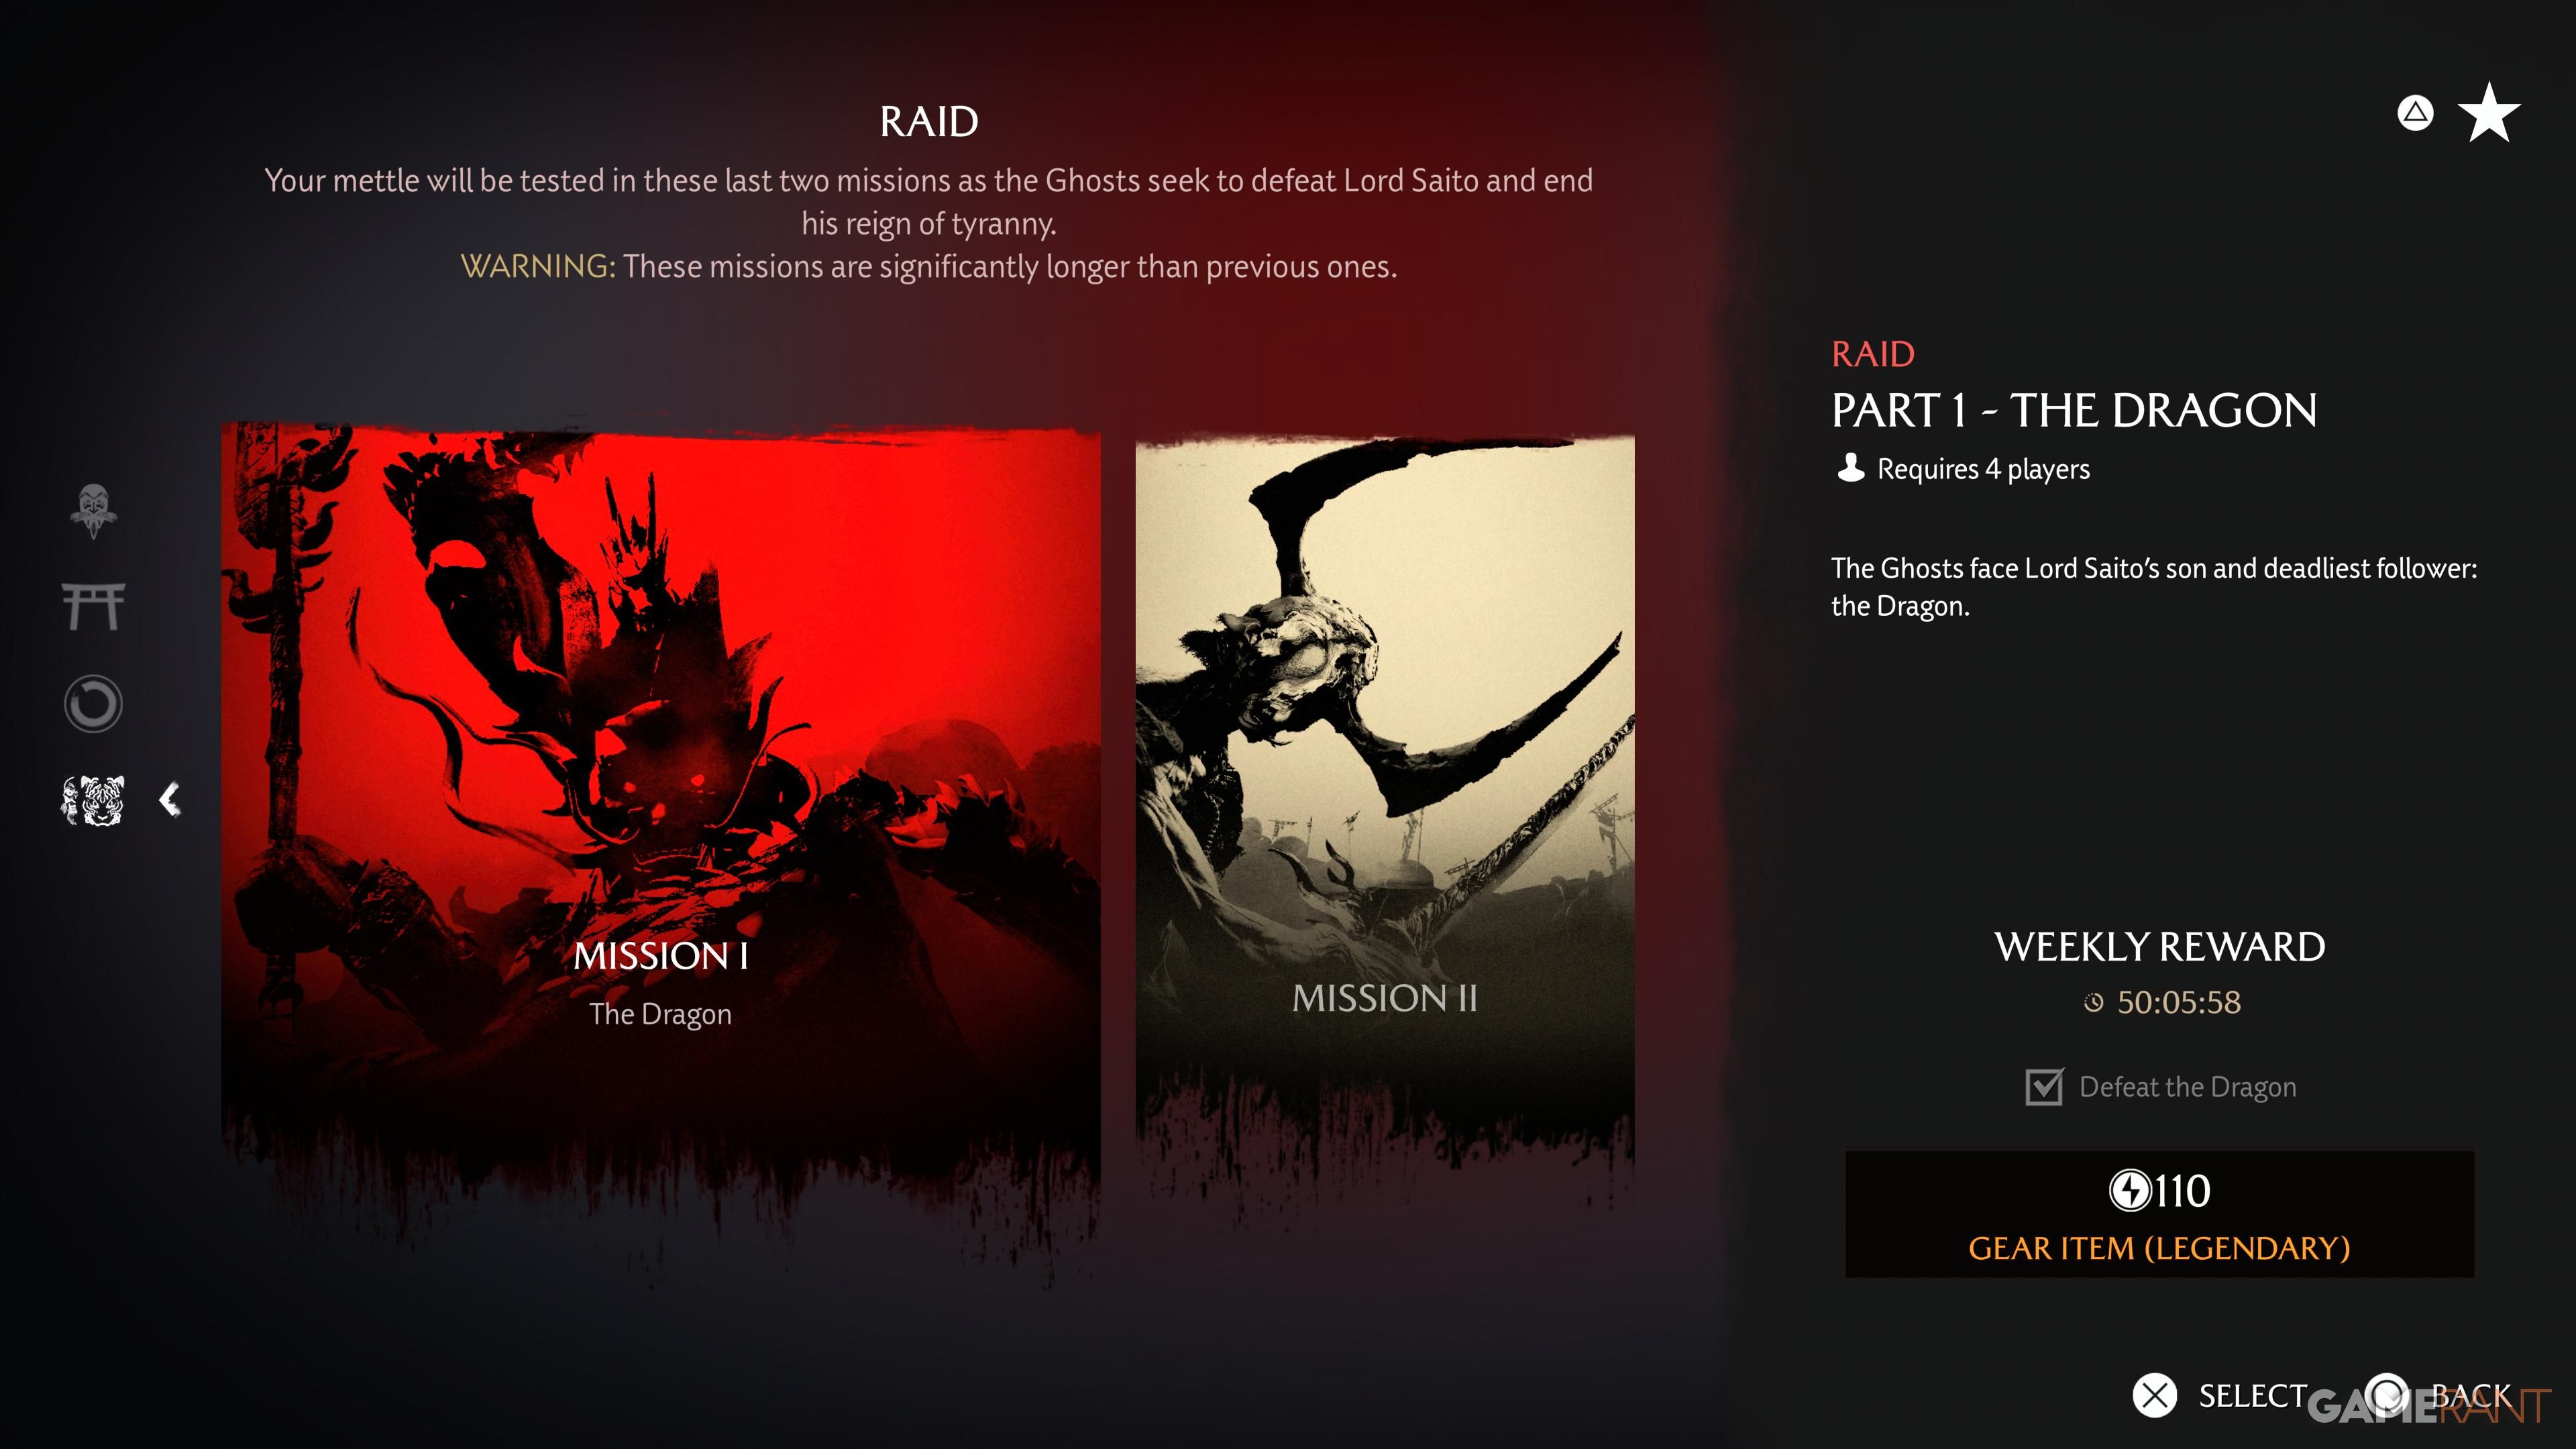
Okay, so the Dragon raid is one of the big endgame challenges in Ghost of Yotei Legends. It’s way bigger than anything I’ve done so far – the story missions or even the Incursions. Expect to spend some time on this one; it’s got puzzles to solve, lots of enemies to fight, and a seriously tough boss at the very end. We’re talking an hour to an hour and a half, easily! I’m putting together a complete walkthrough below to help everyone get through it, with all the tips you’ll need to take down that Dragon boss in Ghost of Yotei Legends.
After finishing both raids, players will earn the “Kaibyaku” trophy. Completing these raids also gives each class a unique cosmetic outfit as a reward.
How to Complete The Dragon Raid in Ghost of Yotei Legends
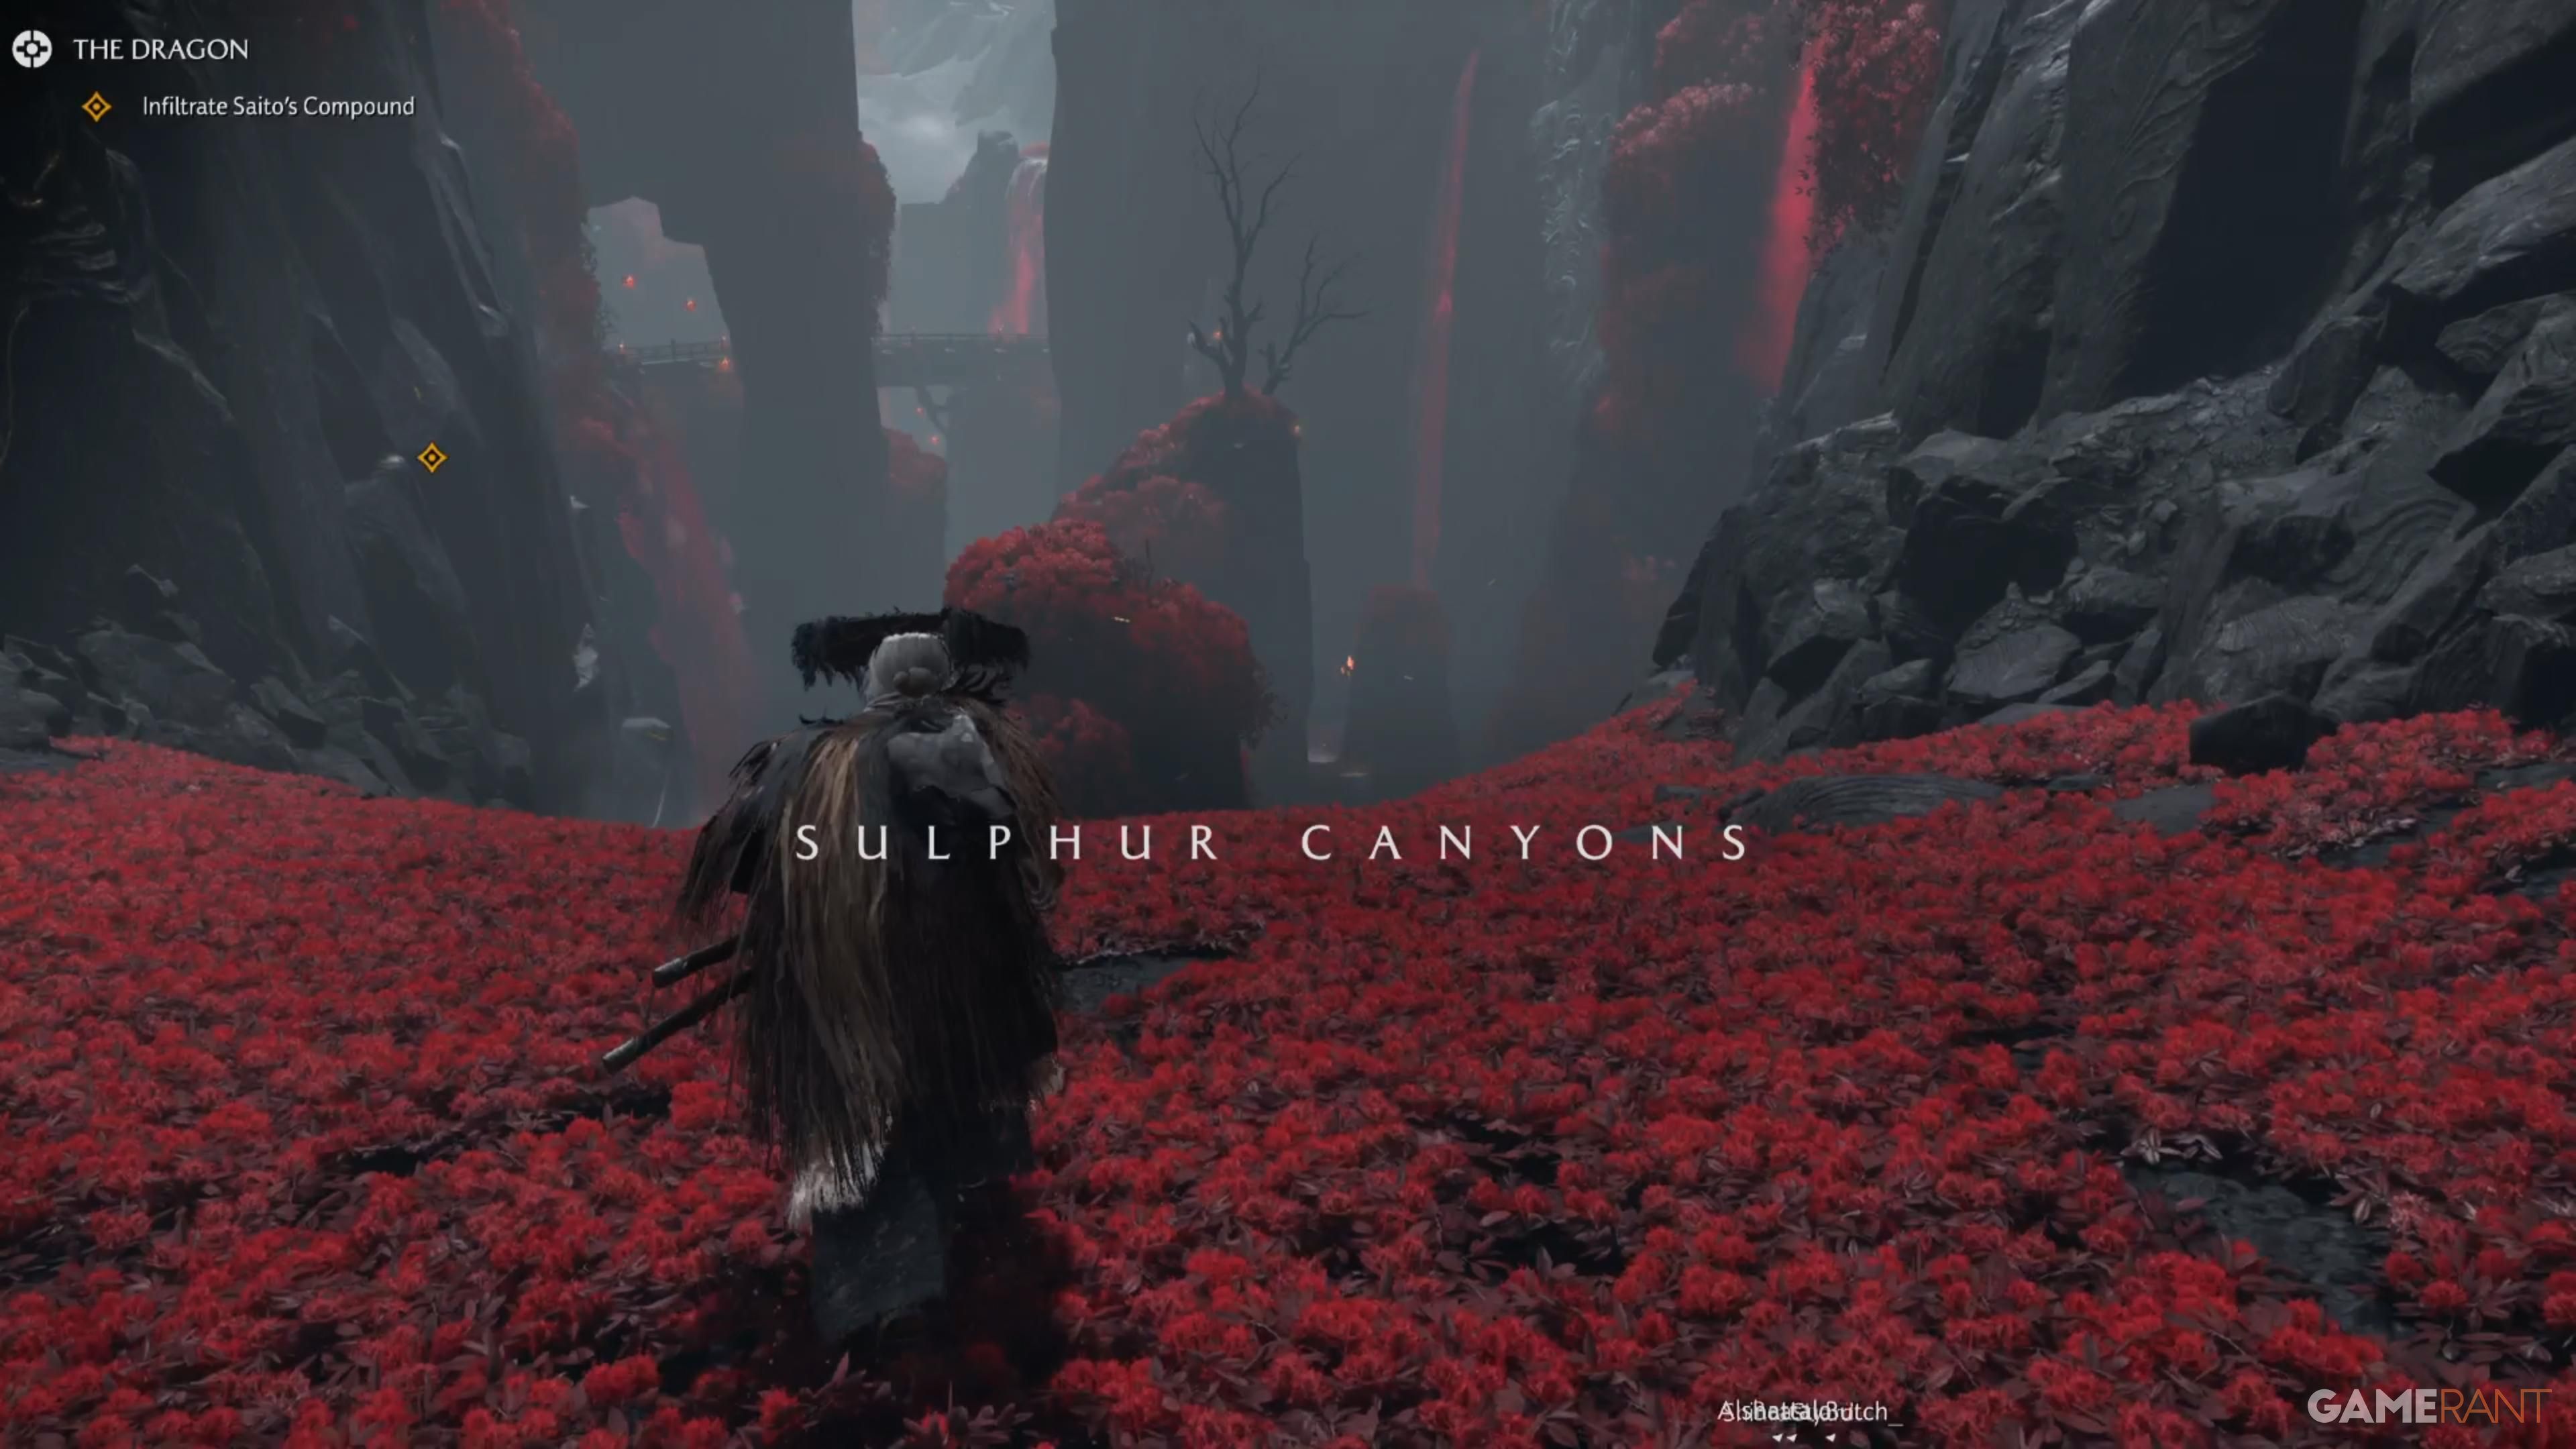
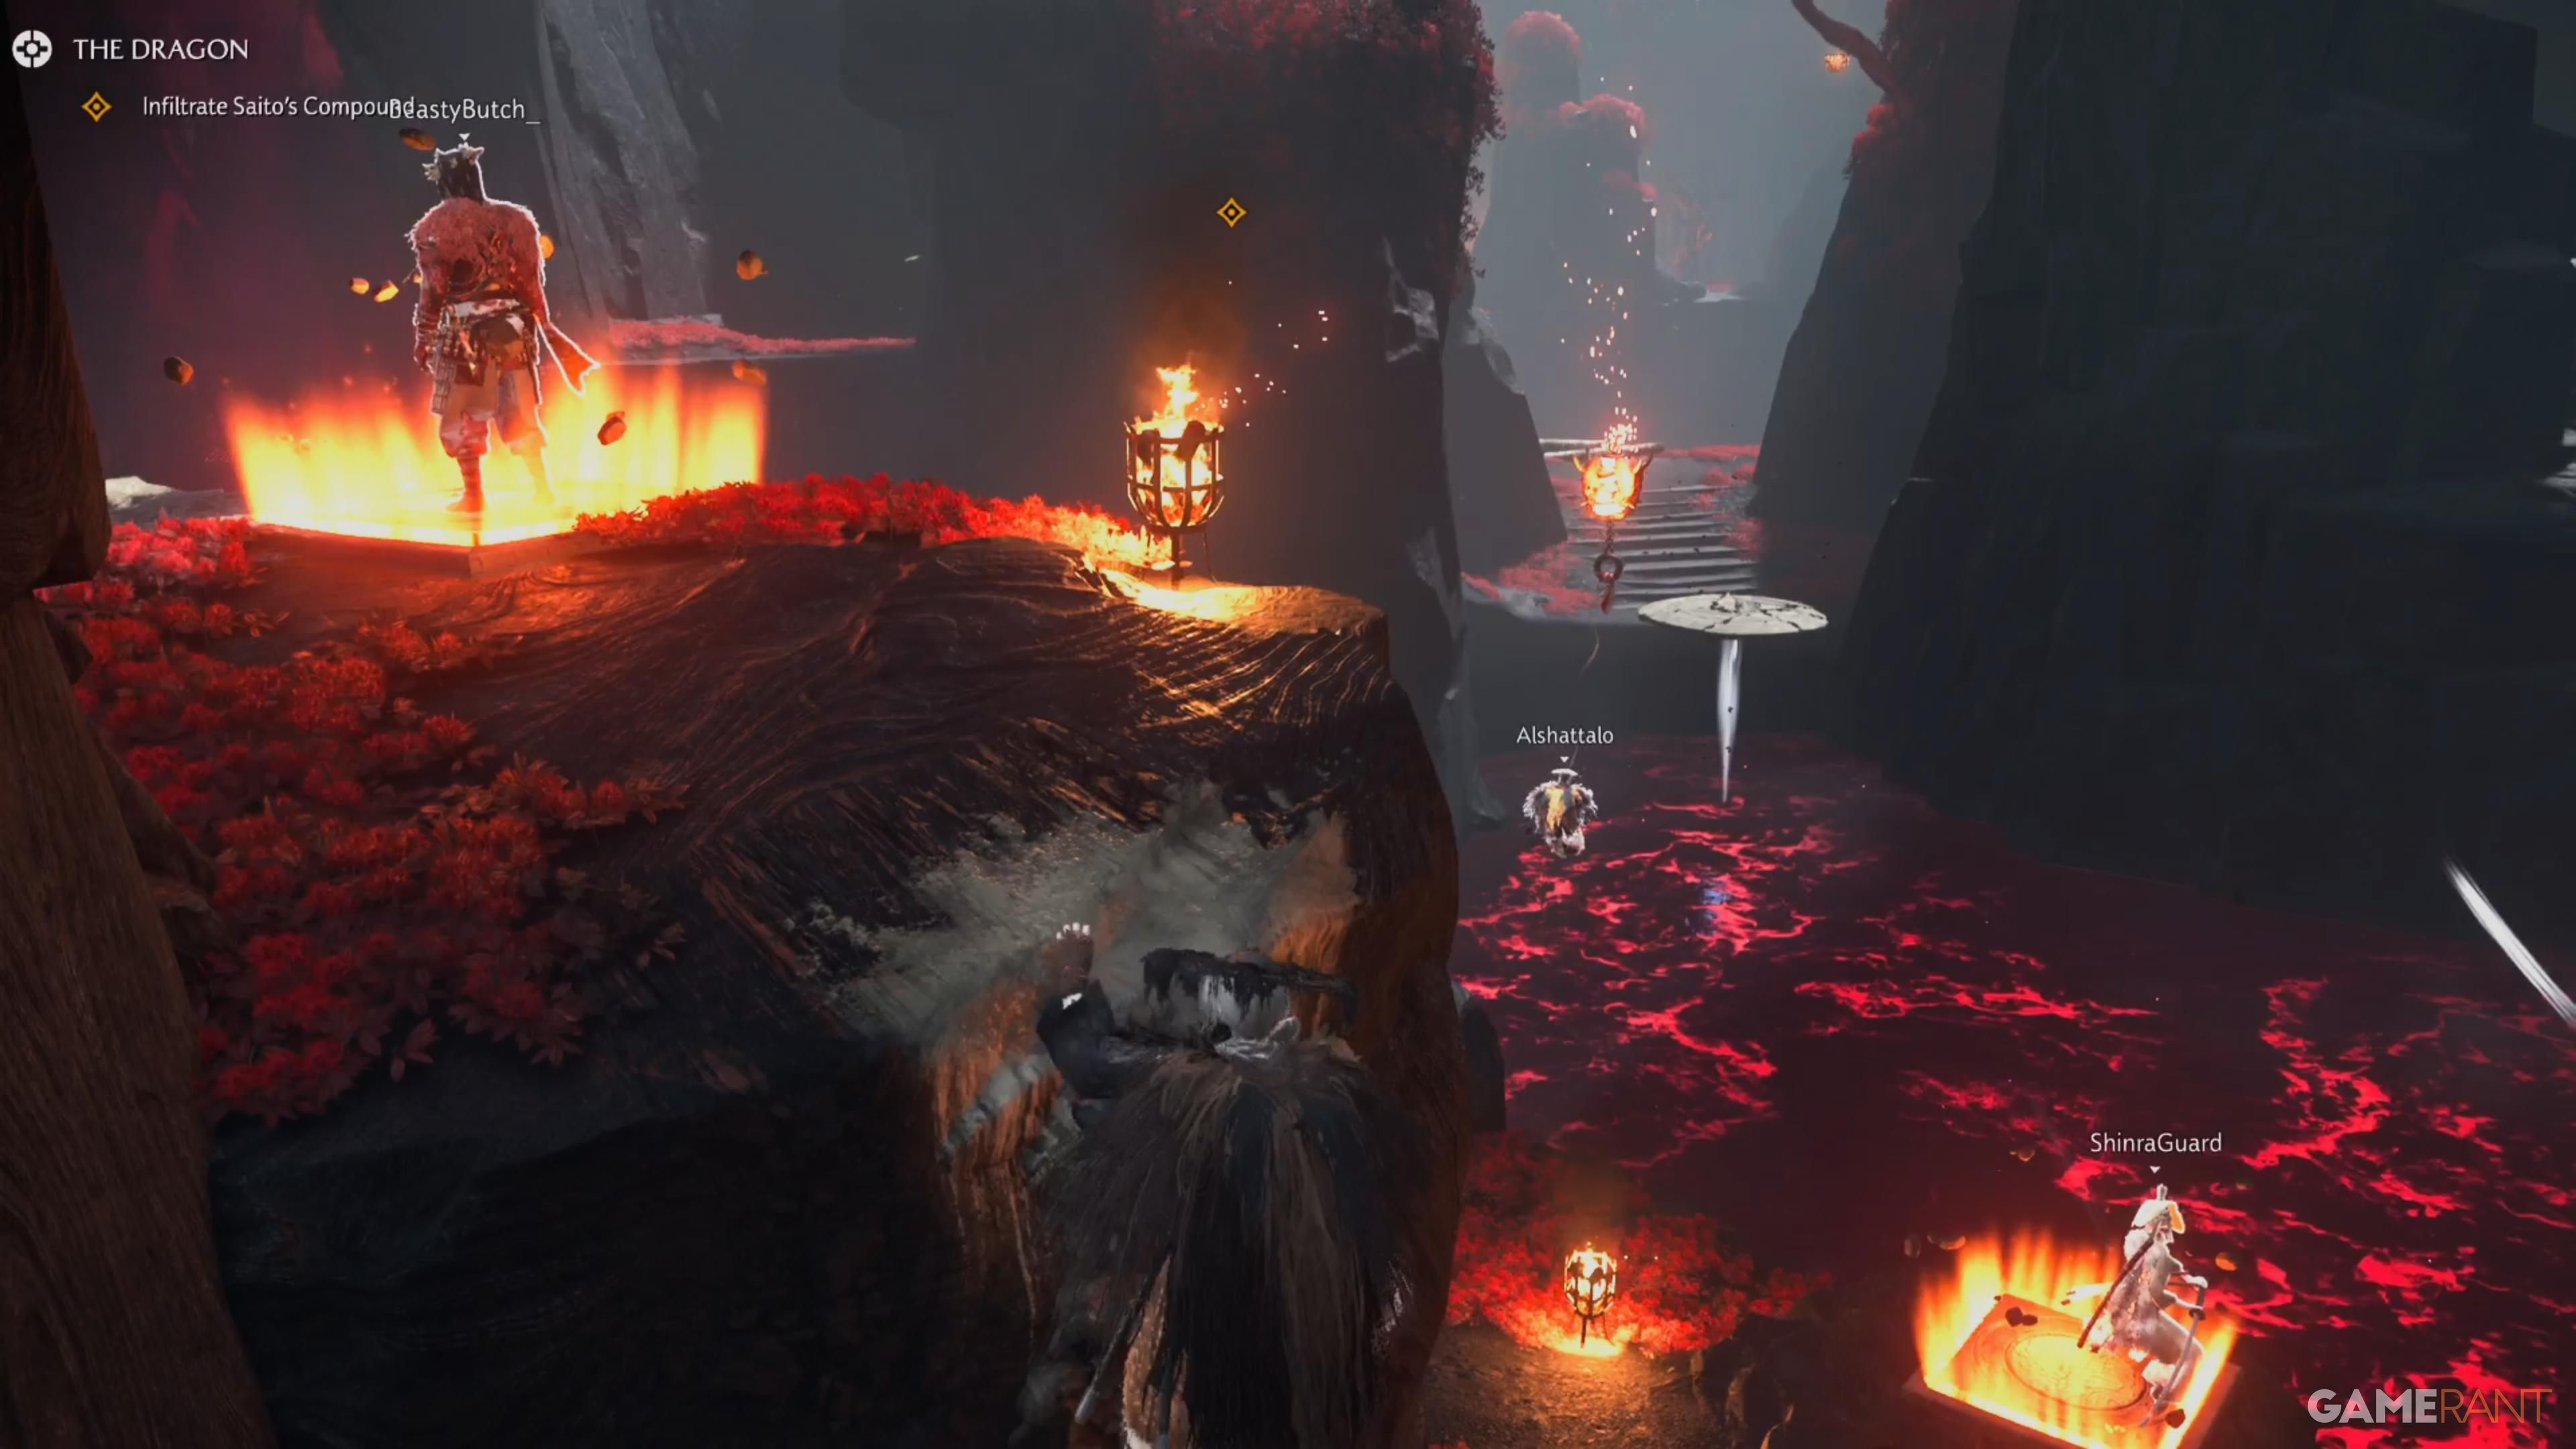
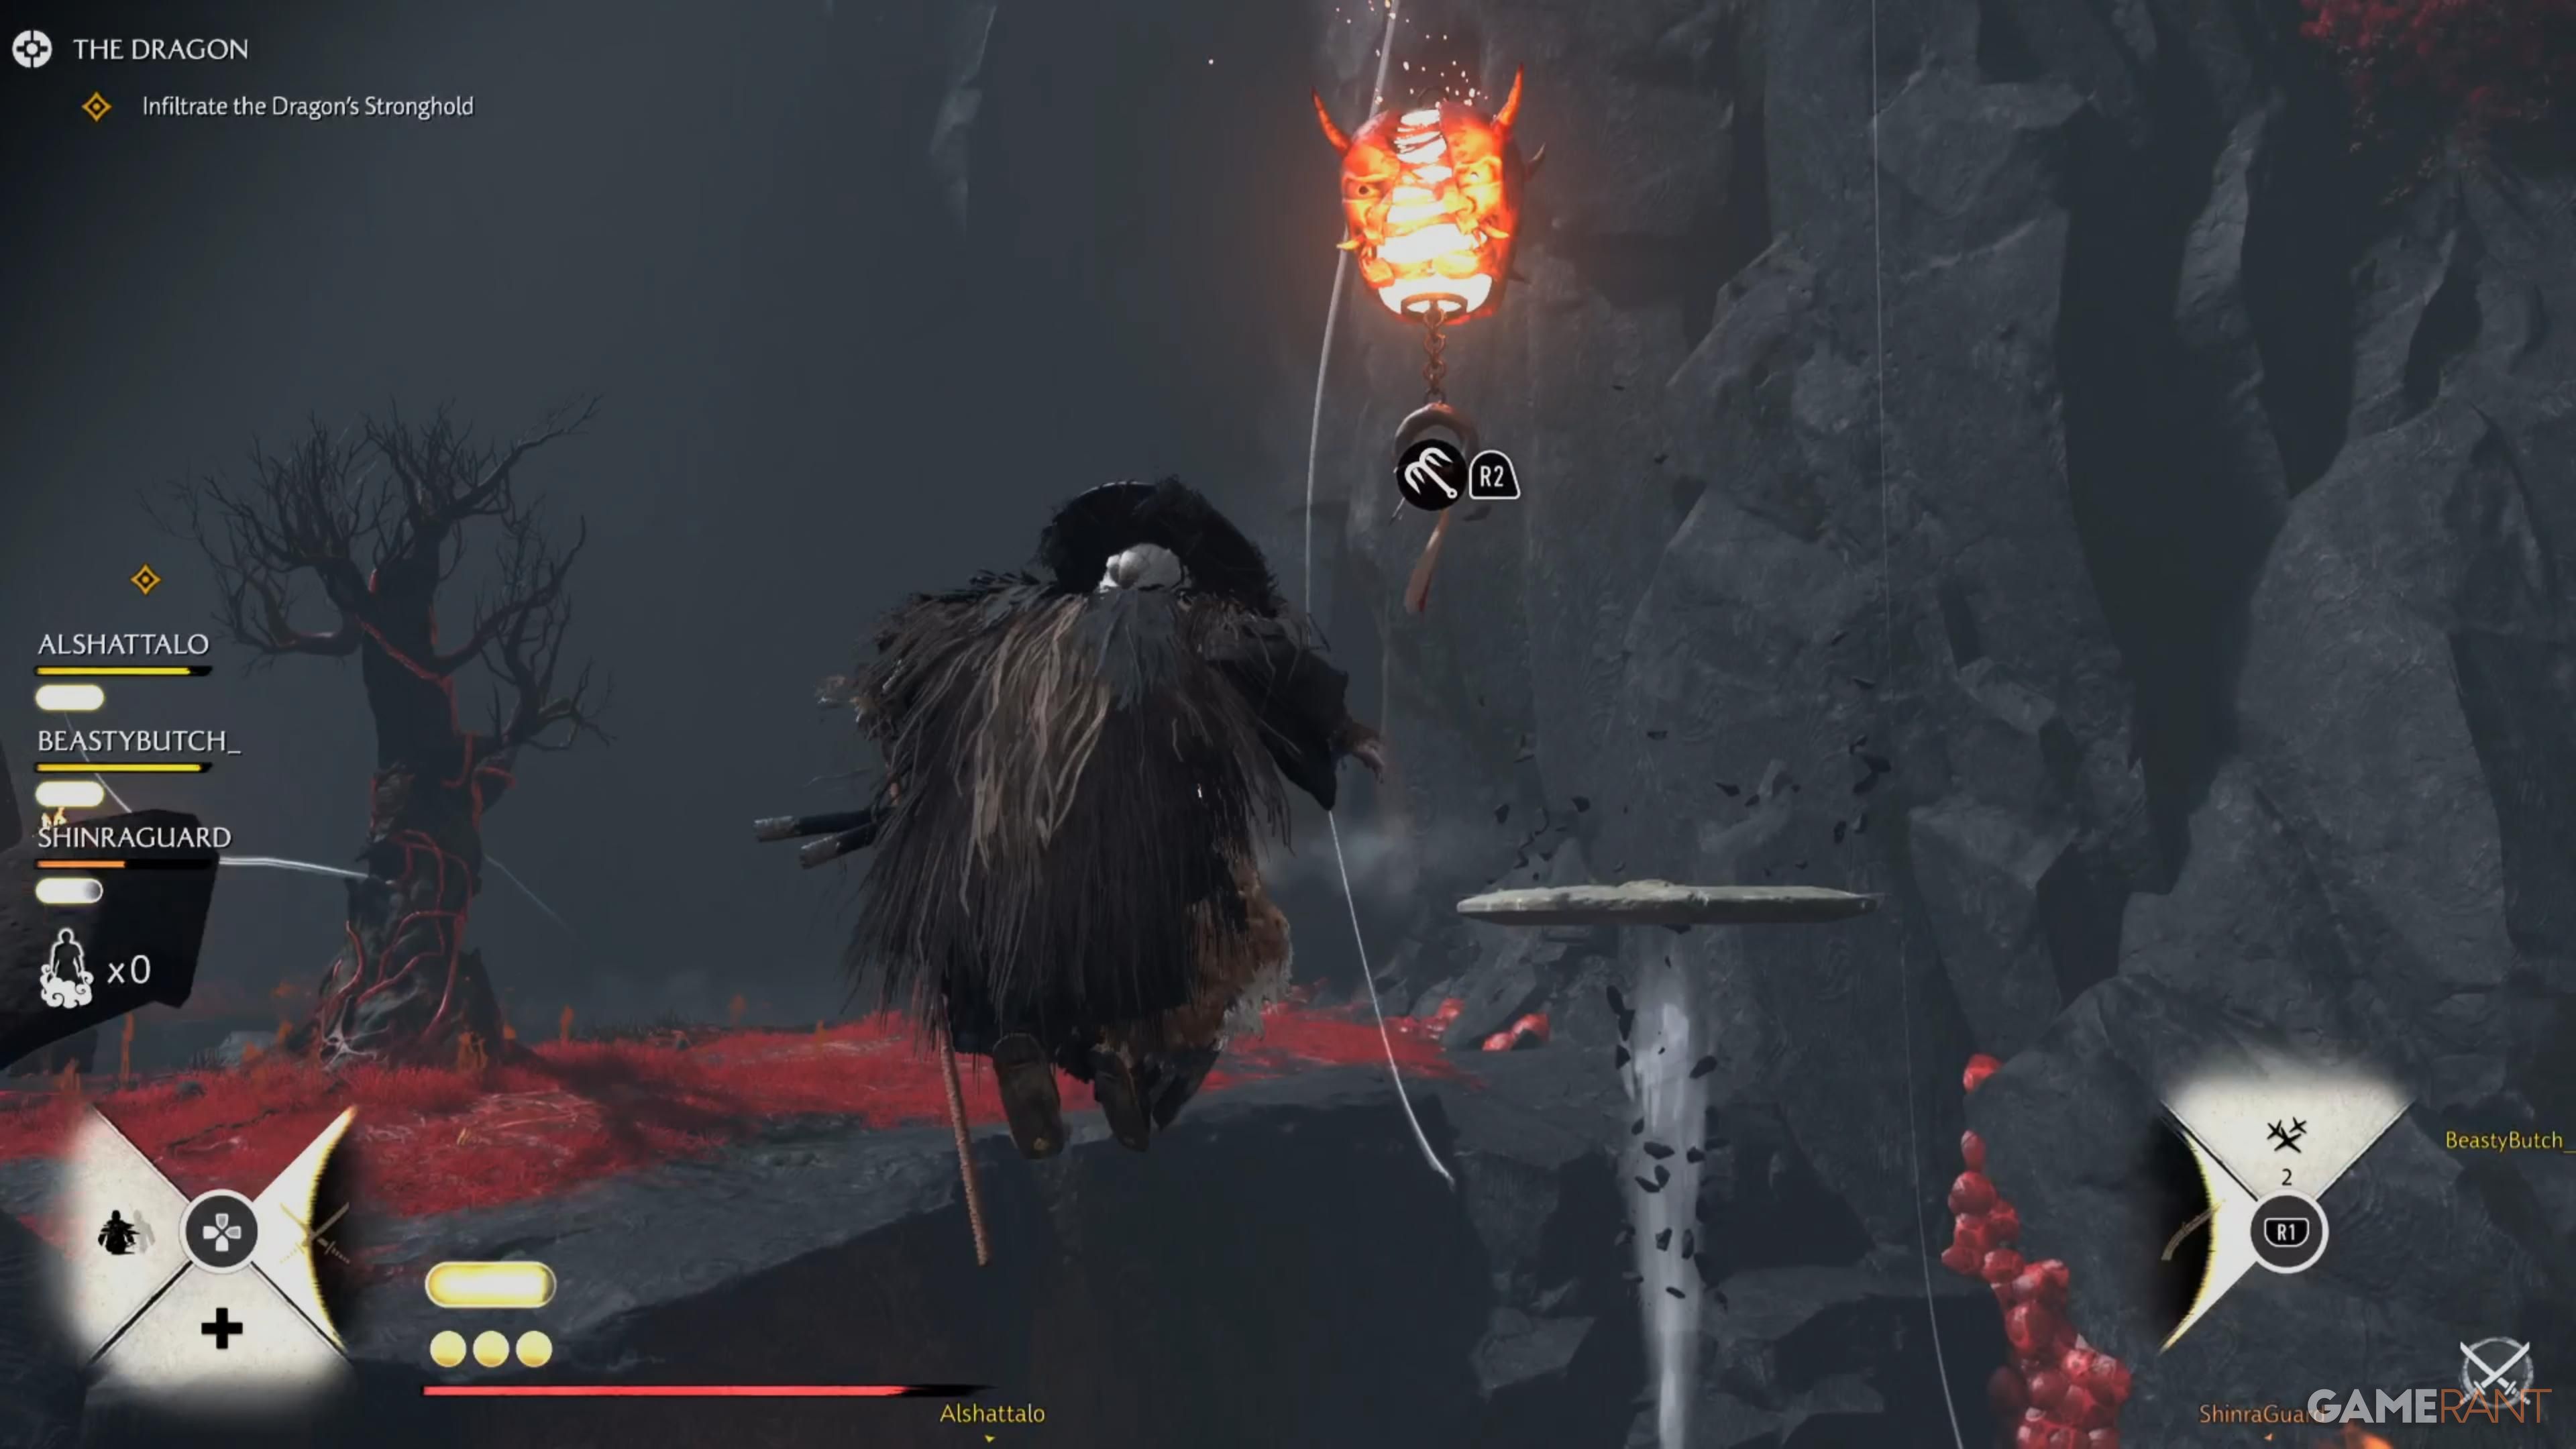
Once the raid begins, head through the Sulphur Canyons until you find a pressure plate. Stepping on it will raise a stone platform. One player should stay on the plate to keep the platform active, while another climbs the wall to the left and activates a second pressure plate, which lights a lantern. With the lantern lit, the remaining two players can jump onto the platform and use the grapple to reach the other side.
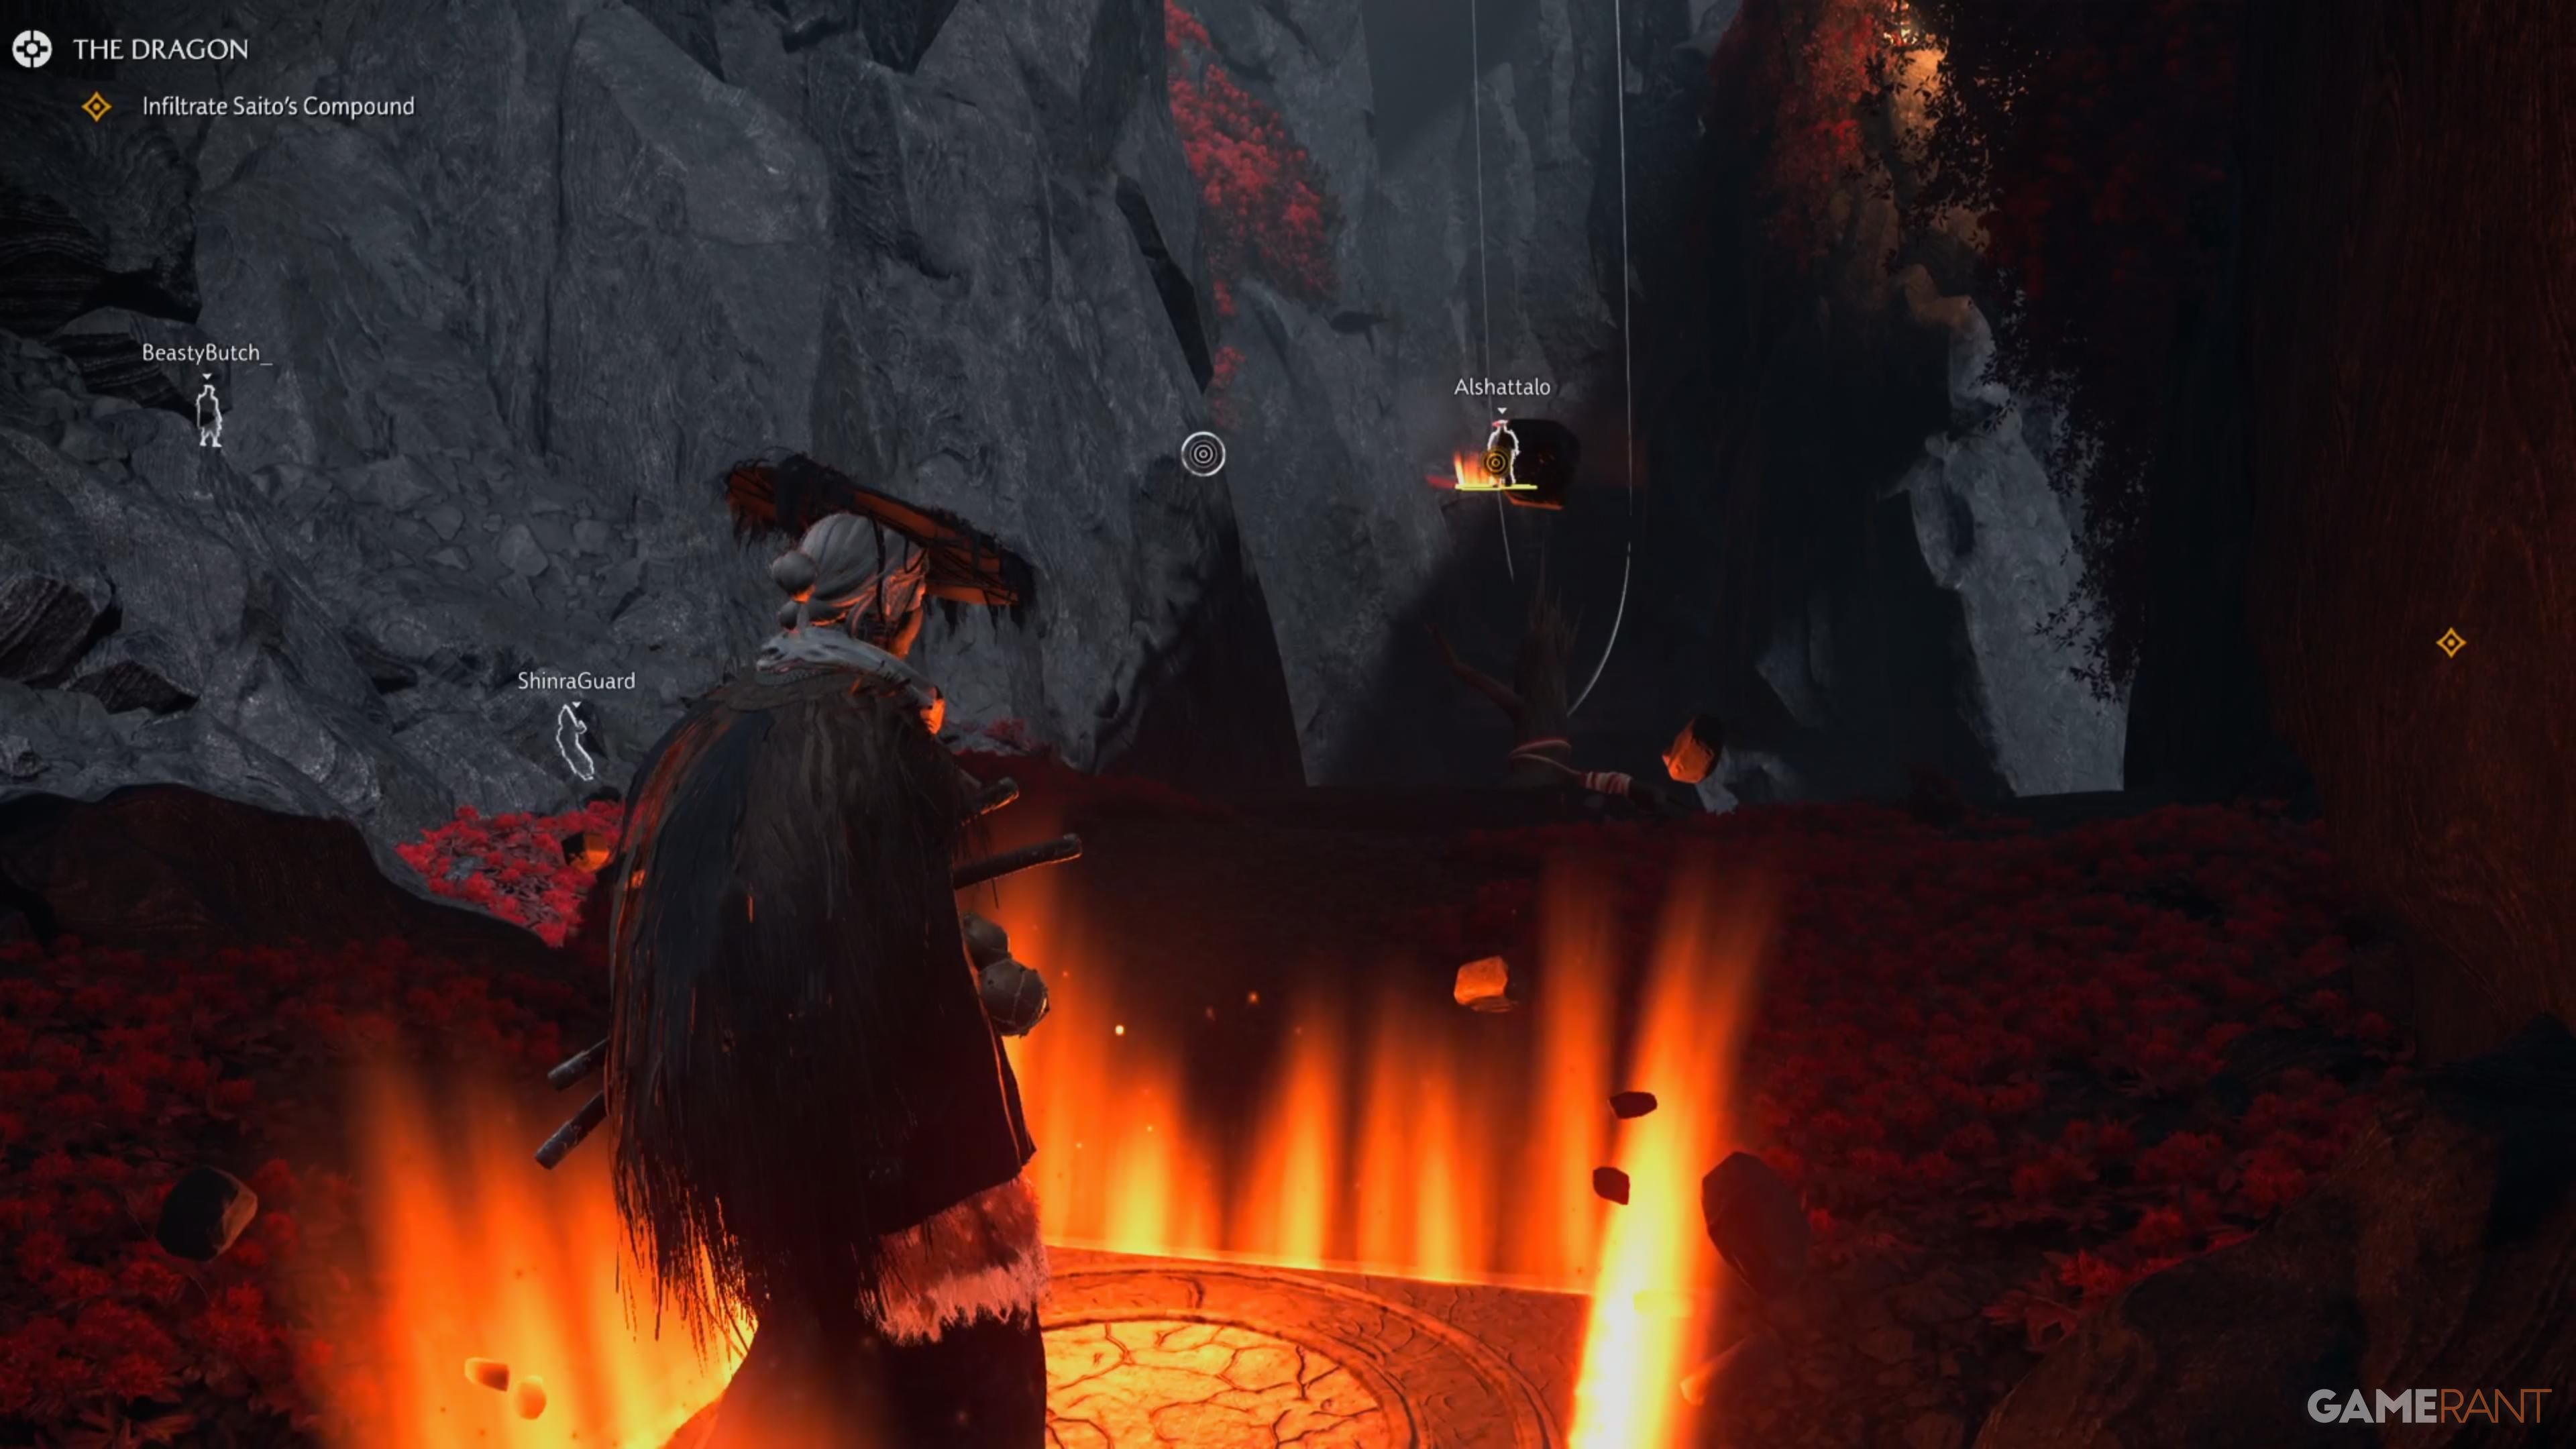
There are pressure plates on either side of you. The two players who have already gone across need to stand on those plates to open the way for the rest of the team.
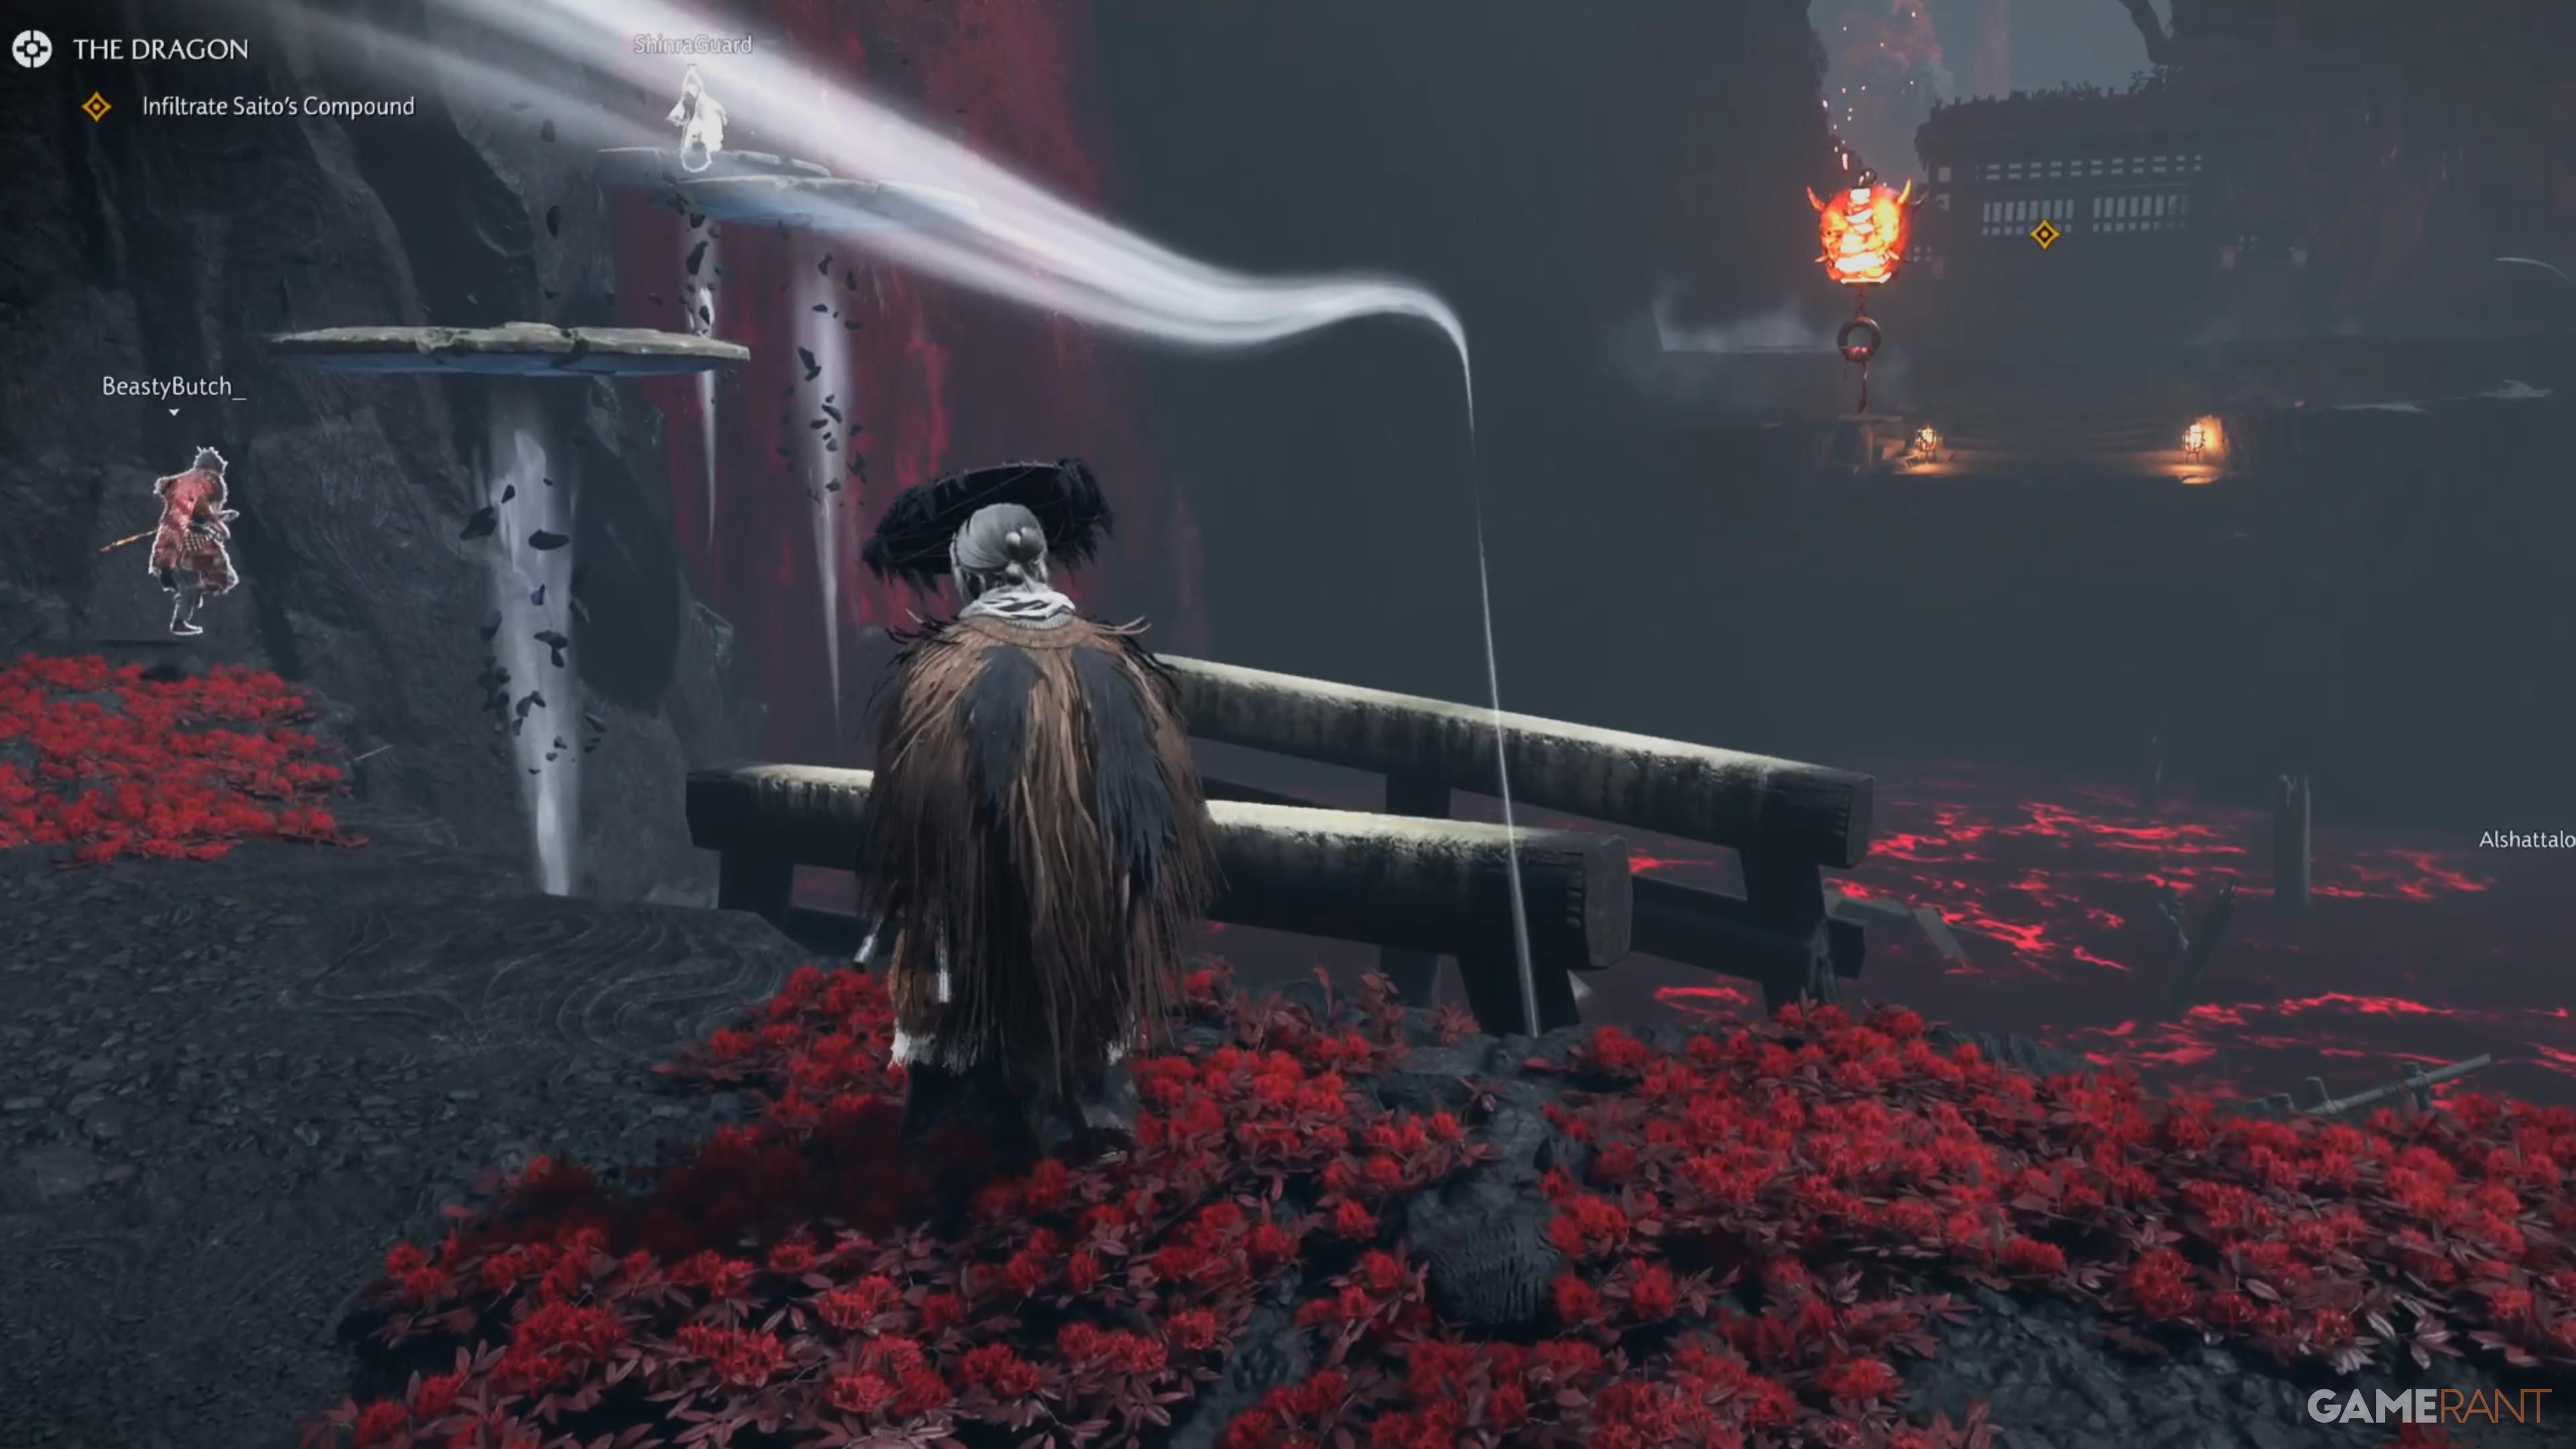

Okay, so when you get to the door area, there’s a path on your right. It leads to a plate that makes some stone platforms appear, which then lead to another plate on the left. Here’s what we figured out: two of us should head across those platforms, deal with the annoying Jubokko trees, and then stand on that single, kinda far-off pressure plate. That lets the other two of us cross safely. Once we’re all across, everyone just stands on the plates right by the door, and it should open up!
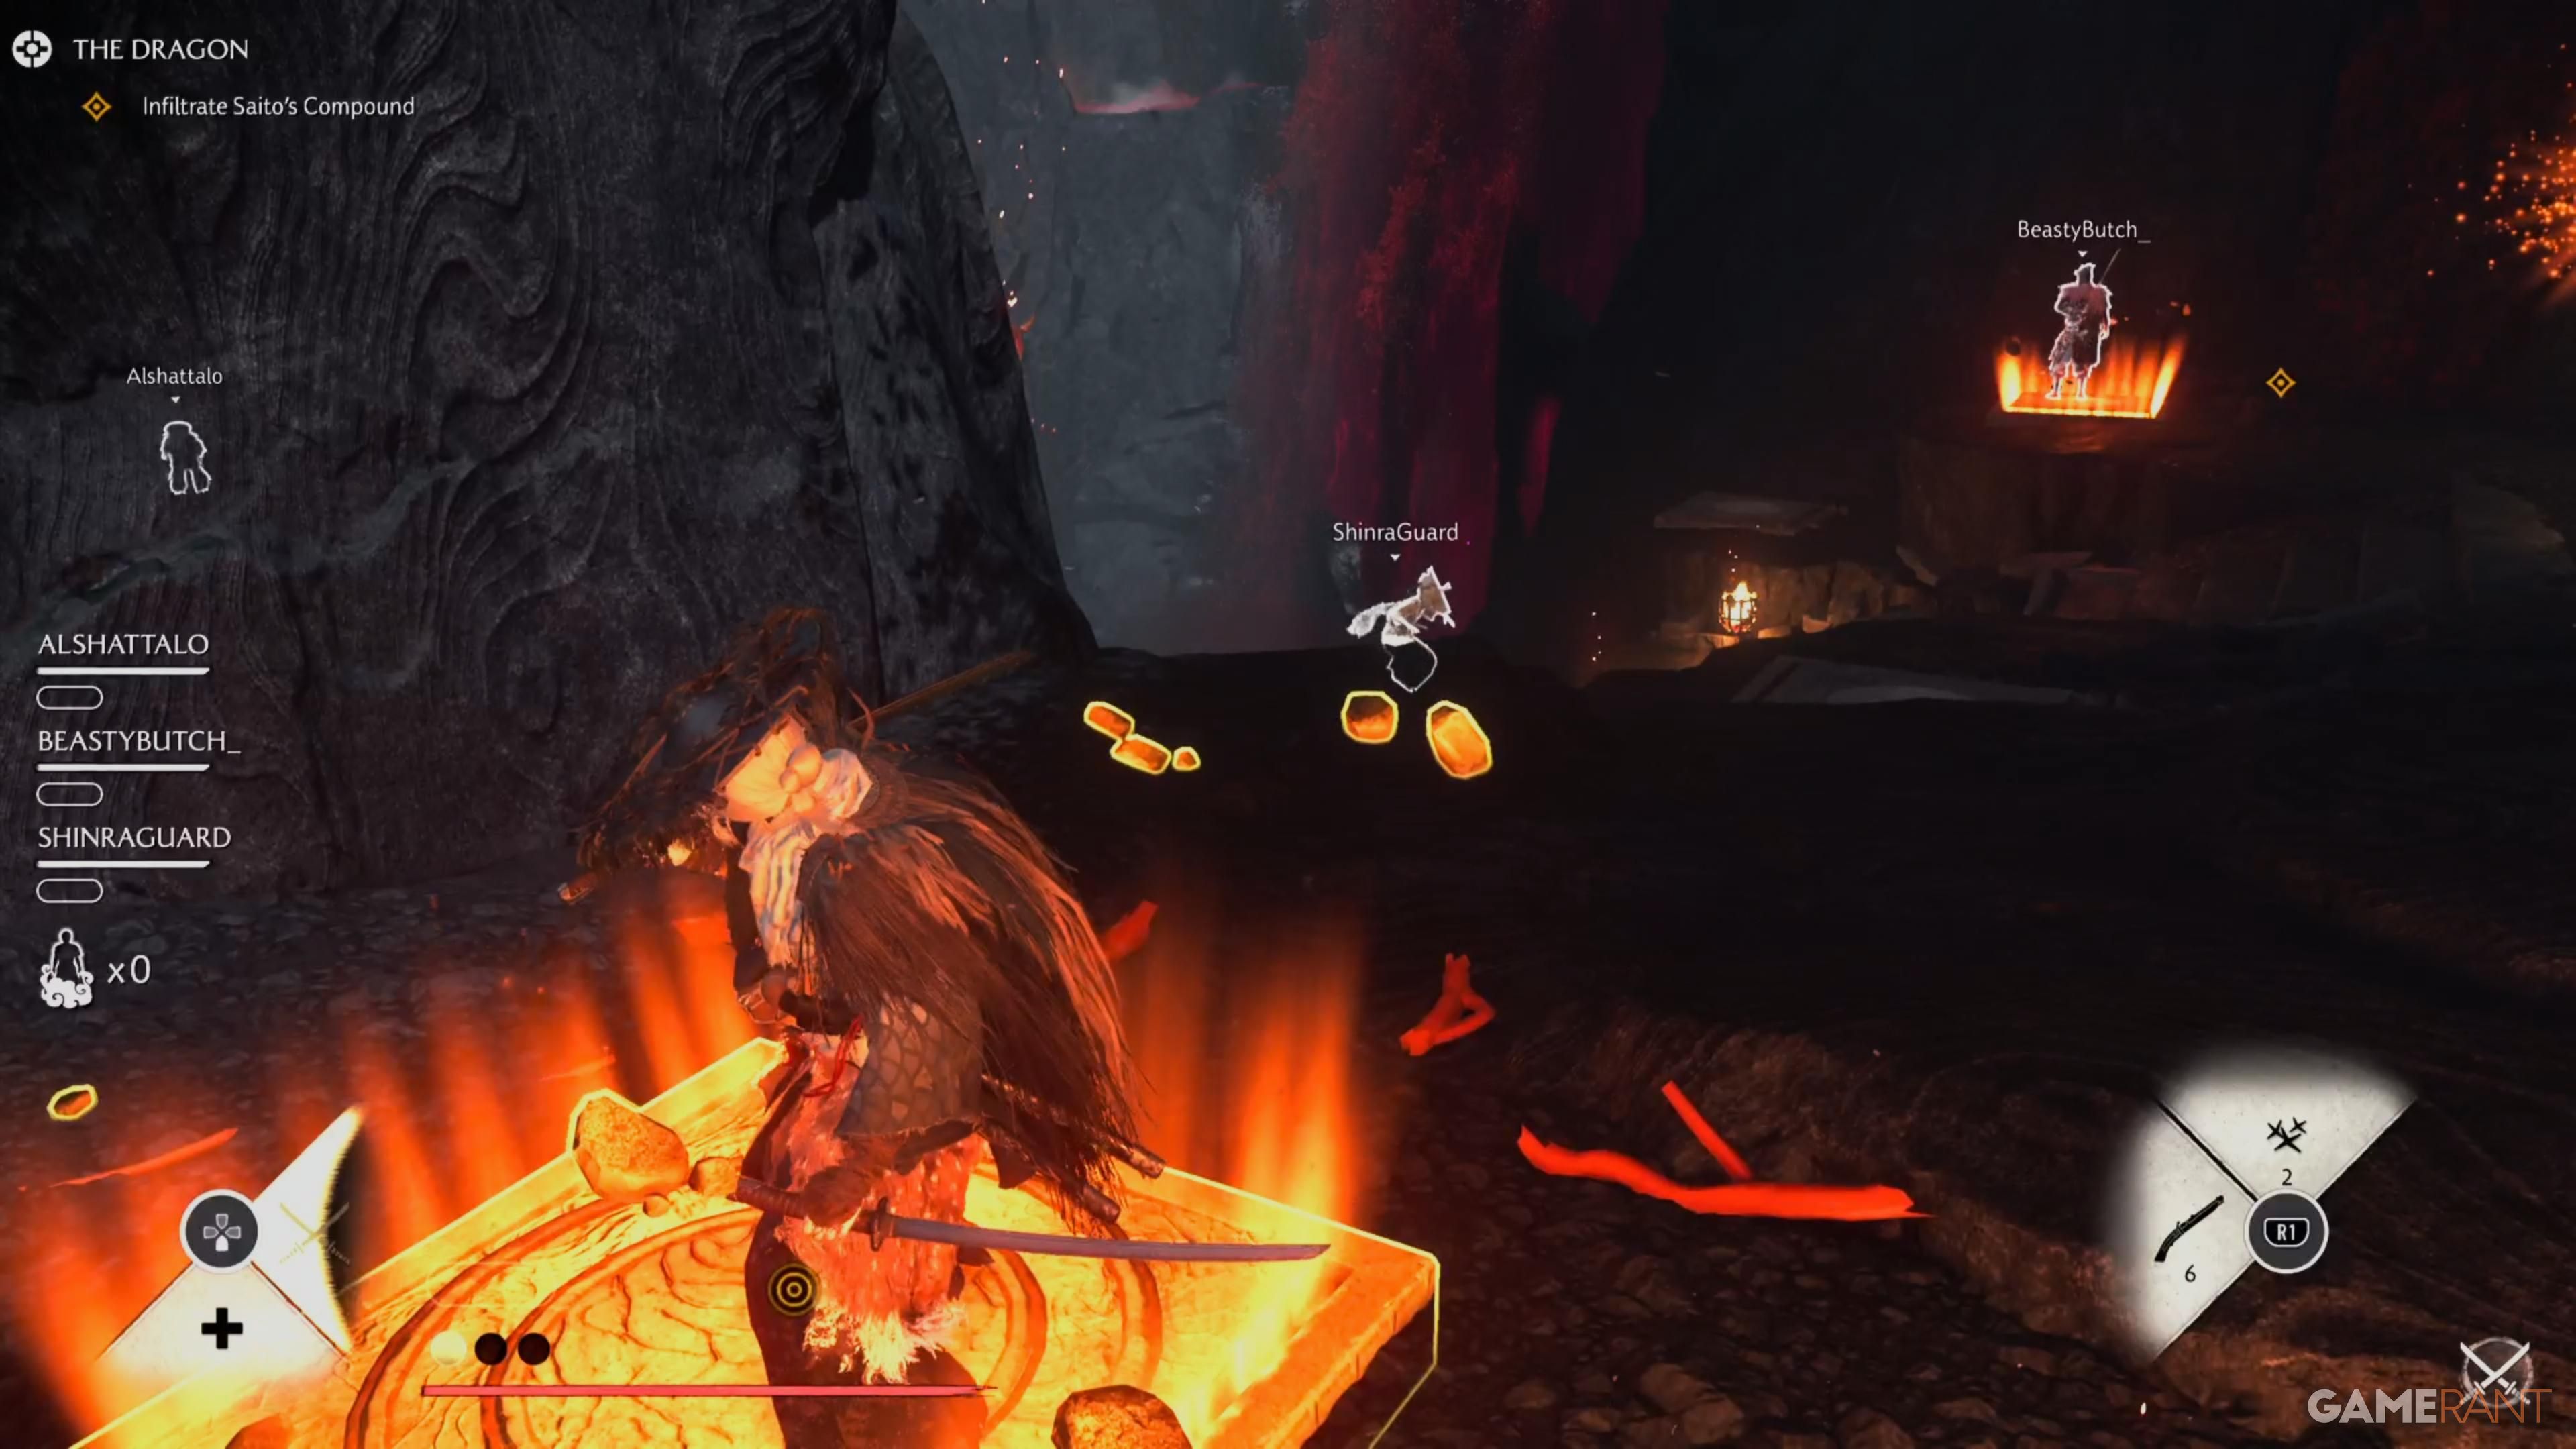
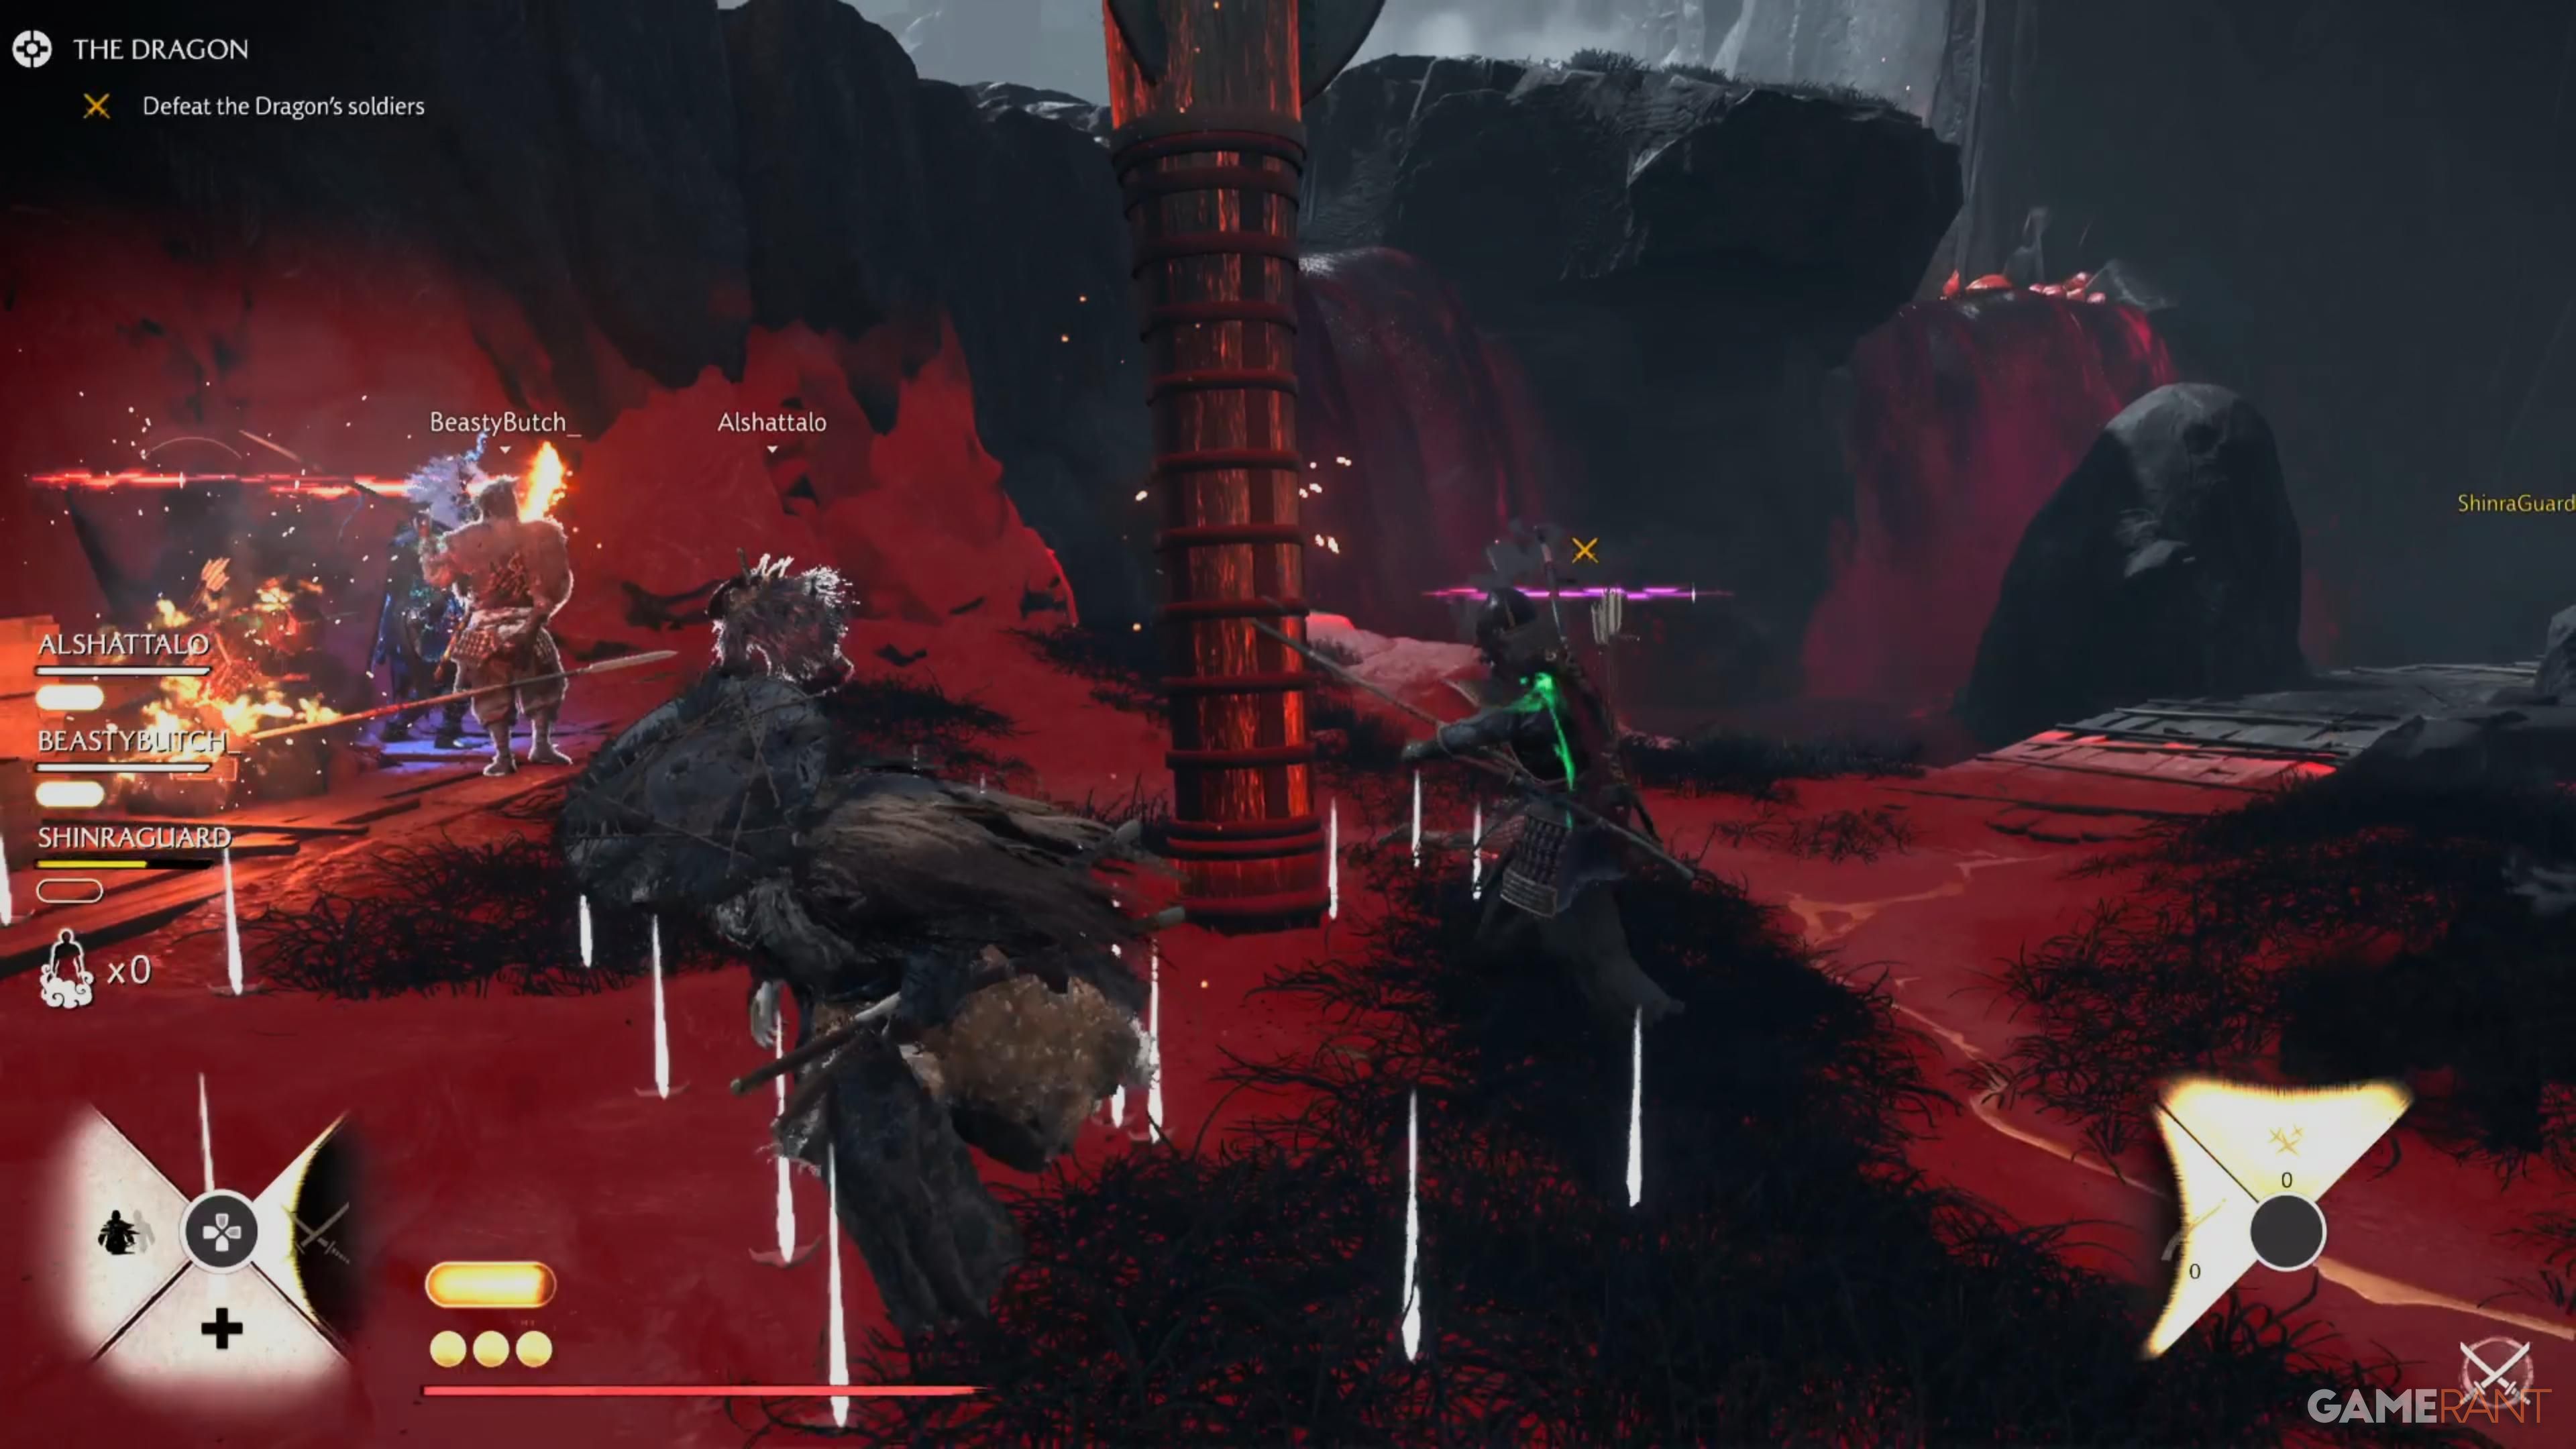
As you enter, you’ll face your first enemies: Dragon’s Soldiers attacking from above. They can quickly defeat you, so immediately move to the right or left to hide behind the rocks for cover.
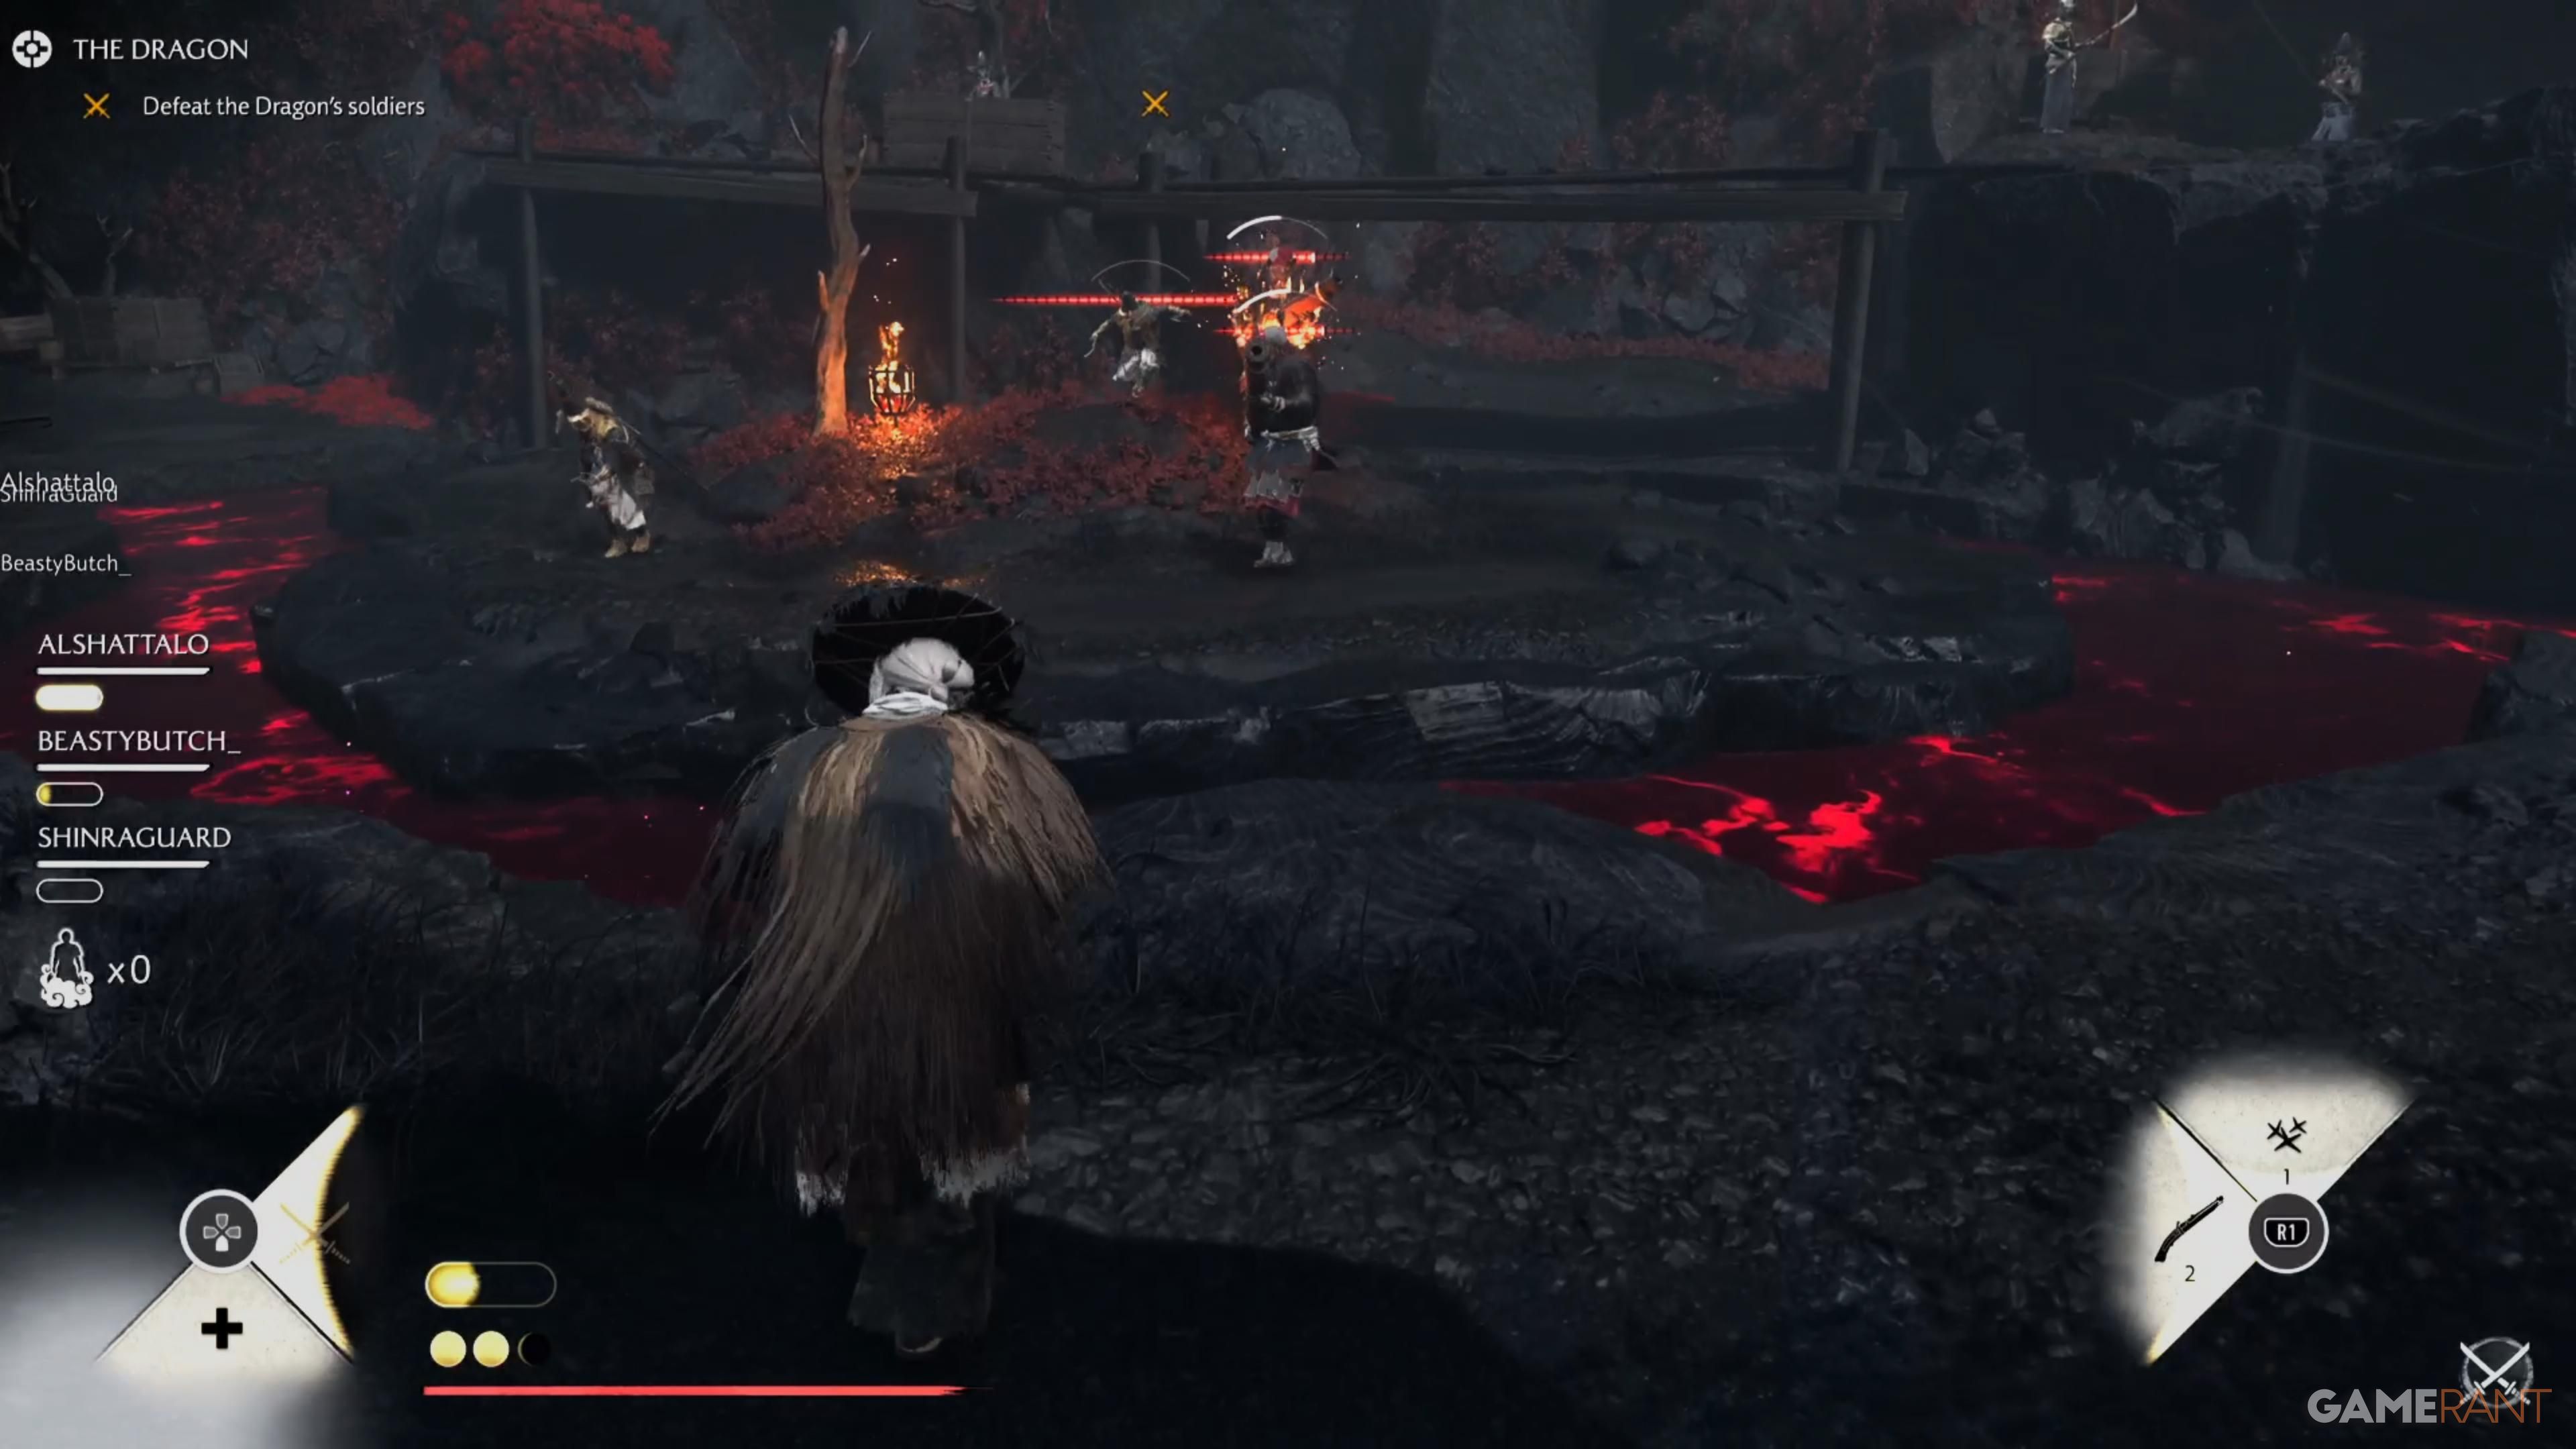
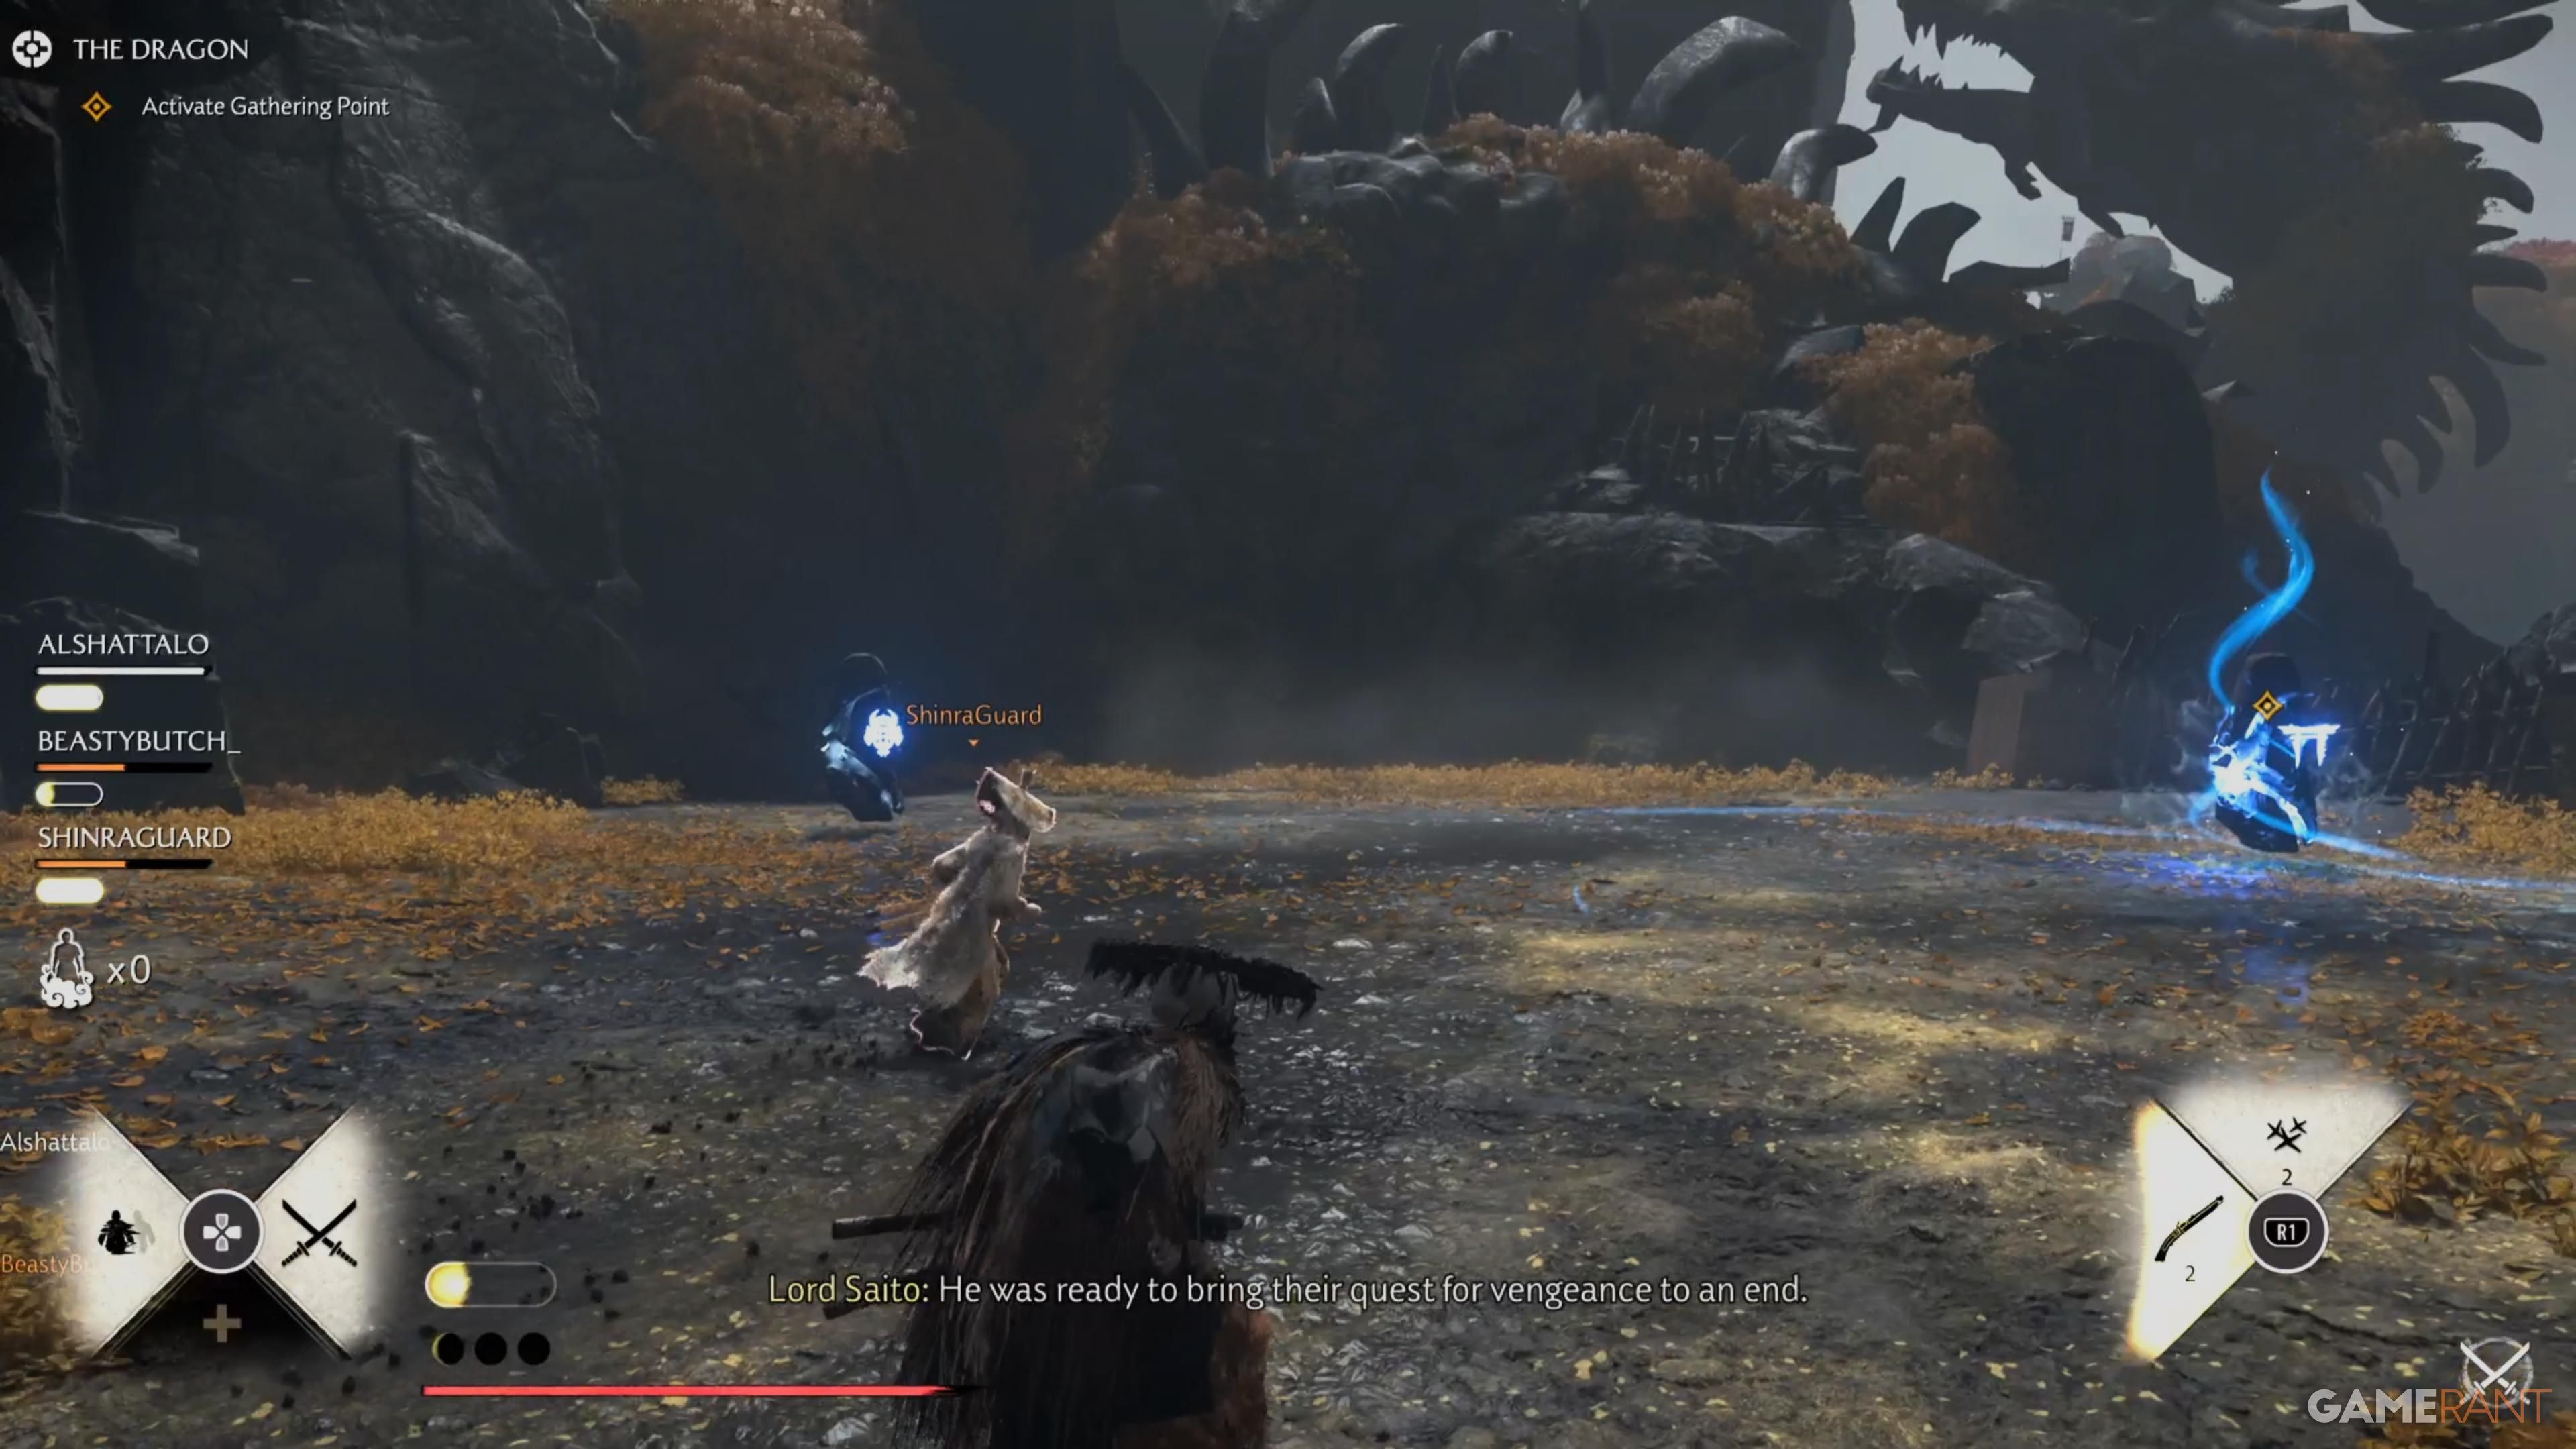
After following these paths, you’ll reach a higher area with enemies to defeat. Focus on the Bo-Hiya enemies first – they can be quite troublesome! Once you’ve beaten the first group, another wave will appear. Clearing them out lets you safely gather at the point ahead.
![]() Find all 10 pairs
Find all 10 pairs
Results
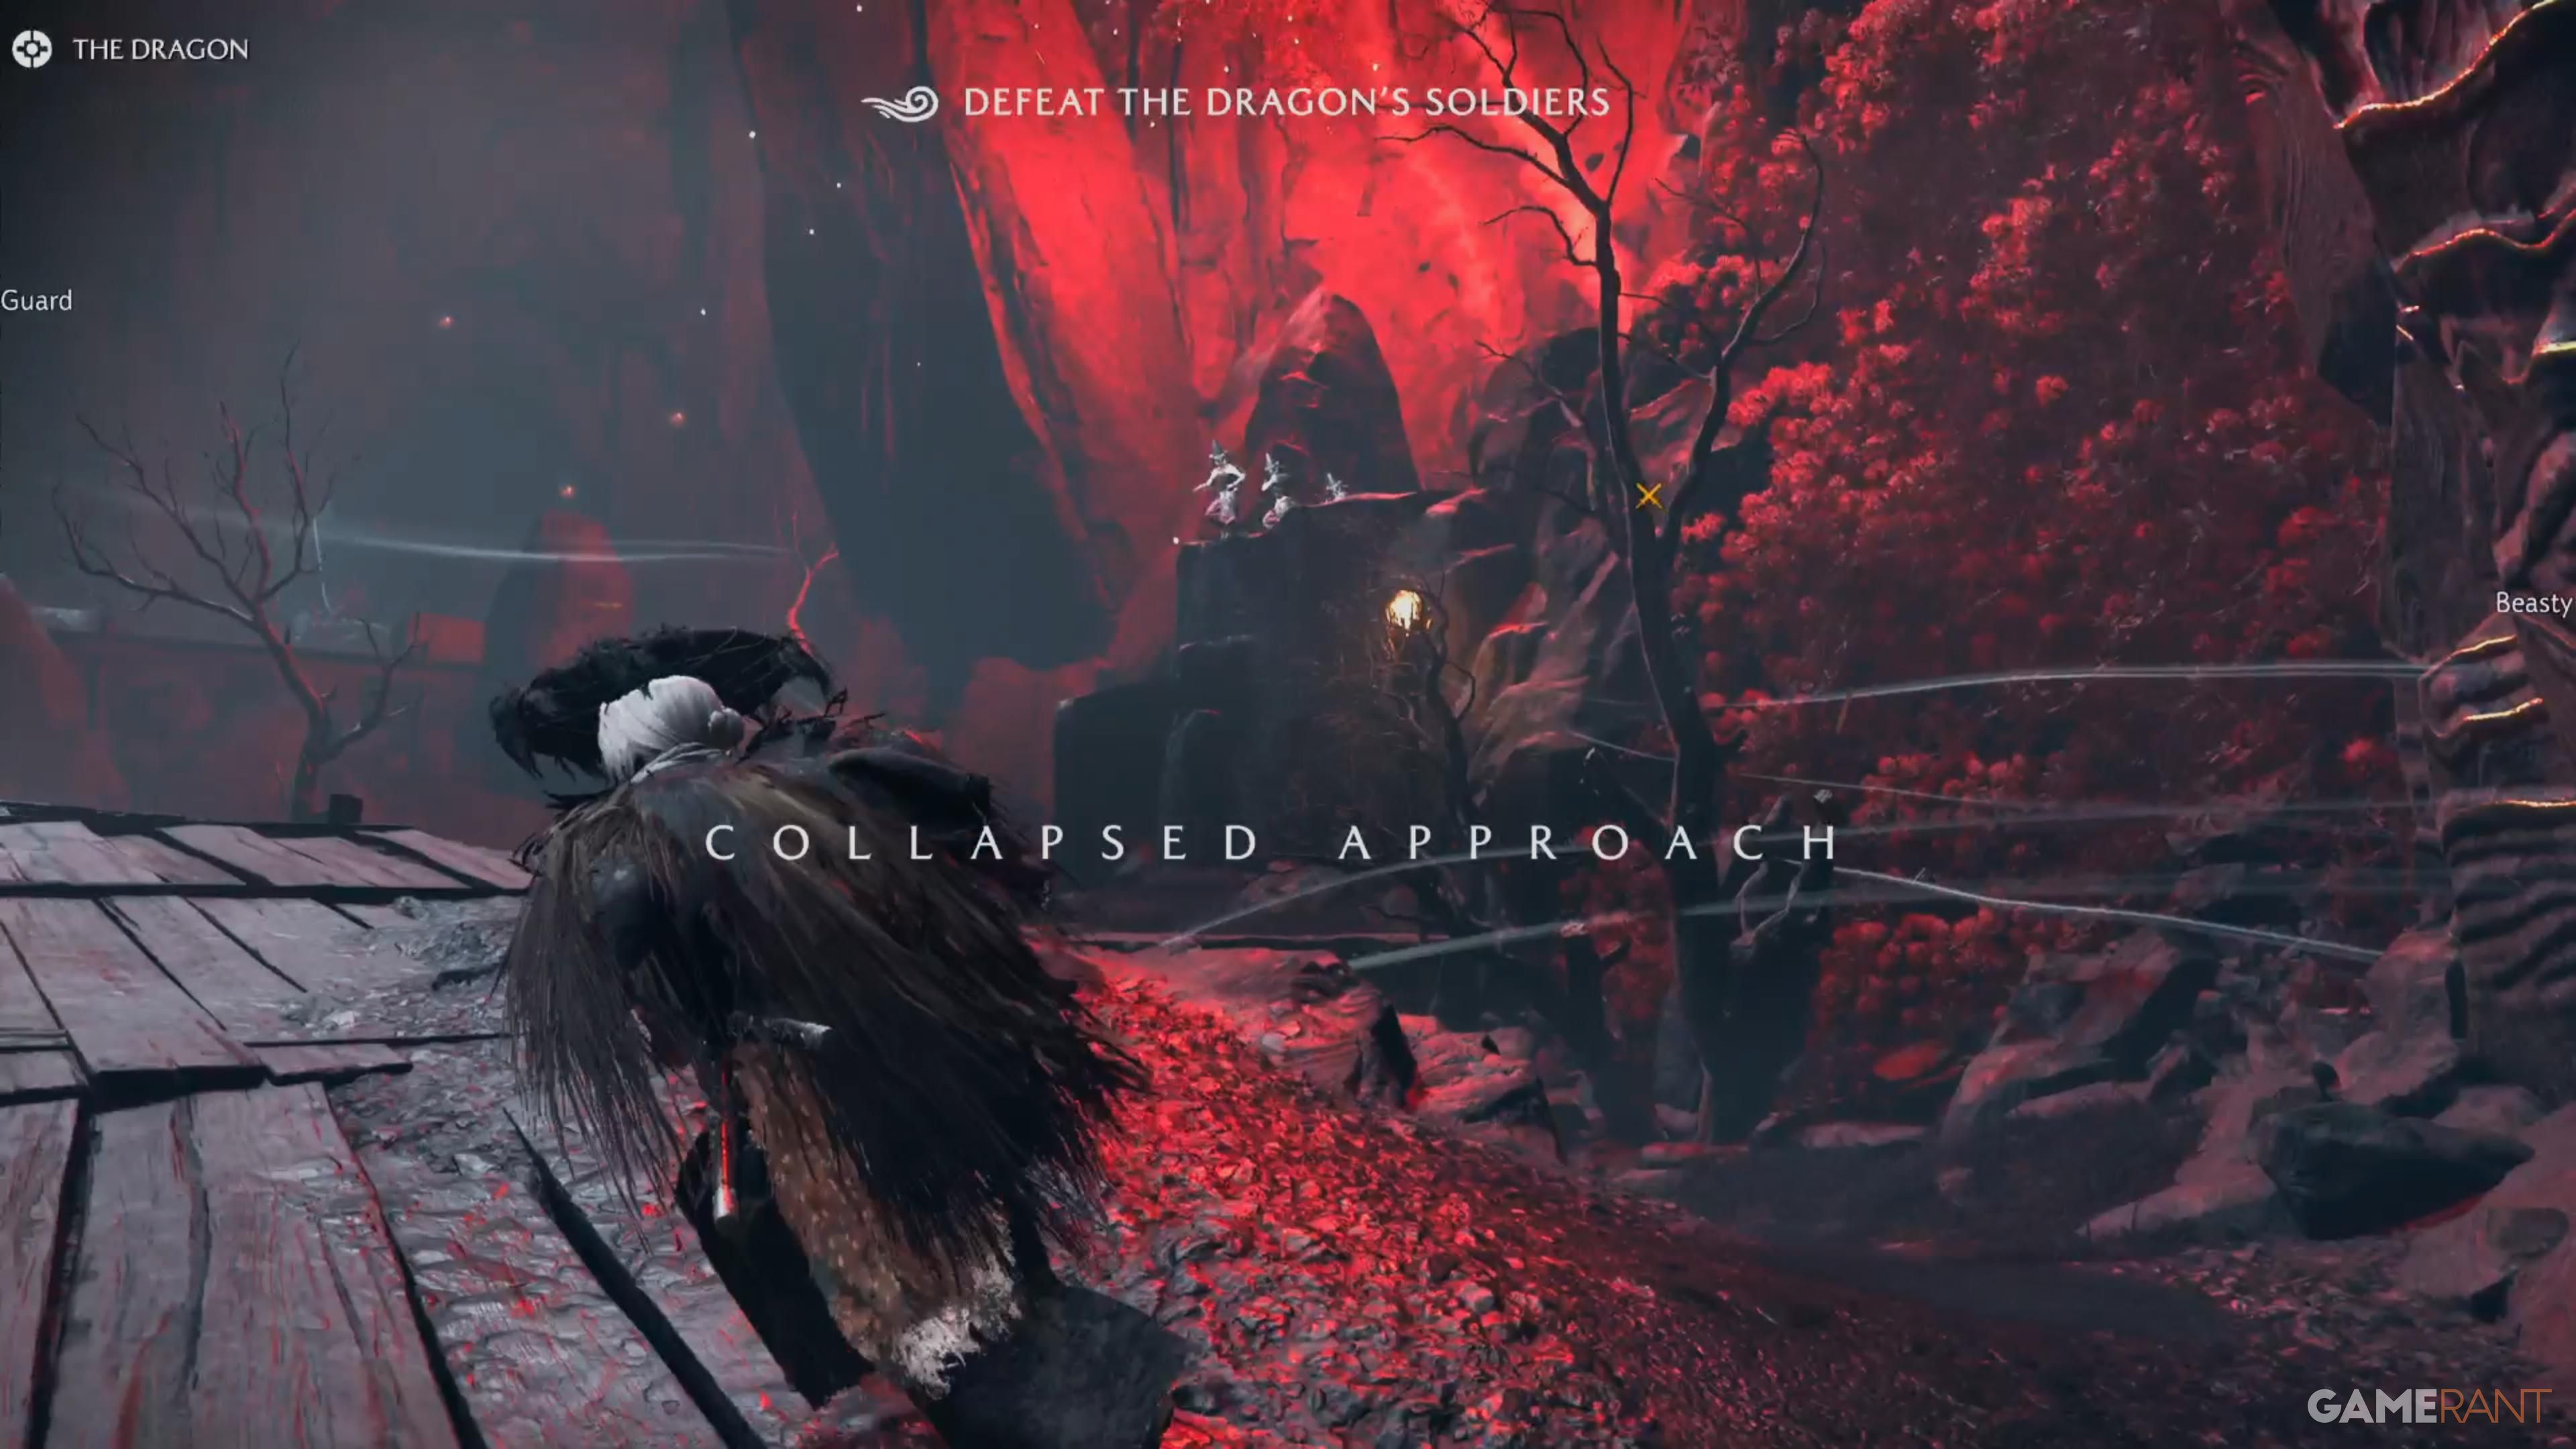
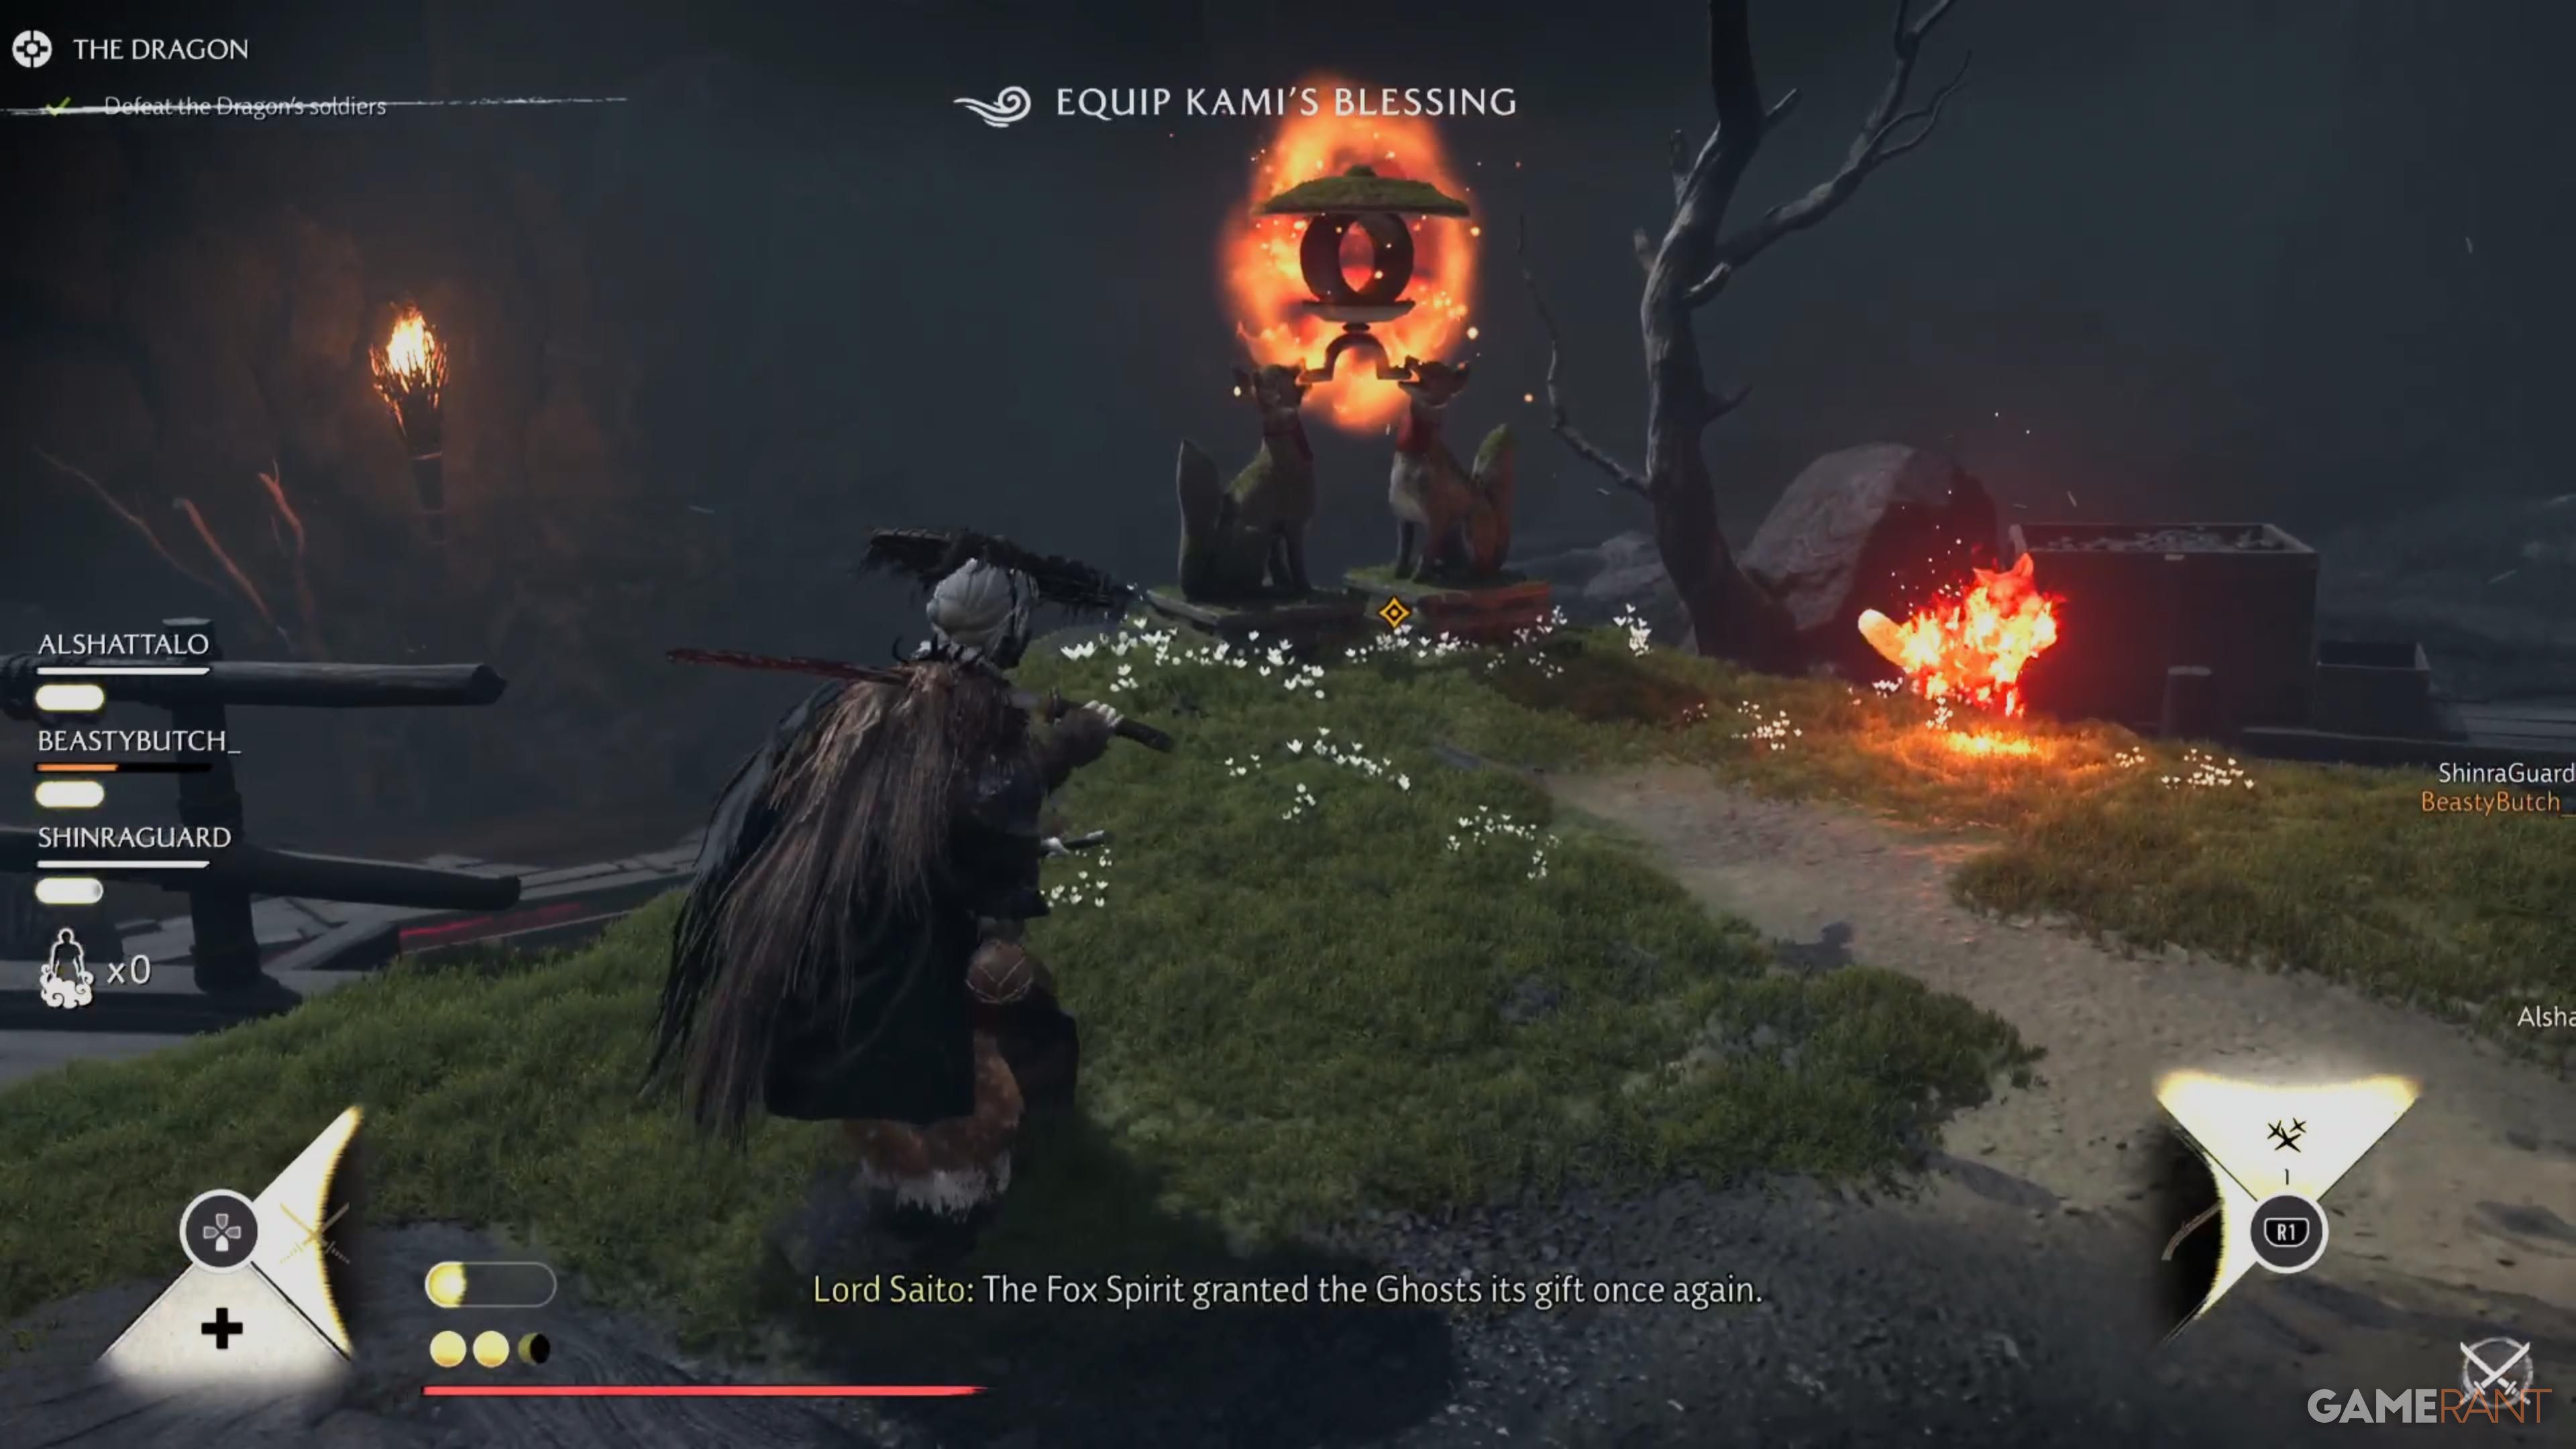
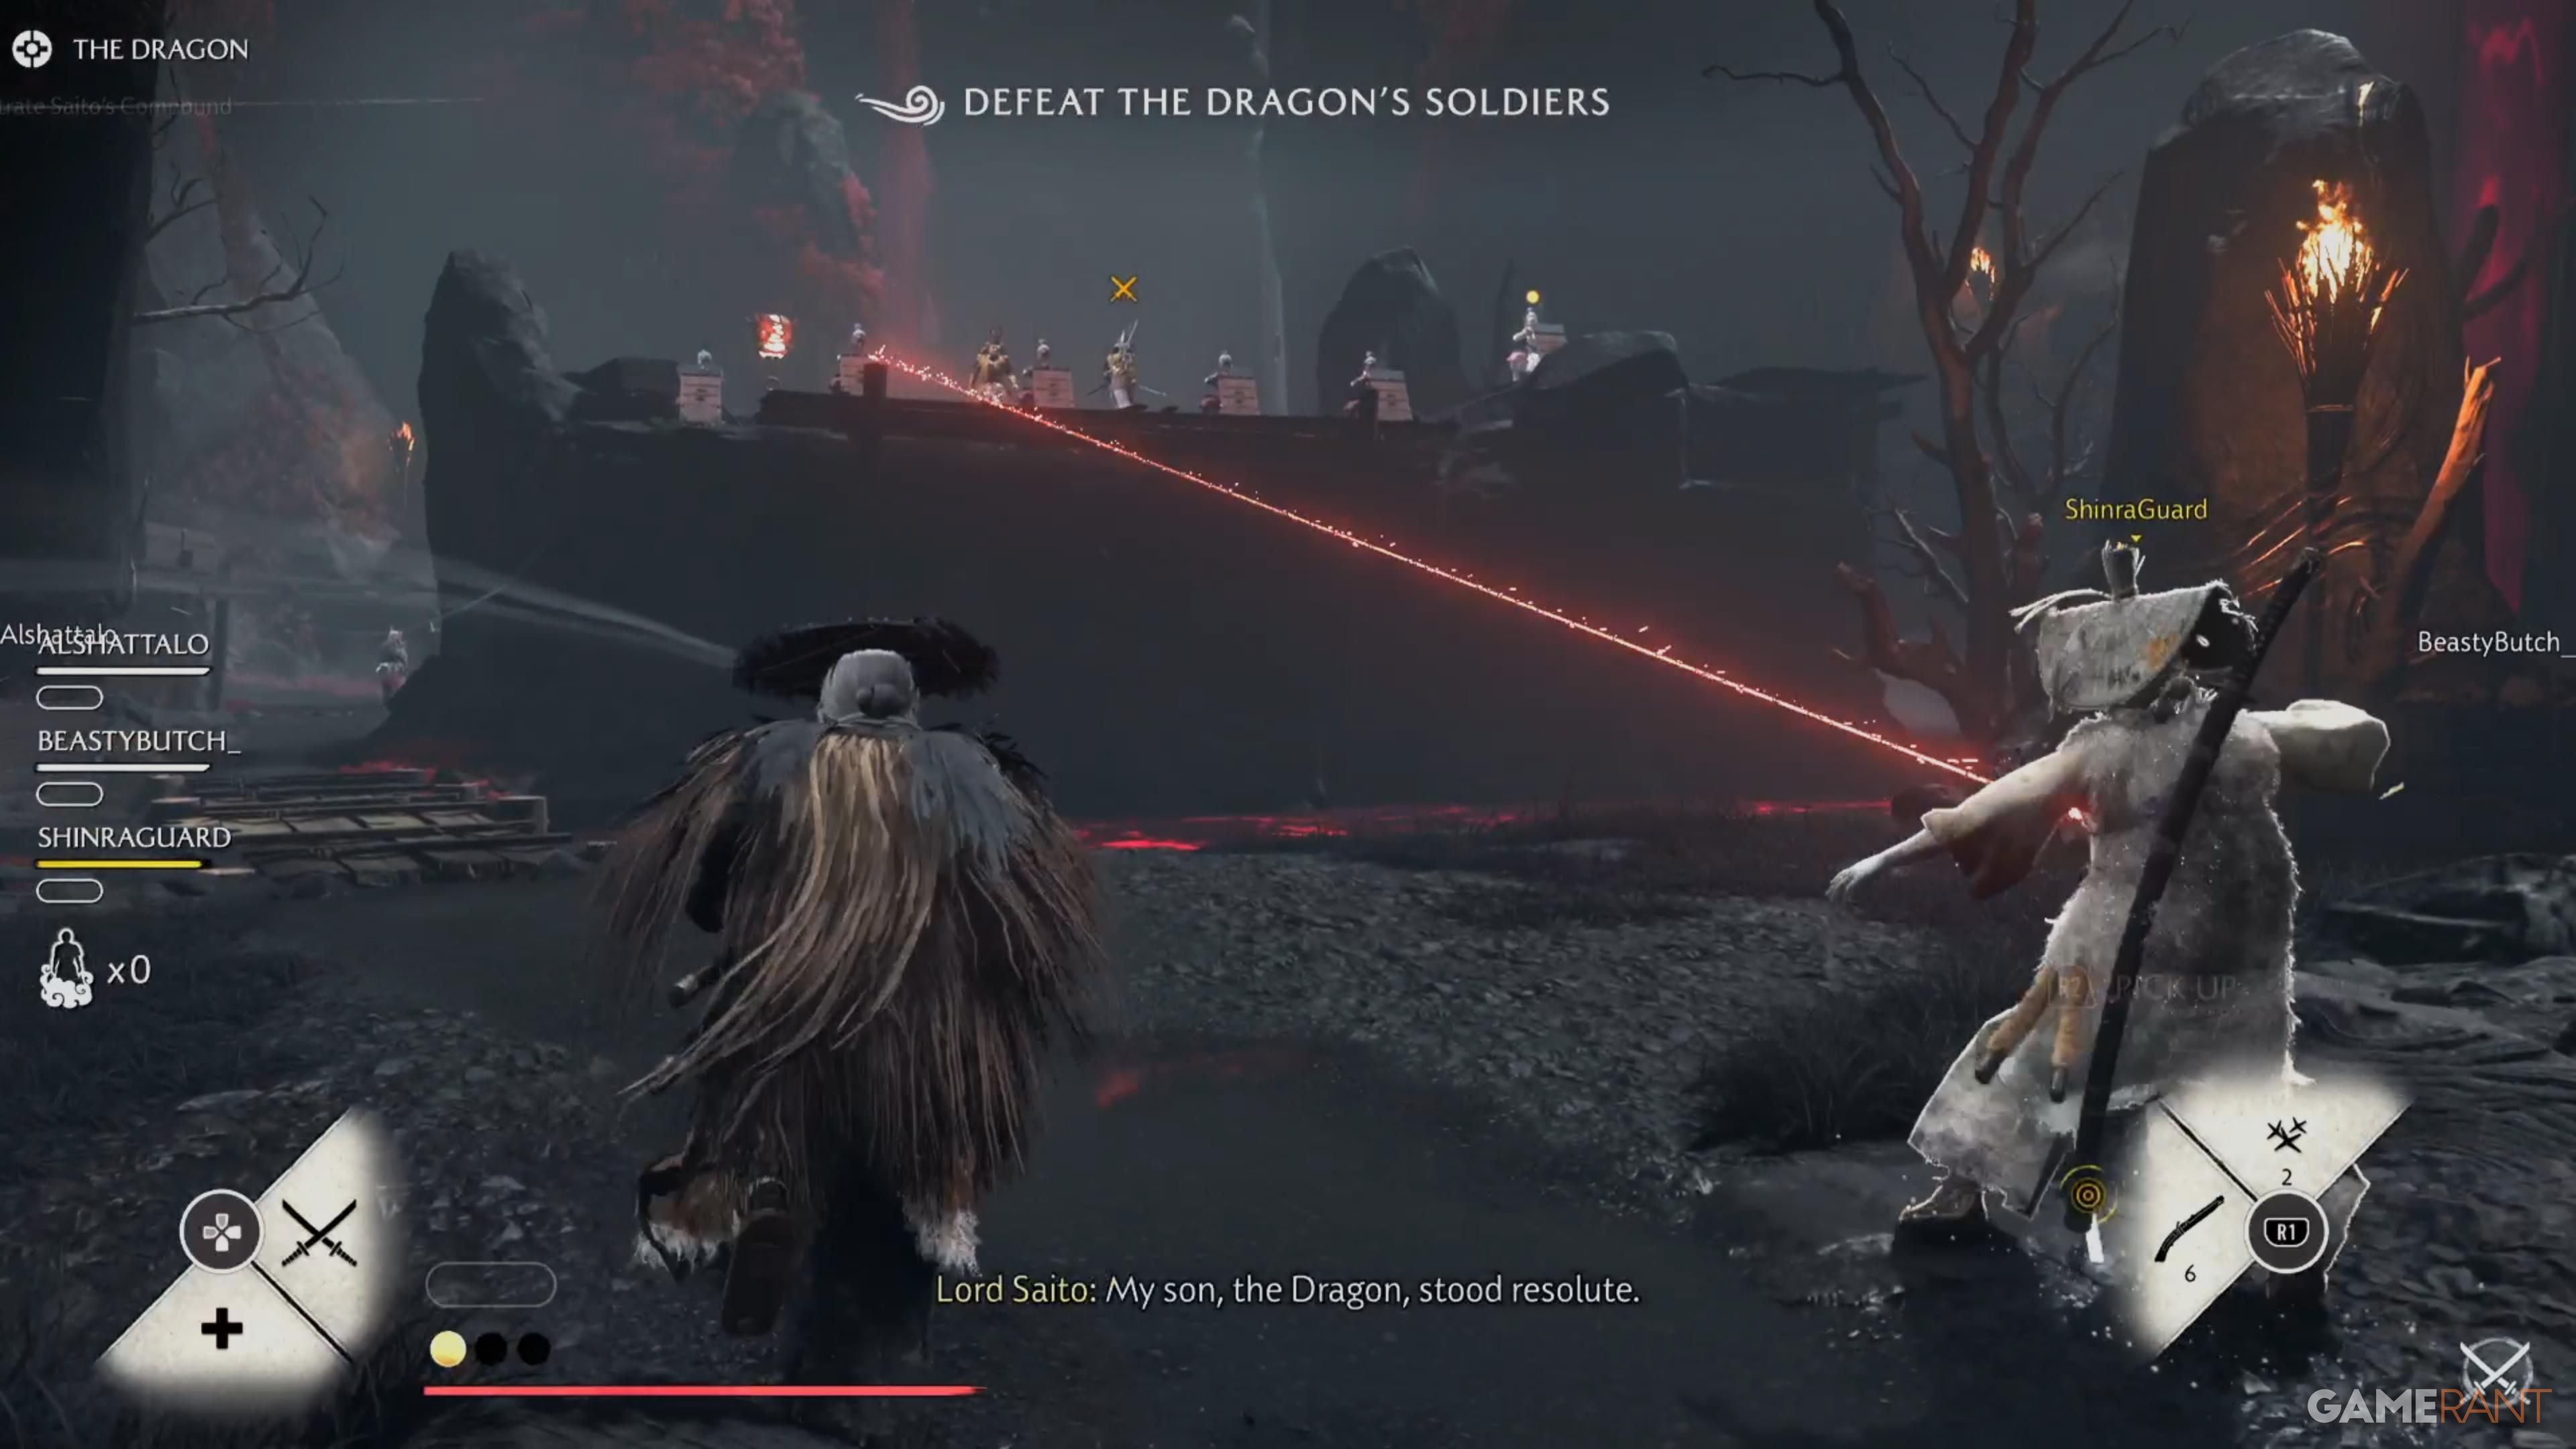
You’ll soon arrive at the Collapsed Approach, where you’ll face multiple waves of enemies. Once you’ve defeated them, you can obtain Kami’s Blessing, which grants you the Teleport ability for the remainder of the raid. Use Teleport to cross to the Gathering Point and activate it. Then, divide into pairs and send one person to each of the left and right portals to deal with the enemies there.
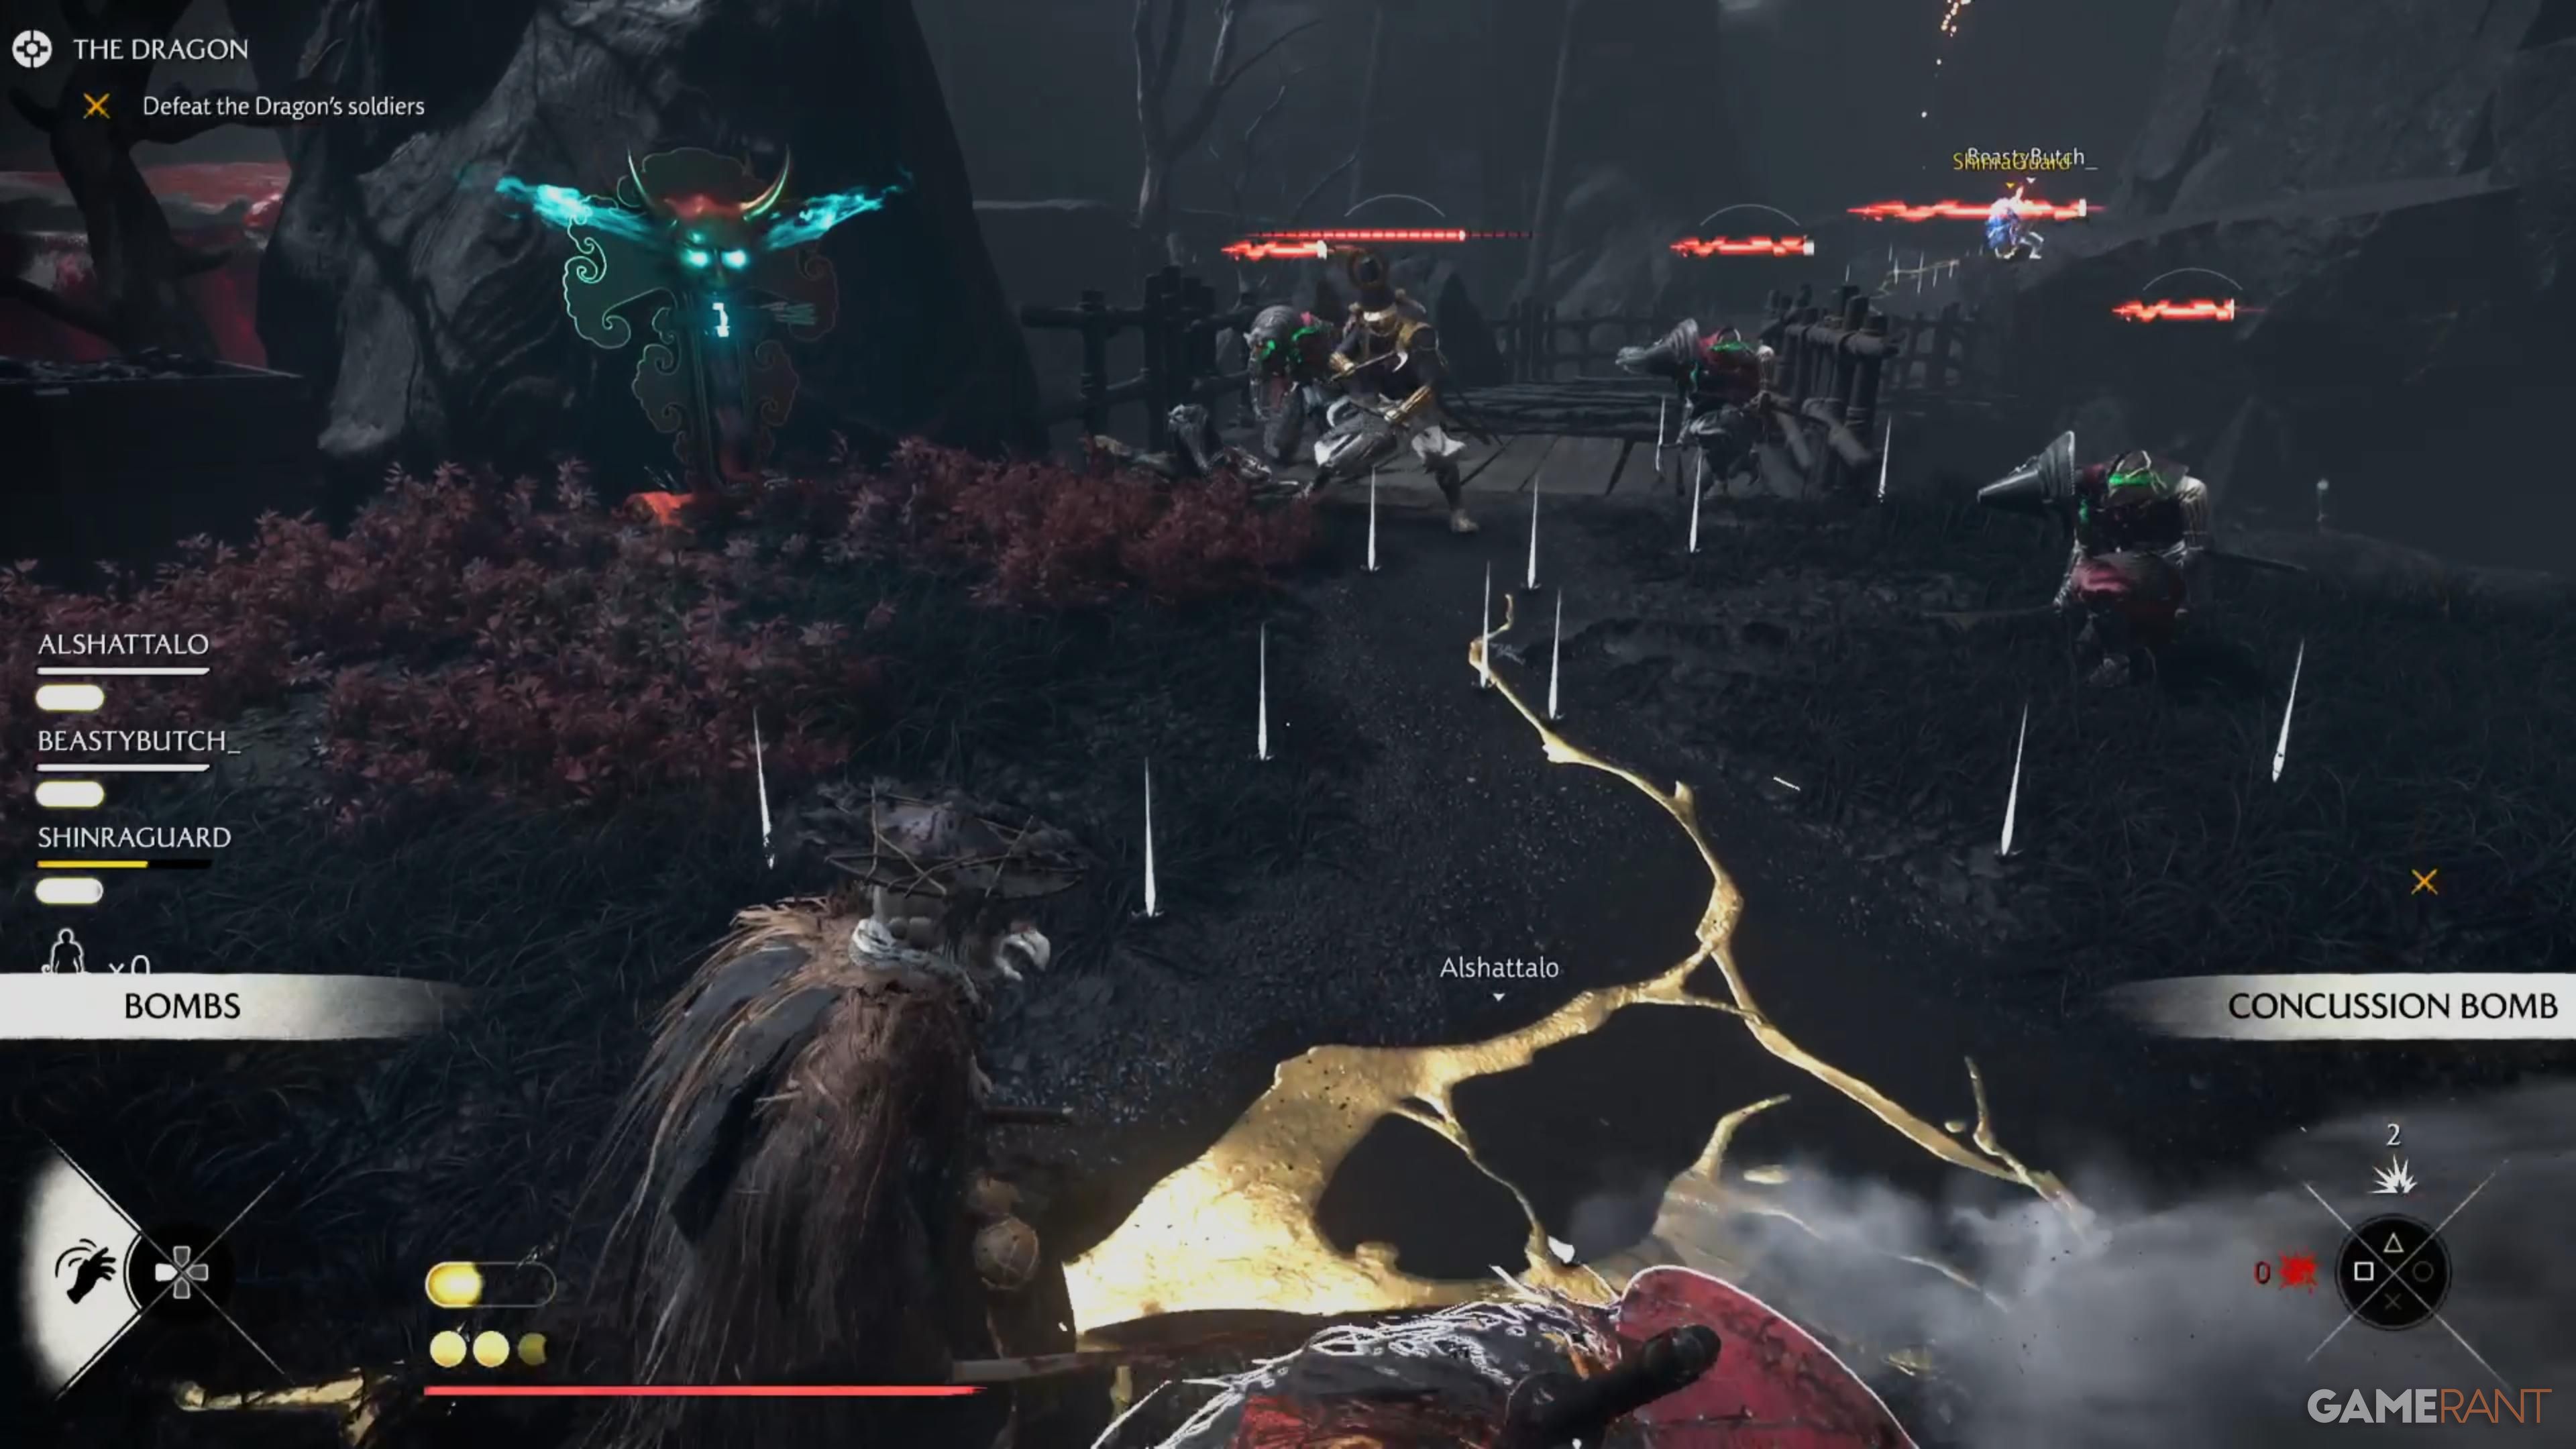
With each new wave of enemies, large, arrow-shaped projectiles will drop from the sky, creating red circles on the ground. These explode quickly, so it’s best to move away from them. While you can destroy these projectiles, they’re quite durable and with enemies also attacking, it’s generally smarter to just avoid them.
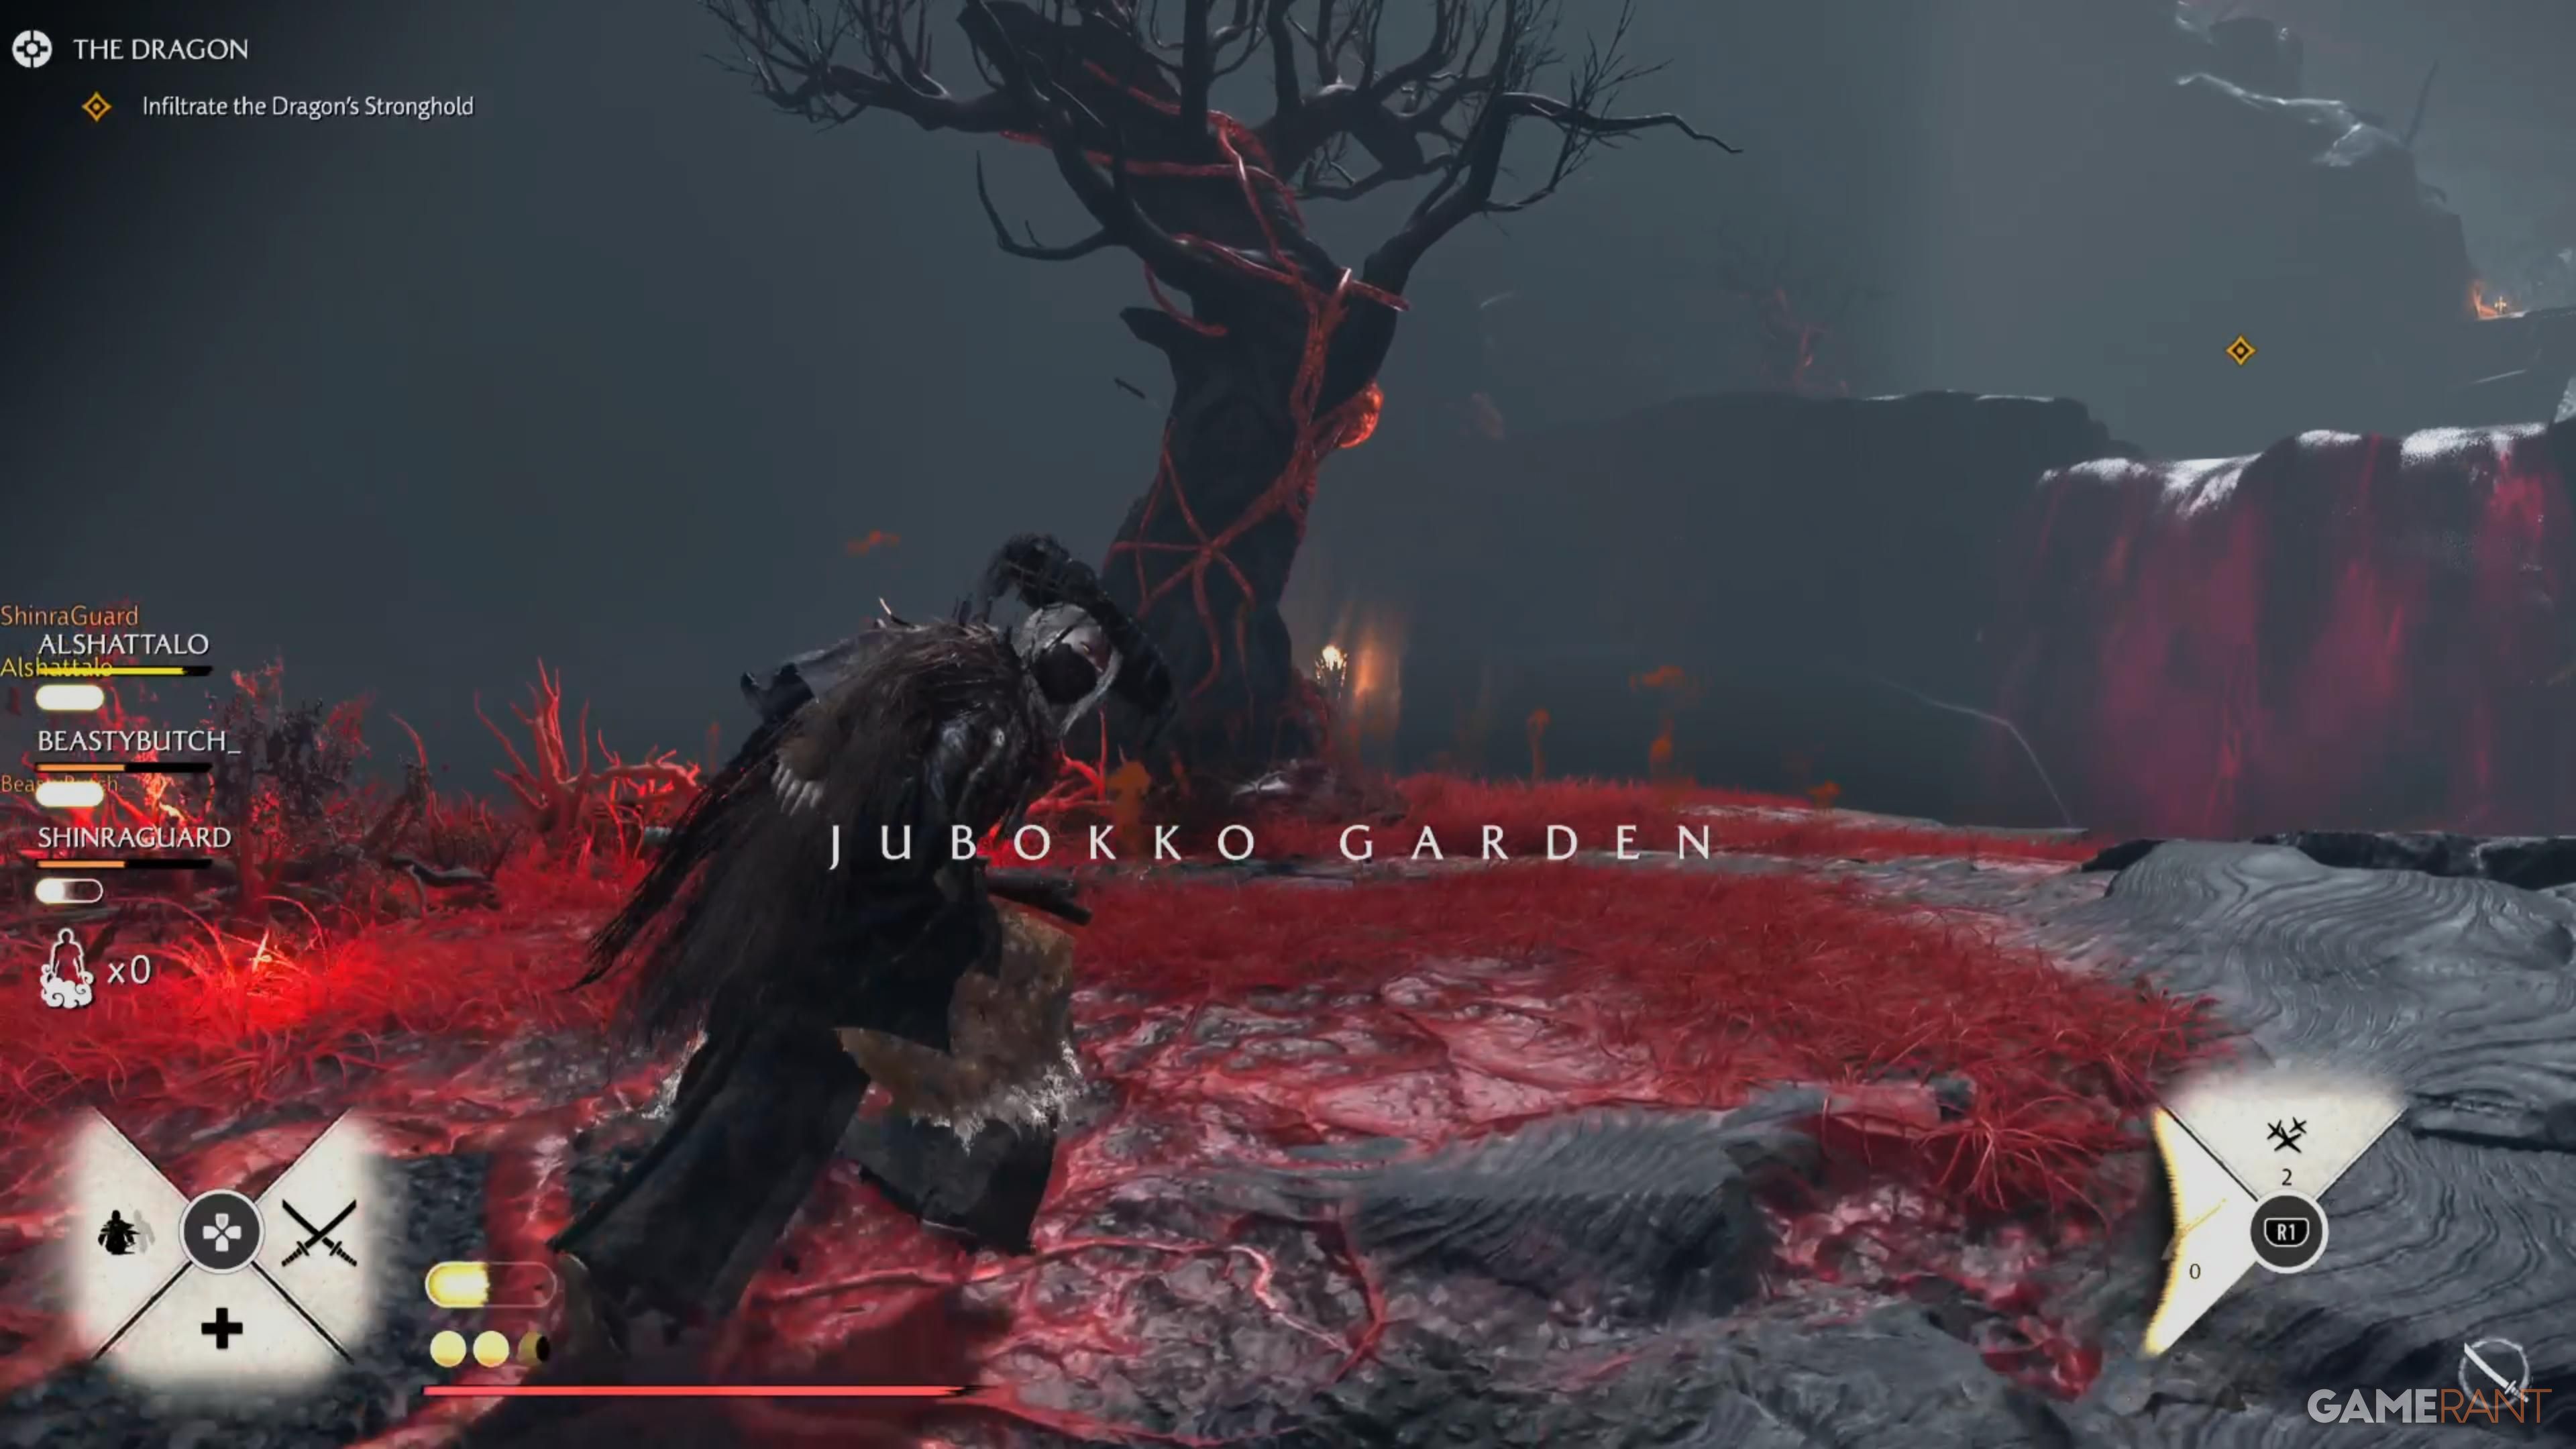
Go to the Jubokko Garden. Once you’ve cleared the trees, three players should stand on the pressure plates located on either side. This will allow the fourth player to teleport to a stone platform. Then, move to the right and take care of the remaining Jubokko trees. Stepping on the plate in this area will open a teleport directly above you, letting the other players join you.
After that, go to the area filled with more trees. You’ll find a plate that creates a platform, and another one above it that creates a second platform. Two players need to step on these plates to extend the path. Once they do, the rest of the team can use the raised platform to continue by jumping from platform to platform.
To open the Cursed Gate, all four players need to stand on the marked plates behind it. While the gate is opening, enemies will appear, but you can safely ignore them and concentrate on destroying the gate as fast as possible. An archer is great for this, or you can use the bombs that appear in the area. After the gate is destroyed, you can go through and enter the Dragon’s boss arena.
To the left of the fighting area, you’ll find a Modify Class stone. This lets you switch your equipment, improve your weapons, or even change your character’s class before a battle. Don’t worry if your team fails – you can come back here and make adjustments before trying again. When you’re prepared, activate the Gathering Point to begin and watch the introductory scene.
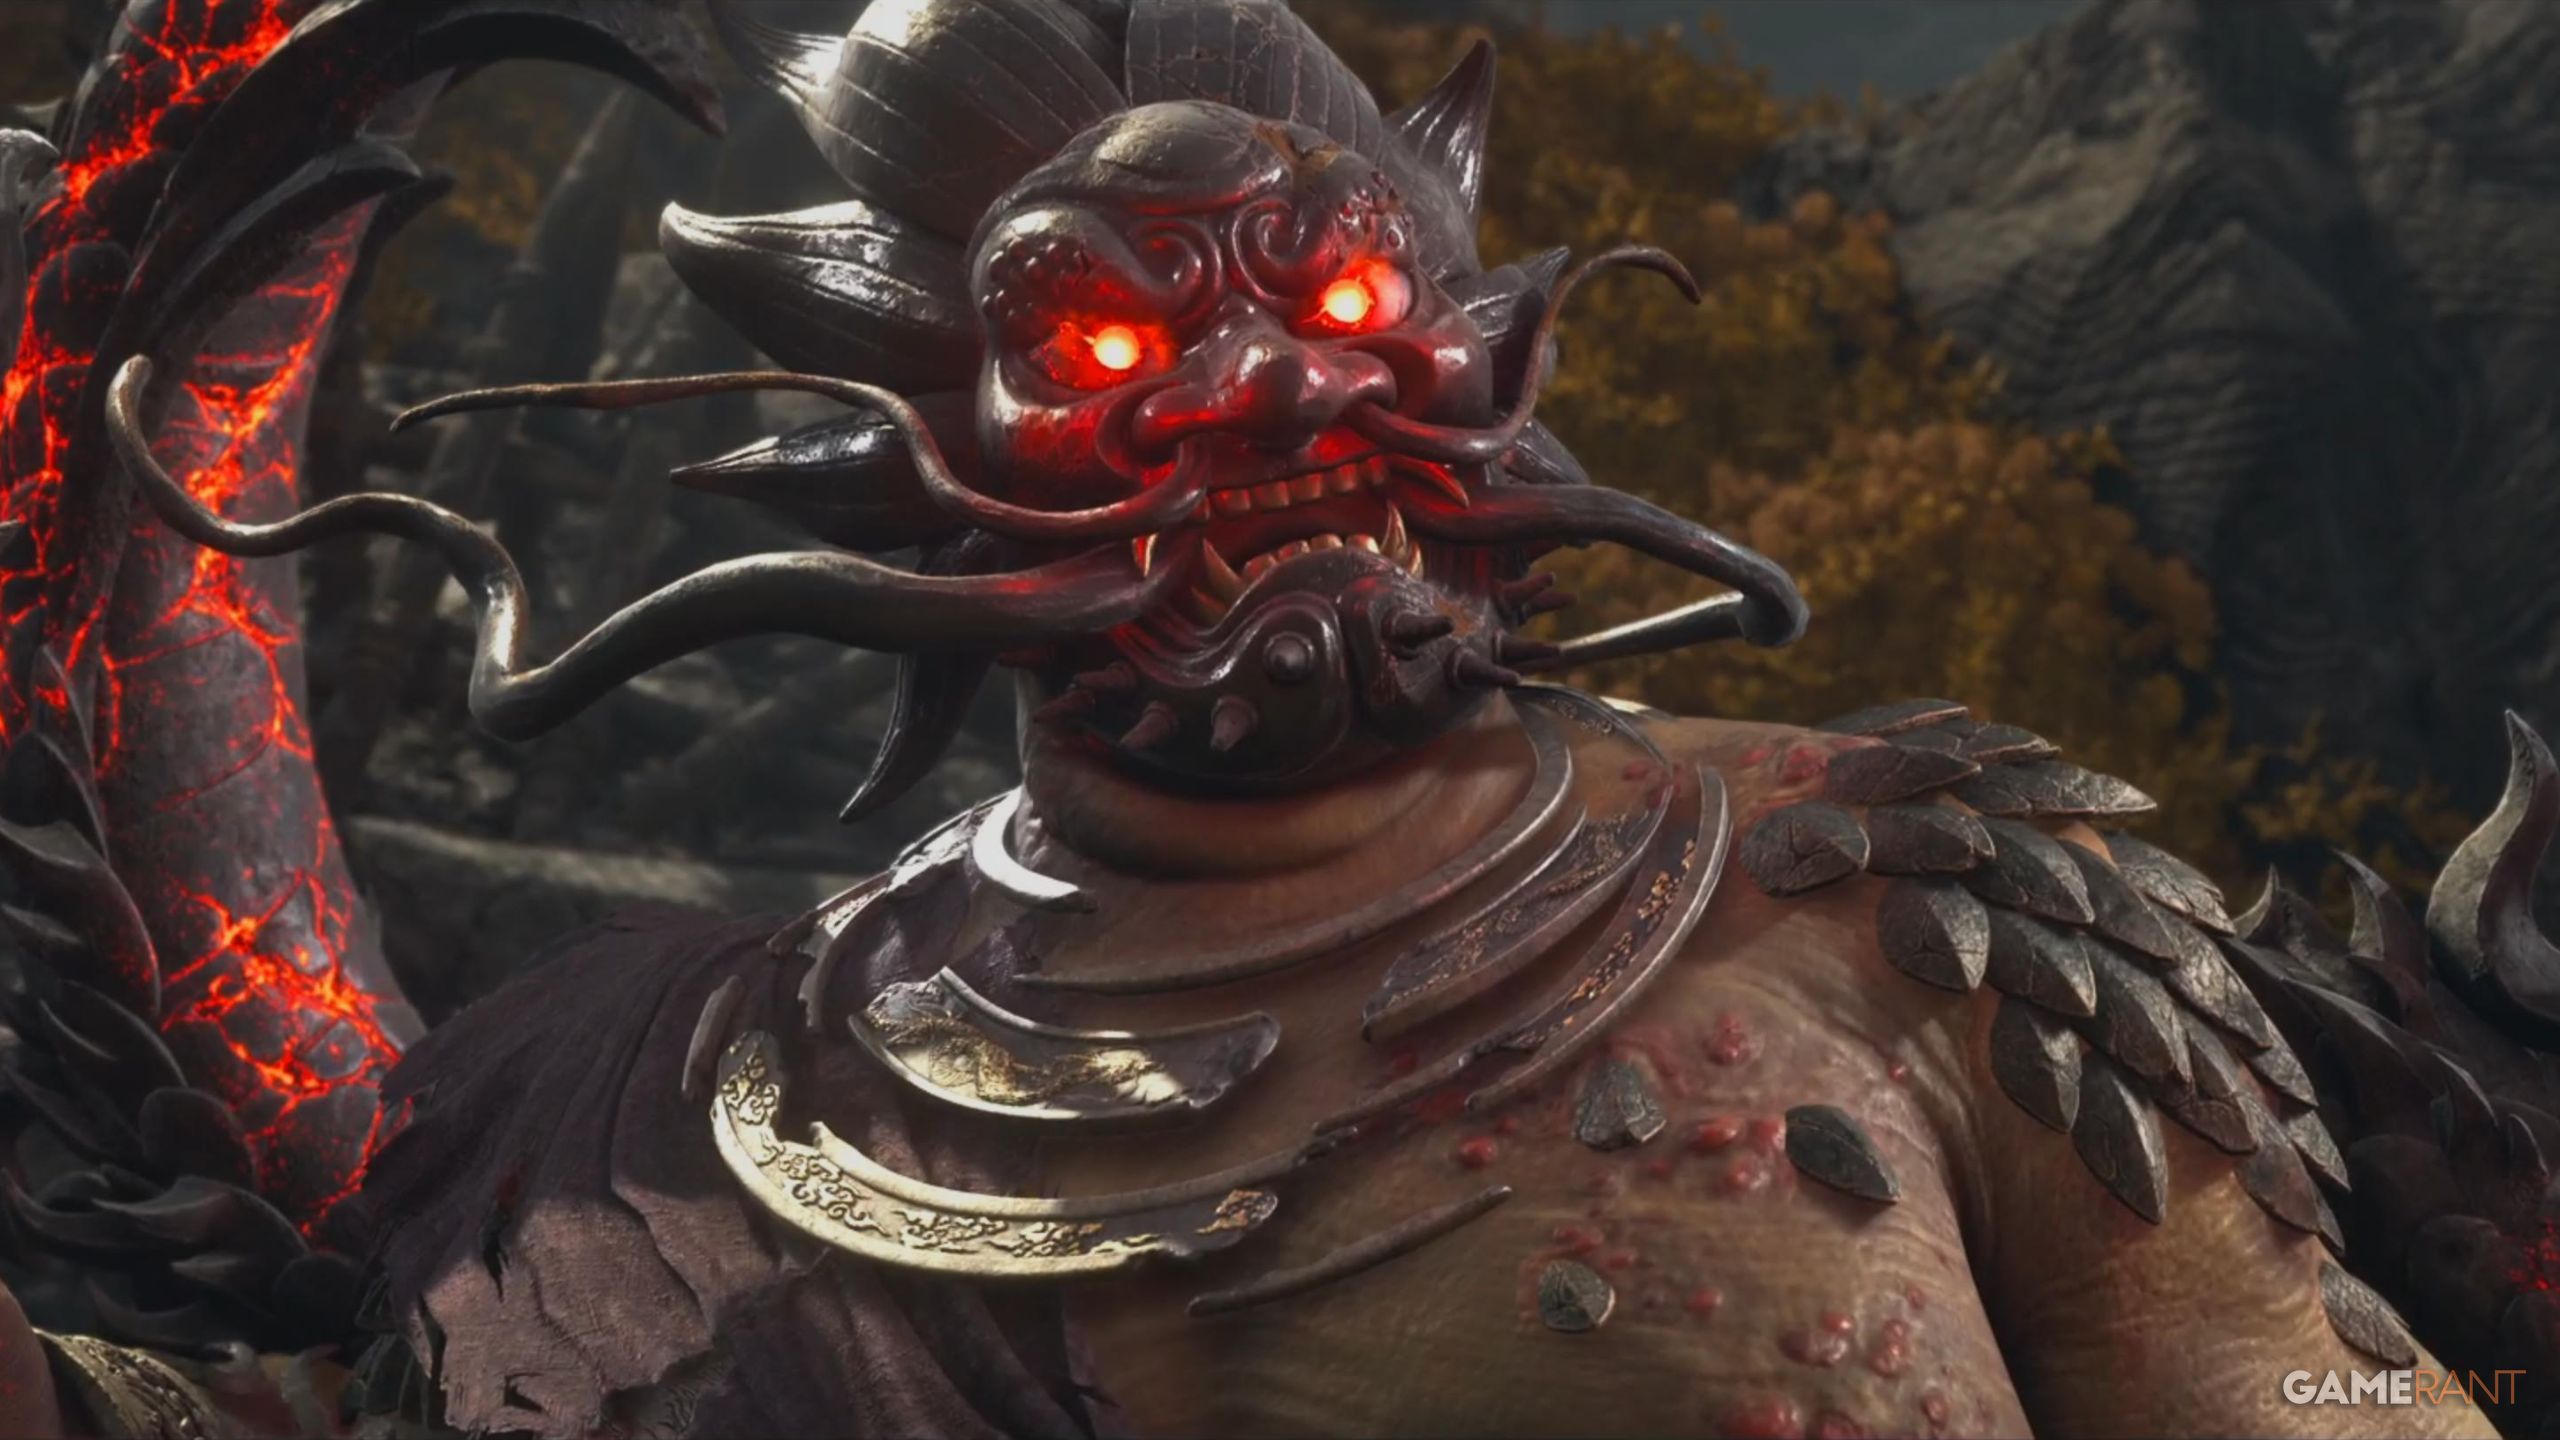
The Dragon Boss Fight in Ghost of Yotei Legends
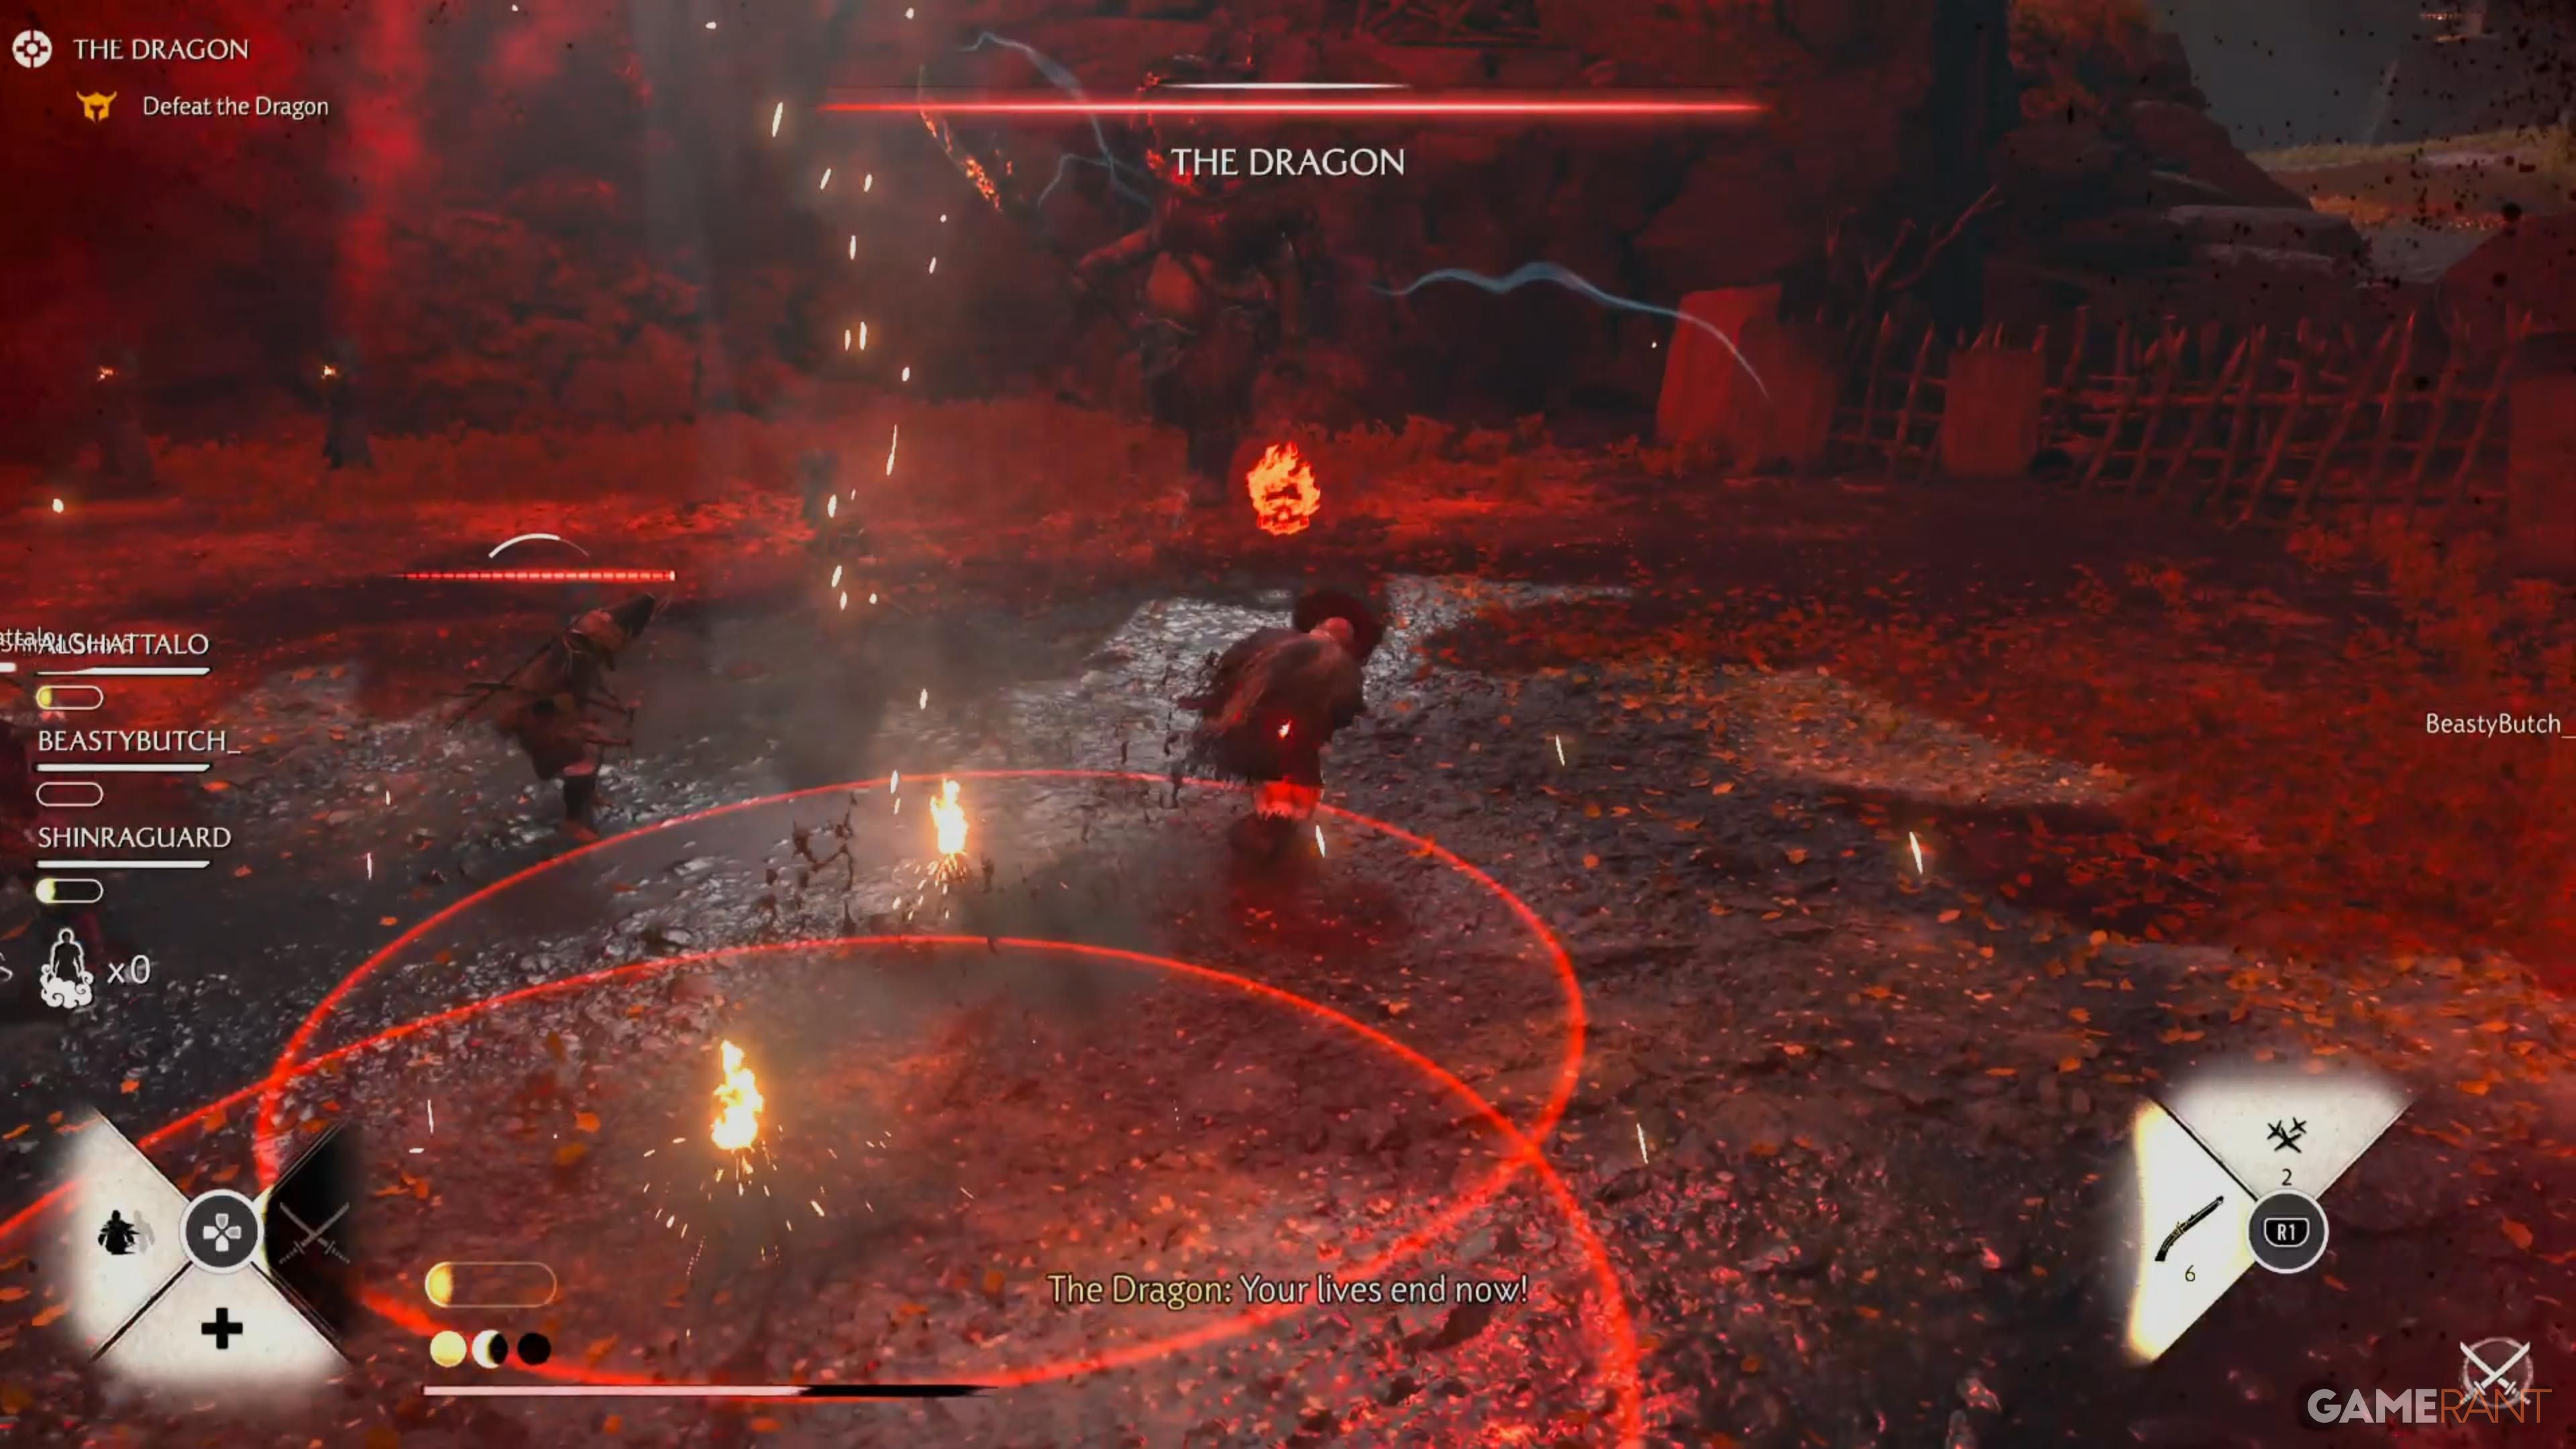
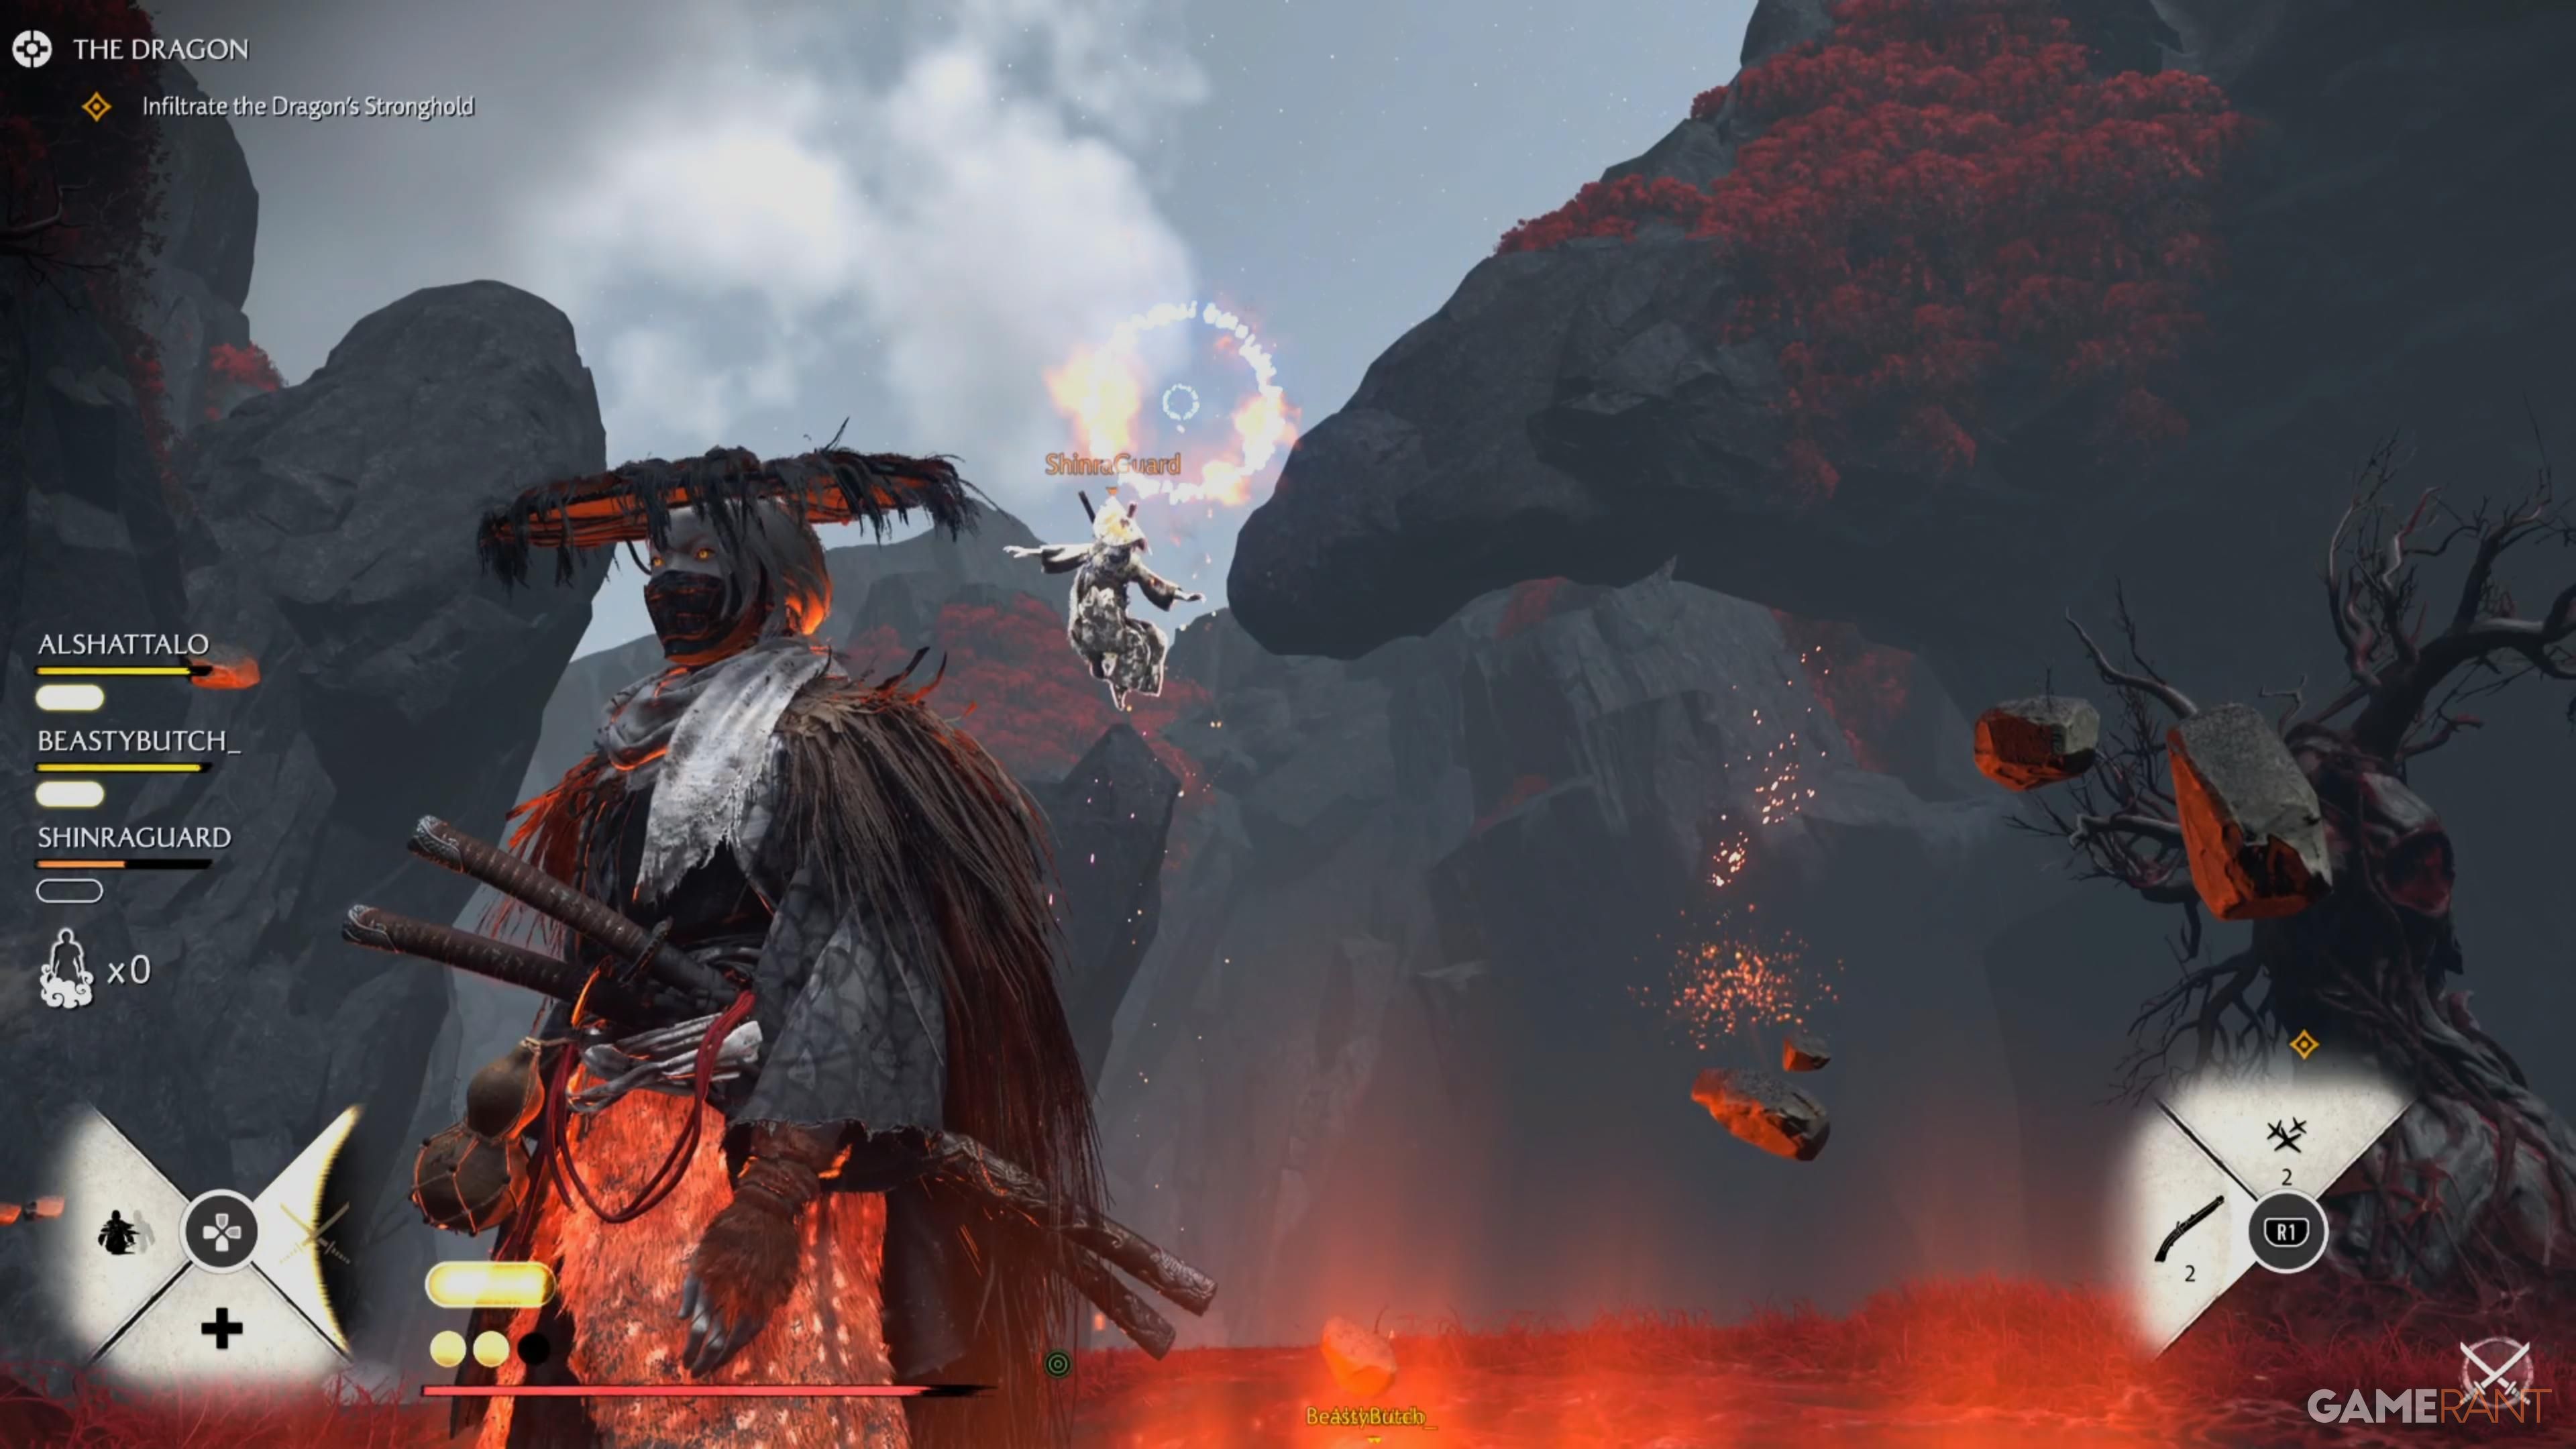
When the dragon fight starts, it will put a flaming skull over one player’s head. This means explosive blasts will start falling on that player, creating small, dangerous areas. Instead of trying to roll out of the way constantly, the player with the skull should just keep running to avoid getting hurt.
These explosions can hurt your teammates, so it’s important to talk to each other. If you’re targeted, try to move along the sides of the arena, and everyone else should stay away. The boss might target several people at the same time, so those targeted should run in different directions to avoid running into each other. If you have a Smoke Bomb, you can use it to get rid of the target marker right away.
The Dragon fights a lot like the Oni, so you’ll need to time your dodges carefully to avoid attacks that can’t be blocked. It’s best to defeat the smaller enemies the Dragon summons before trying to damage it. Once you’ve dealt some damage, the Dragon will fill the arena with explosive arrows, leaving nowhere safe. When this happens, everyone in your team should quickly focus all their attacks on destroying just one arrow to create a safe area.
The Shinobi class is really helpful in this boss fight. They can either make the entire team temporarily invisible, or become invisible themselves – which is great for safely attempting a revive without getting attacked.

The battle generally stays the same, but the boss might sometimes target everyone at once. A helpful tactic is to have two players run along the sides of the arena, while the other two move in a circle in the middle. When the boss creates more enemies, focus on taking down the Elite Bo-Hiya first. They shoot powerful explosives that can cover a wide area and quickly defeat you if you’re hit.
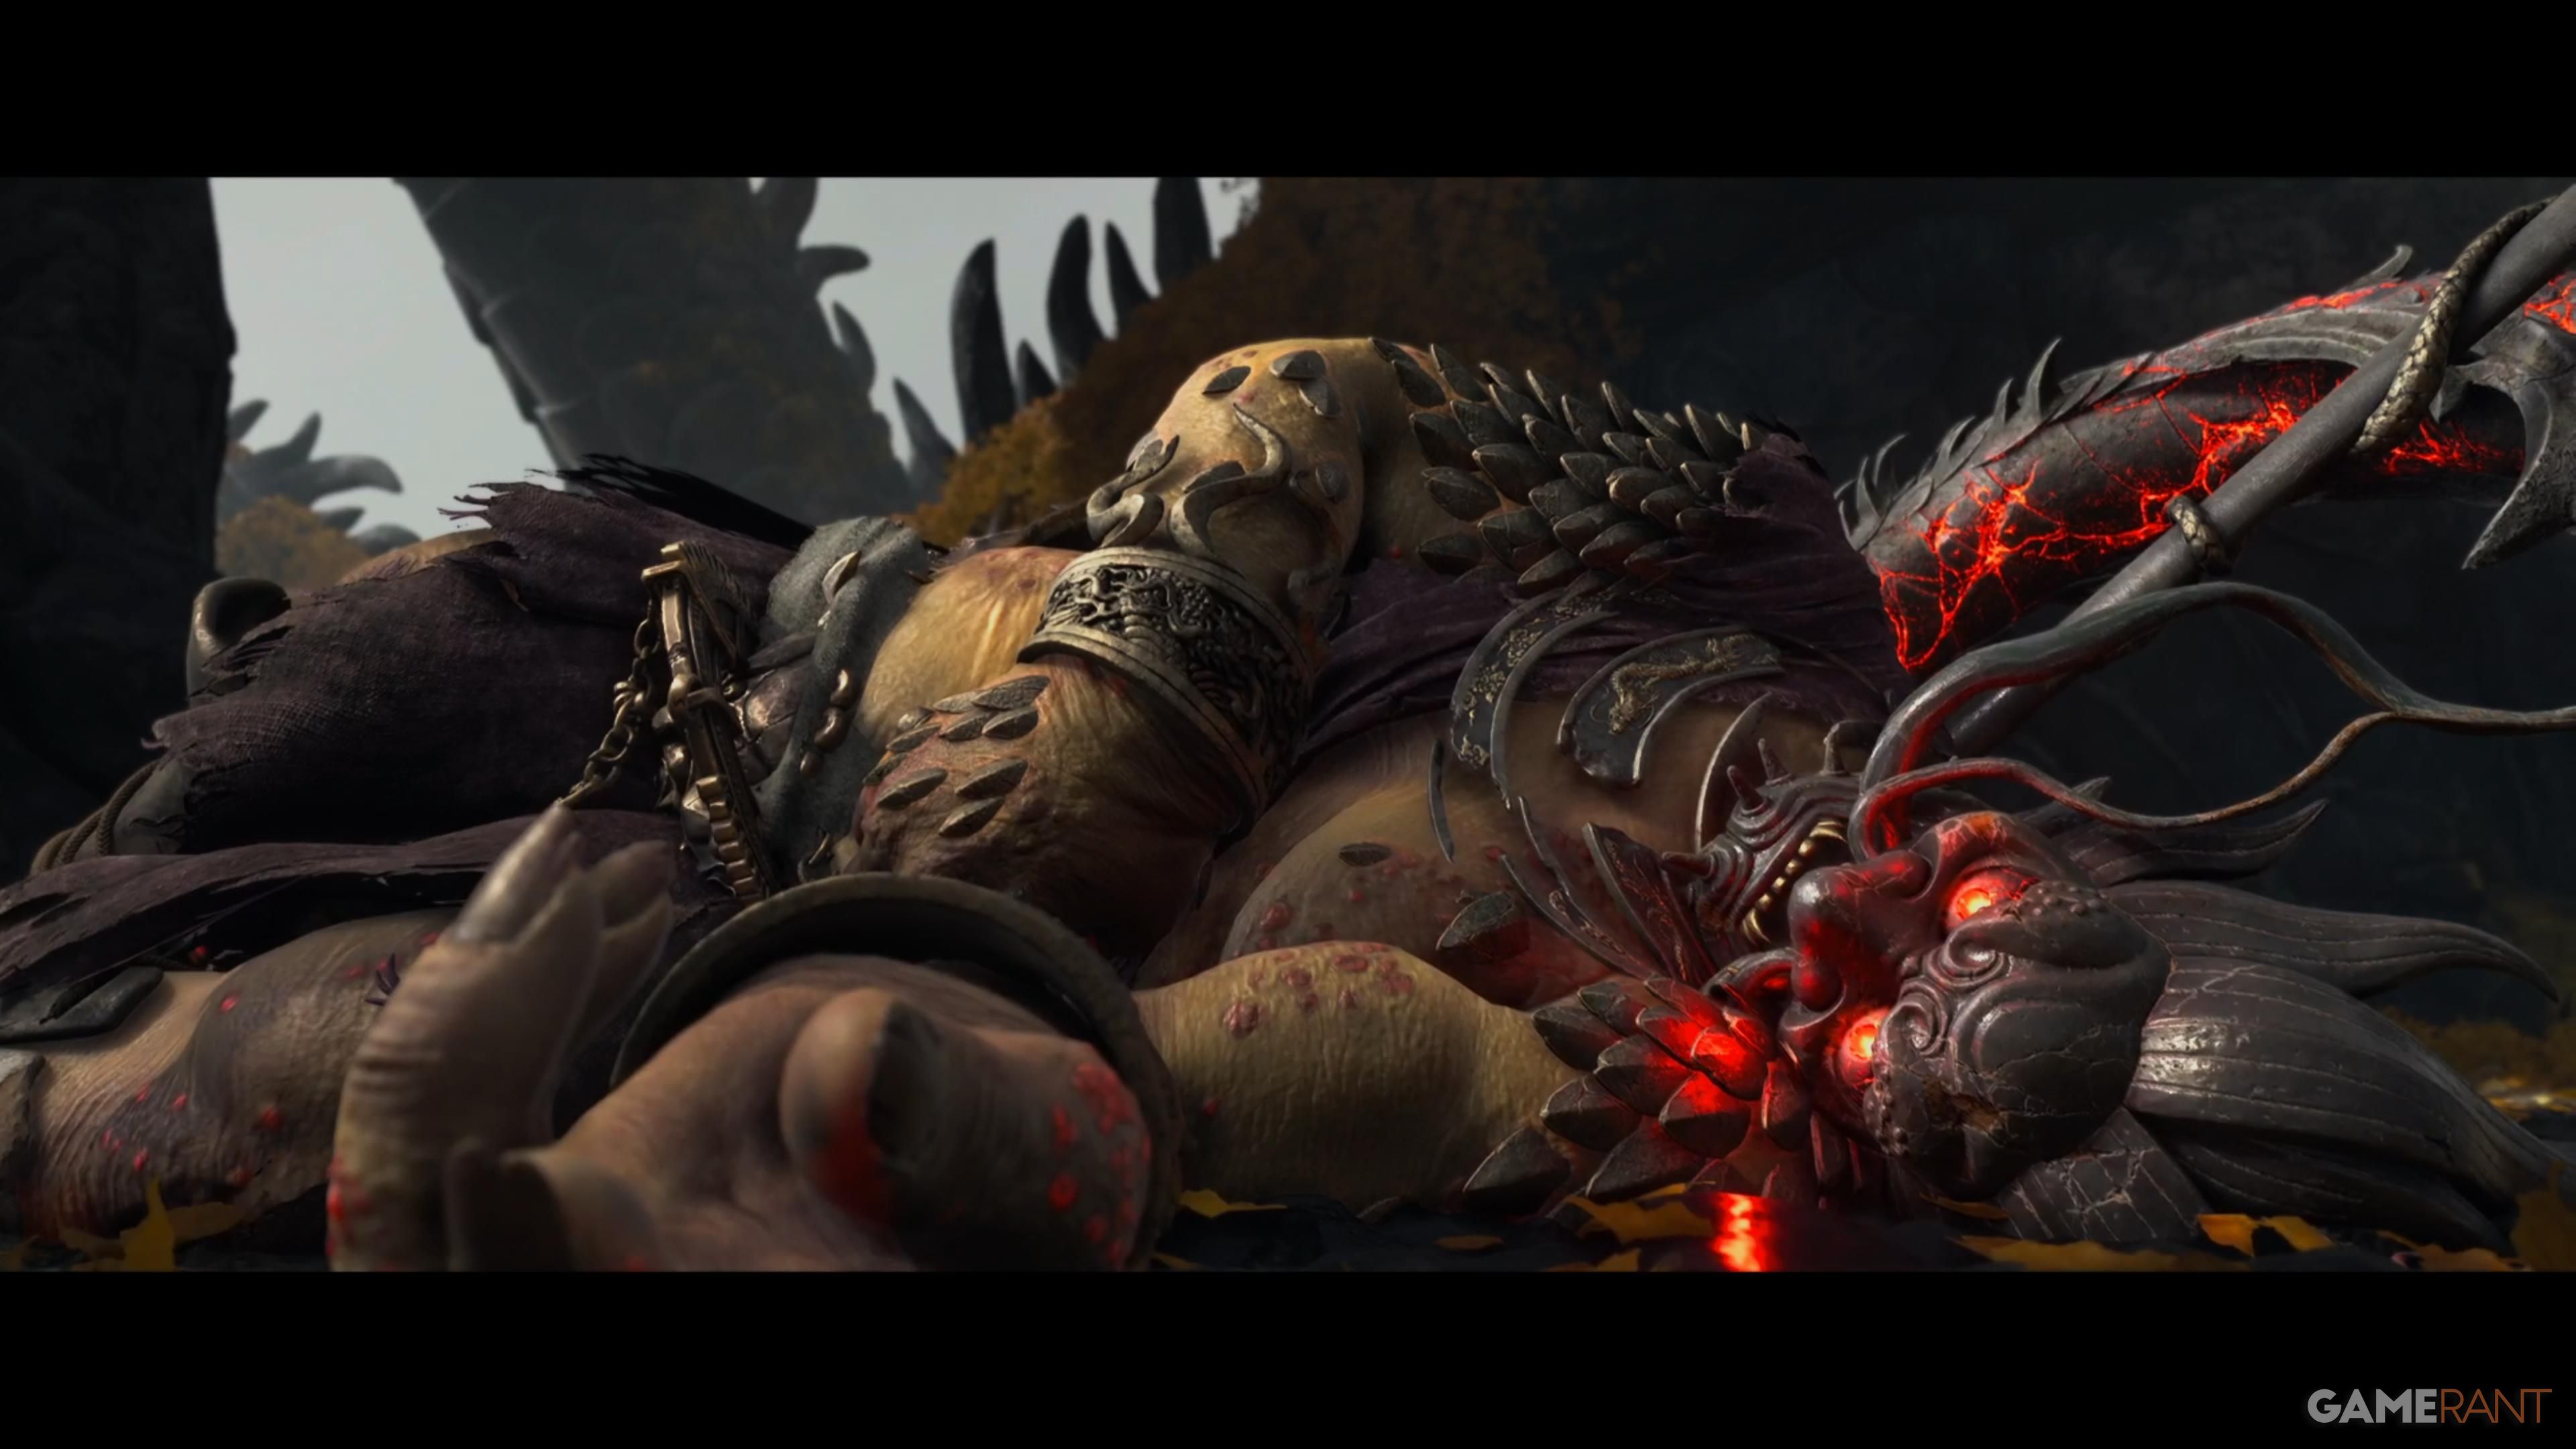
Okay, so after you finally take down the boss, you need to hit that last teleport. That’ll finish the raid – just walk through the Torii Gate and you’re done!
Read More
- All Skyblazer Armor Locations in Crimson Desert
- One Piece Chapter 1180 Release Date And Where To Read
- All Shadow Armor Locations in Crimson Desert
- How to Get the Sunset Reed Armor Set and Hollow Visage Sword in Crimson Desert
- New Avatar: The Last Airbender Movie Leaked Online
- Cassius Morten Armor Set Locations in Crimson Desert
- Grime 2 Map Unlock Guide: Find Seals & Fast Travel
- Euphoria Season 3 Release Date, Episode 1 Time, & Weekly Schedule
- Amber Alert Secrets & CDs In Crime Scene Cleaner Act 2
- All Golden Greed Armor Locations in Crimson Desert
2026-04-13 10:41