No one who deals in Gray Zone Warfare enjoys handing out risky missions like Turncoat, but even for him, ‘In the Trenches’ is exceptionally challenging.
Turncoat needs your help to infiltrate a heavily guarded Lamang Liberation Army (LLA) camp – complete with trenches, towers, and bunkers. You’ll have to fight off the soldiers stationed there while also searching for important information to bring back.
Fighting in trenches can be dangerous, and it’s easy to get seriously injured if you don’t understand the risks. A bullet from a common rifle can quickly cause harm.
This guide provides essential information for attacking trenches in Gray Zone Warfare, covering the necessary equipment and offering clear, step-by-step instructions for completing the ‘In the Trenches’ mission.
If you die in In the Trenches, you’ll have to start over and wait a significant amount of time before you can try the mission again. If you’re struggling, it’s better to leave and come back later than to die and lose everything you’ve done.
In the Trenches Preparations
Trenches have been a part of warfare throughout history, but they became extremely common after being widely used in World War I.
Trench warfare is incredibly harsh and slow-moving, unlike typical close-quarters combat, because even small mistakes can have devastating consequences.
Successfully completing the ‘In the Trenches’ operation depends on having the correct equipment. The area is heavily guarded by Lamang Liberation Army guerrillas who are armed with M16A1 and M14 rifles, using bullets that can easily penetrate light armor and helmets. If you have body armor rated NIJ III+ or higher, it’s crucial to wear it during this mission.
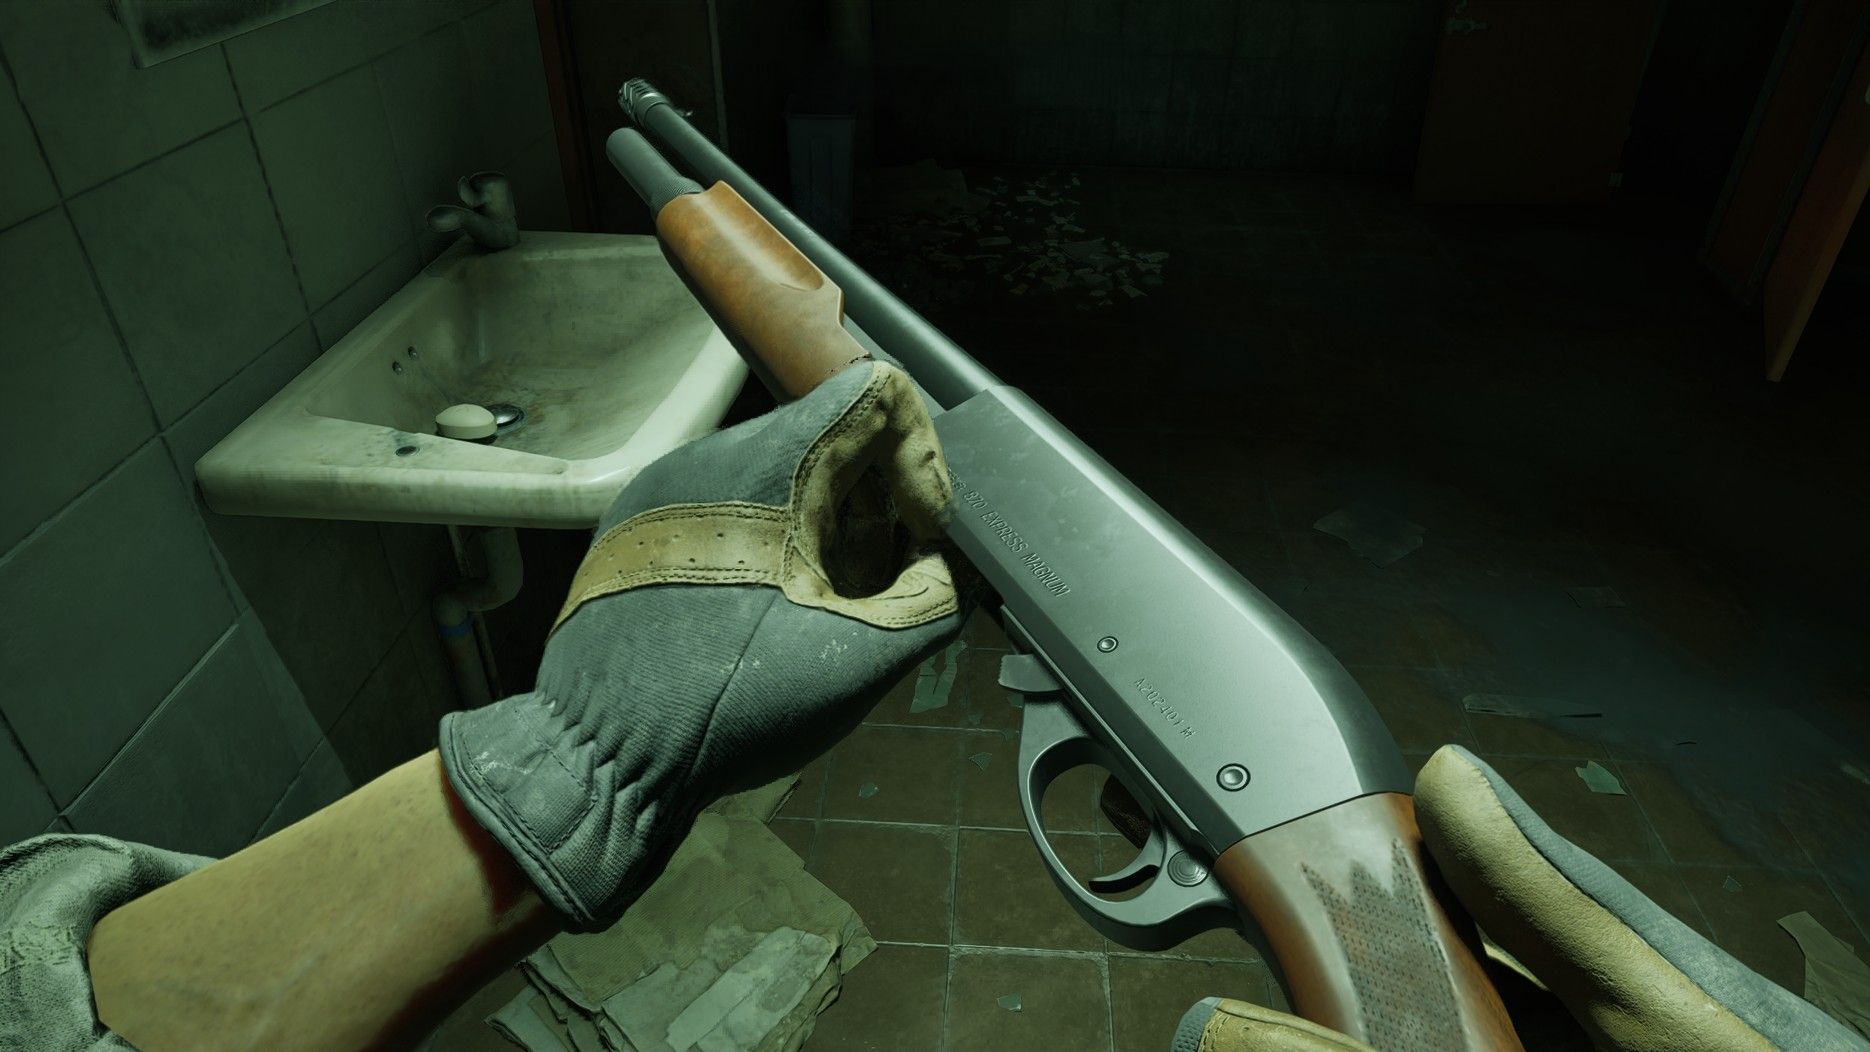
Some local law enforcement officers wear strong body armor, so if you don’t have special armor-piercing bullets for an MP7, it’s best to leave that weapon at home. However, shotguns can still be effective due to their high volume of fire, particularly when using FliteControl buckshot.
When choosing your gear for this mission, it’s best to use iron sights or simple, unmagnified optics – you’ll be fighting in very close quarters. A shorter barrel will help prevent it from getting caught on things. Also, leave your suppressor at home; there’s so much shooting that staying hidden is nearly impossible. I learned that the hard way and lost a fully upgraded M4 with a magnified scope and suppressor for nothing!
You’ll find plenty of 5.56mm rounds (like M855) in the area, so I suggest bringing a standard M4 or M16A1 rifle to make sure you don’t run out of ammunition. Also, pack at least three fragmentation or flashbang grenades. It’s a good idea to have a pistol as a backup weapon for close encounters when your rifle is empty.
In the Trenches Quest Walkthrough
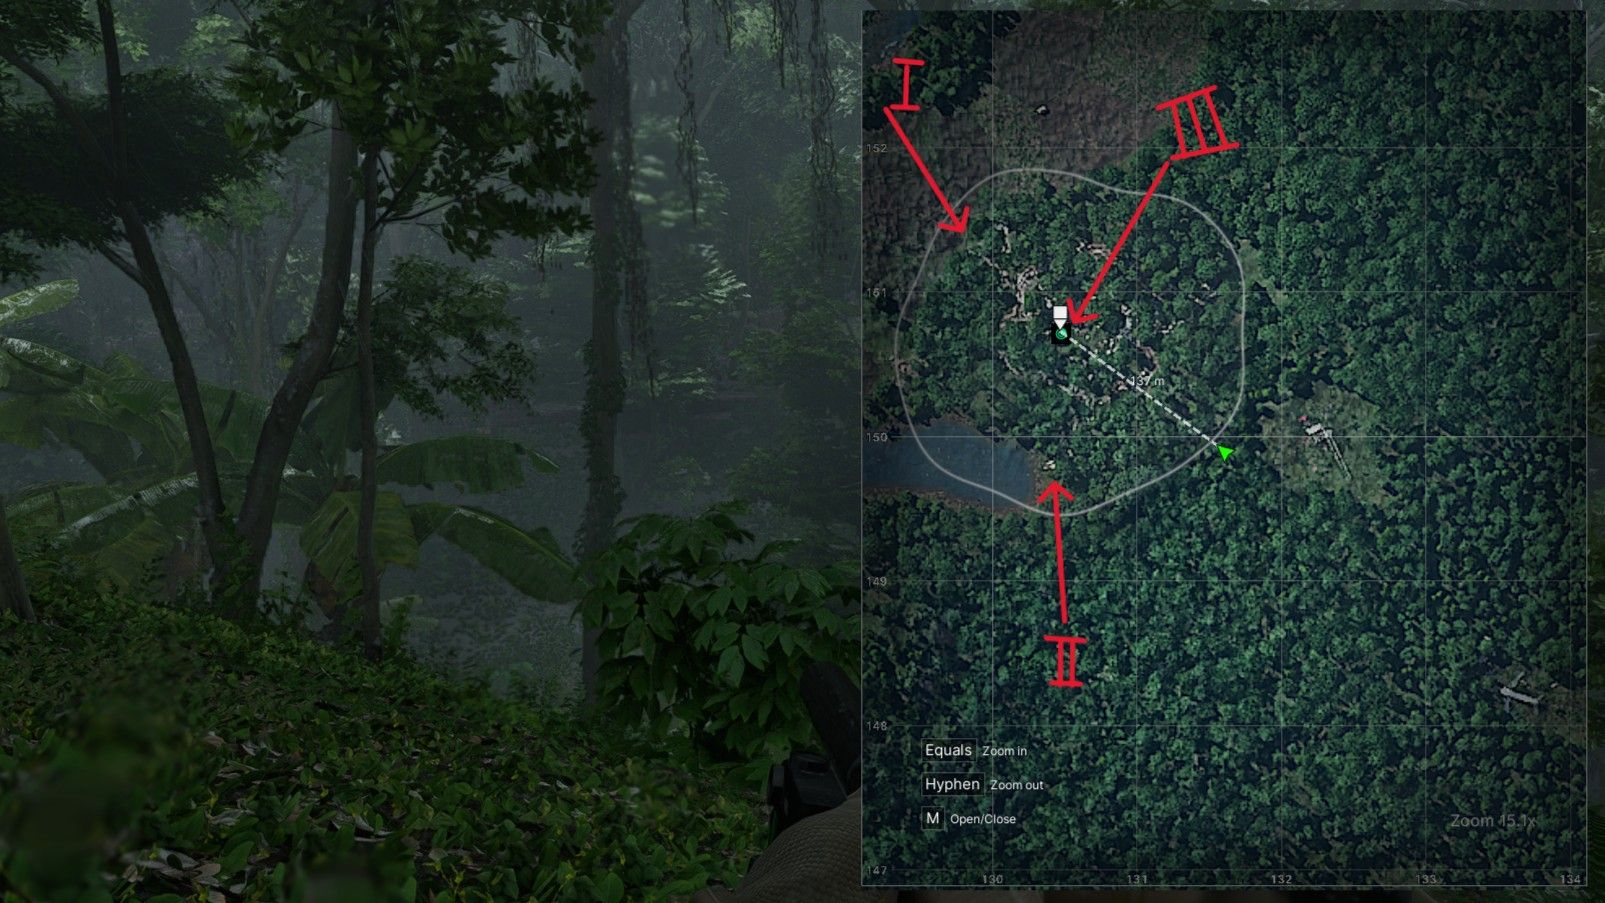
In the ‘In the Trenches’ task, your goal is to find three intelligence reports and deliver them to Turncoat. You’ll find two of these reports on the western side of the LLA camp, and the last one is located inside the shack that’s being used as a command center.
You can finish this quest without dealing with the enemies on the east side of the camp. However, since everything is connected, enemies will probably wander over to where you’re fighting even if you stay on the west side.
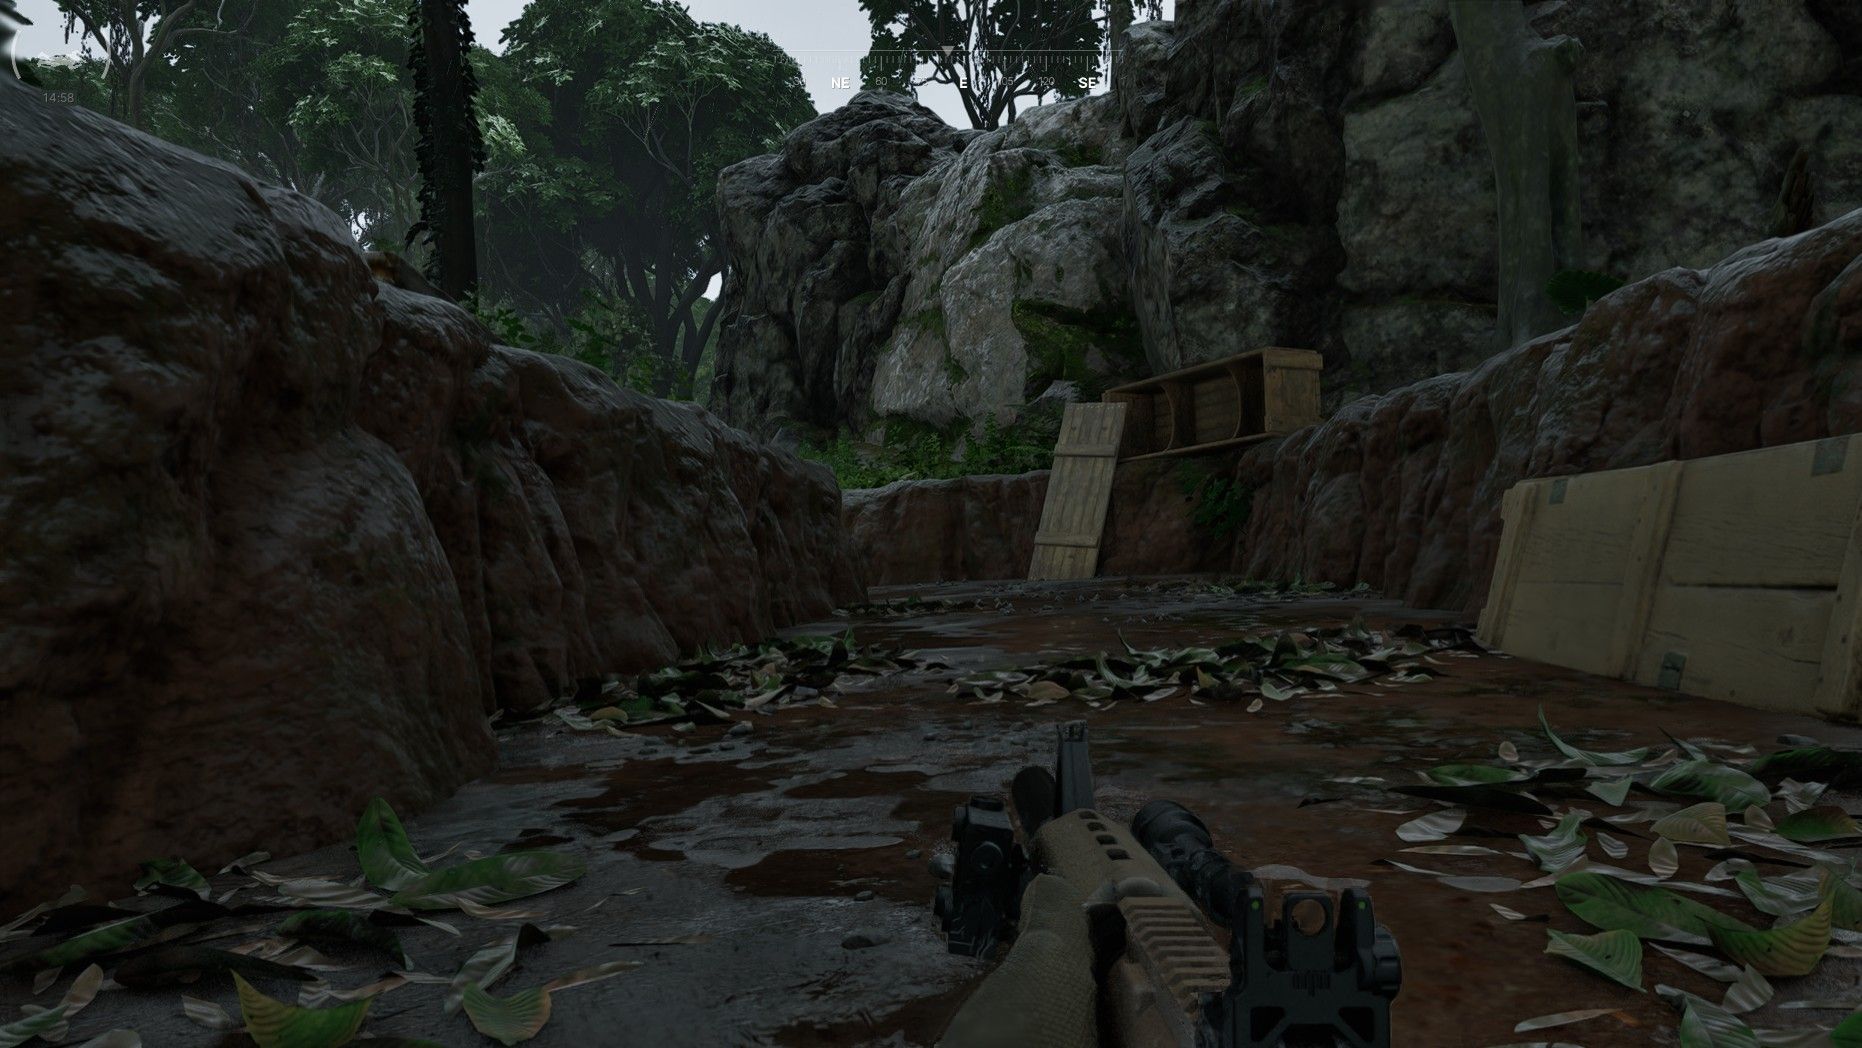
When attacking a trench system, your priority is to get inside quickly. You’re an easy target while exposed, so use a grenade to create an opening and then immediately rush into the trenches.
The easiest ways to get inside are through the northwest and southwest guard towers – and luckily, these are also where you need to go to finish what you’re doing. Since they’re on the edges of the area, you’ll only have to watch for enemies coming from one side. Each tower usually has one enemy inside, and one or two in the trench directly below.
Certain trenches don’t provide much protection, even when you duck down. To avoid getting shot, it’s best to lie flat. It might take an extra 20 seconds, but it’s worth it – dying means losing all your progress.
LLA Operational Note
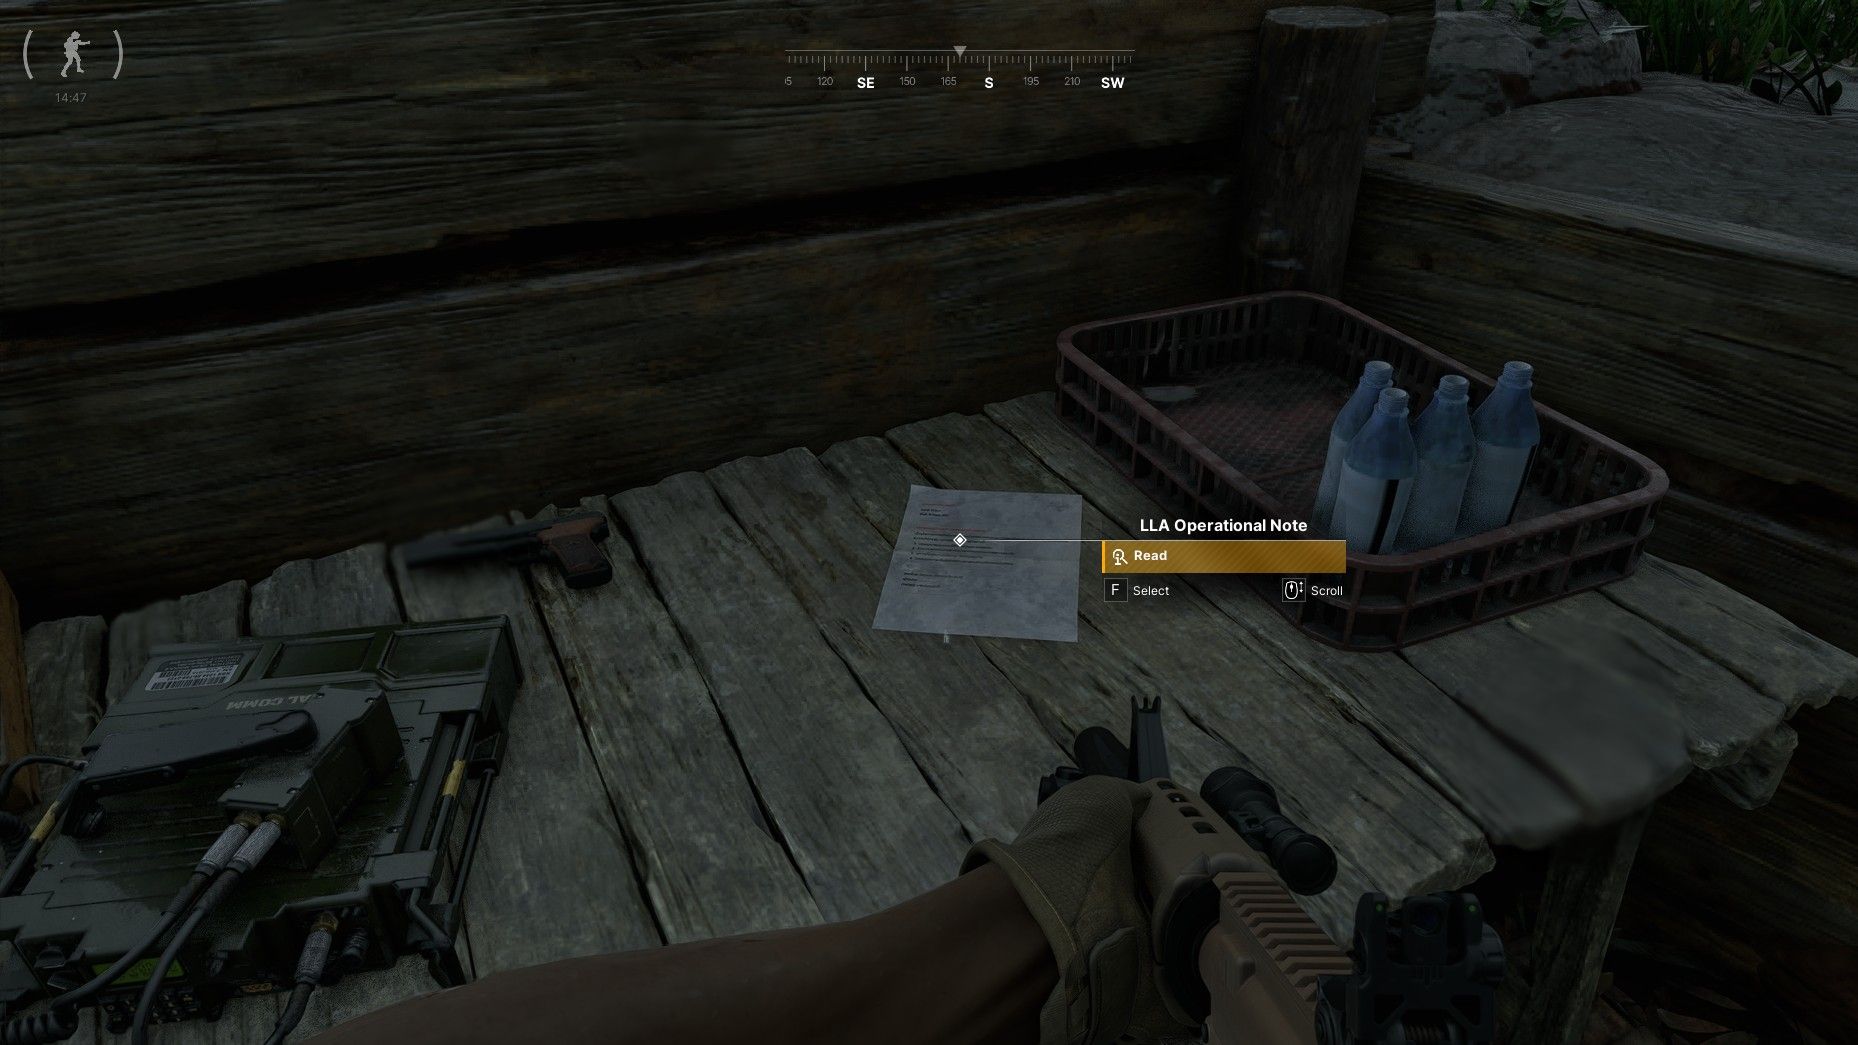
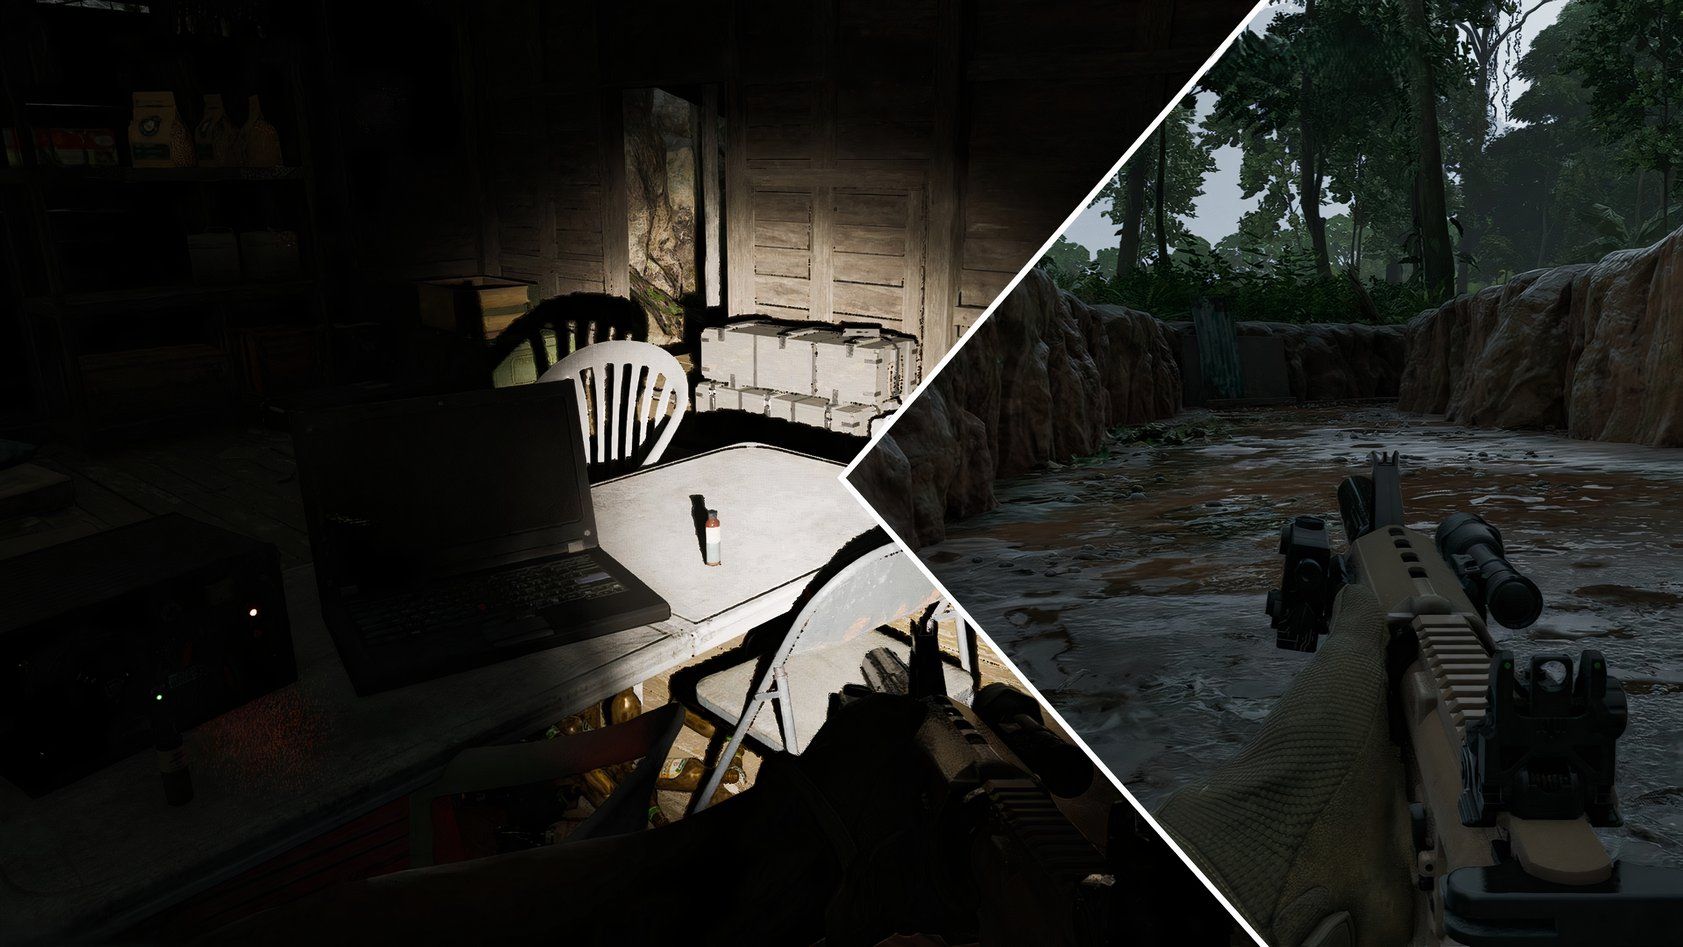
You can find the LLA Operational Note on a desk near the northwestern watchtower. It’s between an empty water bottle crate and a radio.
Clear the two or three enemies there, then approach it to collect the intel and report to Turncoat.
LLA Strategic Directive
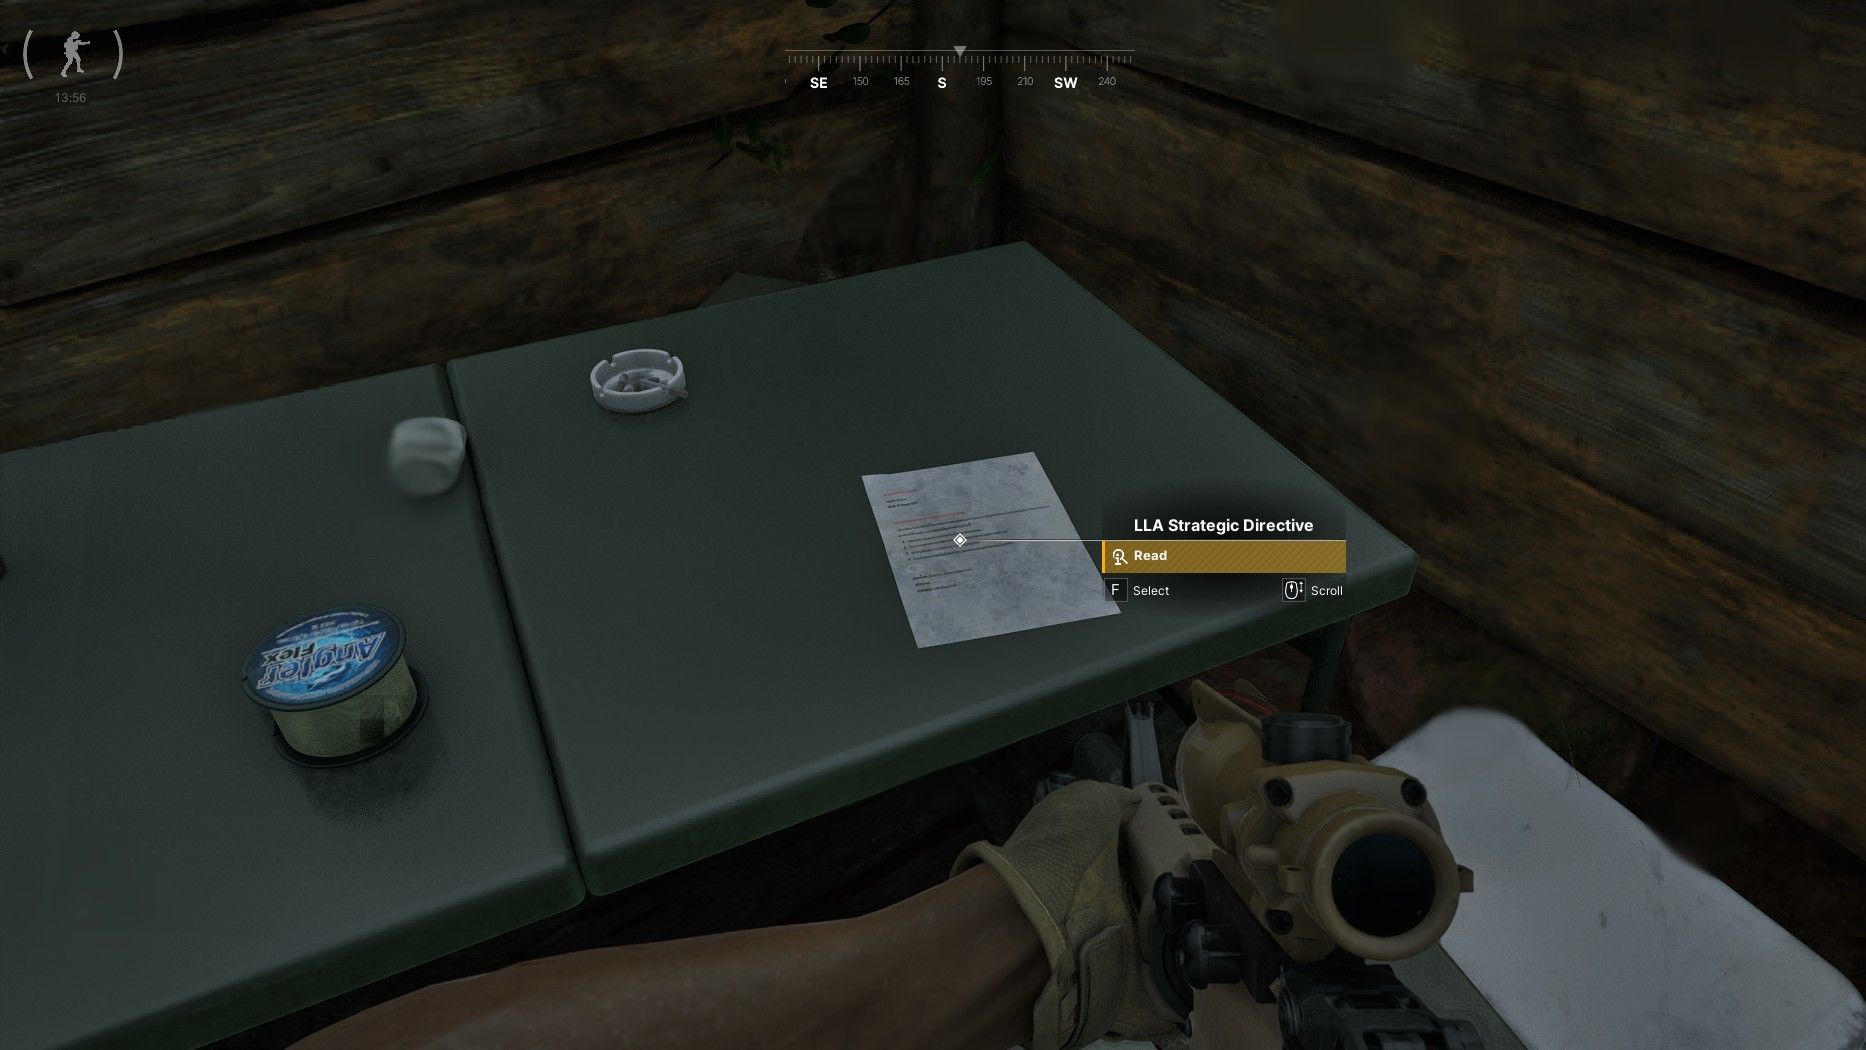
You’ll find the next document on a desk in the camp’s southwestern corner, usually protected by two enemies.
Keep to the trenches as you collect the first two documents. Enemies in the middle area will occasionally come out from cover to attack, but you’ll be safer and have a better angle to shoot back from within the trenches.
LLA Internal Comms
Okay, so the last piece I needed was right in the middle of the camp – super easy to spot, honestly. But getting to it? That was a bit tricky because of how the camp is designed. It wasn’t a direct path, that’s for sure!
Newsletter: Master Trench Tactics and Gear
The camp’s central area has three exits leading to the trenches – one on the north side, one on the west, and one on the east. These exits create ideal positions for ambushing the four or five LLA soldiers who are inside.
The area between the trenches and the main camp isn’t fully secure, meaning a single unnoticed enemy could cause serious problems.
Coming from the west provides the best cover, though it doesn’t give you a great view of the main area. However, this means you can go straight for your target without having to search the entire eastern part of the camp first.
Use grenades to reduce the number of enemies, then quickly attack and defeat them. Be fast, because they’ll probably start shooting as soon as you move into the open.
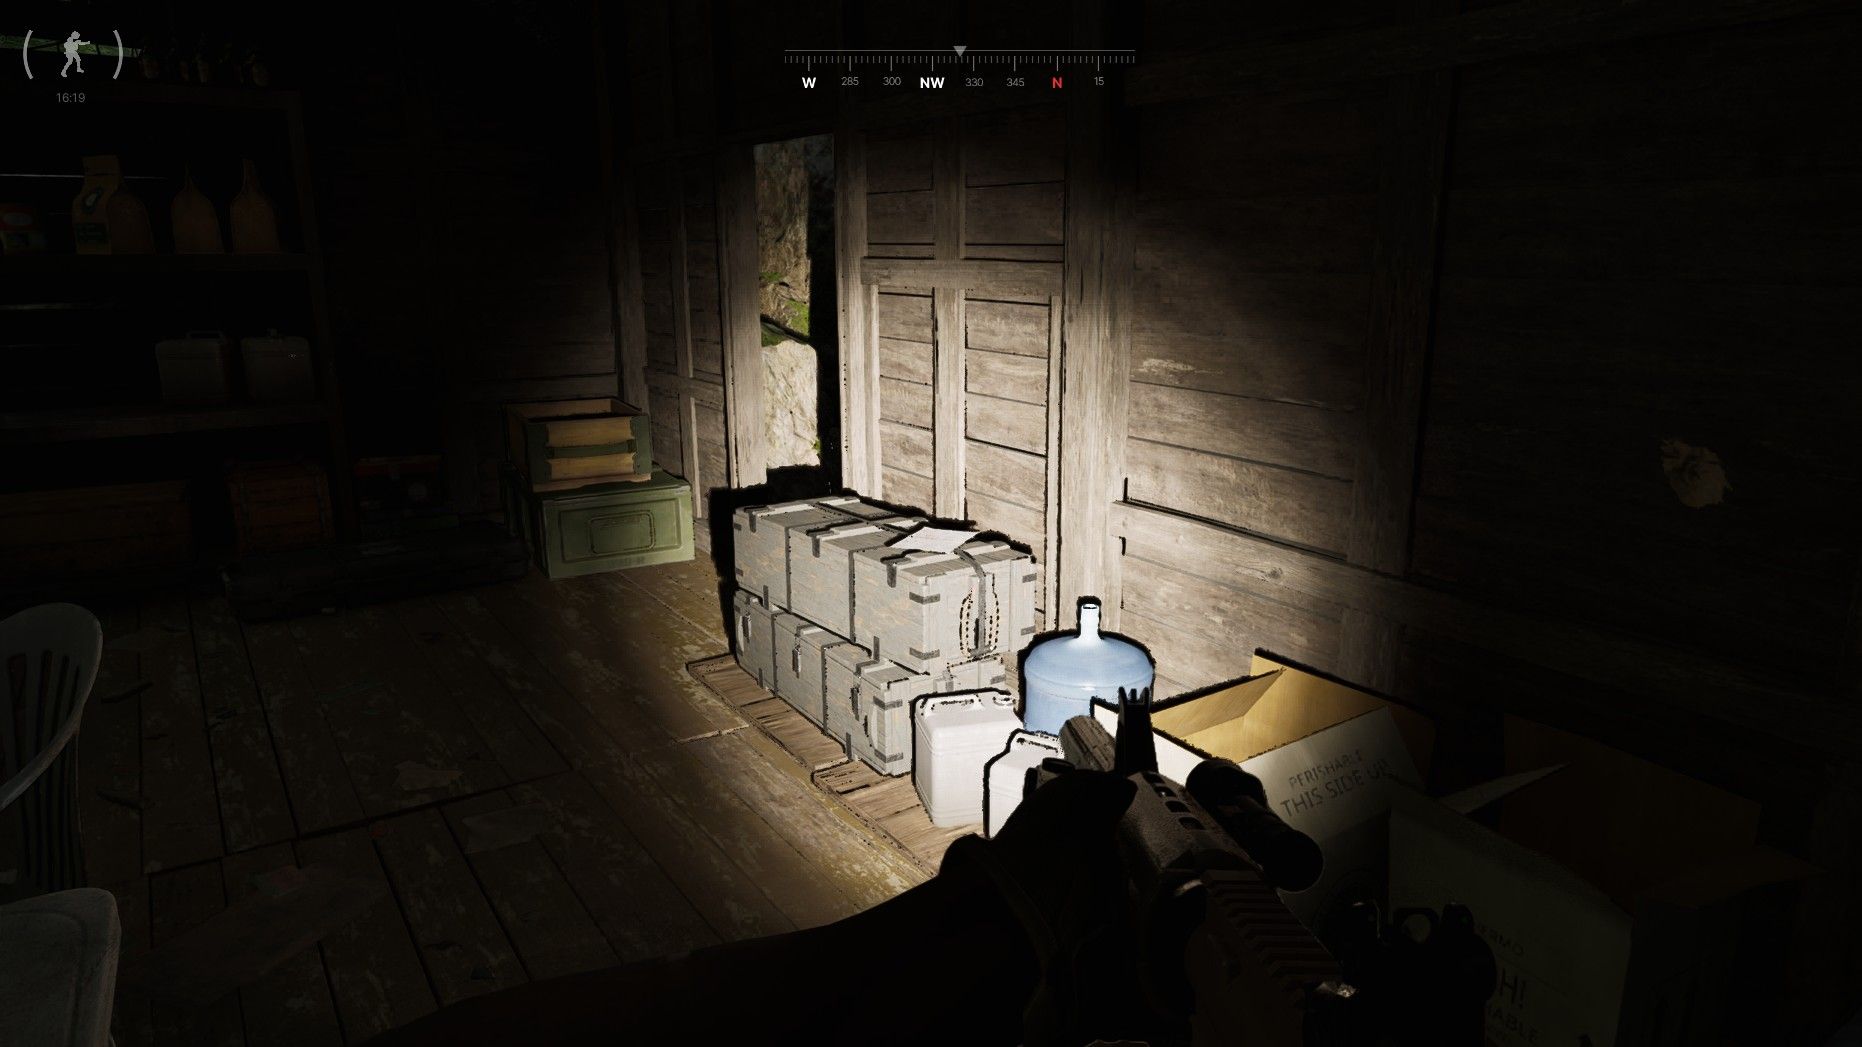
Once you’ve confirmed it’s safe, go inside the large shack and find a small note on top of the crates. It’s near the water jug and some cardboard boxes. Read the note to report it and finish the ‘In the Trenches’ quest in Gray Zone Warfare.
Read More
- All Skyblazer Armor Locations in Crimson Desert
- One Piece Chapter 1180 Release Date And Where To Read
- All Shadow Armor Locations in Crimson Desert
- How to Get the Sunset Reed Armor Set and Hollow Visage Sword in Crimson Desert
- Cassius Morten Armor Set Locations in Crimson Desert
- Grime 2 Map Unlock Guide: Find Seals & Fast Travel
- How to Beat Stonewalker Antiquum at the Gate of Truth in Crimson Desert
- All Golden Greed Armor Locations in Crimson Desert
- Euphoria Season 3 Release Date, Episode 1 Time, & Weekly Schedule
- Amber Alert Secrets & CDs In Crime Scene Cleaner Act 2
2026-04-13 00:40