In Spire, expect to die frequently. You’ll fall to regular enemies, unpredictable events, and especially the powerful bosses waiting at the end of each Act. It’s a game about learning through repeated attempts.
Were you already injured when you started? Did you overextend yourself by taking on too much, or maybe play too recklessly? Whatever happened, the bosses in Slay the Spire 2 are incredibly challenging and demand respect.
Climbing the Ascension ranks requires careful planning and strategy, because these bosses can quickly reset your progress. Let’s explore some of the toughest challenges and how to get ready for them.
This list is based on the Current Format. This does not include changes from the Beta Branch.
12. The Kin
3 Against 1? No Problem.
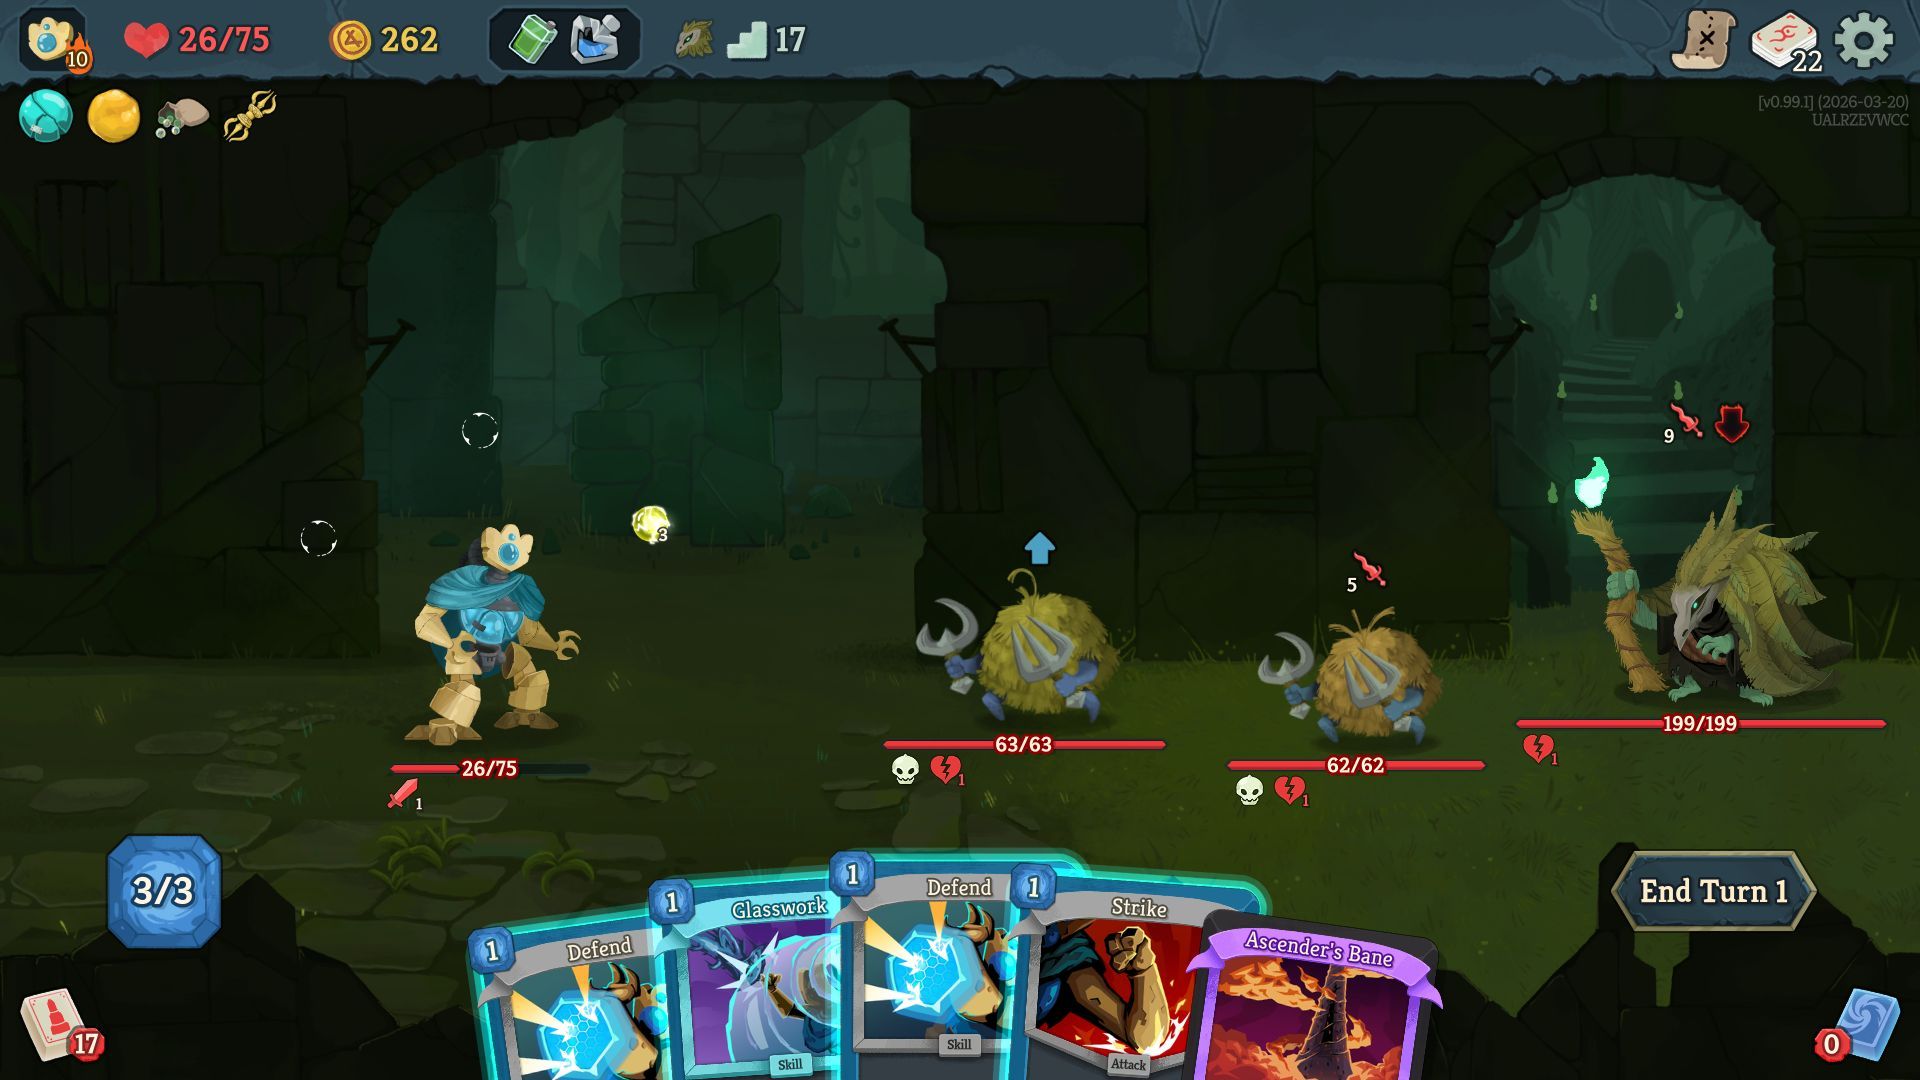
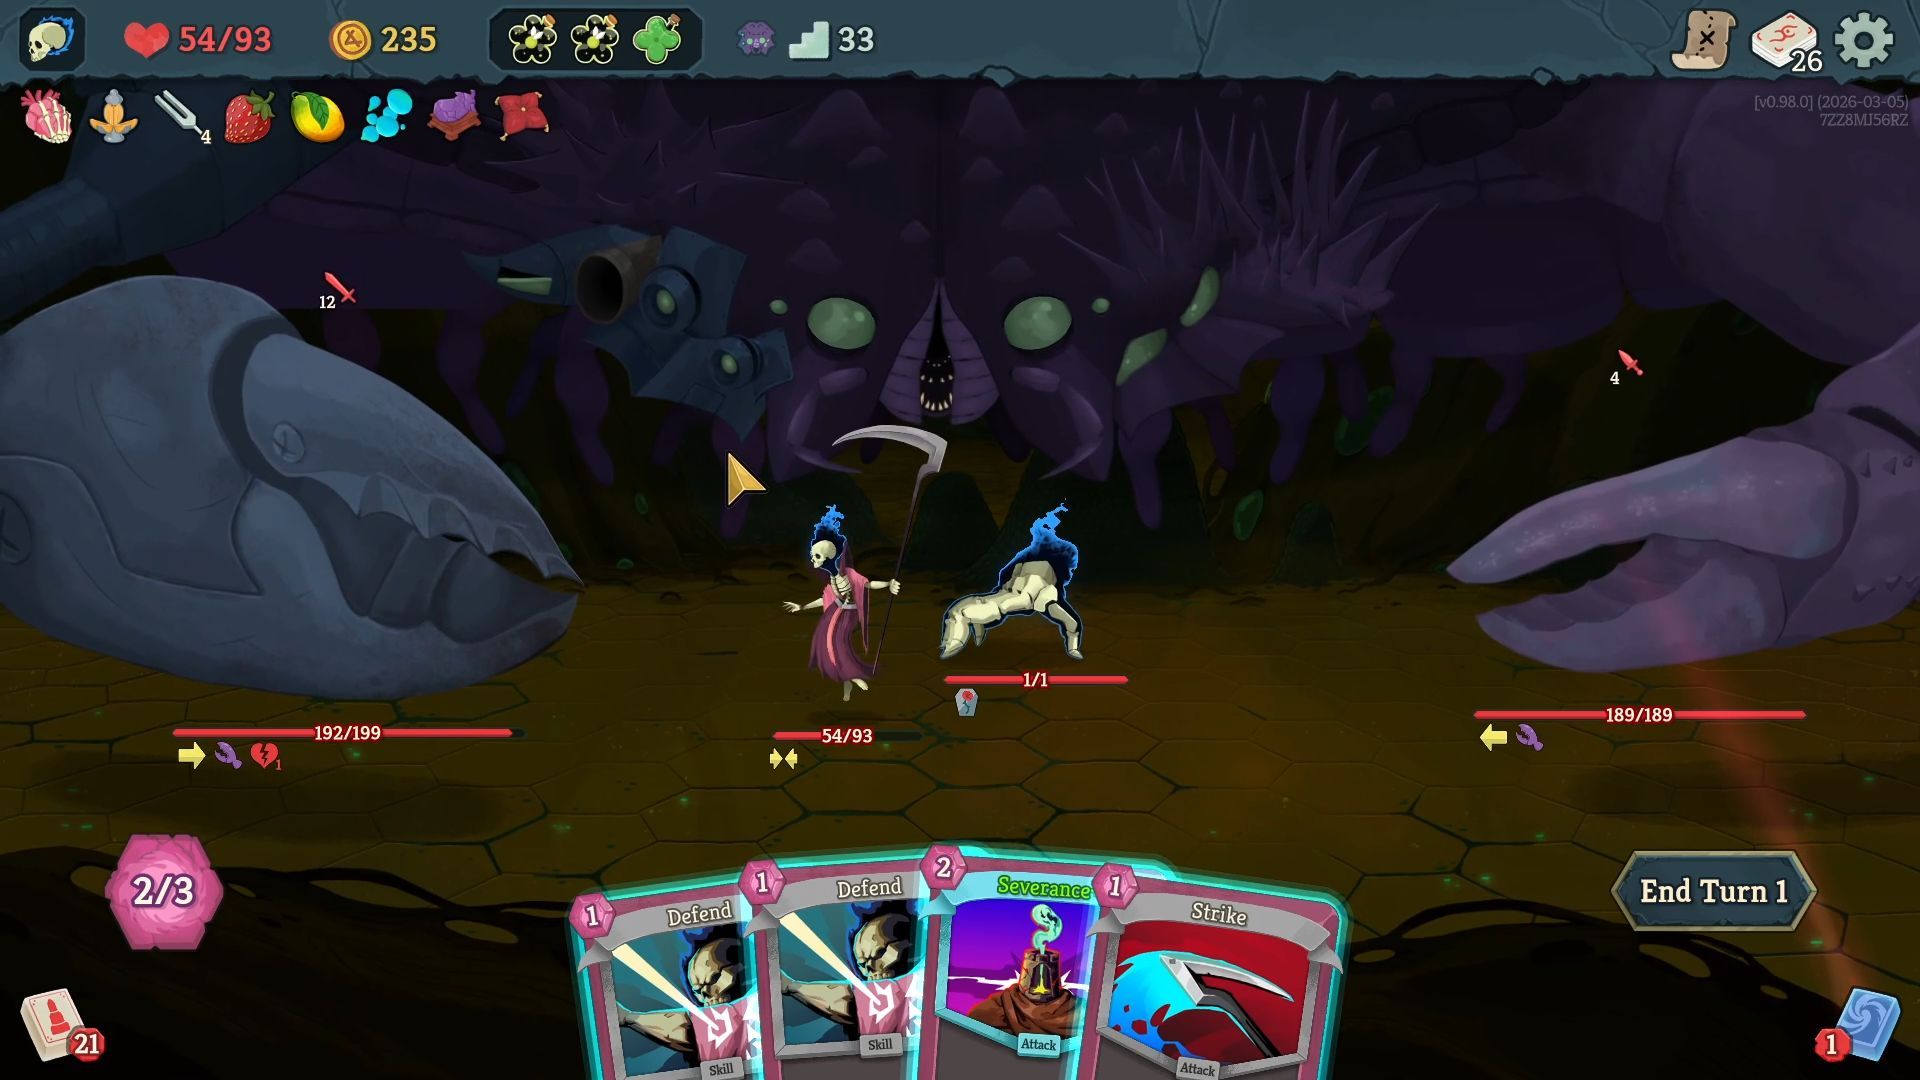
It’s surprisingly easier to fight three of The Kin at once than just one! Facing them for the first time, particularly when you’re new to climbing the spire, can be a little scary.
This boss is by far the easiest in Slay the Spire 2. You can win by either eliminating the smaller enemies first, then focusing on the main boss, or by quickly dealing a lot of damage directly to the boss. If you defeat the boss, all of its minions are instantly destroyed.
These enemies aren’t very strong and the smaller creatures are easily defeated. As long as you start the fight with a good amount of health, you should be able to handle either approach without a problem.
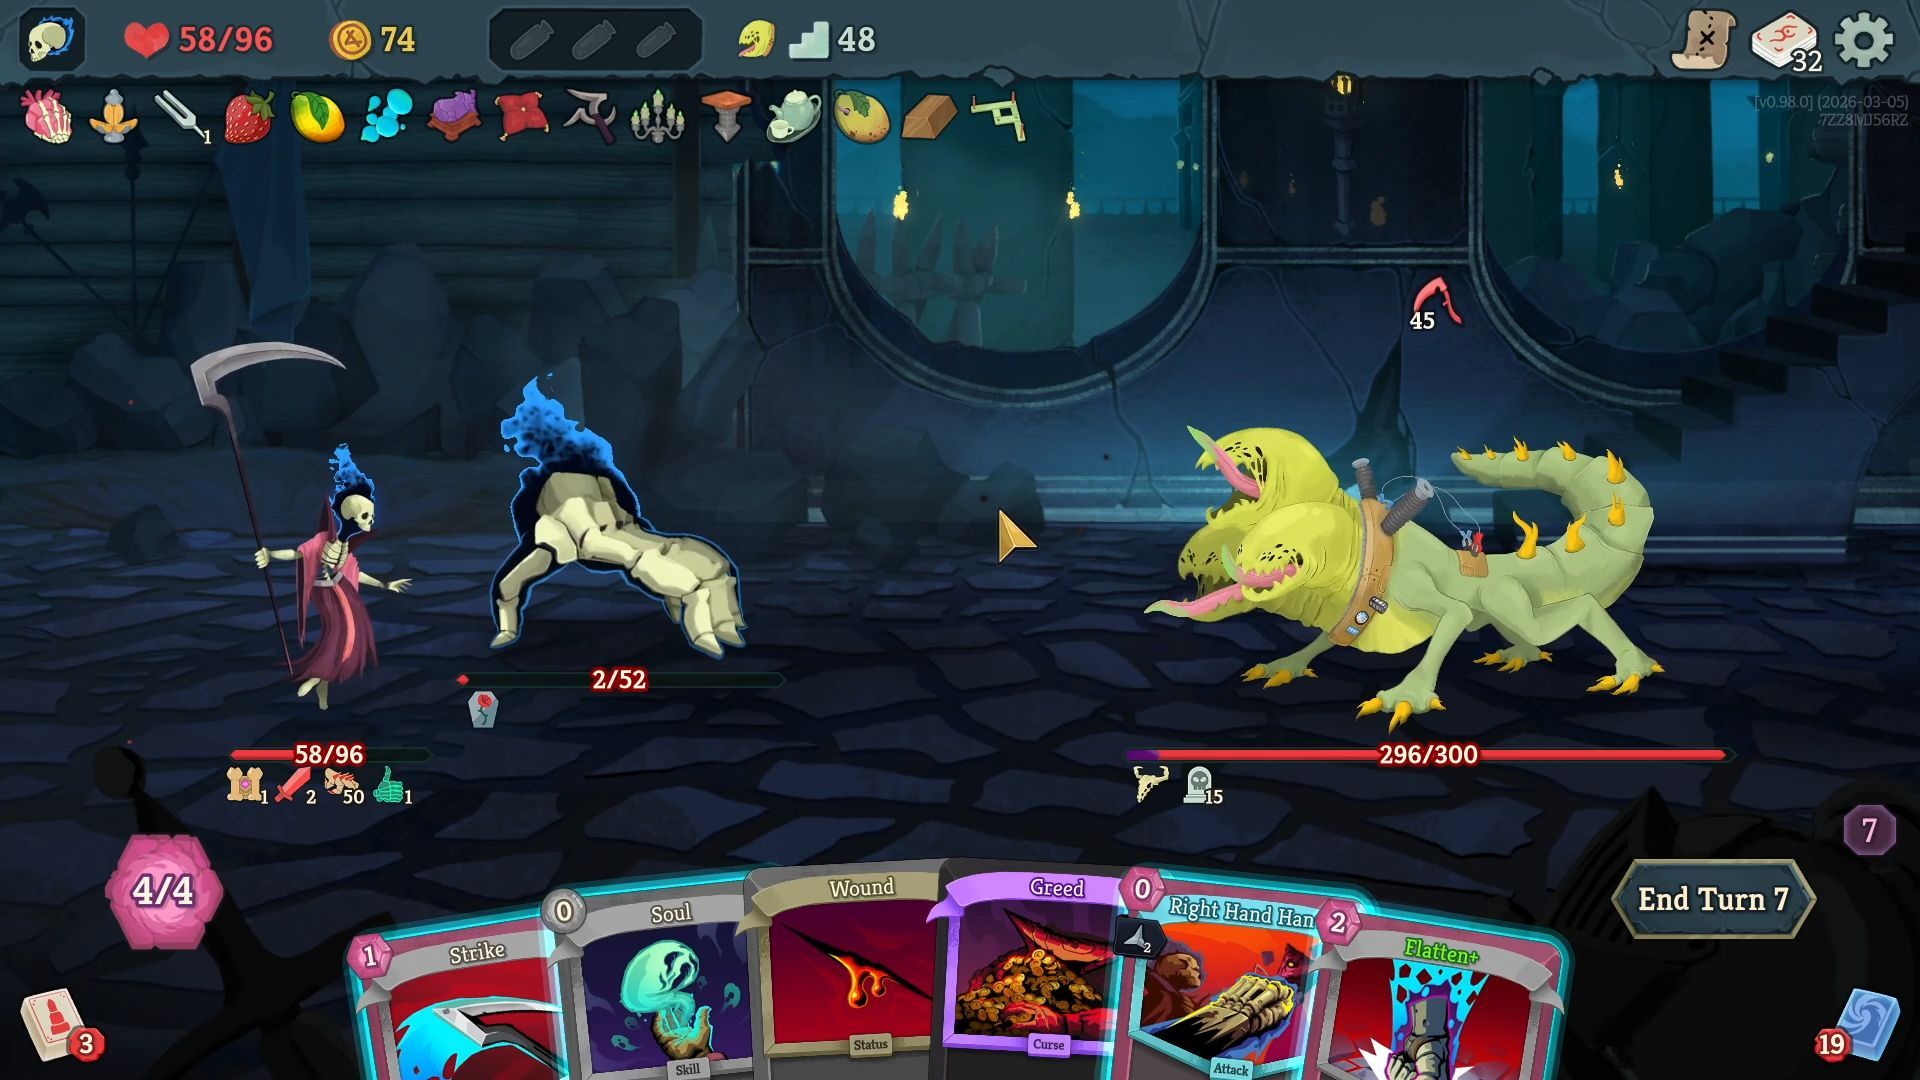
11. Lagavulin Matriarch
Deja Vu!
Players of Slay the Spire likely recall a particularly challenging version of one enemy – I personally found it even tougher than the final boss!
The Matriarch is fairly durable and can block attacks effectively, but you’re at an advantage. The battle starts with the boss asleep, giving you about three turns to prepare your cards before she wakes up.
It’s really important to use your free turns wisely in this fight – whether you’re waiting for a strong attack or building up your abilities. If you can accomplish a lot during those turns, the battle will be much easier.
10. Soul Fysh
The Eye is the Window to the Soul
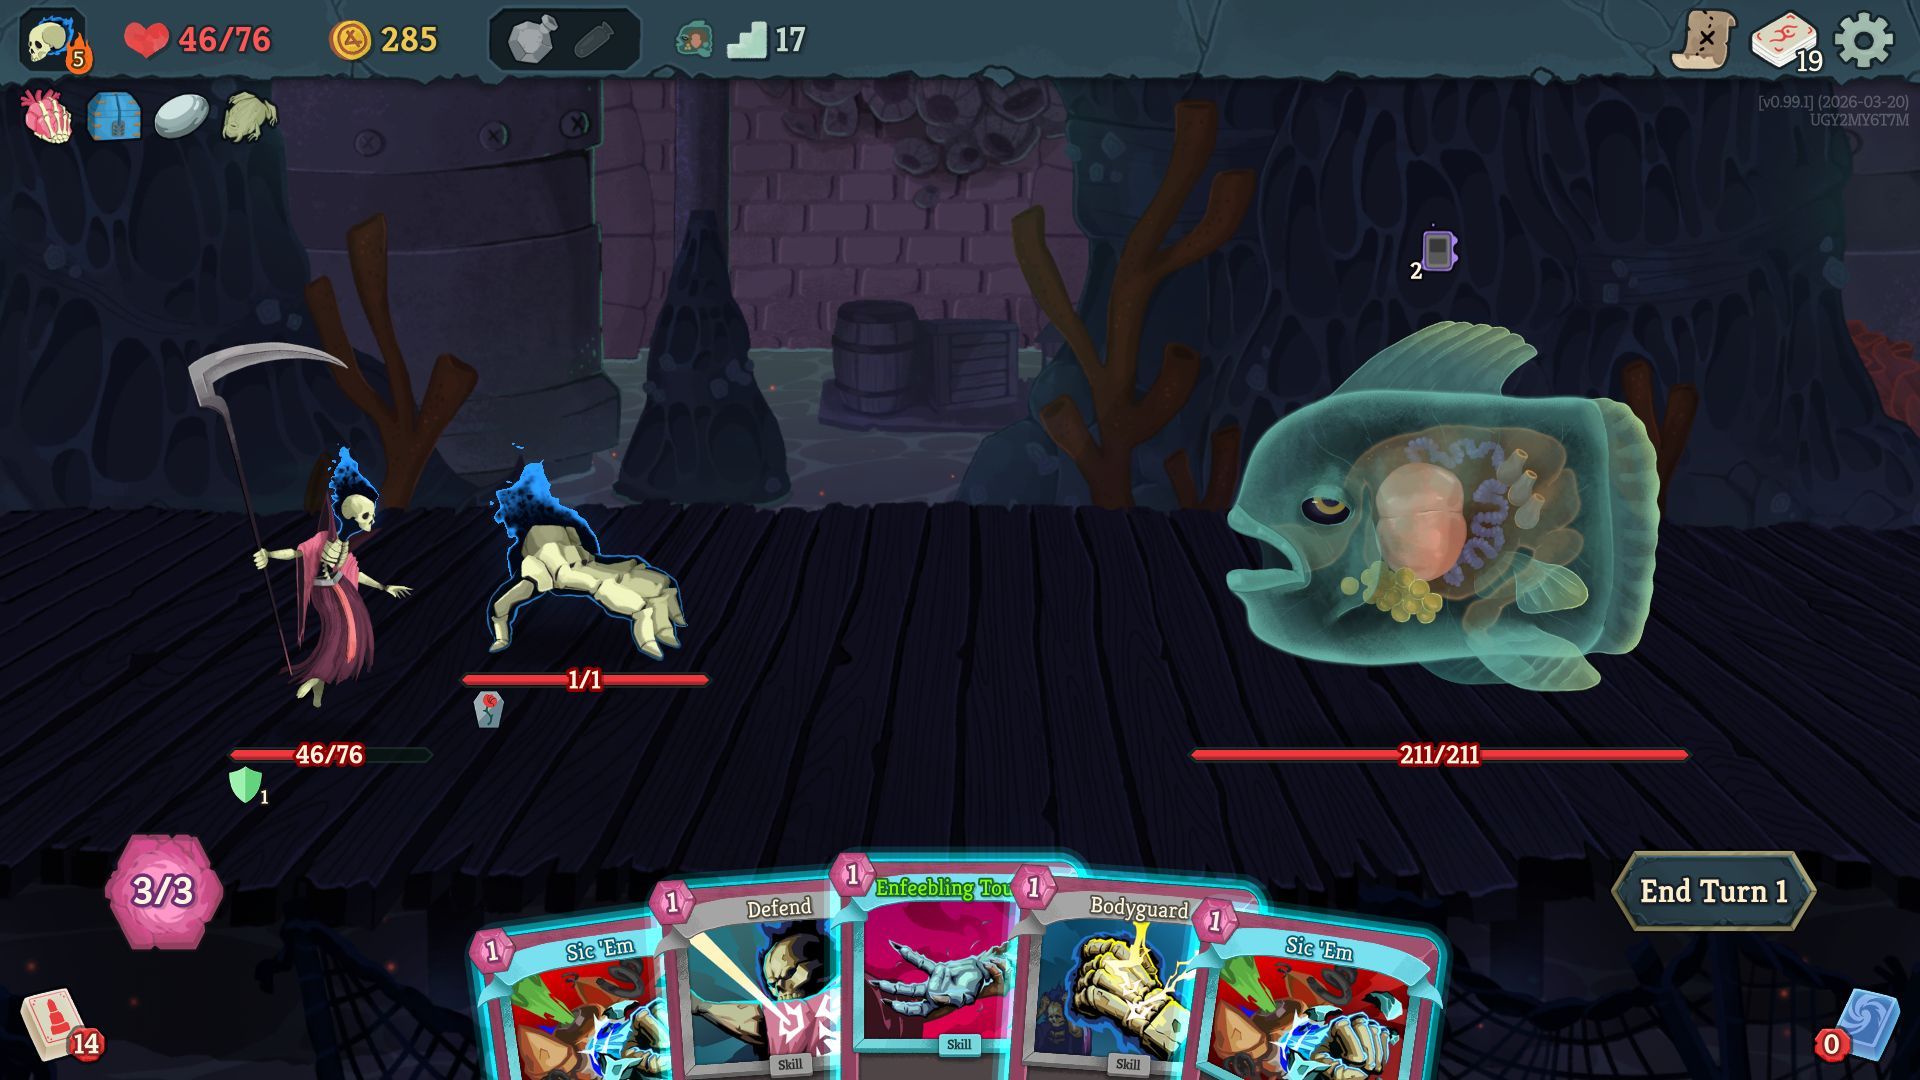
Soul Fysh can be a little complicated depending on your strategy, but how difficult it is to play really depends on the deck you’re using.
When you encounter the Fysh, you’ll receive Beckon cards that add to your hand. You can use these to prevent 6 damage, or discard them if you prefer. Most decks have ways to discard or remove cards from play, and the Ironclad especially excels at this. If you can consistently get rid of the Beckon cards, it’s like the Fysh’s ability doesn’t even affect you.
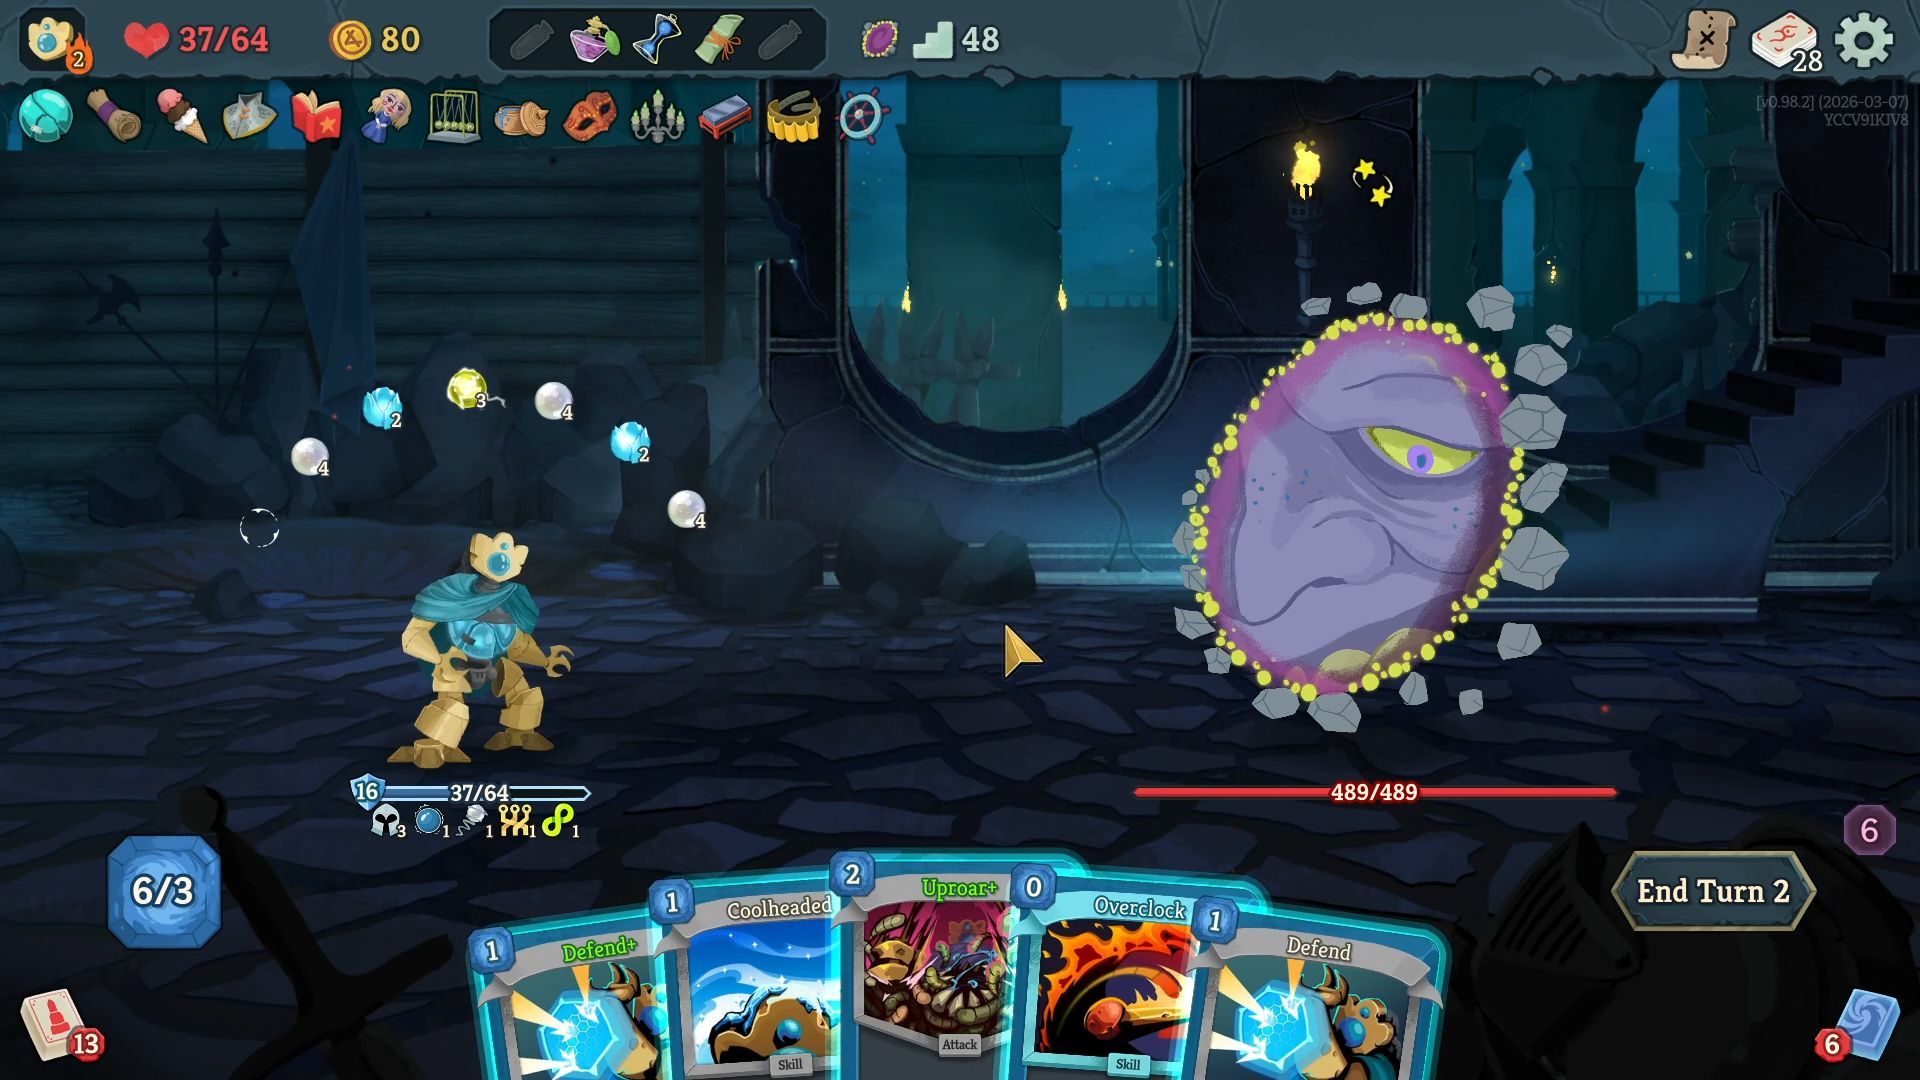
Sometimes, the Soul Fysh will become briefly invulnerable, reducing all damage it takes to just 1 point. However, this isn’t a major concern – prioritizing defense will handle it easily. The boss doesn’t have complicated attacks to avoid; the main challenge is the small amount of damage it deals consistently. Using cards that let you discard or block effectively will solve this problem.
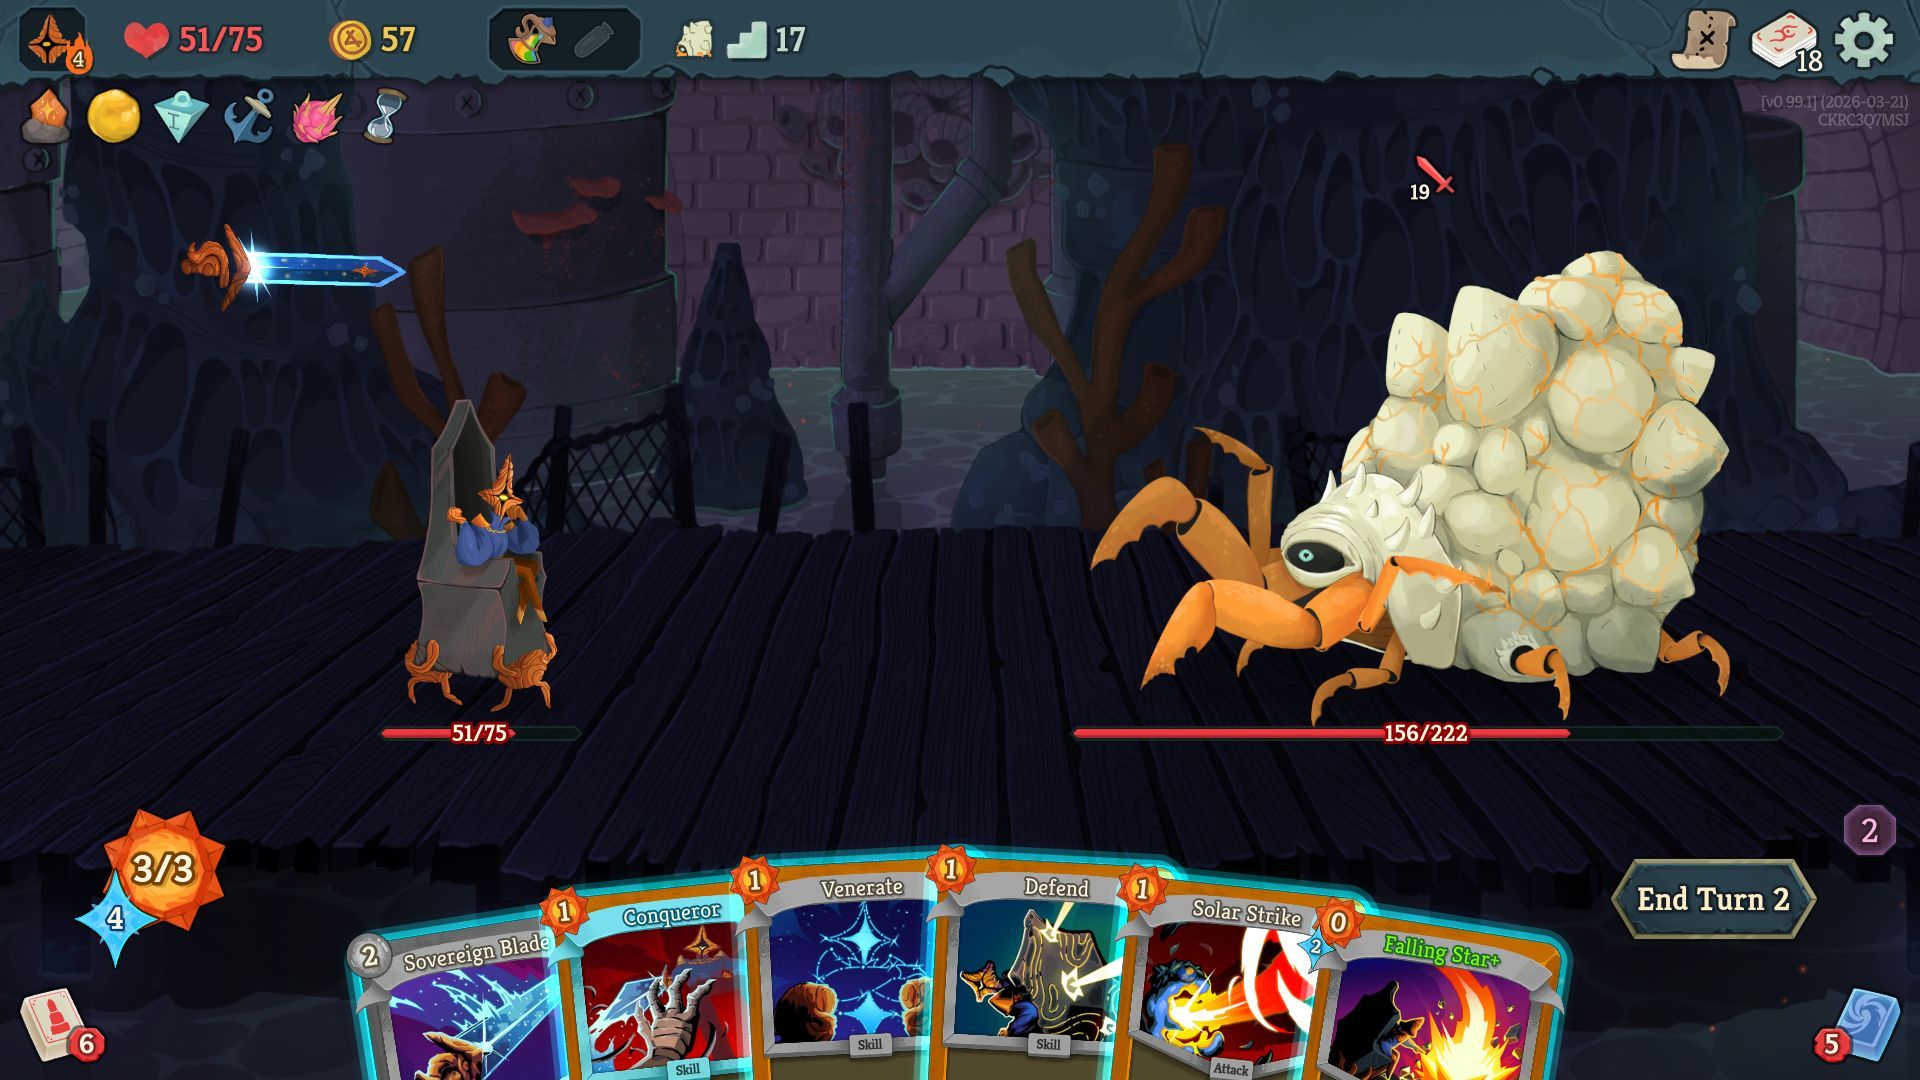
9. Kaiser Crab
Crab is Back on the Menu, Boys!
You’re right, I’m not only listing Act 1 bosses at the end. While Kaiser Crab definitely looks intimidating, players who have tackled Act 4’s double enemy fights before the Heart will likely find this battle quite easy.
You’ll need to fight this crab from both its left and right sides. If you position yourself directly facing one of its arms, the attacks from that arm will be weaker. While this boss has strong attacks, like its rocket claw, you can manage the battle by moving between sides.
Okay, so this fight? Honestly, it’s pretty easy if you’ve got a good stack of cards that block damage and a way to make your enemies Weak. Once you’ve got those two things covered, you’re golden!
8. Ceremonial Beast
Xerneas, Is That You?
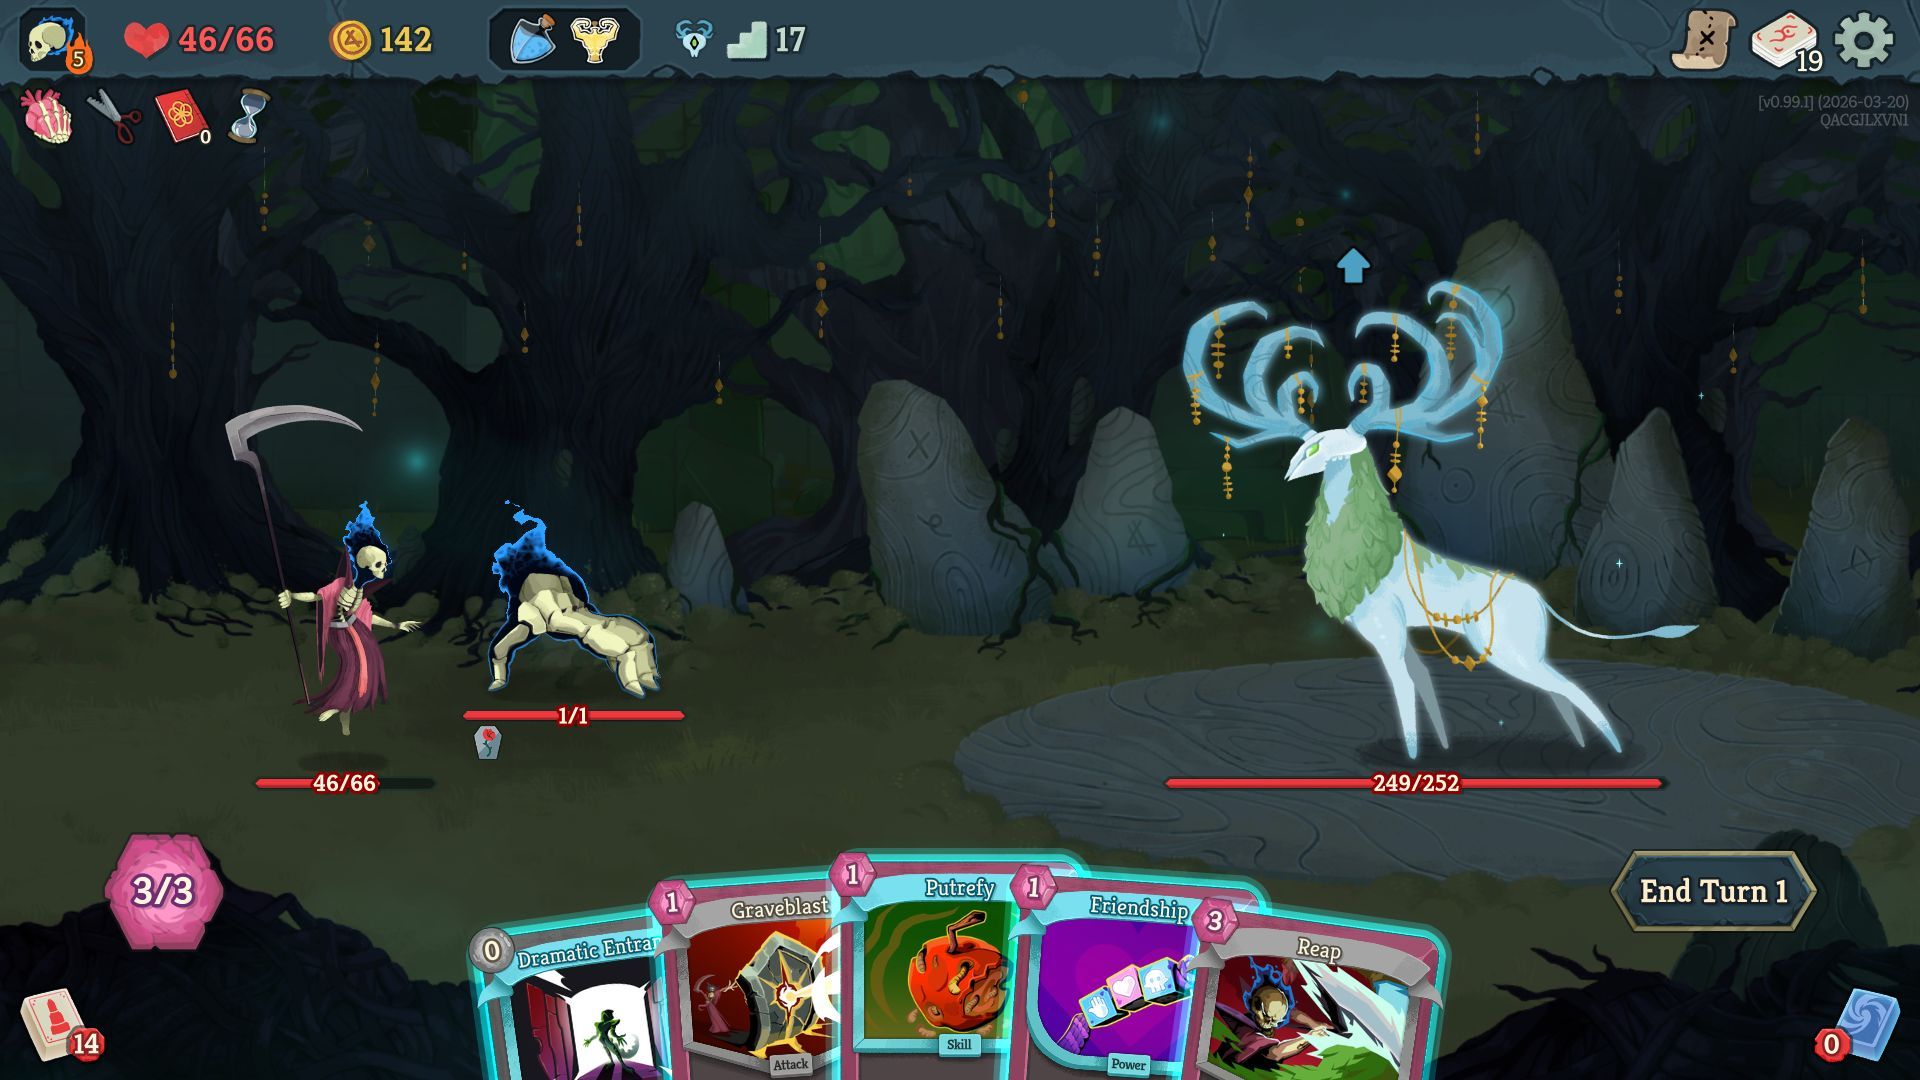
The Ceremonial Beast can be tricky to defeat because it’s well-rounded. It has a good amount of health, its damage increases over time, and it can also restrict how many actions you can take on your turn.
Don’t spend too much time preparing at the start of this fight, or you’ll be overwhelmed by the enemies’ attacks, which get stronger as the phase goes on.
Okay, so even if you’ve built a deck that can deal a lot of damage quickly, phase two of this boss is rough. Some of their attacks apply this ‘Ringing’ effect, and that basically limits you to playing only one card per turn. It’s super annoying because it forces you to take damage and completely shuts down any combo-heavy decks. Honestly, this boss is a real challenge in Act 1.
7. Vantom
This is One Slippery Fellow
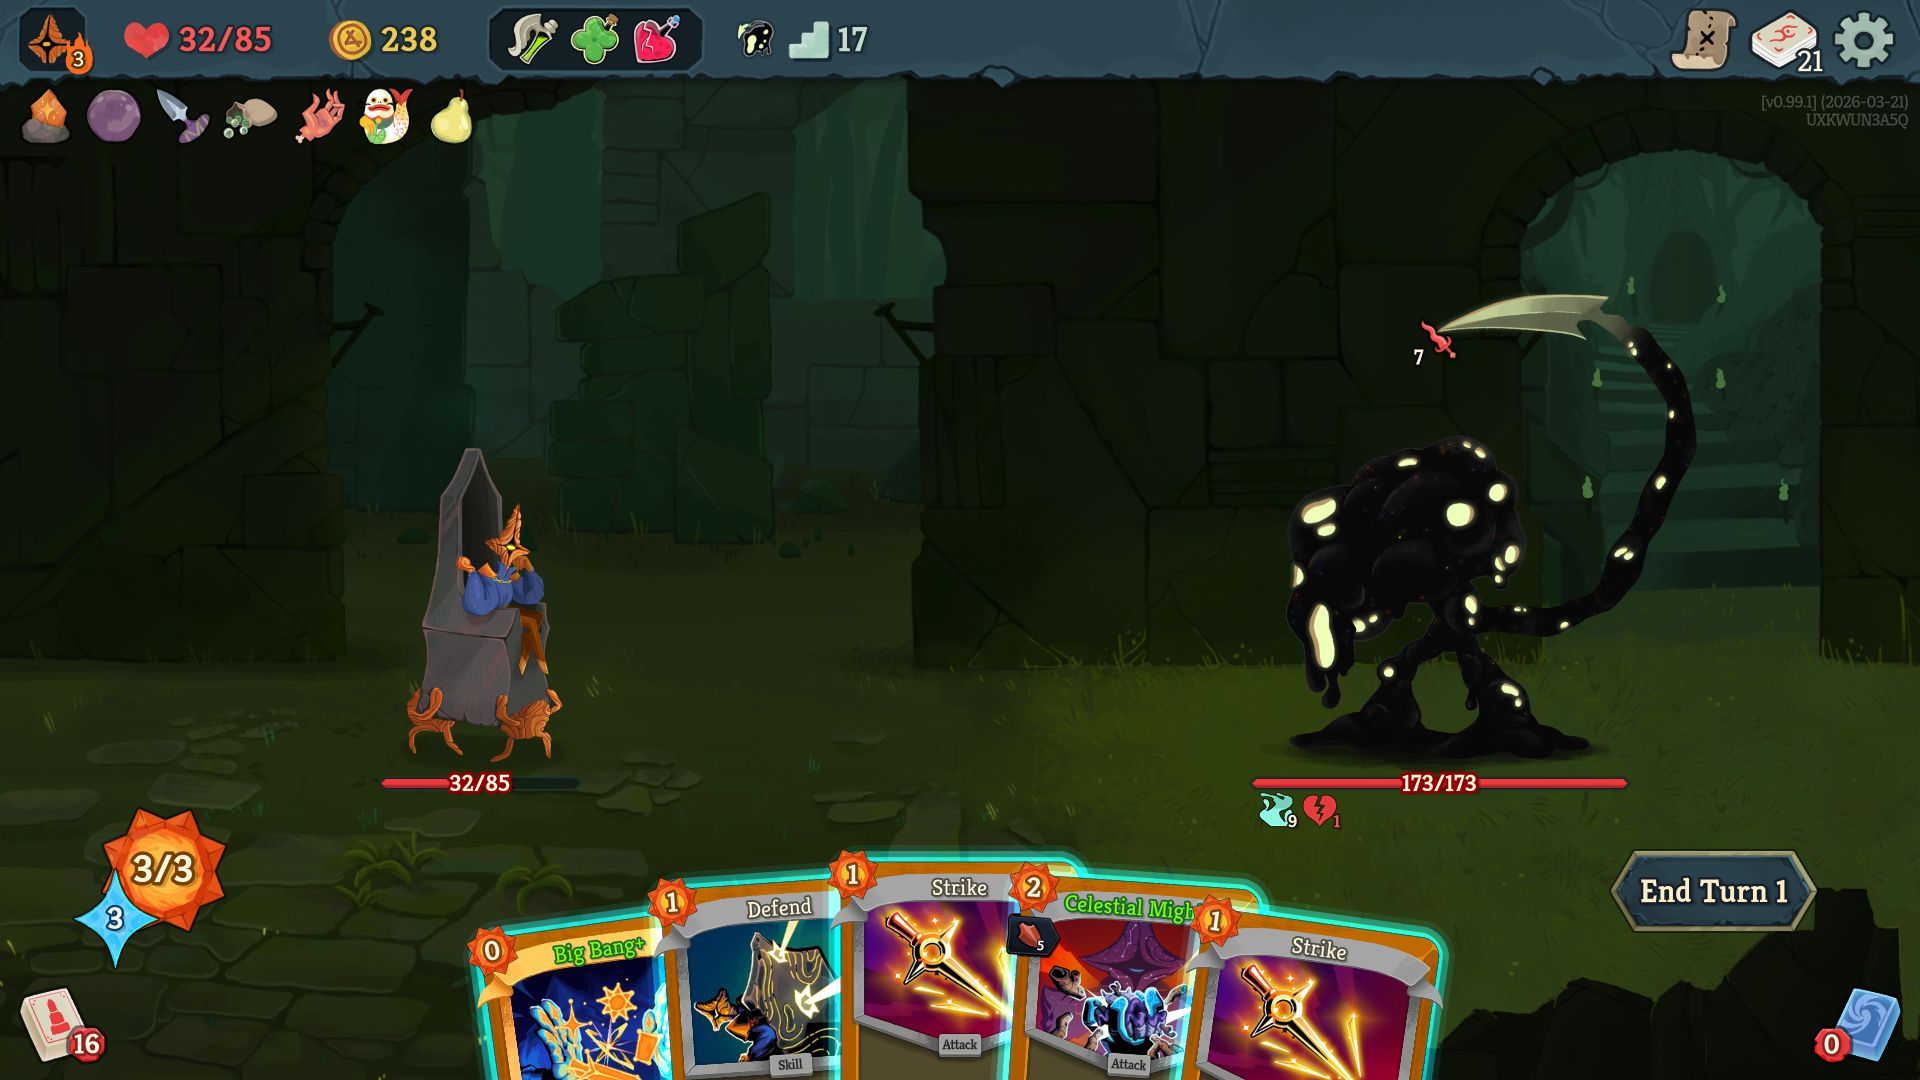
Okay, so I’ve fought Vantom a bunch, and honestly, it’s way easier than it looks! It always does the same three attacks in a row. The main thing to watch out for is when it swings its tail down from above – it does that every time, but because it’s predictable, you can easily dodge it once you learn the pattern.
Okay, so that last attack this boss does is annoying, but honestly, it’s not the biggest problem. The real pain is Vantom starts the fight with this ability called Slippery – think of it like being able to phase through attacks, and he has nine ‘charges’ of it. Basically, you have to hit him nine times just to even start doing damage. It’s super frustrating!
If your strategy relies on quickly dealing damage with powerful, expensive attacks, this enemy can be a problem. By the time you manage to remove his defenses, you’ve likely already suffered a major attack, and your hand will be filled with negative effects, making it harder to draw the cards you need.
6. The Doormaker
All Bark and no Bite!
It seems odd to rank this Act 3 boss so low, but honestly, it’s much easier than the others at that stage of the game right now.
This boss is essentially a damage sponge – it’s more about how much damage your team can deal quickly than any complex strategy. If your team has strong burst damage, you should only need to deal with its second phase once or twice at most.
Plus, the boss retains any negative effects applied to it even after teleporting back, meaning strategies like using Poison or Doom can still be effective. While this is a unique approach, it’s generally considered easier than the other two bosses.
5. The Insatiable
Arrakis Wants Its Worms Back!
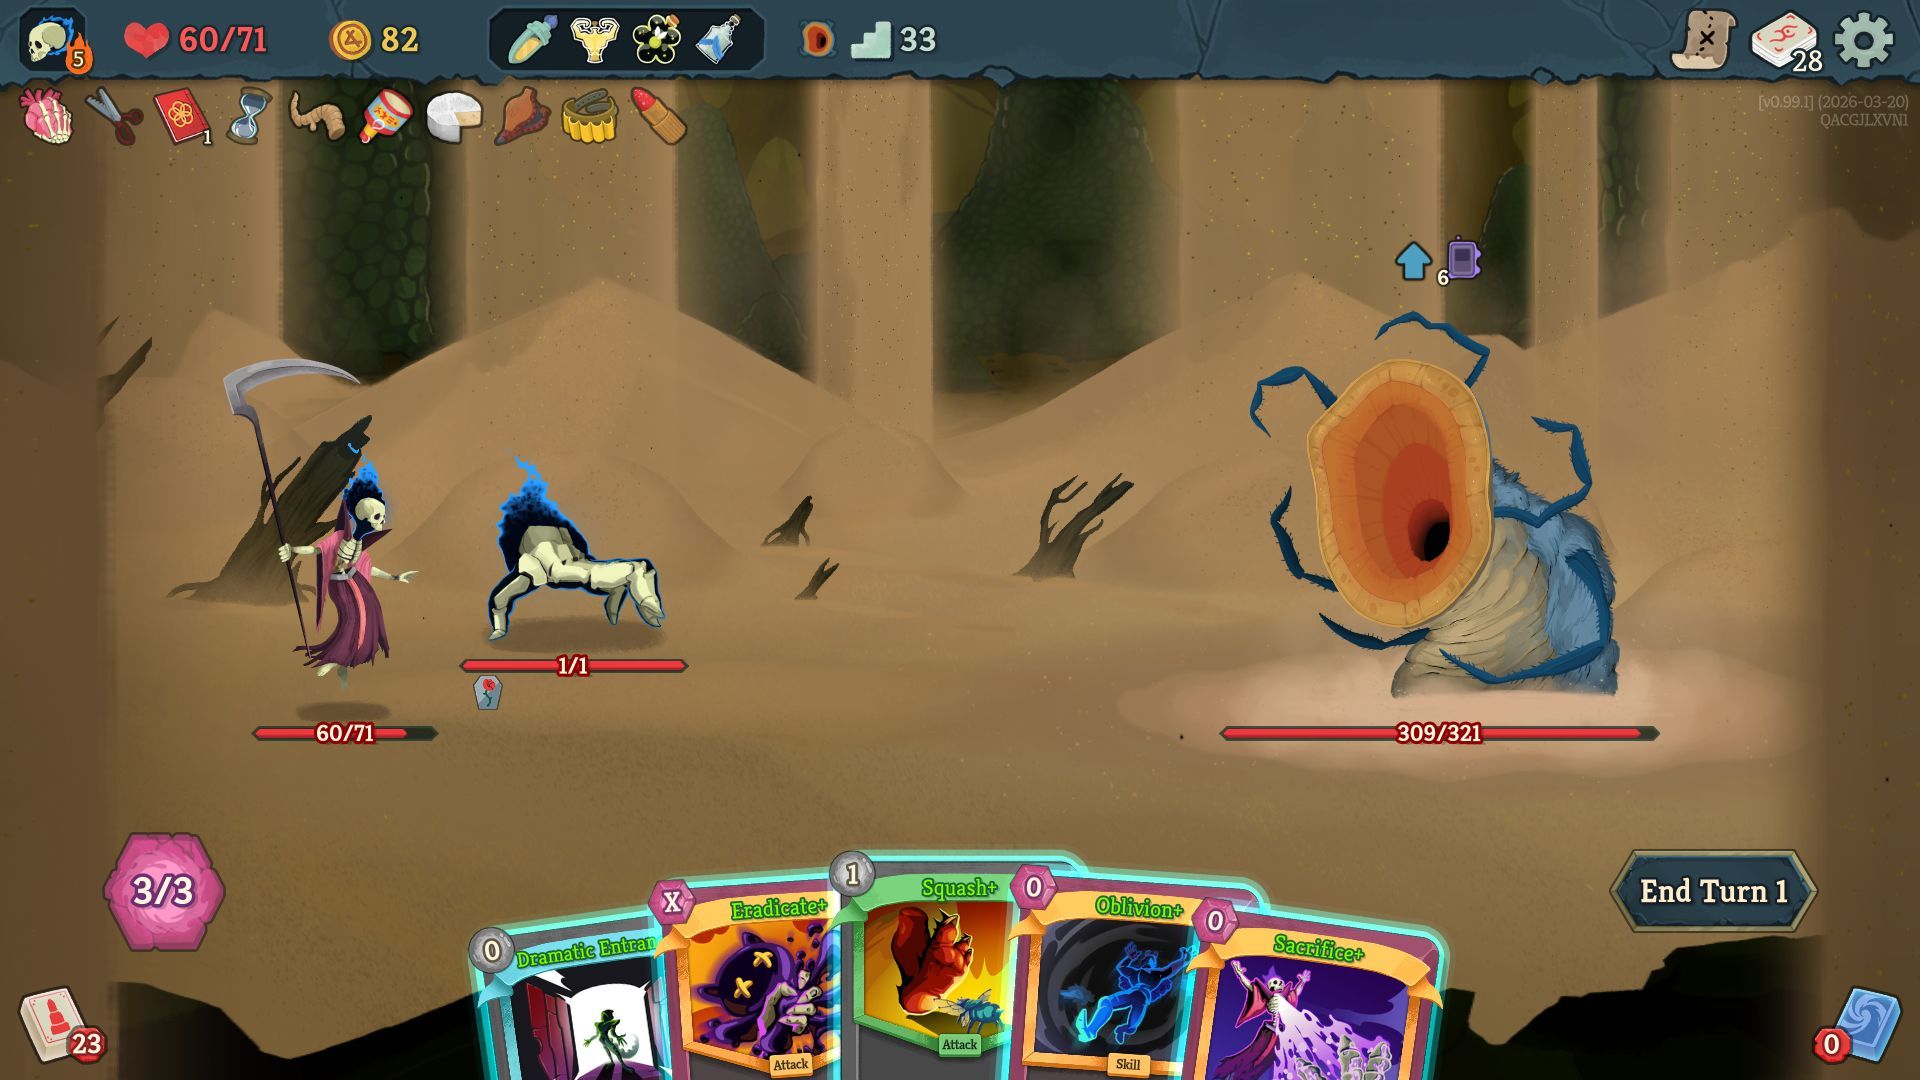
I remember being really scared when I first encountered this boss in Act 2. It’s a huge sandworm that can defeat you with a single attack!
Subscribe for deeper Slay the Spire 2 boss breakdowns
Okay, so this boss can seem super intimidating, but honestly, with a little smart energy management, it’s totally manageable. It throws a lot of these ‘gift’ cards at you that basically protect you from getting pulled into its attack. They get stronger the more you use them, and trust me, you need to use them if you want to survive!
This boss isn’t very tough offensively, so just play your usual strategy and use a couple of Frantic Escapes when needed. If you can build up extra energy and weaken it, you should have no problem.
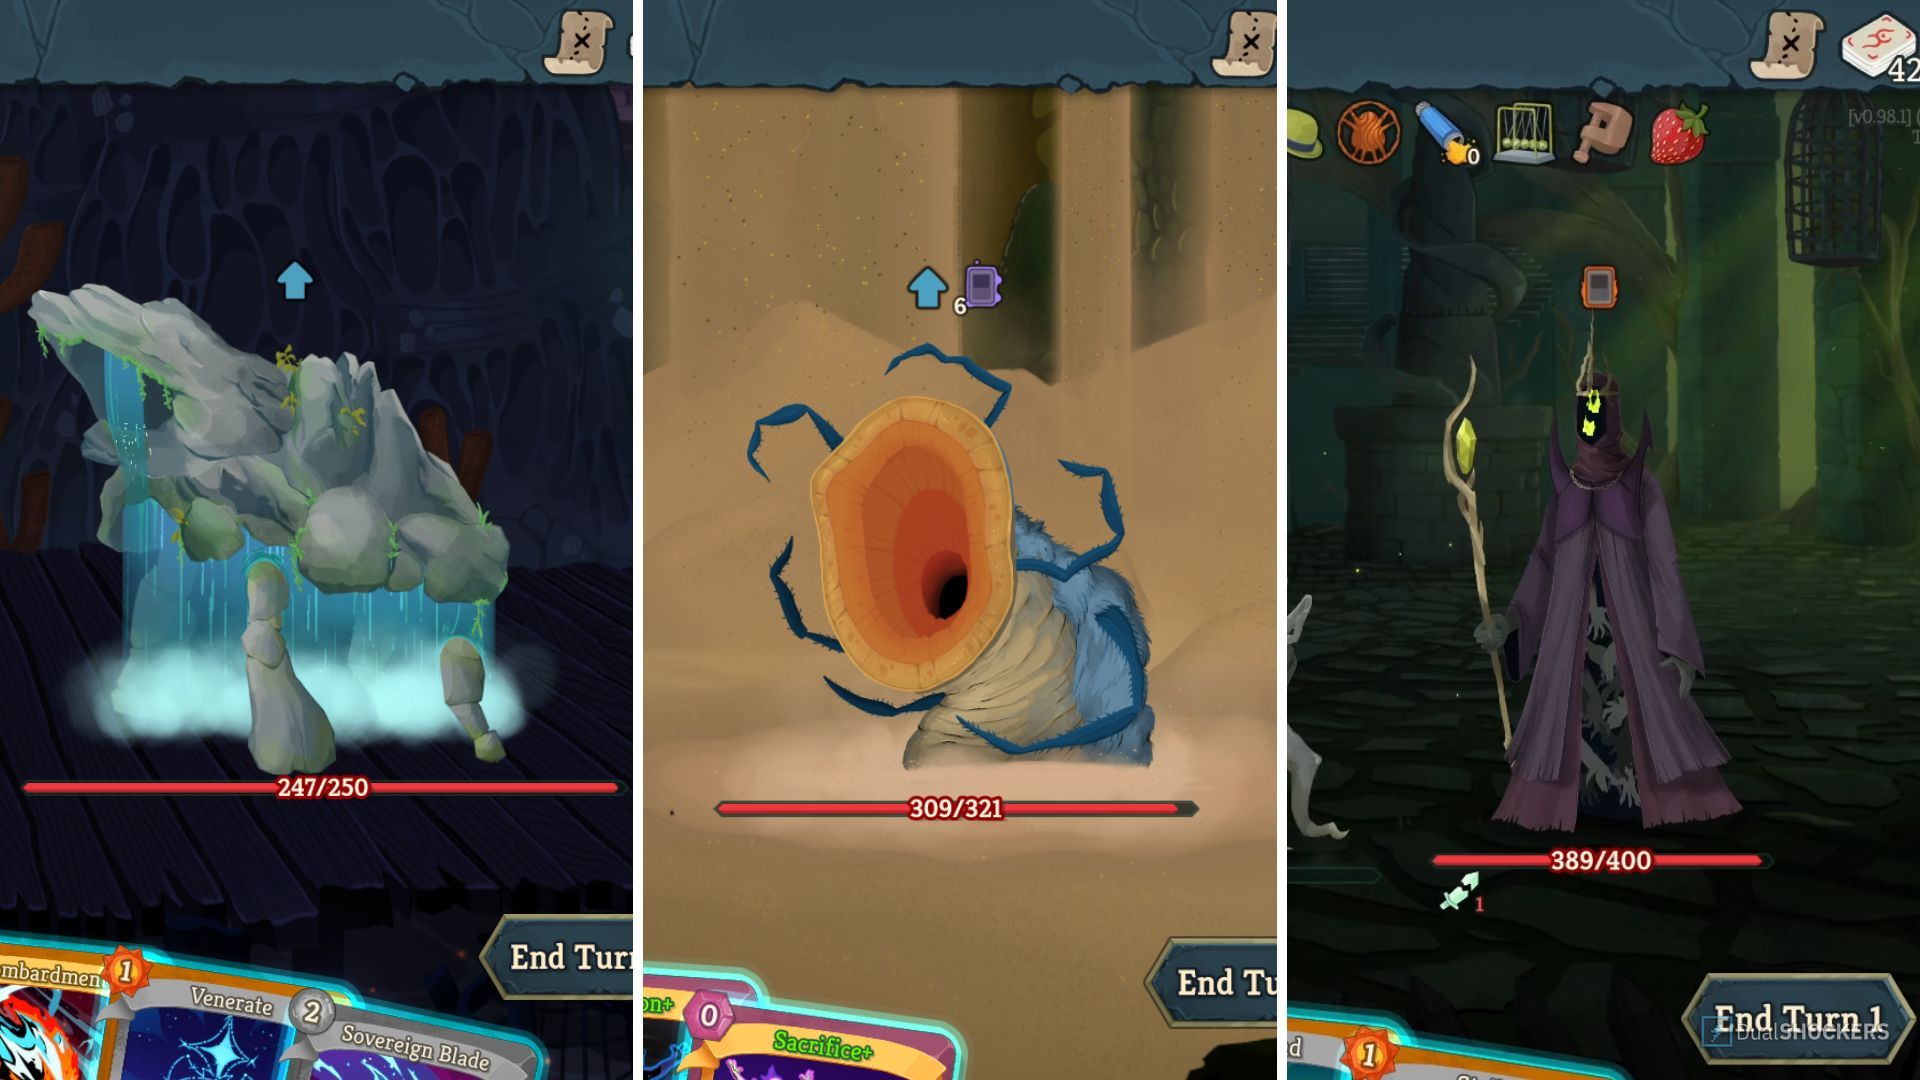
4. Waterfall Giant
It’s Not Over, ‘til it’s Over!
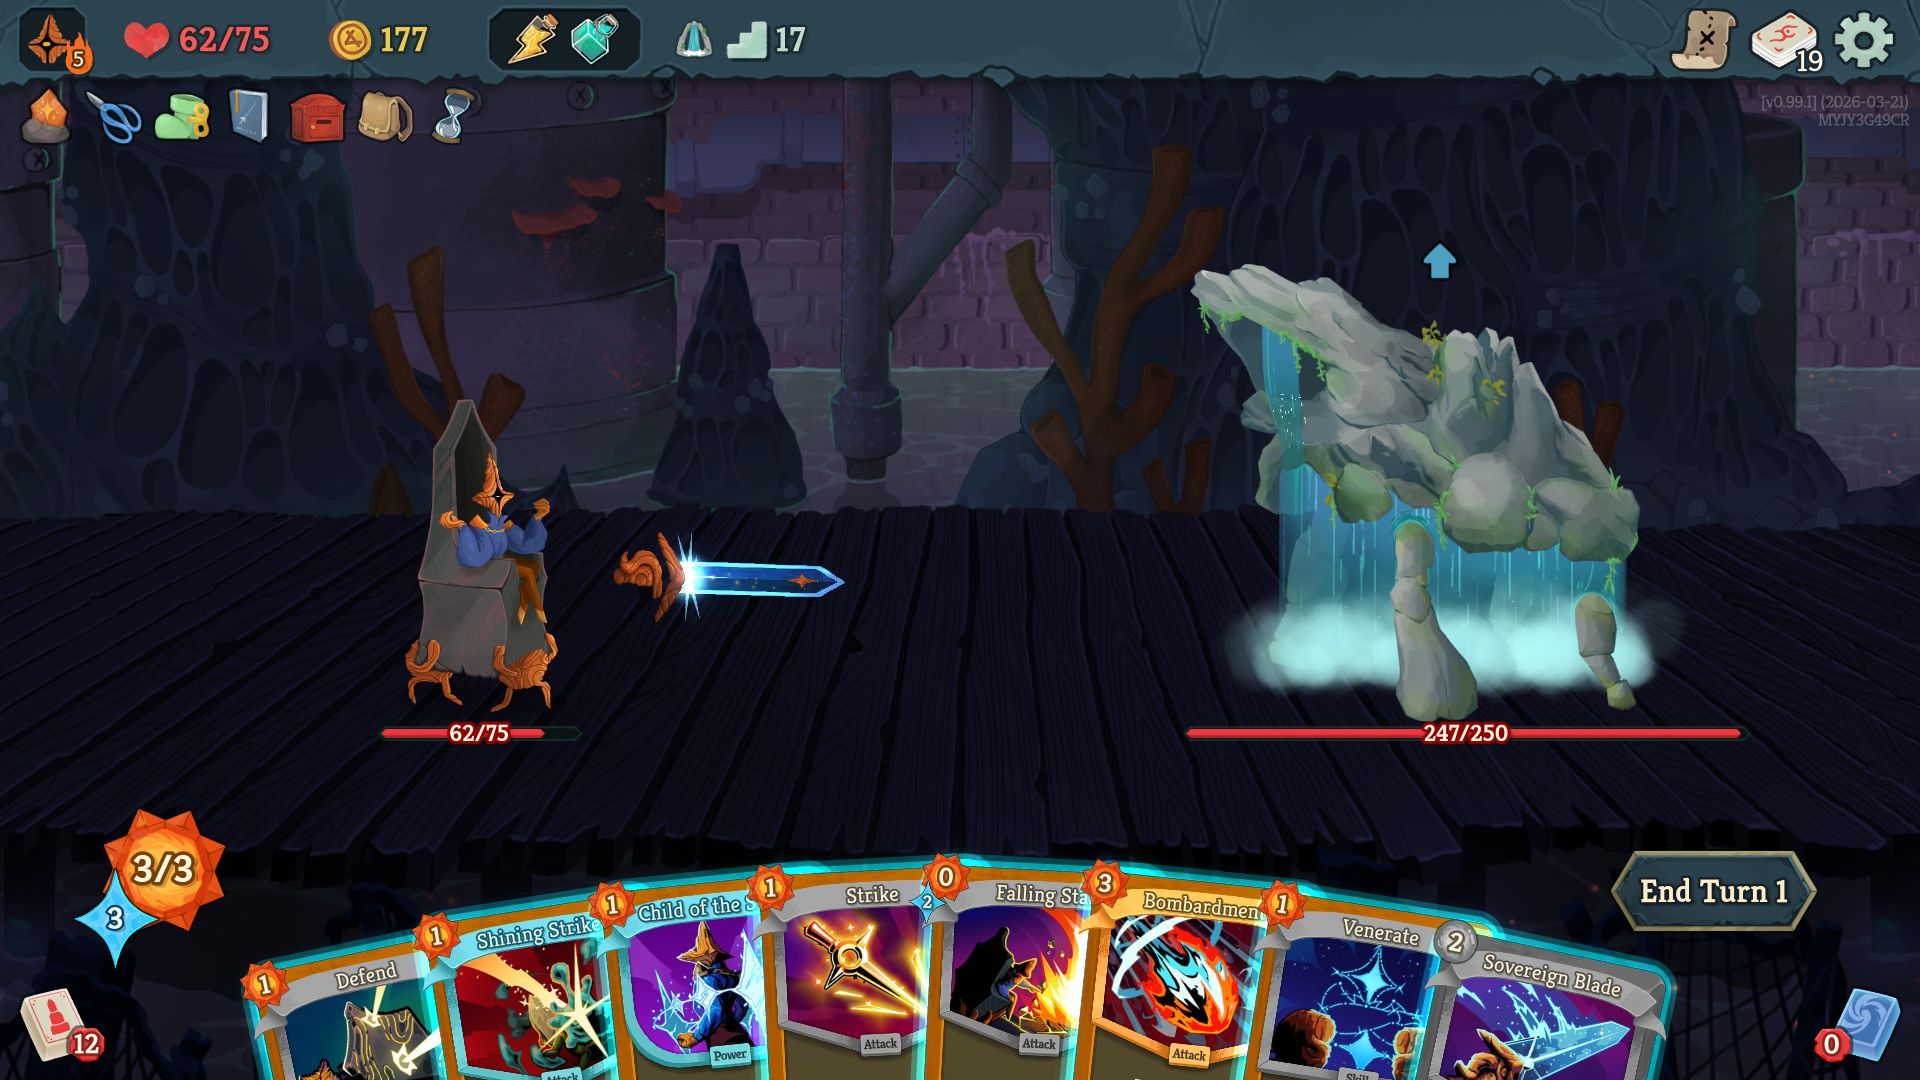
This Act 1 boss is easily the one I dislike fighting the most, and there’s a good reason why. Maybe it’s just how I prefer to play, but I usually lose Act 1 runs at higher difficulties because of this enemy.
The Waterfall Giant battle is much easier if you start with a lot of health, which can be tricky for me. I focus on keeping my health high for the final moments, so I tend to upgrade my cards at rest stops and take some risks during gameplay.
The Waterfall Giant isn’t too dangerous throughout most of the fight, but its final attack is a problem. It gradually charges up a powerful eruption, and when you defeat it, it explodes. This explosion deals damage equal to the amount of charge it built up, potentially reaching 30-40 damage. You can try to block it, but if you’re already hurt, the explosion will likely finish you off.
3. Test Subject
Back to the Lab with you, Beast!
This battle is quite challenging. It has three stages, each with increasing health – starting at 100 HP and rising to a total of 600. What makes it difficult is that each new stage resets the enemy, removing any weakening effects you’ve applied. This adds an extra layer of complexity to the fight.
Okay, so this boss gets really tough when you combine Enrage, Painful Stabs, and especially Intangible. Seriously, that third phase is brutal! If you can’t handle the Intangible part and protect yourself, you’ll be wiped out super quickly. And honestly? If you happen to play all your best attack cards at the wrong time, you’re pretty much done for. It’s a tough fight, and timing is everything!
To succeed, you’ll need plenty of cards that let you draw more, and a reliable way to generate energy each turn. Without both of those, you’ll quickly find yourself with nothing to do, and your attempt will end very quickly.
Read More
- Genshin Impact Dev Teases New Open-World MMO With Realistic Graphics
- The Limits of Thought: Can We Compress Reasoning in AI?
- Sega Reveals Official Sonic Timeline: From Prehistoric to Modern Era
- Where to Pack and Sell Trade Goods in Crimson Desert
- ARC Raiders Boss Defends Controversial AI Usage
- Top 10 Must-Watch Isekai Anime on Crunchyroll Revealed!
- Who Can You Romance In GreedFall 2: The Dying World?
- Best Build for Operator in Risk of Rain 2 Alloyed Collective
- Gold Rate Forecast
- Top 8 UFC 5 Perks Every Fighter Should Use
2026-03-23 18:43