Once you finish the tutorial and first chapter of Ninja Gaiden 4, the story continues immediately in the second chapter, Haunted District. You’ll have already destroyed two of the four Pylons in Sky City Tokyo, and your next goal is to take down the third. This guide offers a complete walkthrough for Haunted District, showing you how to complete every objective and find all the chests and collectibles.
Chapter 2 Complete Walkthrough Part 1 – Ninja Gaiden 4
Run the Rails and DarkNest Terminal 1:
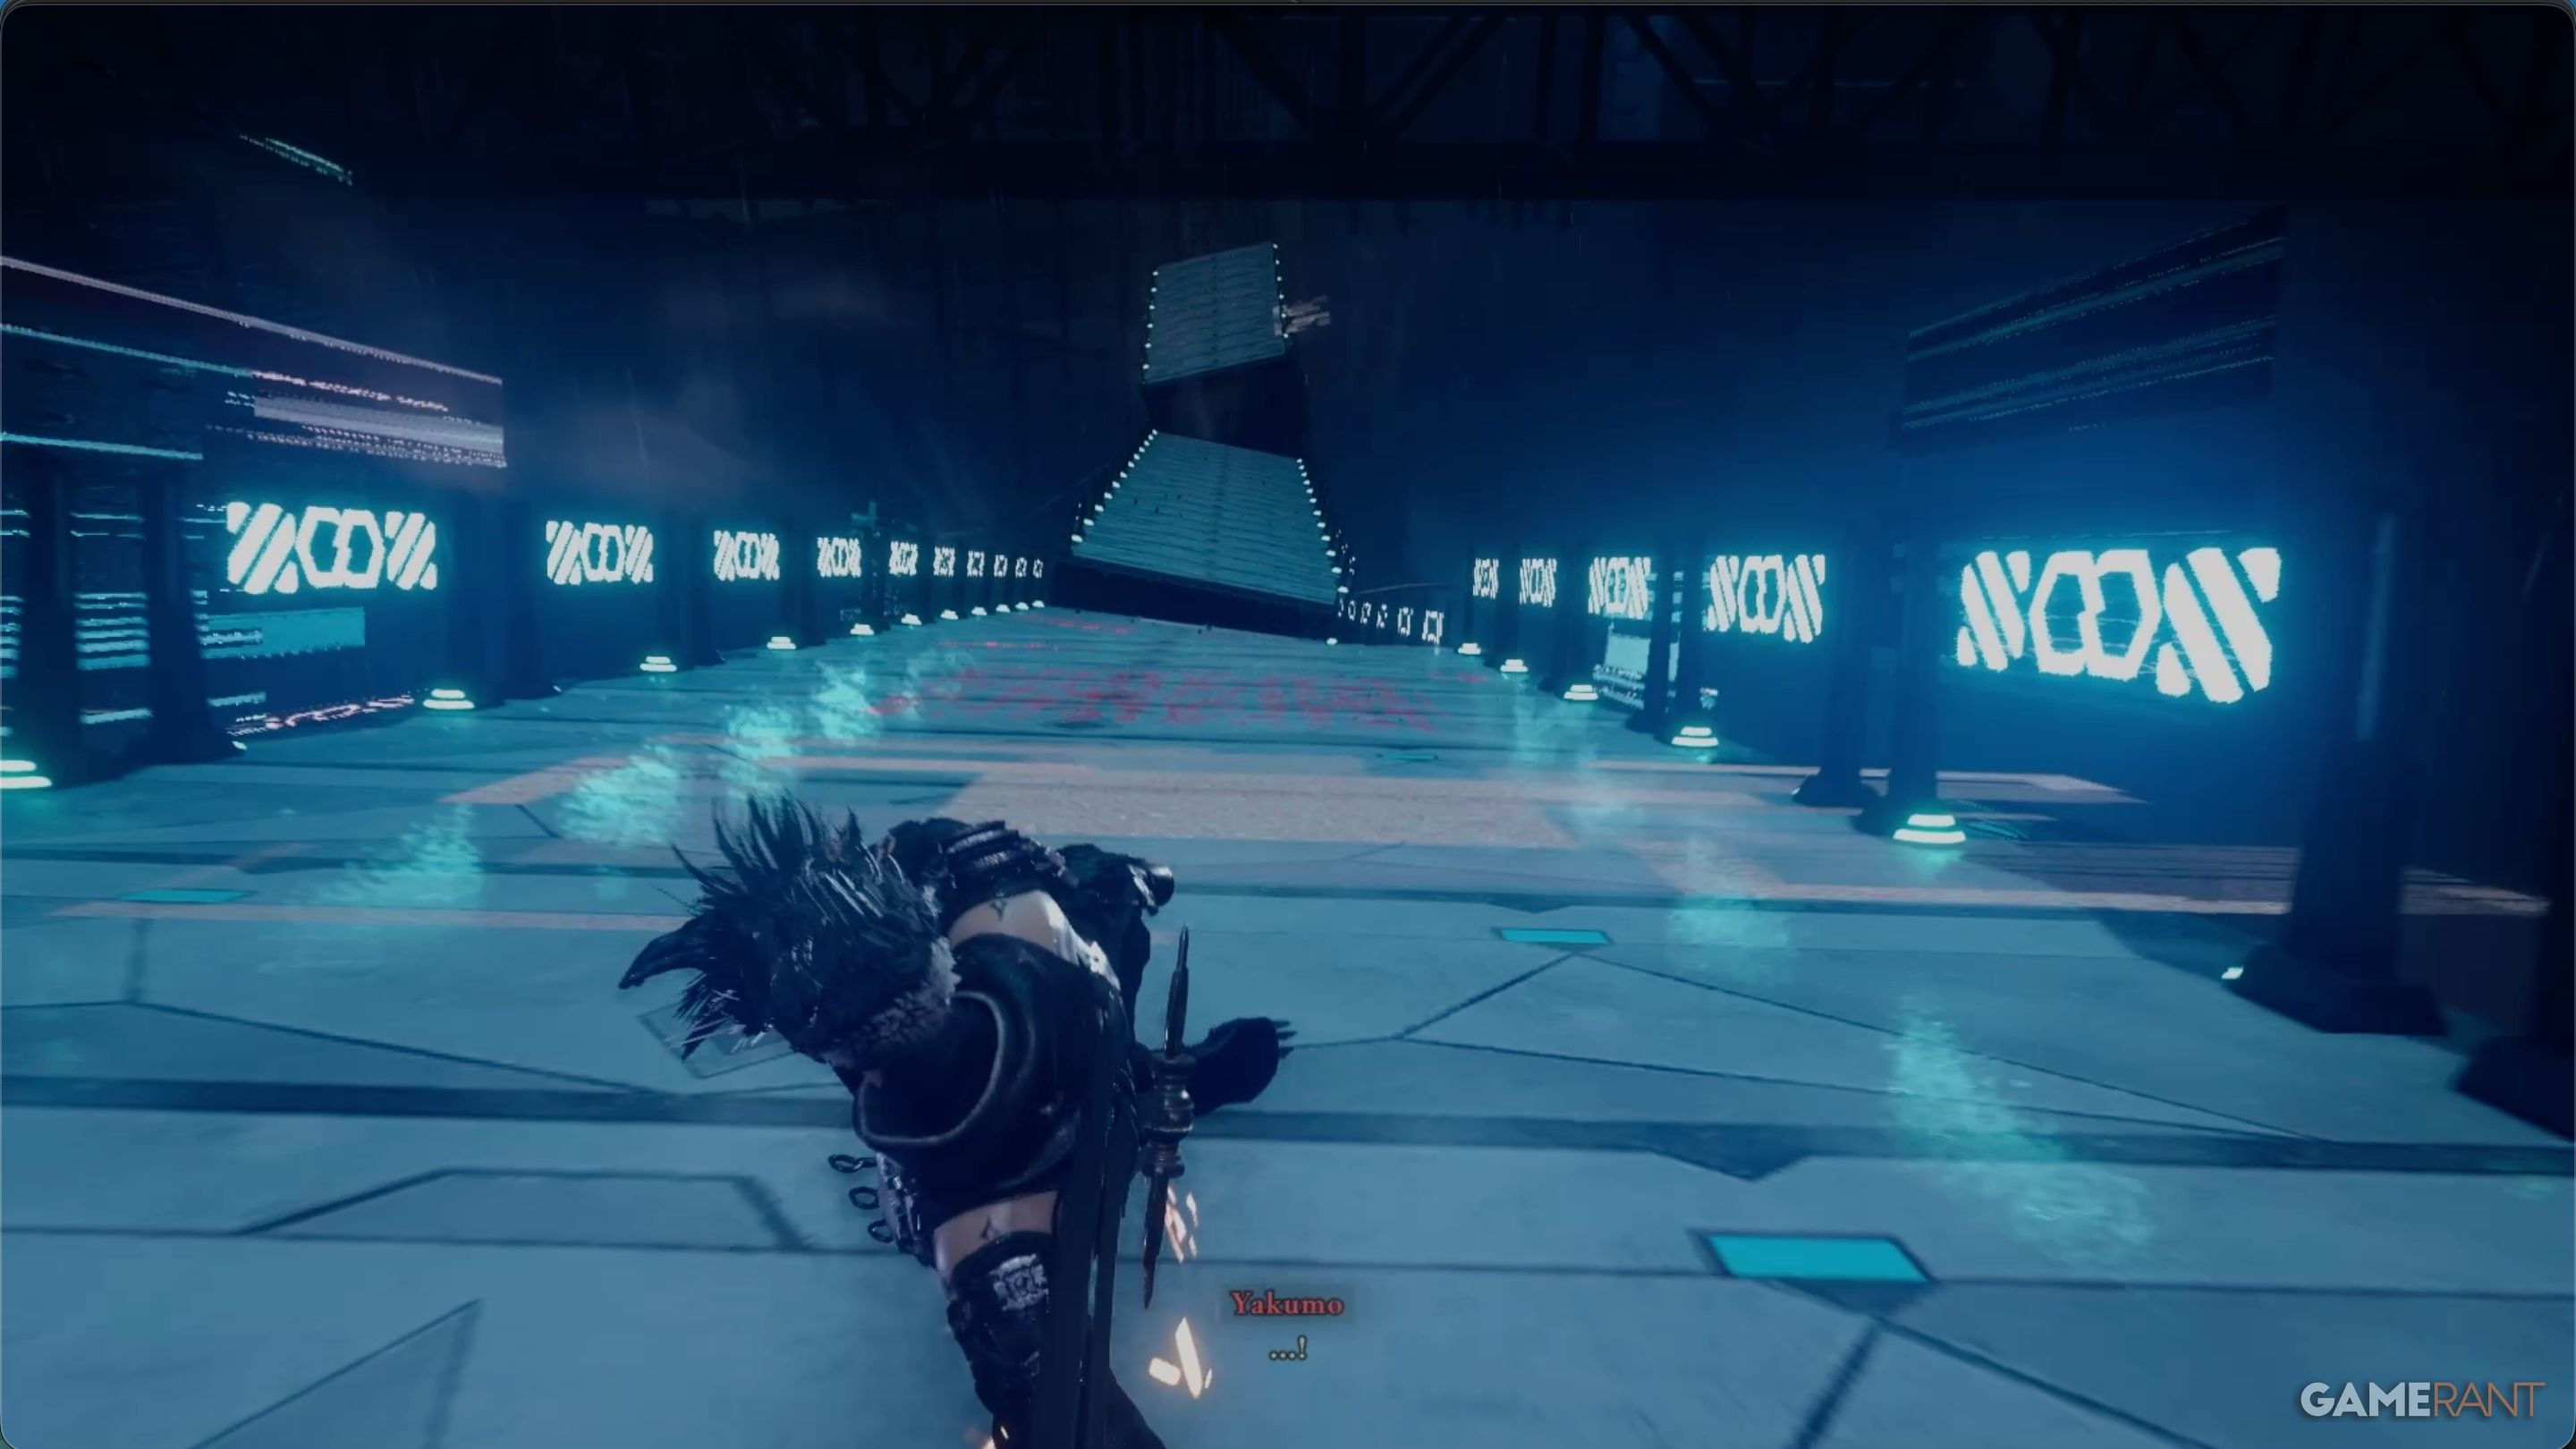
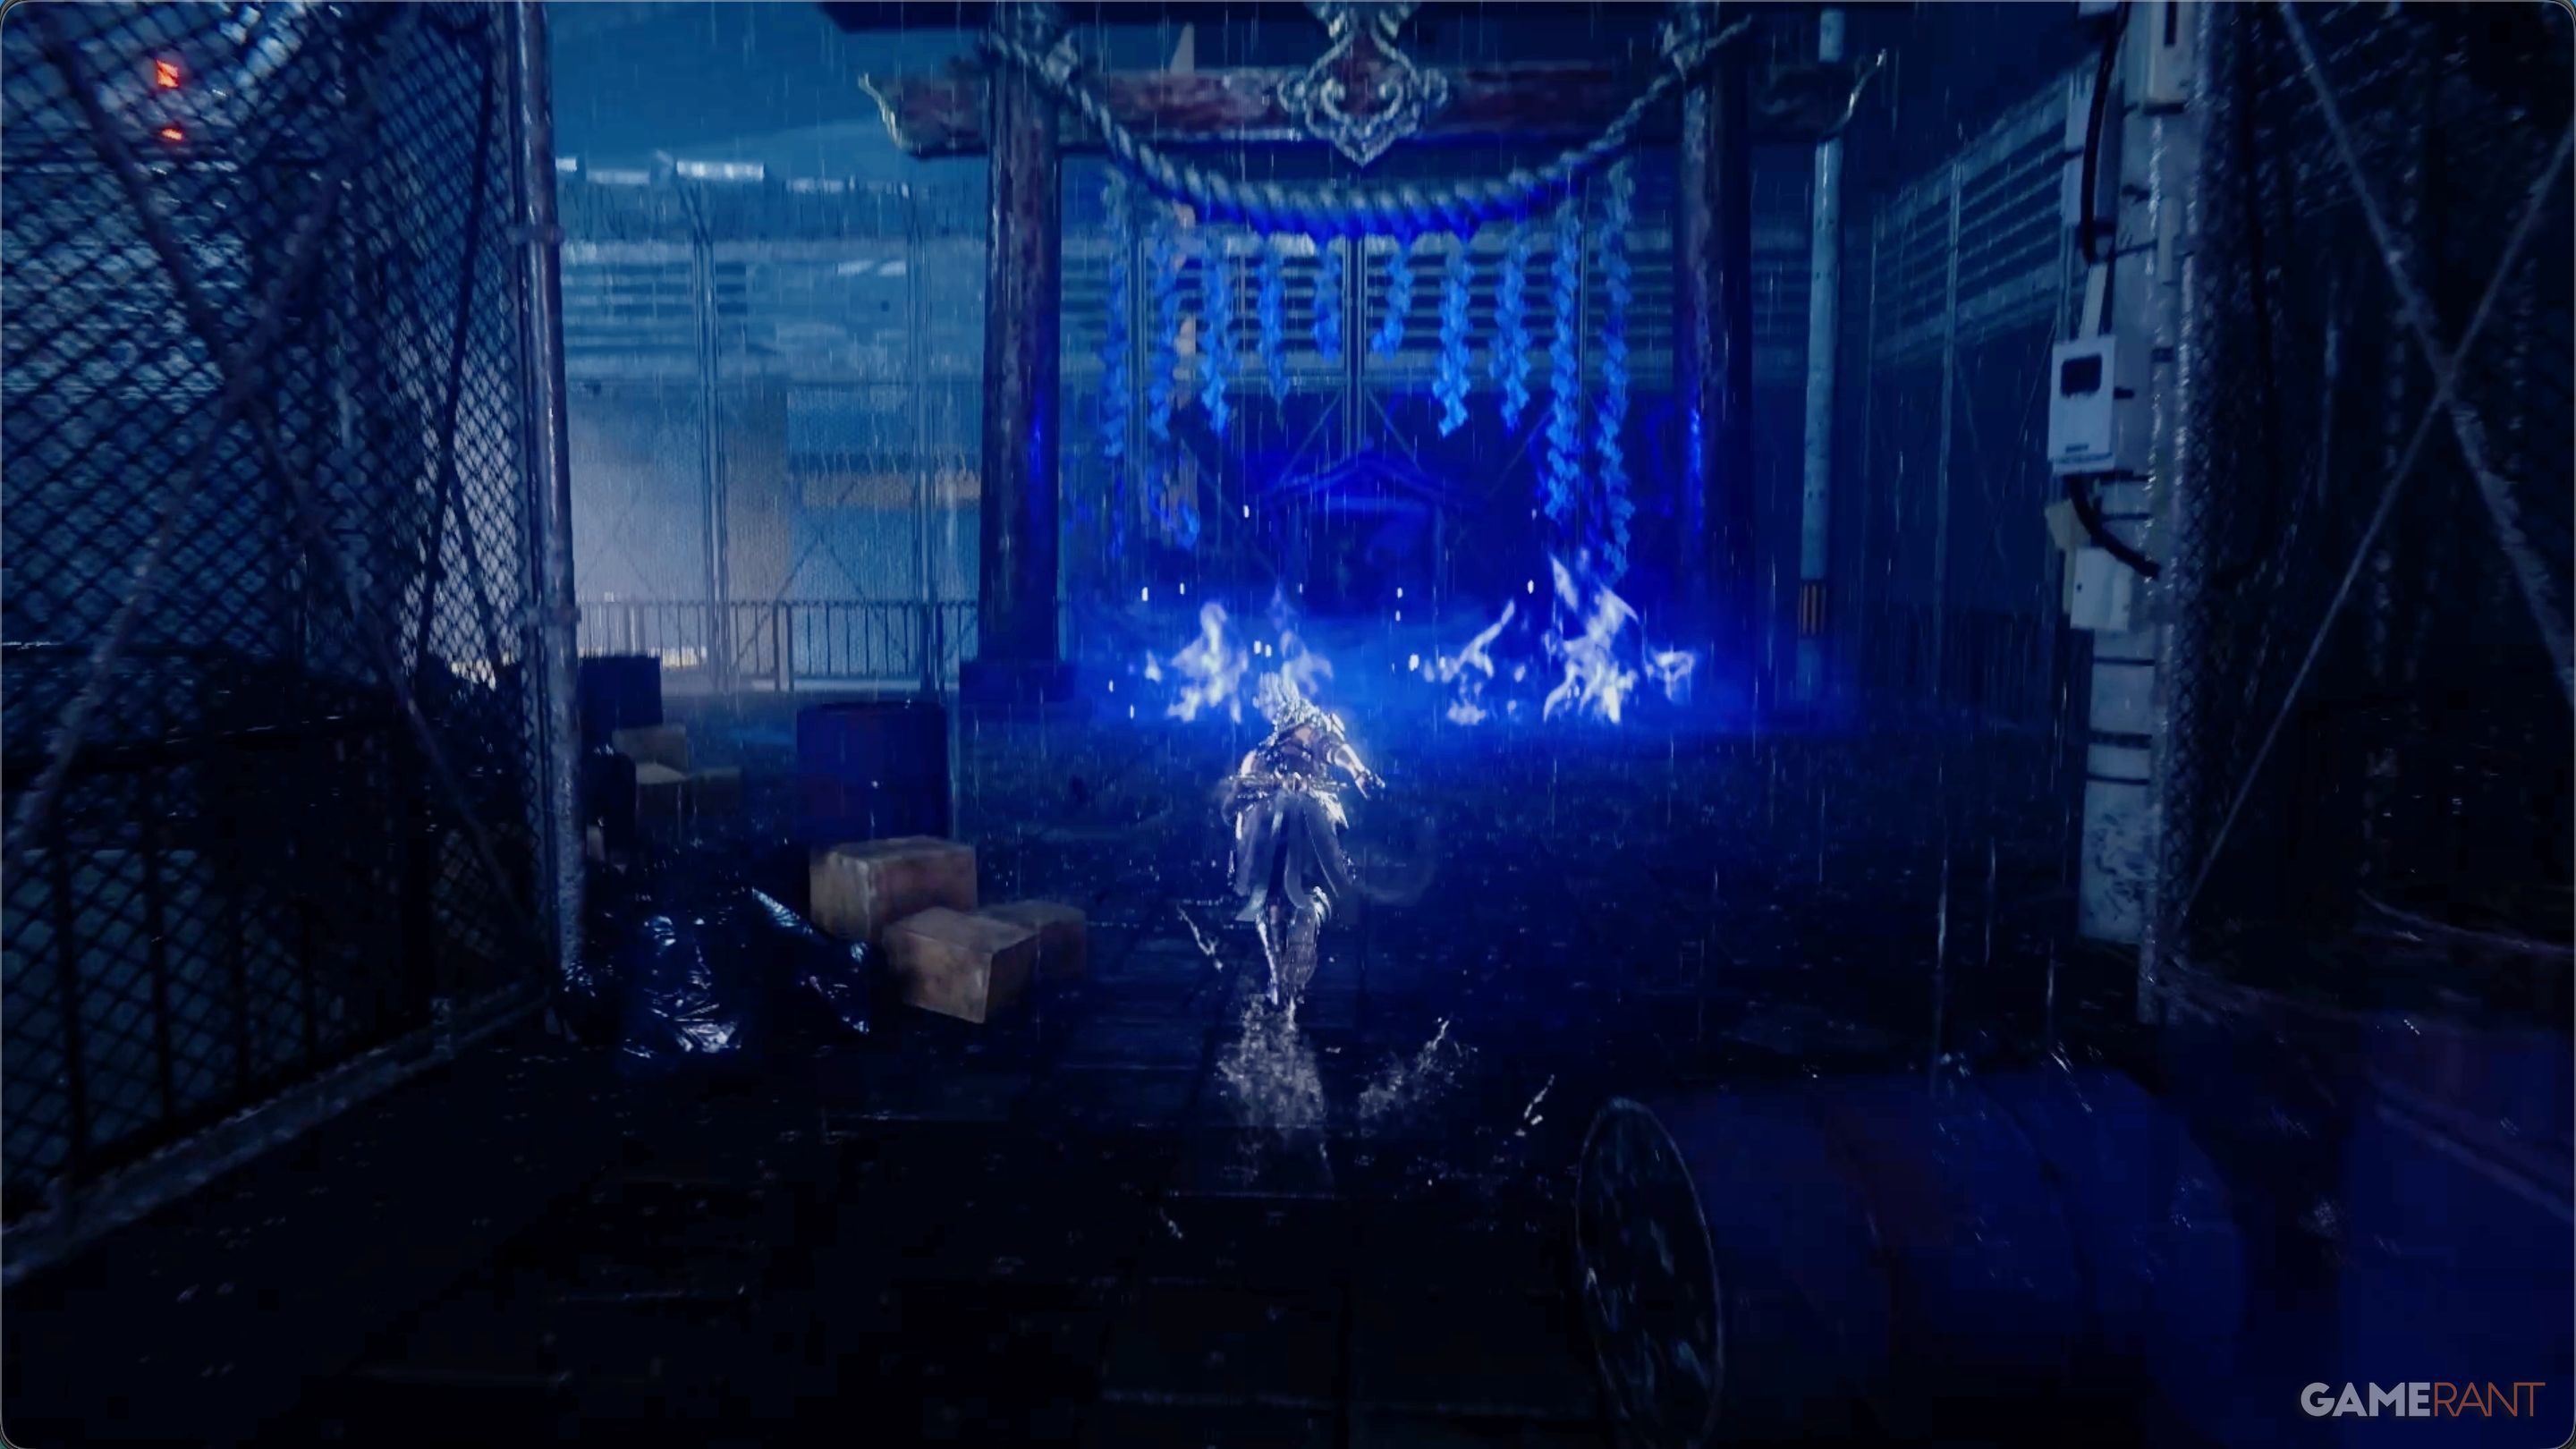
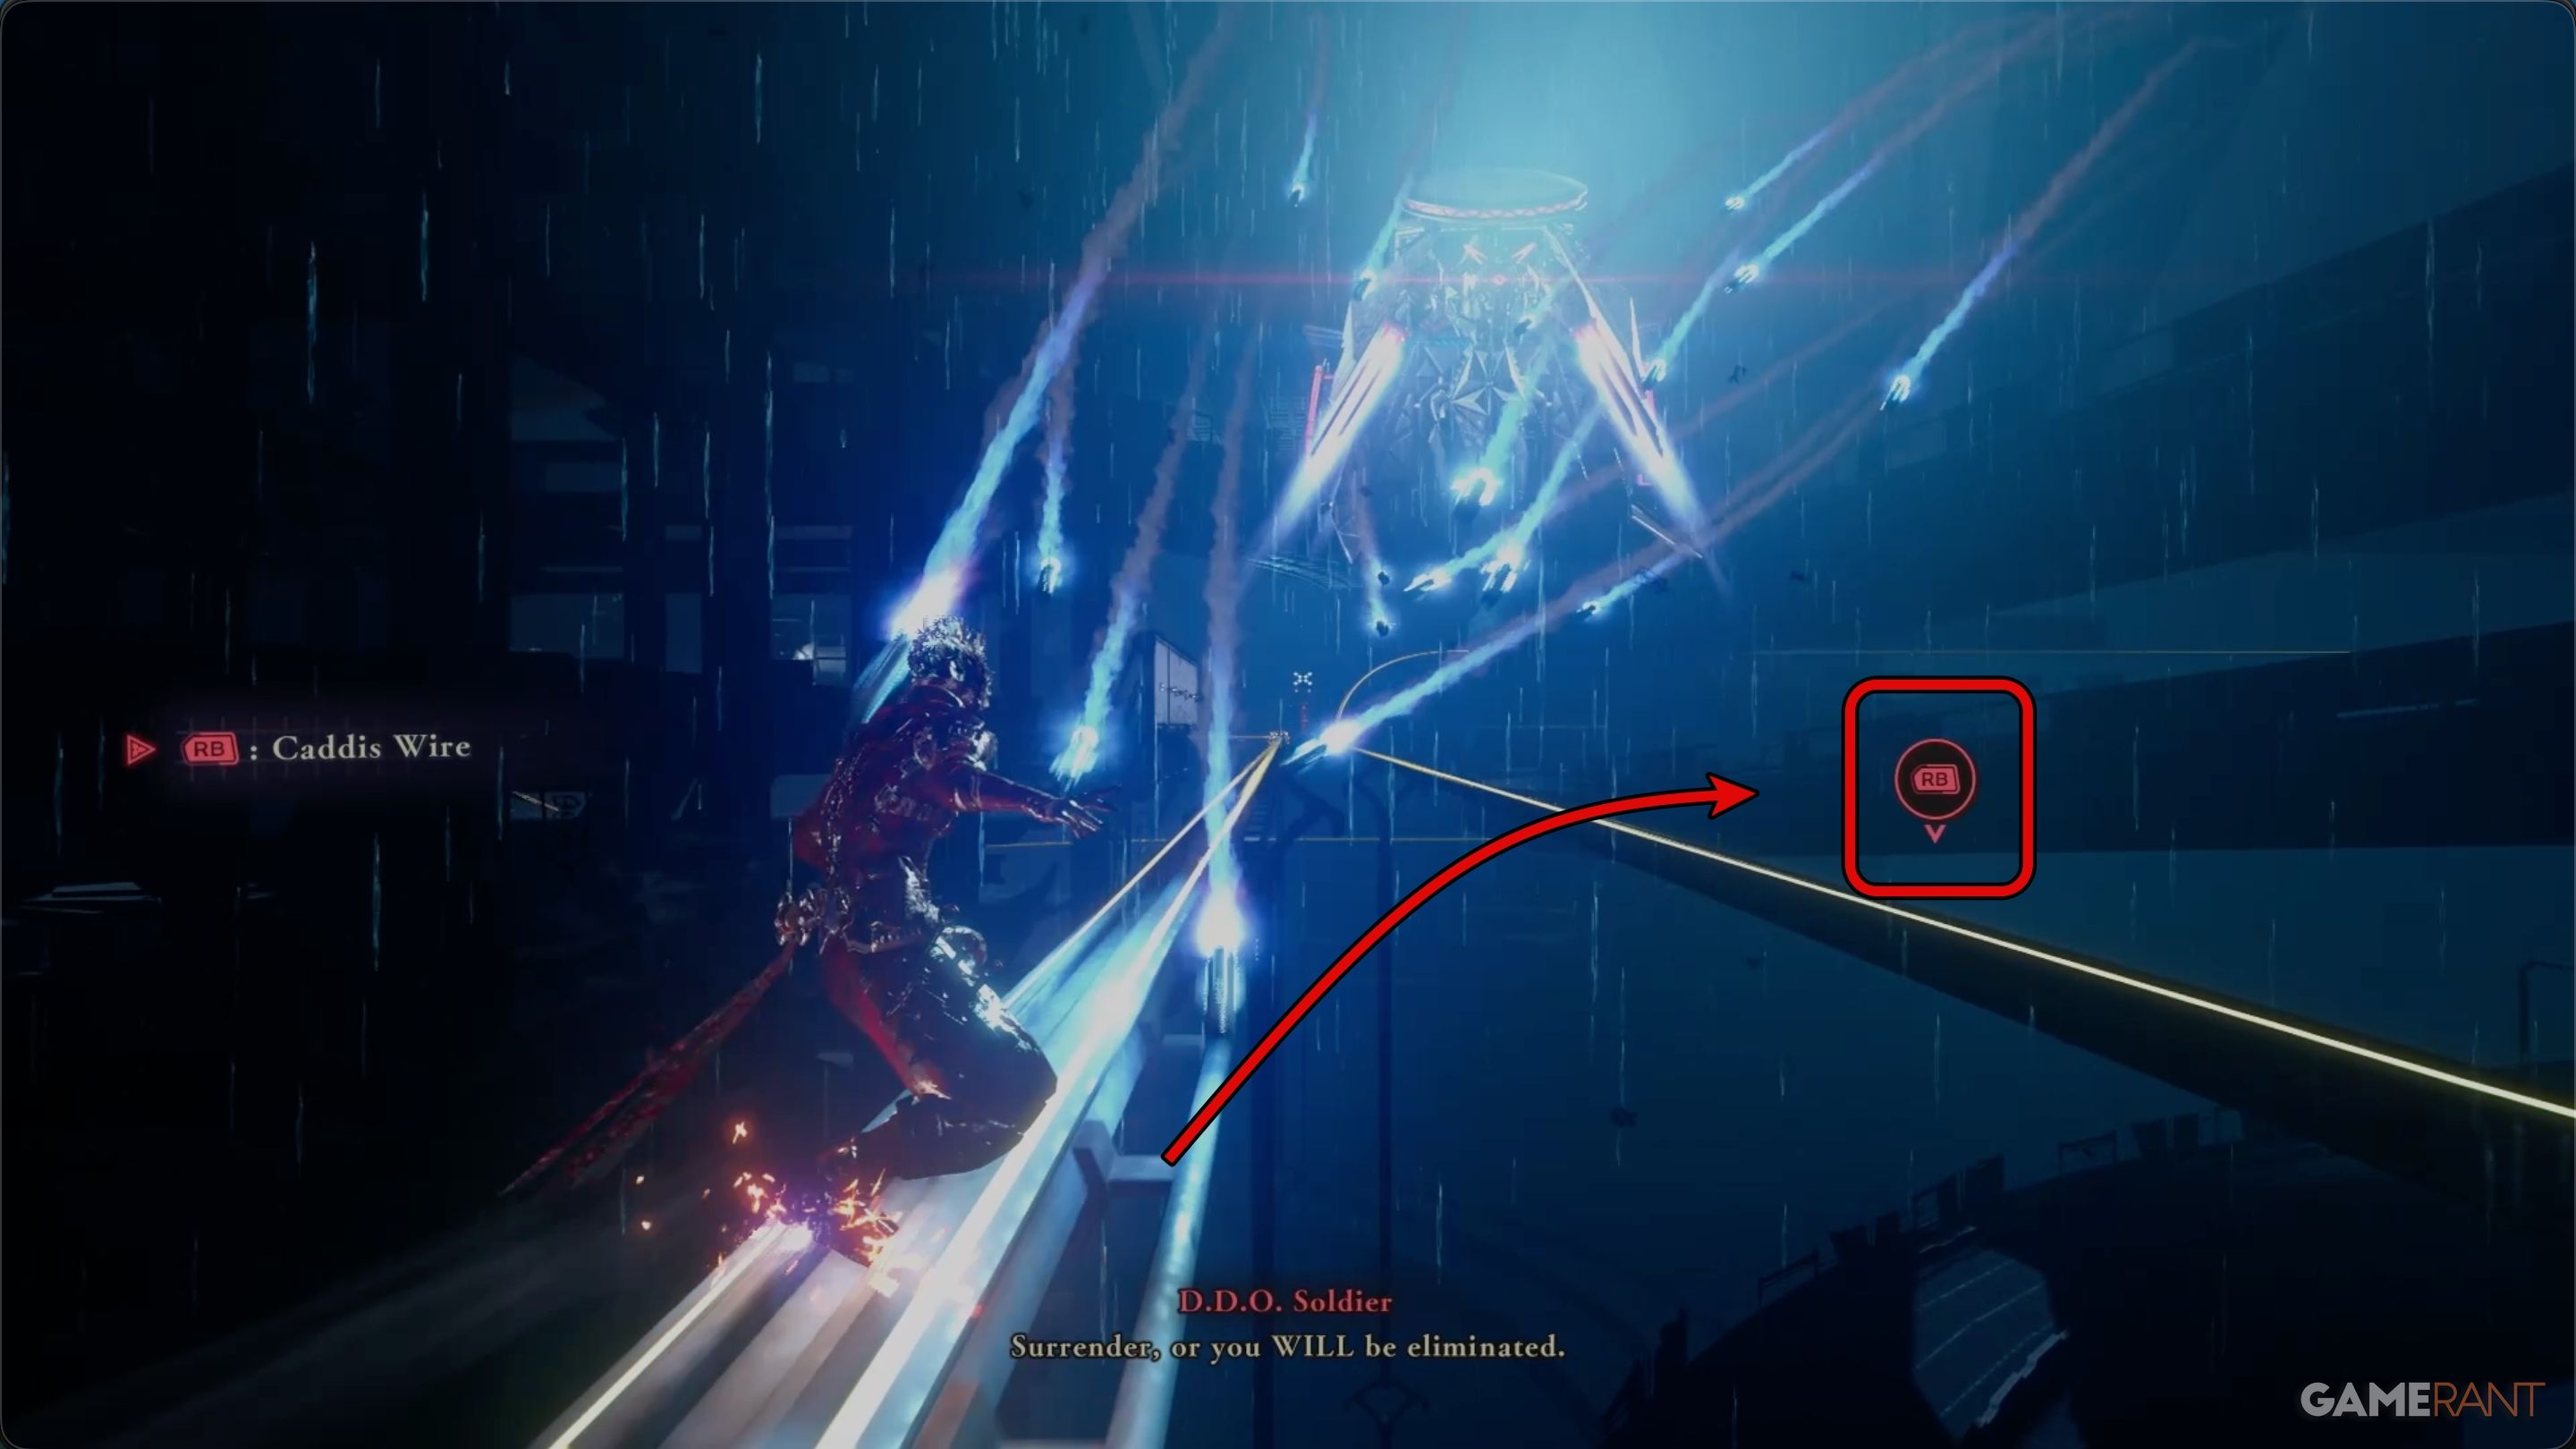
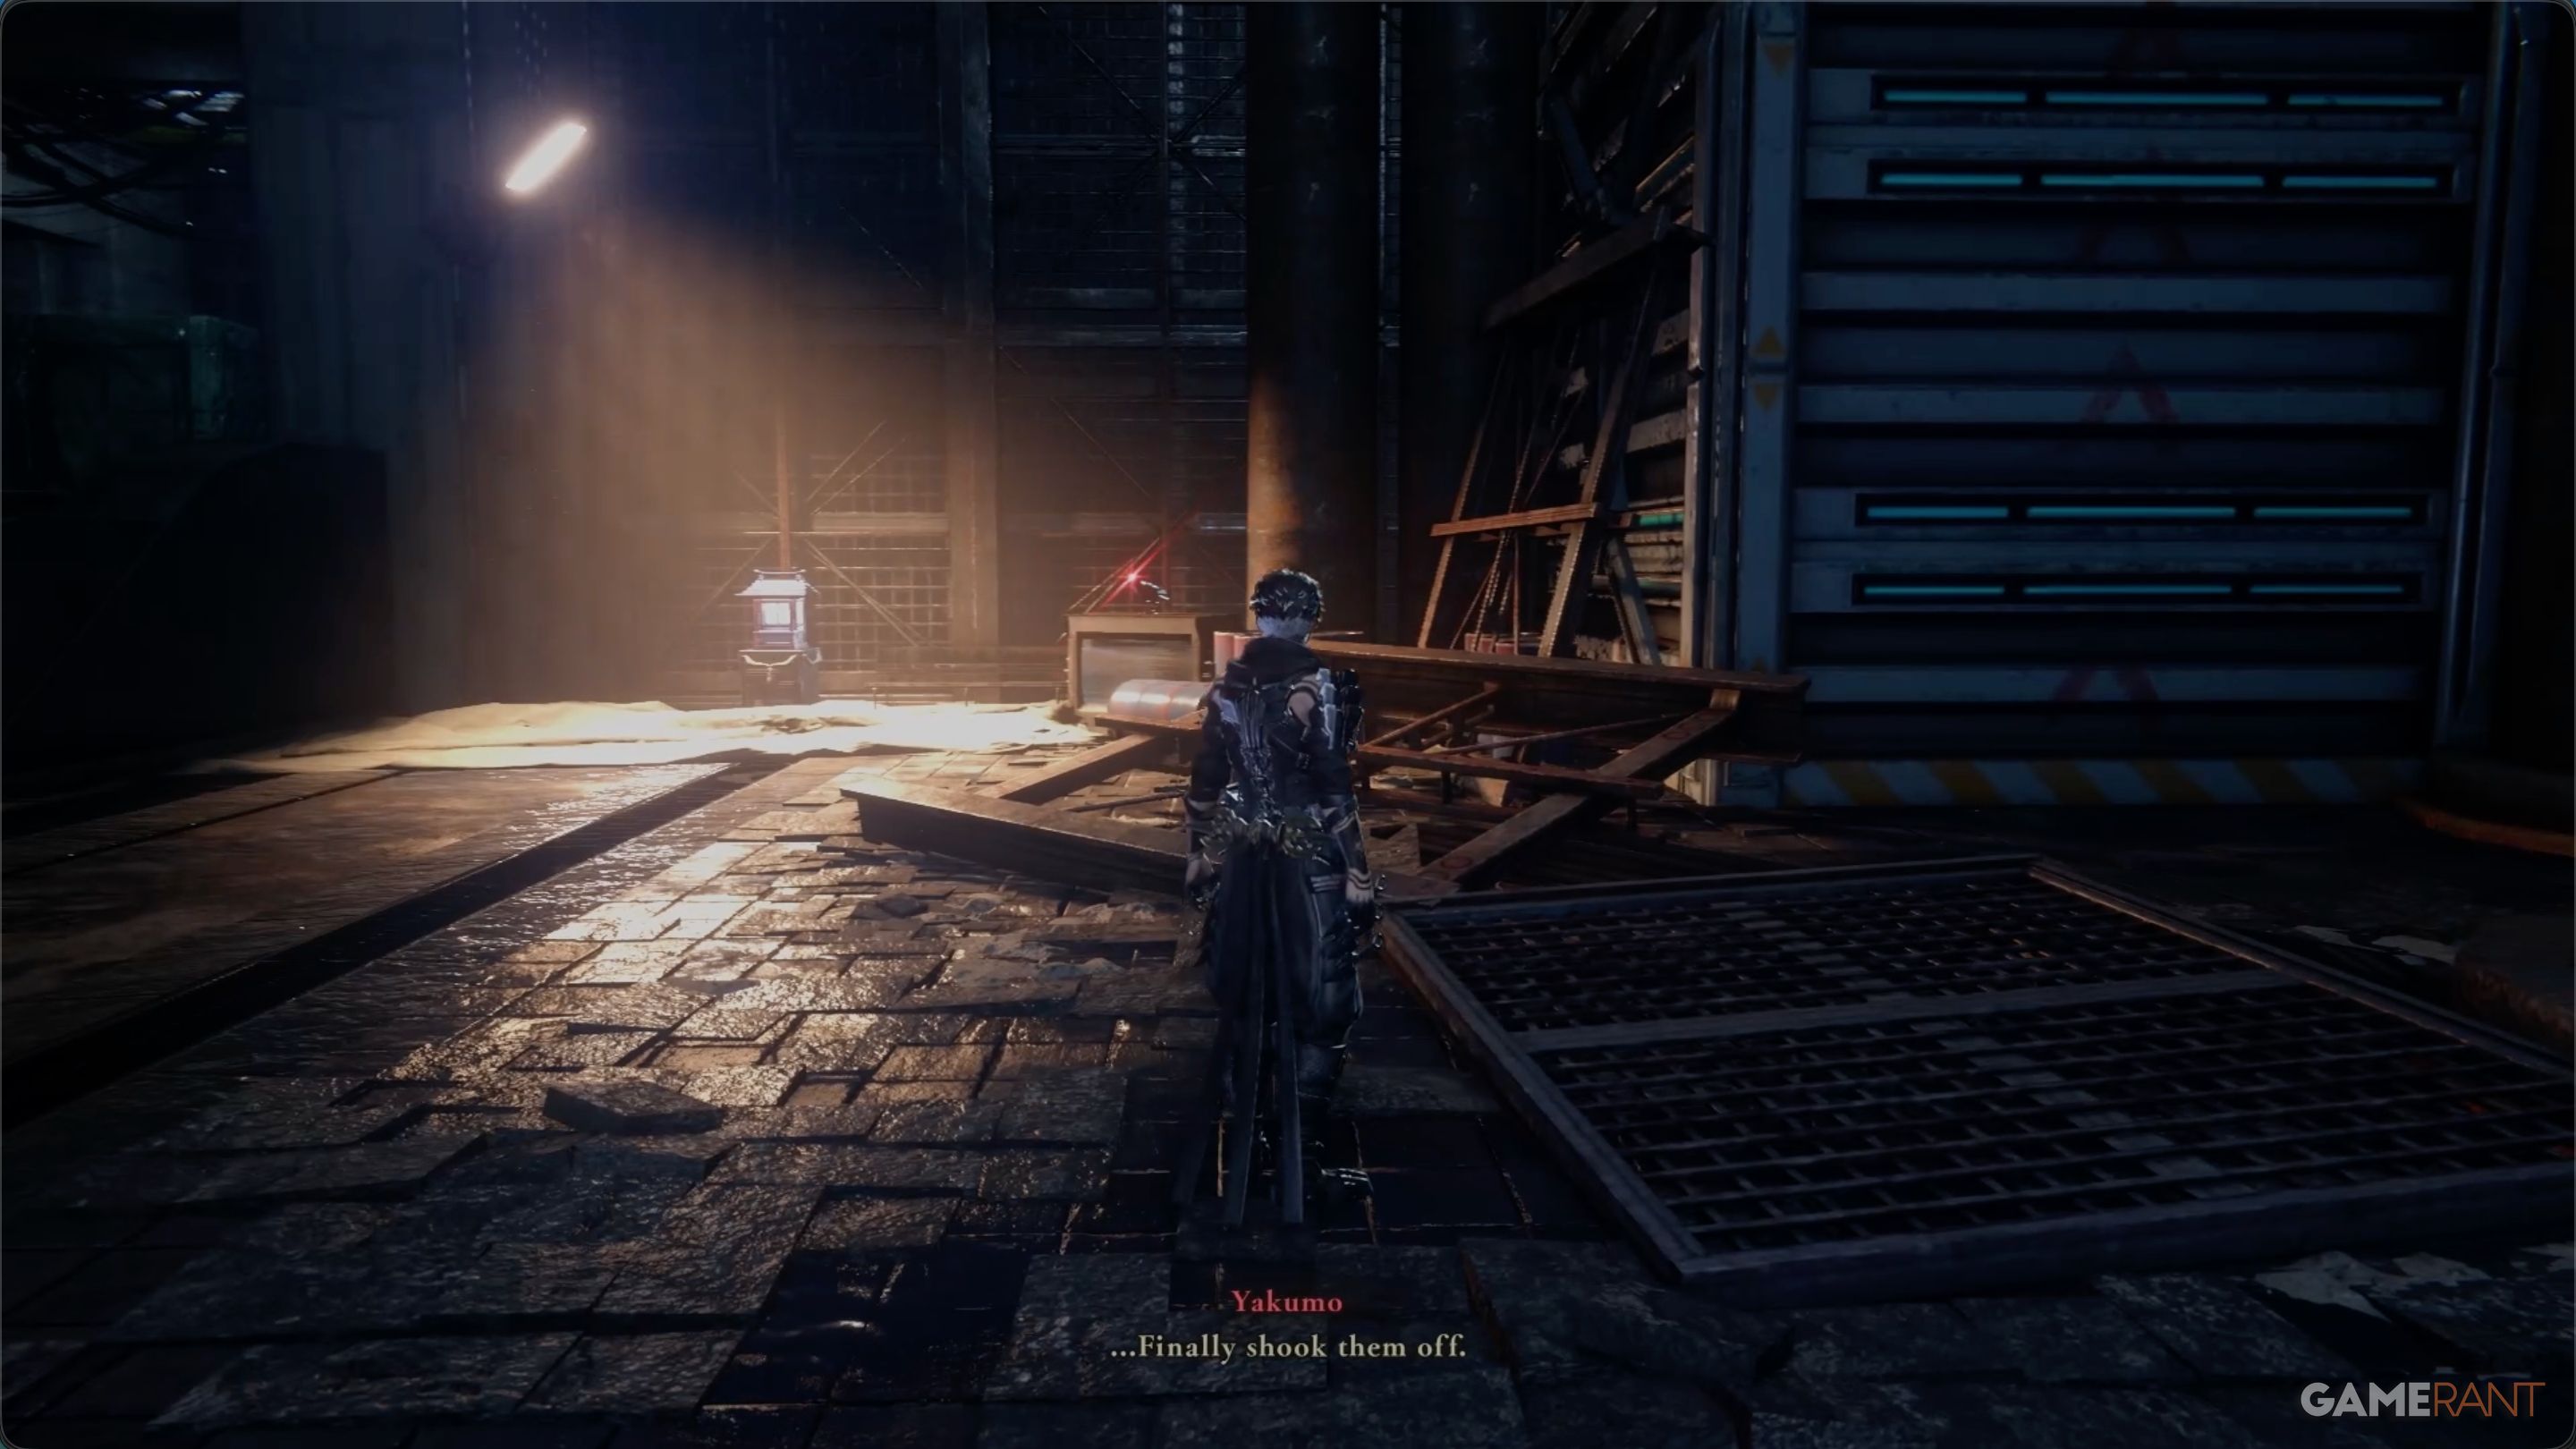
As we discussed before, Haunted District continues the story right after the first chapter ends. You’ll begin near a long bridge that appears safe, but knowing this series, things are bound to go wrong. And they do – the bridge collapses while Yakumo is walking across it.
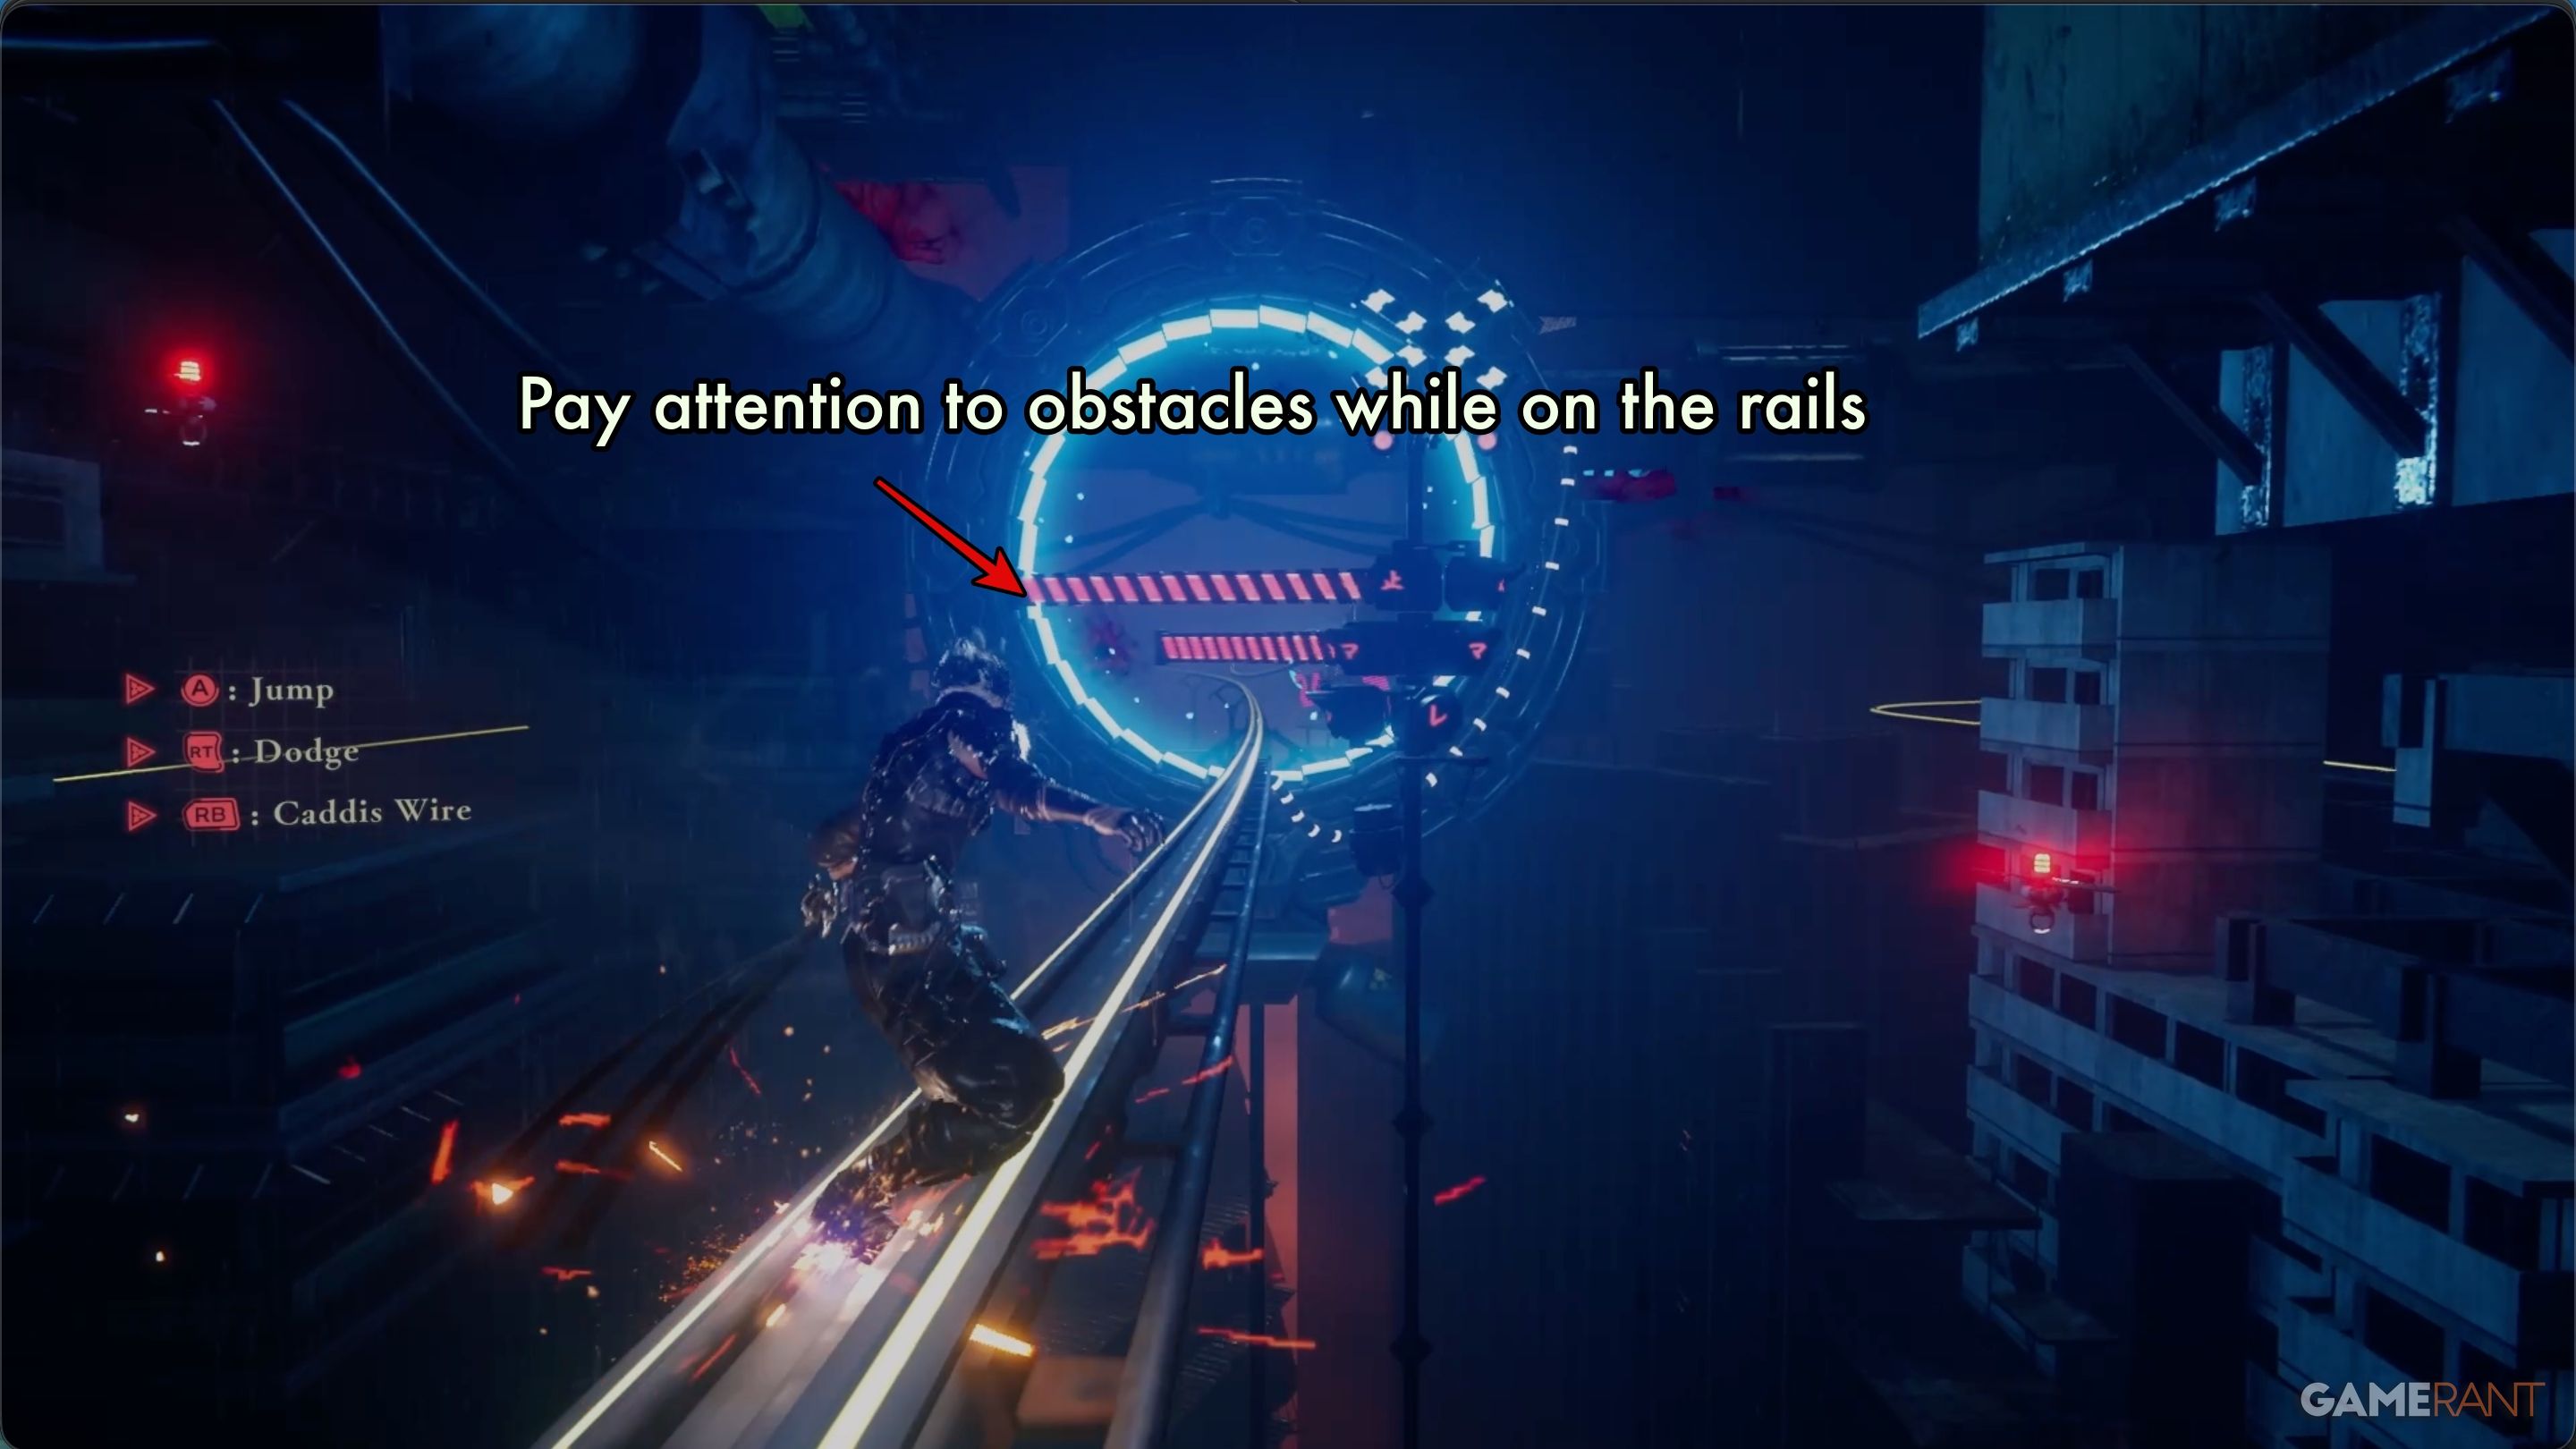
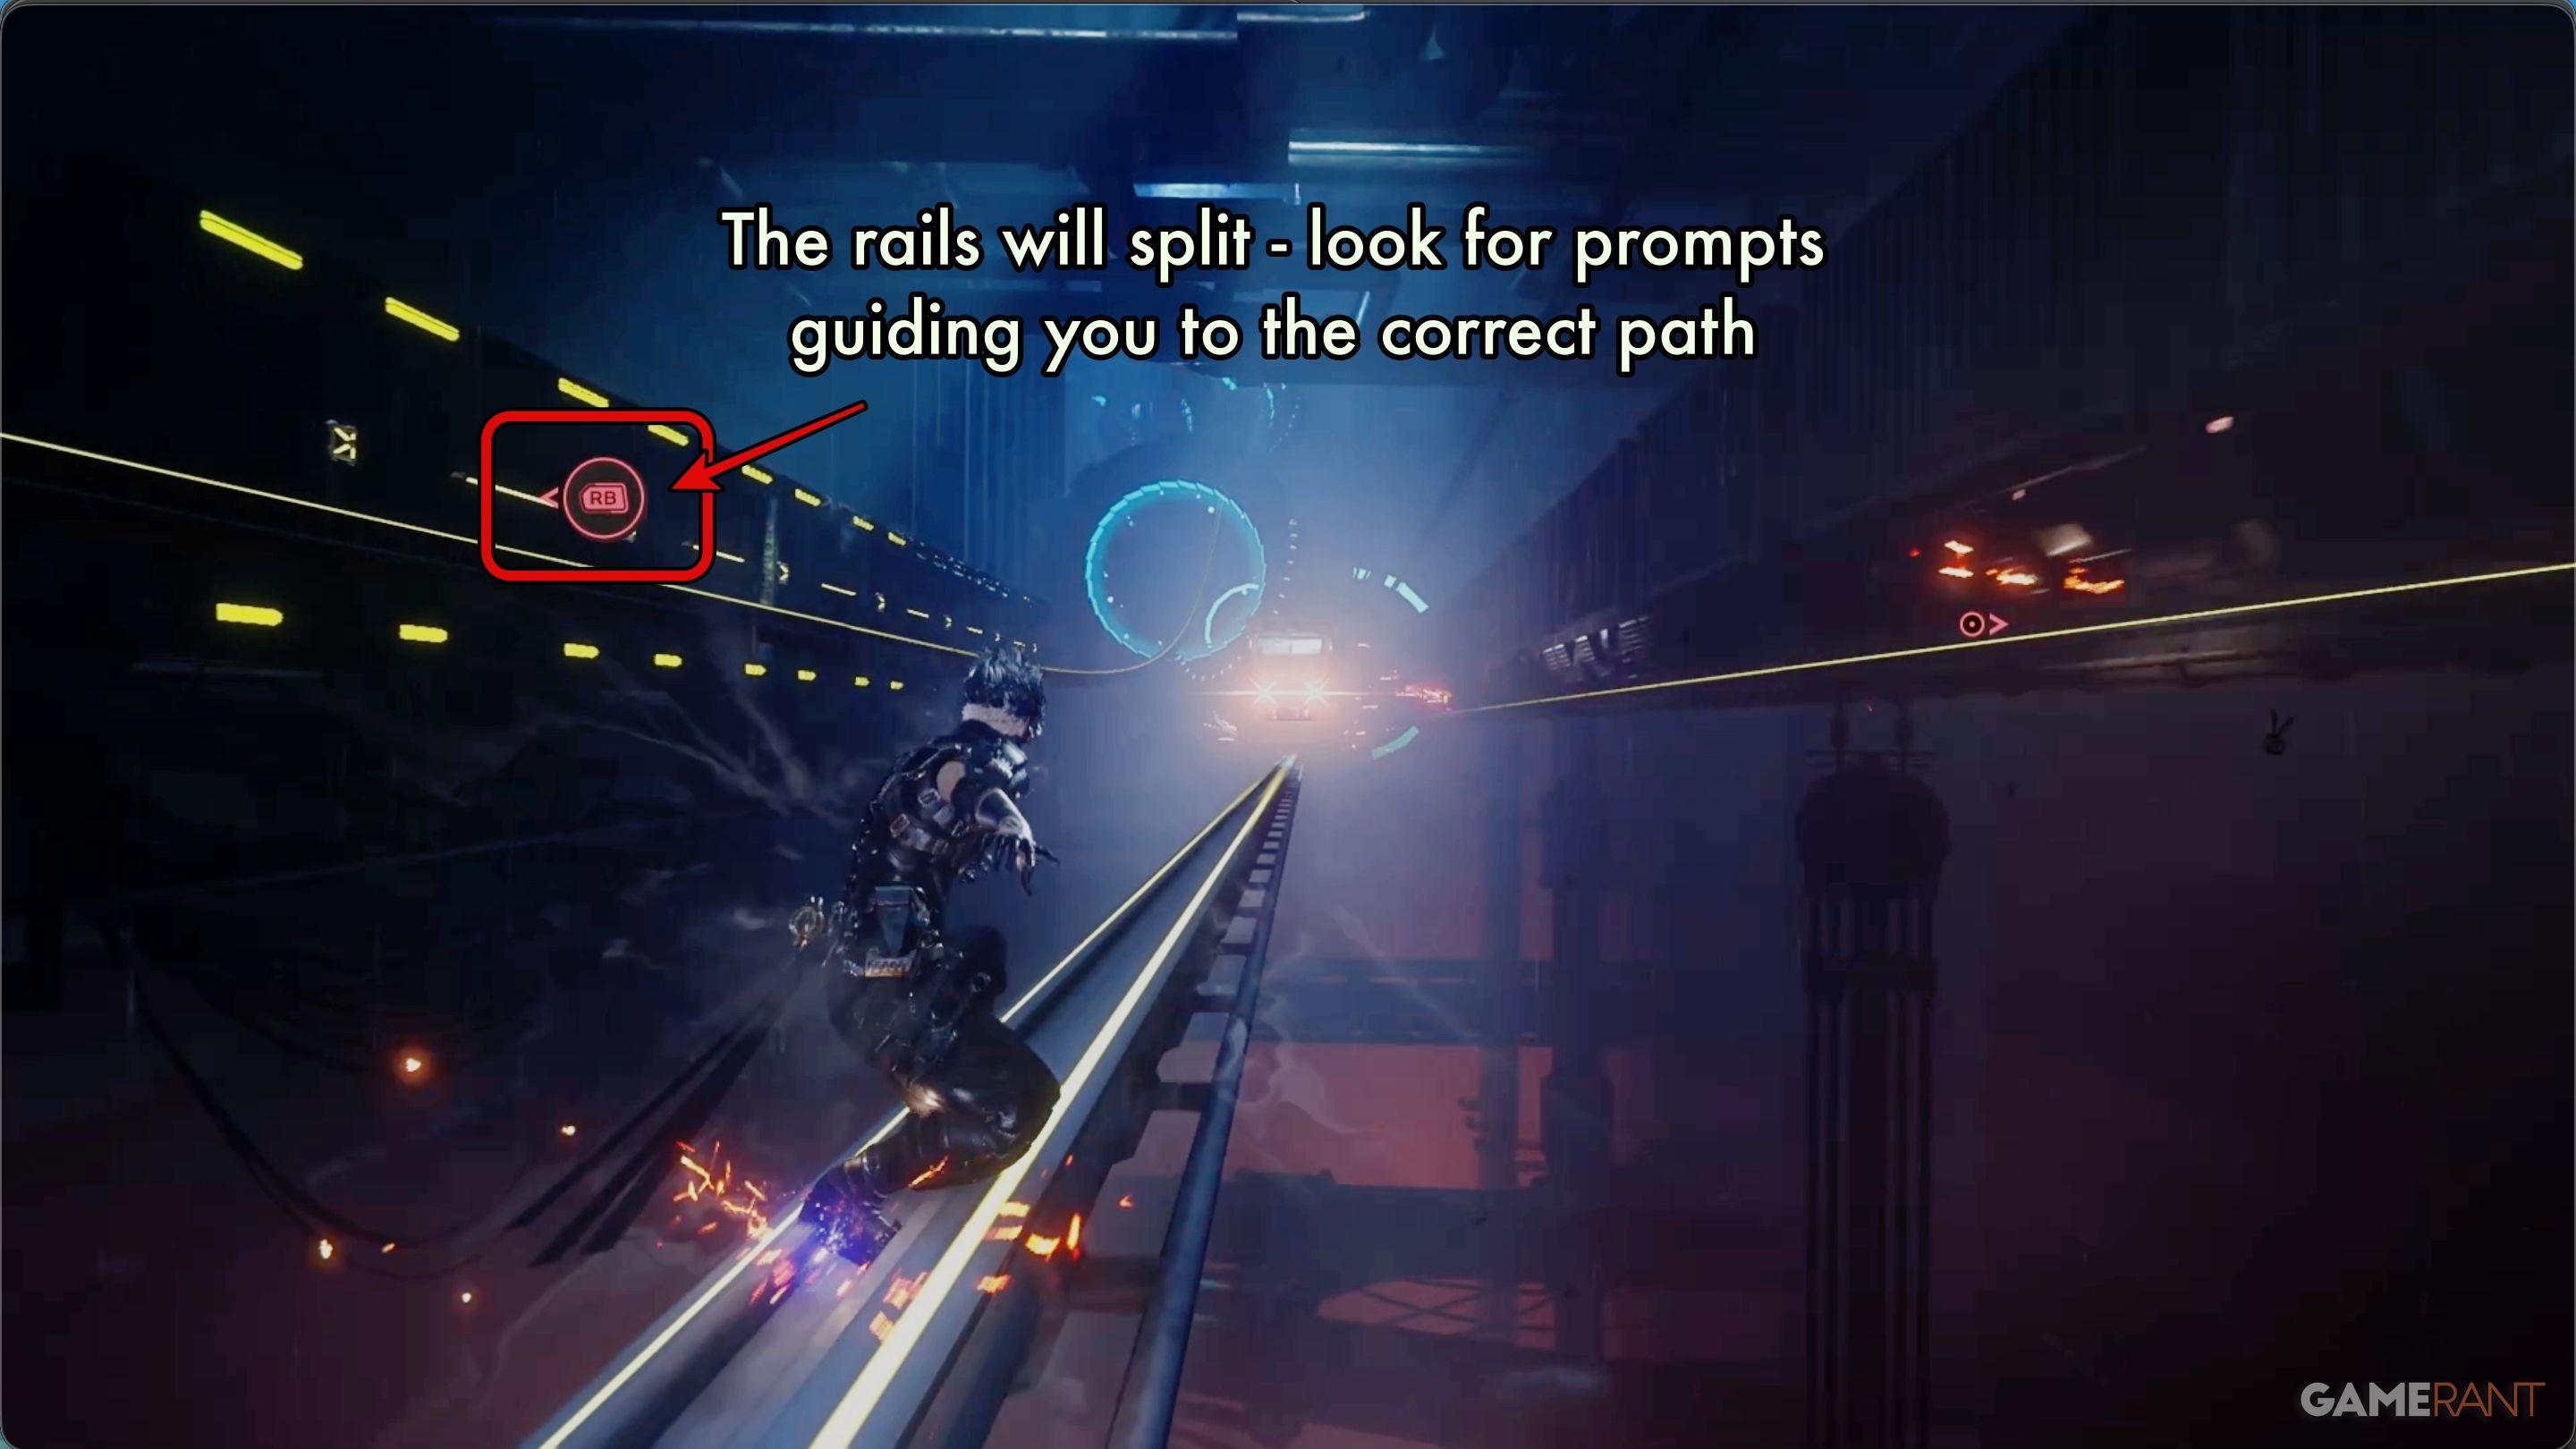
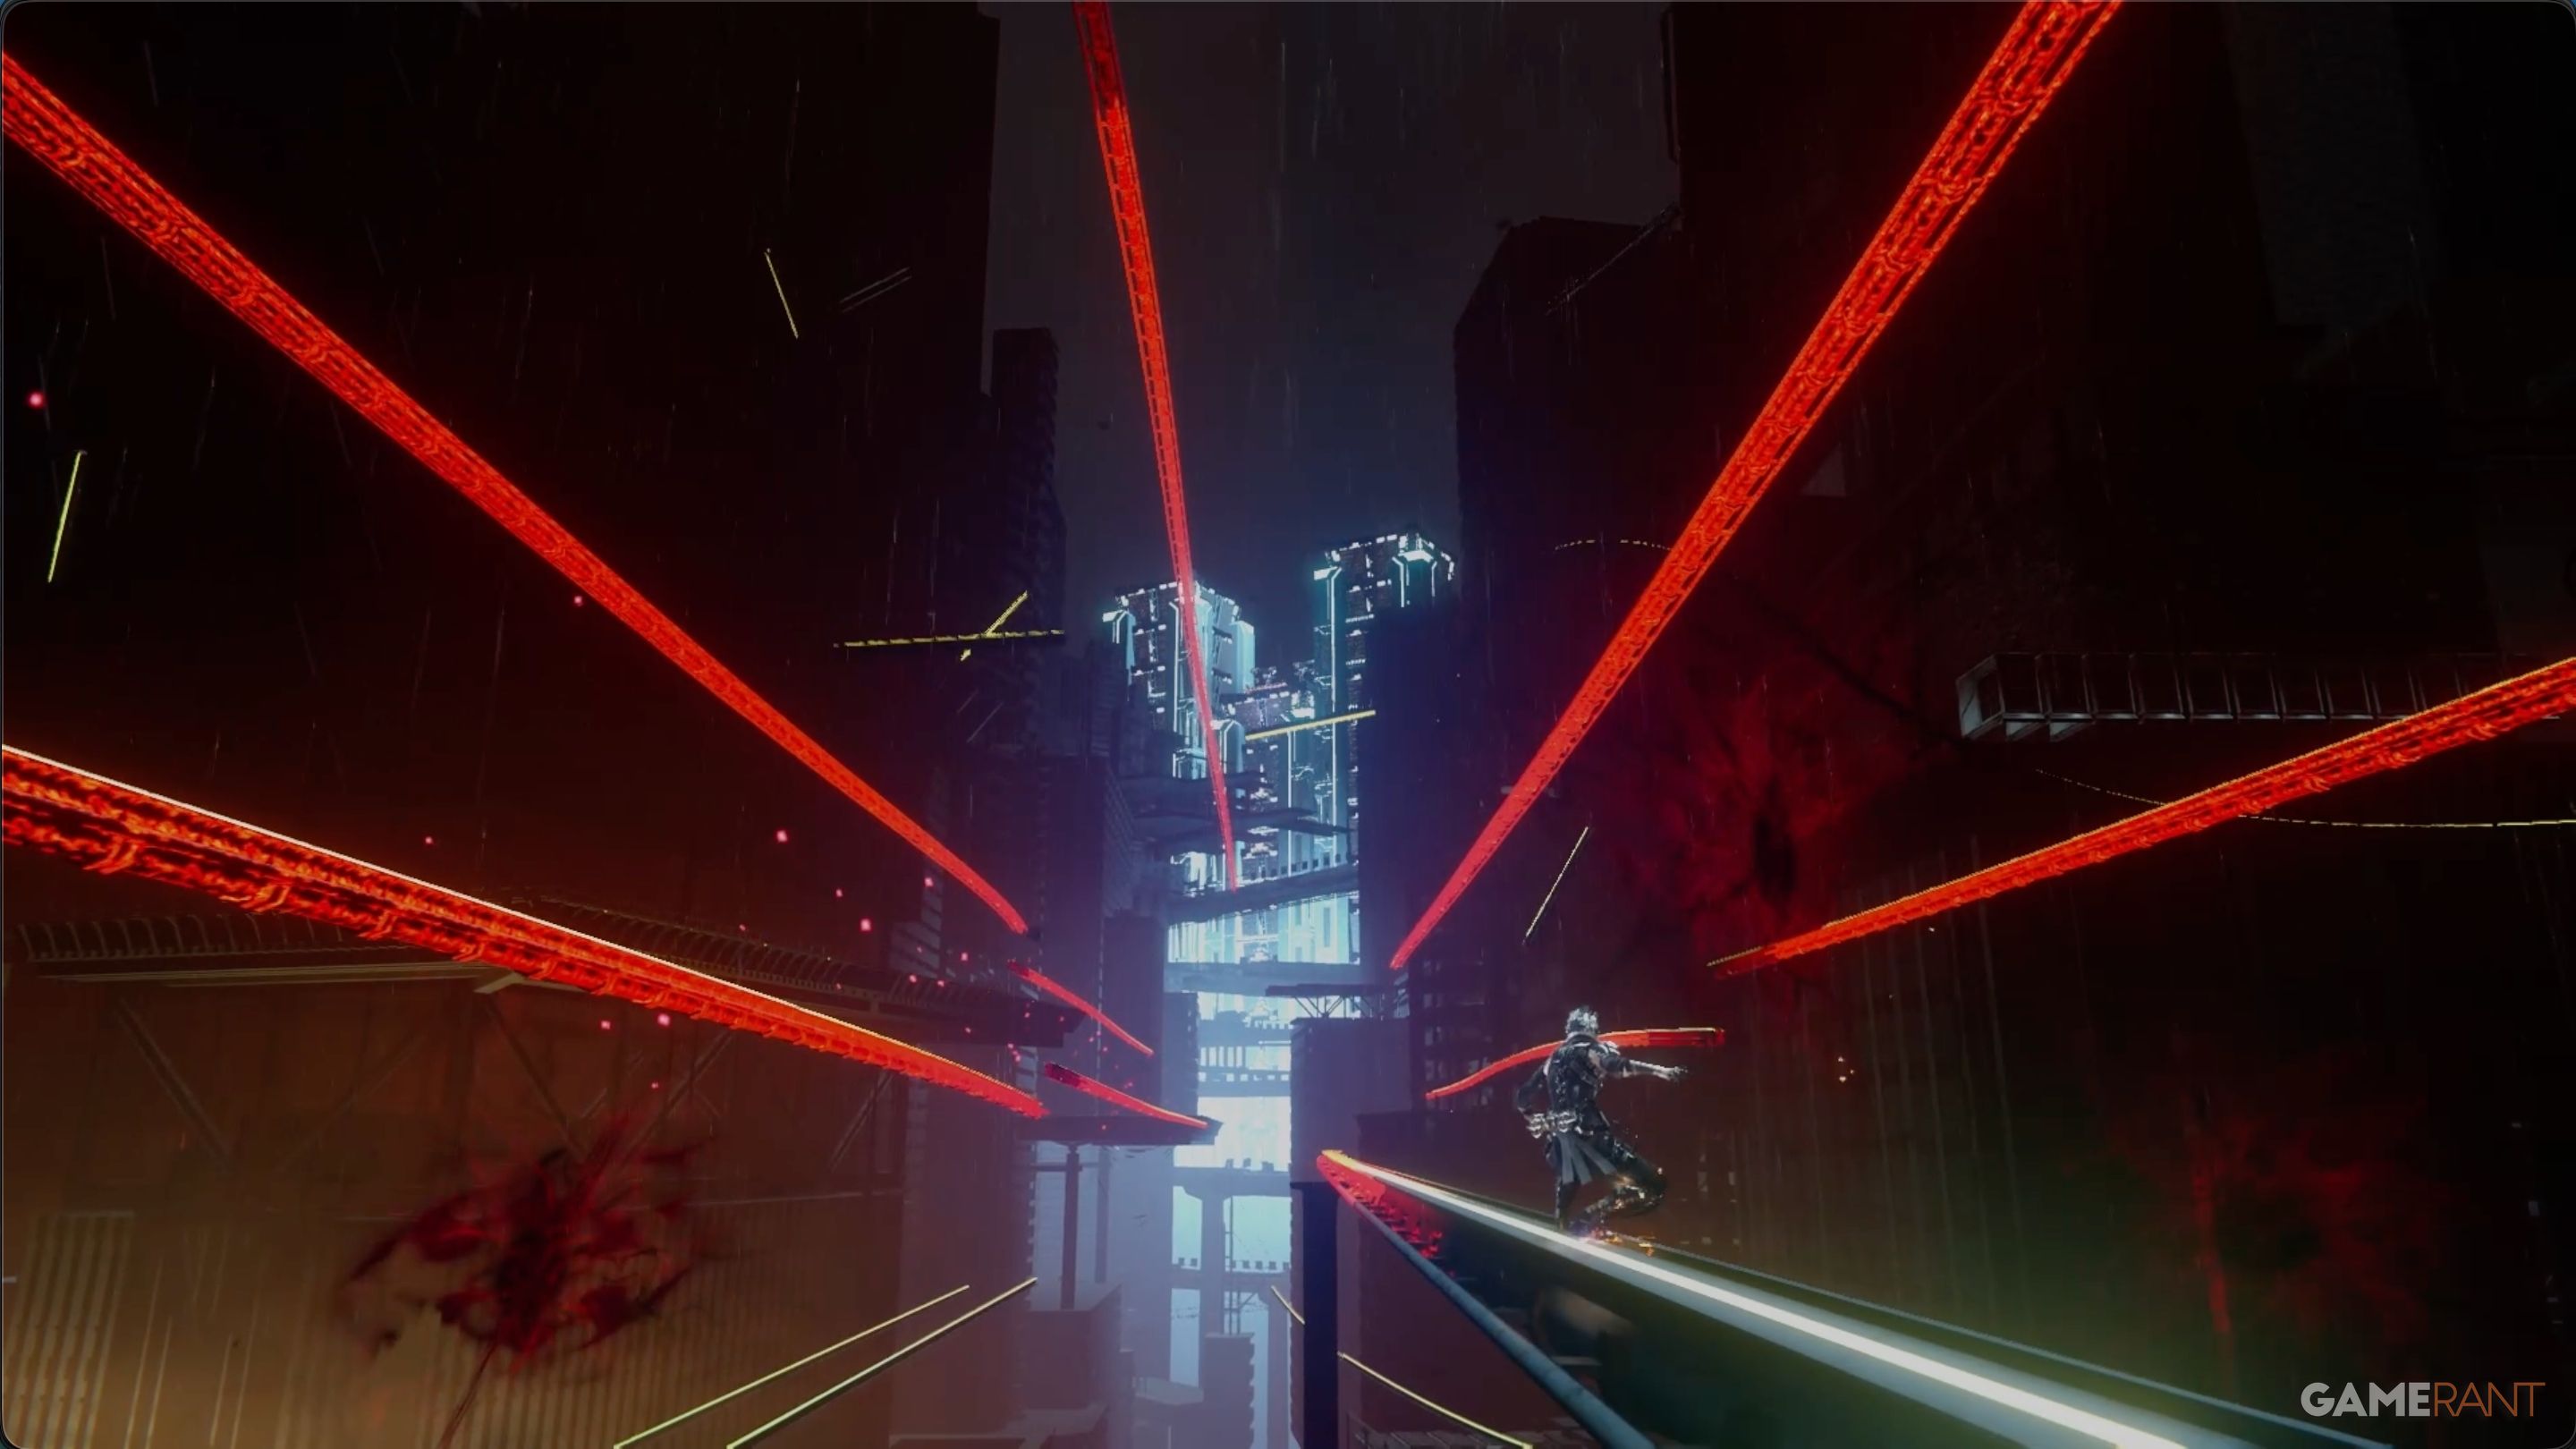
As you fall, you’ll need to use the Caddis Wire to grab onto a long rail. This starts a rail-jumping section with obstacles and trains heading your way. If you follow the on-screen button prompts (RB/R1), you should be able to make it through without falling.
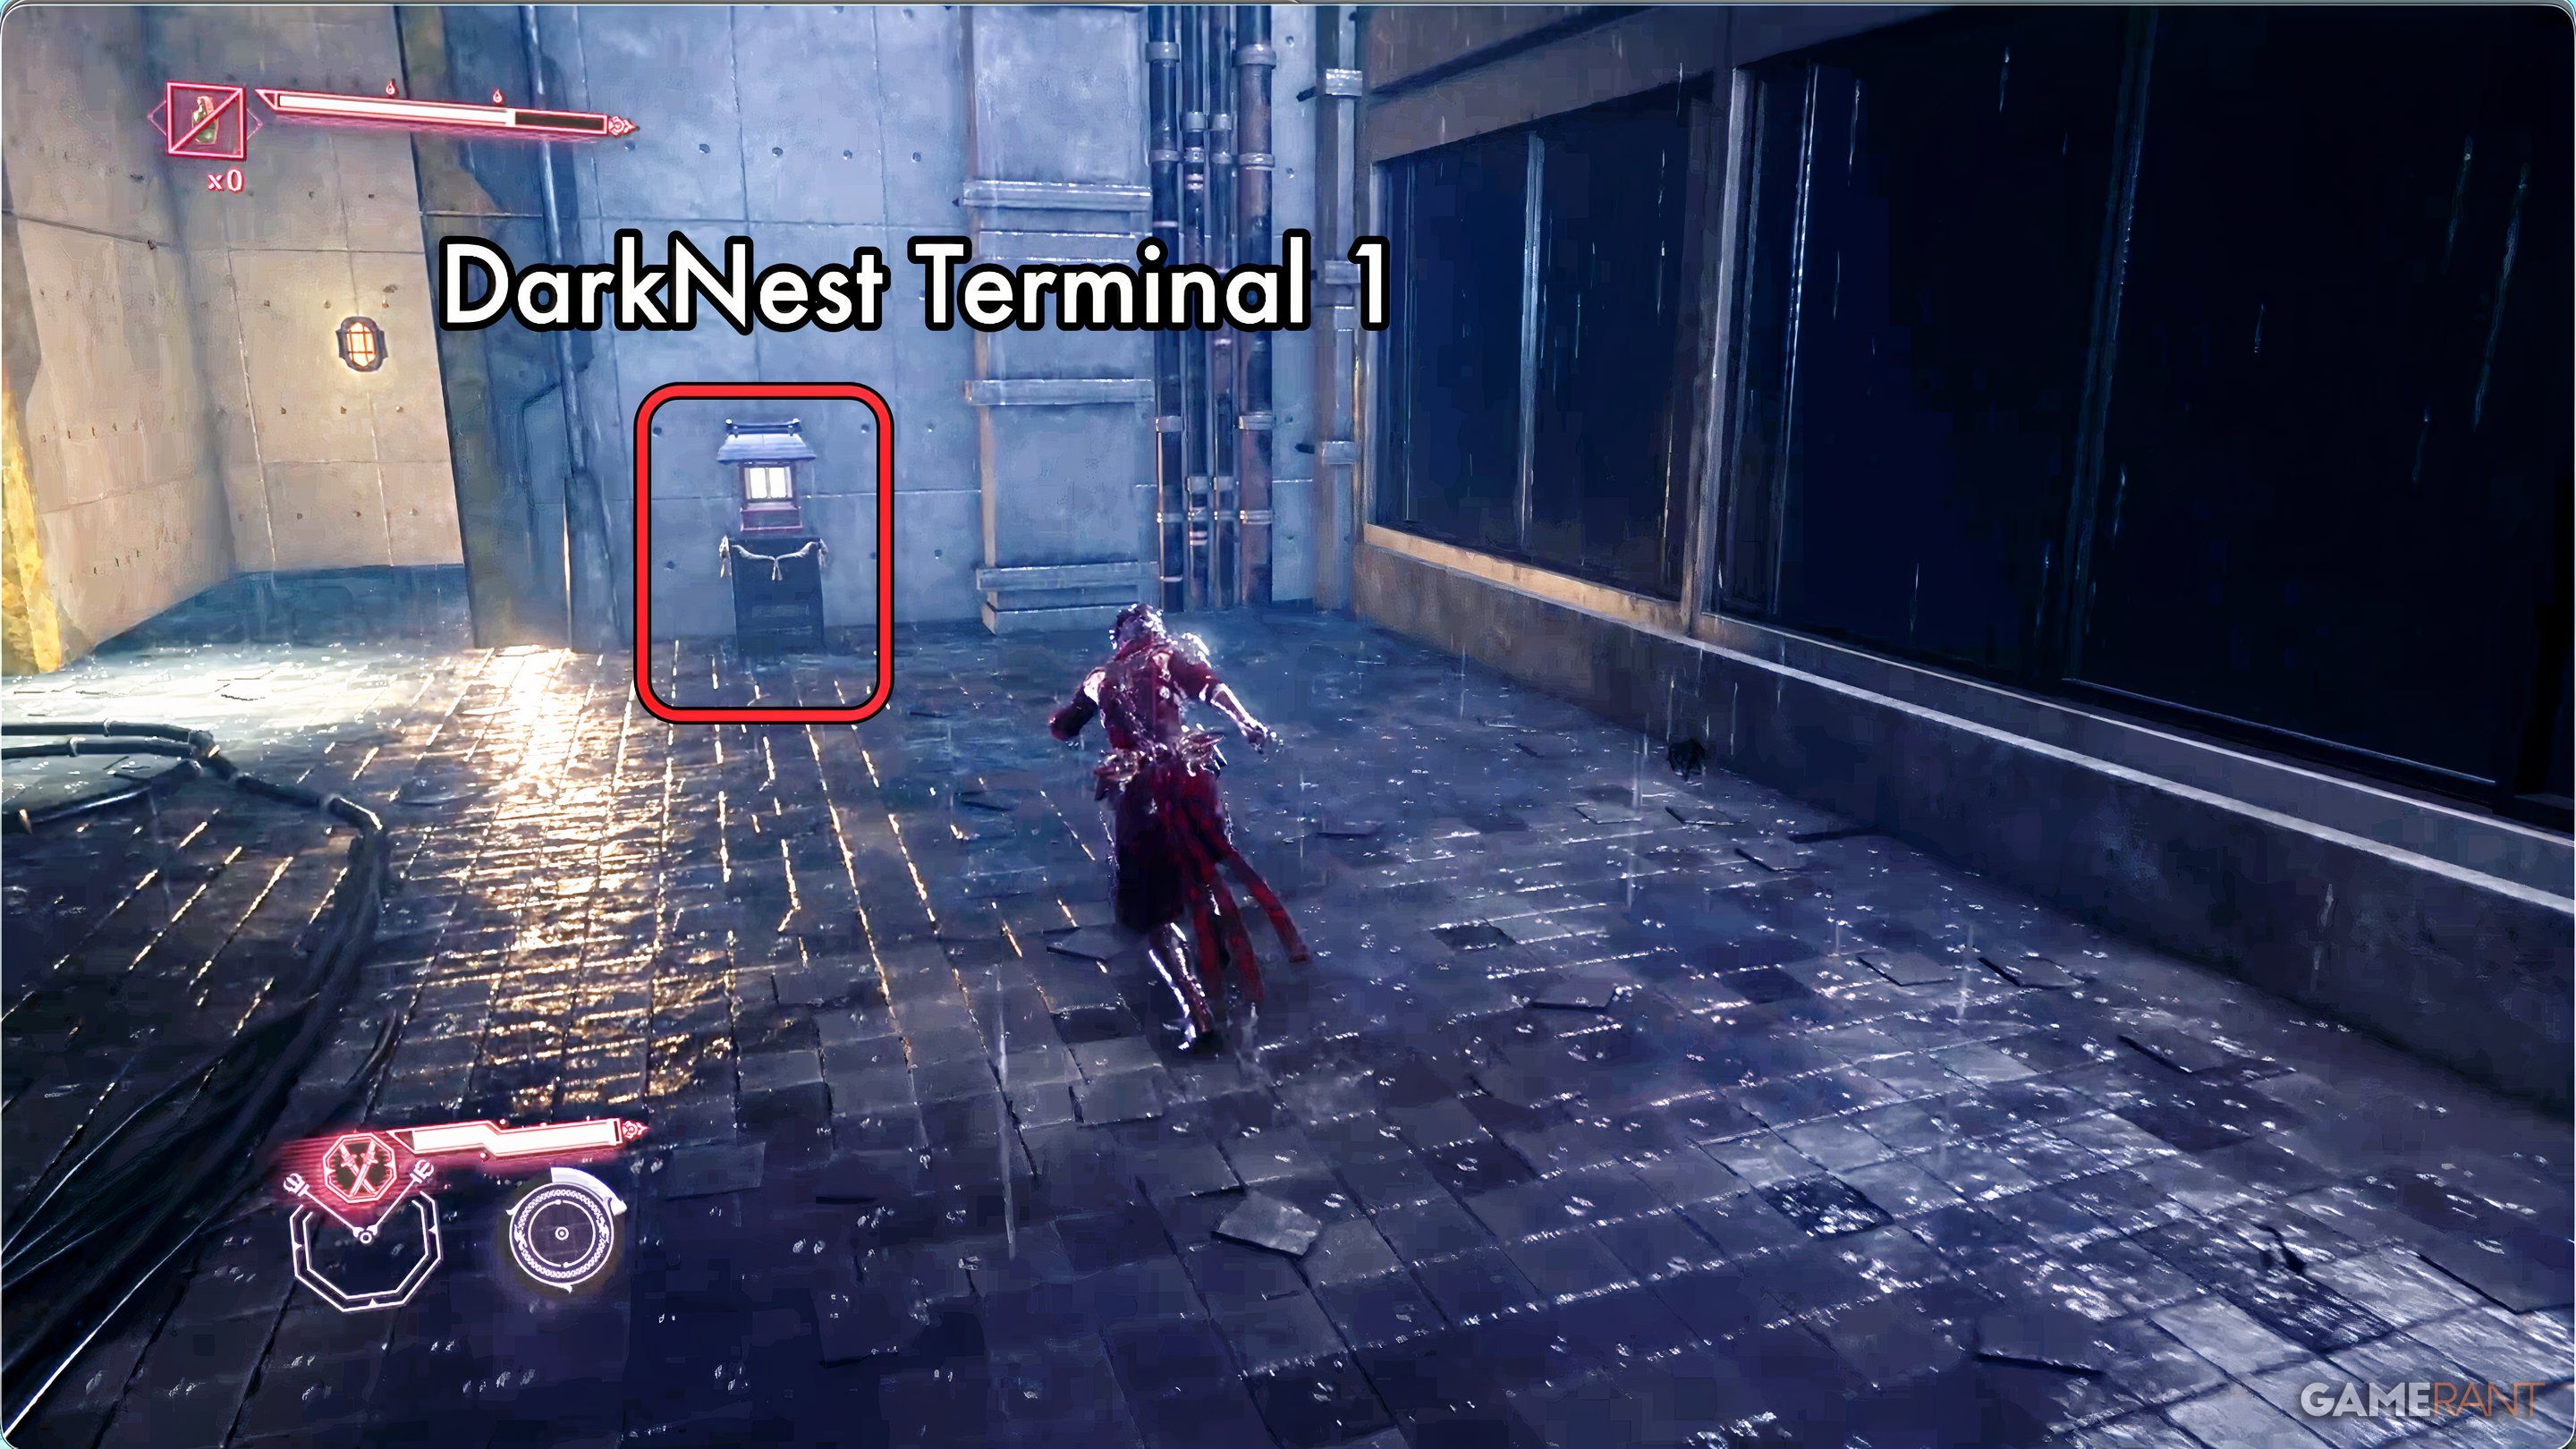
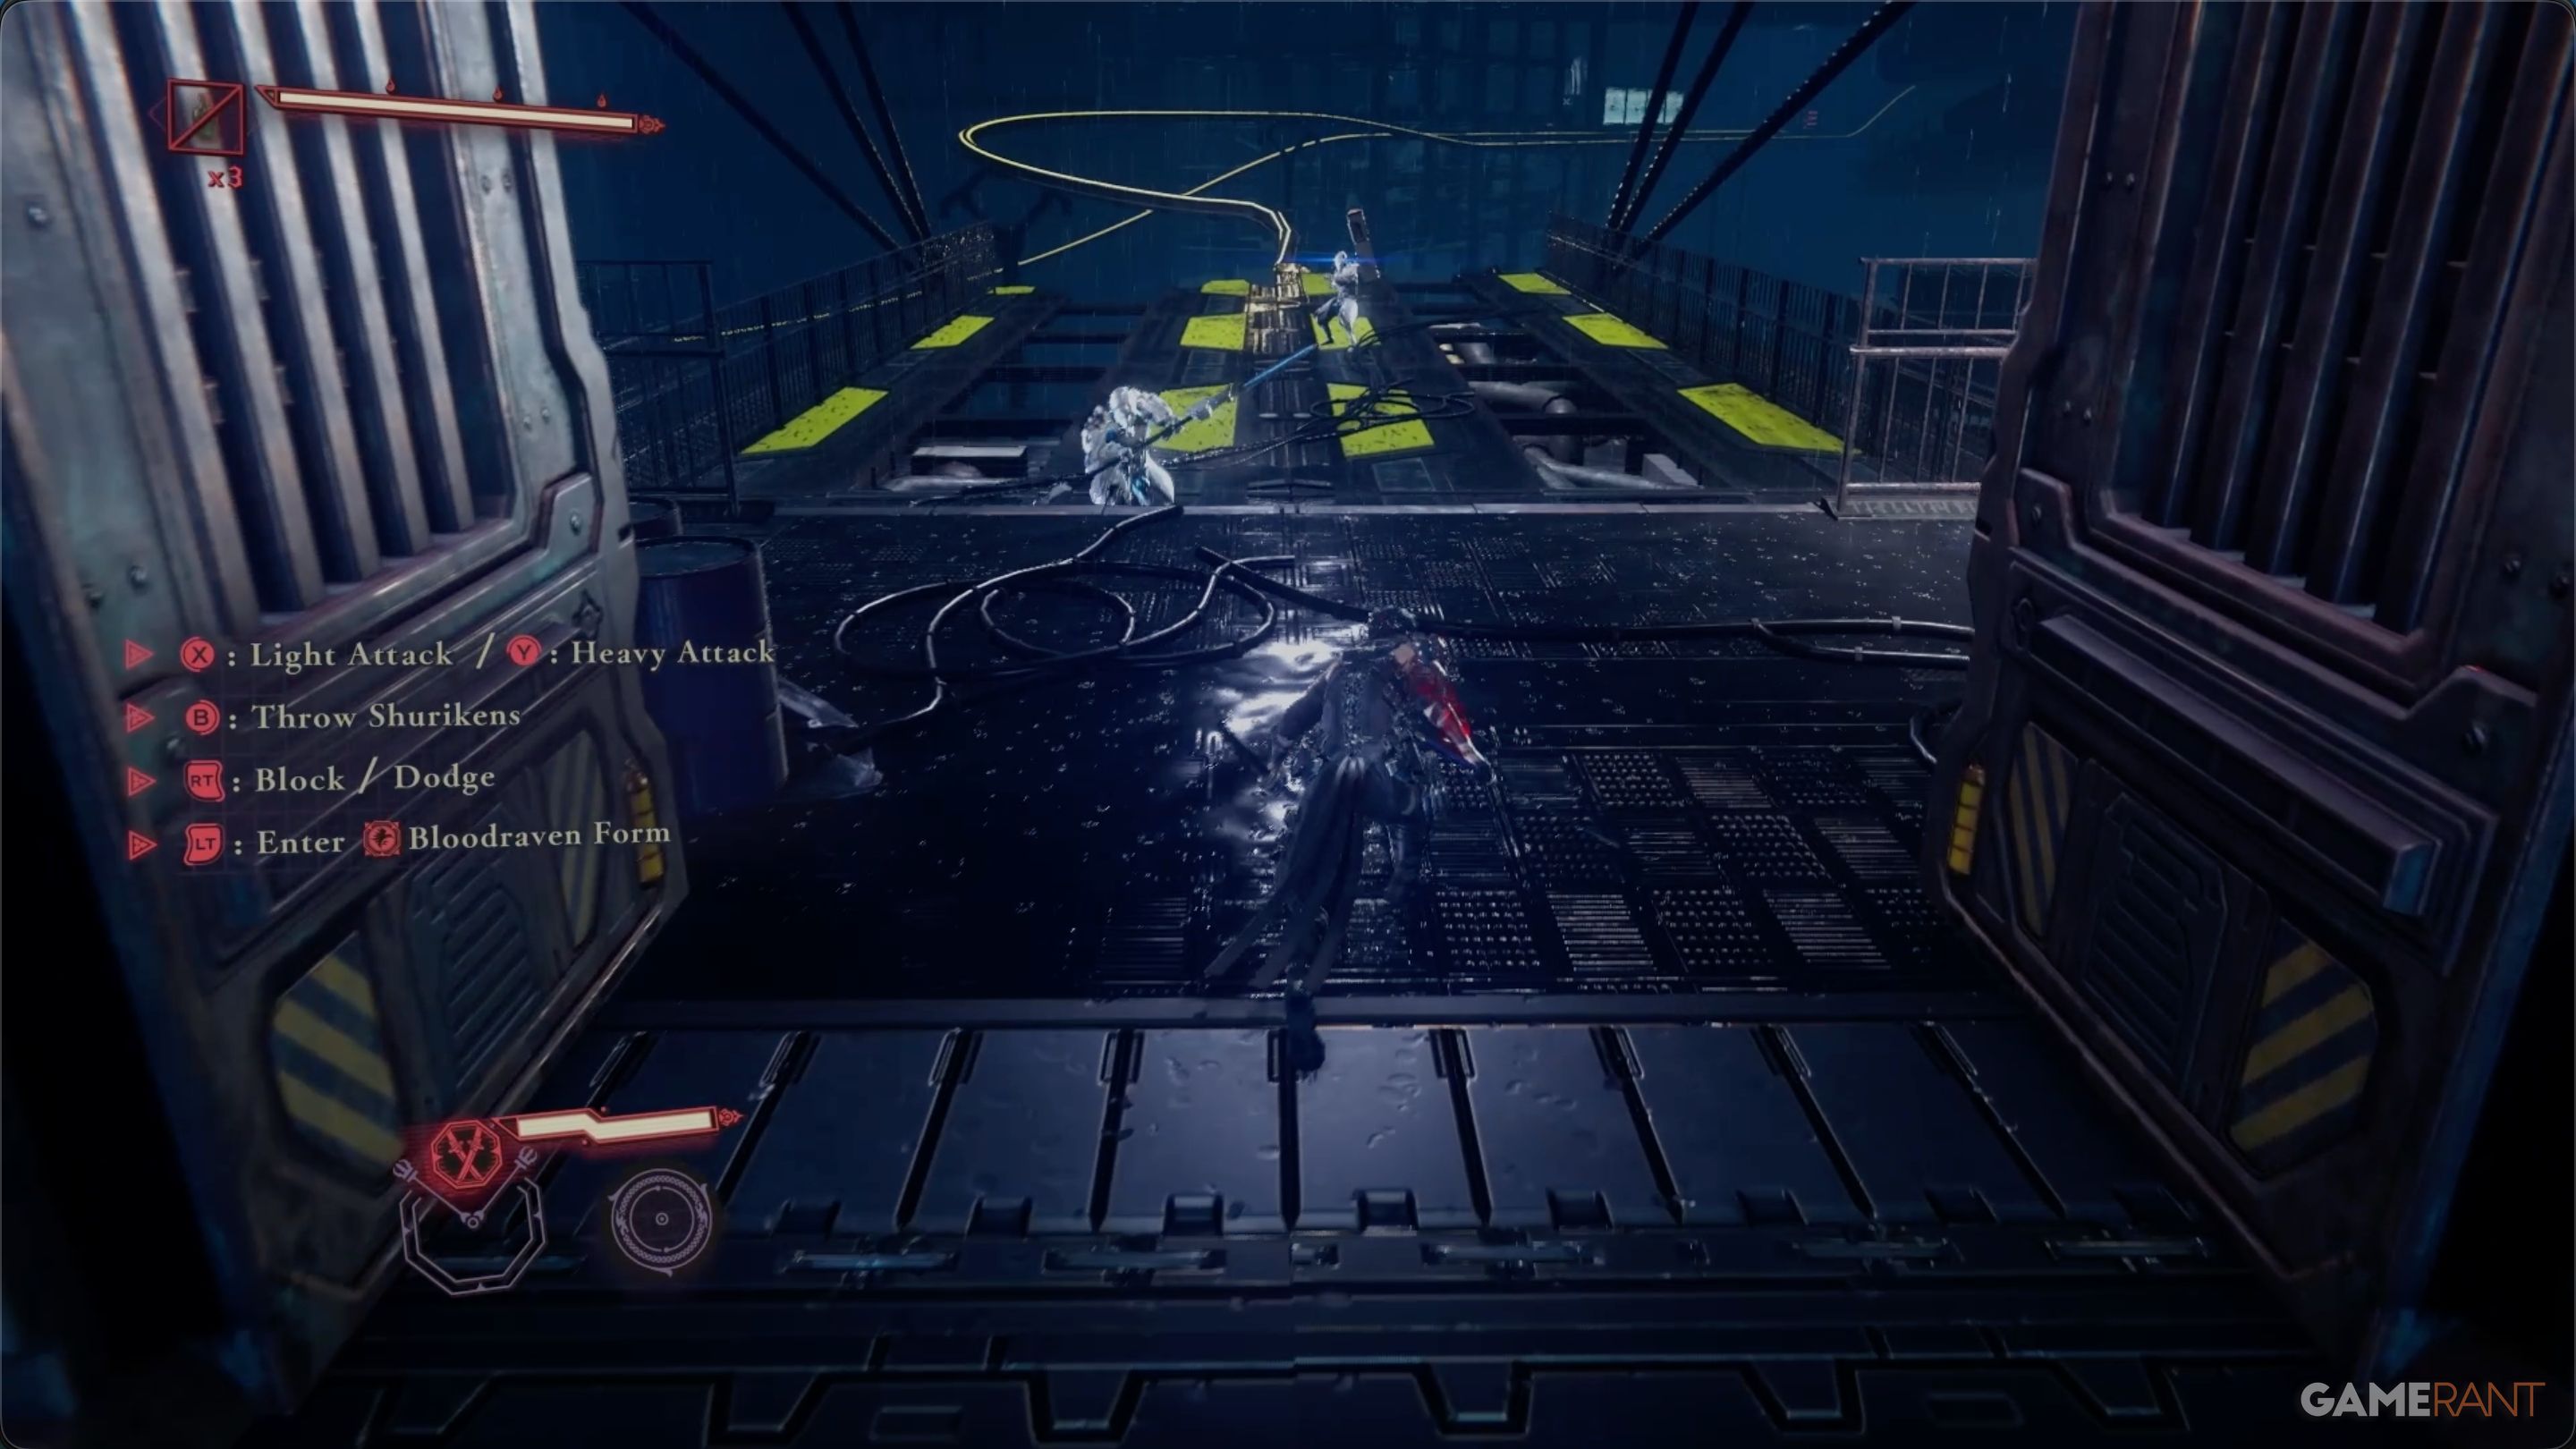
As you reach the end of the railway area, you’ll find a small group of enemies. Shortly after, you’ll come across the first DarkNest Terminal in the chapter, and Tyran’s first raven will appear.
New Missions:
After you use the first DarkNest Terminal in Chapter 2, you’ll be able to start these new missions:
- Execute the DDO Bodyguards – Reward: NinjaCoin x3500
- Execute the Otherworldy Invaders – Reward: NinjaCoin x4500
Both missions start in Sky City Tokyo. If you completed the mission from Chapter 1 – the one where you defeat 50 enemies – you can now turn it in and receive the Bulwark God’s Orb. This accessory reduces all ranged damage that Yakumo takes by half.

Tyran’s raven is sitting on a fence post close to the air conditioning units, and it’s a little hidden if you’re not looking for it. The picture above shows exactly where to find him if you’d like to talk to Tyran.
First Black Scale, Increase Max Health:

After exiting the first DarkNest Terminal, you’ll face a series of battles where you can start grappling onto combat drones. This fight happens in a large, multi-level area with both rooftop and ground combat. Keep an eye out for three chests hidden throughout the area.
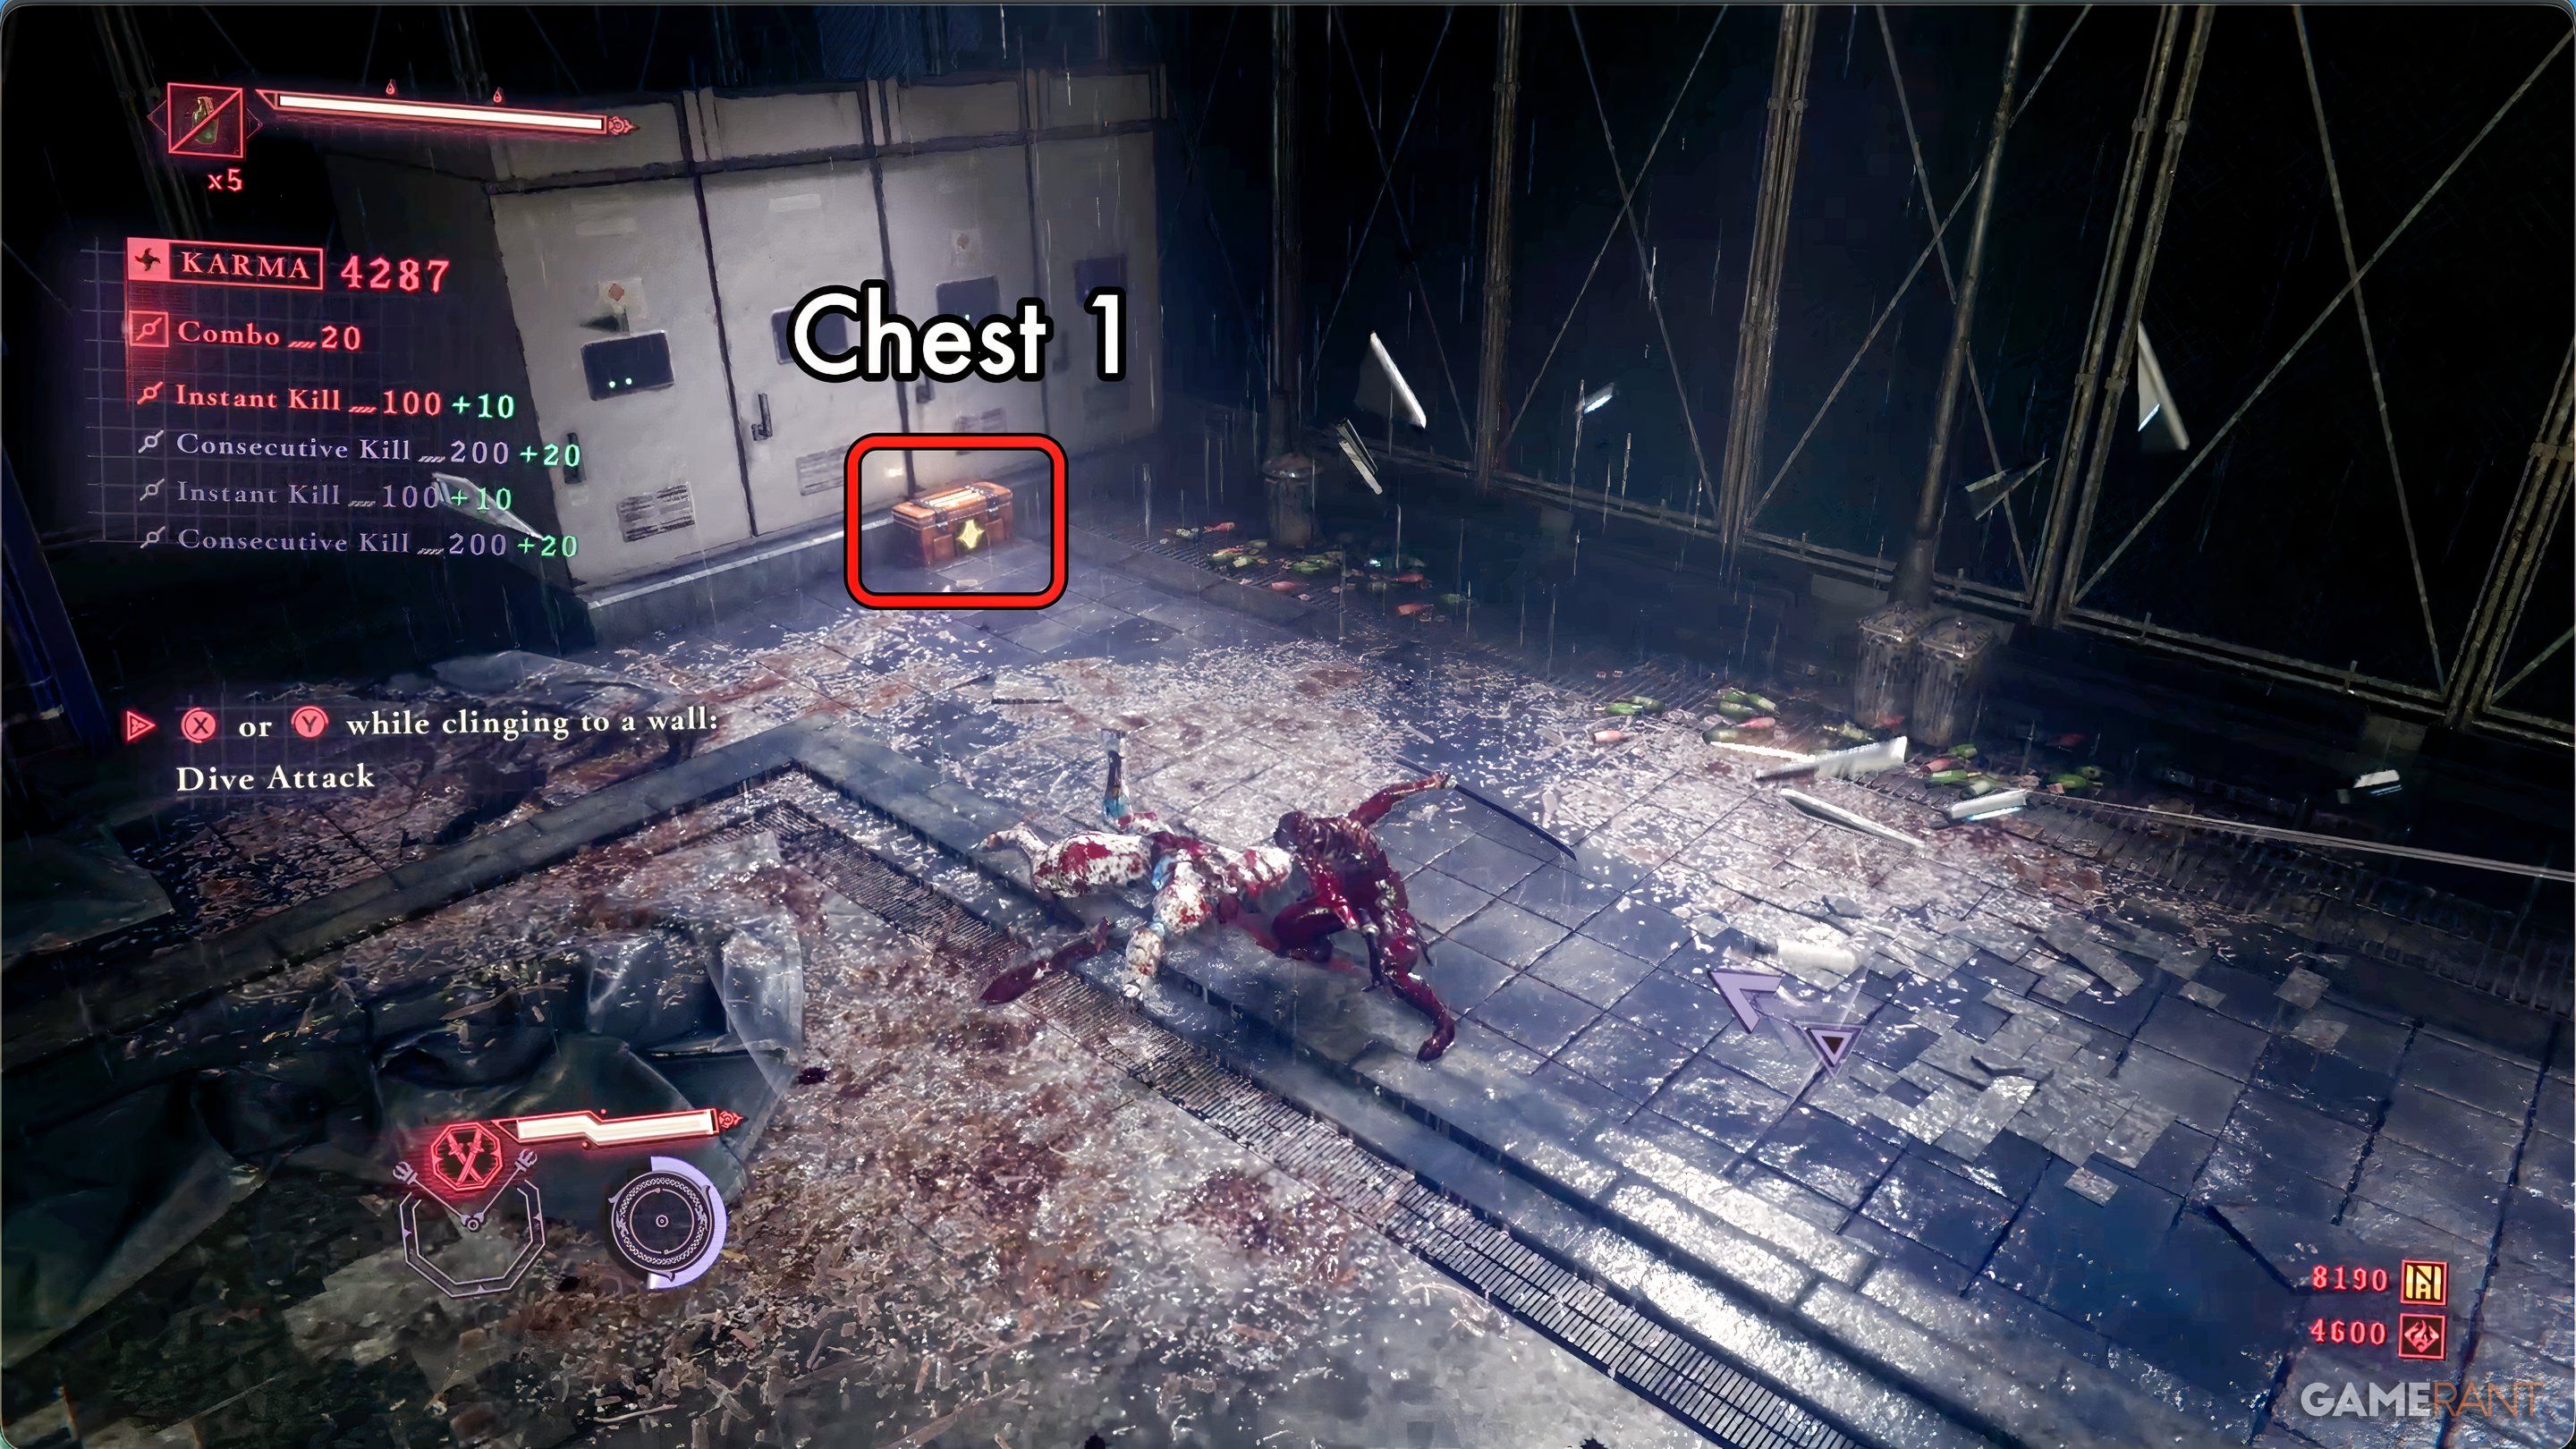
The first chest is located on the ground floor, close to where the fight begins. It’s near a wall covered in electronic panels. Inside, you’ll find one Rejuvenation Elixir, which gradually restores your health.
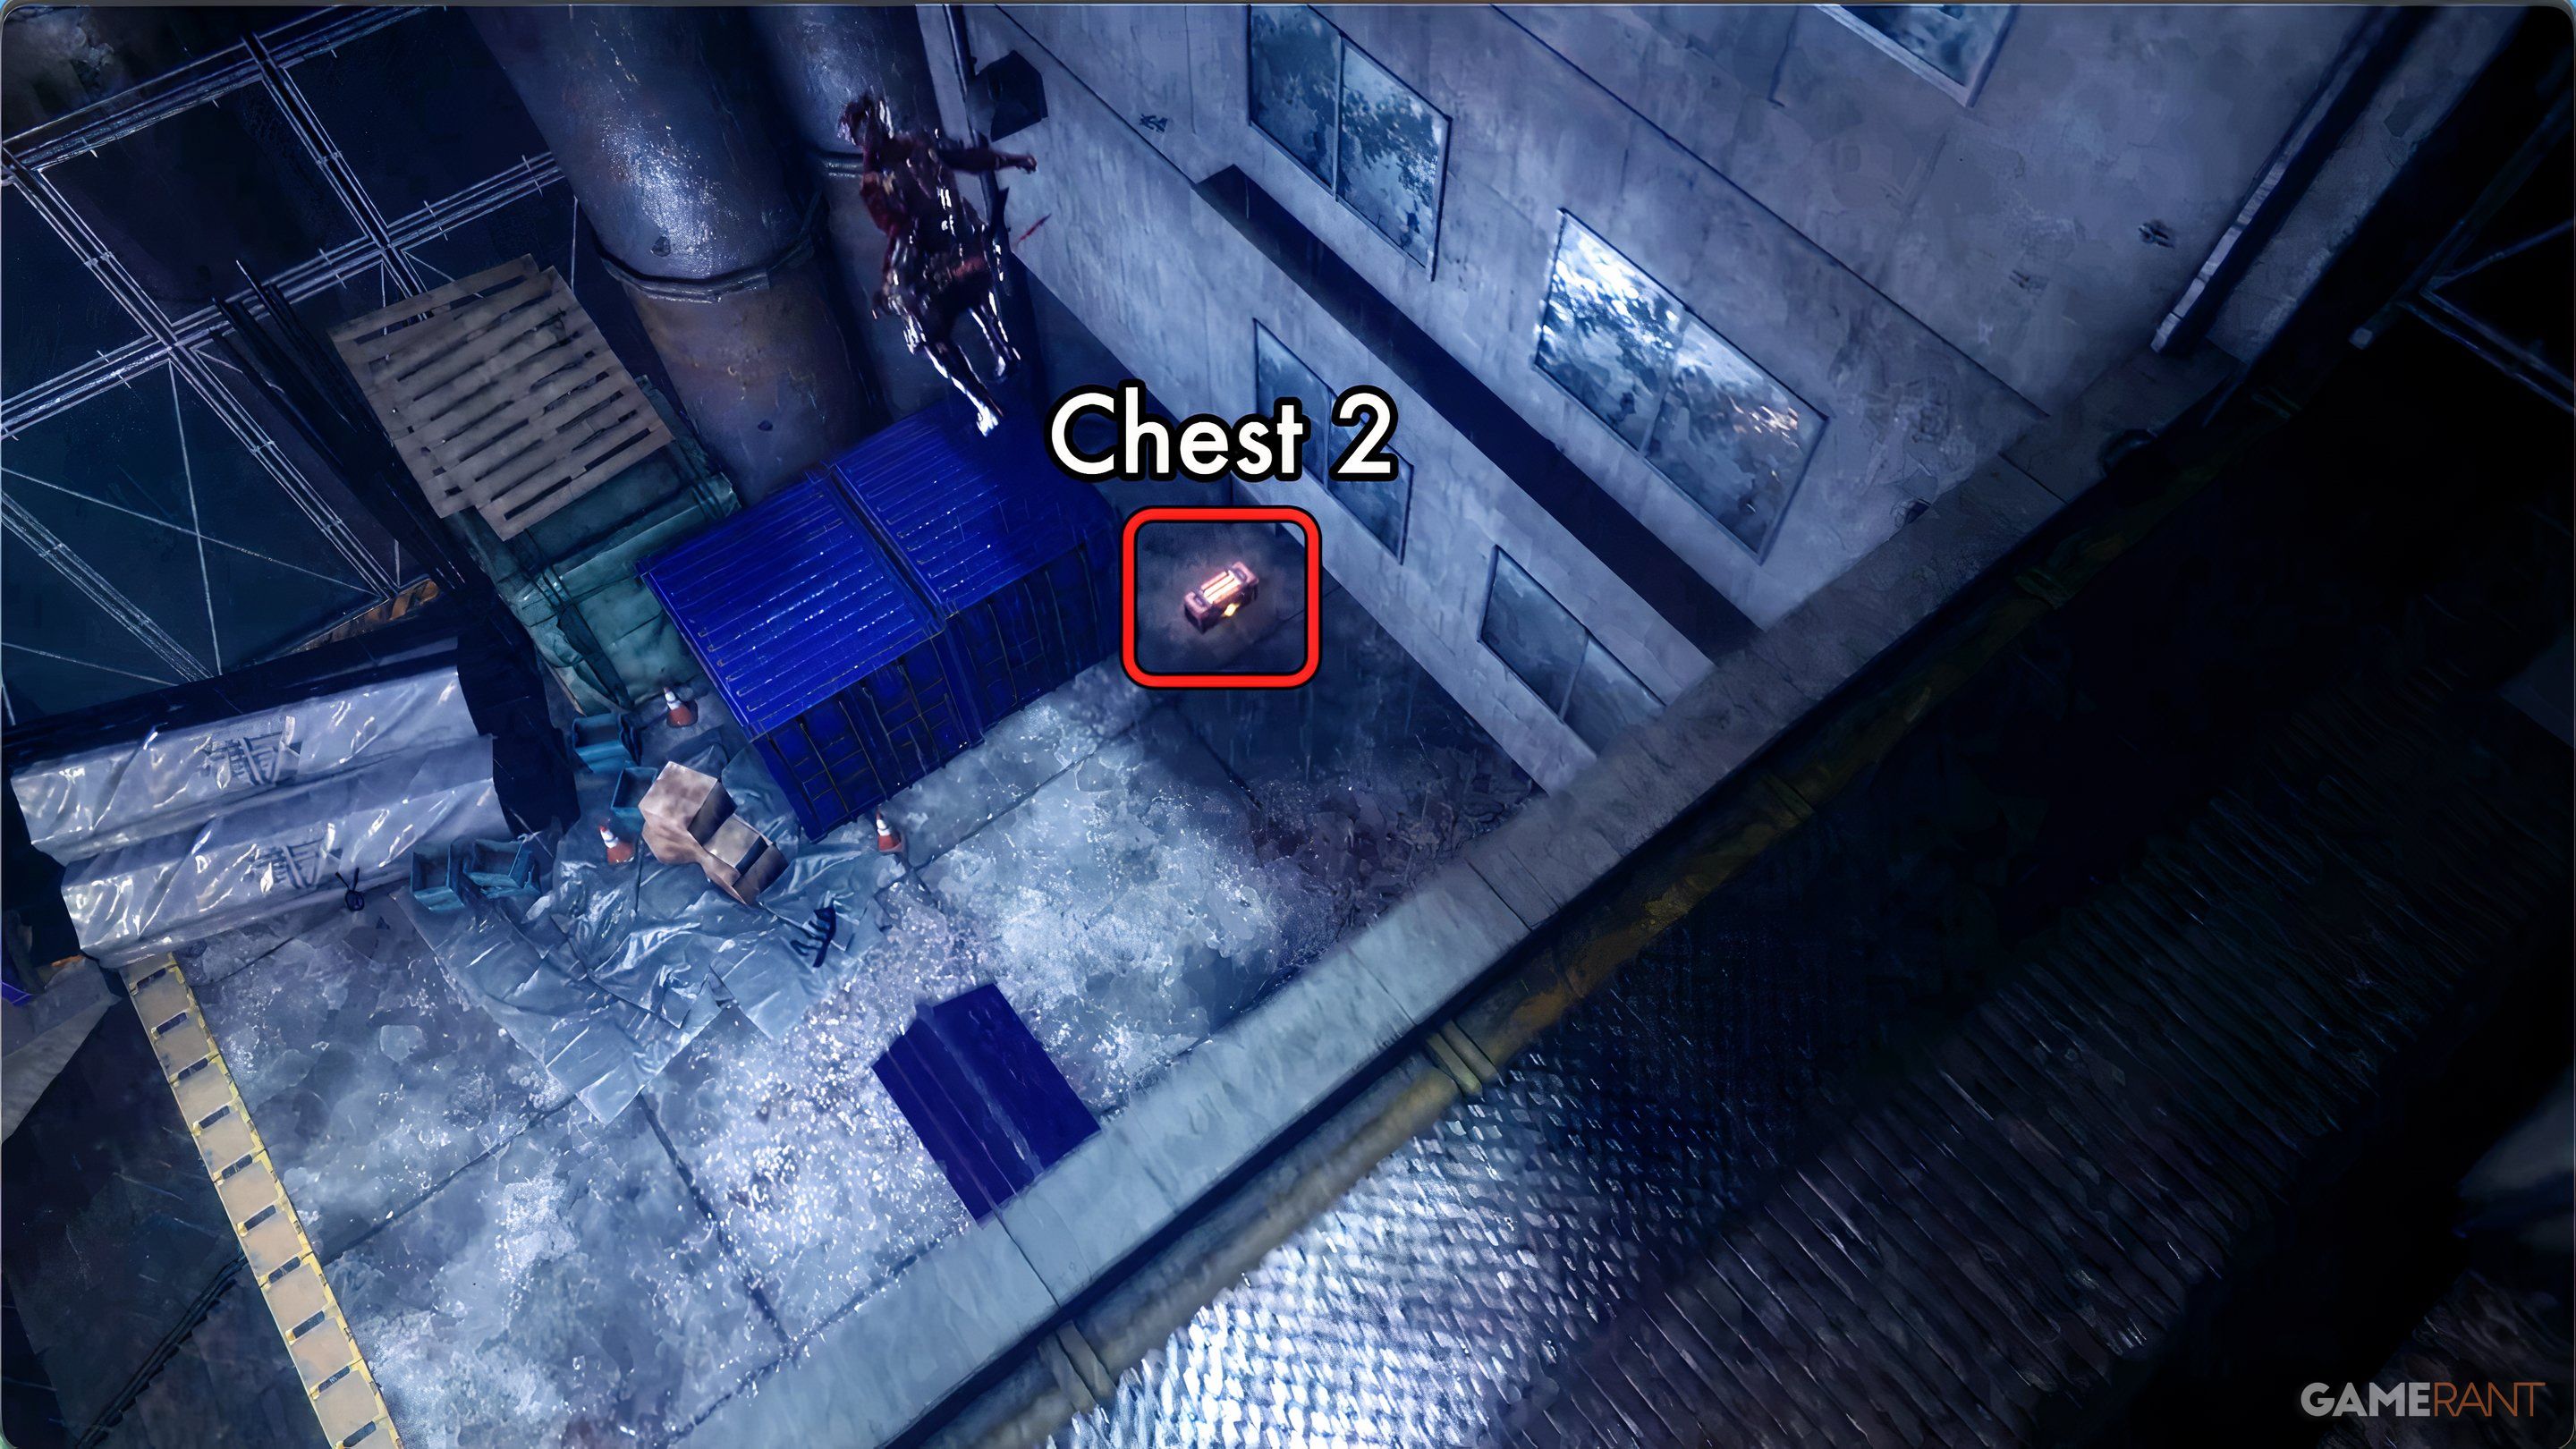
Okay, so finding Chest 2 was a little tricky! It’s actually on the ground, but you need to head up to where the yellow ladder starts – the one that goes up to the rooftops. It’s tucked away behind those big blue containers, so keep your eyes peeled! And the best part? I got a Rejuvenation Elixir x1 from it!
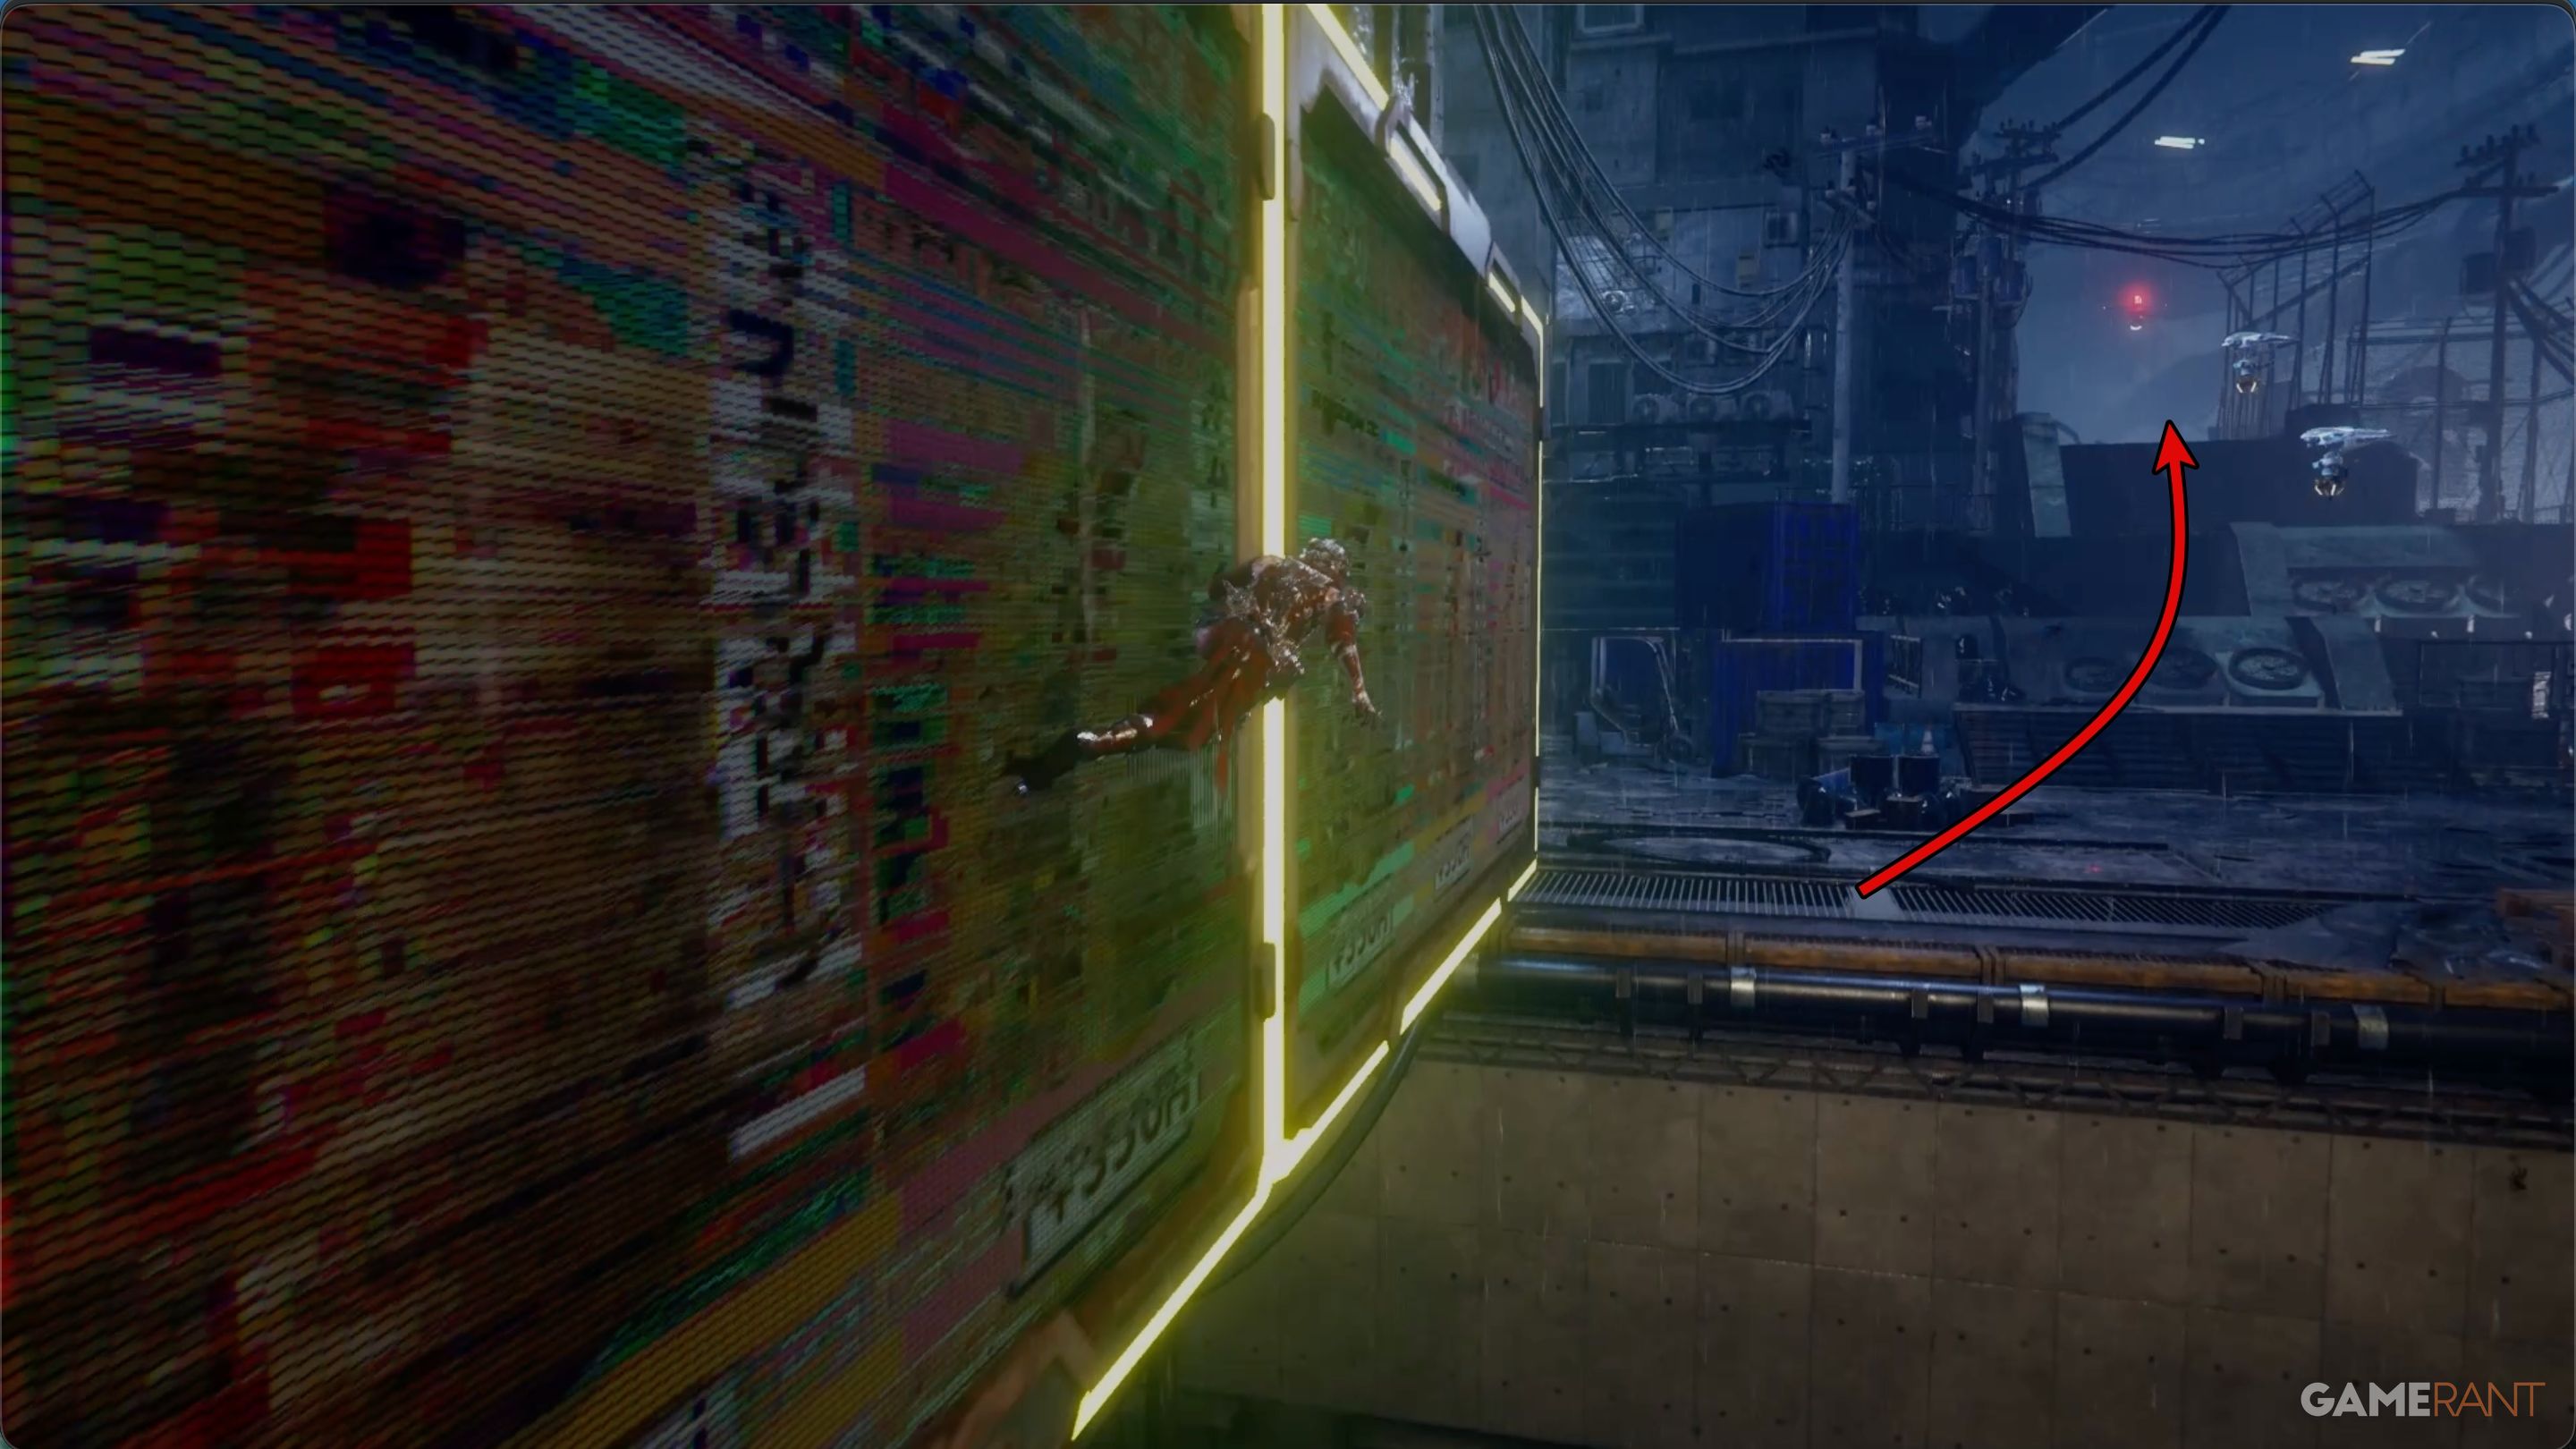
Once you’ve grabbed the first two chests, climb the yellow ladder to reach the rooftops. From there, you can run along a wall and use your grappling hook to swing past gaps and stairs, using the drones as anchors. At the top, you’ll face a tough DDO soldier. Keep an eye out for Chest 3 – it’s usually located at the end of an alleyway during the fight.
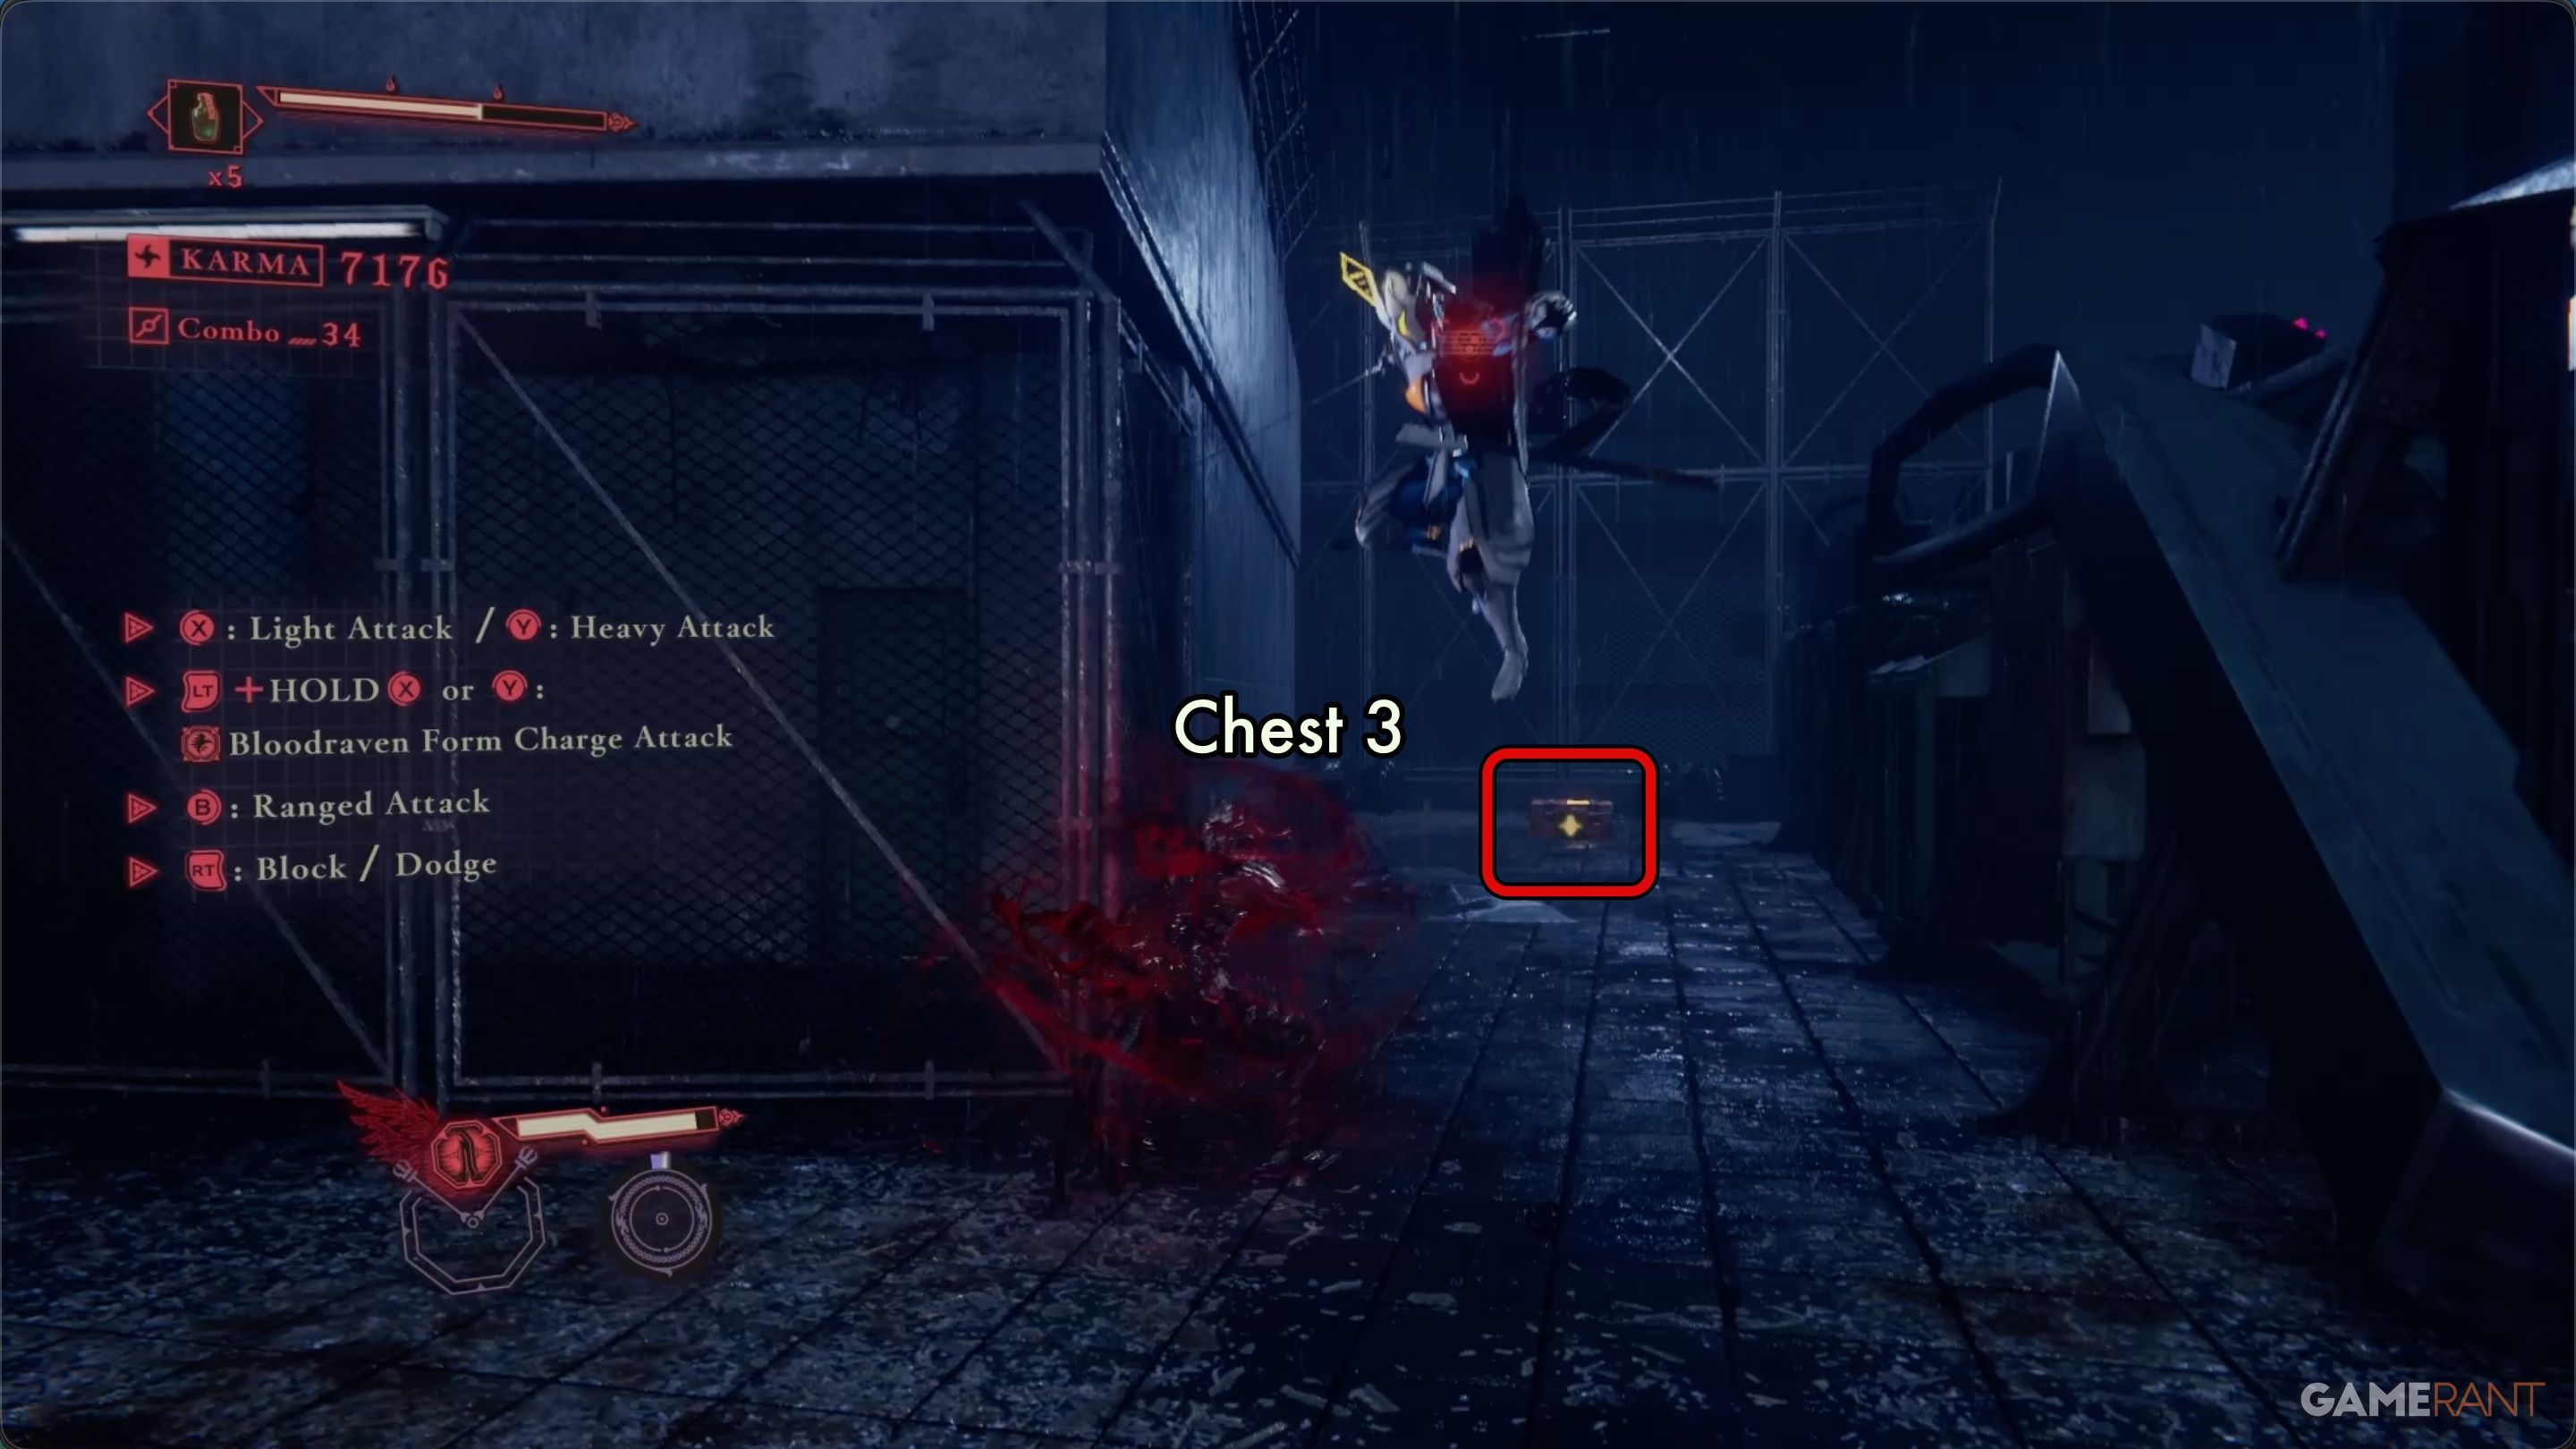
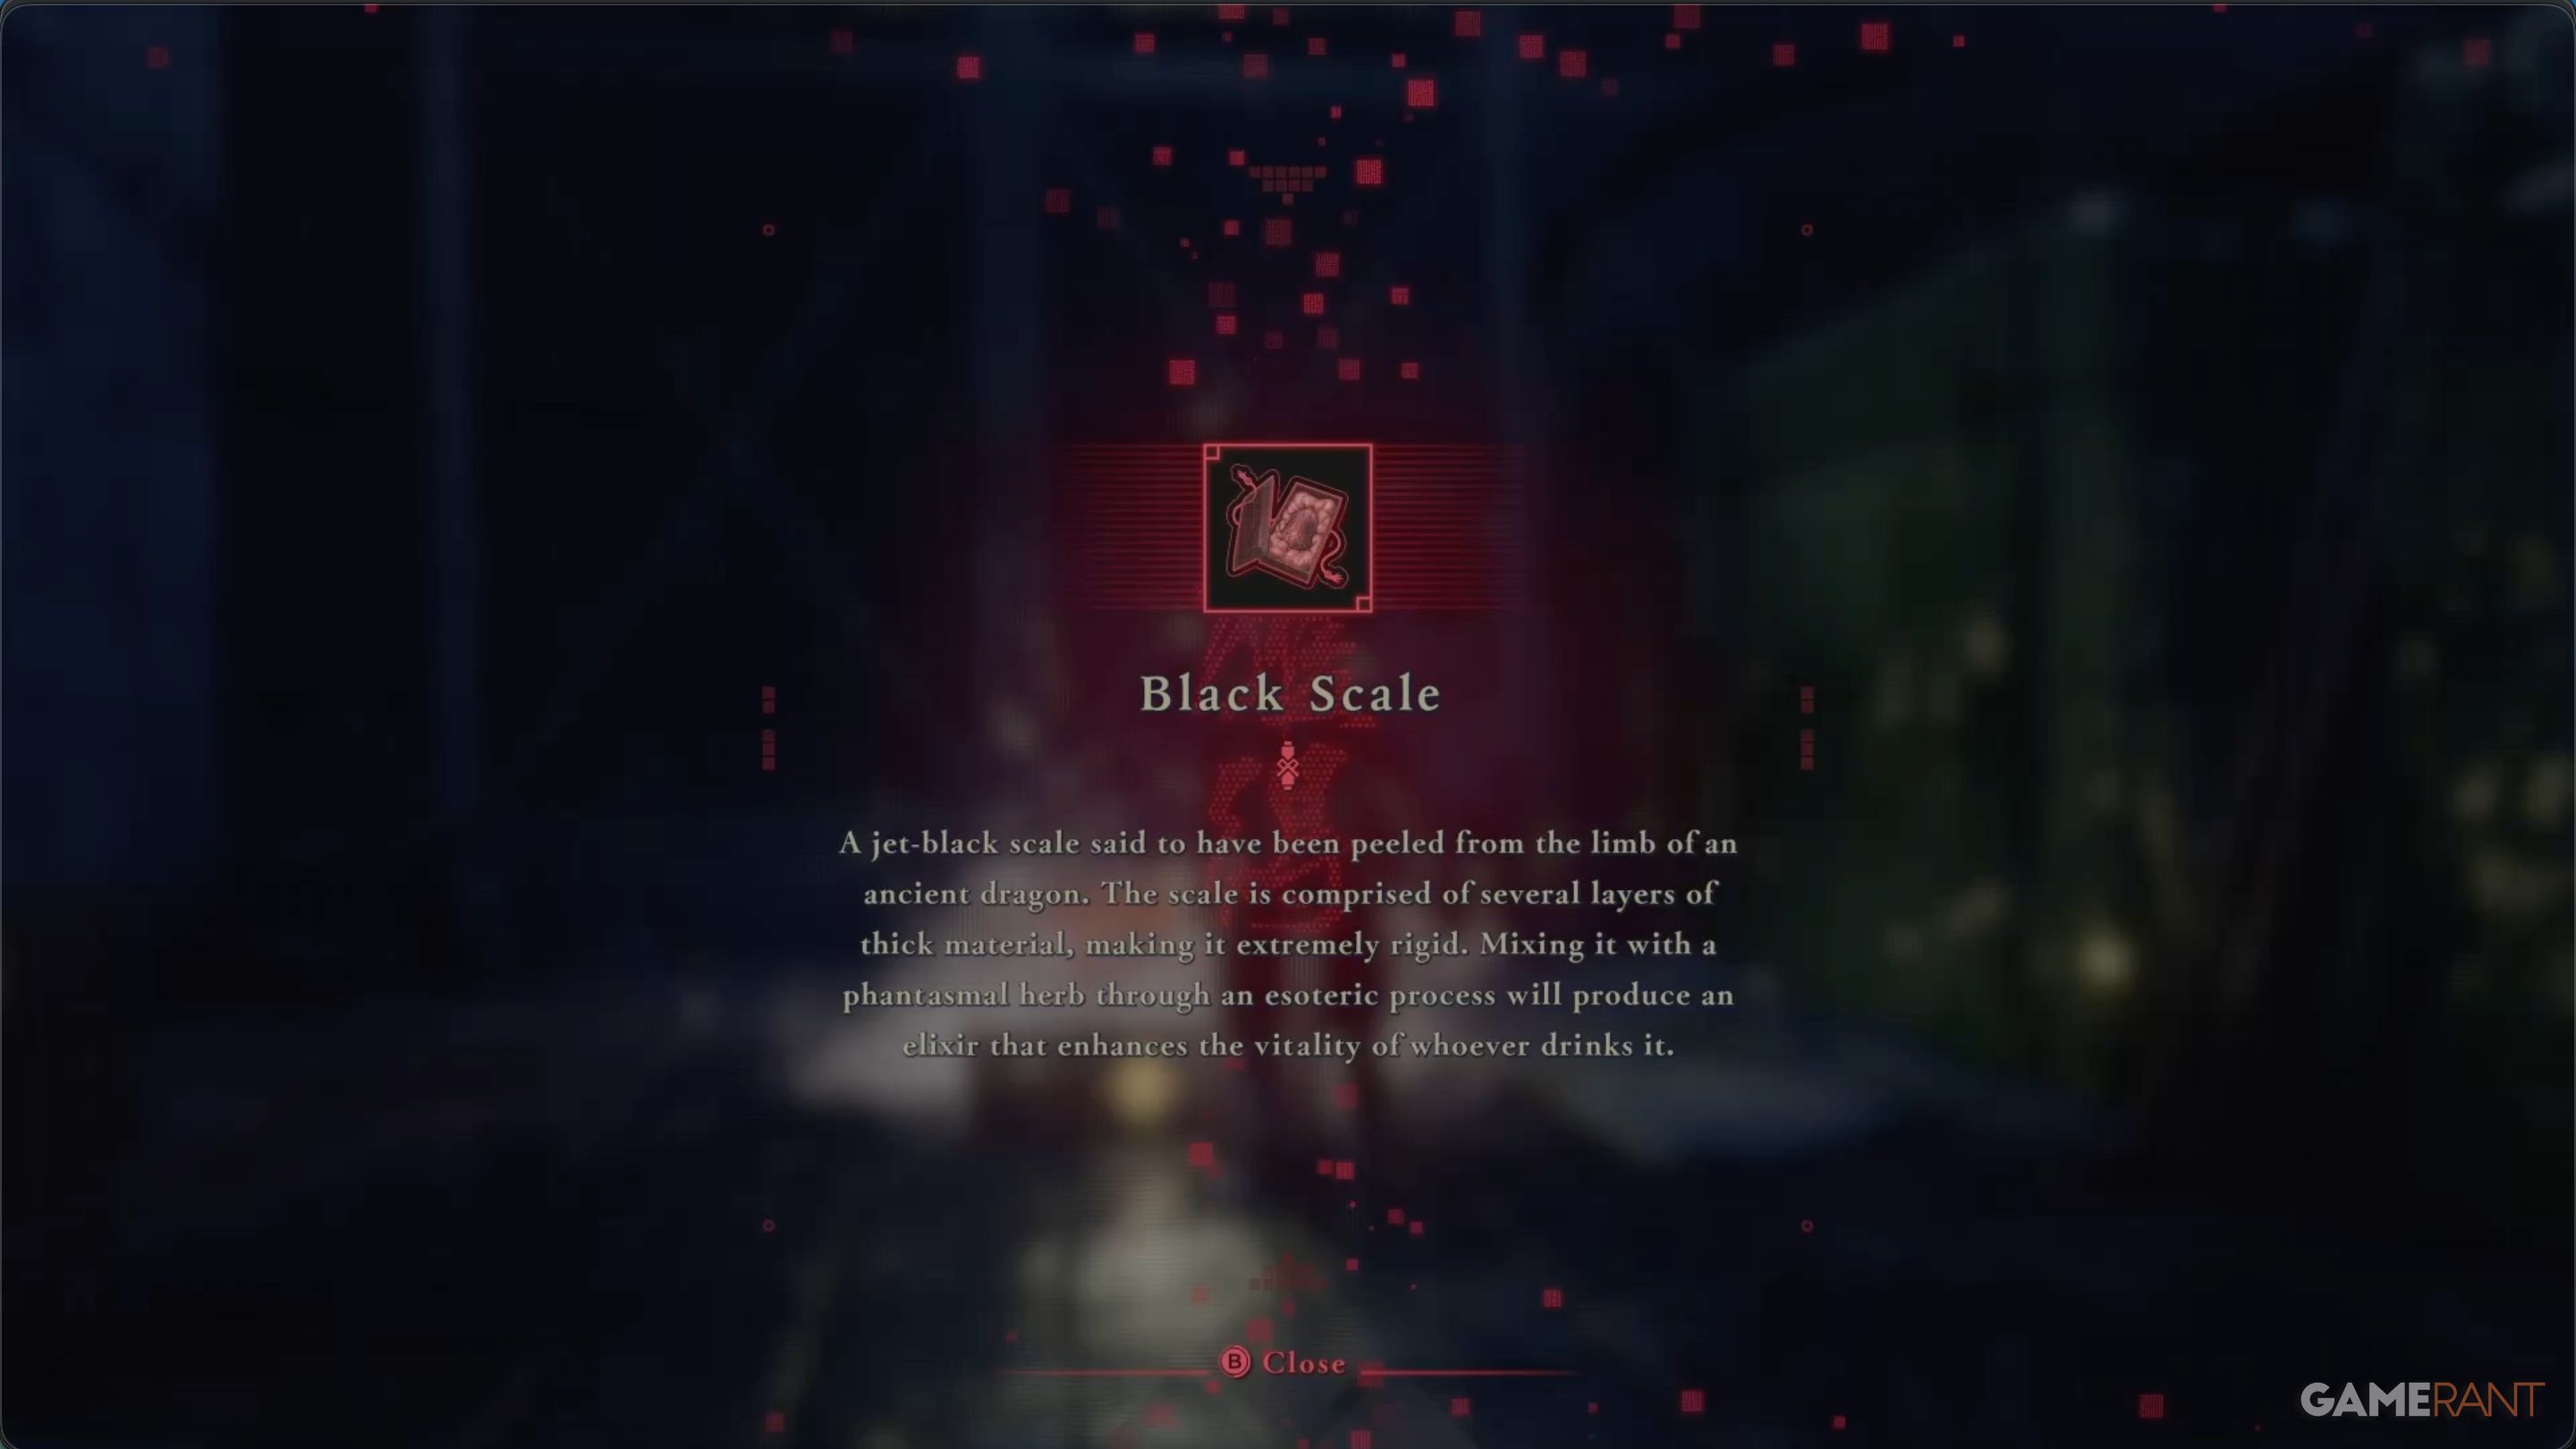
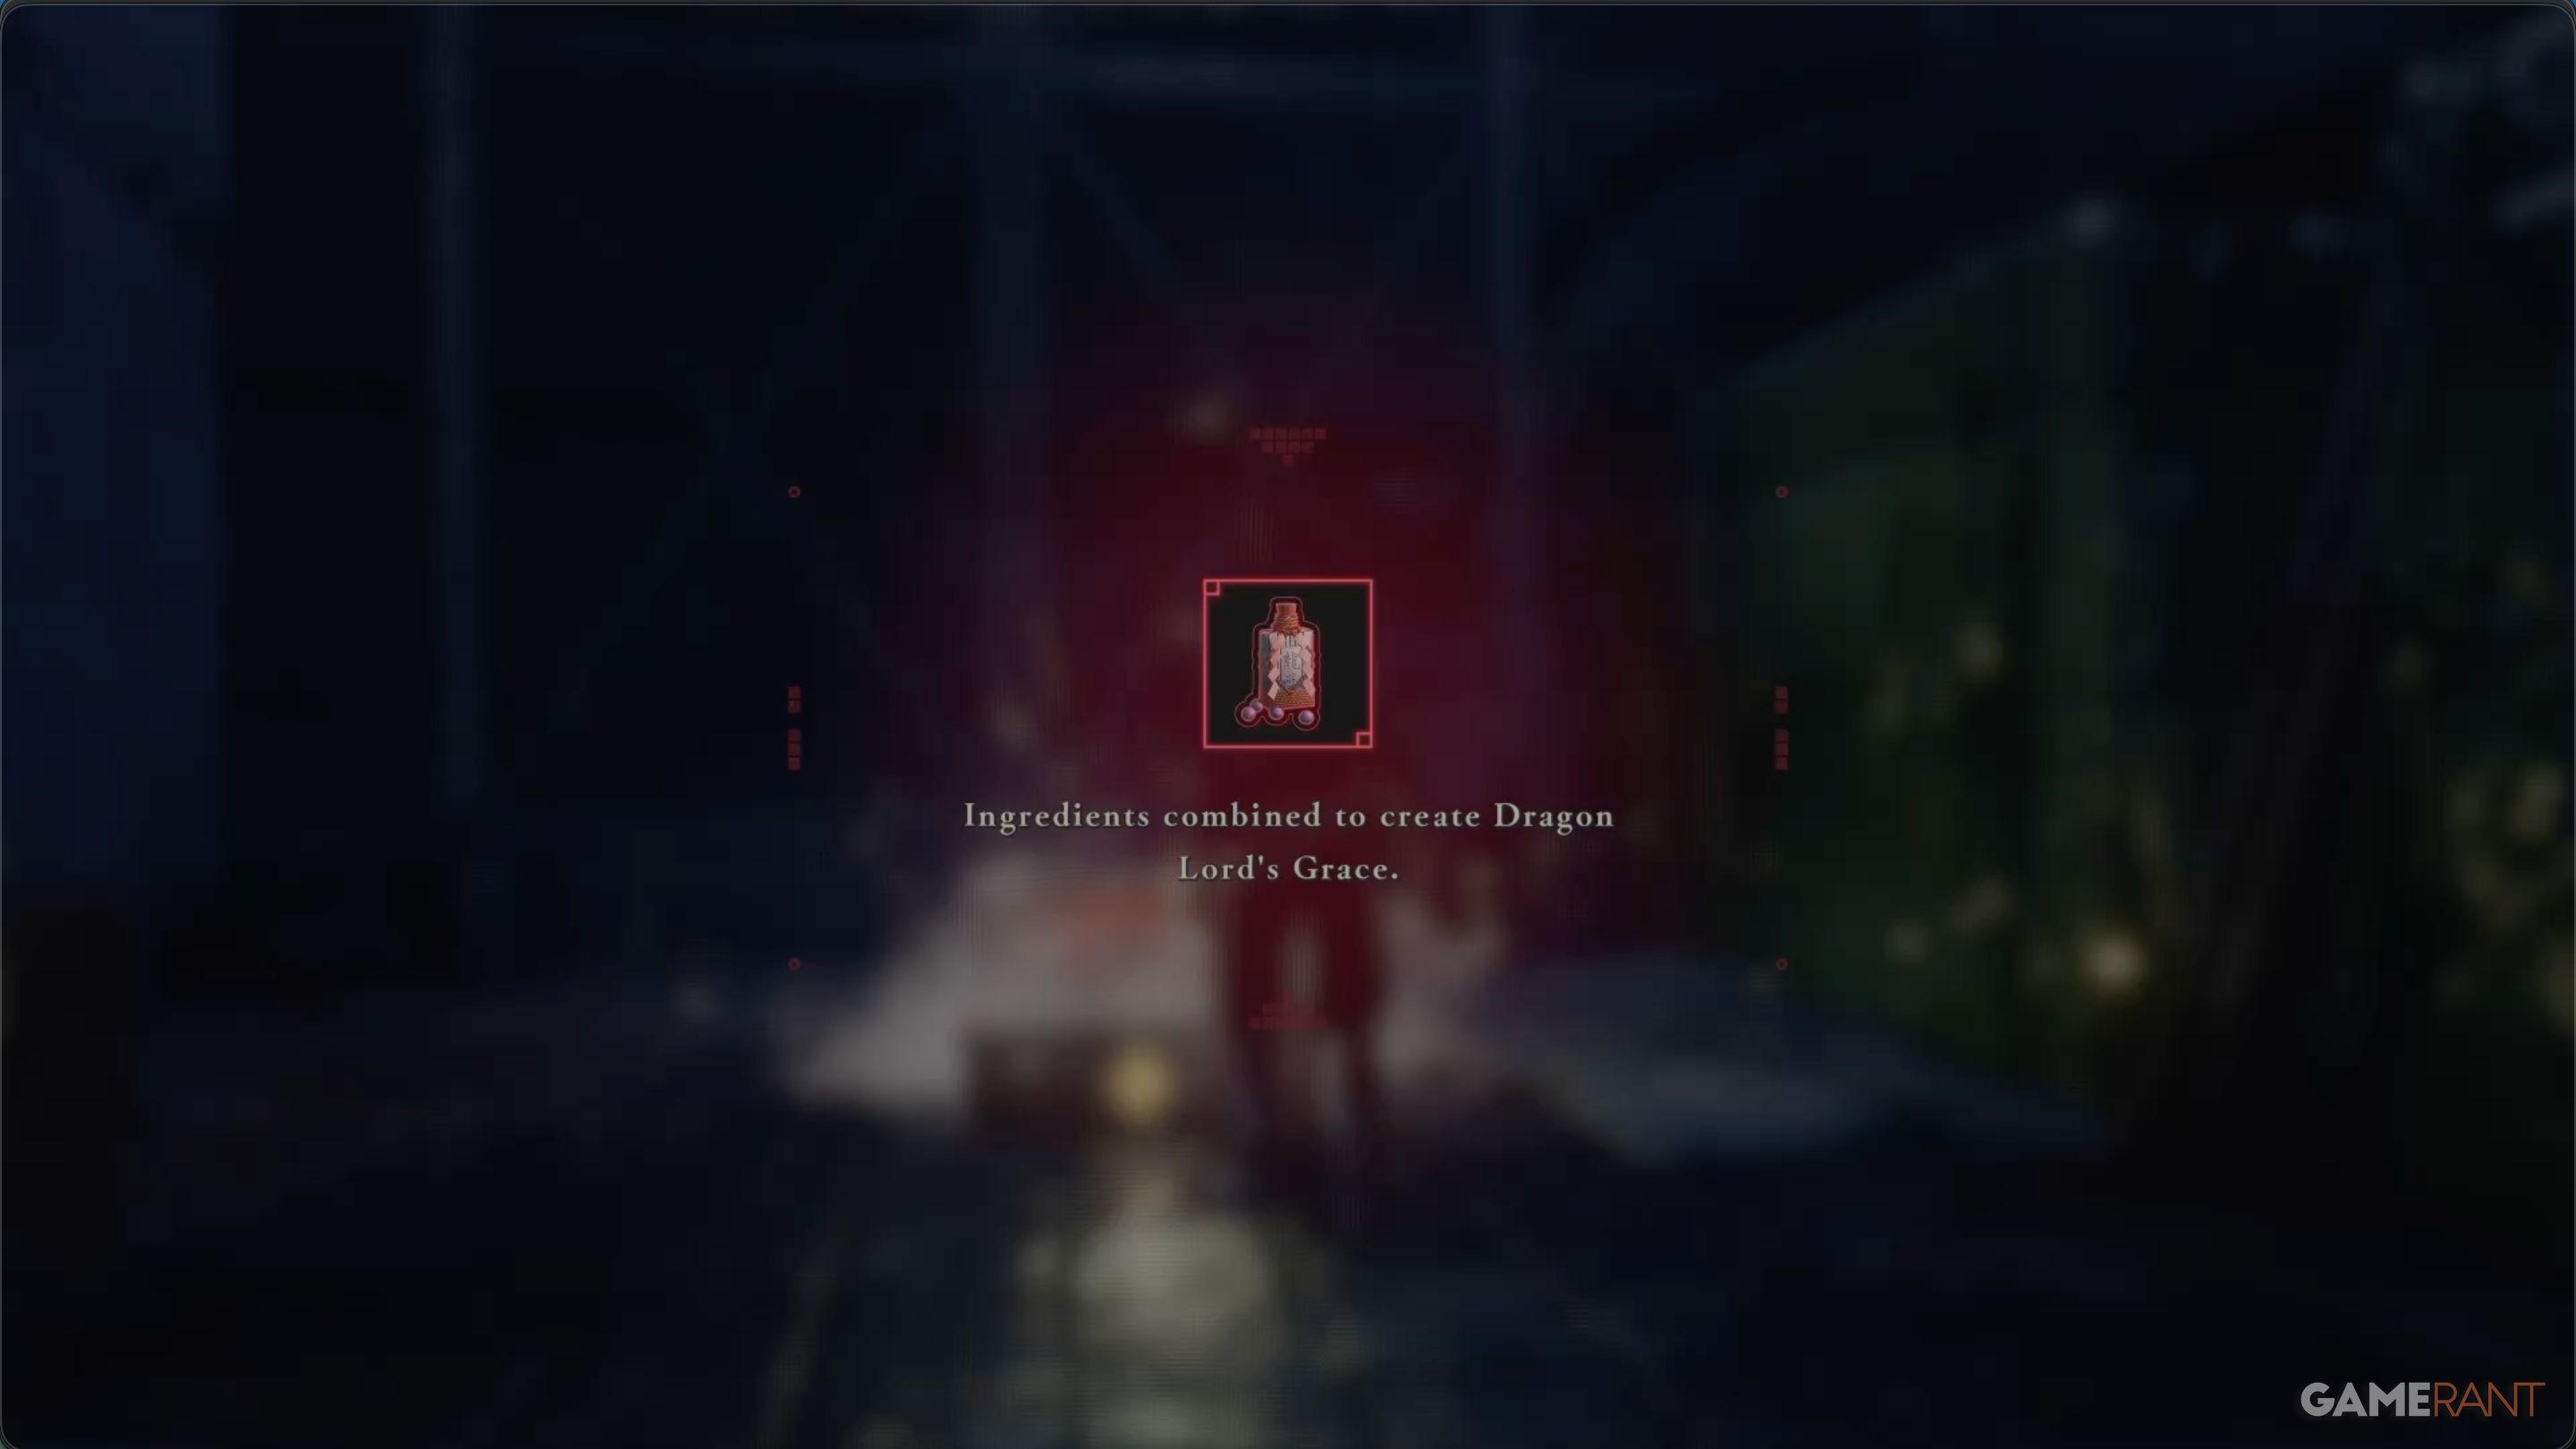
You’ll find the first Black Scale in Chest 3. Combine this with a Phantasmal Herb to create the Dragon Lord’s Grace. Once you have both, the game will automatically combine them, using the Dragon Lord’s Grace to permanently increase Yakumo’s maximum health.
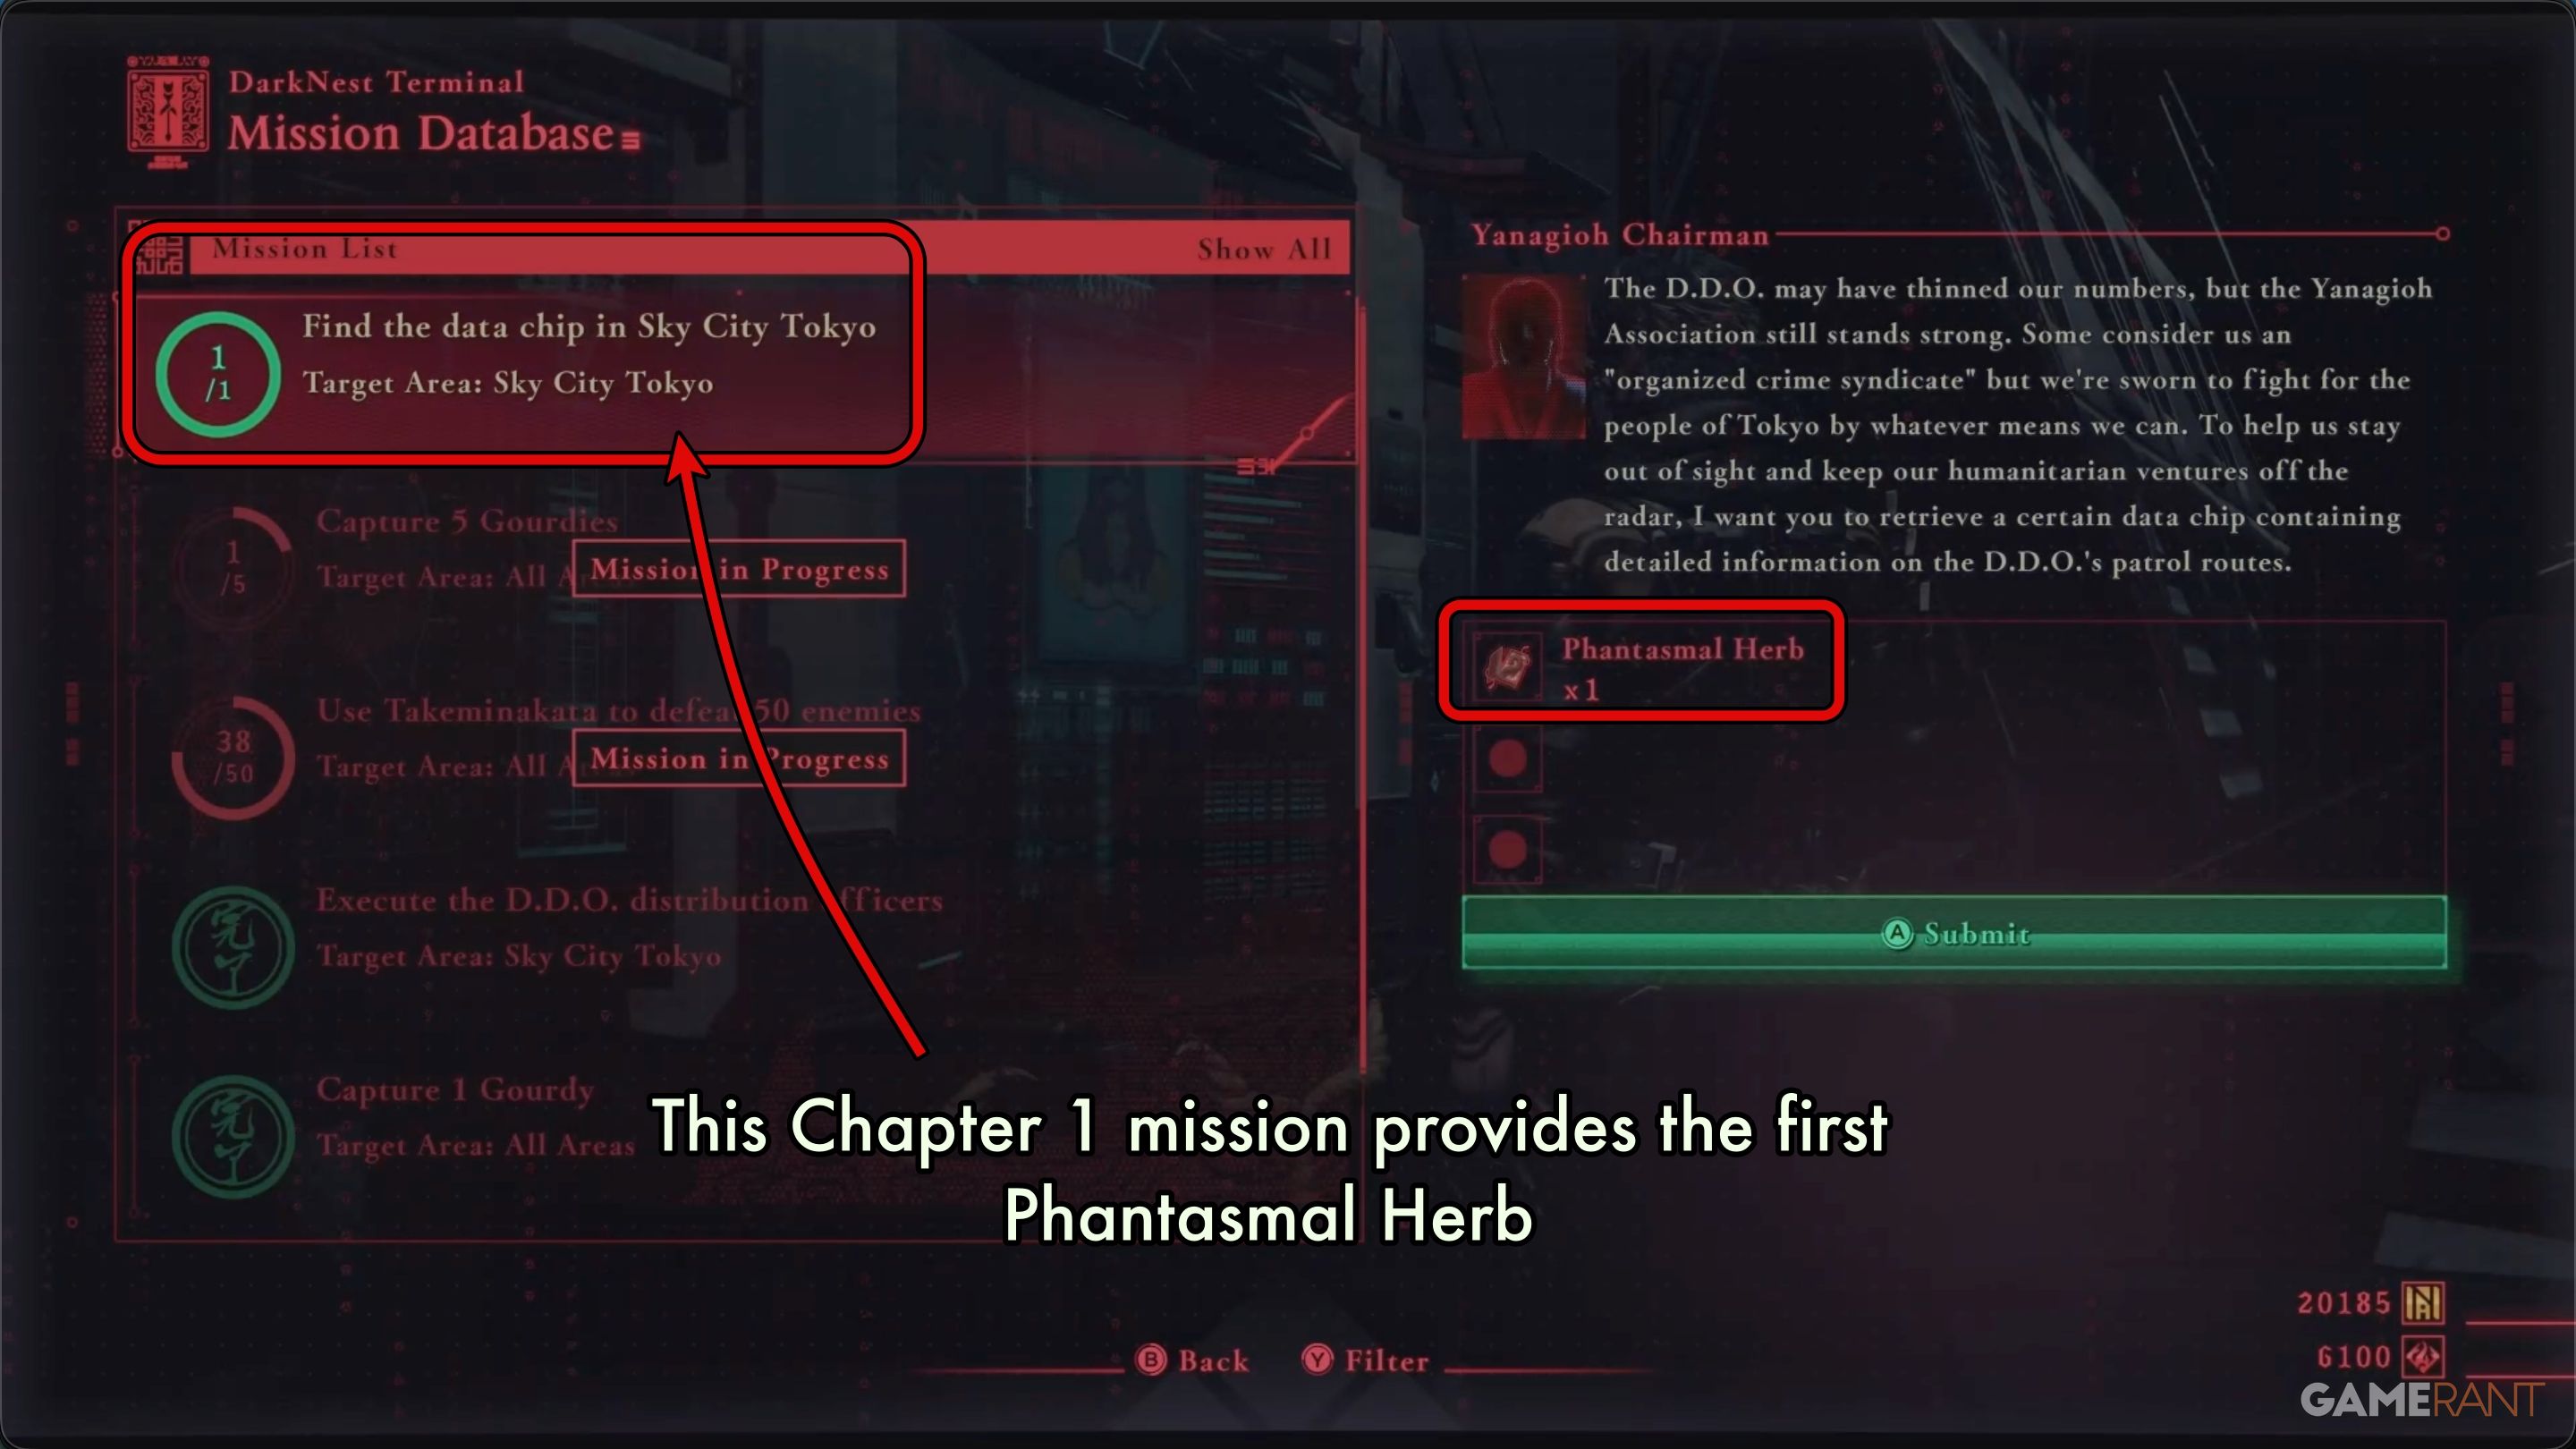
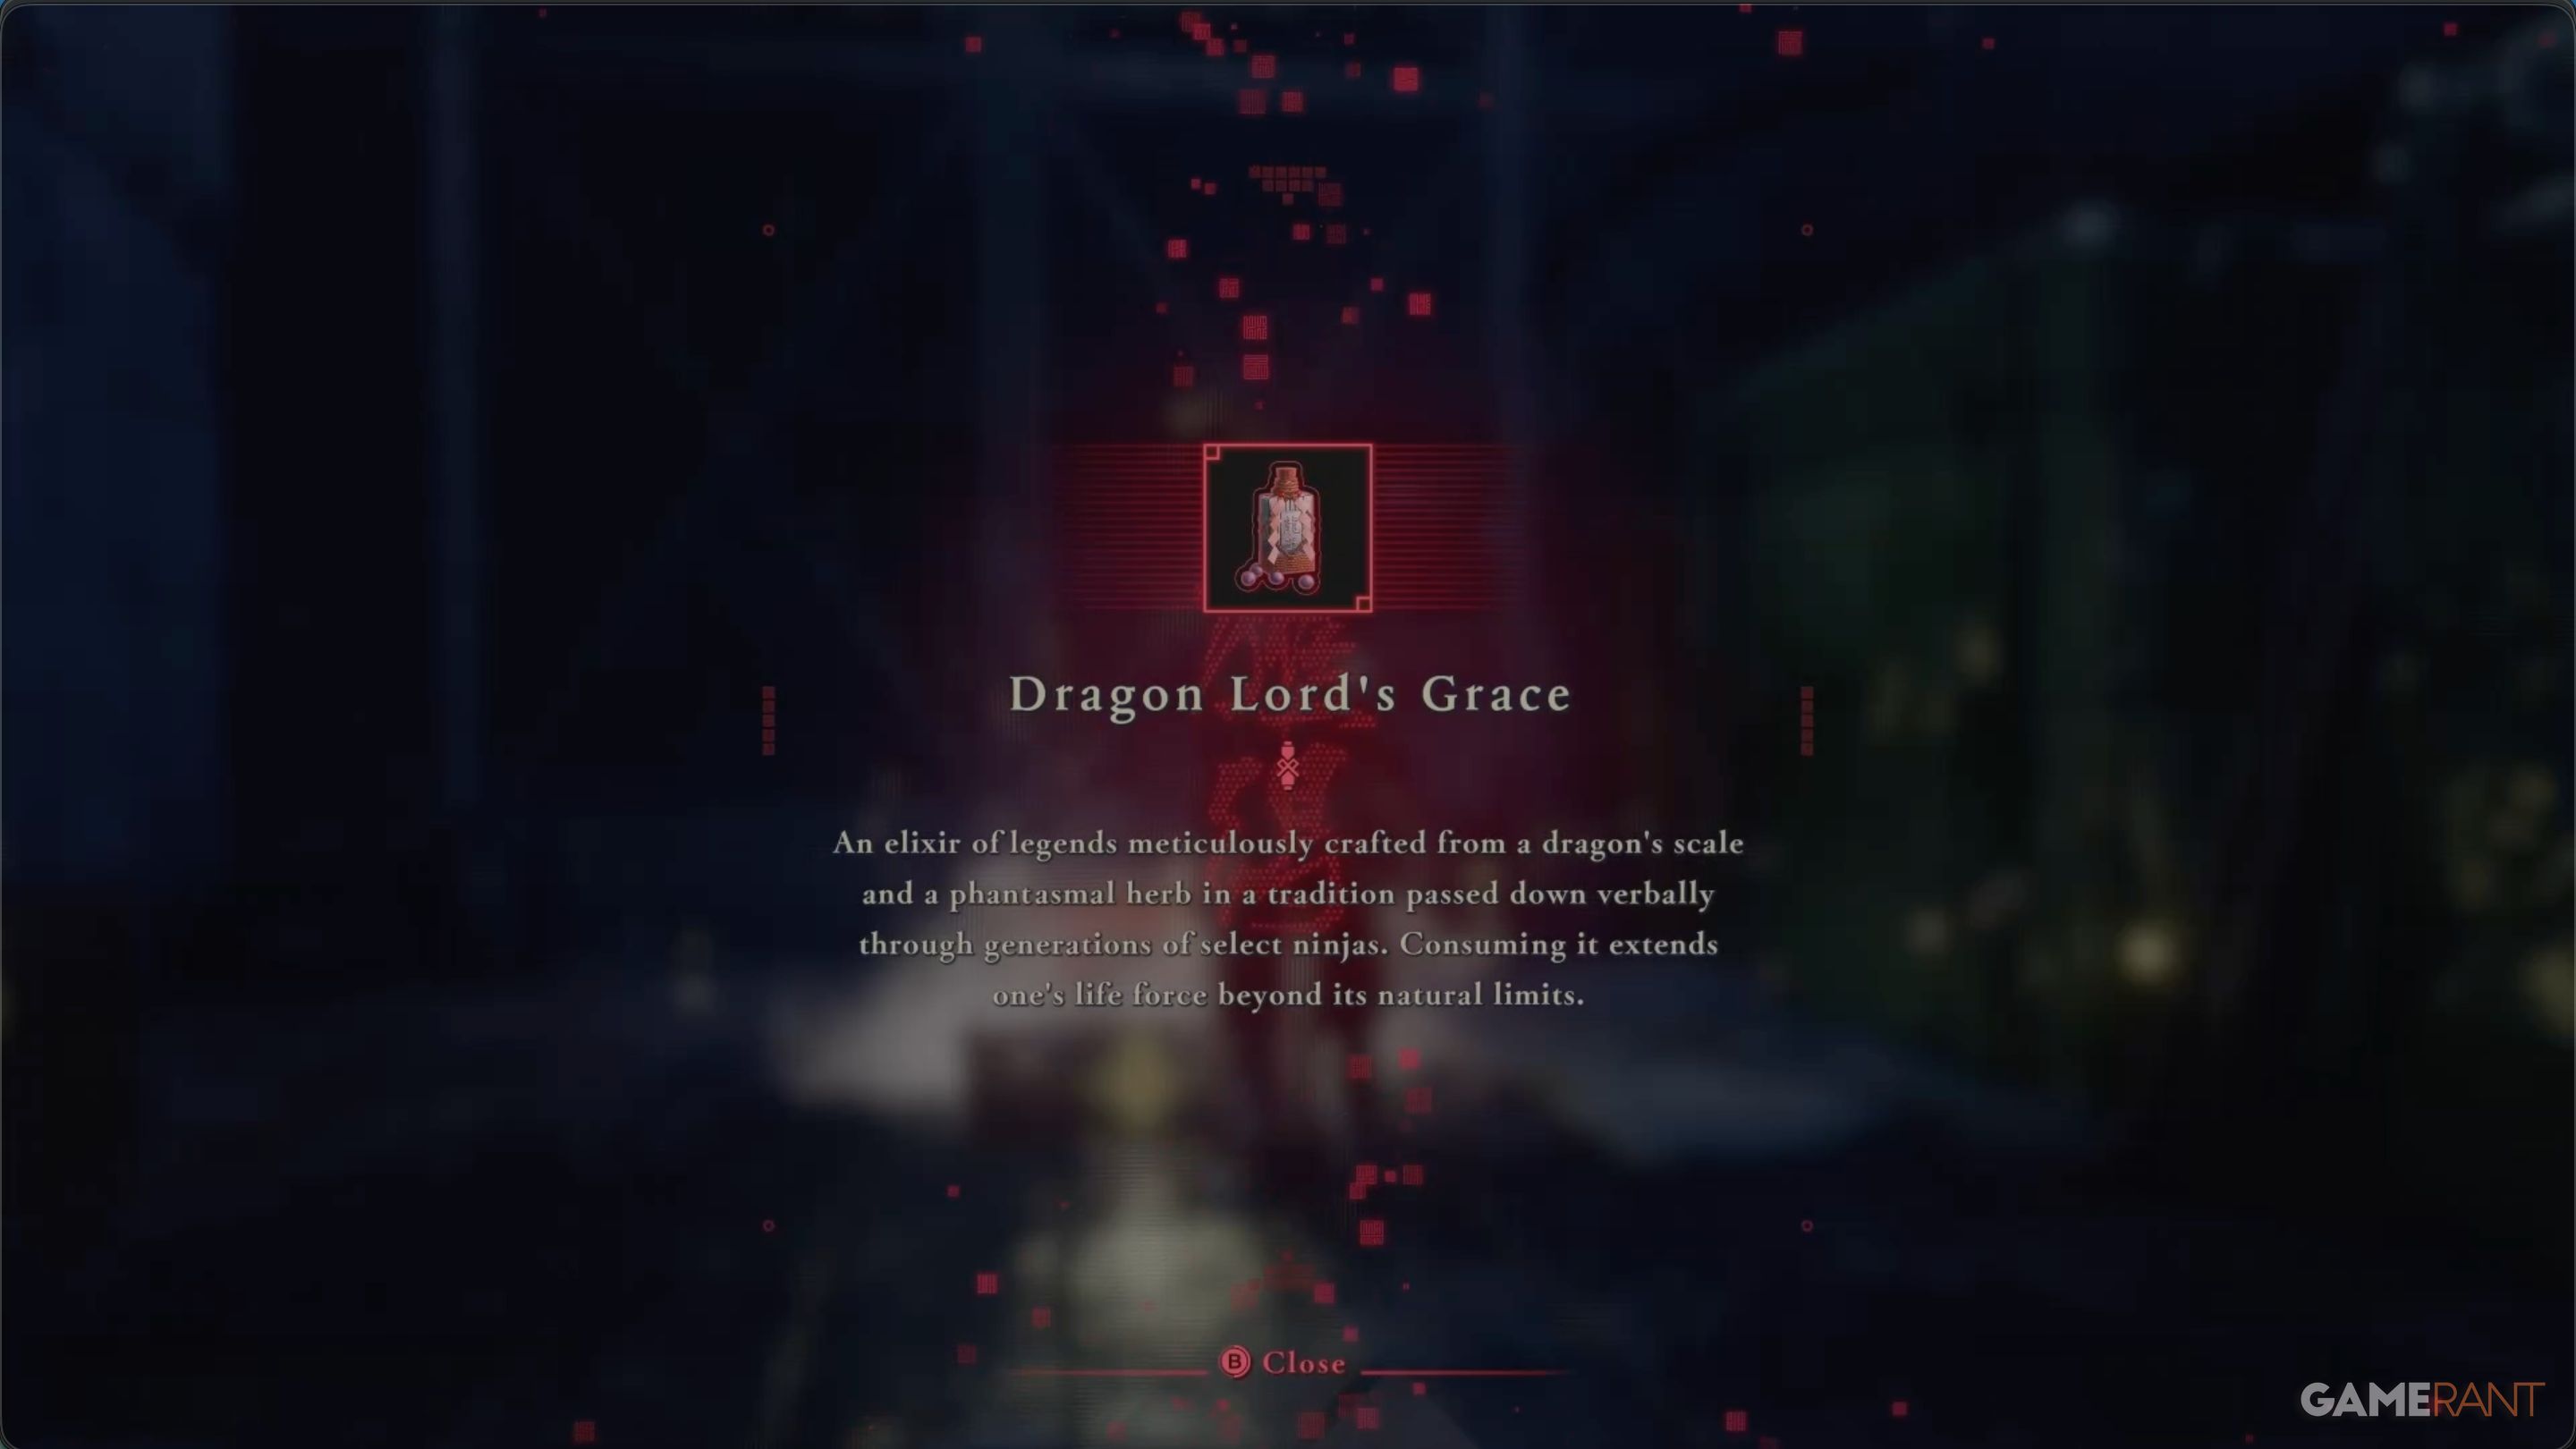

If you collected the Data Chip mission in Chapter 1, you will already have a Phantasmal Herb.
Chapter 2 Purgatory Gate – Ninja Gaiden 4
After defeating the Black Scale, you can choose to tackle the Purgatory Gate challenge nearby before continuing to the rooftop exit.
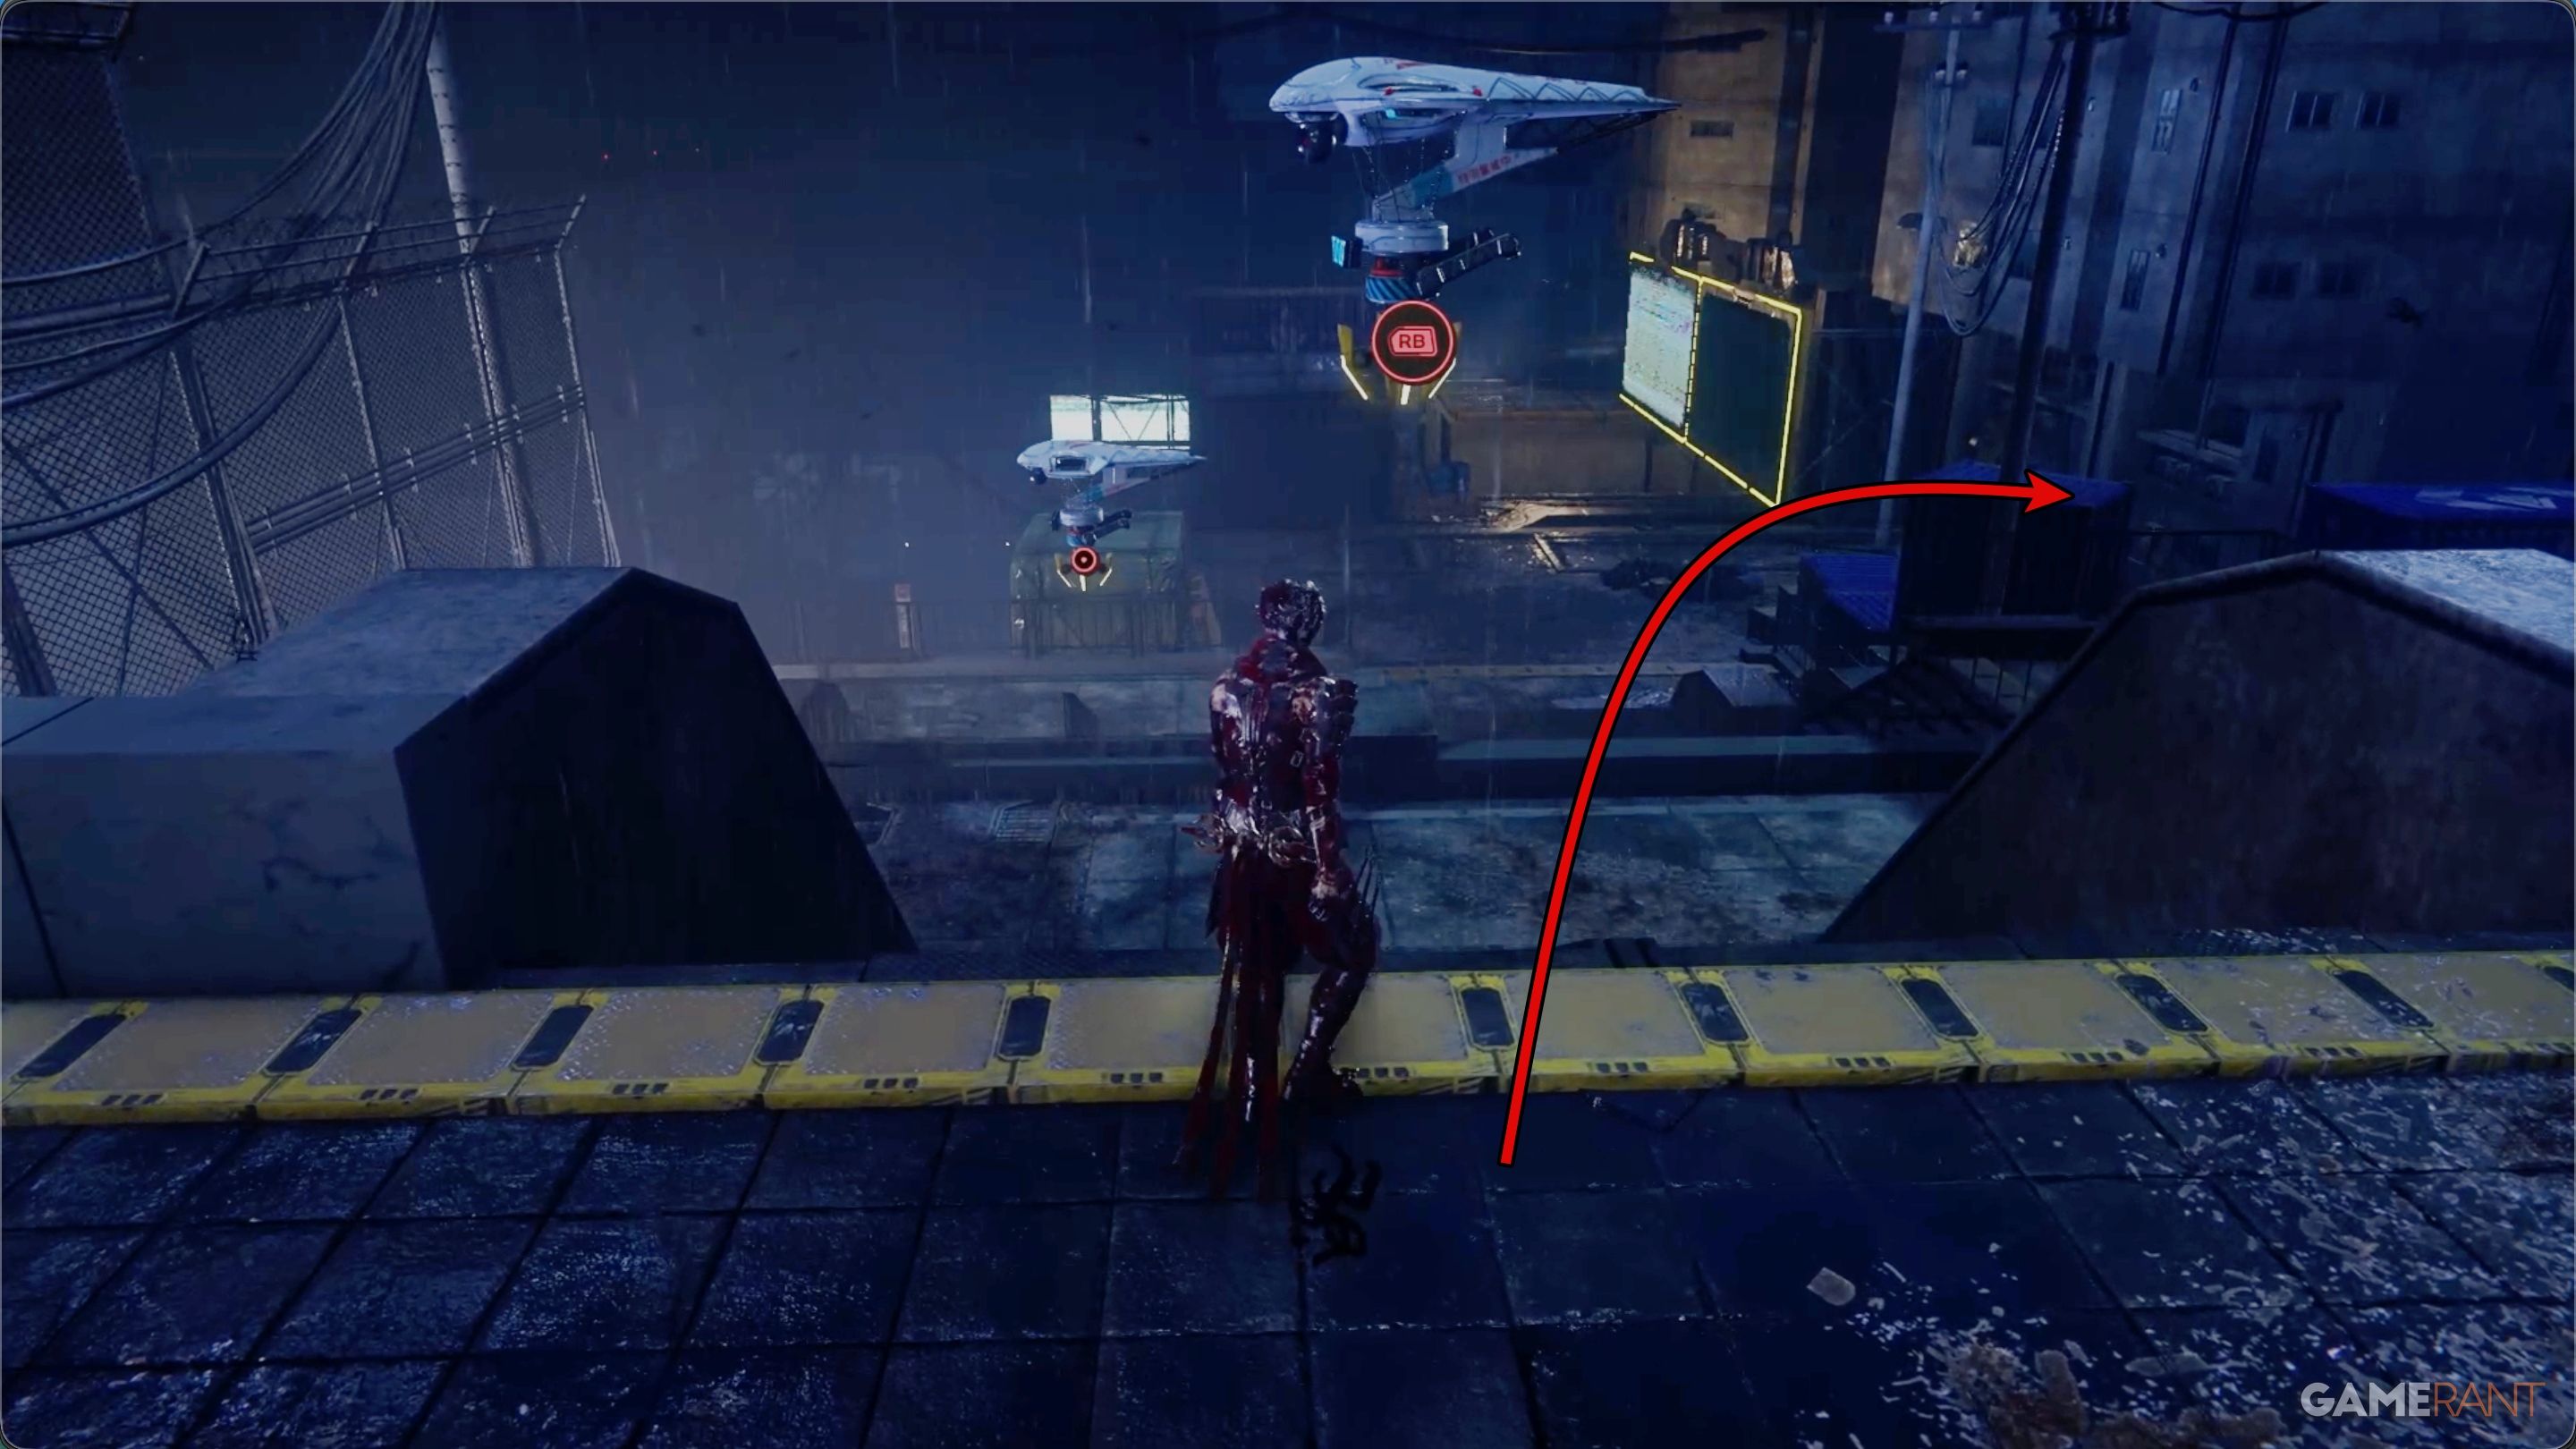
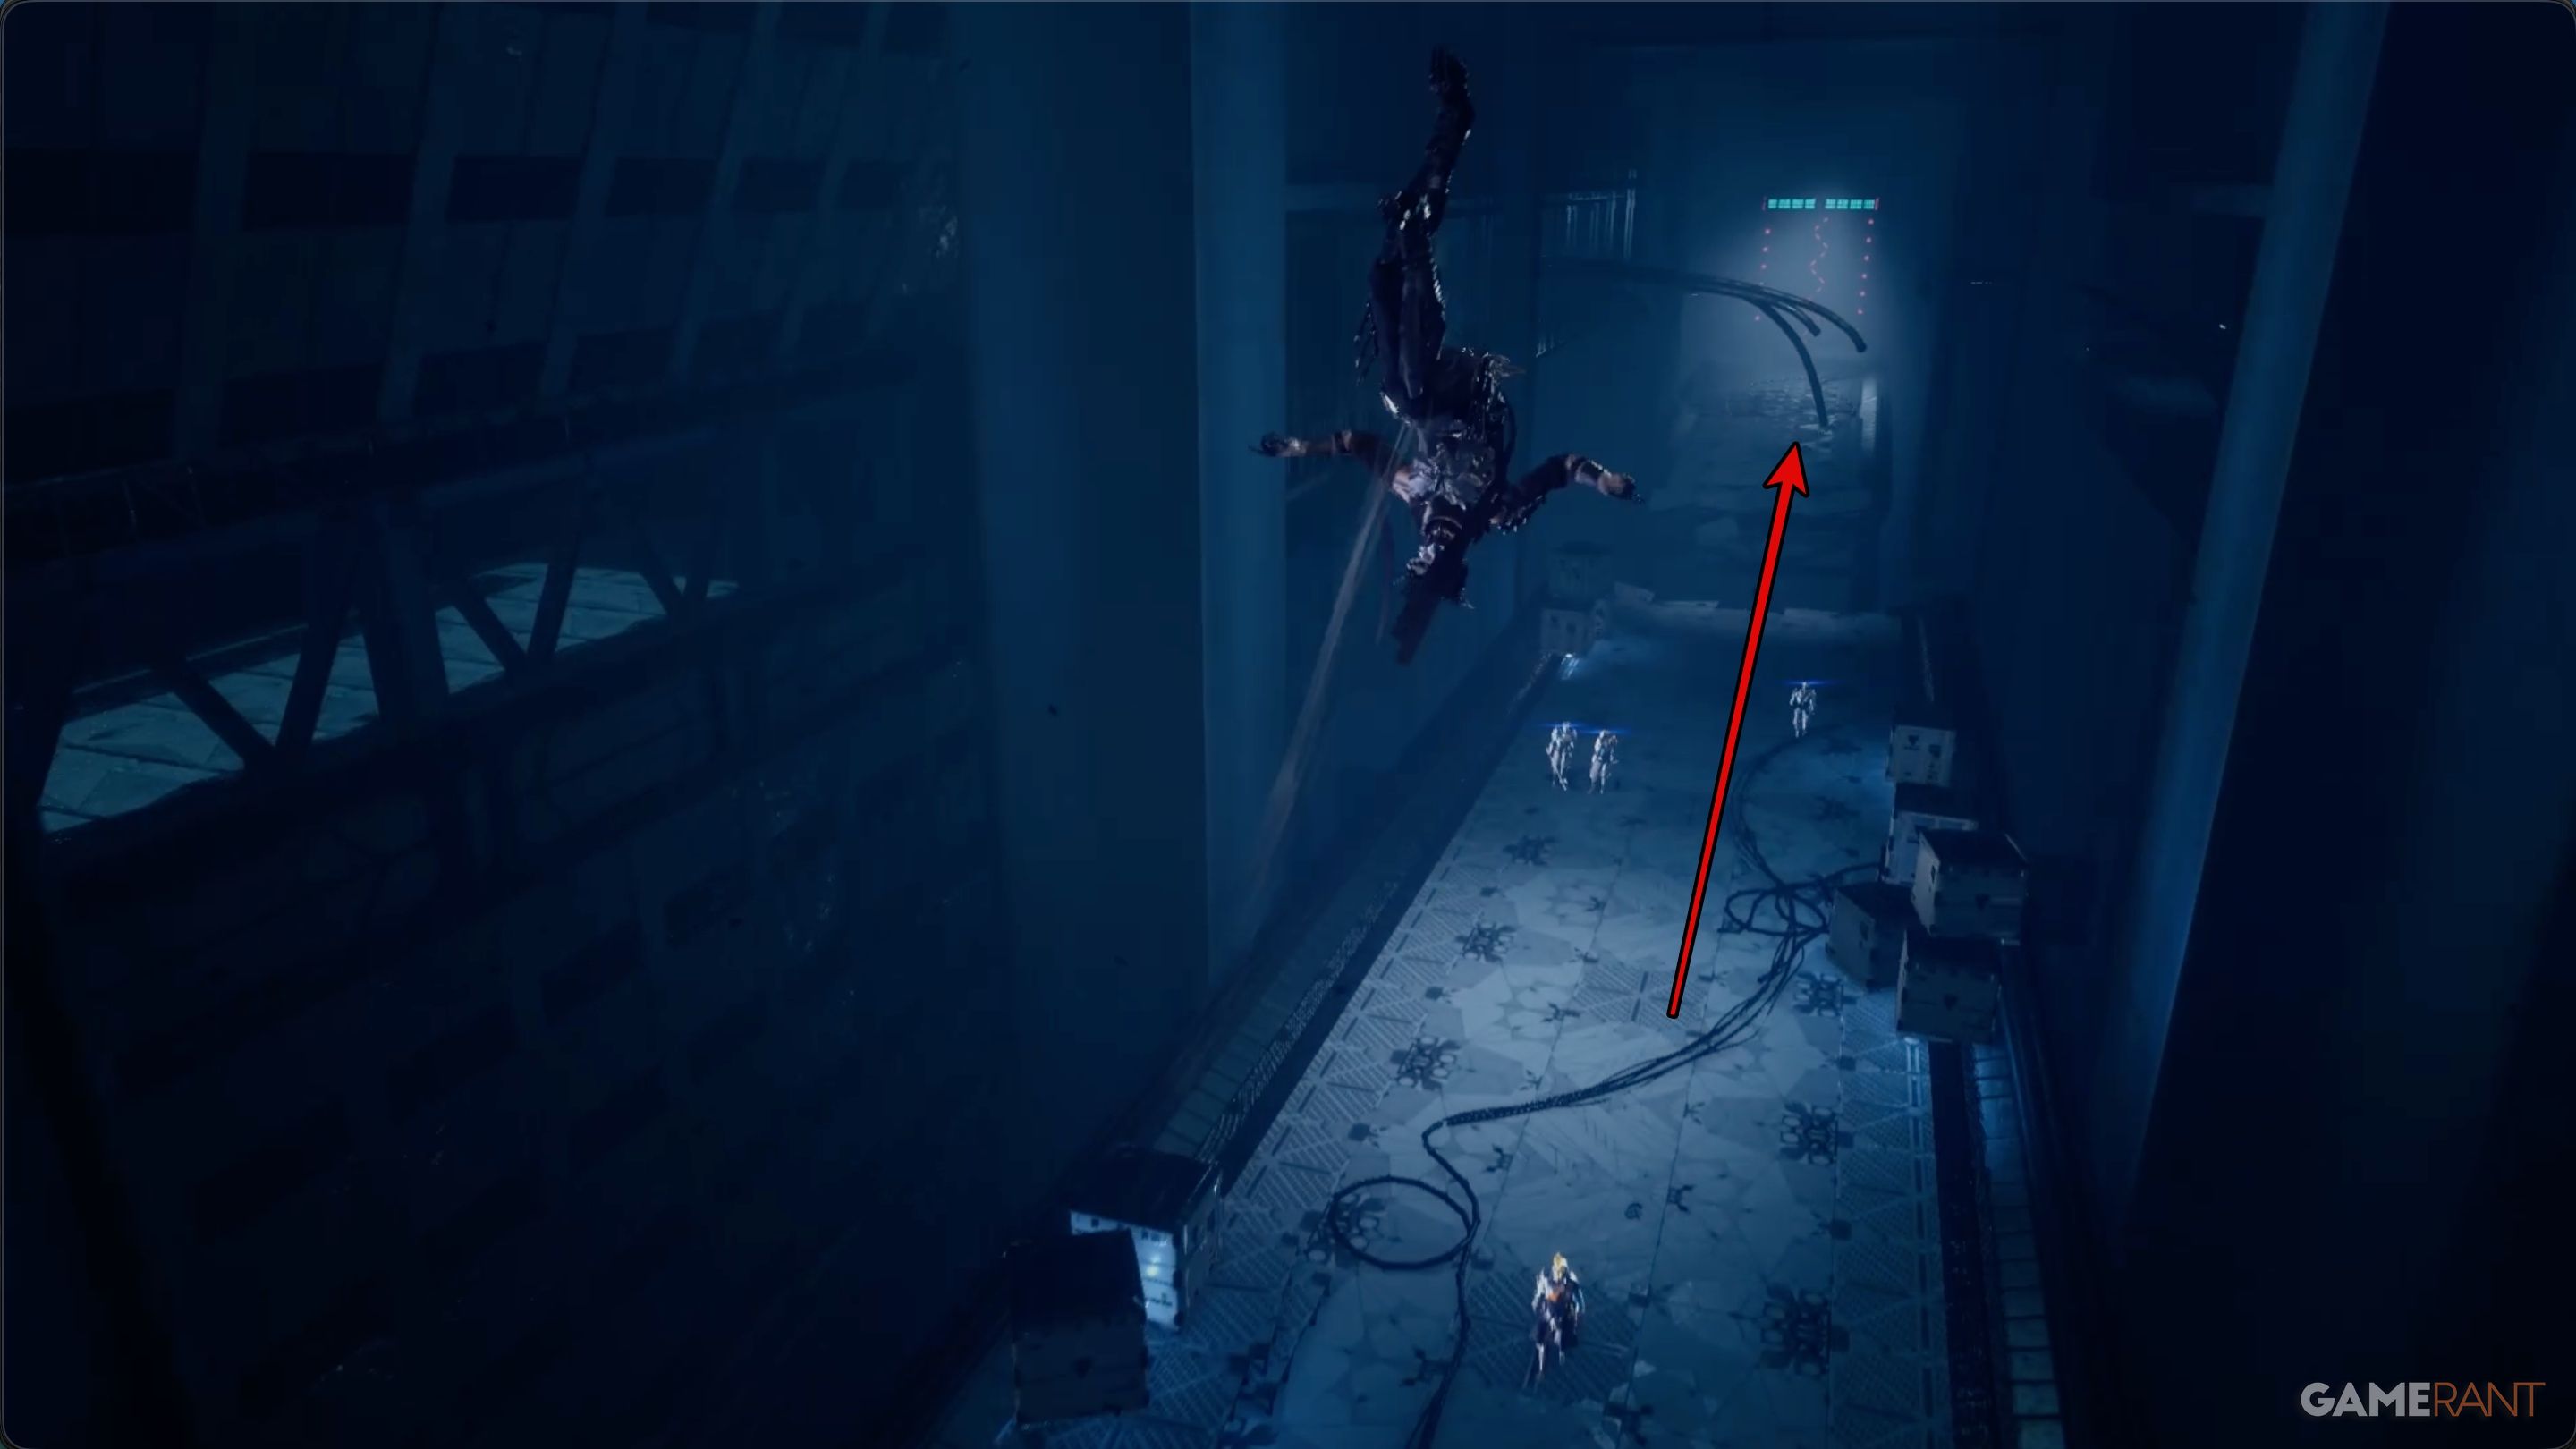
Don’t take the rail. Instead, turn around and go back to the top of the ledges you climbed to reach this area. When you get to where the first drone is floating, turn right. You’ll see some blue containers and a lower rooftop you can jump down to.
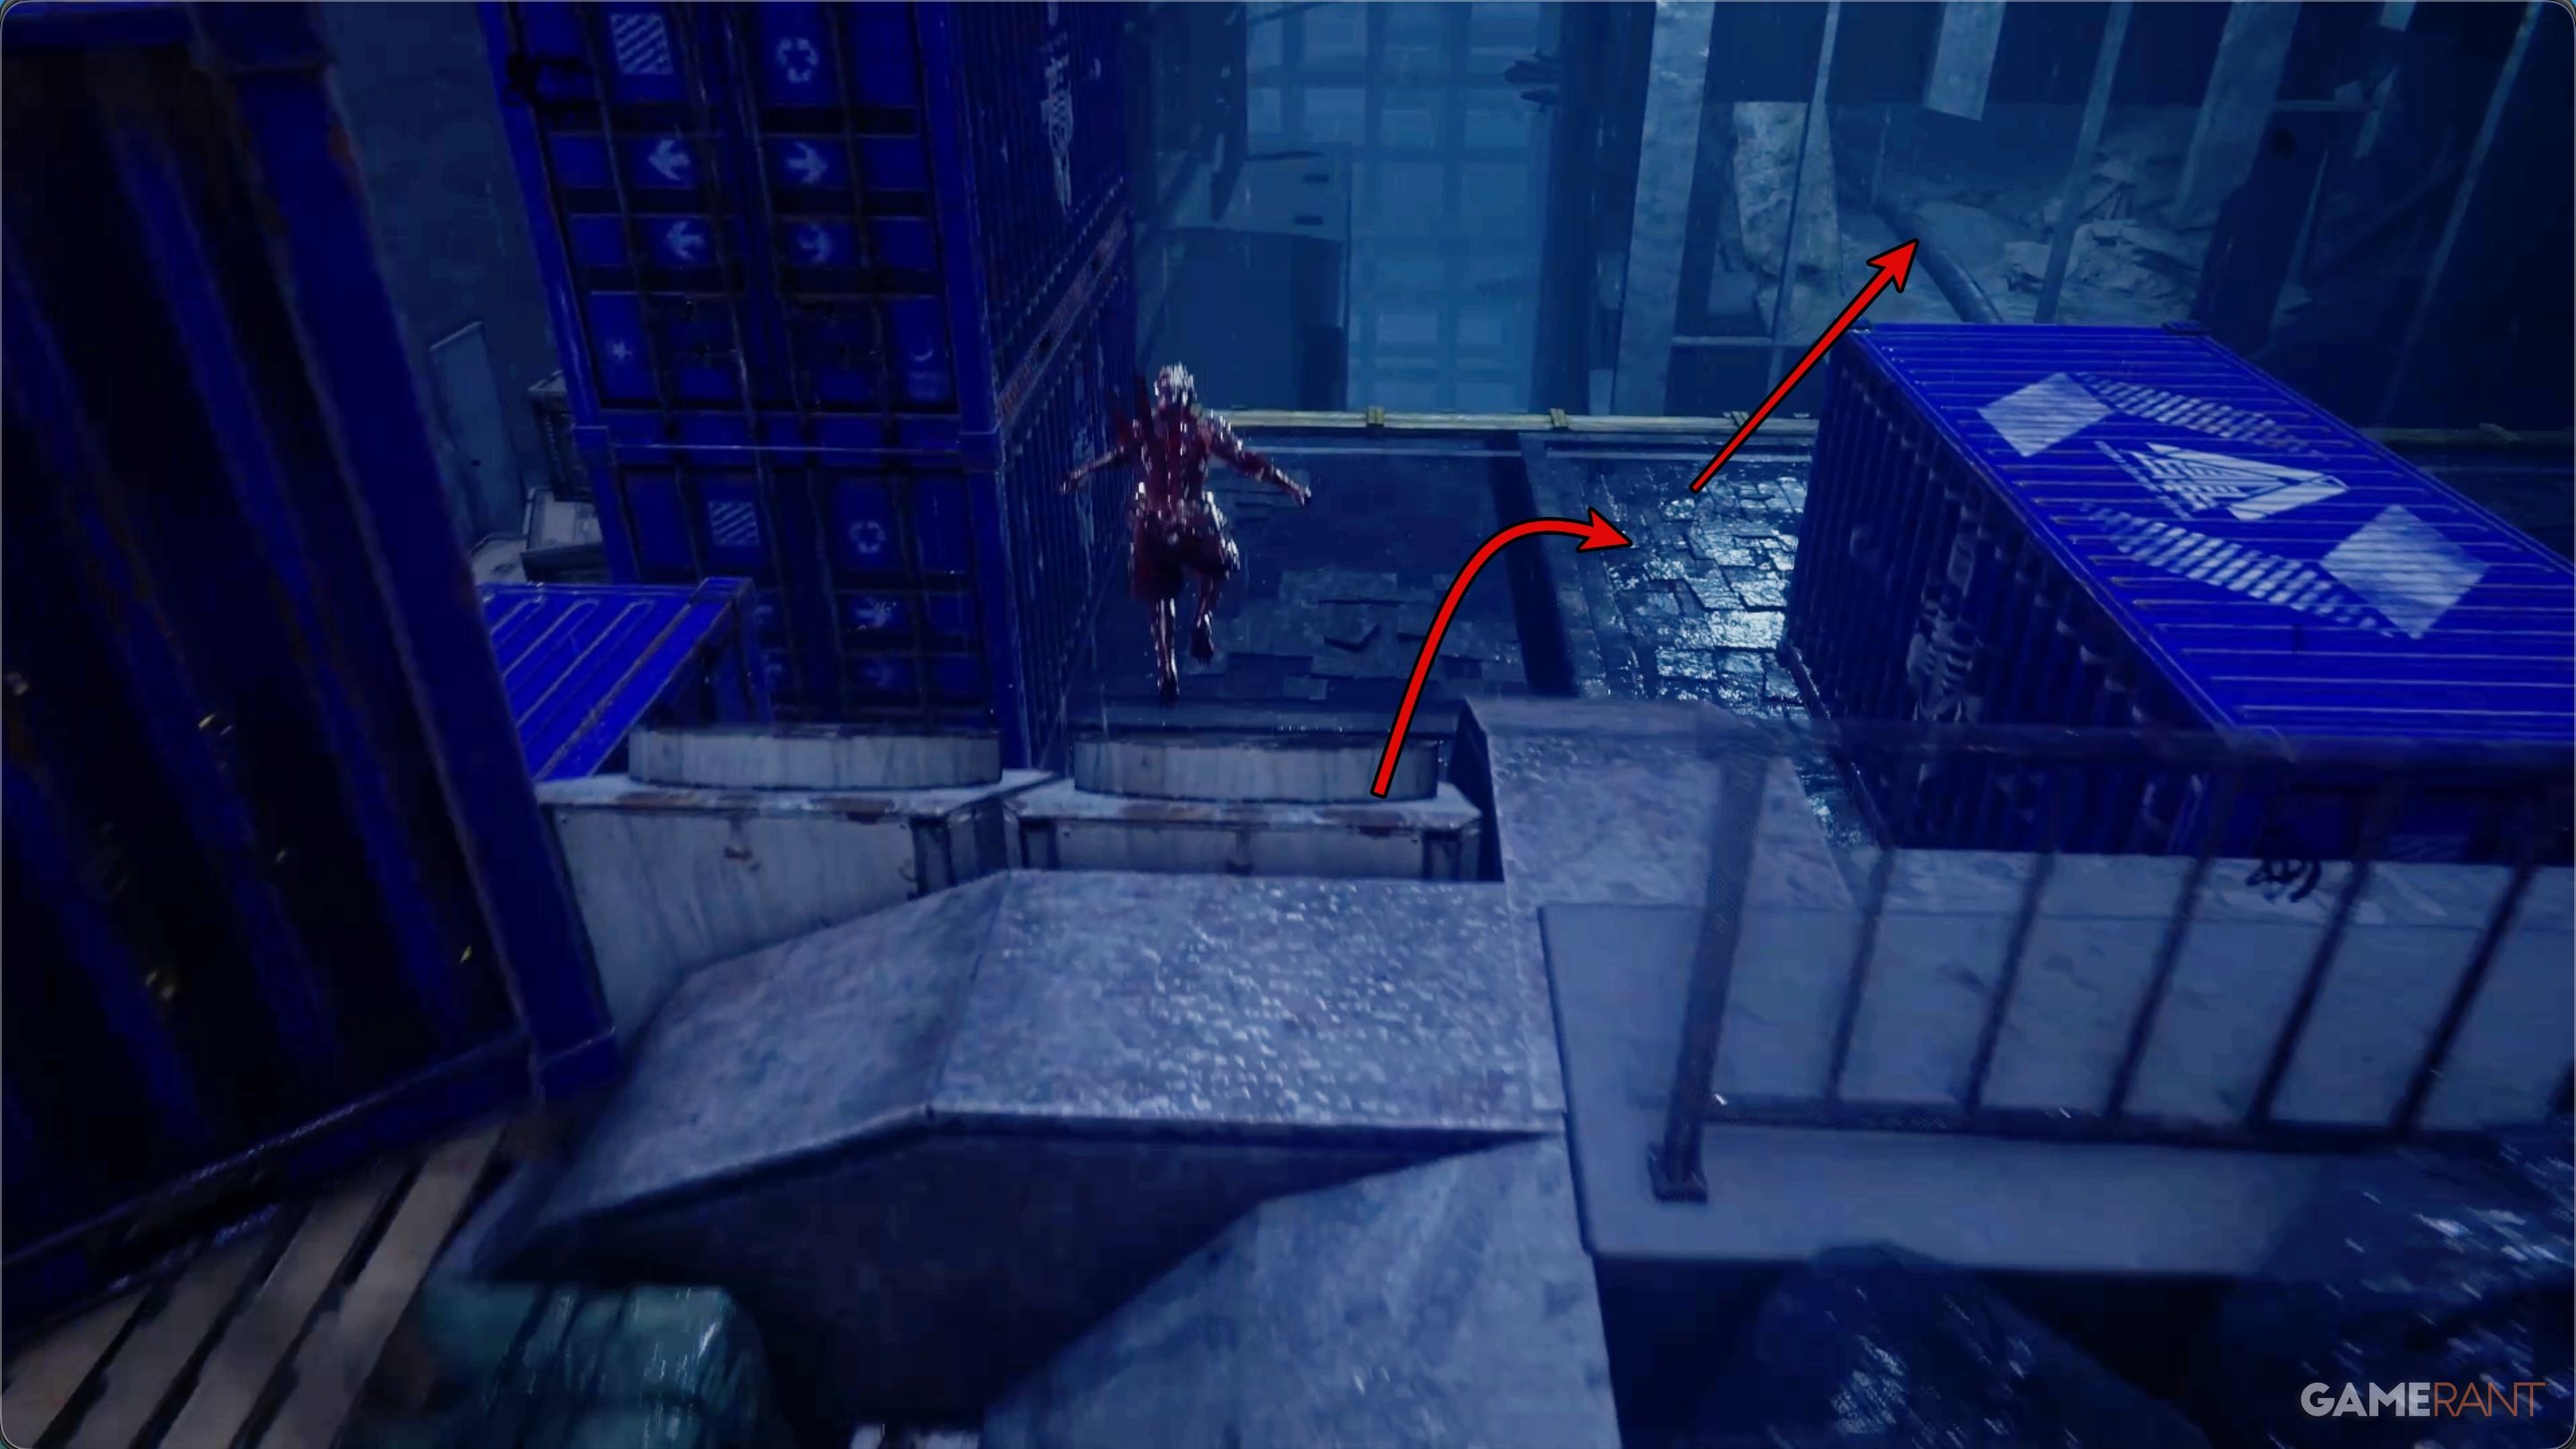
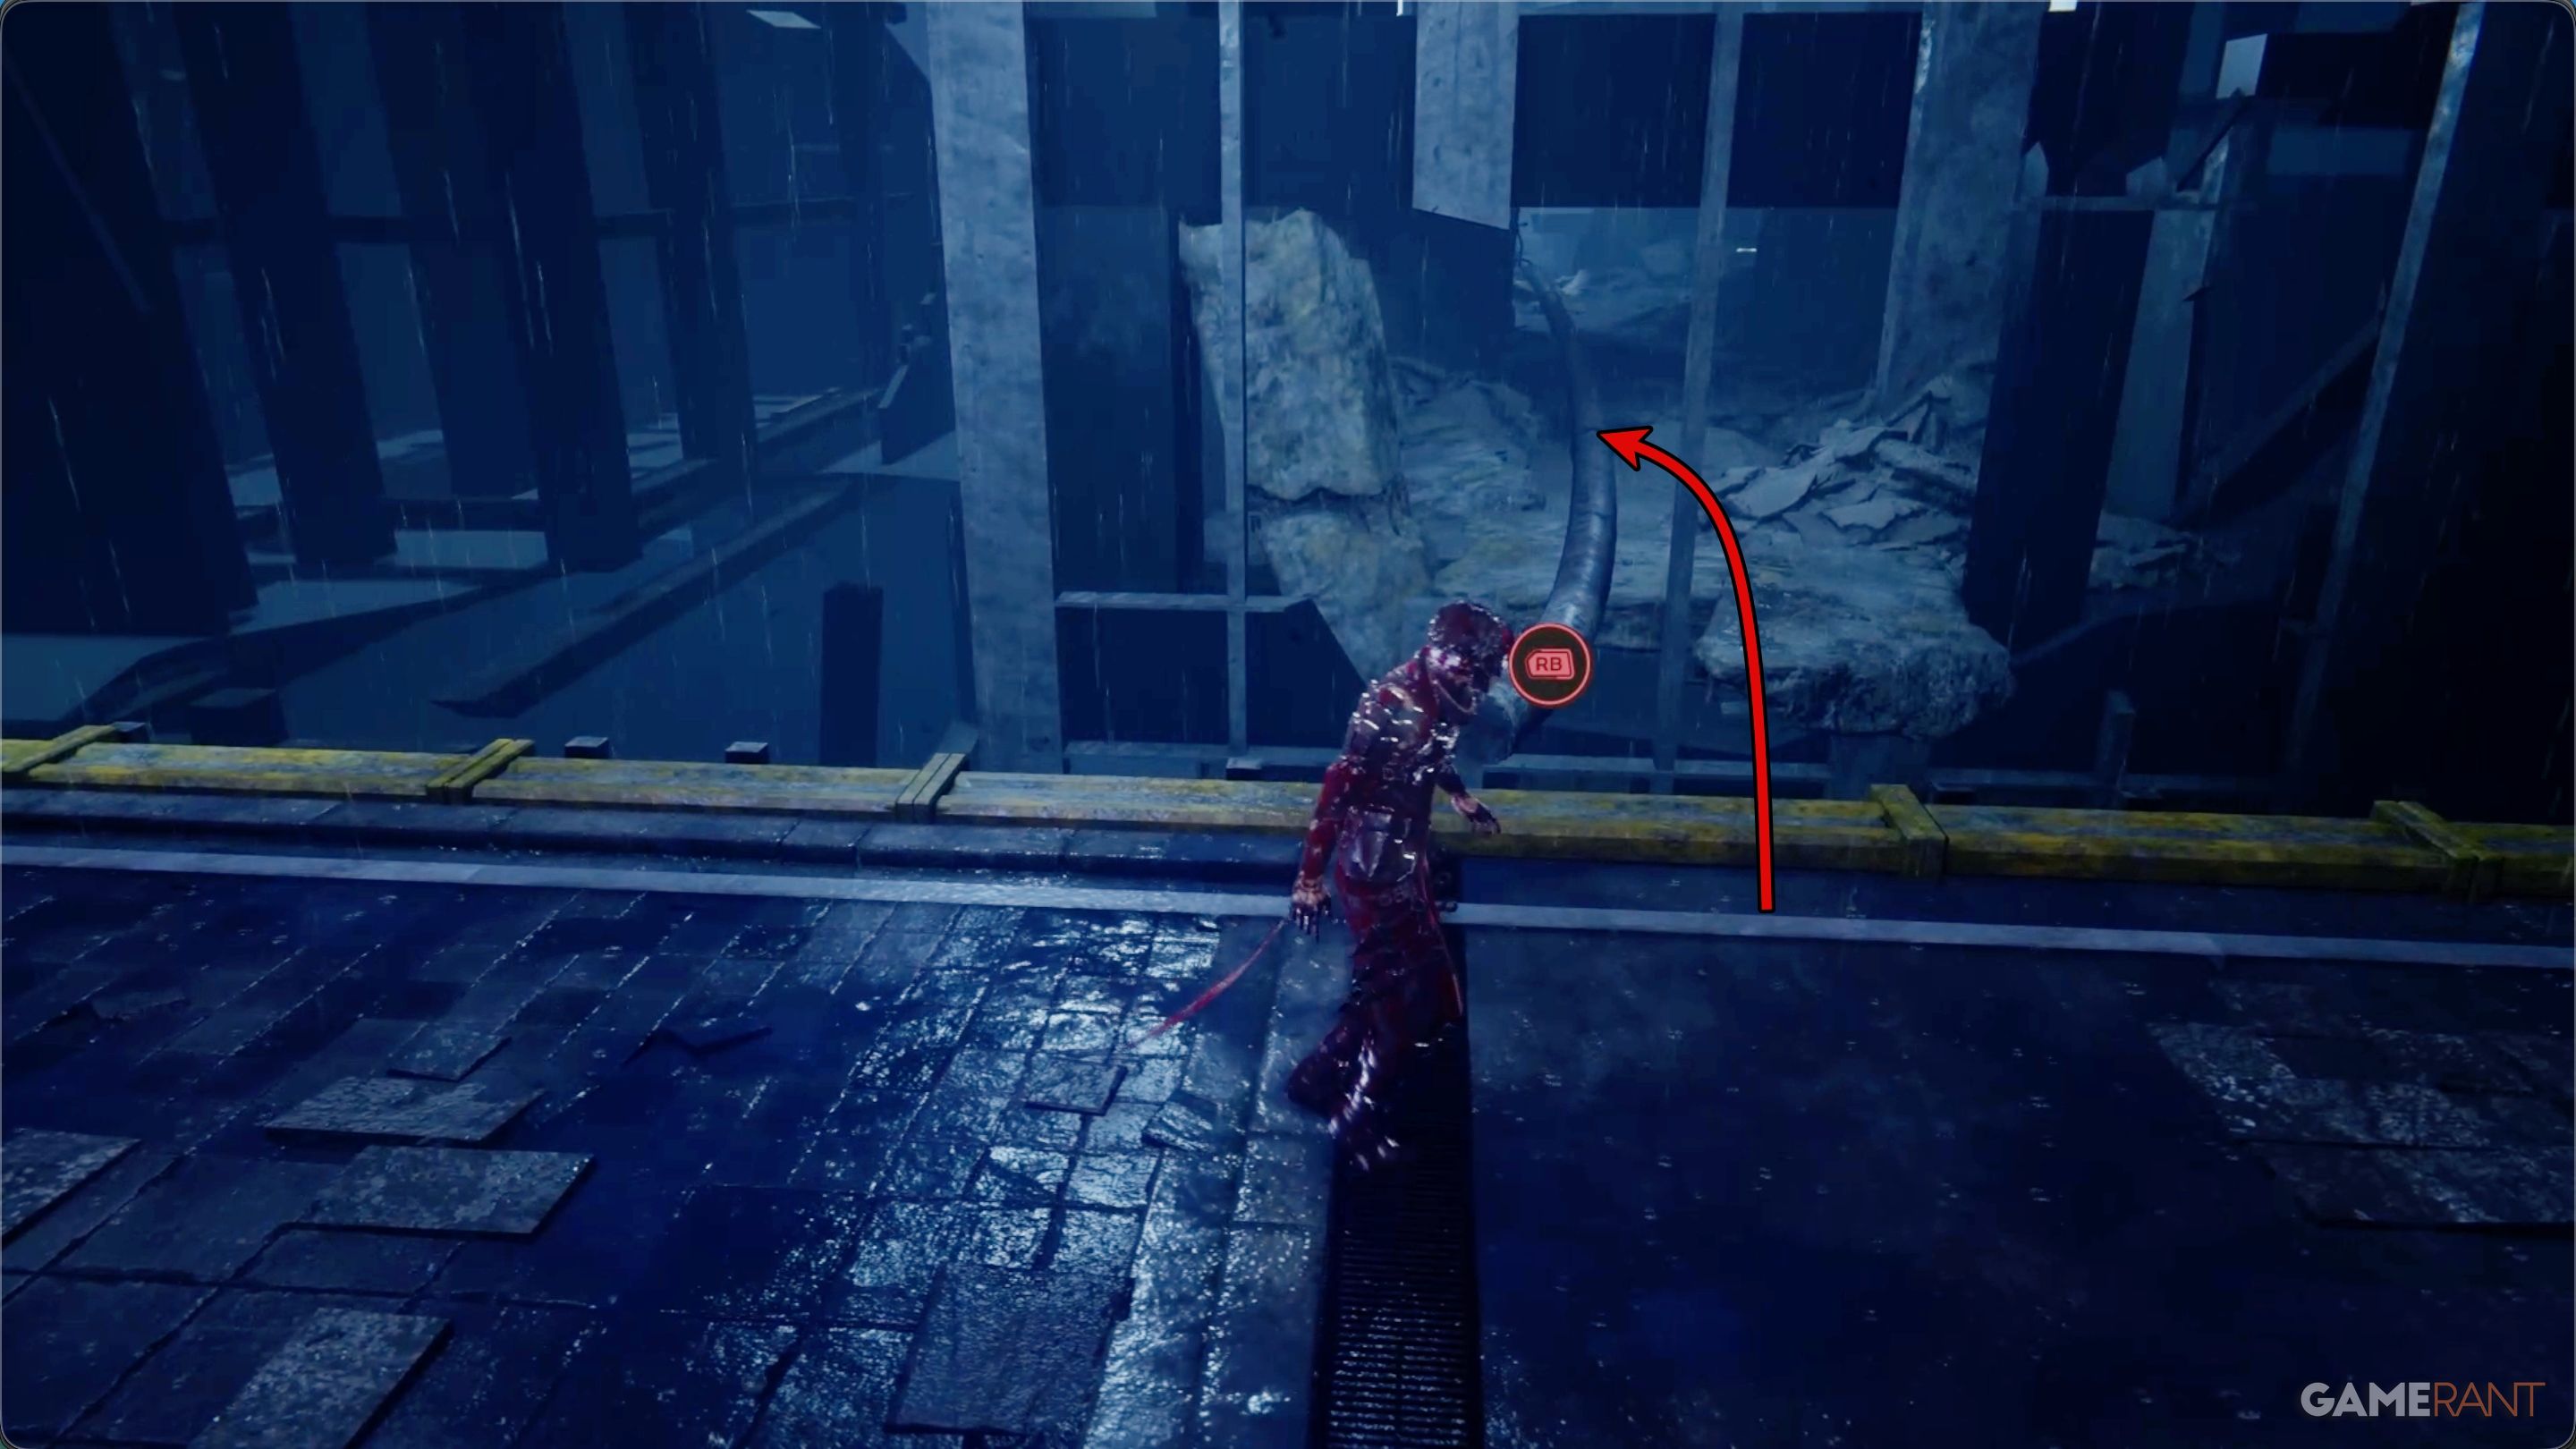
Go down to the level below and look across the opening to the next building. You’ll notice an old rail – jump onto it and ride it until it brings you to a new room. Then, go up the stairs and follow the path; it will take you to the Purgatory Gate.
Keep in mind that you can only pick one challenge at each Purgatory Gate, so think carefully before you decide. The greater the health you give up when the challenge begins, the better your rewards will be.
Execute the DDO Bodyguards – Ninja Gaiden 4
Riding the Rails to DarkNest Terminal 2:
Once you finish the Purgatory Gate, you’ll return to the courtyard where you found the first two chests. Immediately after getting Chest 3, head back up to the rooftop rail. Use the RB/R1 button to jump onto the rail and continue to the next battle area.


Once you’ve finished the lengthy battle area – a mostly flat, extended platform – a large, red and black gate will open. Go through it, and you’ll reach the second DarkNest Terminal and encounter Tyran’s Raven.
How to Reach the DDO Bodyguards:
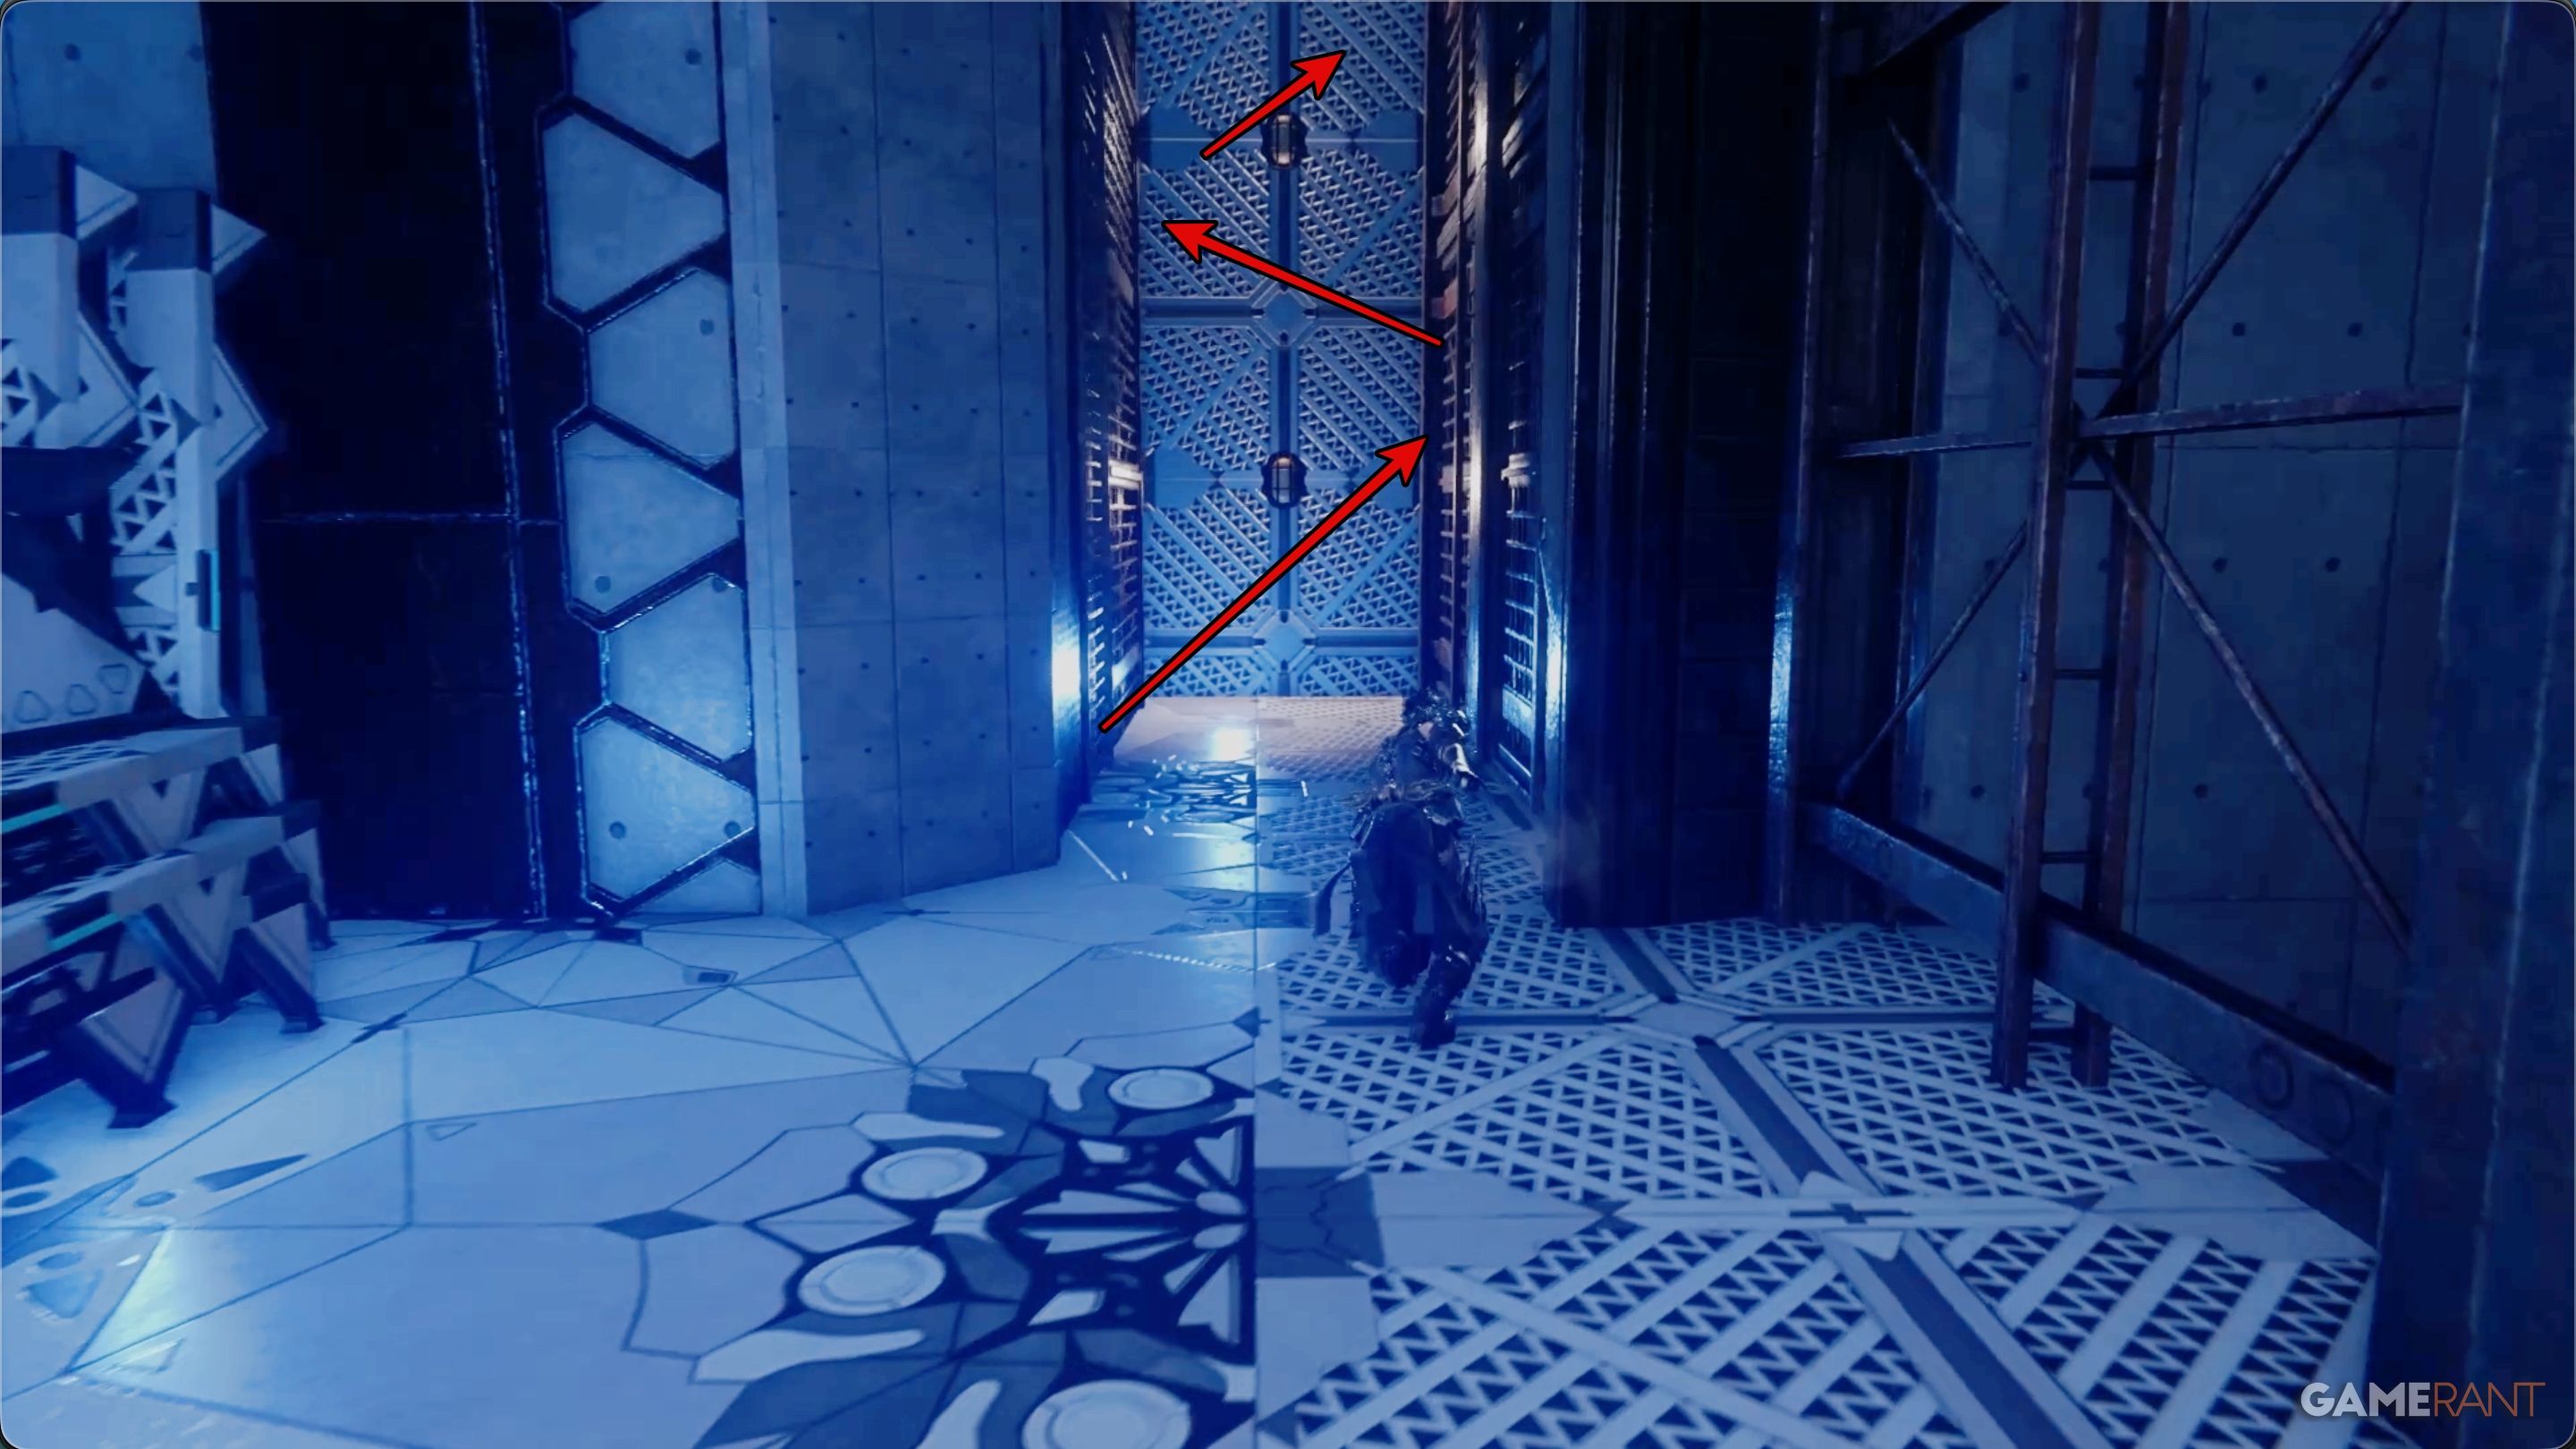
From the second terminal, use the Flying Bird Flip to reach the upper level.
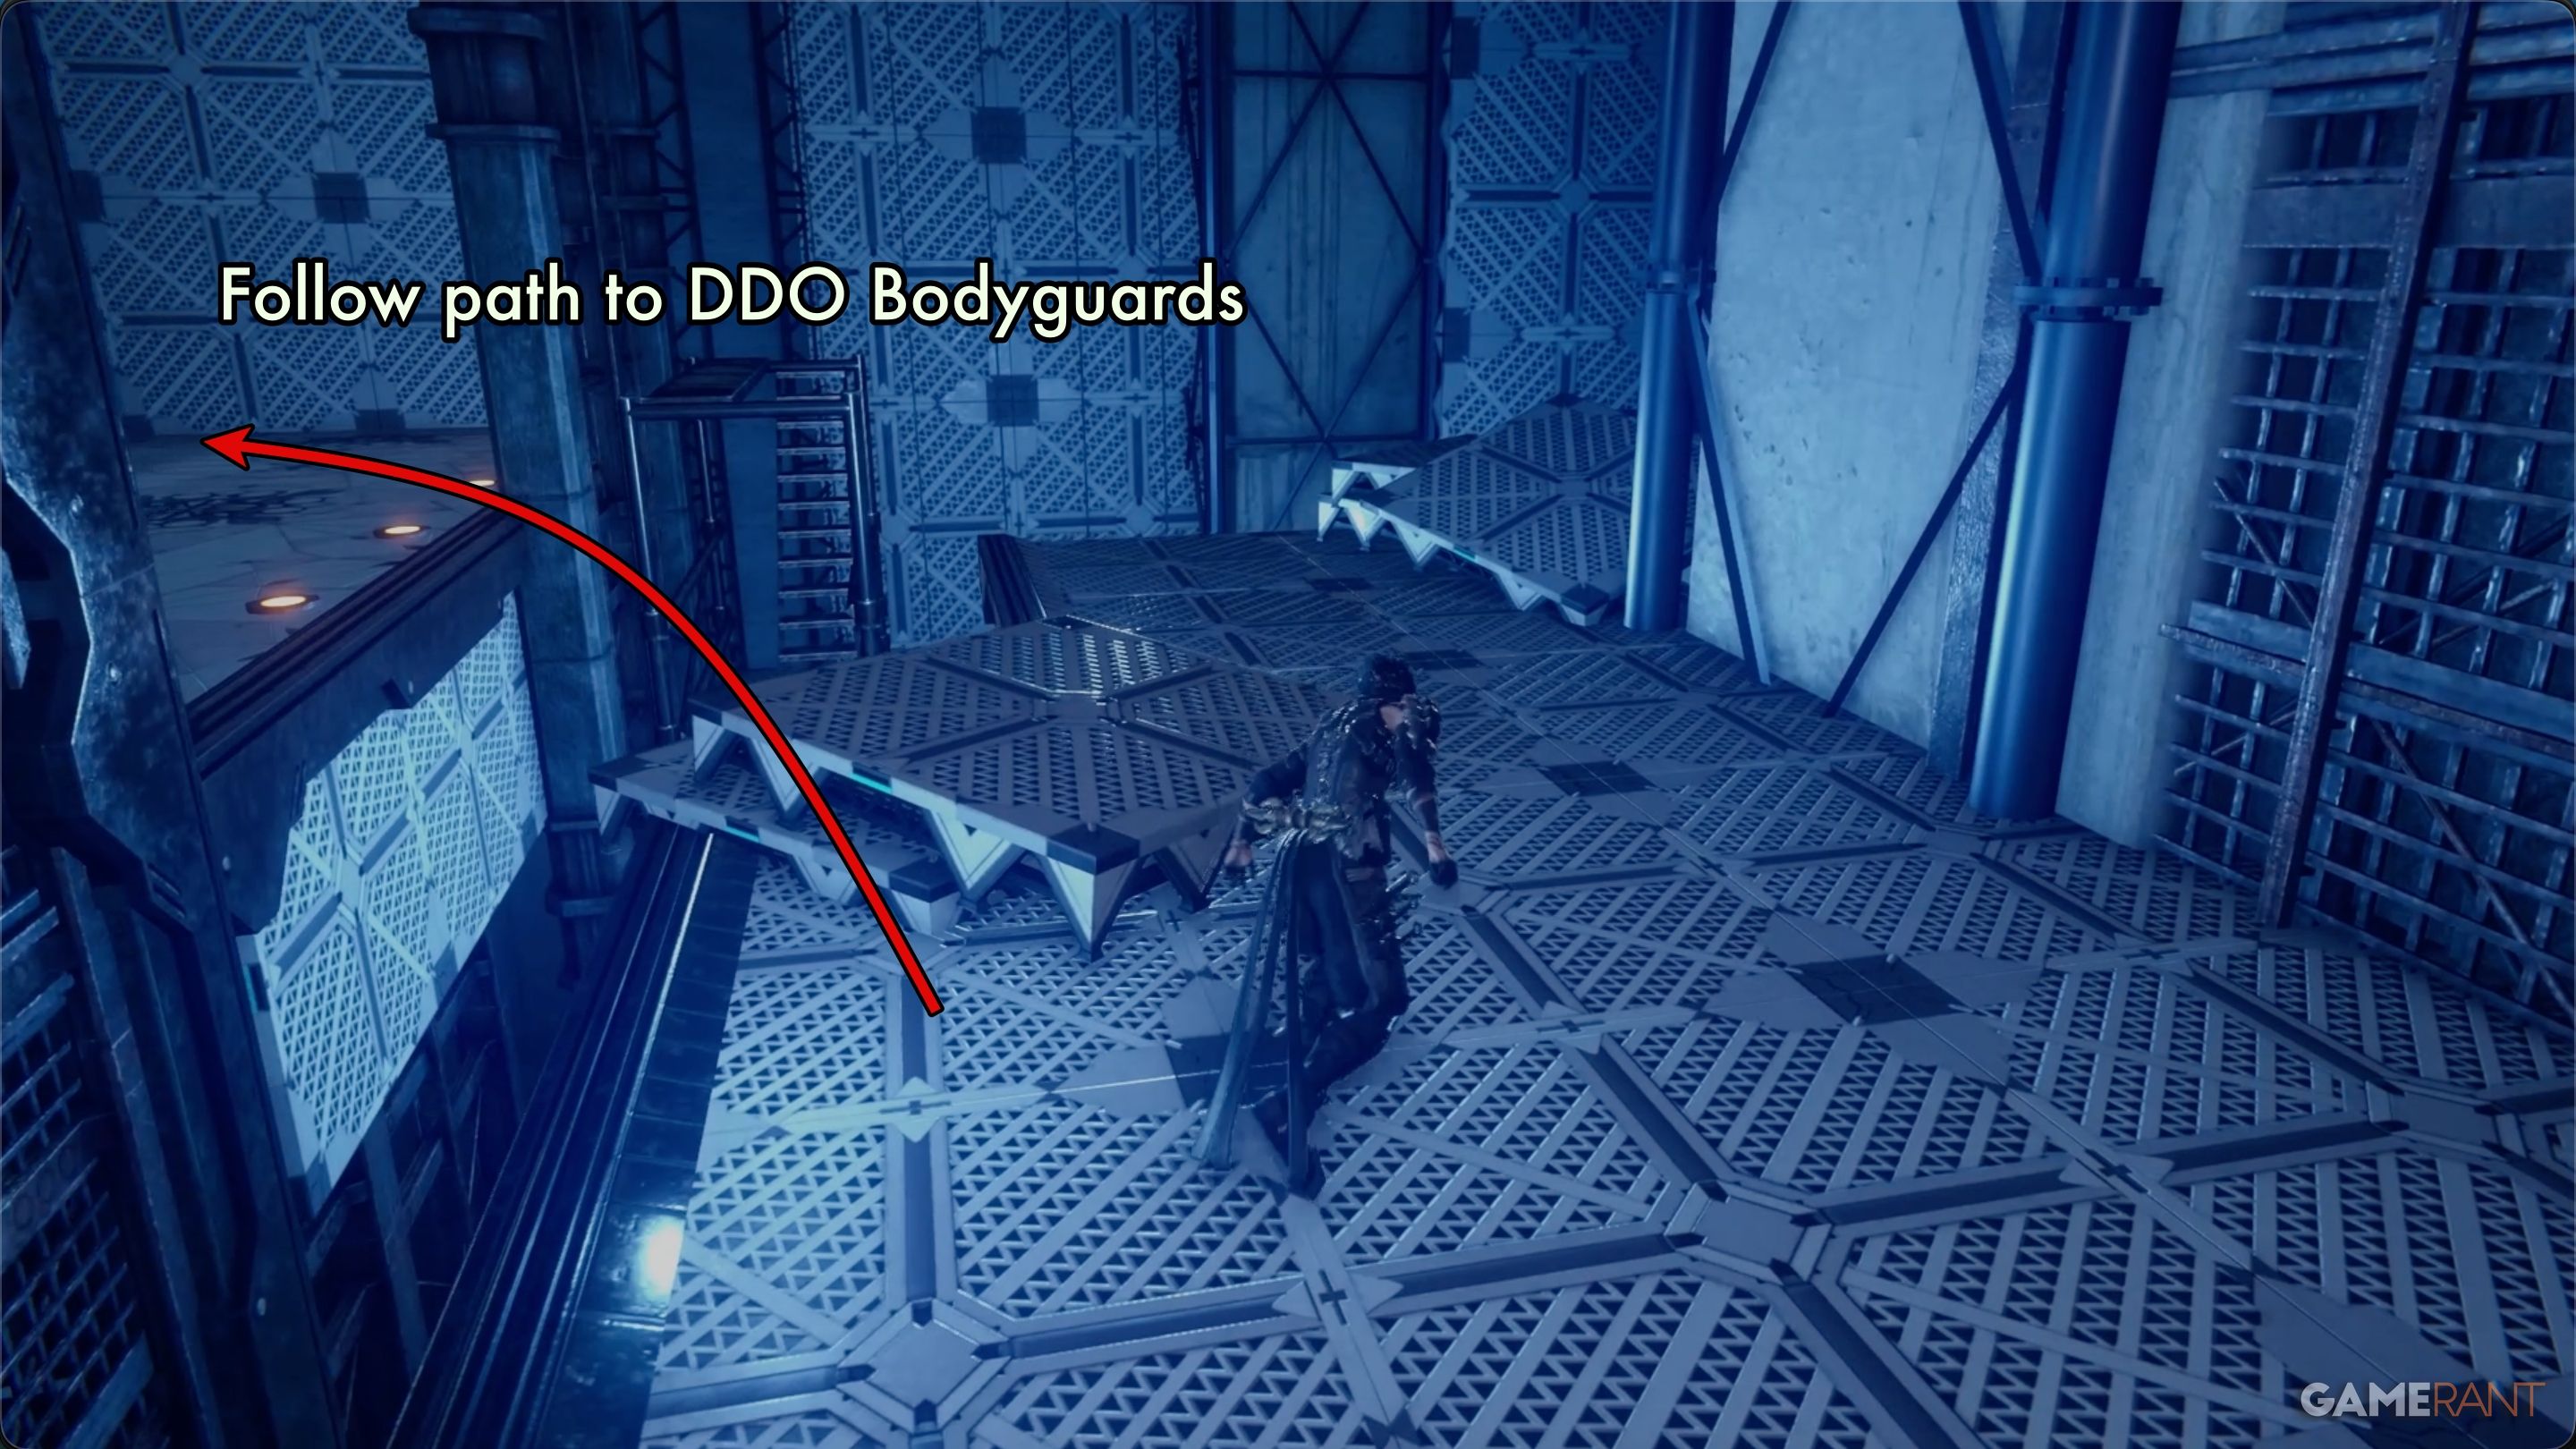
Don’t go through the door at the top. Instead, turn around and jump across the gap to the opening you see. Then, use the Caddis Wire to follow the path to the main arena where you’ll complete the mission.

Okay, so after you’ve taken care of those bodyguards – honestly, they’re just the same enemies I’ve been dealing with the whole time – keep an eye out for the exit gate. That’ll take you right back to DarkNest Terminal 2, thankfully.
Chapter 2 Walkthrough Part 2 – Ninha Gaiden 4
Reach DarkNest Terminal 3:
Starting from the second DarkNest Terminal, climb the Flying Bird Flip walls. Then, go through the door, making sure to go the opposite way from where the DDO Bodyguard mission takes you.
Right after you go through the door, you’ll encounter two simple enemies. Once you’ve defeated them, jump onto the rail and get ready for a new challenge. A ship will start shooting rockets at you. When that happens, quickly jump to the next rail by pressing RB (on Xbox) or R1 (on PlayStation).
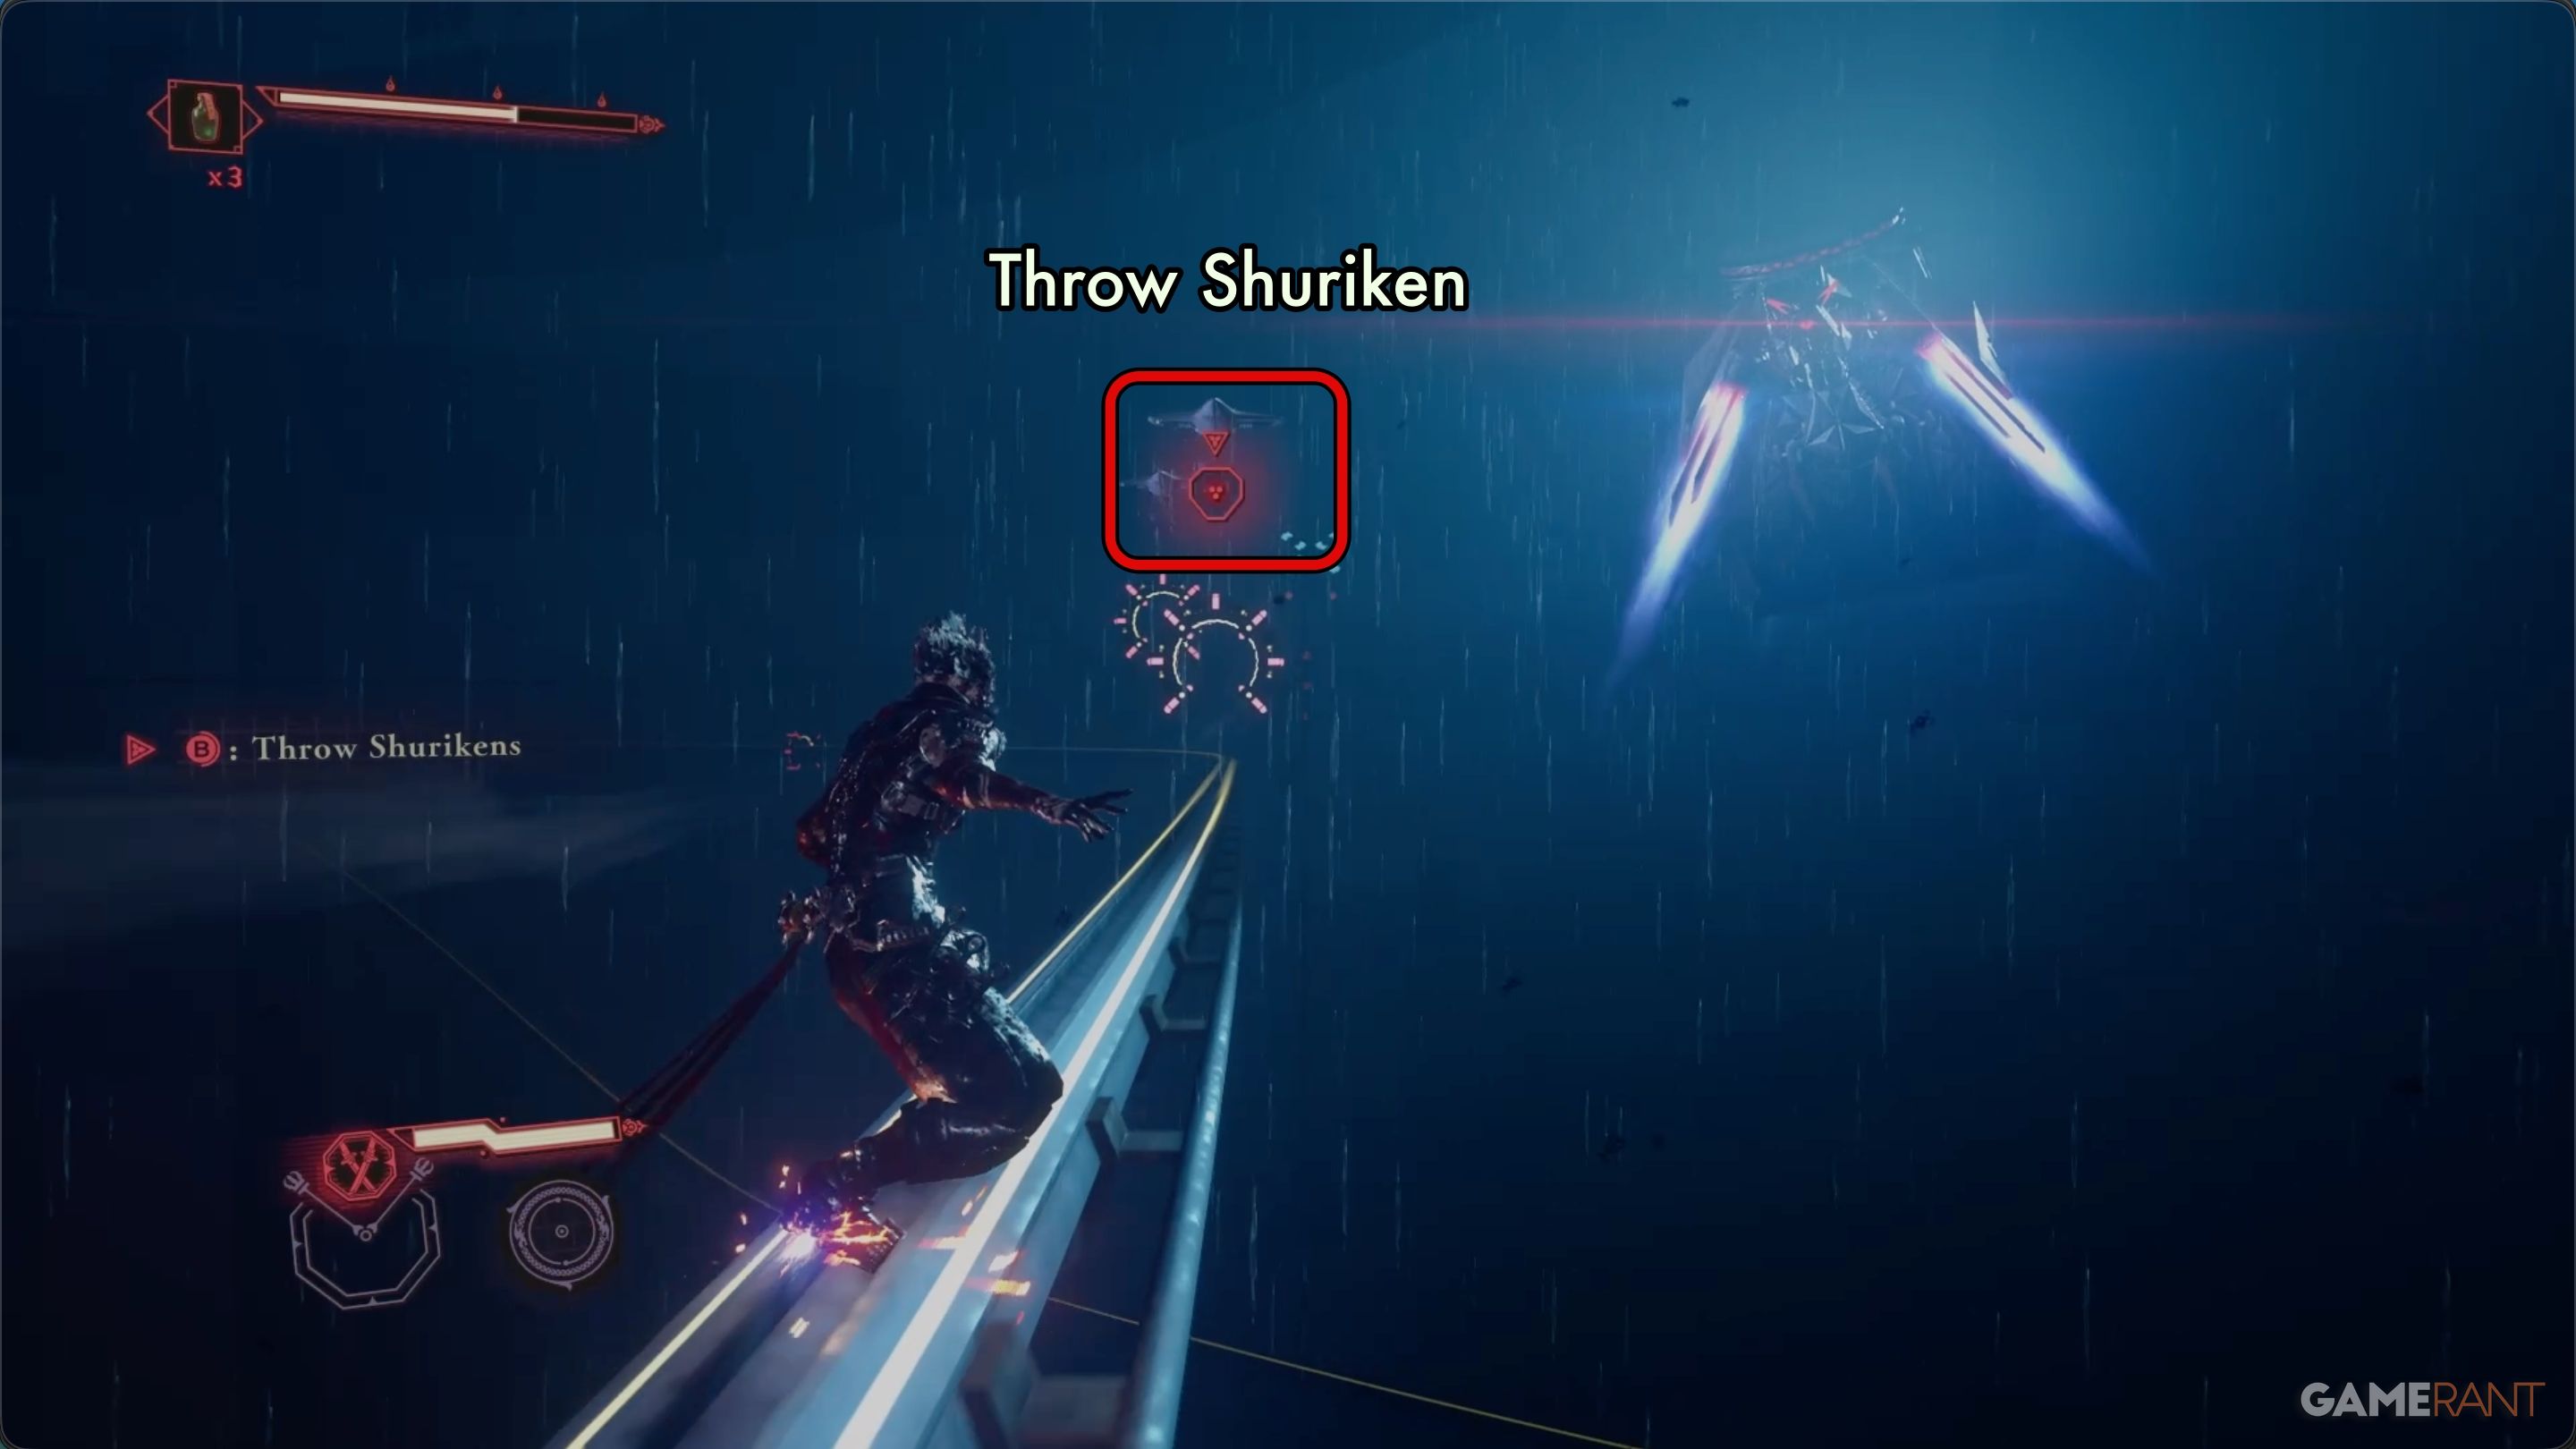
Keep an eye out for small drones that drop hazards onto the track. You can destroy them using Shurikens (B on Xbox, Circle on PlayStation), or simply jump over the obstacles they create.
The rail section is quick, and you’ll land right in a room with DarkNest Terminal 3 and Tyran’s Raven. Don’t forget to open Chest 4, which is leaning against a wall in that same room – it has one Kongou Iron Brew inside.
Chapter 2 Final Boss Fight – Ninja Gaiden 4
Chest 4 & Final Rail:
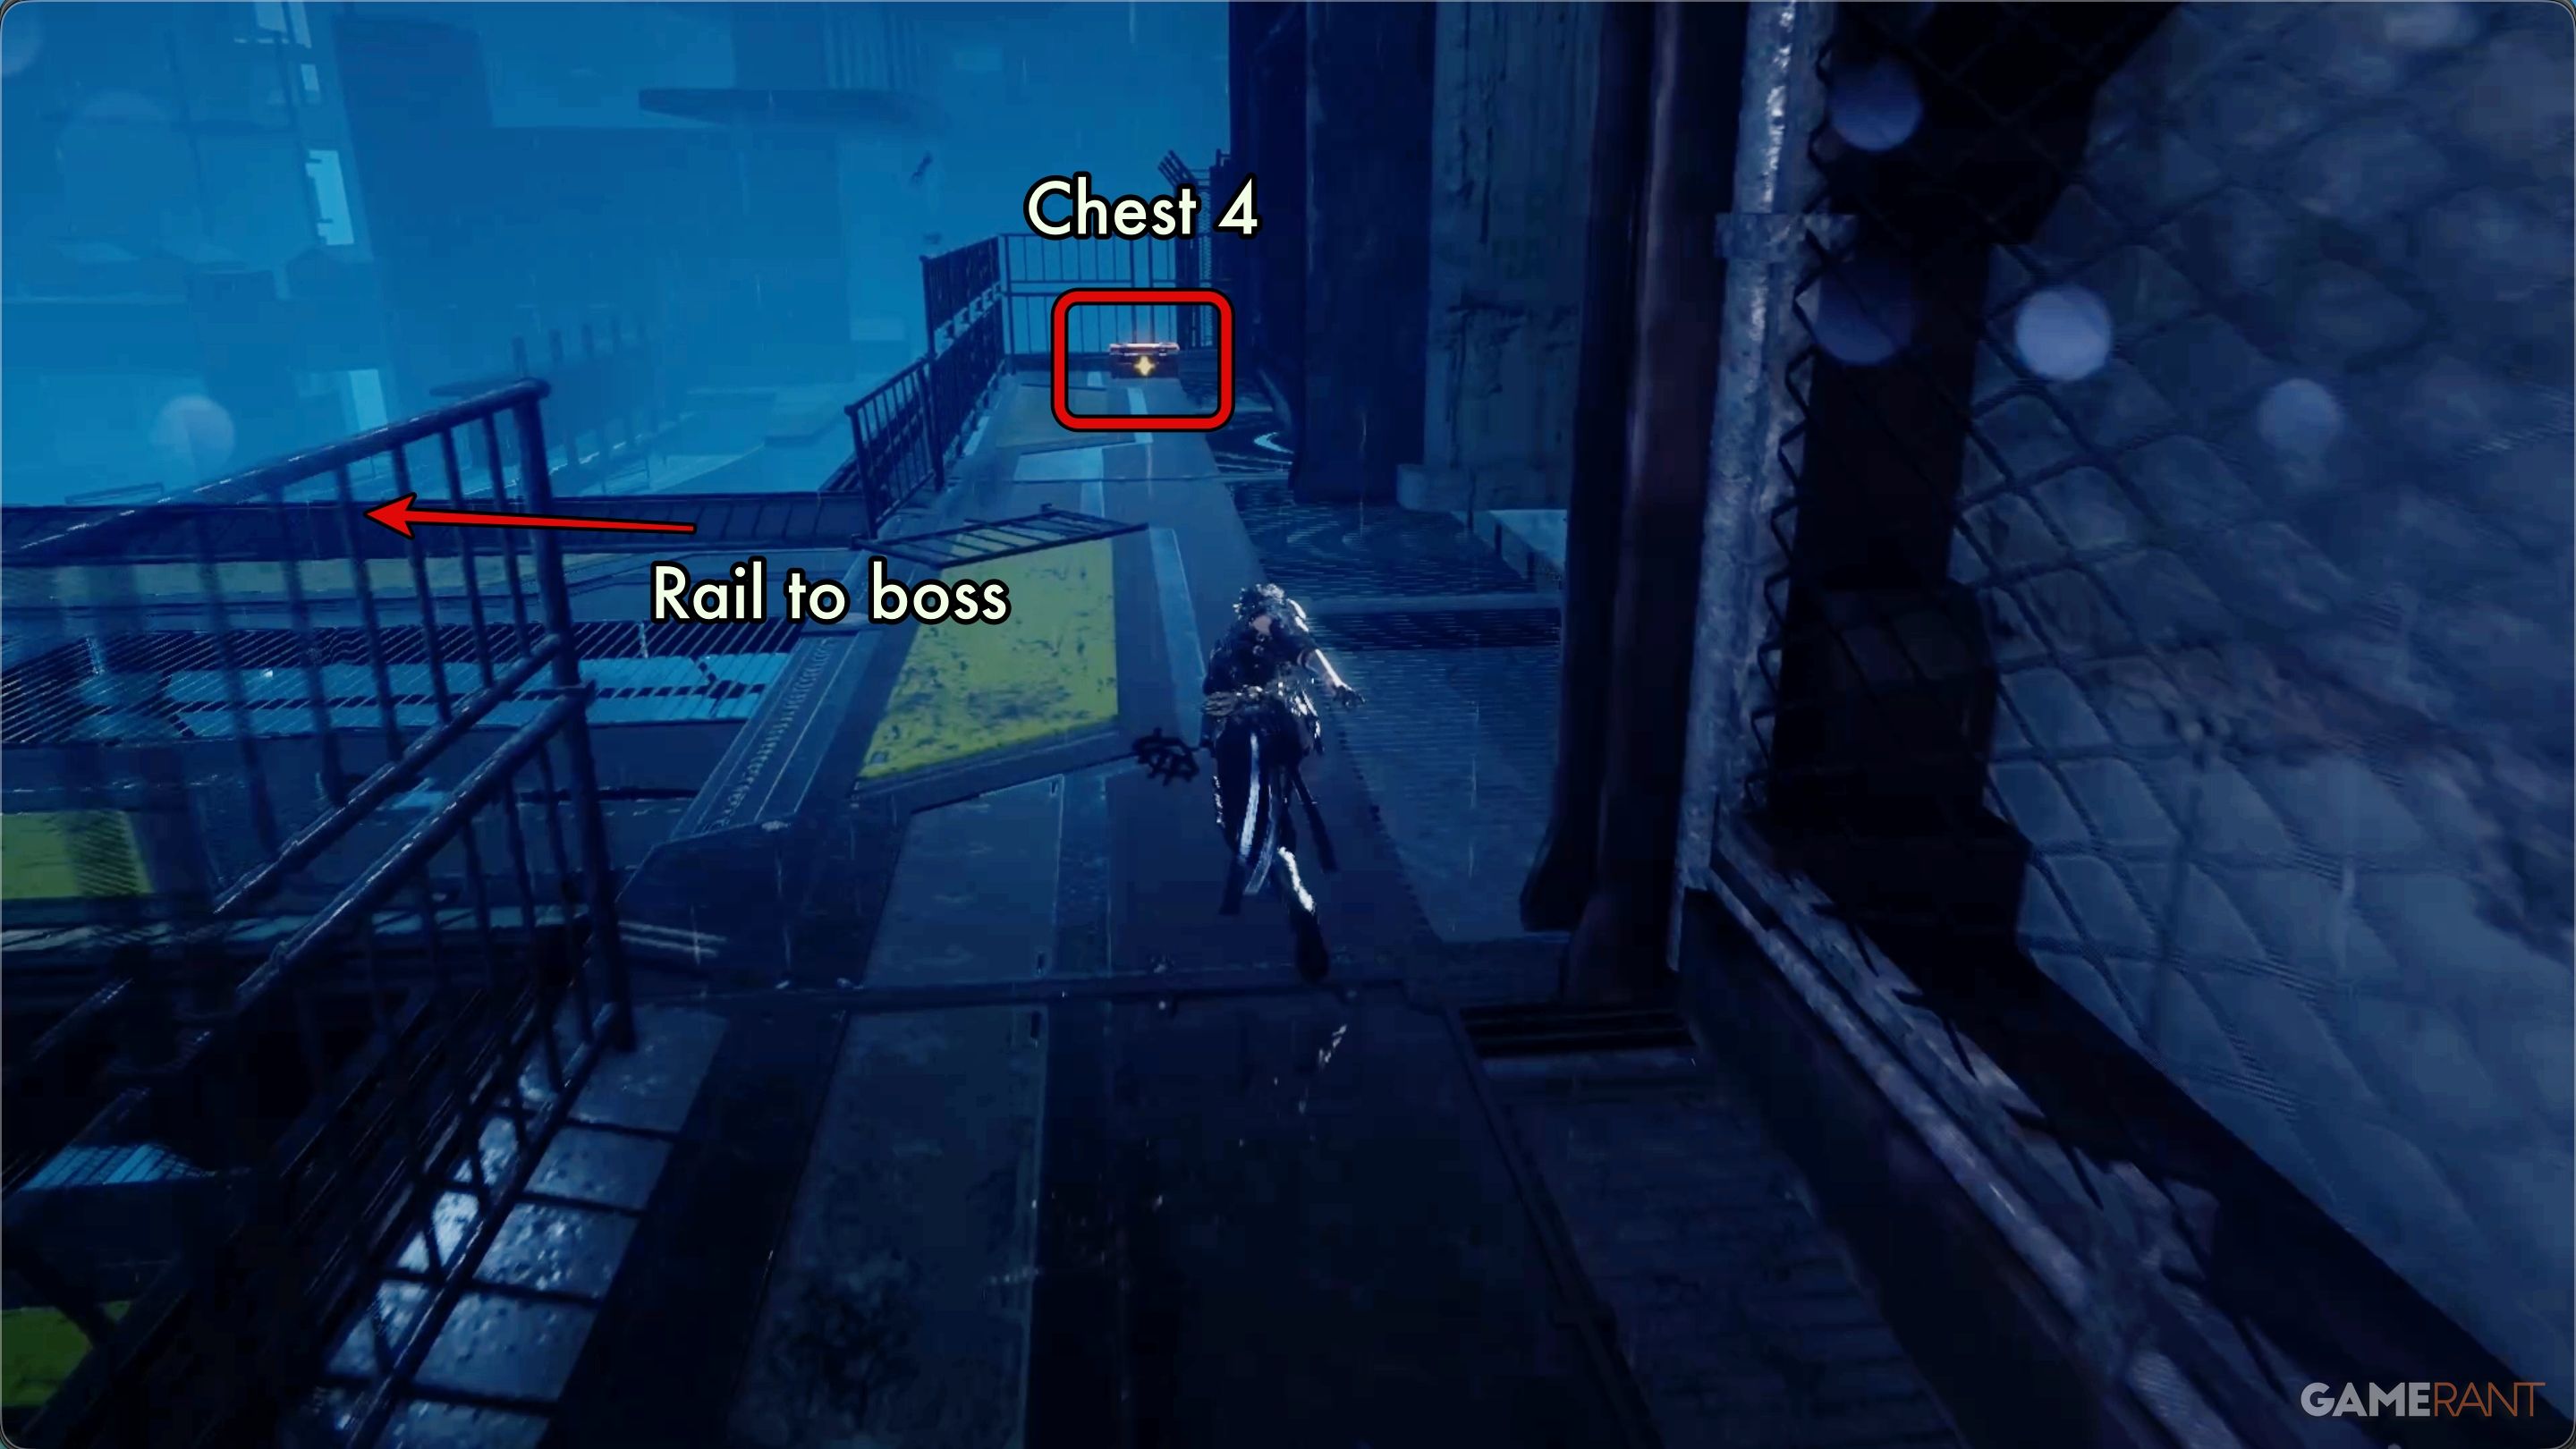
From the third terminal, exit the room. Before getting on the next rail, look to your right for Chest 4. It contains one Incense of Rebirth.
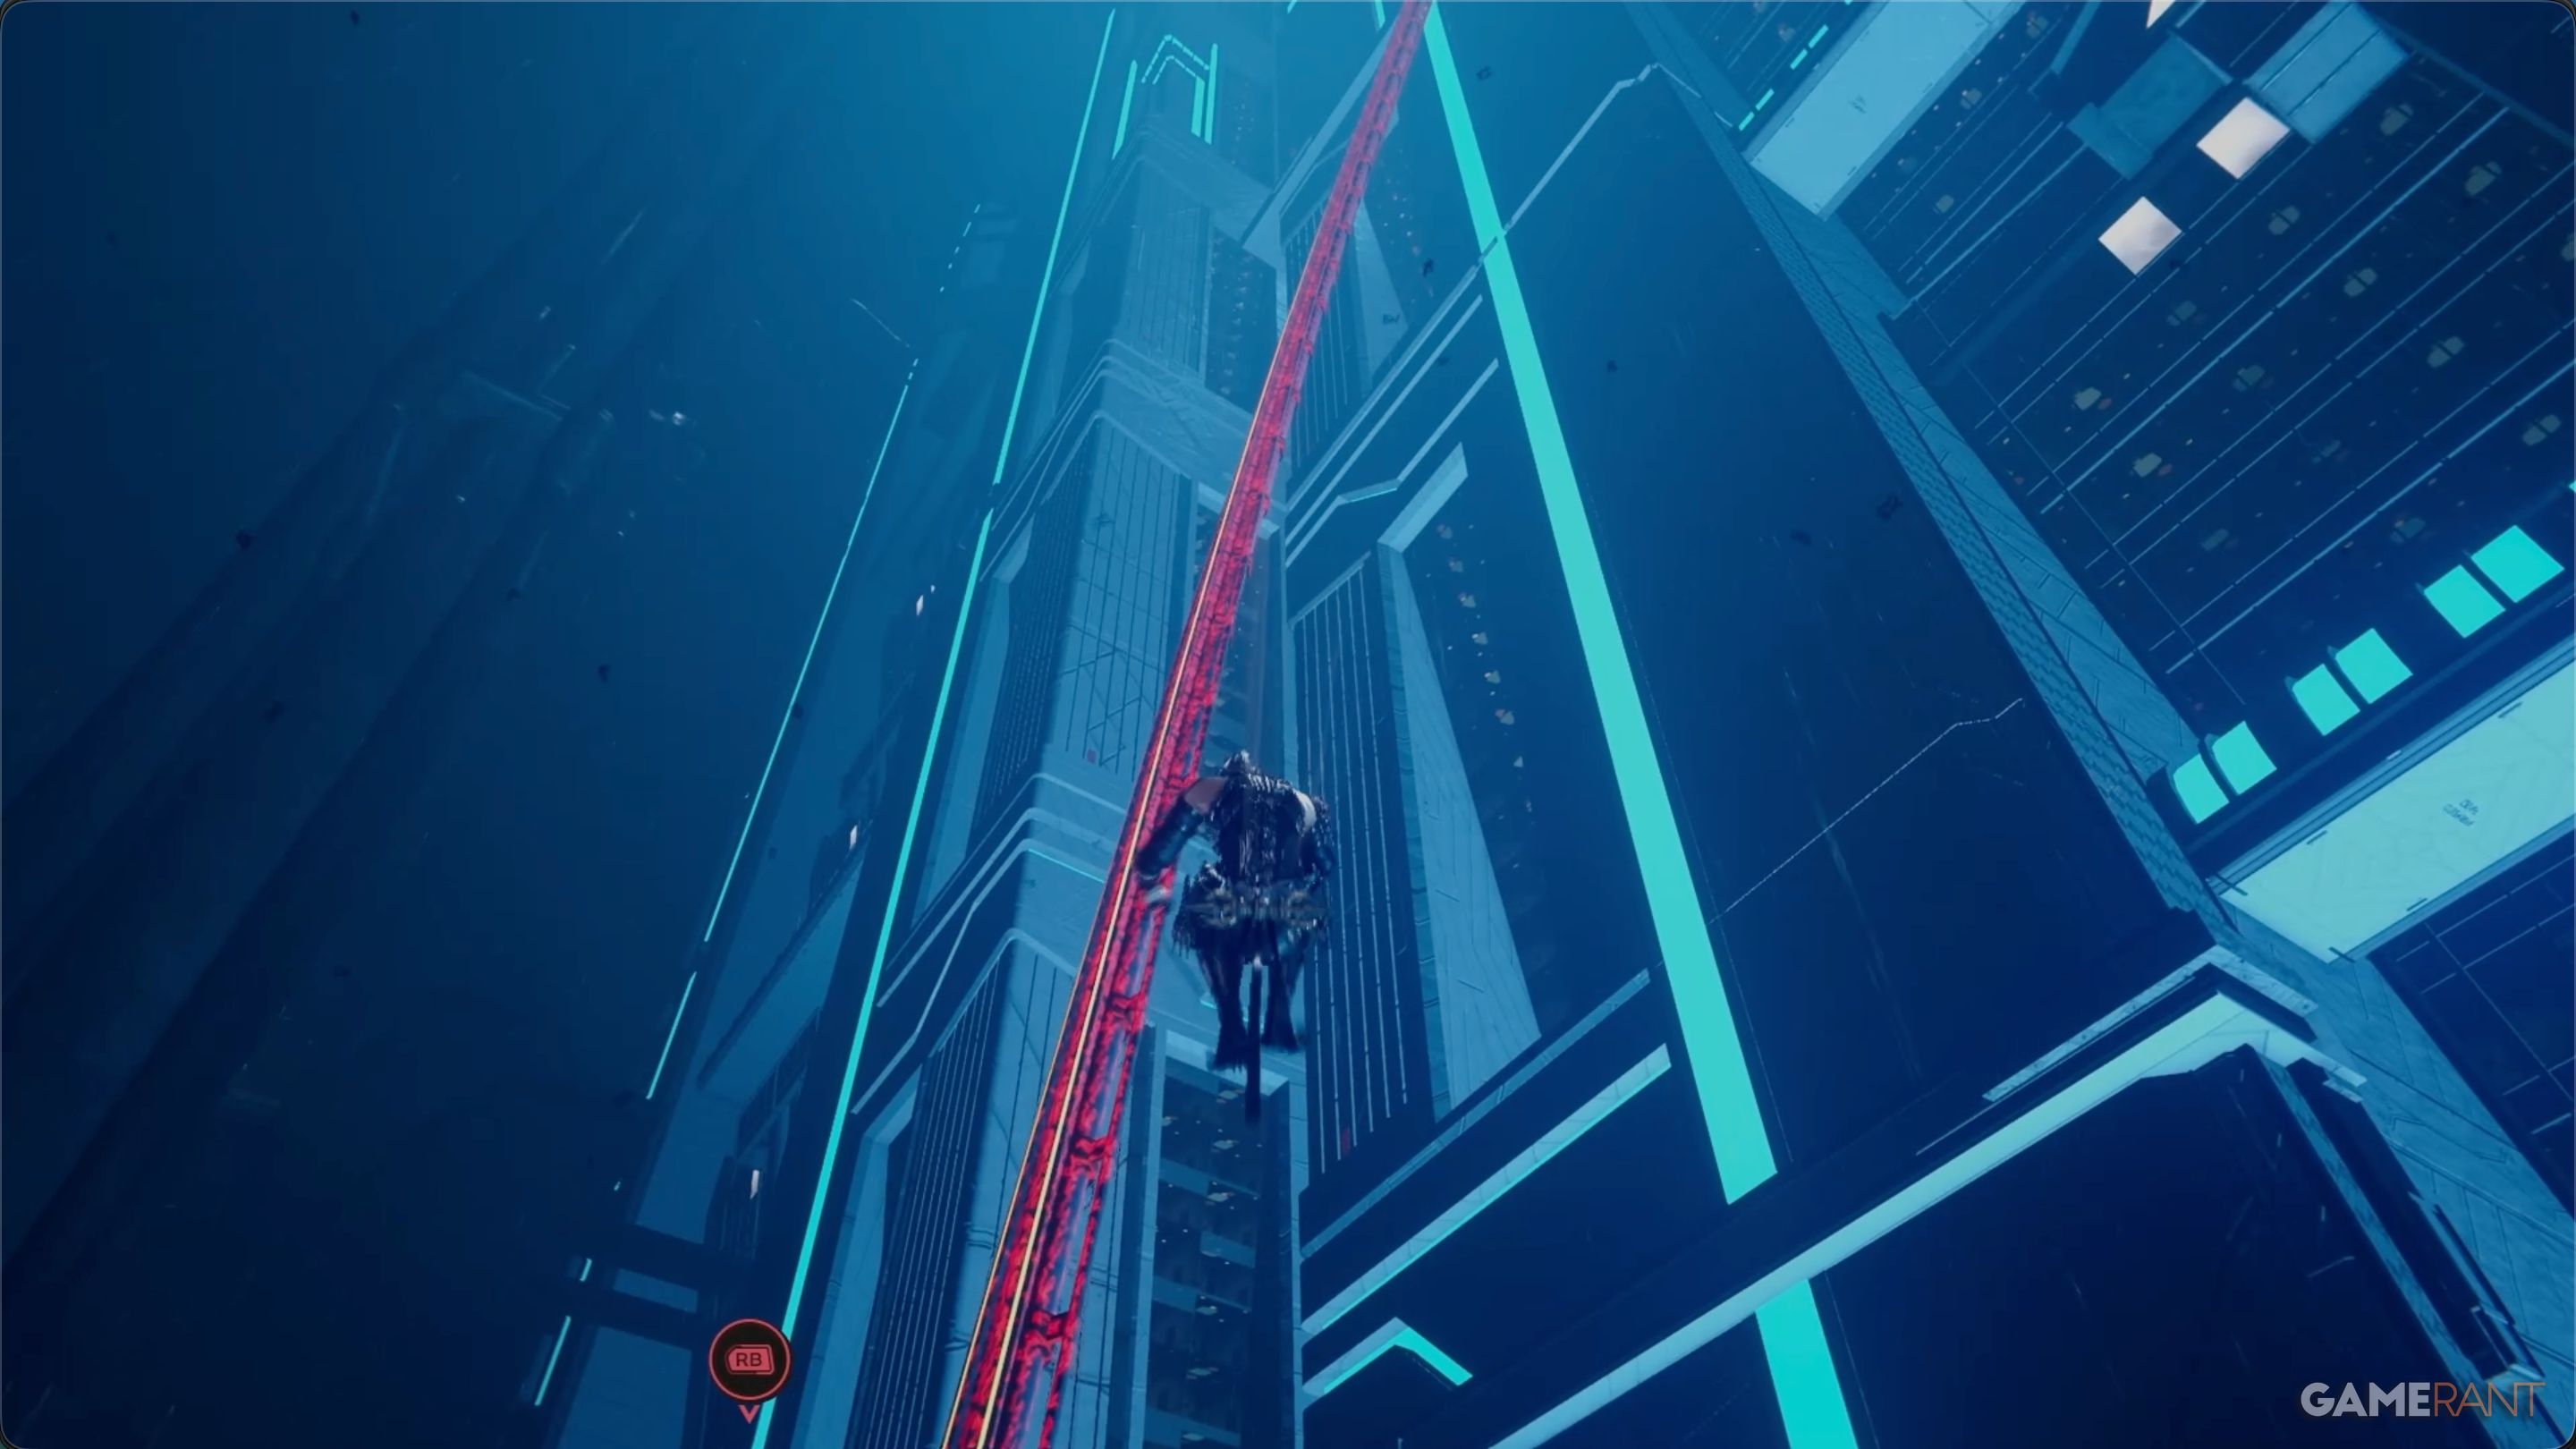
Okay, so once I got the chest, I hopped onto the rail and just followed the on-screen directions. It was a lot of jumping from rail to rail, but it eventually led me right to where I needed to be – the boss arena!
DDO Proto-Golaith Boss Fight:
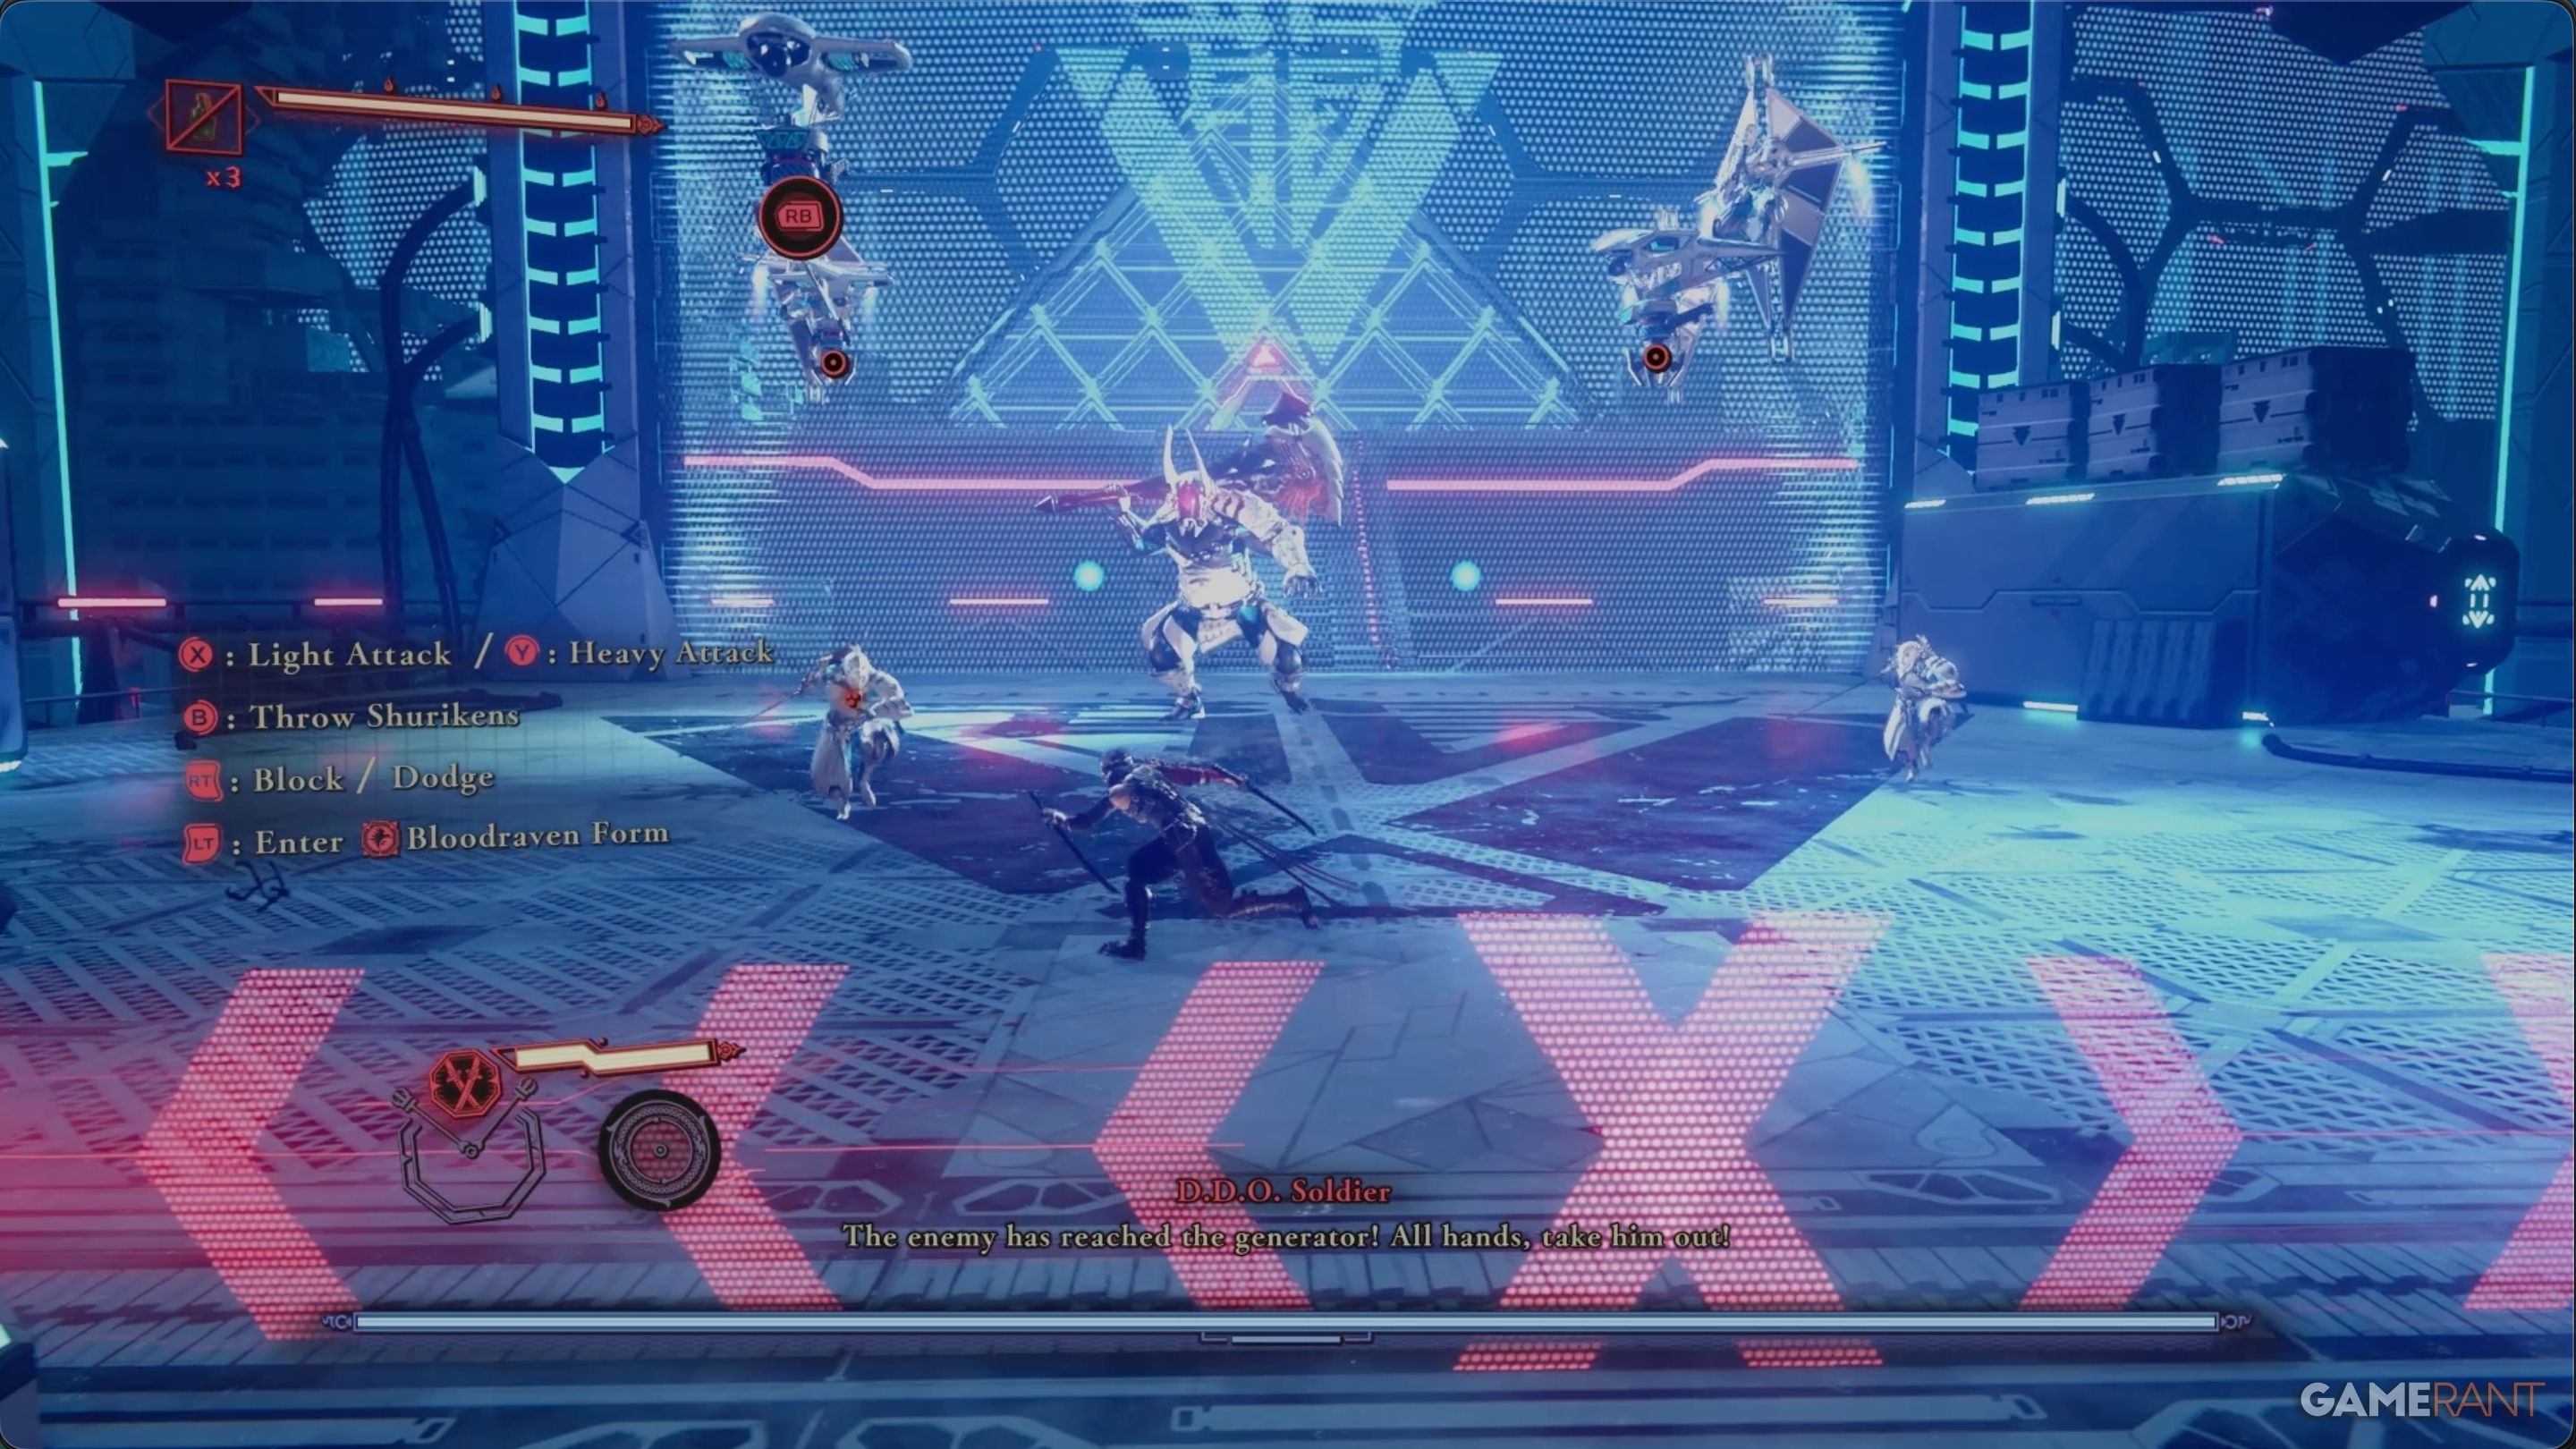
The Proto-Goliath in DDO will be fighting multiple enemies, including annoying flying creatures attached to kite-like objects. It’s a good idea to defeat those smaller enemies first before focusing on the big boss.
Once the Proto-Goliath is isolated, it’s surprisingly simple to defeat. Just perfectly dodge or block its slow attacks using its big club.
When the enemy prepares a powerful attack (shown by a red exclamation point), interrupt it with an attack while in Bloodraven stance to knock it off balance. Using these two techniques will let you beat it down quickly. Going into Berserk mode will make the fight even faster.
After defeating the boss, you’ll get a powerful new attack called Bloodbath Slaughter. This attack instantly kills all nearby enemies when you’re in Berserk Mode.
Once that is done, destroy the final Pylon, and the chapter will come to an end.
Read More
- All Skyblazer Armor Locations in Crimson Desert
- How to Get the Sunset Reed Armor Set and Hollow Visage Sword in Crimson Desert
- All Shadow Armor Locations in Crimson Desert
- Marni Laser Helm Location & Upgrade in Crimson Desert
- All Helfryn Armor Locations in Crimson Desert
- All Golden Greed Armor Locations in Crimson Desert
- Best Bows in Crimson Desert
- All Icewing Armor Locations in Crimson Desert
- How to Beat Stonewalker Antiquum at the Gate of Truth in Crimson Desert
- Legendary White Lion Necklace Location in Crimson Desert
2025-10-21 13:07