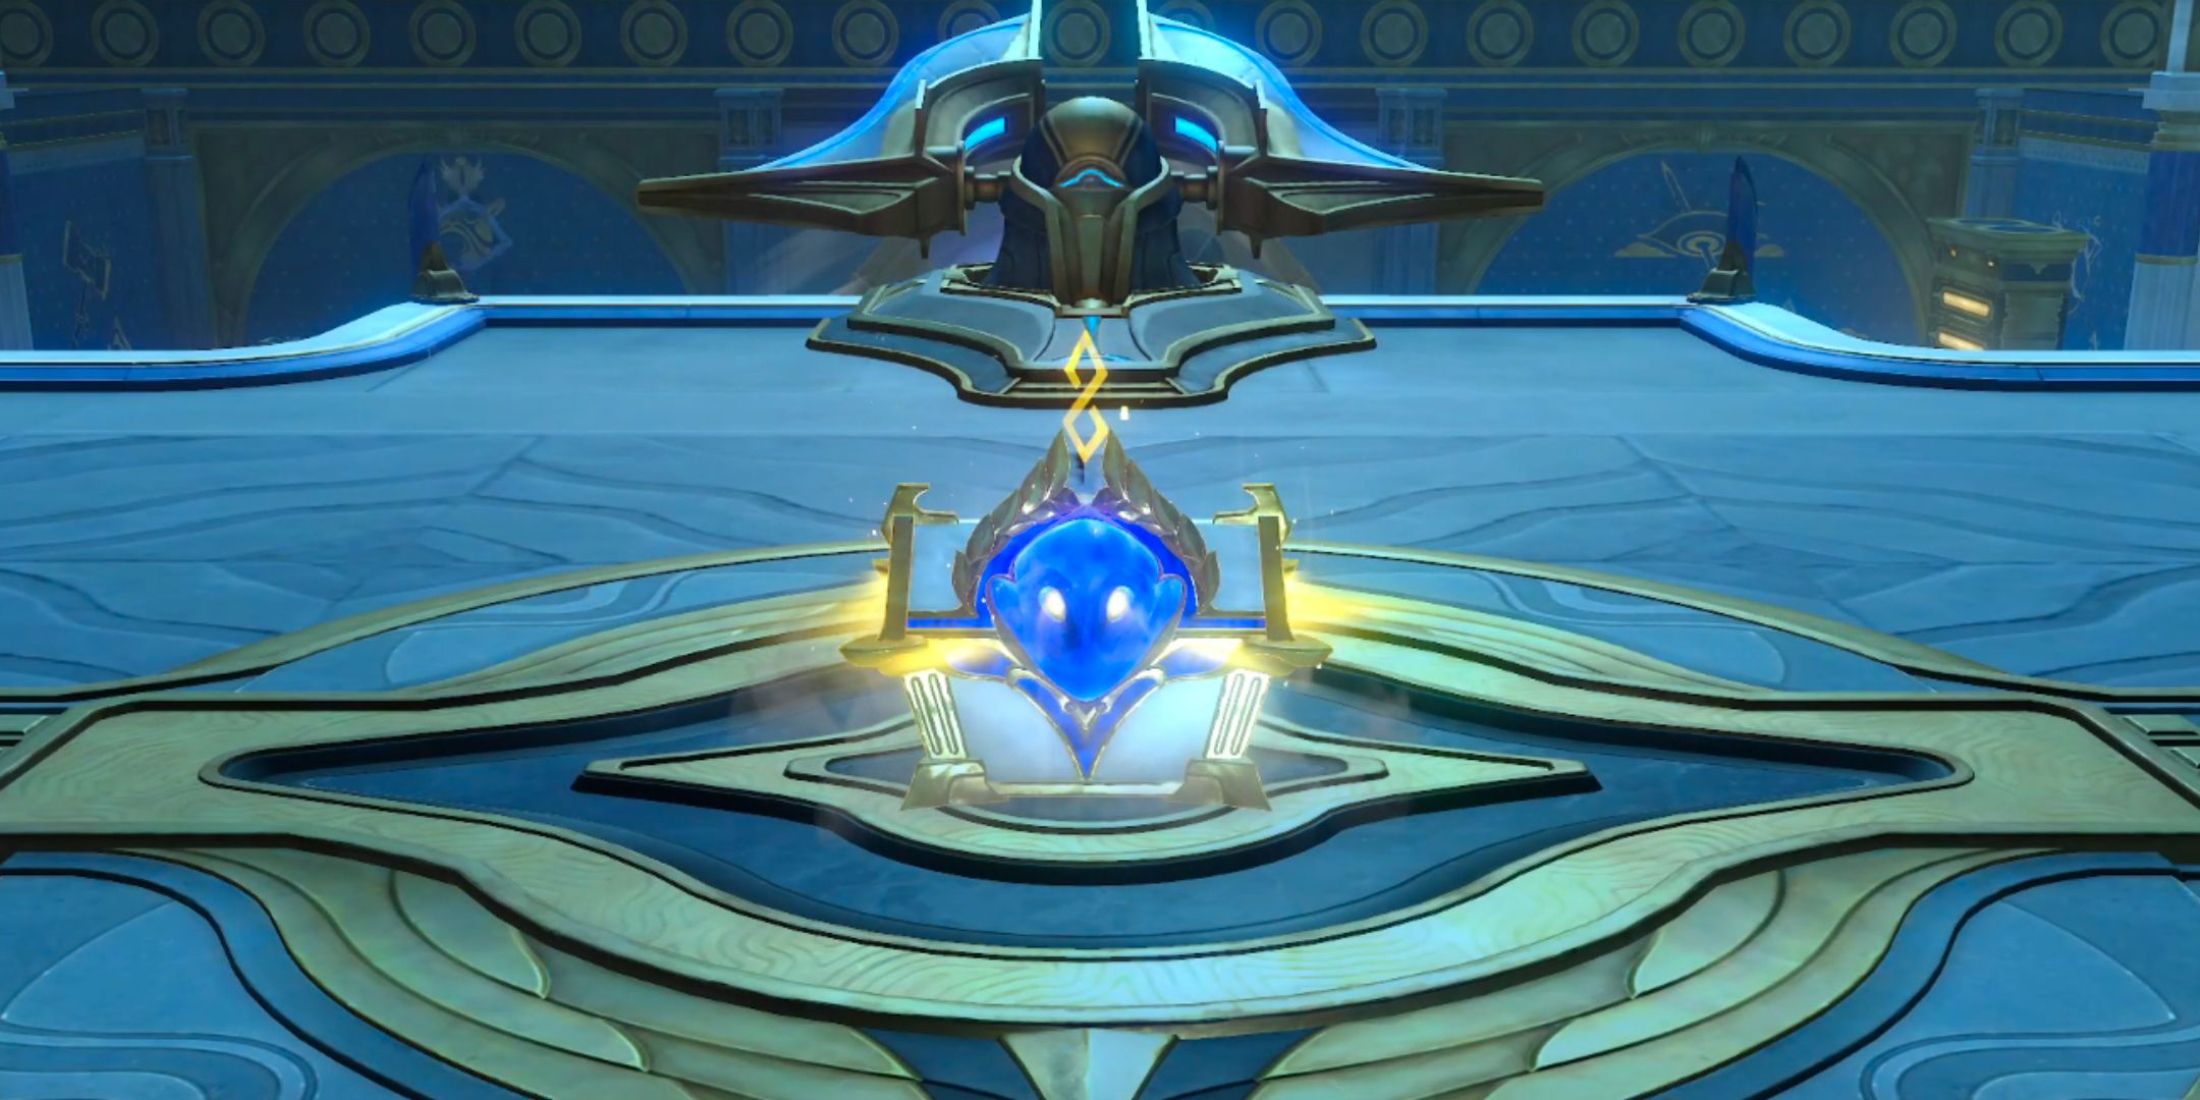
The “Eye of Twilight” within Amphoreus, a region from the game “Honkai: Star Rail“, was made accessible following the completion of the “The Fall at Dawn’s Rise” Trailblaze Mission. After overcoming numerous obstacles and rough patches, the band of surviving heroes embark on their journey to vanquish the Sky Titan, Aquila.
Using Hyacine’s deep understanding of the old system, the Trailblazers successfully trap Aquila and coax it into emerging from its concealment for a tough confrontation. Once the Trailblaze Quest is accomplished, adventurers can then revisit this sub-region with confidence to gather all the loot chests and Spirithieves, earning their portion of Stellar Jades in Honkai: Star Rail.
“Fortress of Dome” Eye of Twilight Treasure Locations in Honkai: Star Rail
In the game Honkai: Star Rail, it’s important to embark on the Trailblaze Mission initially because the sub-region is restricted until you complete a specific portion of the story that takes you to the Fortress of Dome.
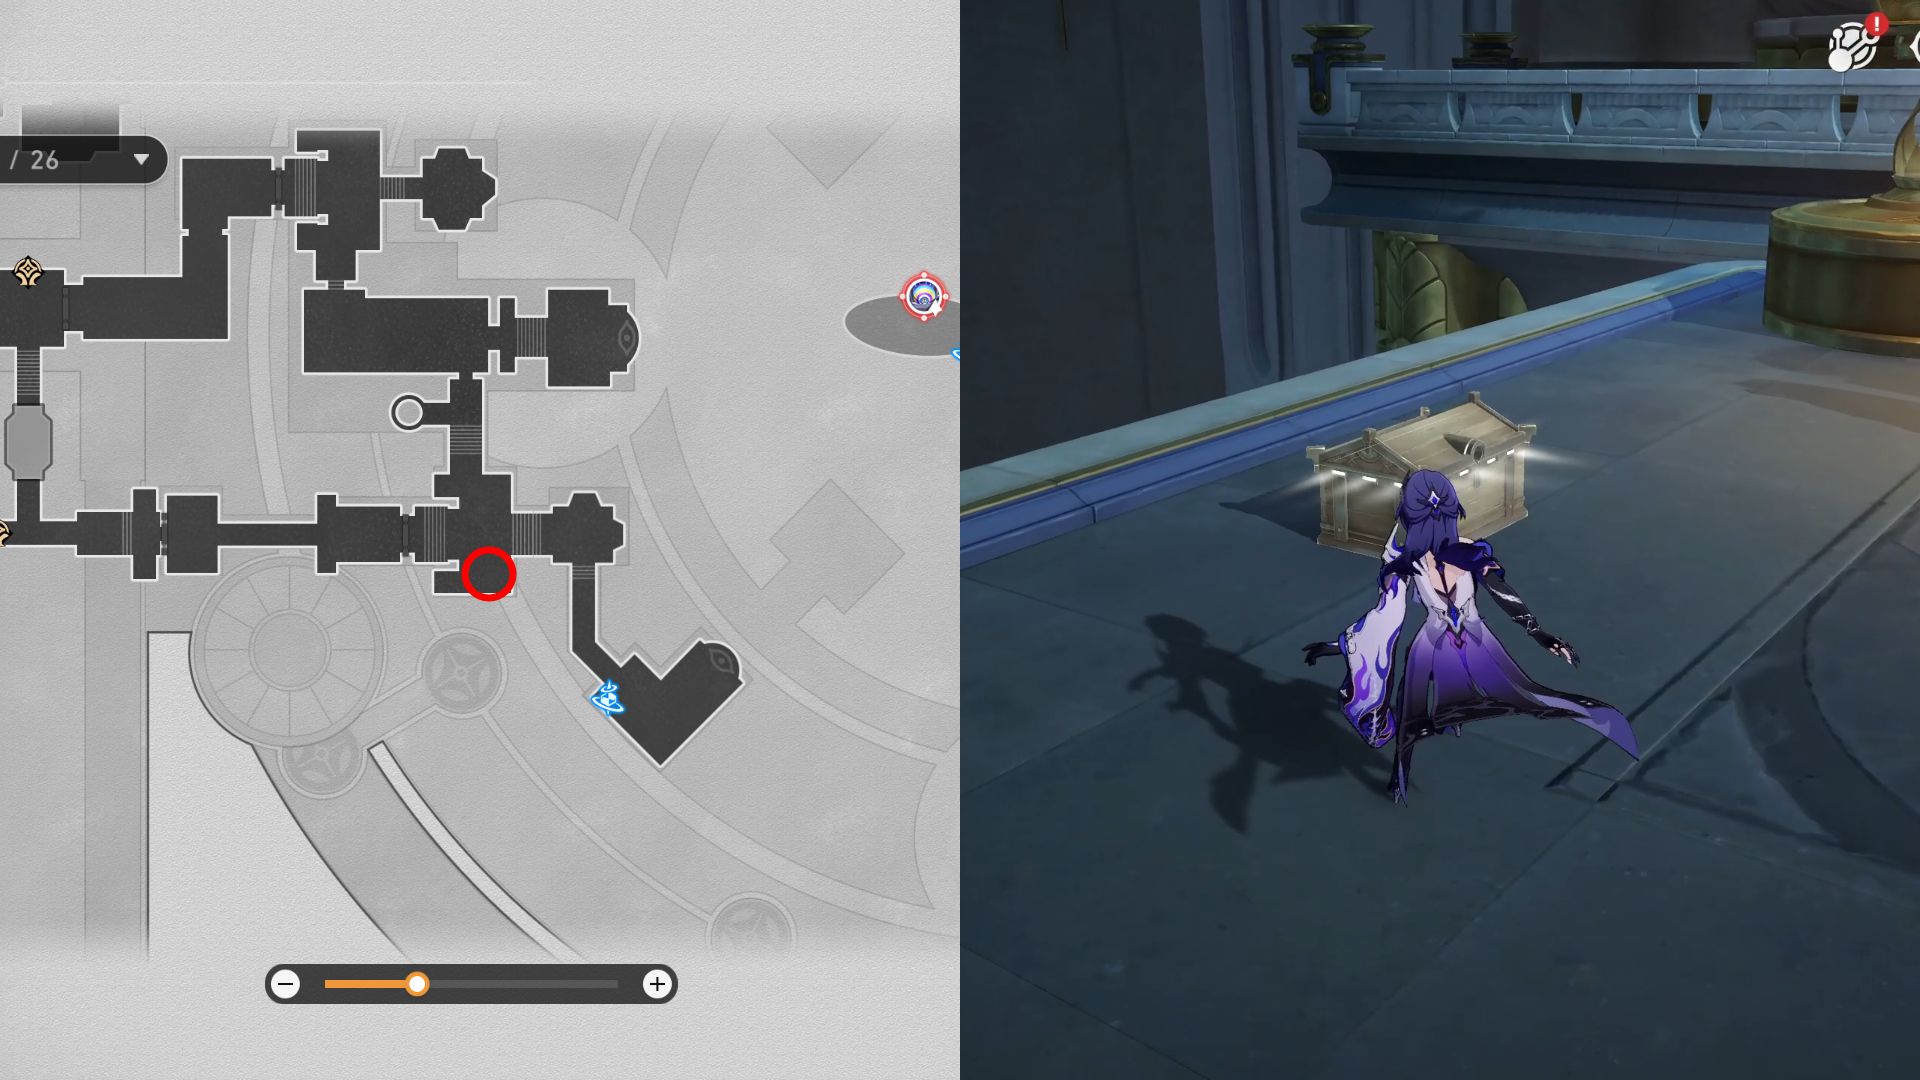
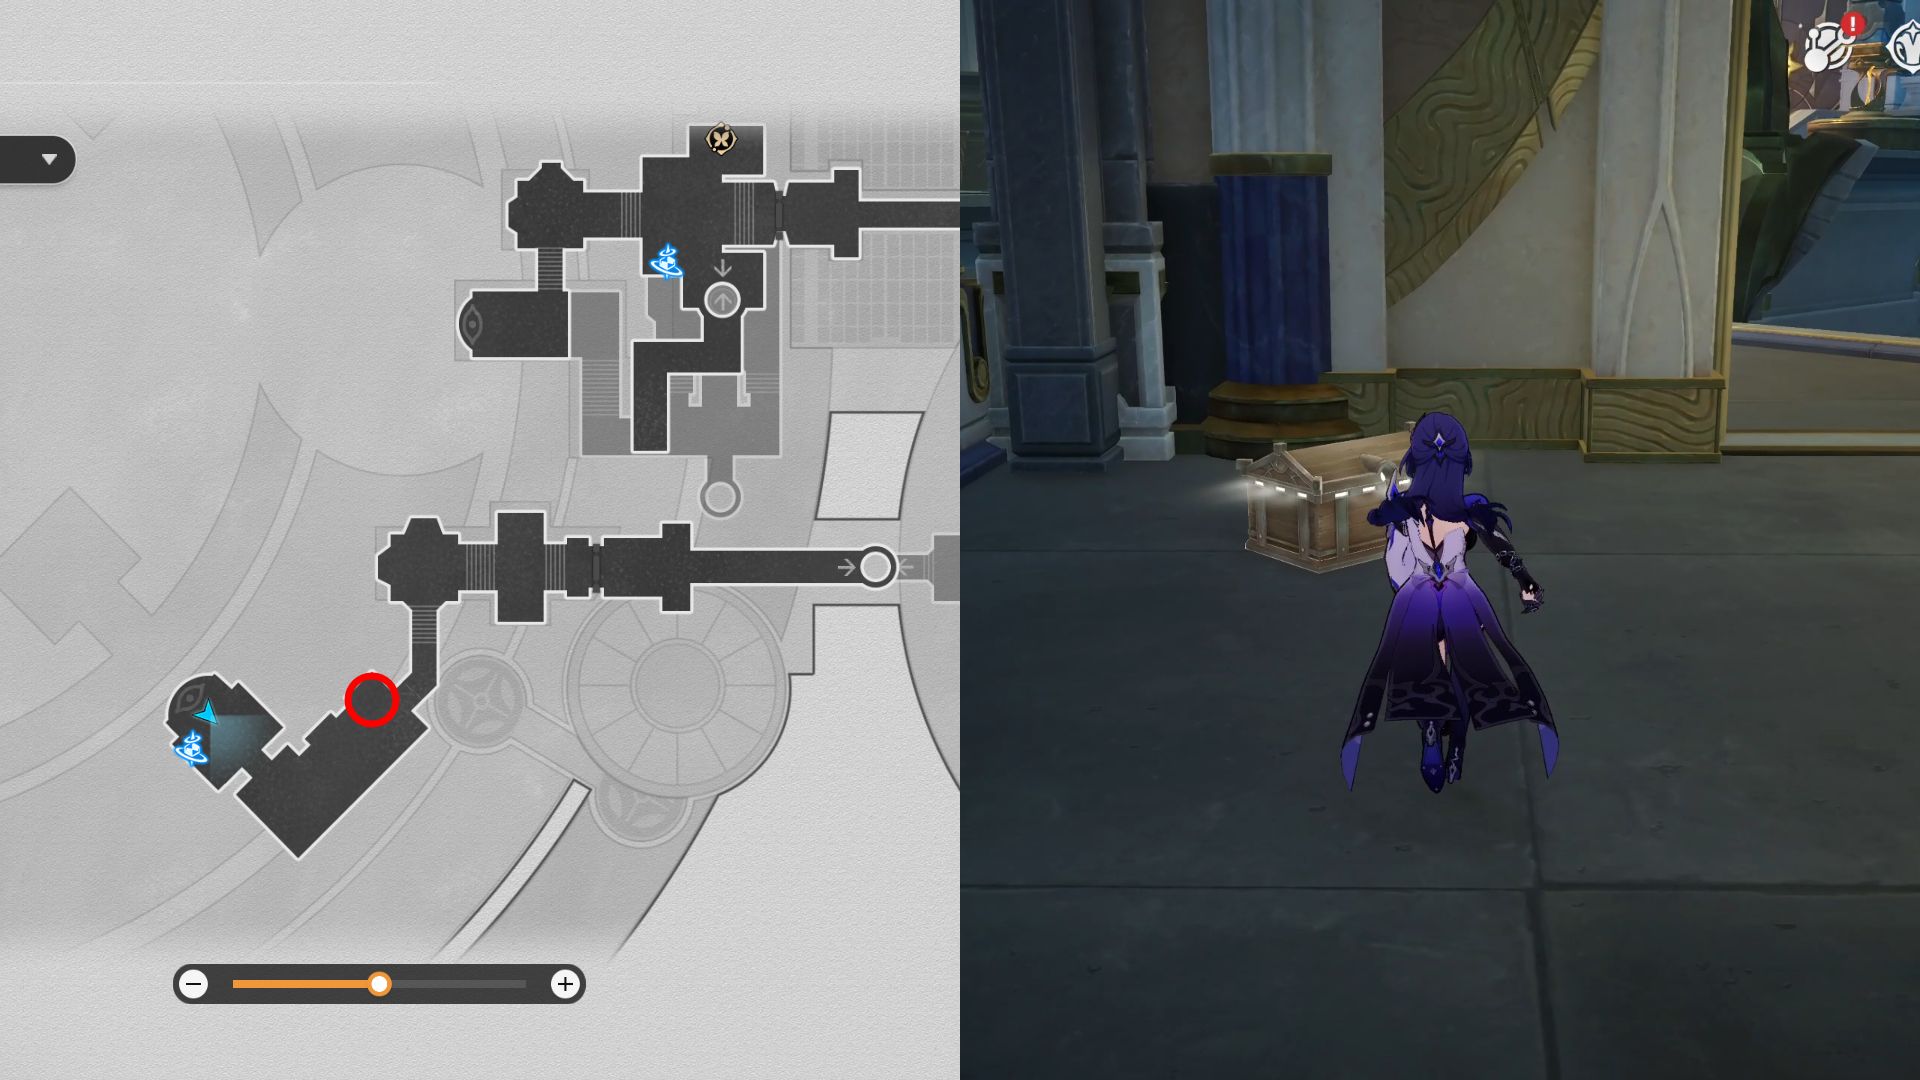
- 1. First, teleport to the End of Neon space anchor and walk north until you see a treasure chest on your right.
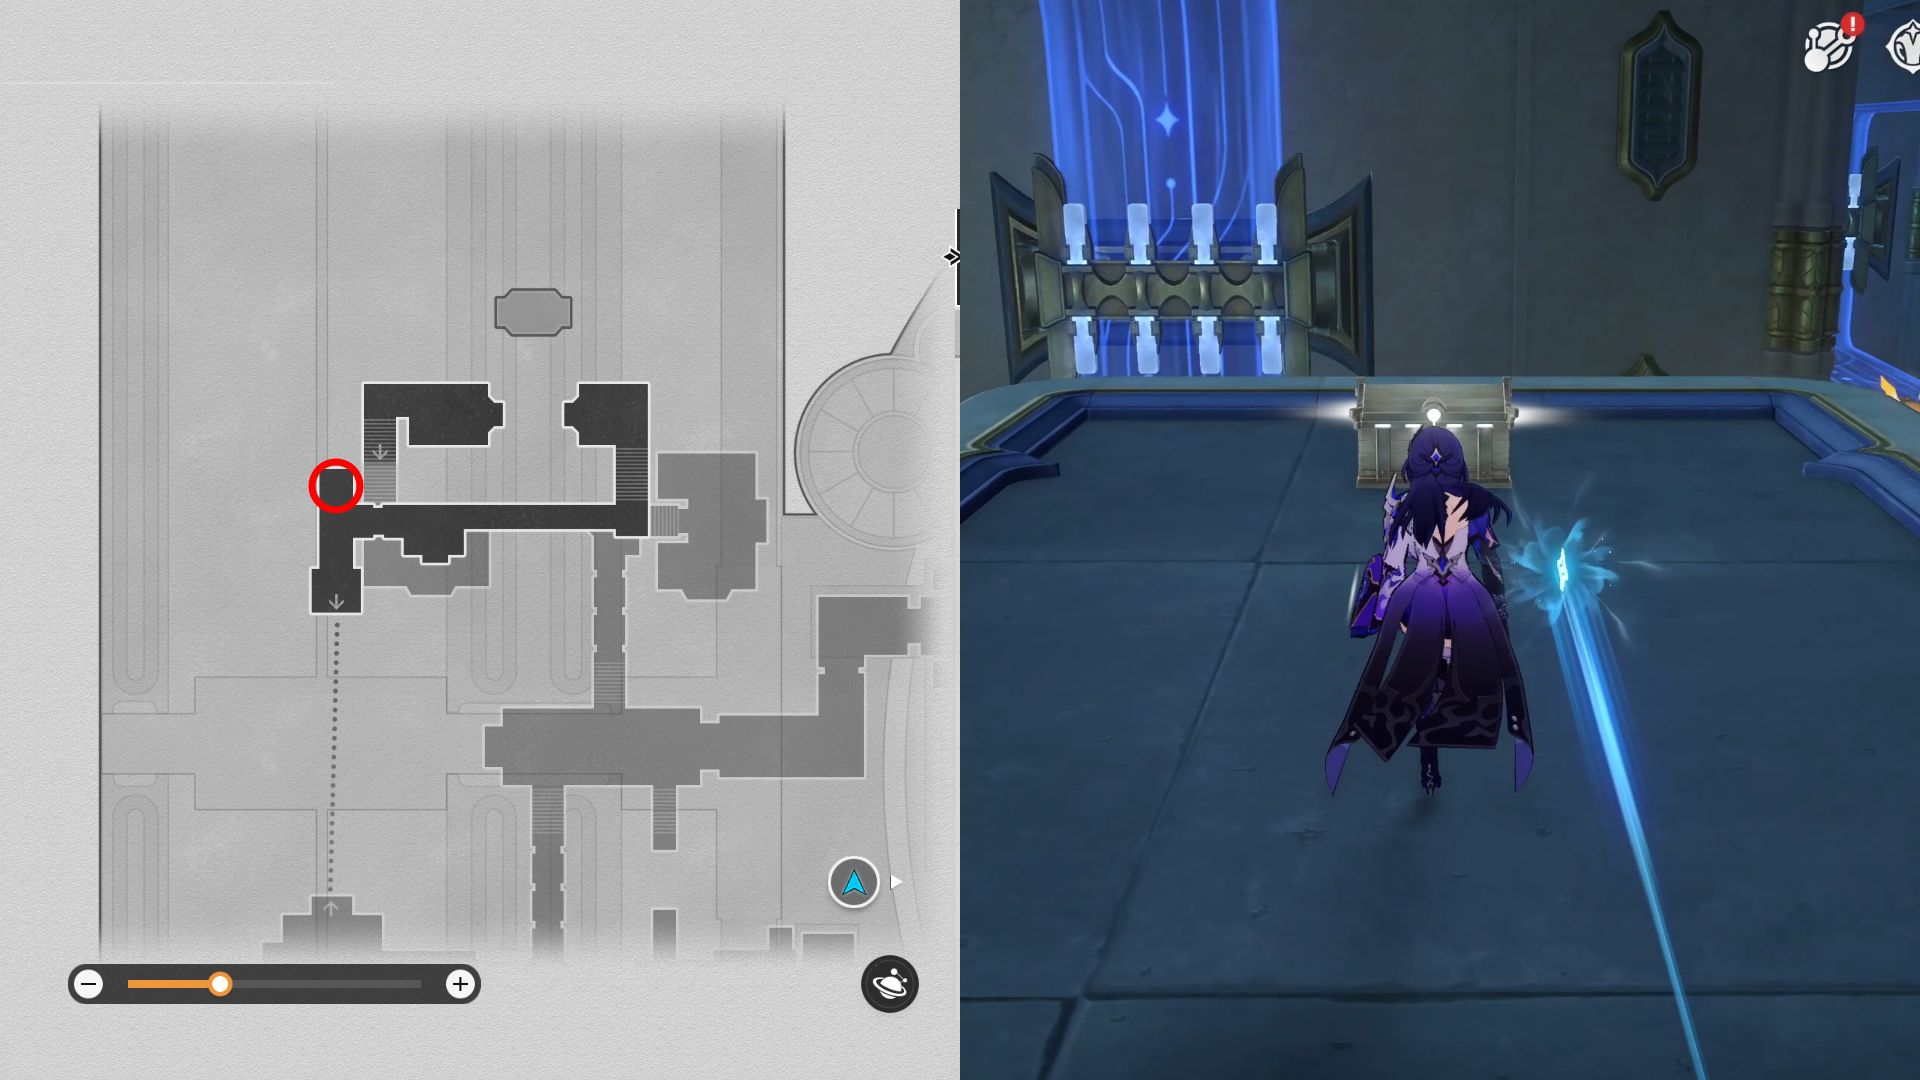
- 2. Enter the door in front of you and keep walking to the chest on the left side.
- 3. Next, use the Celestial Mural space anchor and walk to the east to find two breakable shields hiding a treasure chest behind them.
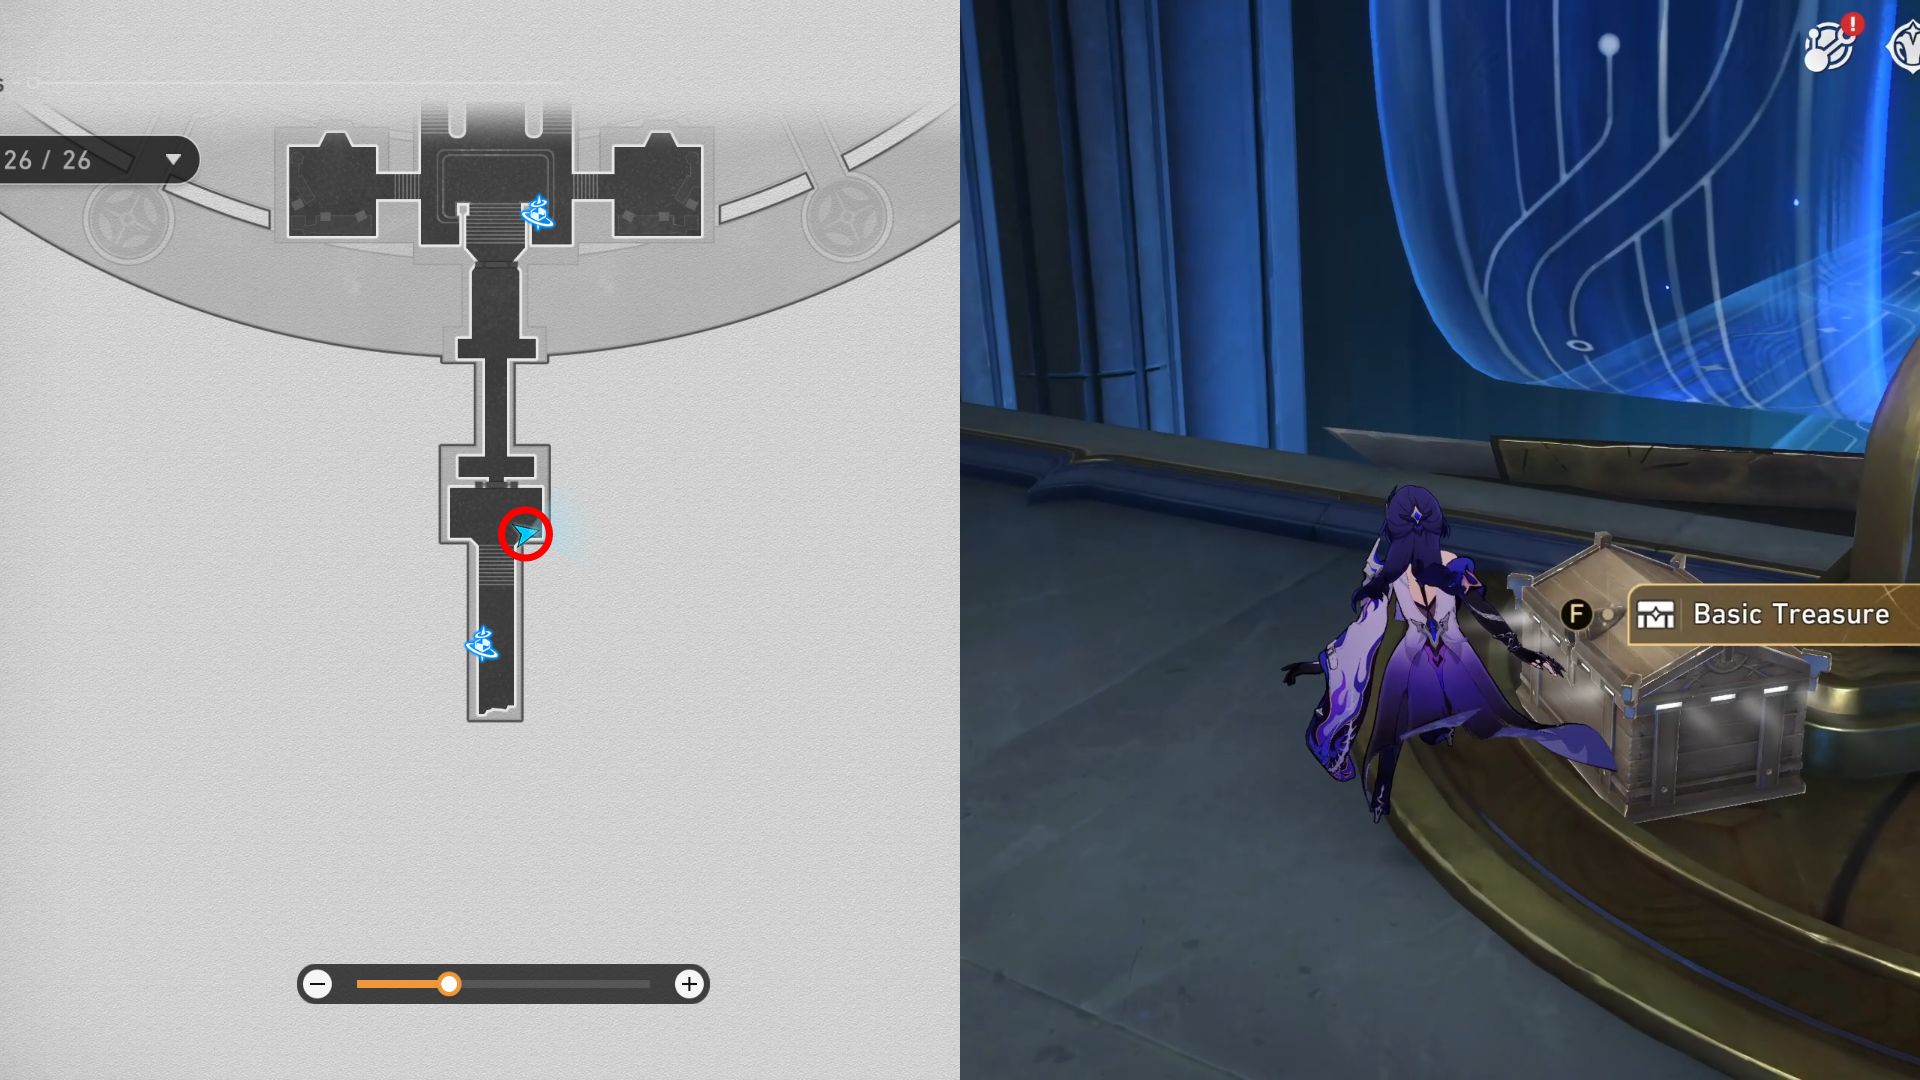
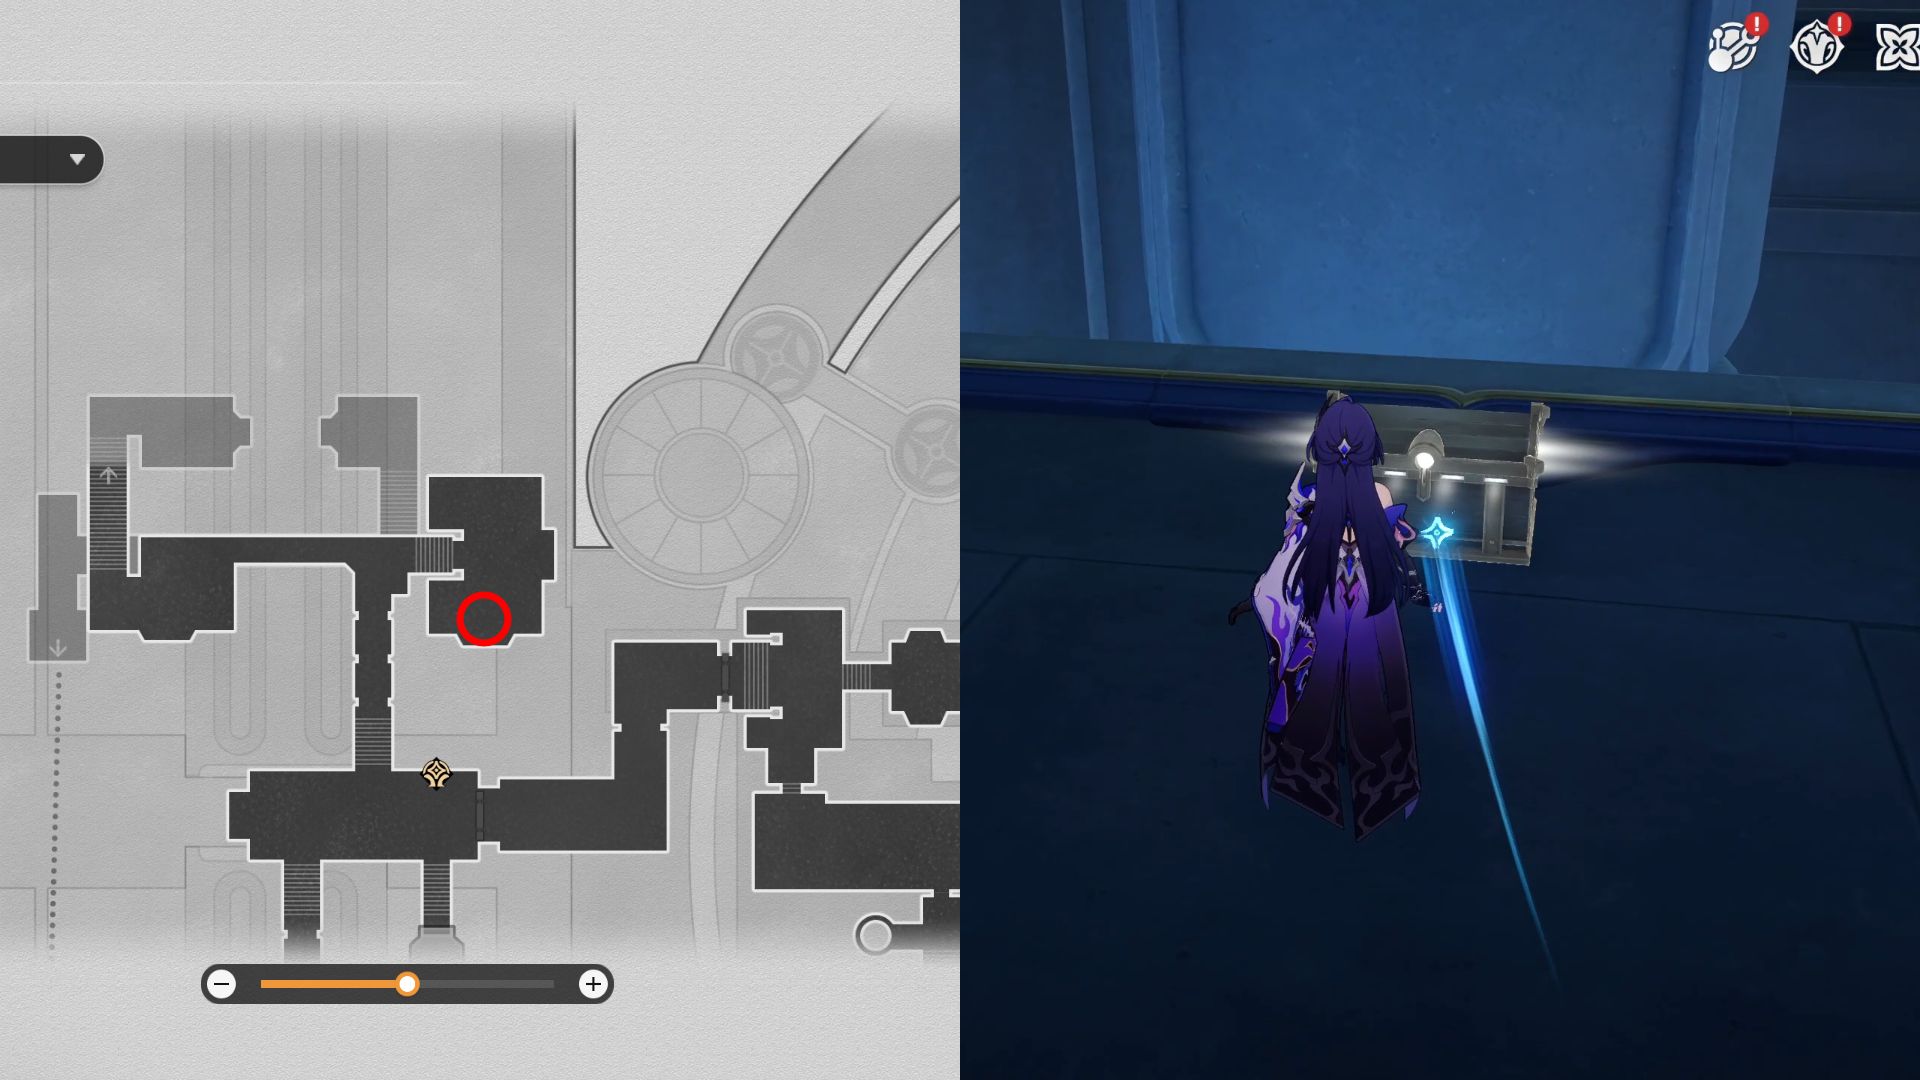
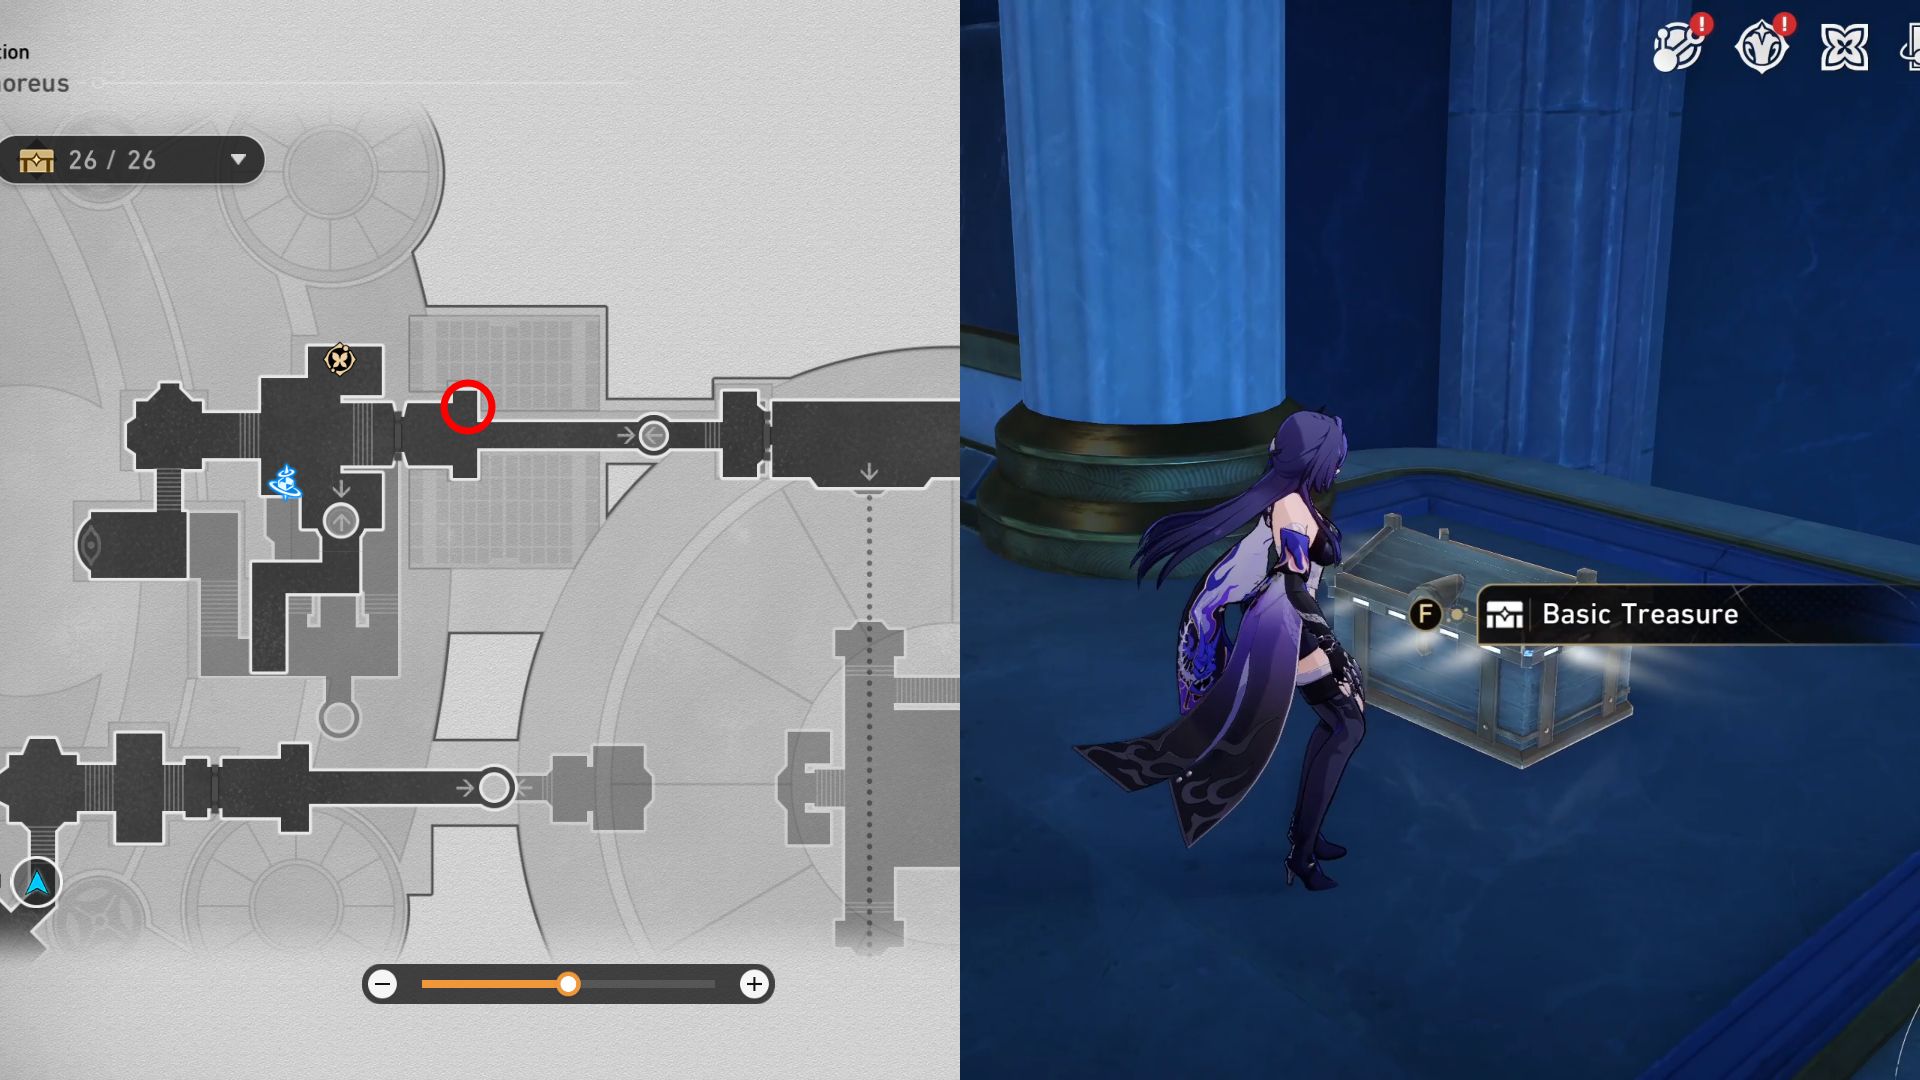
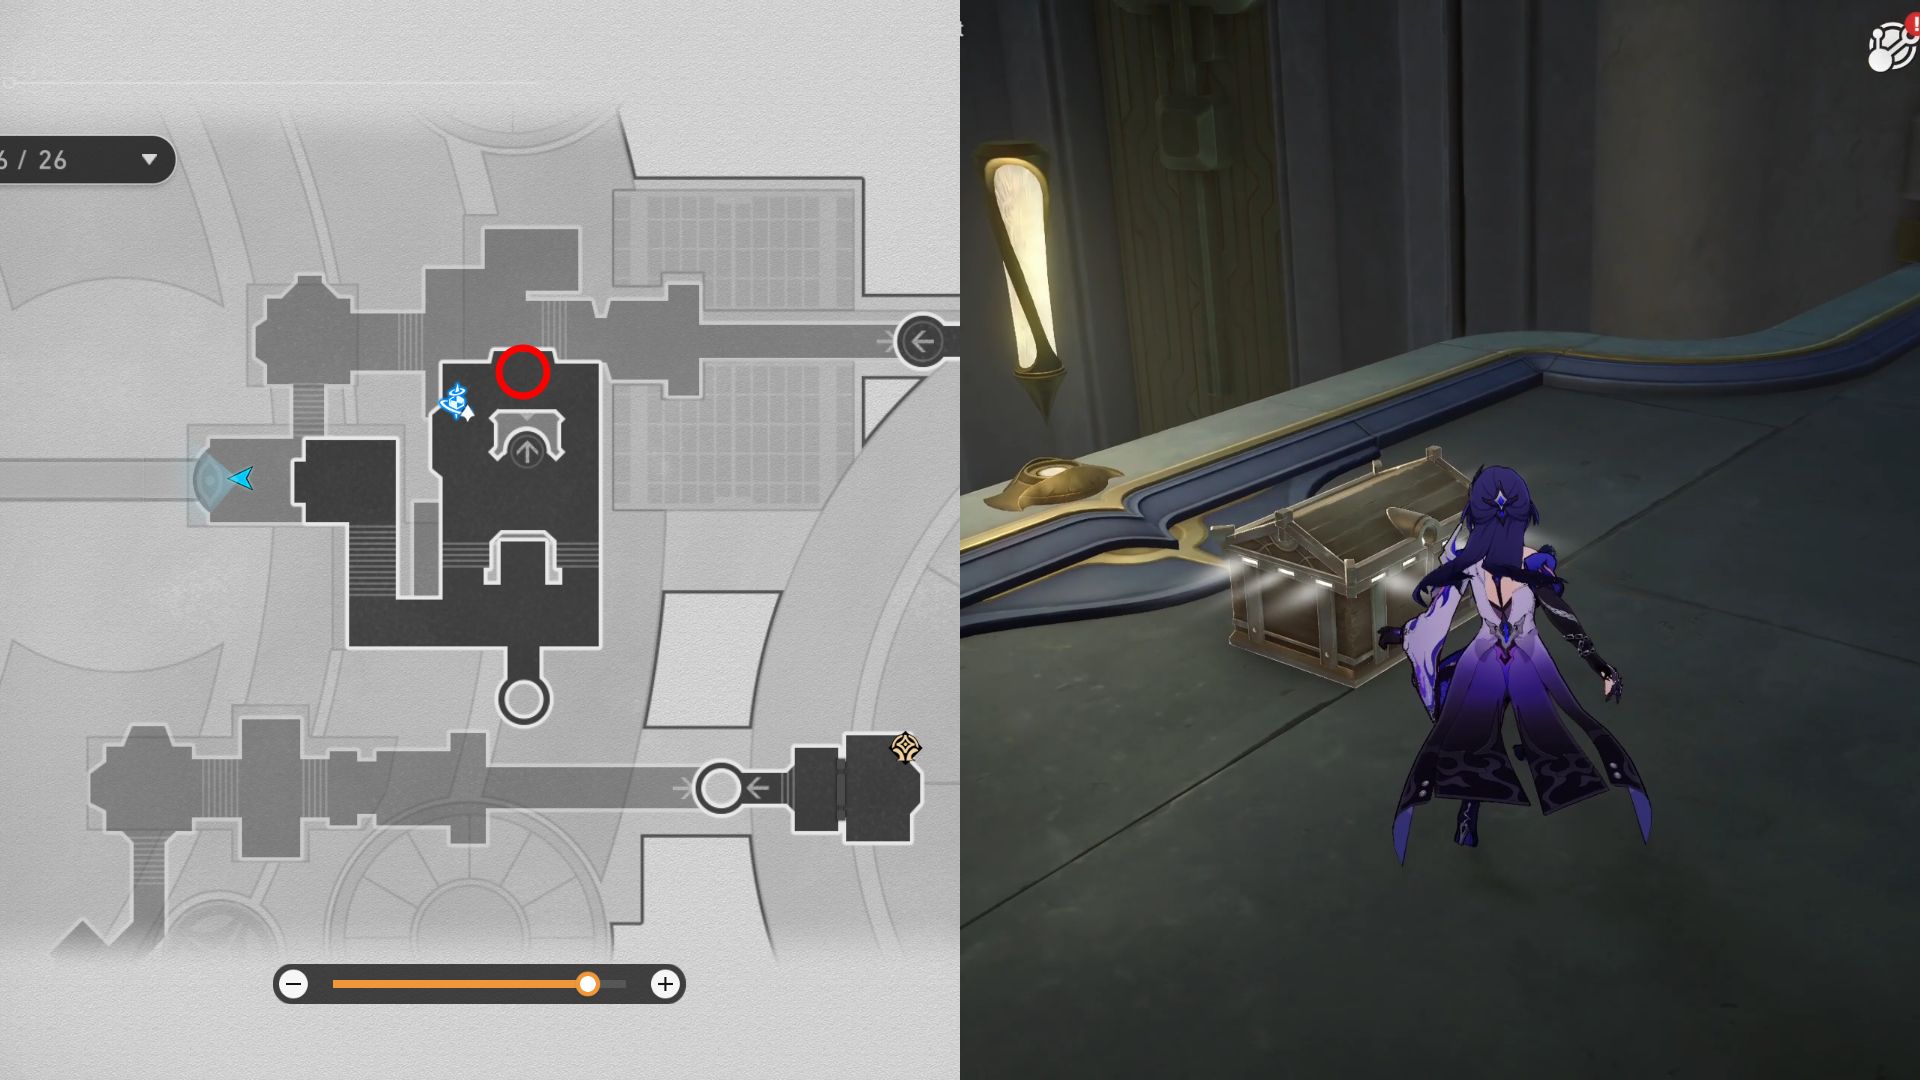
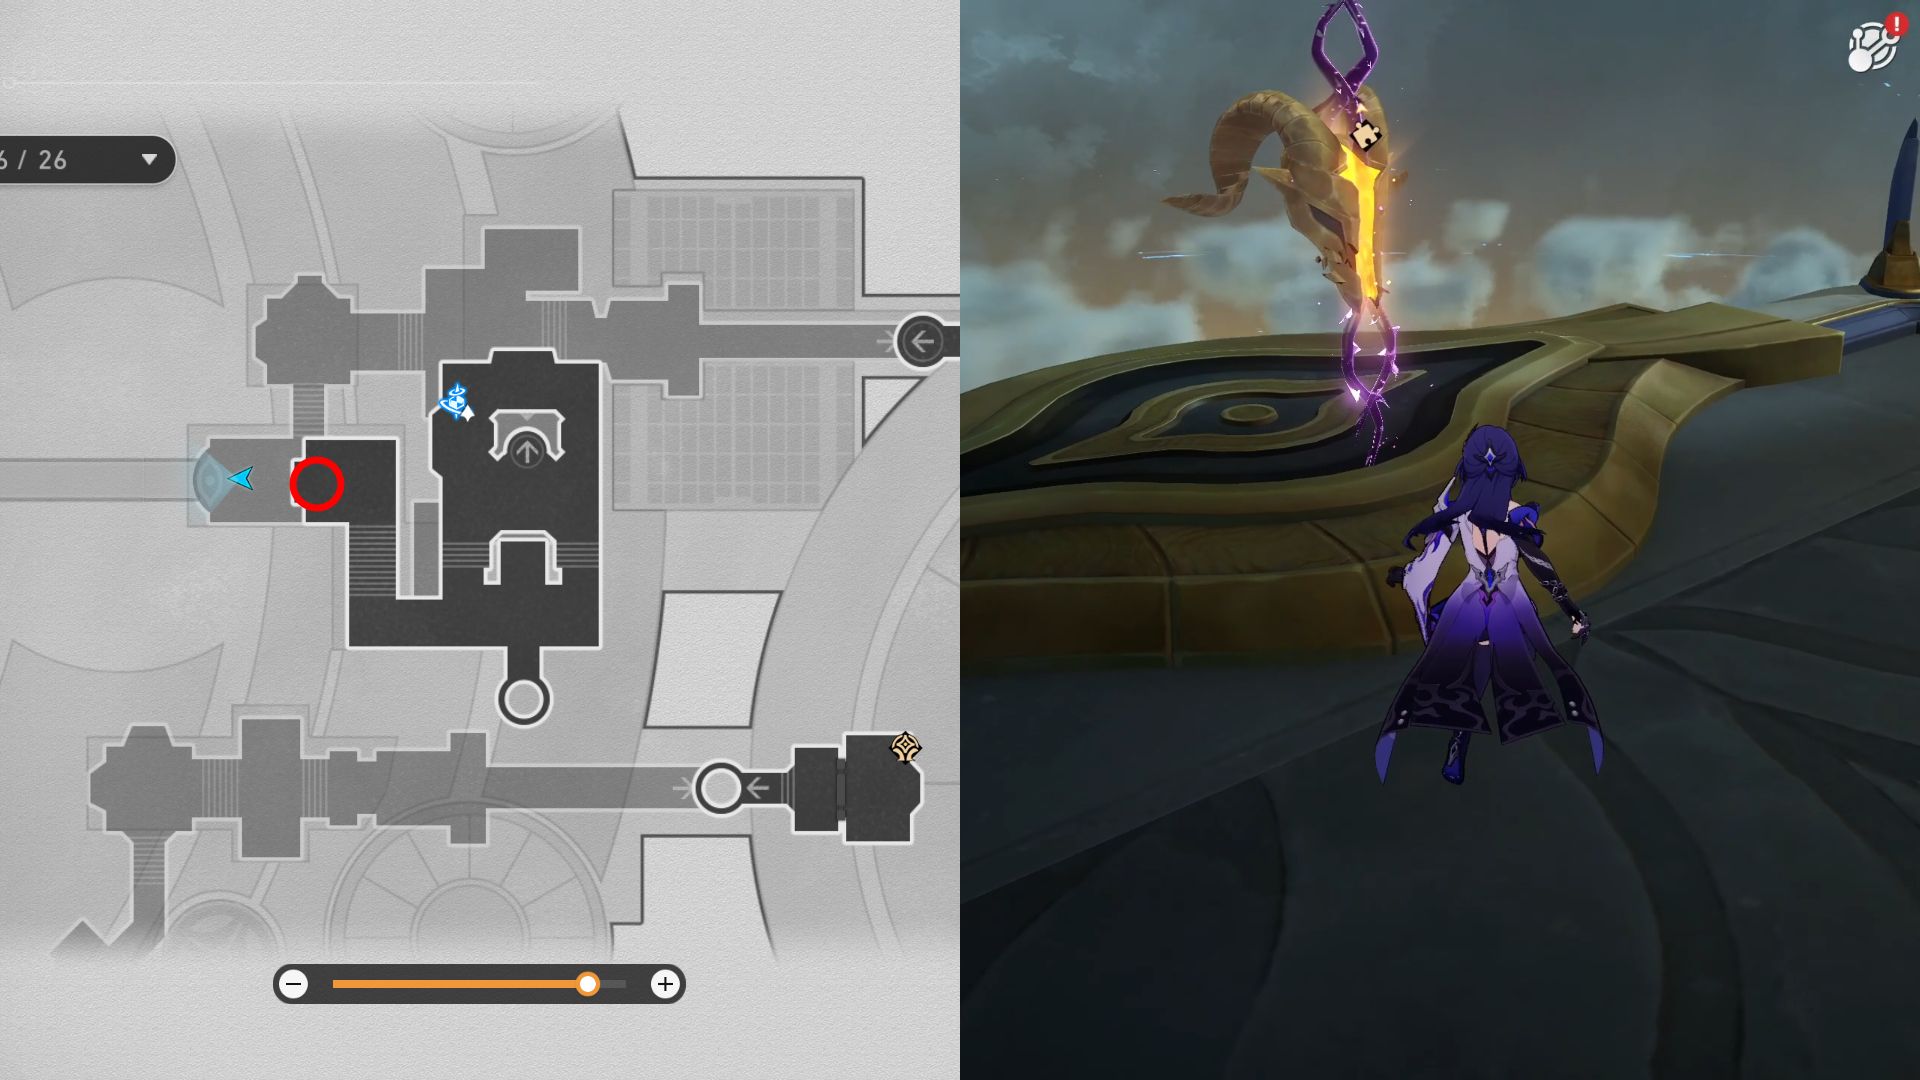
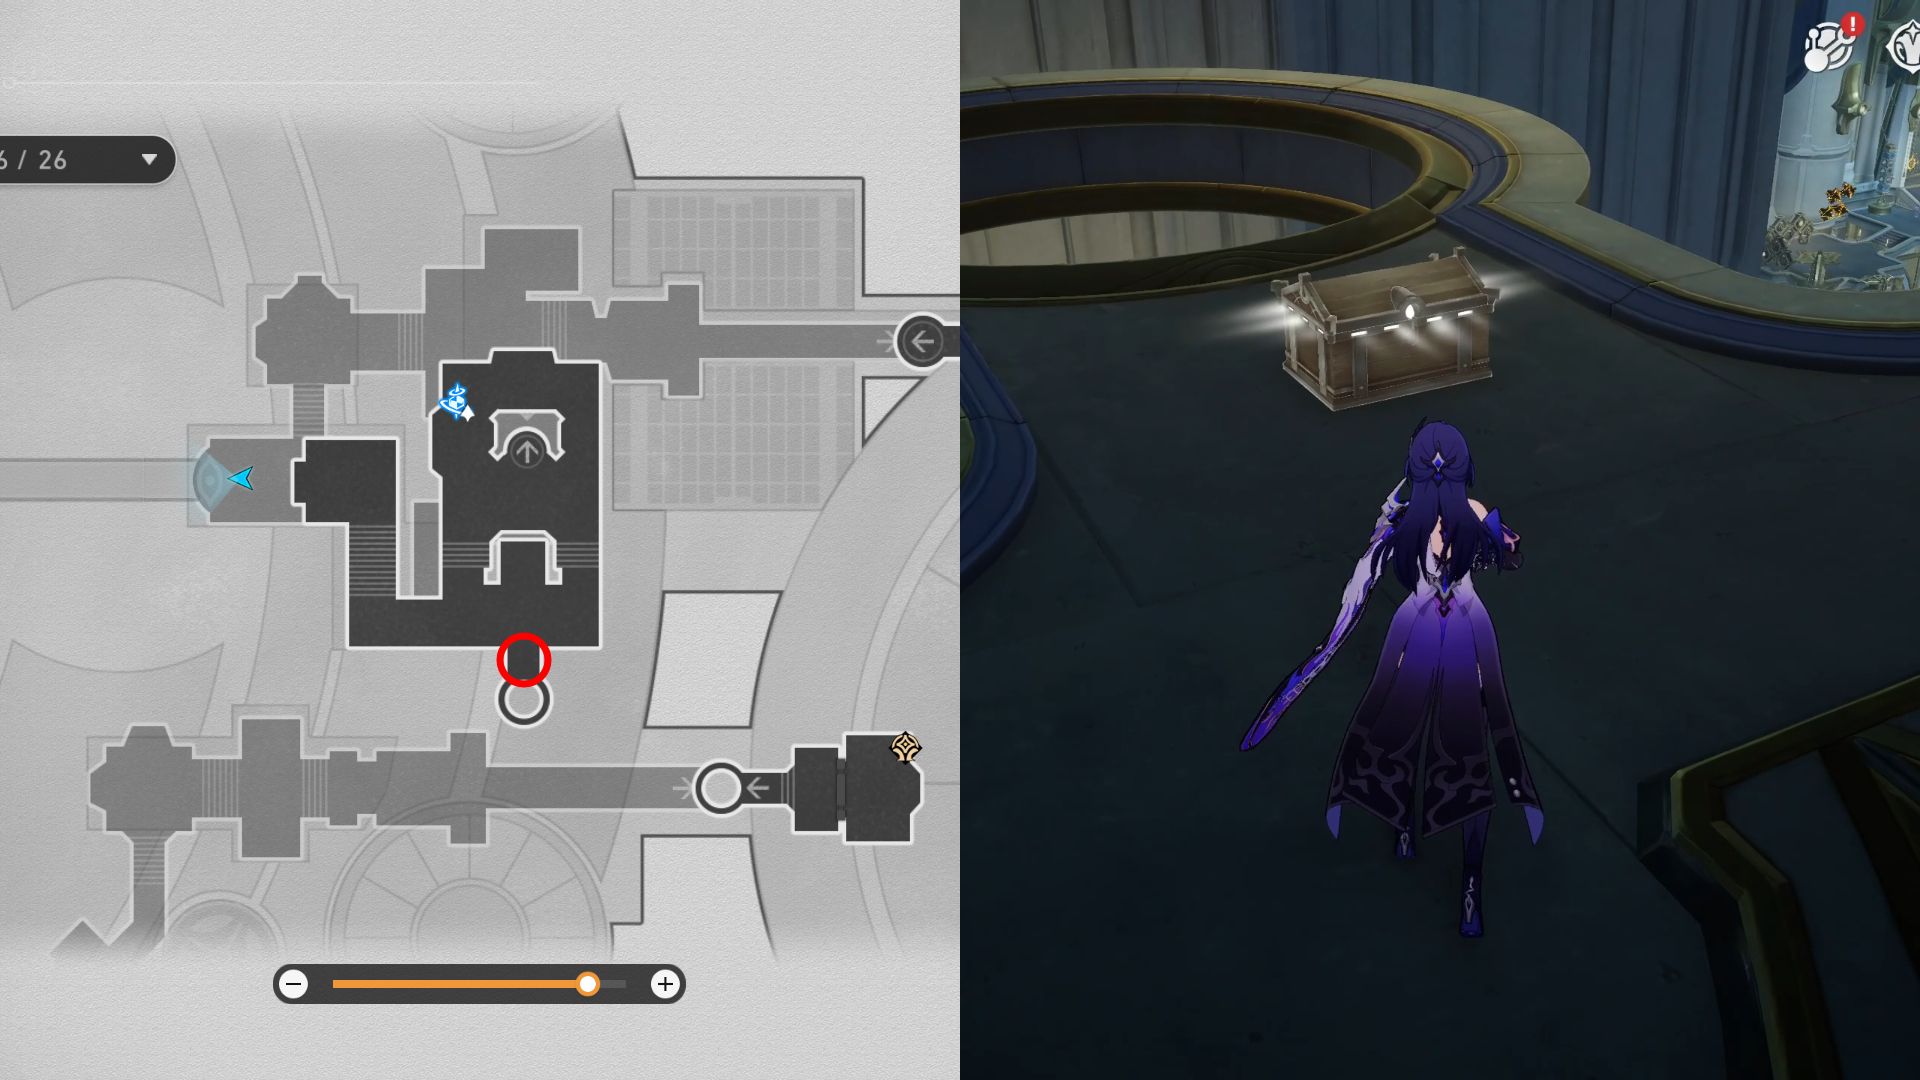
- 4. Now that the south side of the Fortress of Dome is completed, teleport to the Arching Bonemech space anchor. Follow the path until you reach the next Basic Treasure on top of the steps.
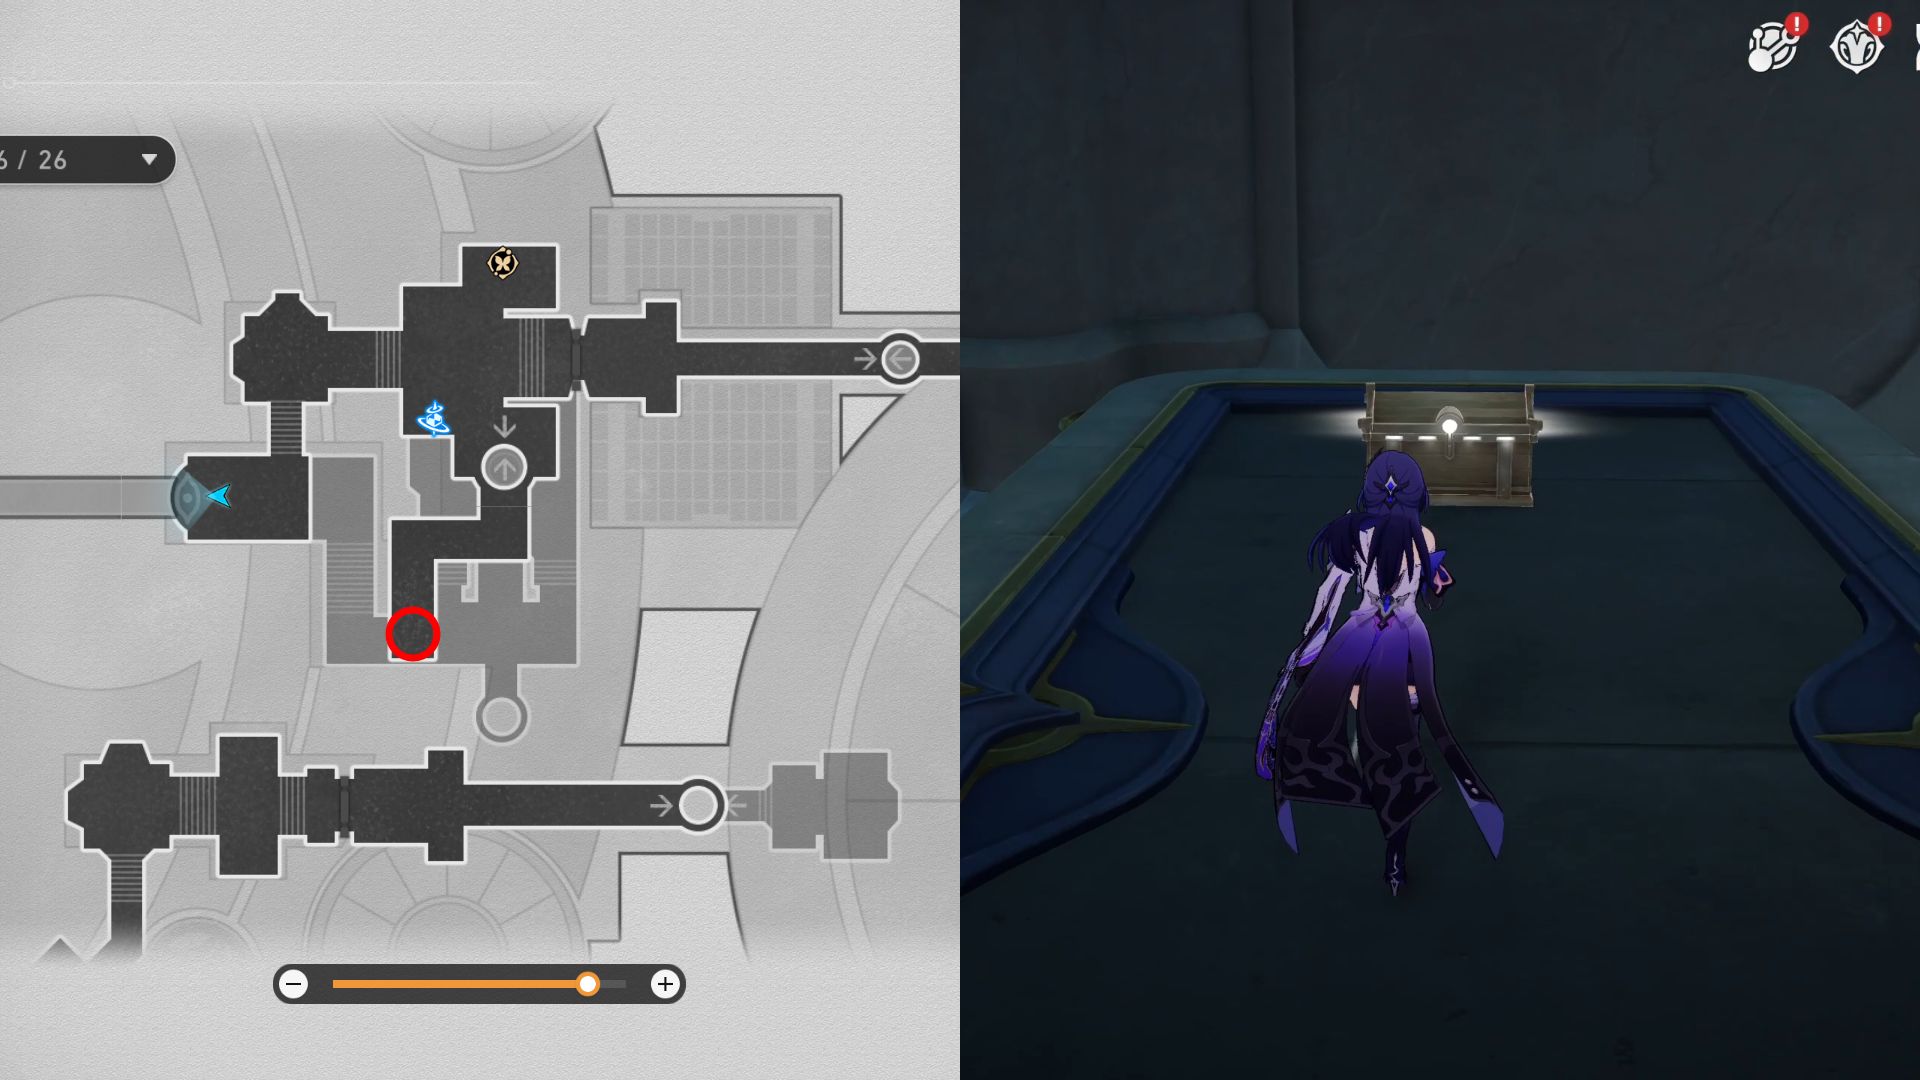
- 5. Enter the door leading west before using the Shrine of Prayers. Then, rewind the platform so you can get through and keep following the road until you see a treasure chest to the west.


- 6. Walk south for another Basic Treasure on top of the steps.
- 7. On the next movable platform, use the rewind power and move the platform to the west. There, move forward to get the next treasure.
- 8. Return to the previous spot using the platform and walk down the steps to find a Golden Scapegoat. Complete this puzzle by leading the golden goat to the ember, and you will get a treasure as a reward.
- 9. After completing the previous puzzle, continue heading north and remove the black tide. Enter Janus’ Hidden Passage to reach the highest floor, and you will see another chest.
- 10. Walk along the path until you see a platform to the north. Rewind the platform so you can hop onto it, but let it move to its original position again so you can reach the Golden Short Spear. Break the shield, fix the short spear, and follow it until the end to get a reward.

- 11. From the spot where you claimed the previous chest, walk to the east until the end of the road for a Basic Treasure.
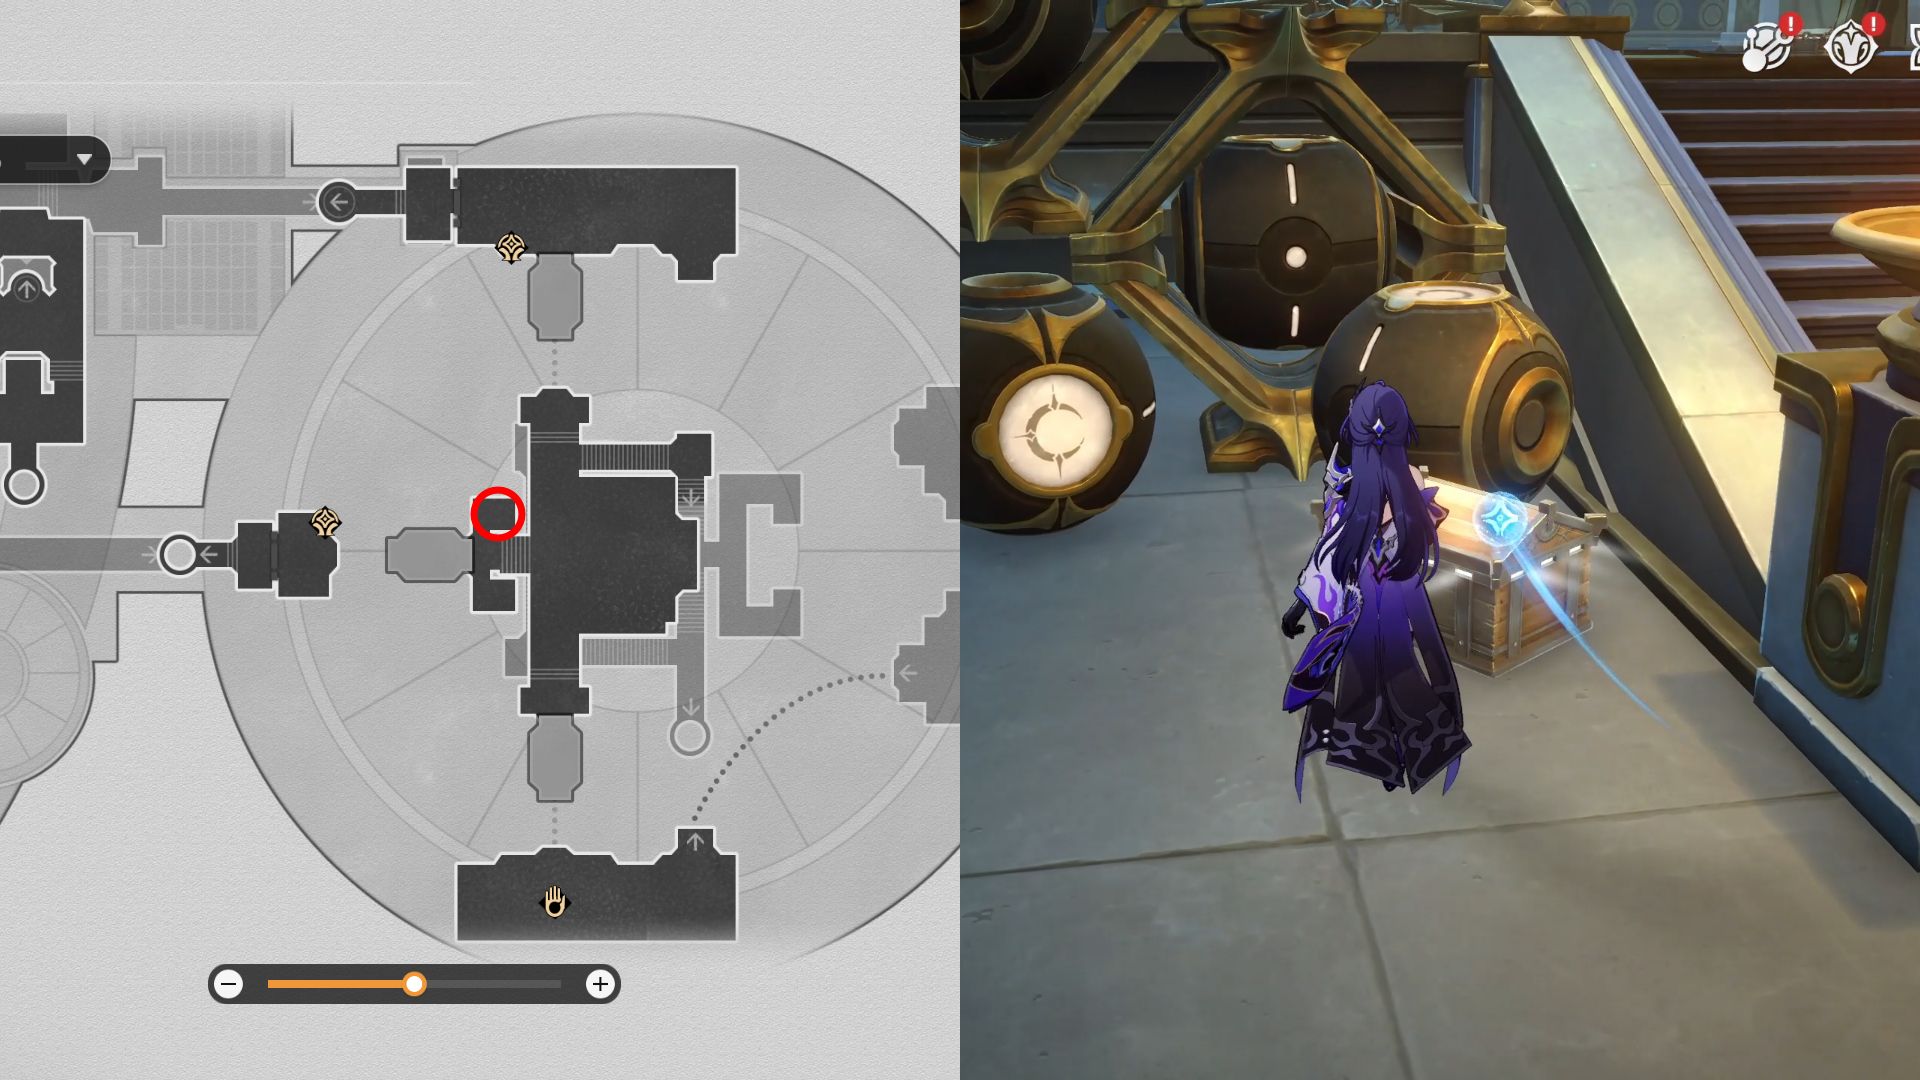
- 12. Go back up to the top of the steps. Now, head south before turning east and entering the door.
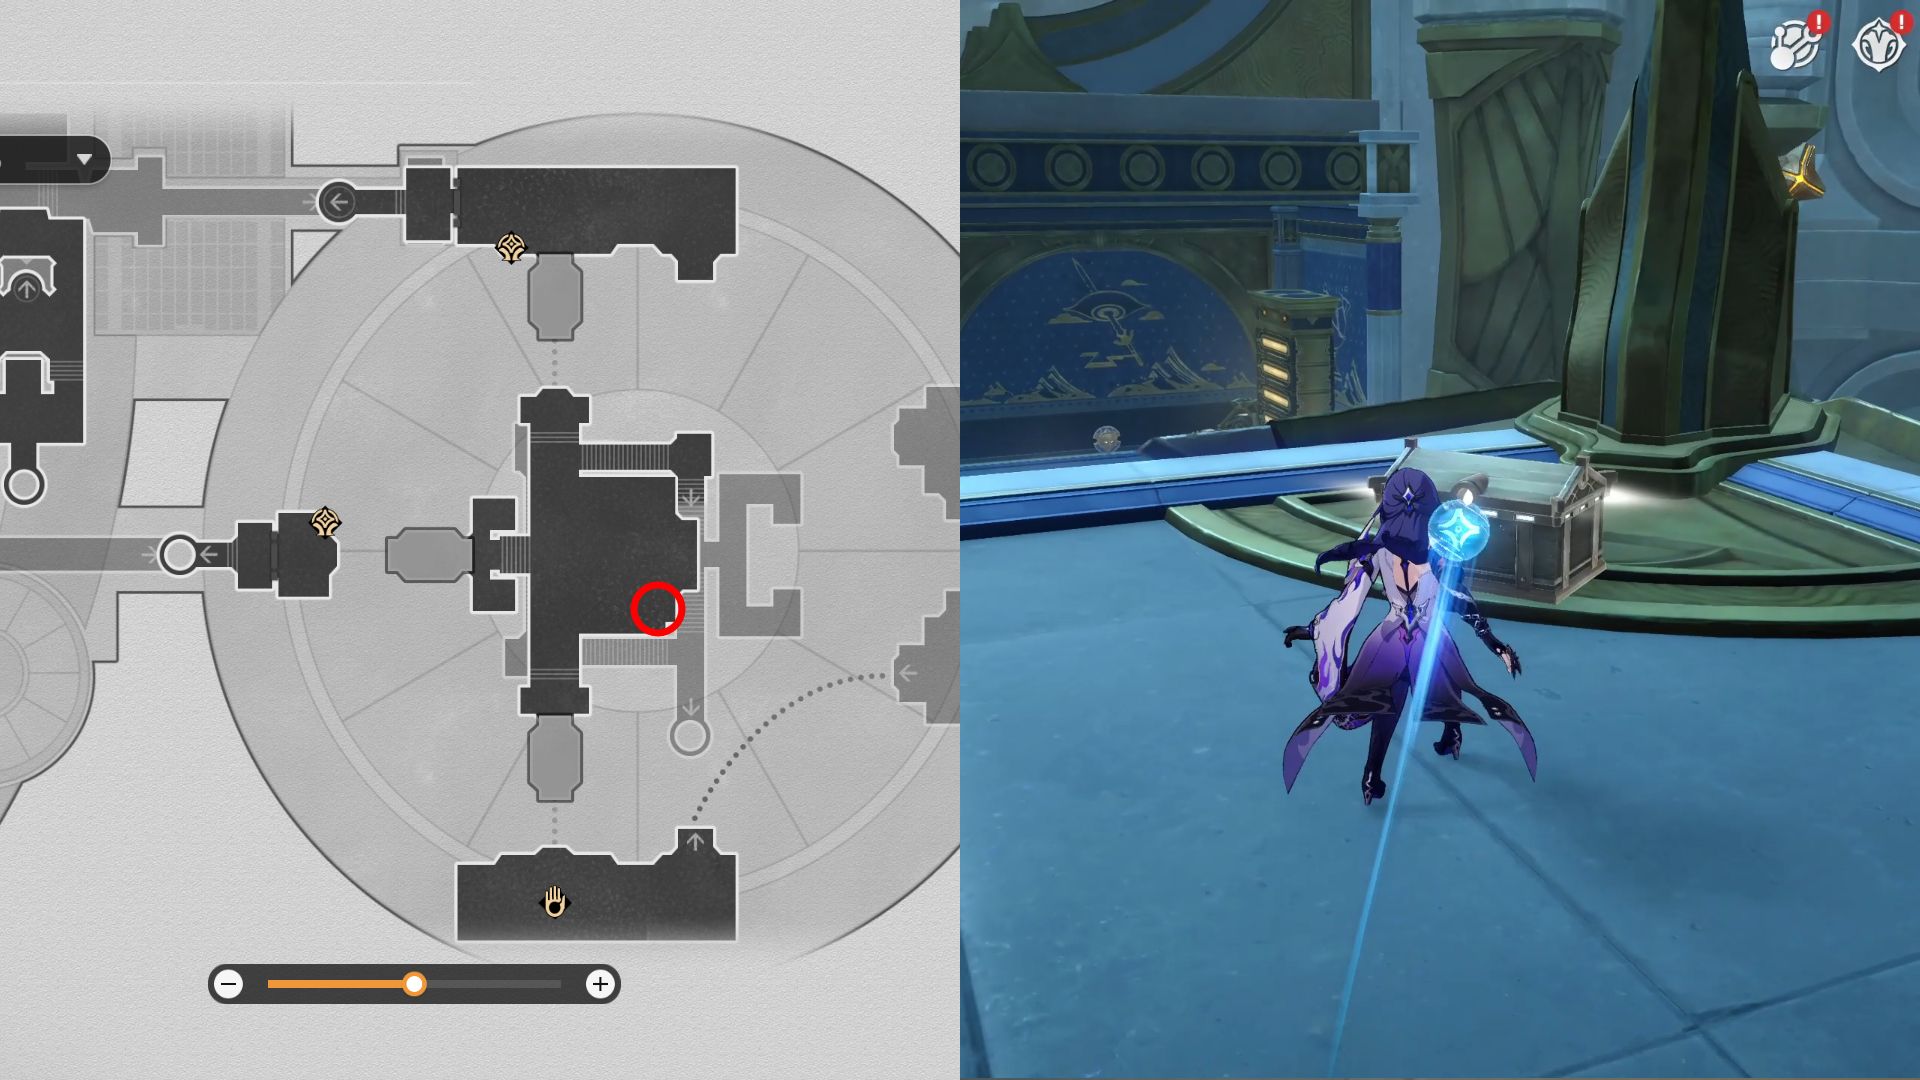
- 13. Walk through another door to reach a new open-space area. Walk south and keep east to reach the treasure chest.
- 14. Use the compass in front to create a rainbow path and follow along it to get another Basic Treasure.
- 15. Now, teleport to the Frontier Corridor space anchor and walk along the path.
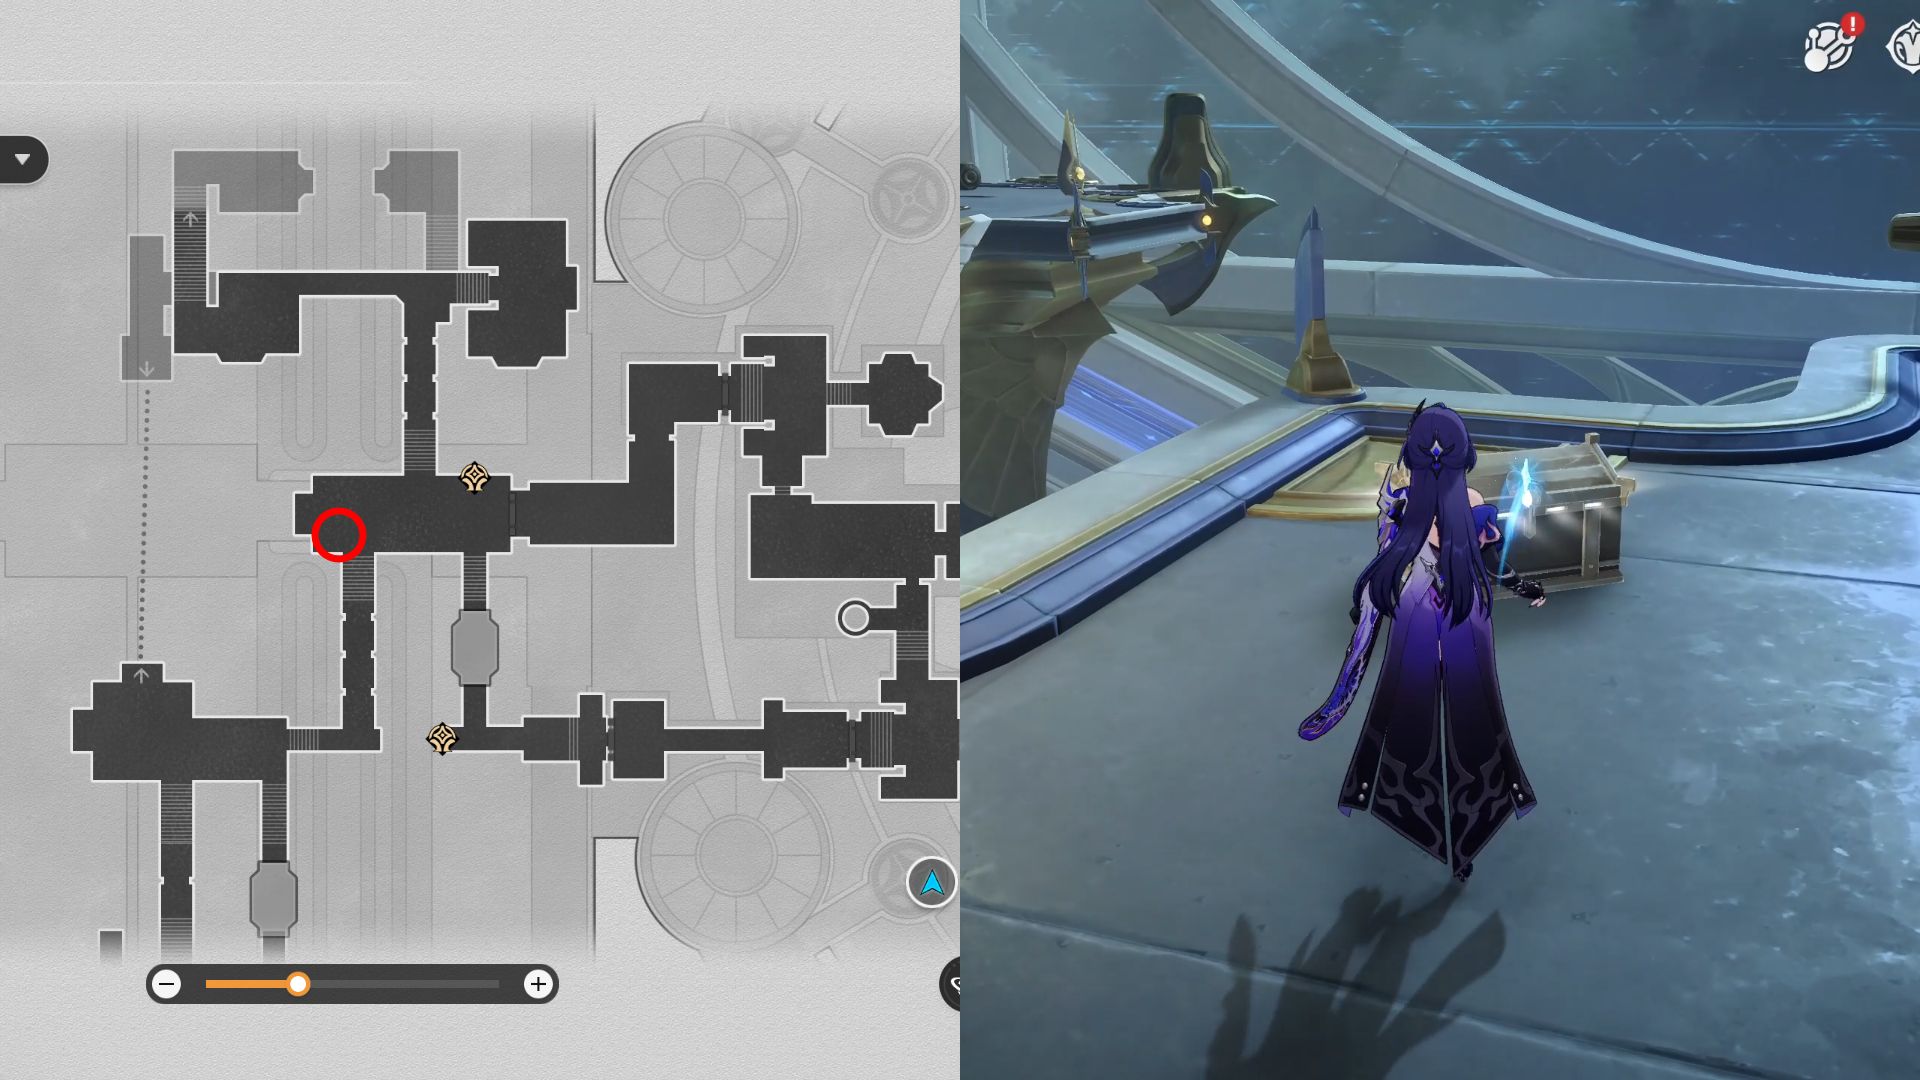
- 16. From the previous spot, keep following the road until you enter a door, and use the elevator to descend to the lower floor. Activate the Shrine of Prayers so you can move the platform and get the treasure chest.
- 17. Go up the steps to immediately see another chest in the corner.
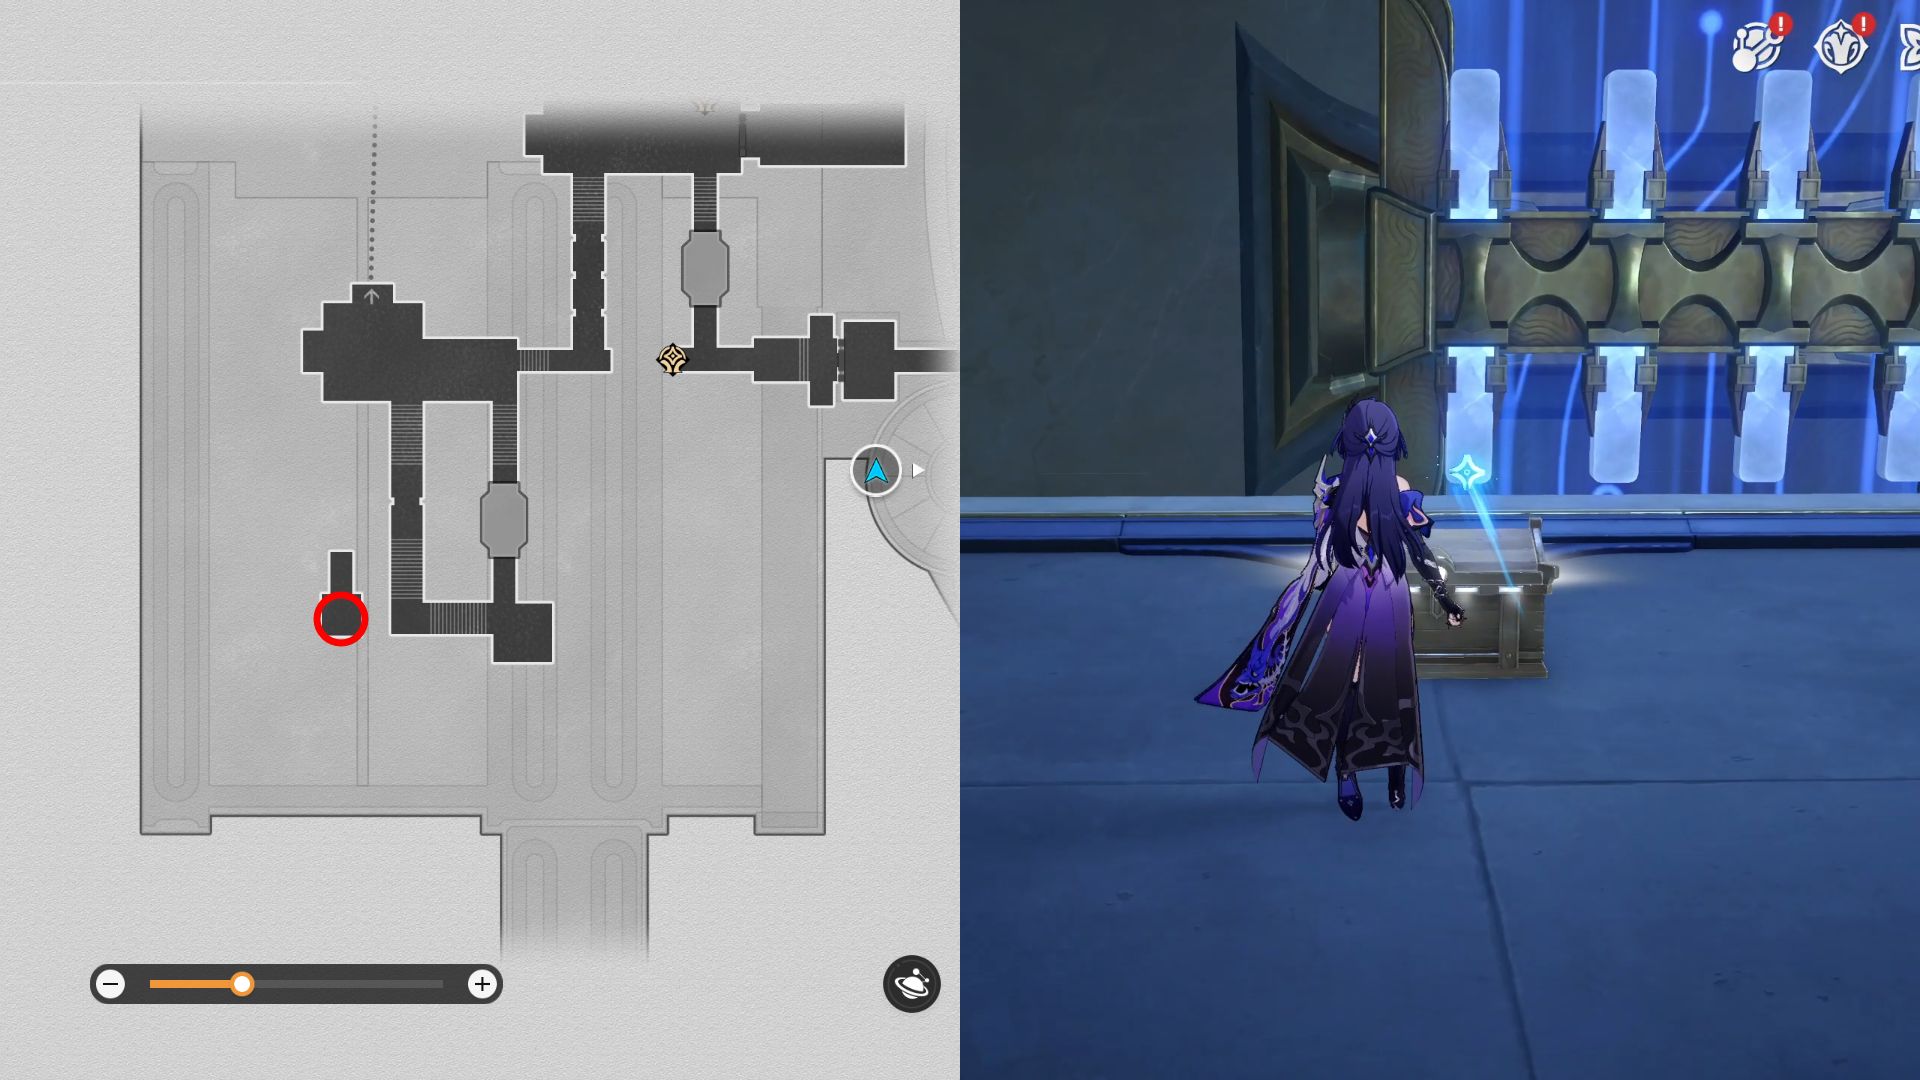
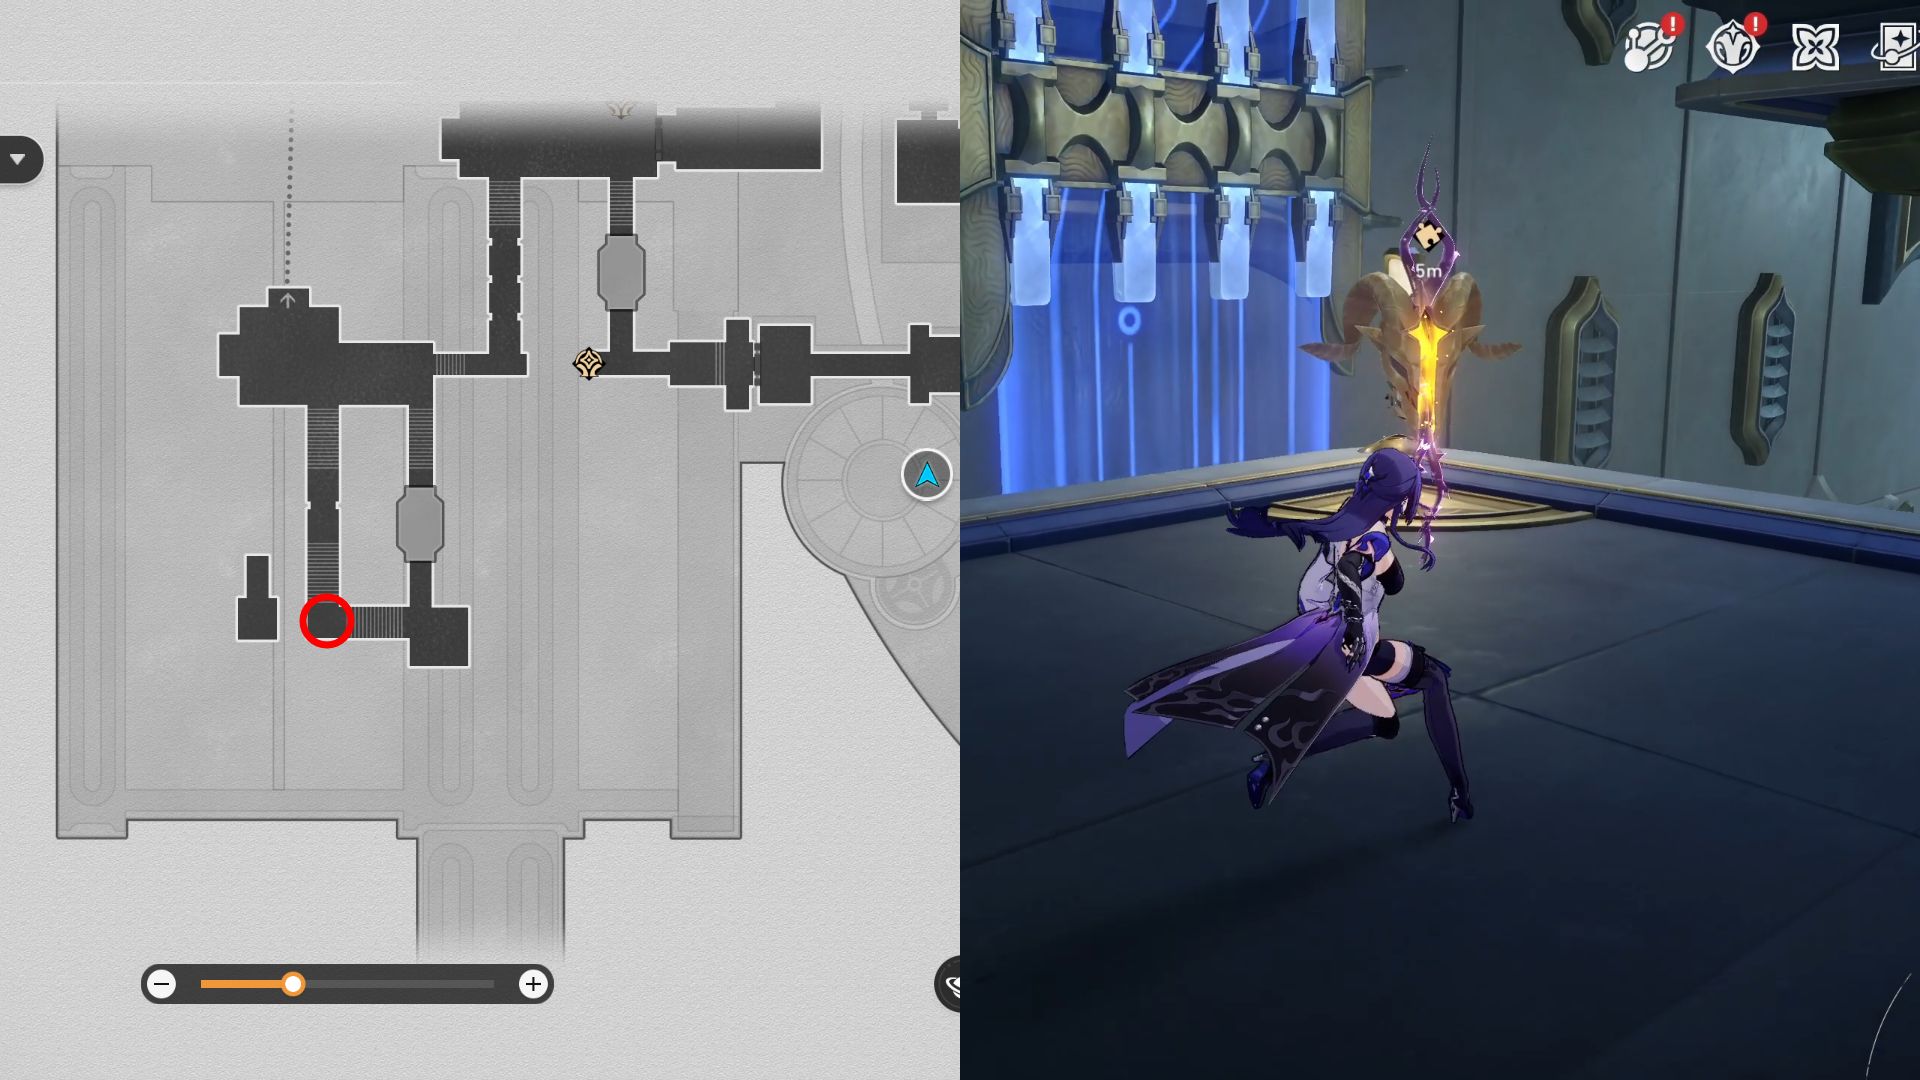
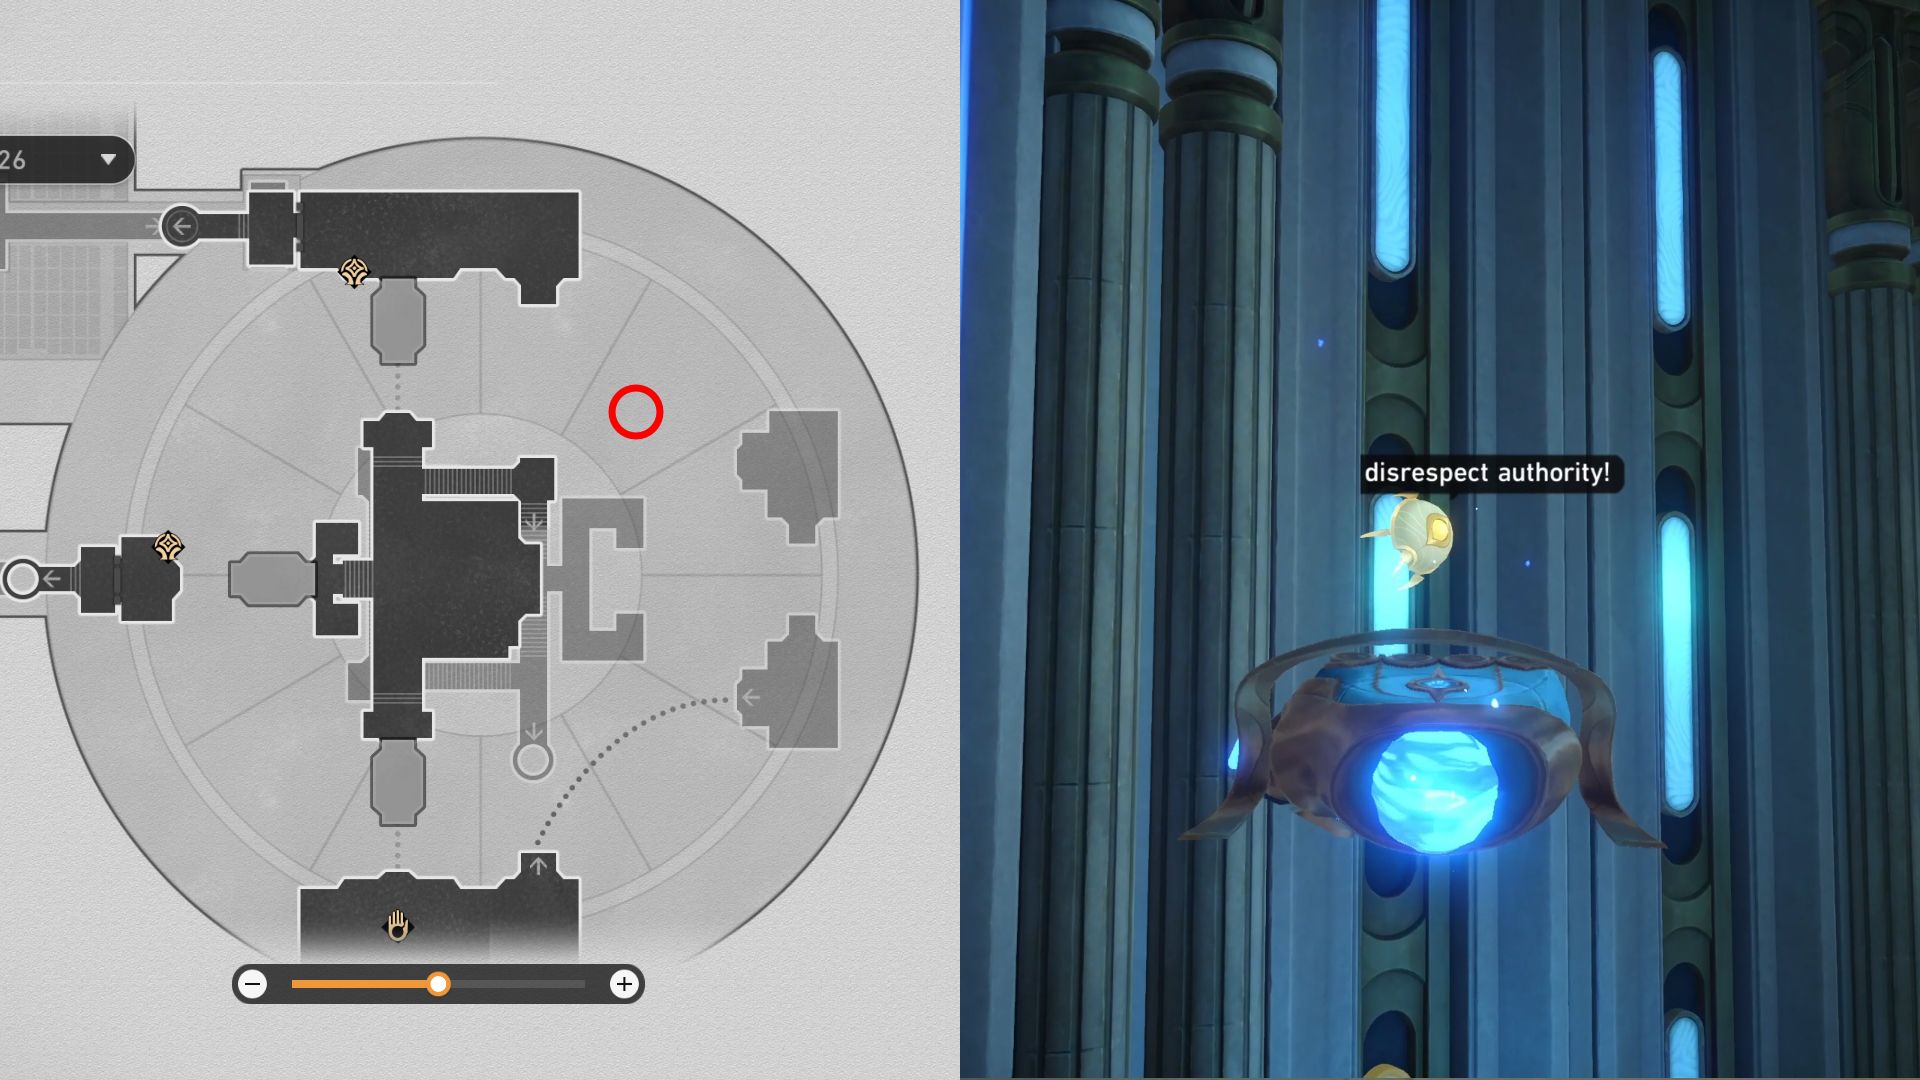
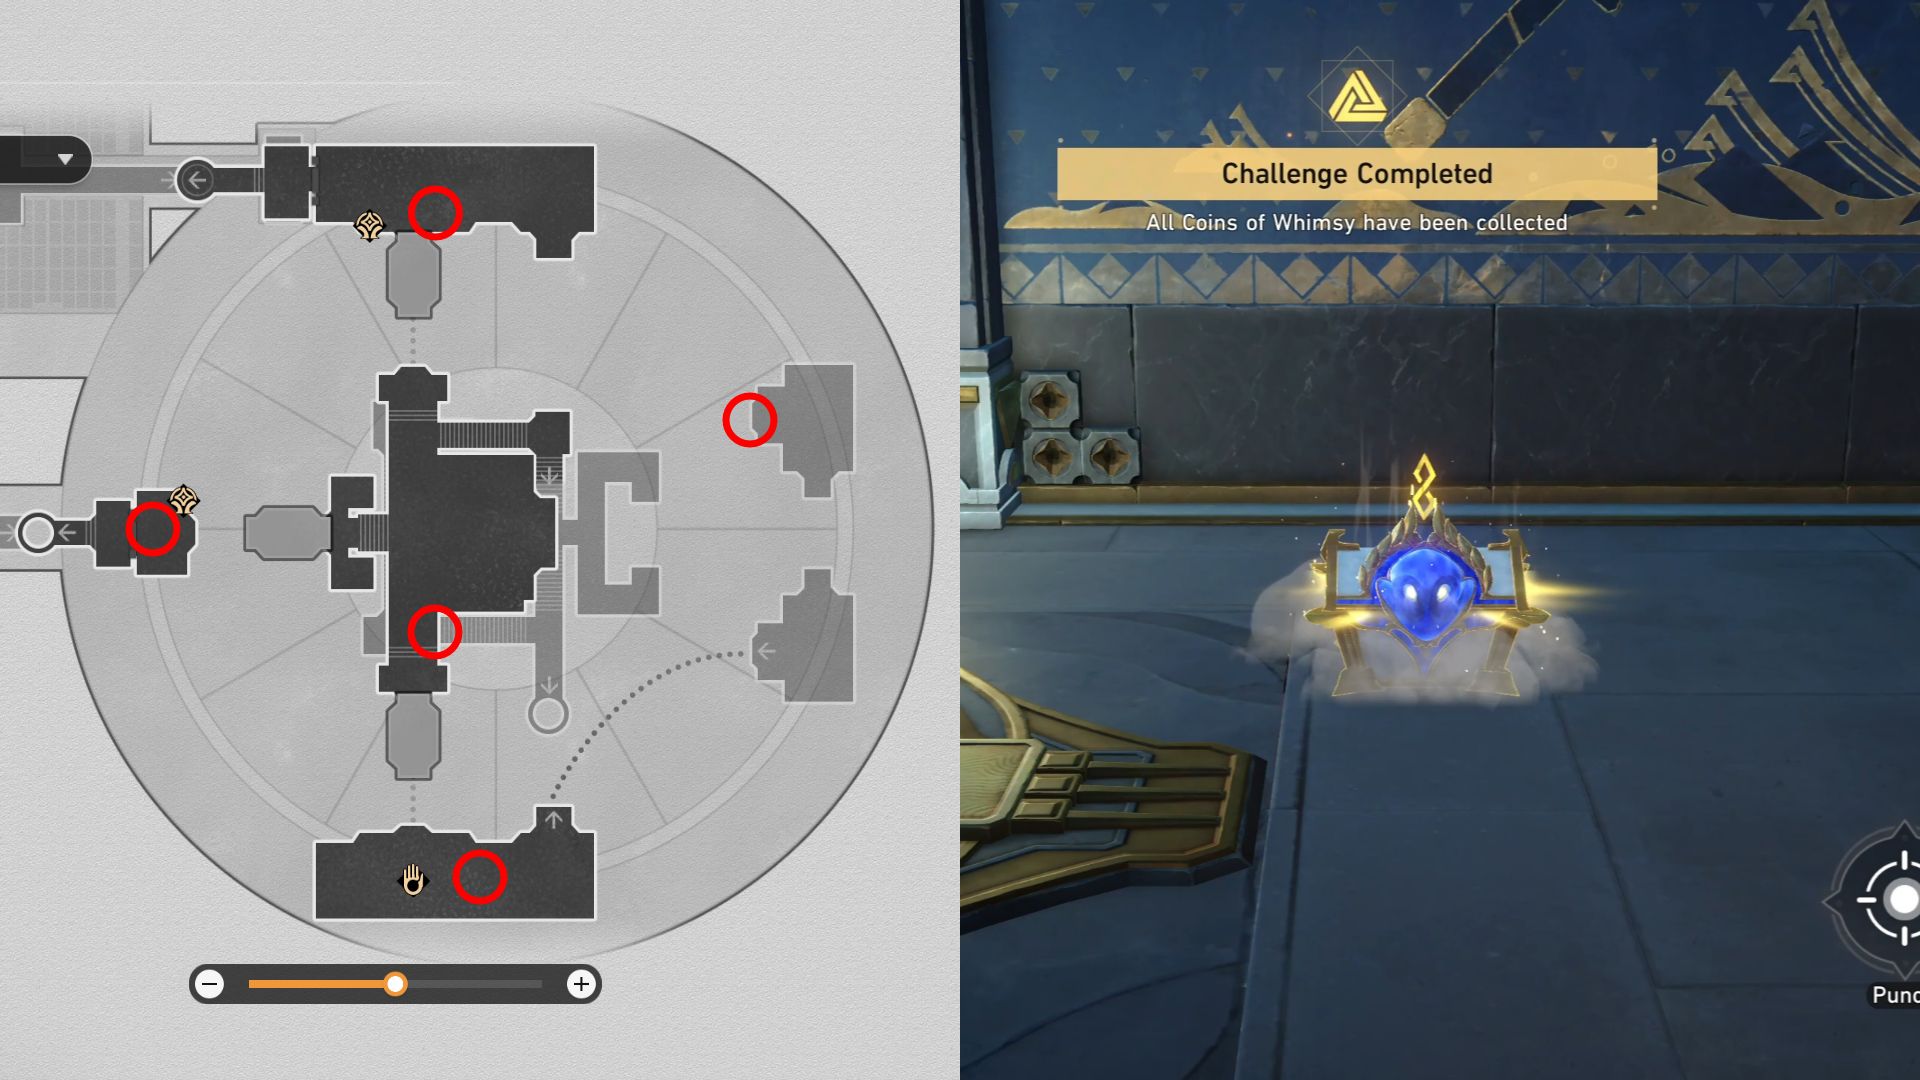
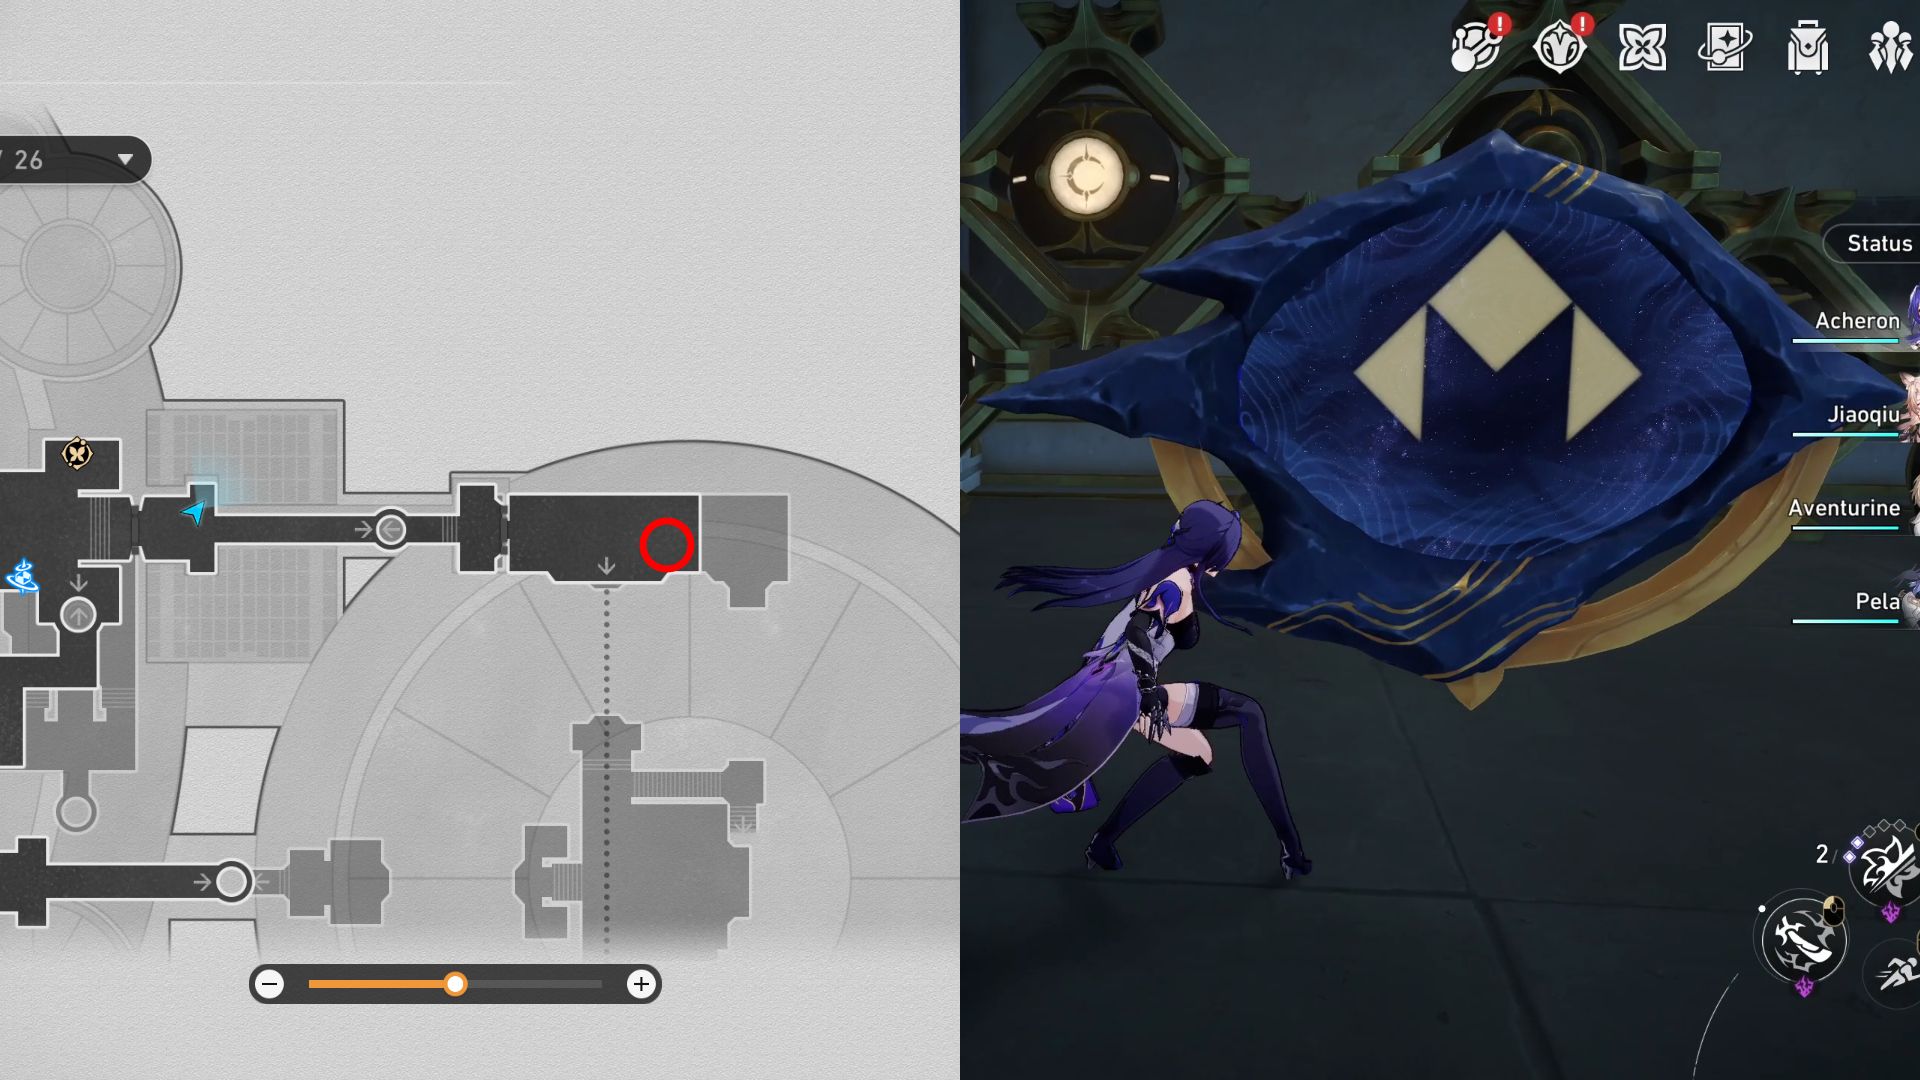
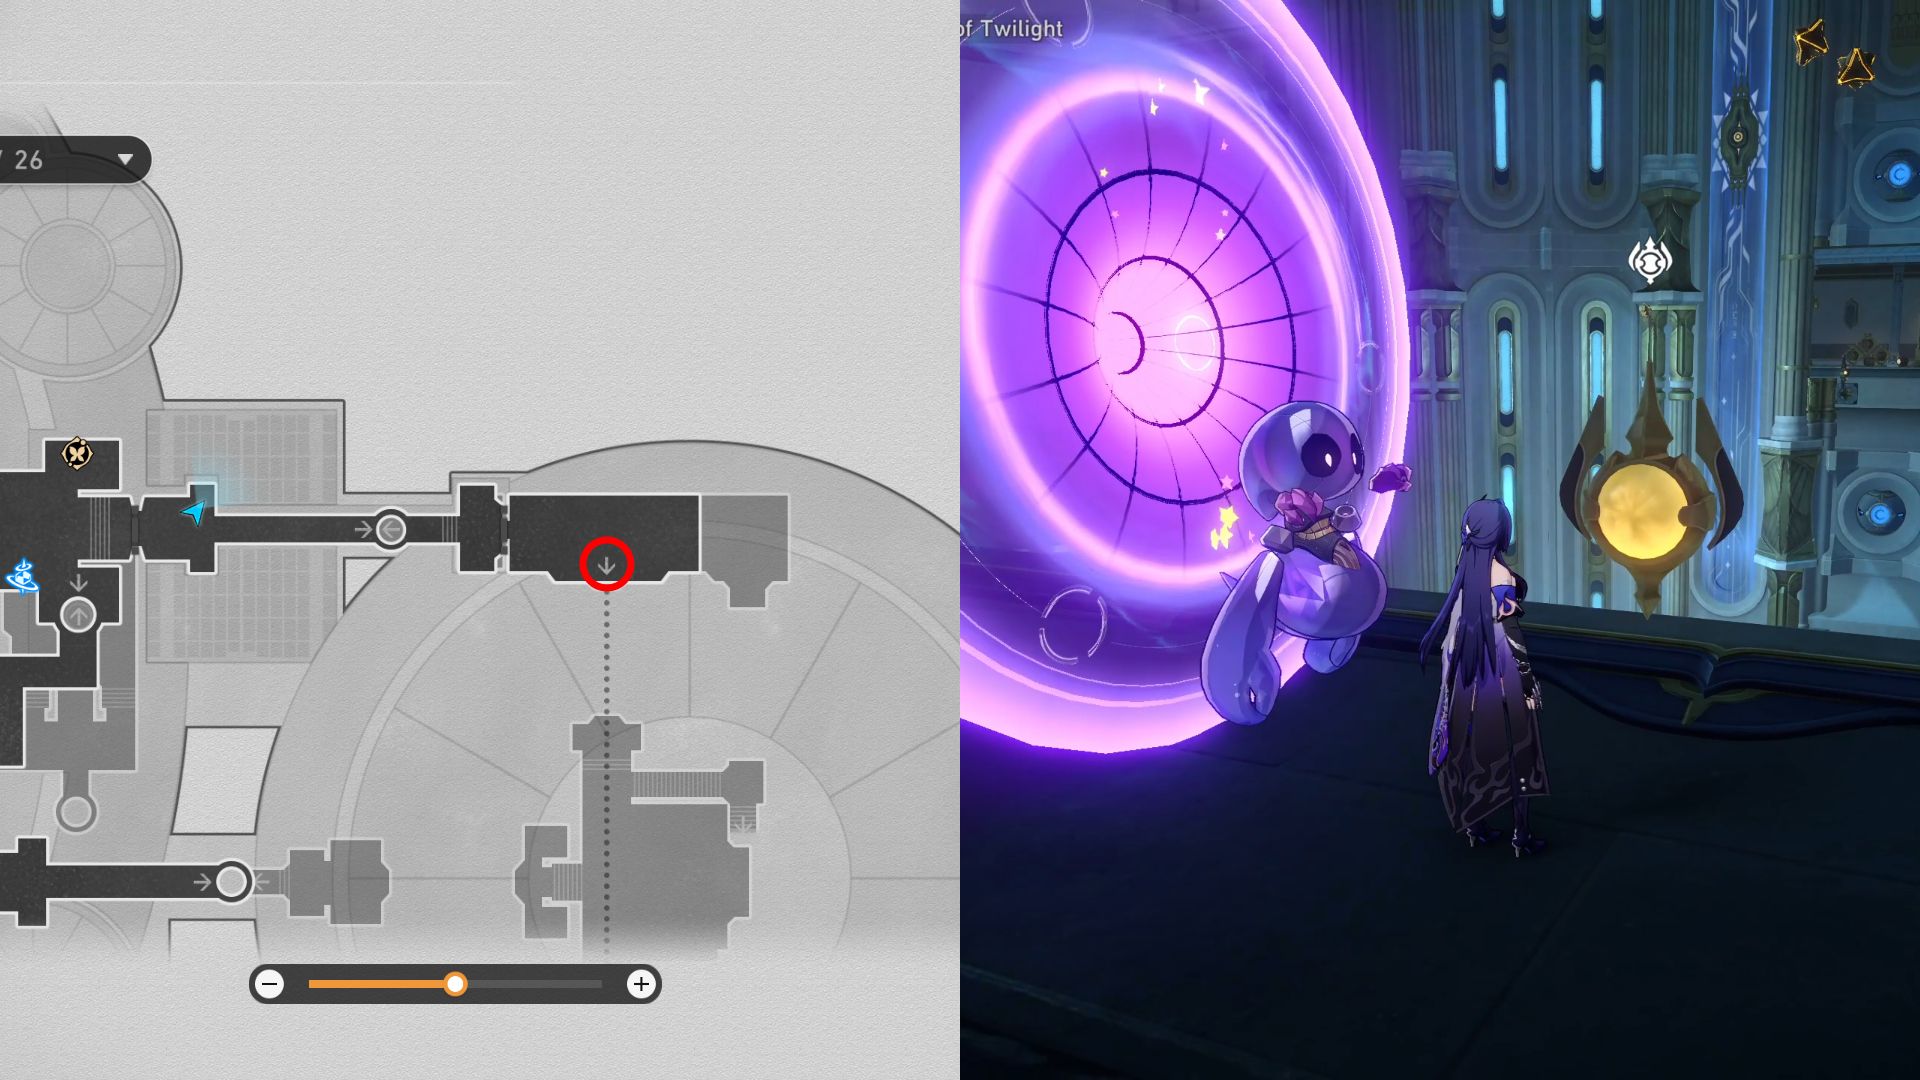
- 18. Head south to see a stone control platform, and interact with it to control the Hand of Zagreus. You will get a narration about something on the hard drive, where the Nymph of Divine Machine is located. Keep punching it until it surrenders, and you will get a treasure chest and the ‘Chirping Secret: Divine Enigma’ hidden achievement.
- 19. While still controlling the Hand of Zagreus, find 5 Coins of Whimsy for another hidden chest. Make sure to destroy all breakable boxes while in this form so that all the paths won’t be blocked.
- 20. After getting the treasure chest from Coins of Whimsy, the next treasure chest is right beside it.

- 21. From the previous position, turn around and use Janus’ Hidden Passage to reach a lower level. Rewind the platform so you can cross it and complete the Prophecy Tablet so you can get the reward.
- 22. Step on the platform, move it to reach the other side, and clean the black tide. Go down the stairs to find a Golden Short Spear.
- 23. Keep going down the stairs for another treasure chest.
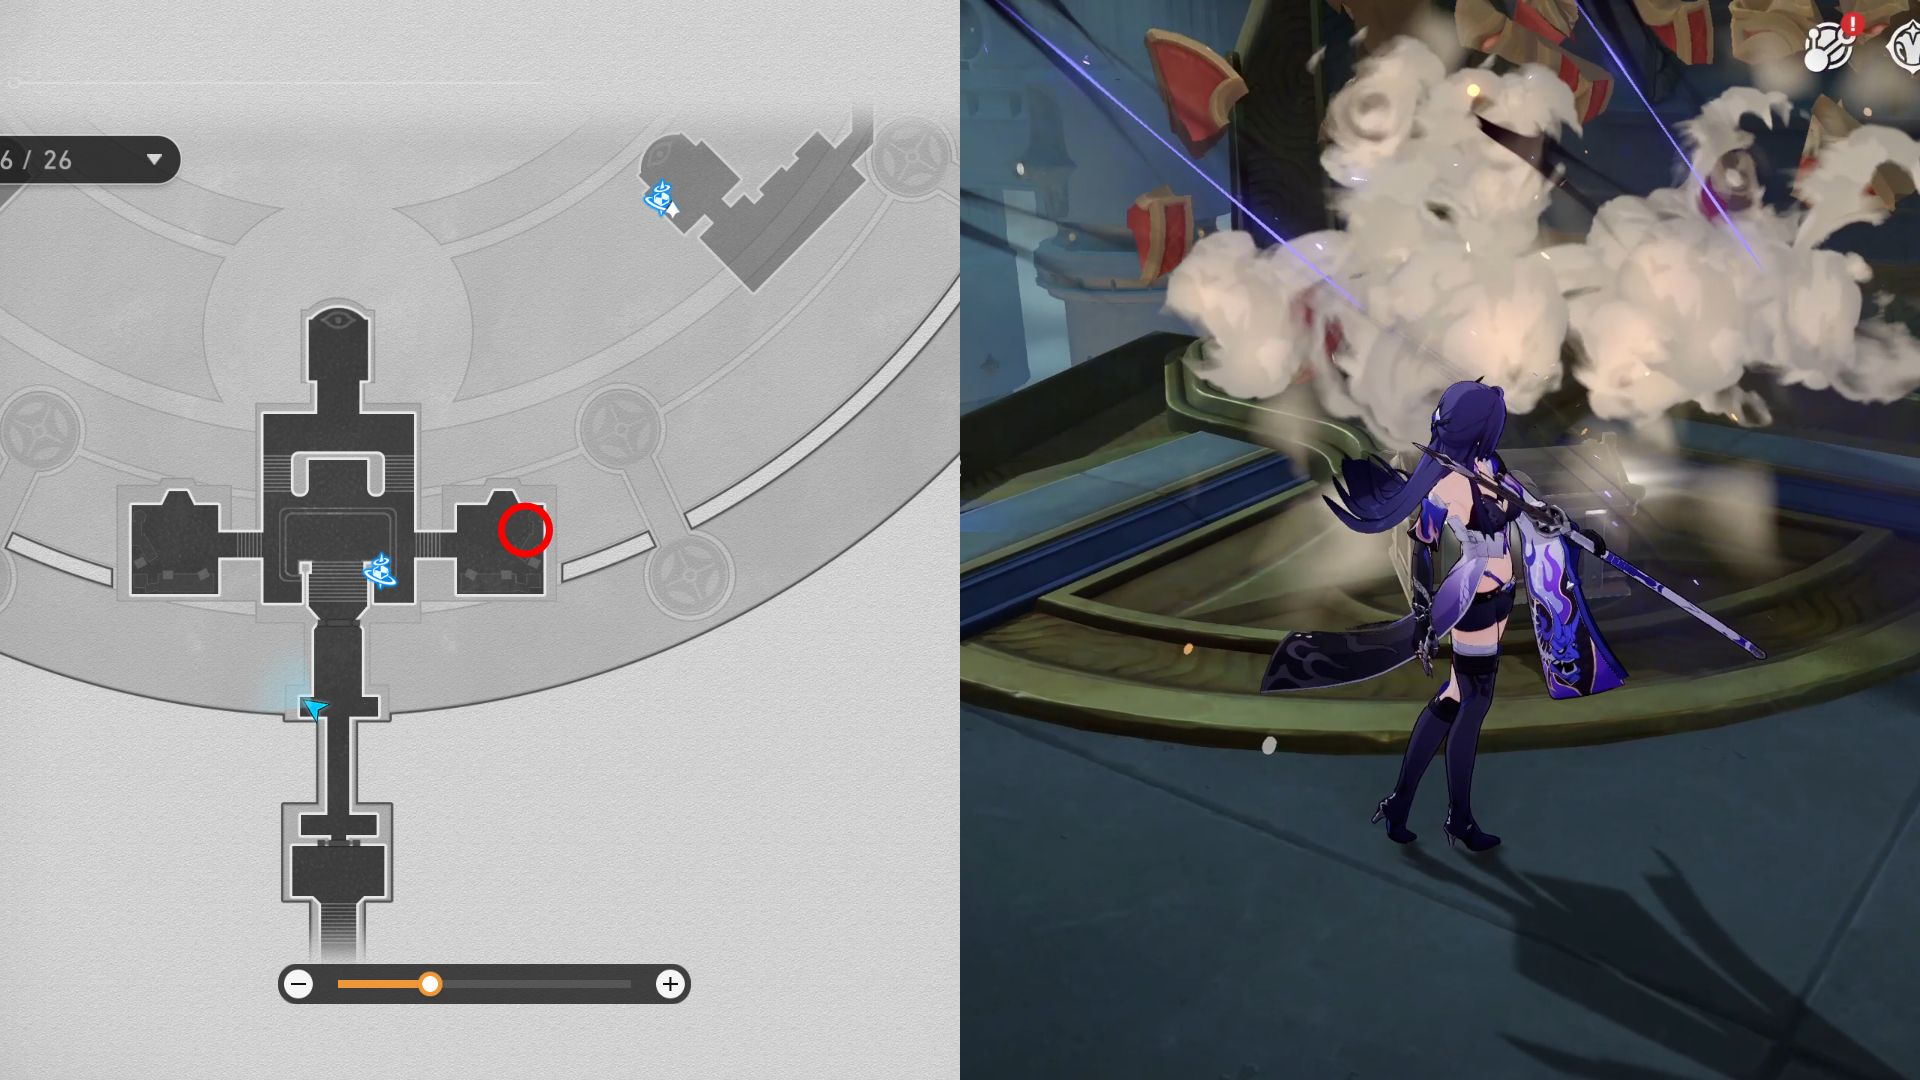
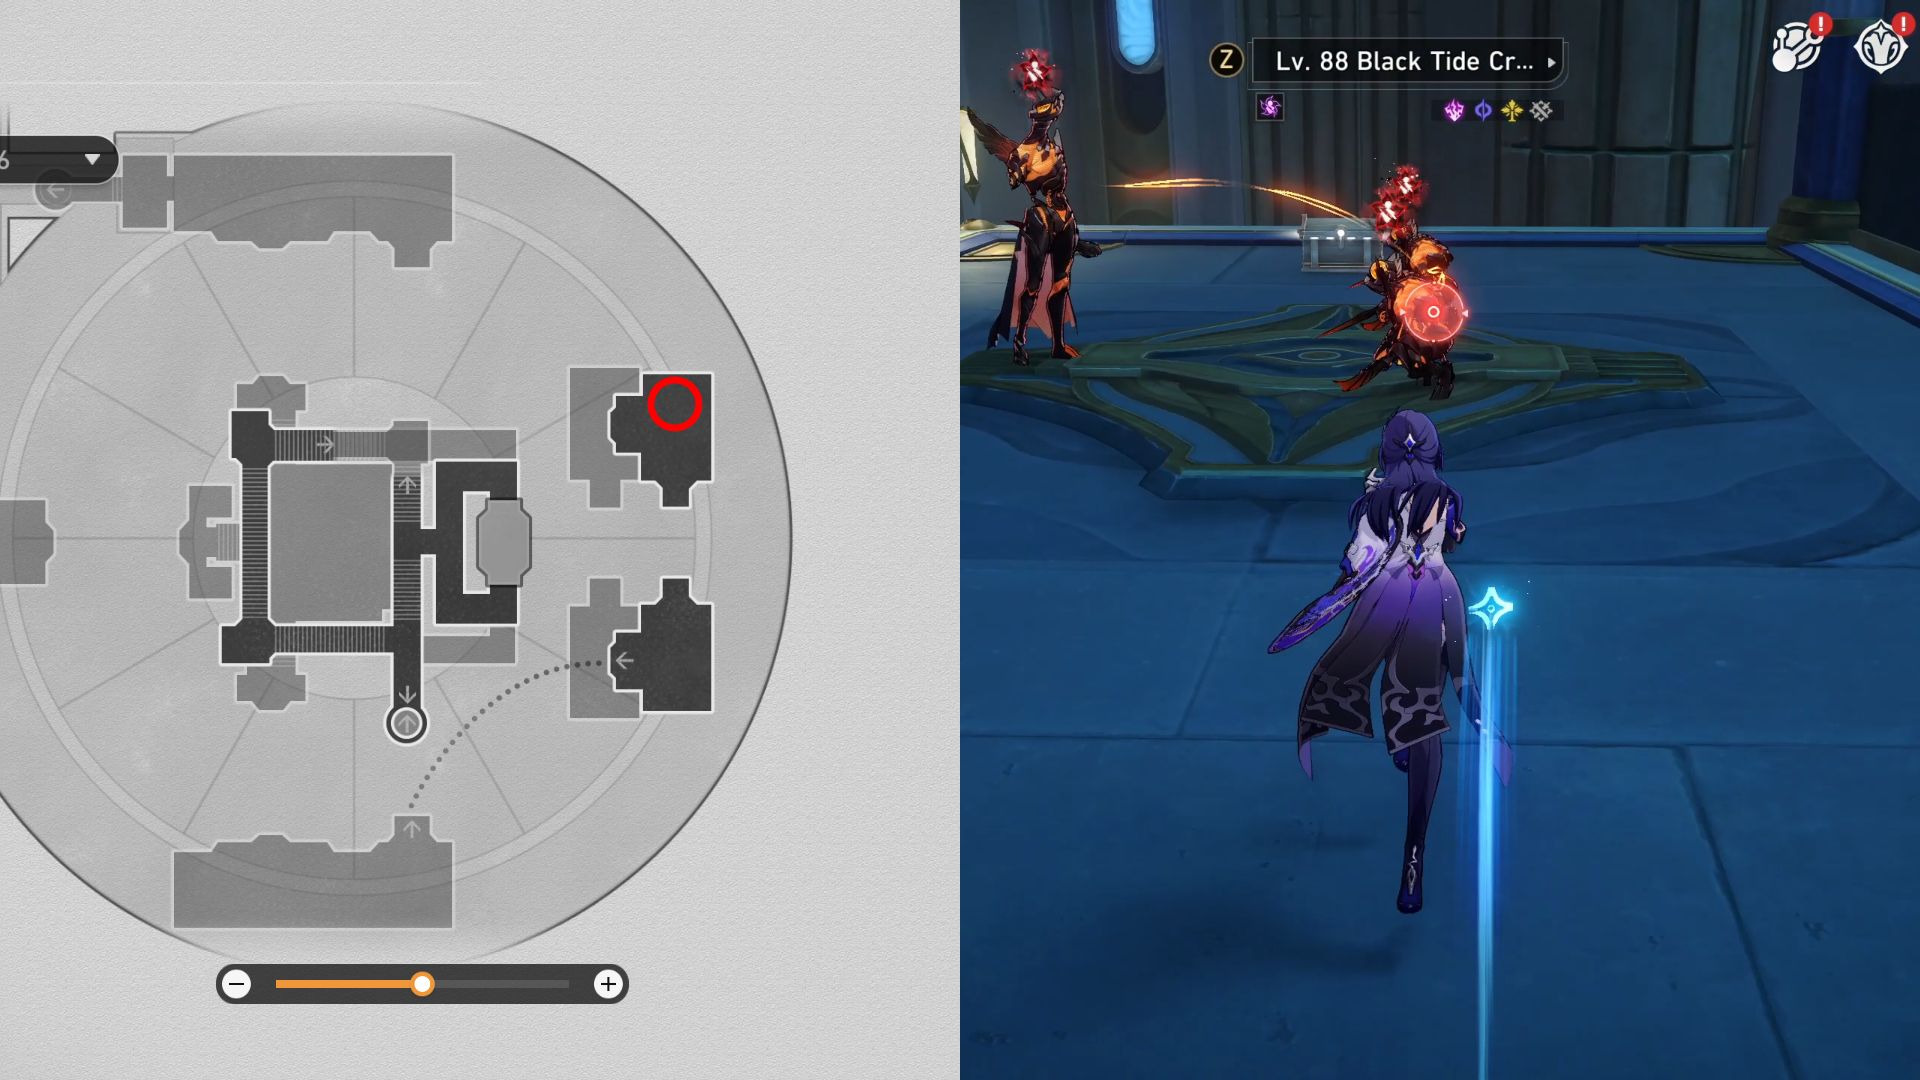
- 24. Once you reach a movable platform, use it to reach the other side for a Basic Treasure guarded by multiple enemies.
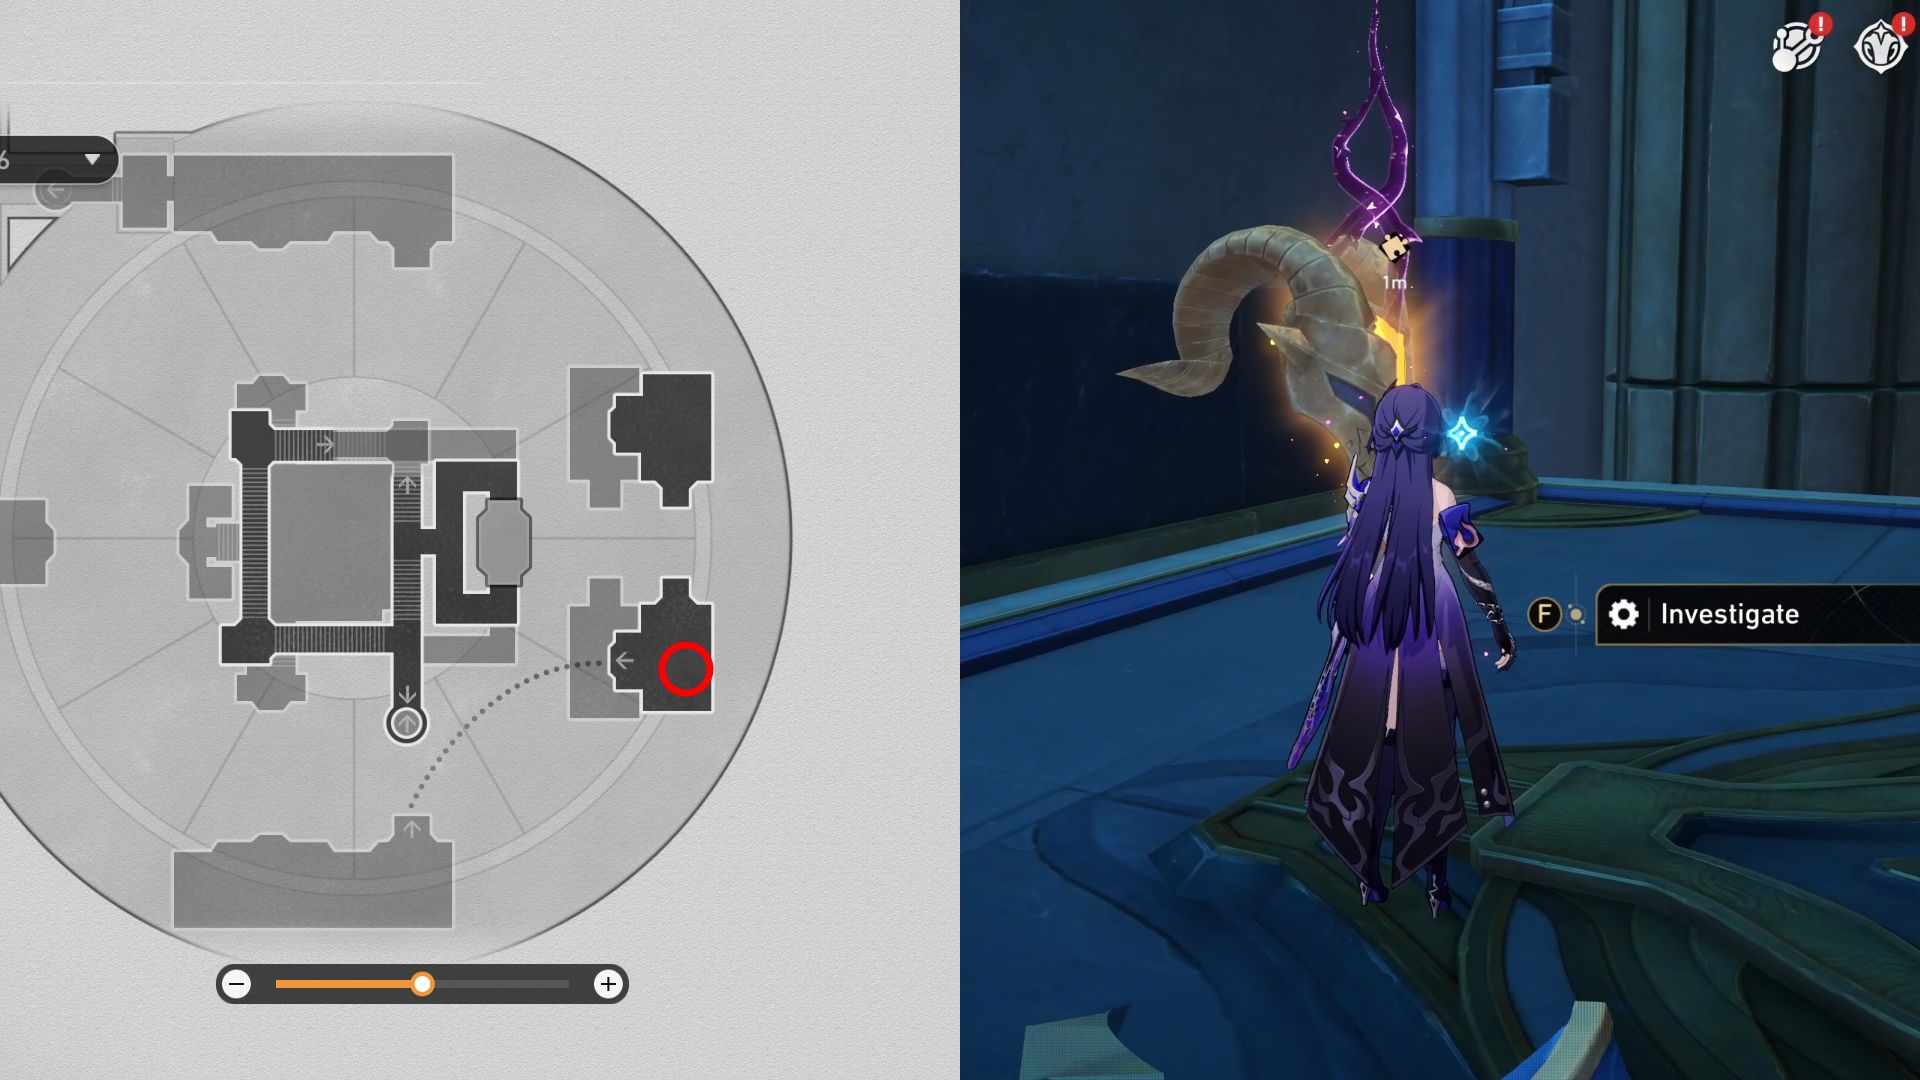
- 25. Head to the opposite platform for a Golden Scapegoat puzzle.
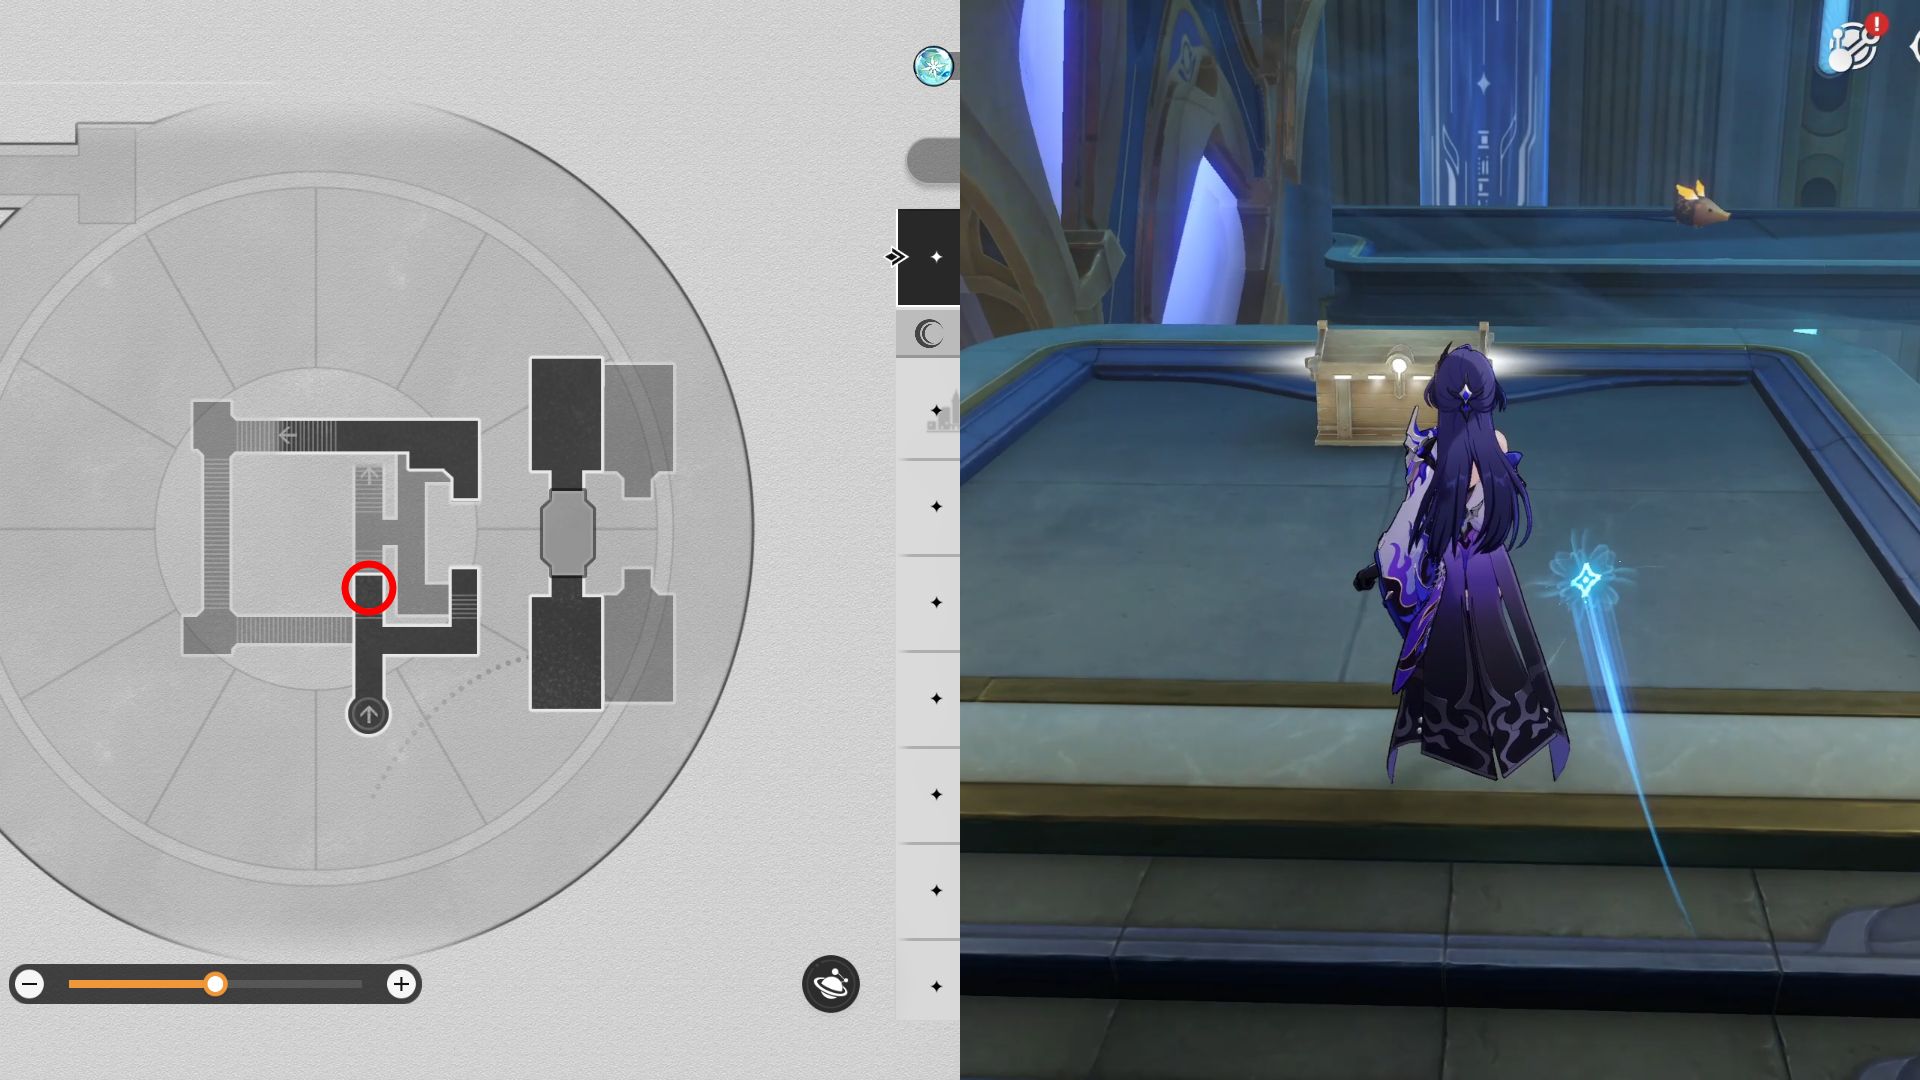
- 26 to 27. Step on the platform and rewind it back to its original position. Follow the path to the west for a Basic Treasure and a Spirithief. You can get the treasure chest only after defeating the Spirithief.
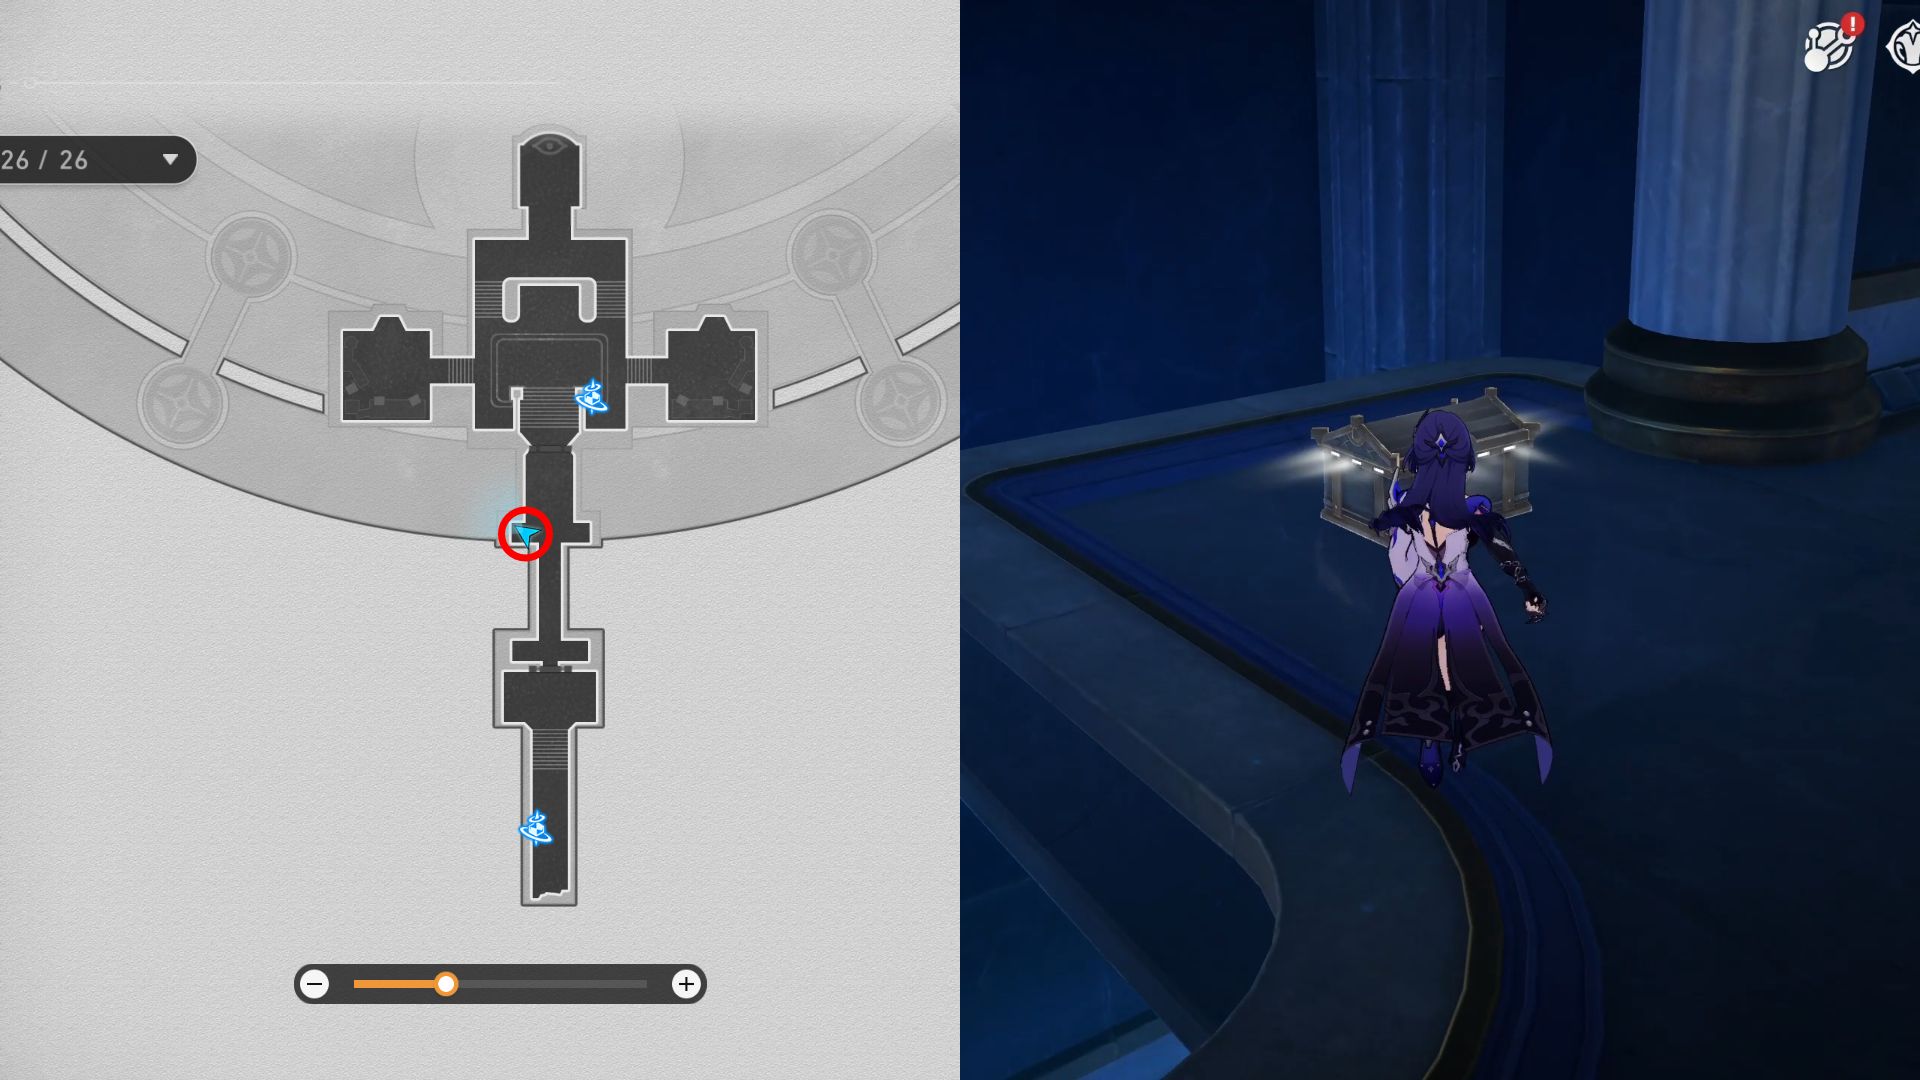
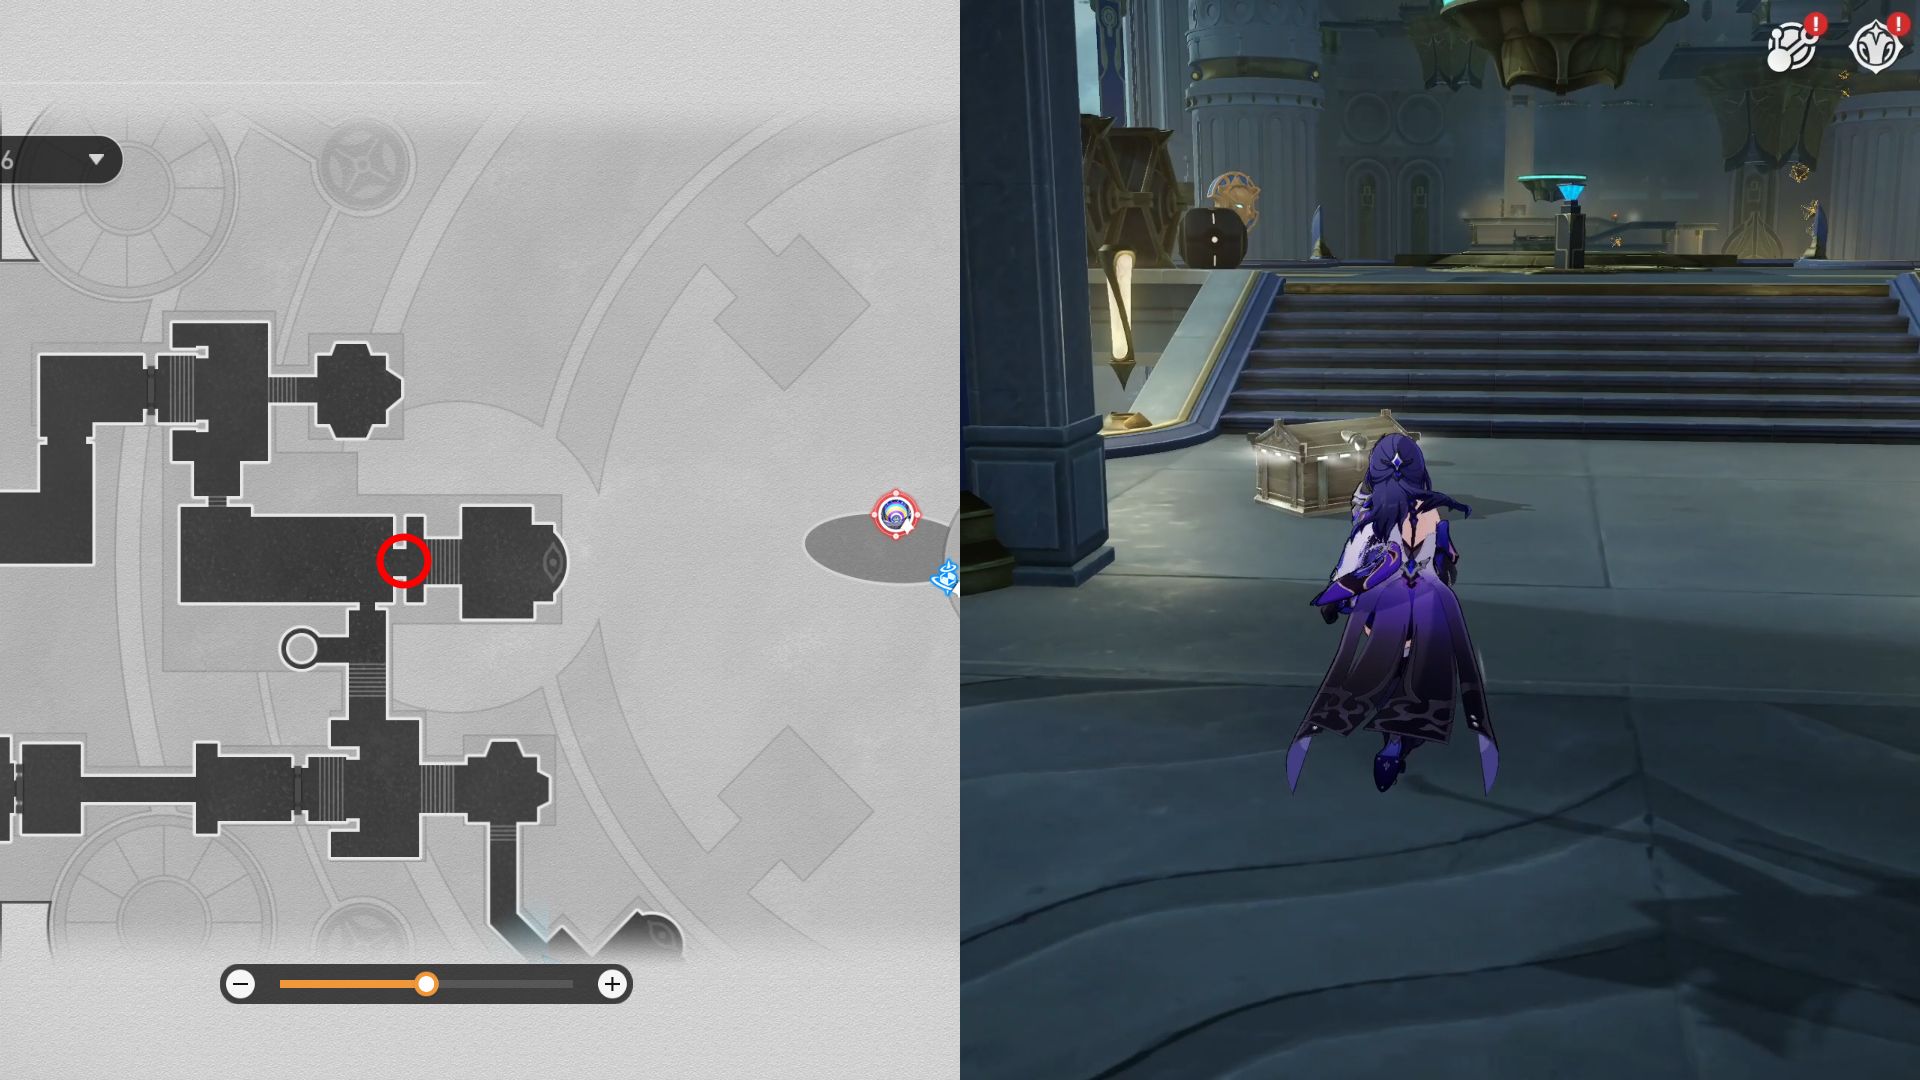
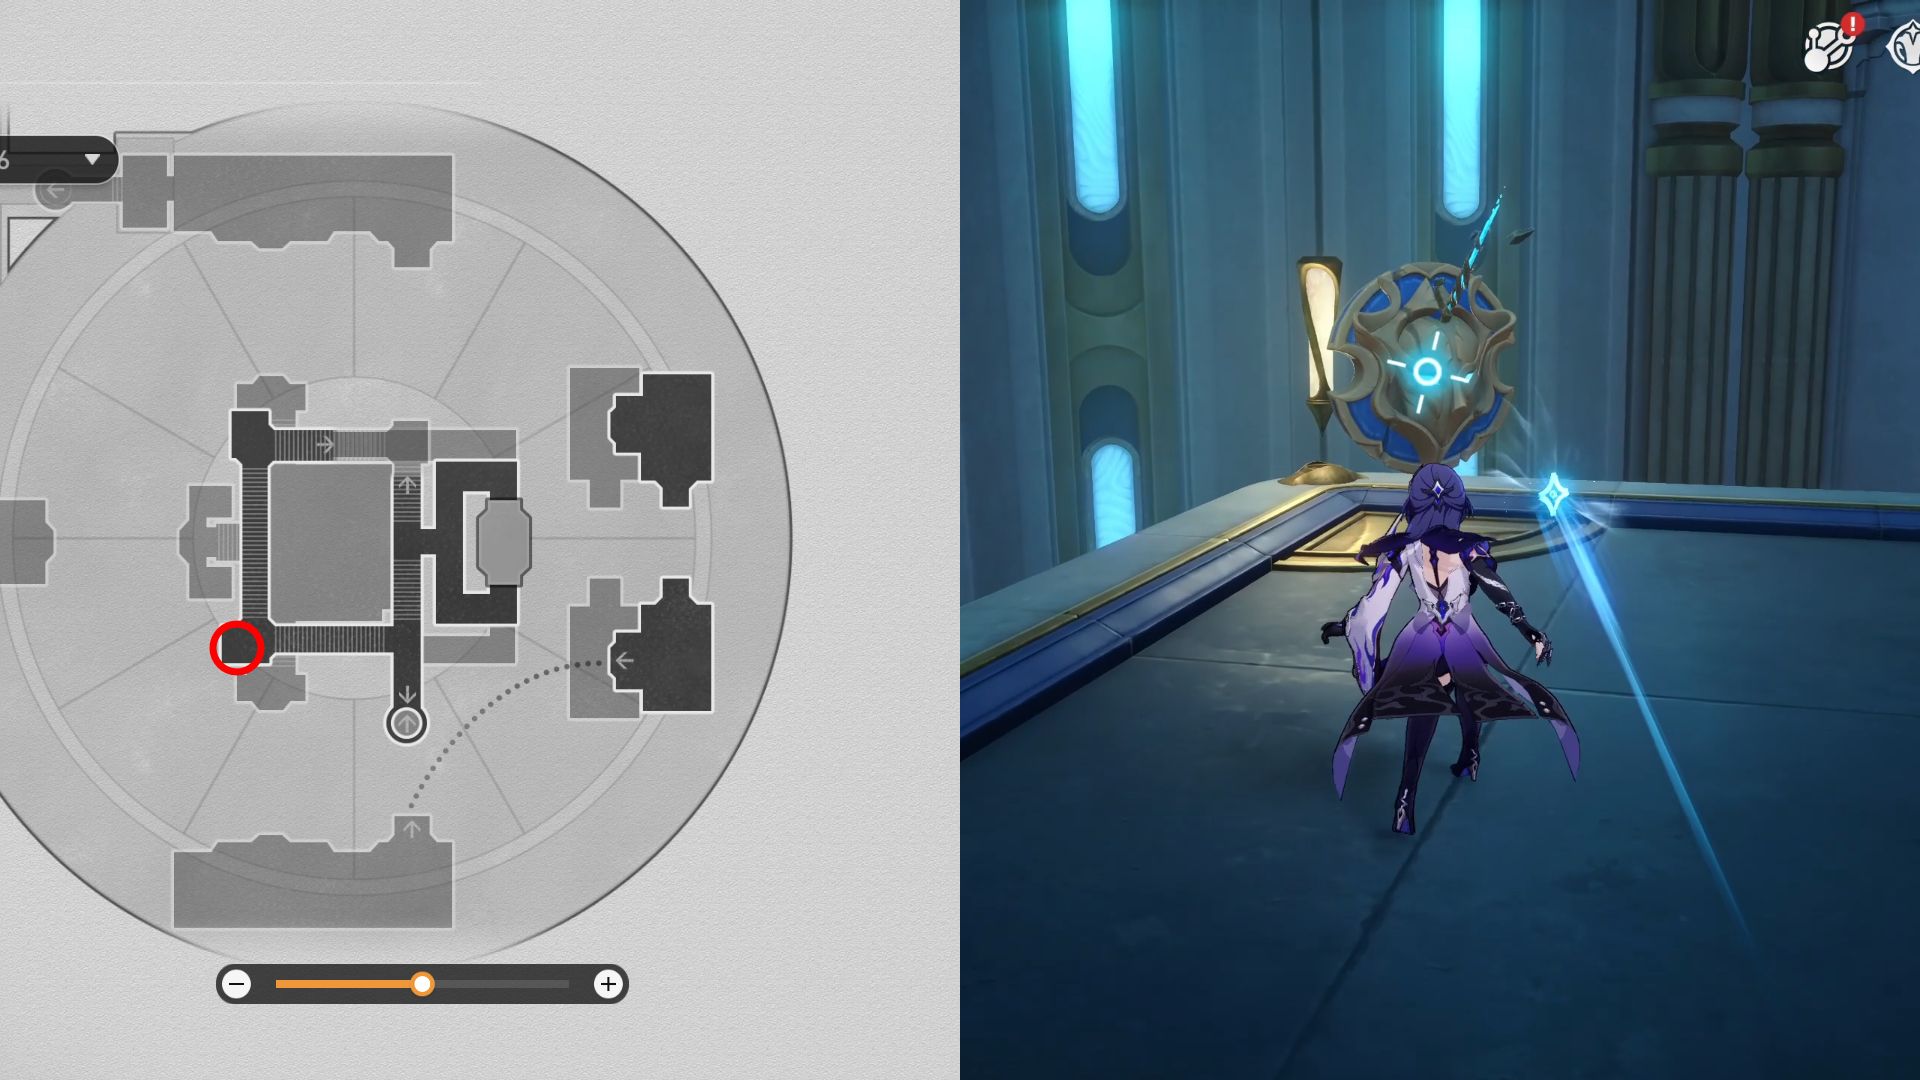
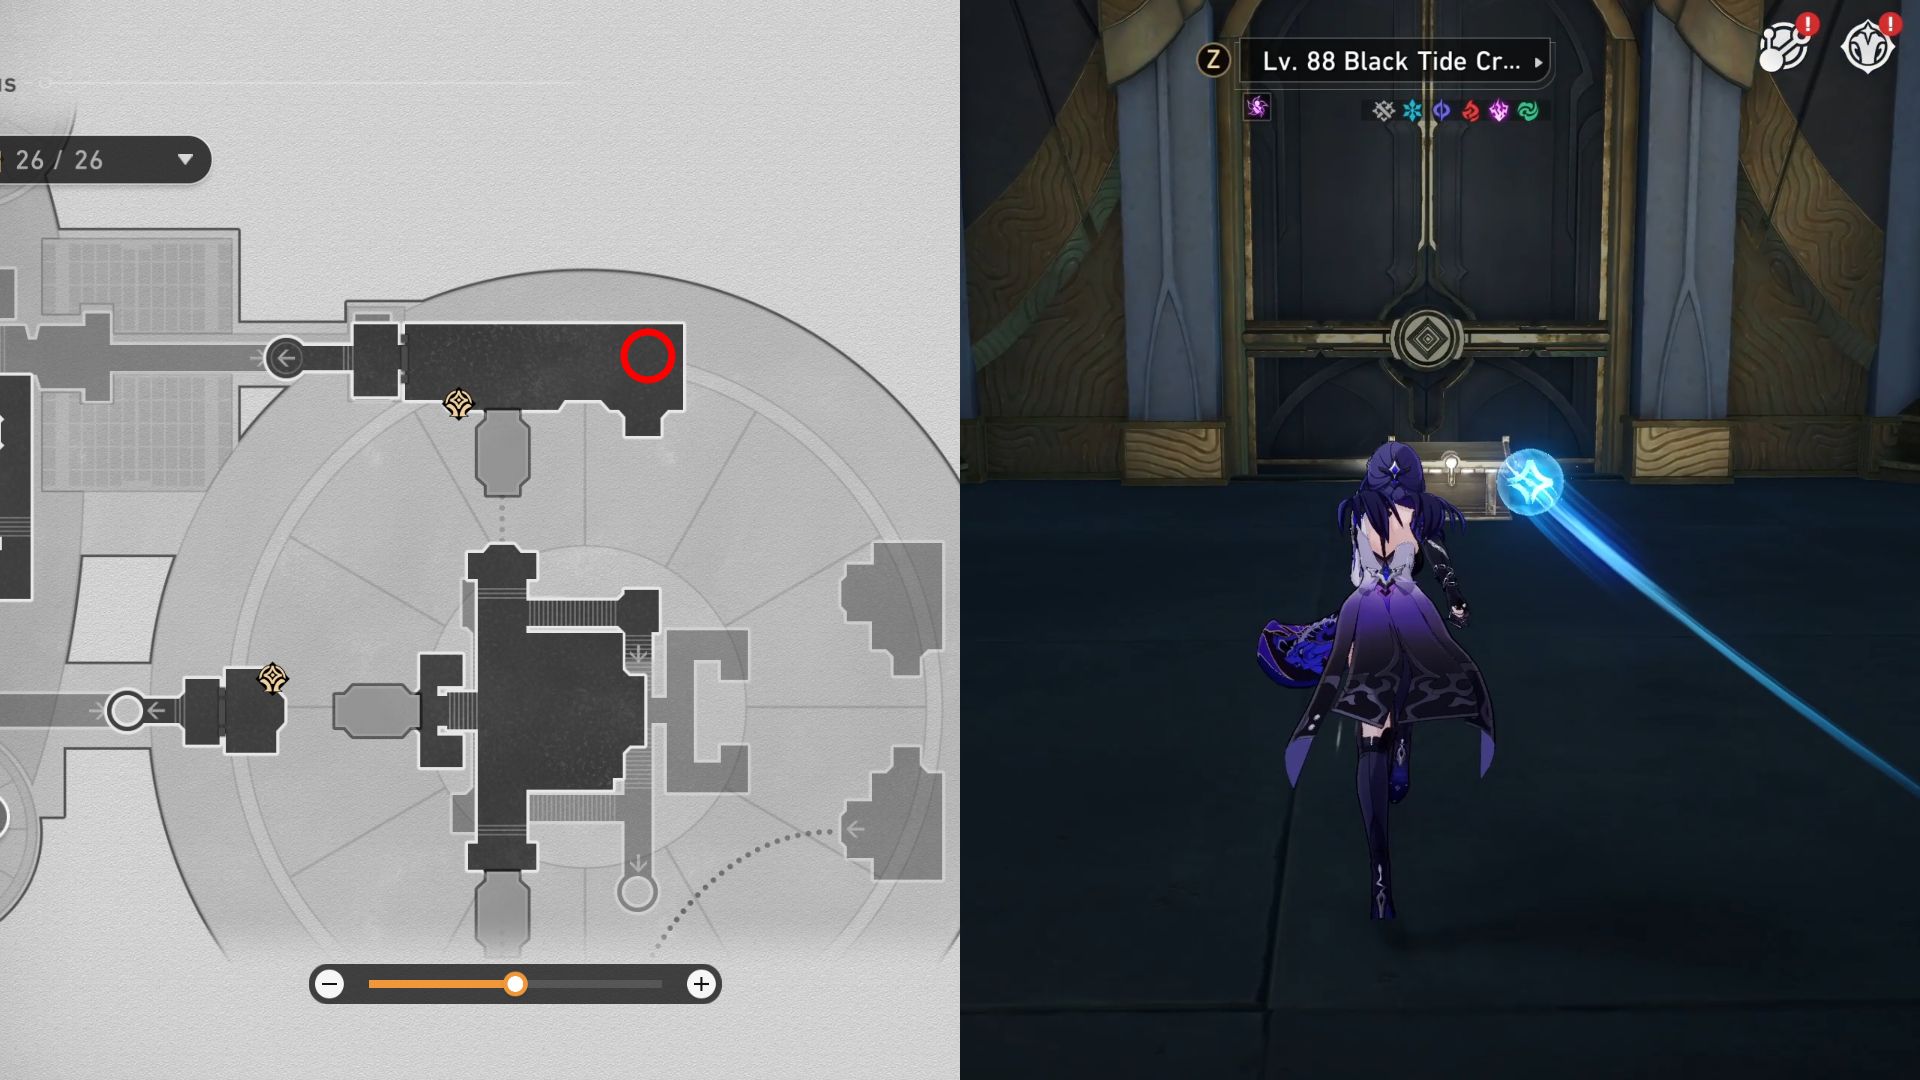
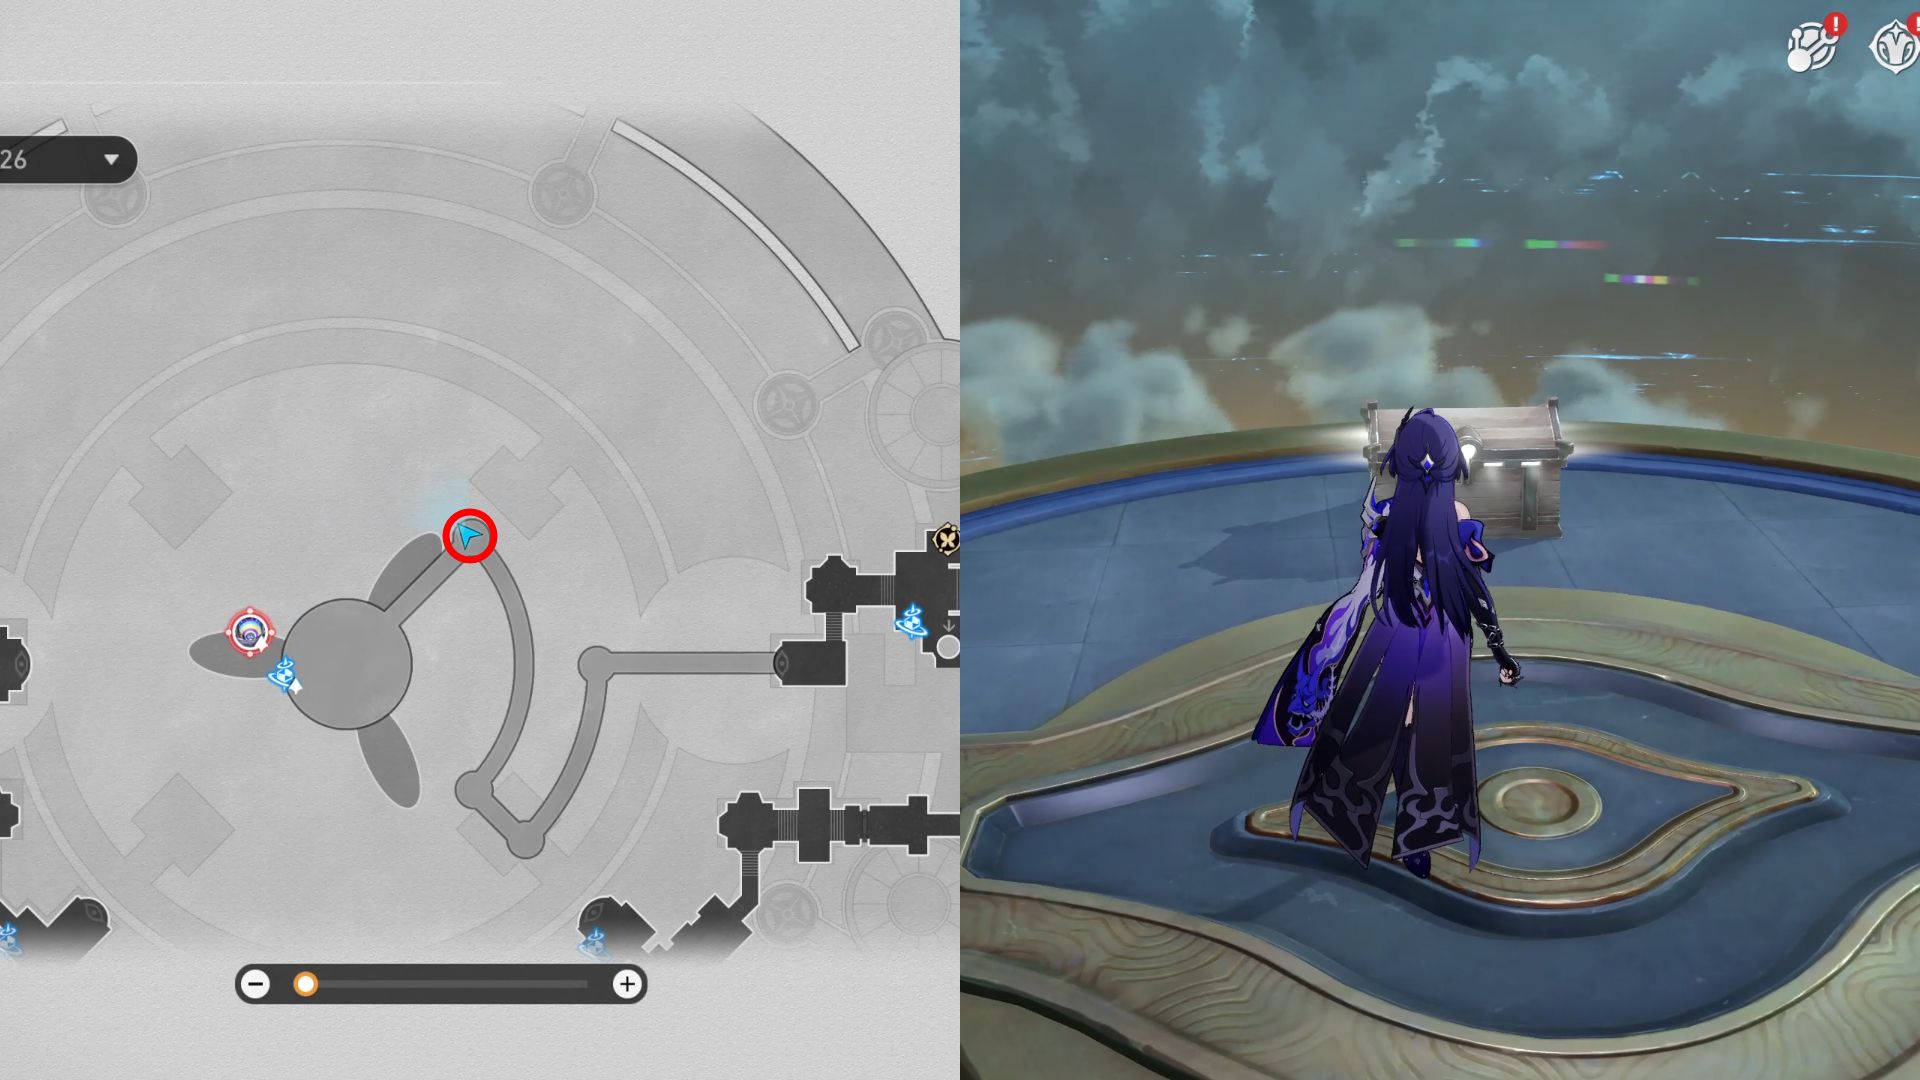
- 28. Turn around and take the elevator to the upper level. Purify the black tide and keep going up the stairs until you reach the top. Then, use the platform to go to the north side. The chest can be seen to the east in front of a door.
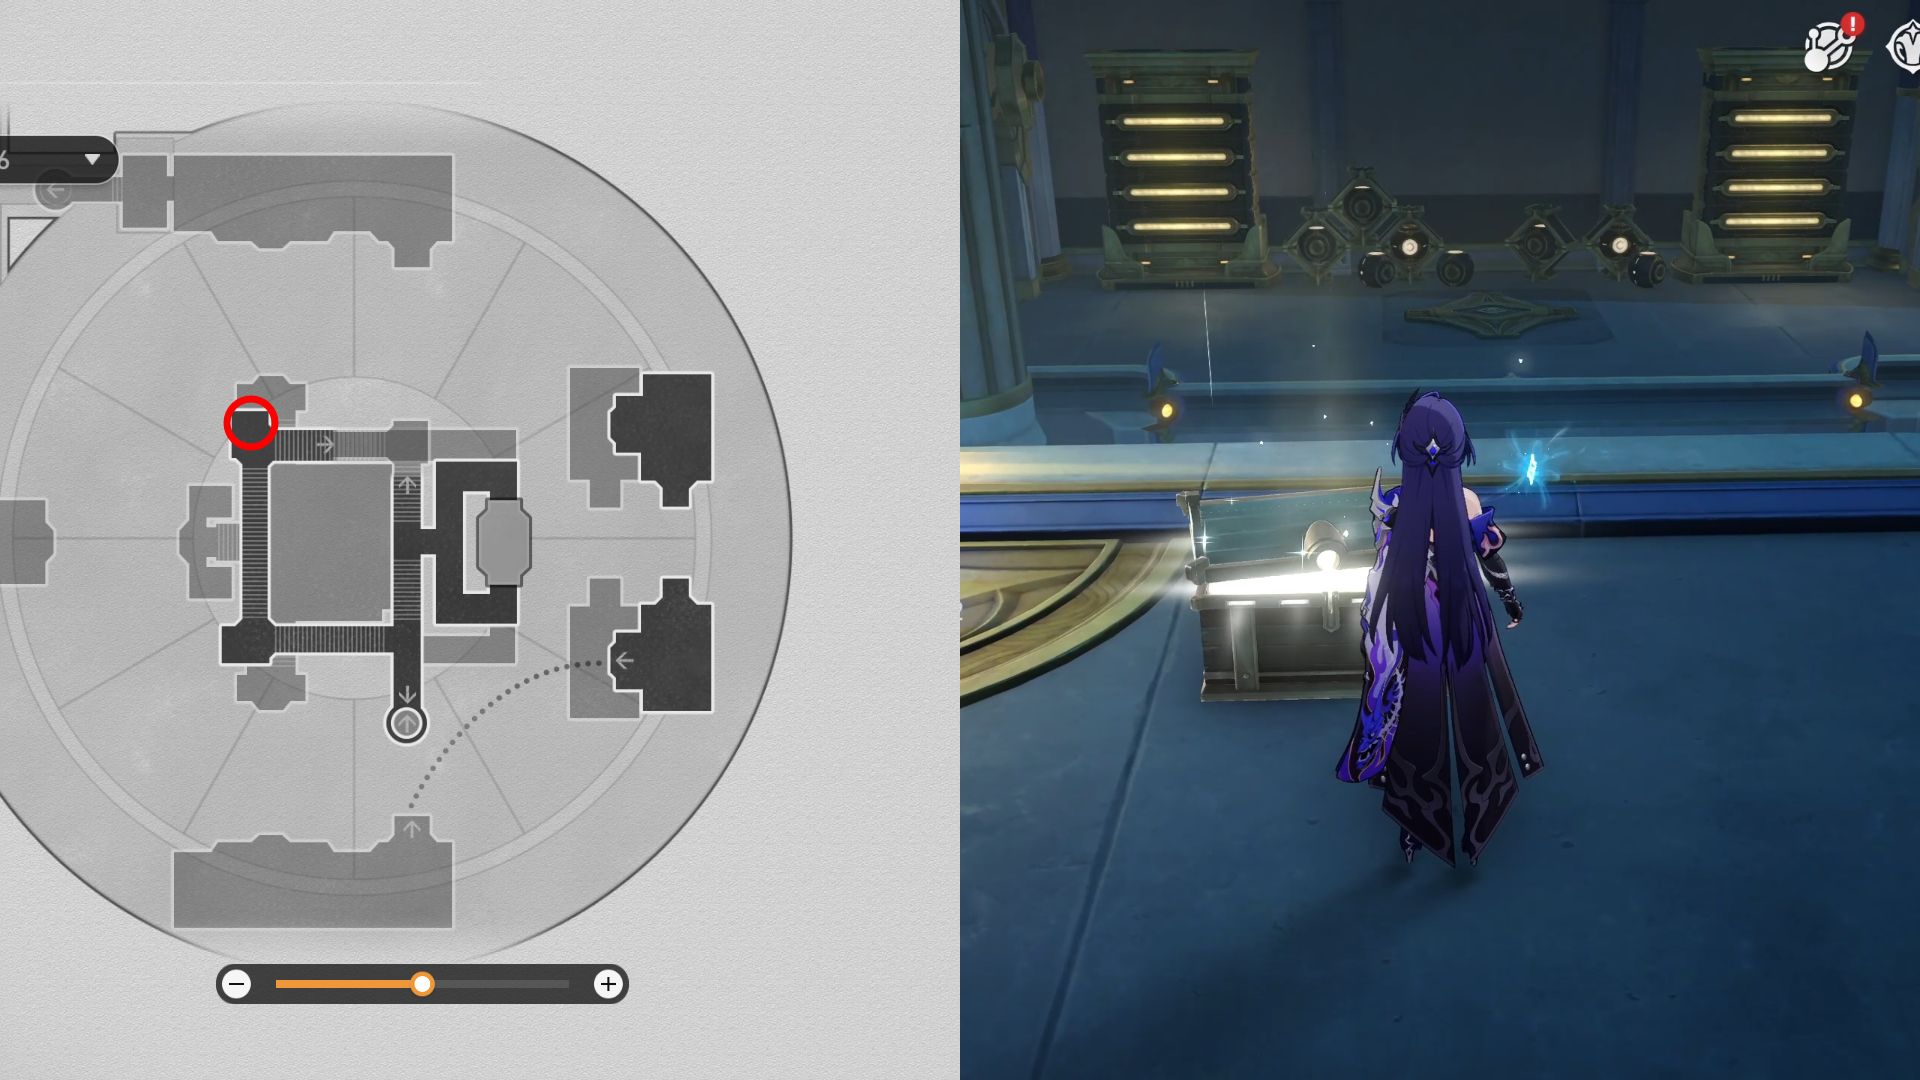
- 29. Turn around and enter the door leading to the south. Use the elevator to reach the upper level, and you can find another chest. A shortcut can be uncovered by using the Frontier Wall space anchor. Upon arriving, turn around to enter the door, and you will see the chest.
- 30. Continue heading east and enter the door for a Prophecy Tablet puzzle. Complete the challenge, and a treasure chest will spawn on the same spot as the puzzle.

- 31. From the previous spot, turn around, and you can see Janus’ Hidden Passage. If you try to interact with it, a Spirithief will appear and take the mechanism. Capture the Spirithief to return Janus’ Hidden Passage while also getting Stellar Jade rewards.
- 32. Use Janus’ Hidden Passage to reach the other side. To the west, in front of a door, you will be able to see a treasure chest.
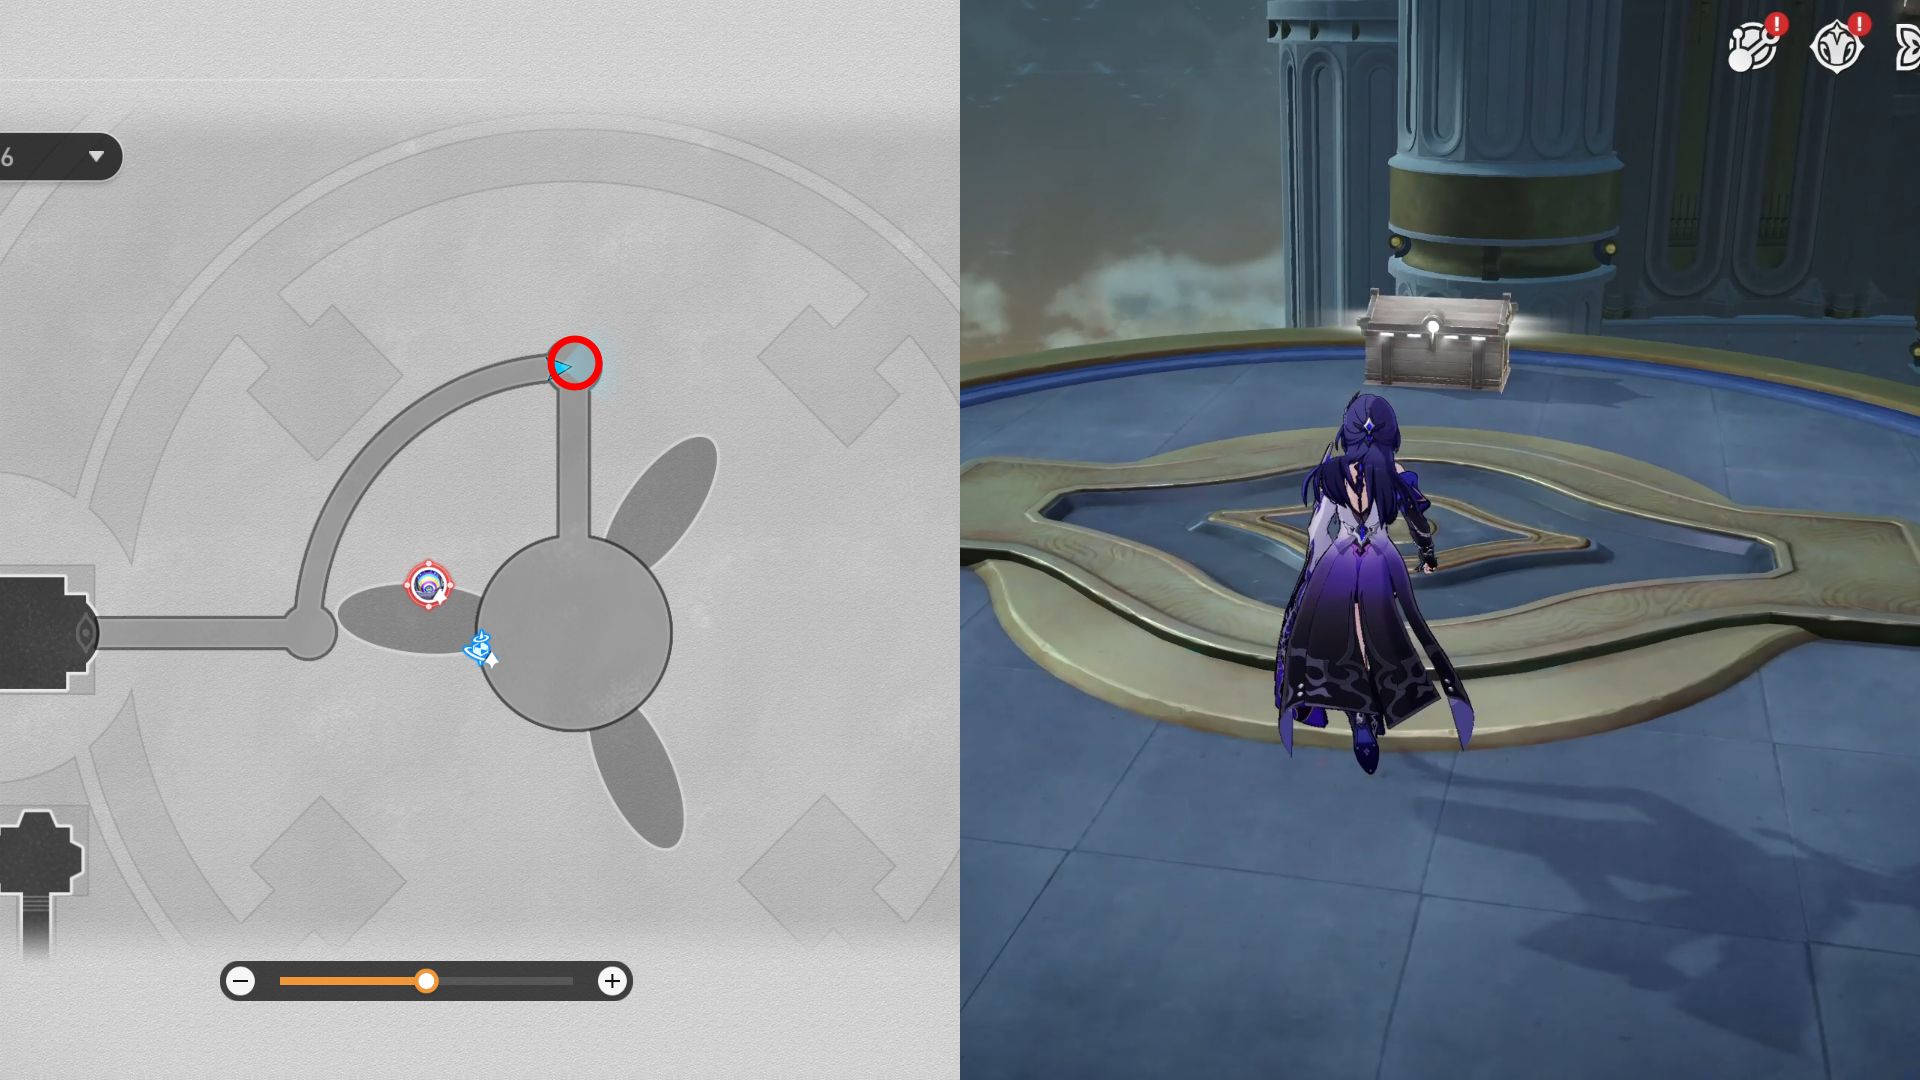
- 33. Teleport to the Frontier Wall space anchor and follow the path until you reach the compass. Reset the compass and set up the path to the treasure chest icon. After the rainbow path is created, follow alongside it to reach the Basic Treasure.
- 34. Return to the previous space anchor and look to the south. Interact with the platform to summon the elevator, which you can use to cross the road and reach the treasure chest at the end of the road.
- 35. Now, use the elevator to descend. You can then go behind the elevator to see another treasure chest.
- 36. From the previous position, head south, and you can find a Basic Treasure under the steps.
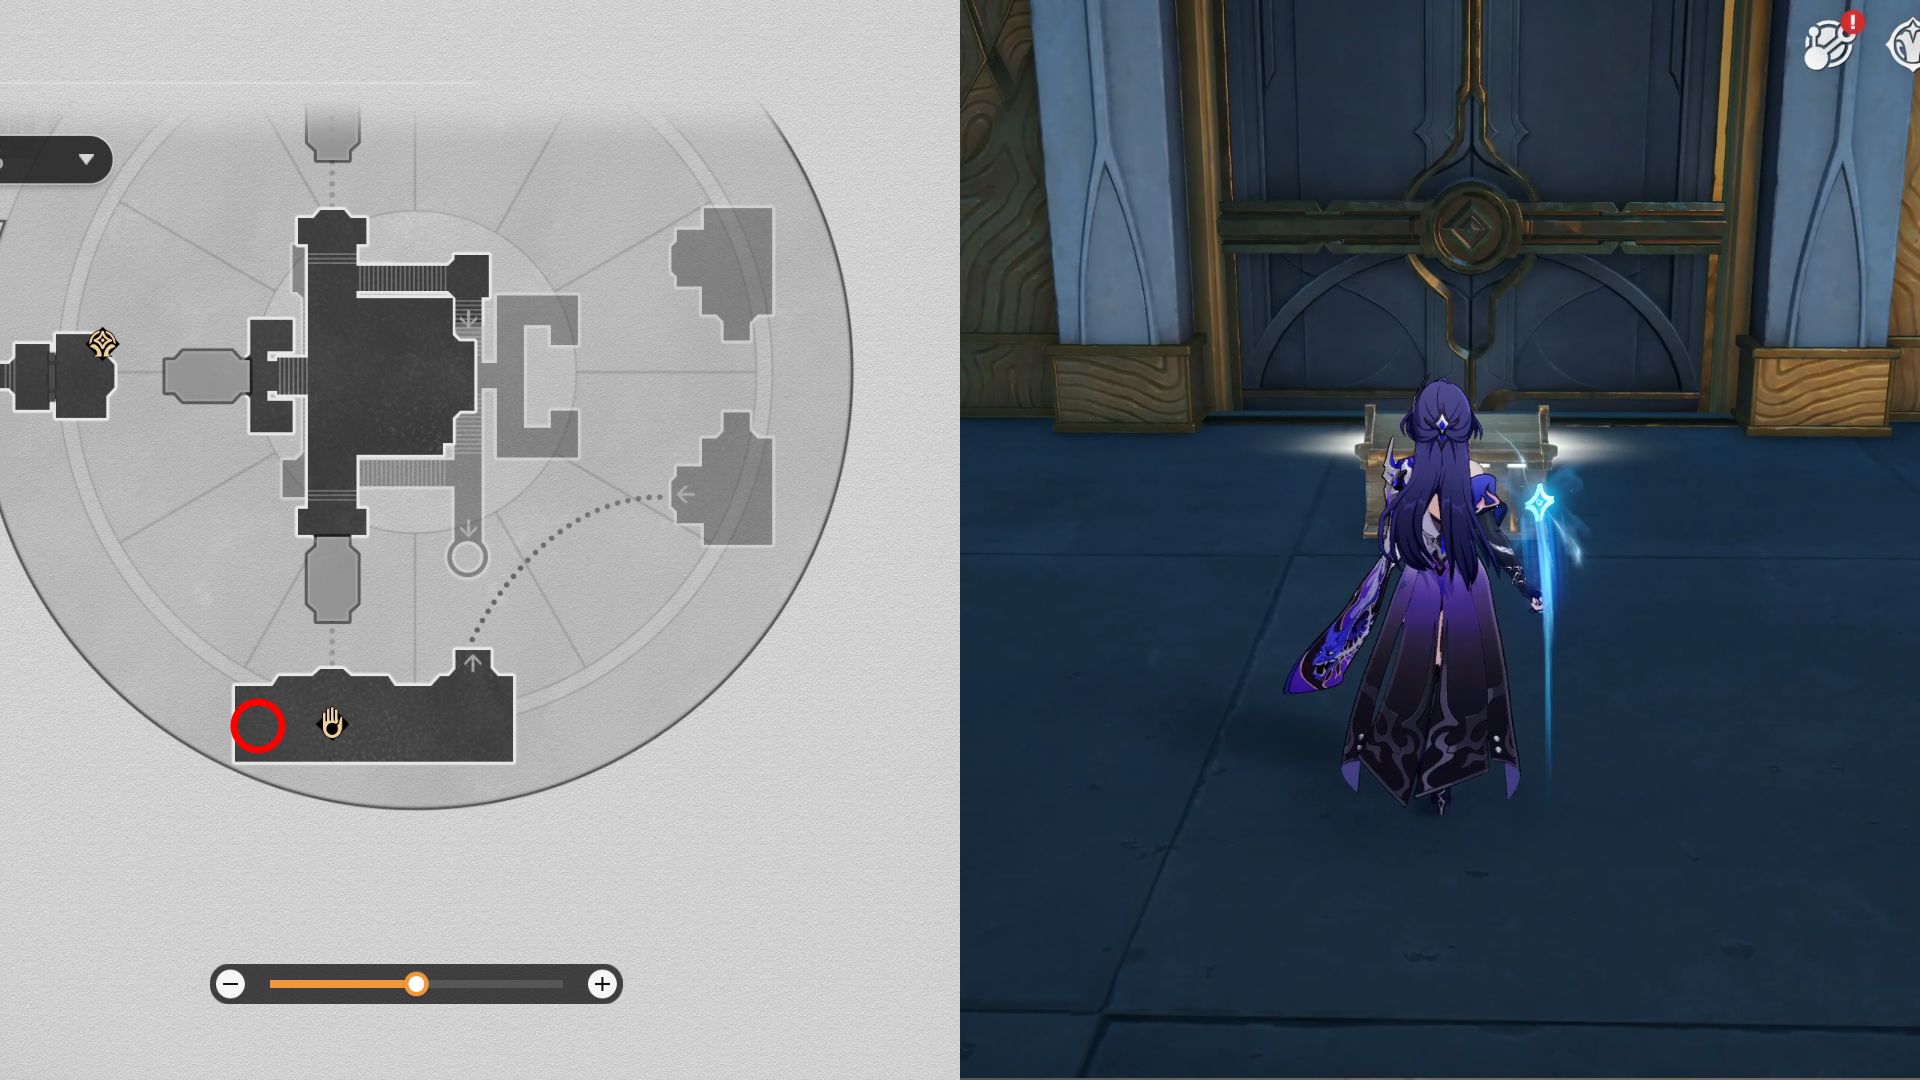
- 37. For the last treasure chest in “Fortress of Dome” Eye of Twilight, follow the path leading west, and you can find a Golden Scapegoat puzzle.
Video Walkthrough For All “Fortress of Dome” Eye of Twilight Treasures in Honkai: Star Rail
If you’re finding it difficult to conquer puzzles such as Golden Scapegoat and Prophecy Tablet within Honkai: Star Rail, feel free to check out the video provided for assistance in overcoming each hurdle. Besides treasure chests, you can also gather Nymphs that can be presented to the Garmentmaker near the Frontier Well space anchor to receive various prizes.
Read More
- All Shadow Armor Locations in Crimson Desert
- How to Get the Sunset Reed Armor Set and Hollow Visage Sword in Crimson Desert
- Best Bows in Crimson Desert
- All Golden Greed Armor Locations in Crimson Desert
- Wings of Iron Walkthrough in Crimson Desert
- How to Craft the Elegant Carmine Armor in Crimson Desert
- All Helfryn Armor Locations in Crimson Desert
- How To Beat Ator Archon of Antumbra In Crimson Desert
- Keeping Large AI Models Connected Through Network Chaos
- Sakuga: The Hidden Art Driving Anime’s Stunning Visual Revolution!
2025-05-22 06:04