
Arkveld is a particularly challenging story boss in Monster Hunter Stories 3: Twisted Reflection. To win, you’ll need to build up Ratha’s power during the fight. If you aren’t ready or mistime things, the battle can get out of hand fast. However, with the proper preparation – and a key item – you can make this tough fight surprisingly easy.
Pre-fight Preparation: Gear and Party Member
We recommend being between levels 52 and 55 before attempting this Level 58 boss fight – it will make the battle much easier. This boss is vulnerable to Dragon attacks but also uses them, so equip Dragon-element weapons and consider wearing Ebony Odogaron armor. You can find Ebony Odogaron in areas like Old Capital Road and around the Sacrosanctum/Lazlion areas. This armor provides skills that are particularly helpful in this fight.
- Dragon resistance.
- Salt In Wound.
- Fortify.
- Dragon Atk Boost.
Try to give Ratha and your Ranger abilities that help them build up their Kinship Gauge faster, like Soul Kinship or the Pet skill. This will be really helpful when the battle reaches a specific, pre-planned stage.
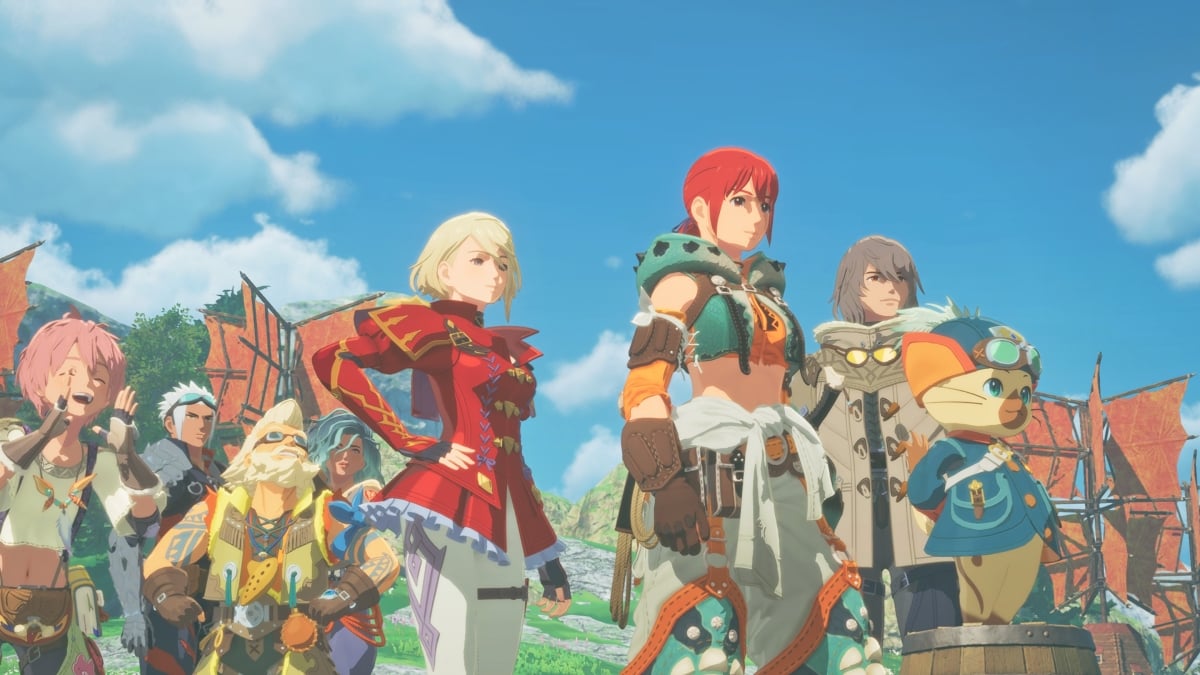
Each member of your party has unique strengths. But if you’ve finished Kora’s last Side Story, it’s a good idea to include her, as her secondary Monstie is very effective in this battle. Most importantly, Kora can draw enemy attention away from both you and Ratha, making it much easier to survive.
Arkveld Boss Fight Strategy for Monster Hunter Stories 3
| Normal State | Dragon Mantle State | |
|---|---|---|
| Move | Technical | Power |
| Weak Against (Element) | Dragon | All Elements |
| Resist (Element) | All Elements | Physical |
| Weak Against (Status) | Blastblight, Darkness | Blastblight, Darkness |
| Resist (Status) | Burn, Sleep, Bleeding | Burn, Sleep, Bleeding |
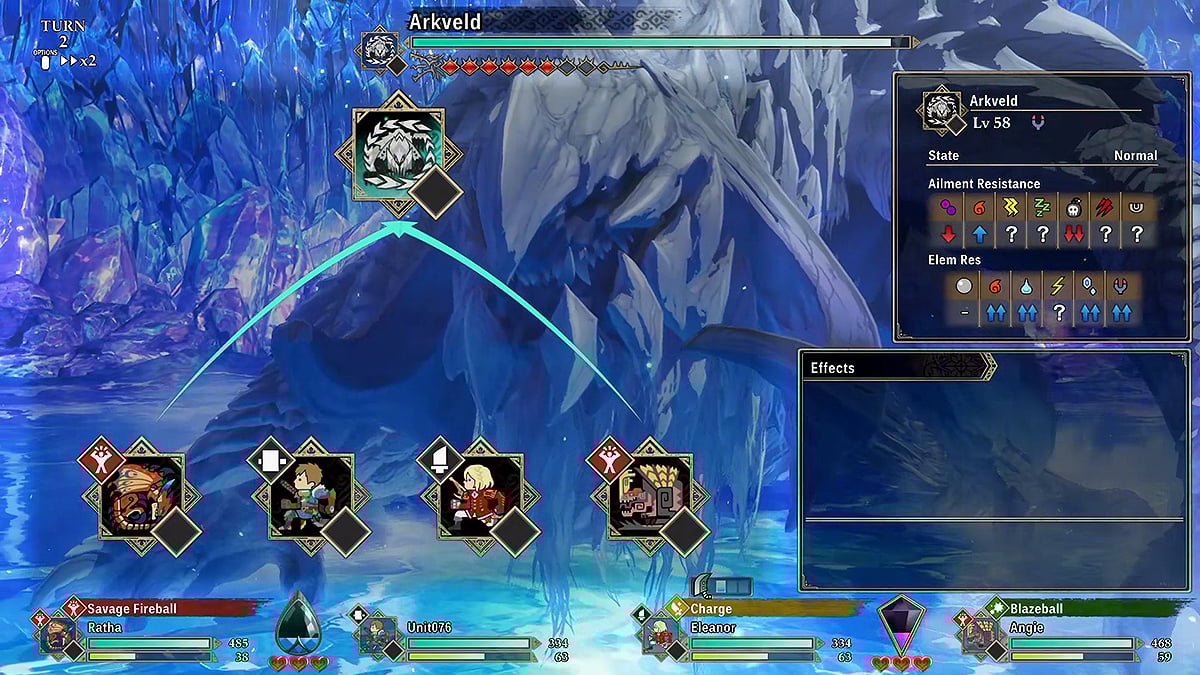
During the first five turns, your priority is simply to survive. Don’t focus on attacking or damaging anything just yet. Instead, concentrate on building up your Stamina, strengthening your bond with Ratha by filling the Kinship Gauge, and ensuring both you and Ratha stay alive.
Arkveld is a powerful enemy who hits very hard. If you haven’t leveled up enough or aren’t careful, you could easily lose a Heart – meaning Ratha will be knocked out quickly. This is especially true because Rathalos is vulnerable to Dragon-type attacks.
The most important part of the Arkveld boss battle happens on Turn 5. When you hear Ogden yell to attack strongly and Gaul mention increasing Ratha’s power, that’s when you should use Attack Up on Ratha.
Gaul’s explanation isn’t entirely clear. Although you can increase Ratha’s power using skills like Flame Aura, giving her a Mega Demondrug also works. This is essential because without the attack boost, Arkveld will absorb Ratha’s Savage Fireball on the next turn.
Okay, so when it gets to Turn 6, it’s super important that Ratha uses Savage Fireball. Usually, the game makes her do it automatically, which is great. But I’ve noticed it’s not always a sure thing! Sometimes she’ll just do a regular attack or something else instead. That’s why I always make sure to double-check what she’s planning to do and change it if needed – you really don’t want to miss out on that Savage Fireball!

If you land the Savage Fireball successfully, Arkveld will be overwhelmed with energy and fall. Assuming you’ve been building up your Kinship meter, you should now have enough to use a Kinship Attack. Save it until Arkveld recovers, then use the attack on your next turn to stun the boss again.
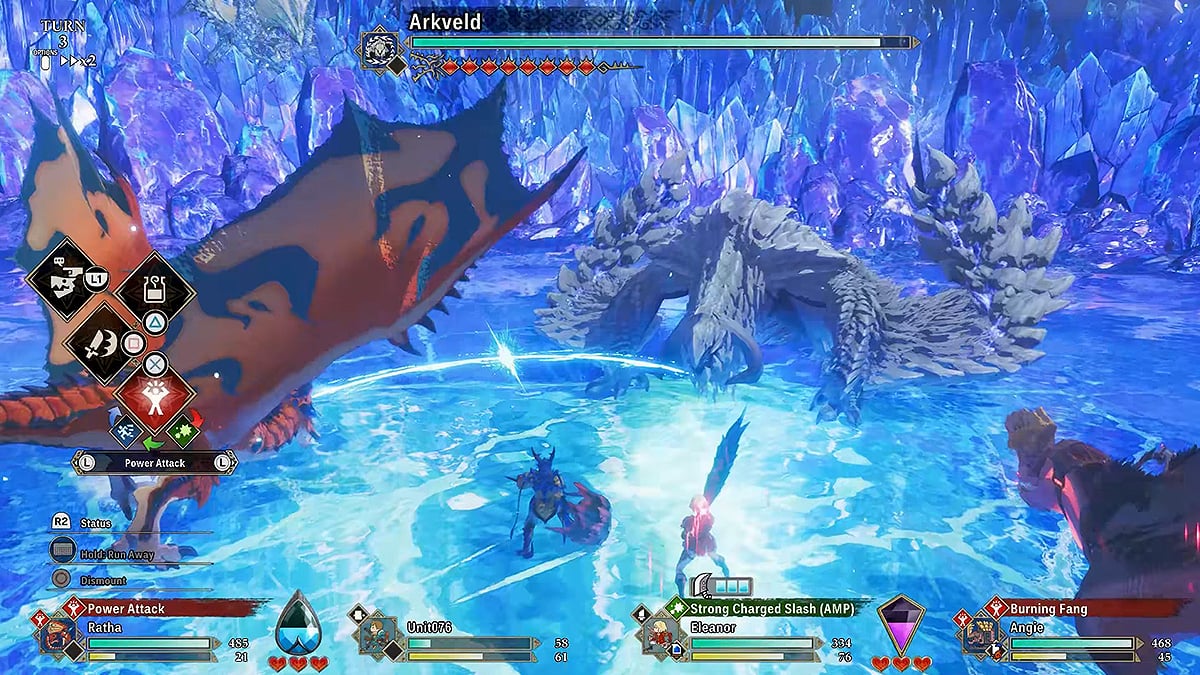
After this initial, planned series of actions, the battle becomes significantly easier. You can now change your team to Monsties strong against Dragon-type attacks and start dealing more damage. From now on, your priority should be to keep Arkveld staggered – this will prevent him from using powerful, wide-range attacks like Chain Crawl or Berserk Blade.
Instead of spending a lot of time trying to break off Wyvernsoul parts, focus on using Synchro Rushes and Double Attacks. Quickly filling your Kinship Gauge will keep the monster staggered more consistently.
When Arkveld transforms into Dragon Mantle mode and shows off its chainblades, prioritize destroying those blades with Pierce-type weapons and elemental attacks. If you break them, Arkveld will immediately fall over, letting you attack with powerful moves or take time to recover.
By skillfully managing your Kinship Gauge, you can turn a difficult fight into a series of opportunities to stagger and topple Arkveld. Once you do that, defeating him becomes much easier, bringing you closer to uncovering the secrets of Sacrosanctum.
Read More
- All Shadow Armor Locations in Crimson Desert
- How to Get the Sunset Reed Armor Set and Hollow Visage Sword in Crimson Desert
- Best Bows in Crimson Desert
- All Golden Greed Armor Locations in Crimson Desert
- Wings of Iron Walkthrough in Crimson Desert
- How to Craft the Elegant Carmine Armor in Crimson Desert
- All Helfryn Armor Locations in Crimson Desert
- How To Beat Ator Archon of Antumbra In Crimson Desert
- Keeping Large AI Models Connected Through Network Chaos
- Sakuga: The Hidden Art Driving Anime’s Stunning Visual Revolution!
2026-03-12 14:37