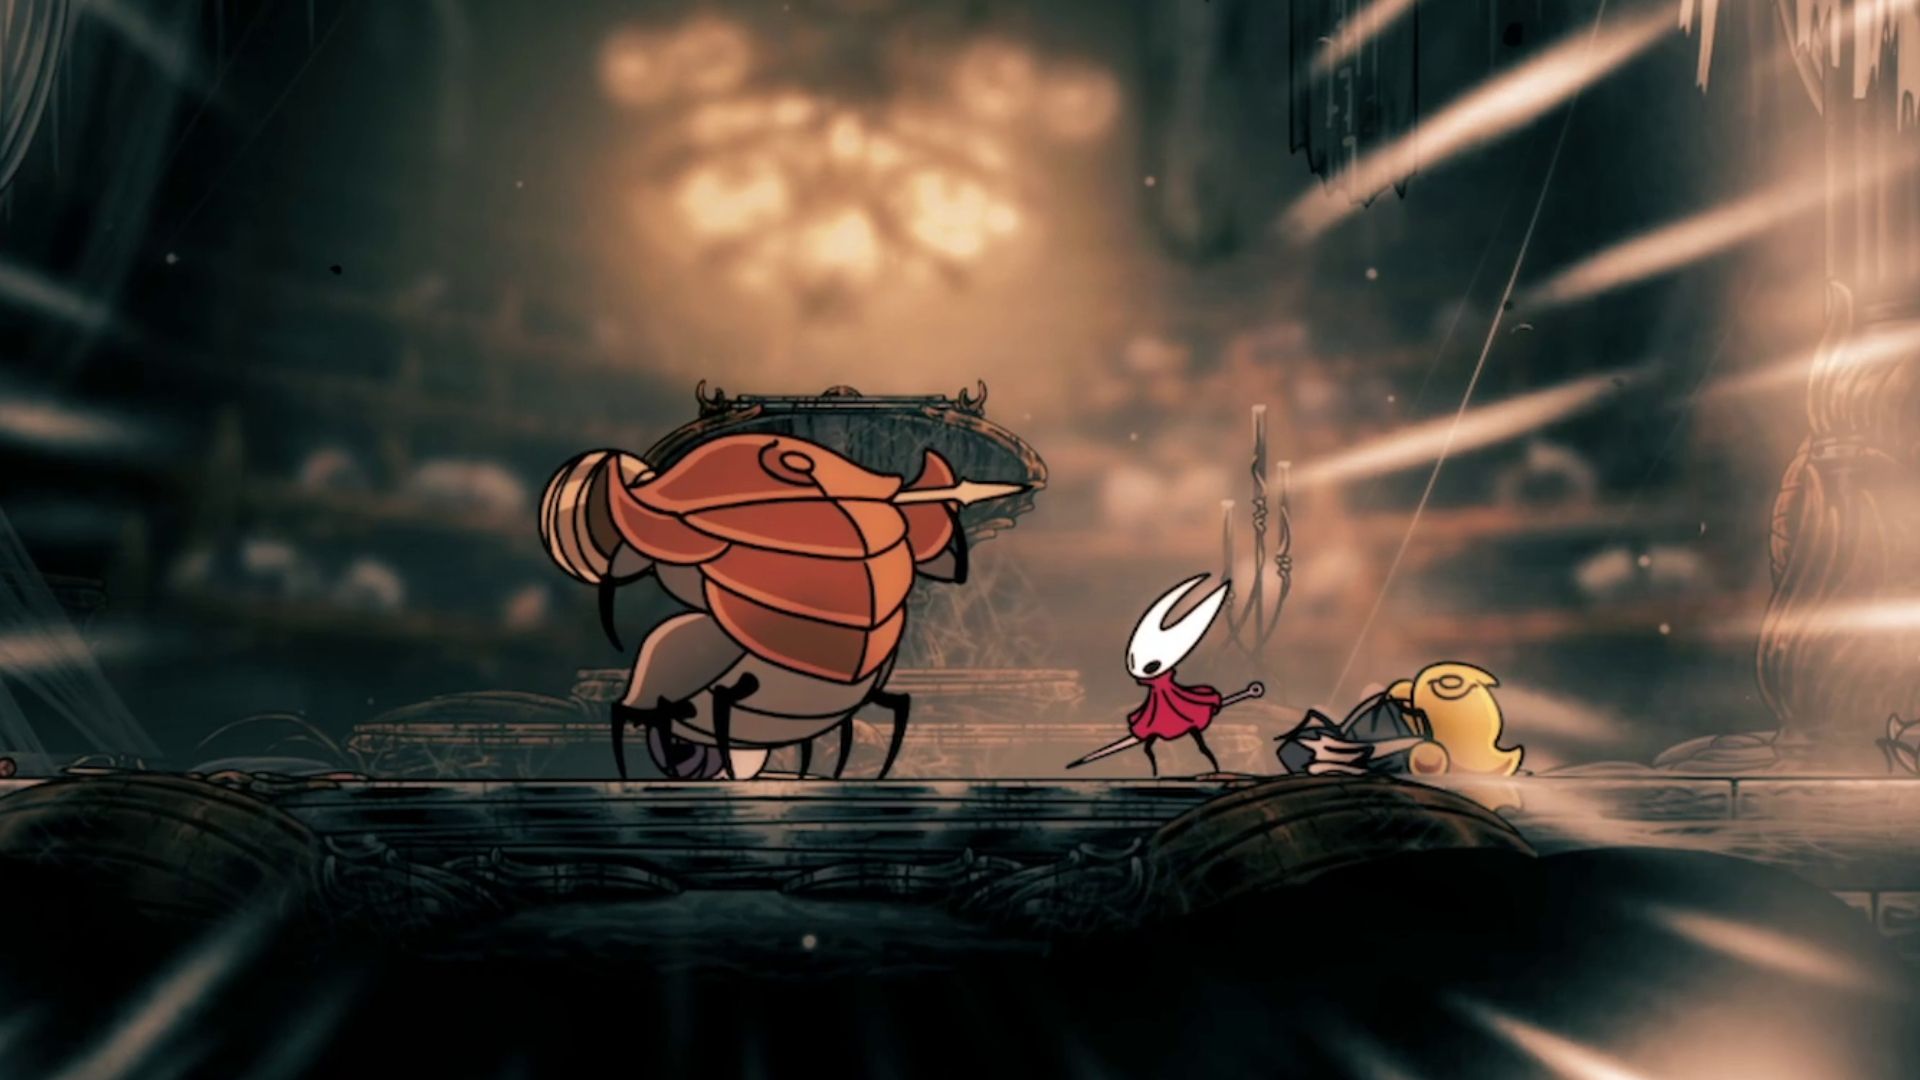
The High Halls gauntlet in Silksong is a very difficult combat challenge in Act 2. Players must defeat eleven continuous waves of enemies without any breaks between them.
If you’re having trouble with this part of *Silksong*, this guide can help! You need to beat it to continue the main story. We’ll cover two ways to do it: an easy method that guarantees a win, and a more traditional approach for players who want a fair challenge.
How to Beat High Halls Gauntlet Easily in Silksong
High Halls Gauntlet Cheese Method

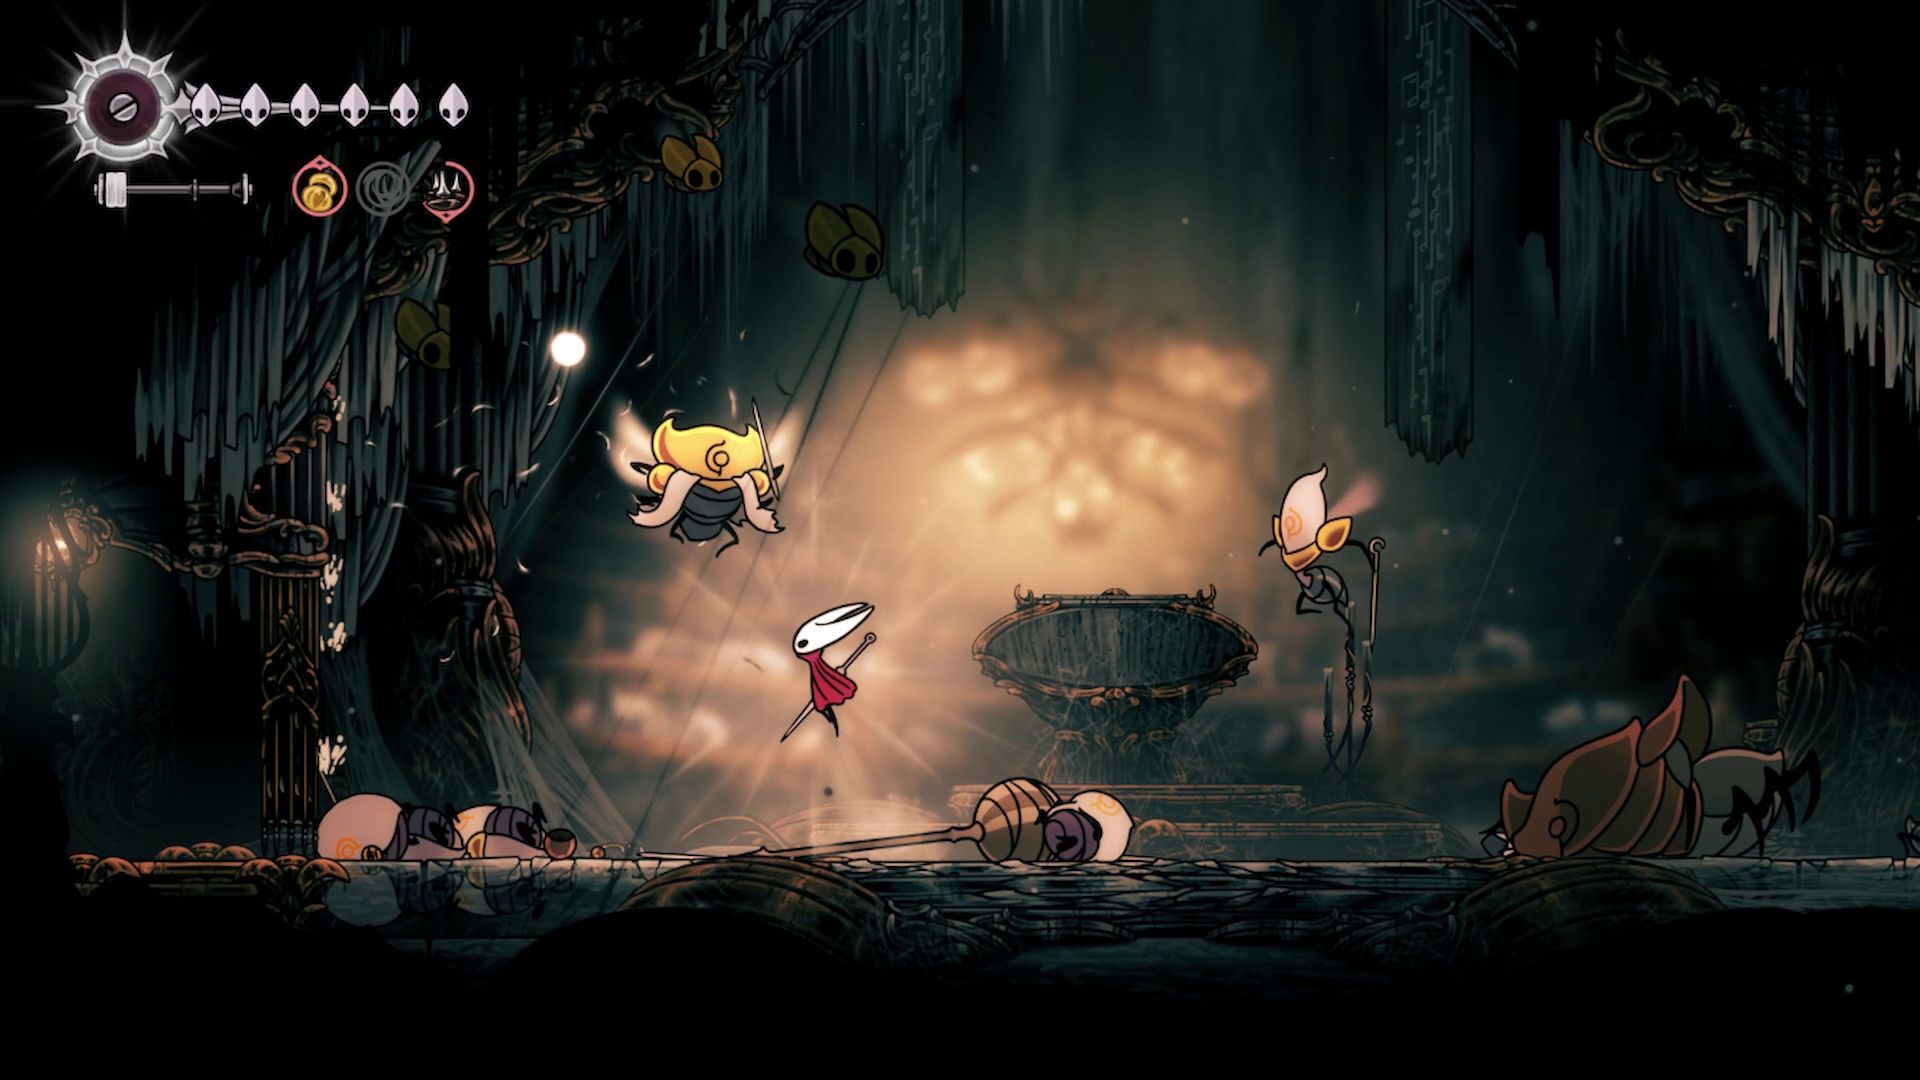
If you finish Shakra’s storyline before attempting the High Halls gauntlet, she’ll fight alongside you outside the entrance. This guarantees she’ll help you win the battle. Like other fights where she assists, Shakra is very powerful-almost unbeatable-and if you stay alive, she can actually defeat the entire gauntlet on her own.
Completing Shakra’s quest in Silksong requires that players find the map maker in Bilehaven.
The safest strategy is to get the Tool and stay on top of a wall. This helps you avoid most enemies while Shakra eliminates them. You might have to swat away a bee now and then, but generally, that’s all you need to do.
You can buy Ascendant’s Grip from Jubilana in Songclave once you’ve finished the quest called The Wandering Merchant.
How to Beat High Halls Gauntlet Without Shakra in Silksong
High Halls Gauntlet Strategy
Even with Shakra’s help, navigating the challenging Bilewater area remains difficult. This strategy is for players aiming to conquer the High Halls gauntlet legitimately.
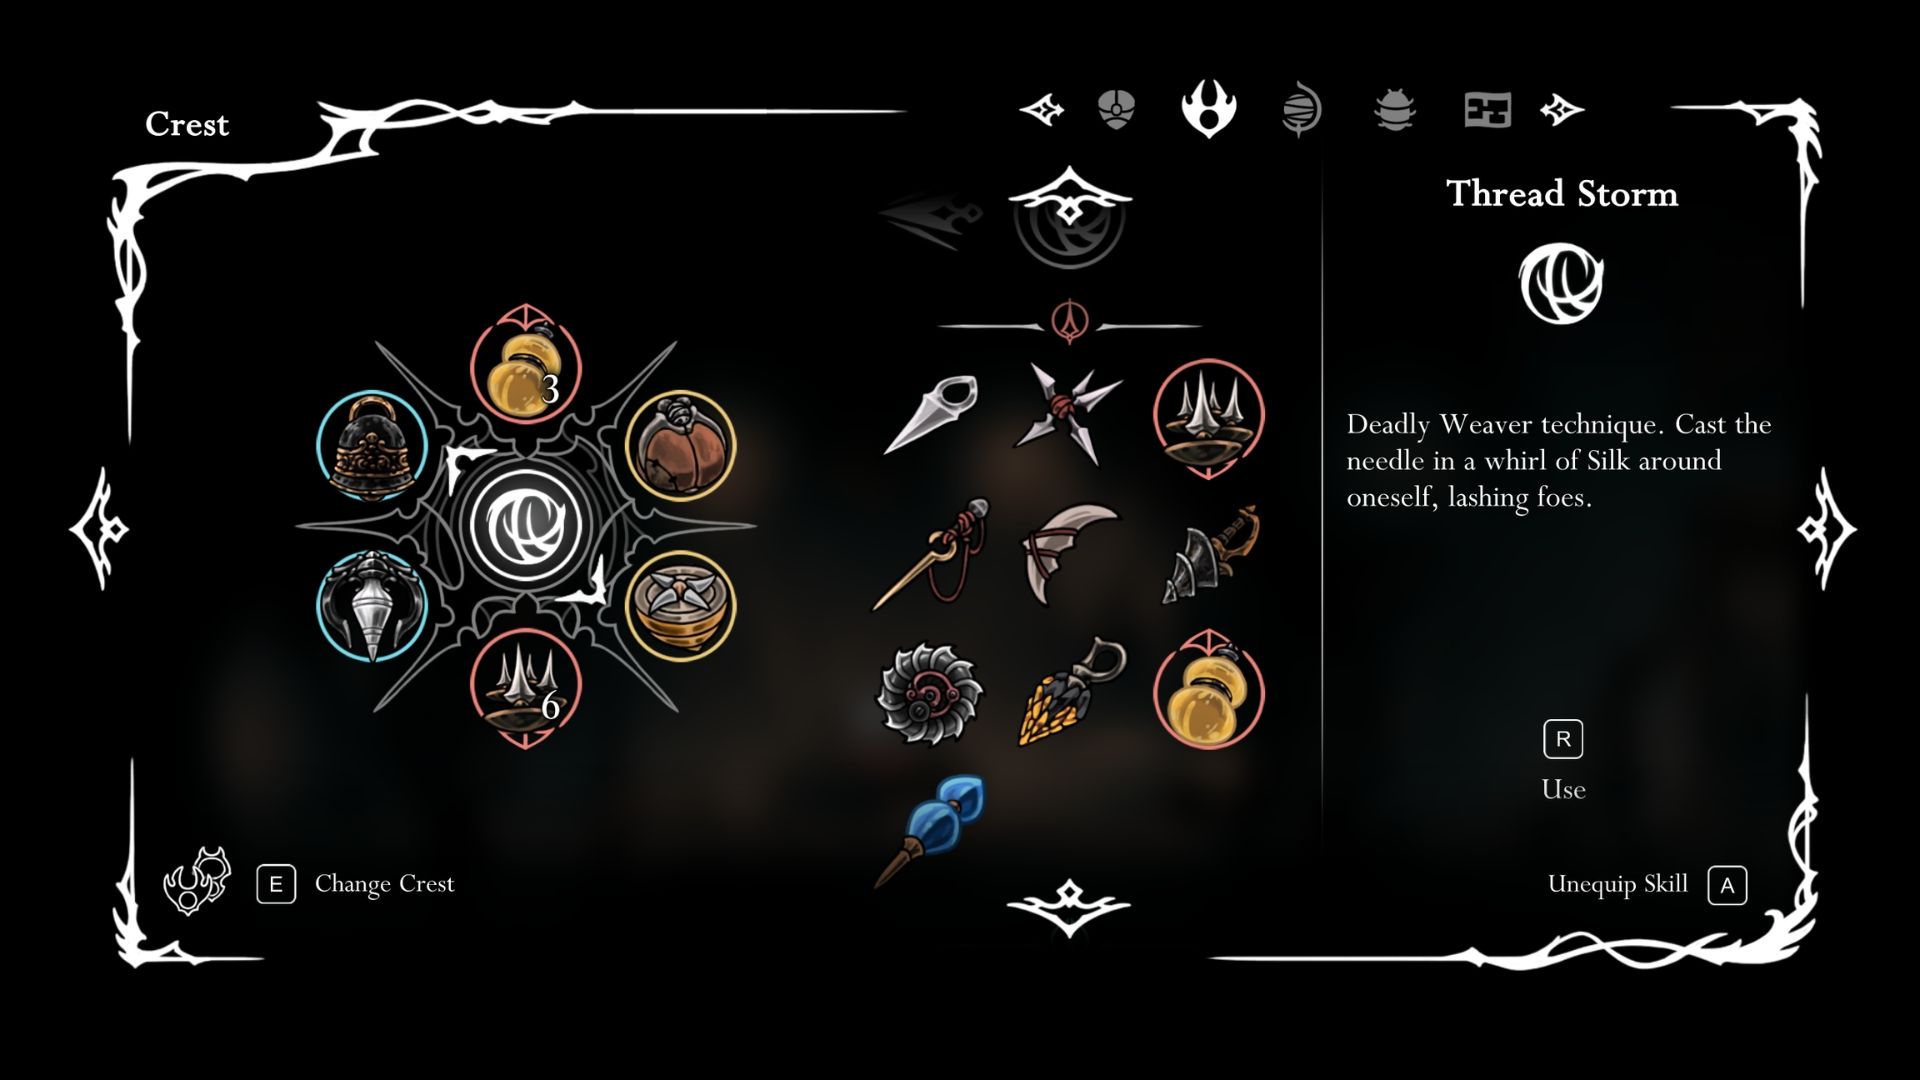
| Crest | |
|---|---|
| Red Tools | , |
| Blue Tools | , |
| Silk Skill |
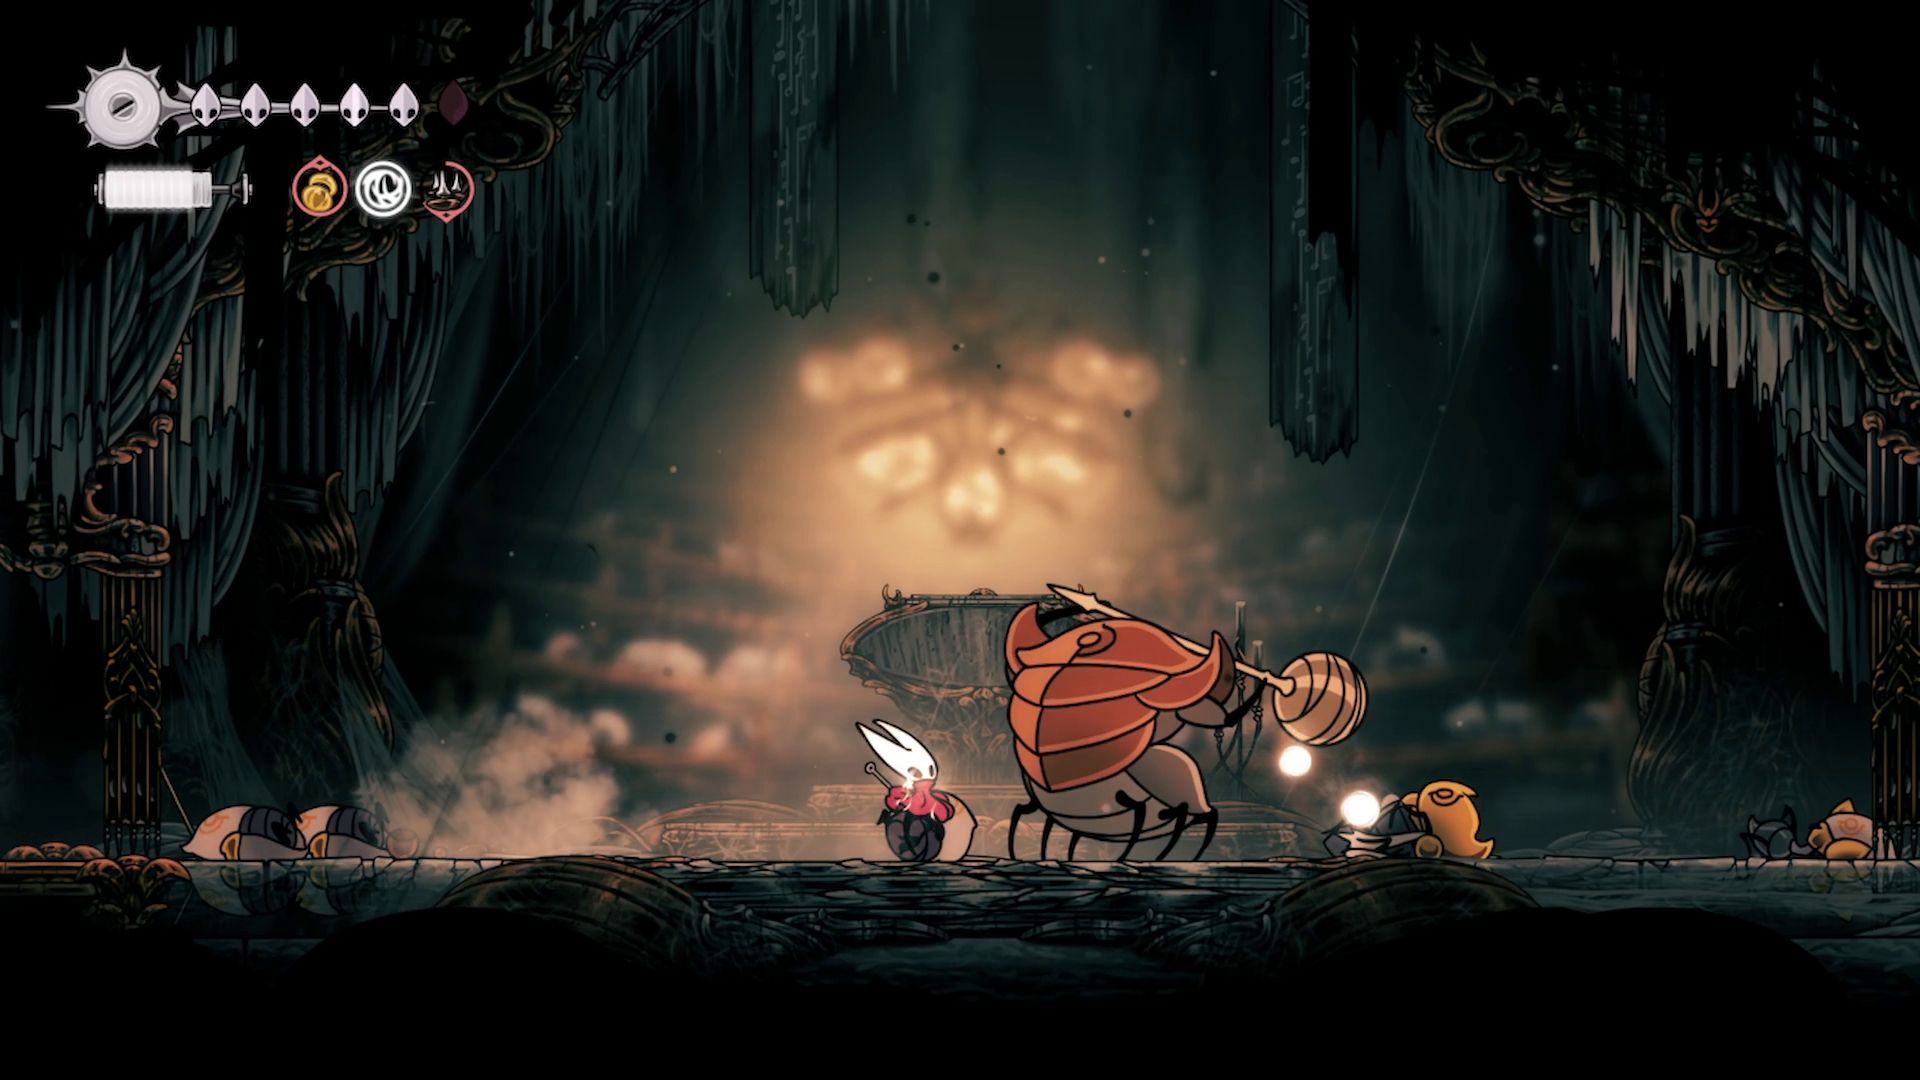
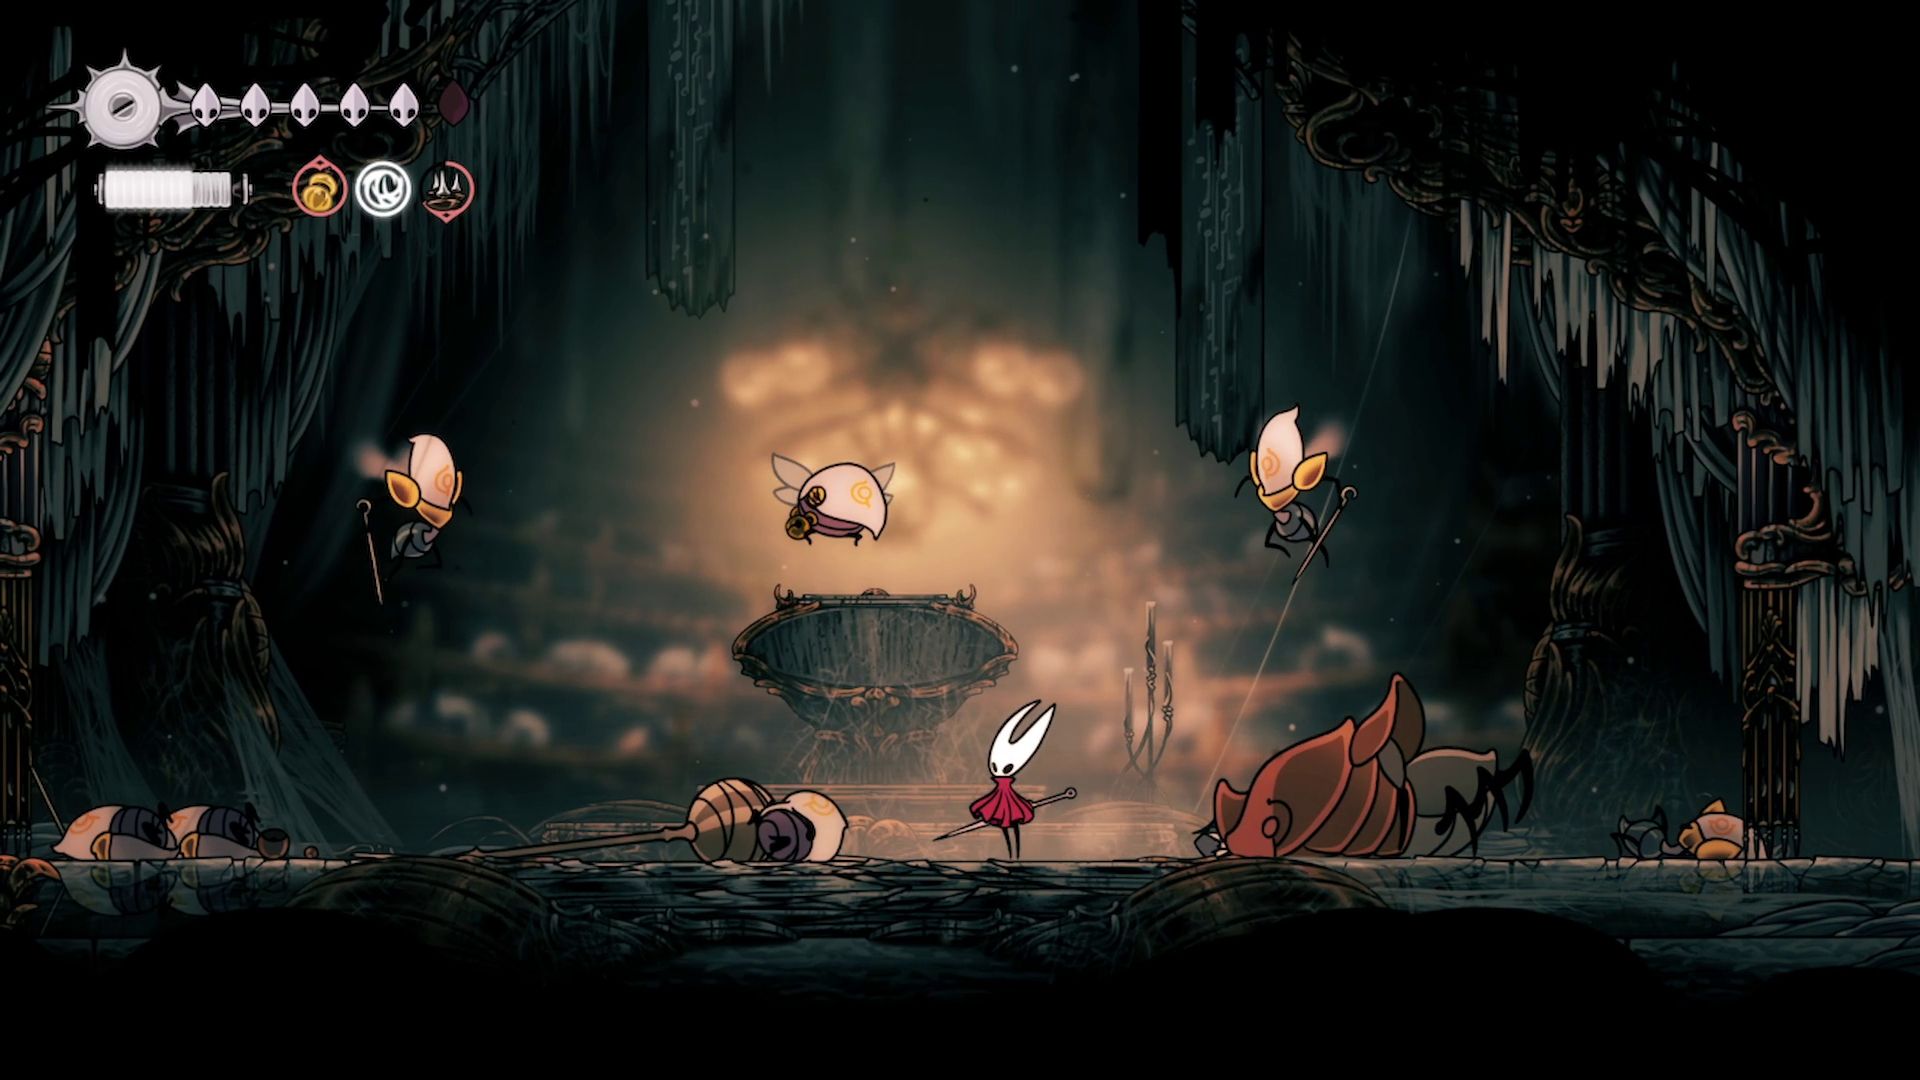
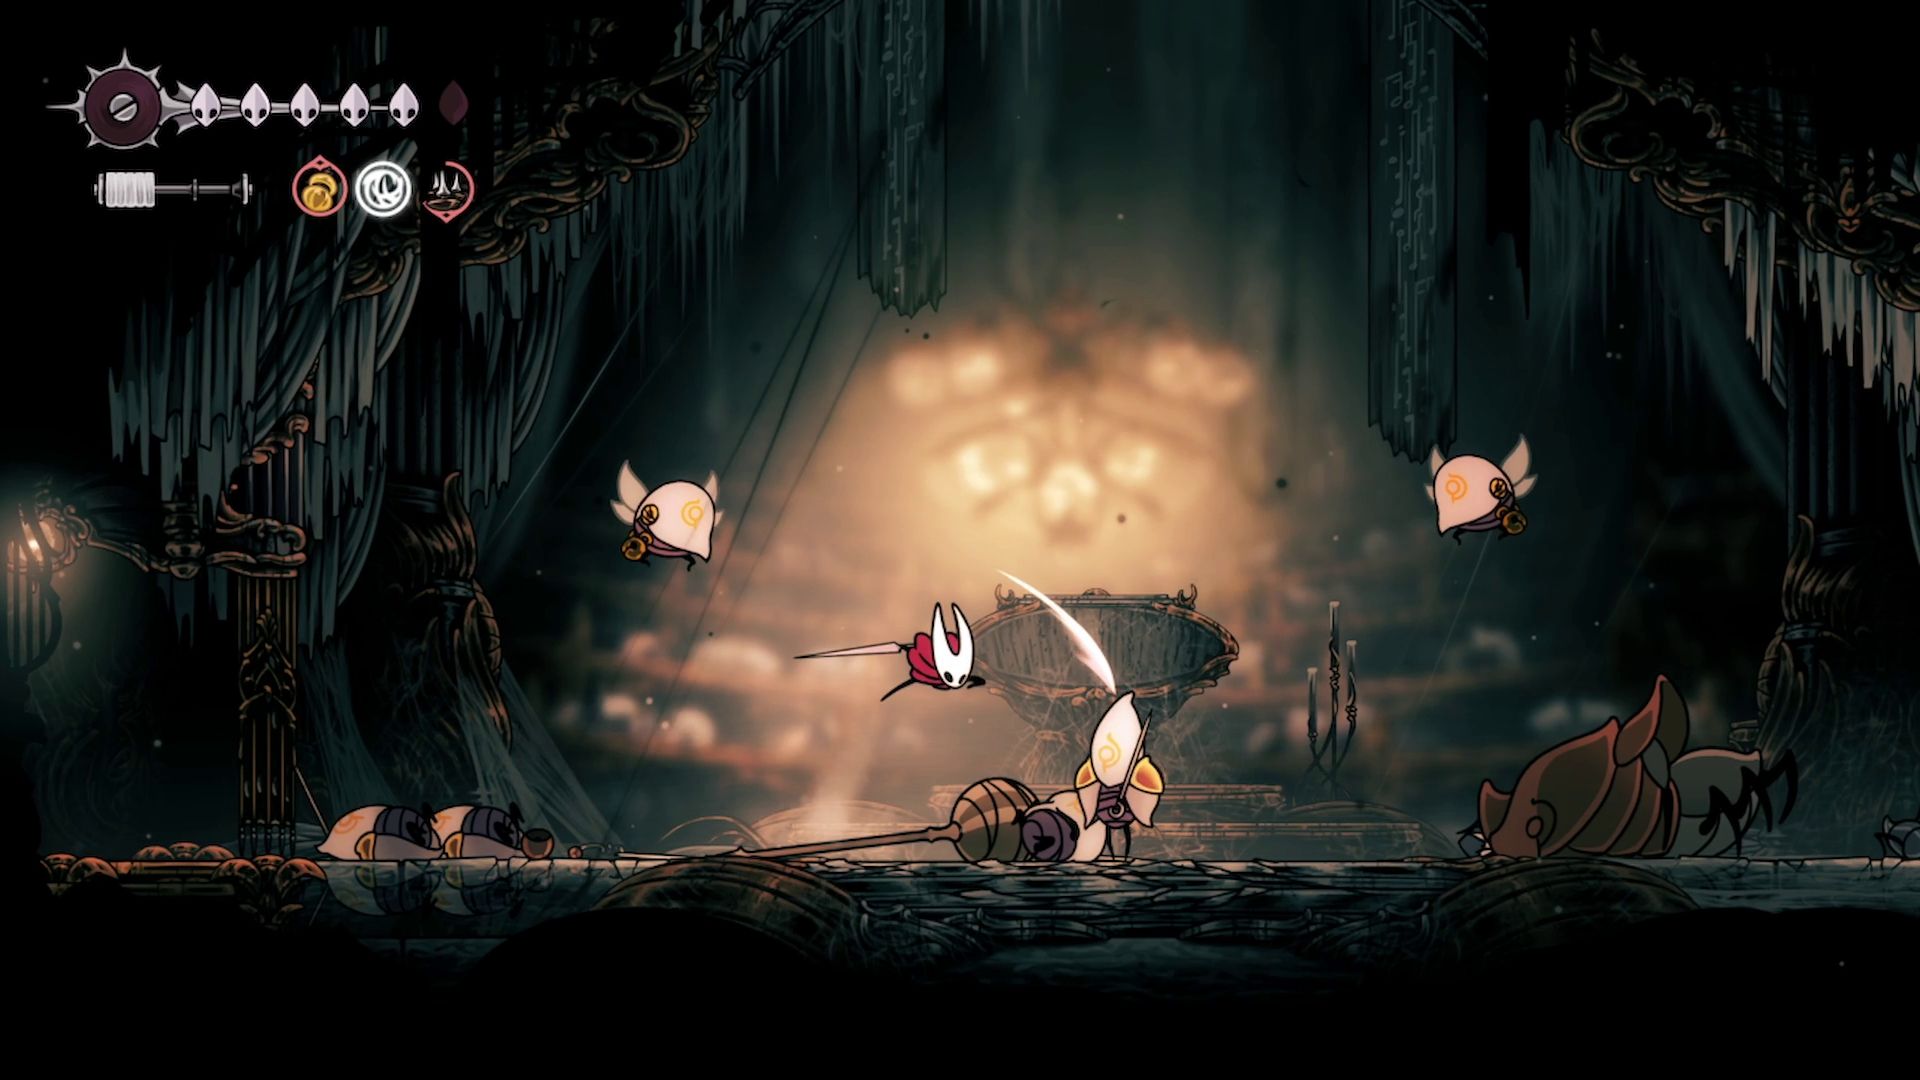
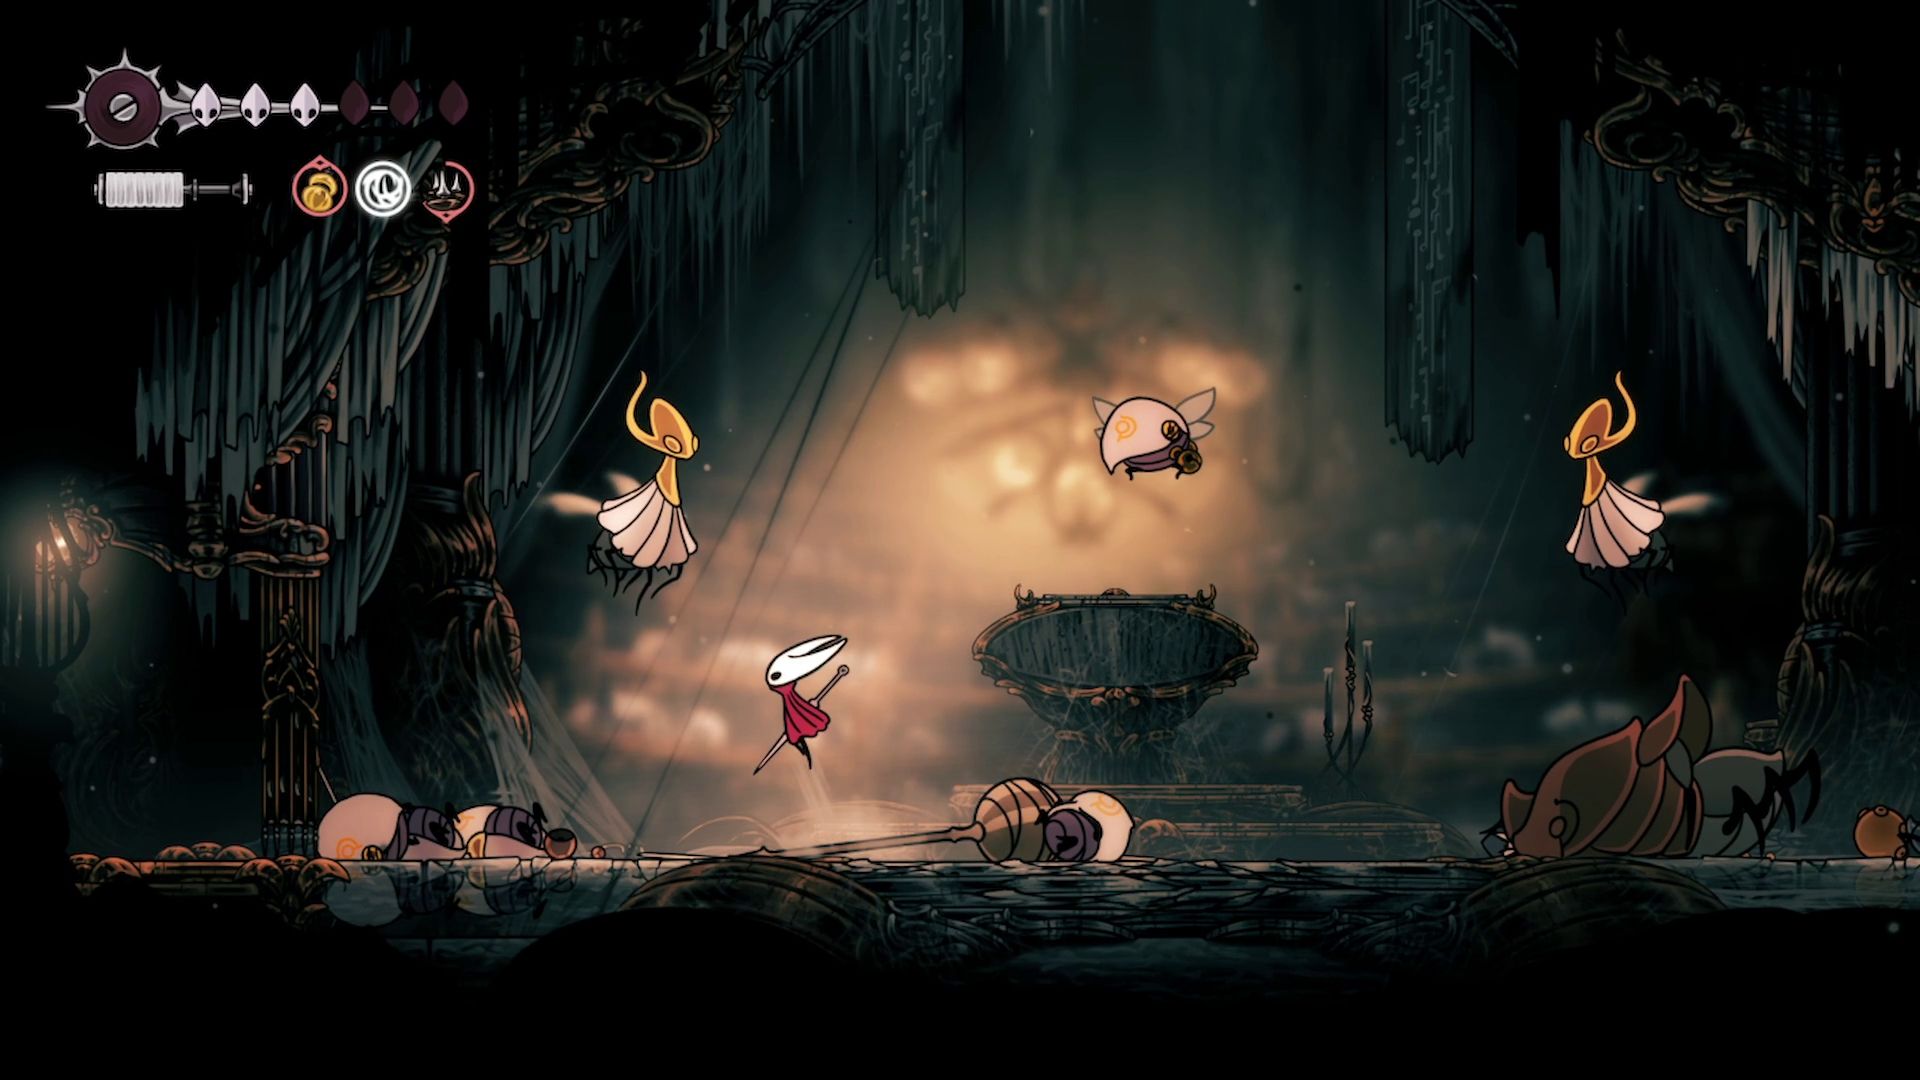
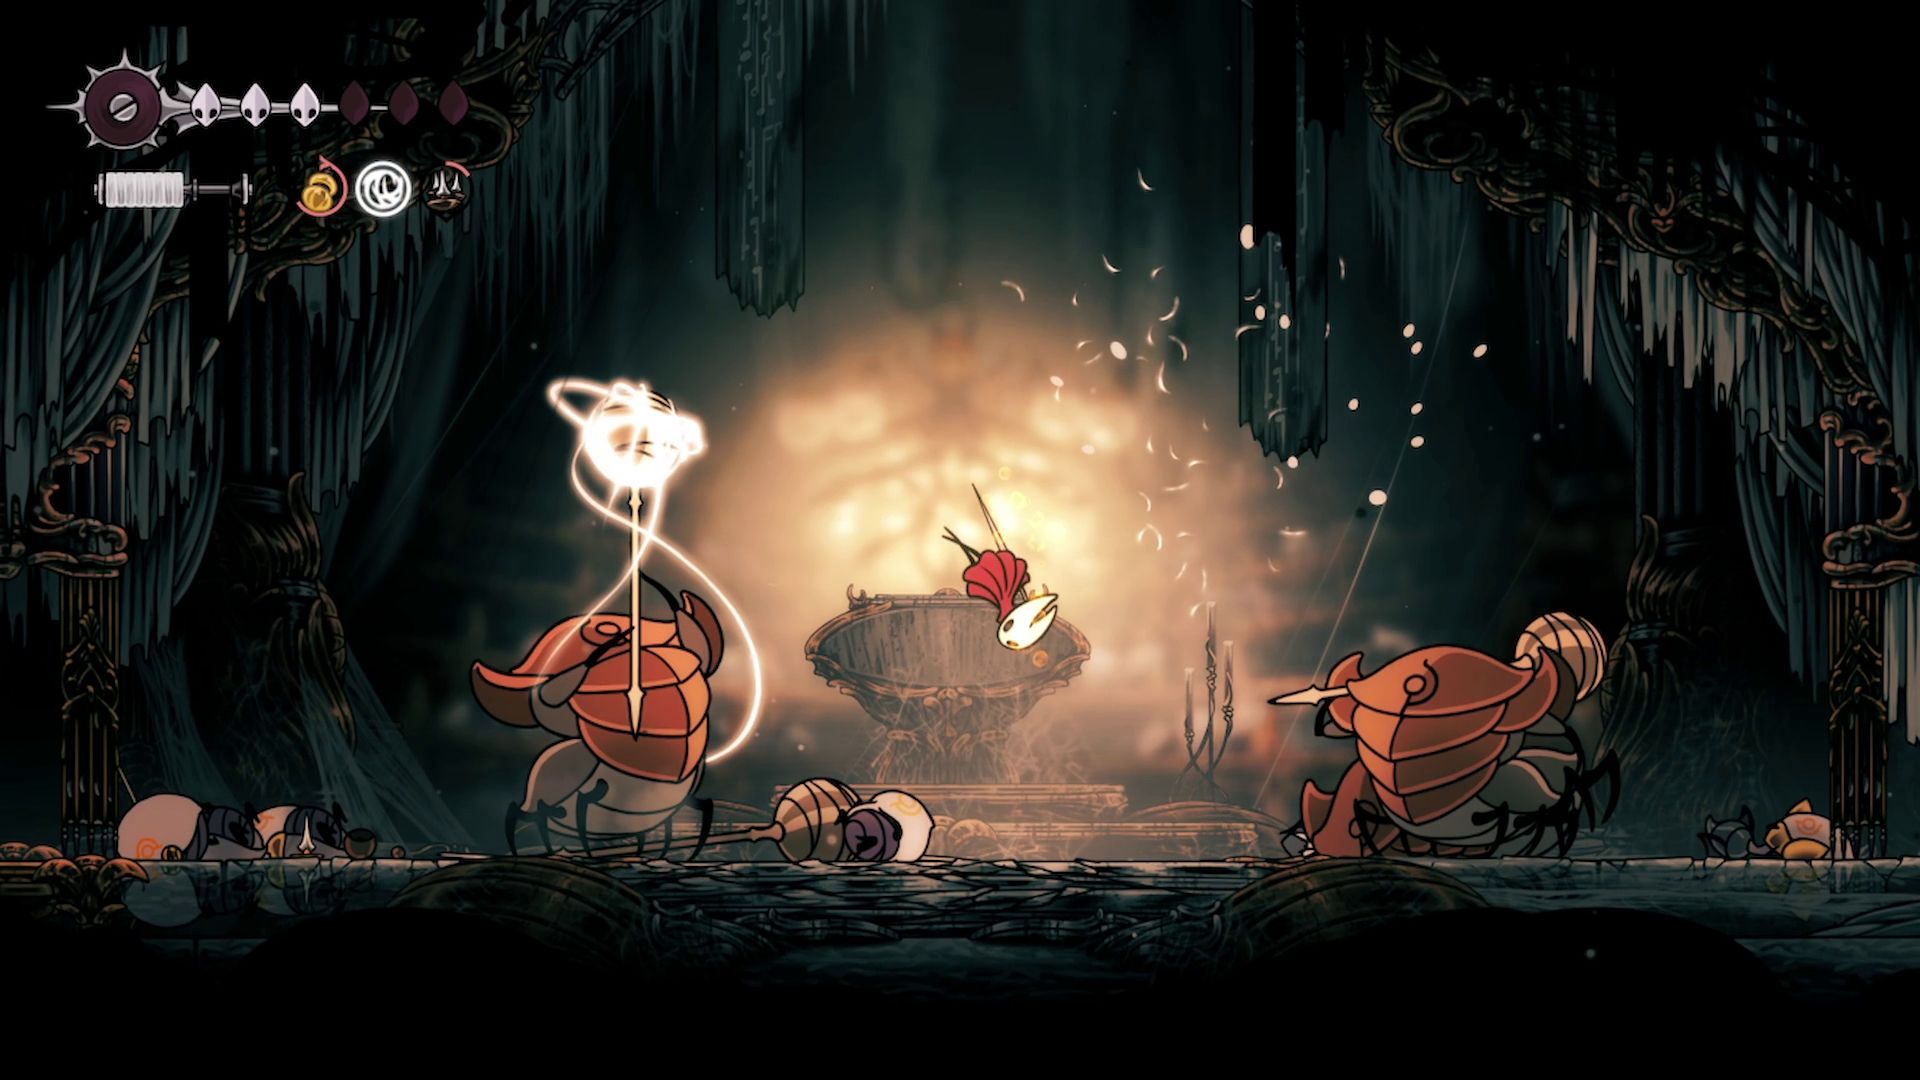
The biggest challenges in this gauntlet are waves five and eleven. Wave five features two powerful Bee Summoners, known as Maestros, and wave eleven has two tough bosses called Choir Slappers. While all the waves present some difficulty, these two sections are significantly harder to overcome than the rest.
For new players, the Reaper Crest is a great choice because it’s easy to use and has a good range. When facing the two Maestros, Thread Storm is incredibly helpful – it quickly destroys the bee-like enemies they summon, simplifying the battle. And for the double boss fight, Tacks can make things much easier by letting you deal a lot of damage to one boss right at the beginning, effectively turning it into a one-on-one fight.
Tacks can be obtained by completing the Roach Guts quest in Sinner’s Road.
In terms of defense, the Multibinder lets players restore a significant amount of health – equivalent to four mask uses – with the same amount of Silk. The Warding Bell then provides protection while they heal. Because the top corners of the High Halls room are safe spots with limited enemy access, these items are particularly effective there.
Multibinder can be purchased from the vendor in Bellhart for 880 Rosaries.
| Enemies | Strategy | Screenshots | |
|---|---|---|---|
| First Wave |
|
Head to the left corner of the room and pogo on top of the melee bug. This will attract the remaining two bugs to your position, allowing you to kill all of them in one or two Thread Storms. |
 |
| Second Wave |
|
Keep pogoing on top of these two enemies’ heads to avoid their needle attack. Keep an eye out for when they jump up and dodge as necessary. If done correctly, you should be at full Silk in time for the next wave. |
 |
| Third Wave |
|
Try to attract all three enemies to a corner of the room and use Thread Storm to take care of them easily. The Clawmaiden moves erratically but the other two should be easy to draw towards the right side. |
 |
| Fourth Wave |
|
The flying enemies here only have two attacks, and both have the same range. Do not let them stand on either side of you; make sure they’re on the same side of the room, and use the Reaper Crest’s inherent pushback to keep them there. Once one of the Ministers dies, a Clawmaiden will spawn in. Try to ensure both Ministers go down one after the other to avoid getting swarmed. Make sure you’re at full Silk for the next wave. |
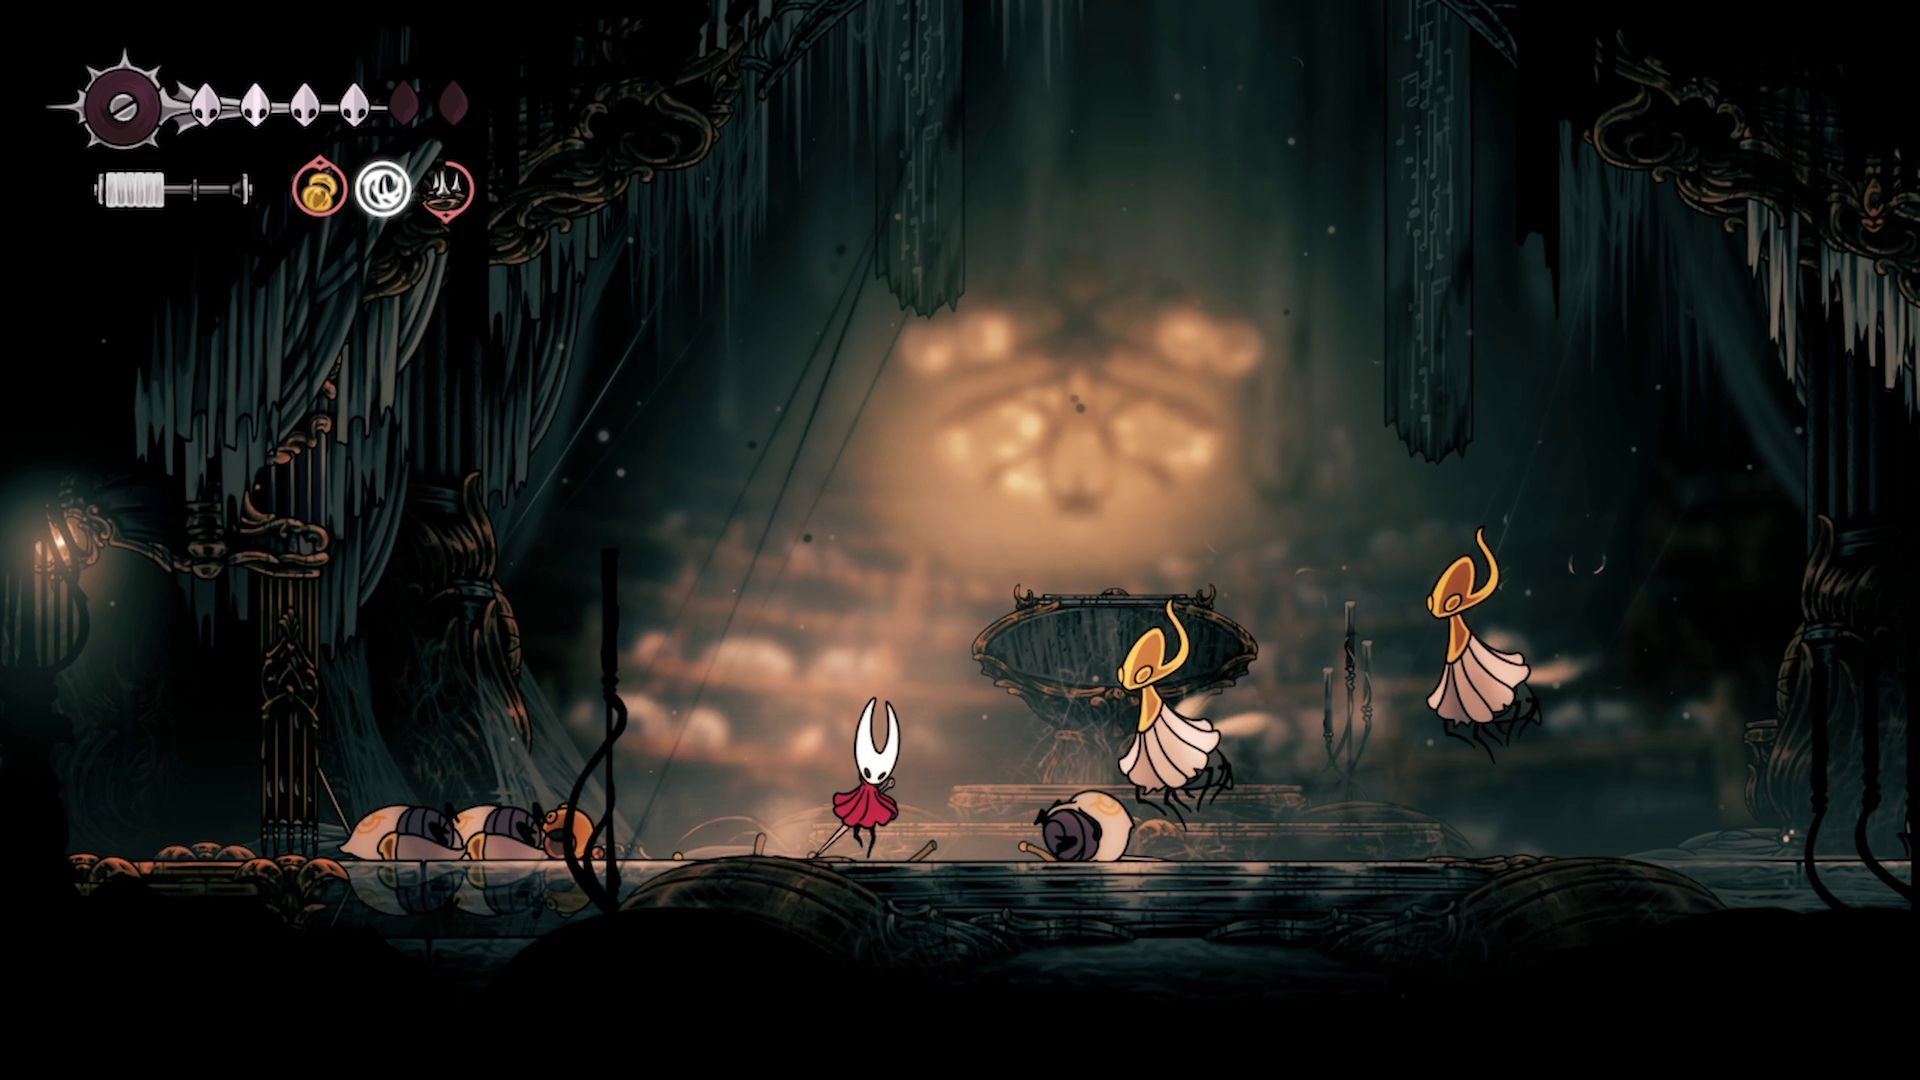 |
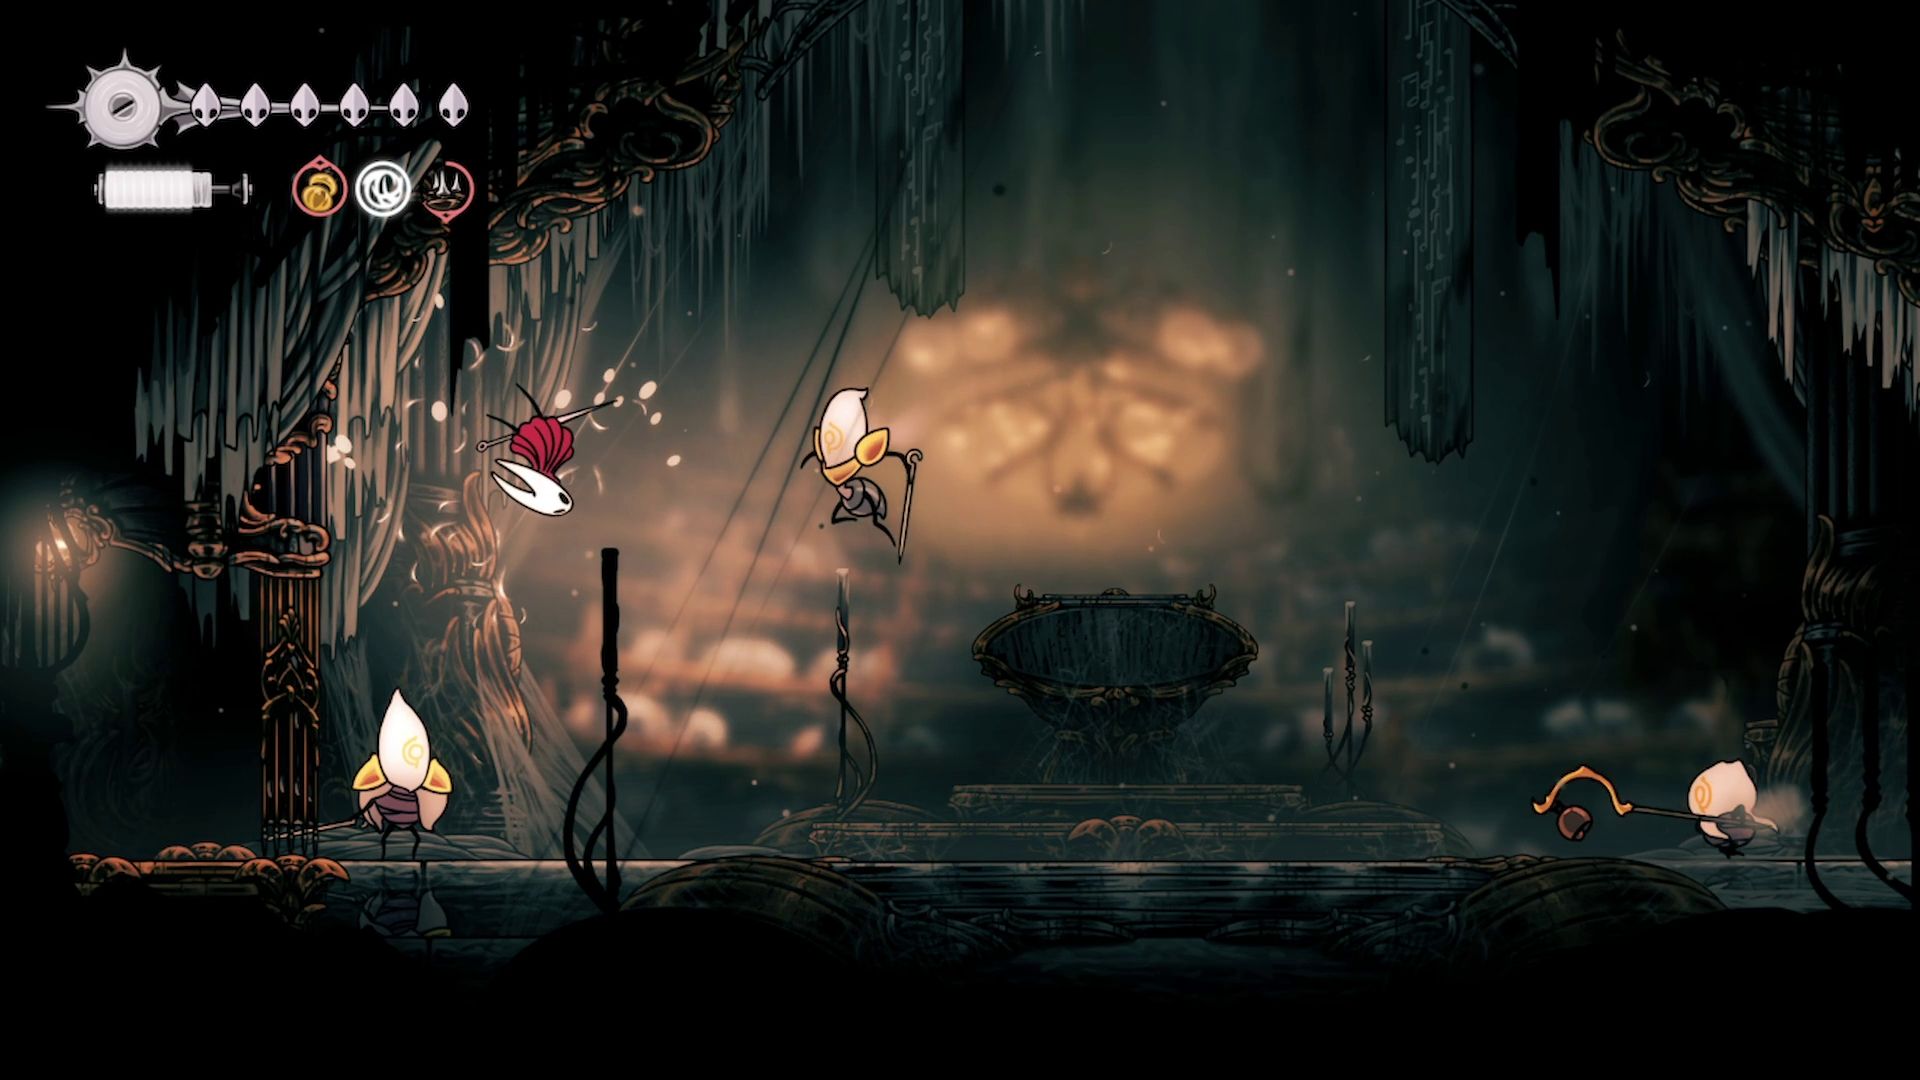
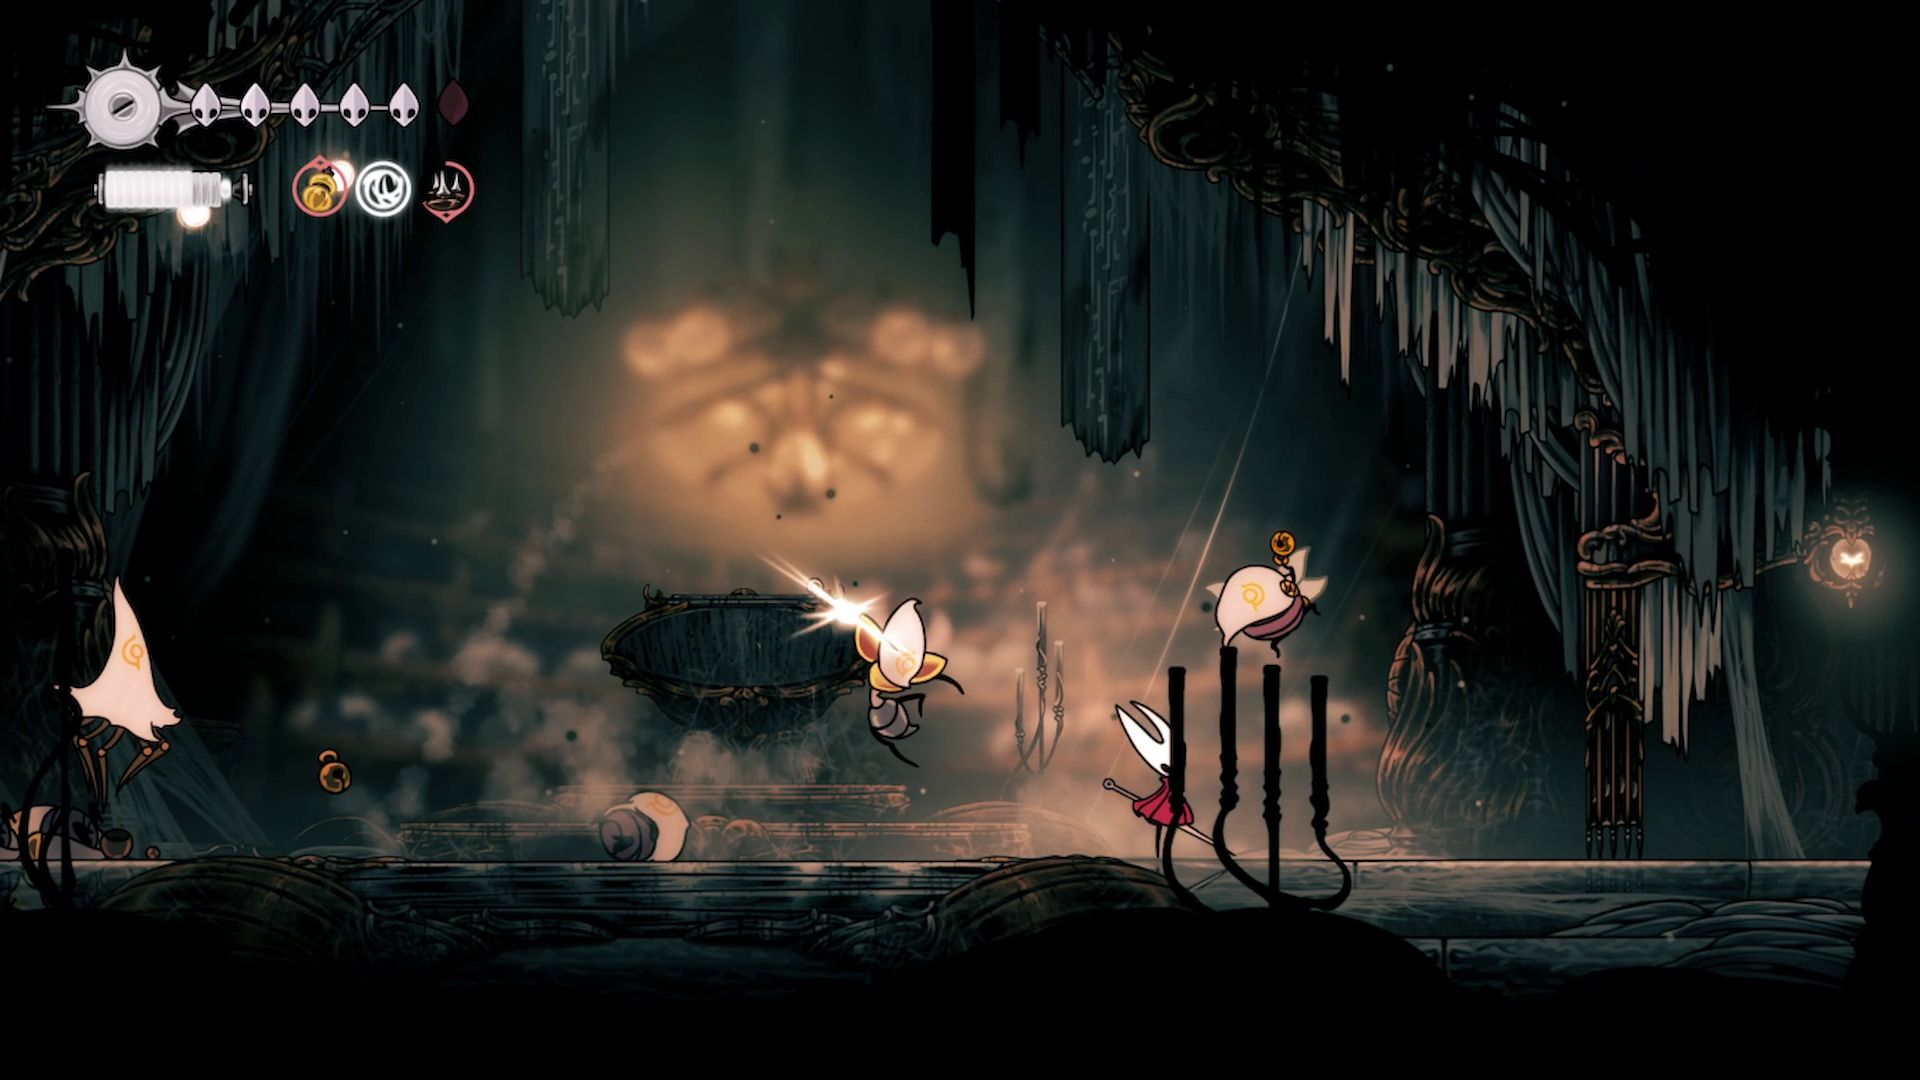
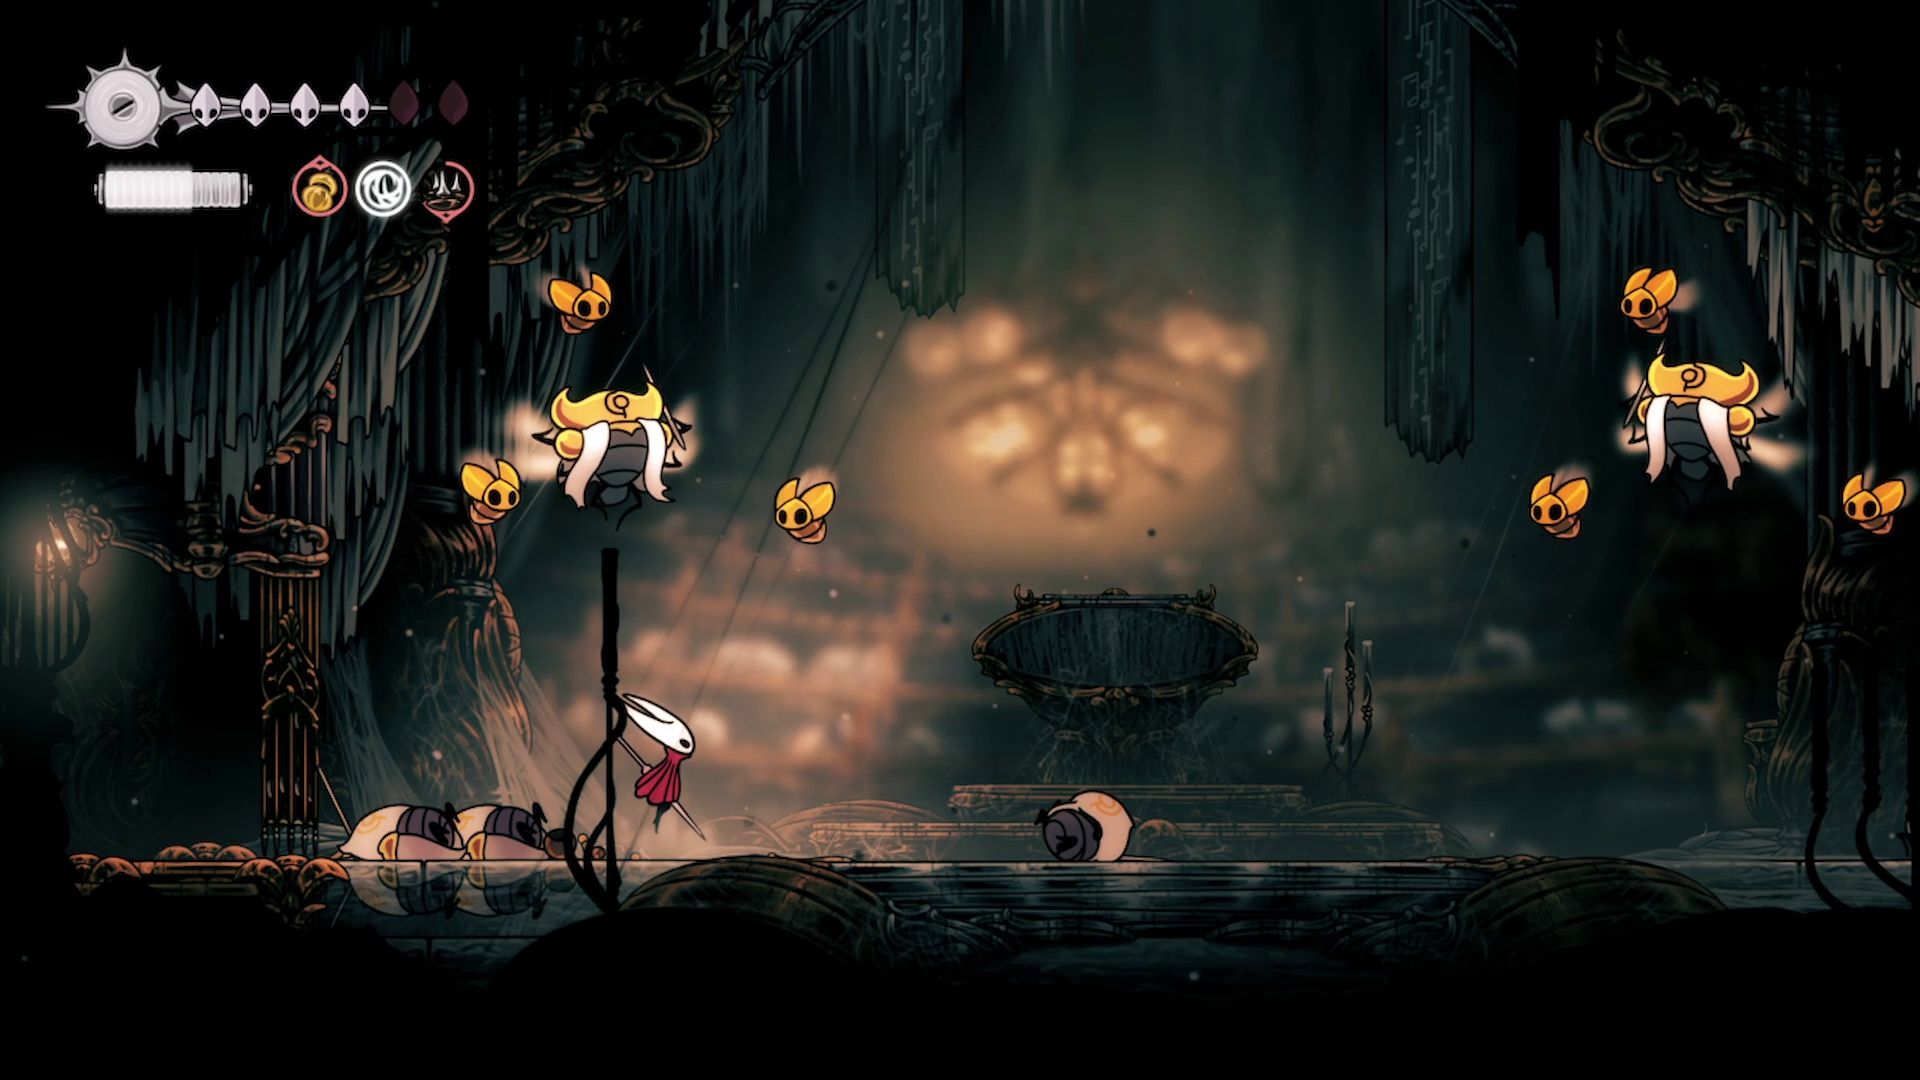
| Fifth Wave |
|
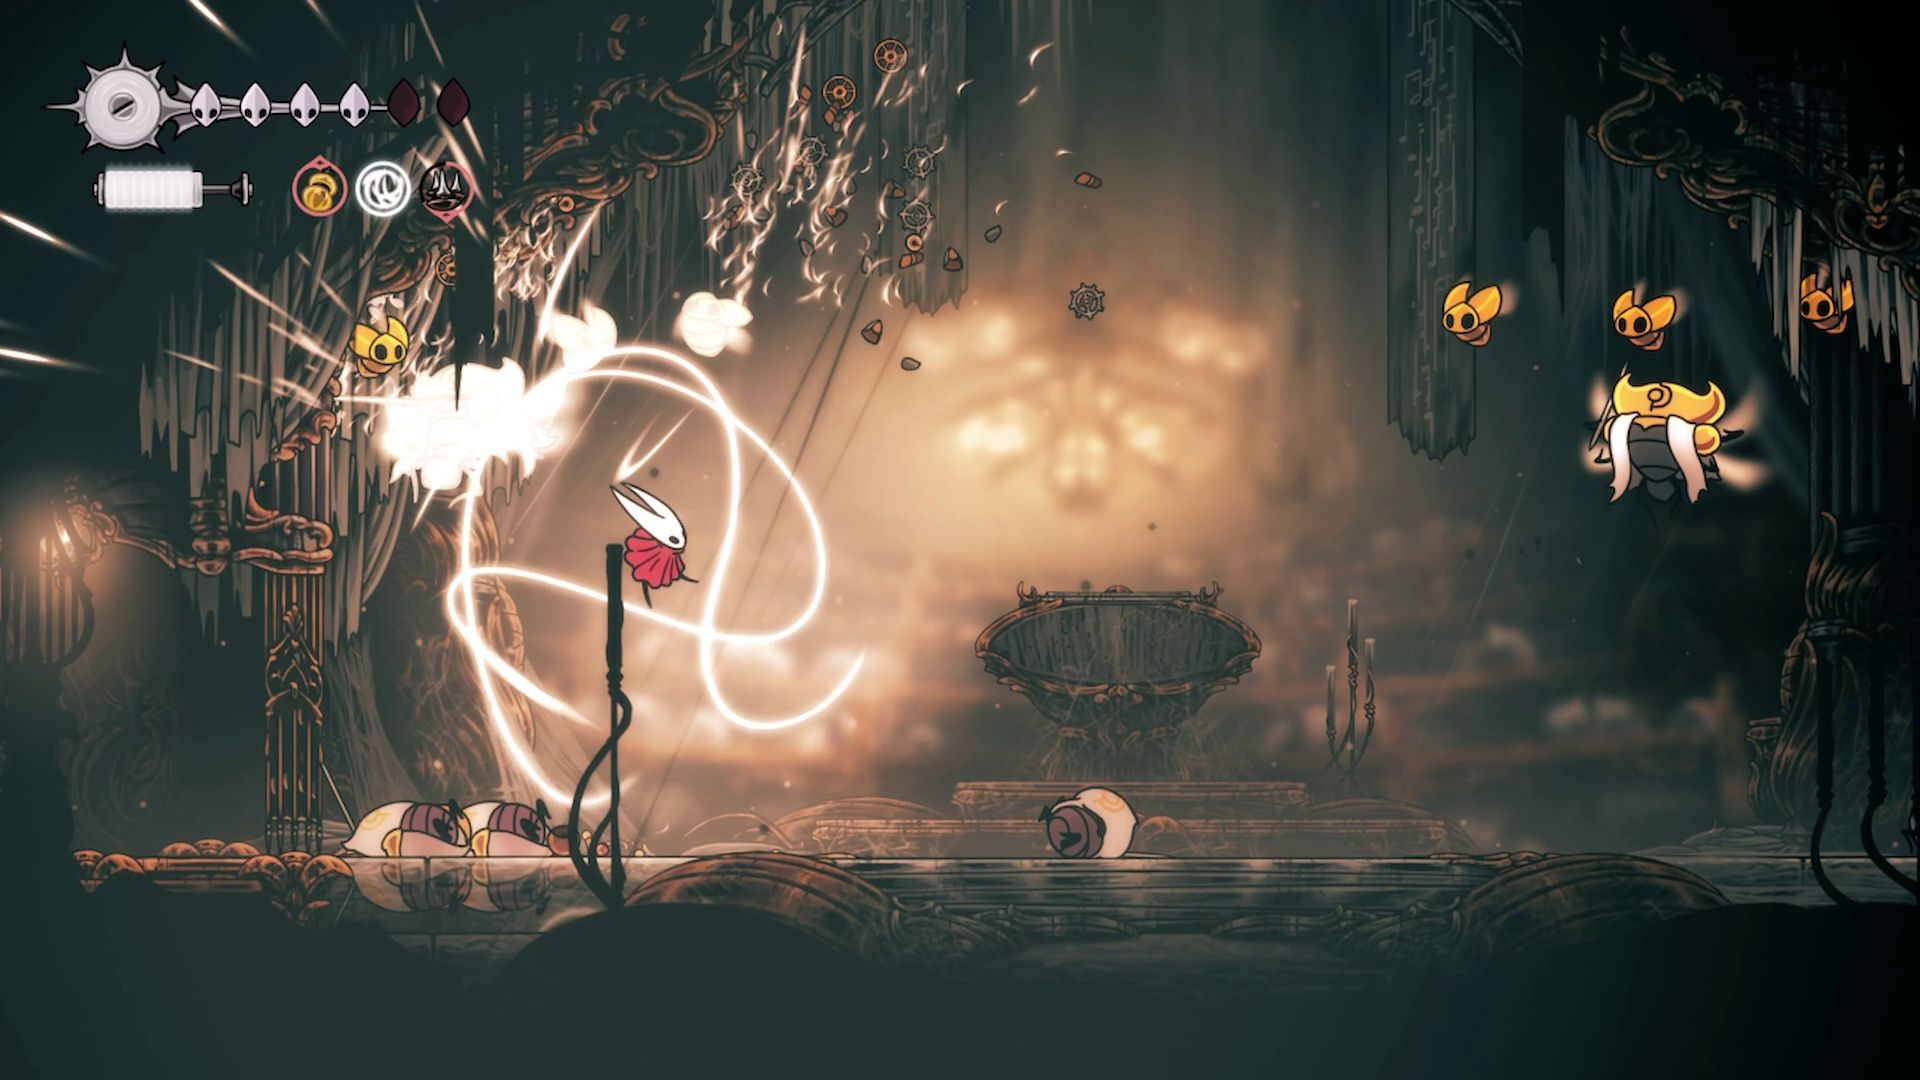
These enemies are the main reason why we are using Thread Storm for this attempt. Using Thread Storm near one will destroy all the bees surrounding the summoner, allowing you to jump attack him to death. If you have enough Silk, you can use four Thread Storms, two on each Maestro, to take them out without ever having to swing the sword. |
 |
| Sixth Wave |
|
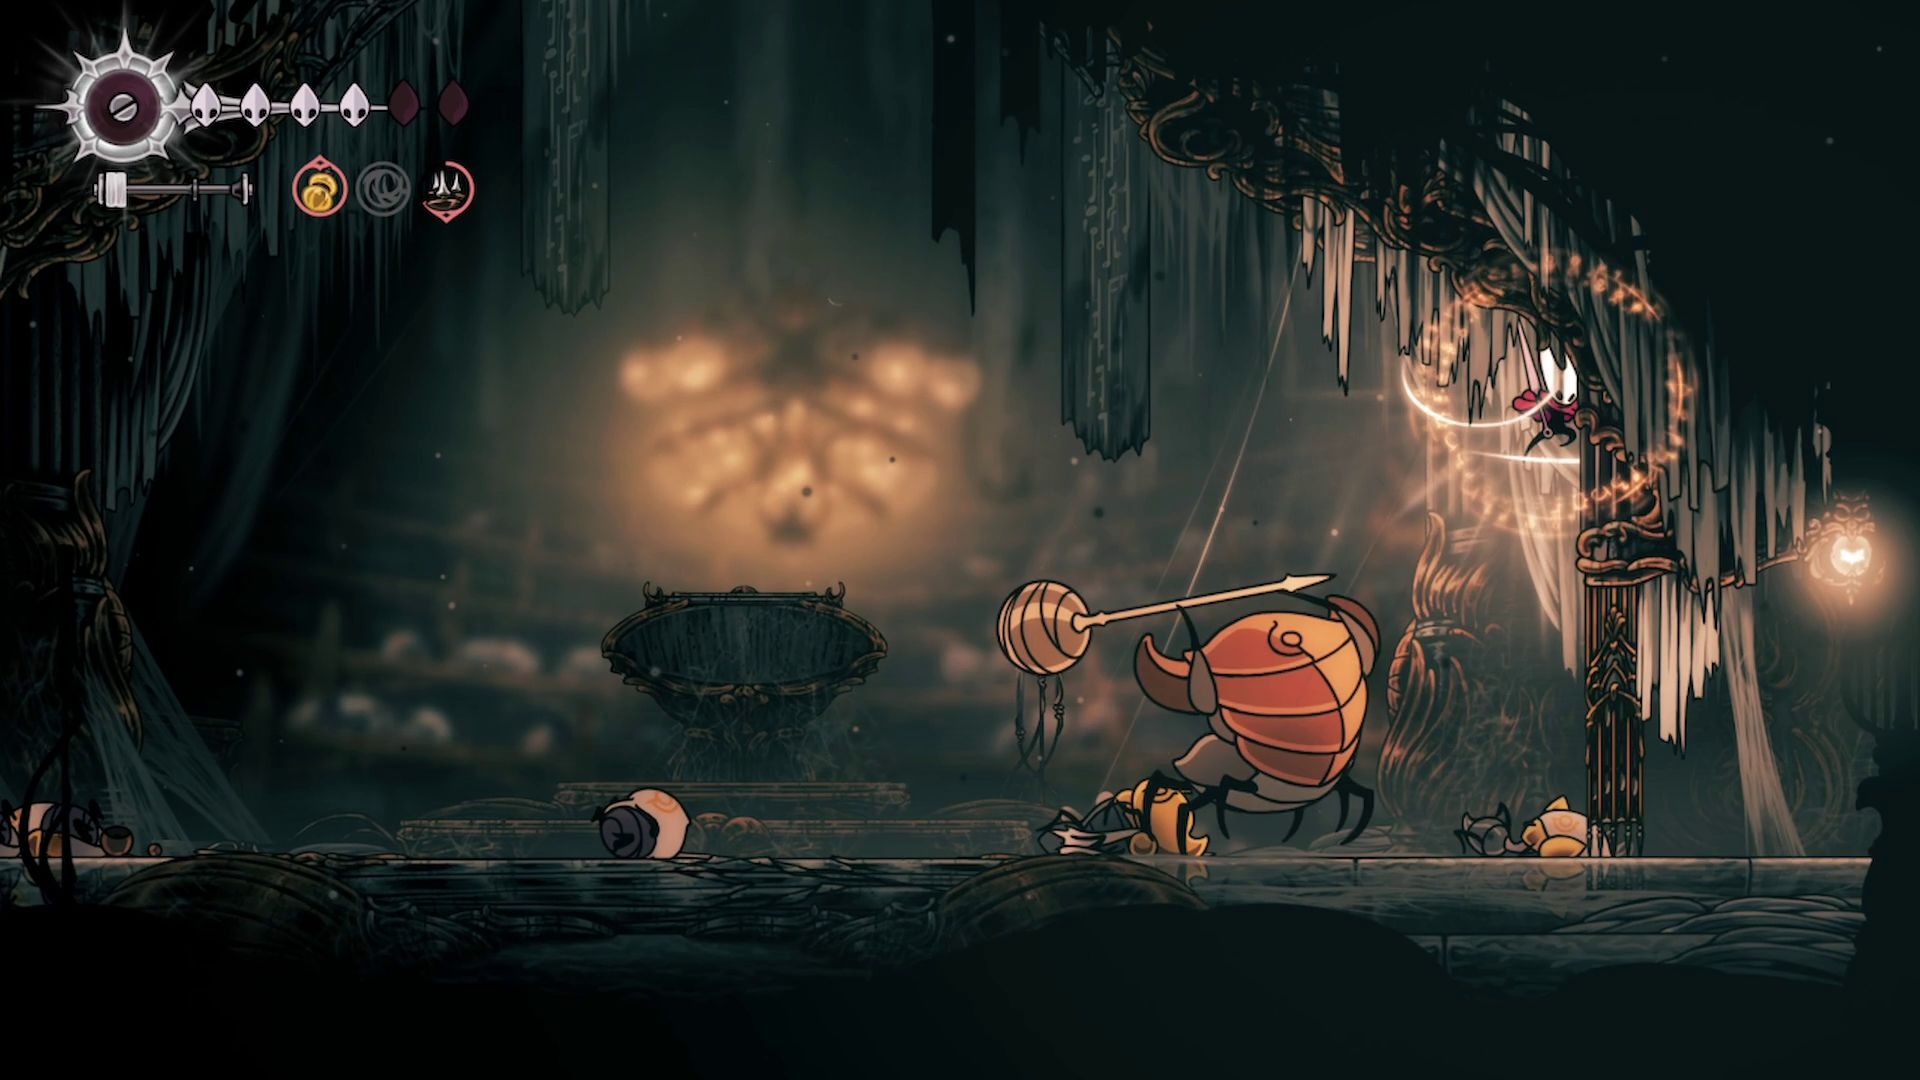
Use the Flea Brew just before the Choir Clapper (boss) comes down to the ground to give yourself a speed bonus. As soon as it lands, start spamming attacks, and you’ll be able to get quite a few hits in before it reacts. From then on, keep pogoing off its head for as long as possible, and once you get low, go to the top left corner to heal; it has no way to get there. |
 |
| Seventh Wave |
|
Bait these enemies together to easily take them out using Thread Storm. Your Silk should be at maximum capacity from the previous wave. |
 |
| Eighth Wave |
|
If you have leftover Silk, use more Thread Storms; otherwise, focus on one of the Bellbearers to farm up Silk to take out the other Bellbearer and Choristor. The Clawmaiden can be taken out using regular attacks. |
 |
| Ninth Wave |
|
The Bellbearer is the first target here, but it can be tricky to get to without pogoing off of the Minister’s heads, which is quite risky. Run to the edges of the room to try and bait the Bellbearer downward, then take him out. From then on, this wave is the same as the fourth wave. |
 |
| Tenth Wave |
|
Use Thread Storm to deal with the Maestro’s bees, then attack it repeatedly to finish it off. Leave the Reed for last. |
 |
| Eleventh Wave |
|
Drink the Flea Brew and place all 6 charges of Tacks underneath the first Choir Slapper. The idea is to take down one of the two bosses first before focusing on the second. Keep pogoing off of their heads, but make sure to keep track of which one you’re aiming to kill first; it’s easy to get them mixed up. Once one is dead, the rest of the fight is simple. The top edge of the arena is a safe place to use Bind to recover health. None of their attacks can reach you there. |
 |
Read More
- All Skyblazer Armor Locations in Crimson Desert
- How to Get the Sunset Reed Armor Set and Hollow Visage Sword in Crimson Desert
- All Shadow Armor Locations in Crimson Desert
- One Piece Chapter 1180 Release Date And Where To Read
- Marni Laser Helm Location & Upgrade in Crimson Desert
- All Helfryn Armor Locations in Crimson Desert
- All Golden Greed Armor Locations in Crimson Desert
- All Icewing Armor Locations in Crimson Desert
- How to Beat Stonewalker Antiquum at the Gate of Truth in Crimson Desert
- Legendary White Lion Necklace Location in Crimson Desert
2025-09-17 00:05