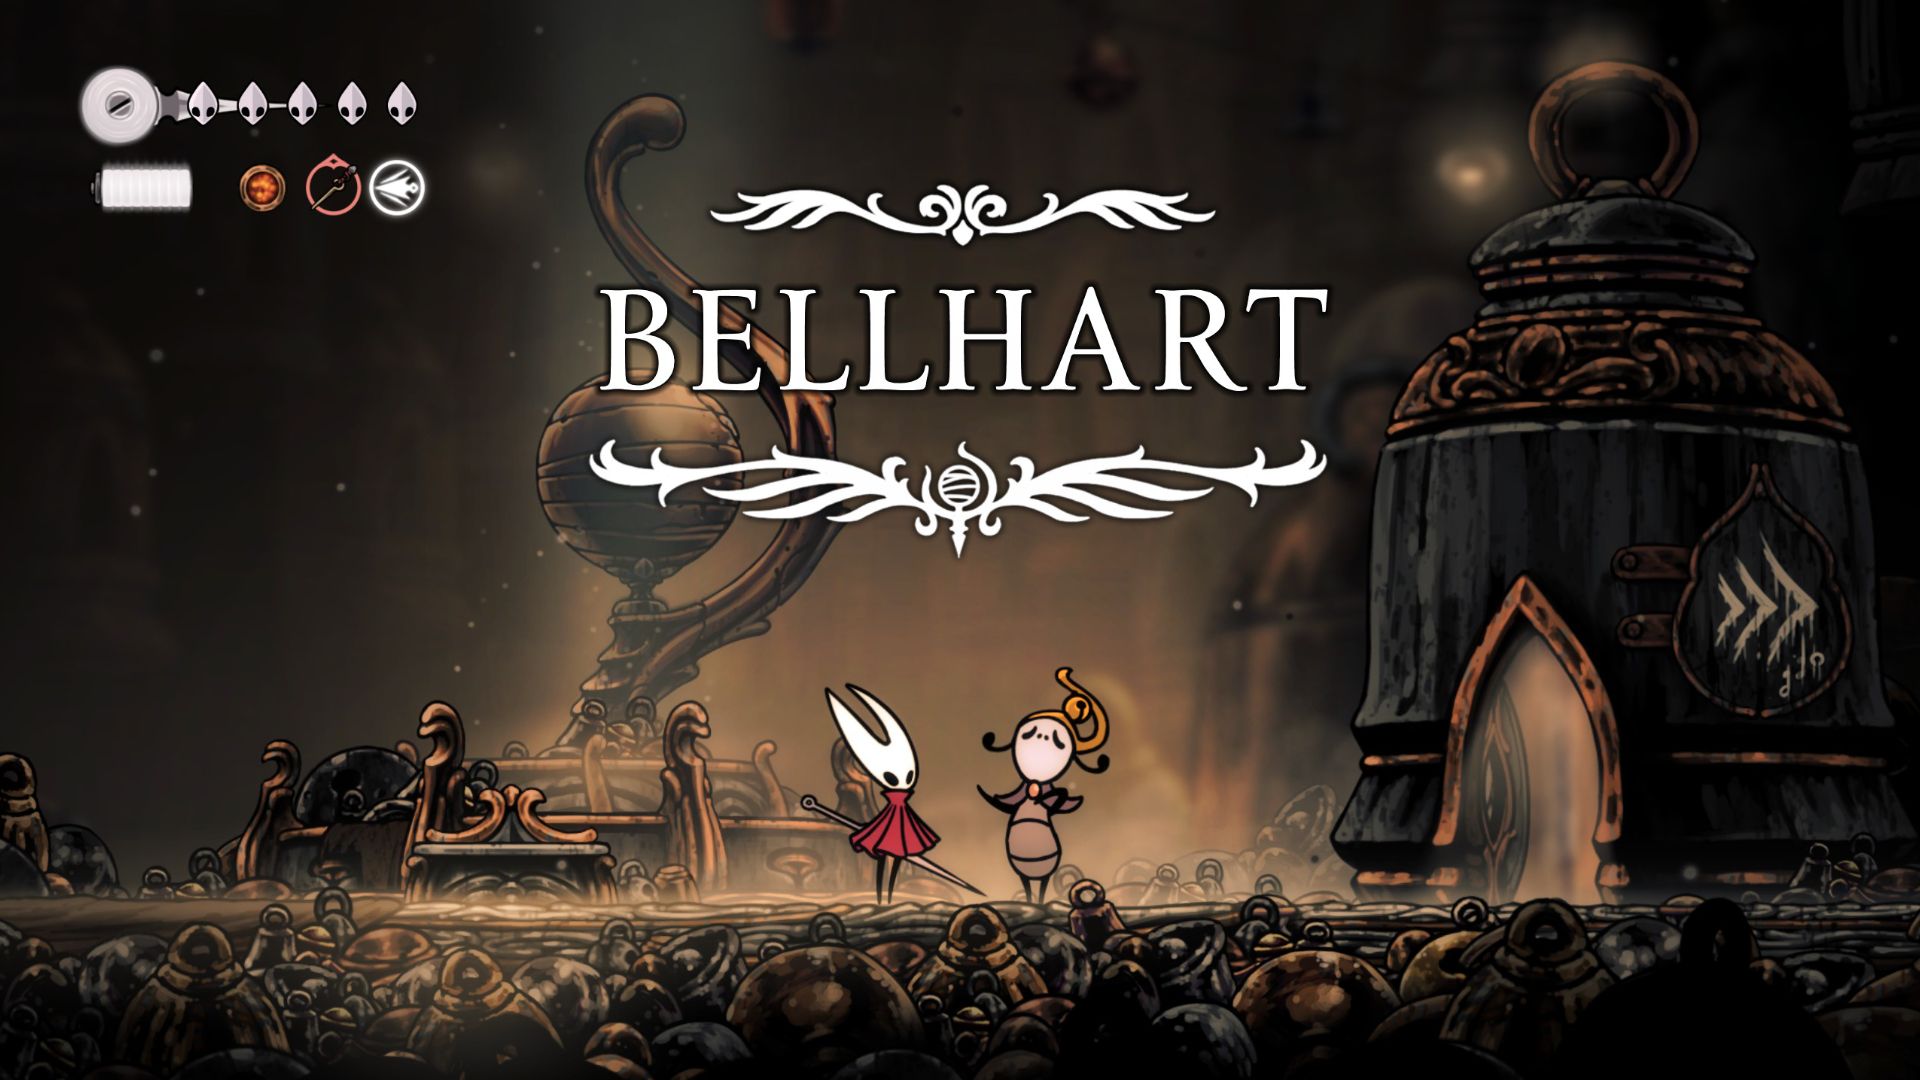
As a Silksong enthusiast, venturing ahead from my triumph over Moorwing in Greymoor, I stumbled upon Haunted Bellhart nestled to the left of the boss arena. This unique town is completely ensnared by silk, yet I found hope in the prospect that if Hornet could locate and conquer the Weaver boss, not only would we be able to liberate this enchanted place, but also unlock two crucial abilities along the way!
In the intense battle against the Weaver in ‘Silksong’, players need to remain vigilant as they dodge swift aerial attacks, flying bells, harmful ground hazards, and various other assaults. This guide will lead you through locating the Weaver boss, strategies for defeating it, and the rewards for vanquishing the origin of Bellhart’s silken affliction.
Where to Find Widow in Silksong
Above Bellhart, But Only Reachable Via Shellwood

Upon your initial entry into the chilling town of Haunted Bellhart, you’ll witness an unsettling introduction where silken strands hoist the townspeople aloft. To liberate this peculiar haunt, you need to conquer The Weaver, a formidable adversary residing just above Bellhart itself.
To reach the Weaver, you’ll need to journey almost entirely across a zone. Exit Bellhart via the left door and enter Shellwood. Progress through Shellwood, conquer the Sister Splinter boss to gain the Cling Grip ability, then retrace your steps back to the central Bench.

Head to the upper right corner of the room you previously navigated to reach Sister Splinter’s boss. You’ll notice a wall that is now climbable. Ascend the wall and move to the right to enter an upper area within Bellhart.
Head below to locate the boss’s arena, but before you do that, veer left to uncover a hidden passage which will help you reach Widow quicker from the Bench by shortening the route.
Optimal Widow Runback Route & Closest Bench

As a die-hard fan, I’d recommend that for the epic showdown against the Widow boss, the optimal spot is right smack in the heart of Shellwood. However, be prepared to part with 60 hard-earned Rosaries to secure this battlefield.
To reach Widow securely, initially, go around the room from the top-right to uncover the path to the right of the Bench, which serves as a shortcut. As you progress, notice an exit veering left that appears just prior to the drop into the boss arena; this is the way leading to the shortcut.
After being unfastened, employ Cling Grip for a vertical ascent along the wall to the right of the bench, enter the hidden passageway you discovered earlier (positioned beneath the initial white foe) and proceed to the right to rejoin Widow.
Complete Widow Boss Walkthrough
How to Beat Widow in Silksong
Widow Moveset, Attacks, & Counters
| Attack Image | Move Name | Visual Cues | Counter |
|---|---|---|---|
 |
Summon Bell Projectile | Stands tall and pulls a thread. Silken indicators appear on the edges of the screen to indicate the direction summoned Bells will fly. Bells will bounce once. | Dodge in the opposite direction of the indicated projectile direction to avoid the bounce. For bells summoned from the ceiling, just walk to the left or right. |
 |
Charge & Damaging Ground | Leaps into a corner and charges along the ground, summoning silk that indicates the location of four large Bells on the ground that will deal damage to Hornet if she touches them. | Jump over the boss as it charges, then run to the side of the room the boss came from. Jump up, use Drifter’s Cloak to stay airborne as the Bells appear, then land when the first set of Bells disappears. |
 |
Downward Jab | Leaps into the air, rears back for a moment, then lunges quickly toward Hornet’s location. This attack is always followed by a follow-up charge. | Dodge in the opposite direction that the boss will launch down, then immediately jump and hover to avoid being hit by the follow-up attack. |
 |
Follow-Up Charge | Always follows a Downward Jab – Widow will target Hornet’s direction then rapidly slice its way across the boss arena on the ground. | Jump over the boss to avoid being hit. |
 |
Multi-Bell | Phase 2 attack – Retreats to one corner of the room as six strands of silk dangle from the ceiling, indicating the location where six Bells will launch downward. The boss almost always follows this up with another attack. | Quickly get out of the area that the Bells will land, then get ready to avoid a follow-up attack. They can appear on the left, right, and center of the room. |
Widow Boss Tips & Tricks
- You can attack Widow several times while she tugs on silk to summon Bells. Just make sure that you are out of the way of her Bell projectile trajectory, and wail on her with your Needle.
- You can attack the Widow twice while it charges across the arena and before it summons damaging Bells on the ground.
- Downward slash, re-orient yourself in mid-air, dash towards her, then downward slash again. Use Drifter’s Cloak to stay above the damaging bells when they appear.
- It’s difficult to get hits in during its Downward Jab and follow-up Charge attacks. Focus on avoiding this two-part series of attacks instead of trying to squeeze in extra damage.
- The risk just isn’t worth the small chance you hit the boss instead of parrying it, dealing no damage.
- Use fast projectile tools like the or to deal more damage to the boss as you catch up. The Straight Pin is especially useful in this fight, as you may not be able to get close to the boss before it jumps away after several attacks.
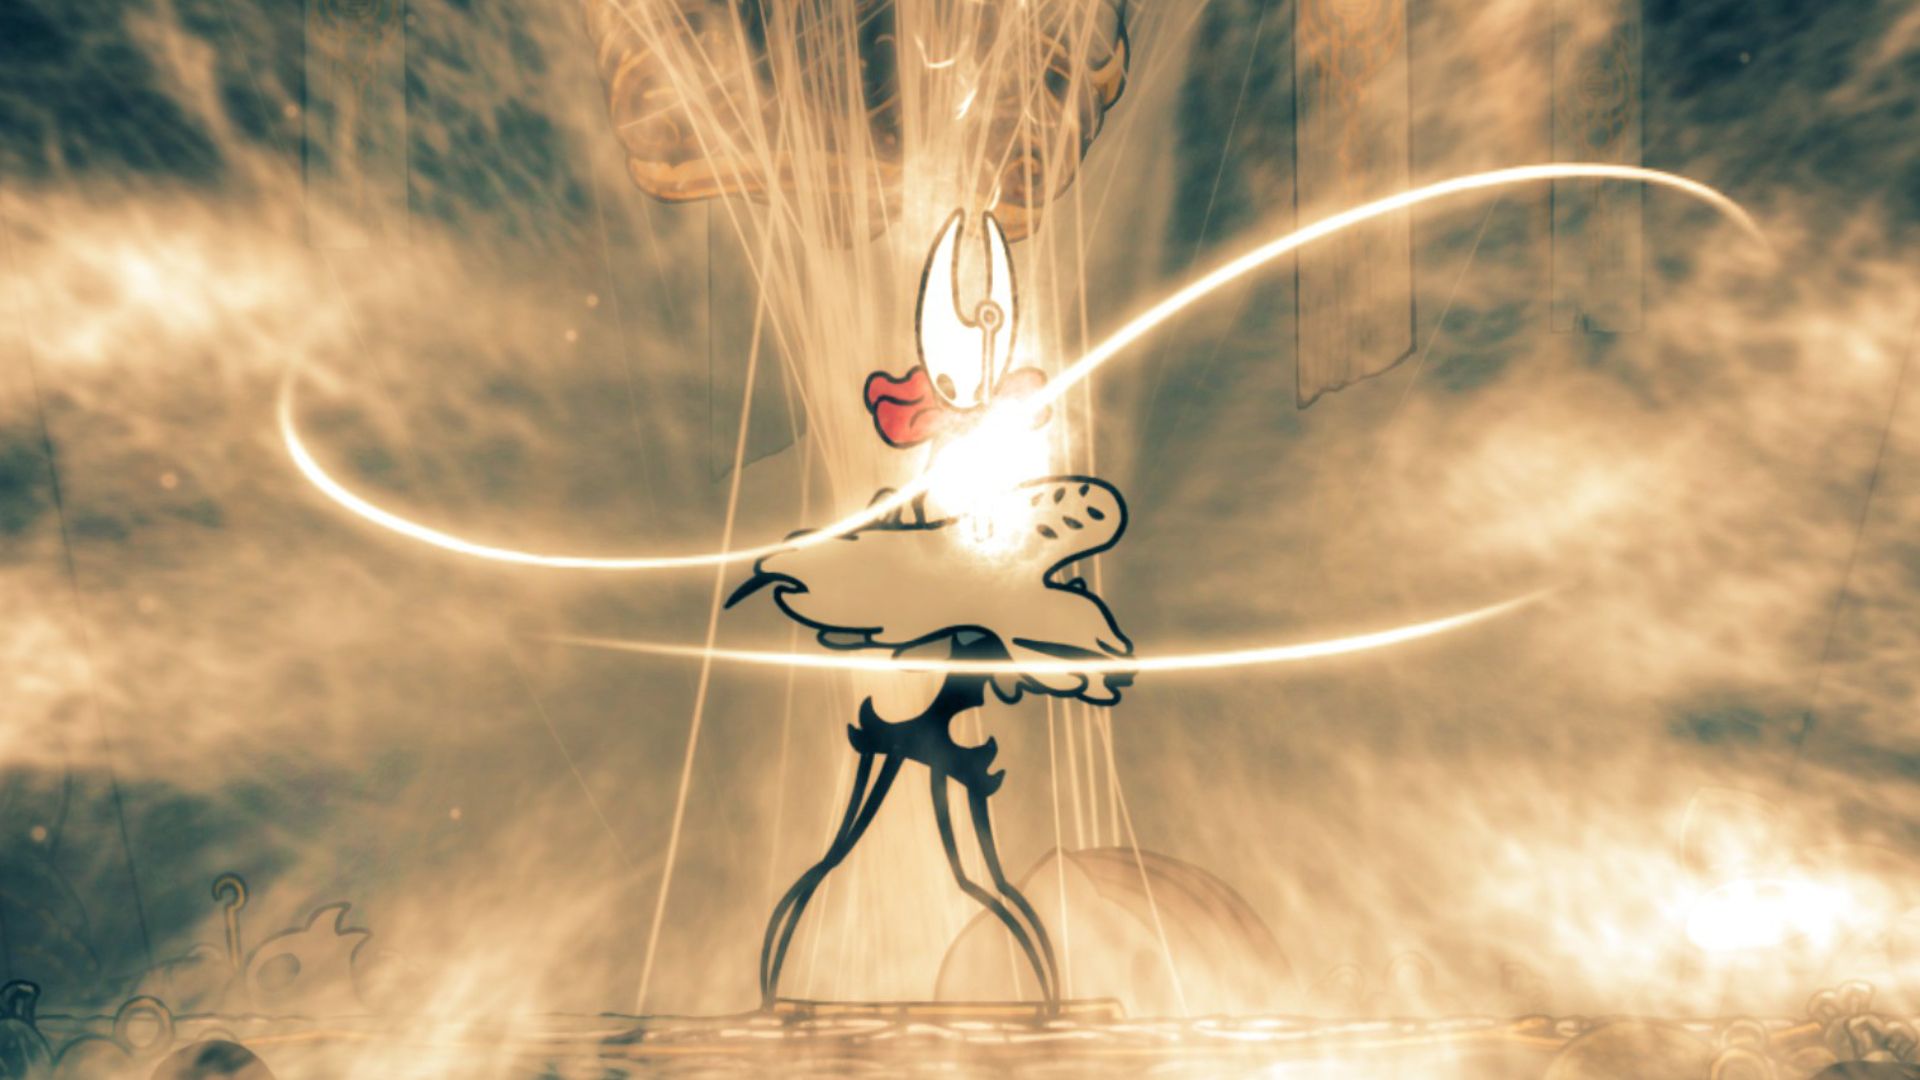
What Happens After Beating Widow in Silksong?
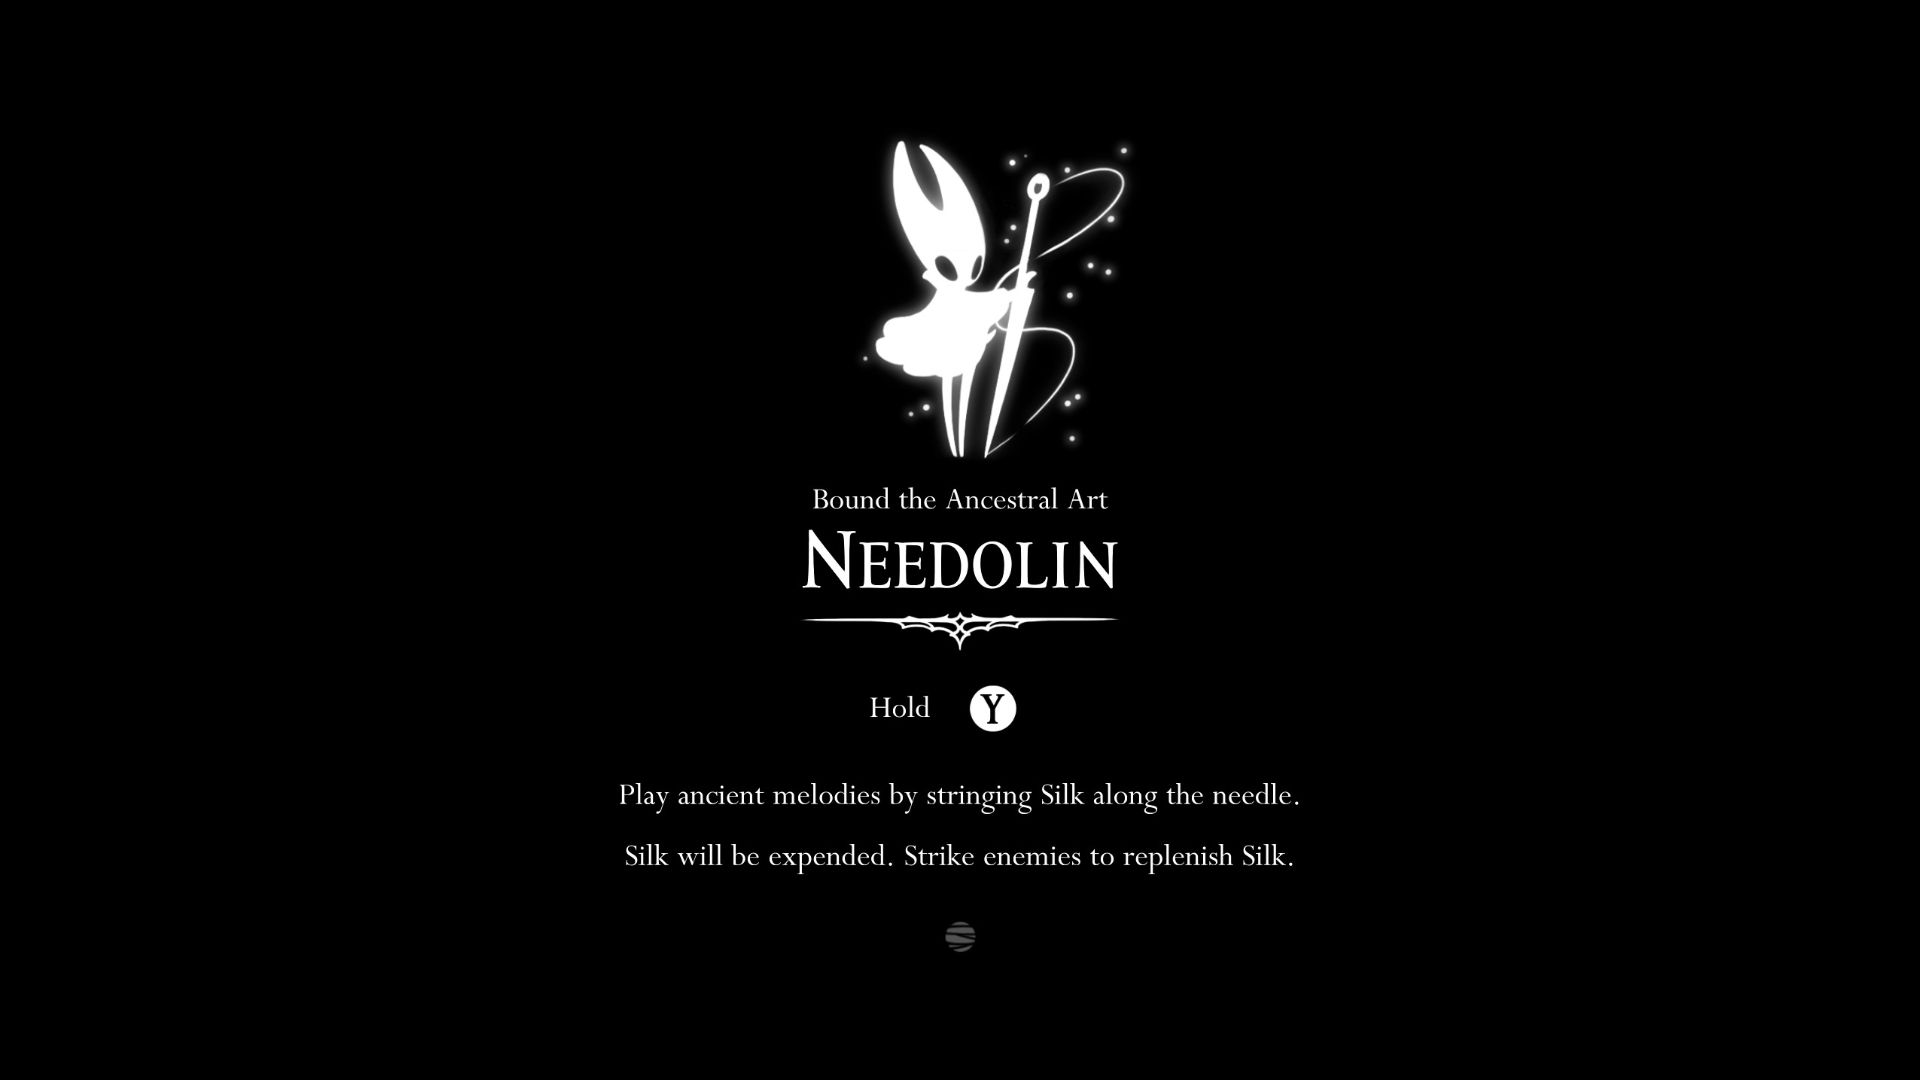
Following your victory against Widow in Silksong, players can anticipate two significant rewards. Firstly, they’ll gain the Needolin ability, and secondly, Bellhart will be freed from Widow’s silken torment. Immediately post-defeat, when the boss is bound, Hornet obtains the Needolin and enters a weaver dream sequence.
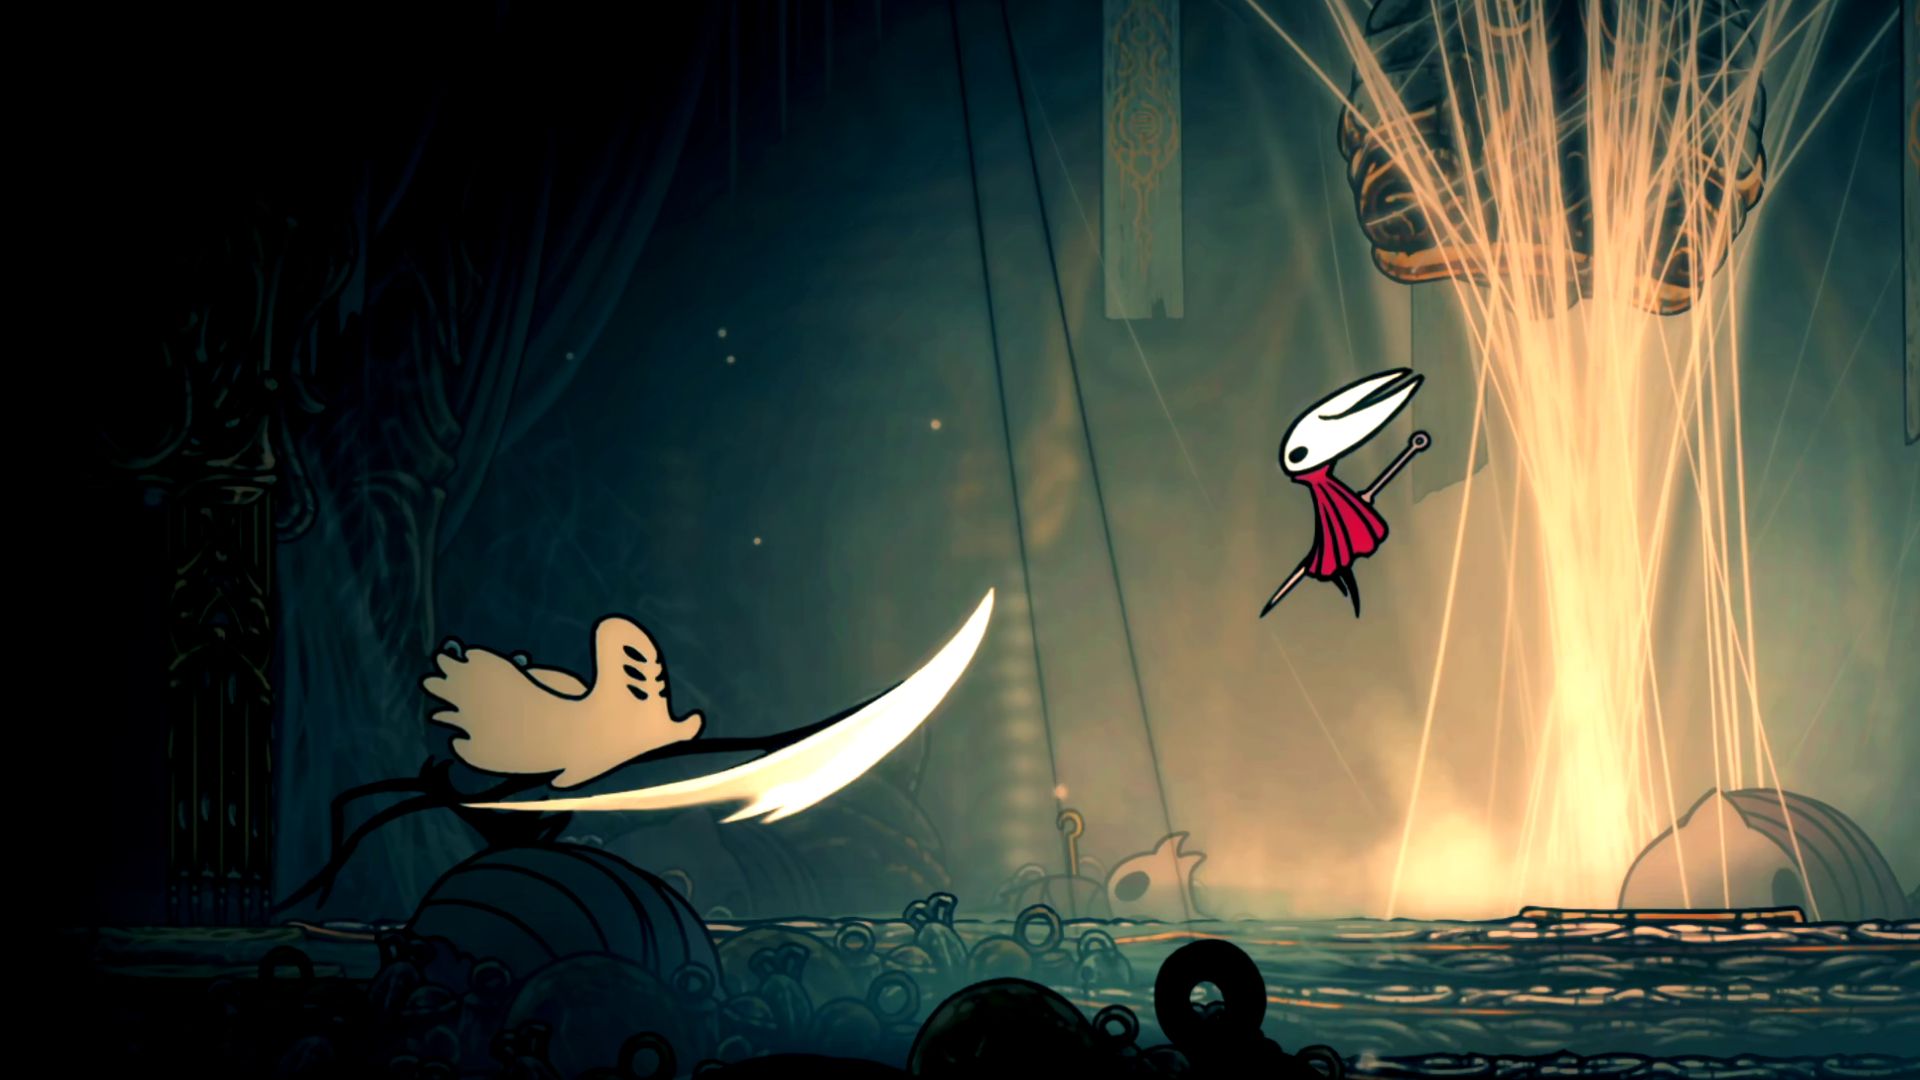
The Needolin allows Hornet to strum her Needle as if it were a violin, resulting in various doors being opened and numerous mechanisms being triggered across the world upon being plucked.
Once you’ve completed this series of events, locate the exit to the right of the boss battle arena. This will lead you down into Bellhart, now restored to its original state. Here, you can engage with the Bellhart vendor, collect quests from the Bellhart Wishwall, trade in your relics with Scrounge for Rosaries, and even obtain your initial Needle upgrade from Pinmaster Plinney in the game Silksong.
Read More
- All Skyblazer Armor Locations in Crimson Desert
- How to Get the Sunset Reed Armor Set and Hollow Visage Sword in Crimson Desert
- All Shadow Armor Locations in Crimson Desert
- Marni Laser Helm Location & Upgrade in Crimson Desert
- All Golden Greed Armor Locations in Crimson Desert
- All Helfryn Armor Locations in Crimson Desert
- Best Bows in Crimson Desert
- Keeping Large AI Models Connected Through Network Chaos
- All Icewing Armor Locations in Crimson Desert
- How to Craft the Elegant Carmine Armor in Crimson Desert
2025-09-07 20:37