
In the game Dune: Awakening, your base will function as your primary sanctuary amidst the harsh terrain of Arrakis. Here, you can engage in a multitude of activities typical of an online survival-crafting experience. Just like other similar games, there are certain aspects that players should be aware of.
Constructing in ‘Dune: Awakening’ is straightforward, yet might perplex a few gamers. This tutorial will cover the fundamentals of establishing a base, including the placement of crafting stations, utilizing the Construction Tool, and other essentials.
The Basics of Building in Dune: Awakening
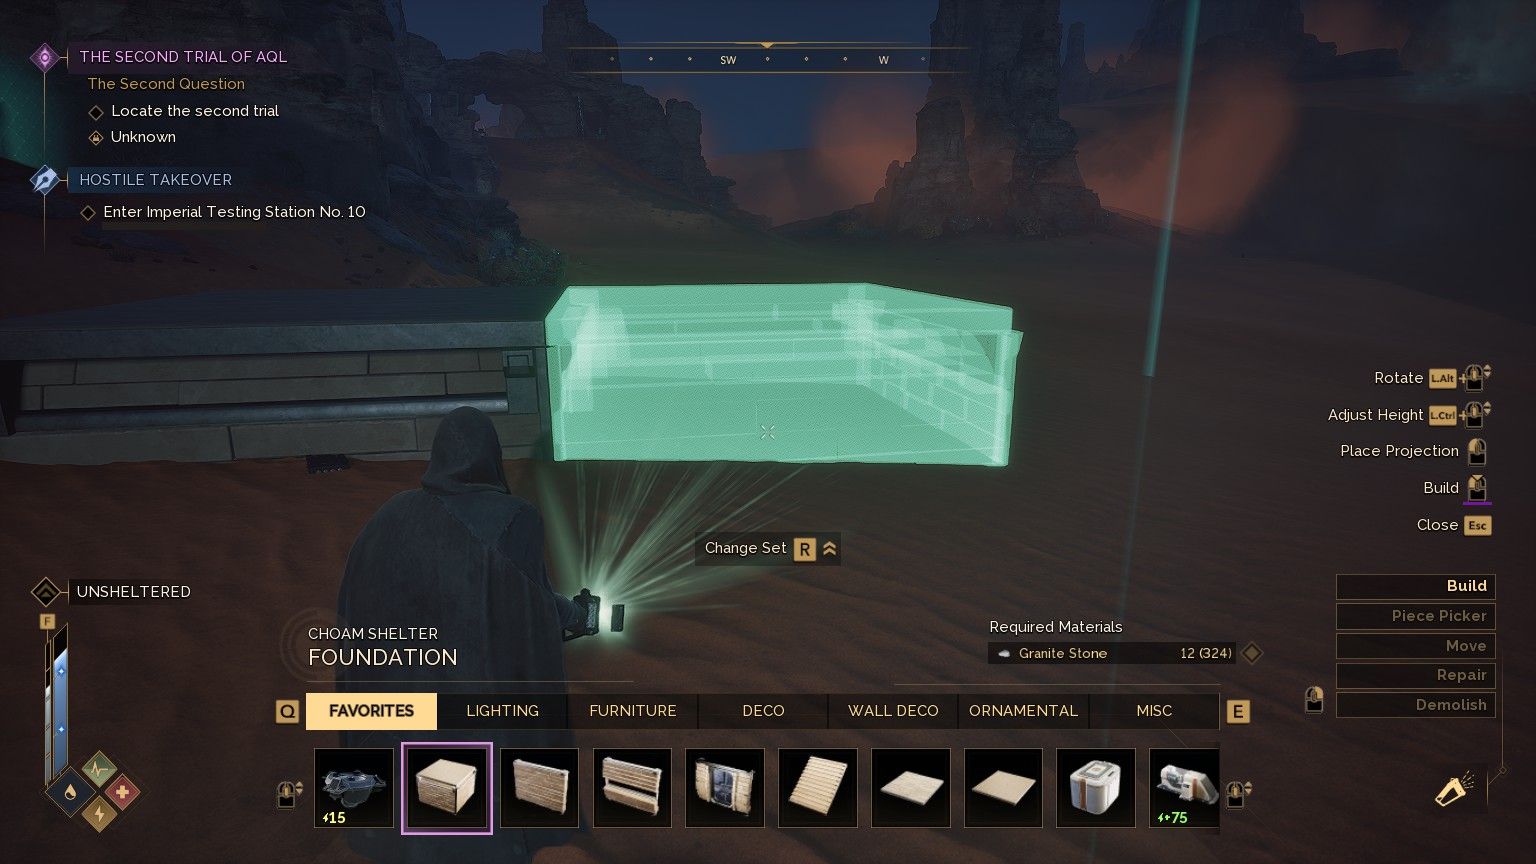
In the game’s tutorial, it effectively demonstrates how construction functions. Once you acquire the Construction Tool, you can utilize it to either set down building components instantly or design a 3D blueprint of the piece you wish to place. This last option is particularly beneficial for planning structures in advance.
To set up your building process smoothly, make sure to establish your Sub-Fief Console as your foundation before you begin construction. This console functions as your land claim marker, defining the space where you’re allowed to erect structures. Once positioned, you have the freedom to reposition the console at your convenience; however, its initial placement determines the boundaries of your buildable area.
The Advanced Sub-Fief Console offers a larger buildable land claim area over the standard version.
Move, Repair, Demolish, and Piece Picker Modes

You can switch your Construction Tool’s setting by clicking the right mouse button or R3. This action will rotate the tool among the modes listed previously. Most of them are quite clear, but you might need a little explanation for the Piece Picker mode. In simple terms, it copies any building piece you select, making it easier to place during construction.
In Dune: Awakening, the construction system incorporates a stability feature, requiring you to insert supports like beams, walls, or various construction components to ensure your structures remain upright.
How to Place Crafting Stations and Furniture

Use your Construction Tool and locate the “Switch Set” button, which is centrally positioned on the screen. Pressing this button will open a variety of menus that showcase all other construction options, such as Fabricators, Refineries, Storage structures, and assorted decorative items.
Select what you want to place from this new menu, then place them like you would a building piece.
Powering Your Base
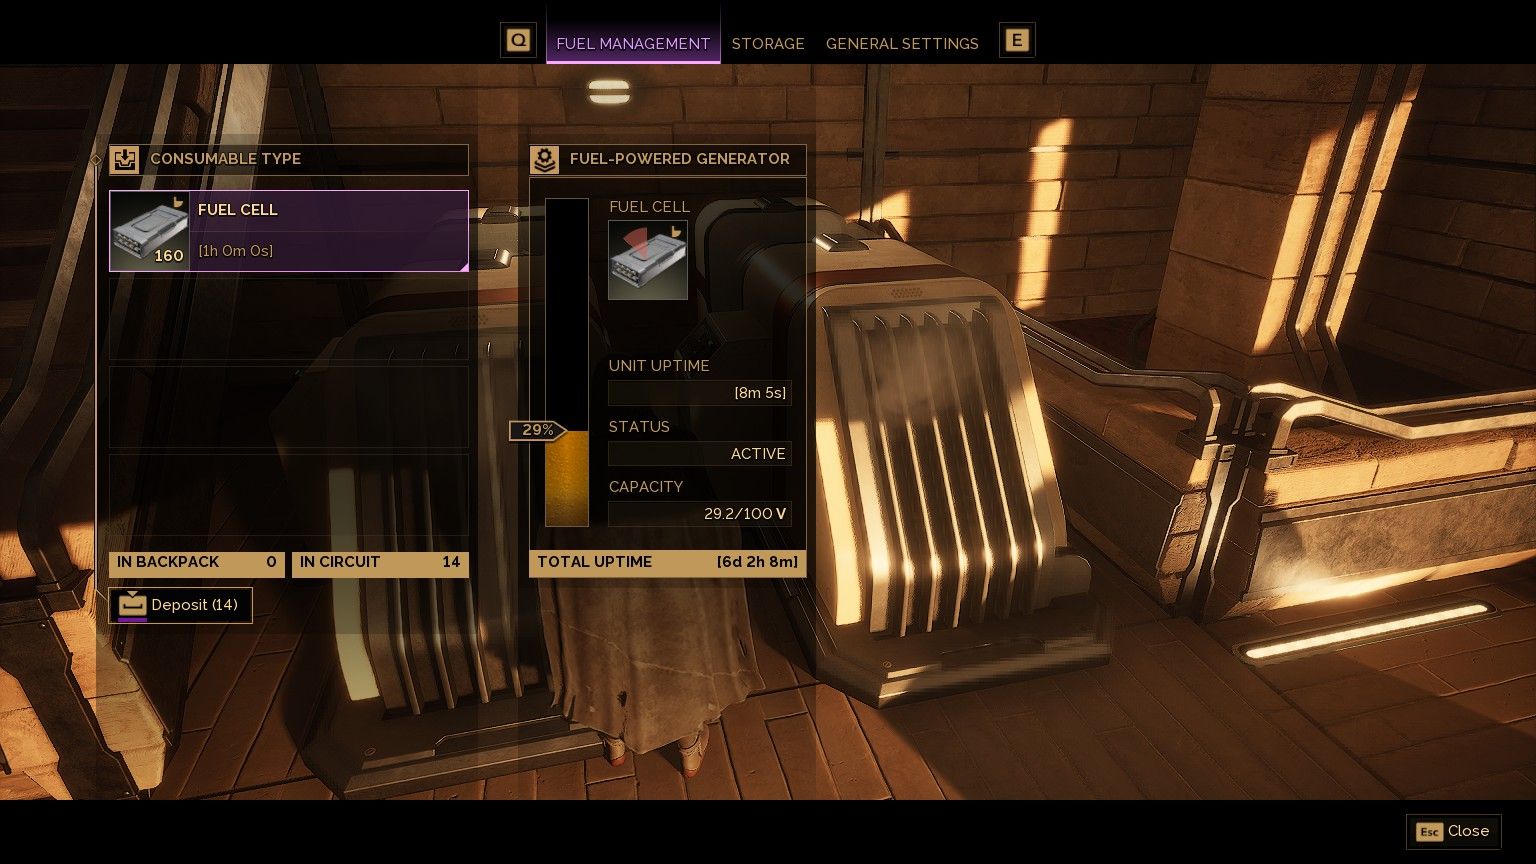
To run your bases effectively, they require energy, which can be produced by utilizing different types of energy generators. Initially, you’ll have access to a Fuel-Powered Energy Generator that transforms Fuel Cells into electrical energy. This generator is capable of providing up to 75 units of power for your base. Keep in mind that each crafting station you set up will draw some of this power for their own operation.
If you set up an excessive number of crafting stations in your base, it may lead to a power overload. This could cause your entire base’s power grid to fail until you manage to increase the power supply or decrease the power consumption back to normal levels. Without electricity, your base’s protective shields will drop, leaving it vulnerable to the harsh environment of Arrakis, eventually leading to its destruction.
How to Move Your Base/Save Base Blueprints
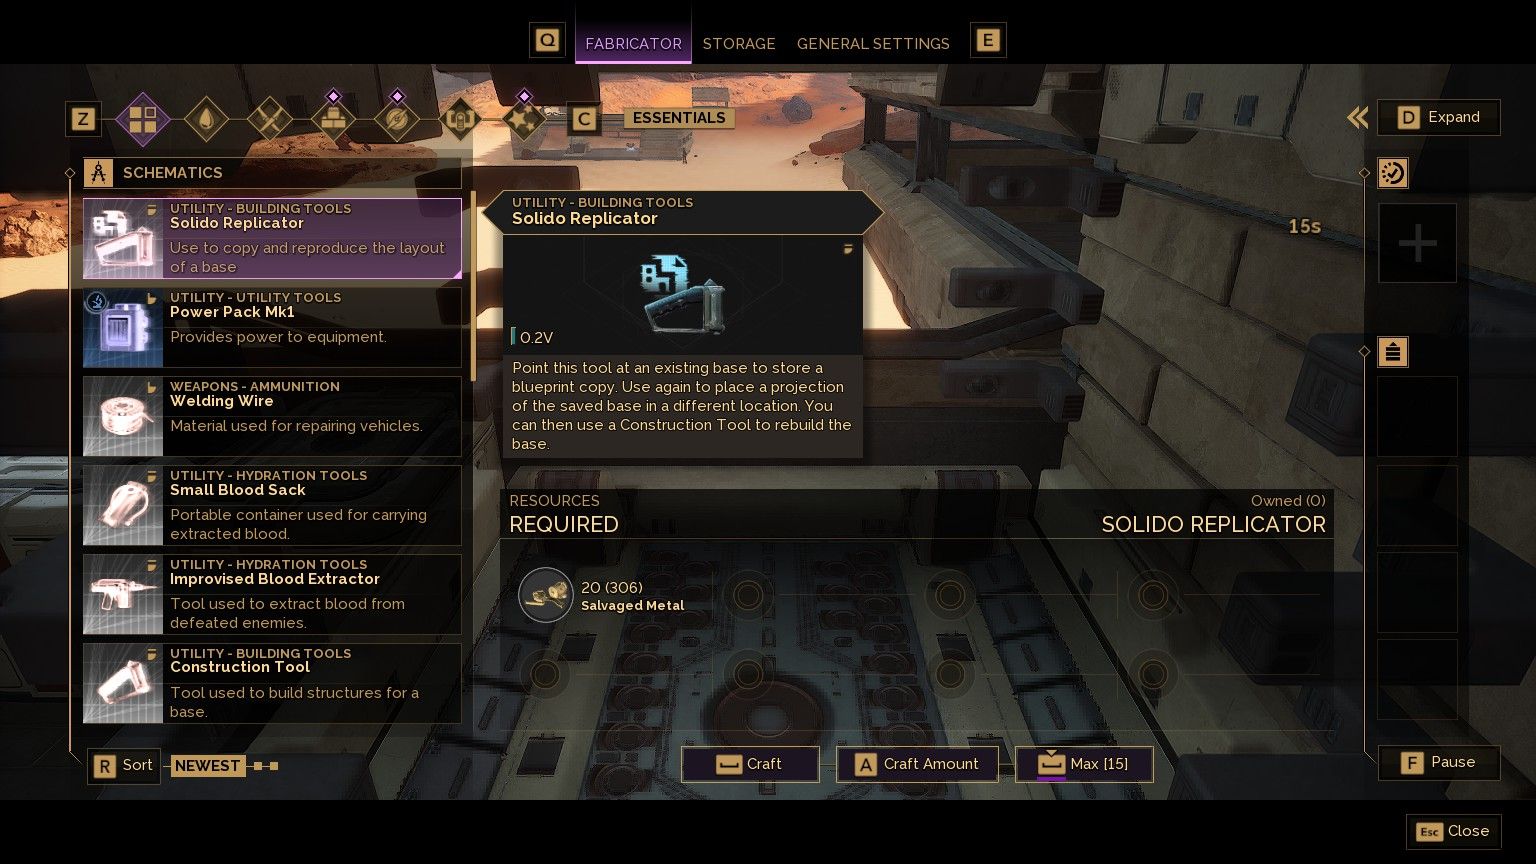
Should you find it necessary to move, you’ll always have the design plan for your structure handy by constructing a Solido Replicator within a Fabricator. Solido Replicators hold the blueprint of your base, allowing you to transfer that design to another location. This means you won’t have to spend time designing your base from scratch in its new location.
In simple terms, Solido Replicators won’t automatically construct your base or save your construction plans for later use. Instead, you’ll have to assemble each part of your structure individually, either by yourself or with assistance from another player.
If you’ve connected a Sandbike Inventory to your current base, you can take apart your old base and keep the construction materials inside the Sandbike for later use. This simplifies the process of relocating your base significantly.
Setting Permissions
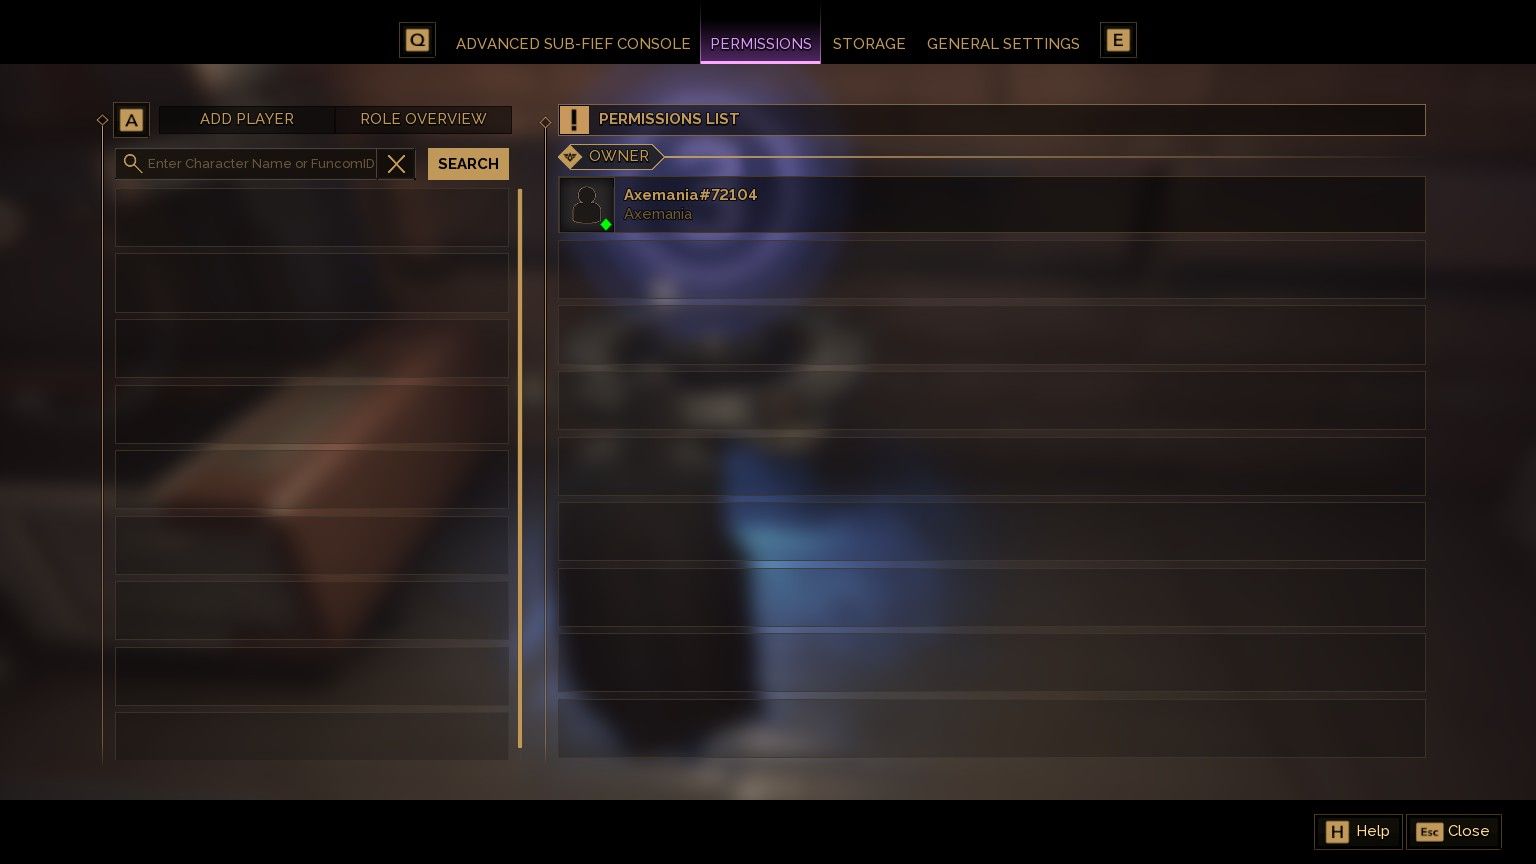
Managing permissions will enable you to control which teammates can access your base. Depending on the permission level of each player, they’ll have the ability to manipulate objects within your base such as doors, workbenches, and storage units. Adjusting the permission settings will greatly facilitate gameplay when collaborating with a group.
You can control which players are allowed to enter your fortress using the Sub-Fief Console. To do this, navigate to the Permissions section. If you’d rather, you can modify the access permissions for specific items like chests, doors, and crafting stations within your base by interacting with them directly and then selecting the Settings tab.
Circuits

In simpler terms, the Circuit system in this game allows for easier crafting within your base. Instead of needing specific materials in your inventory, you can craft items directly using stations that pull resources from nearby storage containers connected by the Circuit system.
As a fan, I’d express it like this: “To have Fabricator A create items solely from Iron, I link it to Circuit 1 and fill the associated storage units exclusively with Iron. On the other hand, if Fabricator B is intended to craft everything else, I connect it to Circuit 2, which in turn is linked to storage units that house all other items in my inventory.
You can modify both the input and output circuits of crafting workstations by engaging with them and navigating to the “Manage” section.
Read More
- All Skyblazer Armor Locations in Crimson Desert
- All Shadow Armor Locations in Crimson Desert
- How to Get the Sunset Reed Armor Set and Hollow Visage Sword in Crimson Desert
- Marni Laser Helm Location & Upgrade in Crimson Desert
- Best Bows in Crimson Desert
- All Helfryn Armor Locations in Crimson Desert
- All Golden Greed Armor Locations in Crimson Desert
- How to Craft the Elegant Carmine Armor in Crimson Desert
- Keeping Large AI Models Connected Through Network Chaos
- One Piece Chapter 1179 Preview: The Real Imu Arrives in Elbaf
2025-06-06 11:34