The new Nintendo Switch 2 system arrives with a pair of Joy-Con controllers that function seamlessly as part of the main device. Although alternative controller choices exist, you’ll often find yourself preferring the Joy-Cons due to their hassle-free connection to your Switch 2, and the fact that only one is necessary for most games.
For the Switch 2, not only does the new version of the Joy-Cons include a mouse feature for increased functionality, but even surpassing what a Pro Controller can do. Here’s a guide on how to charge your Switch 2 Joy-Con controllers and check their battery life at any time, which might be useful after transferring data from your original Switch 1.
You may want to follow these steps:
1. Connect the Joy-Con controllers to the Switch 2 using their respective docking points on either side of the console. The LED light will indicate charging status.
2. To check the battery life, press and hold the SYNC button on each controller until the LED lights start flashing rapidly. Then, look at the battery icon displayed on the Switch 2‘s screen to see the remaining charge.
3. If you need to charge your Joy-Con controllers, simply connect the Switch 2 to a power source using the AC adapter or the USB cable provided in the box. The charging process will automatically begin once the controllers are docked.
How To Charge Your Switch 2 Joy-Con Controllers
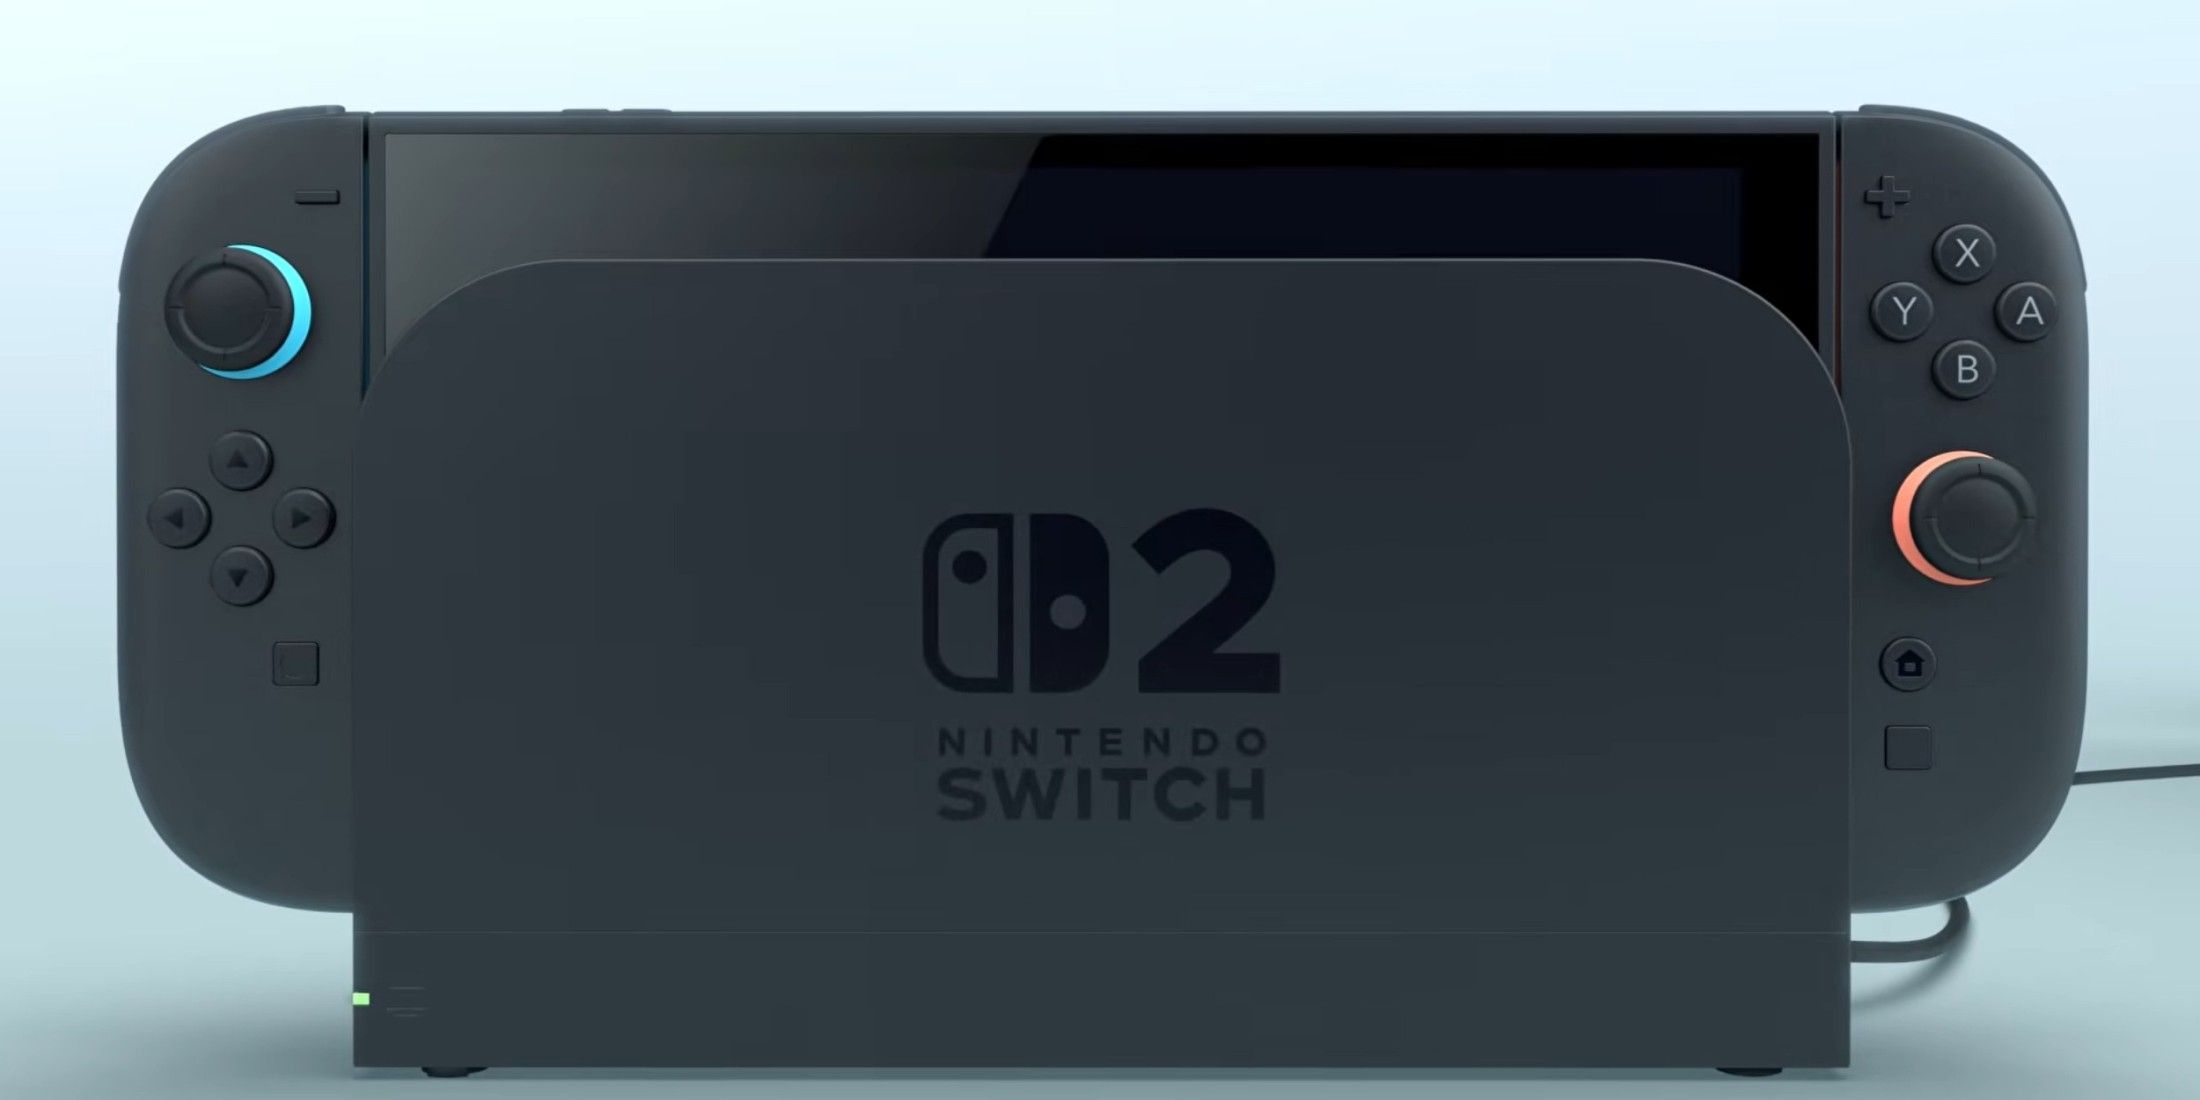
In the package of your Switch 2, you’ll find your Switch 2 Joy-Cons detached. However, they’ll spend most of their time connected to your Switch 2. Although each Joy-Con has its own battery, they can be effortlessly charged by connecting them to your Switch 2 when it is plugged in. To charge them, align the magnets on the sides of the Joy-Cons with the slots on the Switch 2, and they’ll snap into place and onto the charger. It’s that easy!
Each Joy-Con on your Switch has a designated charging side, indicated by its color coding. You can attach them magnetically to either end of your device, but they’ll only charge when positioned correctly. To power up your Switch 2, you can use the AC cord or dock it. Regardless if your Switch 2 is on or off, as long as the Joy-Cons are linked to the Switch 2 and it’s plugged in, they will also charge simultaneously.
How To Check Joy-Con Battery On Switch 2
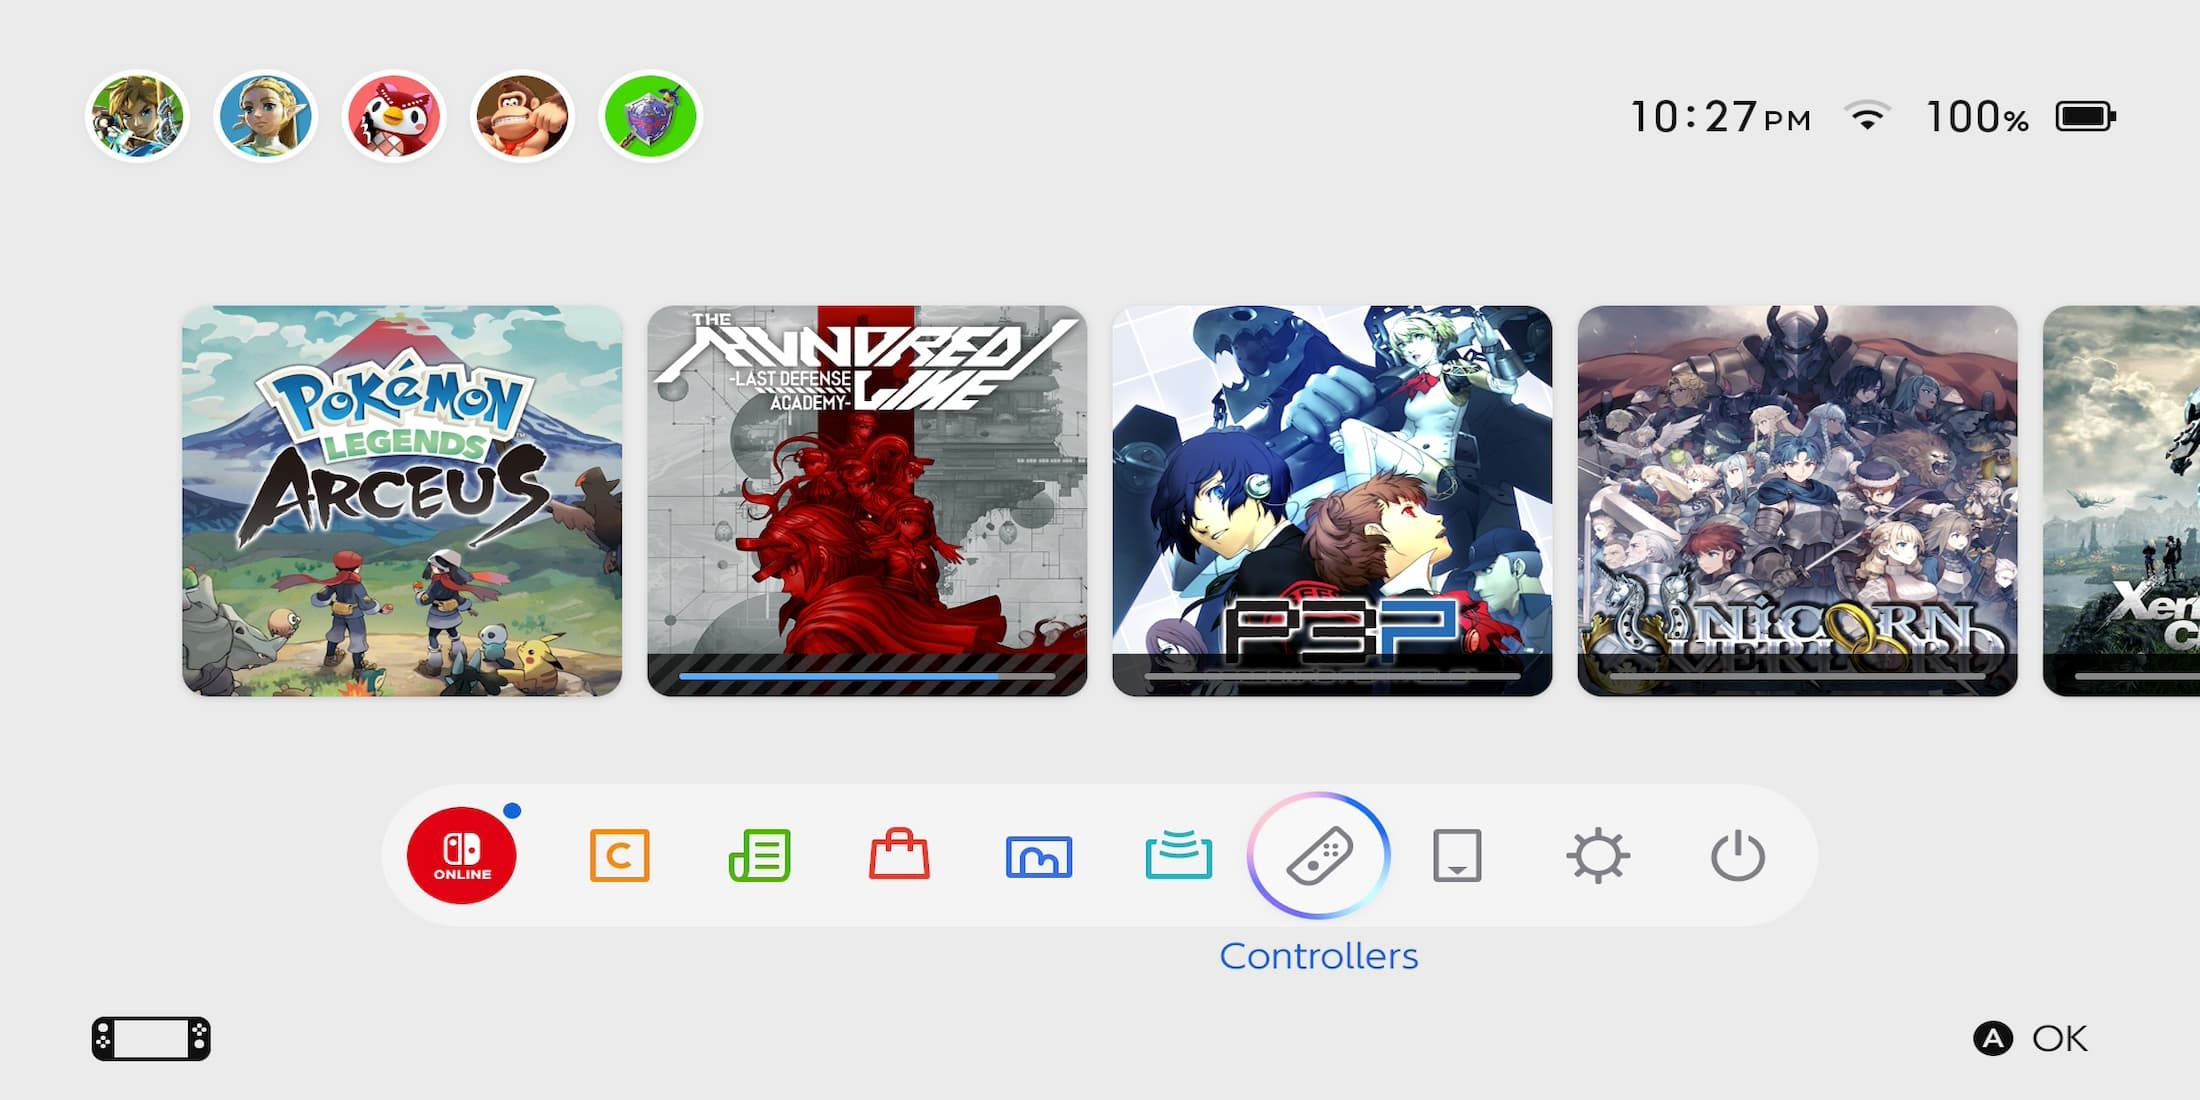
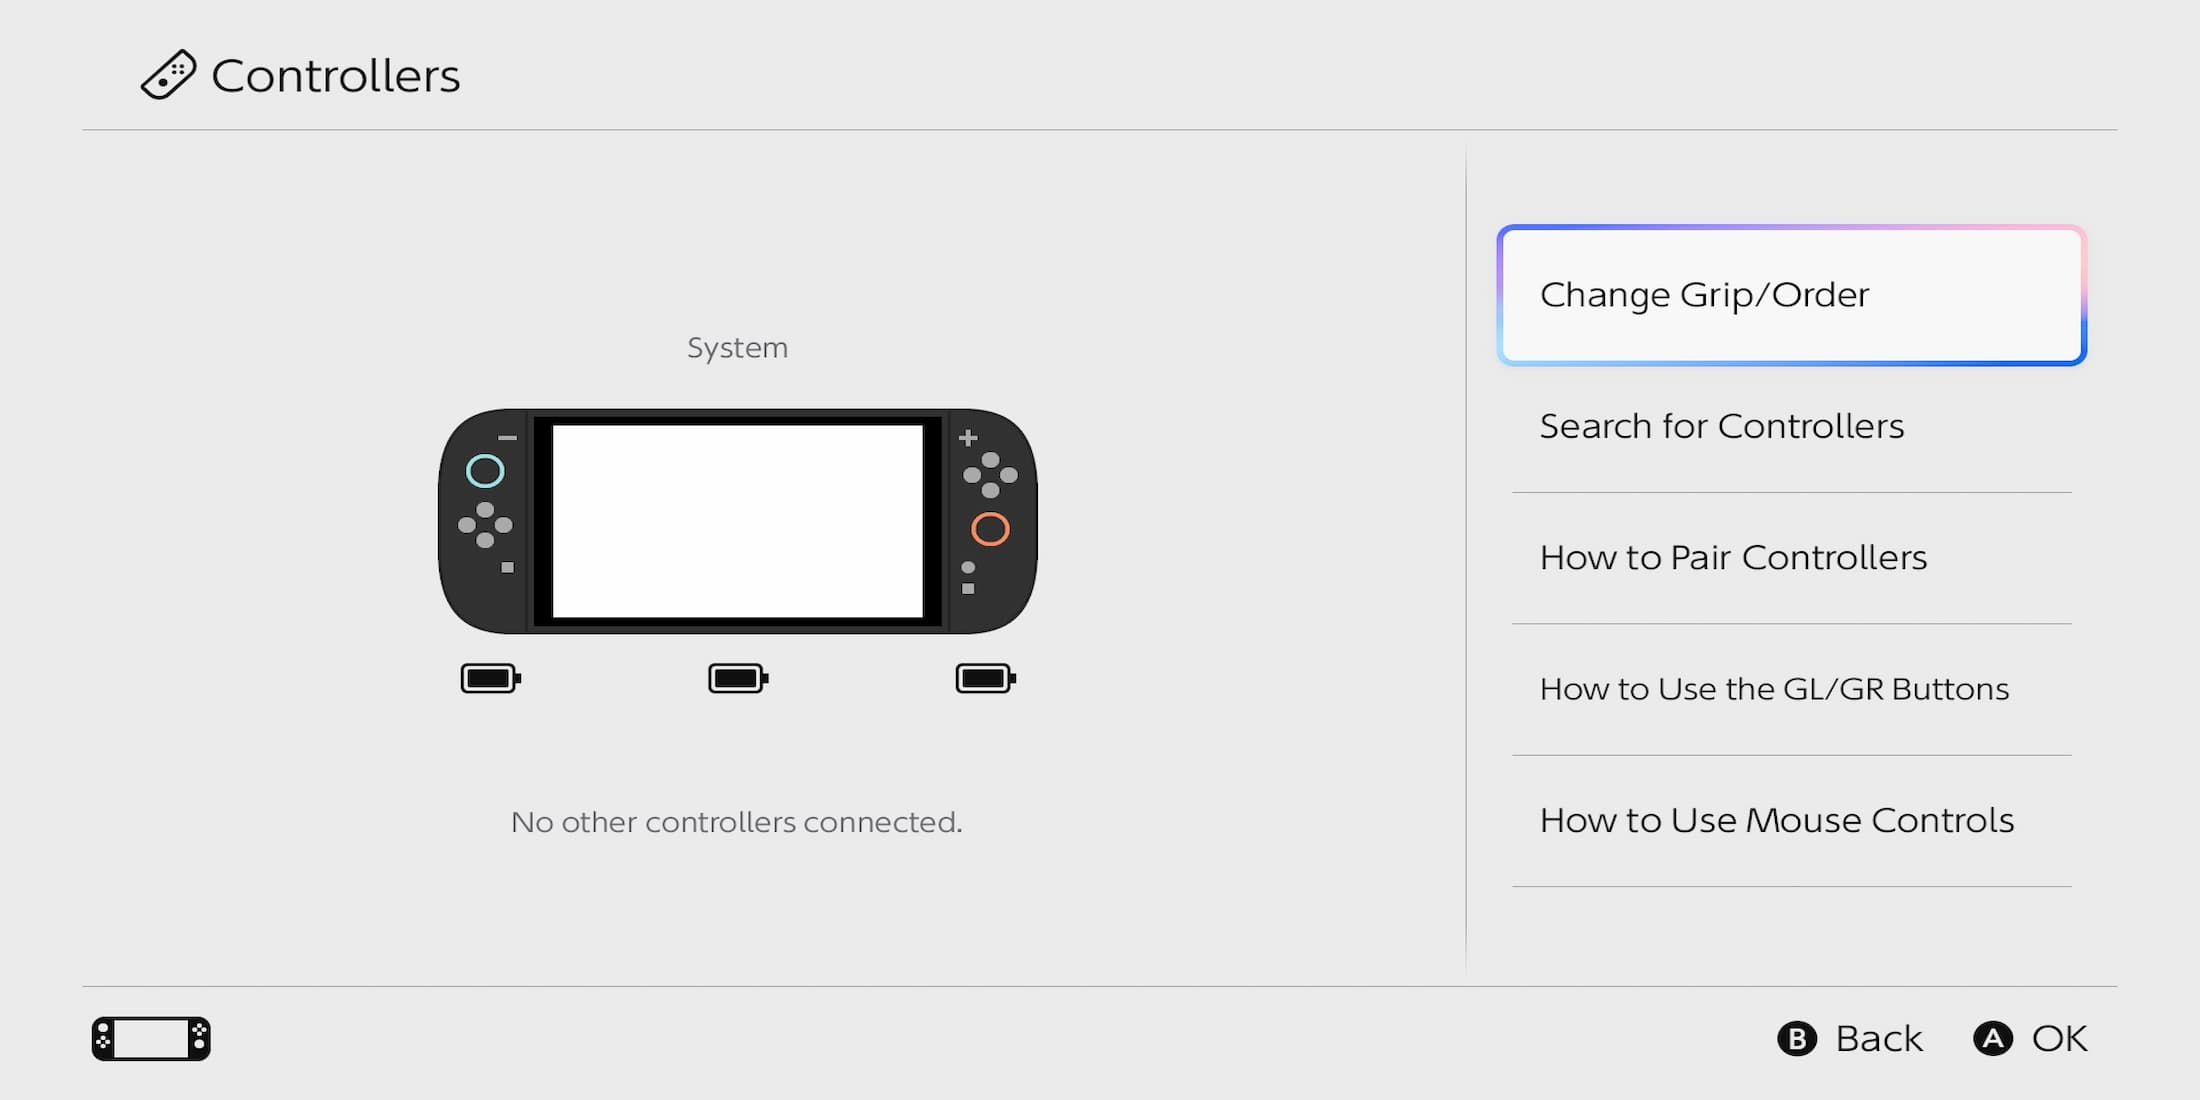
To verify the battery level of your Joy-Con controllers, navigate to the primary menu on your Nintendo Switch 2. Scroll horizontally through the options at the bottom until you reach the “Controllers” option, which has a Joy-Con symbol. Continue scrolling within this menu to find the storage section for your Nintendo Switch 2. If your Joy-Con is turned on and connected to your console, you’ll notice a small battery icon beneath it displaying its remaining charge. If your Nintendo Switch 2 is plugged in and the Joy-Cons are attached, a charging icon (lightning bolt) will show up indicating that they are currently being charged.
How To Ping Lost Switch 2 Joy-Cons
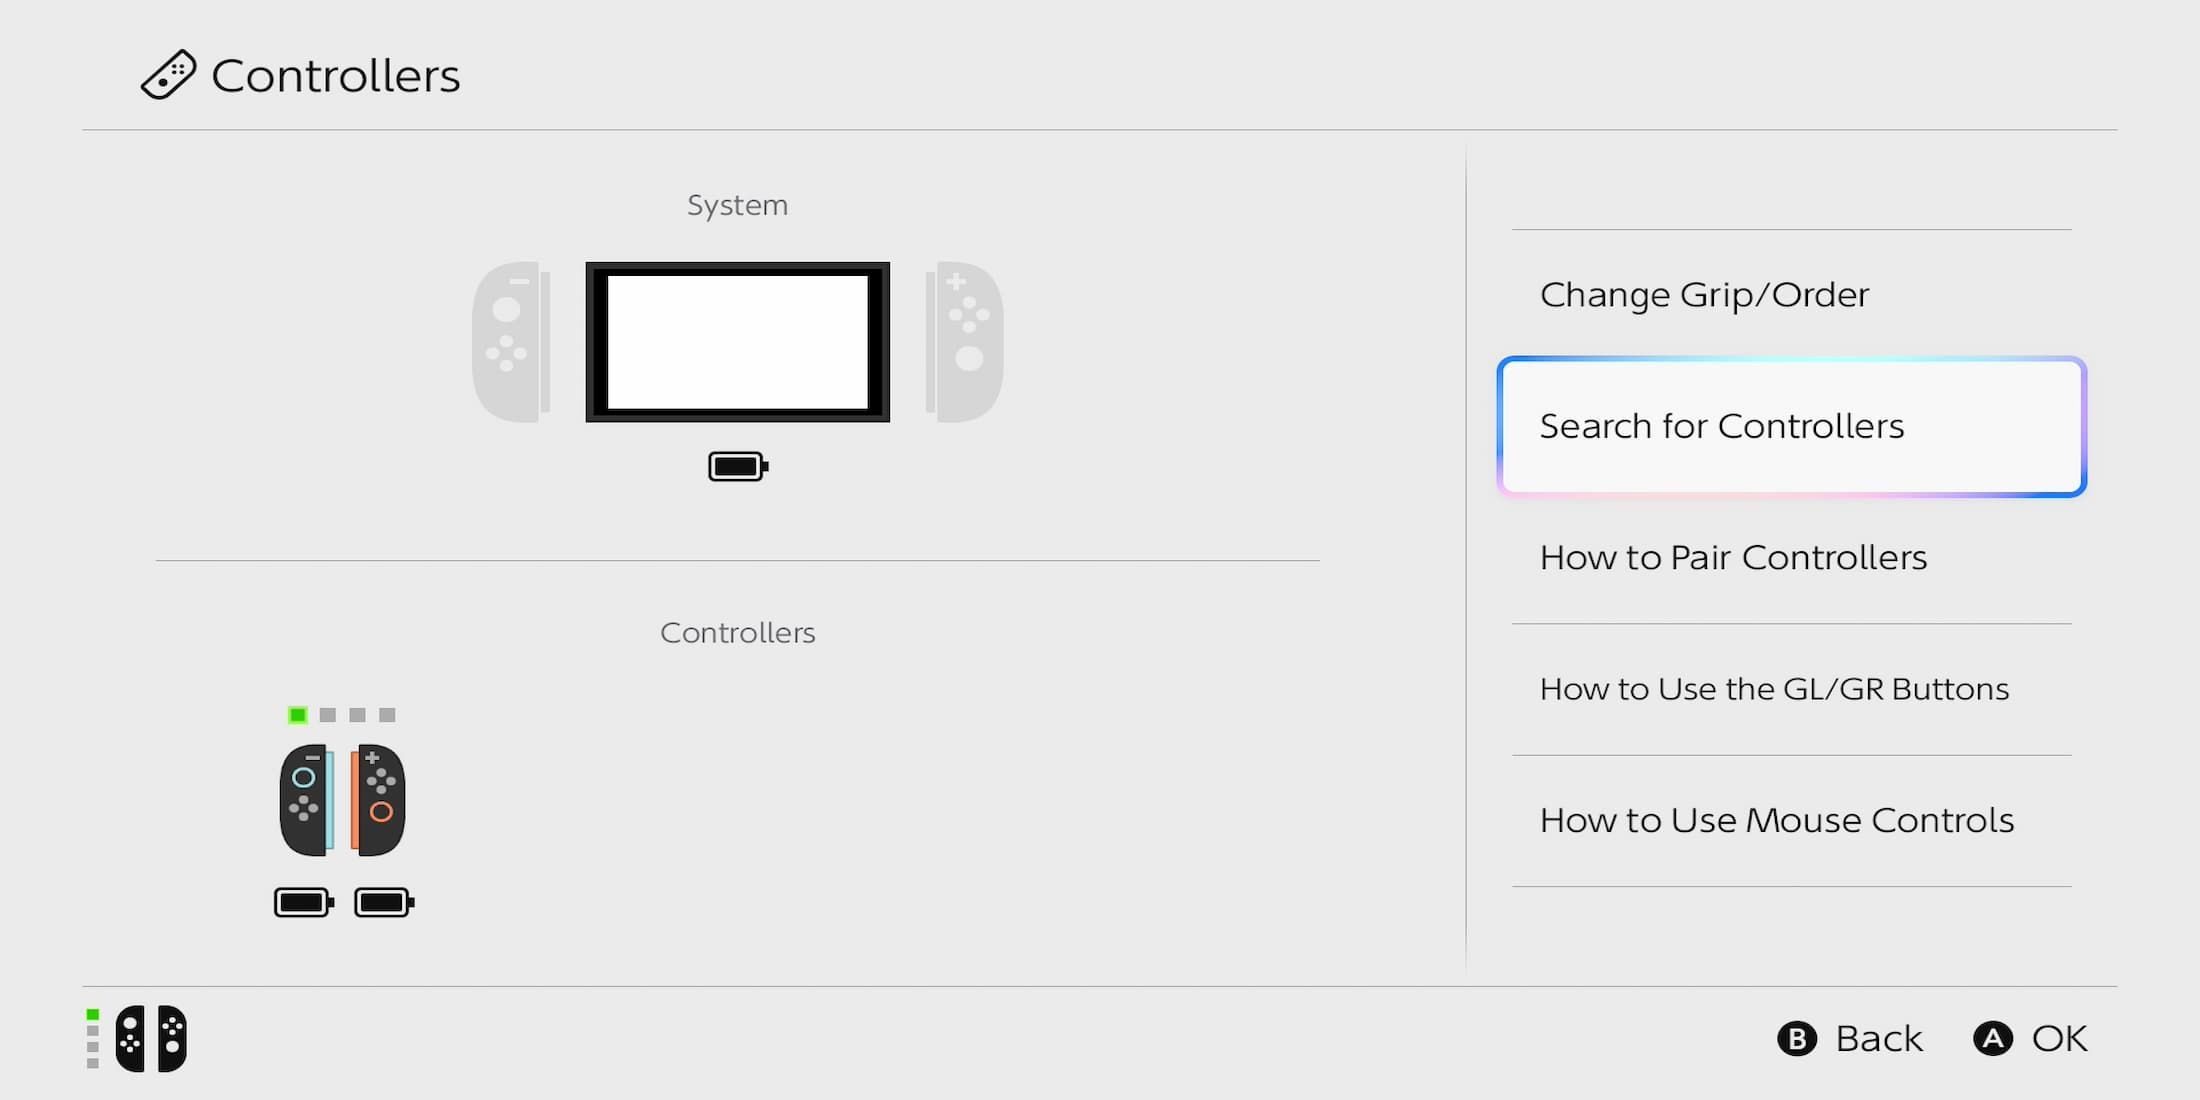
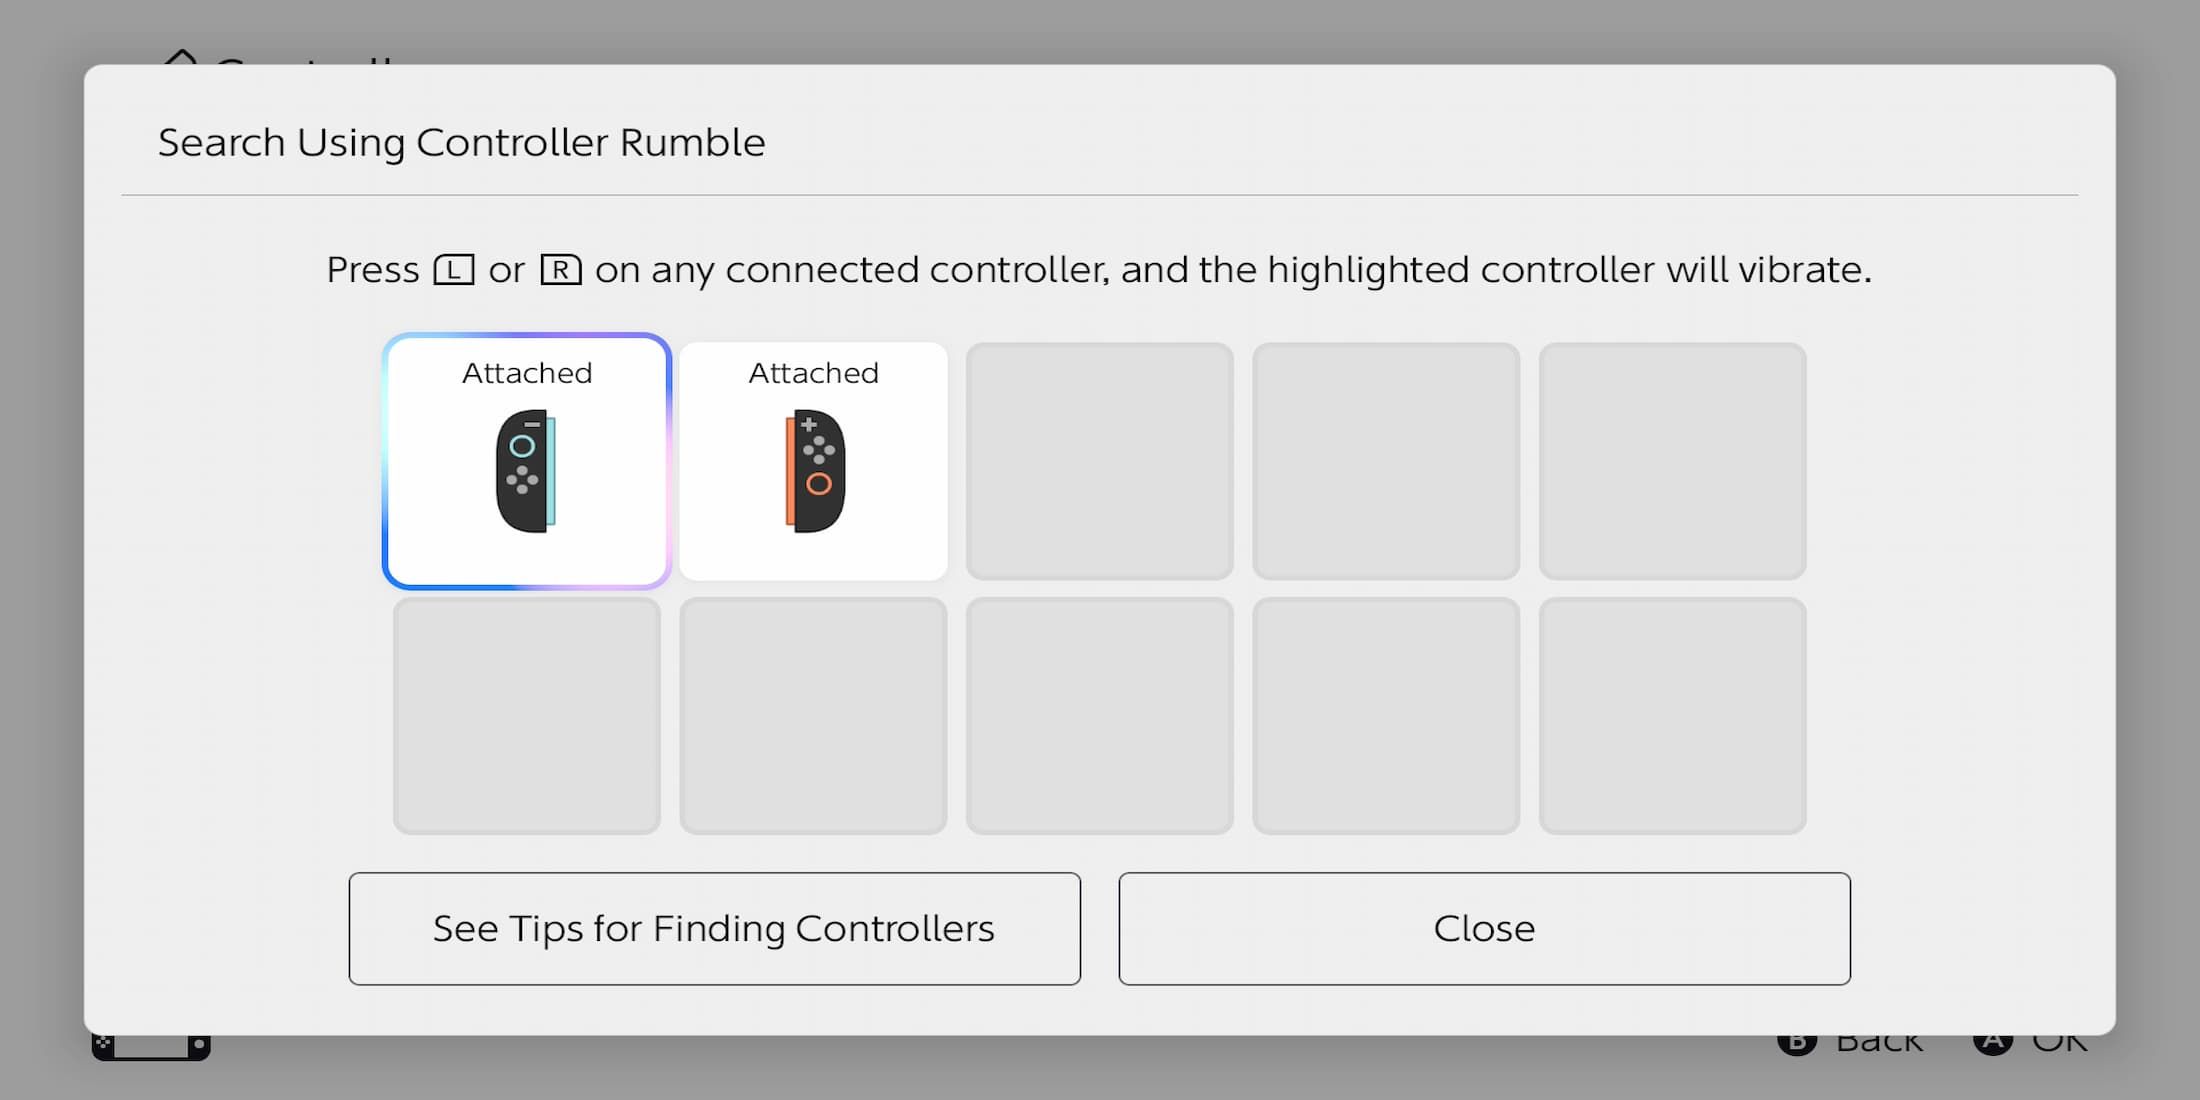
In addition, within the Controllers menu, there’s a feature that allows you to test your Joy-Cons by pinging them. If you navigate to “Find Controllers”, you can choose any controller currently connected to your Nintendo Switch 2. Pressing A next to a controller will cause it to vibrate, while holding down A for a prolonged period will make the Joy-Con emit a sound. This is useful when trying to locate a controller during game downloads.
Read More
- All Skyblazer Armor Locations in Crimson Desert
- How to Get the Sunset Reed Armor Set and Hollow Visage Sword in Crimson Desert
- All Shadow Armor Locations in Crimson Desert
- Marni Laser Helm Location & Upgrade in Crimson Desert
- All Golden Greed Armor Locations in Crimson Desert
- All Helfryn Armor Locations in Crimson Desert
- Best Bows in Crimson Desert
- Keeping Large AI Models Connected Through Network Chaos
- How to Craft the Elegant Carmine Armor in Crimson Desert
- All Icewing Armor Locations in Crimson Desert
2025-06-06 06:23