As a gamer, navigating the sprawling landscapes of The First Berserker: Khazan can be a mind-bending experience, filled with intricate branching paths and perilous skirmishes lurking around every bend. Along my journey, I’ll need to keep an eye out for elusive Soul Stones and cunning Jarlings hidden within these locales.
In the 13th primary narrative mission, titled “The Strange Melody,” you’re tasked with navigating your way to the Rovelion Imperial Theater in pursuit of Princess Ilyna. This location is saturated with deceptions and echoes that might induce hallucinations, so it’s crucial to remain vigilant and well-prepared, as you’ll need to discern reality from illusion.
Strange Melody Walkthrough

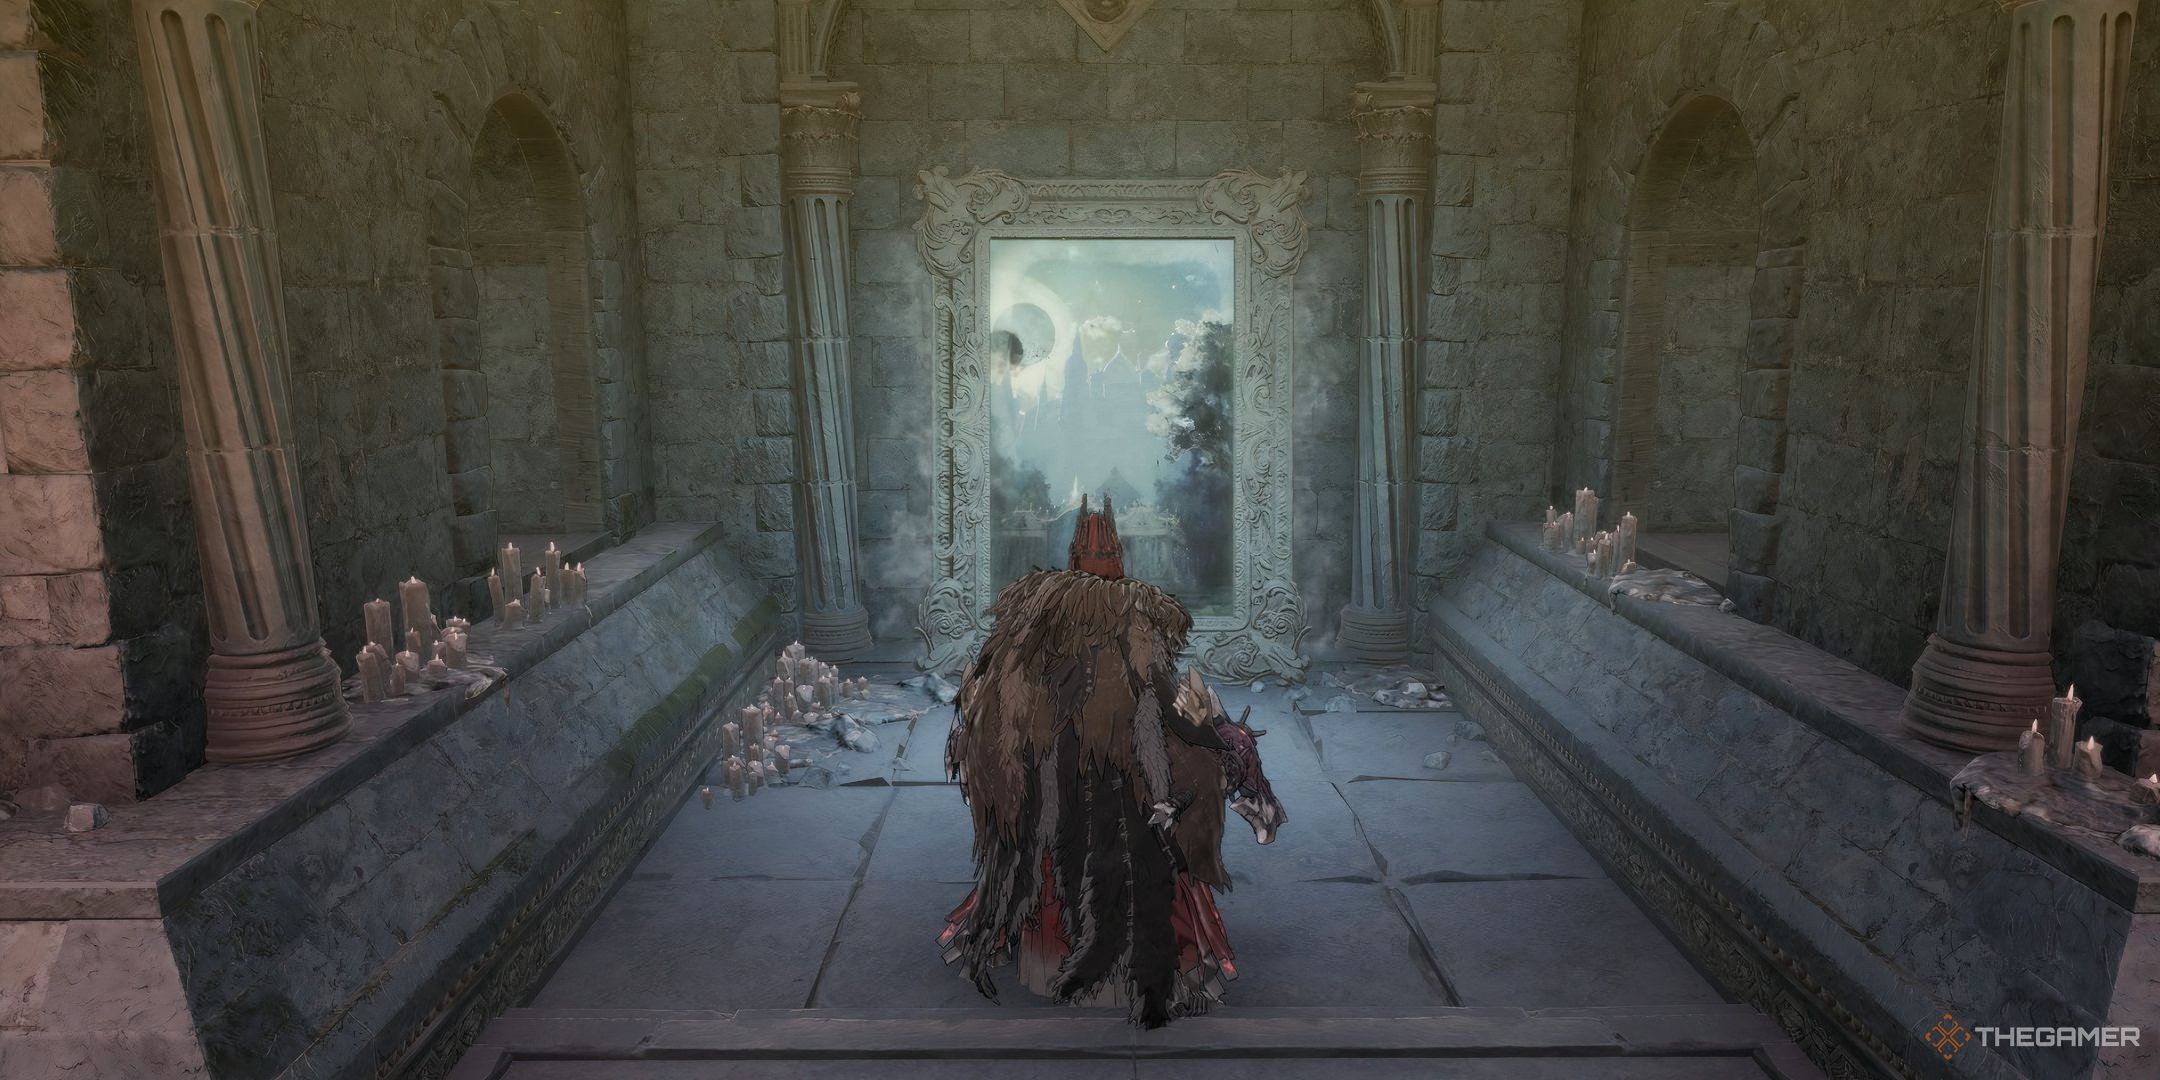
Upon approaching Rovelion Imperial Theater, you’ll find a painting standing at the entrance that serves as a gateway. Stepping up to this painting will transport you right inside the Imperial Theater. The very first encounter with this artwork hints that there will be many optical illusions in this vicinity.
Central Garden Of The Theater
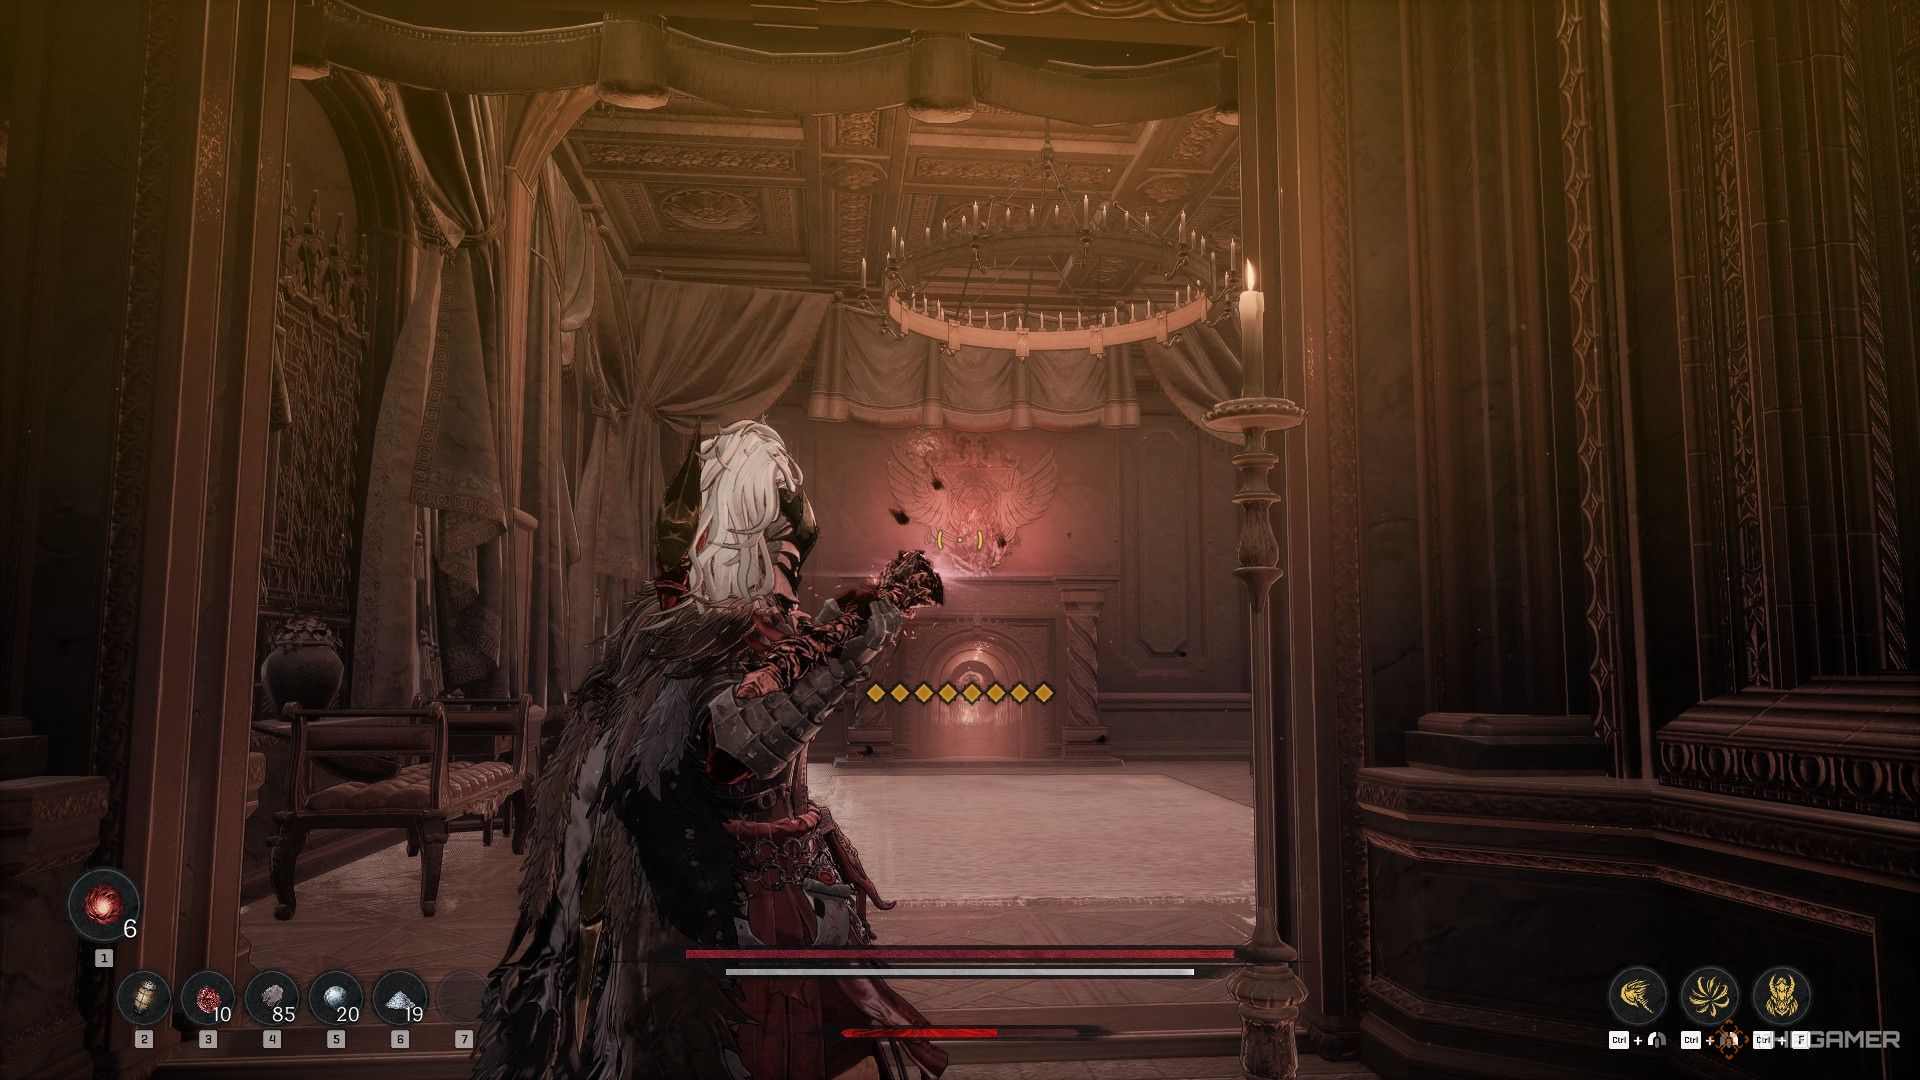
Upon materializing within the Theater, you’ll encounter the initial Blade Nexus. The entrance lies ahead and reveals a spectral woman musician who’ll pepper you with projectiles that induce hallucinations while she’s observing you. Attempting to engage her physically won’t work as your attacks will have no effect on her.
In this version, the ghostly lady is a spectral musician who shoots projectiles causing hallucinations and attacking her is ineffective. The focus is still maintained on the key points – the character encounters a spectral woman, she shoots projectiles that cause hallucinations, and attacking her is ineffective.
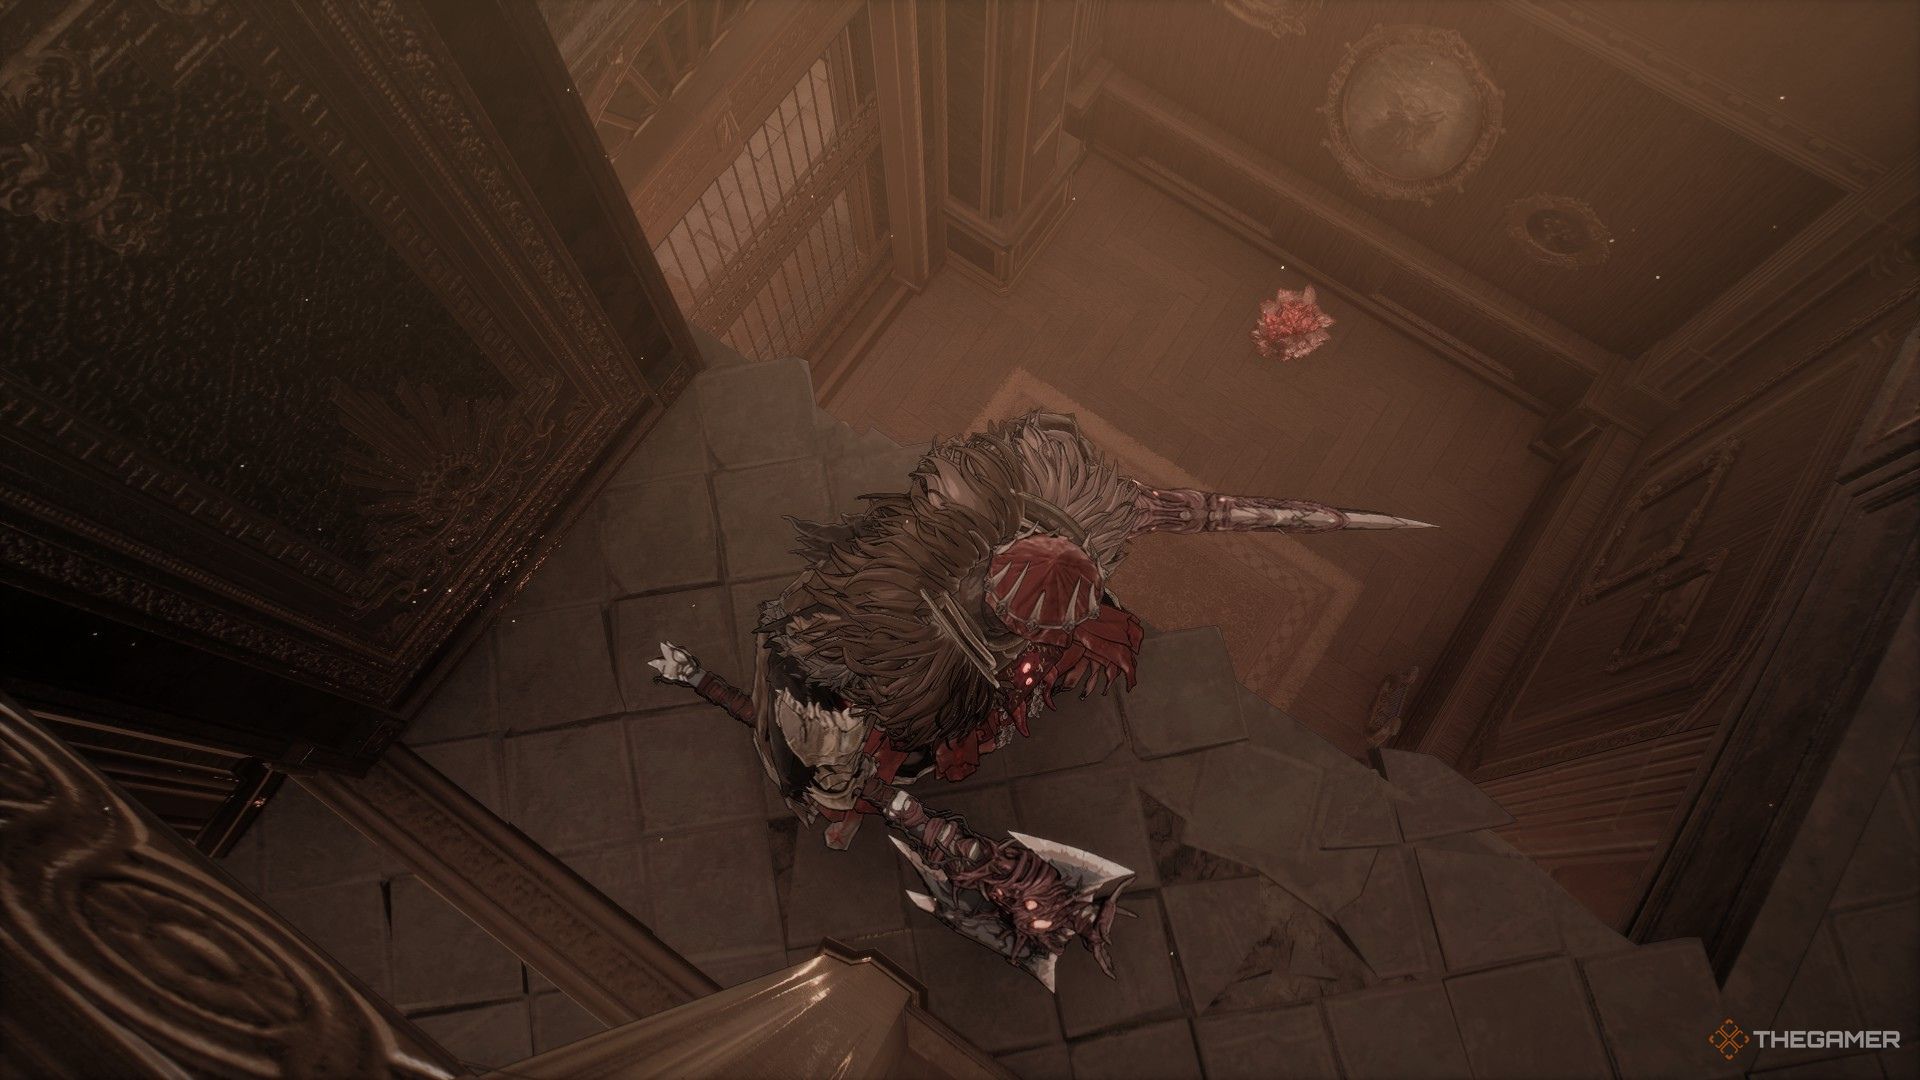
Here in this location, there are numerous Yoma Pursuers to encounter, and you’ll need to engage them in combat while evading the spectral lady’s thrown projectiles. In the far right corner of this hall, there lies a deceased individual with Lacrima on their body. However, tread carefully as a Devotee is perched on the wall nearby, ready to attack as you approach the corpse.
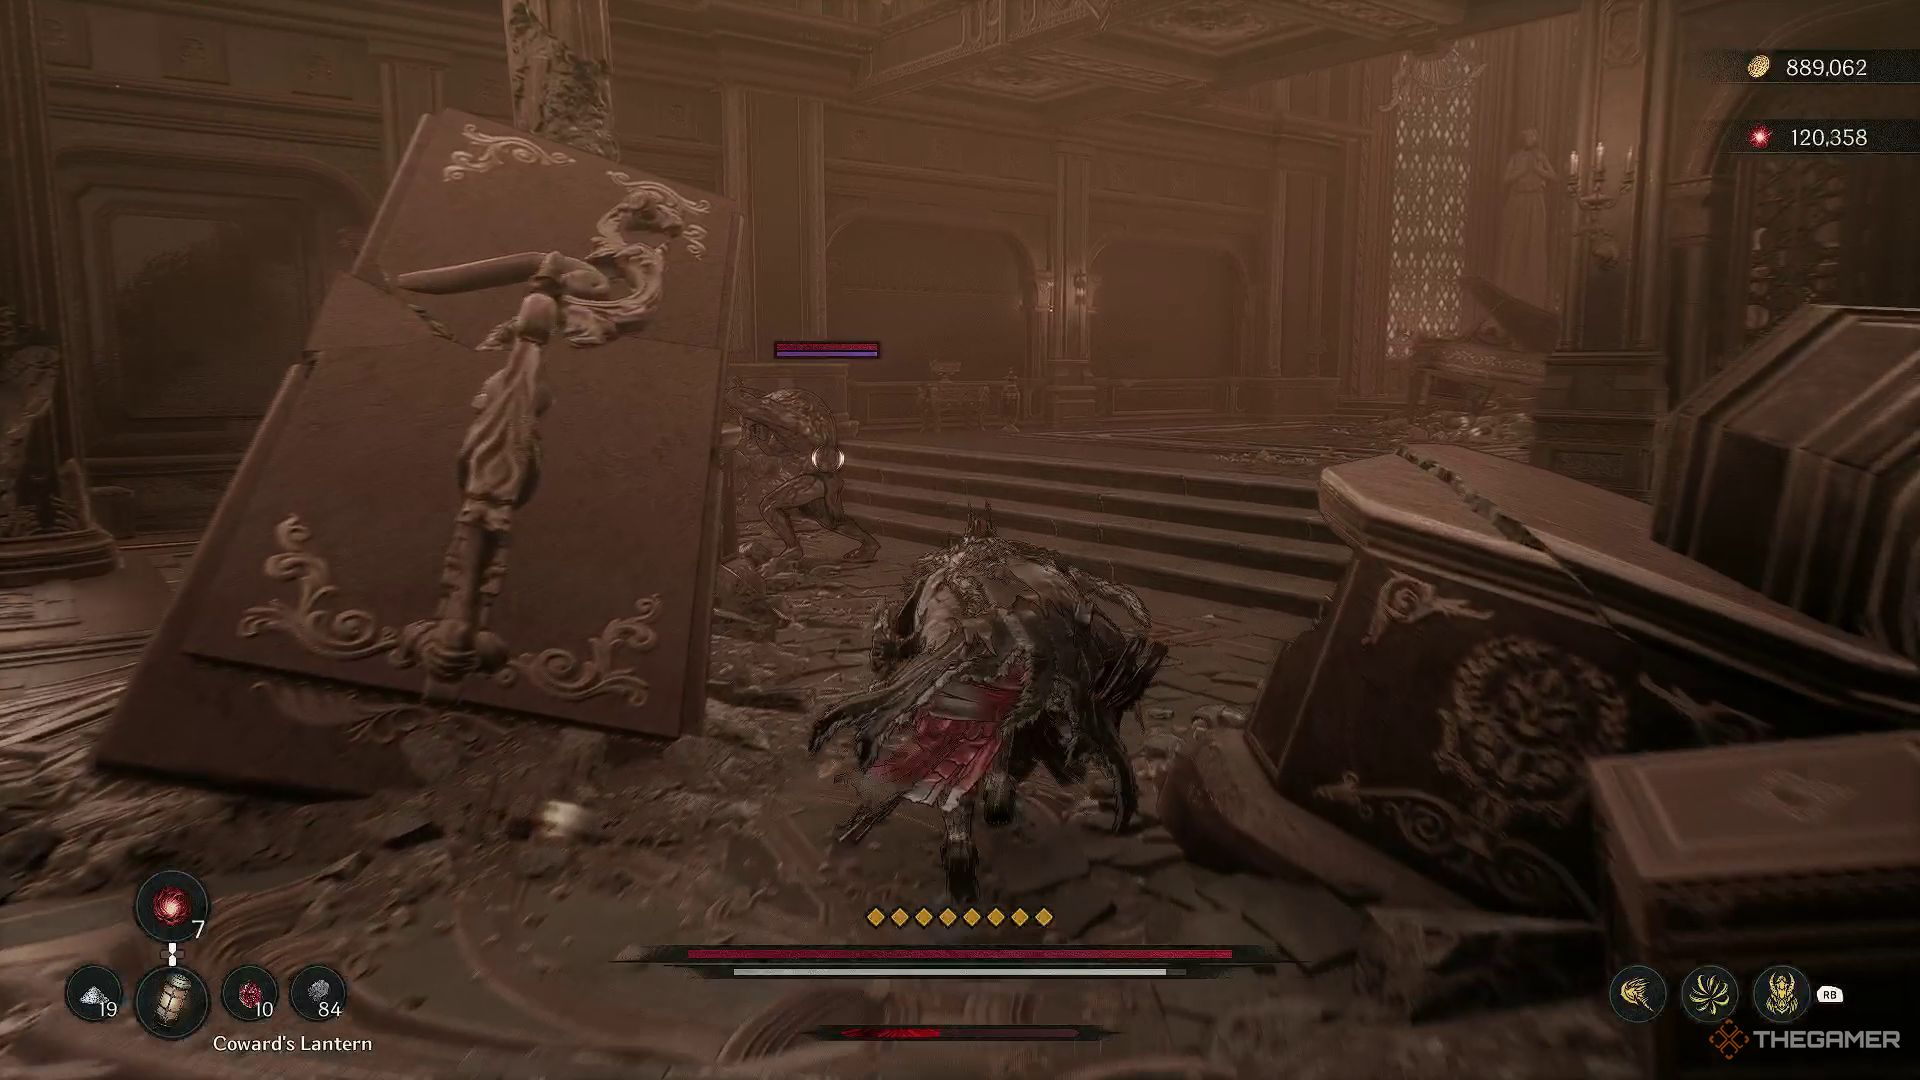
To make forward strides, you’ll need to climb the stairs on the right-hand side of the room, which will take you to the upper level. Upon reaching this level, you’ll encounter two Yoma Jesters and a Yoma Purseur not far ahead. Overcoming them will eventually lead you to a Yoma Warlock and a Yoma Shaman. Follow the path to your right after ascending the stairs, and you’ll find your way forward.
The First Floor Of The Theater
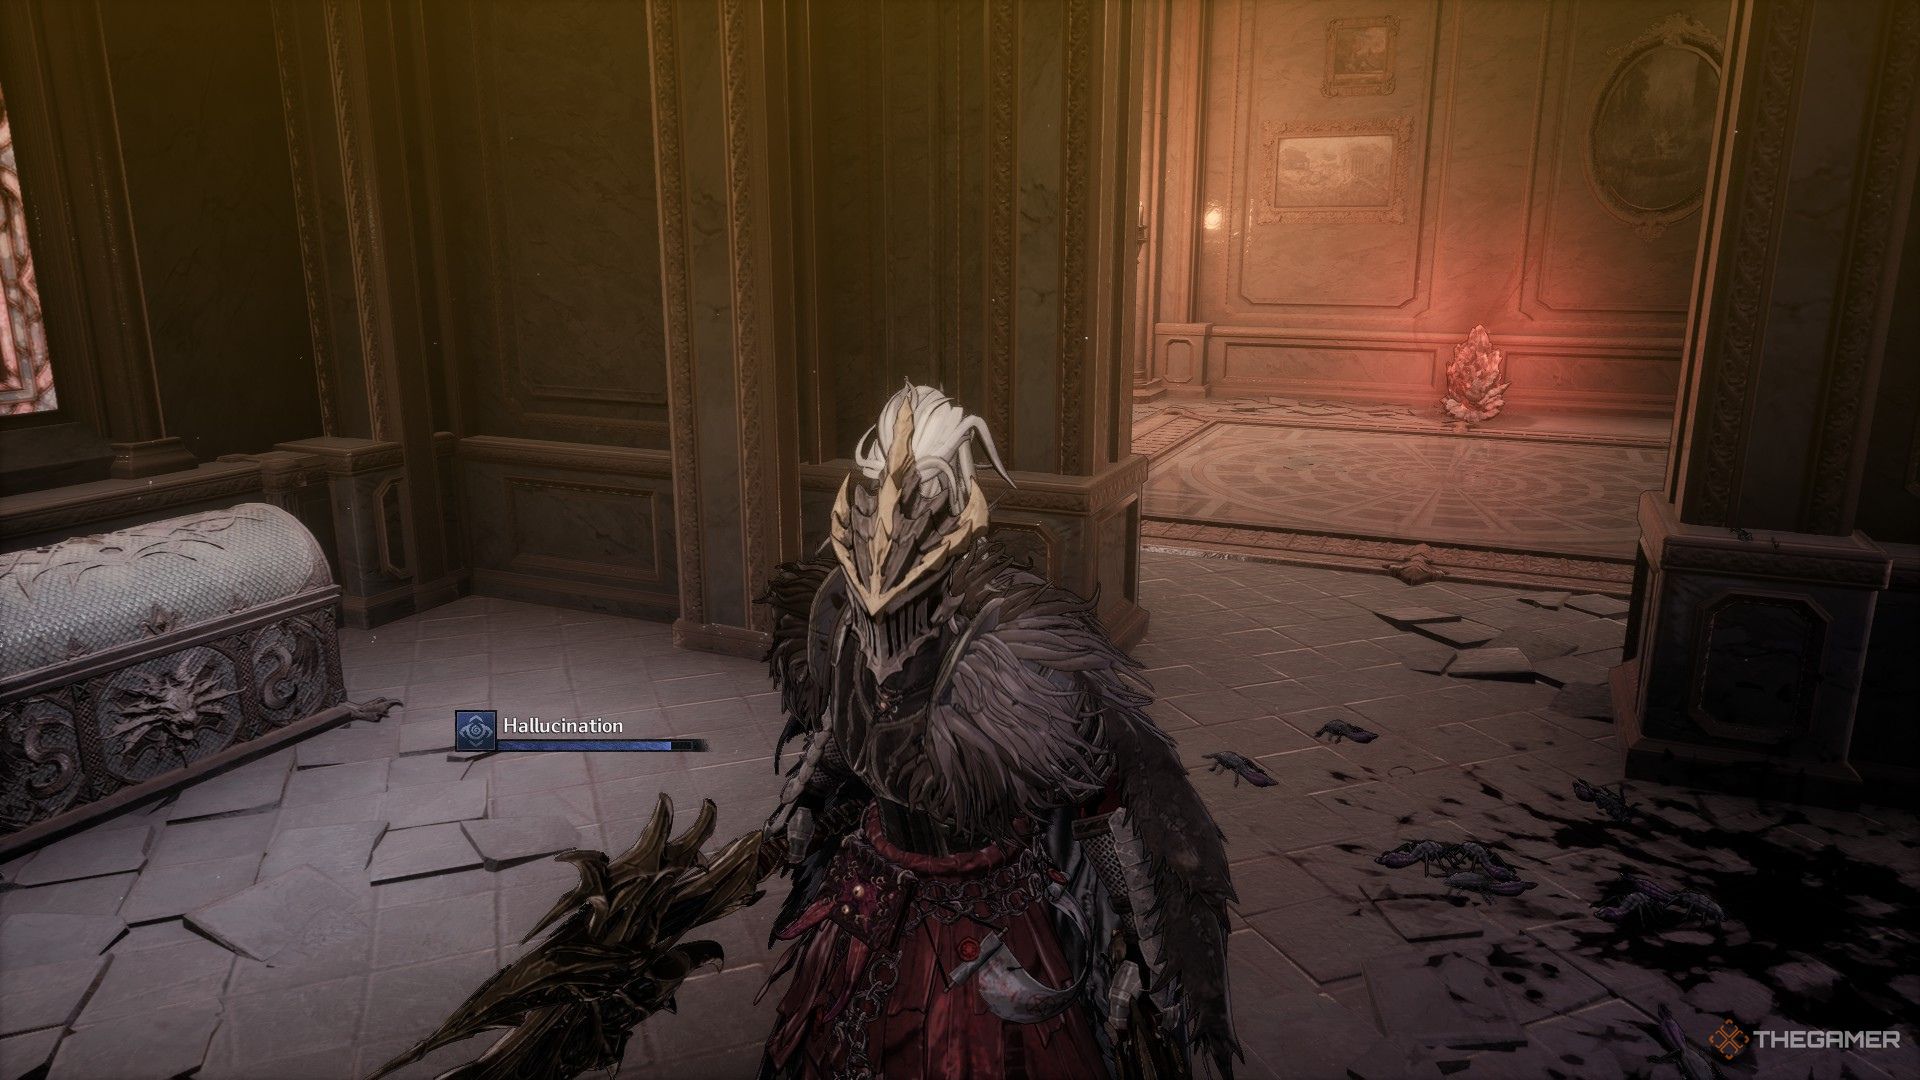
In this narrow corridor, I came across three formidable foes: a Yoma Jester, a Yoma Warlock, and a Beast of Madness. Overcoming them is crucial for my advancement here. After pushing forward, I stumbled upon a room with a dead end and another Yoma Warlock lurking inside. To the right, near the statue, there are three Chaos Fragments waiting to be collected. If I turn around, I can’t help but notice a blood trail that vanishes mysteriously behind a wall.
Strike the wall, and it will vanish, revealing a path for your continuation. If you turn right from this spot, you’ll encounter a pair of adversaries. Overcome them to advance further. Continue onward until you reach a gate where a Knight under Spellbinding guard stands.
Hit the wall and watch it vanish, creating an opening for your forward progression. Turn right here, and you’ll find two foes waiting. Defeat them to move ahead. Keep going until you stumble upon a gate, which is manned by a Spellbound Knight.
Once you’ve vanquished the Knight, proceed to unlock the door and engage the spectral woman a few times, triggering her to transport to the upper level. This action will also dissipate the mist veiling the gate, allowing you to advance beyond it. After dispatching the ghost lady, re-enter the space and navigate towards the left side of the area where you’ll discover two possible routes.
To quickly return to this spot from the Entrance of the Banquet Hall Blade Nexus, simply tug on the handle of the door to your right as it serves as a shortcut. Afterward, make your way to the door on your left and ascend the stairs to reach the upper level.
The Second Floor Of The Theater And The First Soul Stone
Two creatures of frenzy, or “Beasts of Madness,” will be present in this location. To draw one down to the lower level, engage it with a javelin. Once you’ve defeated that beast, proceed to eliminate the following one as well. After subduing the second Beast of Madness, advance through the gate and make an immediate left turn. Here, you will encounter a false wall, which can be opened to reveal a shimmering treasure.
As you move towards the object, the ground beneath you will vanish, and you’ll descend into the room below. Here, you’ll come across the elusive Soul Stone. However, to grab it, you’ll need to make your way from the lowest level up to the concealed chamber above. Once there, you’ll discover a glittering item, which will prove to be the Golden Scroll, an essential recipe for crafting the Golden set.
Additionally, you could strike the ground with your sword, causing it to vanish, followed by using your javelin to shatter the Soul Stone. Once the floor is gone, navigate carefully along the narrow rim that’s left behind to get to the Golden Scroll.
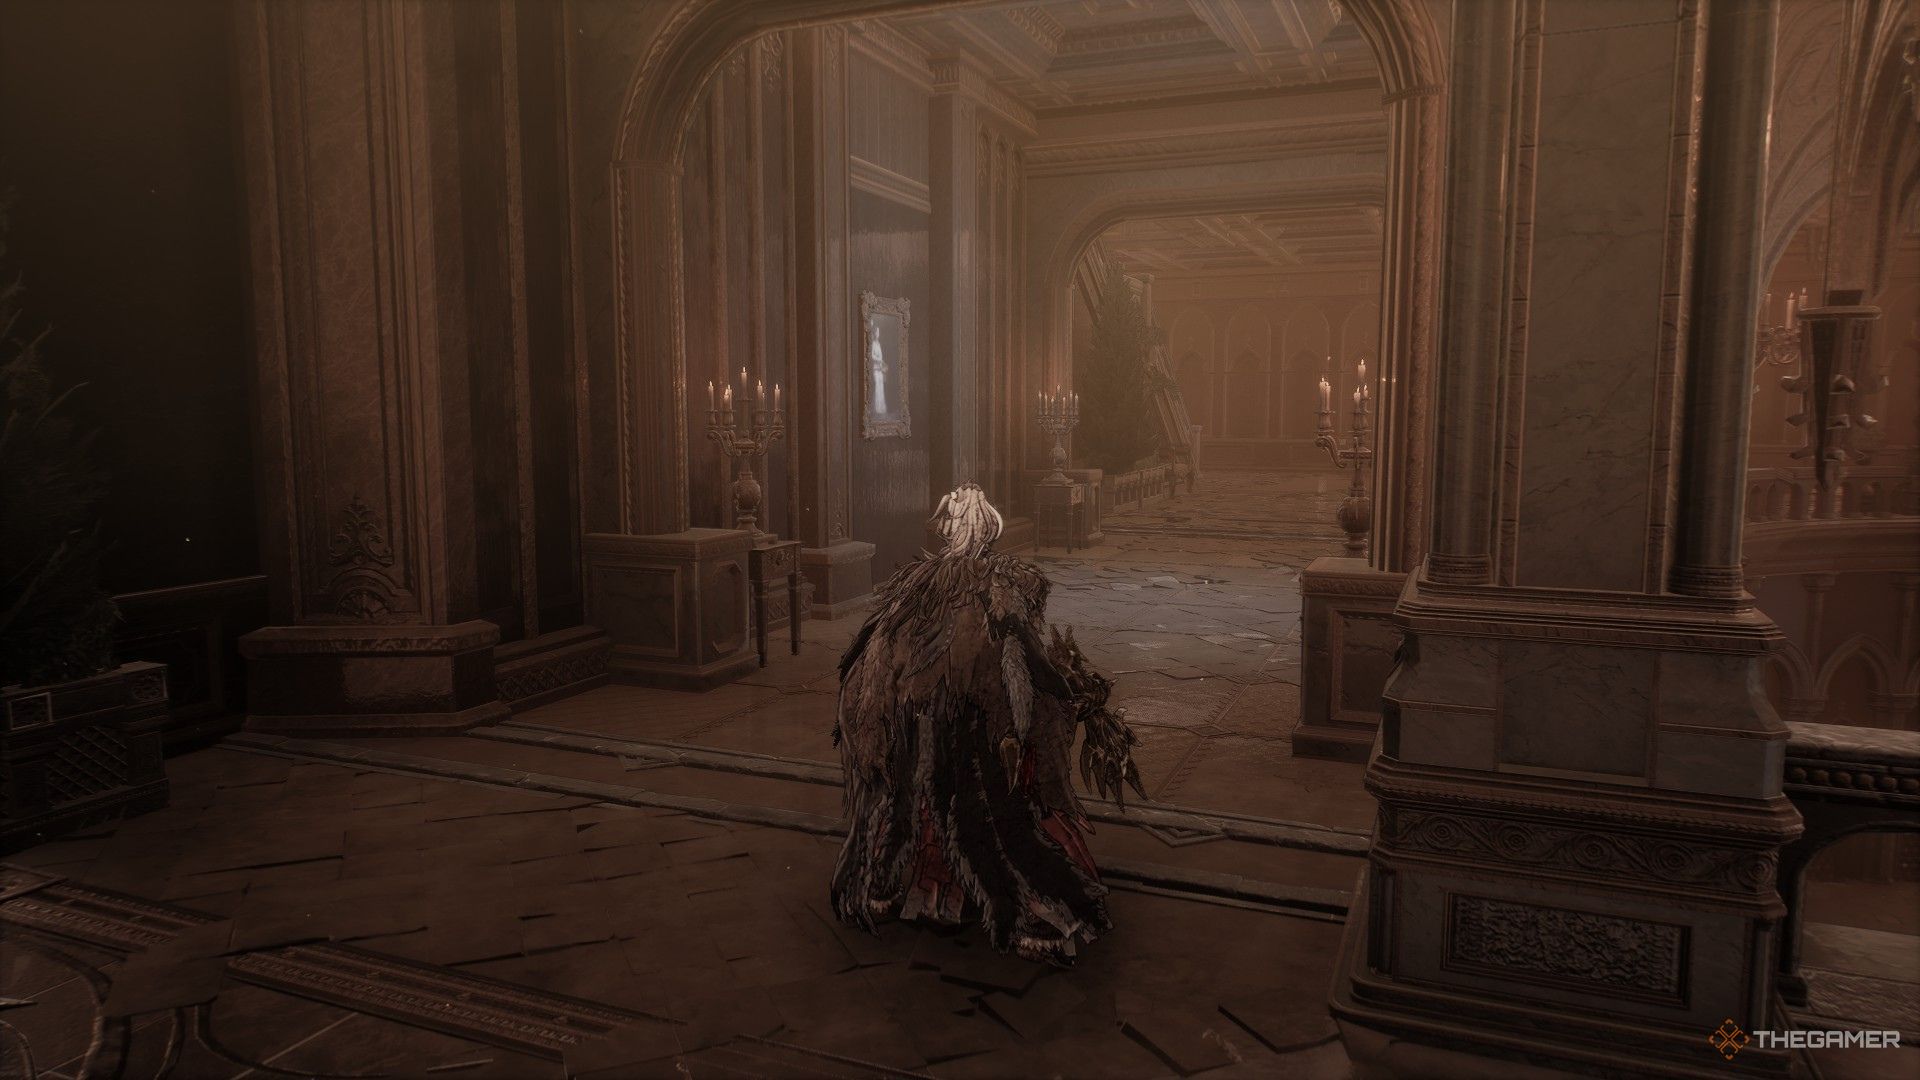
Step out from the concealed chamber now and continue your journey. You’ll encounter a barred gateway smack in the middle of the passageway, with the door on the extreme left shrouded in mist. Go through the central doorway instead, and you’ll discover the spectral lady residing here.
Defeat her to cause her to vanish, at which point she’ll transport herself to the upper level, simultaneously removing the fog from the left door.
The Illusory Wall And The Second Soul Stone
Advance past the gate that was once sealed by mist, and continue your journey. You’ll encounter numerous Yoma adversaries here, so make sure you’re ready. As you move along the hallways, look out for a painting on the left side of the wall when you proceed. Strike it to reveal a secret chamber.
In the heart of the concealed chamber lies a painting. Stepping towards it initiates a transport to another destination. Here, you’ll encounter the Bard, along with the second Soul Stone of this section. Proceed if you dare, and you’ll be able to open the gate, leading back to the central bridge on the Third Floor in the grand Theater.
Getting Rid Of The Ghost Lady
Once you’ve finished, make your way downstairs to encounter the Spellbound Knight who is guarding a valuable treasure chest. After defeating him, retrace your steps back up and take the path to the right where you’ll find an elevator. Descend and activate the lever to open the gate, which will lead you to the first Blade Nexus in this region.
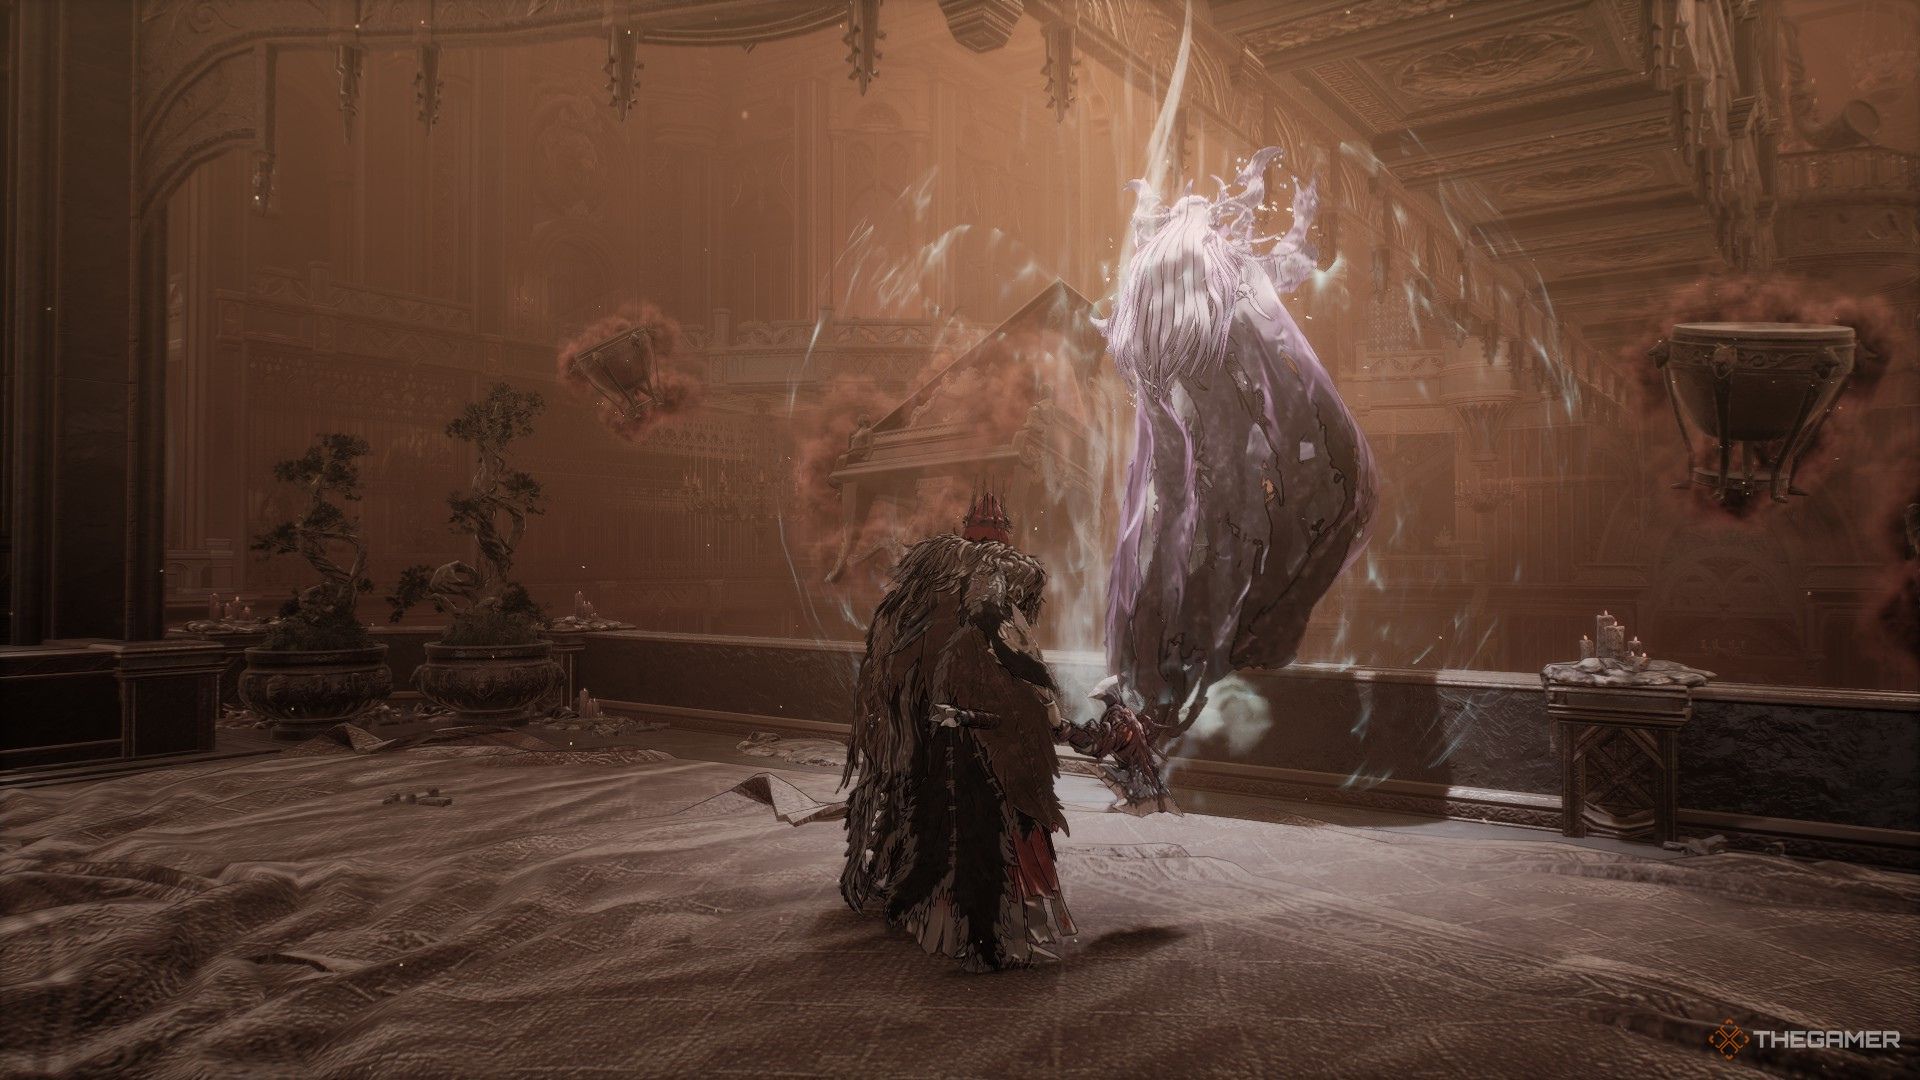
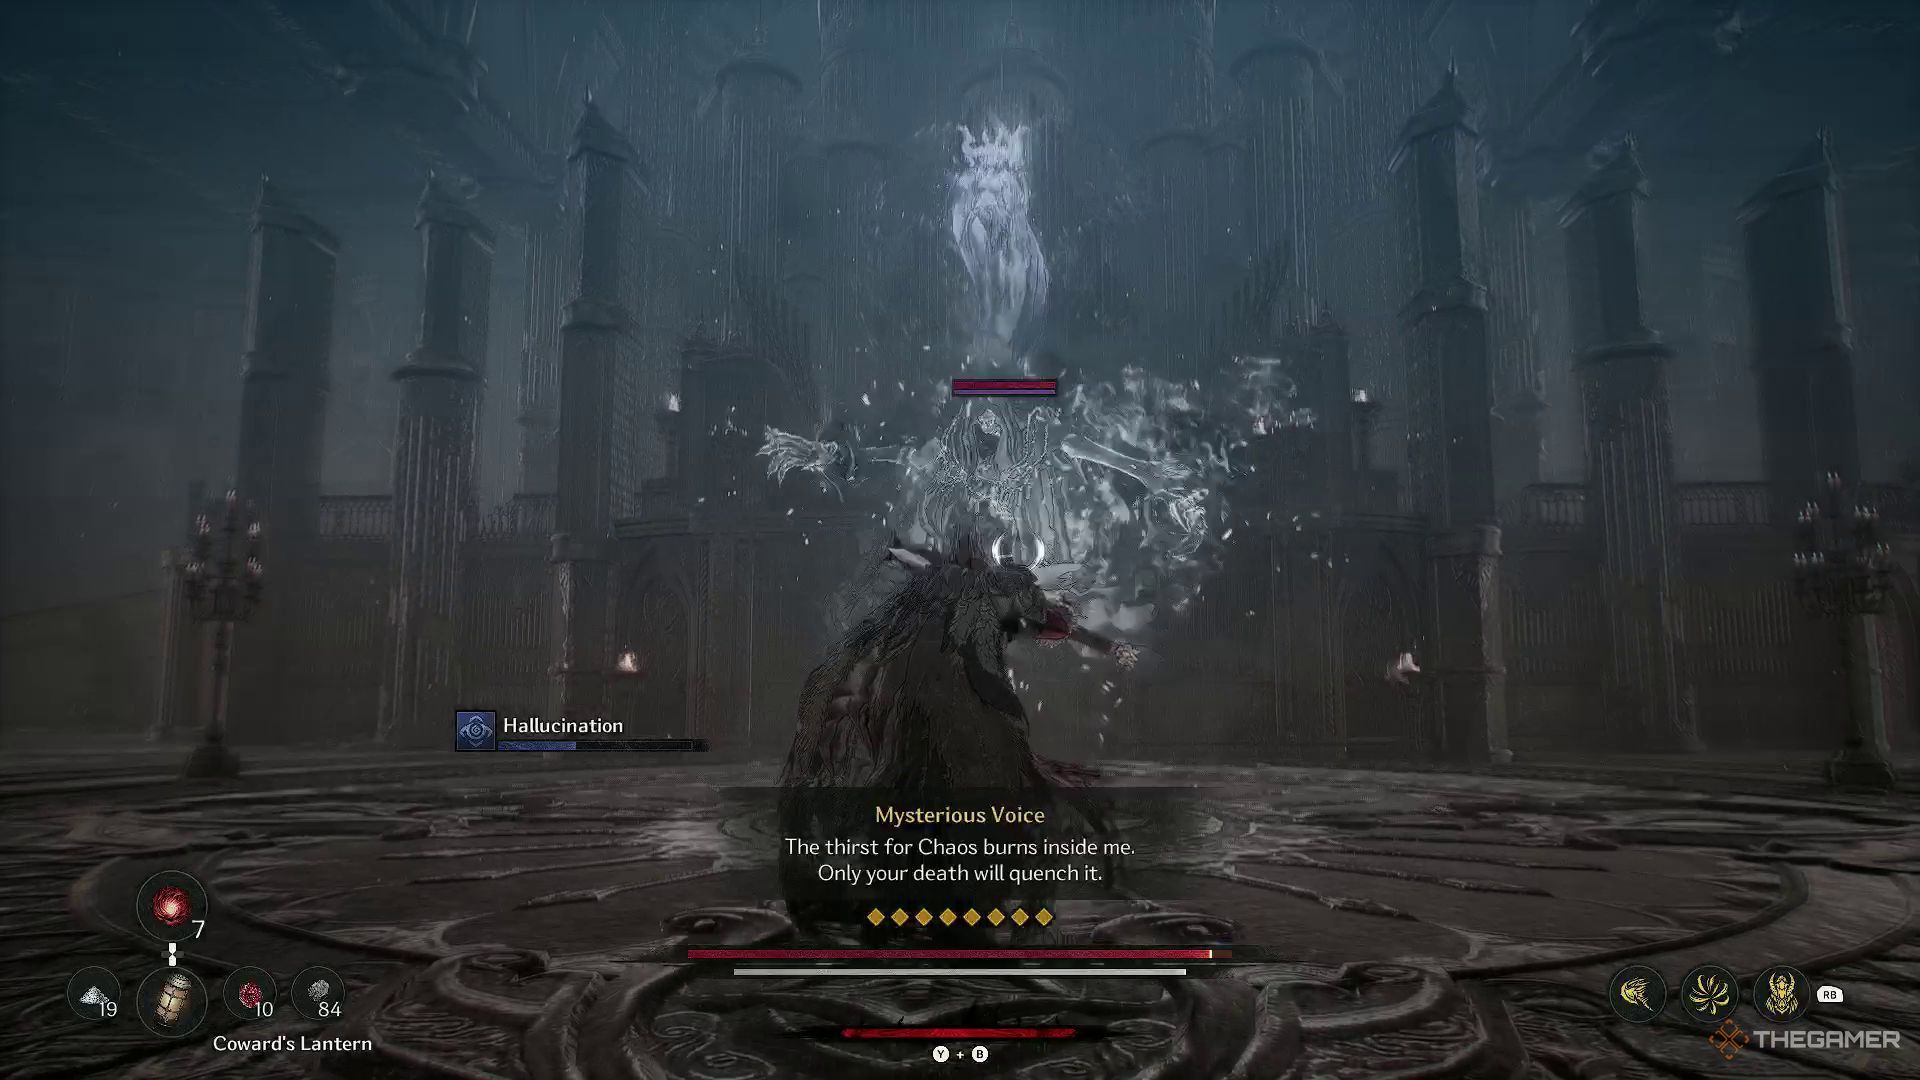
Head back and prepare yourself before crossing the bridge. Upon arriving at the bridge’s end, you’ll encounter a mysterious figure – a ghostly woman. As you draw near this spectral woman, she will conjure up a Soul Collector. Overcoming the Soul Collector will temporarily banish the ghost woman, allowing you to advance forward.
Head towards the spot where the spectral woman was positioned. There, you’ll uncover the Imperial Music Tutor’s Writings, enriching your knowledge about Princess Ilyna. Proceed along this lengthy passageway, and eventually, you’ll come across a barred entrance.
Path To The Museum
From now on, expect music devices causing hallucinations to surround you within their proximity. You’ll need to eliminate them to cease the effects. Furthermore, you may encounter Yoma Pursuers affected by Frenzy in this region. Moreover, you can access the remaining two Soul Stones and the single Jarling through this Blade Nexus.
Moving forward, you’ll encounter a frenzied Yoma Pursuer right off the bat. Overcome it and carry on to discover the initial music device. Along your journey, several Yoma adversaries await, all of which must be vanquished before you can enter a spacious hall.
As a gamer, I’d put it like this: “To my left, there’s a Yoma Pursuer and a Yoma Warlock on a tiny staircase. This place is swarming with more Yoma foes. After you’ve taken them down, head towards the spot where that Yoma Warlock once stood to discover a secret path hidden nearby.
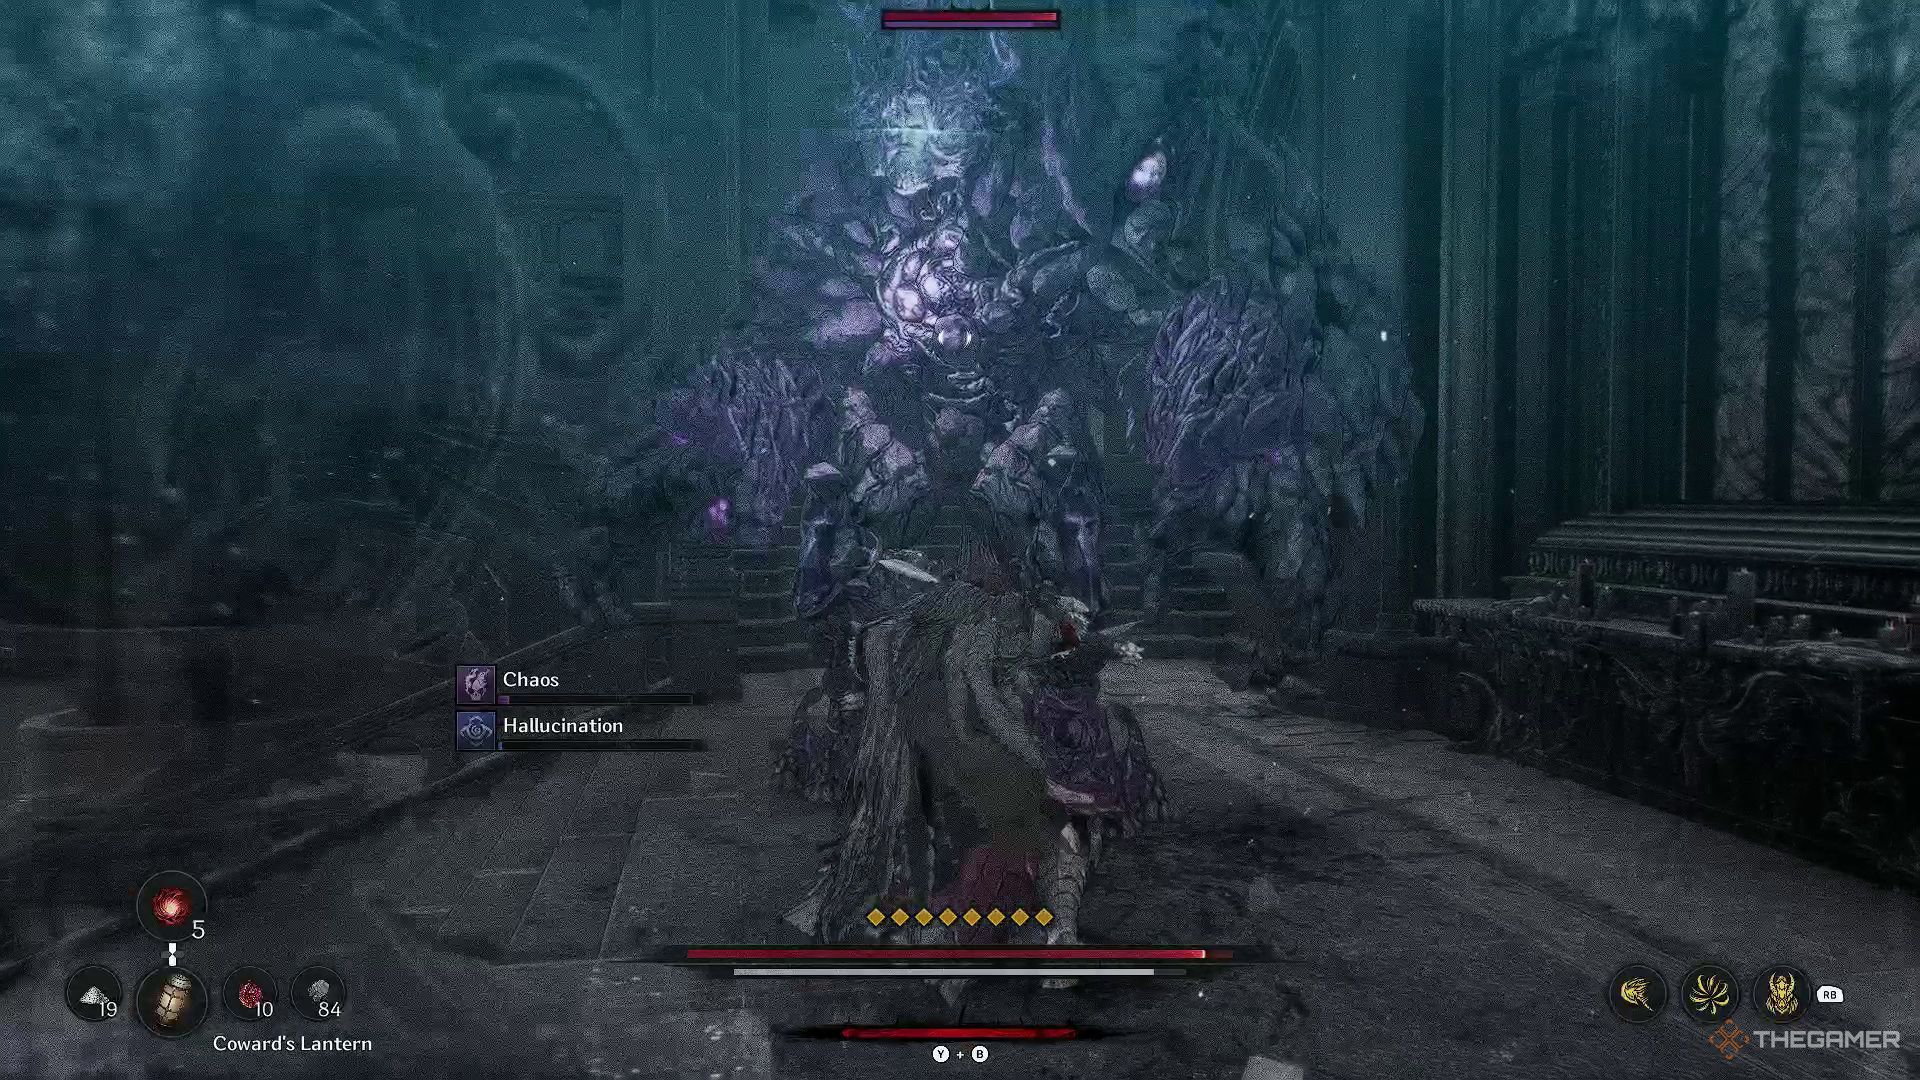
To access the location where another music player is hidden, you’ll need to take down the book from the shelves first. After that, you can re-enter the spacious room by maneuvering over the toppled bookshelves. Upon arrival, continue your journey ahead to encounter a formidable enemy known as the Servant of Chaos, an Elite Enemy.
Overcoming the Servant of Disorder grants you the Saint’s Scroll as a prize. This scroll empowers you to manufacture equipment from the Saint’s set.
The Third Soul Stone
Following your victory over the Elite Enemy, proceed by moving from right to left up the staircase to gather a Spirit Ore. Next, make your way to the staircase on the right and continue forward. Keep an eye out as there’s a Yoma Pursuer with Frenzy along the path, and another one inside the room ahead. You’ll need to defeat them, and in this very area, you’ll discover the third Soul Stone.
Leave the room and you’ll spot the music player to your left. Knock it over and prepare yourself to traverse a small bridge, but be cautious as a Corrupted Mage lurks at the other end of the bridge. After crossing the bridge, look for a ladder on the path to your left which will help you find a shortcut leading from the Path To The Museum Blade Nexus.
Go out of the room and you’ll notice a music player over there; destroy it and then head across a little bridge. Be careful, though, as a bad guy is waiting at the other end of the bridge. After crossing the bridge, search for a ladder on your left side to find a shortcut from the Path To The Museum Blade Nexus.
Once you’ve accessed the shortcut, climb up the ladder and move forward. In the center, you will encounter a locked gate with steps going downwards and an exit leading out on your left.
The Grand Central Theater Key And The Fourth Soul Stone
Start by exiting through the doorway to your left. You’ll encounter some Yoma foes in this area. Upon leaving, make sure to jump down onto the ledge and continue forward. Be cautious, as immediately after landing from the ledge, you’ll find a Yoma Warlock standing close behind you. Proceed a bit more, and you’ll come across an entrance that will lead you back inside the Theater.
Upon returning indoors, you’ll encounter a Yoma Pursuer here. Defeat this one and proceed left, where you’ll meet another Yoma Pursuer. Dispose of it, and you’ll discover both a Yoma Warlock and a treasure chest in the room that previously housed the second Yoma Pursuer.
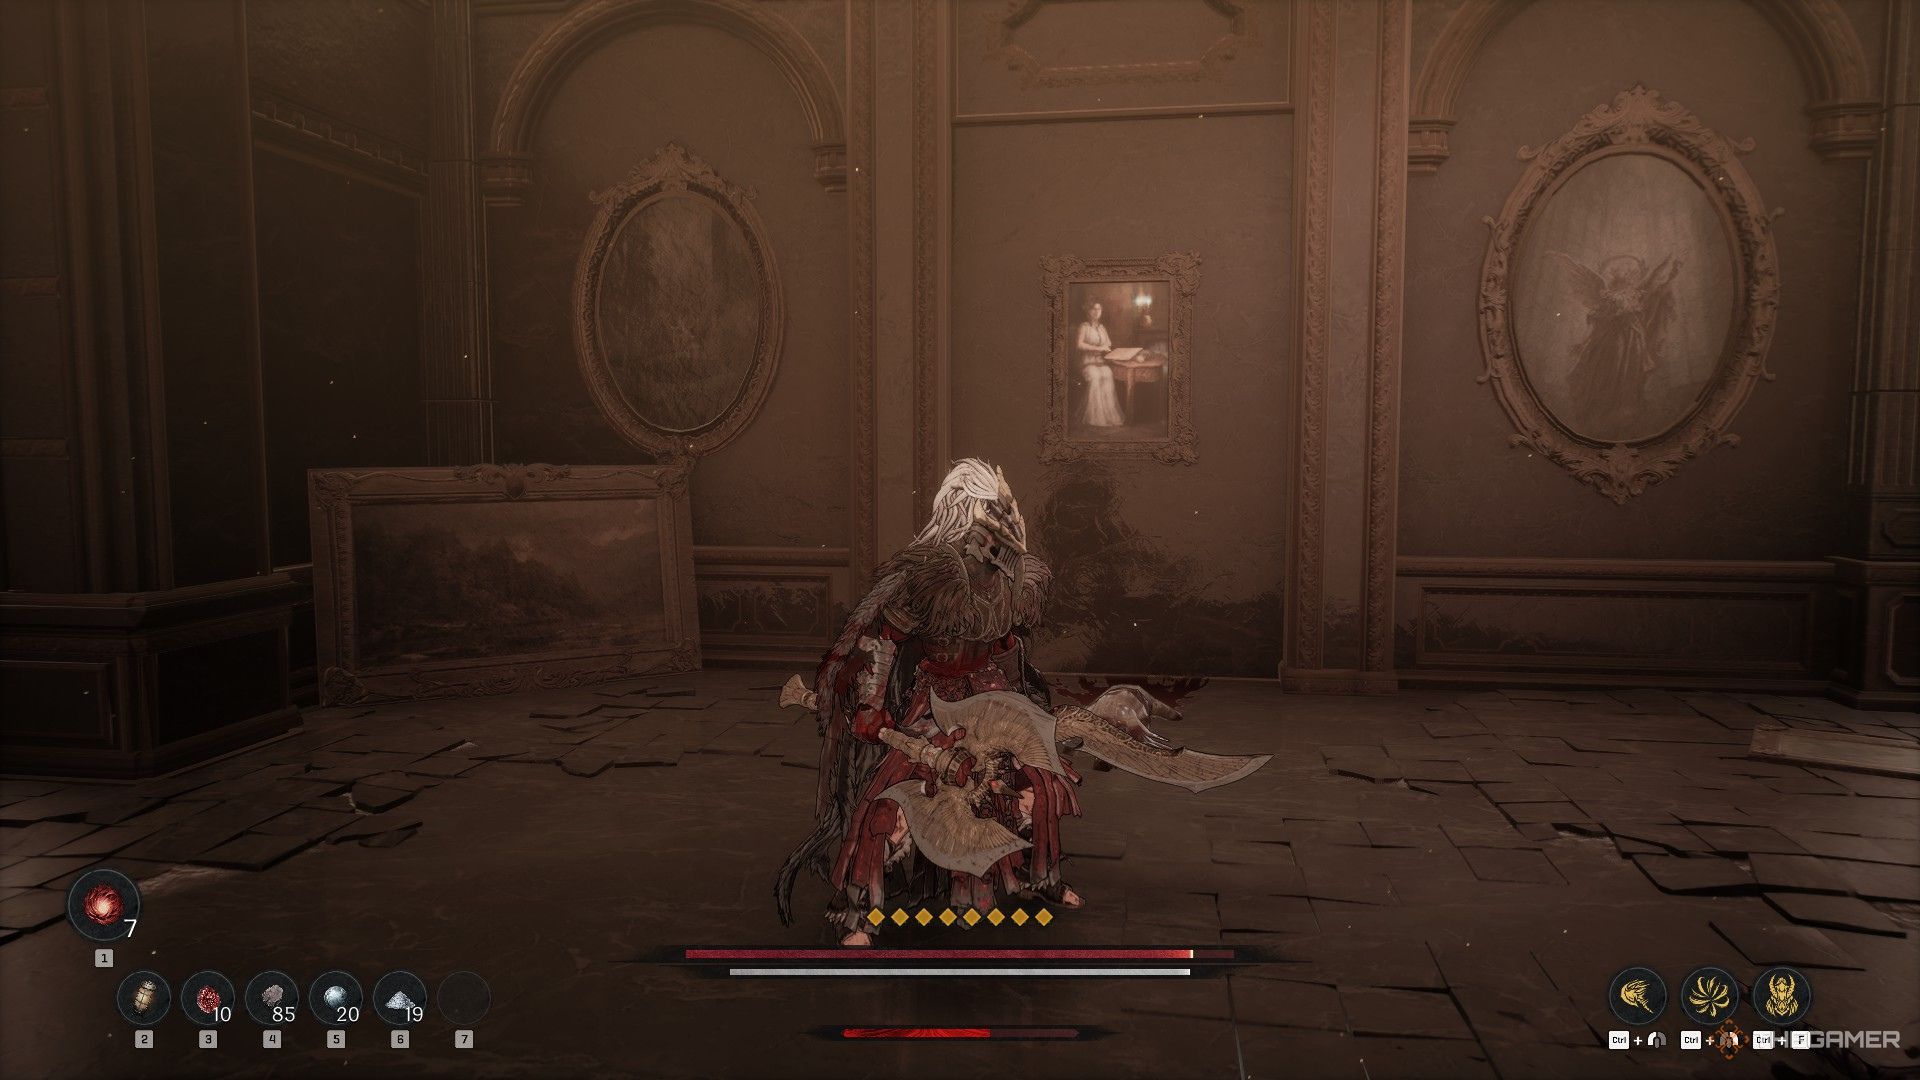
Upon opening the treasure chest, you’ll come across the Grand Central Theater Key. To your right, there’s a painting that you can tap to reveal a concealed room. In this secret chamber, you’ll discover the fourth Soul Stone of this location.
Once you’ve annihilated the last magical artifact known as the Soul Stone, make your way directly towards the entrance, for it lies ahead. Be wary, as numerous adversaries populate this area. Upon vanquishing them all, locate the Rovelion’s Disk Fragment in the central part of the room. Subsequently, return upstairs to use the Grand Central Theater Key and unlock the previously secured gate.
The Revenant Devourer And The Hidden Jarling
Upon opening the door, you’ll encounter a formidable foe, the Revenant Devourer, an Elite Enemy. Overcome it and you’ll gain access to the gate beyond. However, don’t rush down the long corridor just yet as there’s another destination you need to reach first.
Immediately upon entering, take a right turn, and you’ll come across a statue. There’s a picture on the wall beyond that statue. Should you knock on it, you’ll reveal a secret room. Inside this secret room, there will be a treasure chest and the sole Jalring in this location.
The Grand Central Theater
To get to the Grand Central Theater Blade Nexus, make a beeline through the hallway now. Once you’re there, go down the stairs and keep moving forward, though be aware that there are two Spellbound Knights in this vicinity. You can easily skirt around them by sprinting directly towards the door to initiate the boss fight.
On one side of the screen stands a captivating knight, an encounter you’ll consistently have as you approach the boss arena. Should you set off towards the right from Blade Nexus, you have the option to leap and attack from an elevated position. Although this won’t defeat the Spellbound Knight, it will inflict a substantial amount of damage.
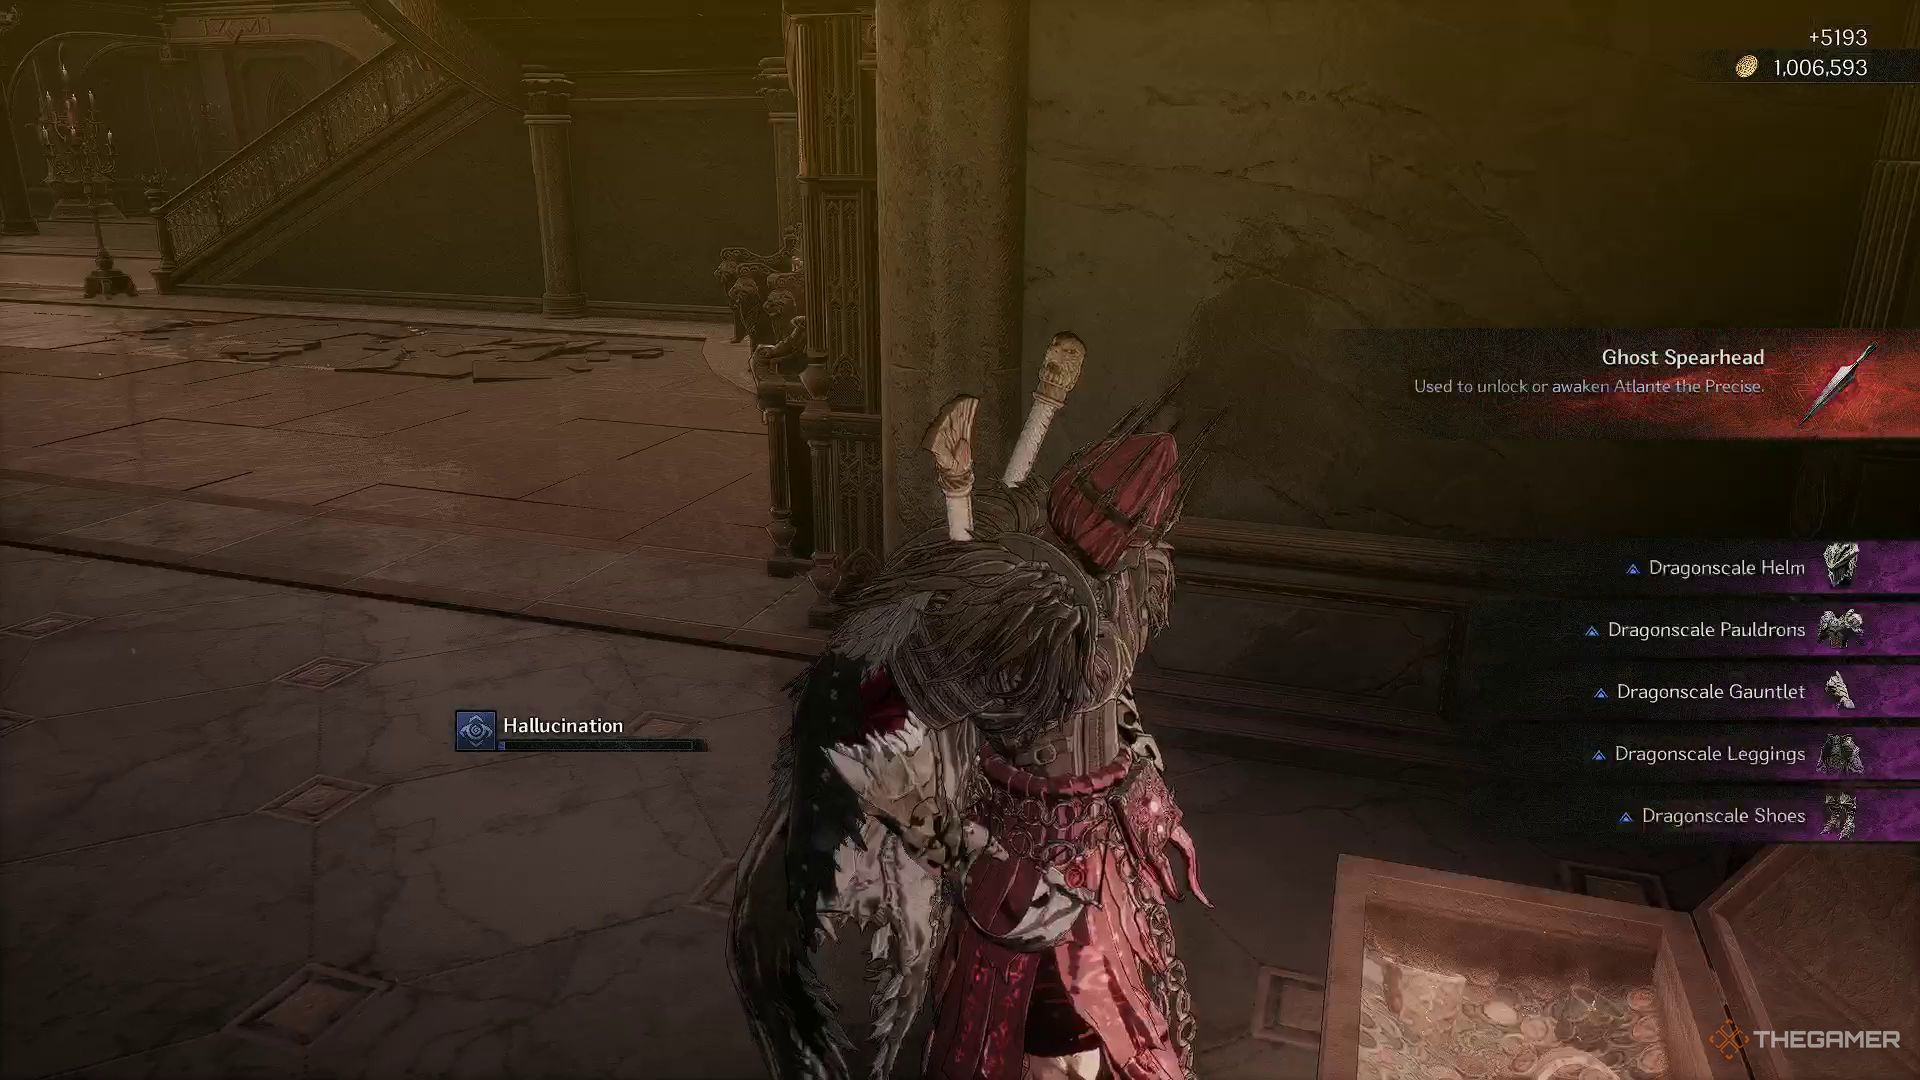
To your left in the room, there stands another Spellbound Knight, safeguarding a valuable treasure chest. Overcoming it is necessary if you wish to access the chest containing the Dragonscale Armor set and Ghost Spearhead. Once obtained, these items can be used to revive Atlante the Precise Phantom, but this is a one-time opportunity.
After that point, feel free to make a beeline for the confrontation with Princess Ilyna, which takes place in the main theater hall of the Grand Central Theater.
Read More
- All Skyblazer Armor Locations in Crimson Desert
- One Piece Chapter 1180 Release Date And Where To Read
- How to Get the Sunset Reed Armor Set and Hollow Visage Sword in Crimson Desert
- All Shadow Armor Locations in Crimson Desert
- How to Beat Stonewalker Antiquum at the Gate of Truth in Crimson Desert
- All Golden Greed Armor Locations in Crimson Desert
- All Helfryn Armor Locations in Crimson Desert
- Marni Laser Helm Location & Upgrade in Crimson Desert
- Cassius Morten Armor Set Locations in Crimson Desert
- USD RUB PREDICTION
2025-04-06 16:37