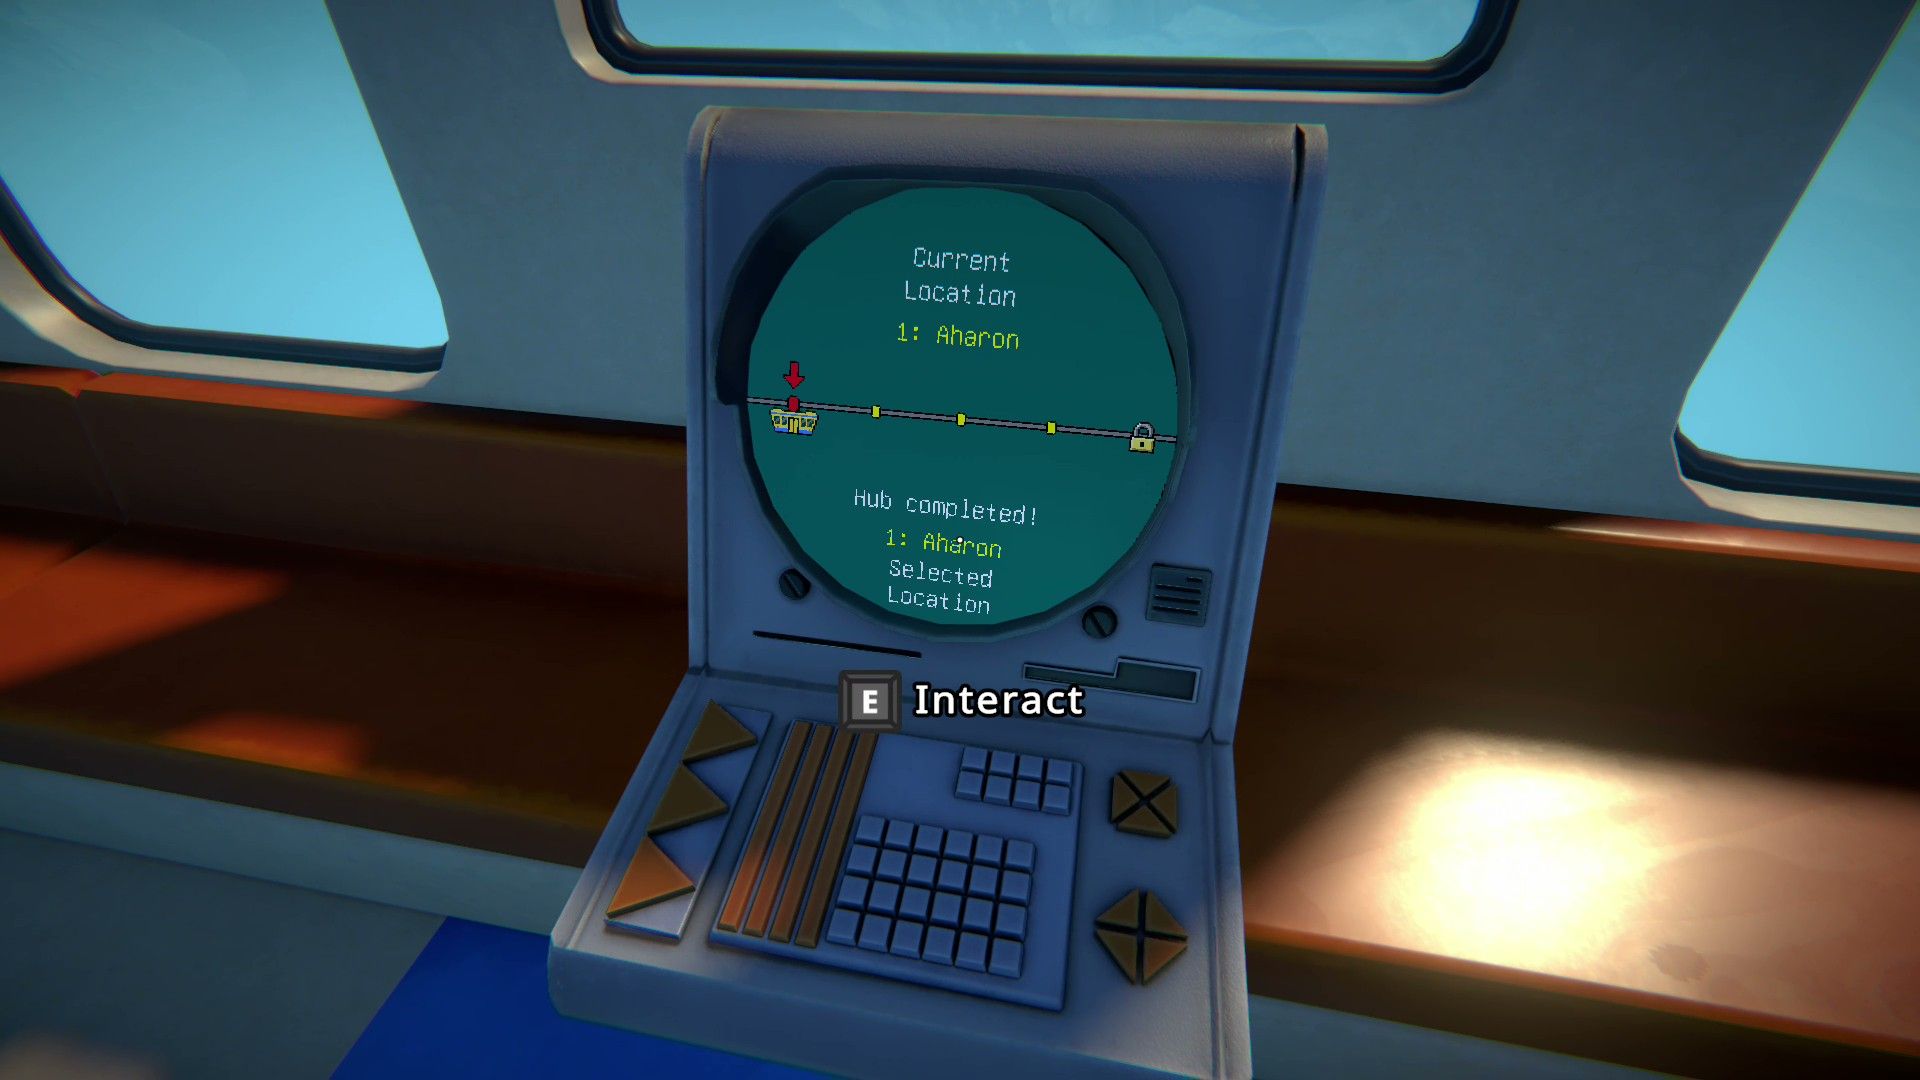
Players begin their journey in Viewfinder at the Aharon hub. It contains three essential teleporters needed to progress the story, as well as an extra, optional teleporter with additional puzzles to solve.
This guide provides a walkthrough for every level in Viewfinder Chapter 1. Expect to spend around 20 to 30 minutes completing this introductory section, which will teach you the core gameplay mechanics of the game.
Viewfinder Chapter 1, Teleporter 1
The first teleporter leads to three introductory levels – 1.1, 1.2, and 1.3. These levels teach players the core gameplay mechanics, so careful attention is recommended.
Level 1.1
Once players use the first teleporter, they need to enter the house and go down the stairs to the patio. There, they’ll find a table with a board on it, and they need to go over and reach it.
Players will naturally try the central bridge, but it collapses, dropping them into a pit. This is where they learn they can rewind time. They’ll need to use this ability to go back and choose one of the other two bridges. After that, they have to take a picture from a board, place it in the correct spot, and walk through it.
Level 1.2

In the puzzle game Viewfinder, simply getting to the teleporter is often the hardest part. However, sometimes players also need to find a way to turn the teleporter on. One way to do this is by using a battery to provide power.
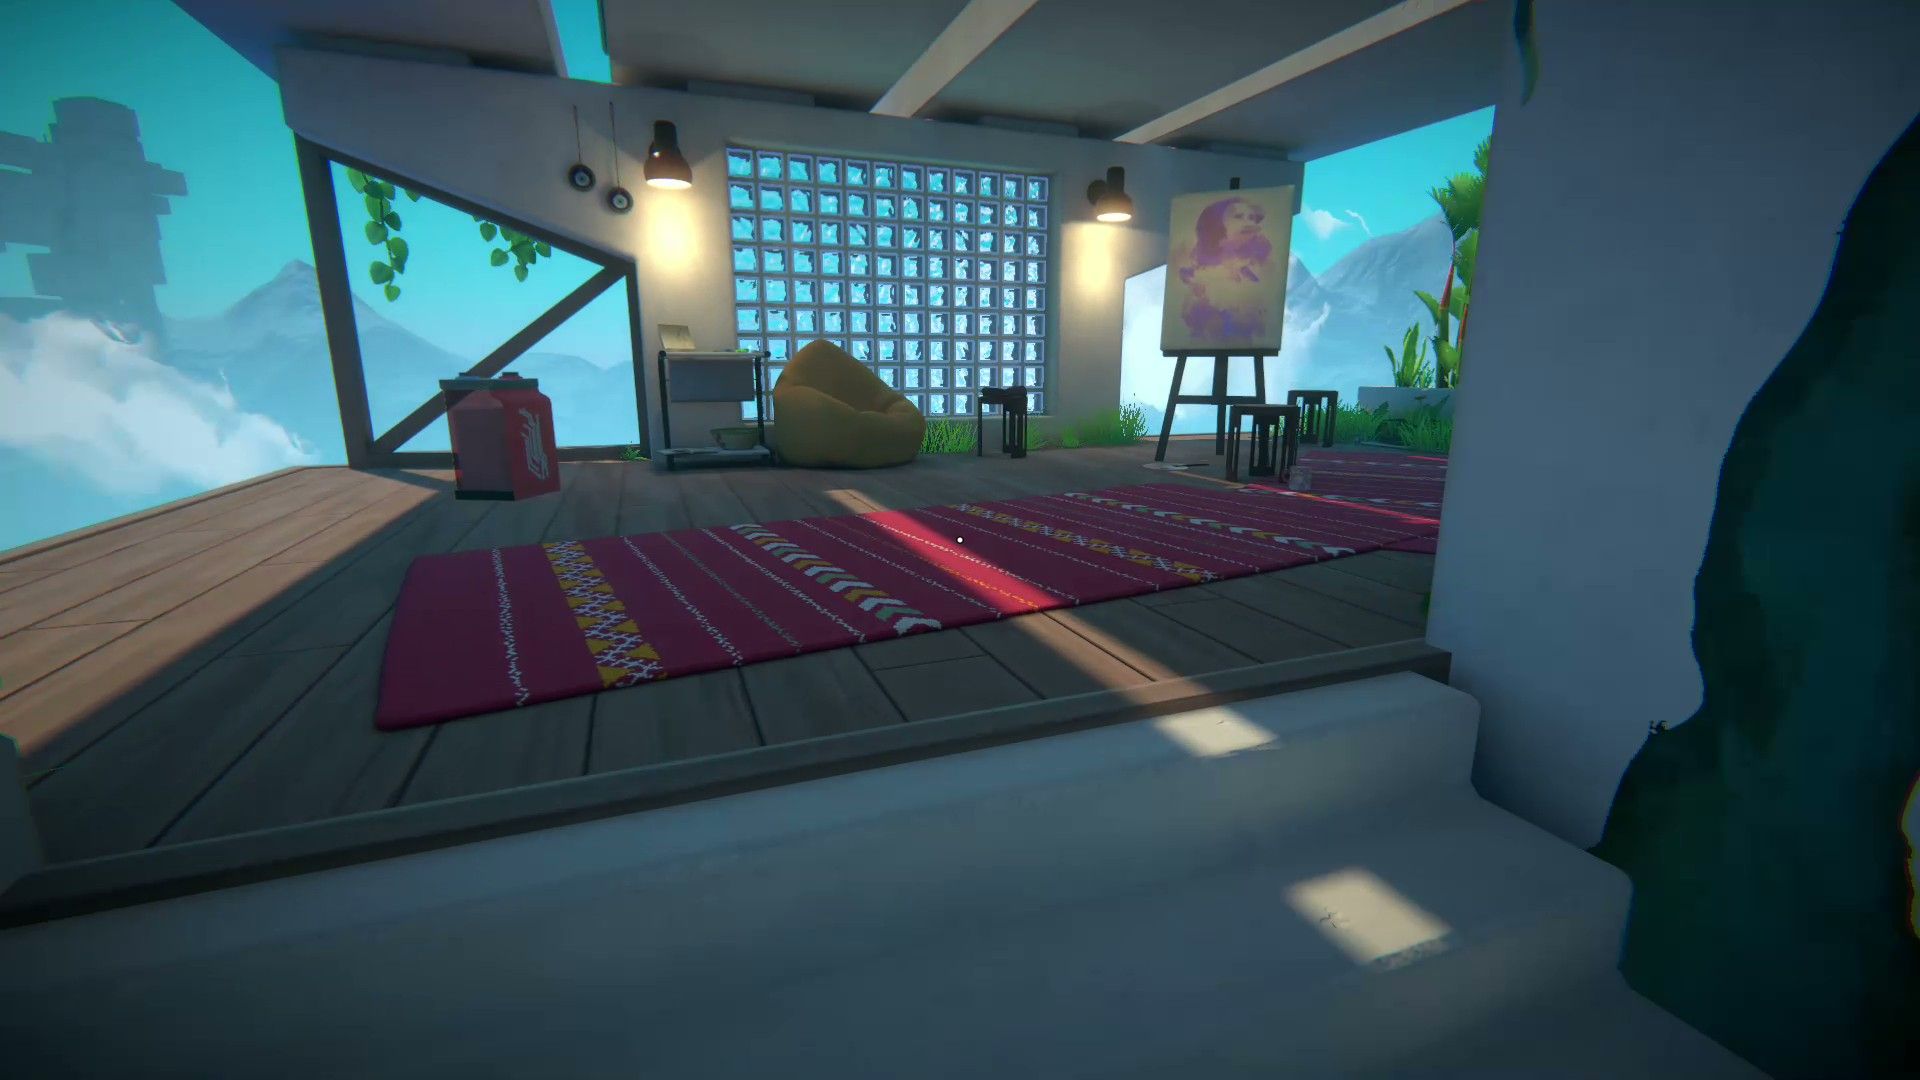
In Level 1.2, players need to find two batteries to activate the teleporter. One battery is located in the room next to the teleporter room, which also contains a picture board. To get the first battery (black and white), players must place the picture on the board and then step into it. After collecting both batteries and placing them on the teleporter’s charging platform, the teleporter will activate, allowing players to advance to the next level.
Level 1.3
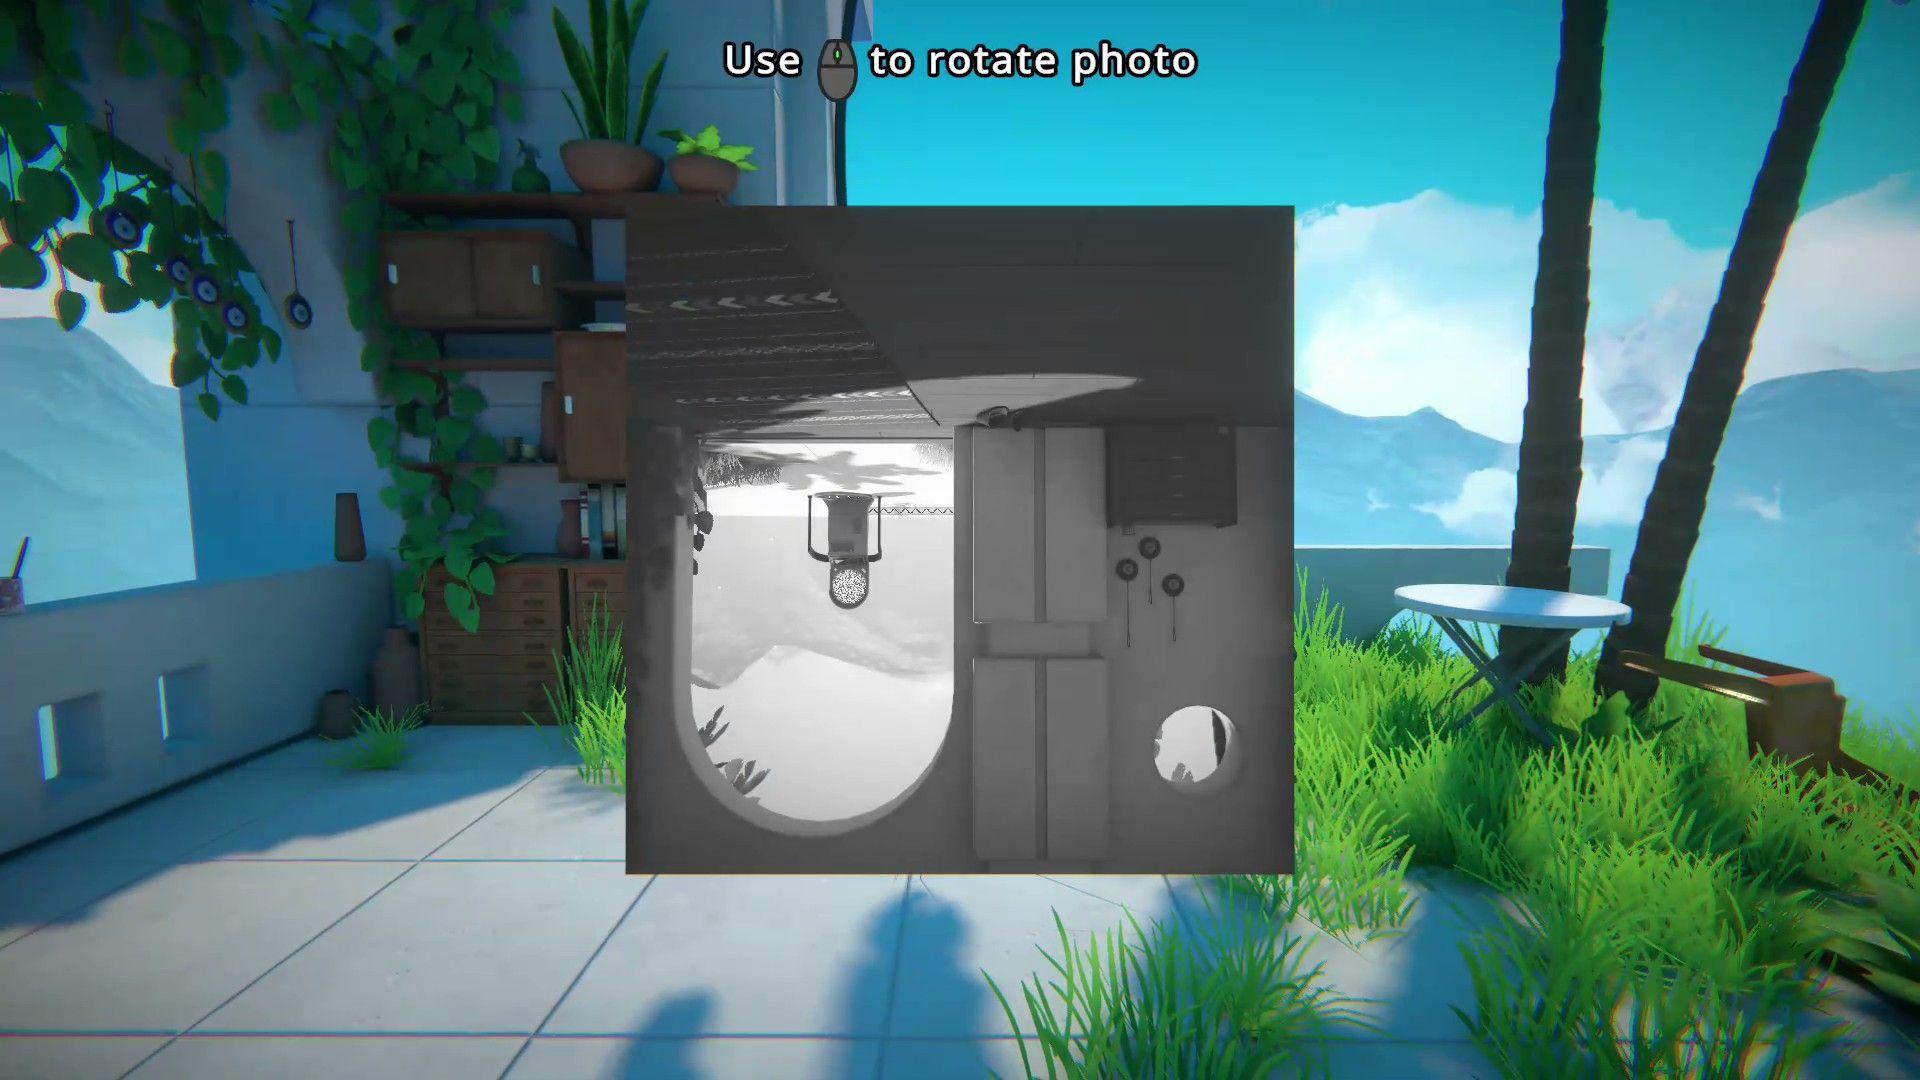
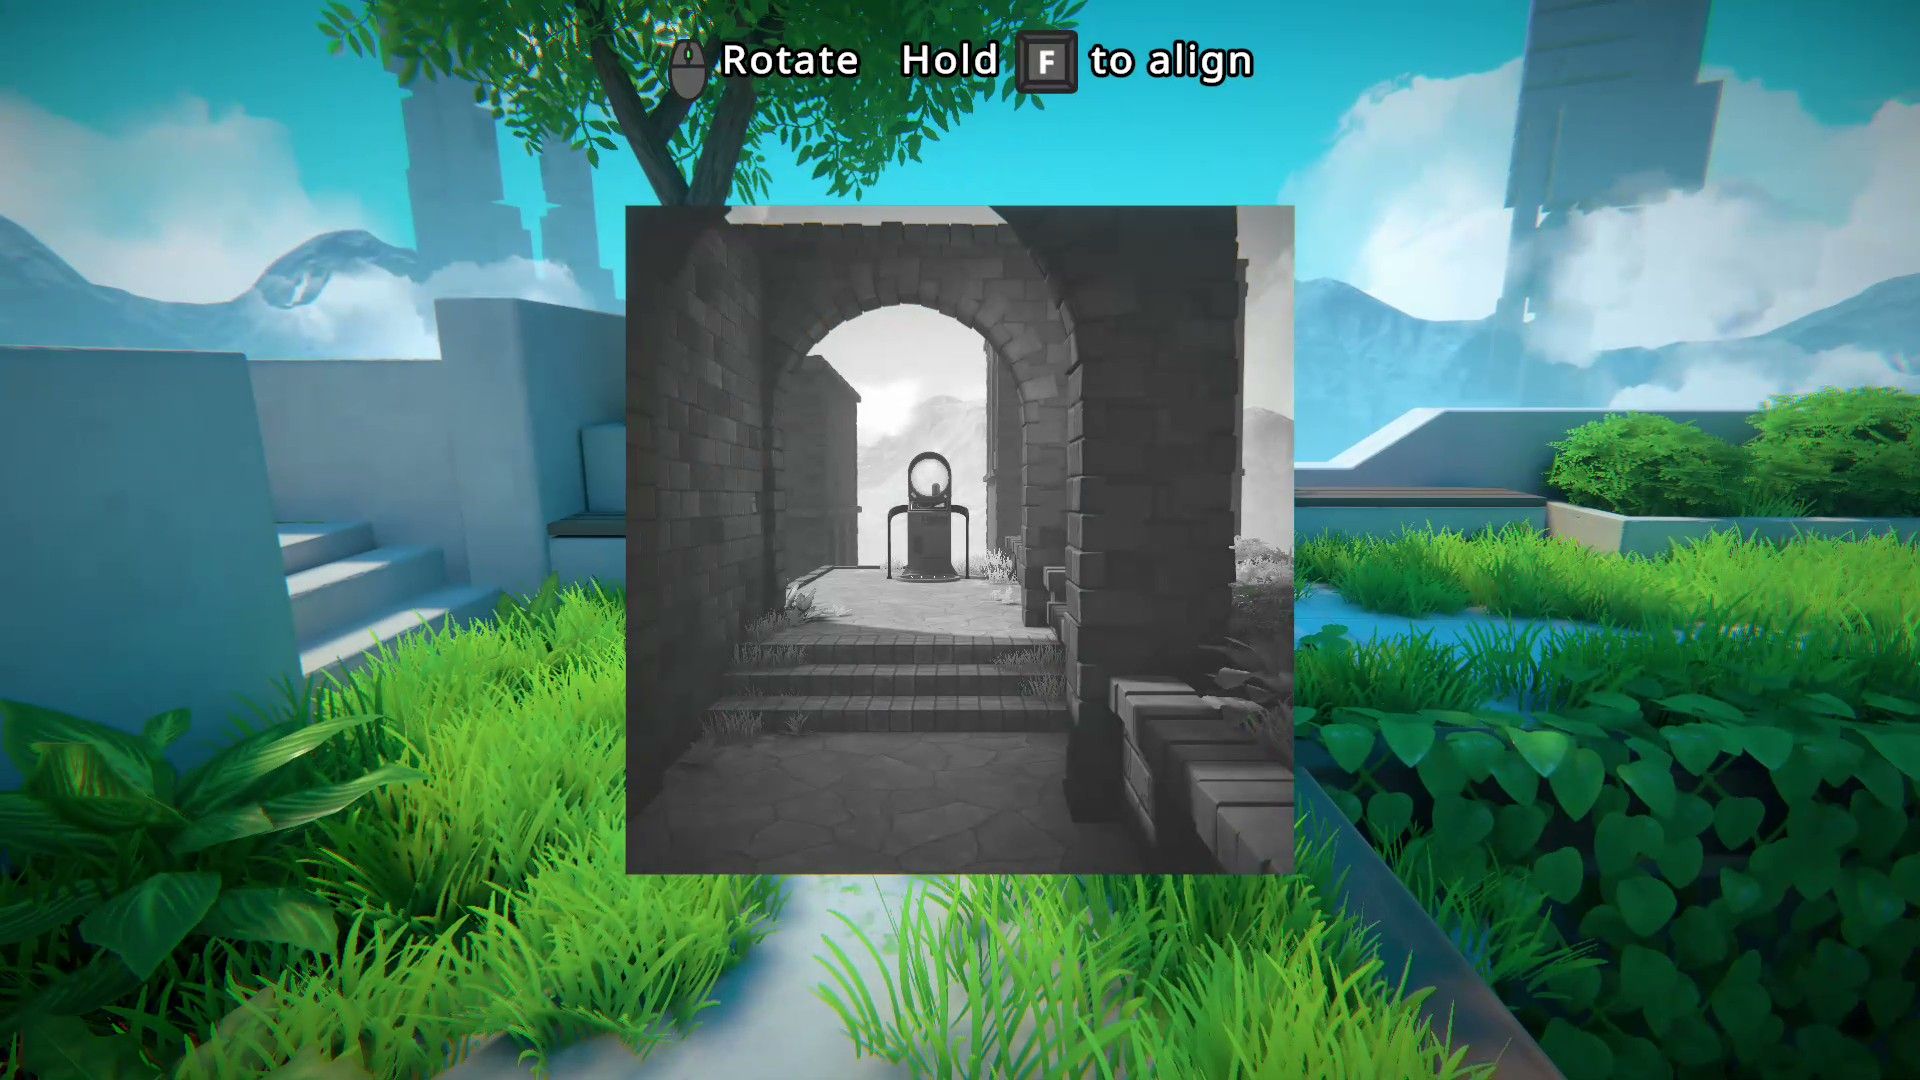
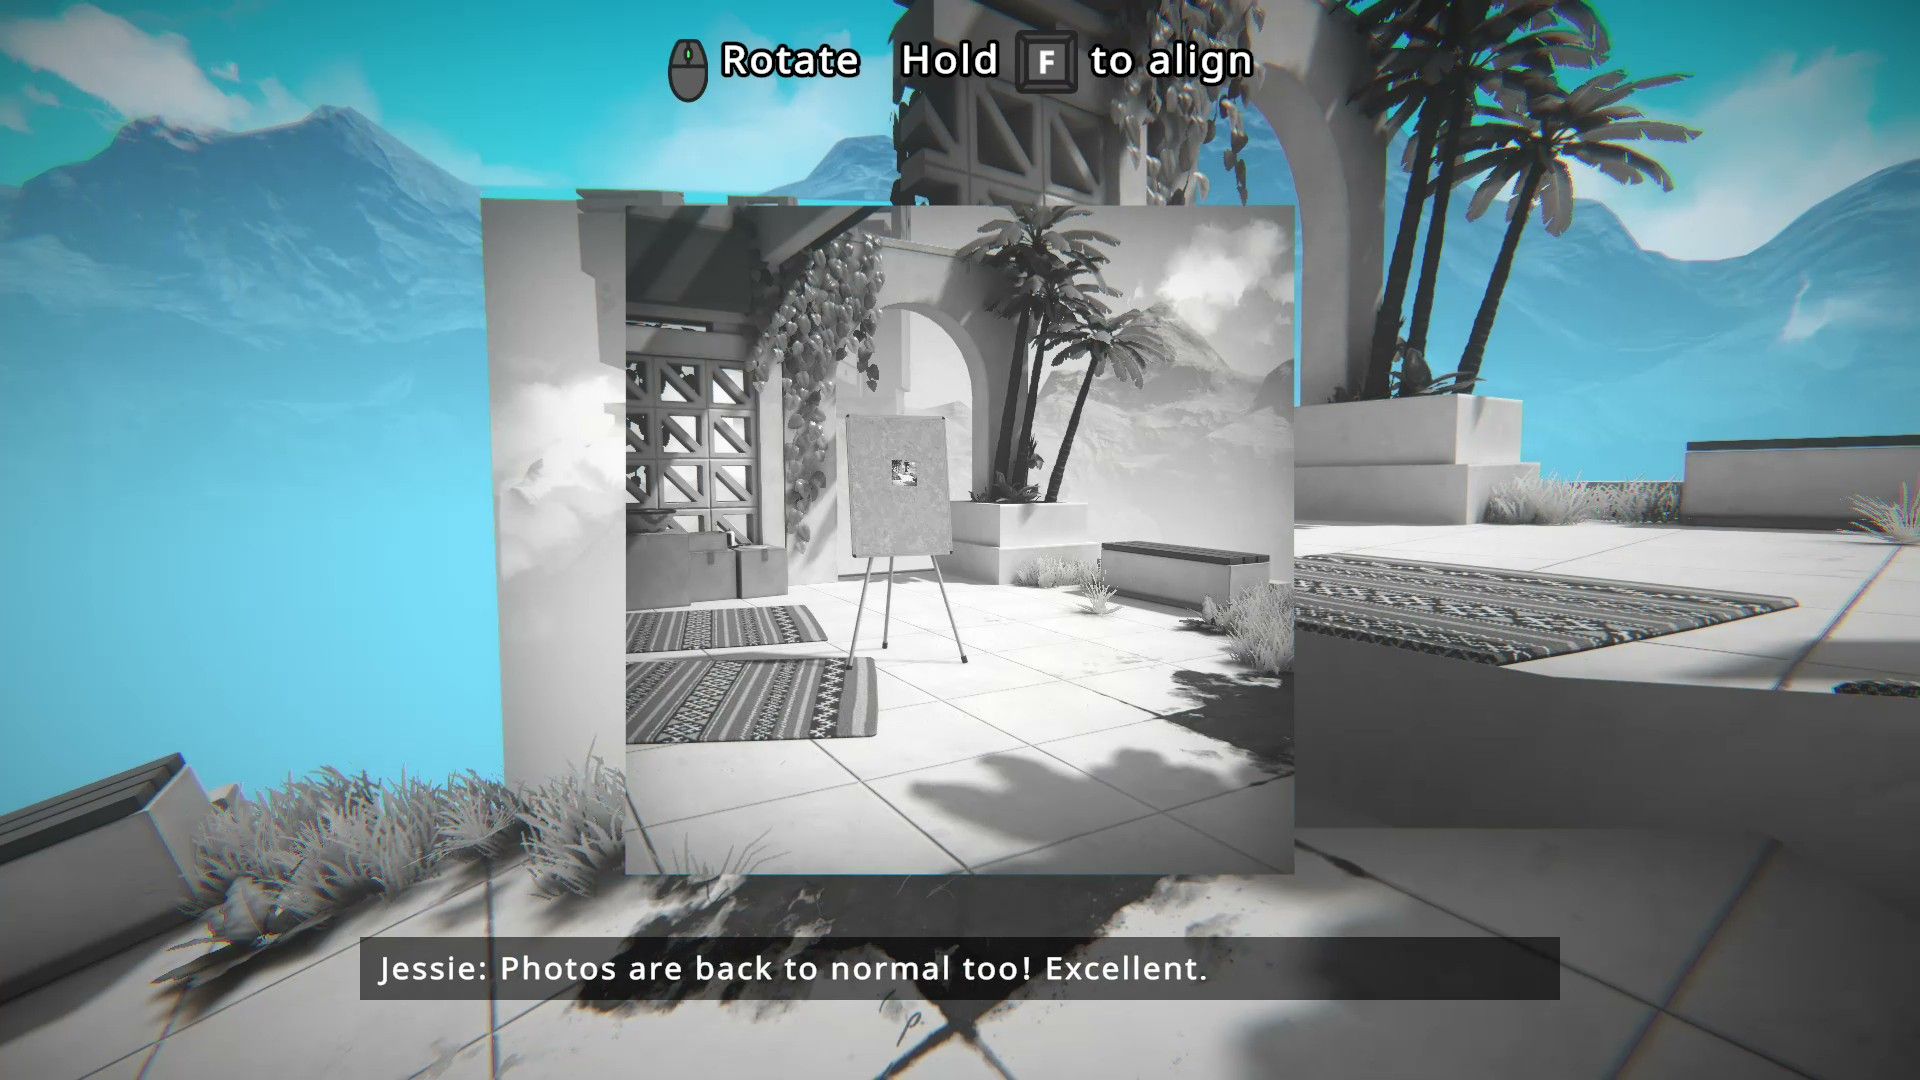
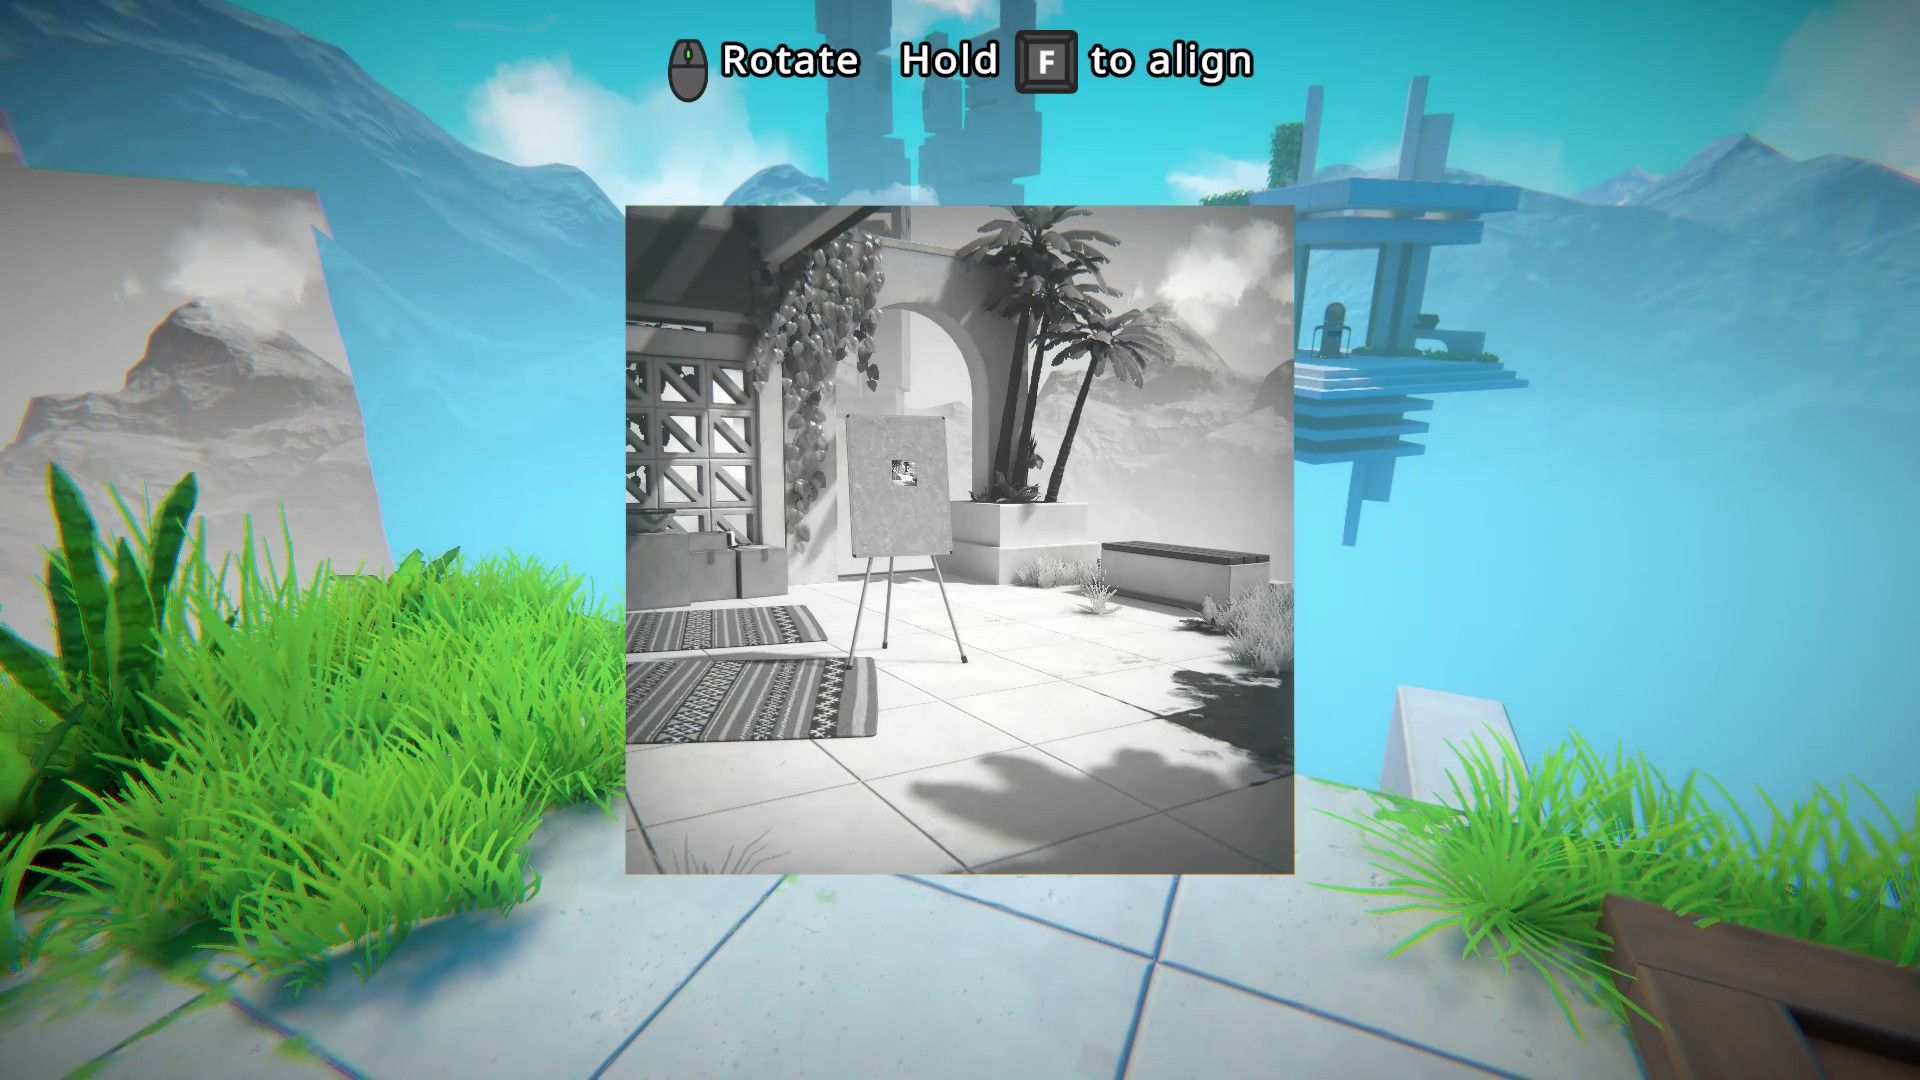
In the game Viewfinder, many puzzles involve rotating pictures to solve them. For example, in Level 1.3, players need to rotate a picture of a teleporter 180 degrees to make it right-side up. This allows them to access the teleporter and a battery needed to progress.
Next, players enter the image, take the next picture from the display, and turn it a little to get to the battery without it falling. They then pick up the battery and carry it to the teleporter to activate it.
Viewfinder Chapter 1, Teleporter 2
Okay, so I just finished Level 1.3 and now I’m back at the main hub area. To get to the next level, I need to head right and climb those stairs – that’s where the second teleporter is located. Let’s do this!
Level 2.1
Once players enter Level 2.1, they should head to the right. There, they’ll find a picture of a bridge on a table, which they need to use to create a pathway to the other side. After crossing the bridge, they’ll discover another picture on a table – this one will help them open the gate and continue forward.
The teleporter is located on top of a building past the gate. To reach it, they need to turn a picture of the building so it lies on its side, creating a ramp to climb up.
Level 2.2
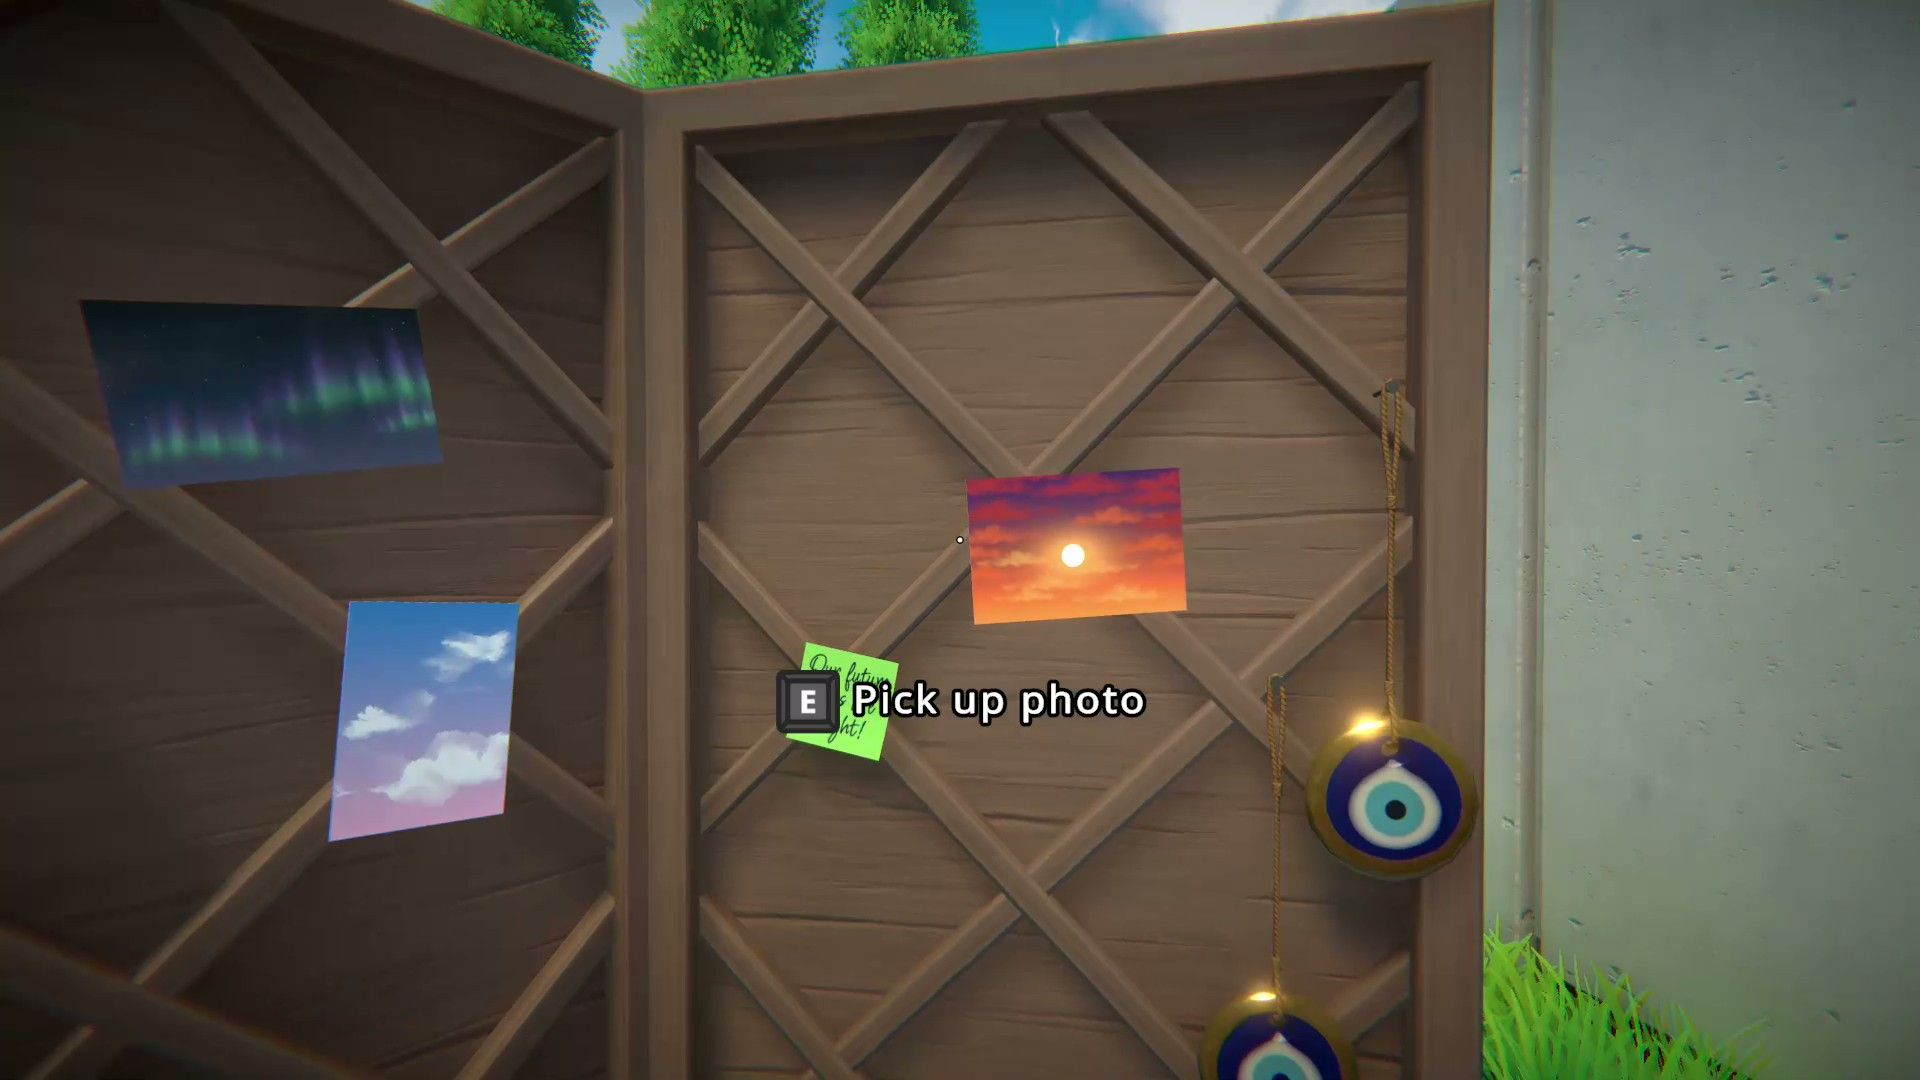
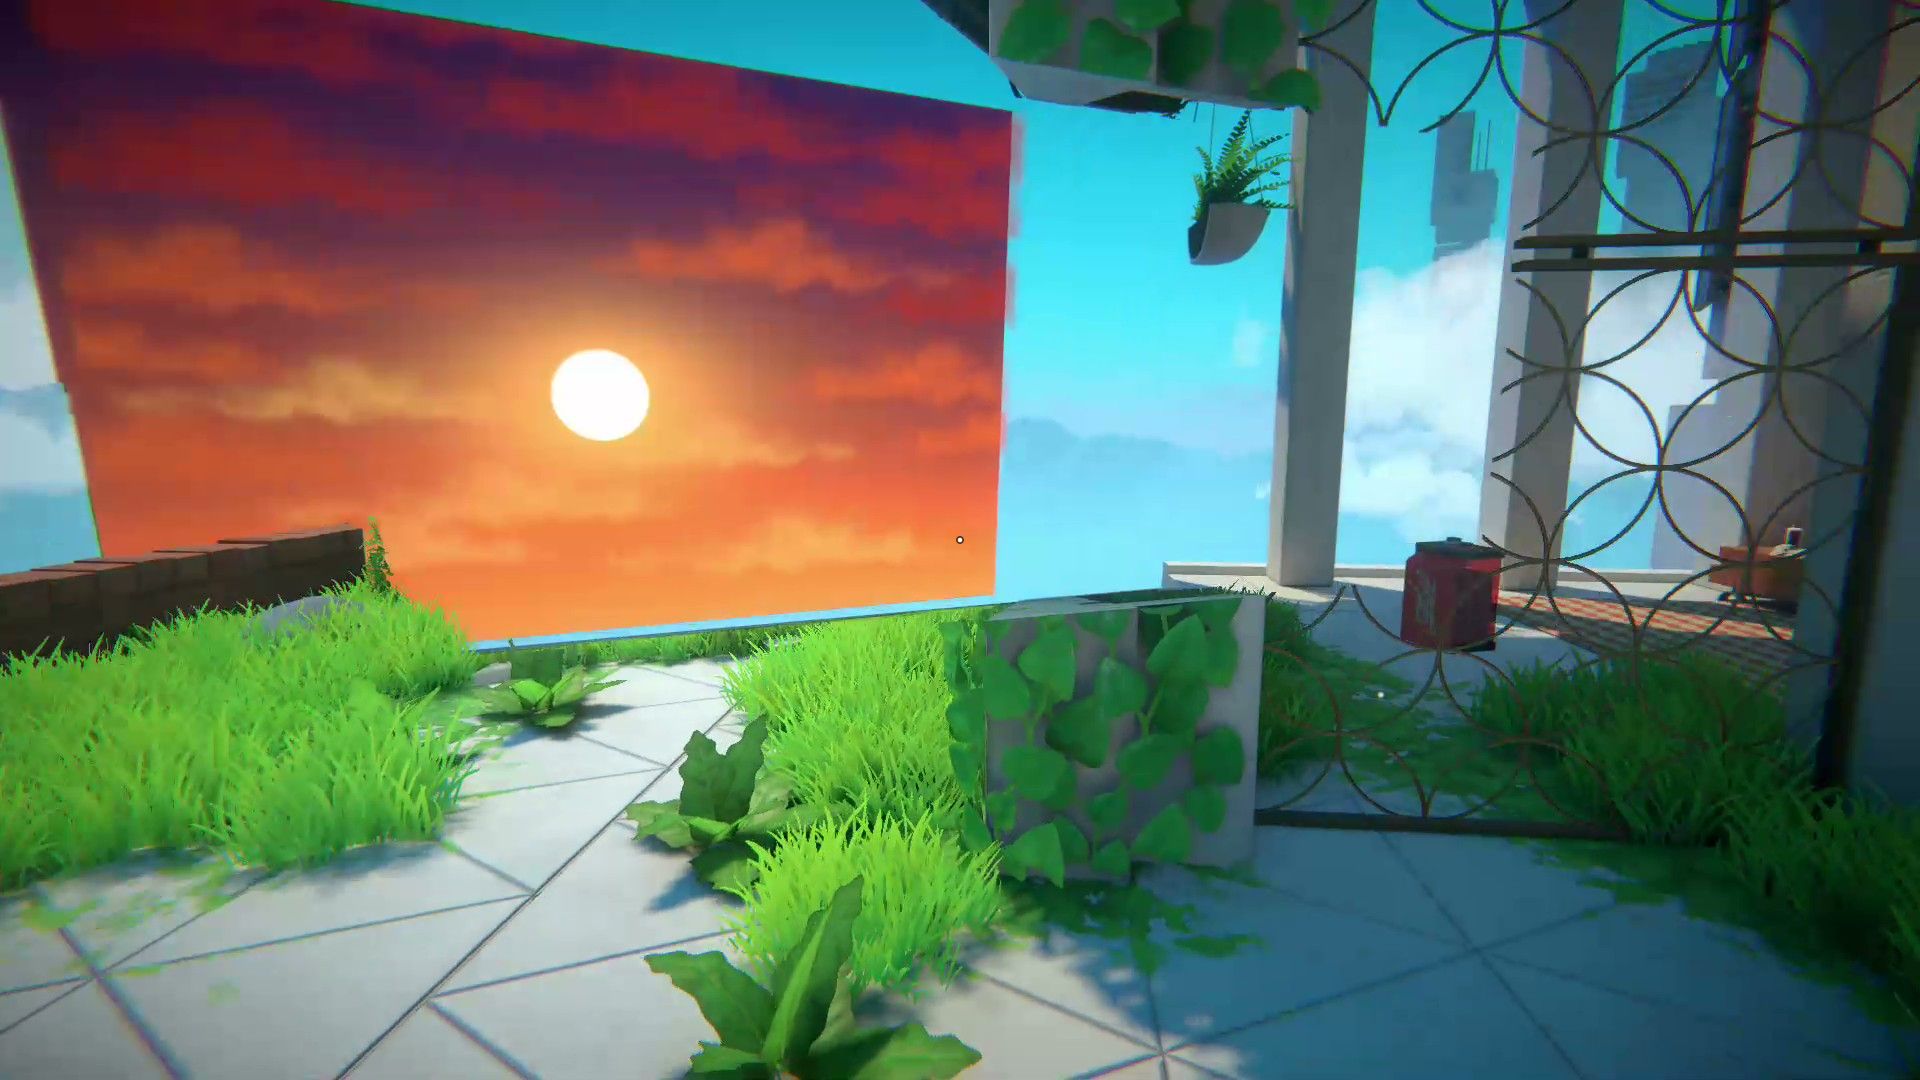
In Level 2.2, players need to locate two batteries. The level features two blocked-off areas, but you can access them by using two of the three sky photos you’ve collected. Placing a photo of the sky against a wall will break it down, opening up a path to these previously unreachable areas.
The battery inside the fenced area is simpler to access because players can safely position the photo without damaging it. The other battery is fully enclosed by walls, which could lead to accidental destruction. Luckily, players can easily rewind time and try placing the photo again if needed.
Level 2.3
The picture displayed shows a repeating image, and players need to repeatedly use it to create a path towards the teleporter – it’s like building a temporary bridge.
As players add more images, the game will start to show errors. These images will then be moved to a server room where players need to repair a problem with the simulation to get back to Level 2.3 and continue playing. The fix is simple: players can resolve the issue by pressing the red buttons until they turn green.
If players revisit Level 2.3, they can skip this story section. Because the simulation has been corrected, they won’t experience any problems or bugs.
Level 2.4
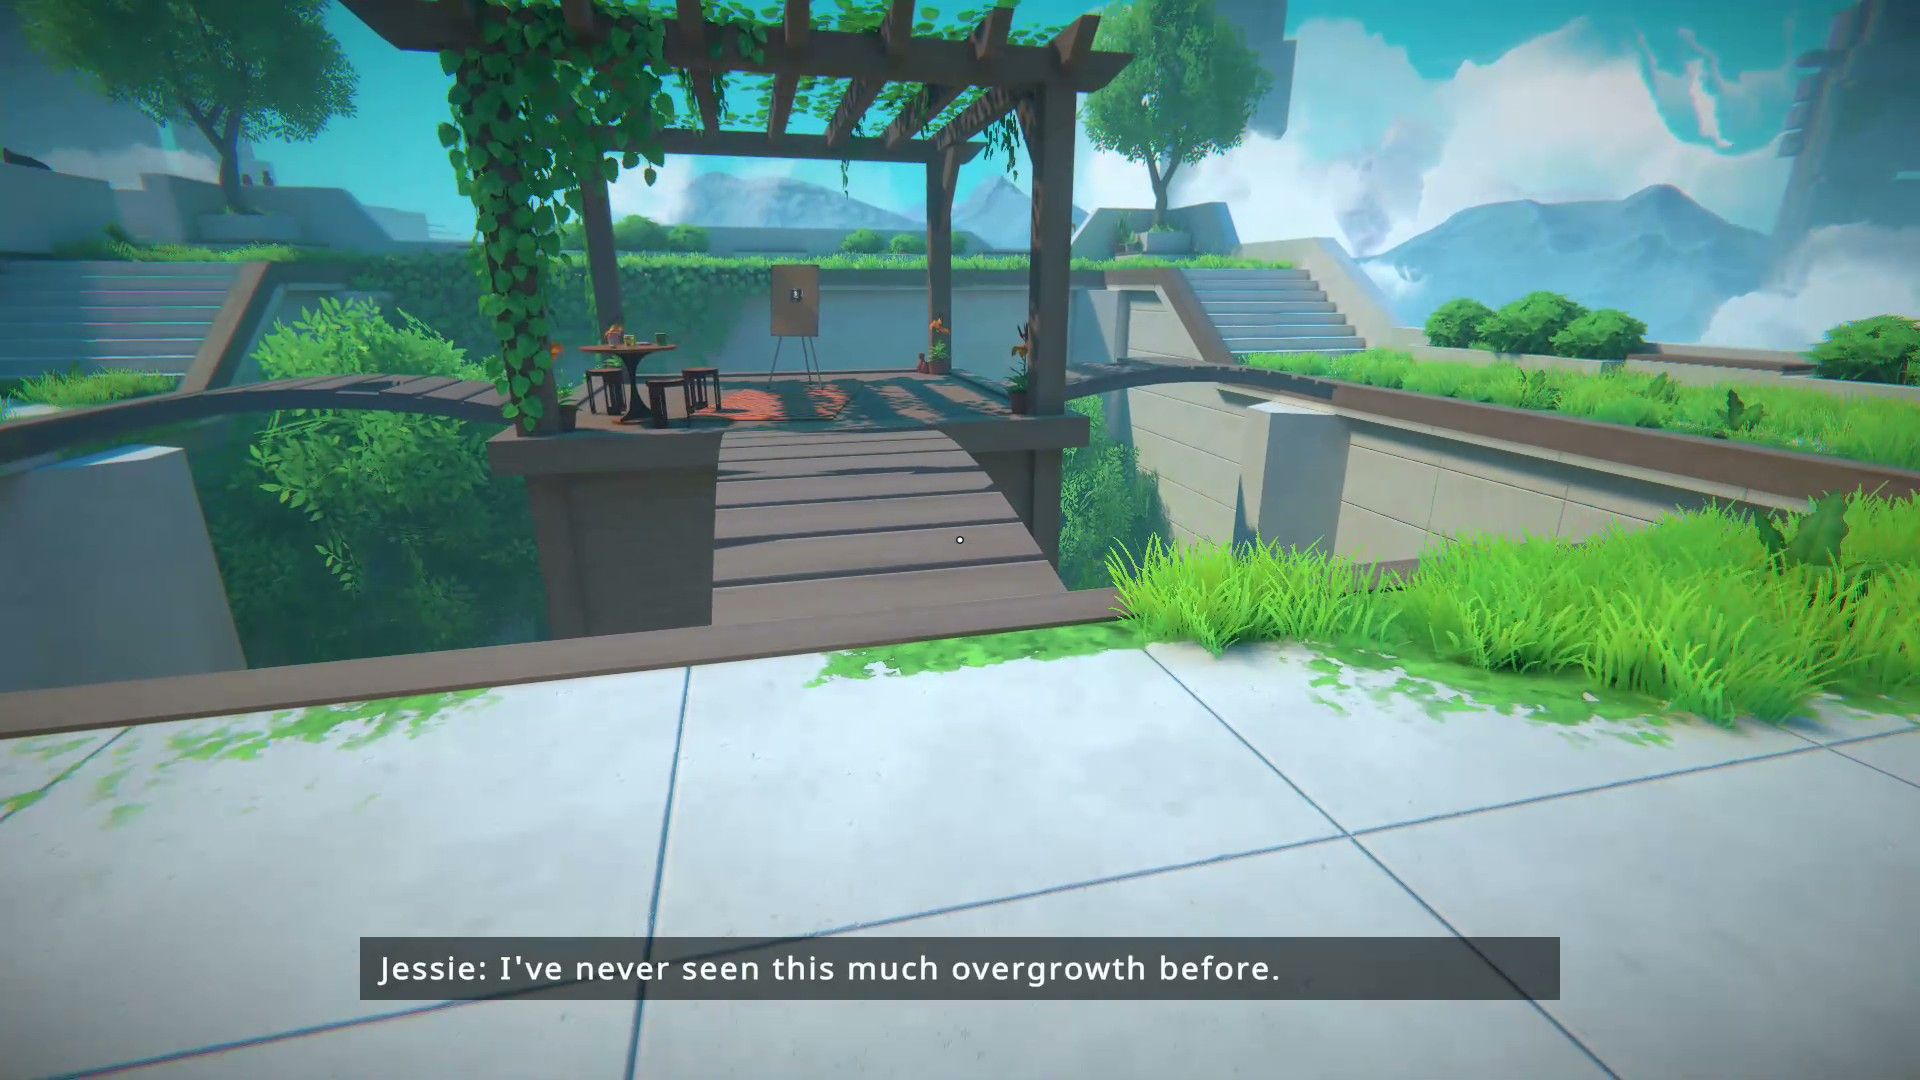
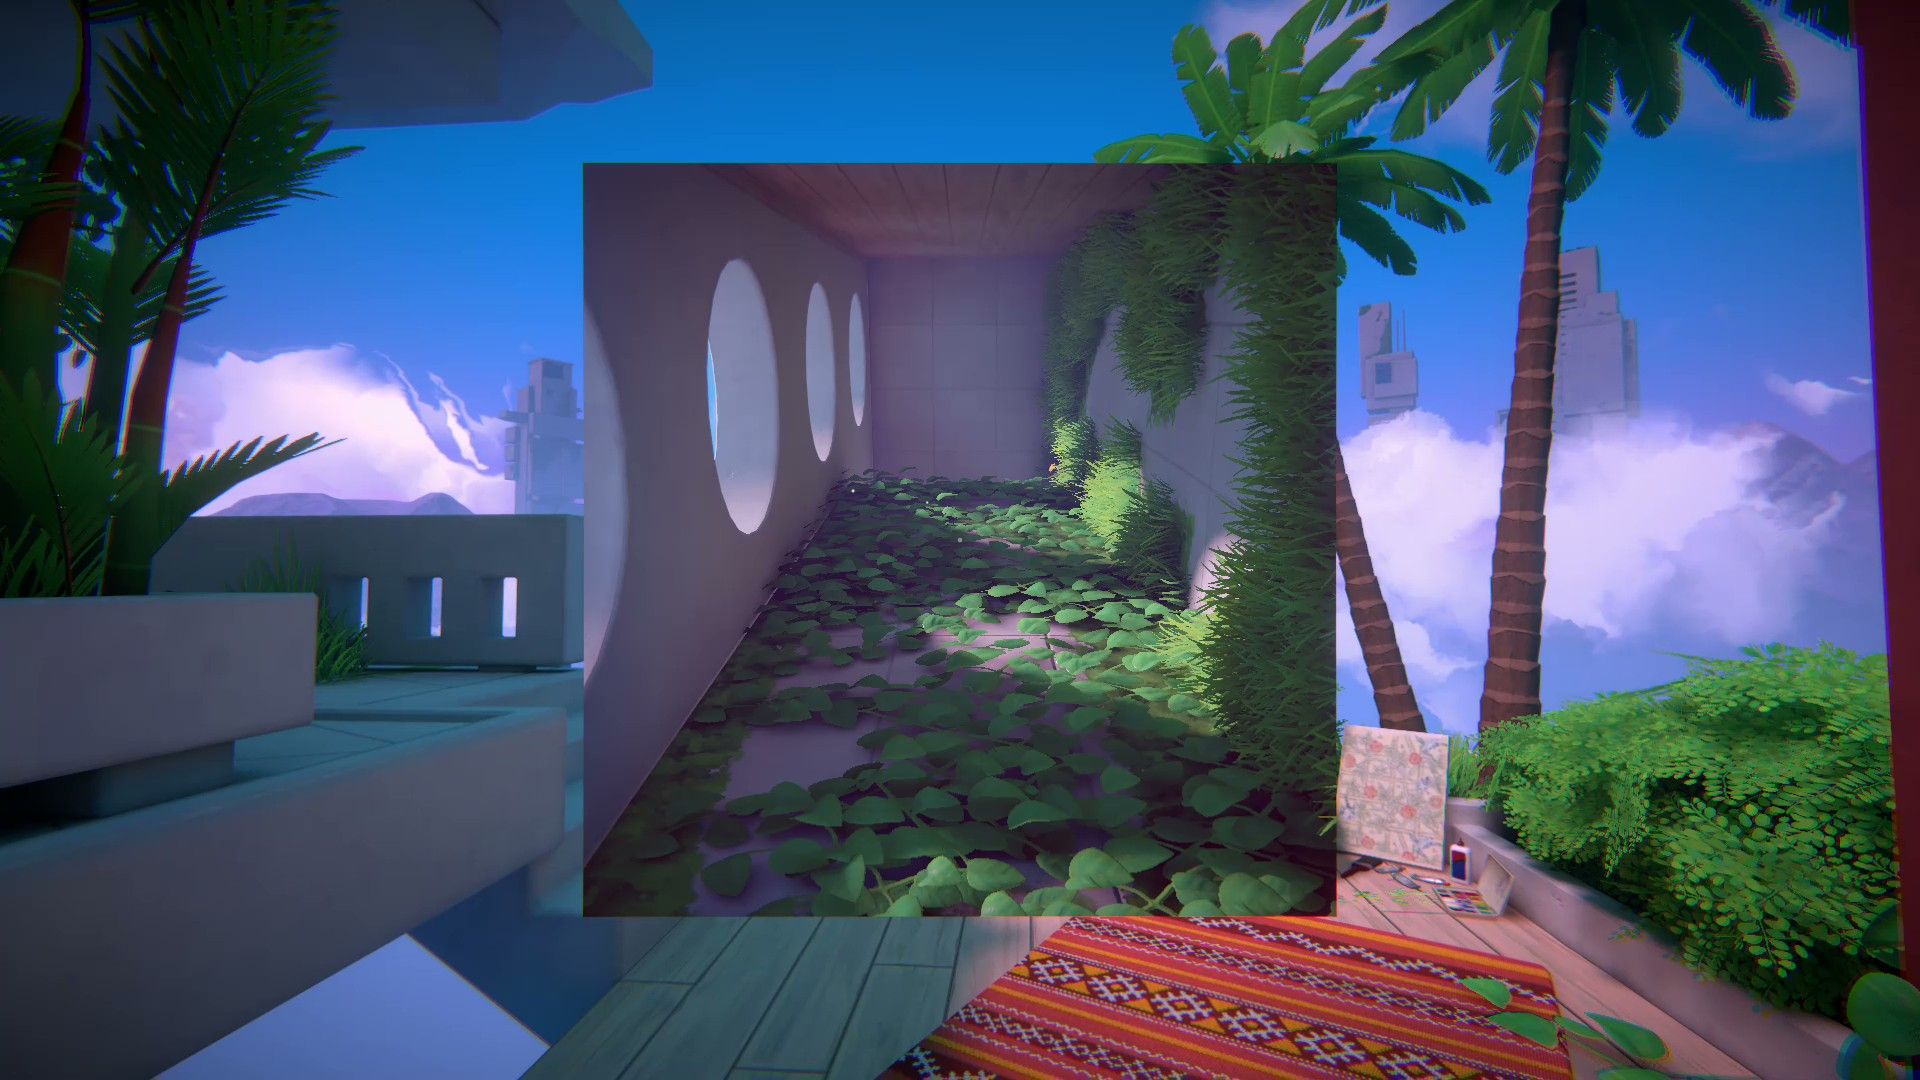
Players need to walk down a hallway to find a painting on an easel. Once they’ve placed it, they continue searching for the next artwork, which is located on an easel at the top of the stairs.
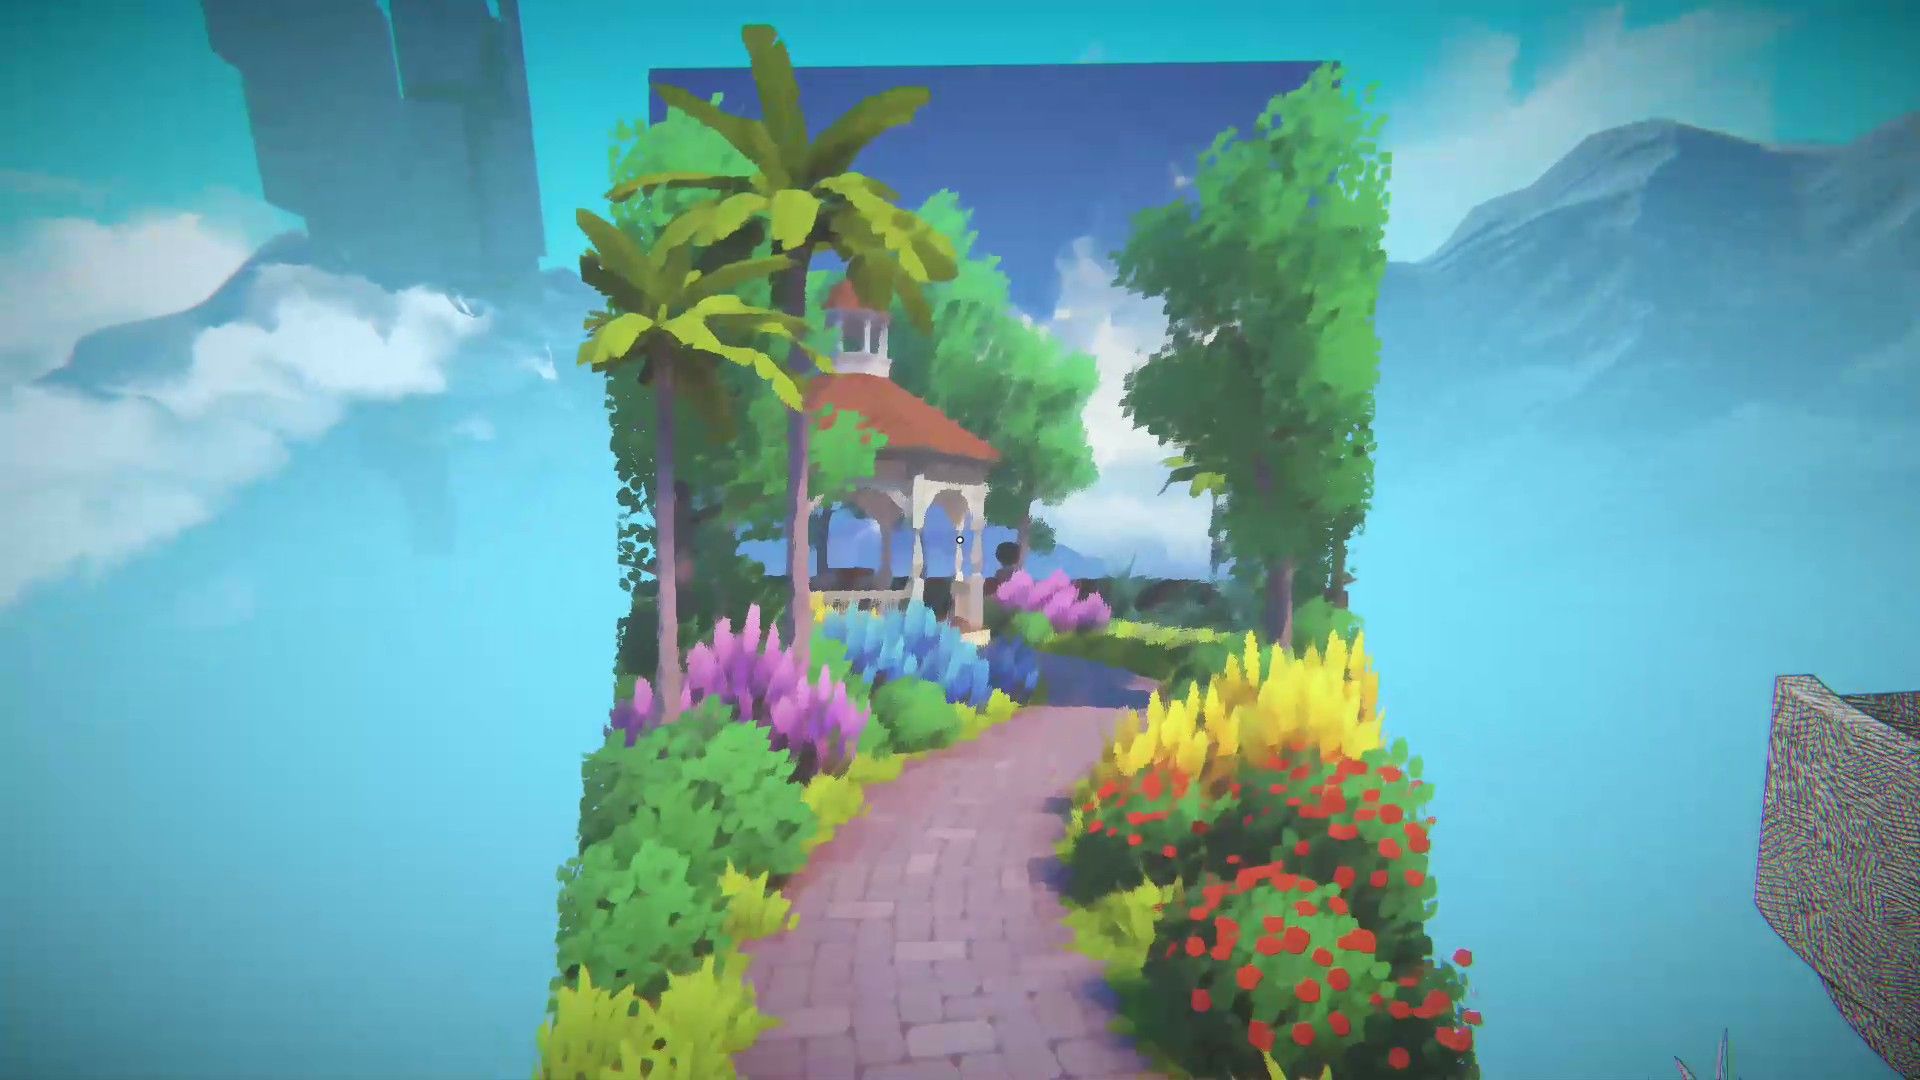
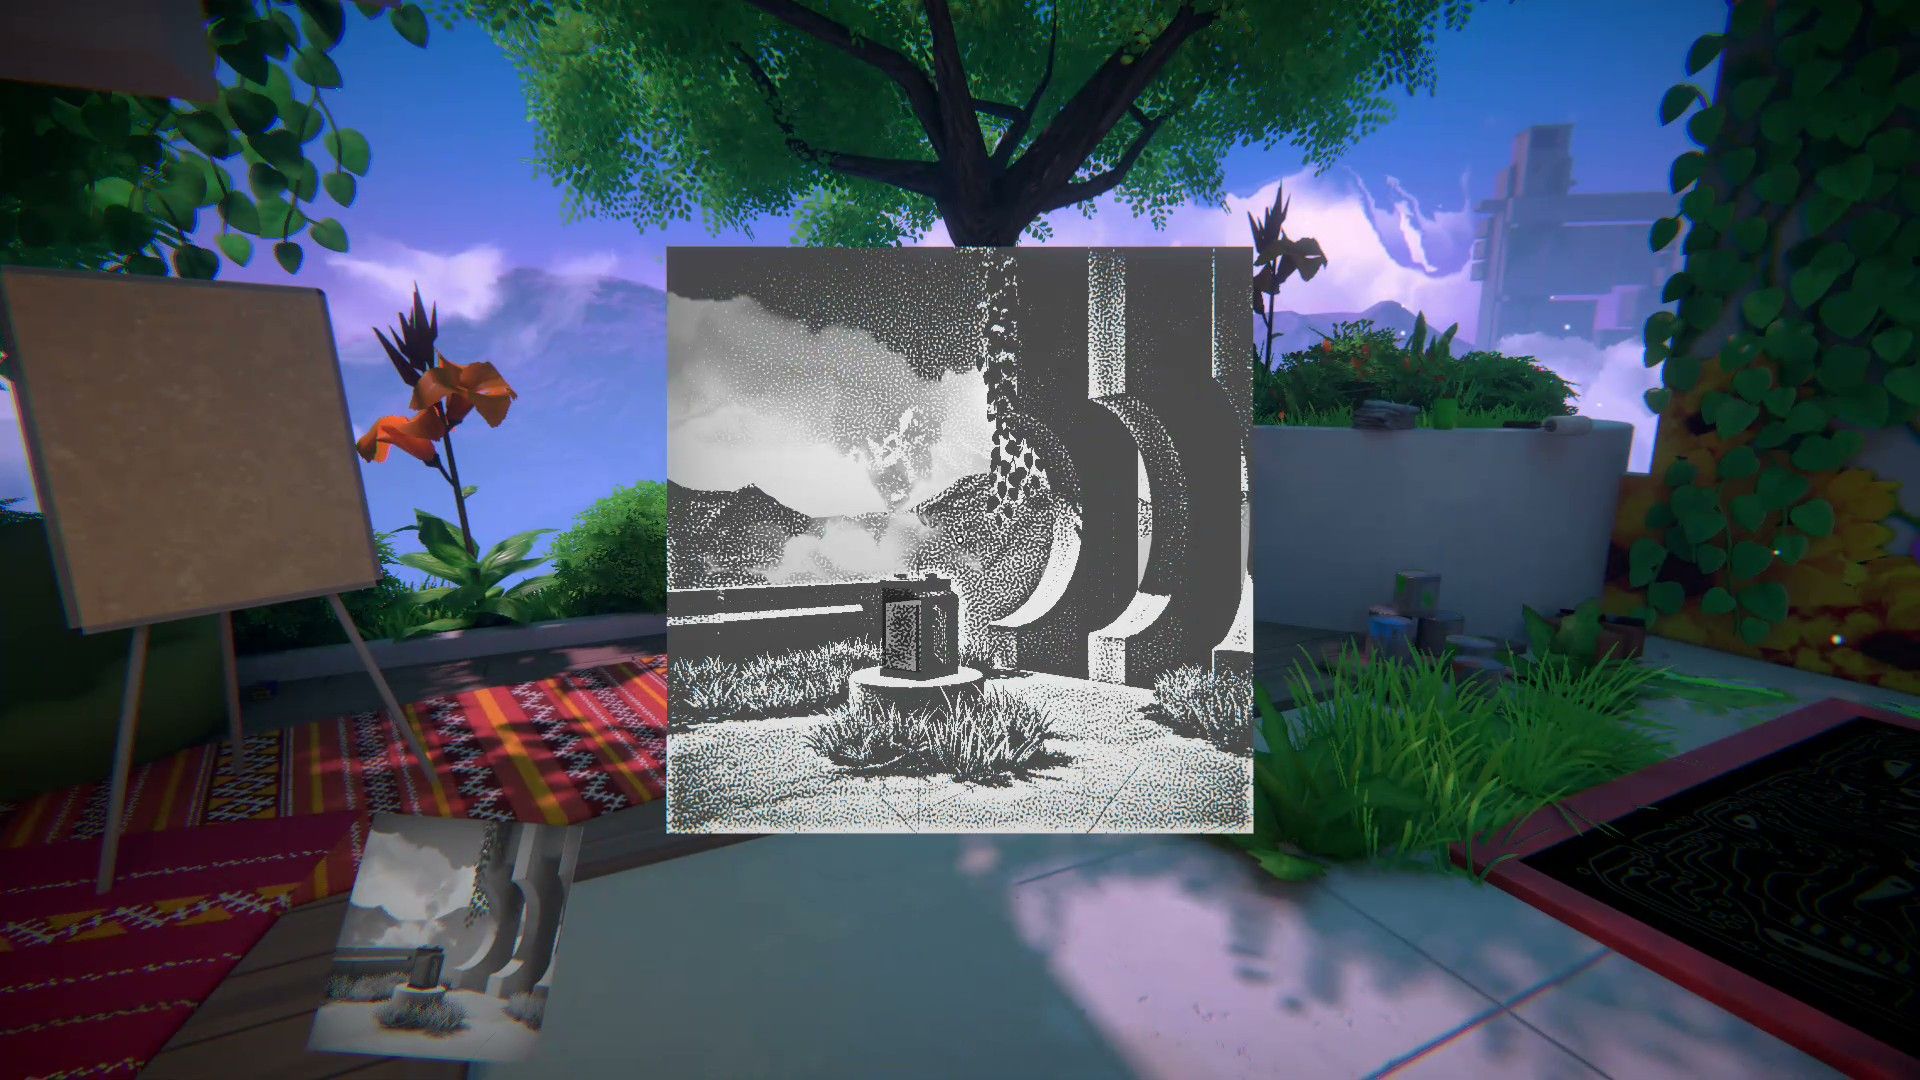
The second picture leads to a beautiful garden. Participants need to follow the stone path and go inside the gazebo to discover the next clue. This clue will send them to a desert road, where they’ll find a drawing of a house hidden behind a large rock. Inside the house, they’ll find a pixel-art image of a dungeon on the table.
The group needs to navigate the dungeon until they reach an exit. After leaving, they should turn left and pull a chain on the wall to lower a bridge. Once across the bridge, they’ll discover a final image that unlocks the teleporter, which will return them to the central hub.
Viewfinder Chapter 1, Teleporter 3
On the other side of the second floor, players will find the third mandatory teleporter.
Level 3.1
When you start Level 3.1, you might be inclined to immediately place the photograph down. But if you do, you’ll have to go back, because you actually need to make a copy of it first in the room below. Once you’ve copied the photo, put both pictures down and then collect the batteries to activate the teleporter.
Level 3.2

Players then need to make another copy of the image they found, using the photocopier at the back of the room. They’ll use one copy to build a bridge between the two platforms. The other copy needs to be rotated and positioned so it creates stairs, allowing them to reach the teleporter on the second platform.
Viewfinder Chapter 1, Optional Levels
The last set of teleporter levels are optional; you can finish the main story of Viewfinder without completing them. If you’re interested in trying them out, you’ll find the teleporter in the bathroom on the ground floor.
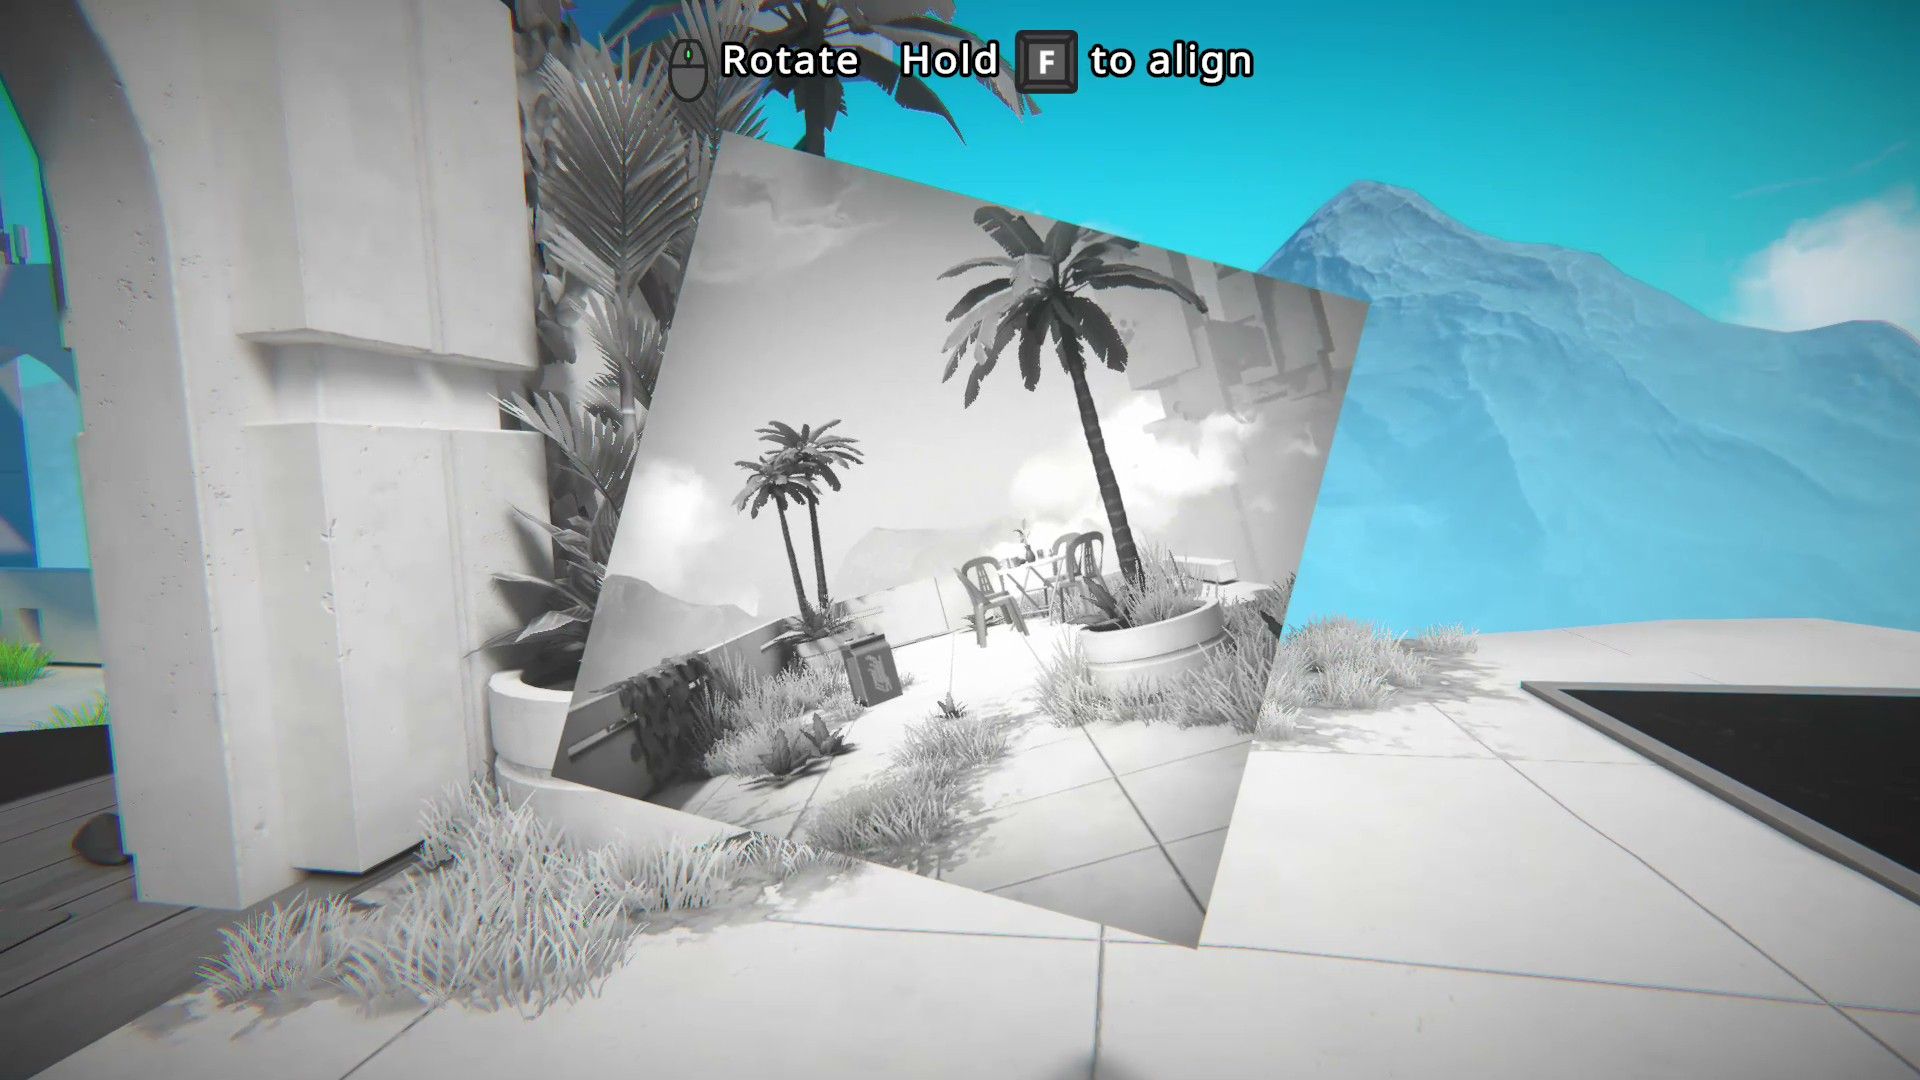
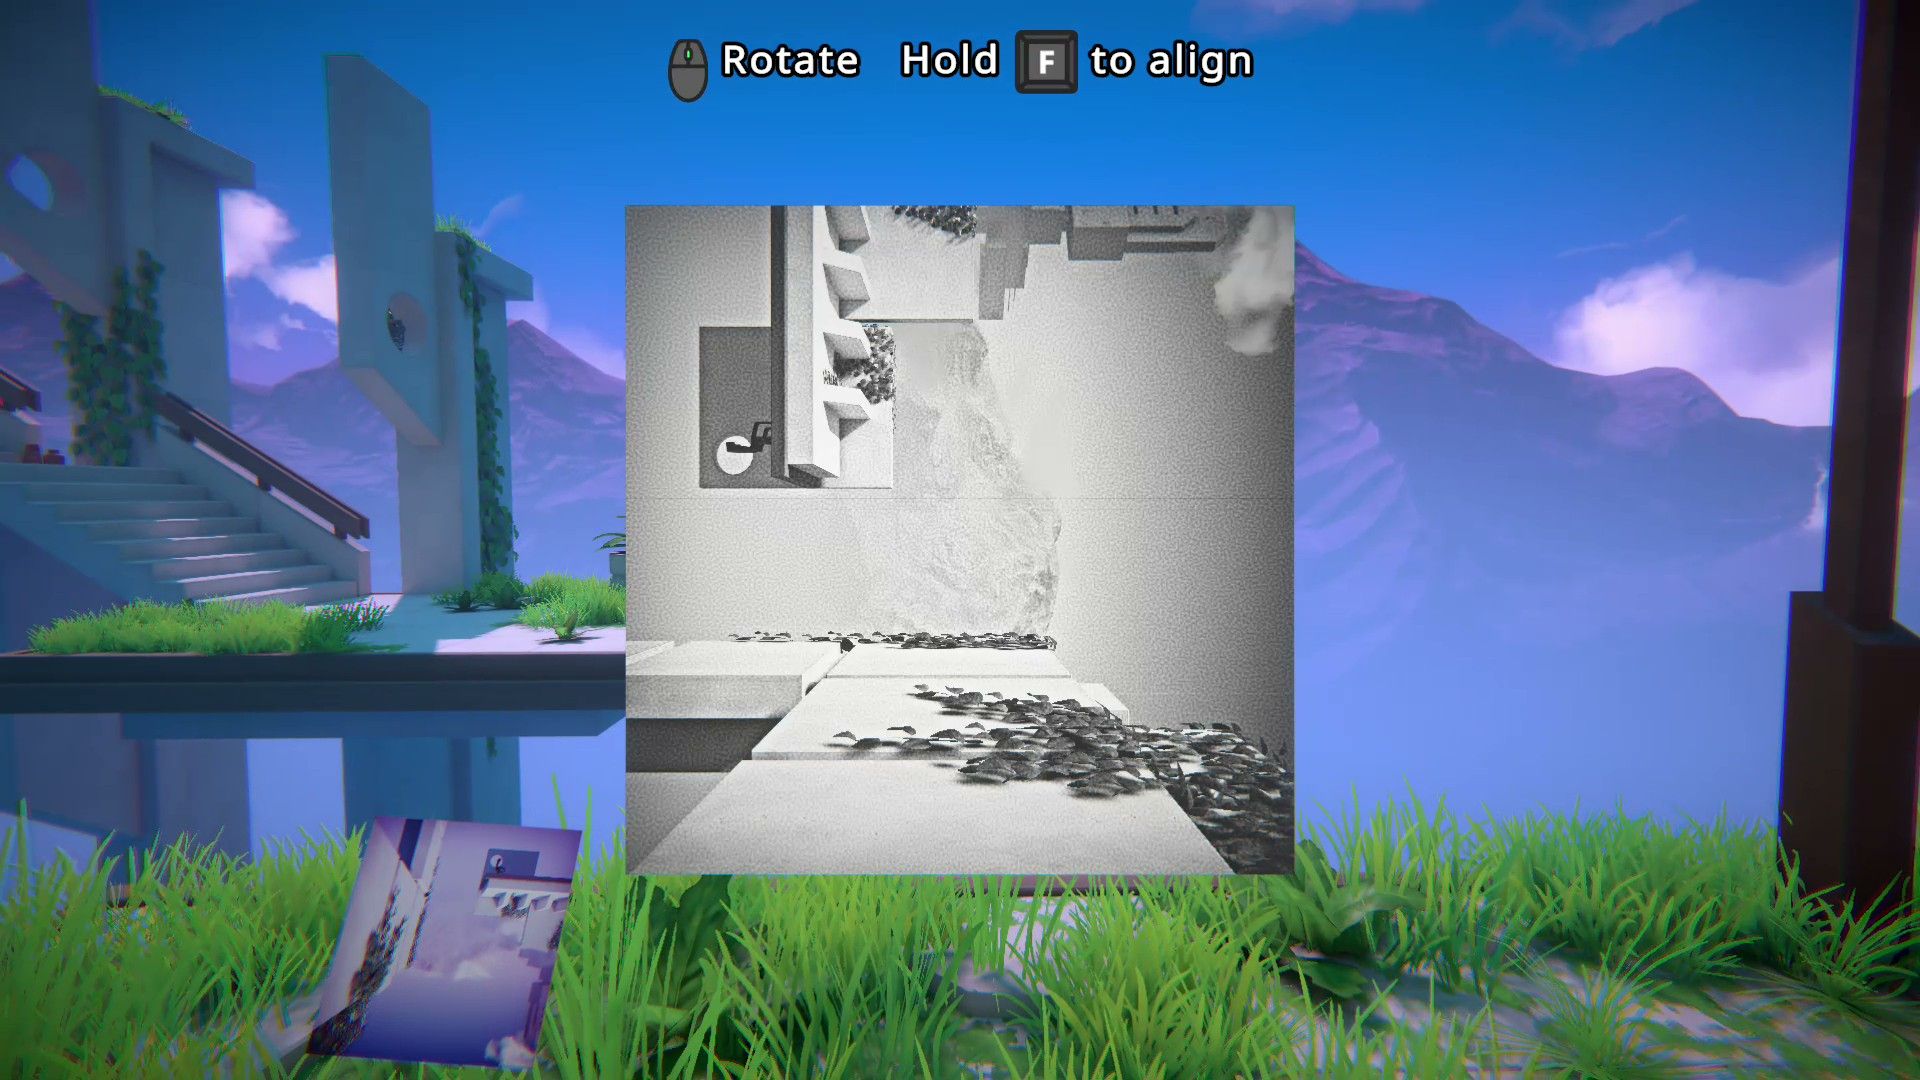
First, players need to go down the stairs and pick up the picture on the small table by the couch. They should rotate it so the leaves are facing down and the grass is against the right wall. Then, they need to enter the area and fall at the end of the hallway.
Players will find an image showing two tables, one flipped over. The image contains two photographs, and players need to orient it correctly to choose their next destination.

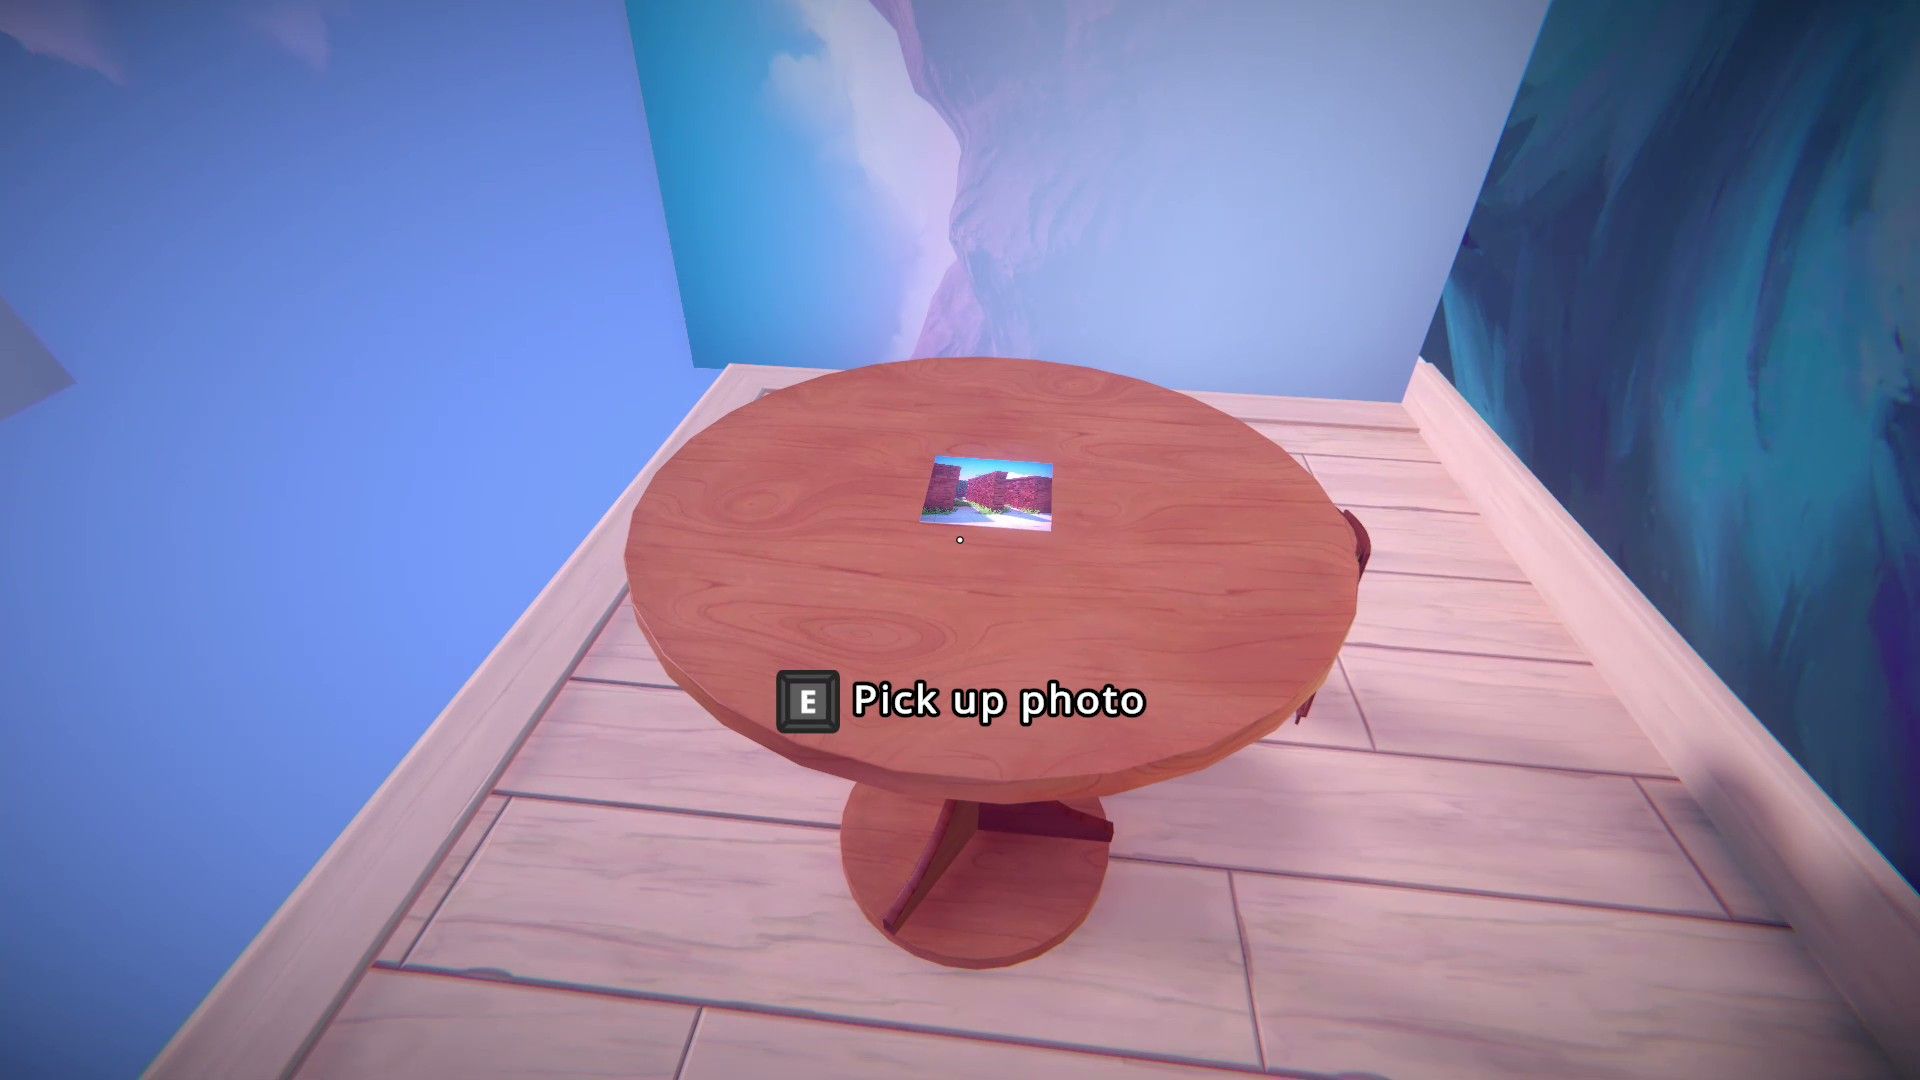
To get the Duck collectible, players need to rotate the table until the mountain view is facing left. A photo on the table will then reveal a maze, and the Duck collectible is hidden at the maze’s end.
Players can go back to a previous image at any time. If they flip the image so the table showing the mountain is upside down on the right side, they’ll discover another table. They need to select this new table, rotate it so the pencil brush is at the bottom, and then click on it to enter. This will reveal the final image on the right.
To finish the last part of Chapter 1 in Viewfinder, players need to look down, position the object, and then jump onto the teleporter. A complete video guide for the Aharon hub is available below.
Read More
- All Shadow Armor Locations in Crimson Desert
- Dark Marksman Armor Locations in Crimson Desert
- Genshin Impact Dev Teases New Open-World MMO With Realistic Graphics
- Sega Reveals Official Sonic Timeline: From Prehistoric to Modern Era
- How to Beat Antumbra’s Sword (Sanctum of Absolution) in Crimson Desert
- Where to Pack and Sell Trade Goods in Crimson Desert
- Top 5 Militaristic Civs in Civilization 7
- The Limits of Thought: Can We Compress Reasoning in AI?
- Enshrouded: Giant Critter Scales Location
- Best Weapons, Armor, and Accessories to Get Early in Crimson Desert
2026-01-03 04:08