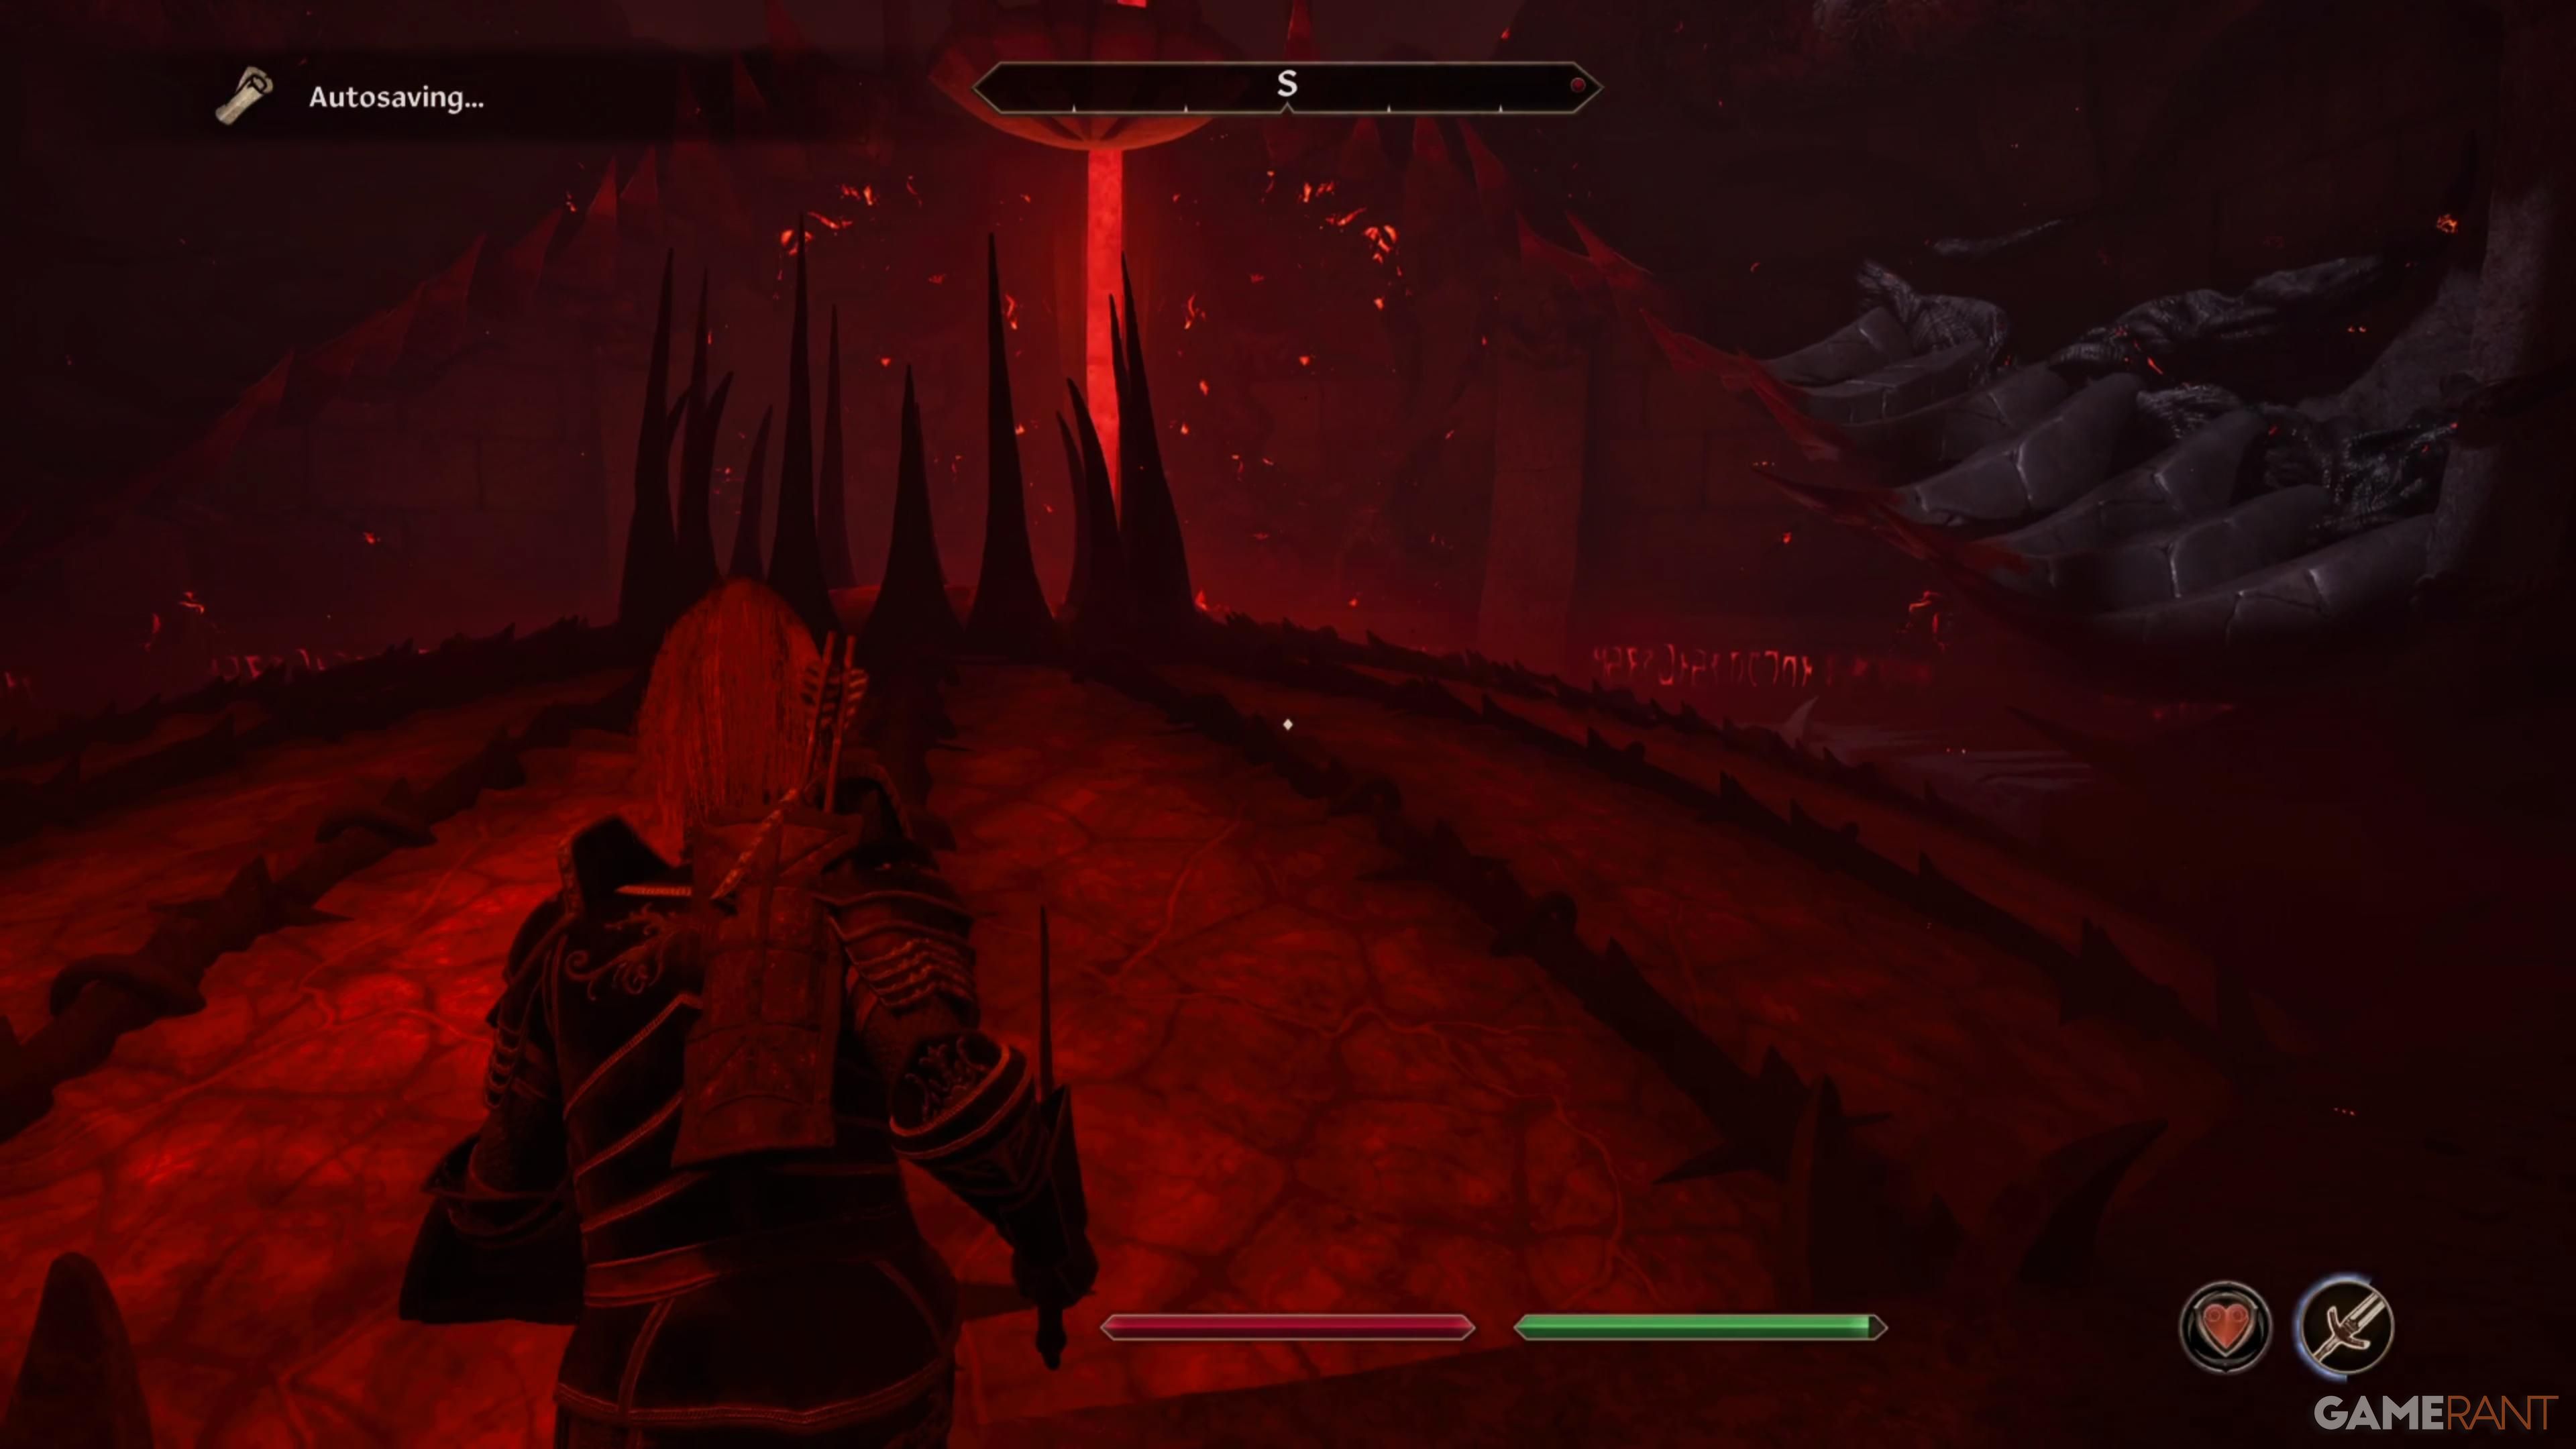
Following the conclusion of the primary mission within Kvatch in The Elder Scrolls IV: Oblivion Remastered and the demolition of the initial Oblivion Gate, players can discover various Oblivion Gates scattered across Cyrodiil. These gates are causing weather anomalies nearby. Players have the opportunity to venture inside these gates, where they can destroy them, earning Sigil Stones as well as additional items, weapons, and armor that might be found along the way.
In my gaming adventures of The Elder Scrolls IV: Oblivion Remastered, I’ve discovered that each Oblivion Gate has its own distinct character, making it a challenge to maneuver at times. But fear not, fellow adventurers! This guide will walk you through the process of vanquishing an Oblivion Gate using the Geared Batten, a crucial tool for dismantling these portals once and for all.
How to Complete Geared Batten Oblivion Gate in Oblivion Remastered
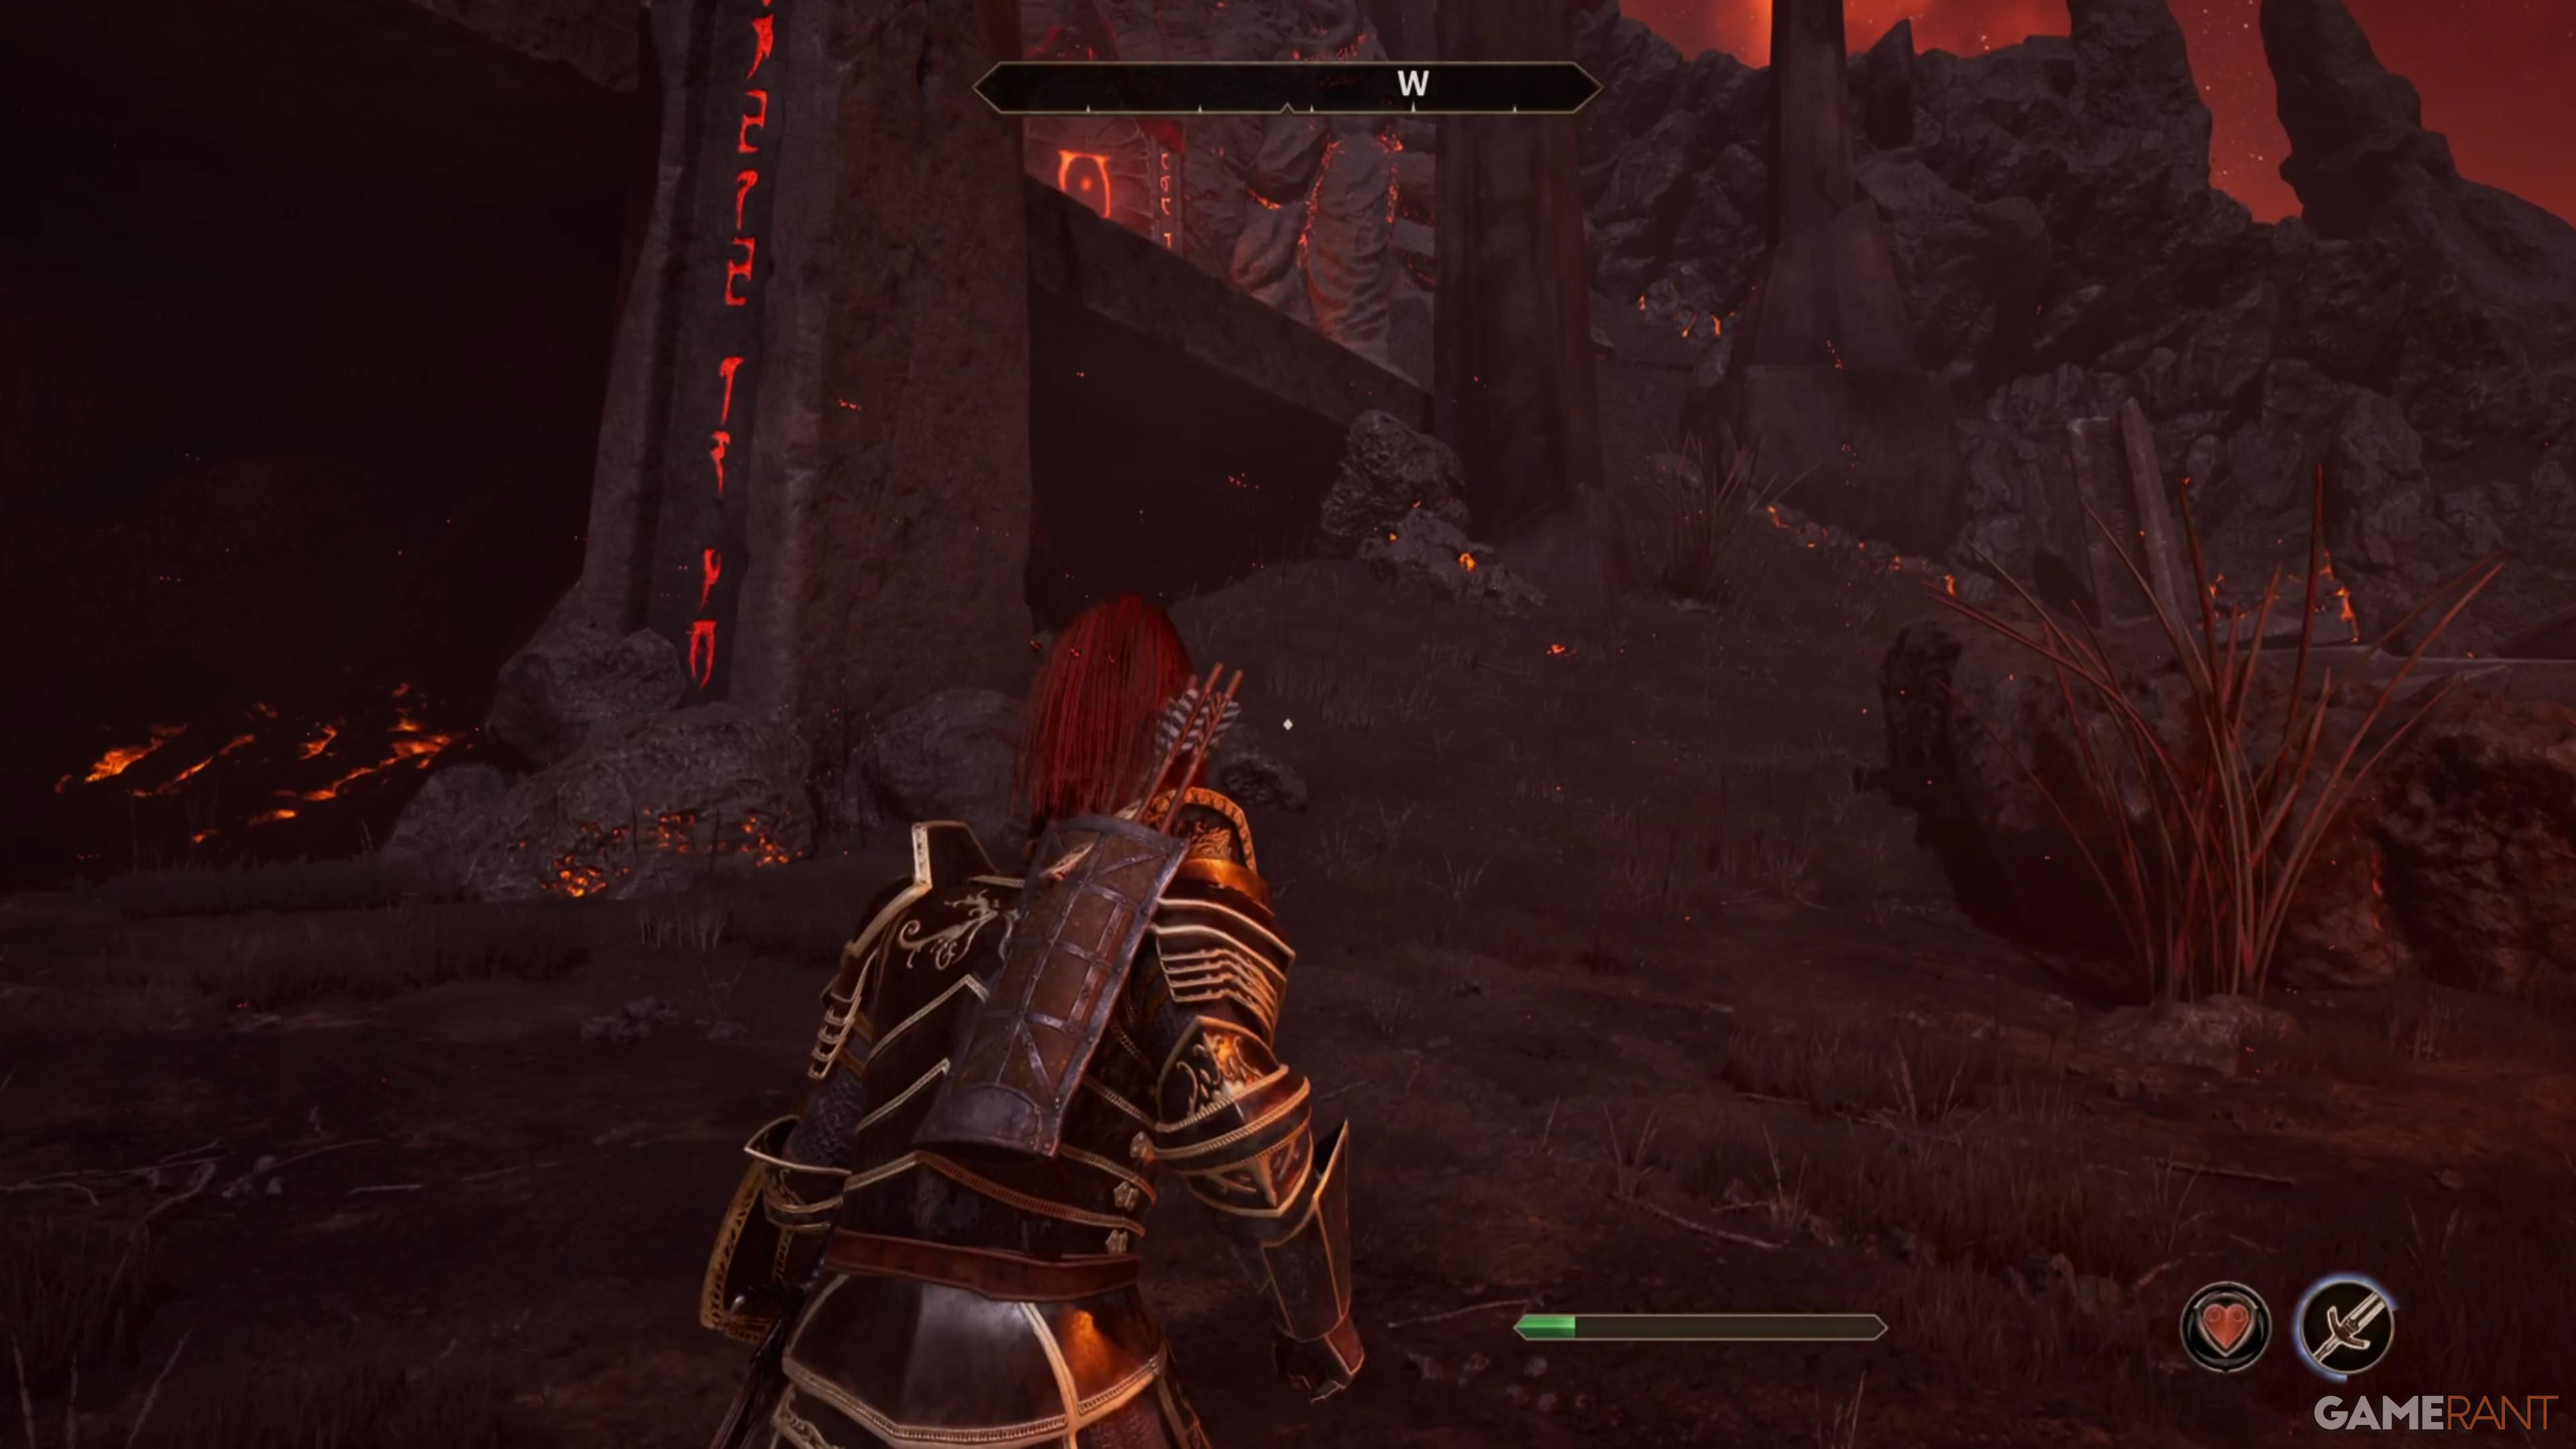
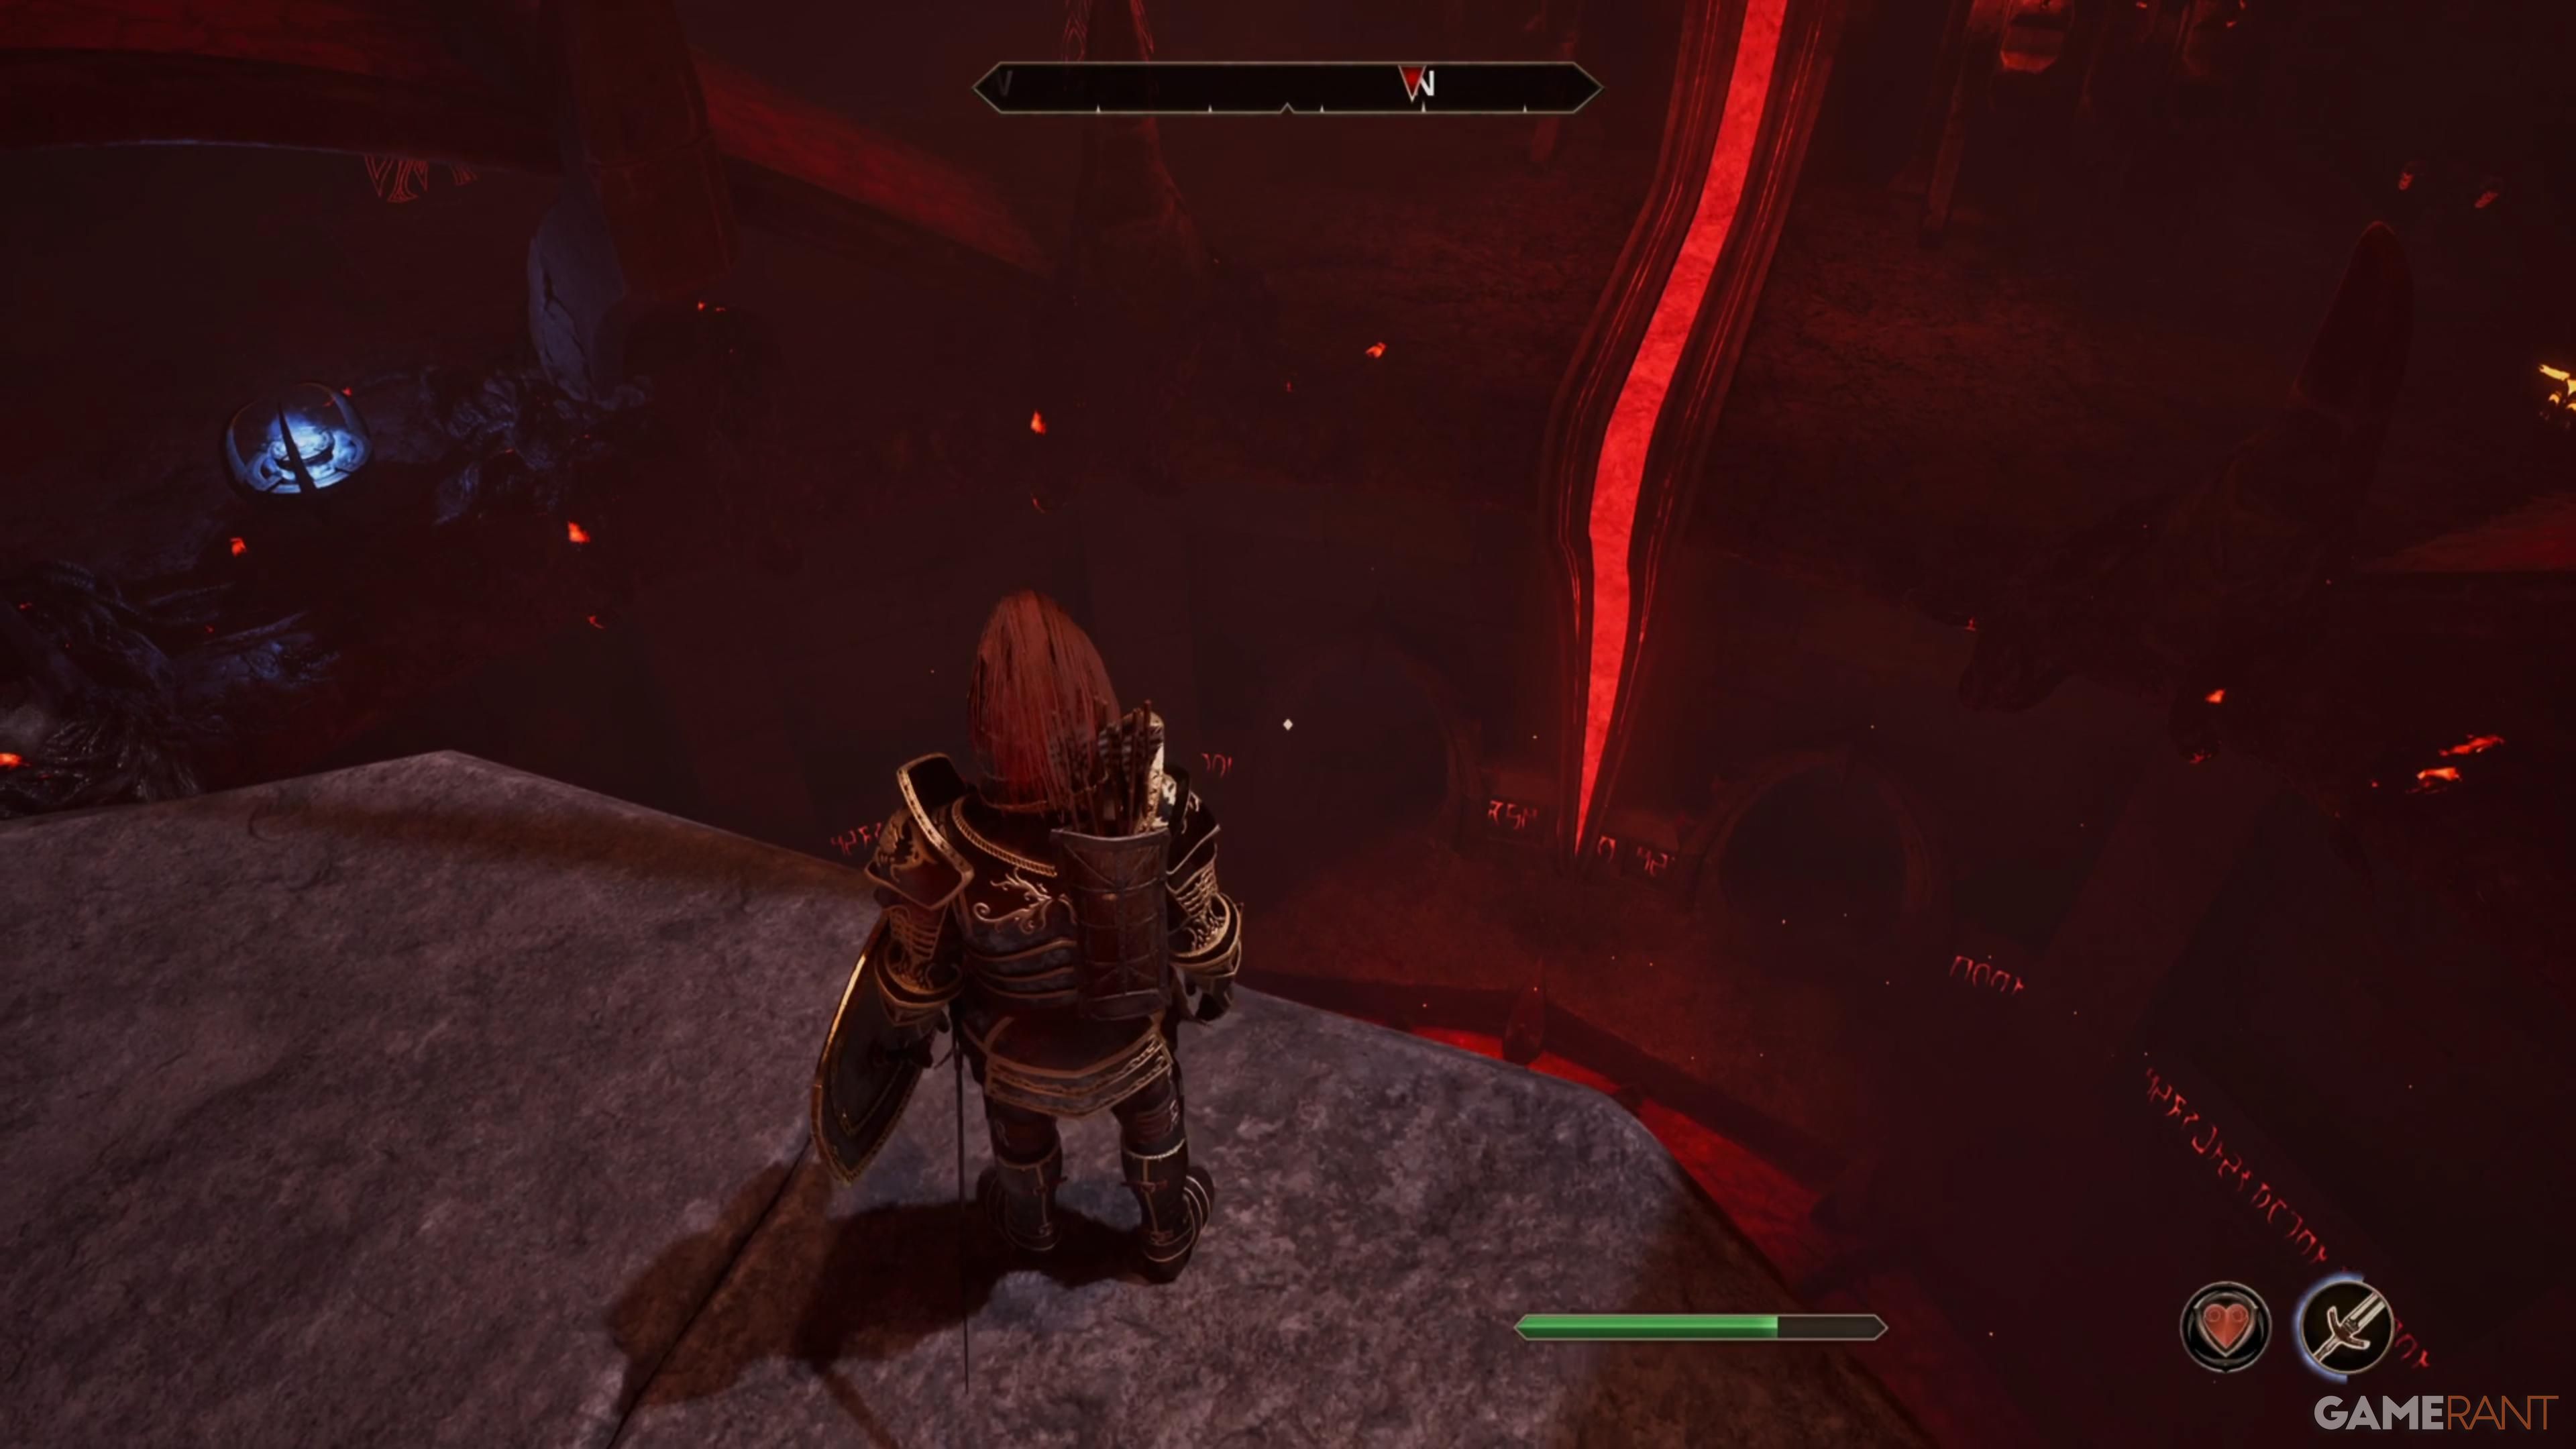
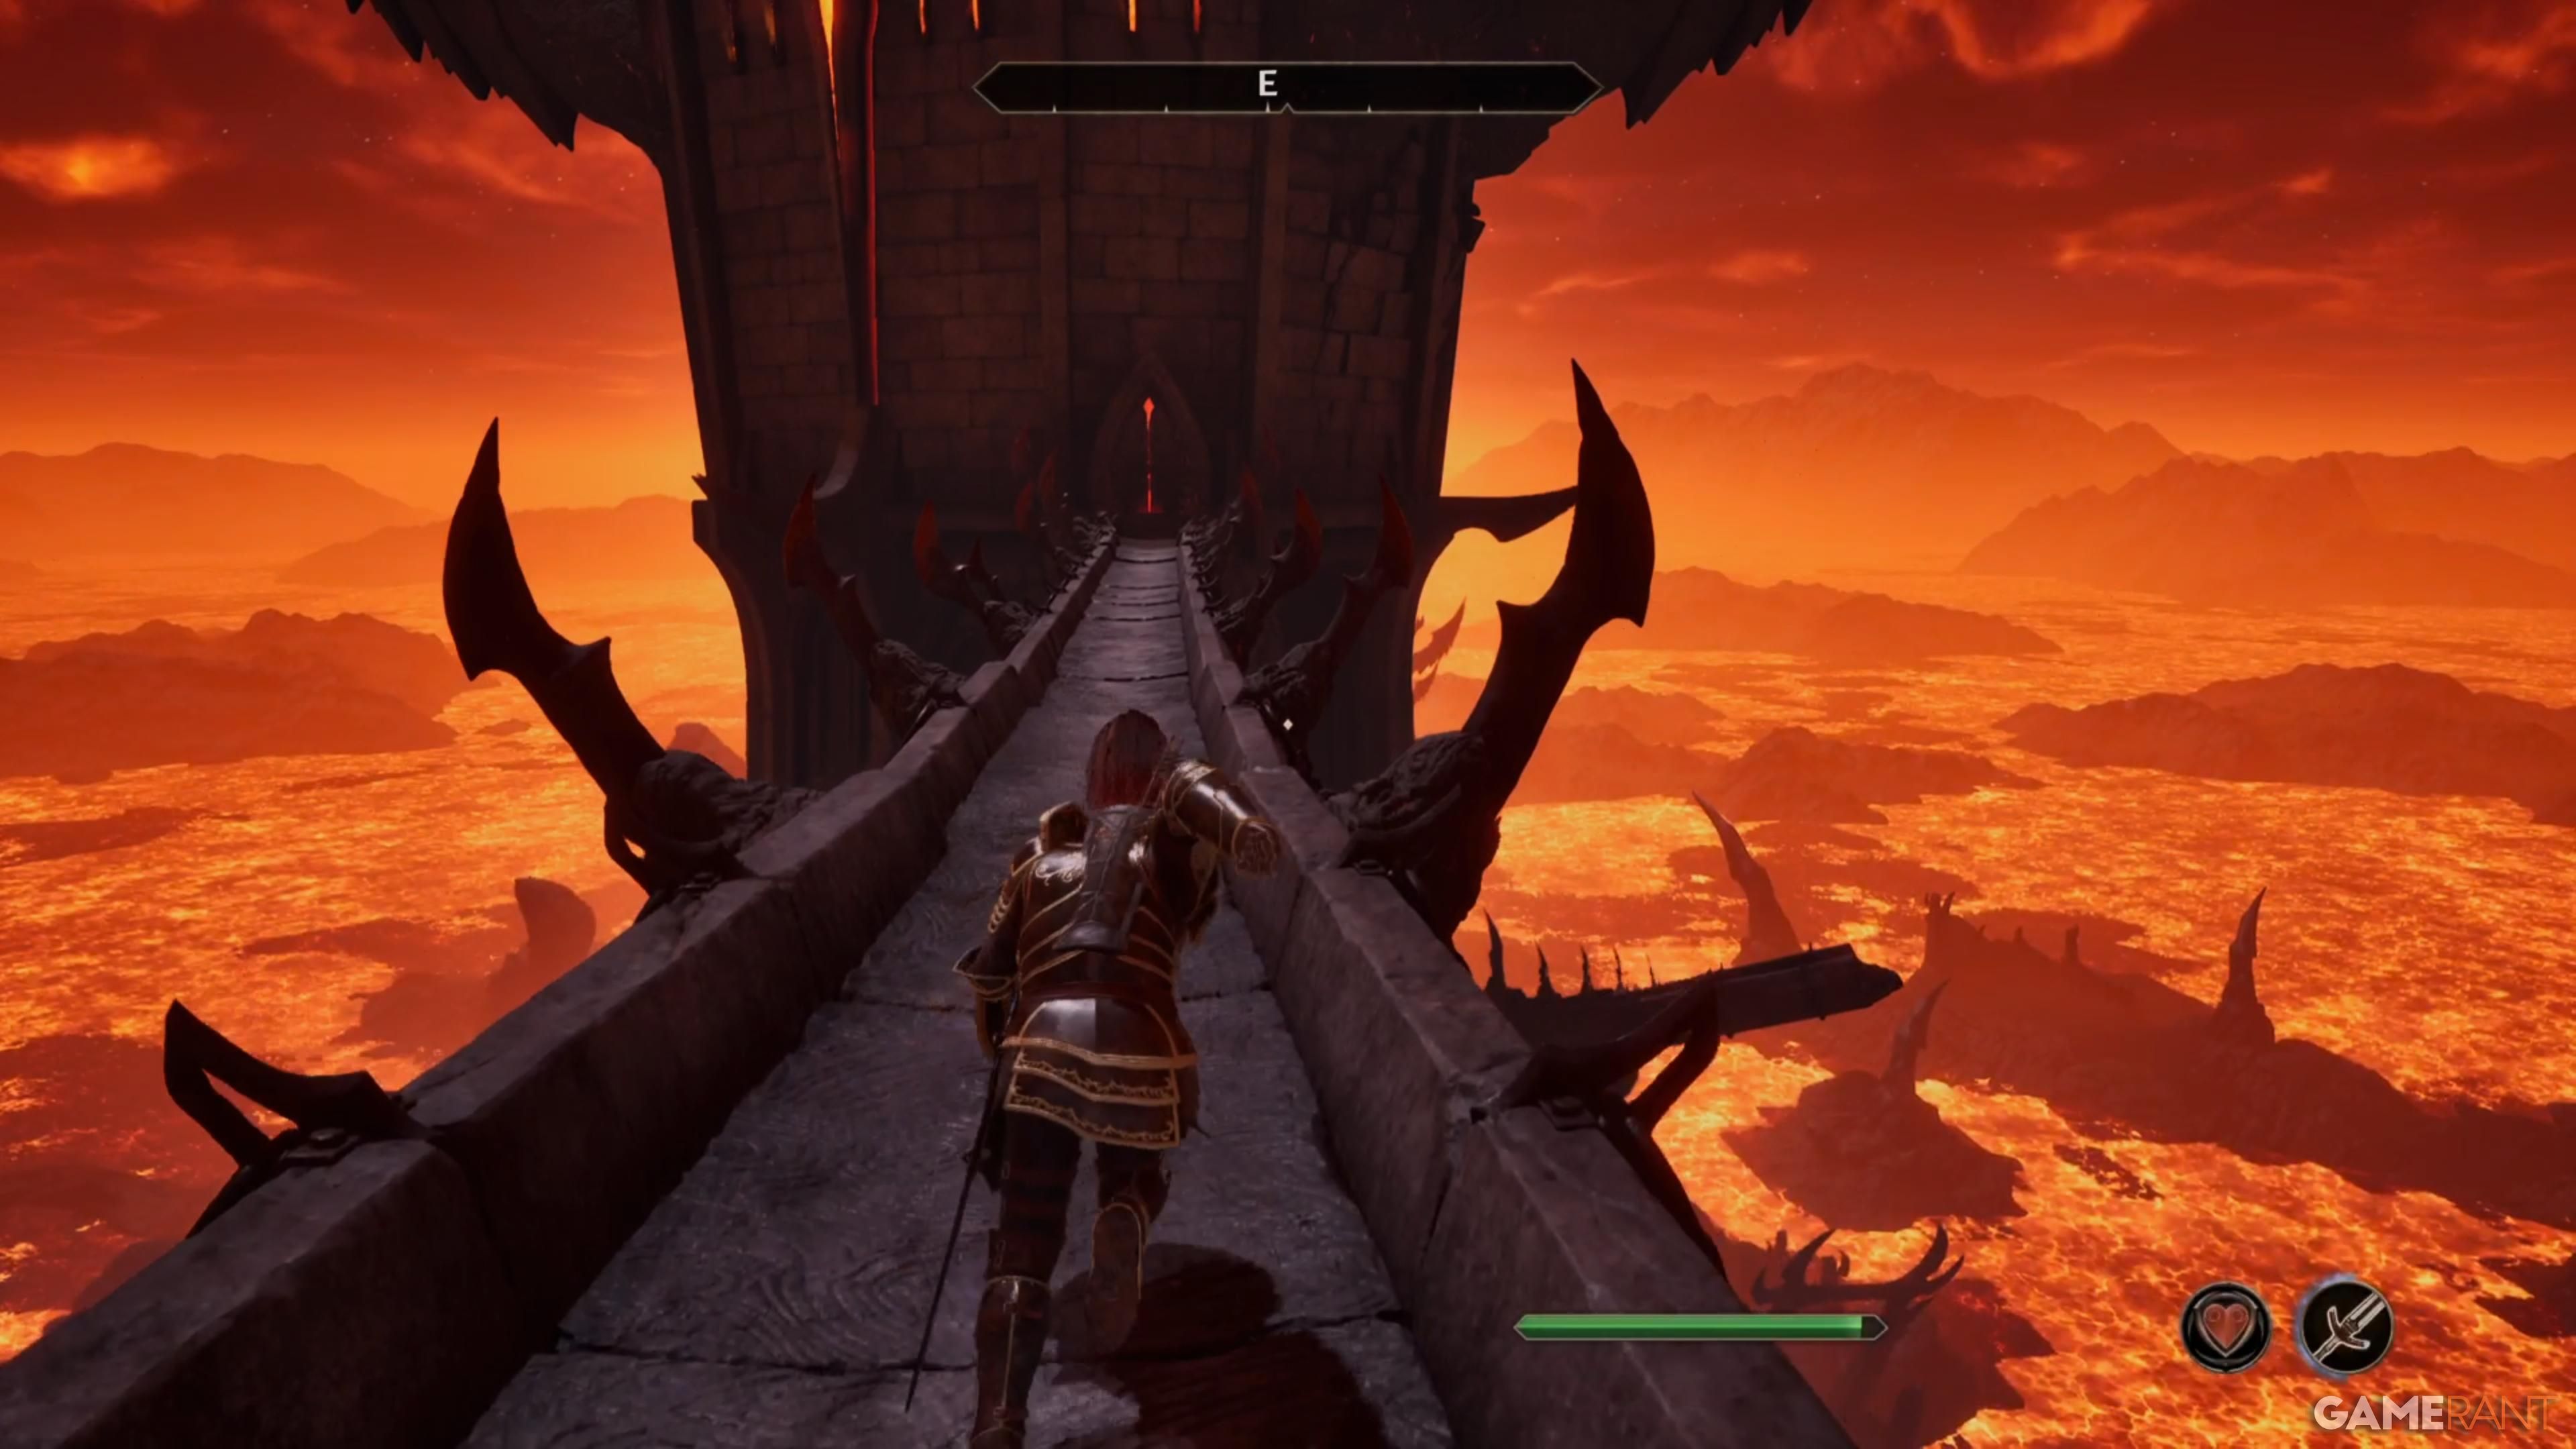
Upon passing through the Oblivion Gate, veer towards your right to discover a door that leads to Anguish Keep. Along the way, you’ll encounter a few Dremora adversaries that you’ll need to overcome before venturing into the Halls of Eternal Twilight. As you ascend, be cautious not to leave the building via the Waste of Oblivion doors, as the bridge is damaged. Instead, navigate towards the Halls of Shame and continue your climb up the tower. Eventually, you’ll arrive at the Shrine, where another door to the Waste of Oblivion can be found – this bridge too has been destroyed. Rather than exiting through that door, make your way to the top of the Shrine Room, where the Sigil Stone is typically situated.
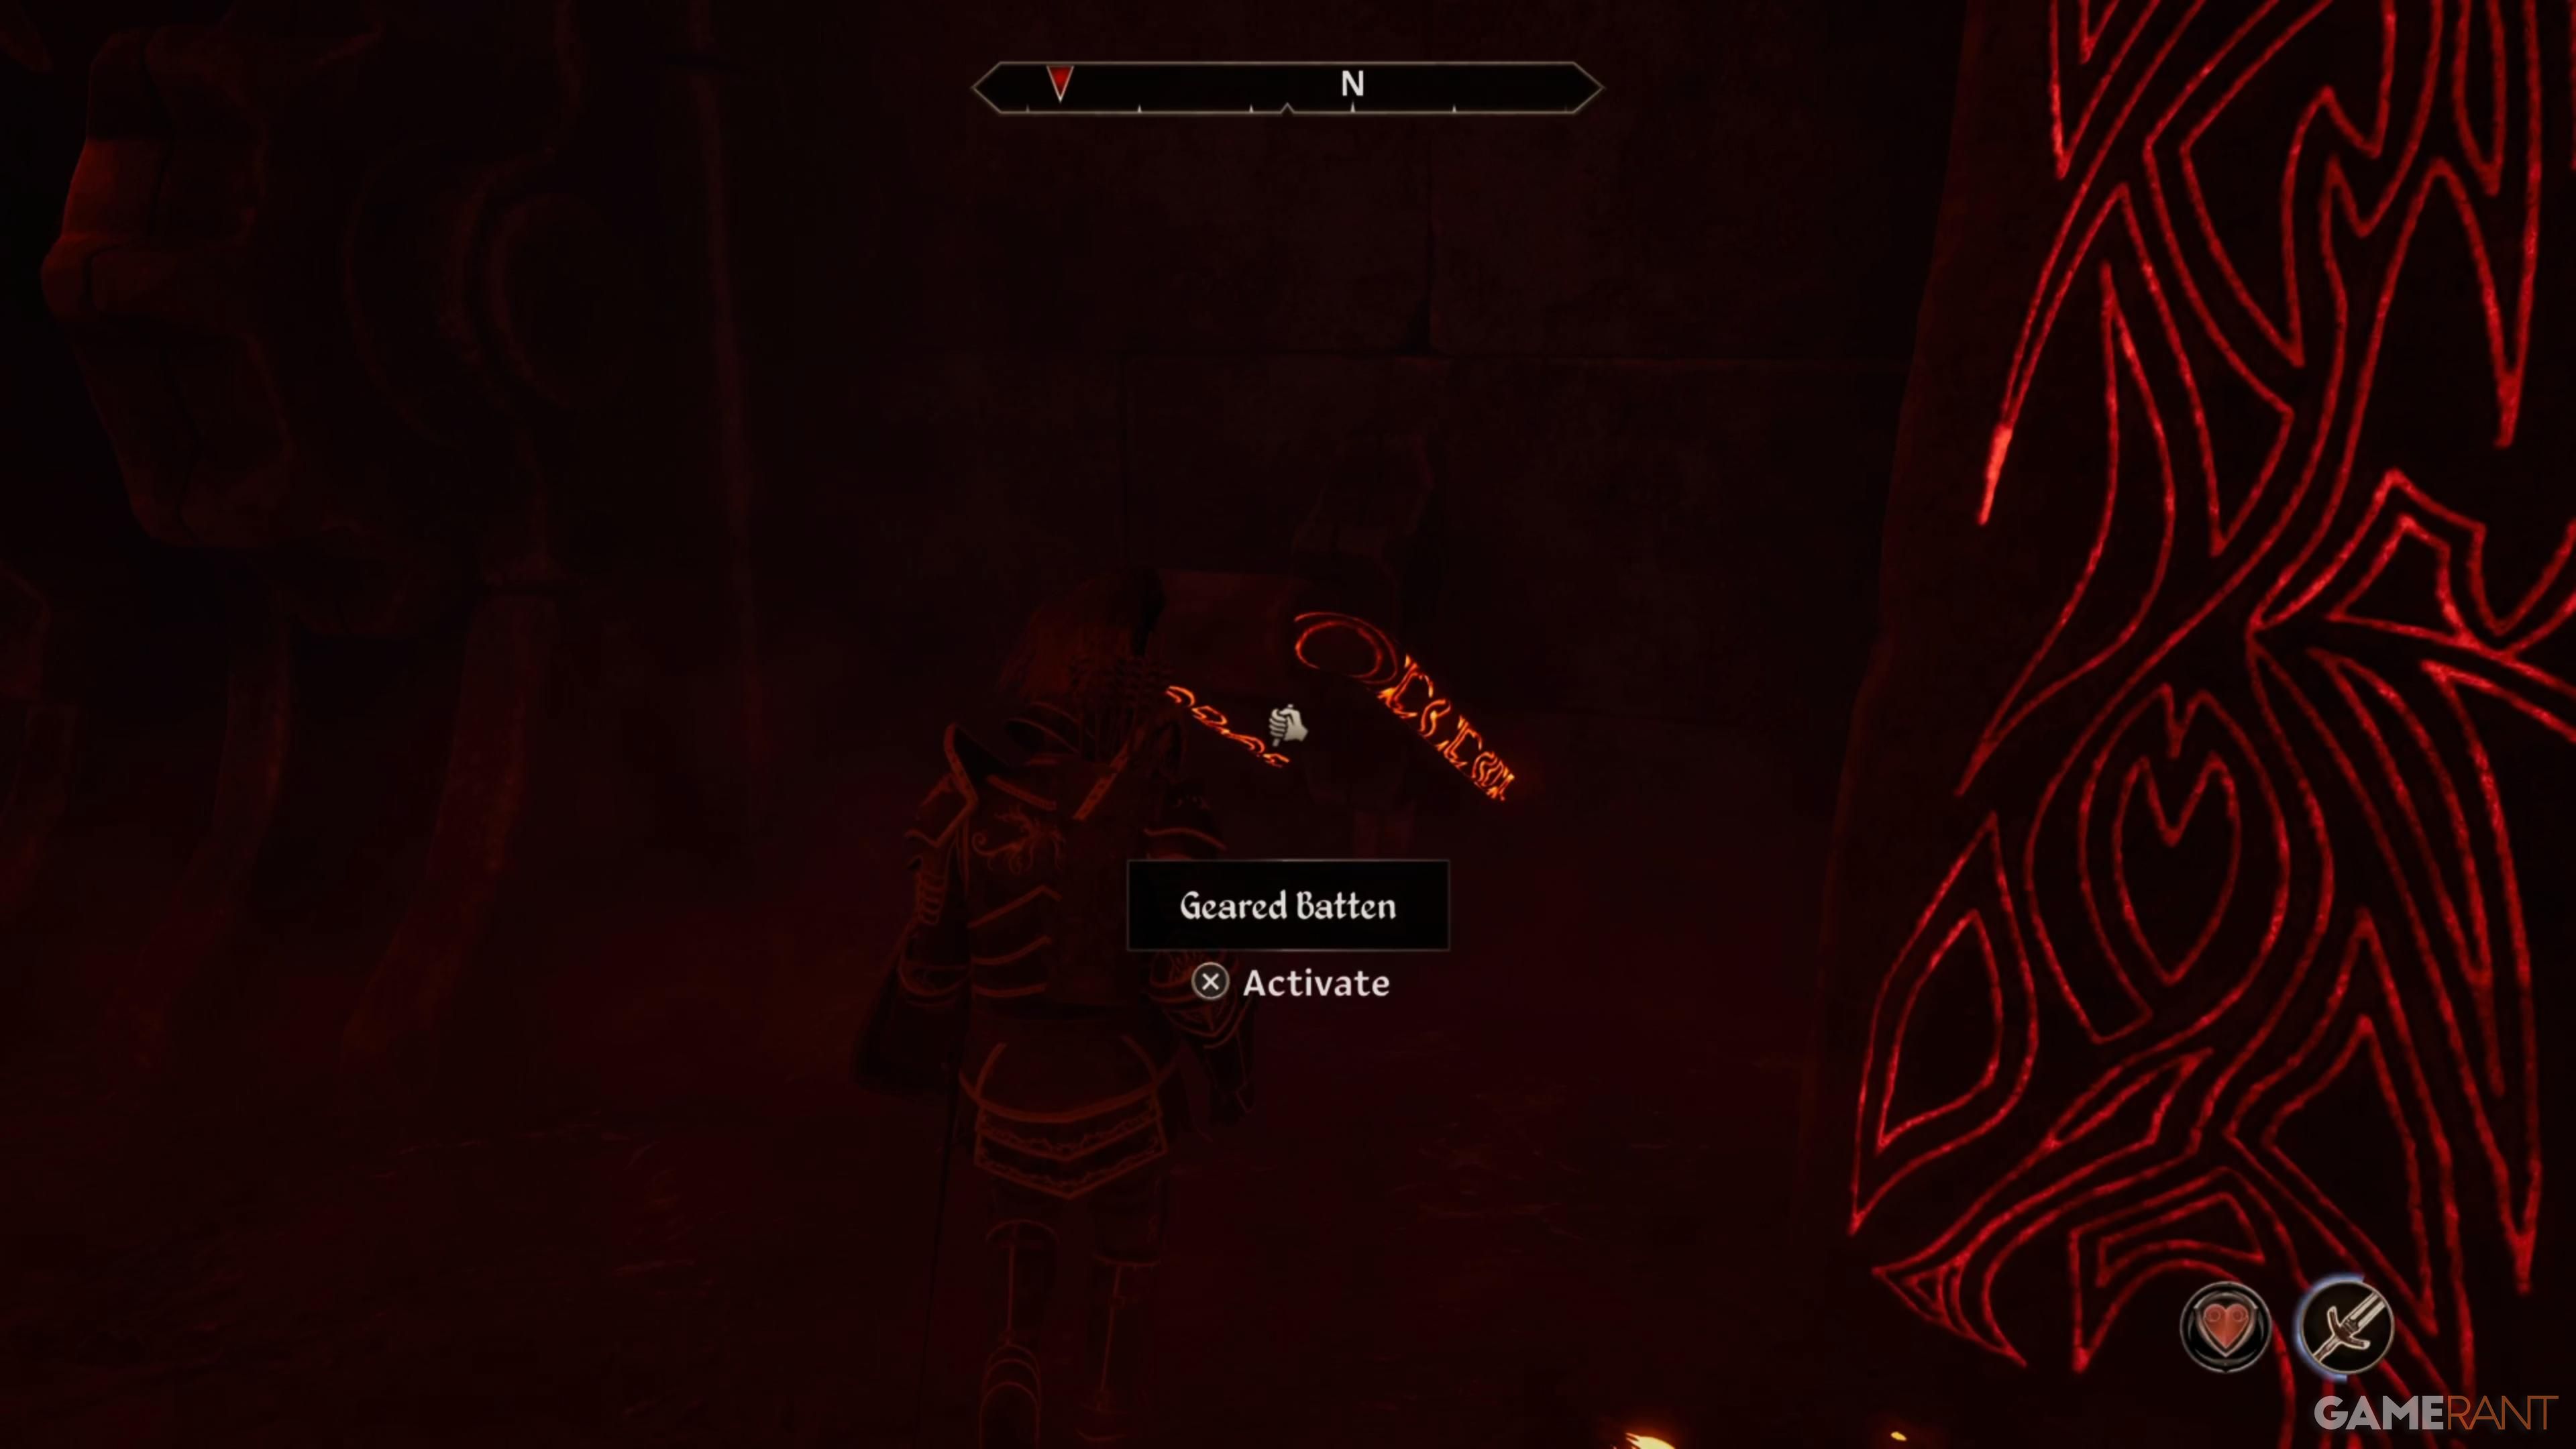
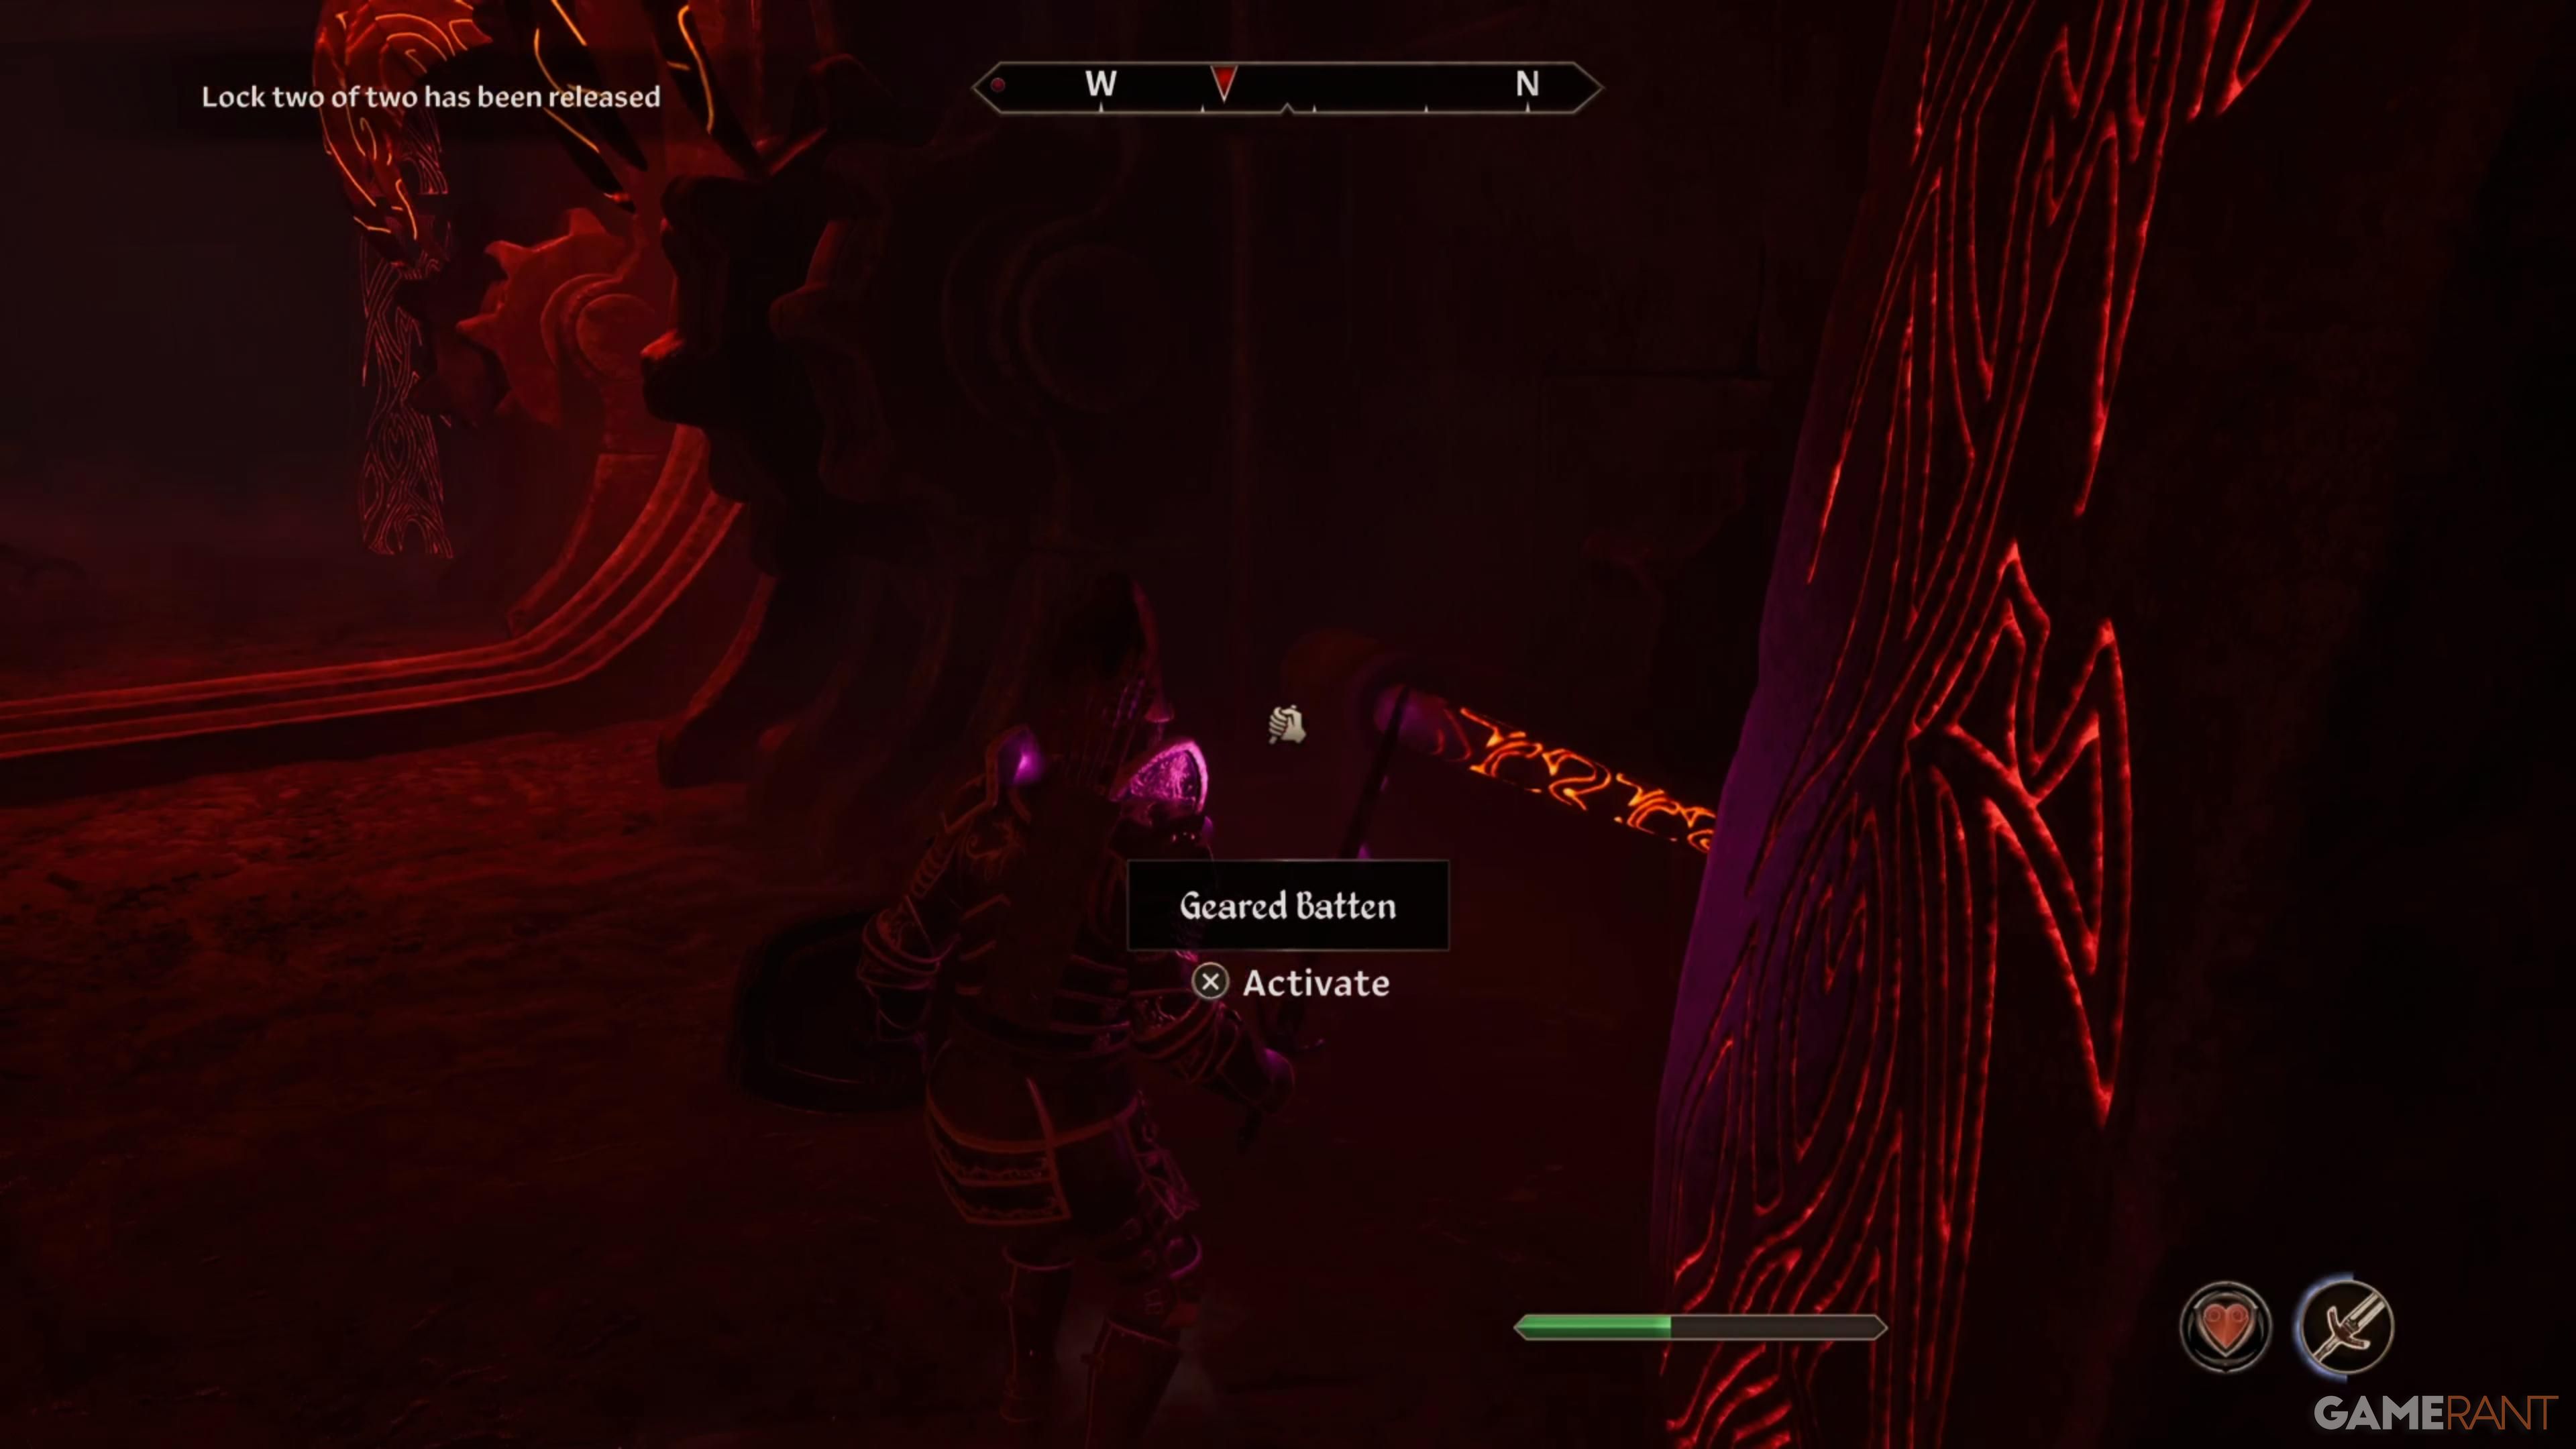
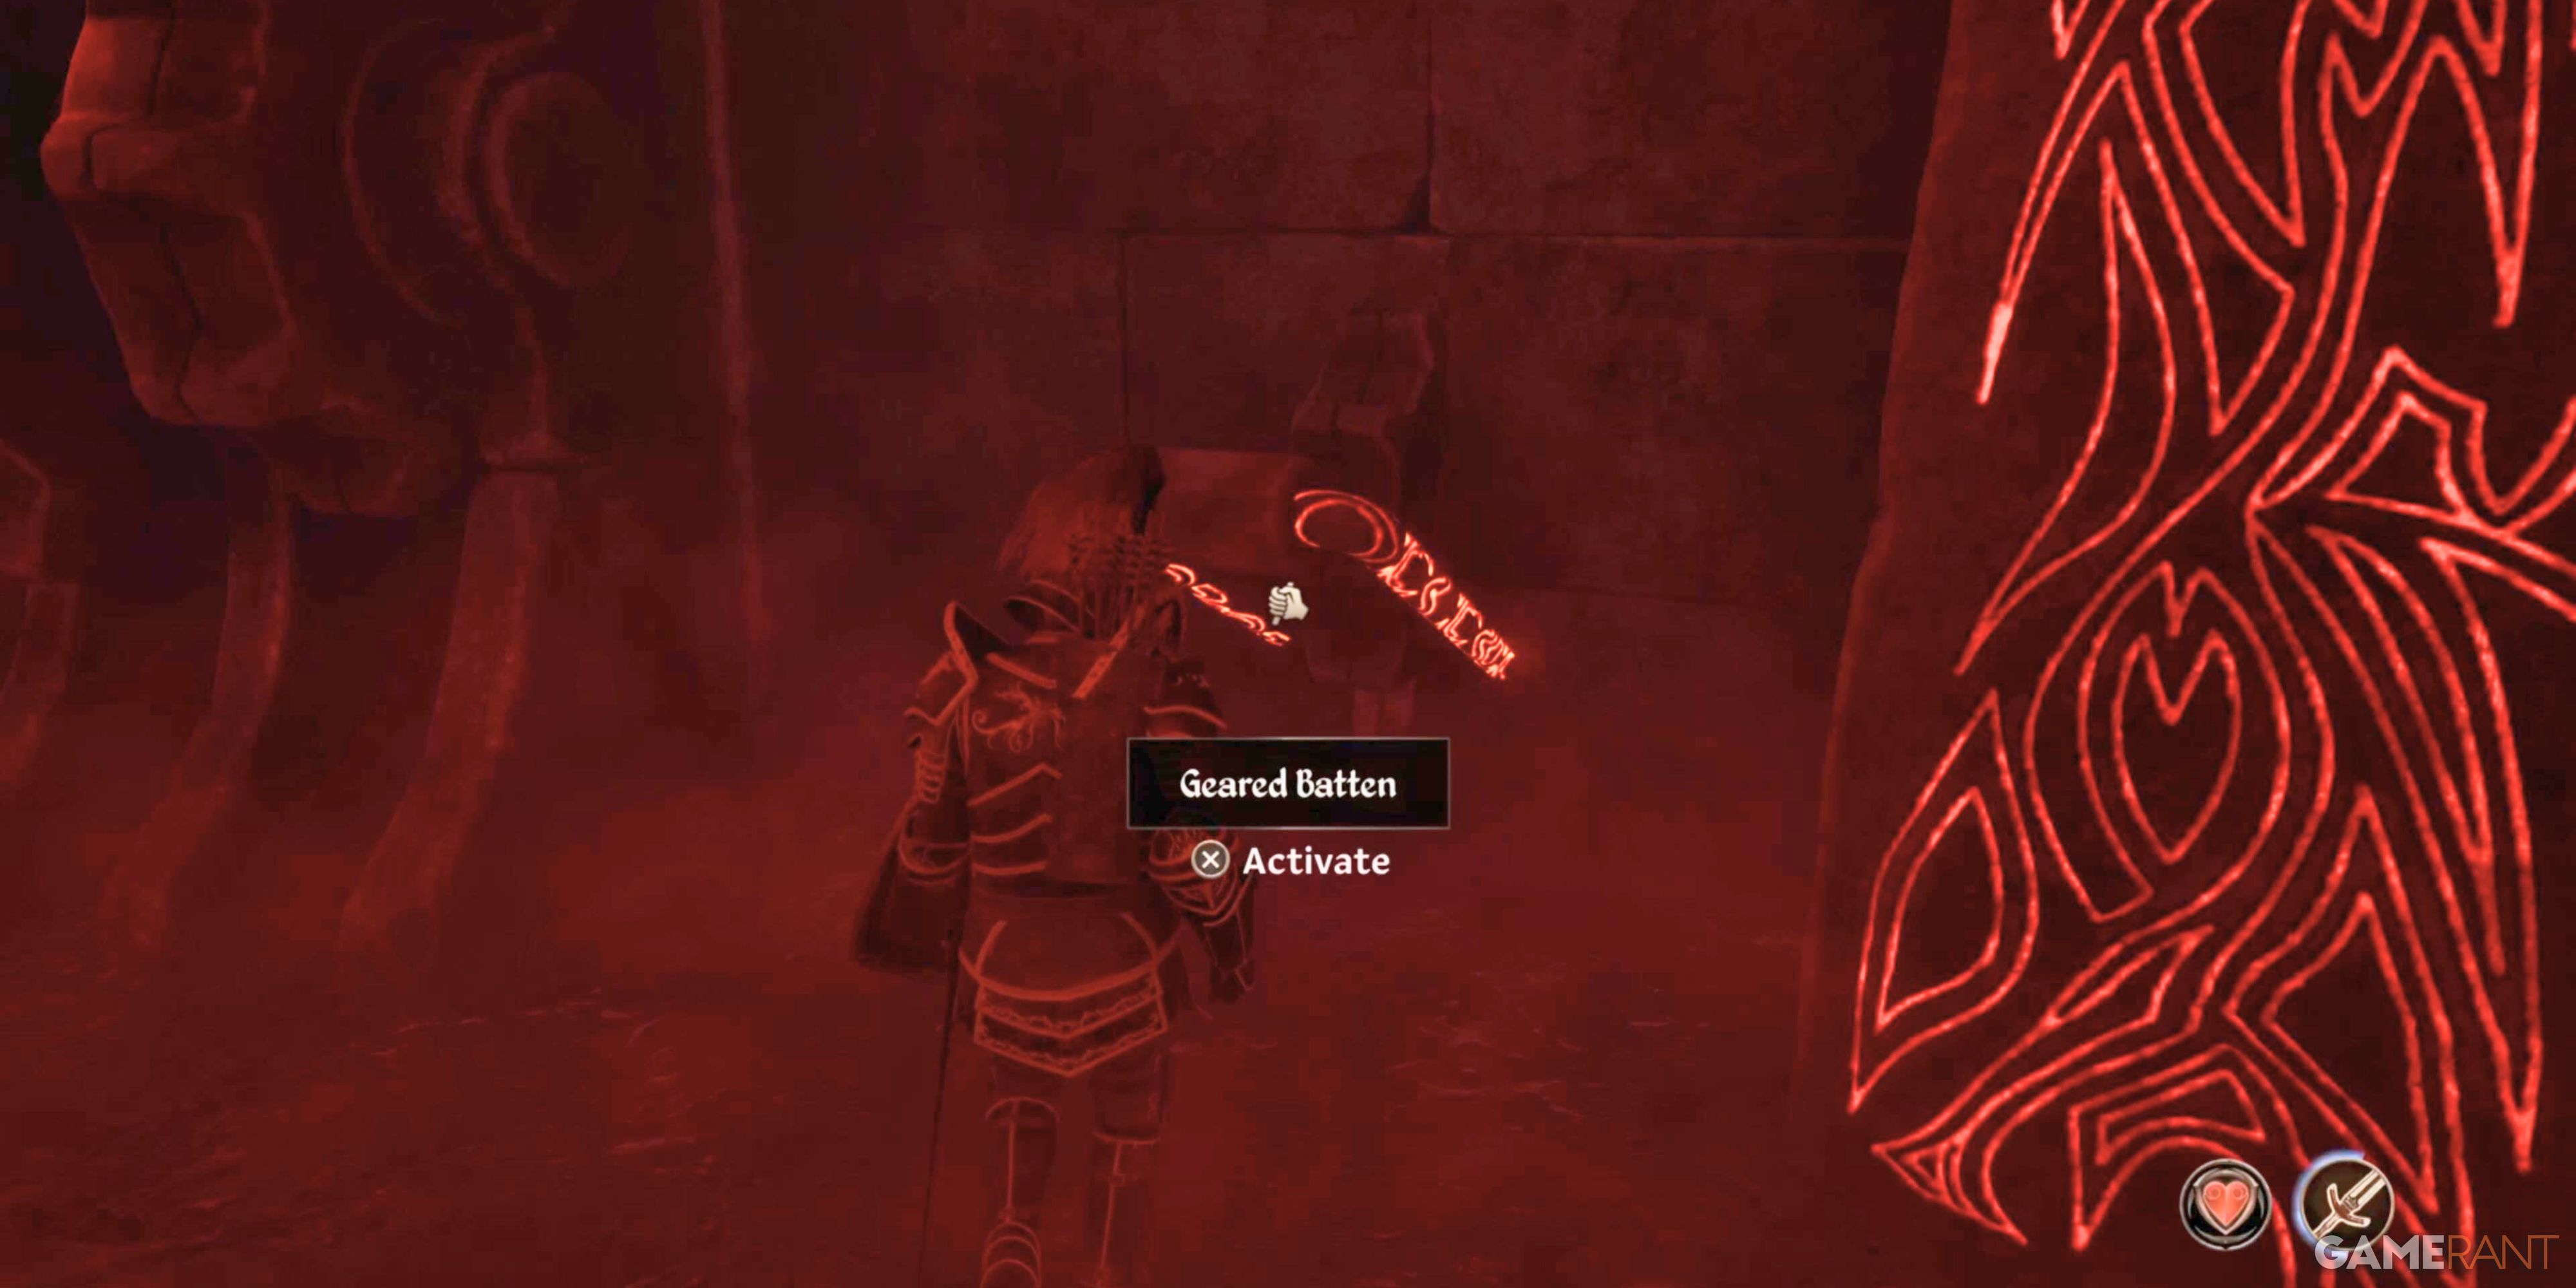
Once you’ve ascended, notice that unlike typical Oblivion Gates, there’s no Sigil Stone present here. To advance, make your way to the enormous gears and trigger the Geared Batten situated nearby. A message will pop up saying, “One of two locks has been freed.” Now retrace your steps back to the door in the Shrine Room that previously led to the damaged bridge – this time, it’ll extend, granting access to the Sorrow Shrine. Scale the ramps on either side and activate another Geared Batten, liberating the second lock.
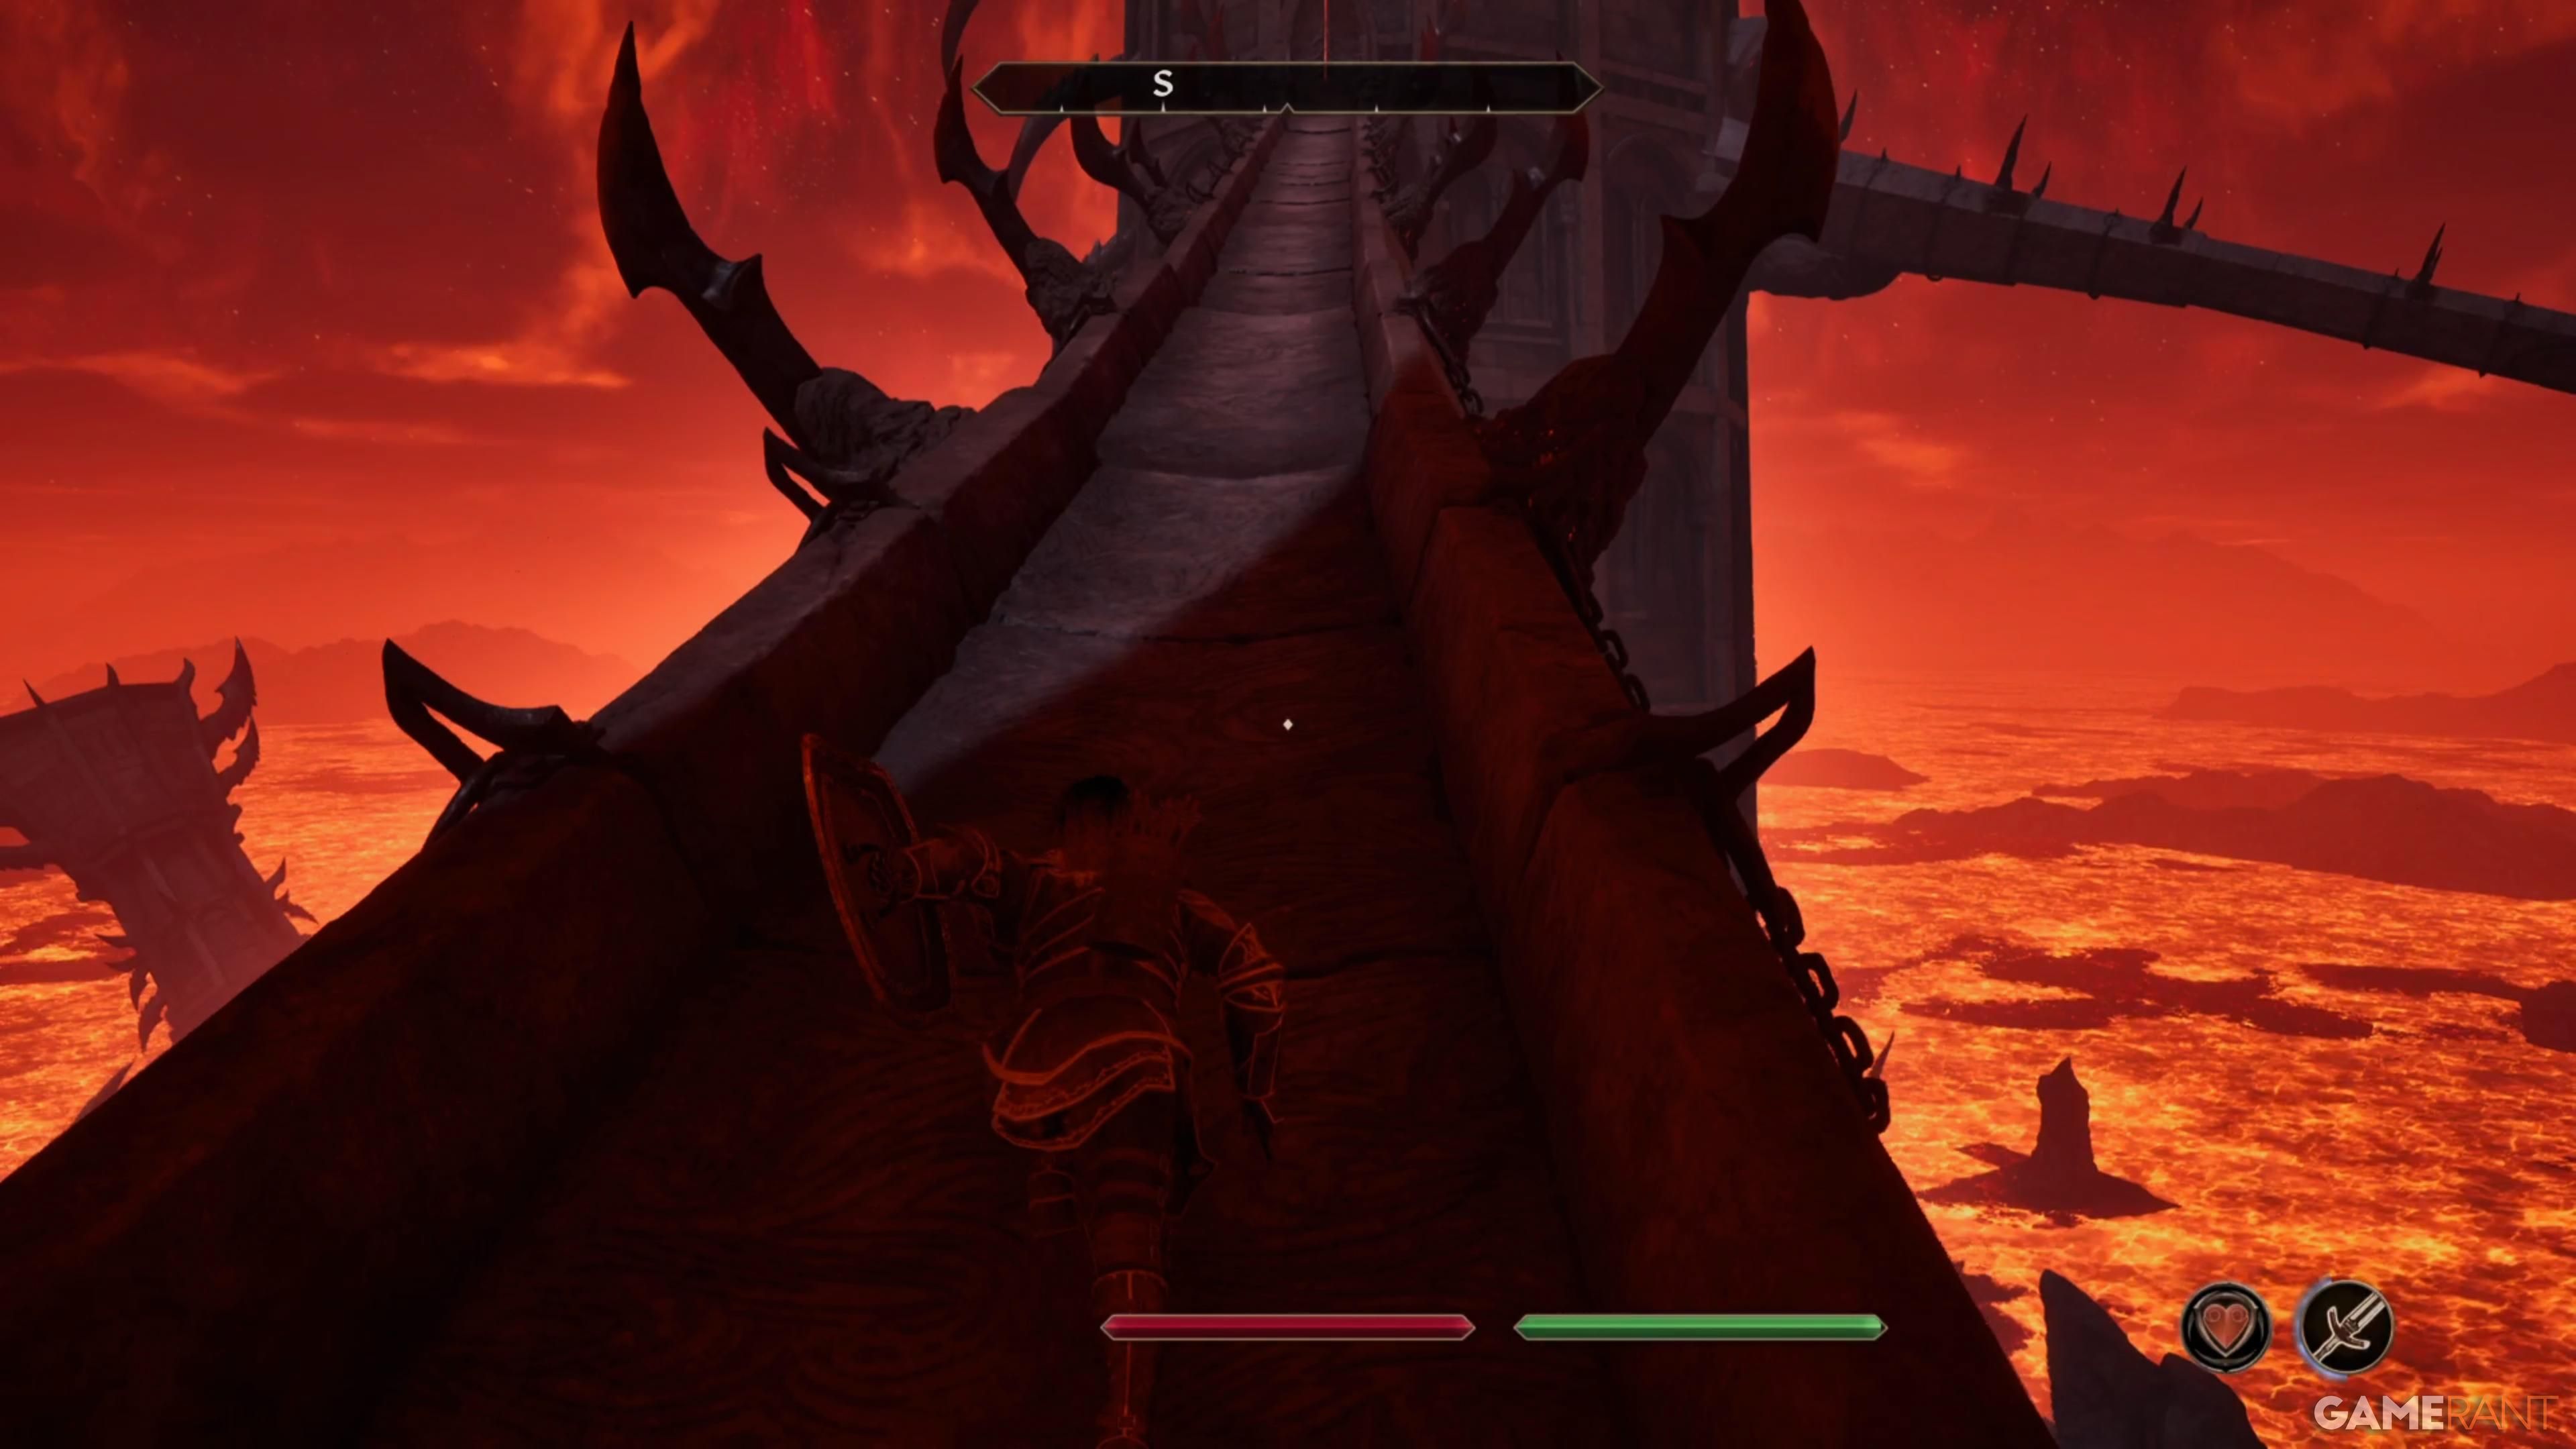
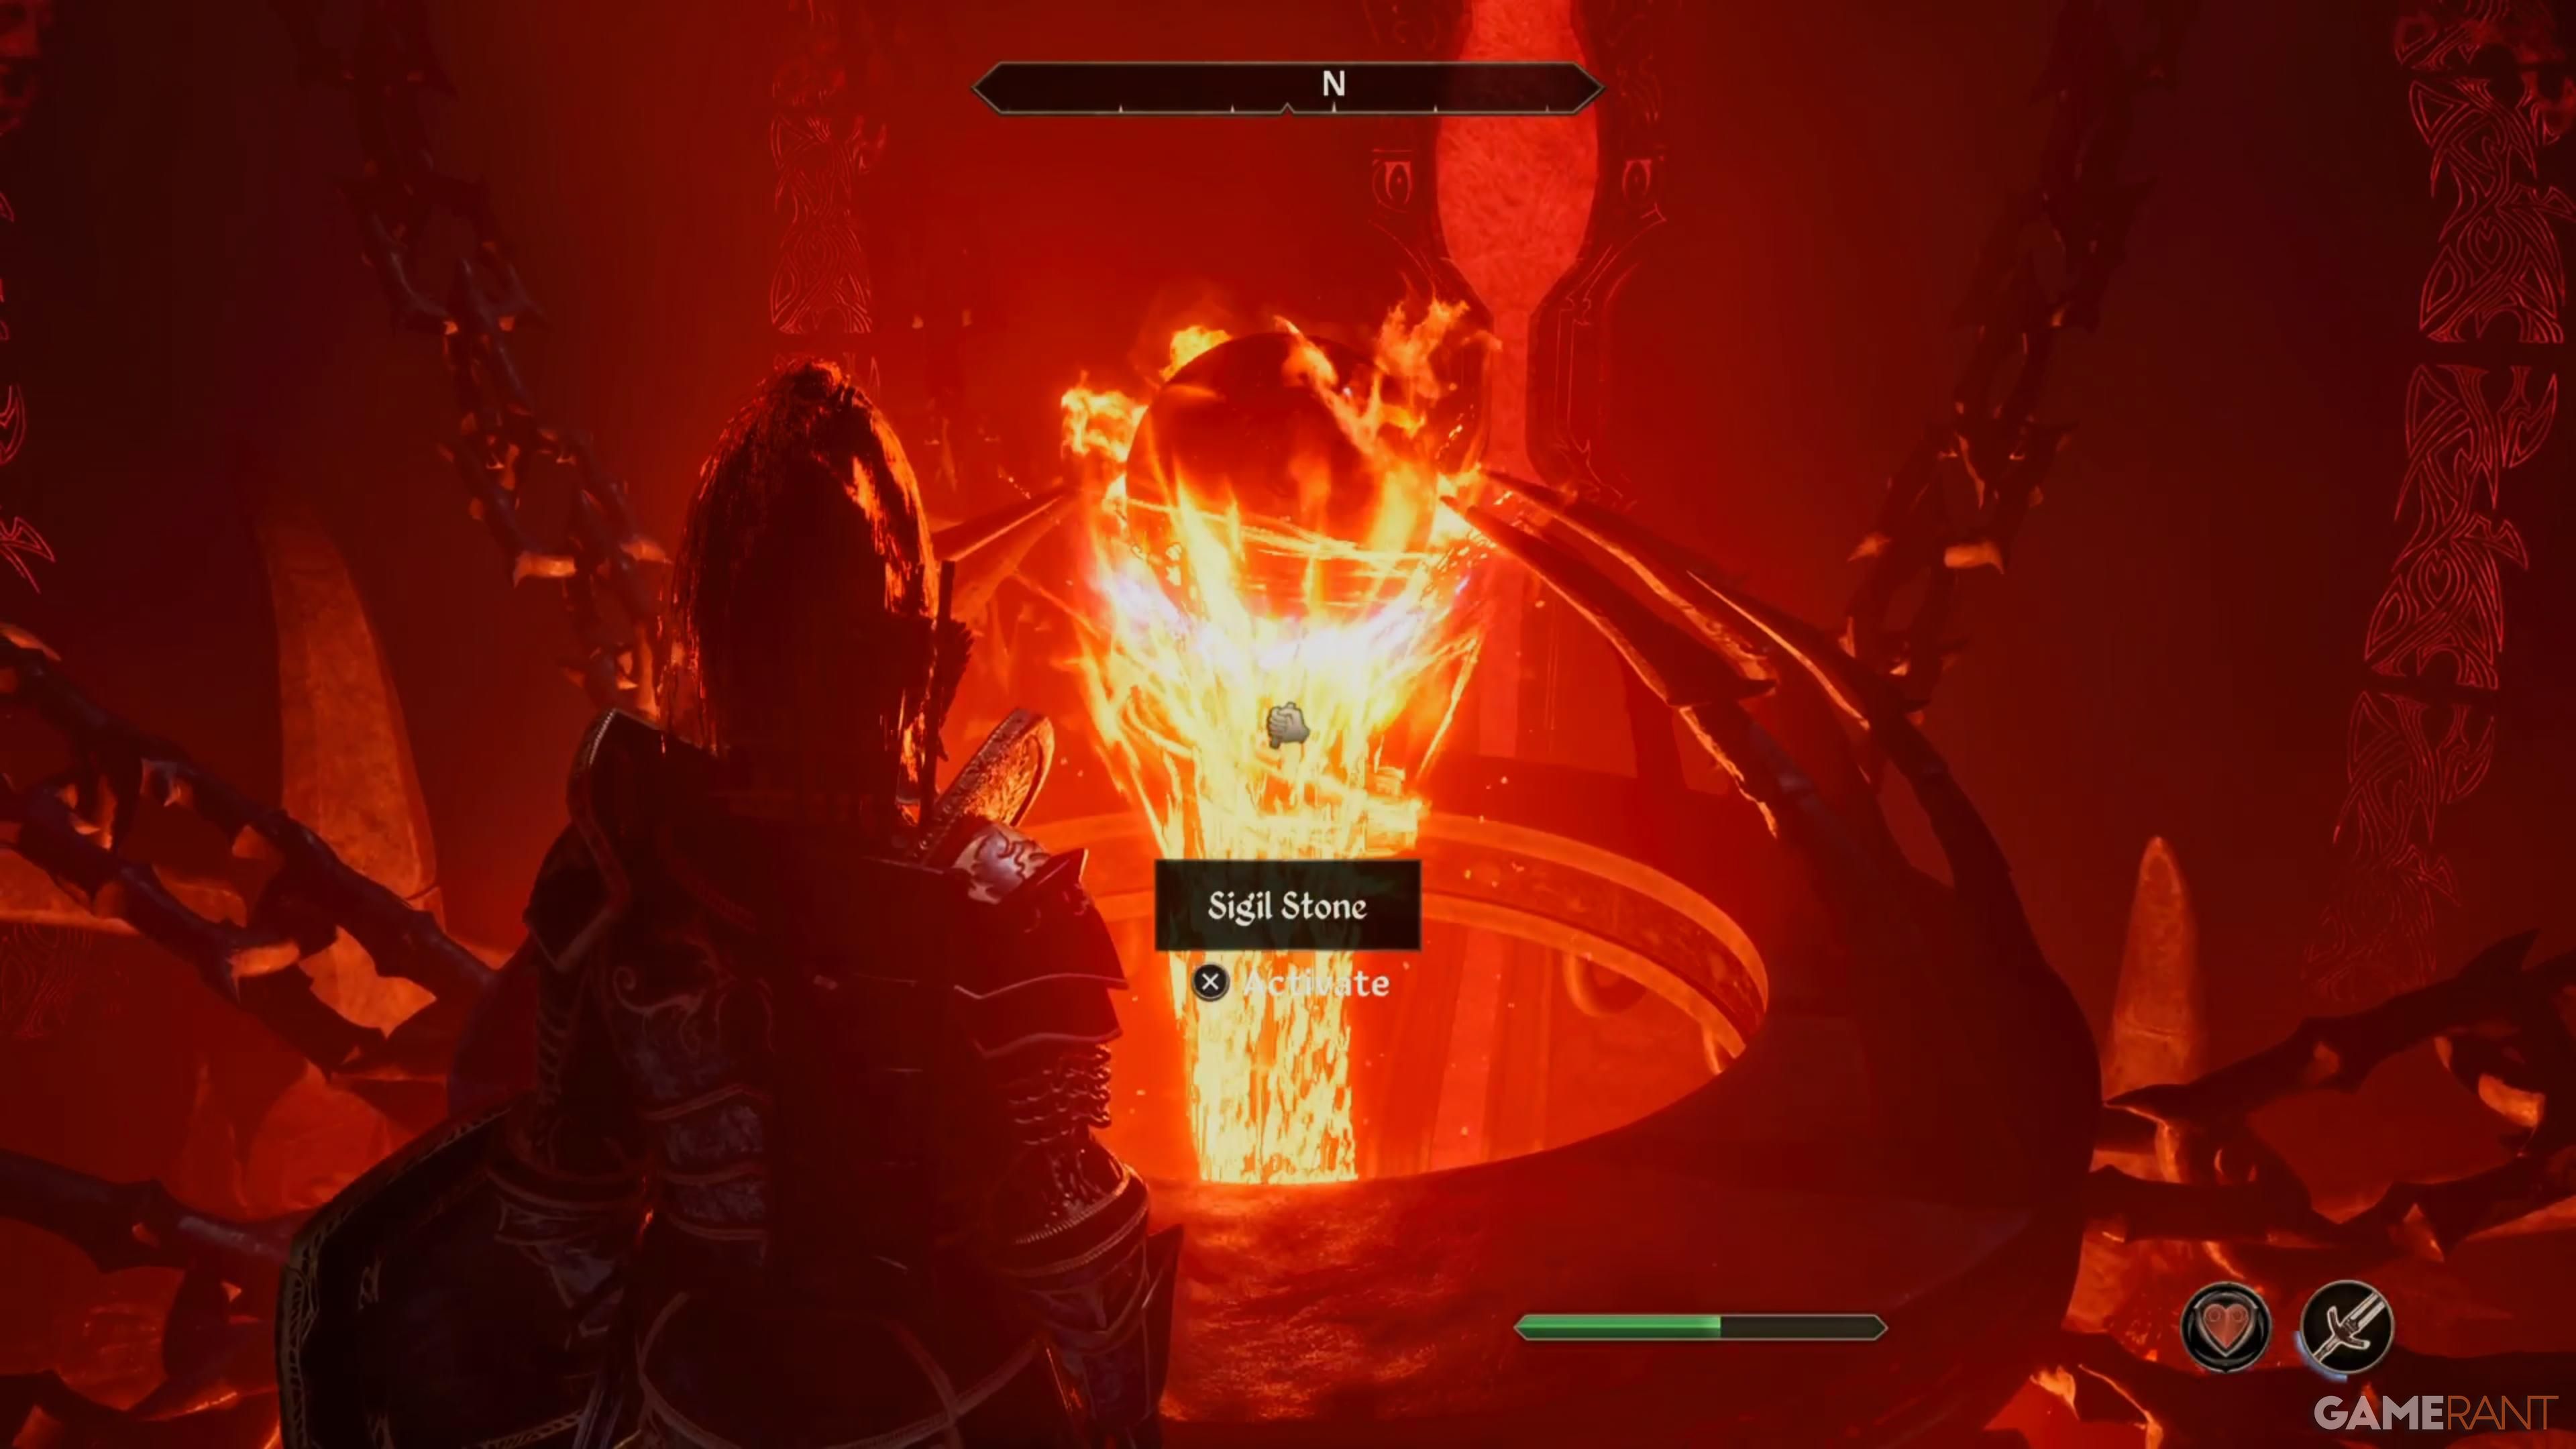
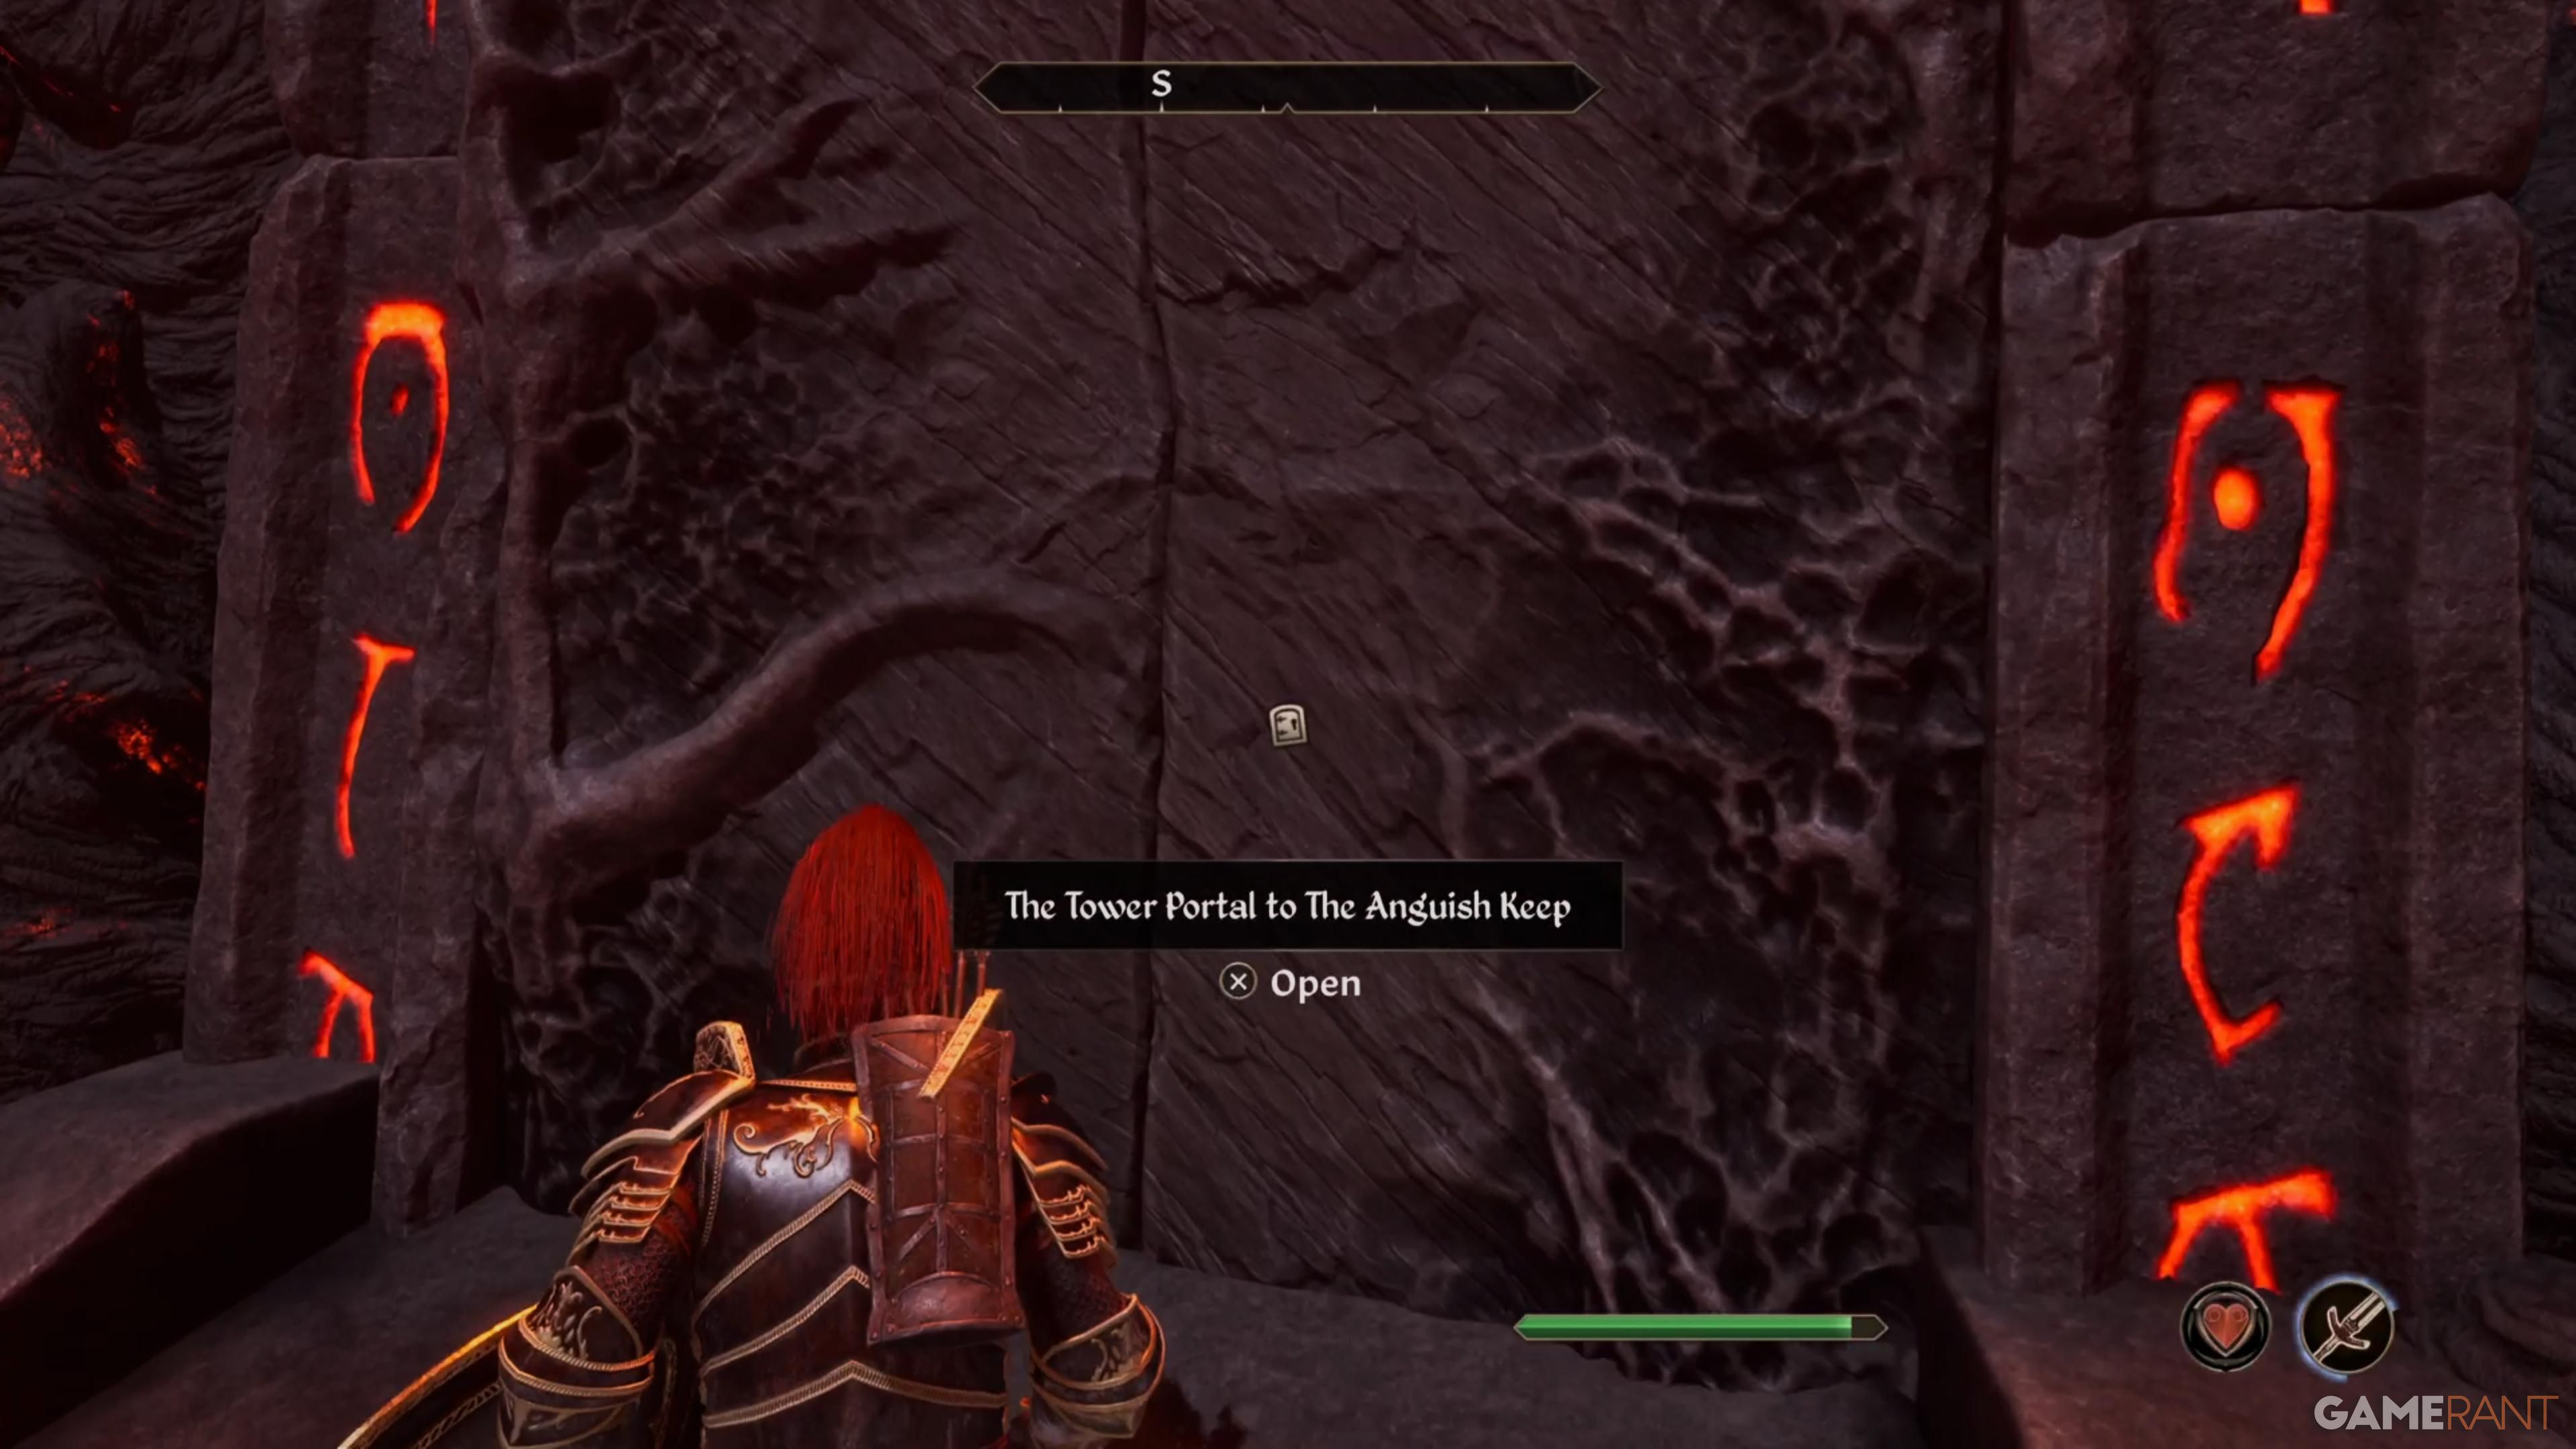
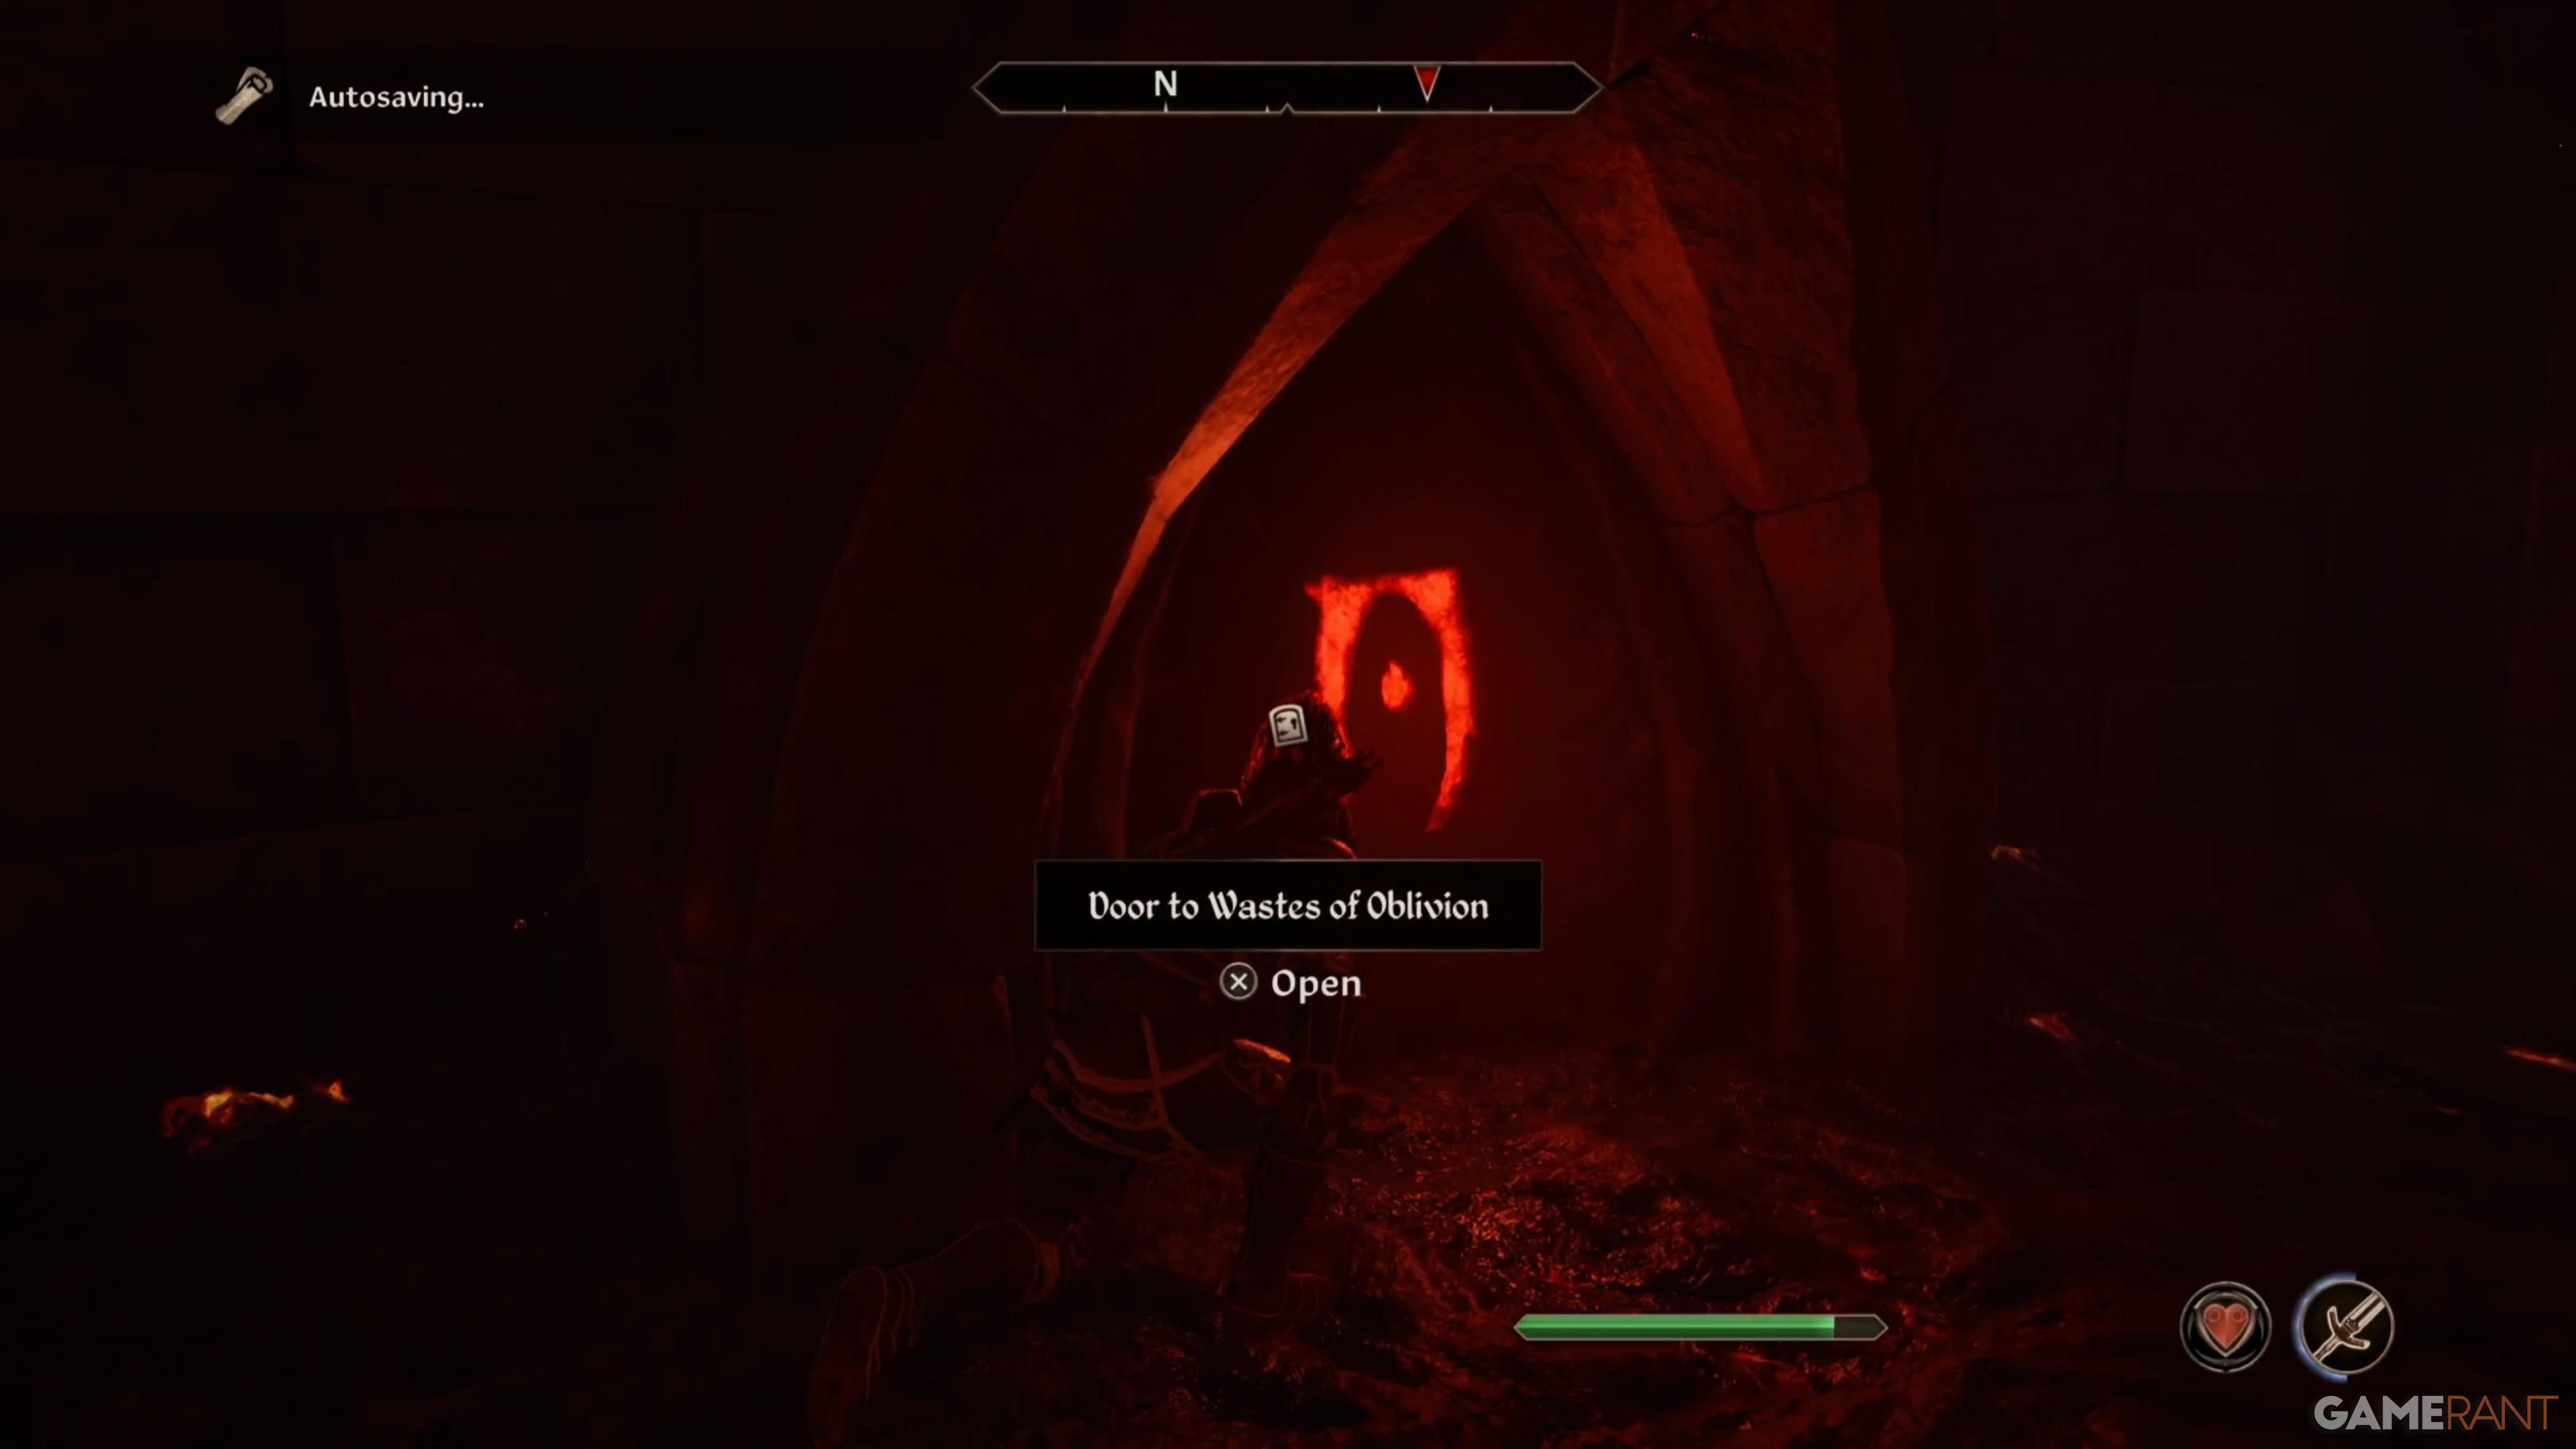
After both locks are undone, make your way down the tower again until you locate the entrance to the Brooding Fortress. As soon as you step inside, you’ll spot a towering pillar of fire, confirming that you’ve arrived at the intended and conclusive tower. Then, ascend to the summit, and eventually you will find the door to Sigillum Sanguis. Pass through it to retrieve the Sigil Stone and seal off this Oblivion Gate.
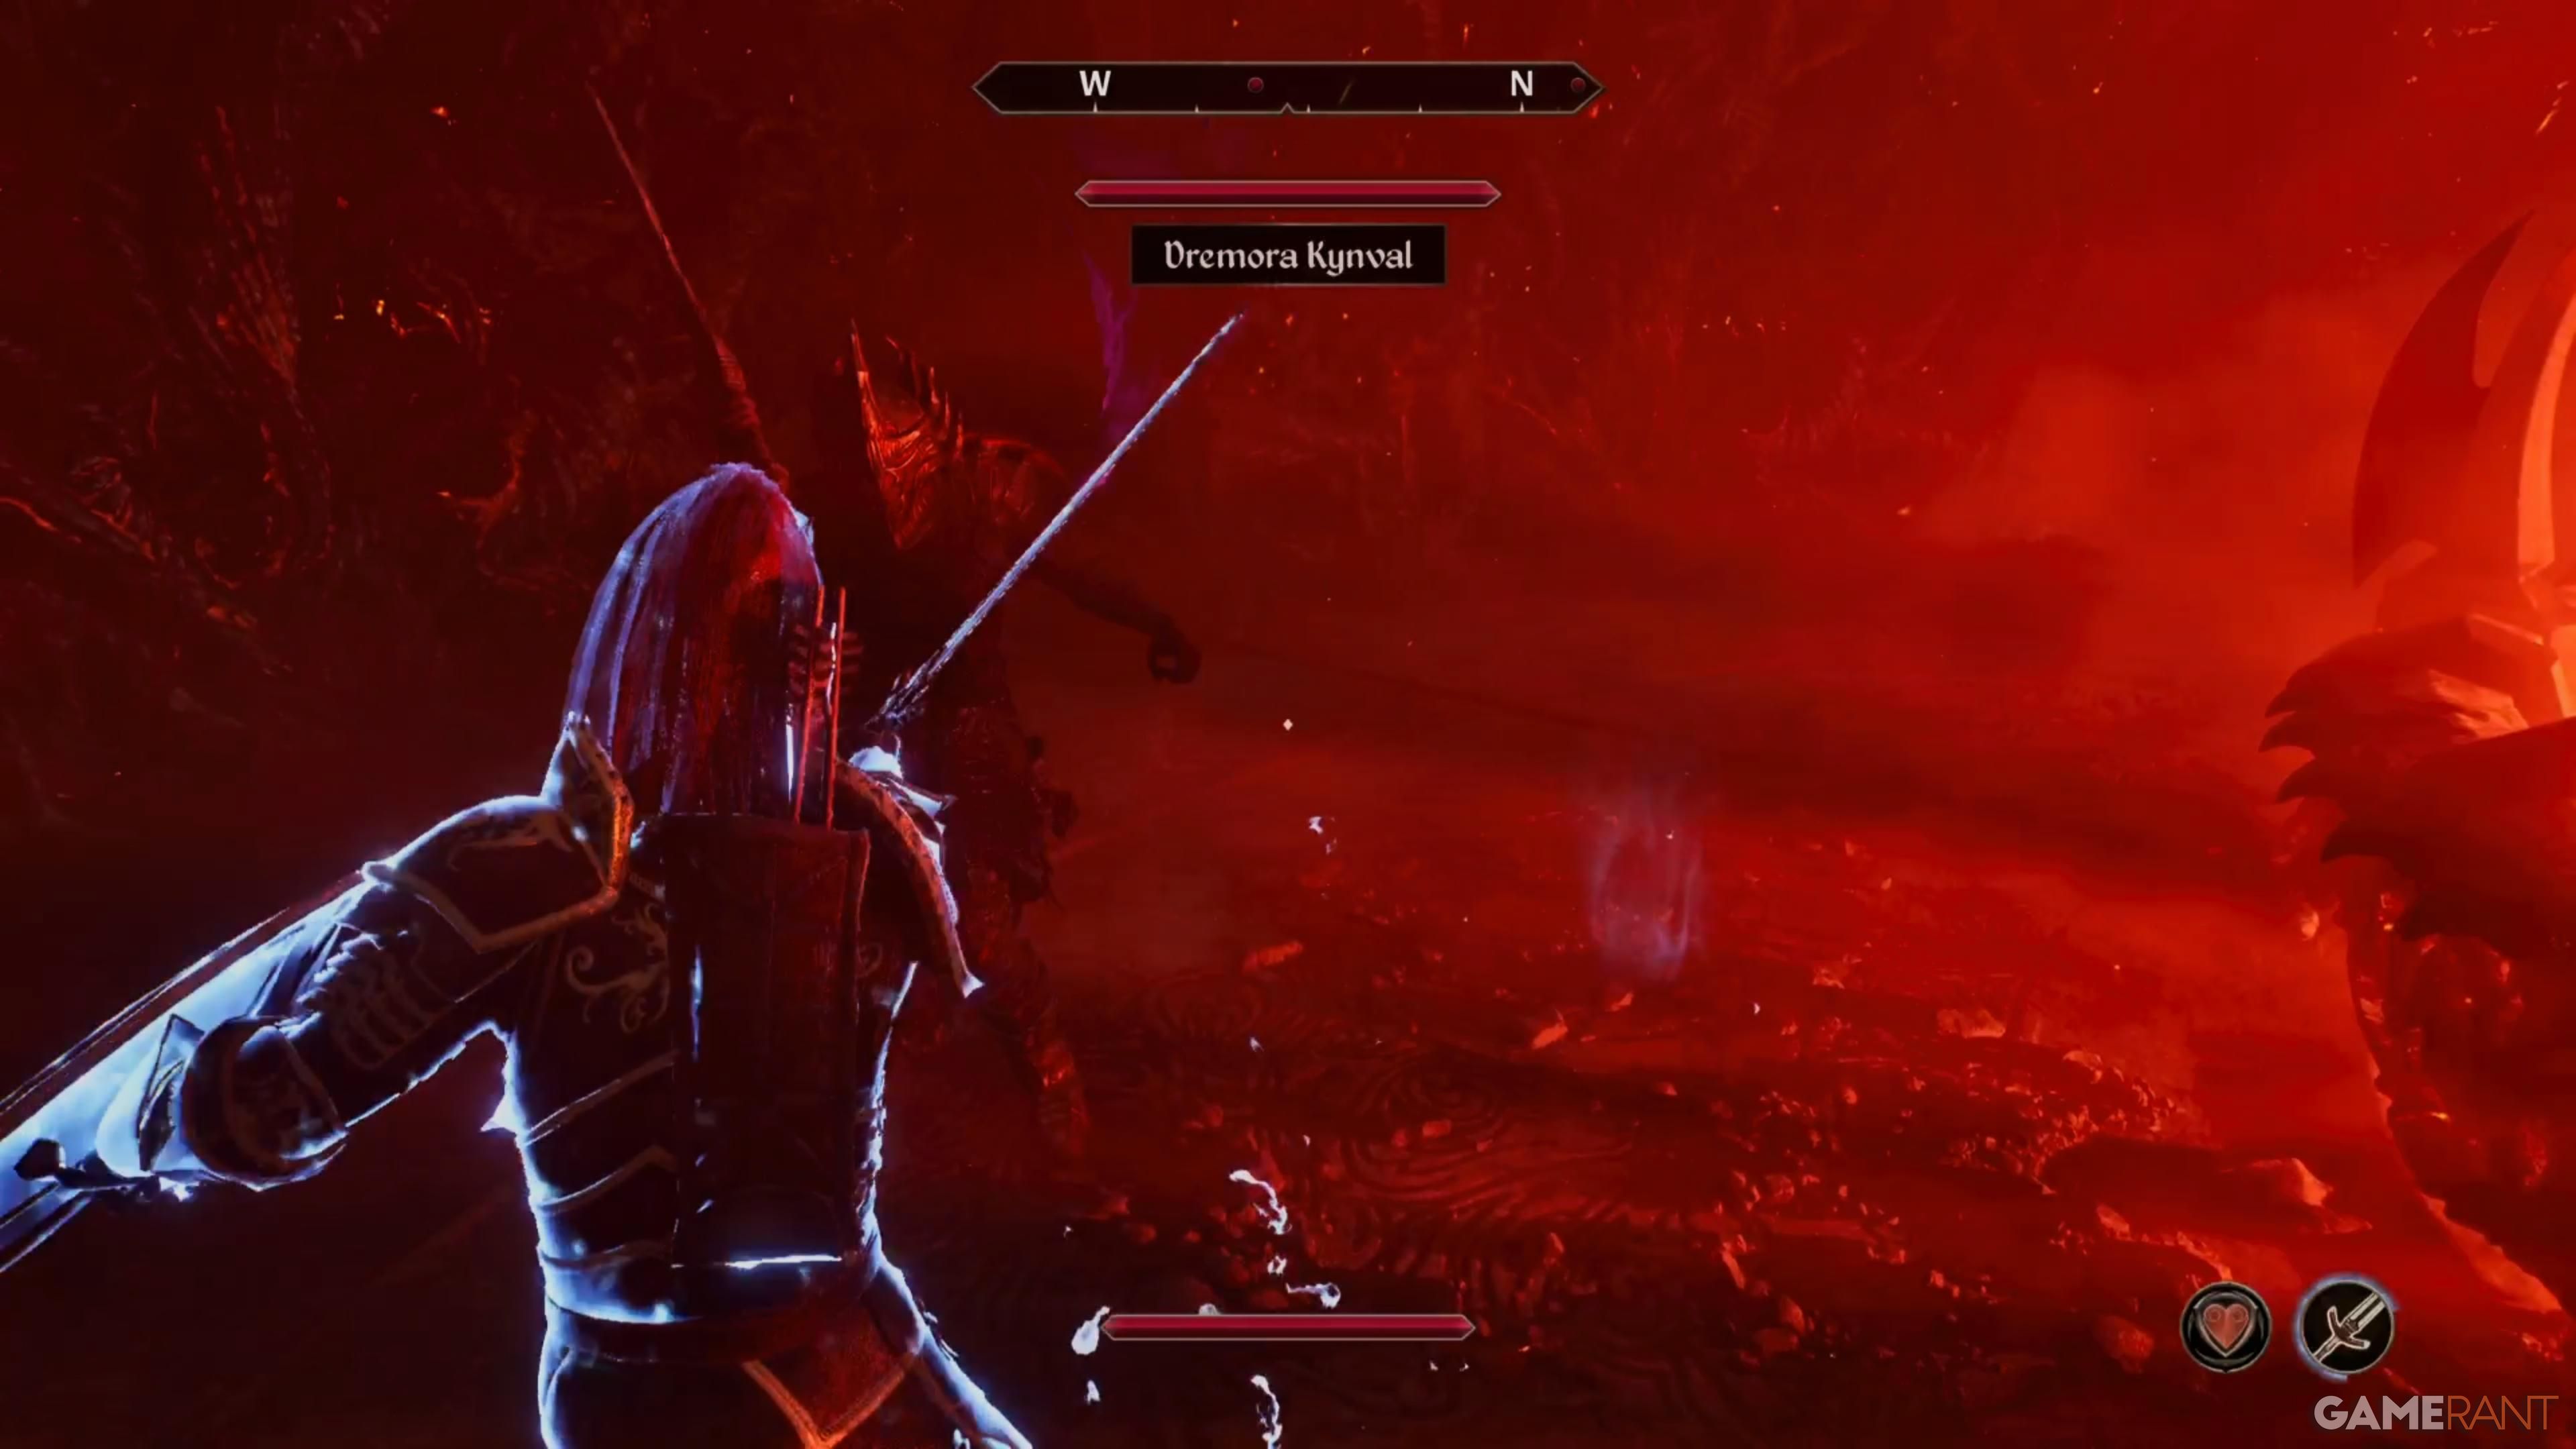
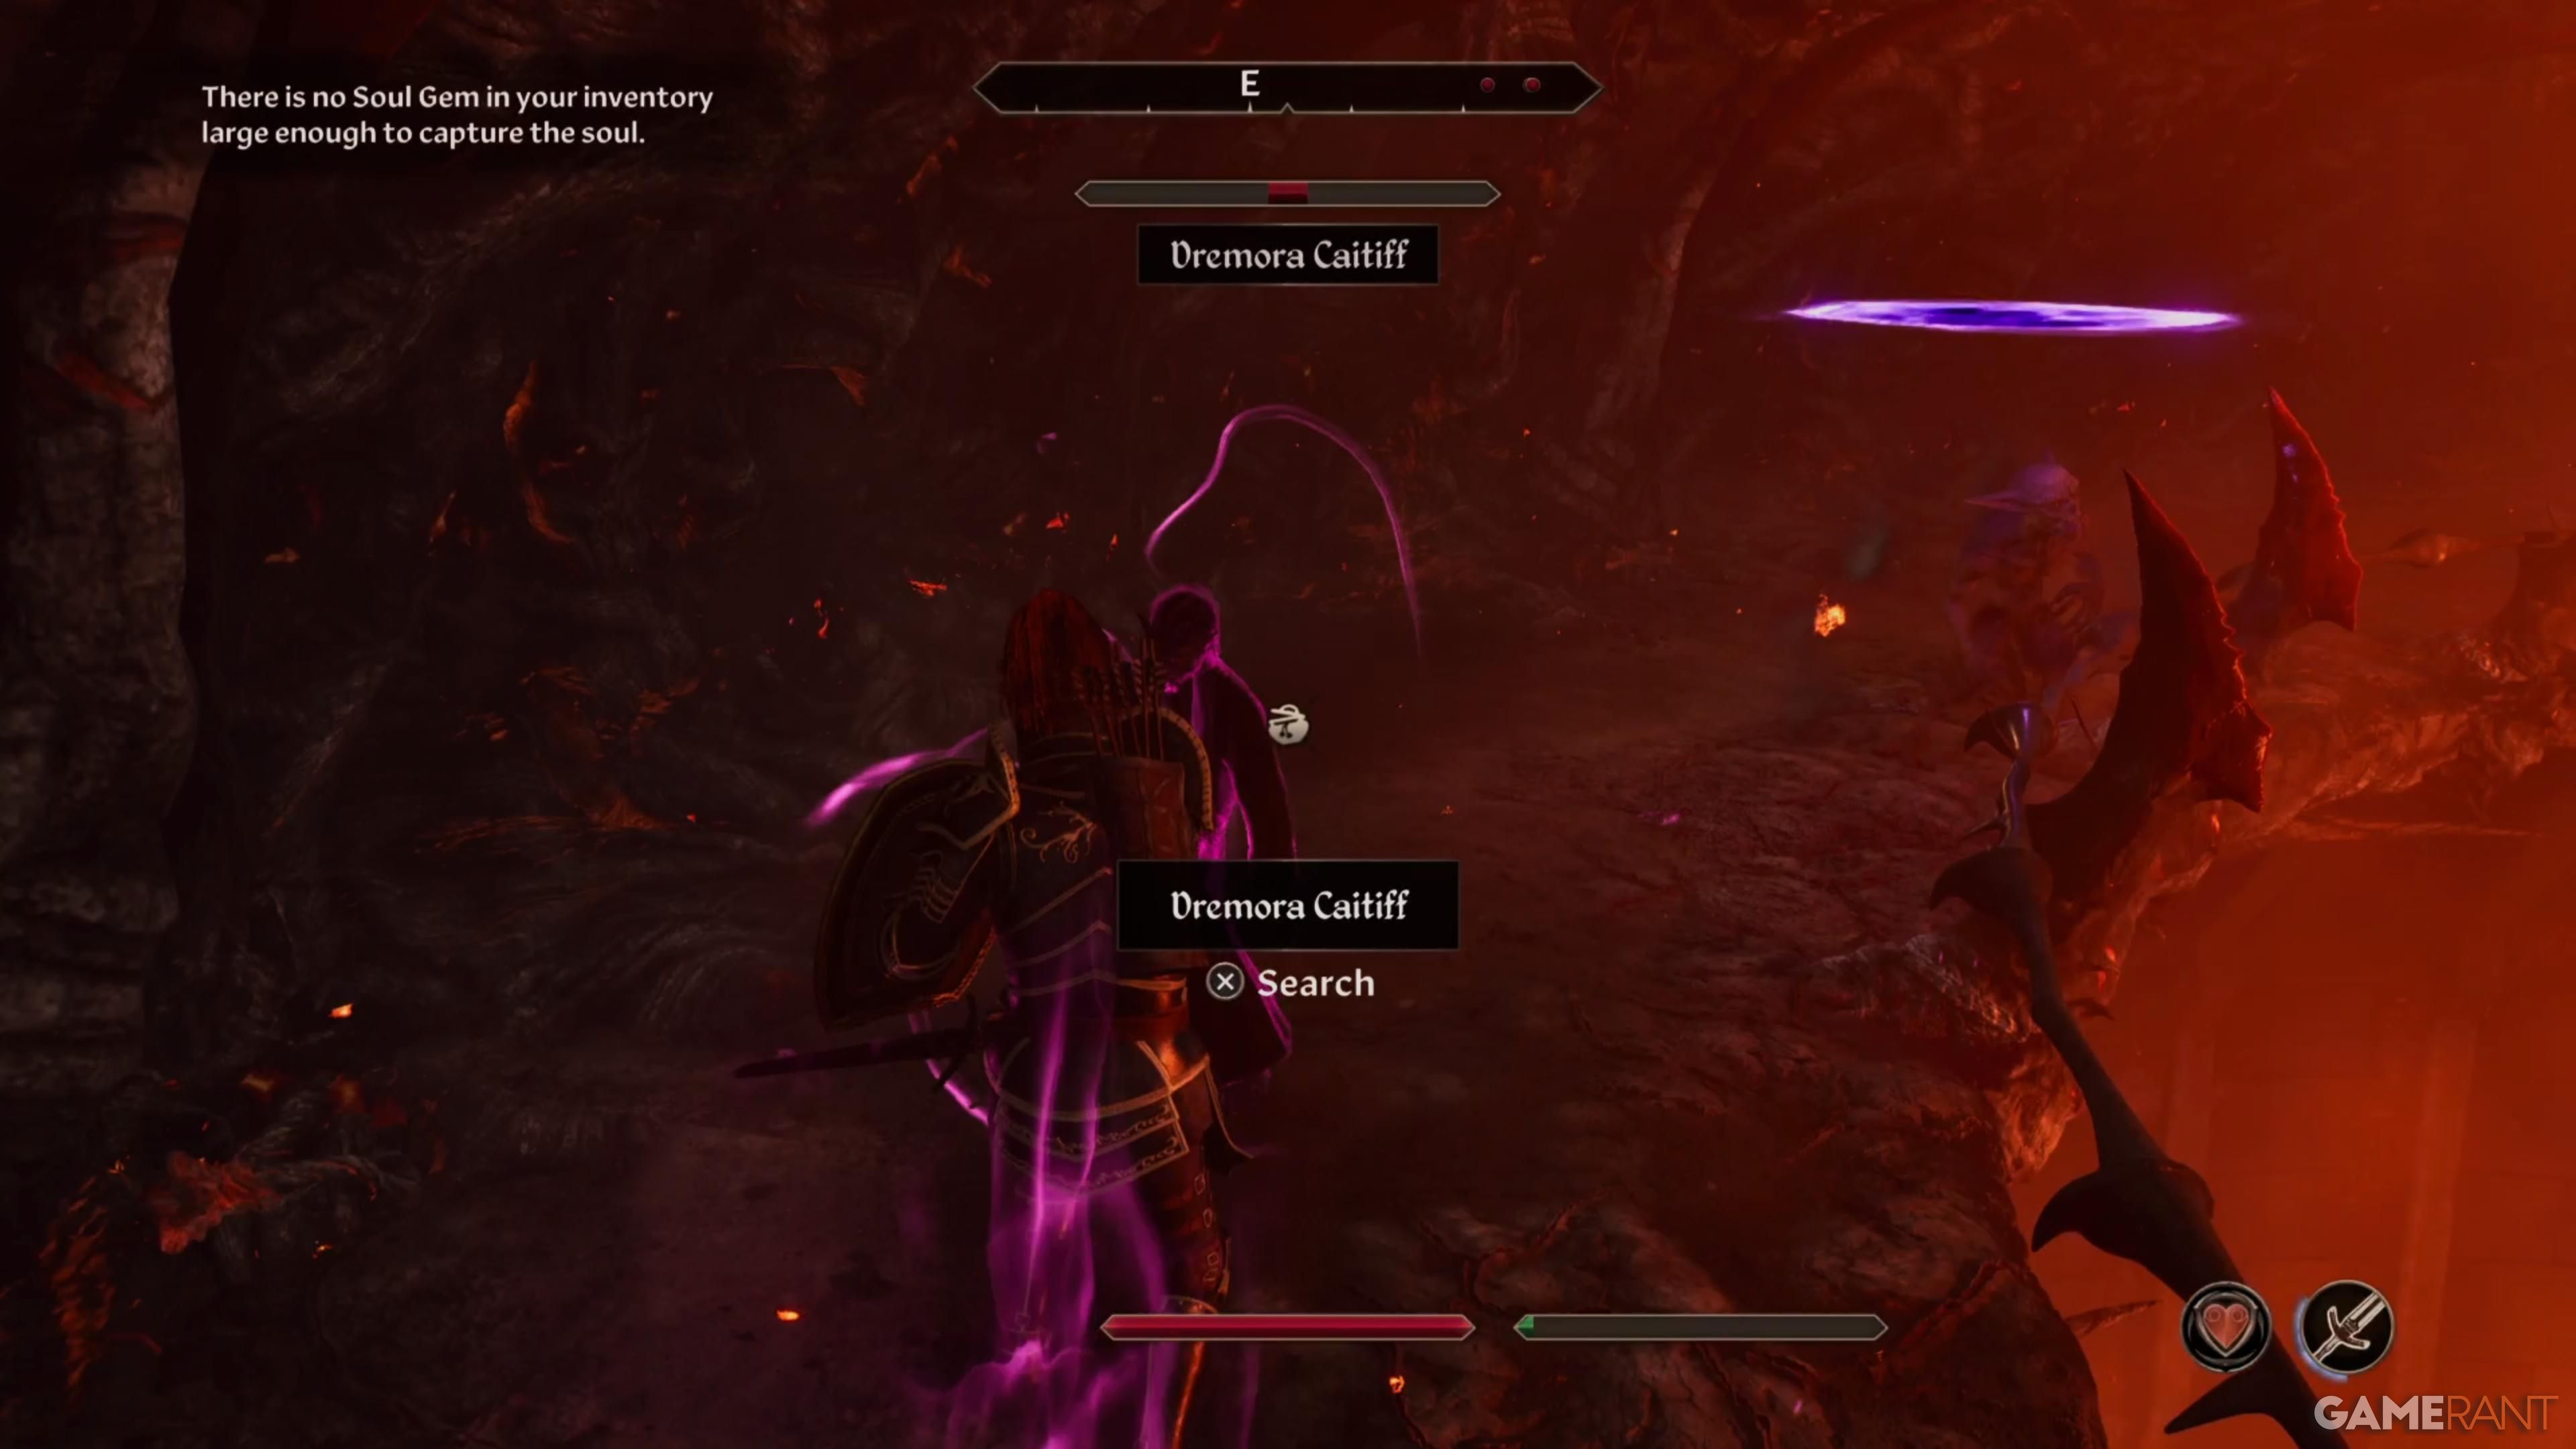
Within the Oblivion Portals, remember to snatch Daedra Hearts from the fallen Daedra foes, since these can be utilized as components in your alchemy work.
Read More
- All Skyblazer Armor Locations in Crimson Desert
- All Shadow Armor Locations in Crimson Desert
- How to Get the Sunset Reed Armor Set and Hollow Visage Sword in Crimson Desert
- Marni Laser Helm Location & Upgrade in Crimson Desert
- All Golden Greed Armor Locations in Crimson Desert
- All Helfryn Armor Locations in Crimson Desert
- Keeping Large AI Models Connected Through Network Chaos
- Best Bows in Crimson Desert
- All Icewing Armor Locations in Crimson Desert
- How to Craft the Elegant Carmine Armor in Crimson Desert
2025-05-08 04:05