Okay, so the Vault of Vengeance can be really tricky! I’ve learned that a lot of the puzzles aren’t about using your usual Axiom Force or Force Palm powers. Instead, you really need to focus on using Focused Shot with a Bow and Arrow – that’s the key to solving most of it, honestly. It took me a while to figure that out!
Having trouble with the Vault of Vengeance? This walkthrough will help you navigate the Abyss, collect valuable artifacts to improve your character, and ultimately unlock the powerful Lightning Imbuement. We’ll make sure you stay on track and enjoy the experience!
First, make sure you’ve learned Focused Shot. This skill needs Marksmanship level 2 and Focus level 2, and you’ll definitely need it to solve the rest of this puzzle.
How to Complete the Vault of Vengeance Abyss Puzzle in Crimson Desert
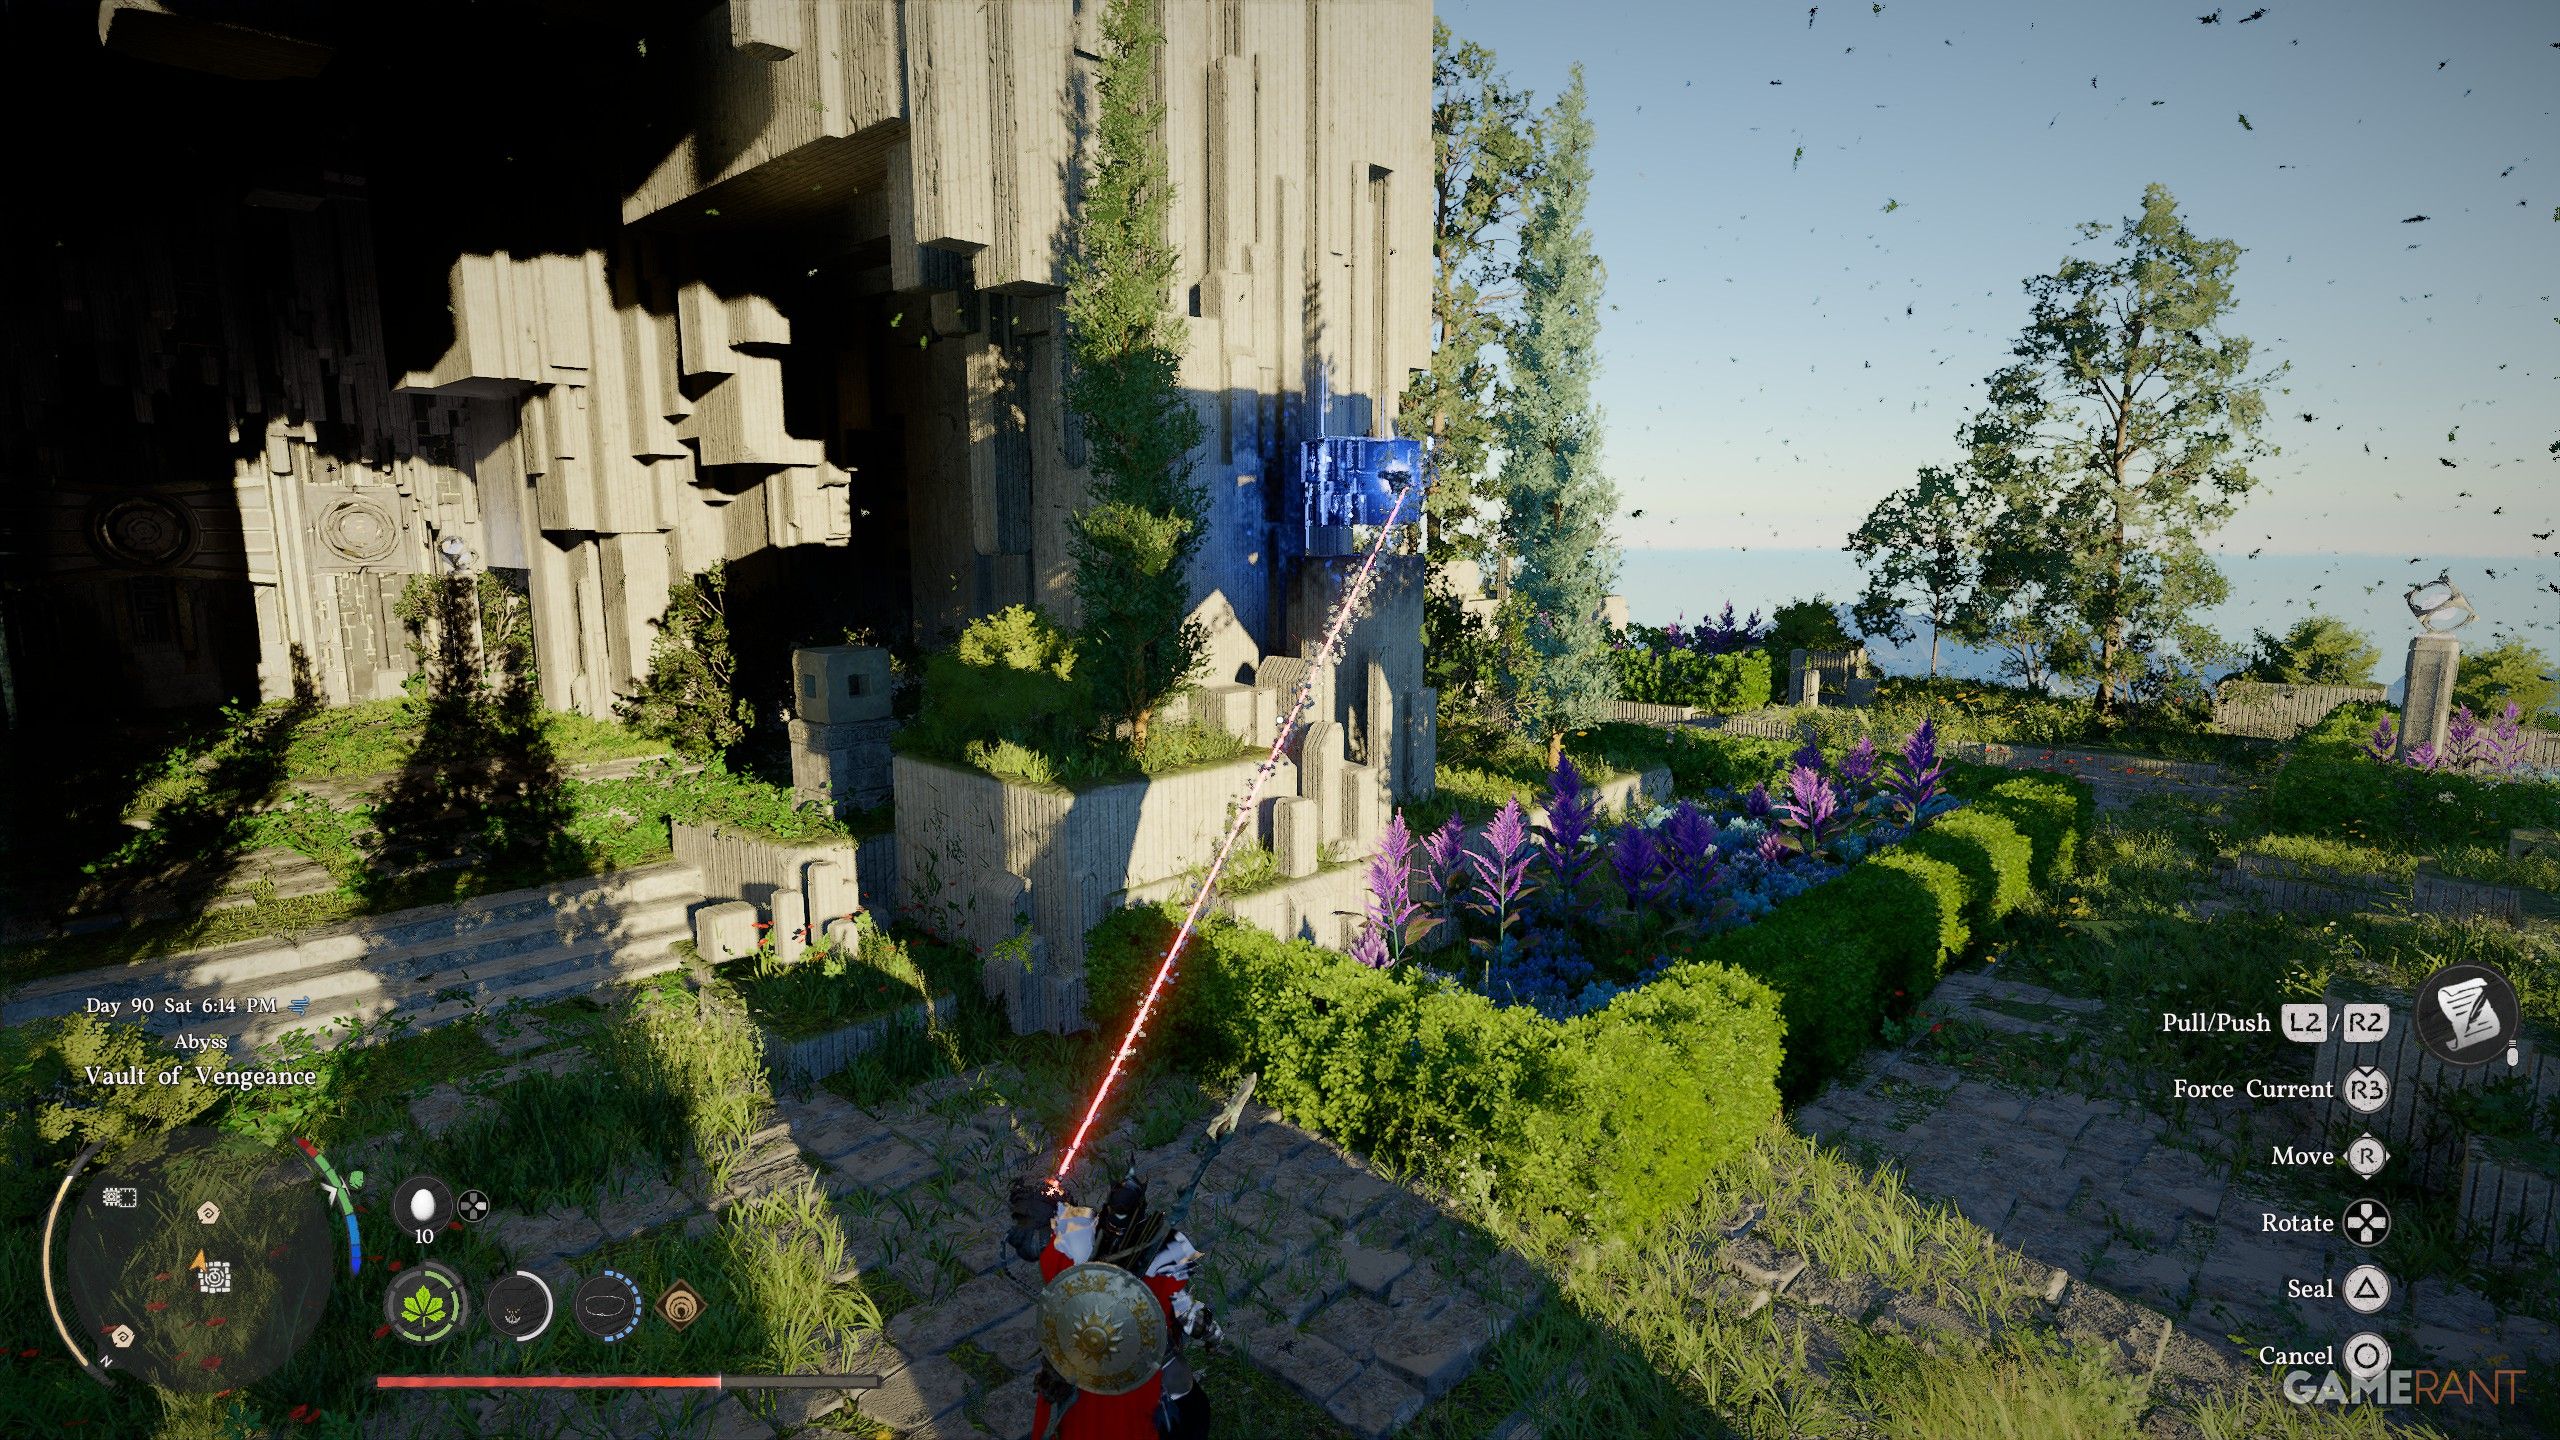
- The entrance into the puzzle is blocked. You need to open the door by placing the Power Cores on the stone cubes.
- The Power Cores are to the left and right of the stone cubes, and can be picked up with Axiom Force. Once placed next to the stone cubes, they will activate, and the door will open.
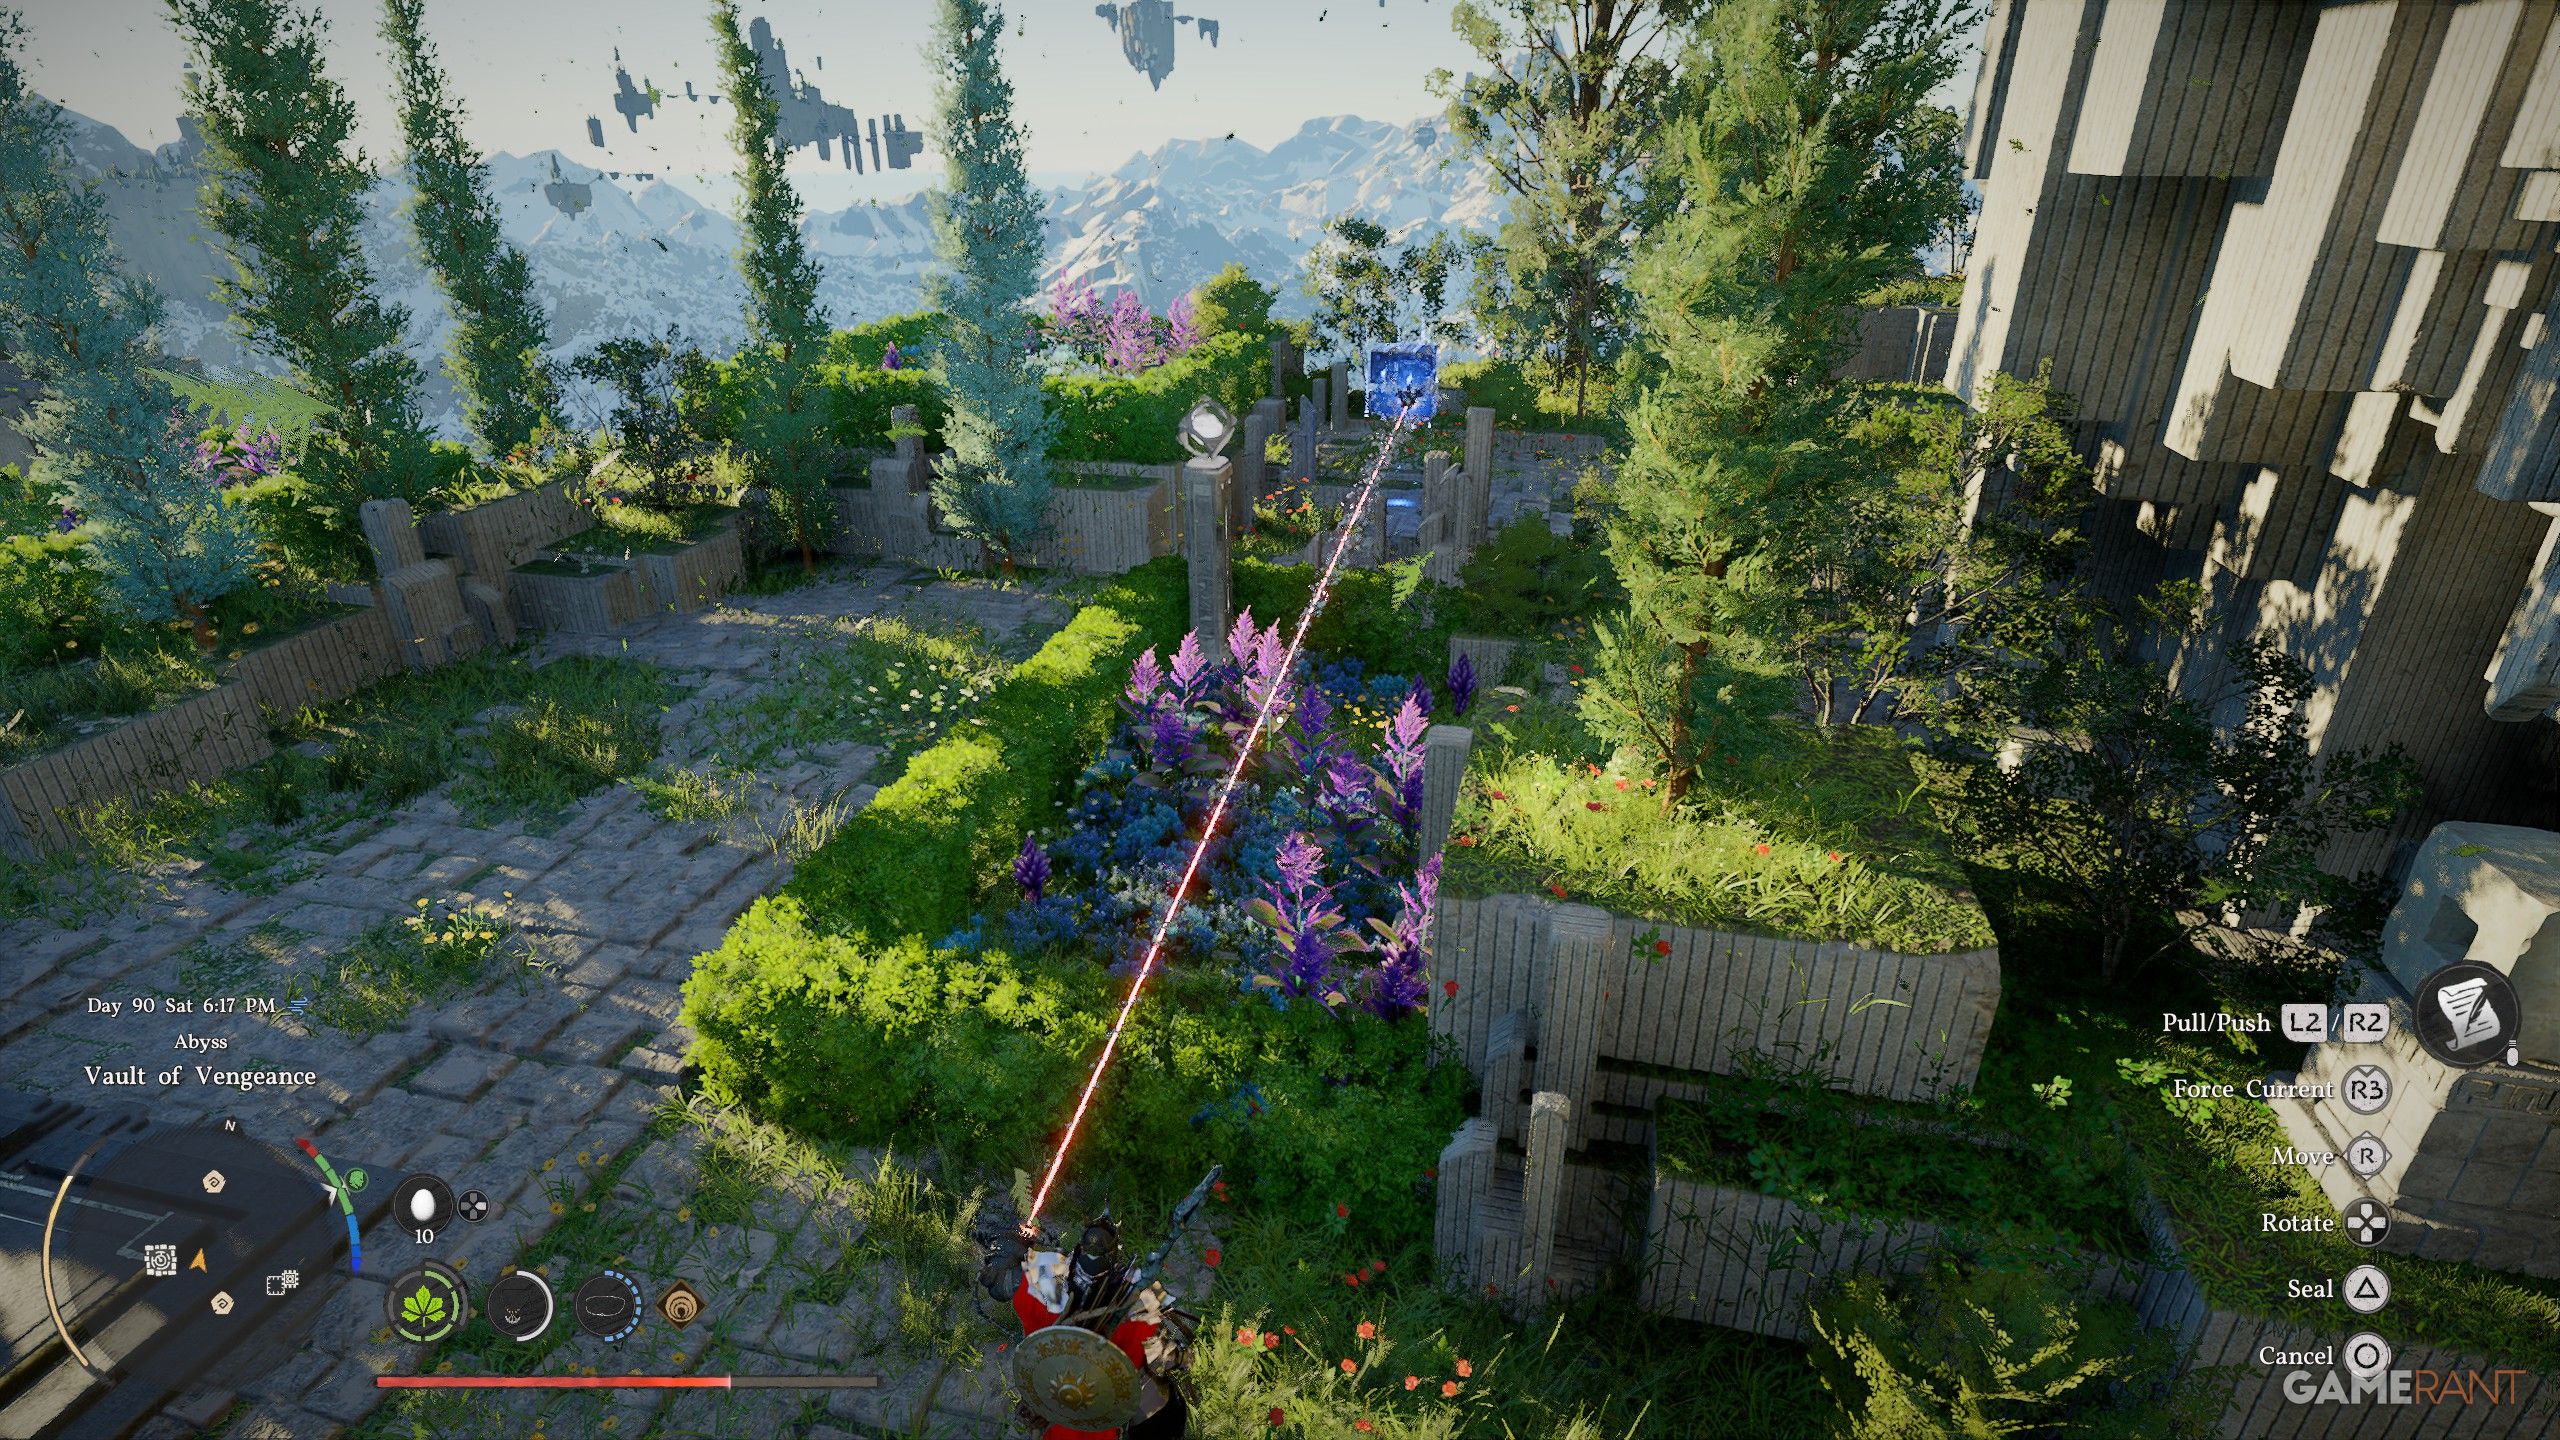
- Walk inside the room to find two yellow panels on the left and right of the locked door.
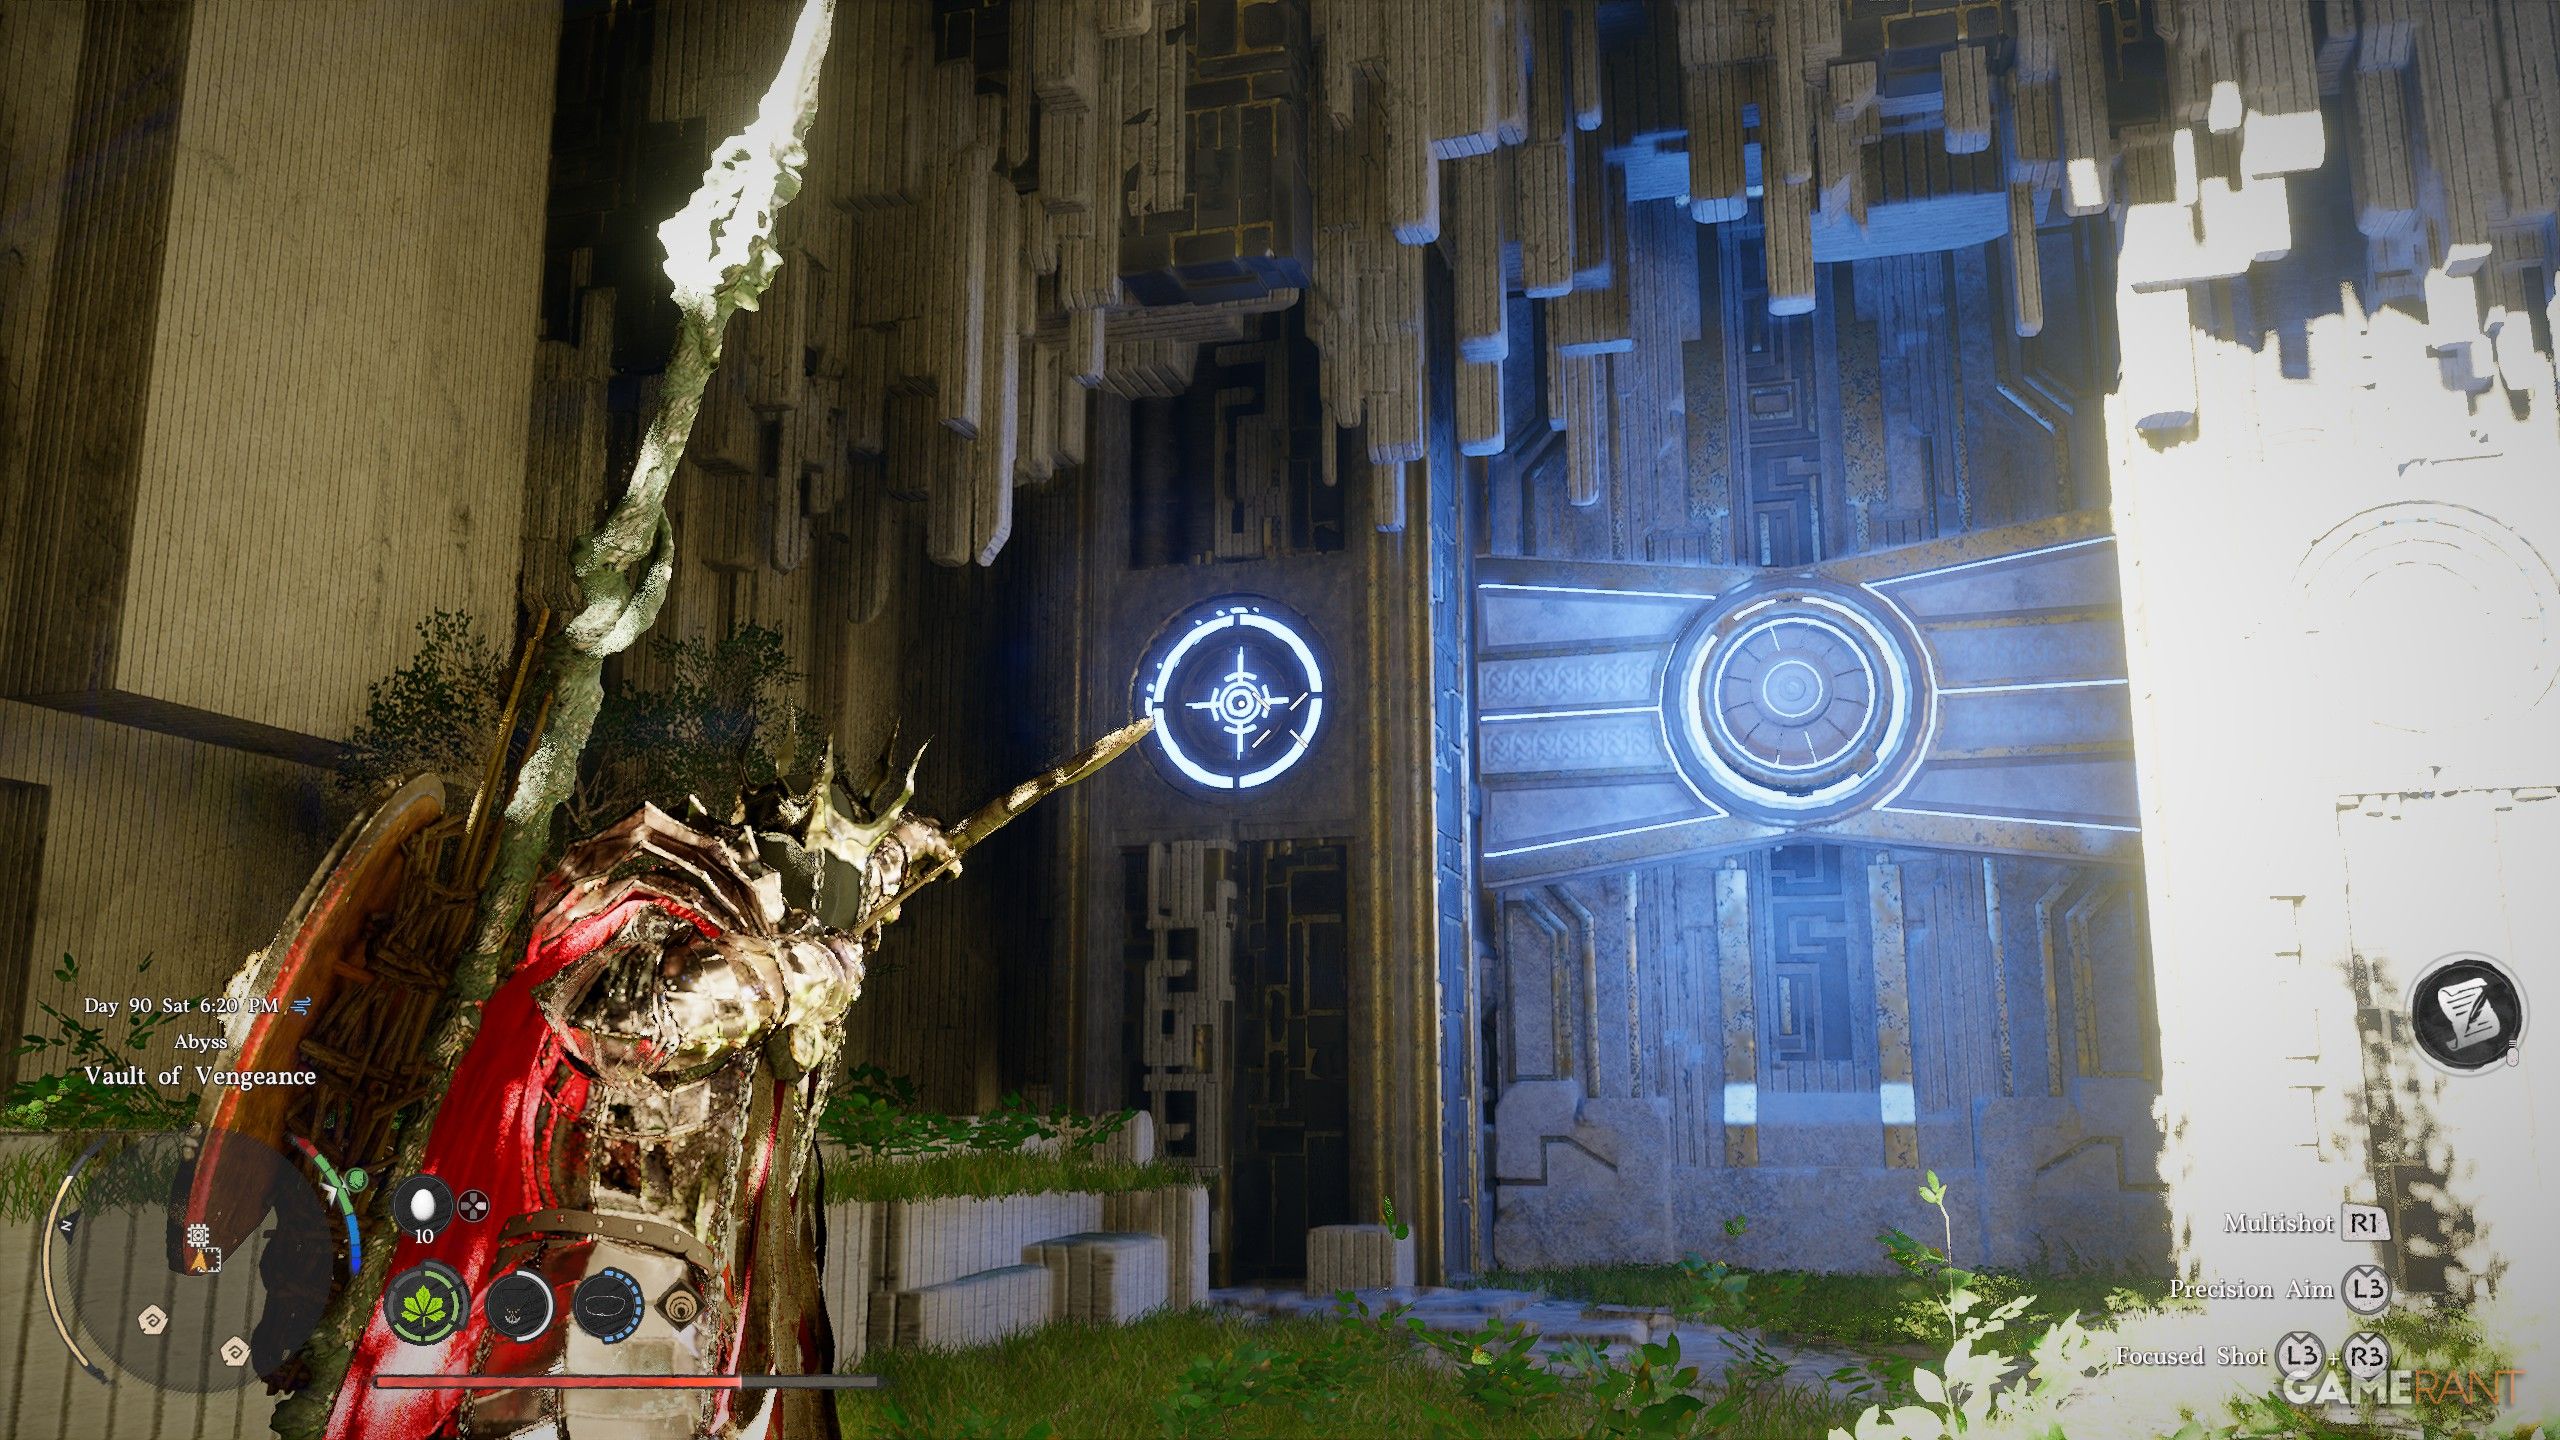
- Hold L2 and release L2 to fire an arrow. You need to fire an arrow at each yellow node in quick succession. This is possible without Focused Shot, but it makes it easier.
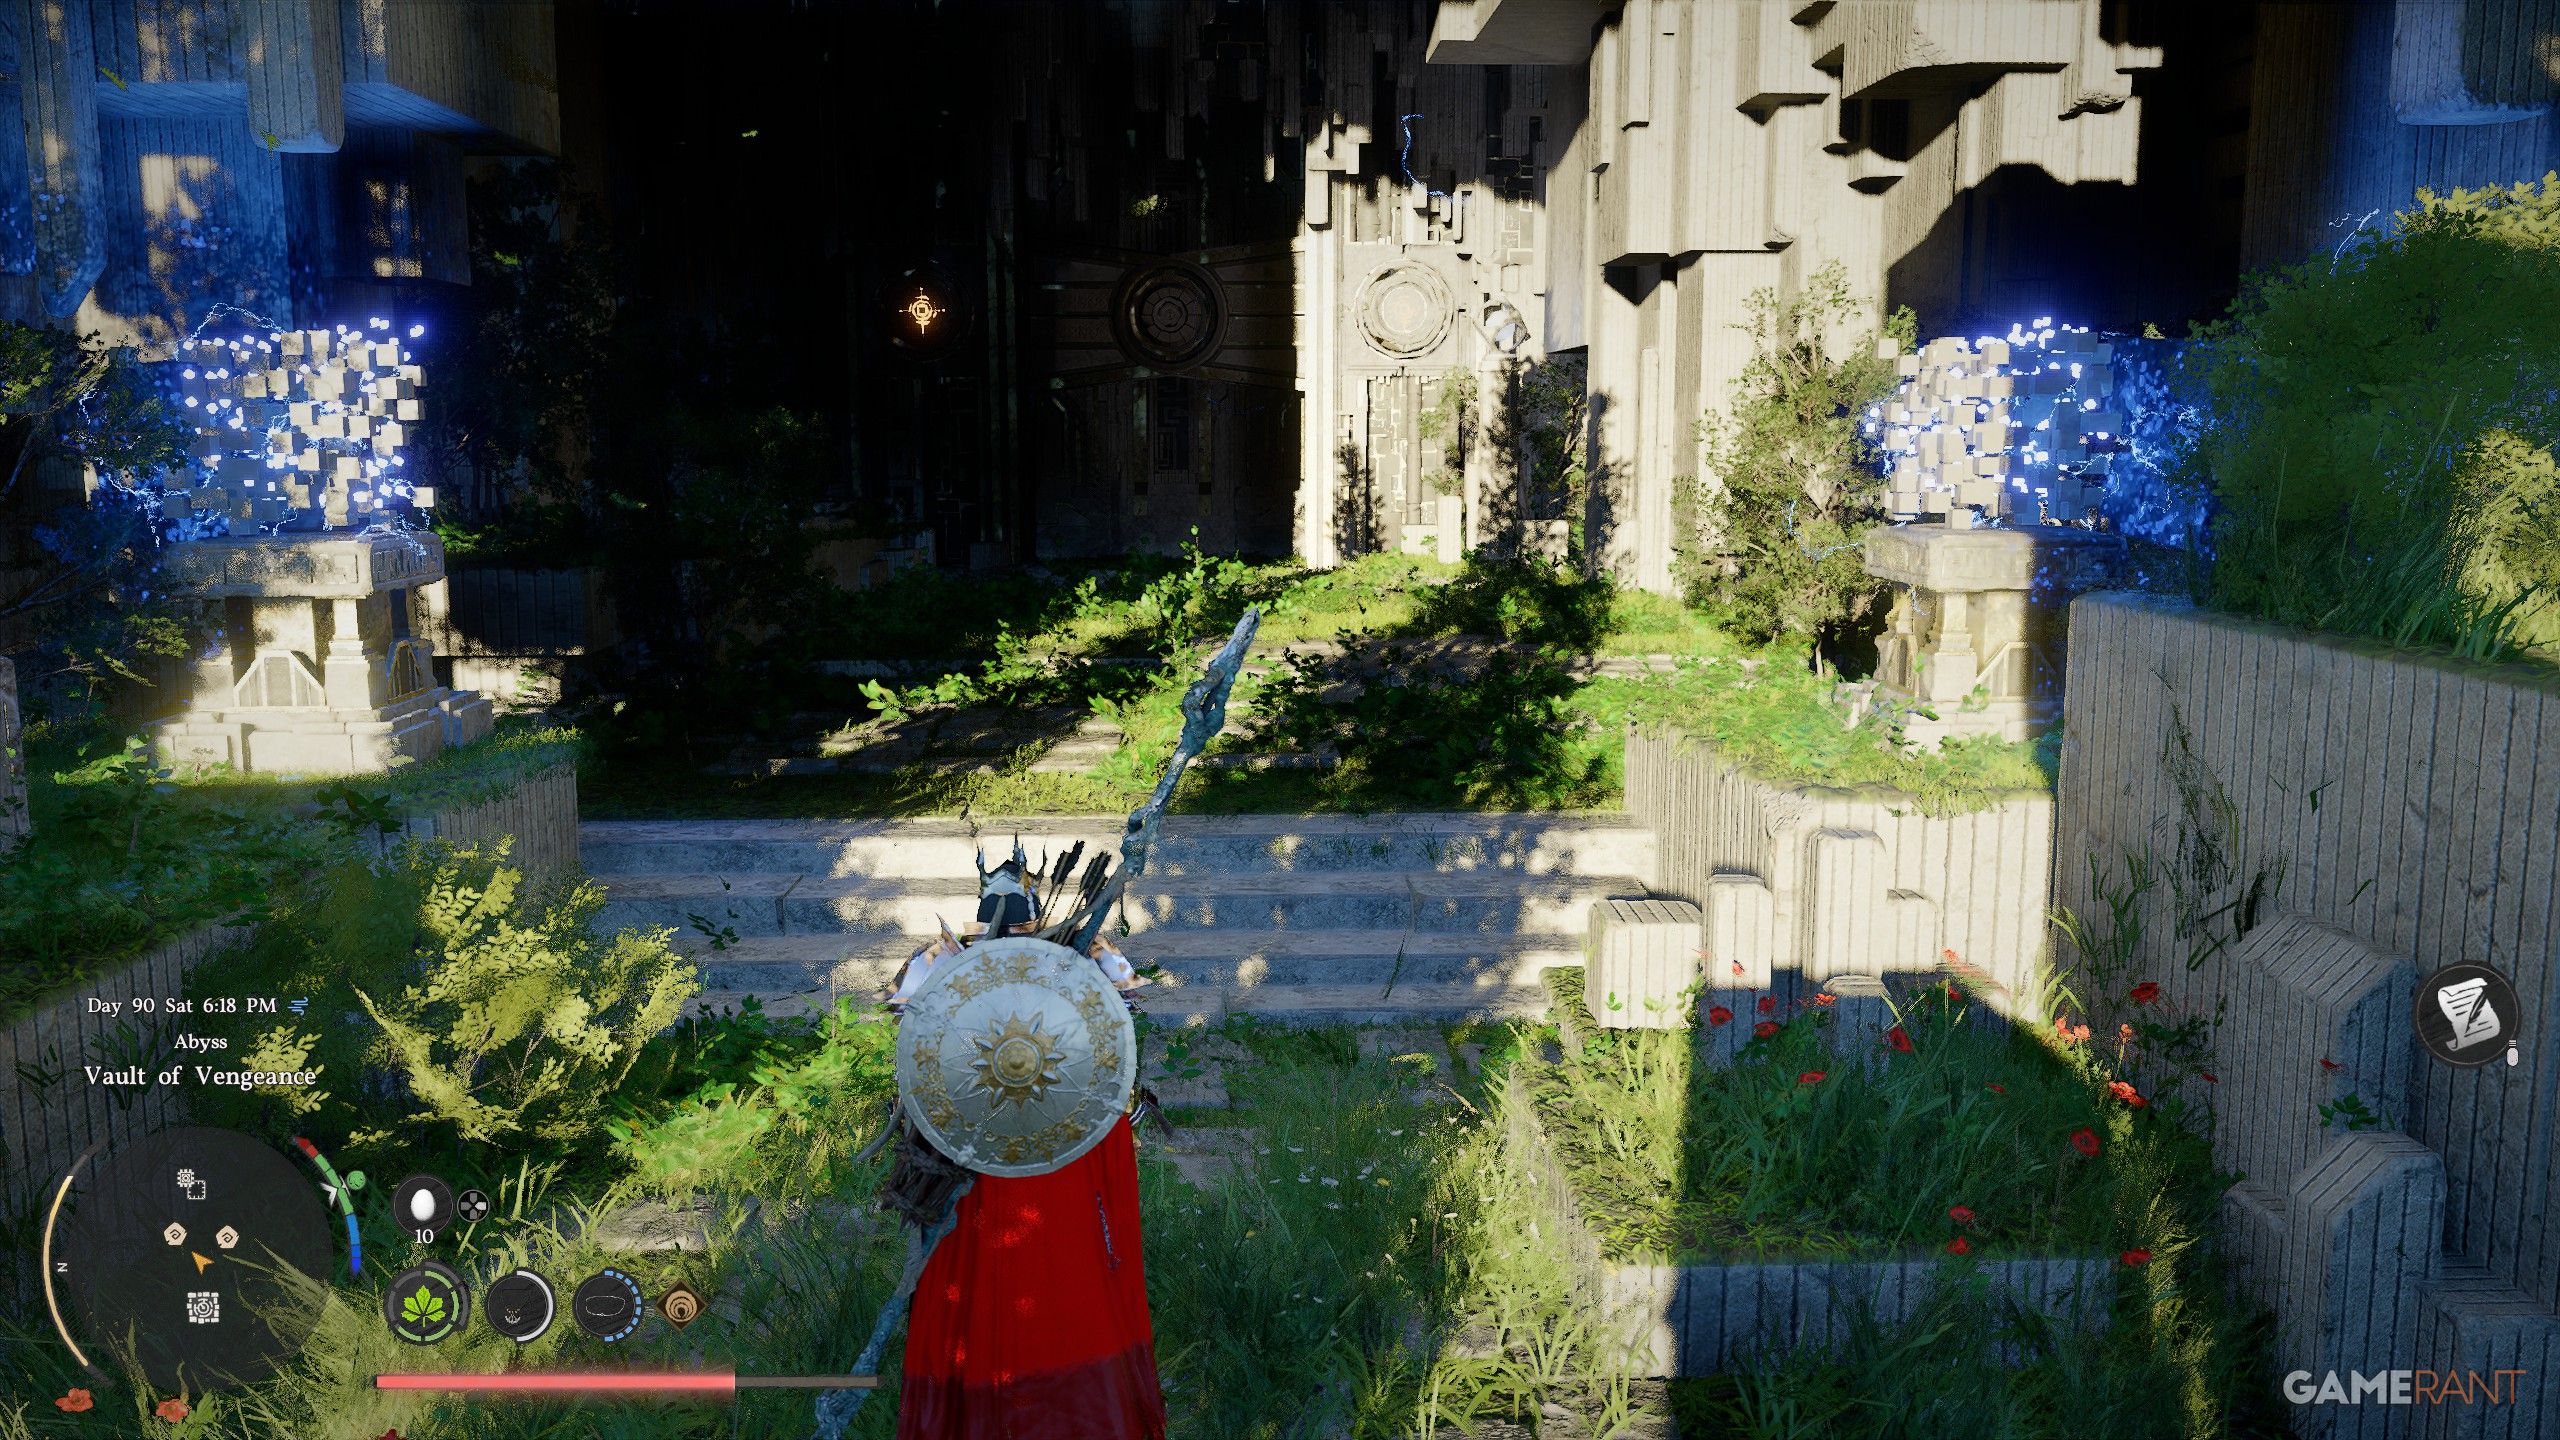
- Once both panels are blue, head between them and use Nature’s Grasp (Circle+Triangle/B+Y) to open the door.
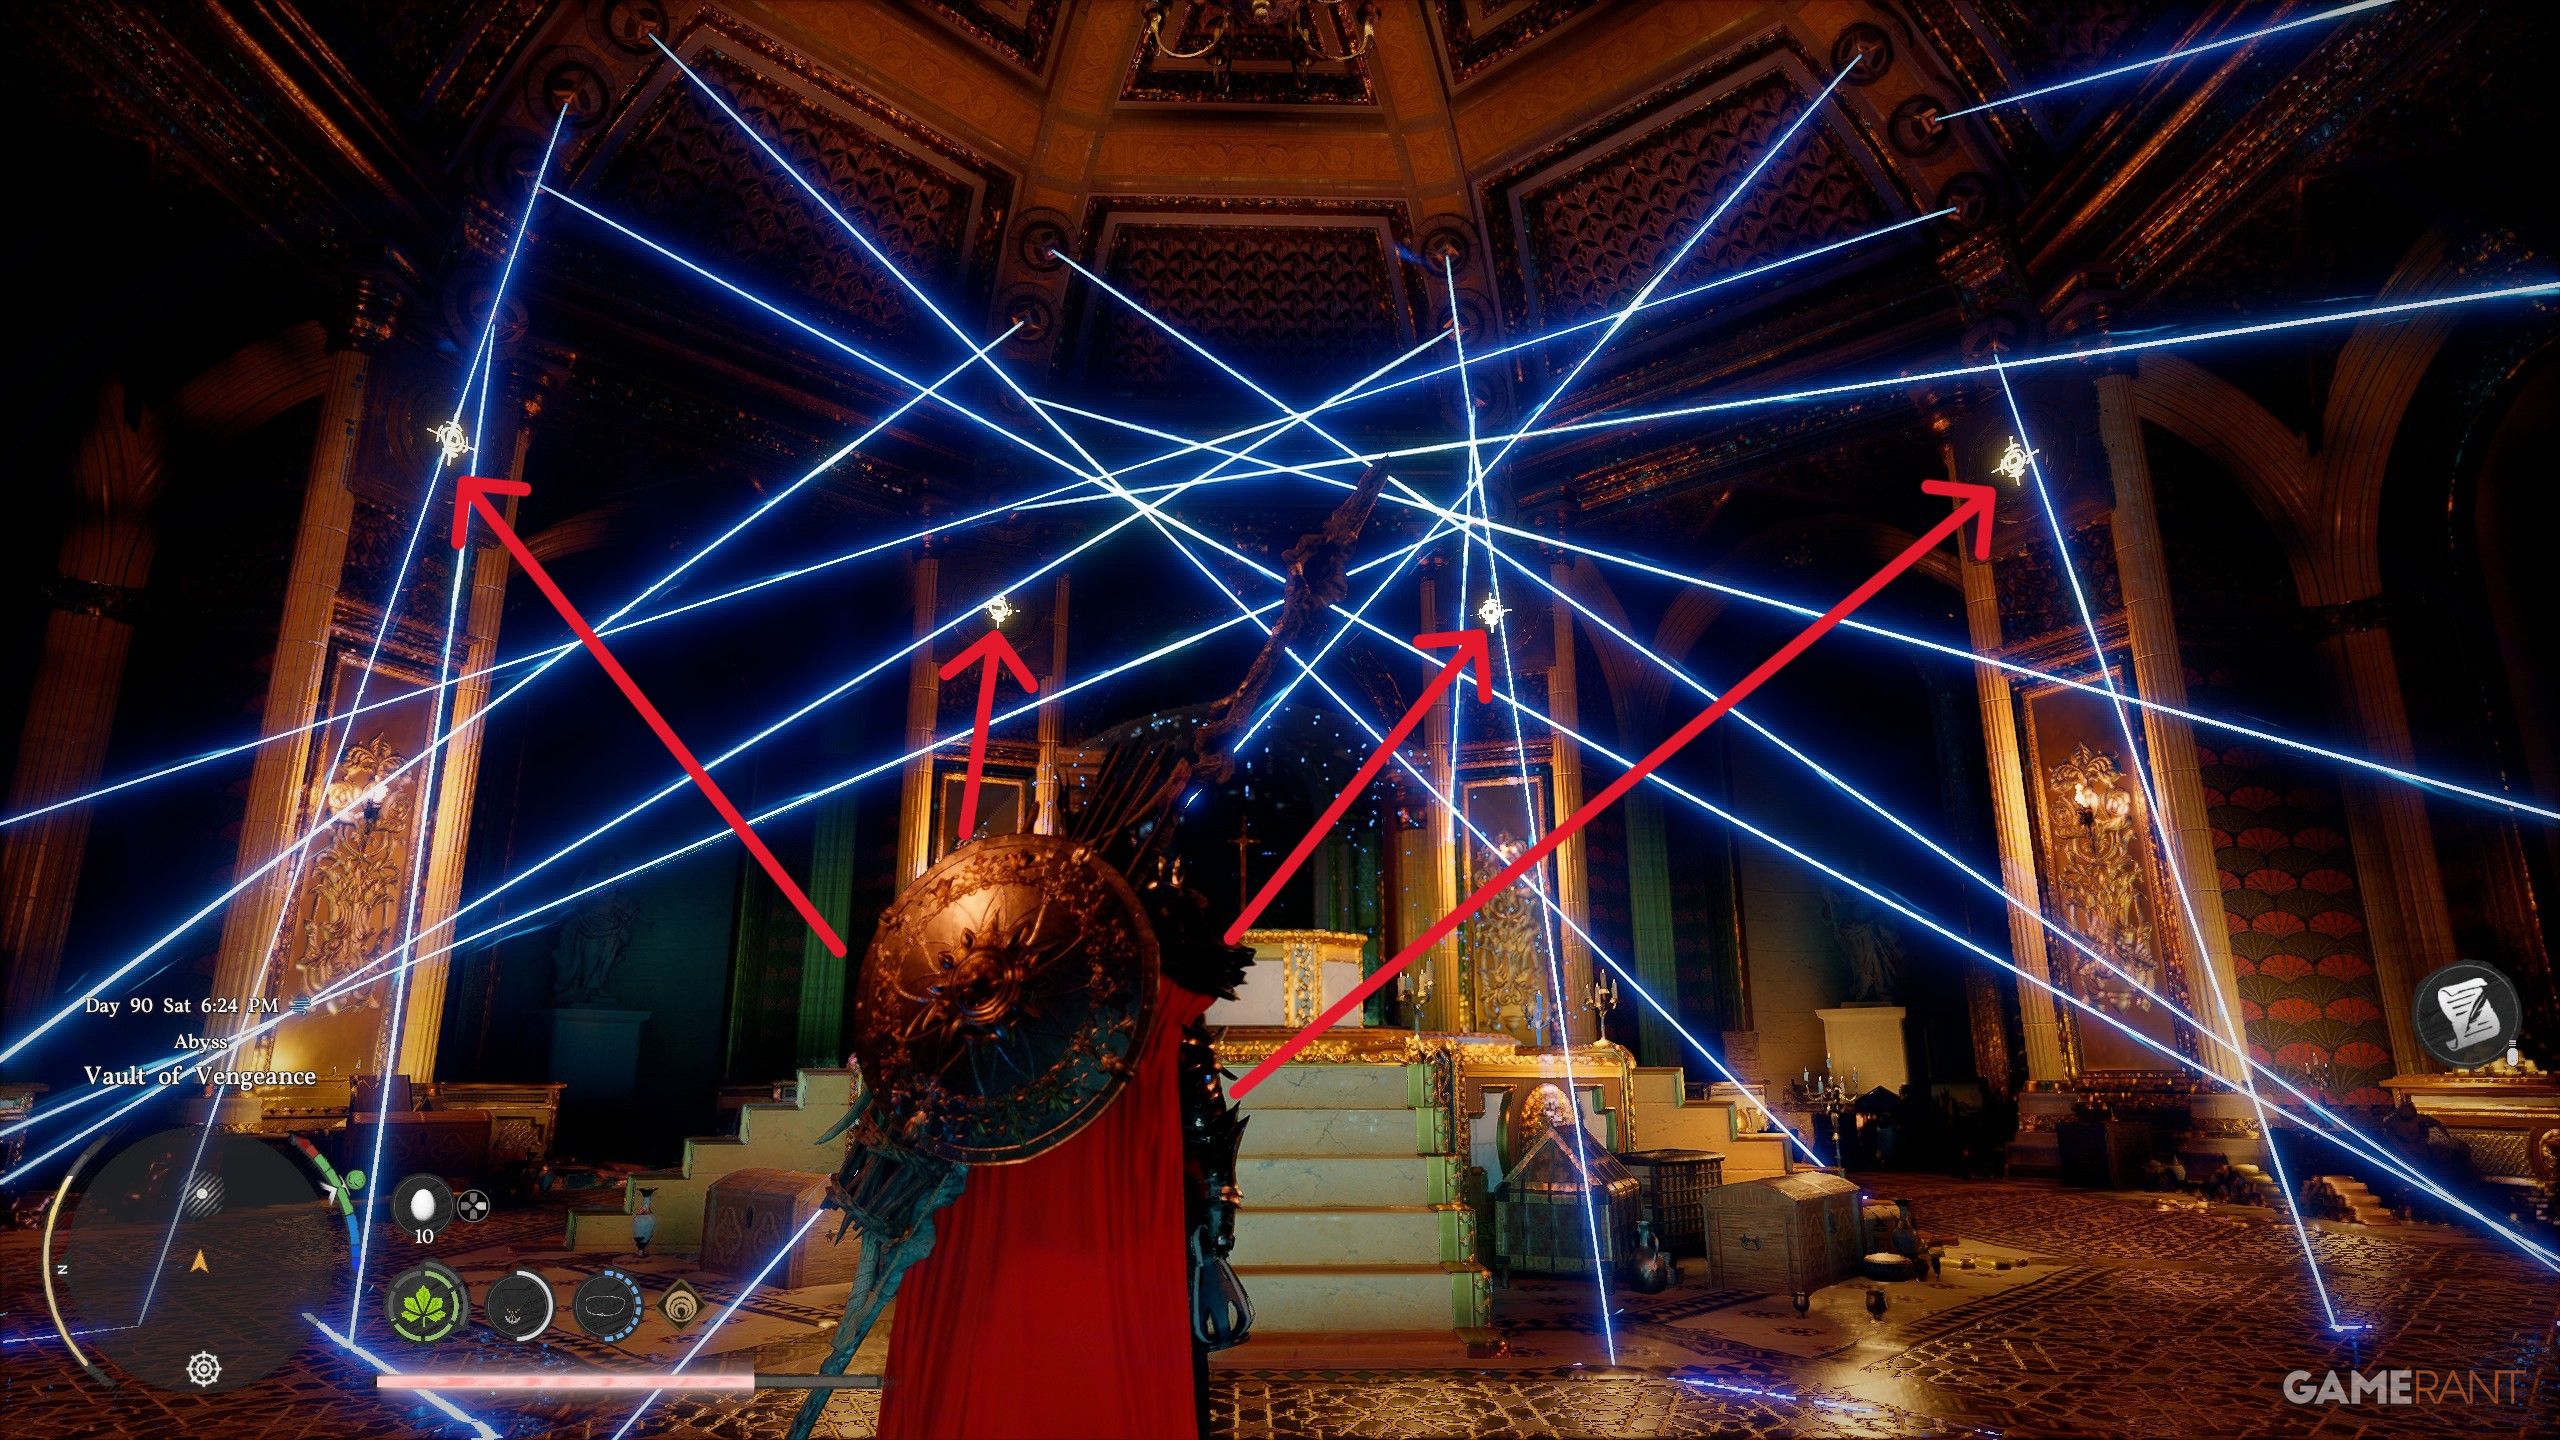
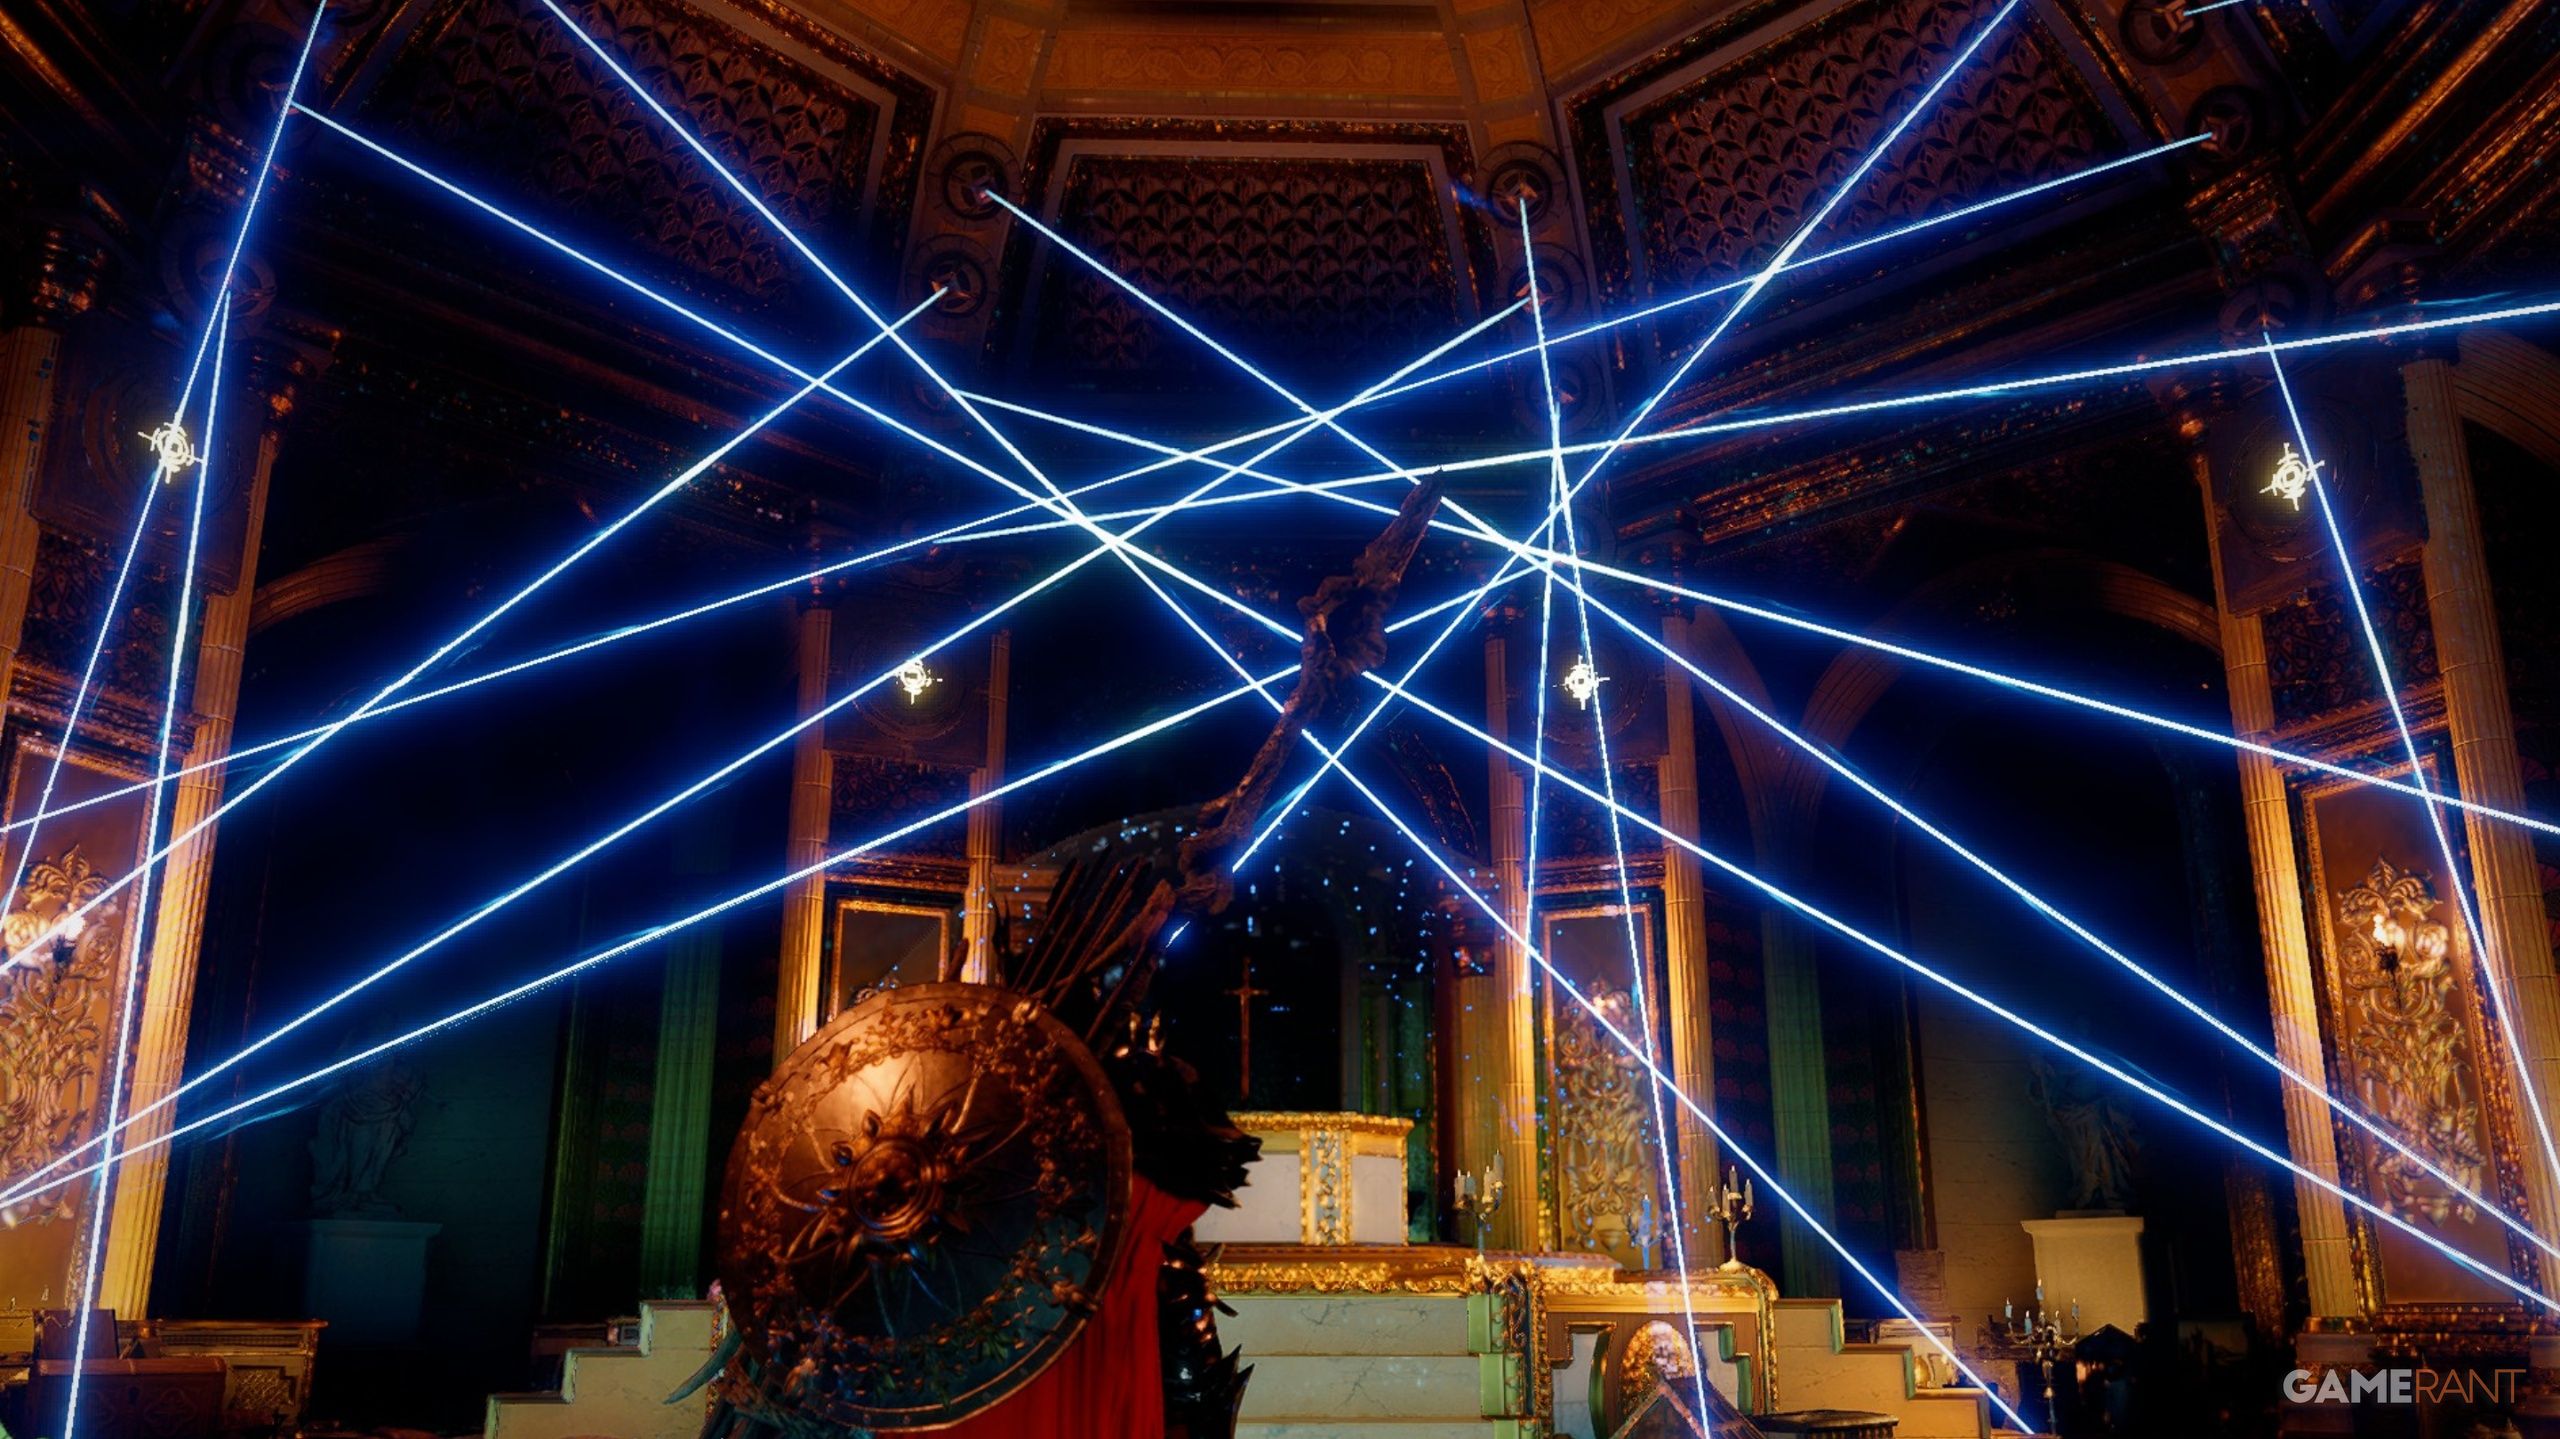
- Inside, you’ll see a bunch of blue lasers, but they can be ignored.
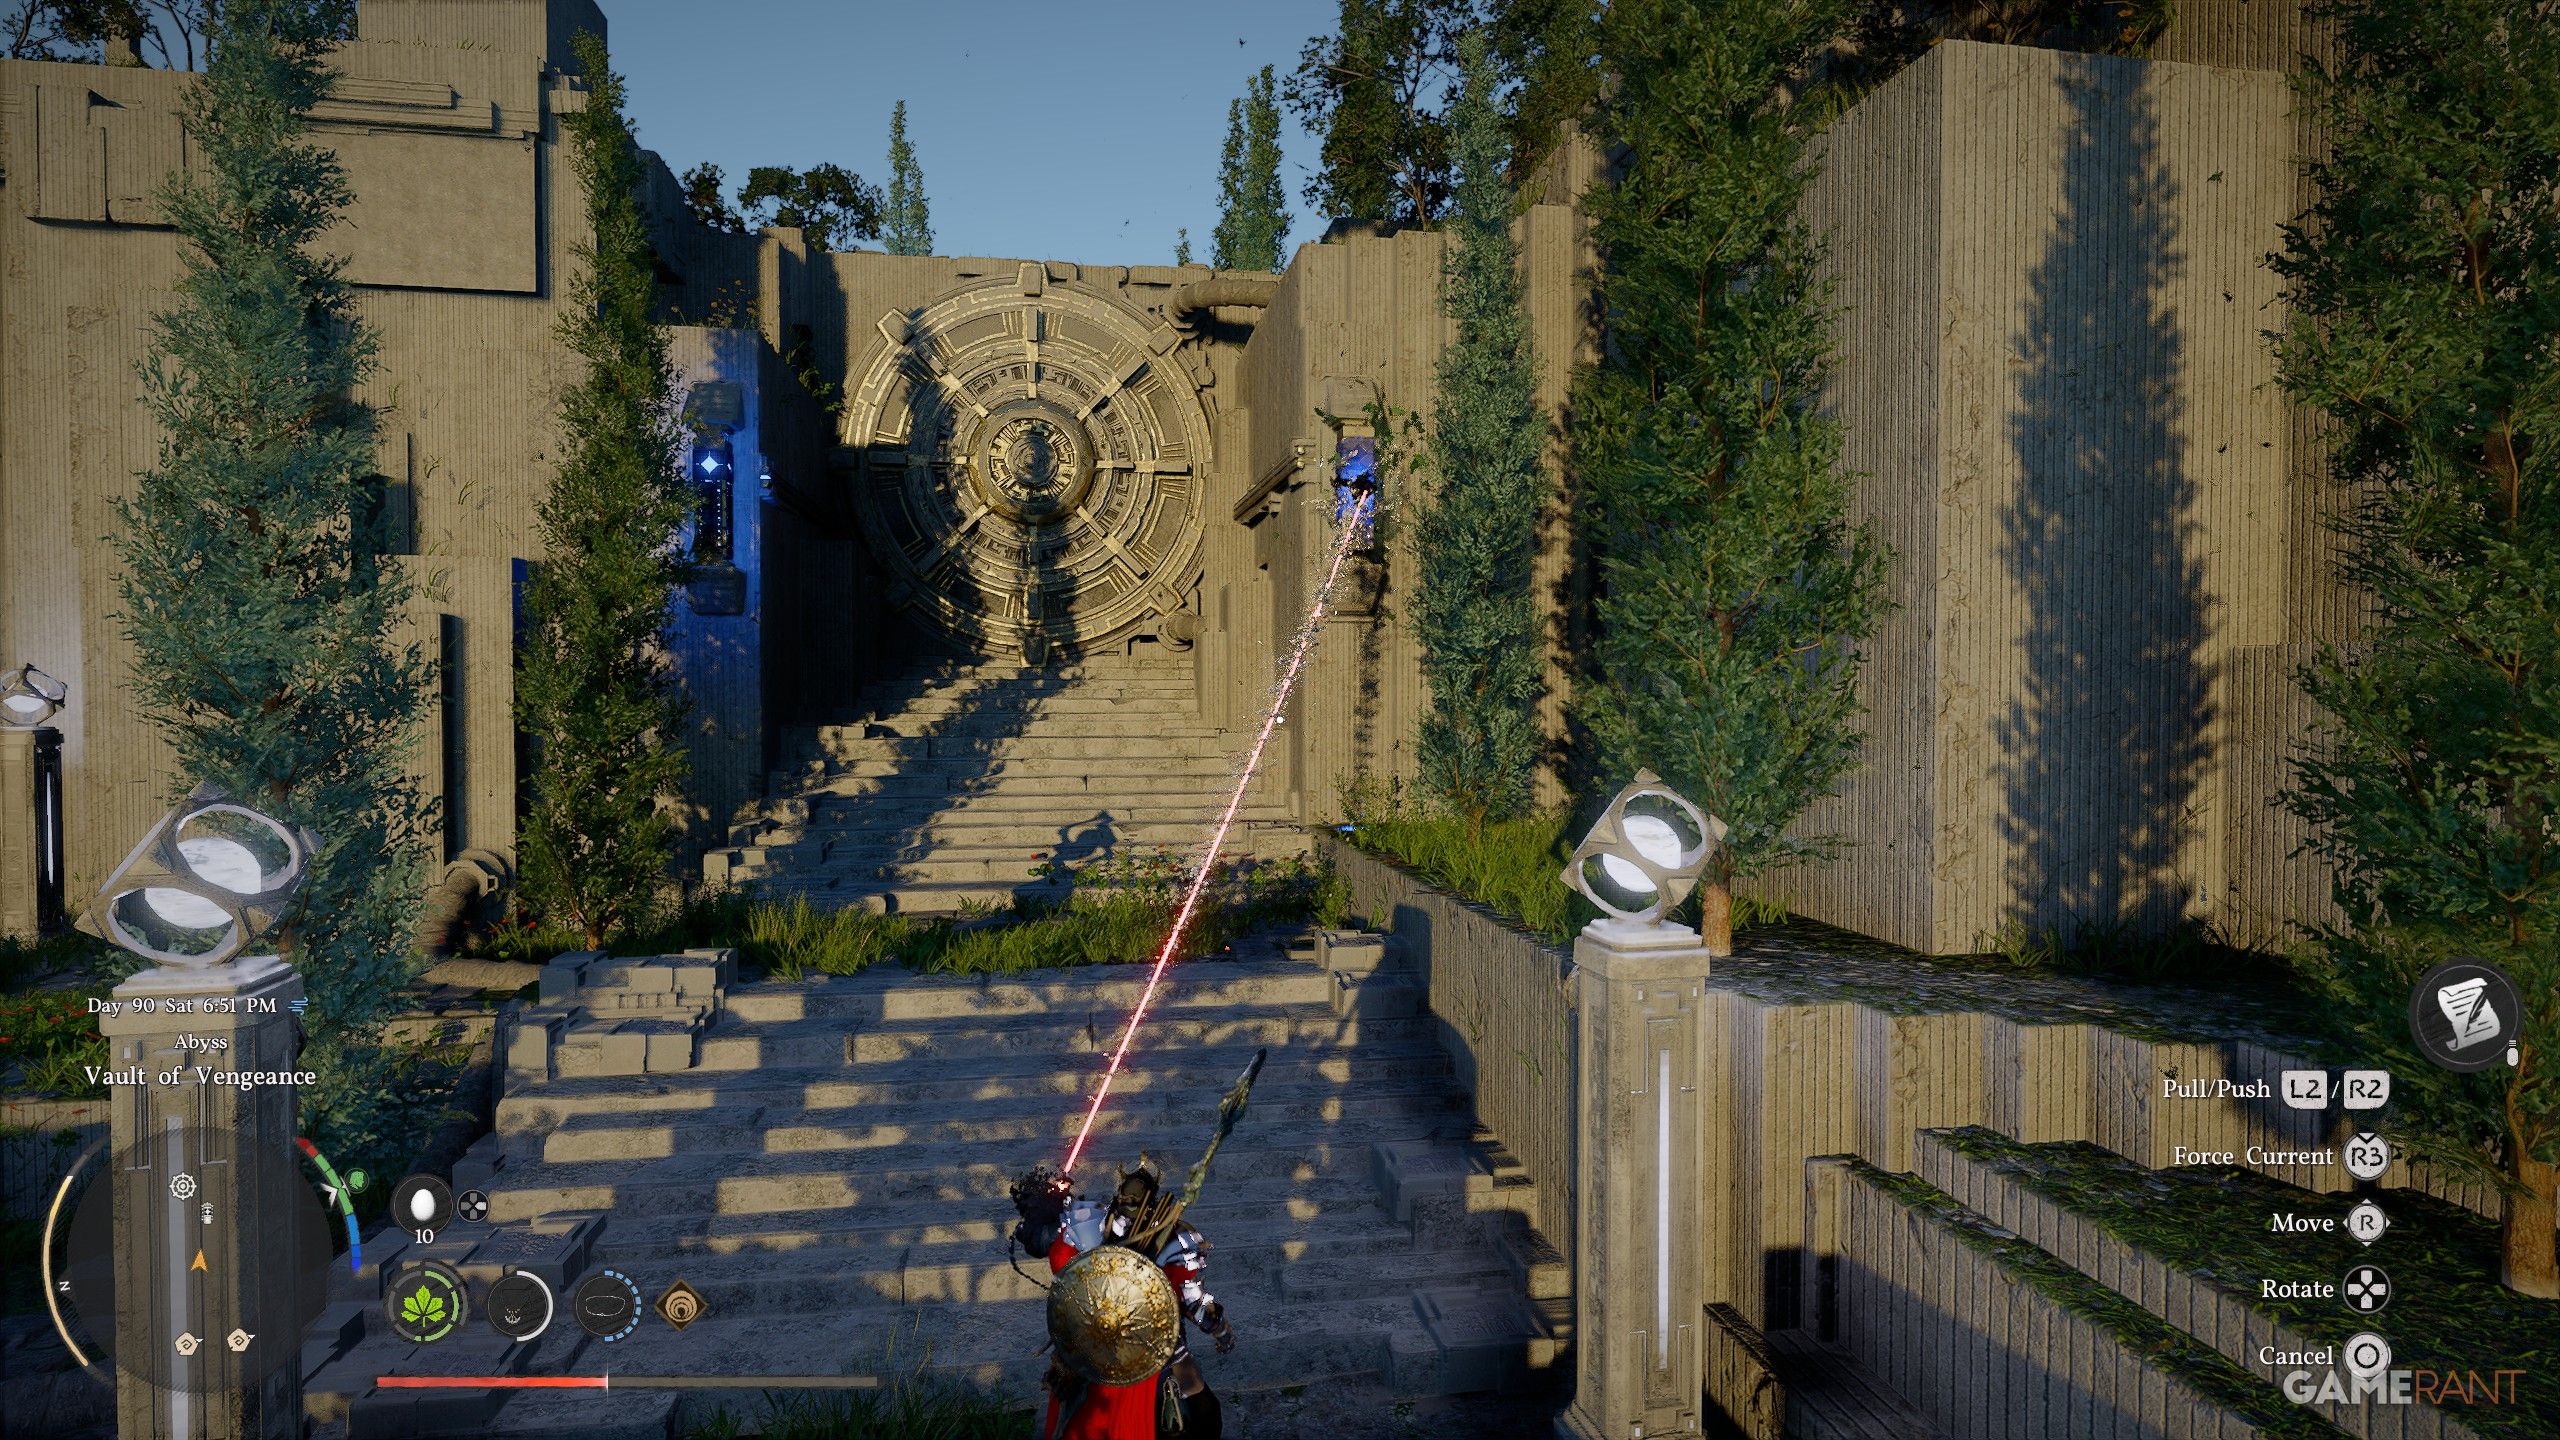
- On the walls, there are four pillars, each with a yellow node. We’ve highlighted them in the image above to make them more visible. You need to shoot all four nodes at once.
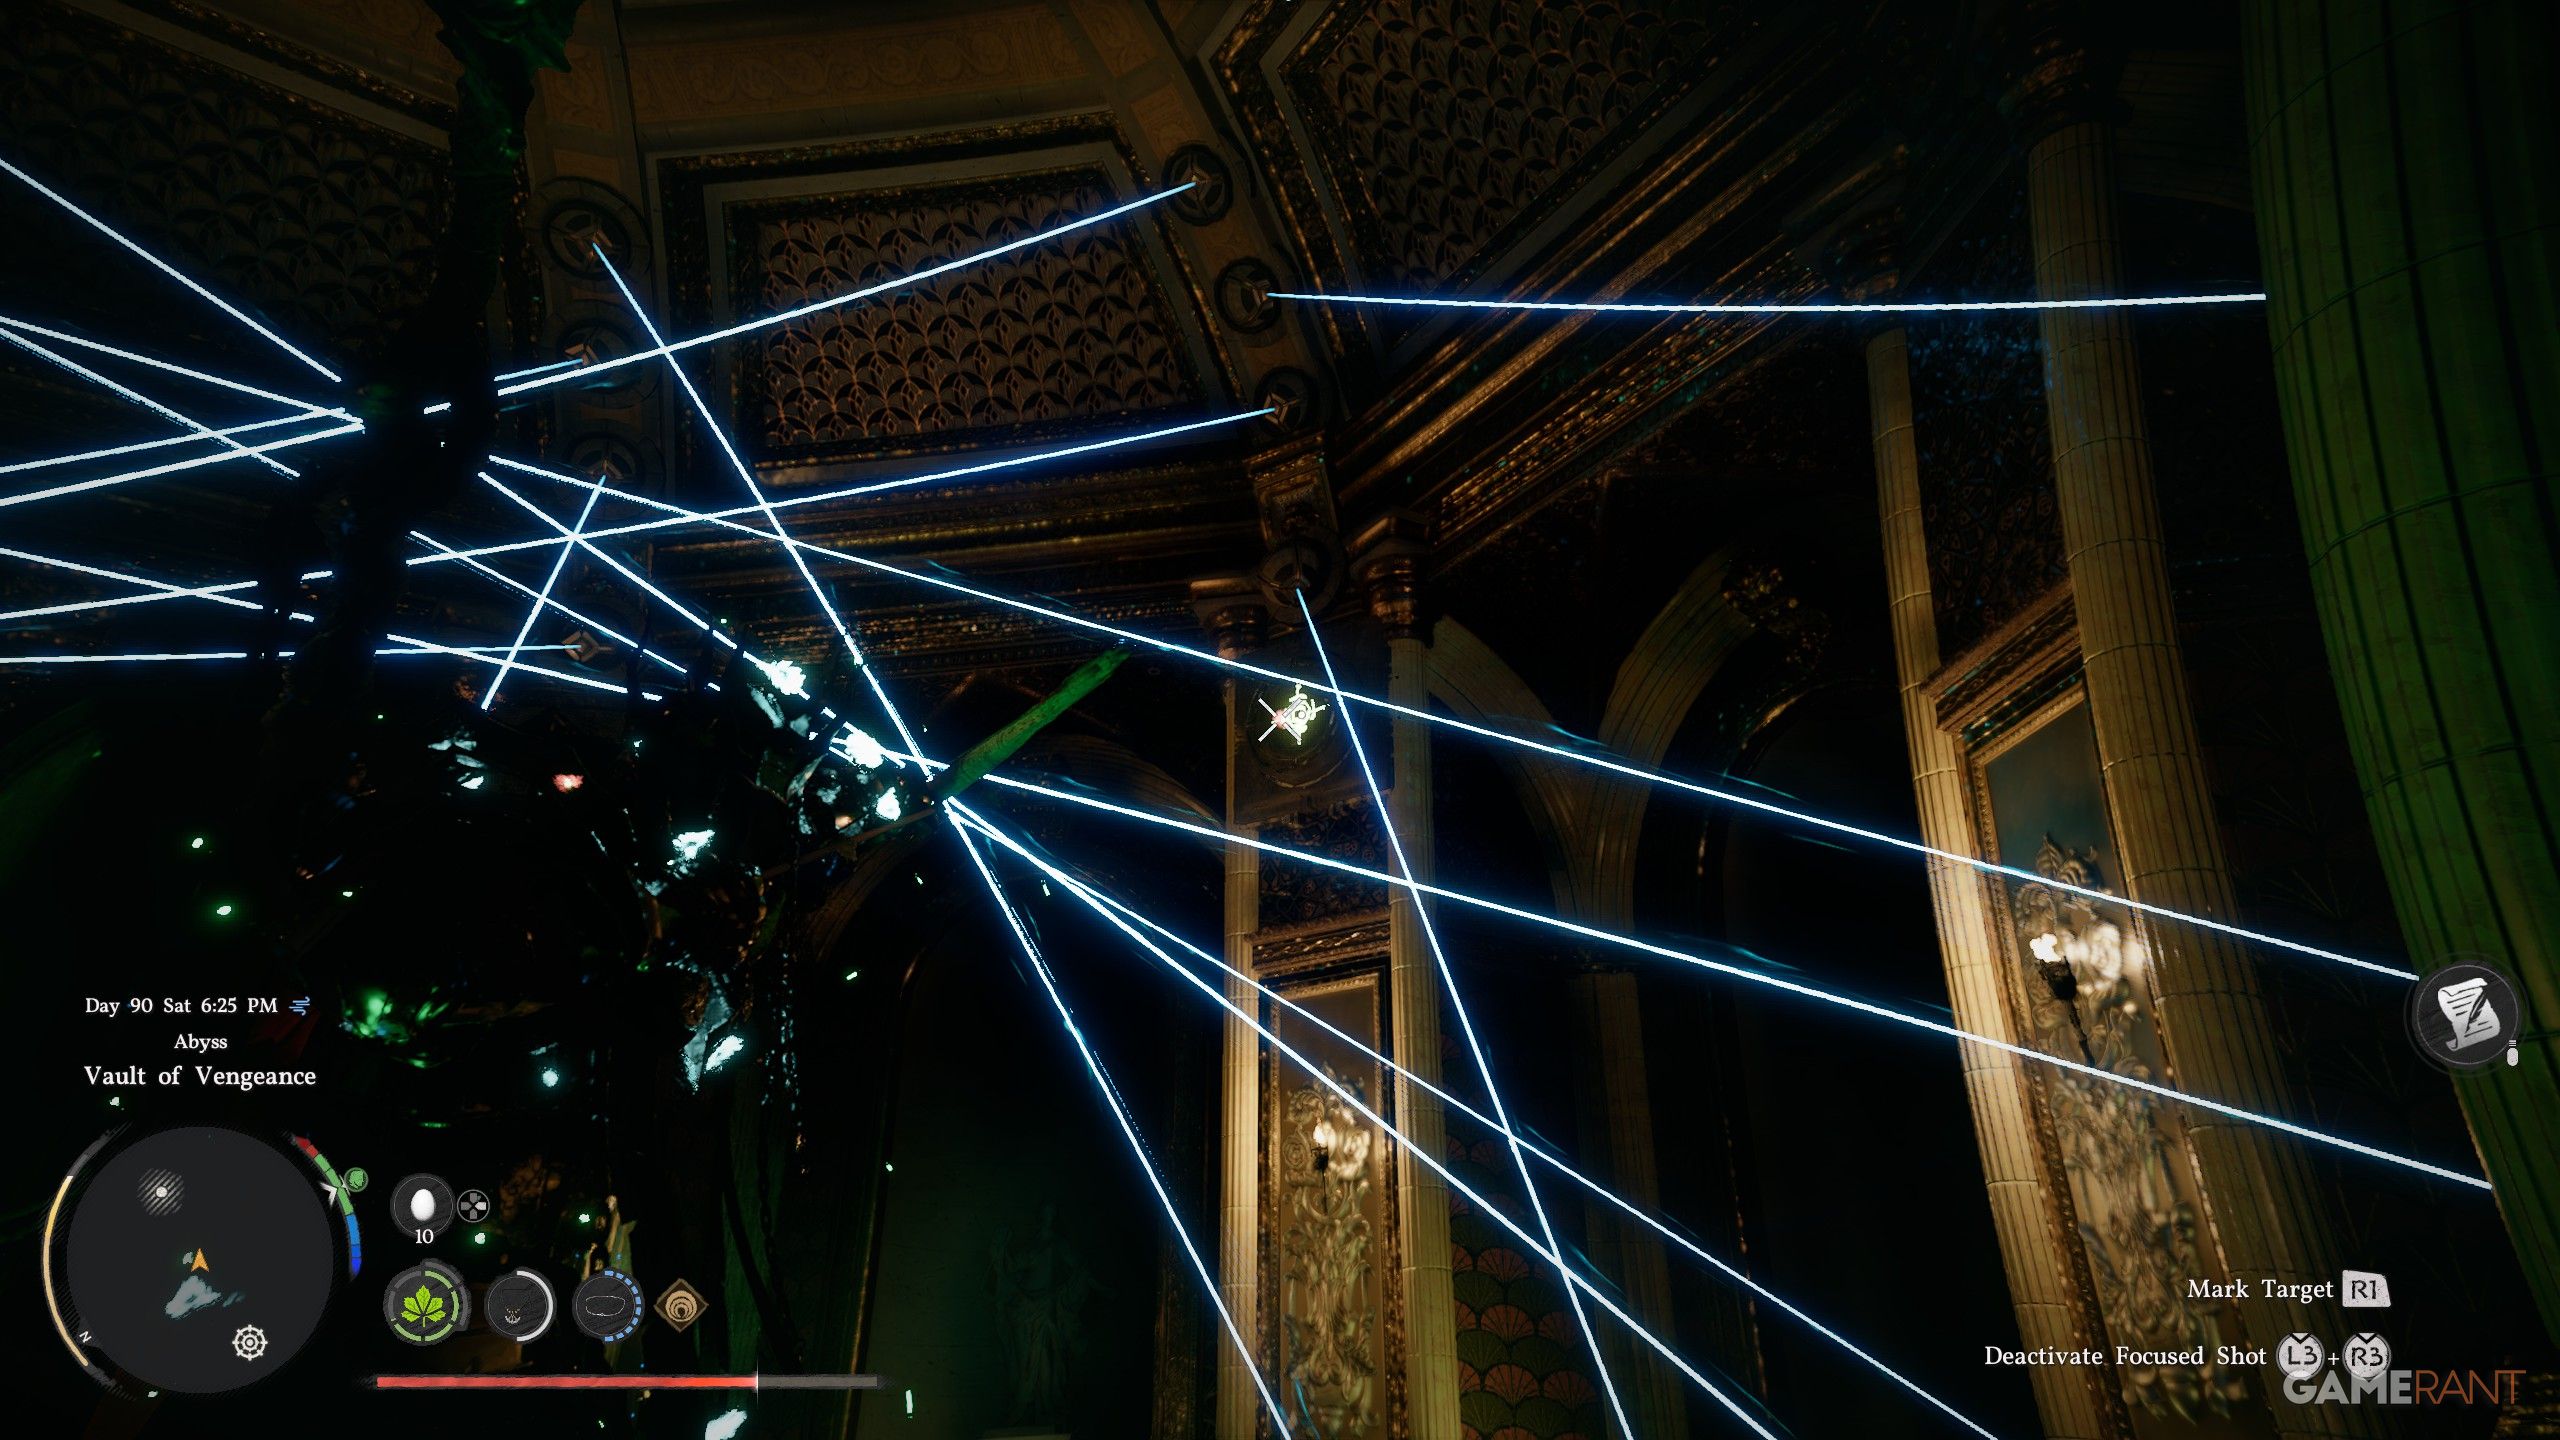
- Hold L2, then Hold L3+R3 to activate Focused Shot. Aim at all of the nodes and hit R1 to mark them red as a target.
- Mark all 4 yellow nodes and then release the buttons to fire all 4 arrows in quick succession to activate them, which turns them blue and shuts off the lasers.
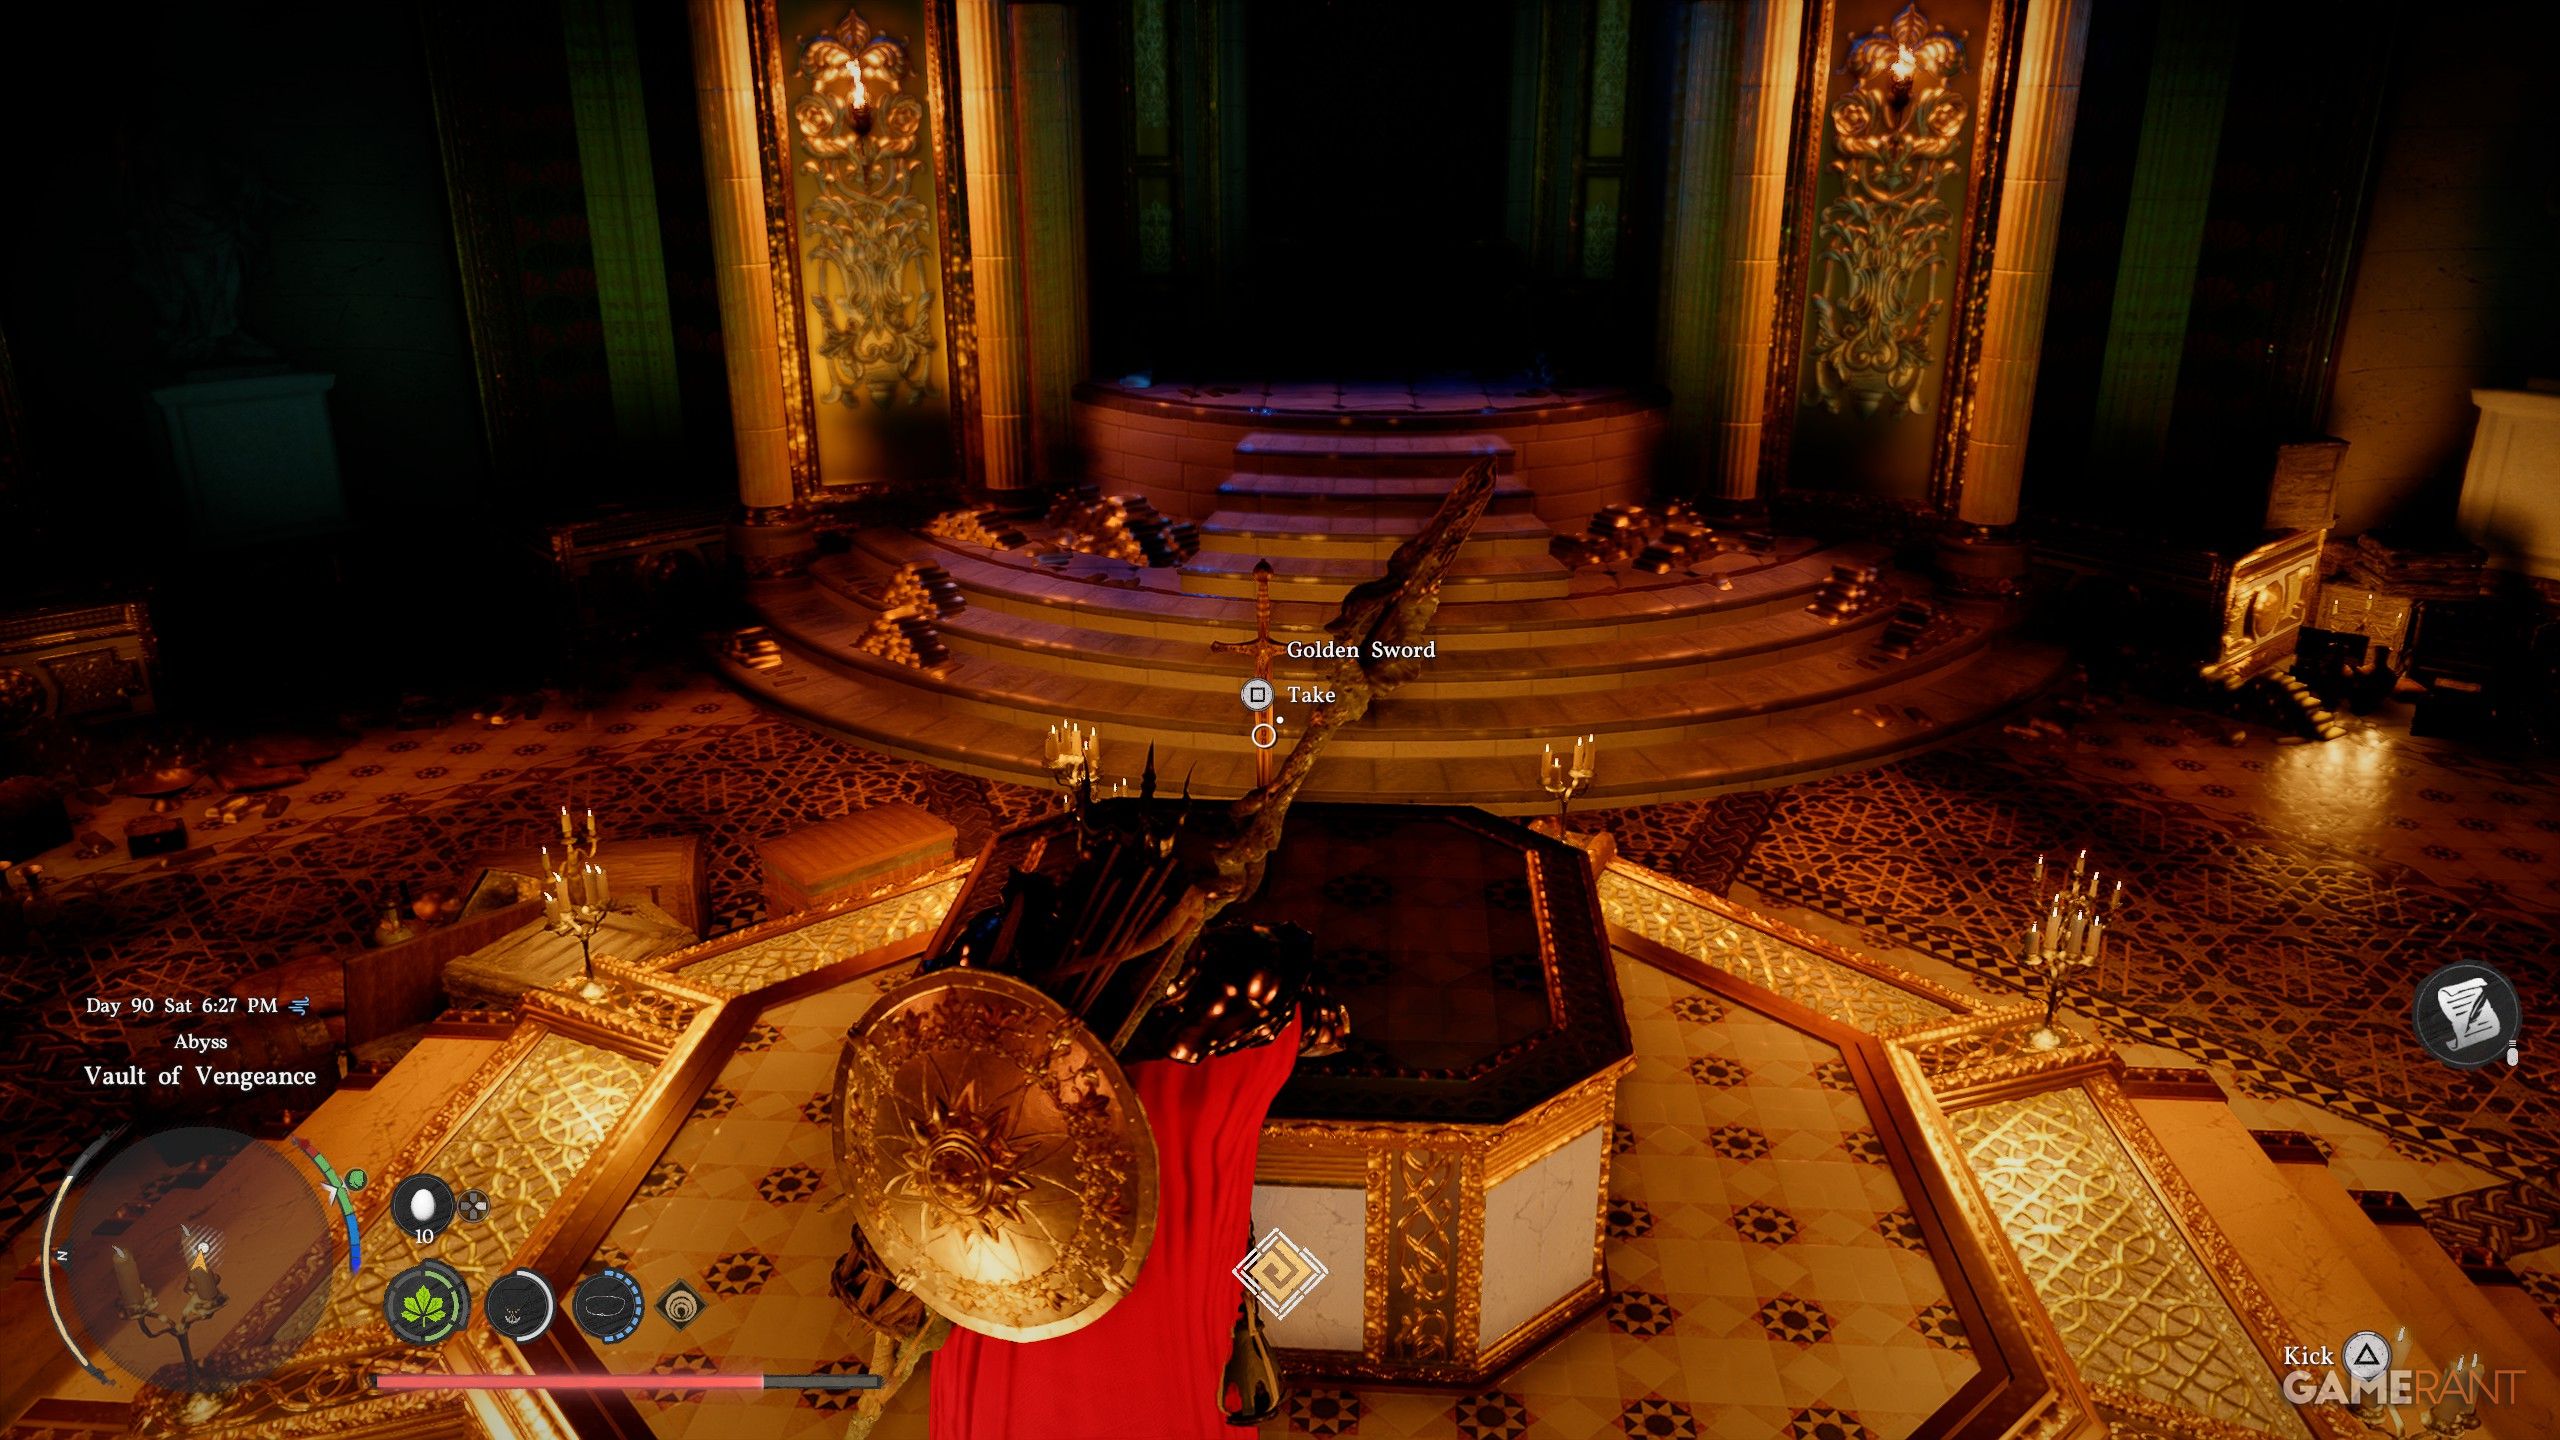
- Head to the center of the room and pick up the Golden Sword (it’s not very good, so feel free to sell it for Silver Coins).
- The platform holding the Golden Sword will open up, and you can now jump down into a lower area.
- Below, you’ll find laser traps blocking your path. You can wait for the lasers to move into a shape where you can safely cross through, or you can be impatient (like we were) and just roll through the lasers and tank the damage.
- At the end of the room, you will find a battery, which can be slotted into its missing spot with Axiom Force and Force Palm.
- Stand on the now activated teleporter, and you’ll spawn in front of the final piece of the puzzle.
- Move the battery into its slot on the wall, and then hit the now glowing wall panel with Force Palm to complete the puzzle.
I was so excited to discover you can actually climb the wall now! It leads to an Abyss Artifact and a Gate, and that Gate takes you right to the Courtyard of Precision – good thing we already have a guide for that too!
Read More
- The Limits of Thought: Can We Compress Reasoning in AI?
- Genshin Impact Dev Teases New Open-World MMO With Realistic Graphics
- Sega Reveals Official Sonic Timeline: From Prehistoric to Modern Era
- Where to Pack and Sell Trade Goods in Crimson Desert
- ARC Raiders Boss Defends Controversial AI Usage
- Who Can You Romance In GreedFall 2: The Dying World?
- ETH PREDICTION. ETH cryptocurrency
- Top 10 Must-Watch Isekai Anime on Crunchyroll Revealed!
- Gold Rate Forecast
- Best Weapons, Armor, and Accessories to Get Early in Crimson Desert
2026-03-24 02:06