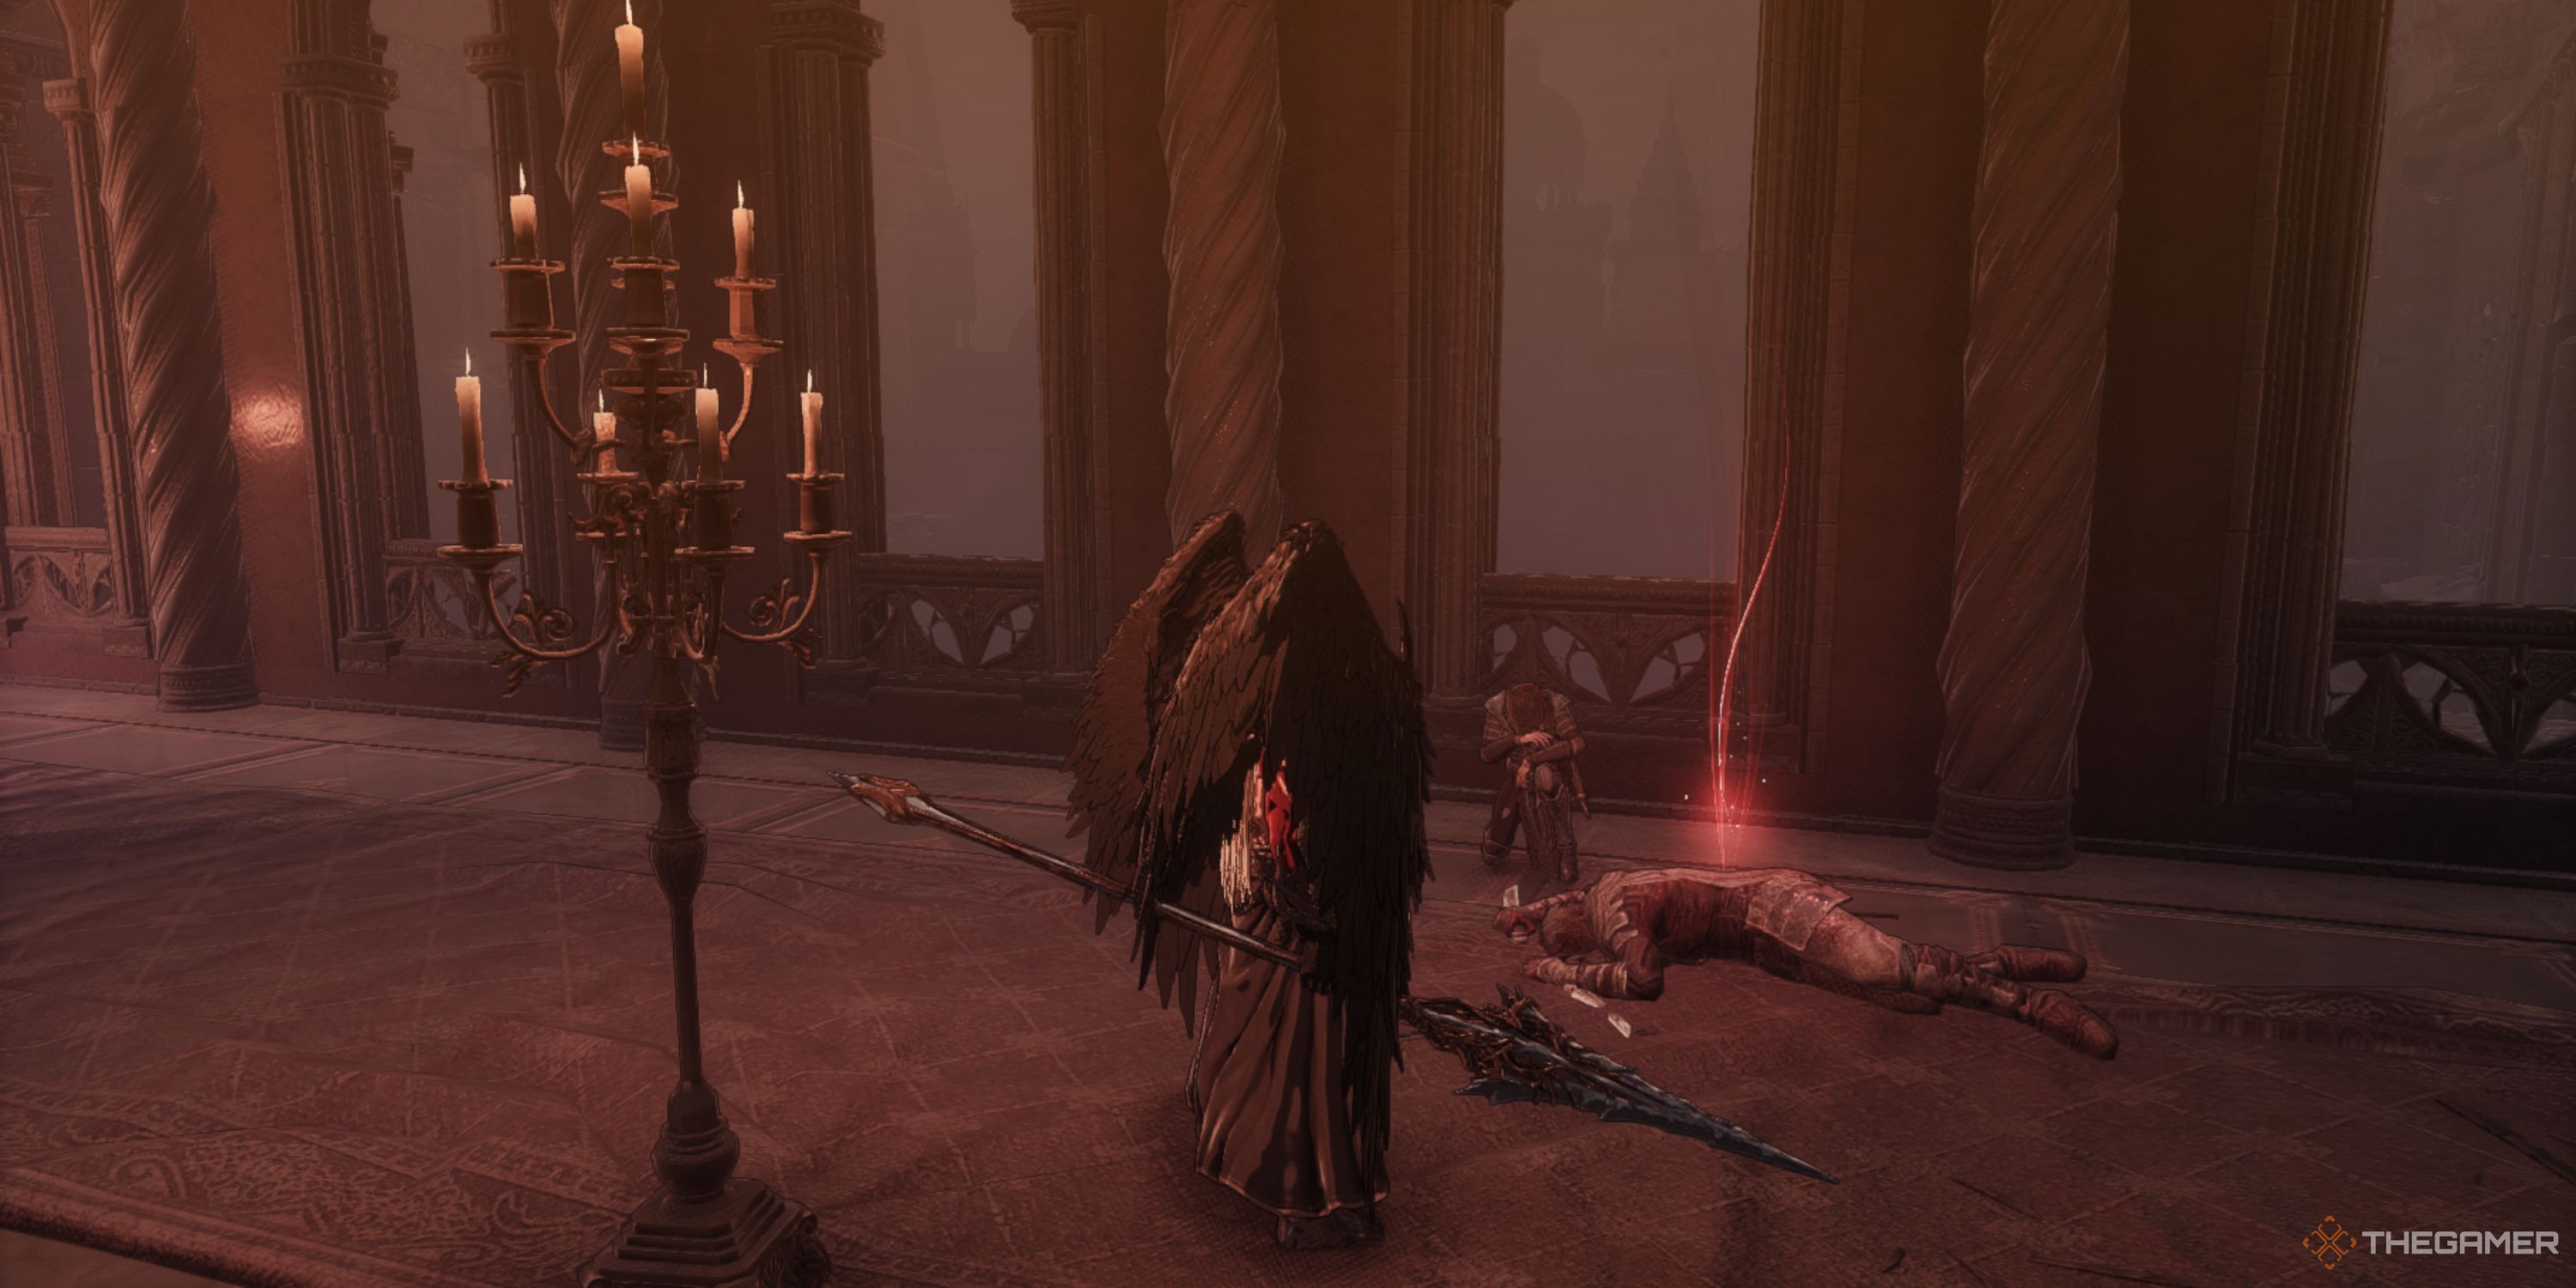
In The First Berserker: Khazan, there’s a bonus mission called “Birth of Evil.” This engaging side quest offers an intriguing narrative and assigns you with the objective of expelling the last Knivesveil forces and rescuing Seona. To initiate this additional mission, navigate to the Vitalon Residence located within the Capital City of Vitalon.
In this location, you’ll discover two Soulstones and a Jarling. Additionally, there’s a particularly bothersome elite foe lurking around. To help you navigate through this area, we’ve prepared a comprehensive guide detailing the locations of the Soulstones, Jarling, and strategies for defeating the challenging enemies.
In this place, you’ll find two Soulstones, a Jarling, and an annoying elite enemy. We’re going to show you where to locate these items and give tips on how to overcome the tough opponents.
How To Complete The Birth Of Evil Quest
Jarling Location
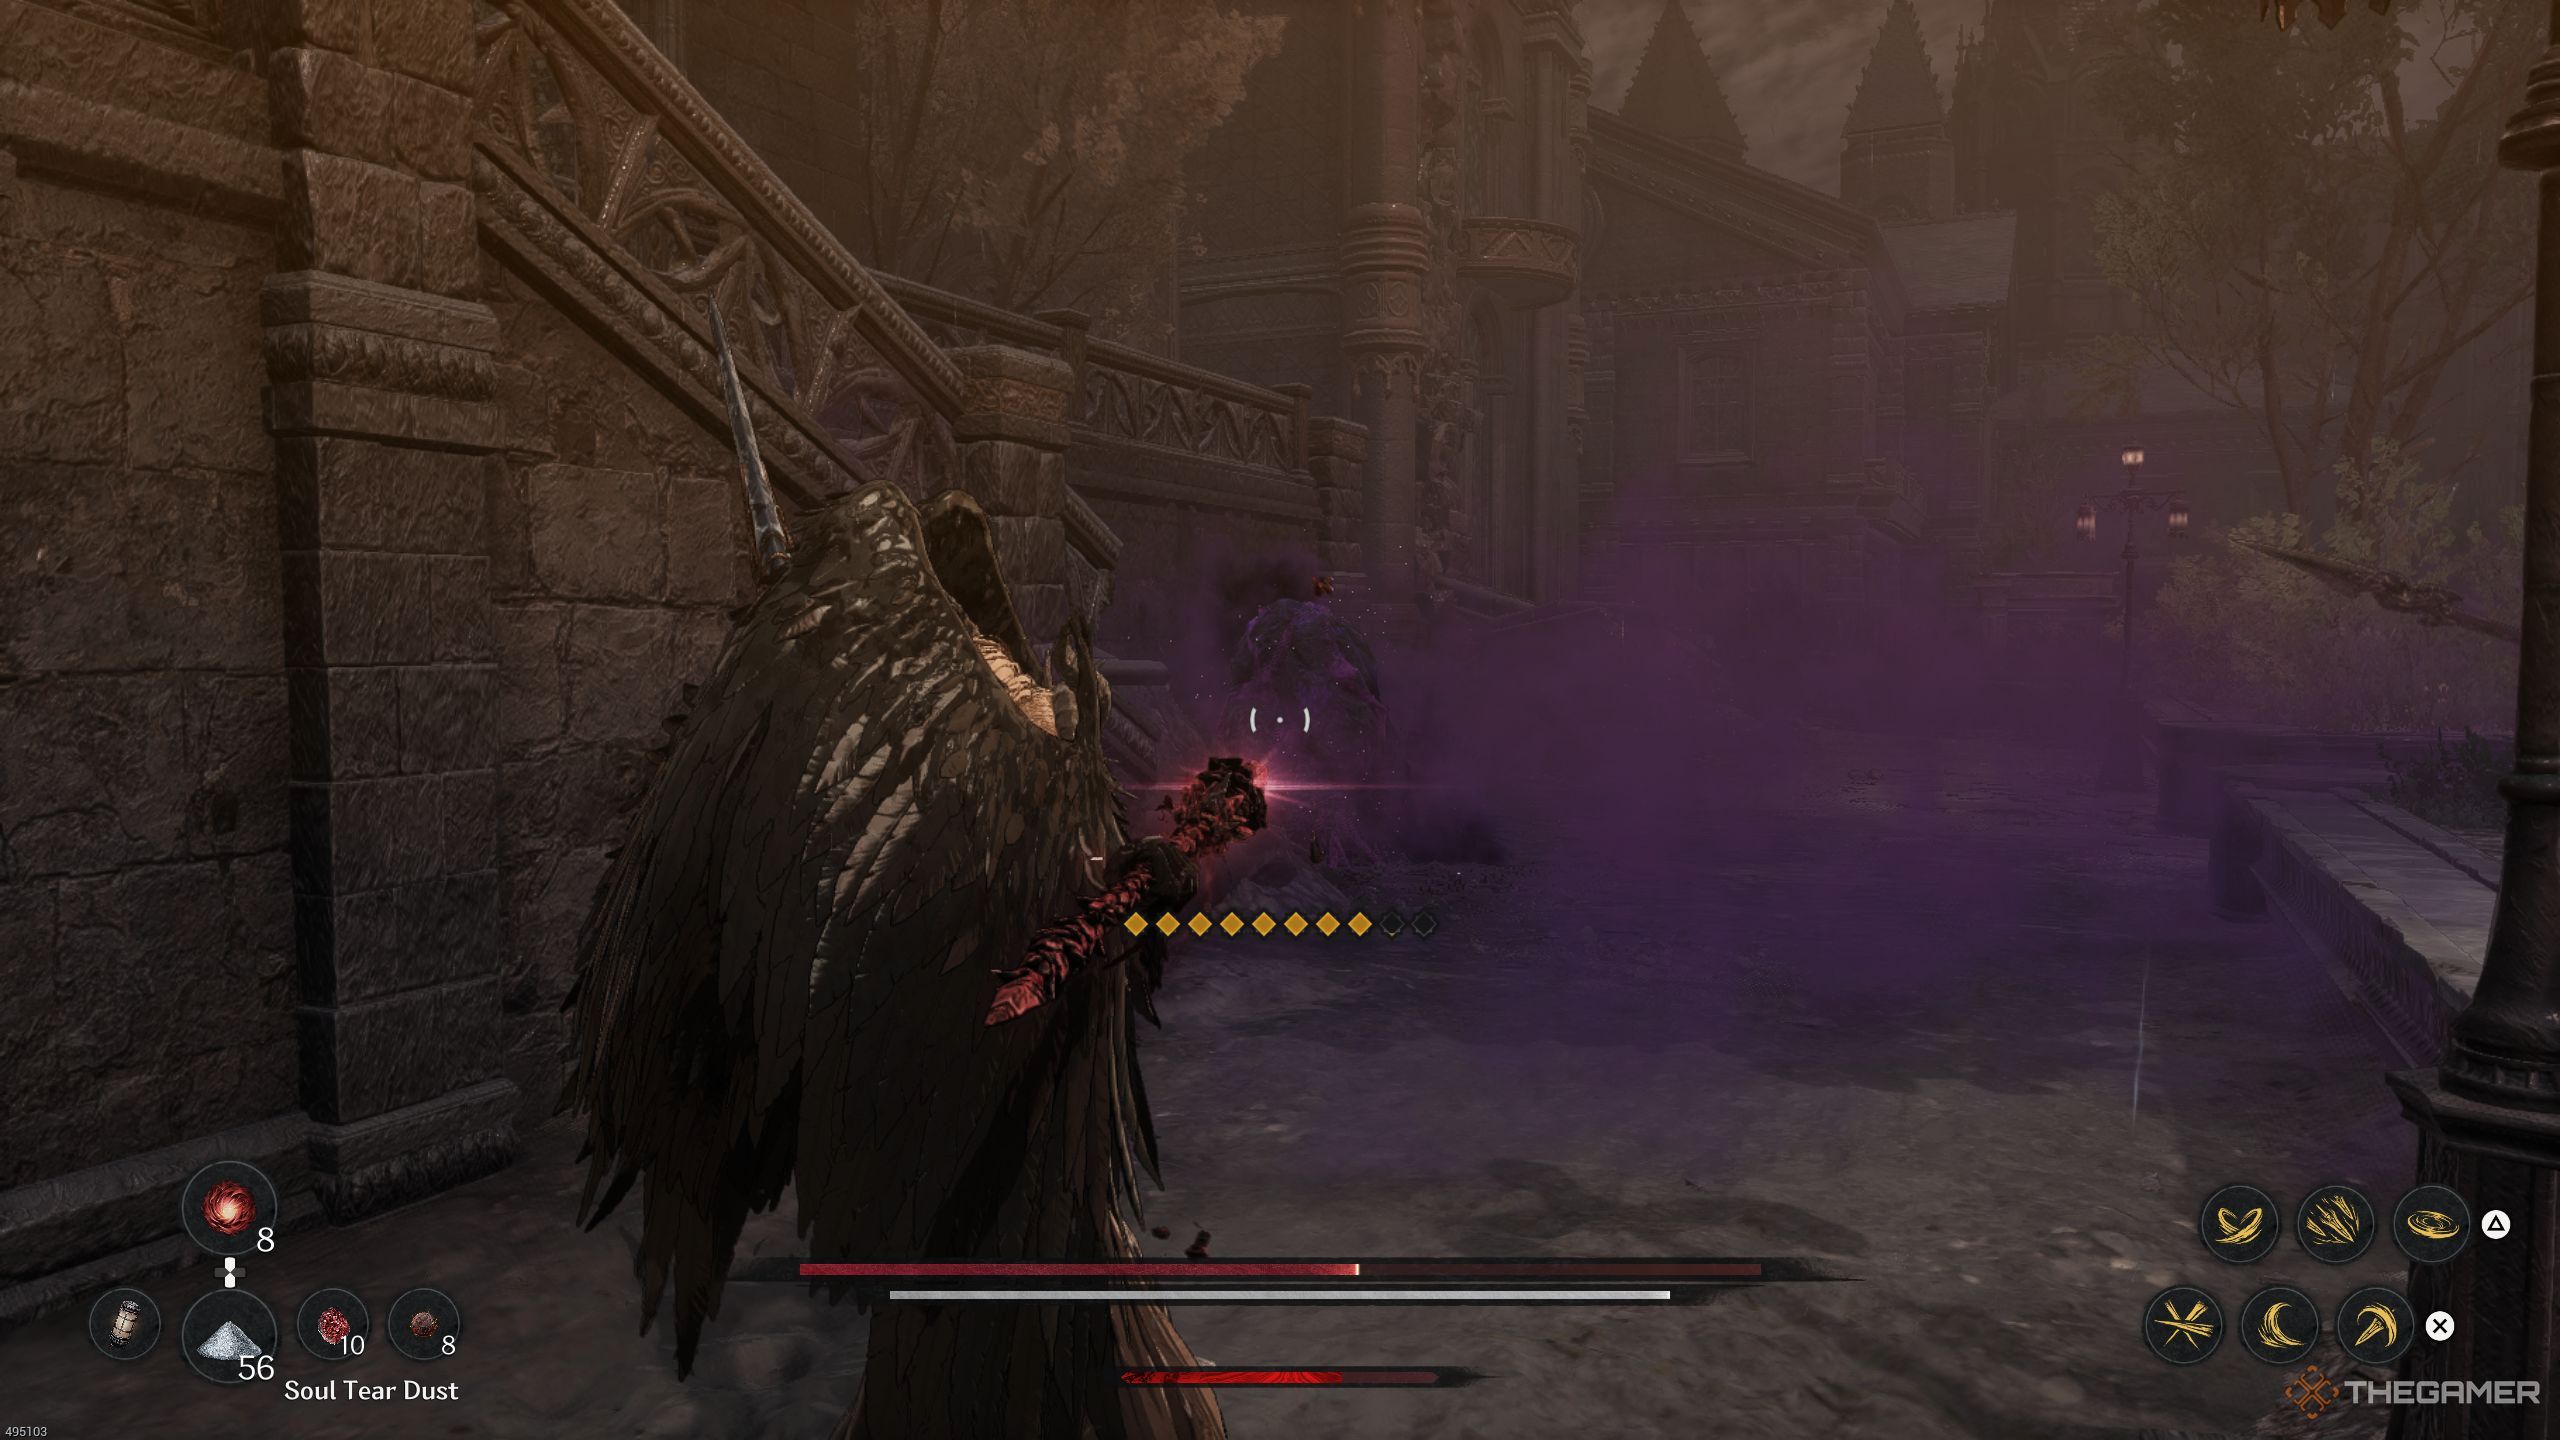
Once you trigger the initial Blade Nexus, proceed along the eastern path towards the stairs. Along the way, you may encounter hostile opponents; their spinning attack is particularly dangerous, so be careful. Overcome them, then continue straight ahead. You’ll notice some chaotic matter nearby: strike the one on the left swiftly and immediately retreat.
Once it blows up, counterattack against the foe on the left first, then eliminate the one on the right. Subsequently, proceed along the left path, feel free to annihilate any chaotic substances en route if you see fit, and then engage the enemy on the right.
In this scenario, since the foe has a high health level, try leading him slightly to the left. Once you’ve cleared away the chaos matter, move back. The blast should hit him, giving you a chance to inflict damage on him and then counterattack. After defeating the enemy, focus on neutralizing the snipers.
In the spot where the sniper standing to the north previously targeted you, you’ll find a hidden chest. After retrieving it, proceed towards the staircase that was directly in front of the Double-Edged Butcher you recently defeated. Upon reaching the top of those stairs, you will notice some broken jars on the ground. Destroy these jars to uncover the Jarling who was hiding there.
First Soulstone Location
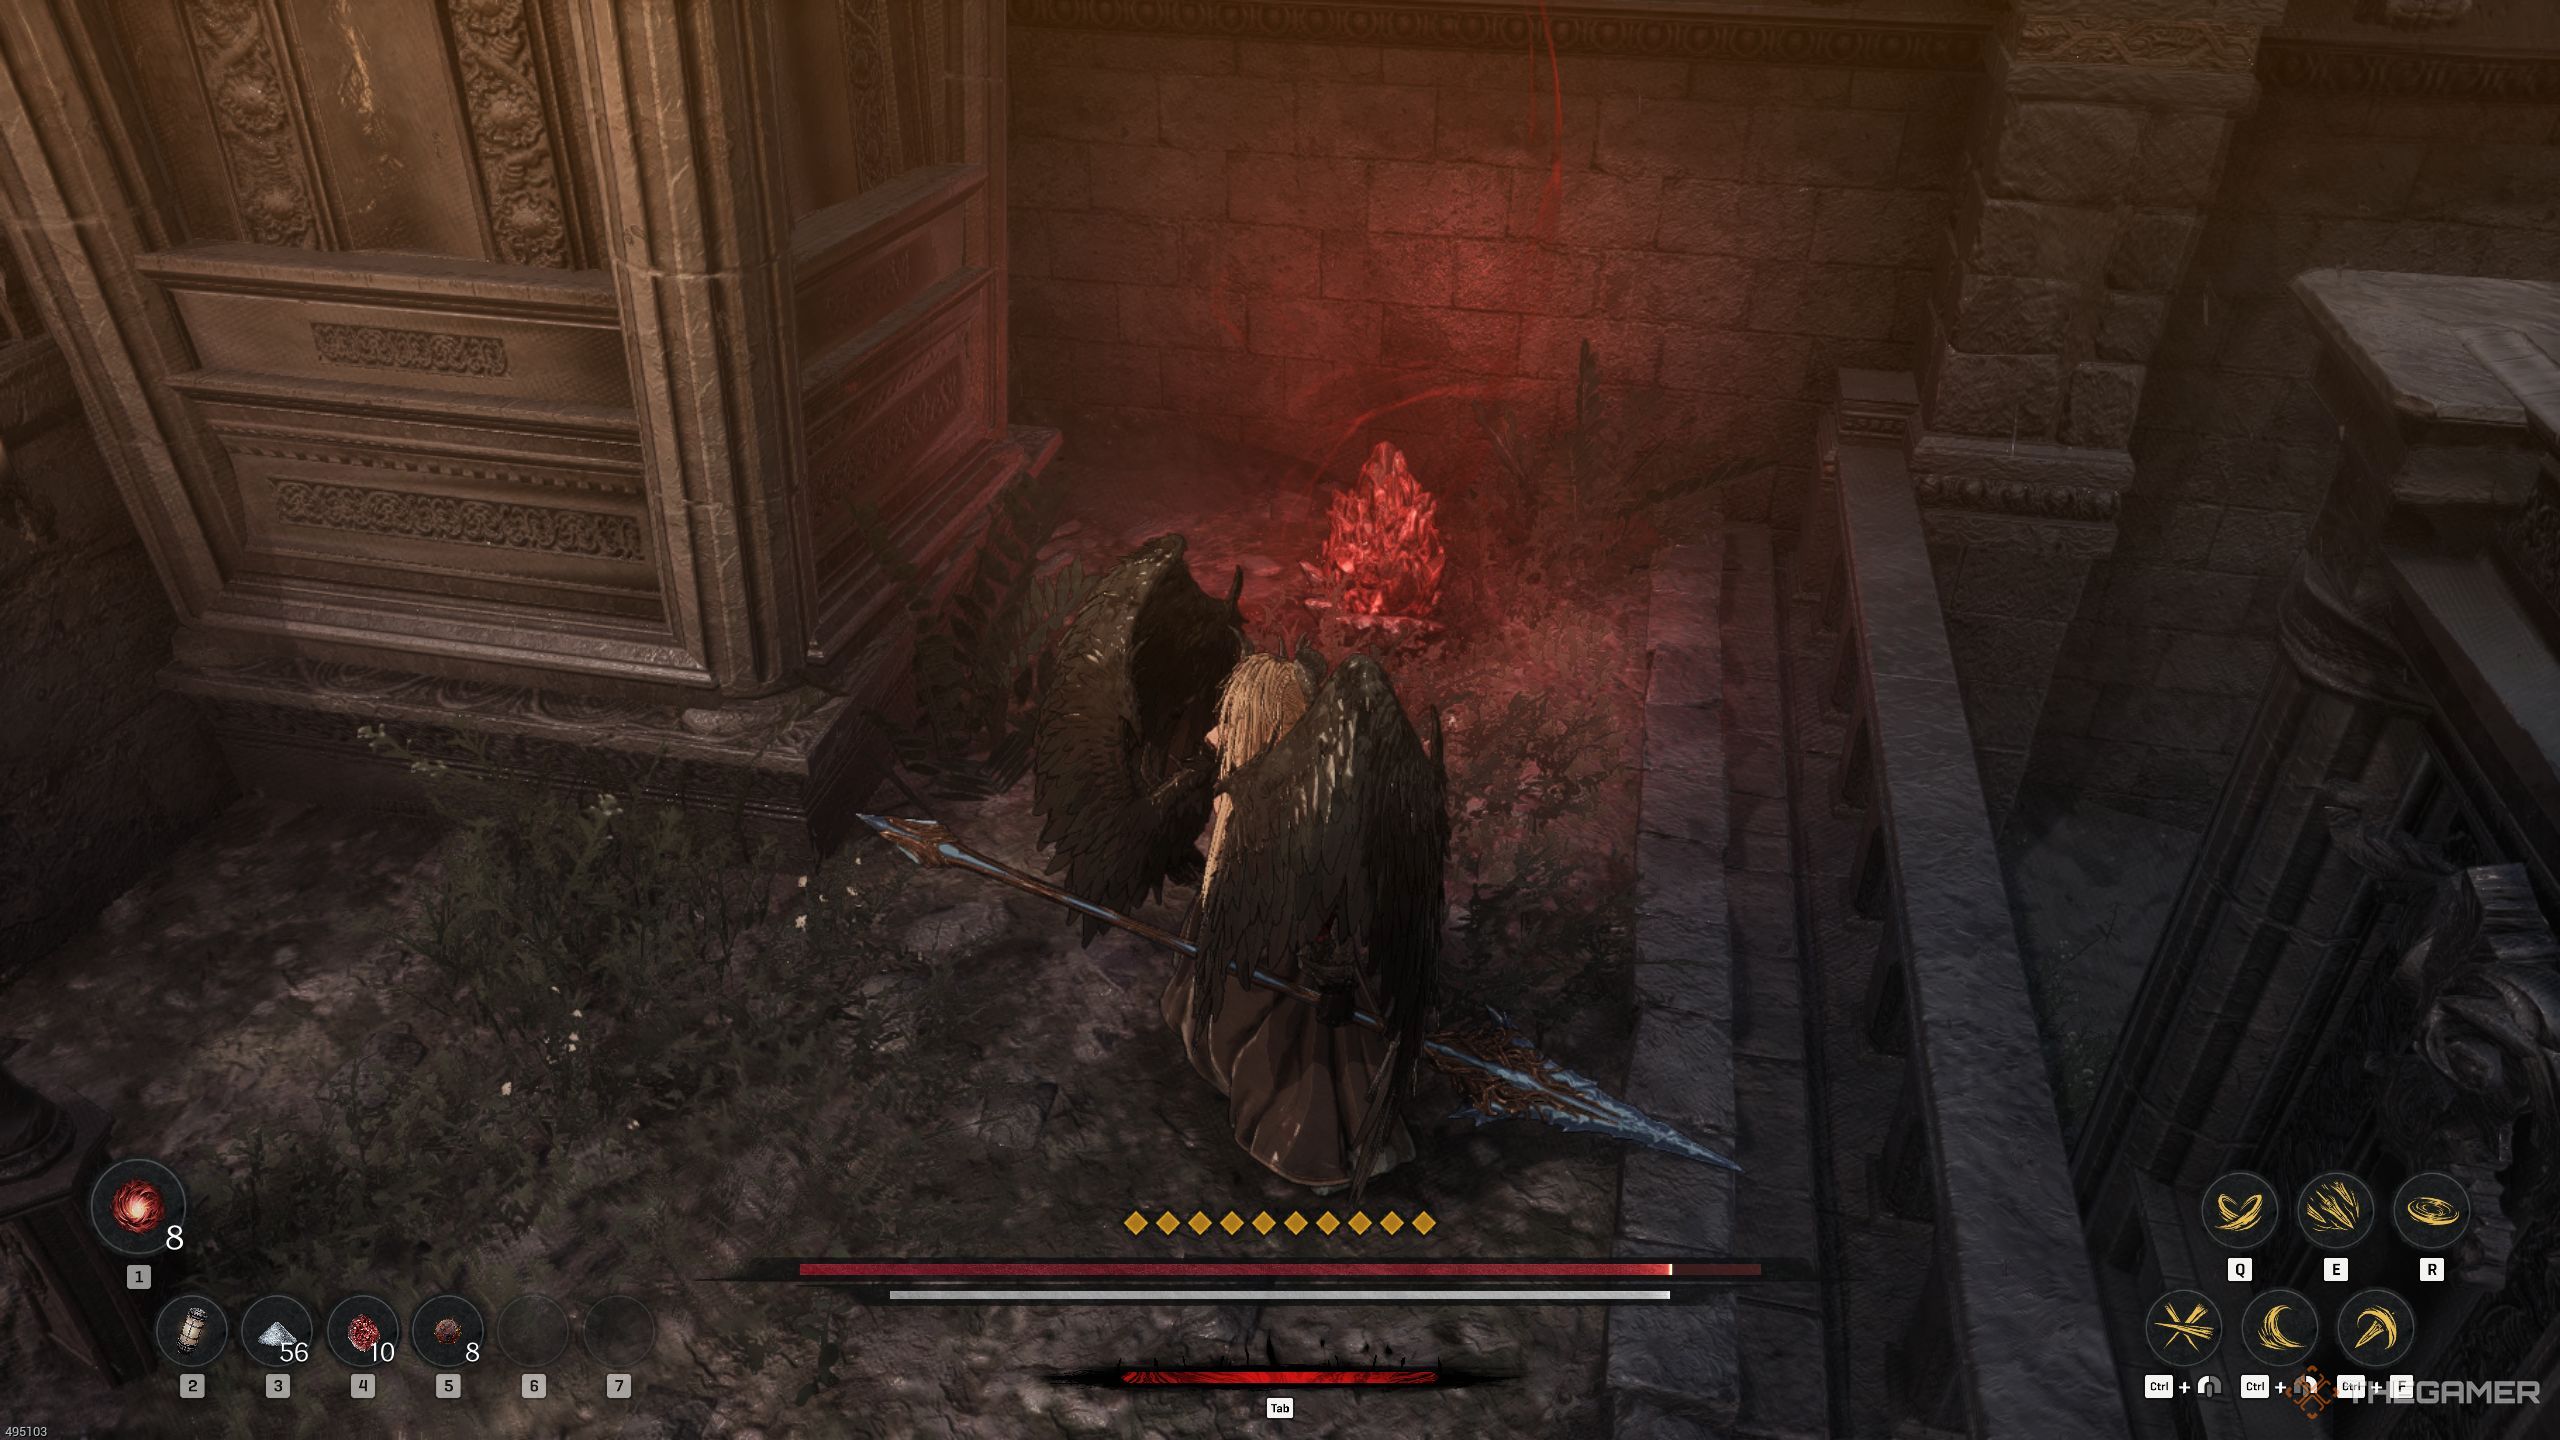
You might have seen the staircase located east of the Double-Edged Butcher shop. Descend those stairs, and you’ll find an increase in chaotic situations. Knock out the central one among them to momentarily disorient nearby foes. Overpower the enemies and subsequently destroy the chaos matter situated on the right side to obtain some Lacrima.
You may have spotted a staircase east of the Double-Edged Butcher. Going down will lead you to more complex issues. Take out the one in the center to momentarily confuse all nearby adversaries. Defeat the enemies and then destroy the chaos matter on the right to gather some Lacrima.
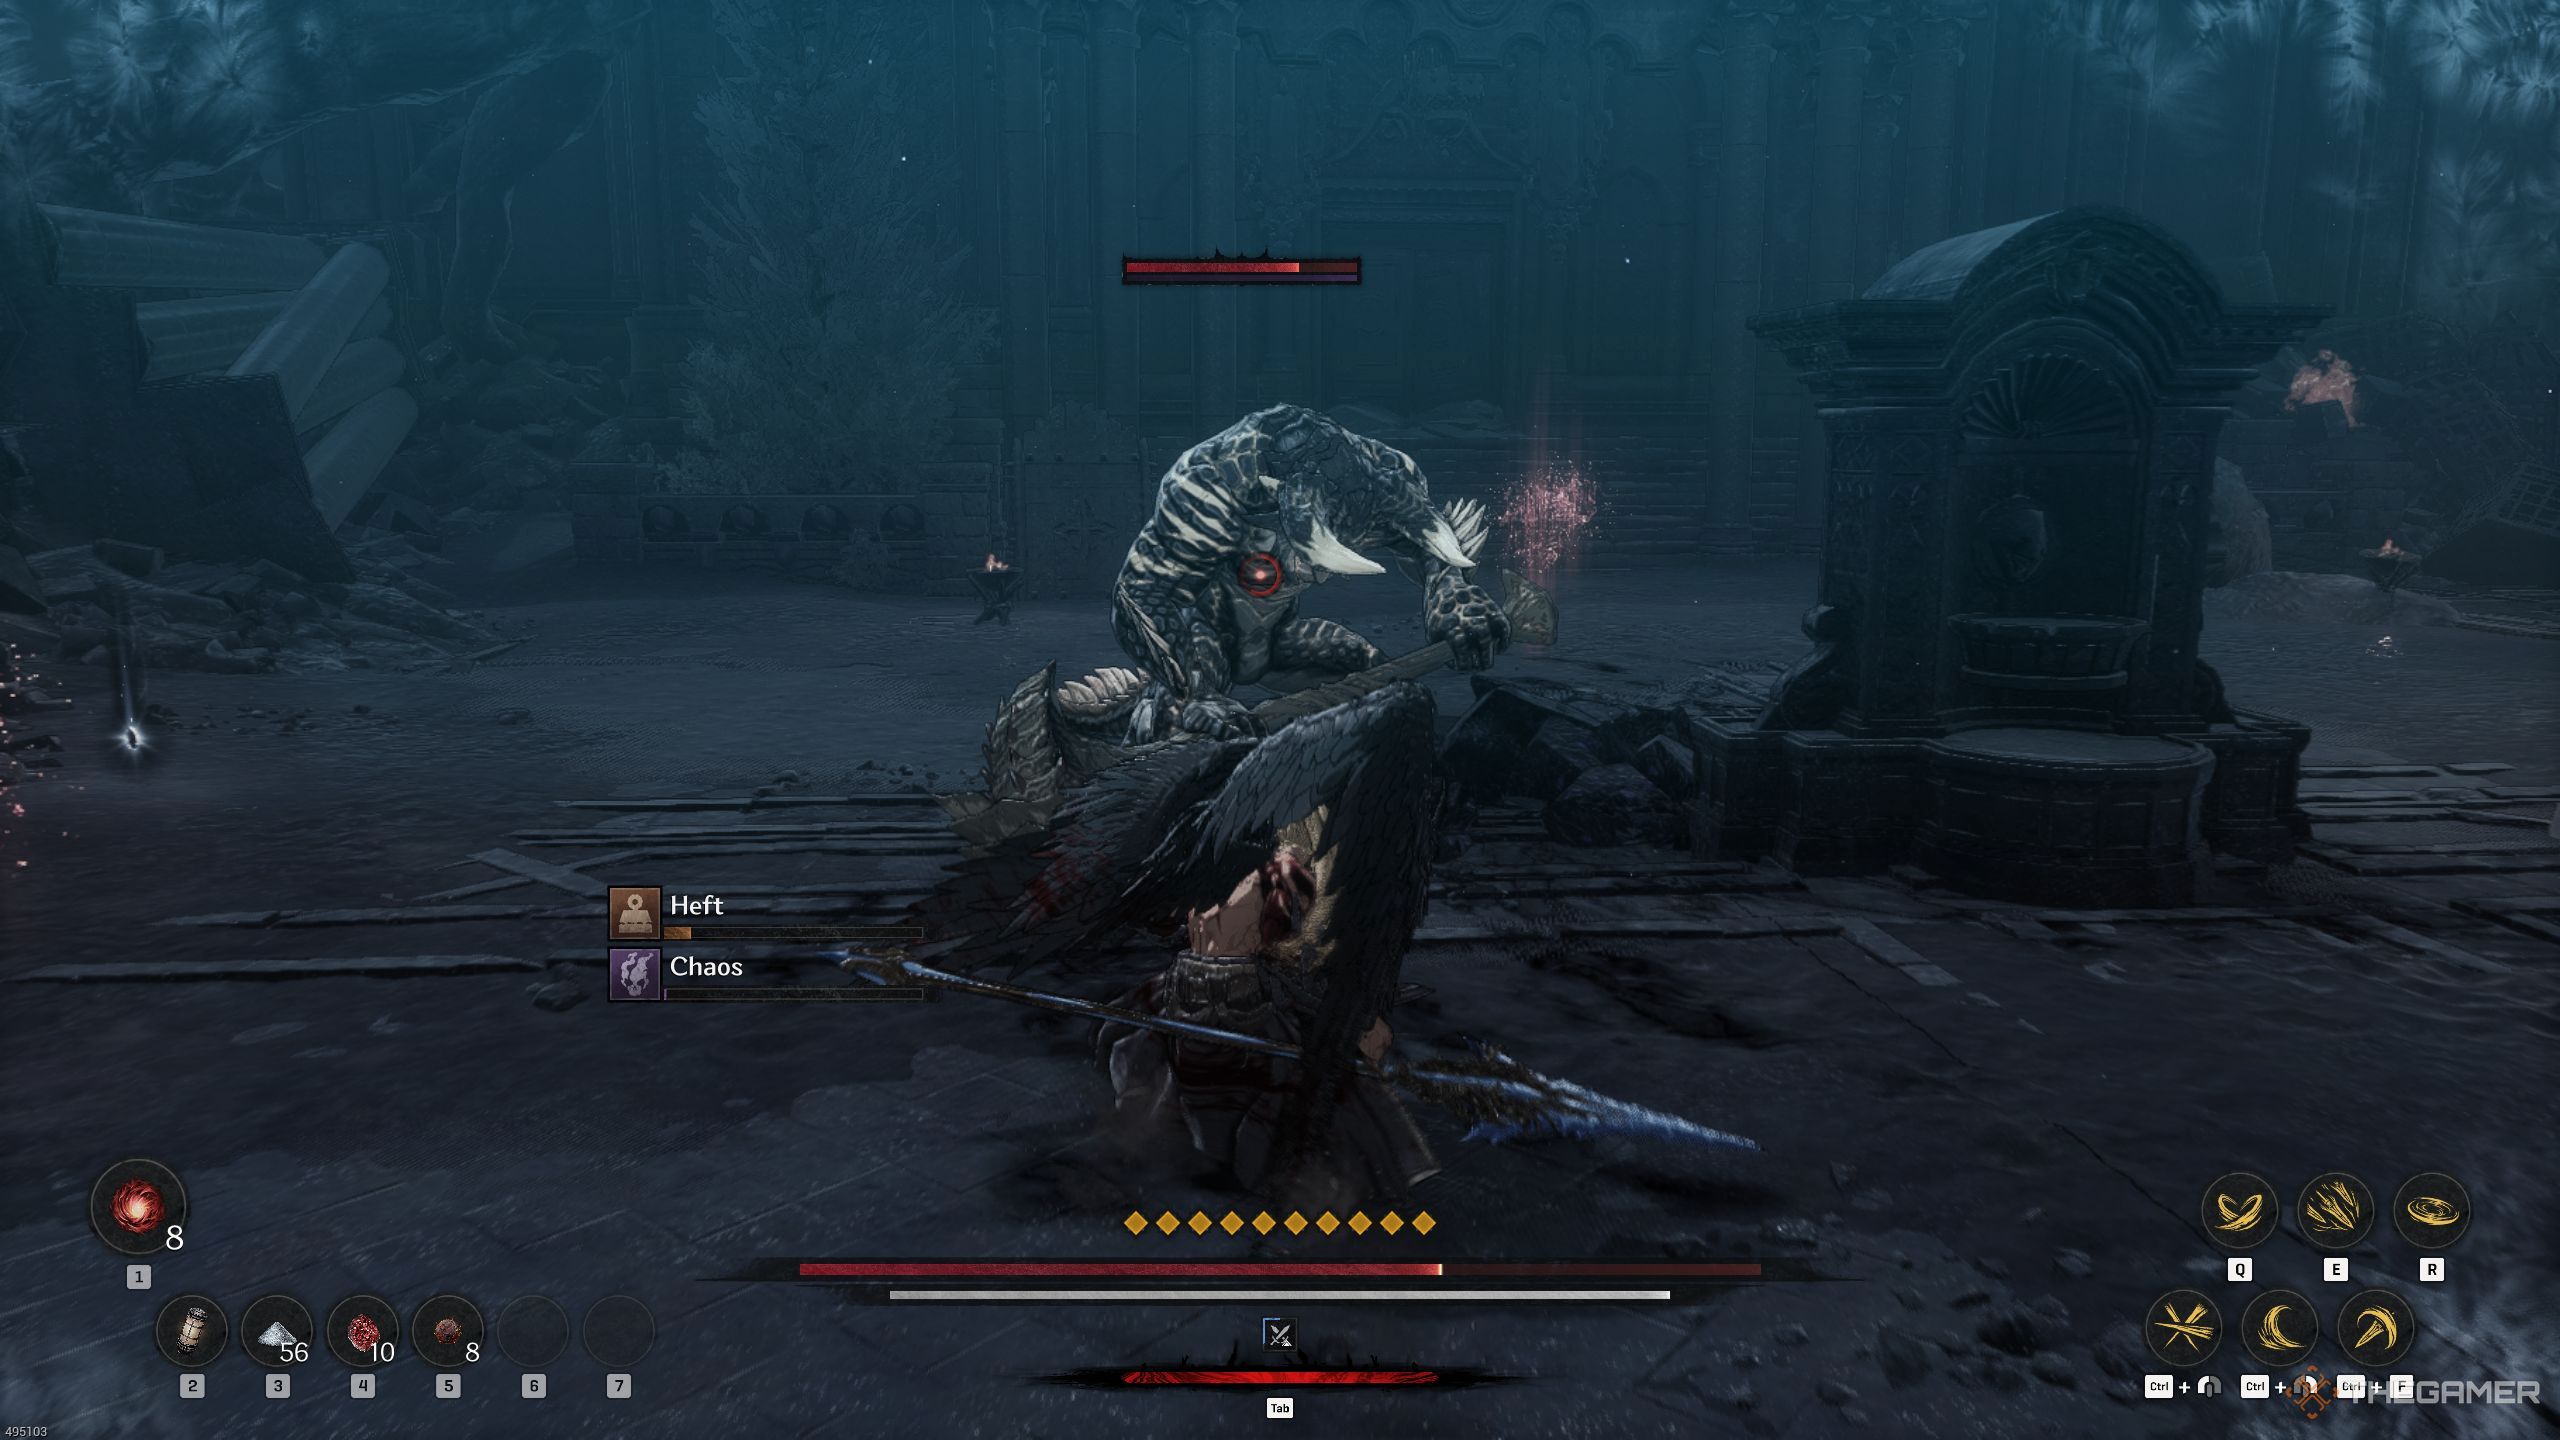
First, retrace your steps, make a right turn, and then veer left. Knock over the cart to unblock the path to the stairs. Descend the stairs and move eastward. Soon, an elite foe named Lunatic Destroyer will approach you, but a handy chaos artifact could significantly aid you in combat.
How To Defeat The Elite Enemy
Draw the opponent close to the object and eliminate it to throw him off balance. Follow up with a series of combos and deliver the final blow. This strategy should reduce his health by approximately half. Subsequently, execute another combo on him since he’ll replenish his stamina.
If an unusual noise occurs without any display indication, it could signal that the opponent is preparing a grab attack. Given its rapid speed, it’s crucial to swiftly dodge backward once you spot his hand coming towards you. On the other hand, since his swings are quite slow and can throw off your timing significantly, it might be wiser to dodge rather than attempt a parry.
He possesses a bothersome pattern, as he quickly follows his initial attack with another one without pause, then delays his third strike before delivering a swift follow-up. After that, he again pauses before launching another delayed attack.
If you dodge this combo, he can extend it by adding a sixth really delayed hit.
Apart from his other abilities, this powerful foe possesses an unavoidable strike. As he approaches, he’ll lunge towards you before powering up his weapon. Since this attack has a delay, it would be wise to time your retaliation carefully.
He also has some normal weapon slam attacks that you can dodge.
Advance towards the stairs located west of where you recently used the Lacrima, climb them if necessary, and then find and collect any treasures along the way.
Second Soulstone Location
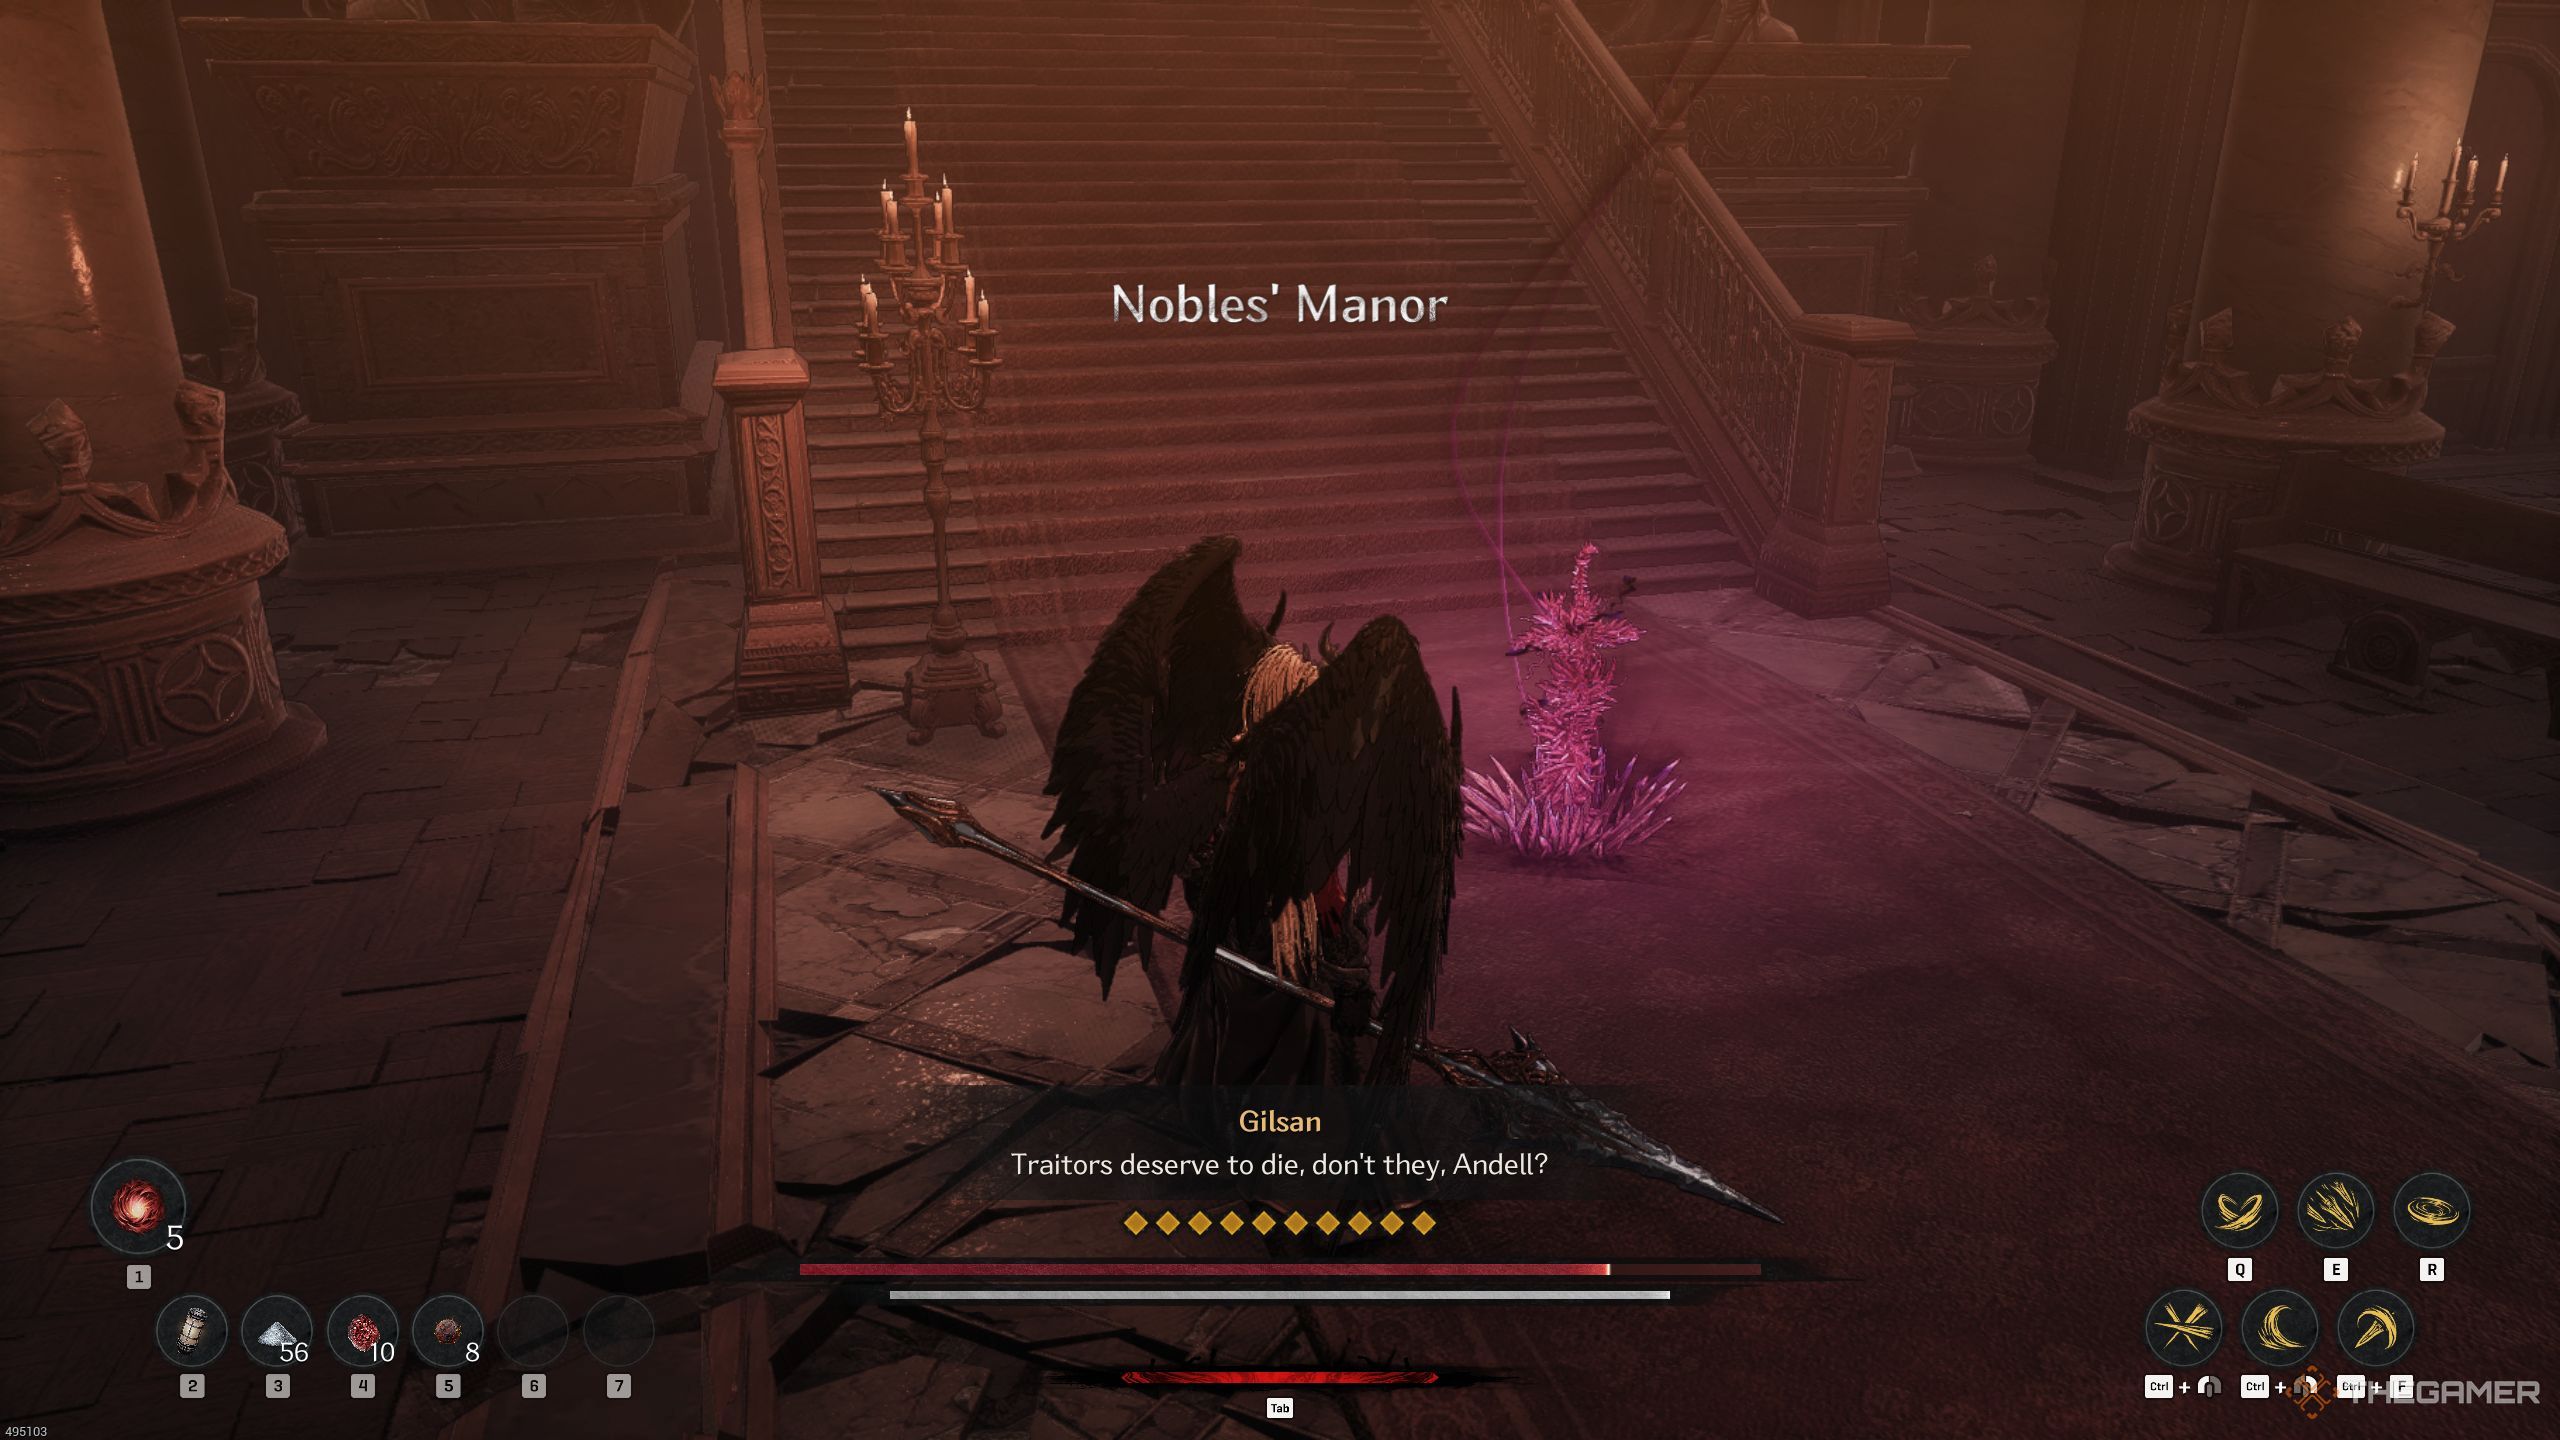
Make your way into the Noble Manor, trigger the Blade Nexus. Next, climb the stairway, break through any obstructions in your path, and continue upward. Take down the adversaries firing flaming arrows at you initially. Be cautious of the Knivesveil Outlaw, as he possesses significant strength.
In case you manage to string together lengthy combinations against him, he’ll struggle to respond effectively. Be sure to retreat immediately when he initiates a combo with a kick.
Knivesveil Outlaw possesses an unavoidable strike, neither evasion nor parrying can thwart it. This attack is followed by another blow, so enduring even a single hit could lead to dire consequences for you.

Once you’ve vanquished all adversaries, locate and obliterate the Soulstone hidden behind the pillar to the northeast, which may have already been destroyed during combat. Subsequently, open the eastern door, subdue the enemies that follow, and then descend the staircase to acquire the Augment of Wisdom.
Once you’ve taken the item, ascend the staircase, then find the door straight ahead. Prior to entering, veer to your left and unlock the chest. Subsequently, open the door, collect the Lacrima, and ignite the Blade Nexus.
How To Defeat Gilsan
Gilsan isn’t overly challenging as a boss, but initially, you might find it tough because there are more opponents in the arena. Therefore, immediately dash towards the one firing at you up ahead and eliminate him. Then, swiftly advance to the one on the staircase, defeat him, and you’ll find dealing with Gilsan much smoother.
Gilsan serves as a formidable, human-like leader, consistently knocked off balance by your attacks. Yet, if you fail to conserve your energy wisely, the toll could prove heavy.
It’s wiser to give Gilsan some respect and not rush into a quick victory. Even if you seem to have him off-balance in your attacks, he has the ability to retaliate with a powerful drop kick that inflicts heavy damage. Afterward, his combos can be tricky to avoid, making it challenging for you to dodge them effectively.
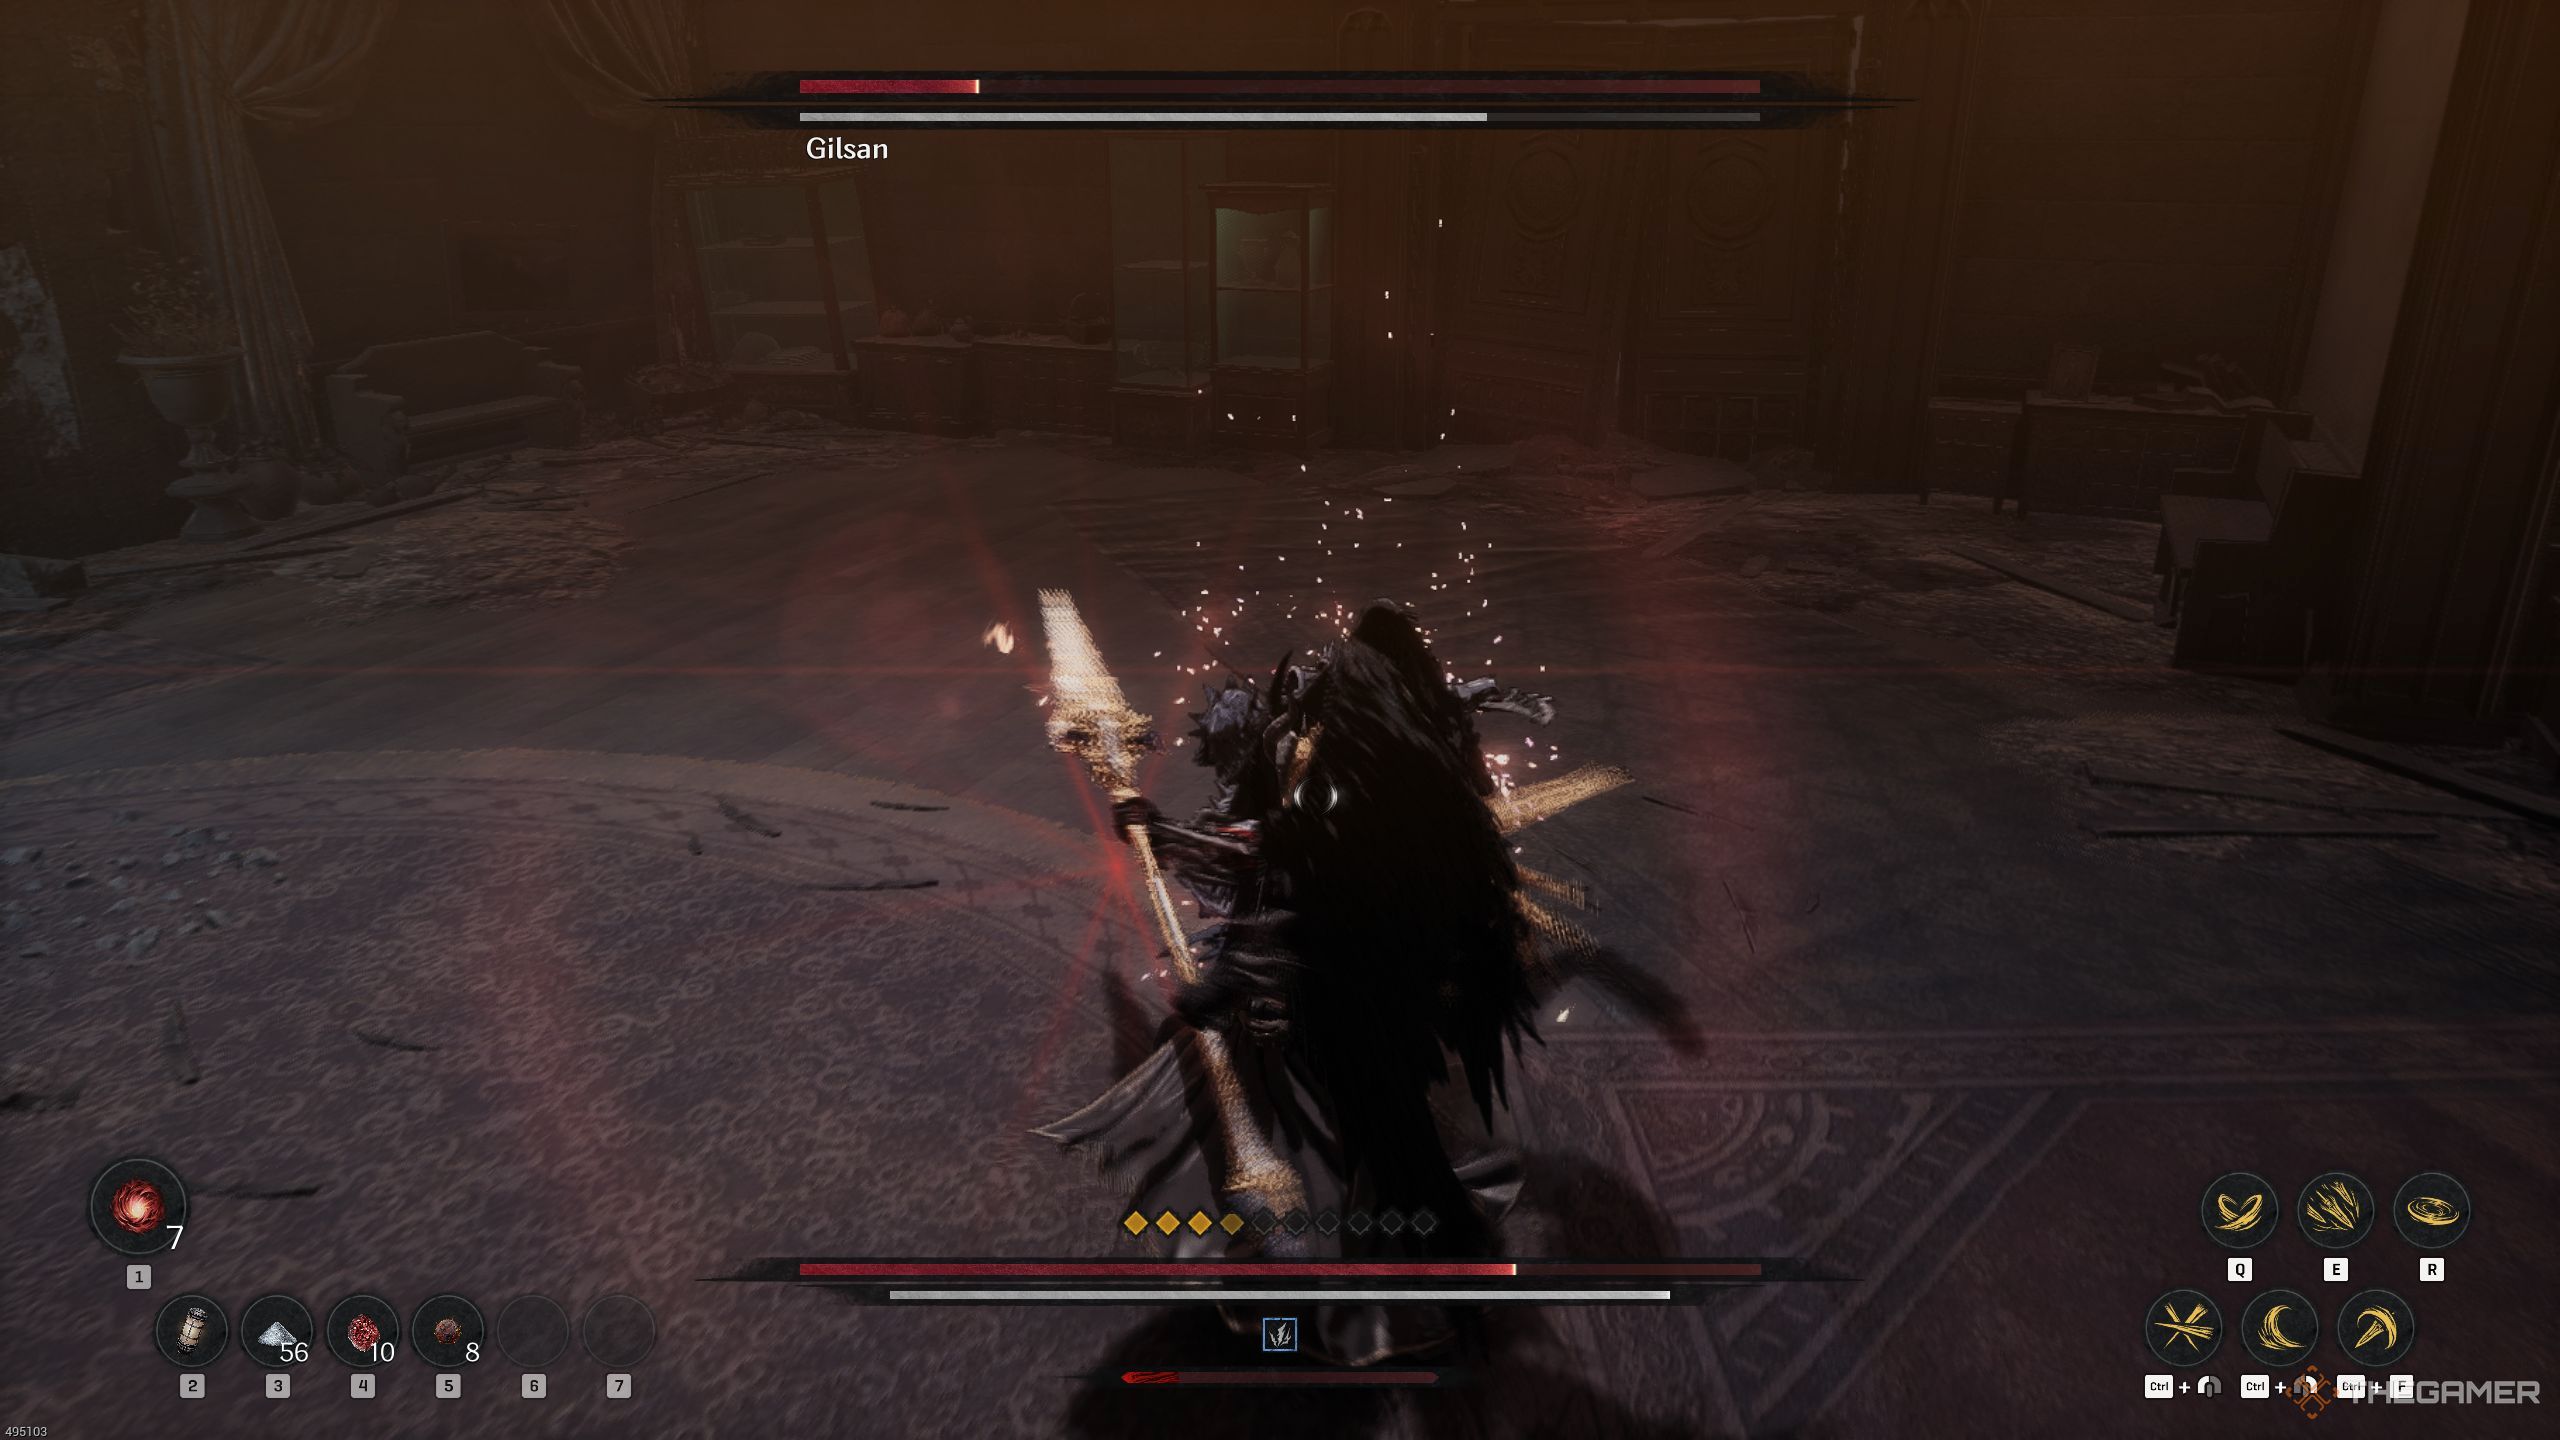
Gilsan is a boss who you’d rather dodge than engage in melee due to his use of daggers. He has some intriguing combos with these weapons. One sequence involves him striking you twice conventionally before executing a diagonal slash, while another combo sees him landing four normal blows on you successively.
Additionally, Gilsan possesses alternate styles for his jumping assault. He’s capable of executing a dual or solitary slice, both packed with substantial poise. Furthermore, he can deliver a double kick to you, resulting in an impressive knockdown.
The deadliest move he’s capable of executing is one that you can neither block nor evade. He’ll perform a sweeping cross strike, followed by an overhead strike while leaping over his target.
Instead of trying to avoid both attacks, it’s wiser to counter any of them since doing so creates an opportunity for you to inflict damage.
In essence, this battle should pose minimal issues for you. However, it’s crucial that you keep up your energy level and avoid being hit by his combination moves and powerful knockback attacks.
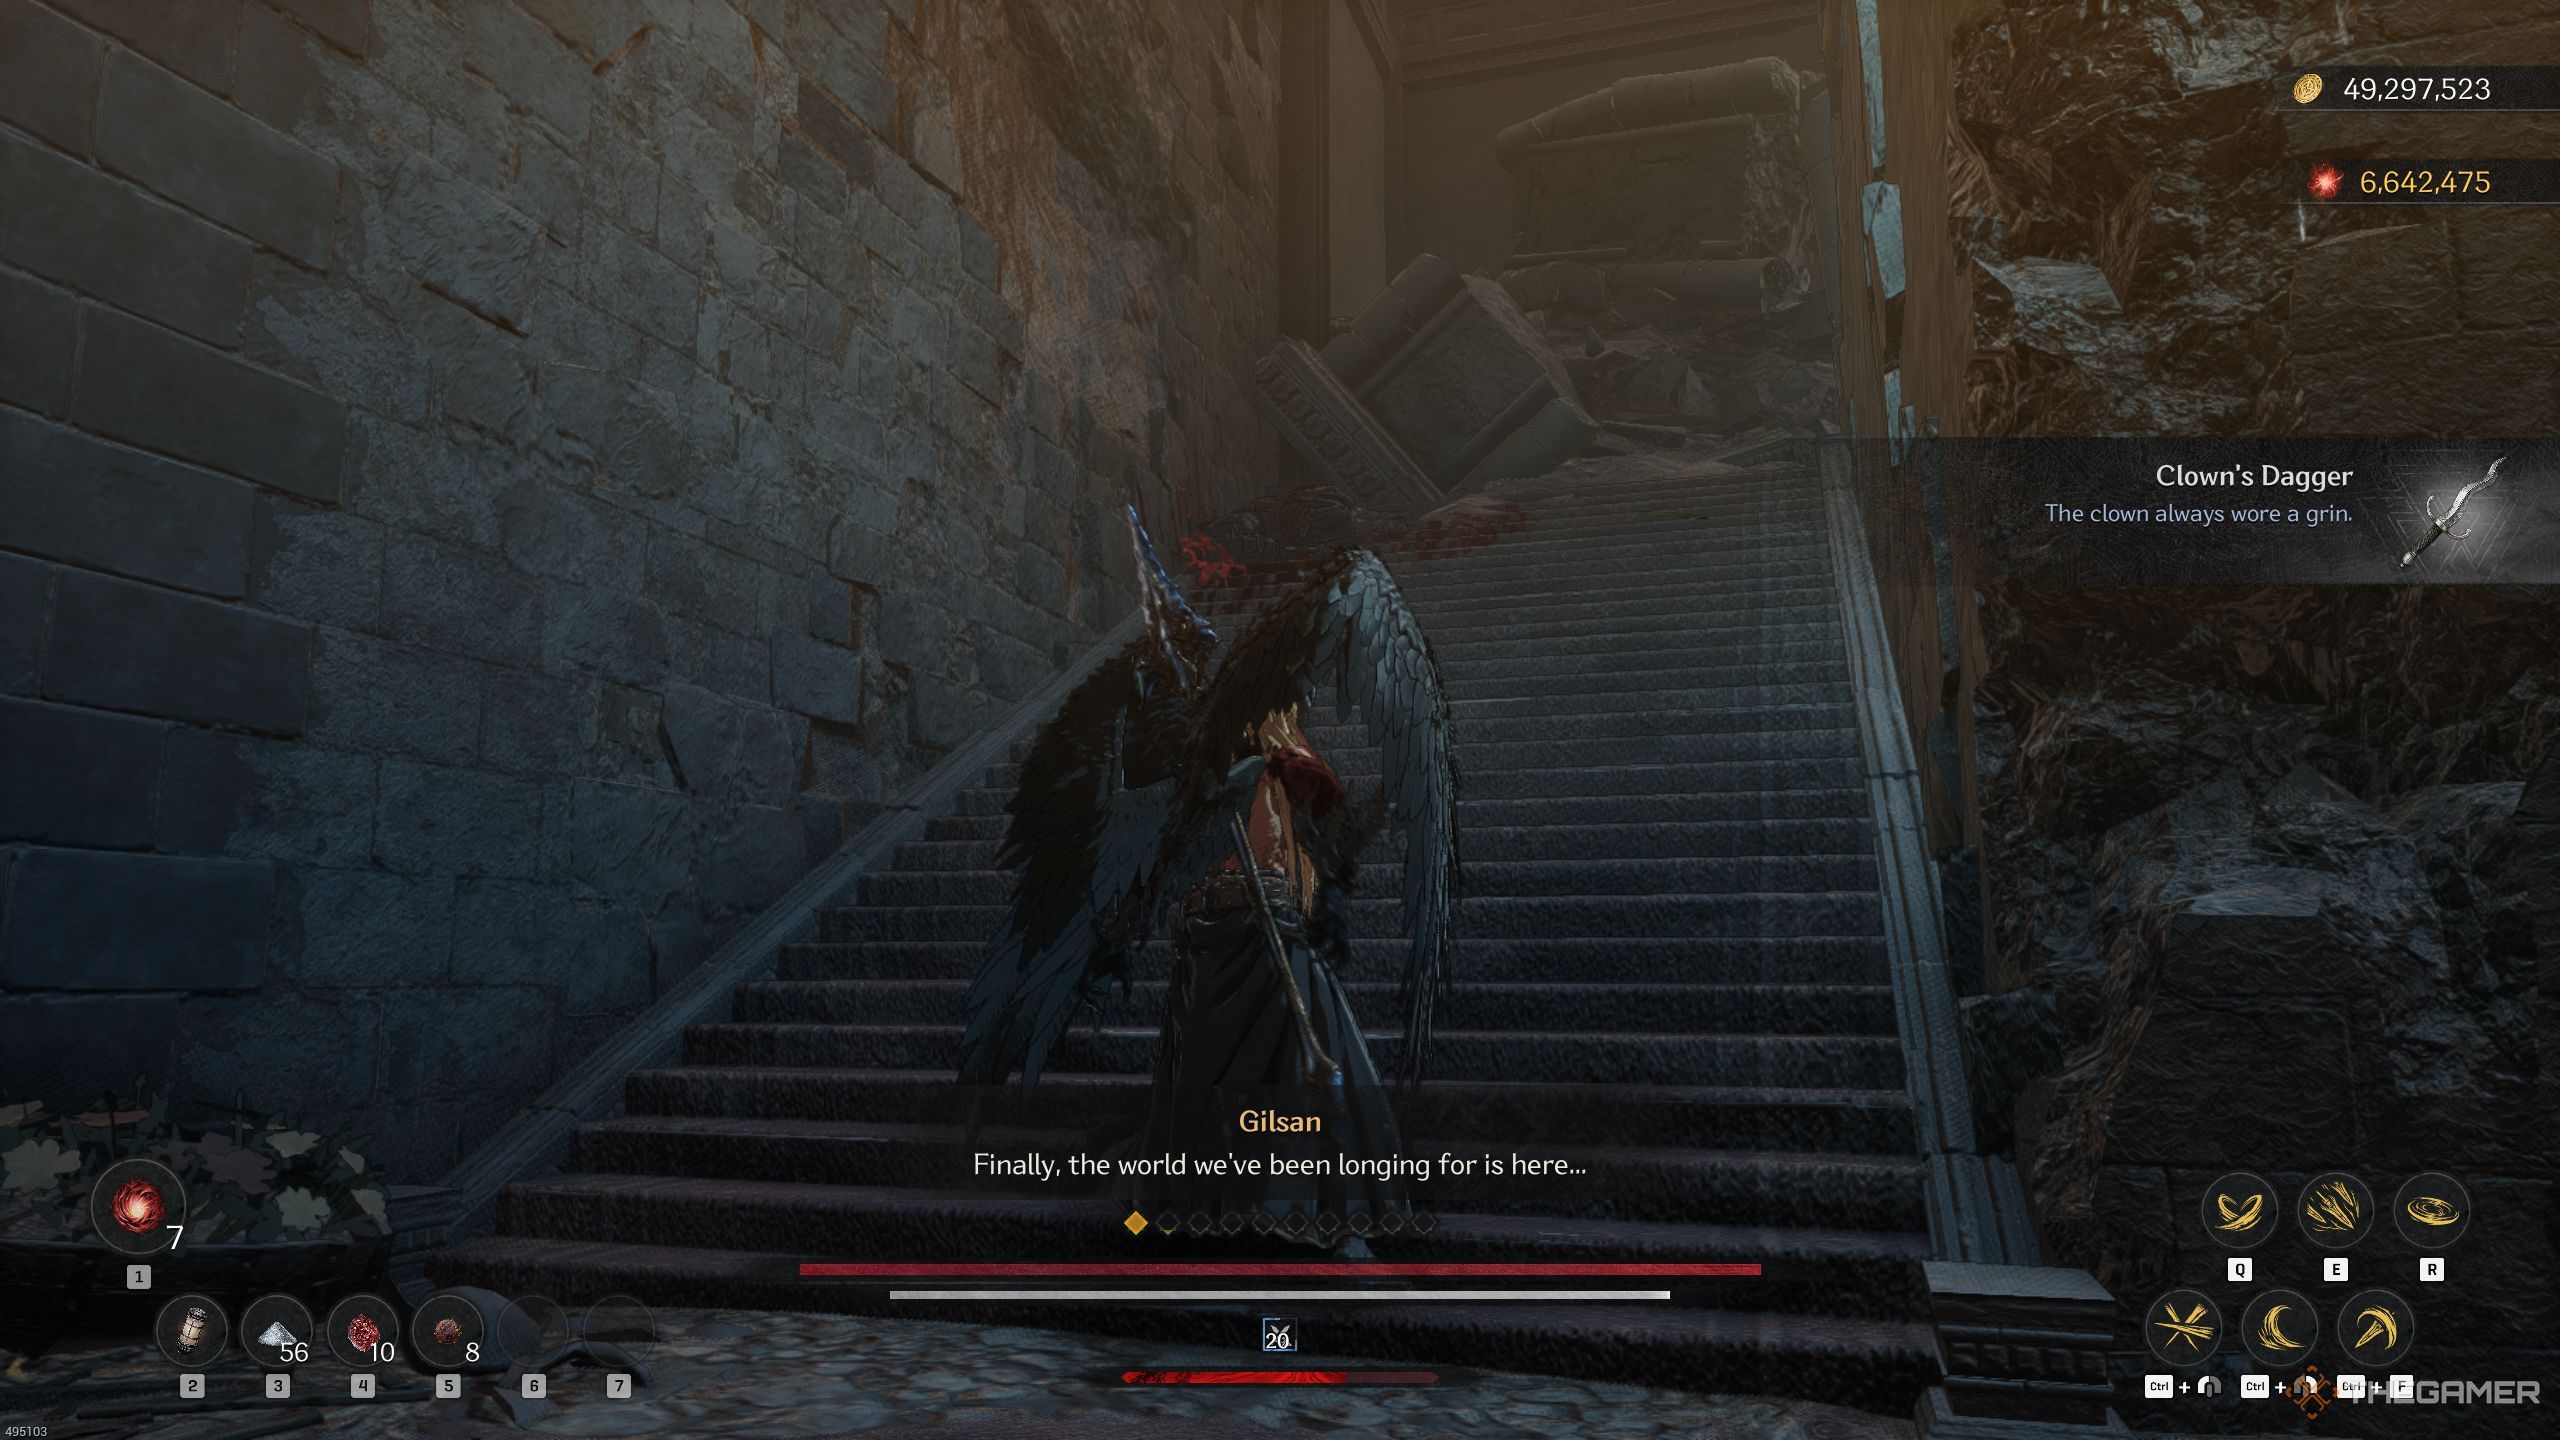
Following his defeat, you might acquire some assorted items from the Dragonscale collection, weapons or accessories at random, as well as a Transmutation Mist. Additionally, you’ll receive a Clown’s Dagger. Once the mission is over, make sure to chat with Seona and then return to the Crevice.
Read More
- Sega Reveals Official Sonic Timeline: From Prehistoric to Modern Era
- The Limits of Thought: Can We Compress Reasoning in AI?
- Genshin Impact Dev Teases New Open-World MMO With Realistic Graphics
- Where to Pack and Sell Trade Goods in Crimson Desert
- ARC Raiders Boss Defends Controversial AI Usage
- Top 10 Must-Watch Isekai Anime on Crunchyroll Revealed!
- Who Can You Romance In GreedFall 2: The Dying World?
- Gold Rate Forecast
- Best Build for Operator in Risk of Rain 2 Alloyed Collective
- Zero-Knowledge Showdown: SNARKs vs. STARKs
2025-04-13 19:35