In the thrilling world of Donkey Kong Bananza, I find myself whizzing through the exhilarating Feast layer, where mine cart tracks and roller coasters transform the level into a lively theme park! The Branching-Track Roarcoaster, one of its demanding challenge courses, puts my skills to the test as I navigate a treacherous mine cart track filled with thorns, explosives, and intricate alternate routes.
To successfully navigate through the Branching-Track Roarcoaster course and collect every banana in DK Bananza, players should stay alert for track switches that alter the travel path at specific intersections. By following this guide, you can discover how to gather all Banandium Gems in the Branching-Track Roarcoaster, including the elusive second, concealed banana located midway through the level.
Where Is The Branching-Track Roarcoaster In DK Bananza?
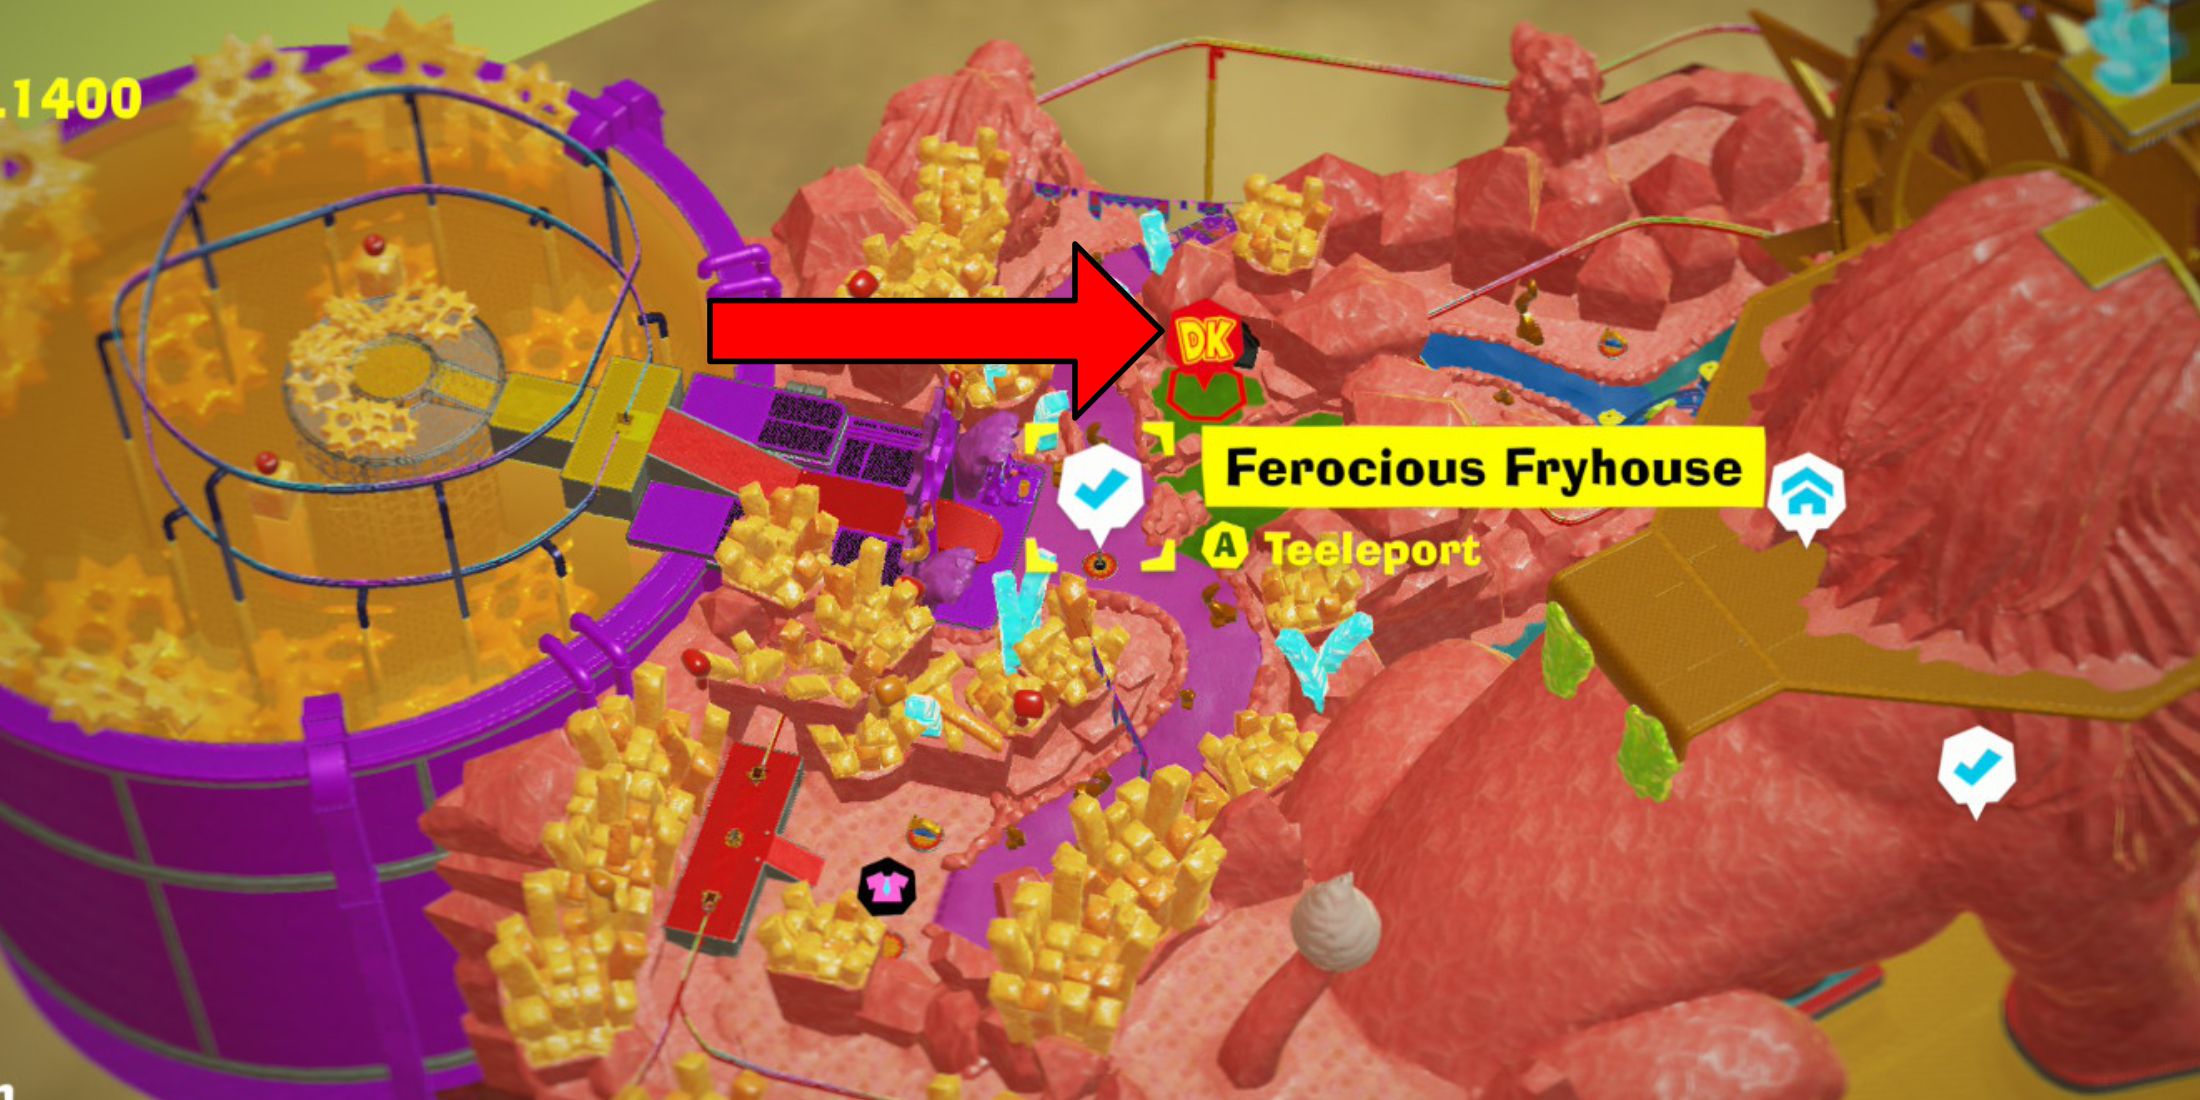
Starting from my respawn spot in the Feast layer, I navigate towards the rear-right corner of the zone, guided by the circular rollercoaster and the large purple cylinder marked on my map. Right outside the entrance to this minecart track, behind the colossal lion statue, you’ll discover the Ferocious Fryhouse checkpoint, nestled among a scattering of golden fries.
Turning your back to the majestic lion, veer to your left. You’ll spot a door sealed with void material and a Constructone nearby. Pay the Constructone 600 Gold to demolish the obstruction. Once done, step through the door to initiate Feast Layer Challenge Course 3: Branching-Track Roarcoaster.
How To Get Every Branching-Track Roarcoaster Banandium Gem
Branching-Tree Roartrack Walkthrough & All Banana Locations
In the Branching-Tree Roartrack, players can find three ‘Donkey Kong Bananza’ bananas. Two of these are visible as you advance through the course, while the third one is concealed along a secret route under a waterfall.
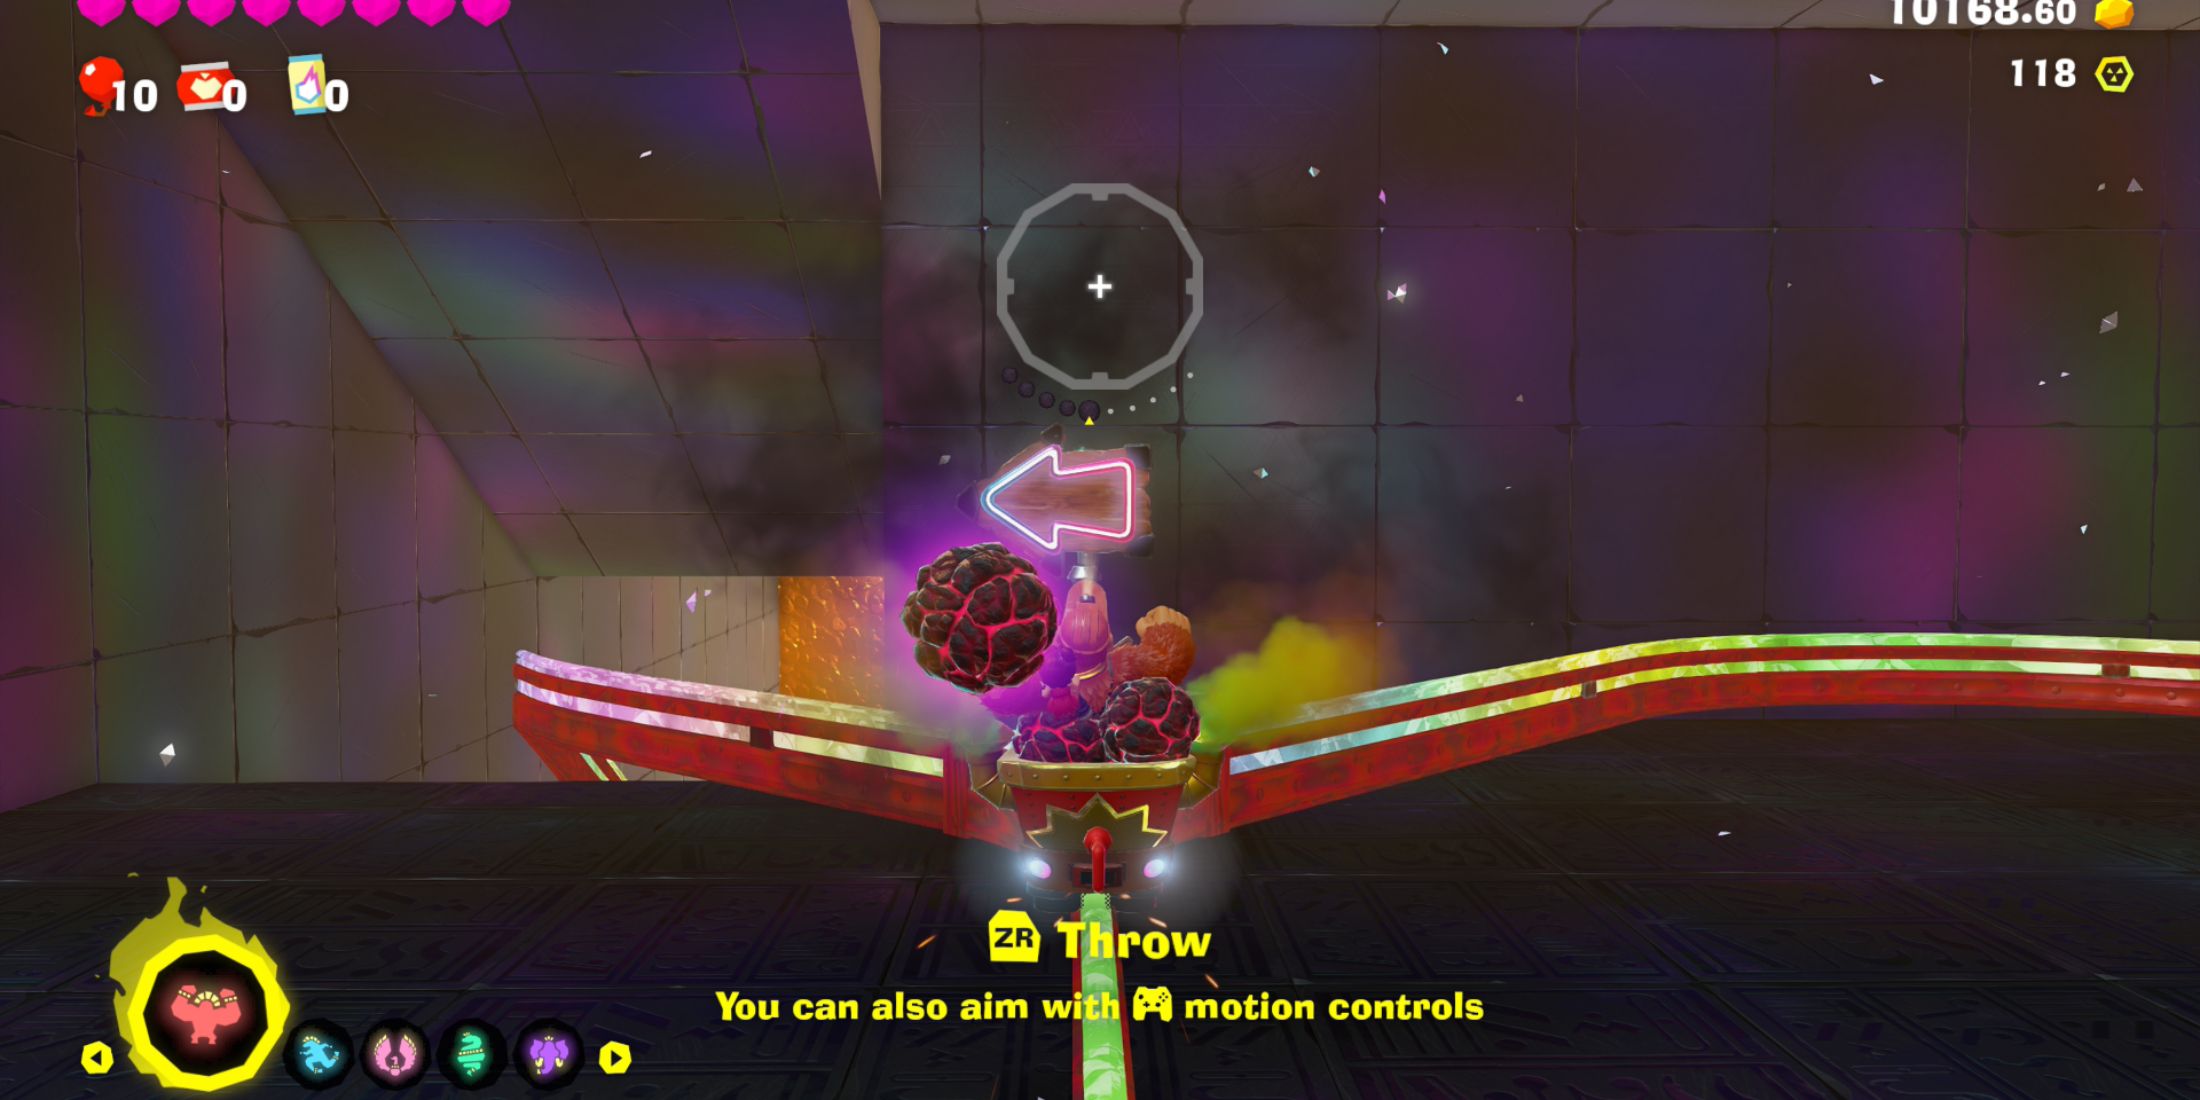
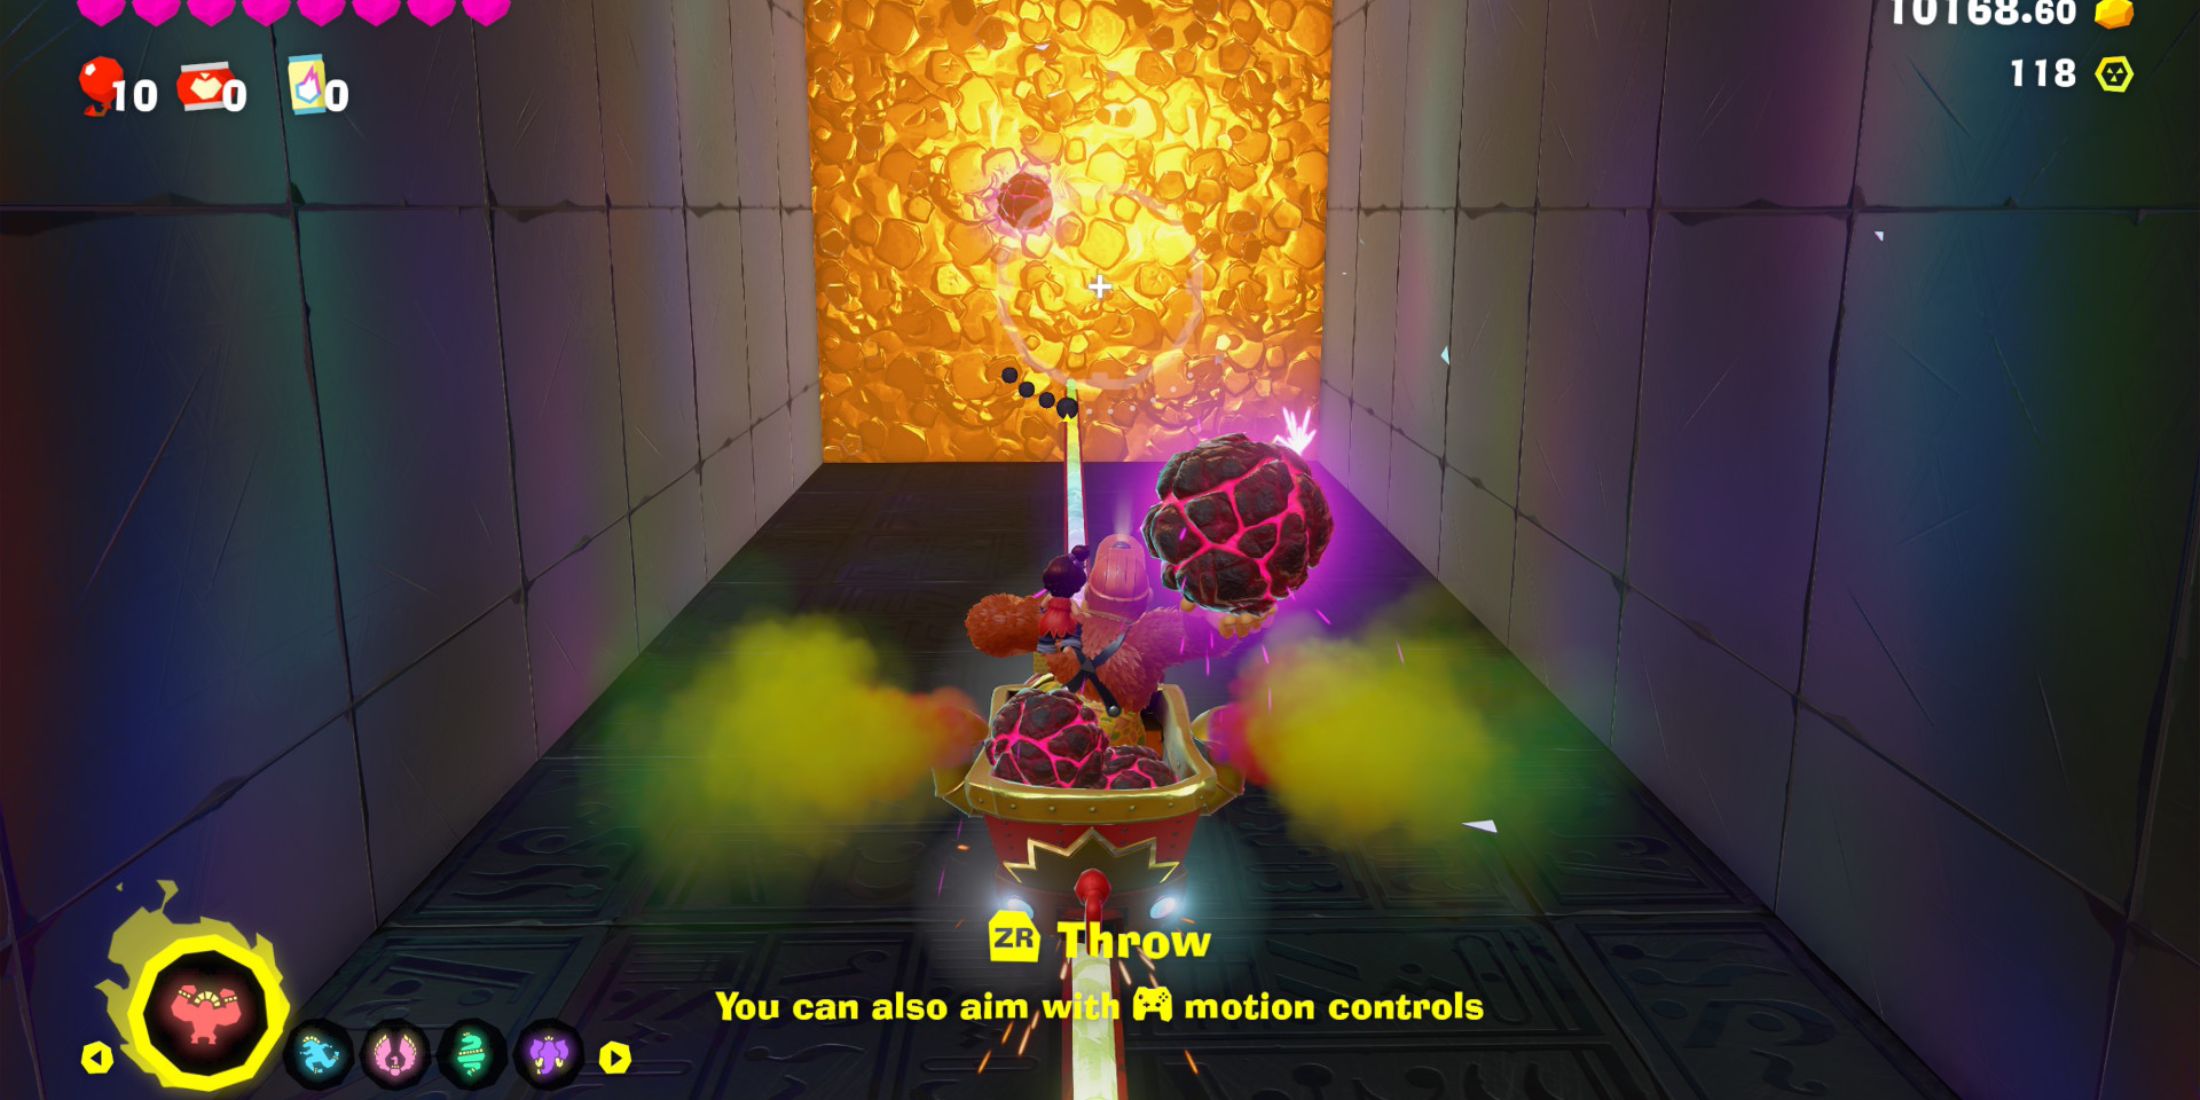
In this gaming adventure, I find myself navigating mine cart rides where strategic use of explosive charges is crucial. At various junctions, I encounter two paths – one leading into a golden barrier and another into prickly thorns. To conserve my resources, I’m careful not to squander all my throwables. Instead, I save a few explosives to swap the tracks, ensuring I can steer clear of the painful thorn paths when needed.
Banandium Gem #1: Roarcoaster Rest Stop
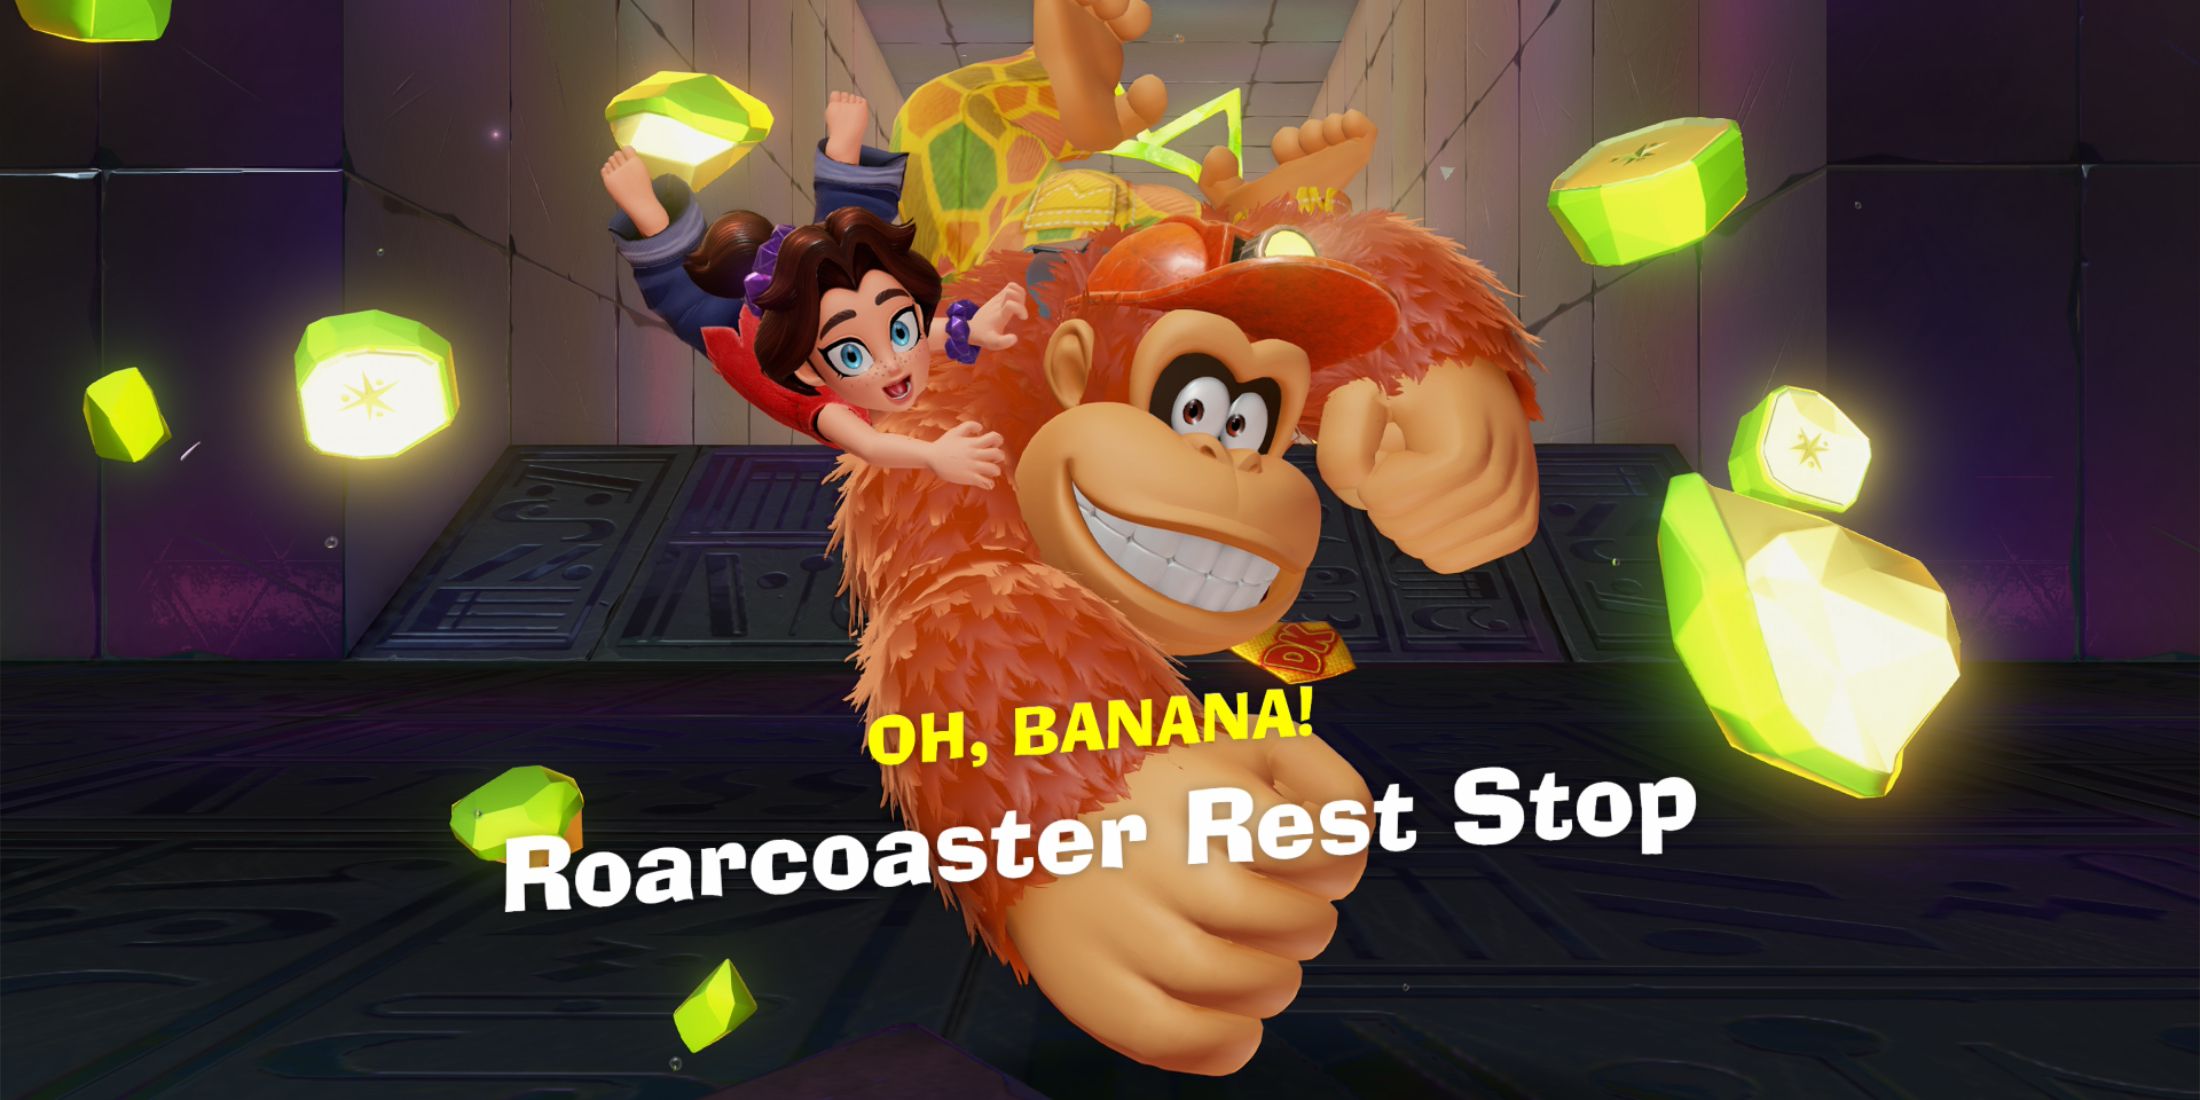
In the DK Bananza challenge course on the Branching-Track Roarcoaster, the first banana is located not far into the ride. Hop onto the mine cart at the beginning, gather throwable bombs, and use them to activate every switch on the tracks as you progress through the level.
Ultimately, the ride will halt, causing you to disembark near the initial Banandium Gem in the Roller Coaster stage named Branching-Track Roarcoaster.
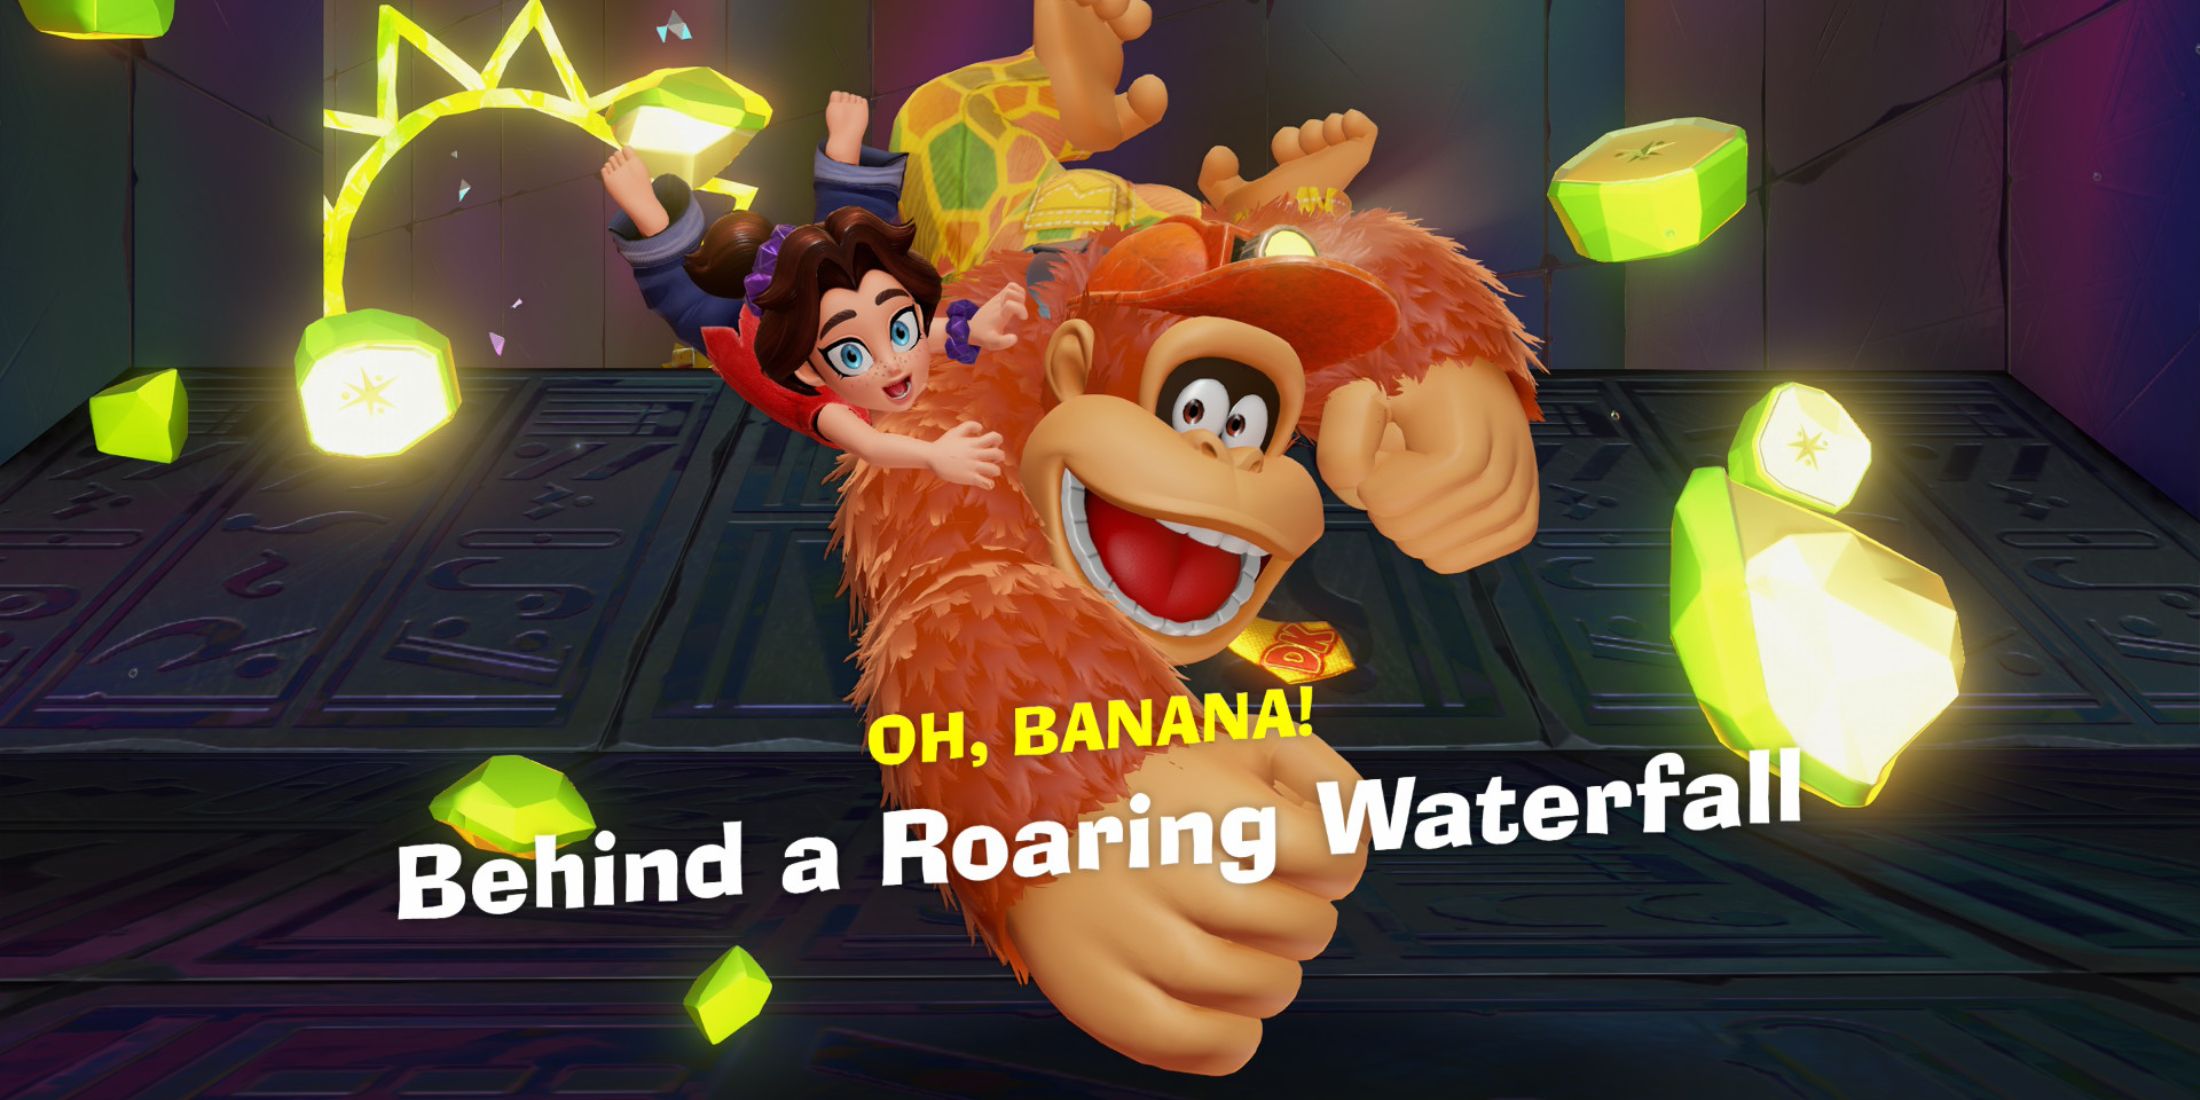
Banandium Gem #2: Behind A Roaring Waterfall
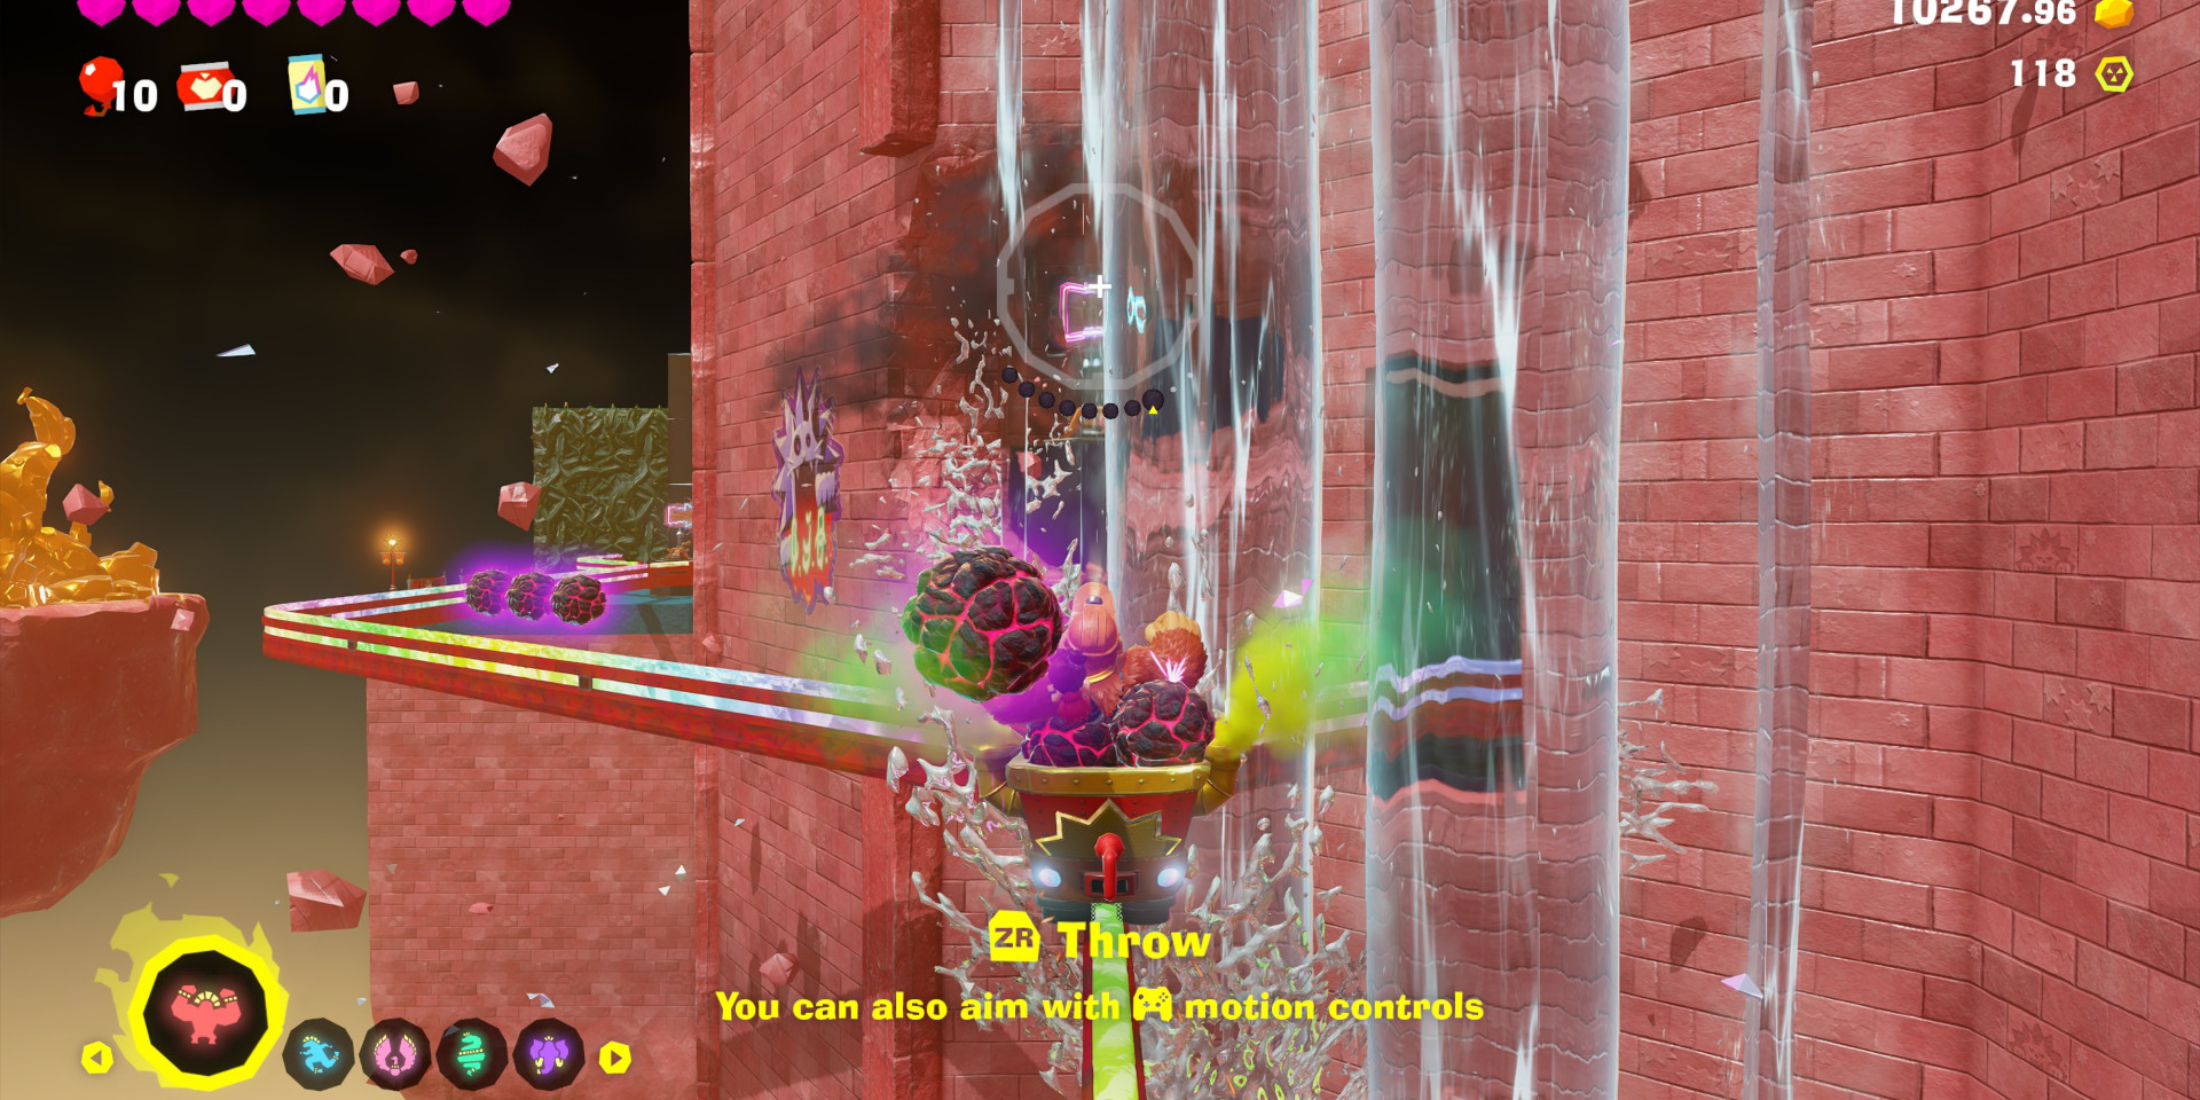
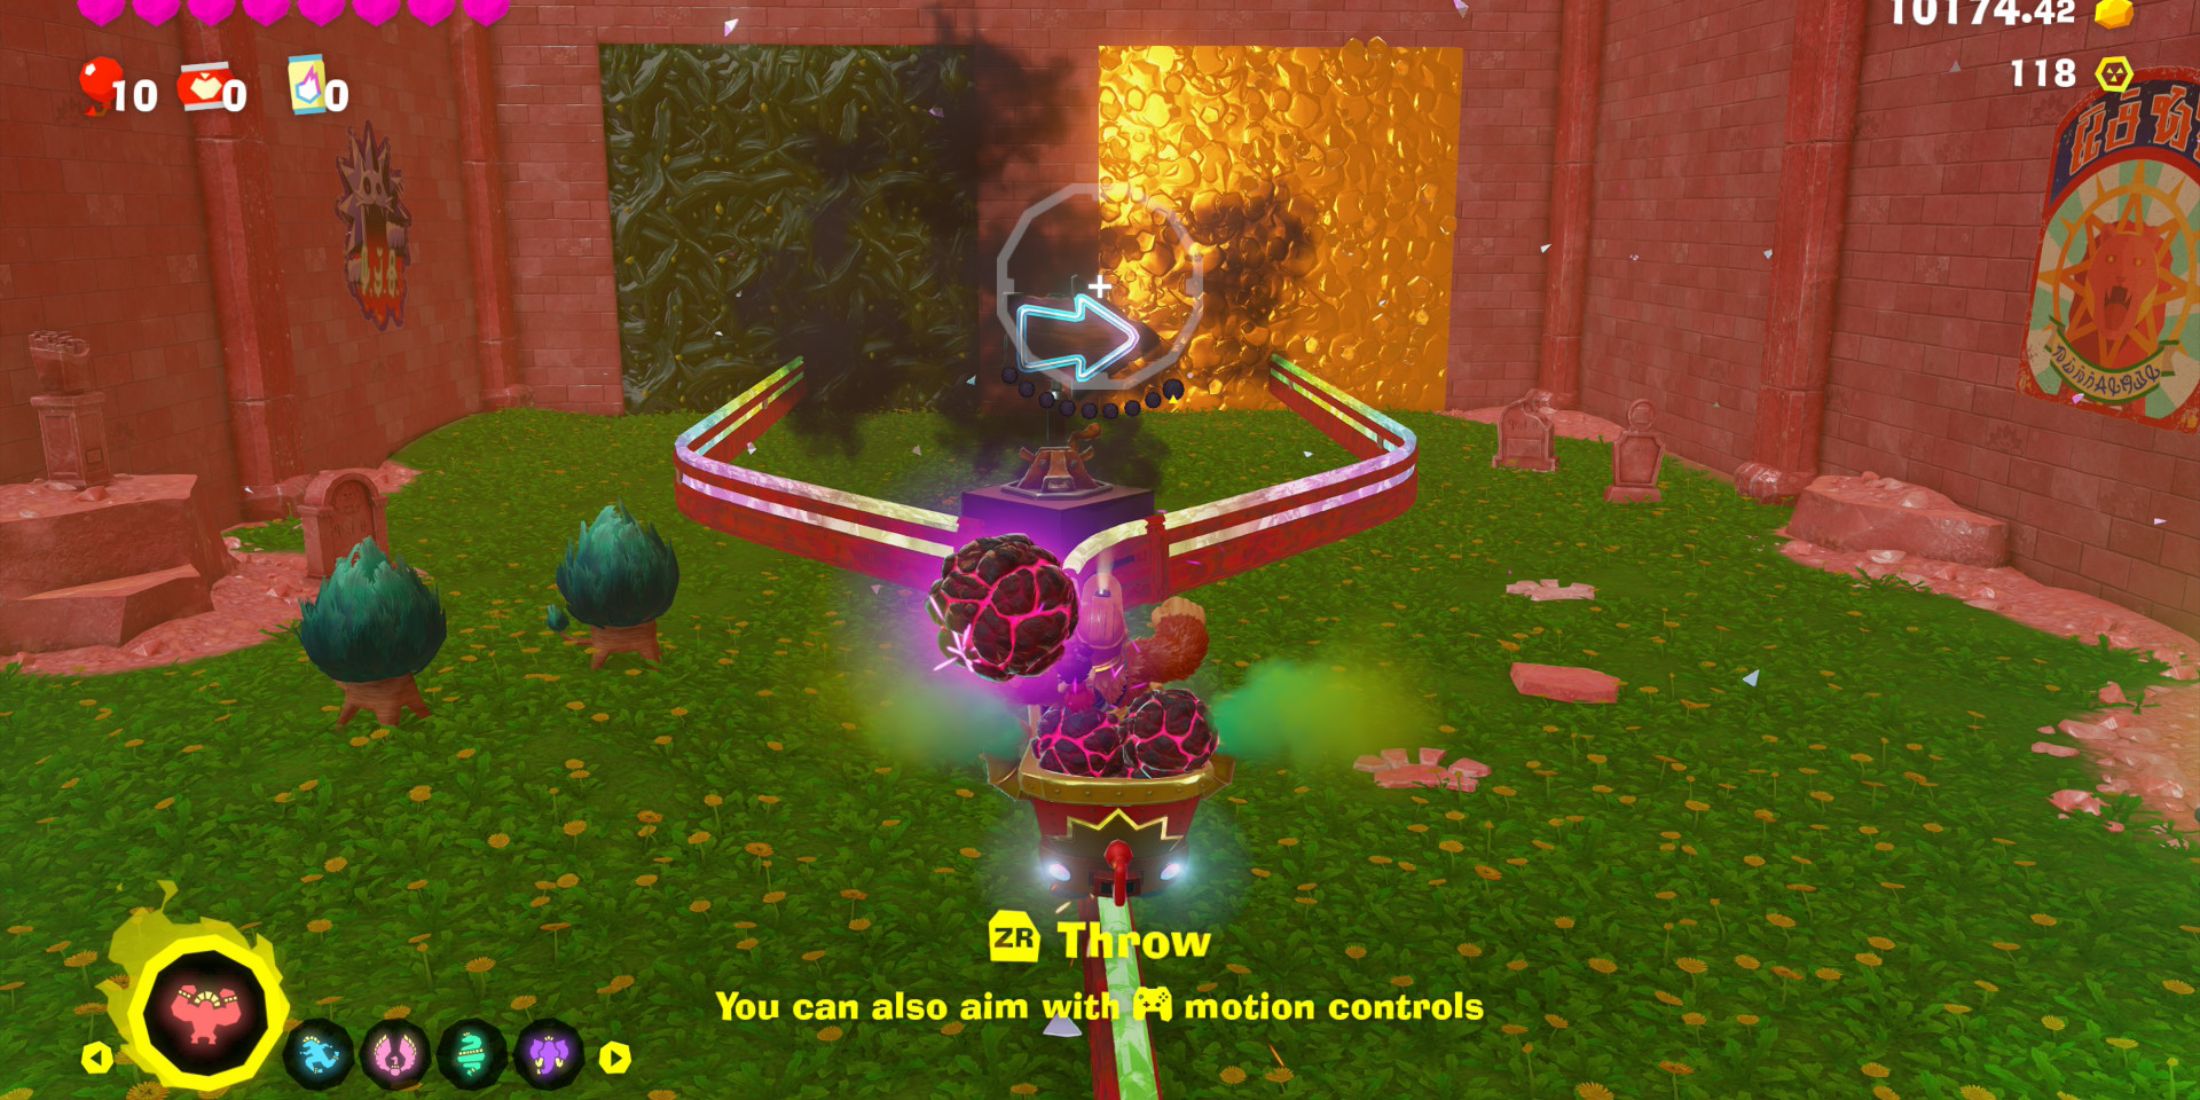
As a gamer on the thrilling Roarcoaster ride, I discovered that the sidekick in the Branching-Track course isn’t following the primary track. Instead, you need to stay alert and look out for a cleverly concealed mine cart switch, camouflaged behind a cascading waterfall roughly in the second half of the adventure.
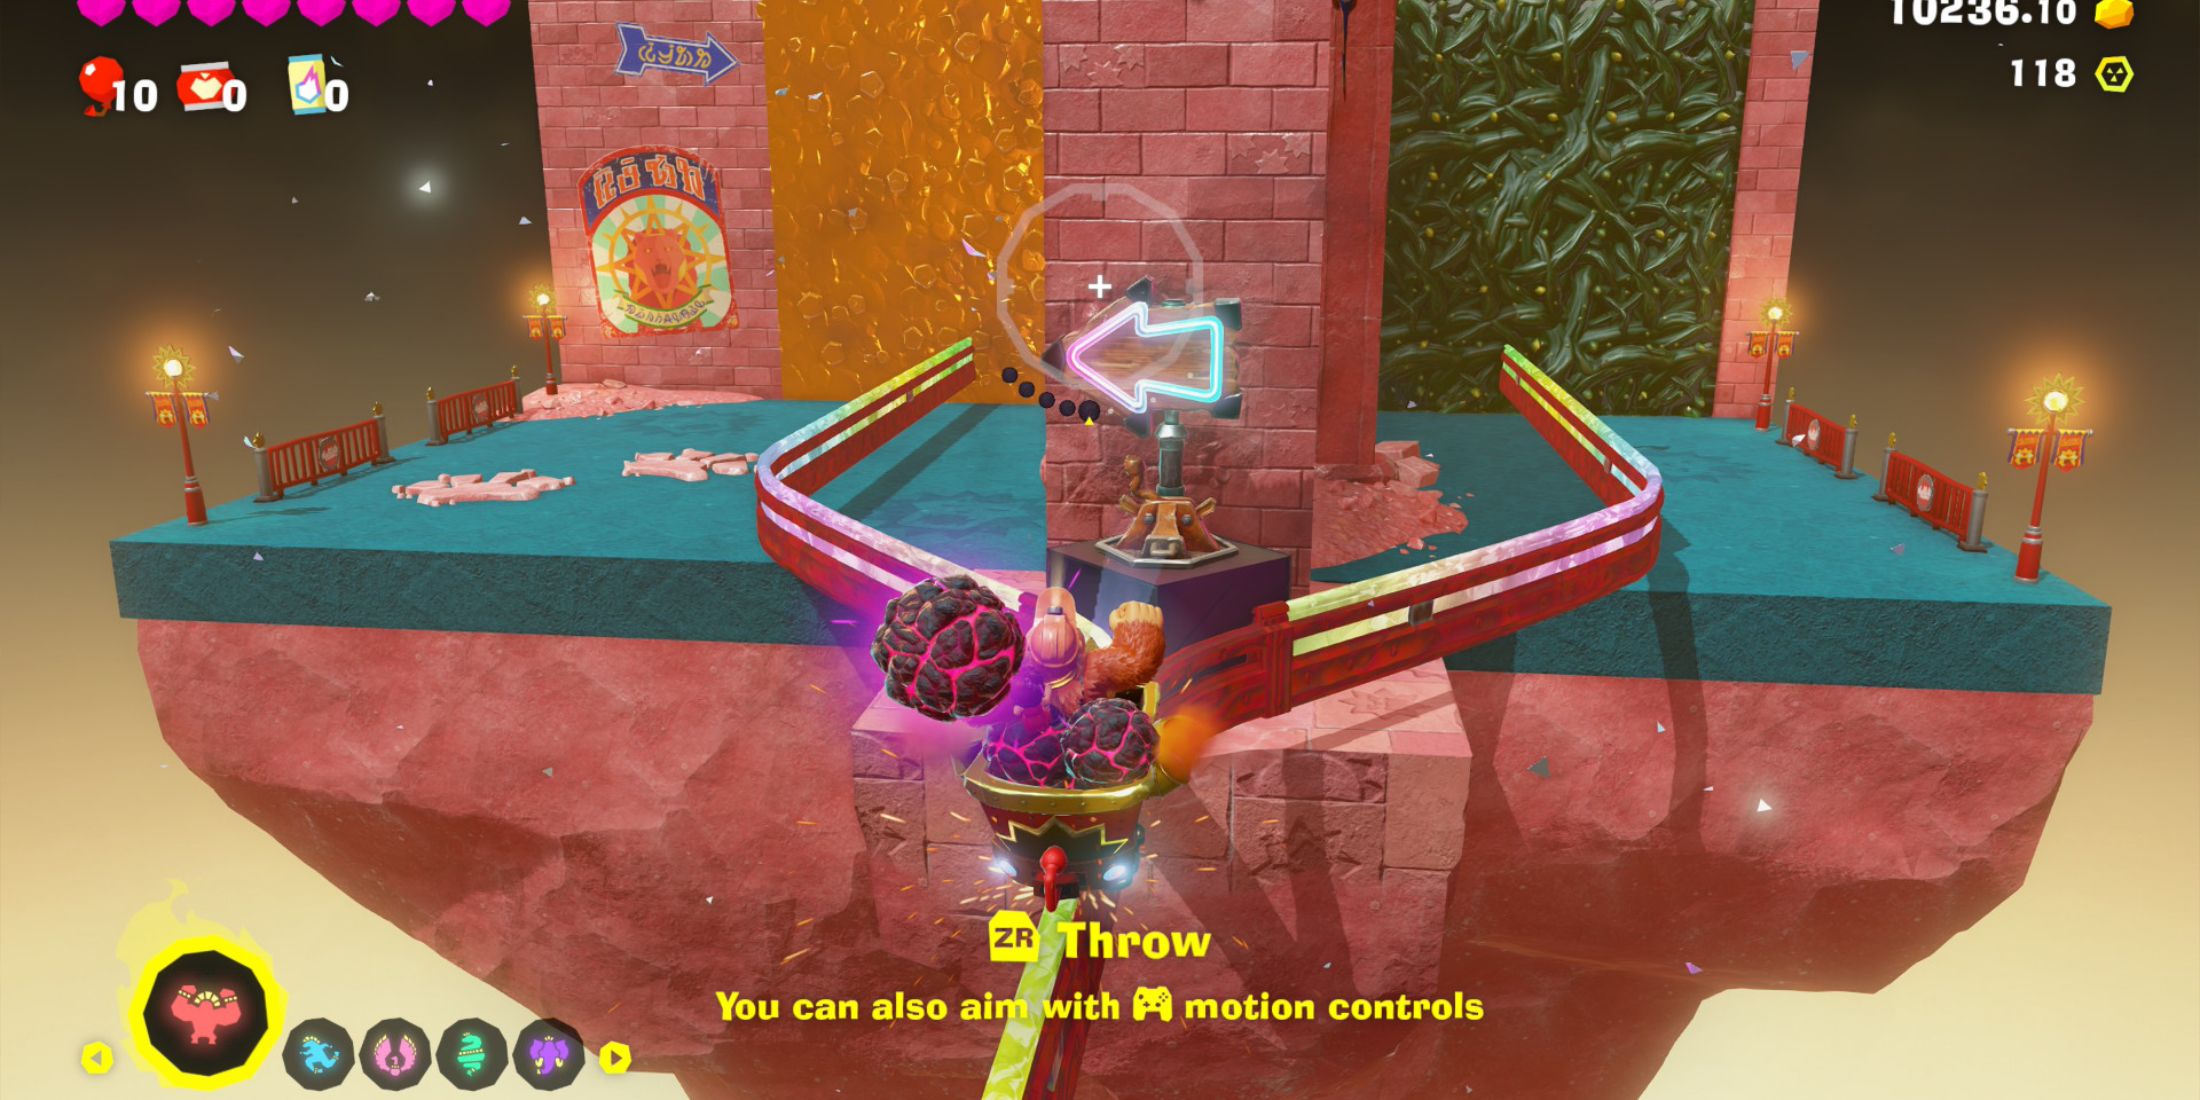
Instead of hurling an explosive at that switch located above “DK,” which is situated on a brief, vertical pathway outside, try detonating it there. This action should trigger a redirection towards the waterfall, leading you into a hidden cavern.
Disembark from the mine cart, retrieve the hidden Banandium Gem number two, afterwards leap onto the mine cart situated on the opposite side to proceed towards the end of the obstacle course.
The secret track that leads away from this hidden Banandium Gem links back with the main track.
Banandium Gem #3: A Roaring Finish
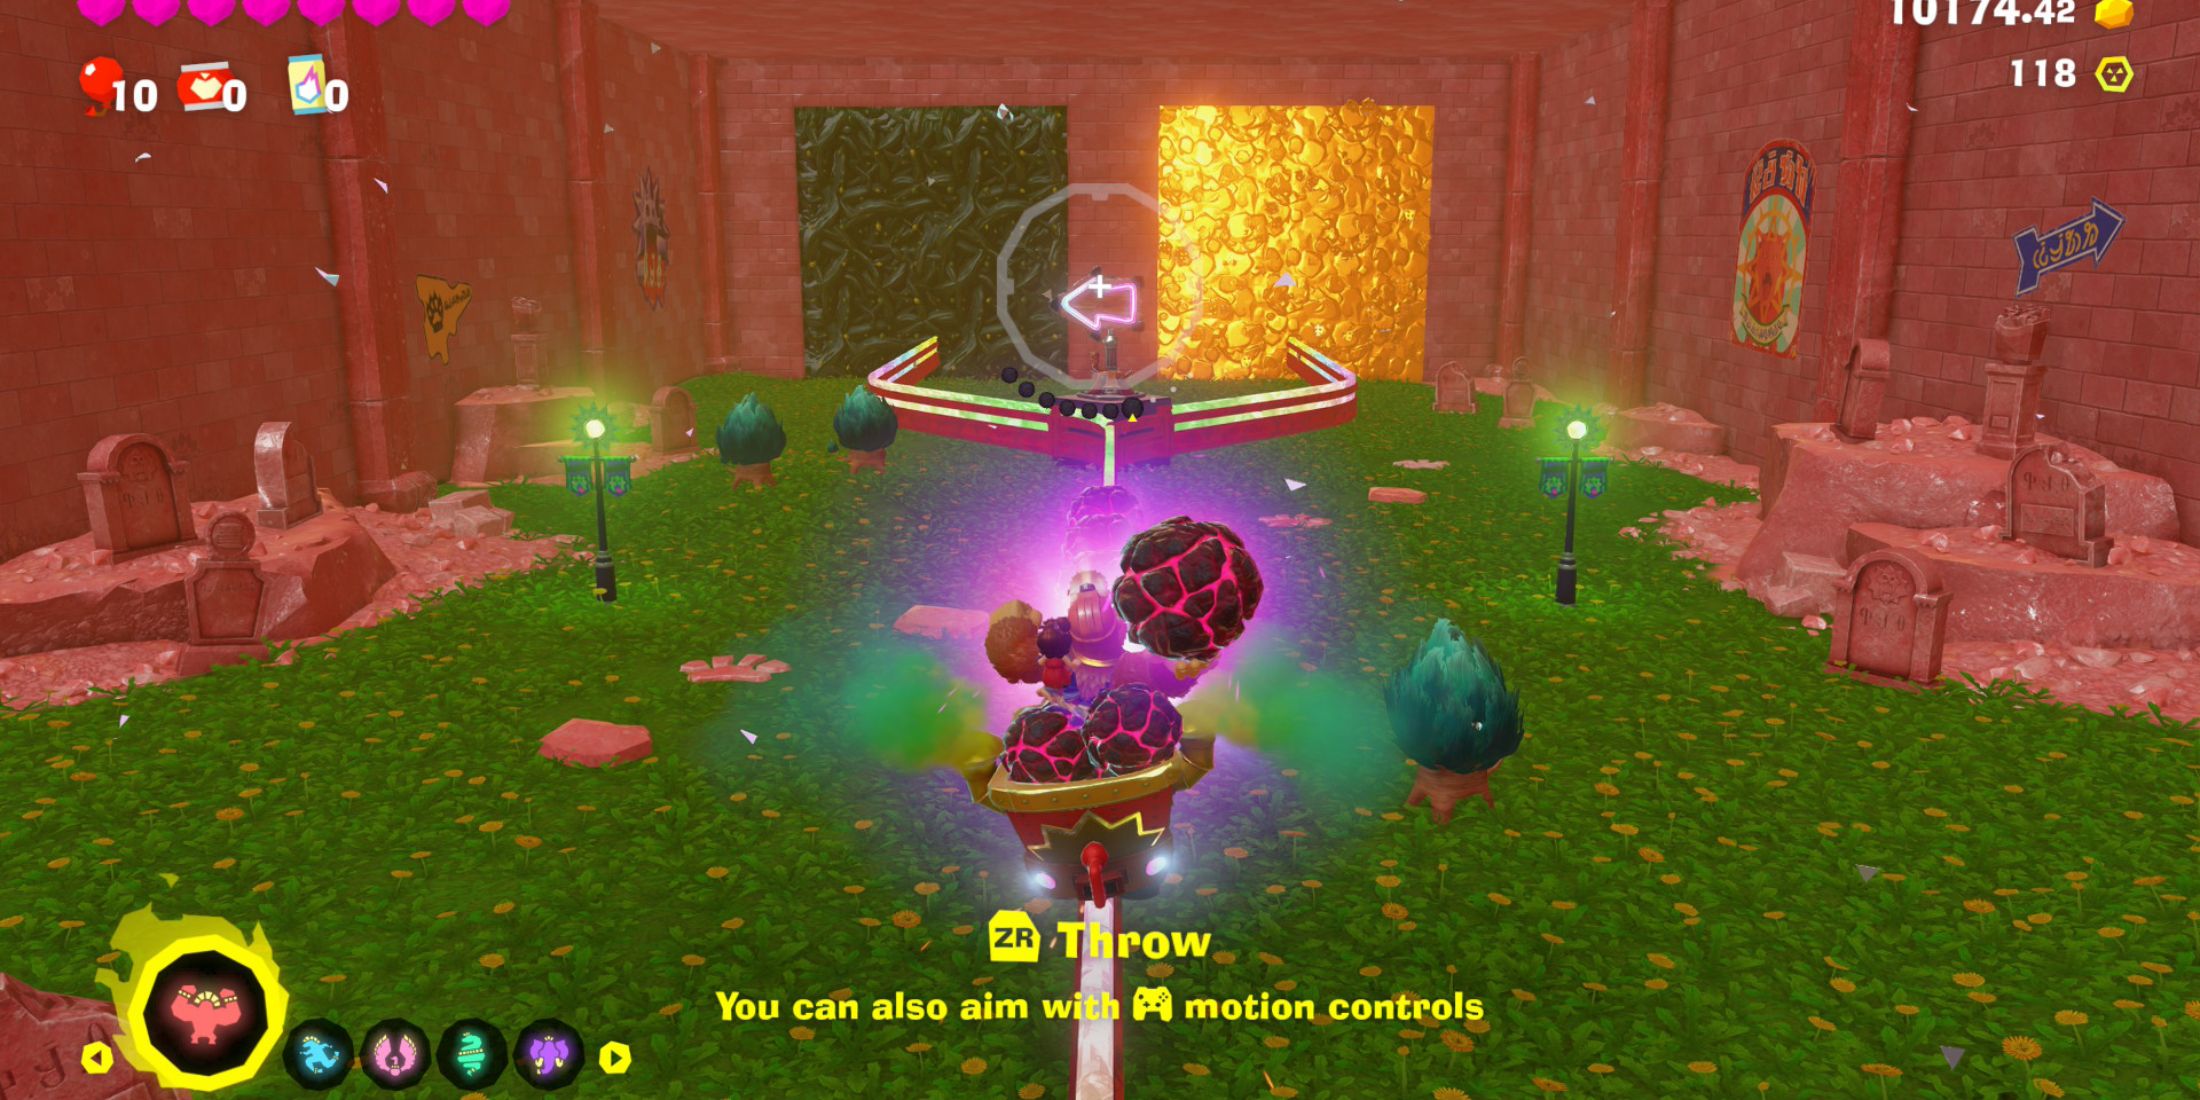

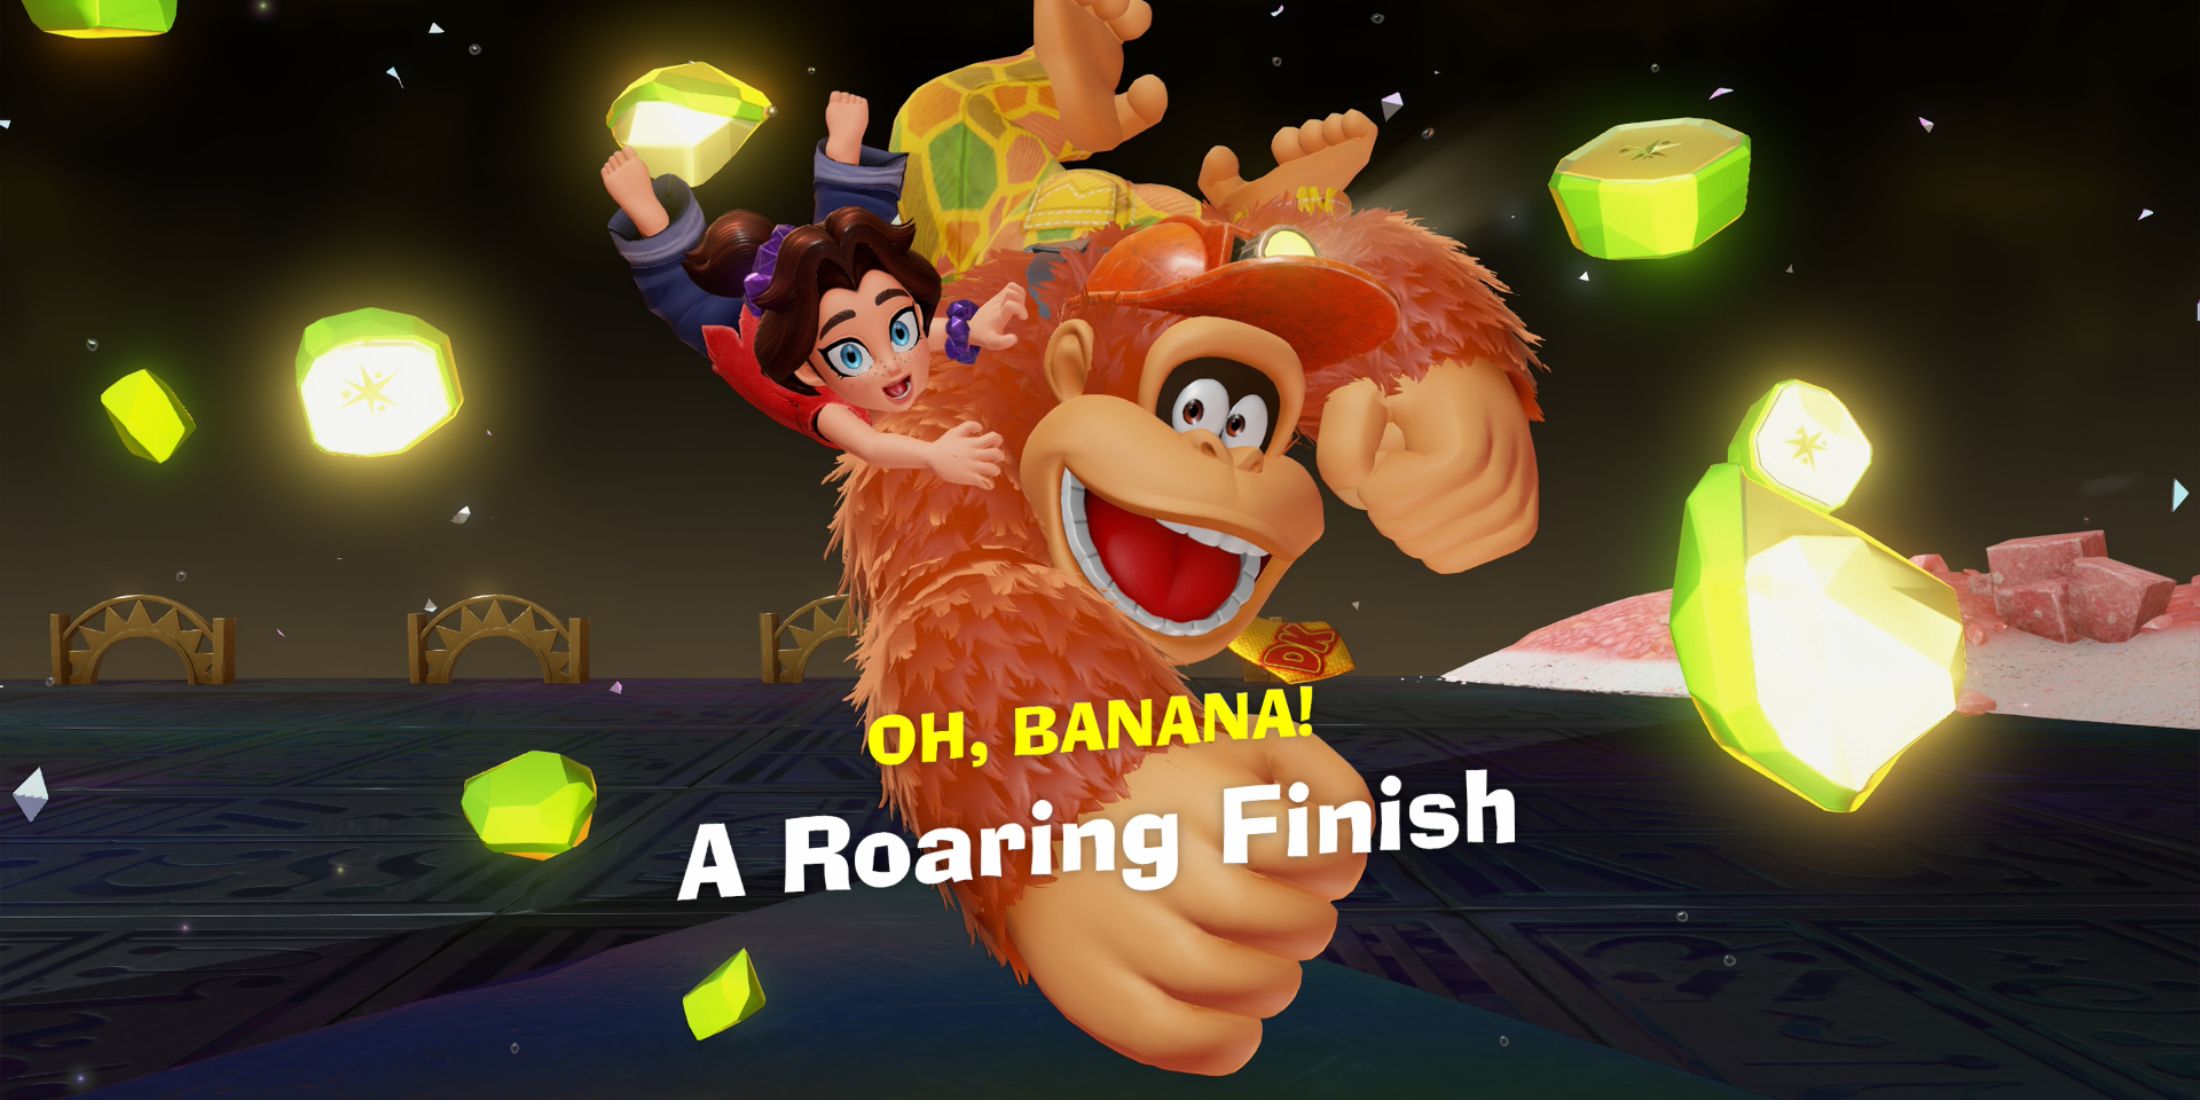
At the conclusion of the Roarcoaster’s Branching-Track, the last DK Bananza banana is hidden away. Regardless of the route you choose to reach it, provided you manage to survive the journey, you’ll be rewarded with the elusive Final Banandium Gem.
To guarantee a safe journey to the finish, be mindful to steer clear of prickly obstacles and opt for routes adorned with radiant landscapes instead. Conserve your firepower and you’ll likely reach the destination successfully, securing the precious Final Banandium Gem without any mishaps along the way.
Read More
- All Shadow Armor Locations in Crimson Desert
- All Skyblazer Armor Locations in Crimson Desert
- How to Get the Sunset Reed Armor Set and Hollow Visage Sword in Crimson Desert
- Marni Laser Helm Location & Upgrade in Crimson Desert
- Best Bows in Crimson Desert
- All Helfryn Armor Locations in Crimson Desert
- All Golden Greed Armor Locations in Crimson Desert
- How to Craft the Elegant Carmine Armor in Crimson Desert
- Wings of Iron Walkthrough in Crimson Desert
- Keeping Large AI Models Connected Through Network Chaos
2025-07-25 00:34