
In the game Donkey Kong Bananza, there are numerous challenge rooms spread across all 17 levels. One such room, found on the Feast layer (SL1400), is the Trap-Filled Towers Challenge Course. This course tests players as they navigate a difficult series of towers that hide enemies camouflaged within the surroundings.
Just like many levels in DK Bananza, the Trap-Filled Towers stage has two Banandium Gems situated on the main path and one that is hidden off the beaten track. Use this guide to discover where the Trap-Filled Towers are located within DK Bananza and how to uncover the secret banana in the Trap-Filled Towers challenge course.
How To Get To The Trap-Filled Towers In DK Bananza
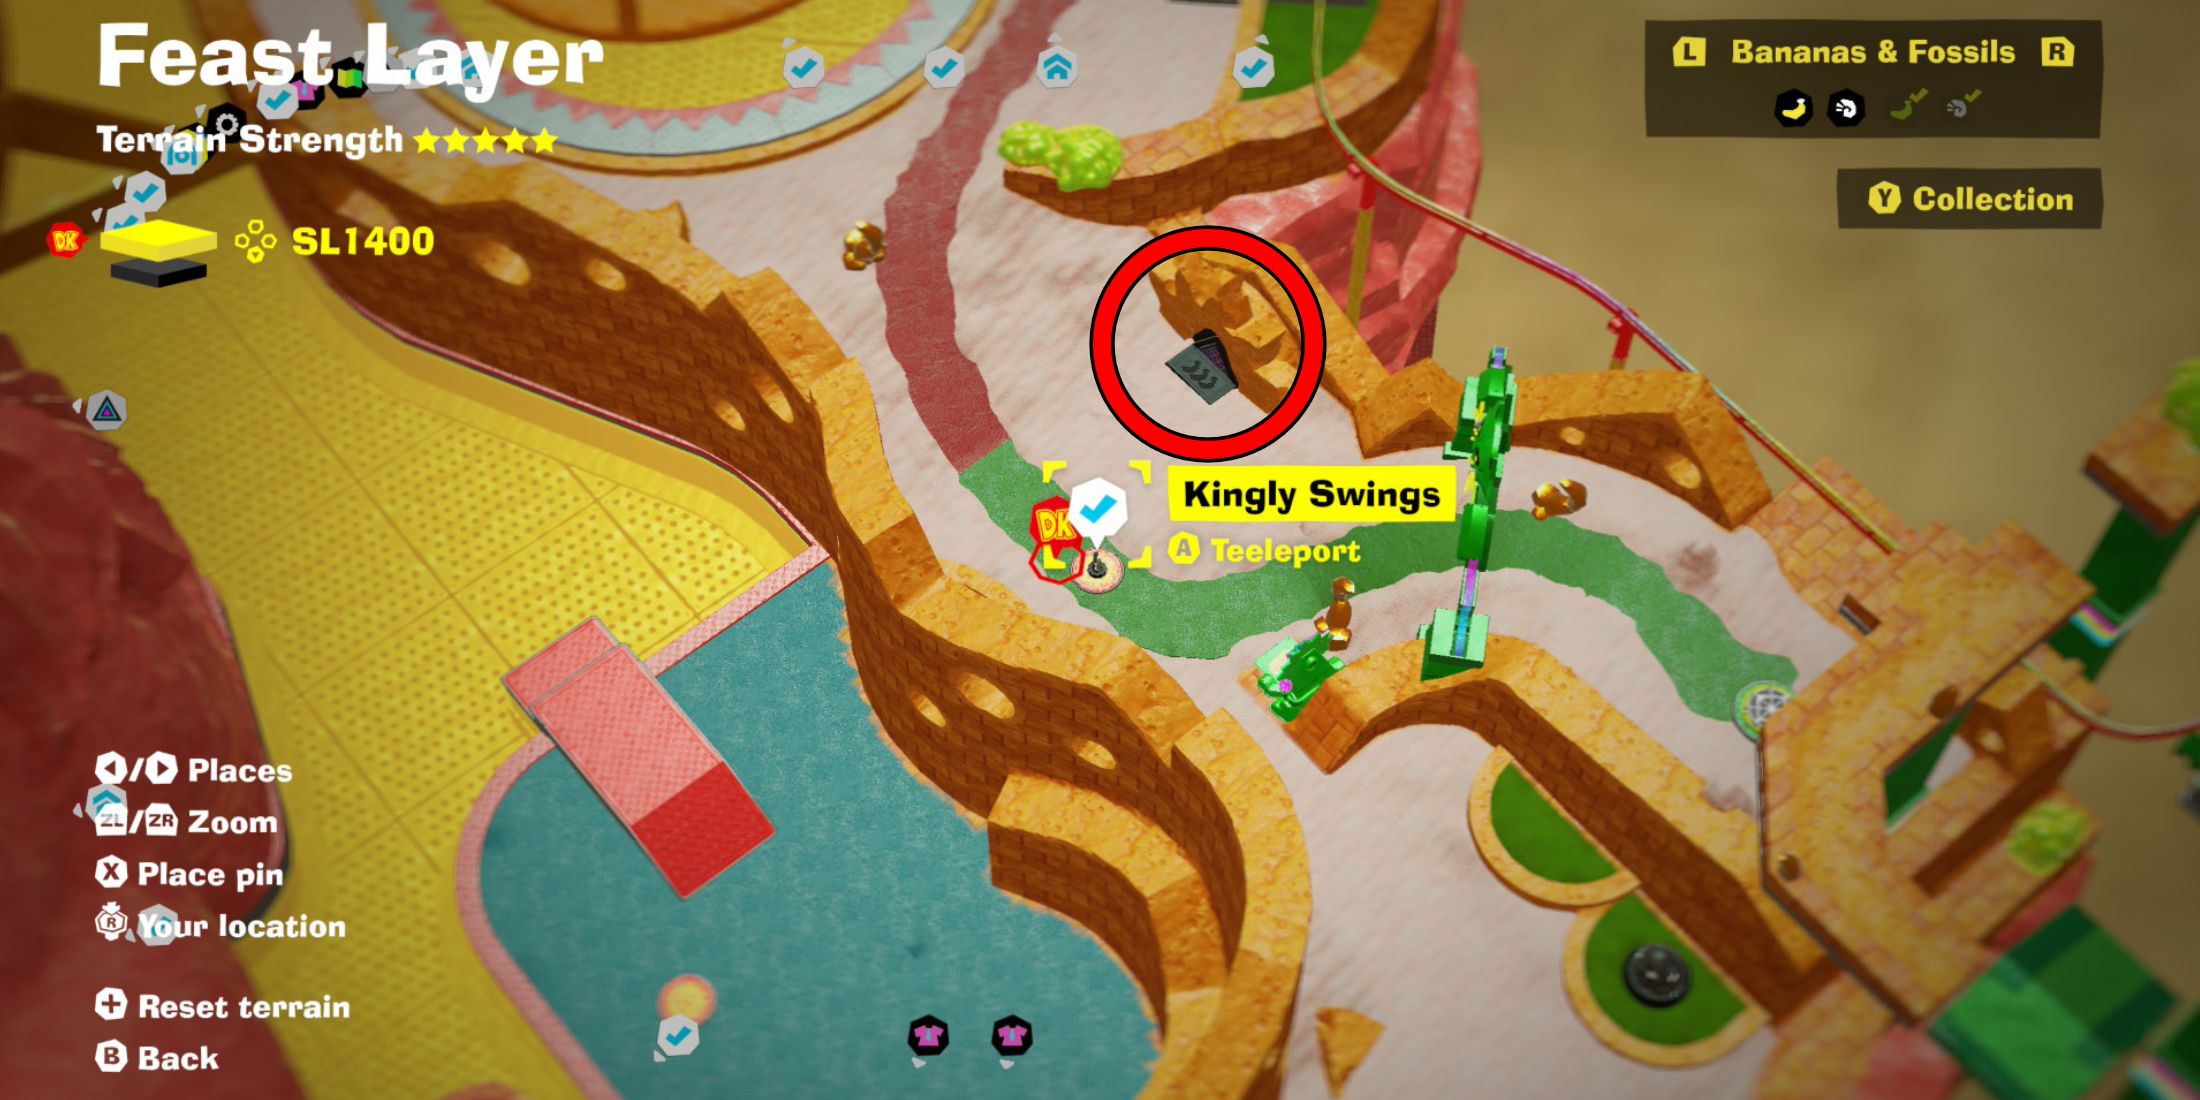
To begin your adventure in Donkey Kong Bananza, start at the initial point in the Feast layer. Then, make your way to the right-hand side of the big lion that stands centrally in the level. On your map, find the right side of the lion, and you’ll notice a large green gate and a mine cart station there.
Reach the “Kingdom Checkpoint of Swings,” face the lion that lies ahead, and rotate a full circle to discover the entrance to the enclosed Trap-Filled Towers. Utilize Pauline’s melodious abilities to shatter the seal, and venture within to conquer this “DK Bananza” obstacle course.
How To Get Every Banandium Gem In The Trap-Filled Towers
All Trap-Filled Towers Banana Locations In DK Bananza
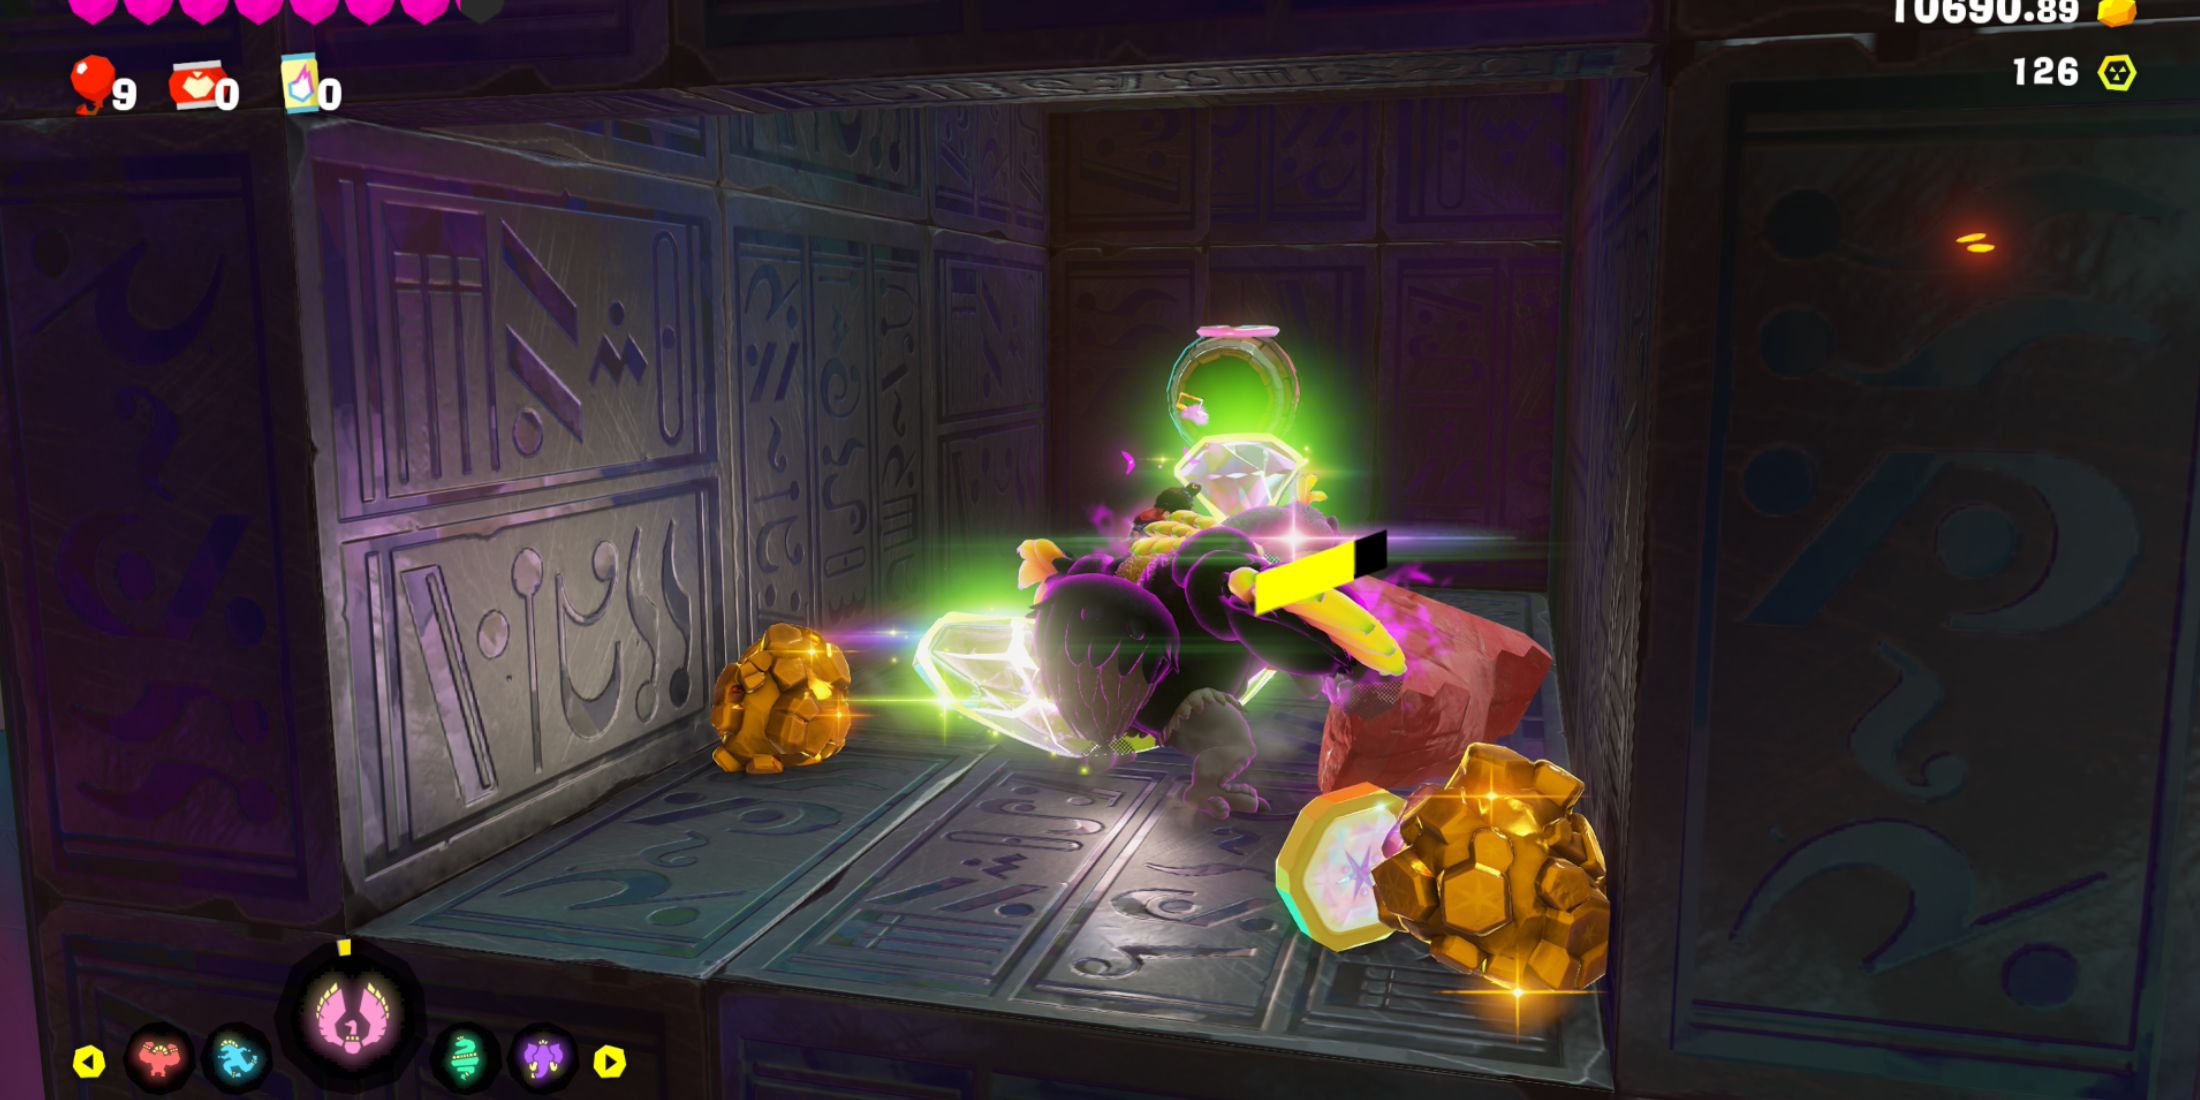
In the Trap-Filled Towers Feast level, you’ll find three bananas tucked away. This level is filled with many deceptive walls that transform into adversaries when DK stays on them for an extended period. If he does, they’ll collapse and assault him.
At specific moments during the game level, defeating these adversaries might unintentionally eliminate your sole method of ascending higher. To leap onto platforms otherwise inaccessible due to excessive destruction caused by defeating trap enemies, switch to your Snake Bananza form.
The first two and third Banandium Gems are placed along the main route and are simple to collect. In contrast, the second gem is concealed in a challenging-to-reach location; however, you can access it if you activate the Ostrich Bananza transformation.
Banandium Gem #1: Through The Mauling Walls
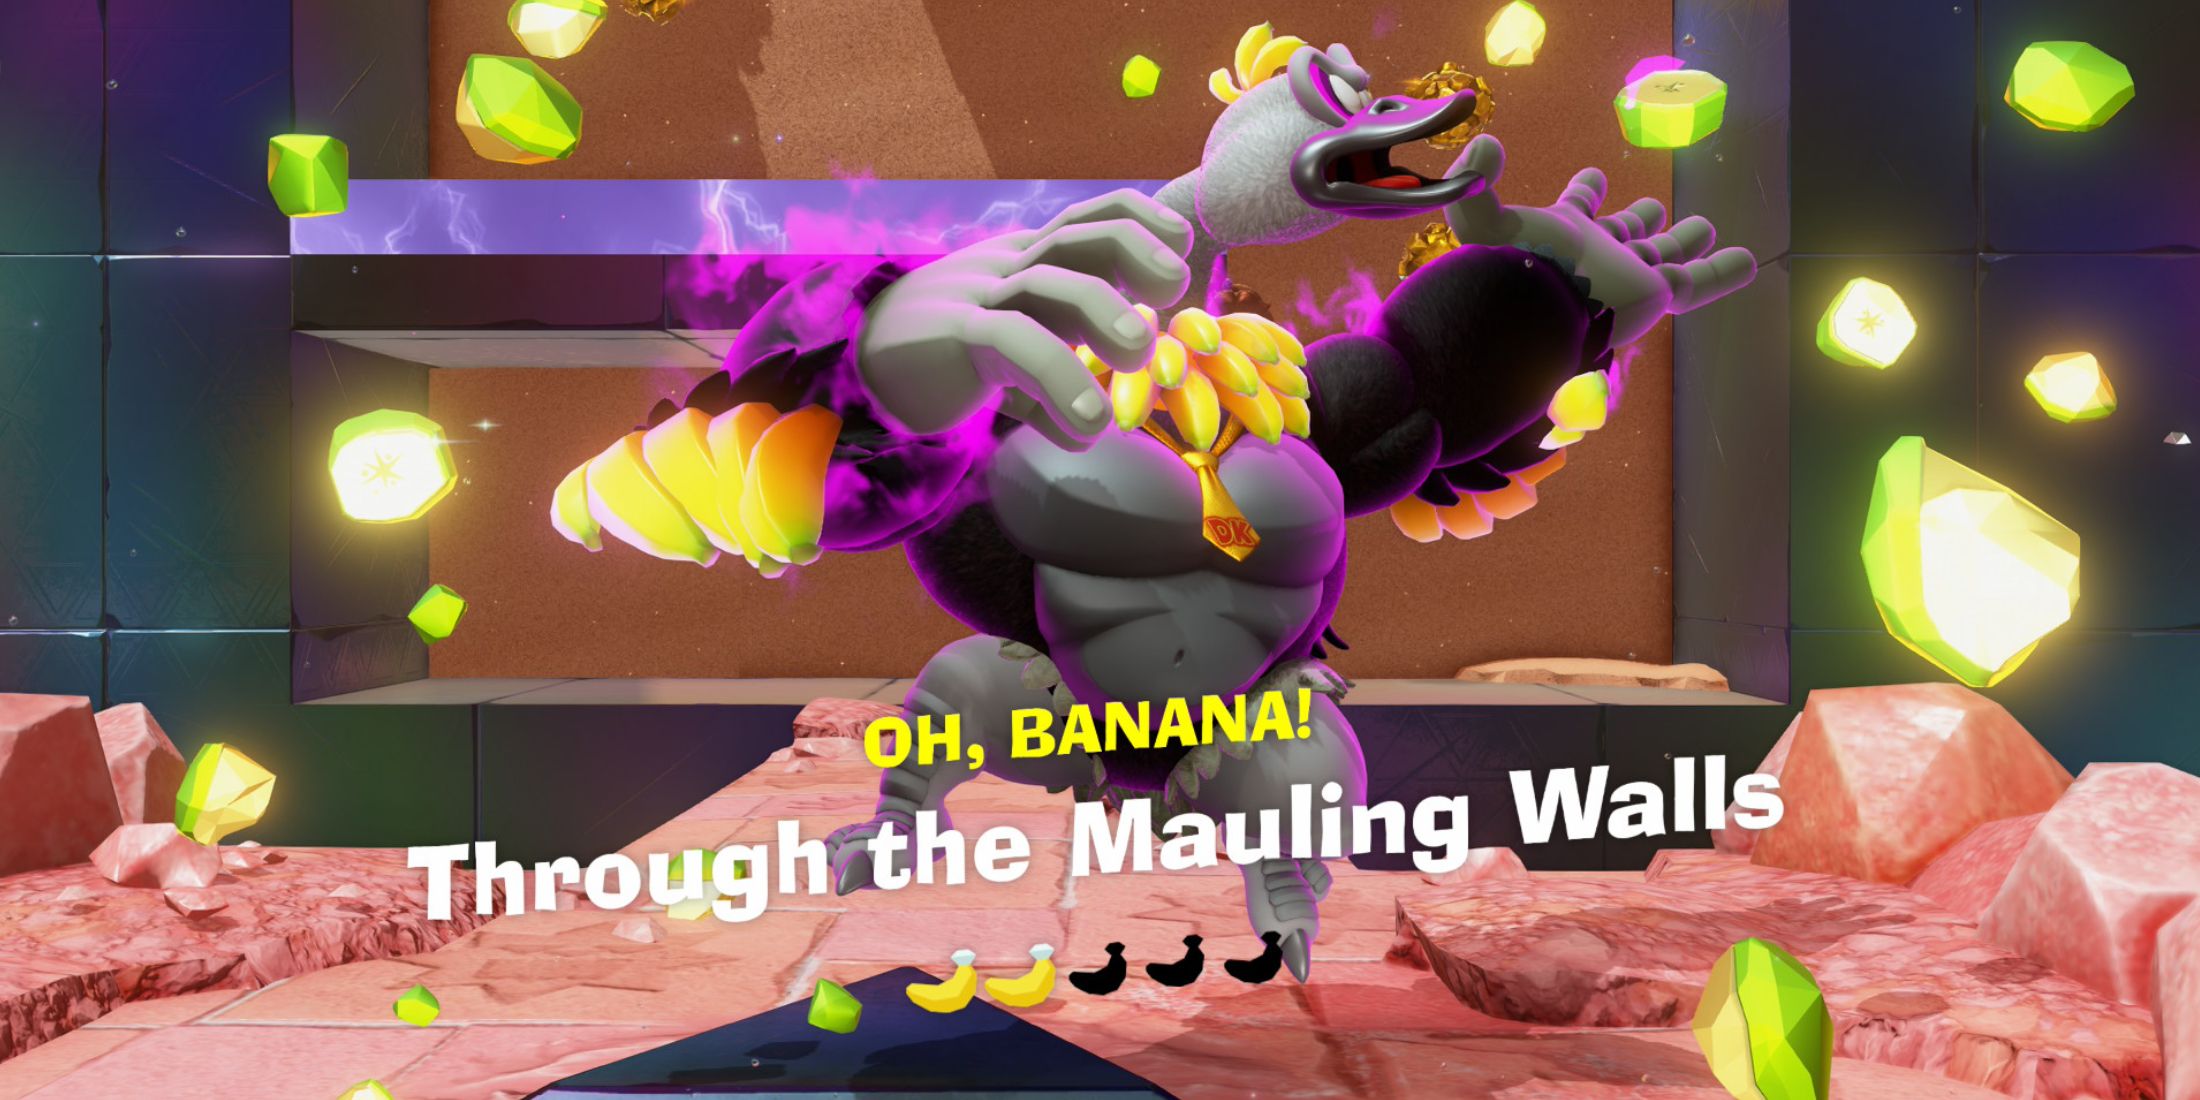
In the Trap-Filled Towers level, the first banana labeled “Donkey Kong Bananza” is quite accessible. To reach it, move forward, swiftly scale the wall to dodge the trap enemies, then curve left above the electrified areas at the top of this tower’s peak.
Hurry! Quickly reverse your direction and navigate through the muddy pathway at maximum speed to dodge the collapsing wall traps. The first banana is waiting for you at the conclusion of this section.
Banandium Gem #2: A Wall All Alone
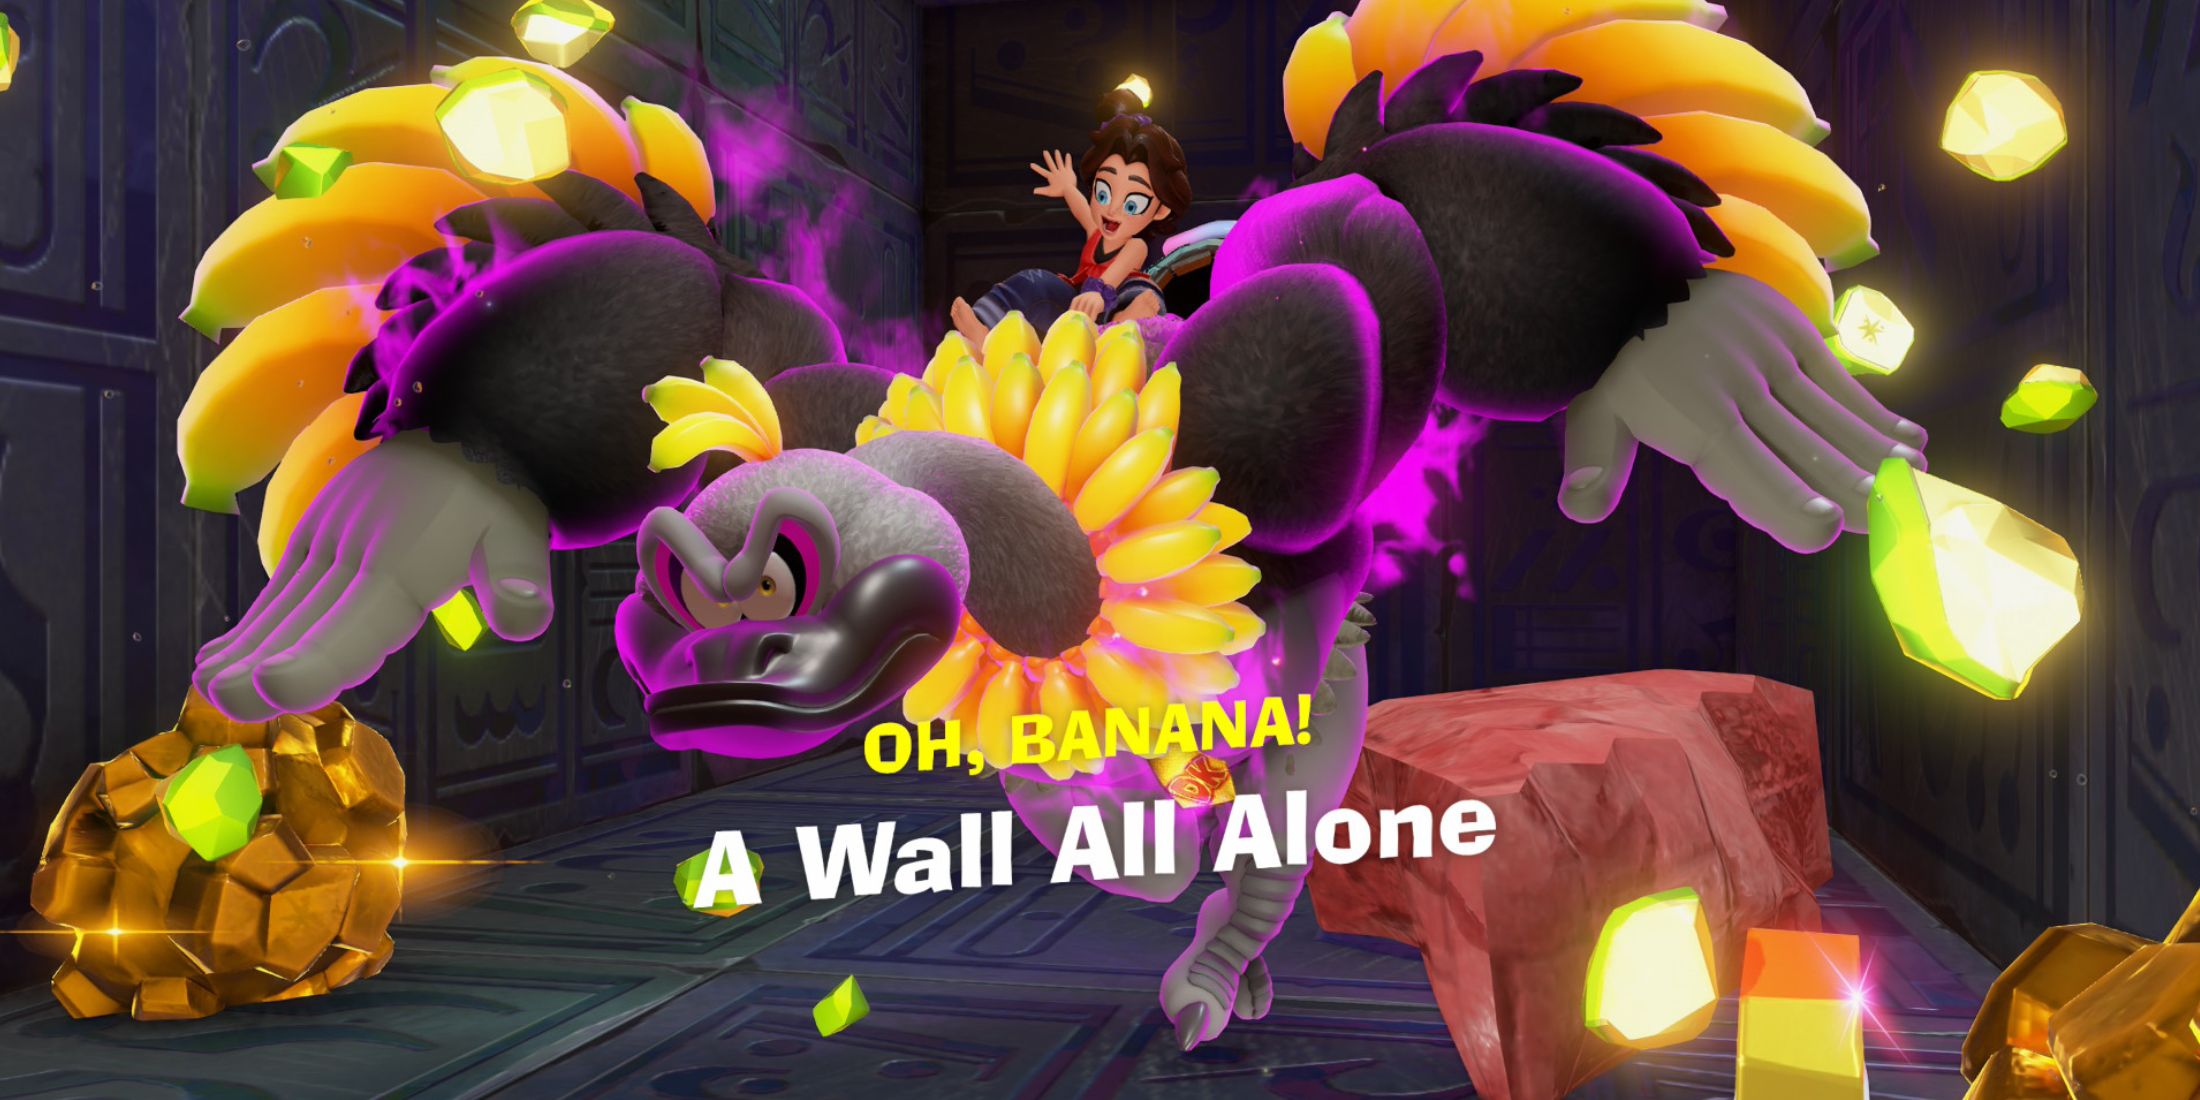
To proceed with the Trap-Filled Towers challenge, advance past the initial banana, scale the wall cautiously, ensuring you don’t touch the charged areas. Be mindful, as the second Banandium Gem isn’t within the tower itself, but rather hidden behind it.
As a gamer, I’ll tell you how to navigate this tricky part: Hang onto the edge and take a leap, then choose to either drop down to a lower ledge or transform into Ostrich Bananza, soar off the edge, and return to grab the wall. Either route will lead you to a dirt patch at the back of the final tower beneath the ledge – break through it to snag the secret banana in Trap-Filled Towers!
Banandium Gem #3: Falling Mauling Walls
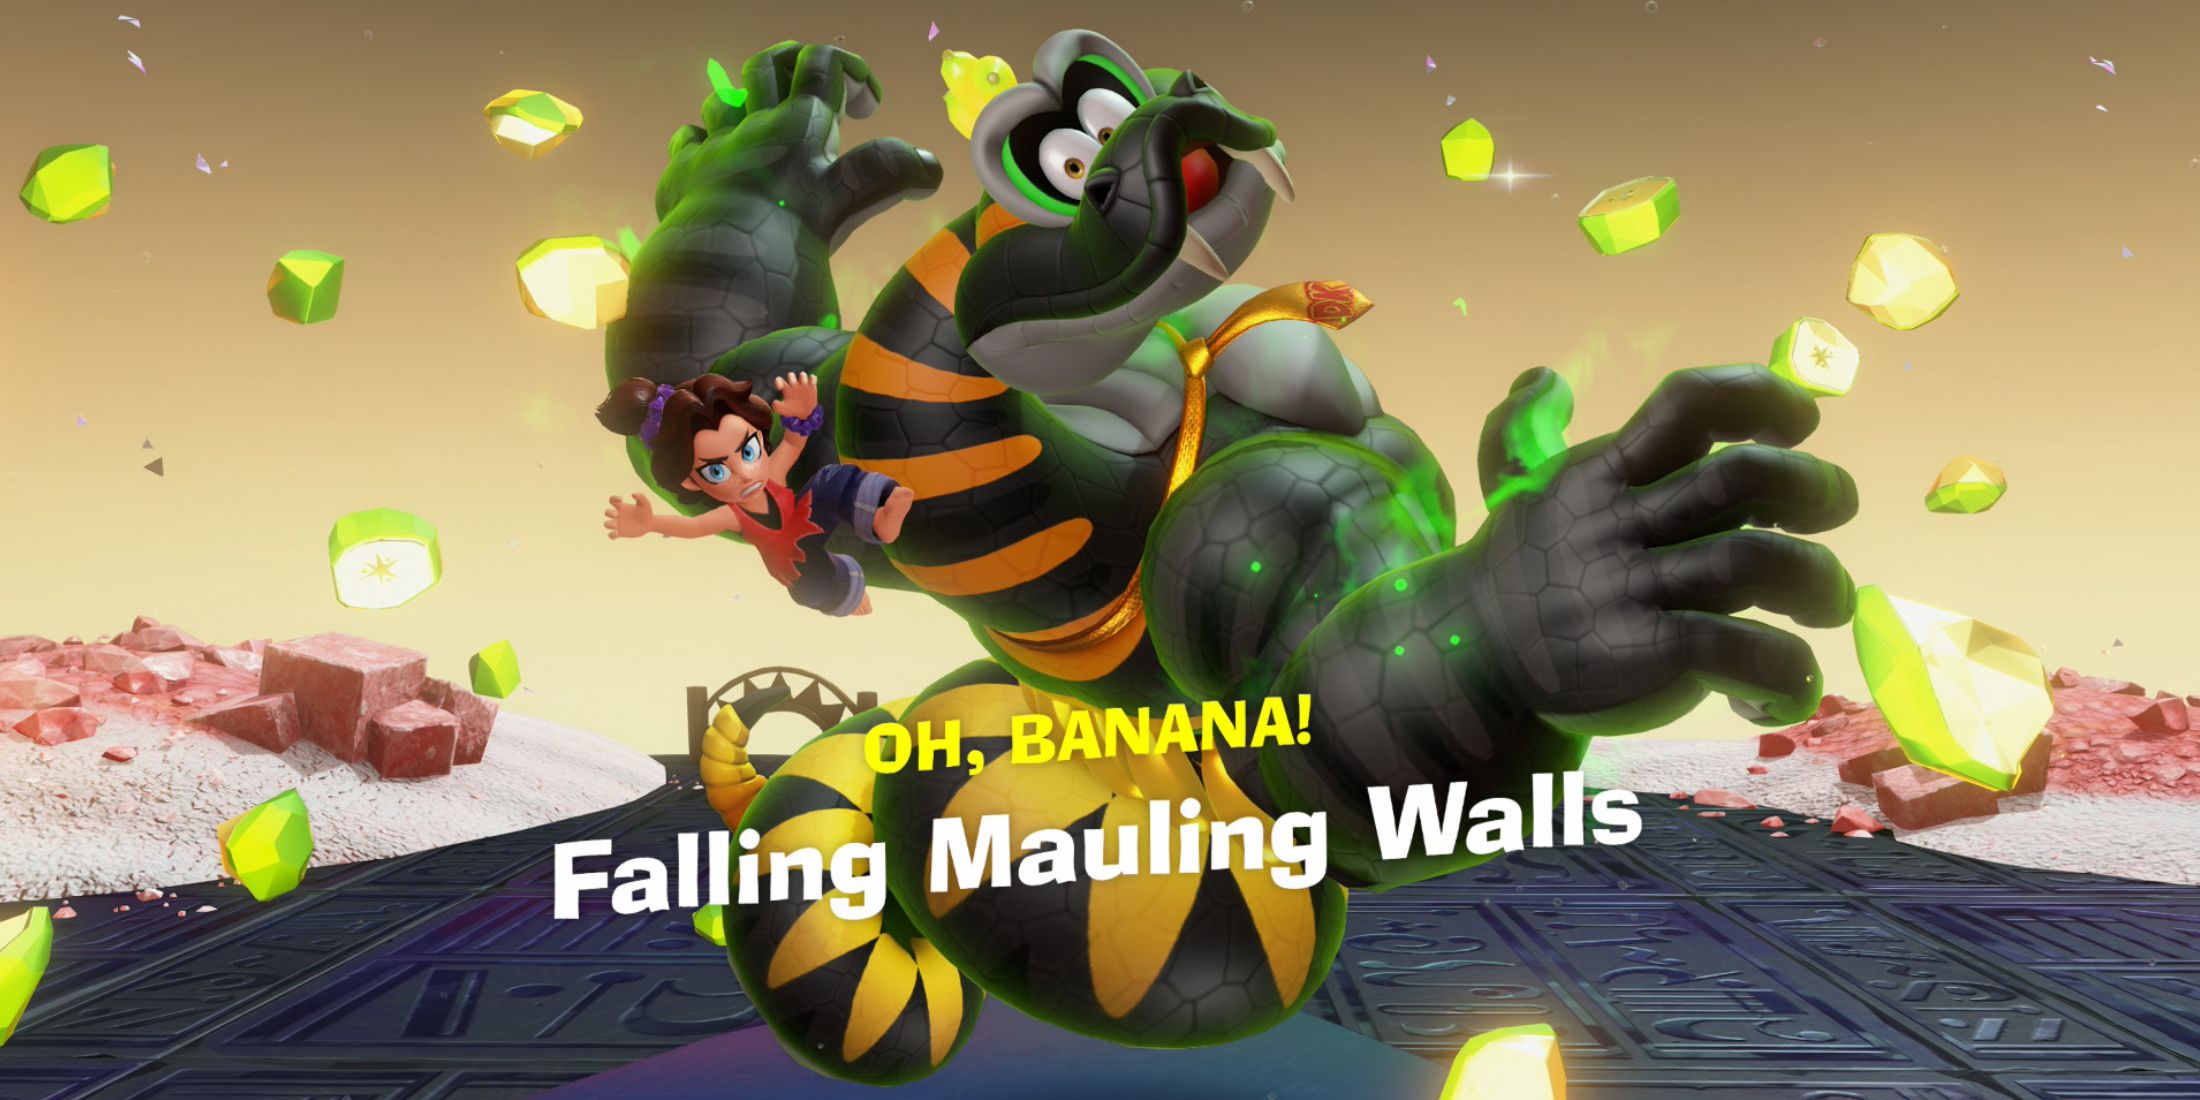
As soon as you grab the second banana, step outside again and jump into the nearby barrel. This barrel will propel you into another one that takes you to the last ascent. During this part of the obstacle course, you’ll encounter several wall adversaries while ascending a very tall vertical surface.
To reach the peak successfully, you’ll need to either navigate cleverly by weaving around obstacles that activate when touched or sneak past a crowd of adversaries, then force your way back in close to the top edge. If your timing isn’t perfect, there’s a good chance you’ll lose your footing during the final stretch. Use the Snake form for an extra boost if you find yourself falling too far from the summit.
At the top of the tower you will get the last banana and complete this challenge course!
Read More
- All Shadow Armor Locations in Crimson Desert
- All Skyblazer Armor Locations in Crimson Desert
- How to Get the Sunset Reed Armor Set and Hollow Visage Sword in Crimson Desert
- Marni Laser Helm Location & Upgrade in Crimson Desert
- Best Bows in Crimson Desert
- All Helfryn Armor Locations in Crimson Desert
- All Golden Greed Armor Locations in Crimson Desert
- How to Craft the Elegant Carmine Armor in Crimson Desert
- Wings of Iron Walkthrough in Crimson Desert
- Keeping Large AI Models Connected Through Network Chaos
2025-07-25 00:34