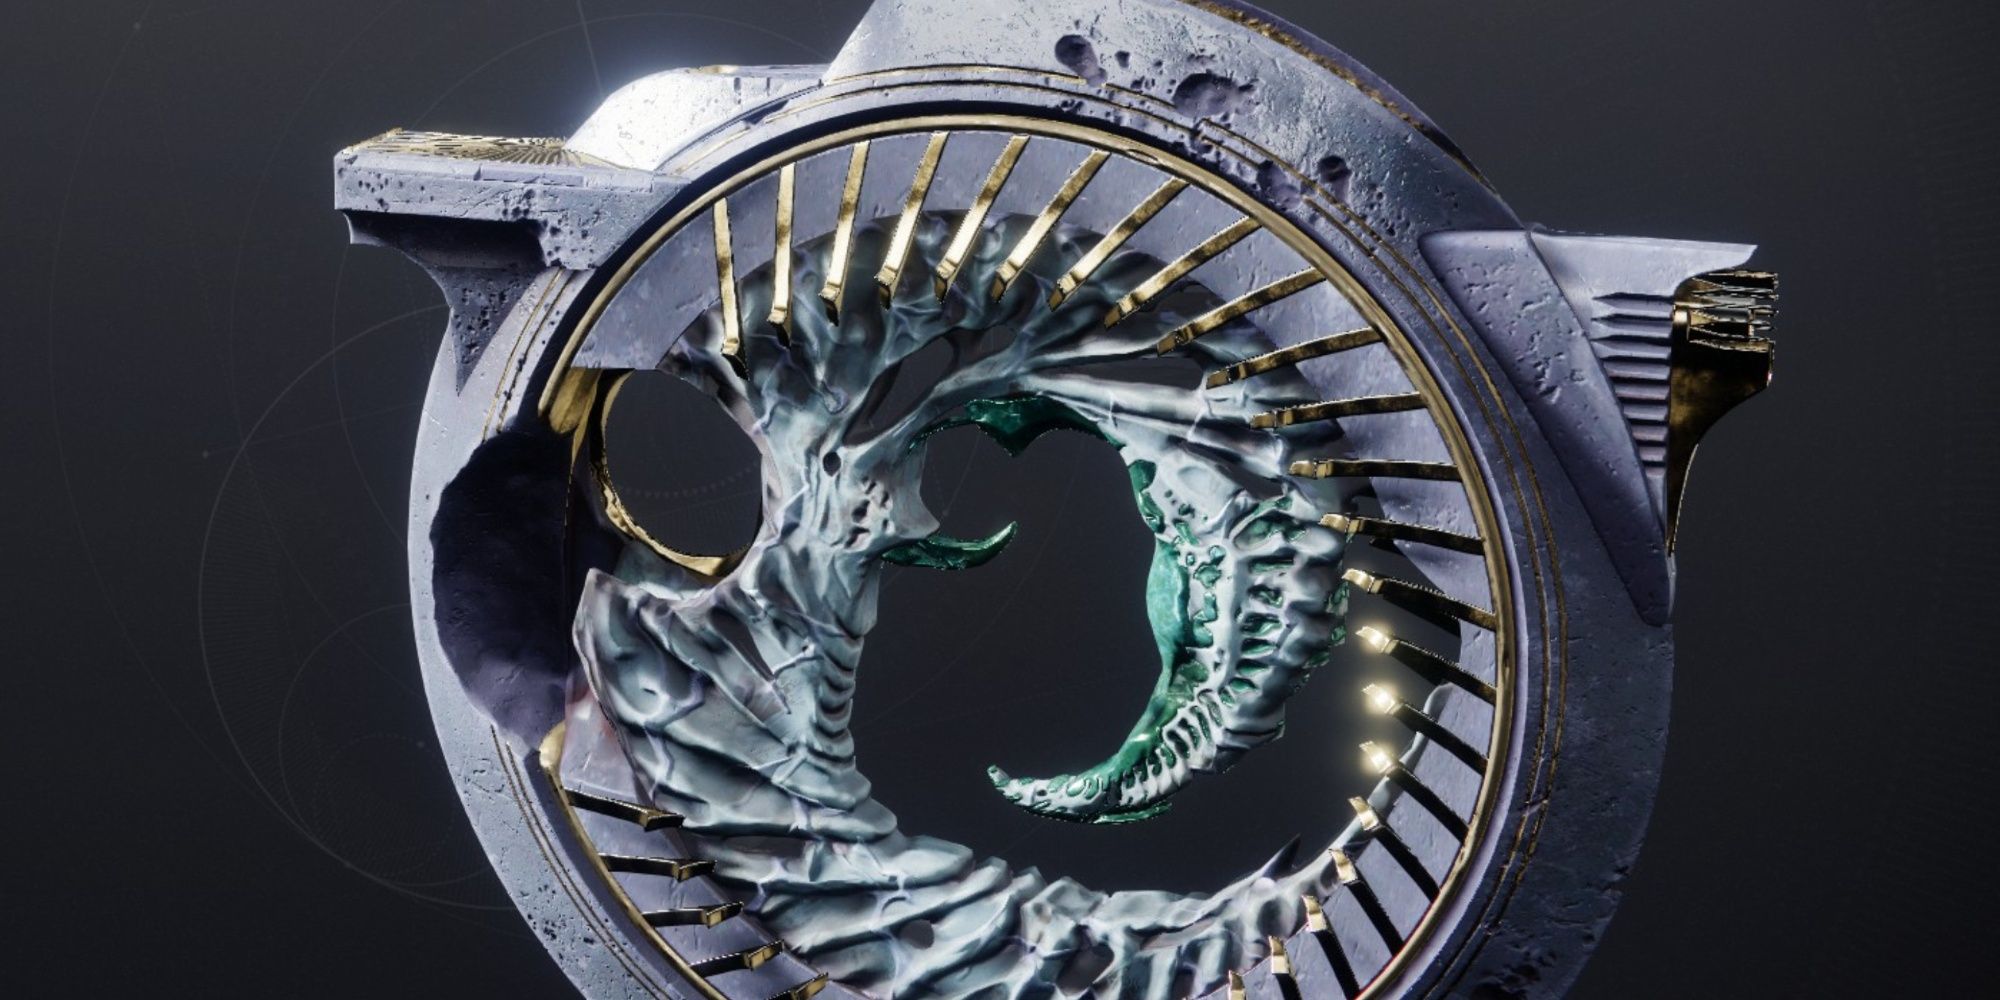
In Destiny 2, the latest Exotic SMG is named Barrow-Dyad. This weapon is one of the strongest Strand primary weapons available for Guardians. However, to unlock its Deepsight pattern and inherent abilities, players must complete a series of challenges. The journey begins with the uncovering of an unusual Taken Artifact.
Here’s a simplified guide explaining the steps to obtain Barrow-Dyad in Destiny 2, along with instructions for locating concealed Hive Statues within the Nether, completing the Taken Path mission, and wrapping up the exotic quest known as Derealize.
In essence, this guide will walk you through the process of acquiring Barrow-Dyad, finding hidden Hive Statues in the Nether, finishing the Taken Path mission, and accomplishing the exotic quest titled Derealize.
Where To Find Barrow-Dyad In Destiny 2
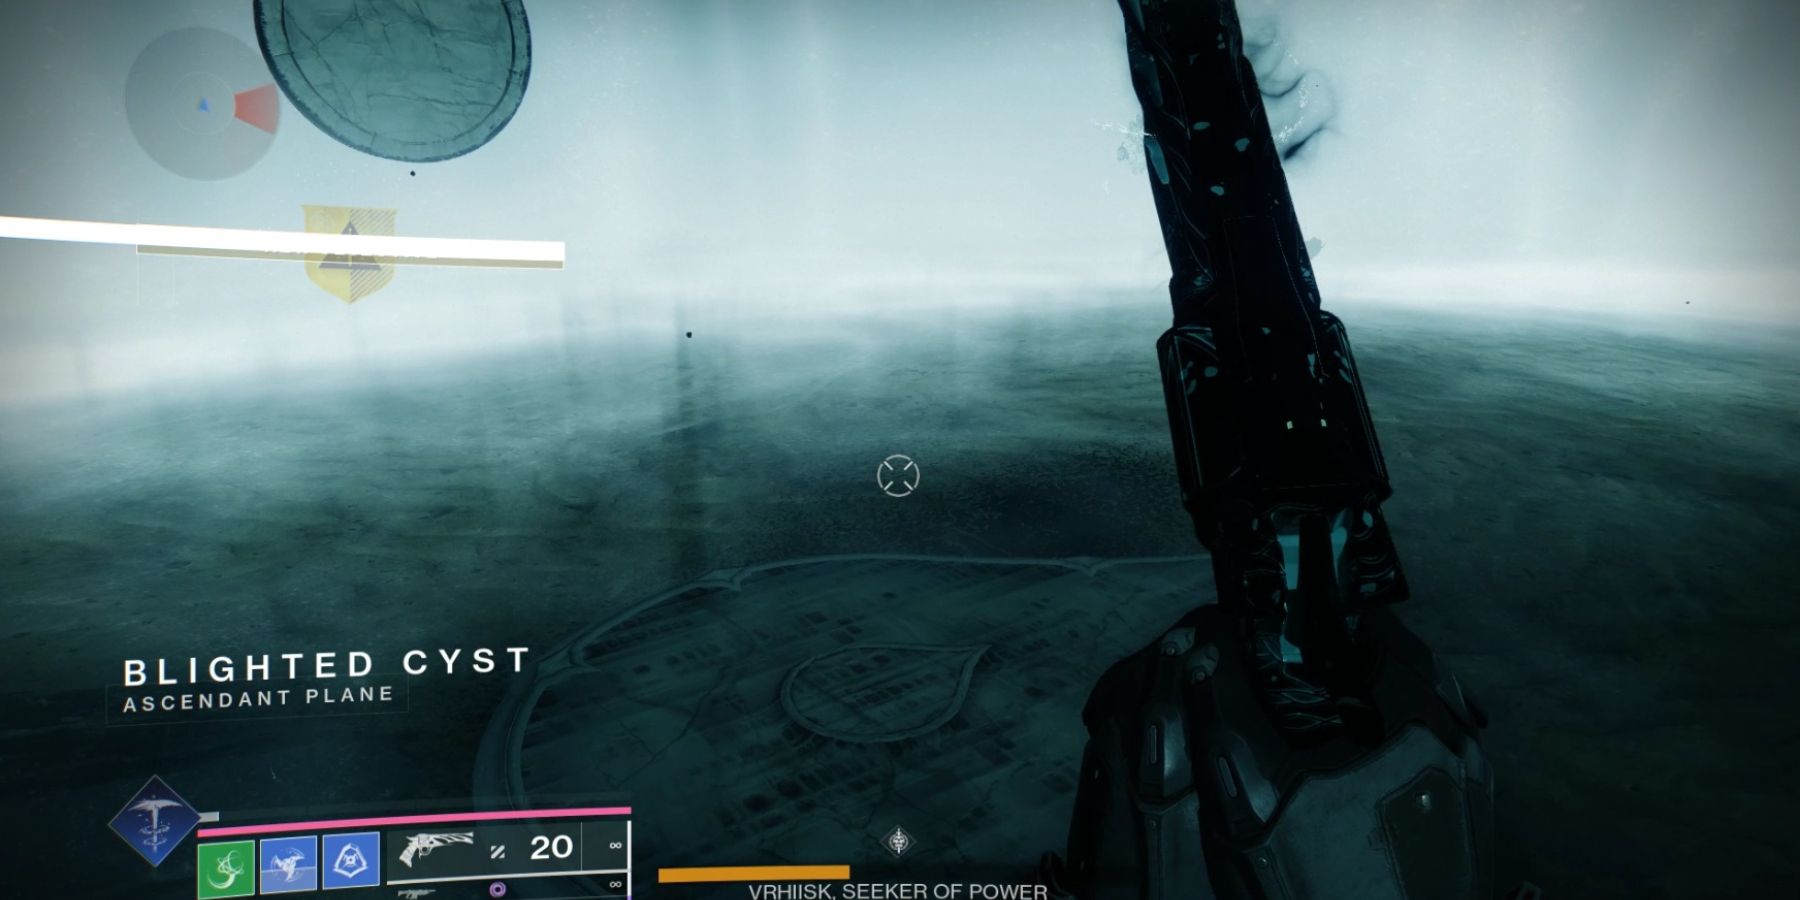
In Destiny 2: Heresy, as a gamer, I’ll be on the hunt for a Blight teleporter hidden within the Nether, much like those we encountered during the Ascendant Challenges in the Dreaming City. Once I stumble upon one of these Blights, I’ll need to step inside, get transported to the ascendant plane, and crack the first puzzle at hand. Upon successful completion, I’ll be rewarded with the ‘Taken Osseous Fragment’ quest item, bringing me one step closer to obtaining the elusive Barrow-Dyad.
How To Find The Nether Blights In Destiny 2
In the Nether’s various maps, Nether Blights can be found, but their appearance is influenced by random chance, making it beneficial to repeat the activity multiple times for a better chance at finding one. The most conspicuous one can be discovered in the Trenchways, on the opposite side of the spawning area, beyond the Tormentor performing a ritual near the columns.
As a gamer, I found another one nestled high up in the Hall of Souls, specifically within the ceiling area of the land zone for the King’s Fall Raid, which is known as the Hall of the Statues by many players. From where the Nether spawns in the Hall of Souls, navigate across the chasm and veer to the right to uncover the right spot.
When players identify the Blight, they should disregard any other tasks and focus solely on it. Stepping onto the dark Taken orb triggers a teleportation, transporting them to a solitary location featuring a Hive statue and an enigmatic platform. It’s here that they must tackle a puzzle.
There’s a possibility that the Blights won’t appear immediately, which suggests they might be in a different area instead of where the player initially spawns. If this occurs, resetting the activity is the best approach. Repeating this process helps expedite the completion of the exotic quest more quickly.
How To Get Taken Osseous Fragment And Solve The Hive Rune Puzzle
Upon entering the Ascendant realm, players should locate the arrow-shaped platform and tread upon it cautiously. Keep an eye on the arrow’s orientation. When a rune emerges before them, a subtle message will appear saying: “A whisper echoes from the right…
Heading towards that location will activate the puzzle, allowing players to acquire the “Captured Bone Fragment”, a crucial item required to initiate the “Taken Path” quest.
How To Start The Taken Path Quest In Destiny 2
Currently, make your way back to Eris Morn’s apartment in the city. Locate the Taken Slab there to get a fresh Exotic Mission.
- The first task will be to head to Sorrow’s Harbor on the Moon and travel to the K1 Revelation Lost Sector.
- Once inside, kill a few Hive enemies until you spot a small Taken Blight. Destroy it and solve the directional puzzle (Something whispers to the X-direction).
- Kill the Taken to claim another Taken Osseous Fragment.
- Now, travel to the Cosmodrome (the Forgotten Shore) and access the Veles Labyrinth Lost Sector.
- Stick to the right pathway and find another directional puzzle.
- Repeat the puzzles until you see a message that says: Taken Energy Rises.
- Kill all the taken inside the Labyrinth and claim another Taken Osseous Fragment.
- Return to Eris’s apartment and interact with the Slab once more to receive three different quests. Now, players need to complete three Curse Quests, which will require them to conduct three rituals at different spots.
How To Complete Every Curse Quest In Destiny 2
To obtain the Barrow-Dyad Exotic Strand SMG, follow these steps involving Taken orbs (relics) at three distinct locations:
1. Sorrow’s Harbor (on the Moon)
2. Nightmare Hunt: Pride (on the Moon)
3. Hallowed Grove (in the EDZ Lost Sector)
In each Curse Quest, here are the tasks for players:
1. At Sorrow’s Harbor:
– Complete the “Ascendancy” quest.
– Acquire a Taken orb from a fallen Taken enemy.
– Take this orb to the Altar of Sorrow and interact with it.
2. In Nightmare Hunt: Pride:
– Defeat the Nightmare in the hunt.
– Collect a Taken orb from the defeated Nightmare.
– Carry the orb to the Taken Altar in this location and interact with it.
3. Within Hallowed Grove (EDZ Lost Sector):
– Complete the lost sector.
– Find a Taken orb from a fallen Taken enemy within the lost sector.
– Transport the orb to the Taken Altar inside the lost sector and interact with it.
How To Complete Curse Of Endurance
As a dedicated explorer, I’d embark on a journey to the hauntingly beautiful Sorrow’s Harbor on Luna’s face. There, I’ll be on the hunt for the elusive Taken Orb nestled along the central path en route to the Scarlet Keep. Once found, I’ll grasp the orb, triggering the Altars of Sorrow event, and then engage in an intense battle, aiming to eliminate as many foes as I can without meeting my own demise – all in a bid to empower the orb.
Utilize the orb’s powerful ability against Nightmare foes; doing so will help eliminate them. You don’t have to finish the event entirely, just ensure you slay enough Hive to load up the artifact and then deposit it at the designated location to wrap up that phase of the quest.
How To Complete Curse Of Revenge
Journey to the Moon and initiate “Nightmare Hunt: Pride”. Venture deep into the dungeon, progressing until you reach the boss room, and seize the “Taken Relic”. Once obtained, place the relic close to the area where the boss usually appears to complete the ritual. This involves depositing or placing the orb near the boss’s spawn point.
How To Complete Curse Of Urgency
Journey to the EDZ, often referred to as “The Sludge”, and explore the revered Growe Lost Sector. Grab the Taken artifact close to the entrance, triggering a countdown timer. Quickly eliminate all enemies appearing on the screen to fill the artifact before the countdown reaches zero (otherwise, it could prove fatal for your Guardian). Once filled, immerse it in the designated location to finish the ritual.
How To Complete Taken Path Quest In Destiny 2
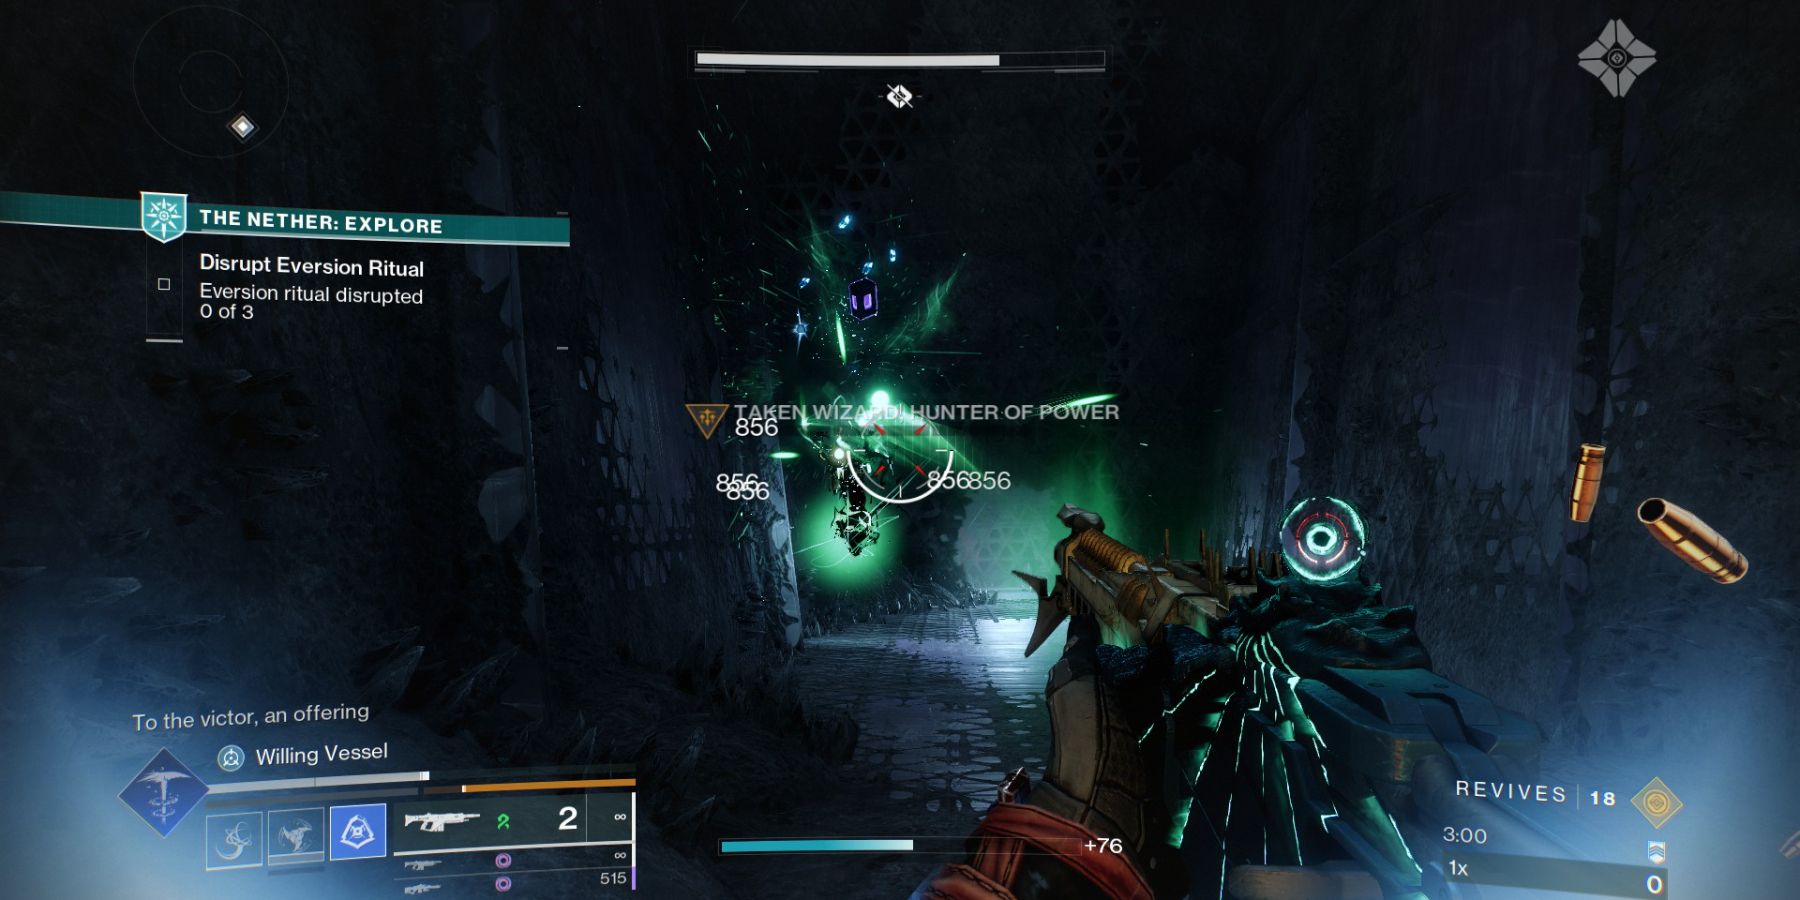
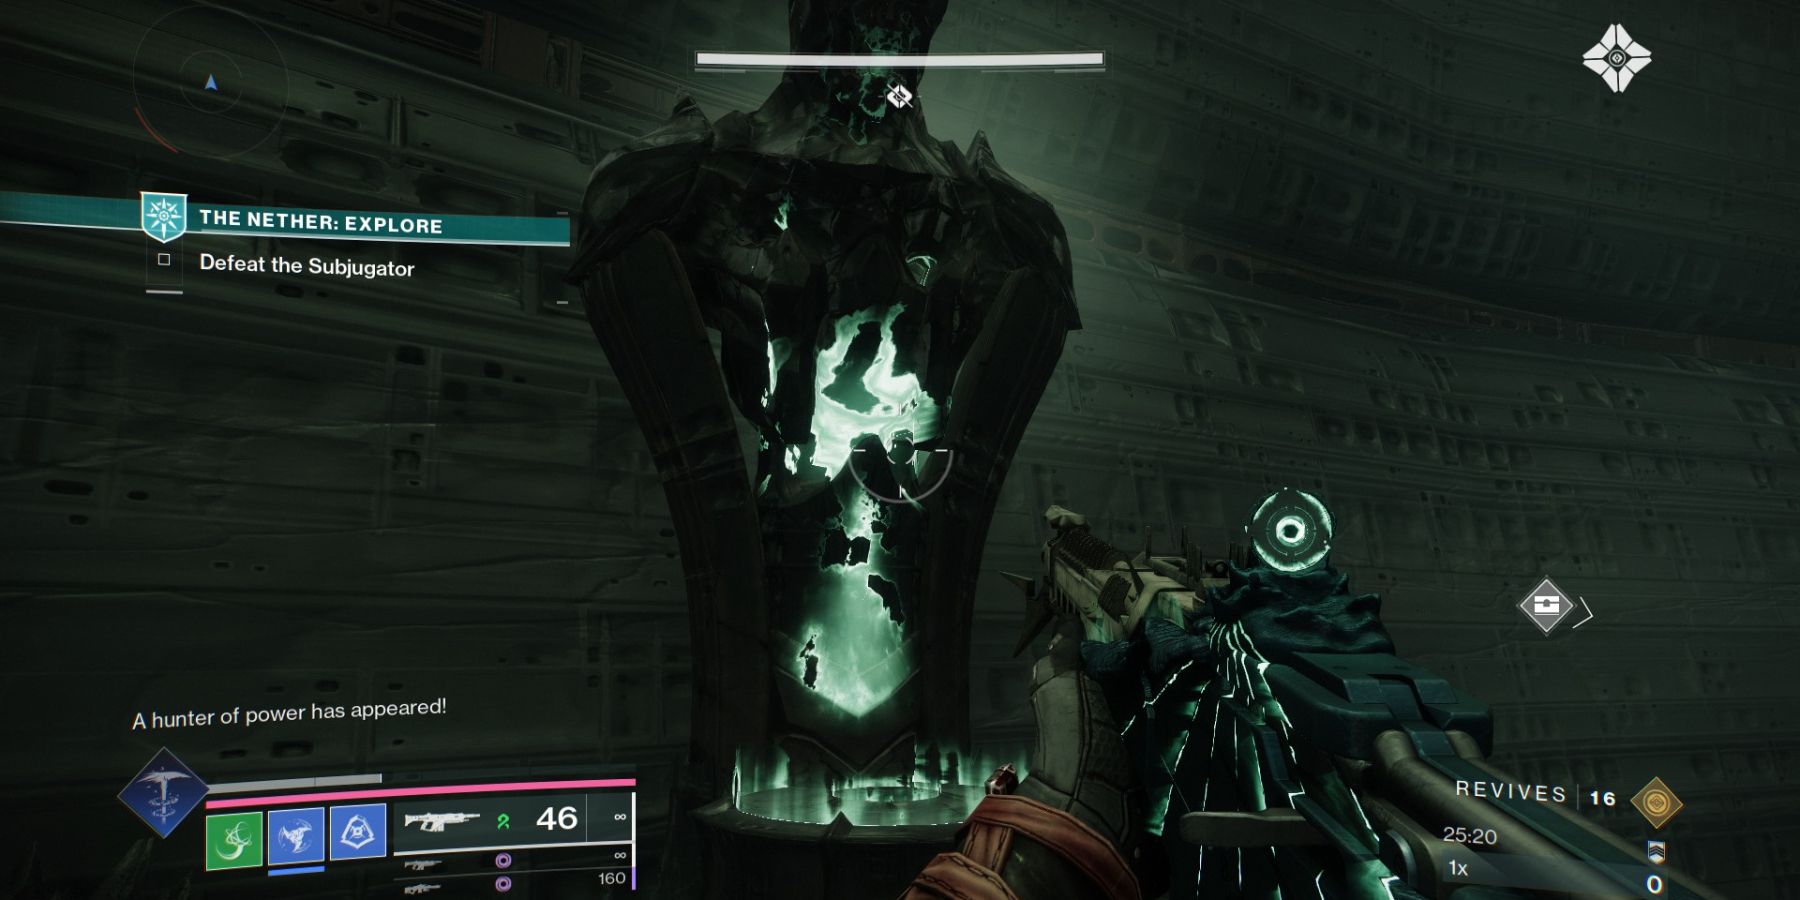
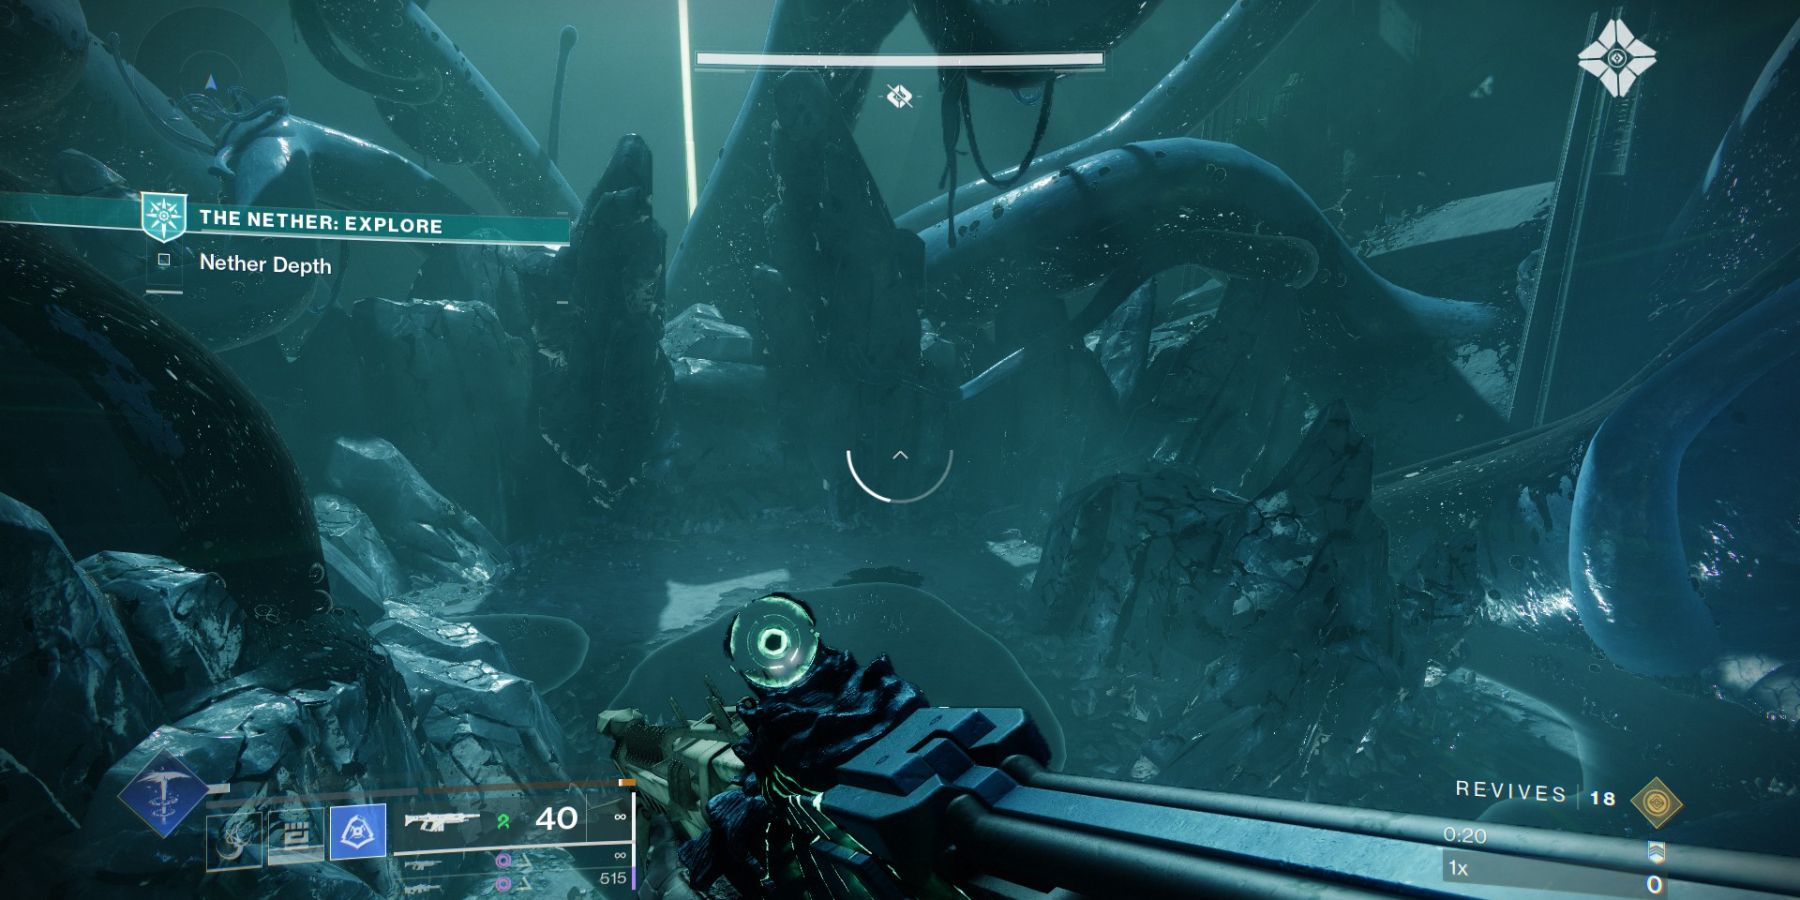
Once you’ve finished the three “Curse Quests,” it’s time to move on to the Taken Path Exotic Quest, which is necessary to access the Derealize Mission. To accomplish this quest, players will need to find and destroy three elusive Hive Idols concealed within The Nether (Dreadnaught) .
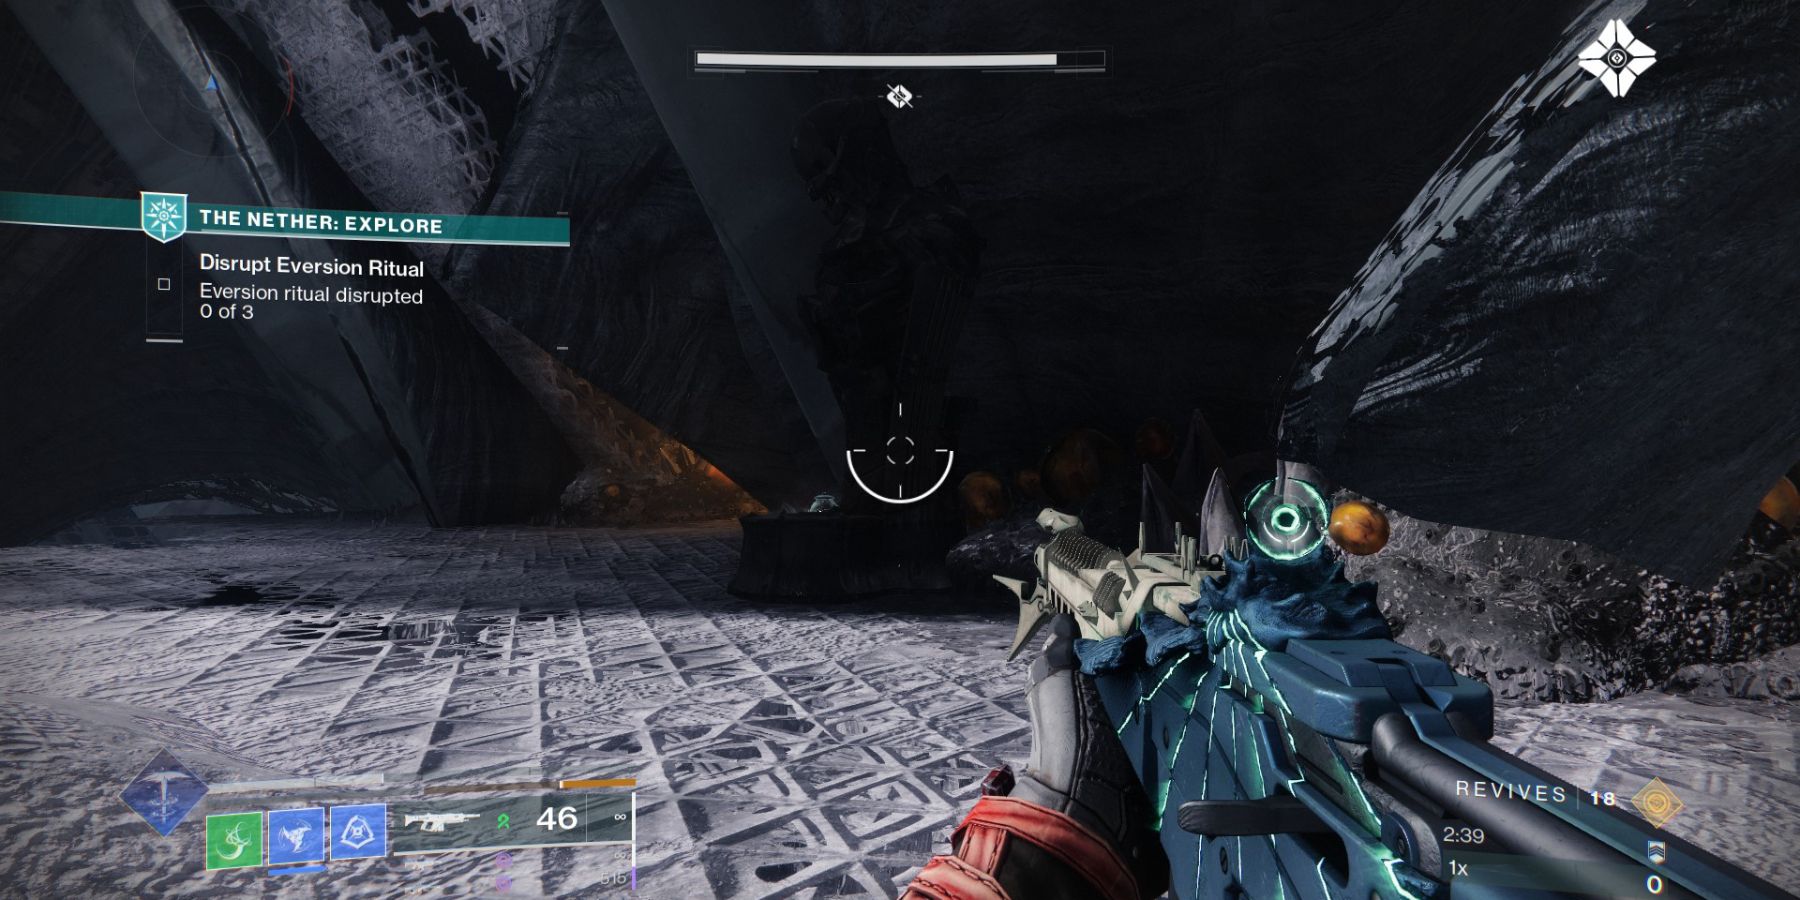
The initial sculpture is situated within the Trenchways, specifically in the Chasm area. Beginning from the starting point, follow the wall and ascend the steps. After that, proceed into the subsequent chamber and make your way down.
Turn your gaze to the right, and you’ll clearly see the statue. Interact with it to eliminate the Taken Wizard, earning yourself another Taken Bone Fragment.
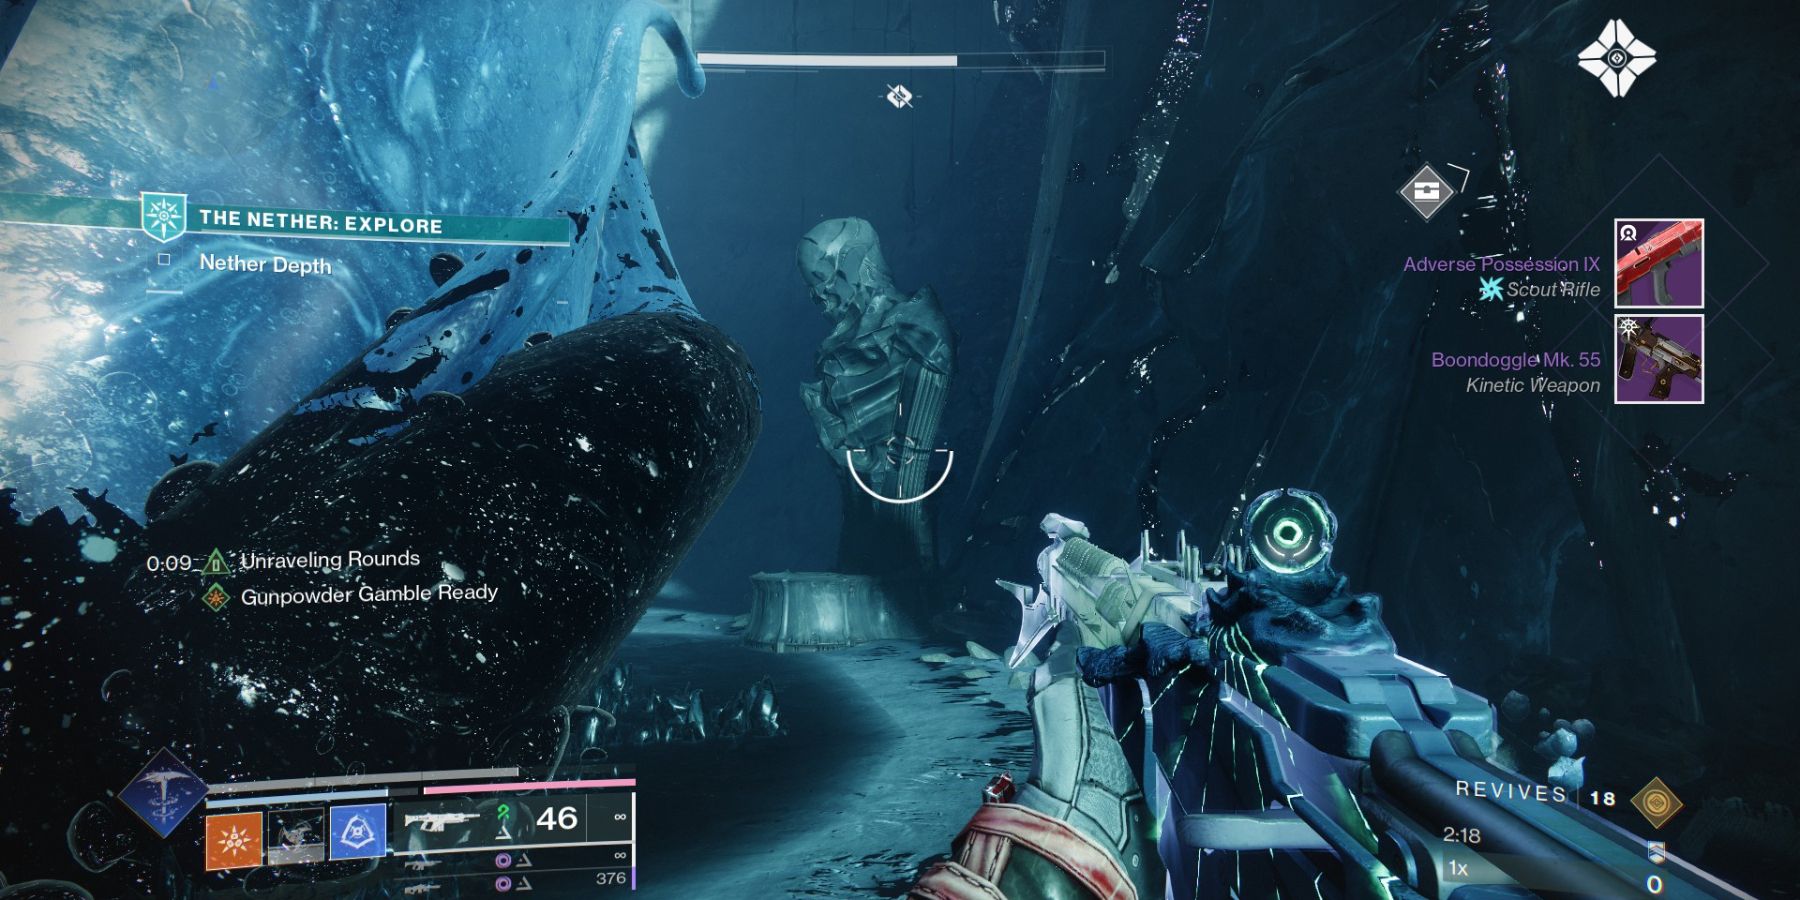
The second statue can be found in the Hall of Souls, specifically on the side opposite the spawning zone. Keep an eye out for the statue near where you access the next Nether region. Once activated, defeat the Wizard mini-boss to obtain your second Taken Bony Fragment.
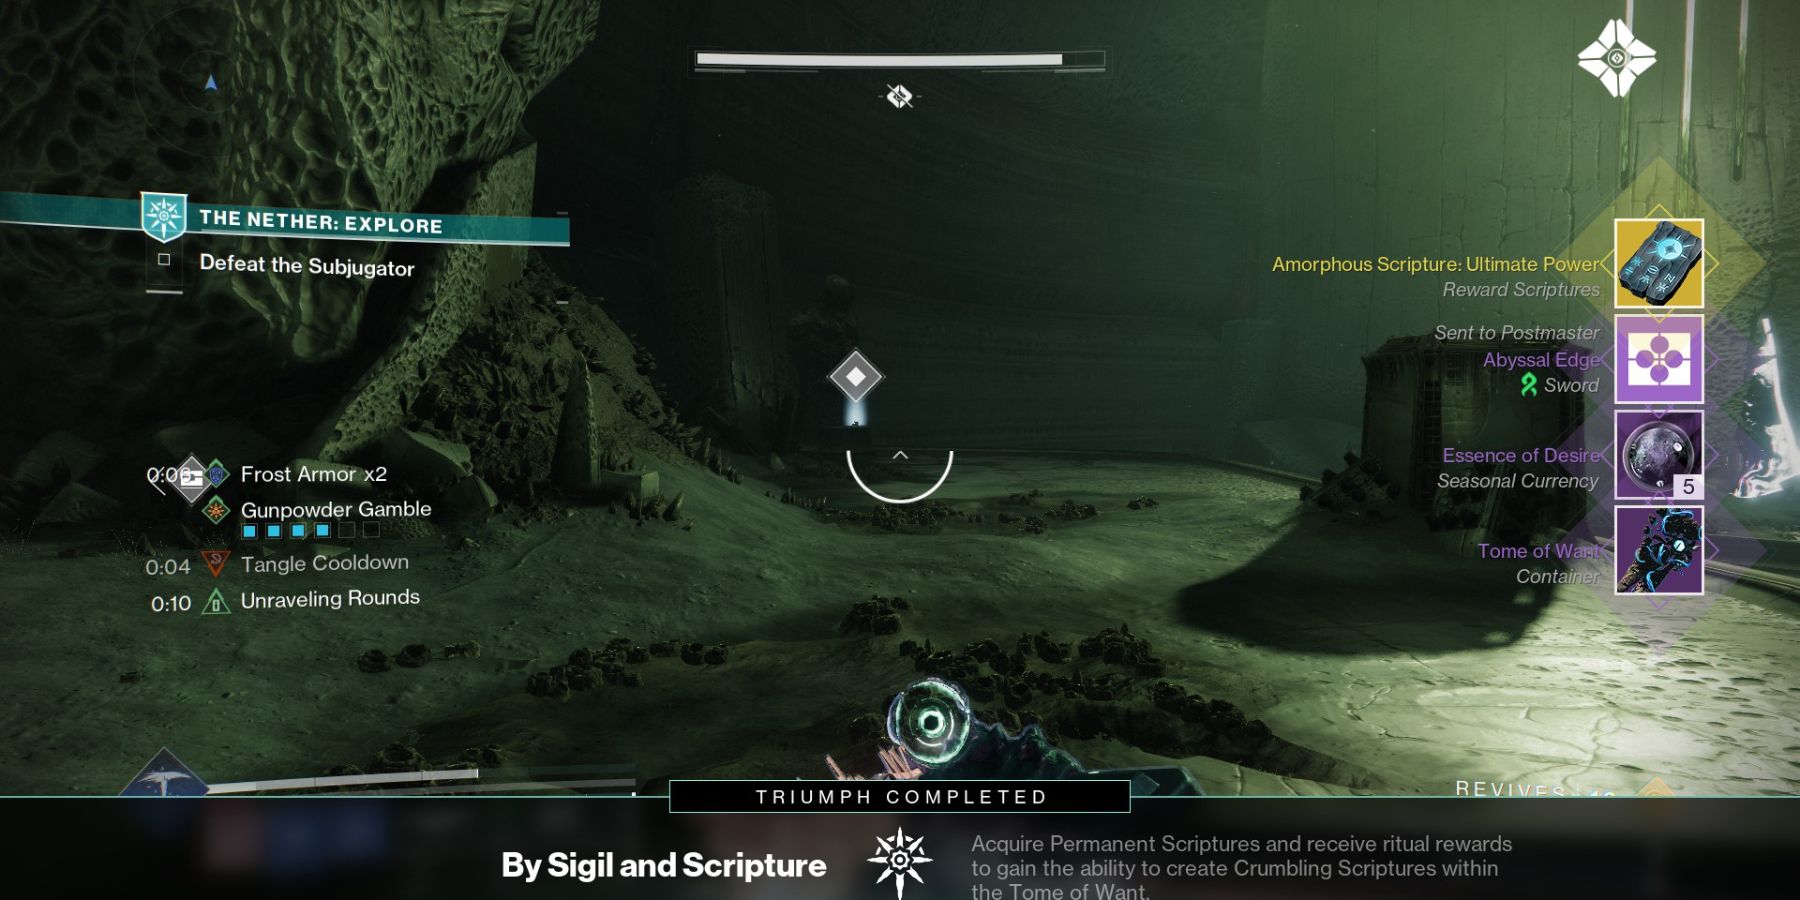
The third and last statue is situated within the Mausoleum. Navigate towards the area where the Ogre boss typically appears, then descend below the platform where Toland often sits. Look behind the Taken aggregation to discover the hidden Statue there. Defeat the mini-boss known as the Dread, and afterwards, return to the statue to obtain the last Osseous Fragment.
Once the final Ossified Remnant comes under the control of the Protector, you’ll gain access to a fresh Challenge titled ‘Depersonalization.’ Now is the moment to embark on your journey and seize the exotic Barrow-Twin Submachine Gun.
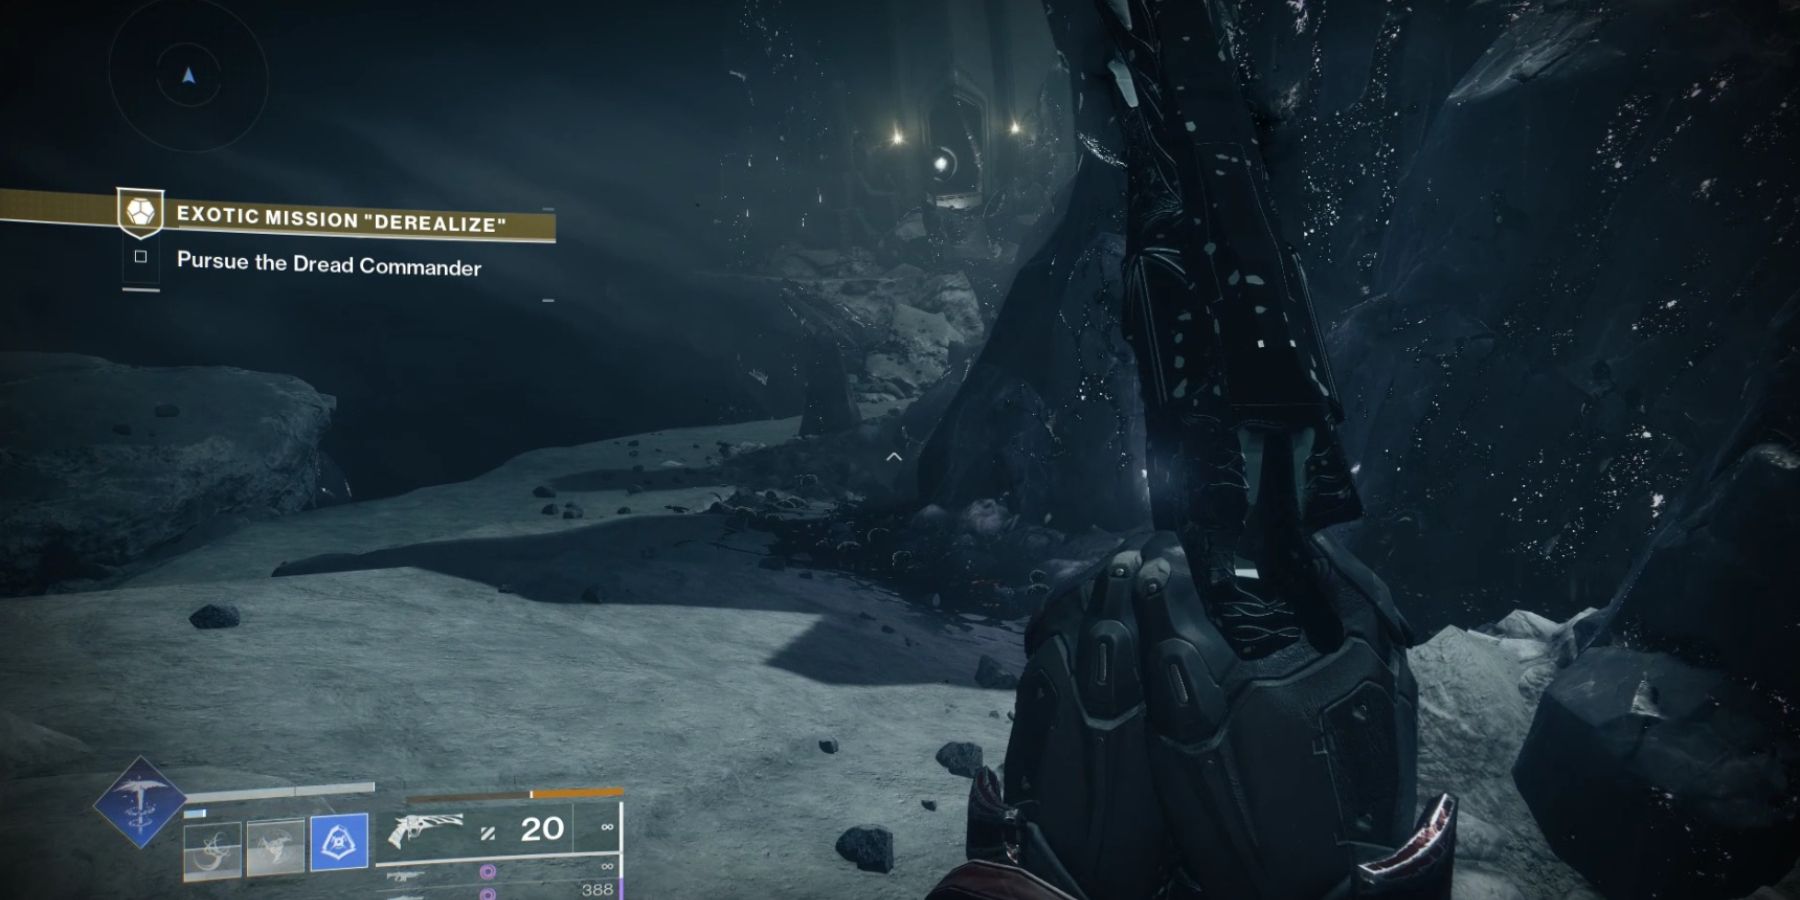
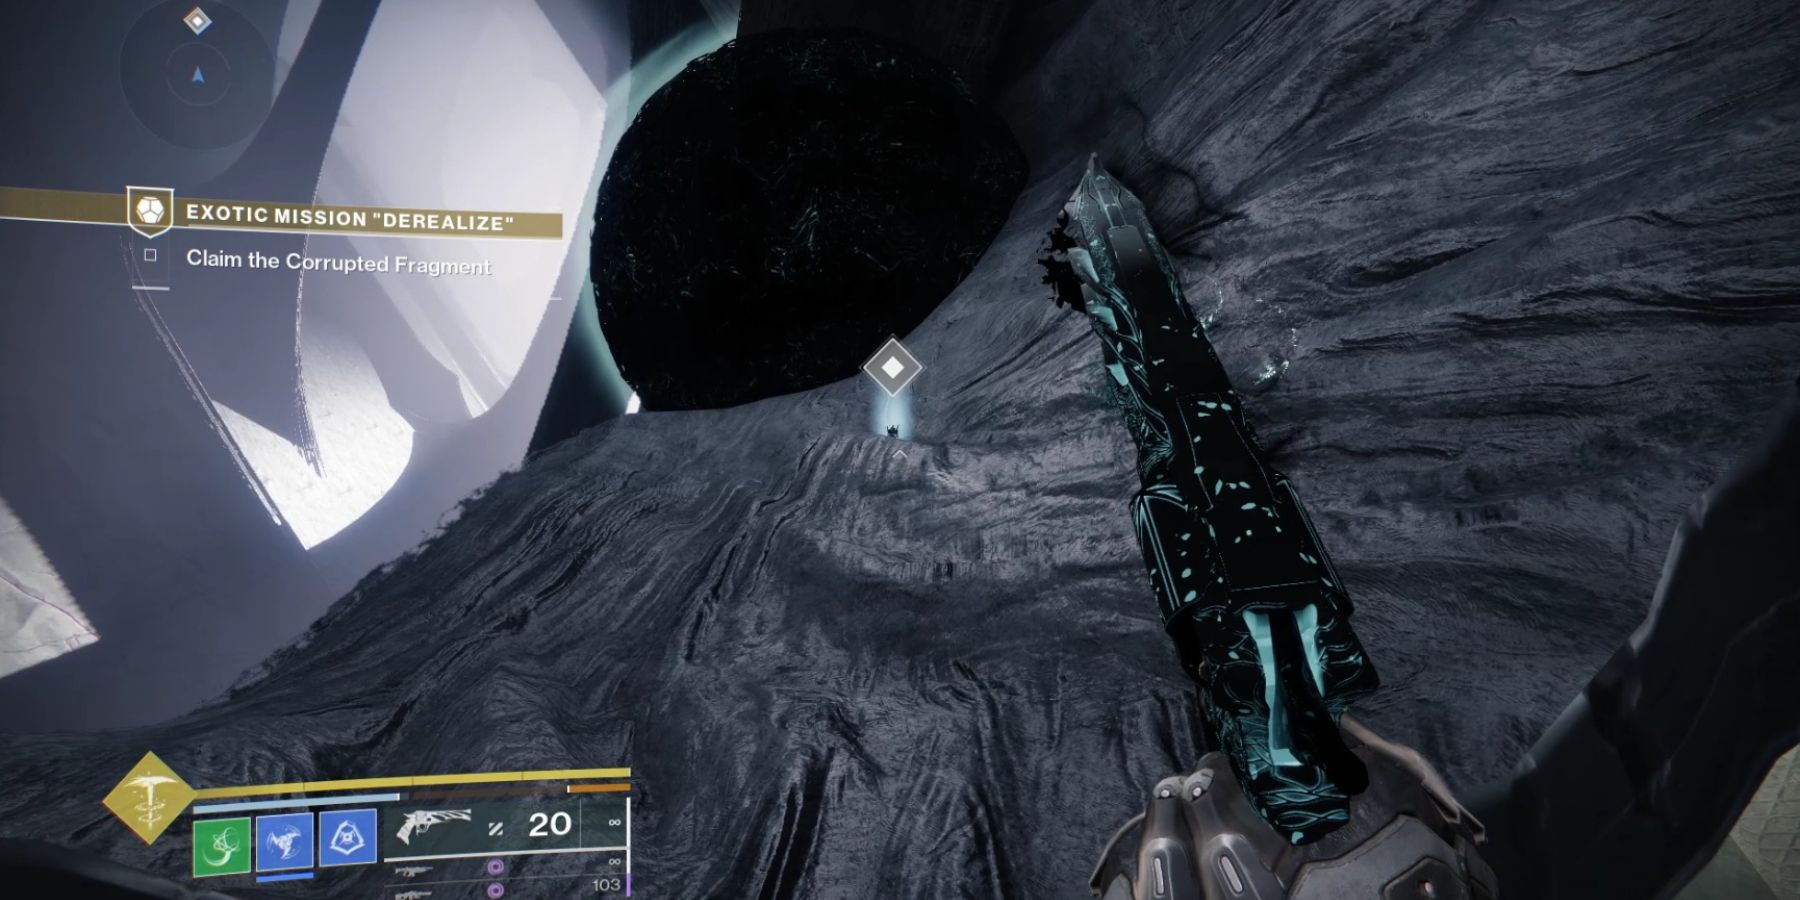
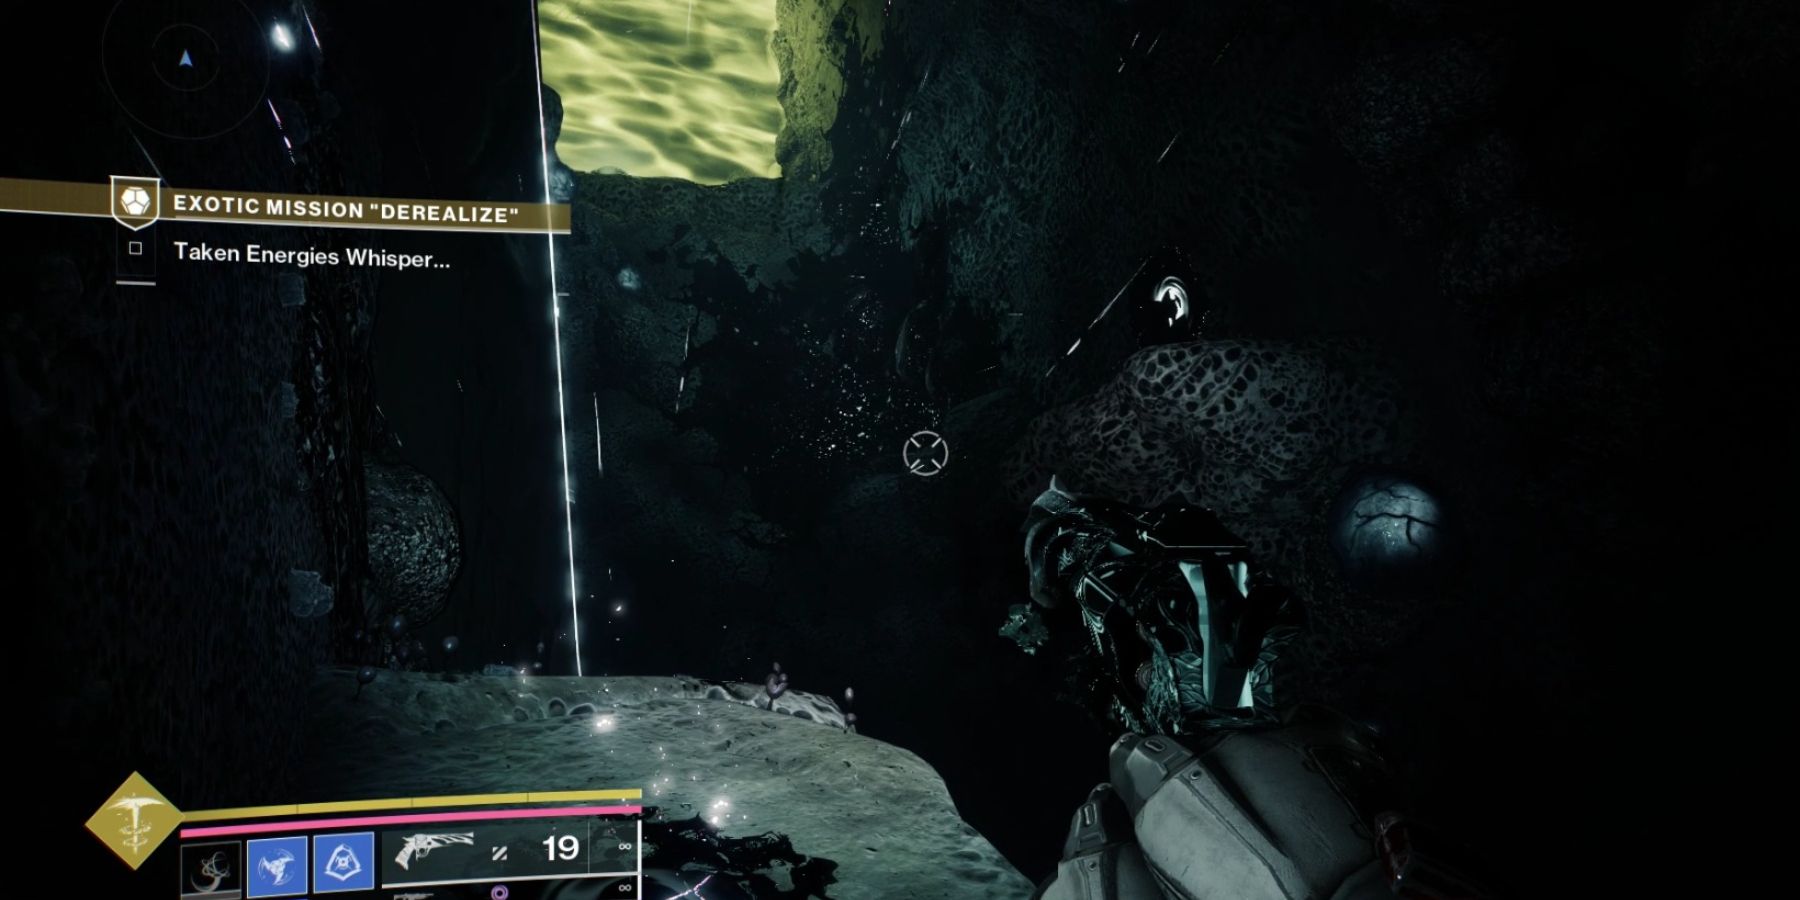
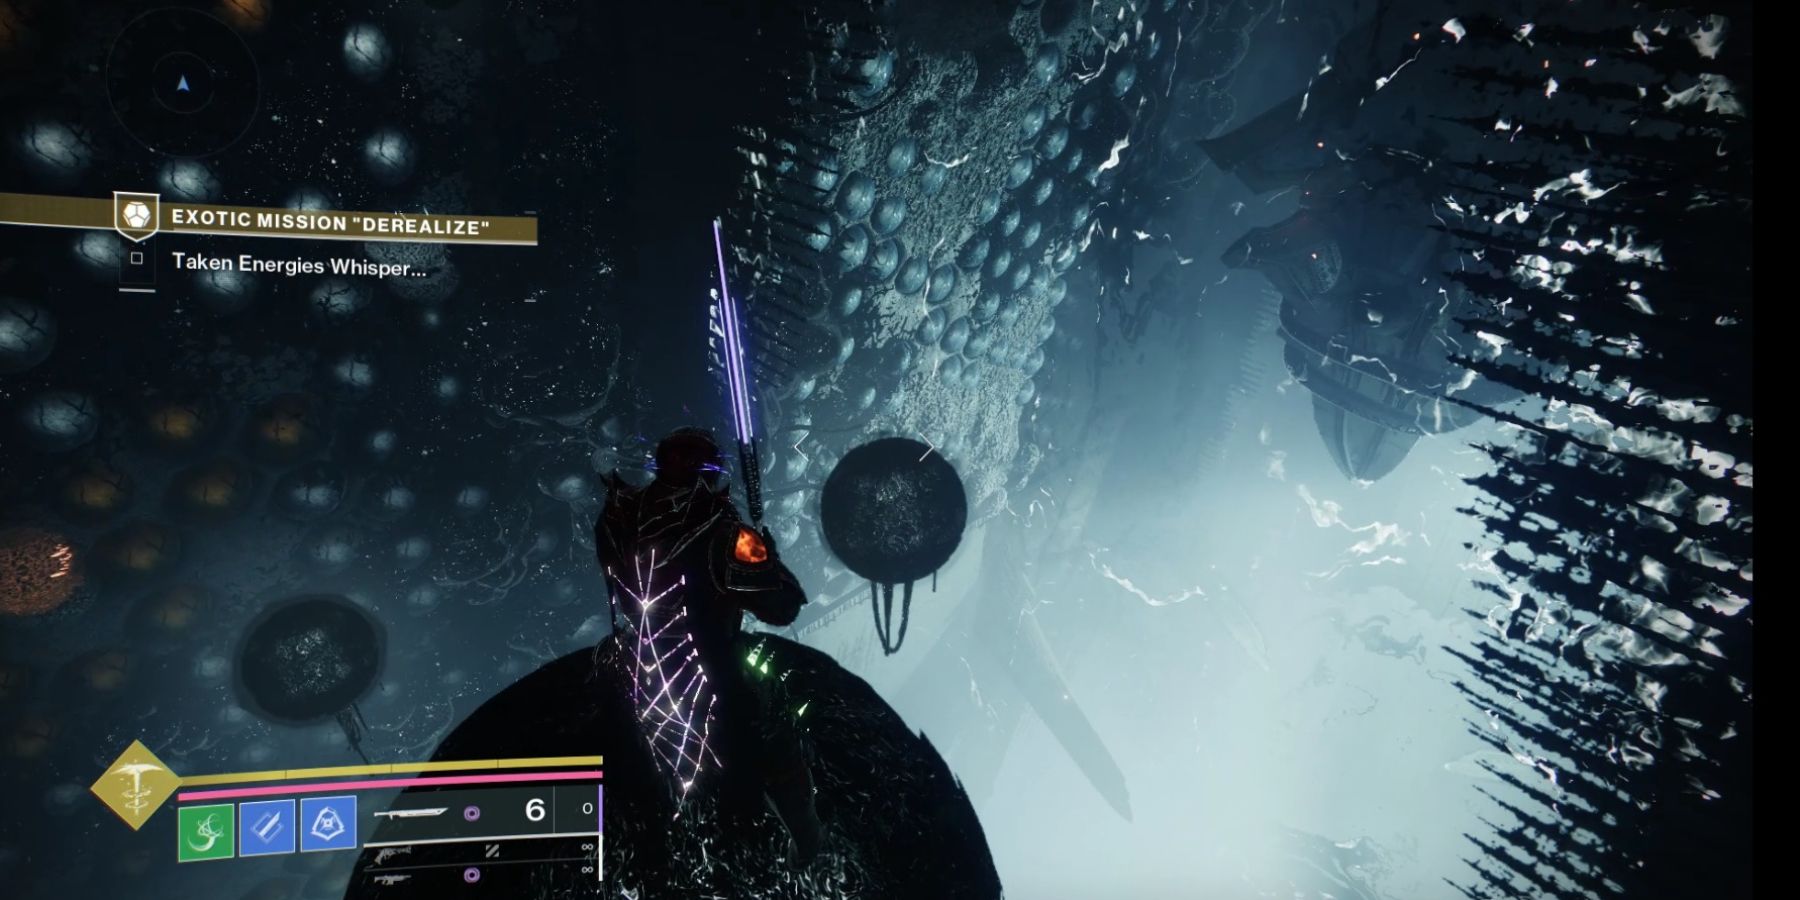
How To Complete Derealize Exotic Quest In Destiny 2
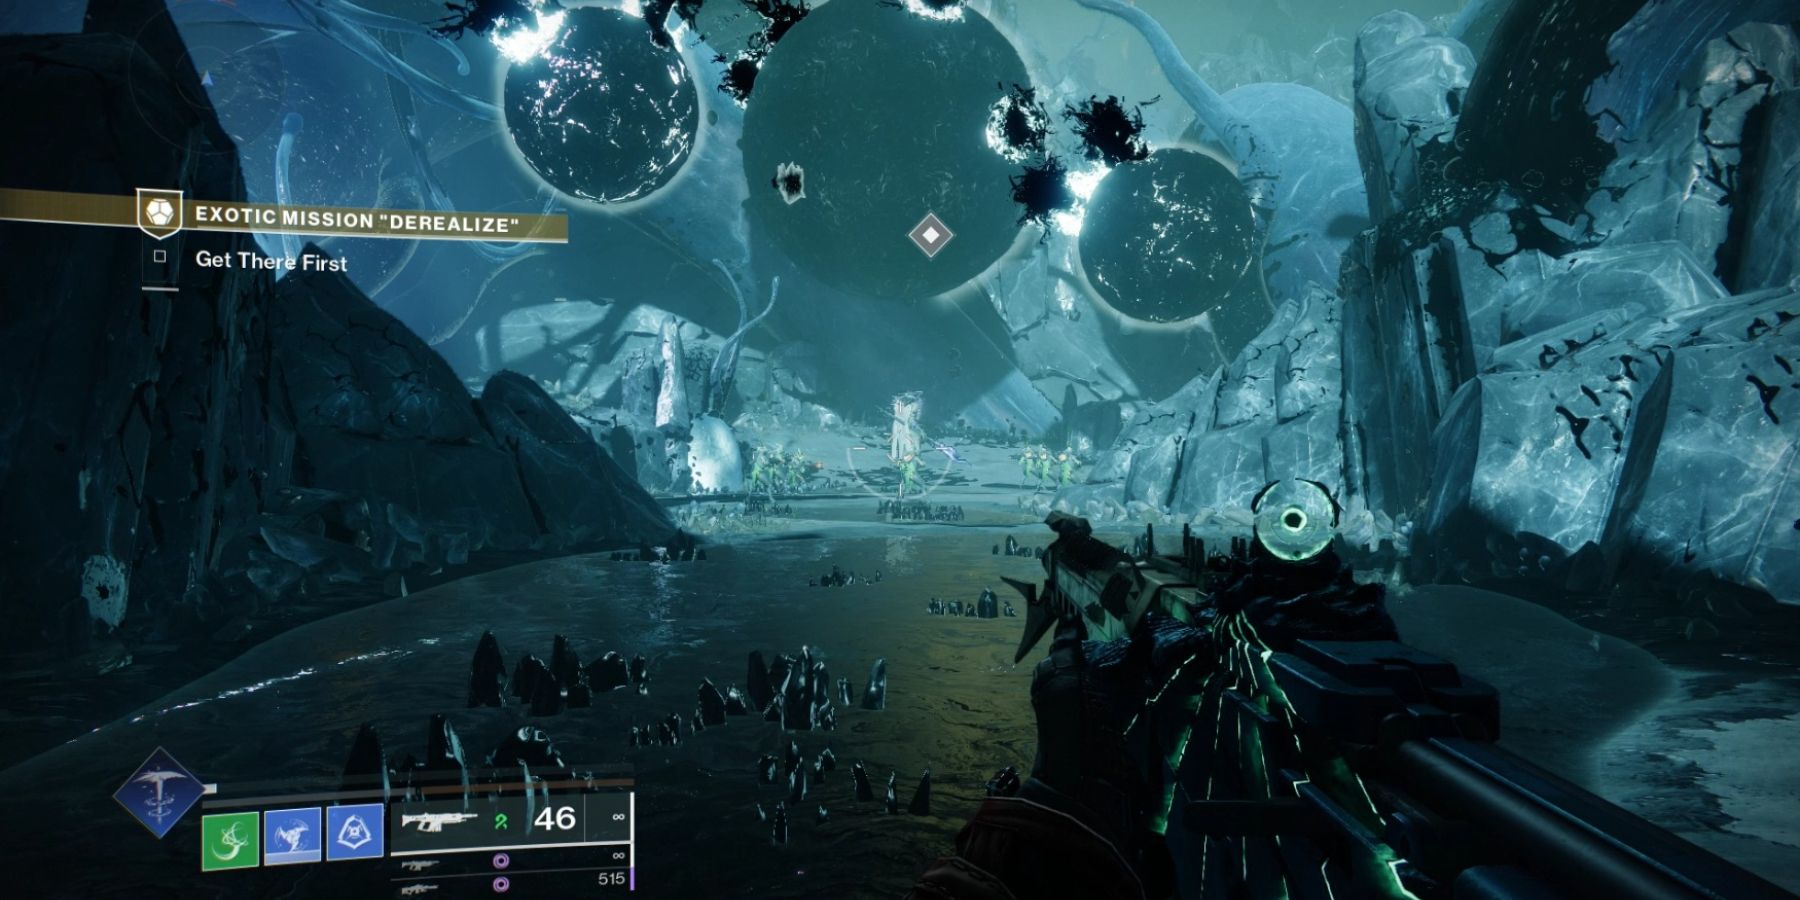
In four primary phases, the process of derealization is encountered:
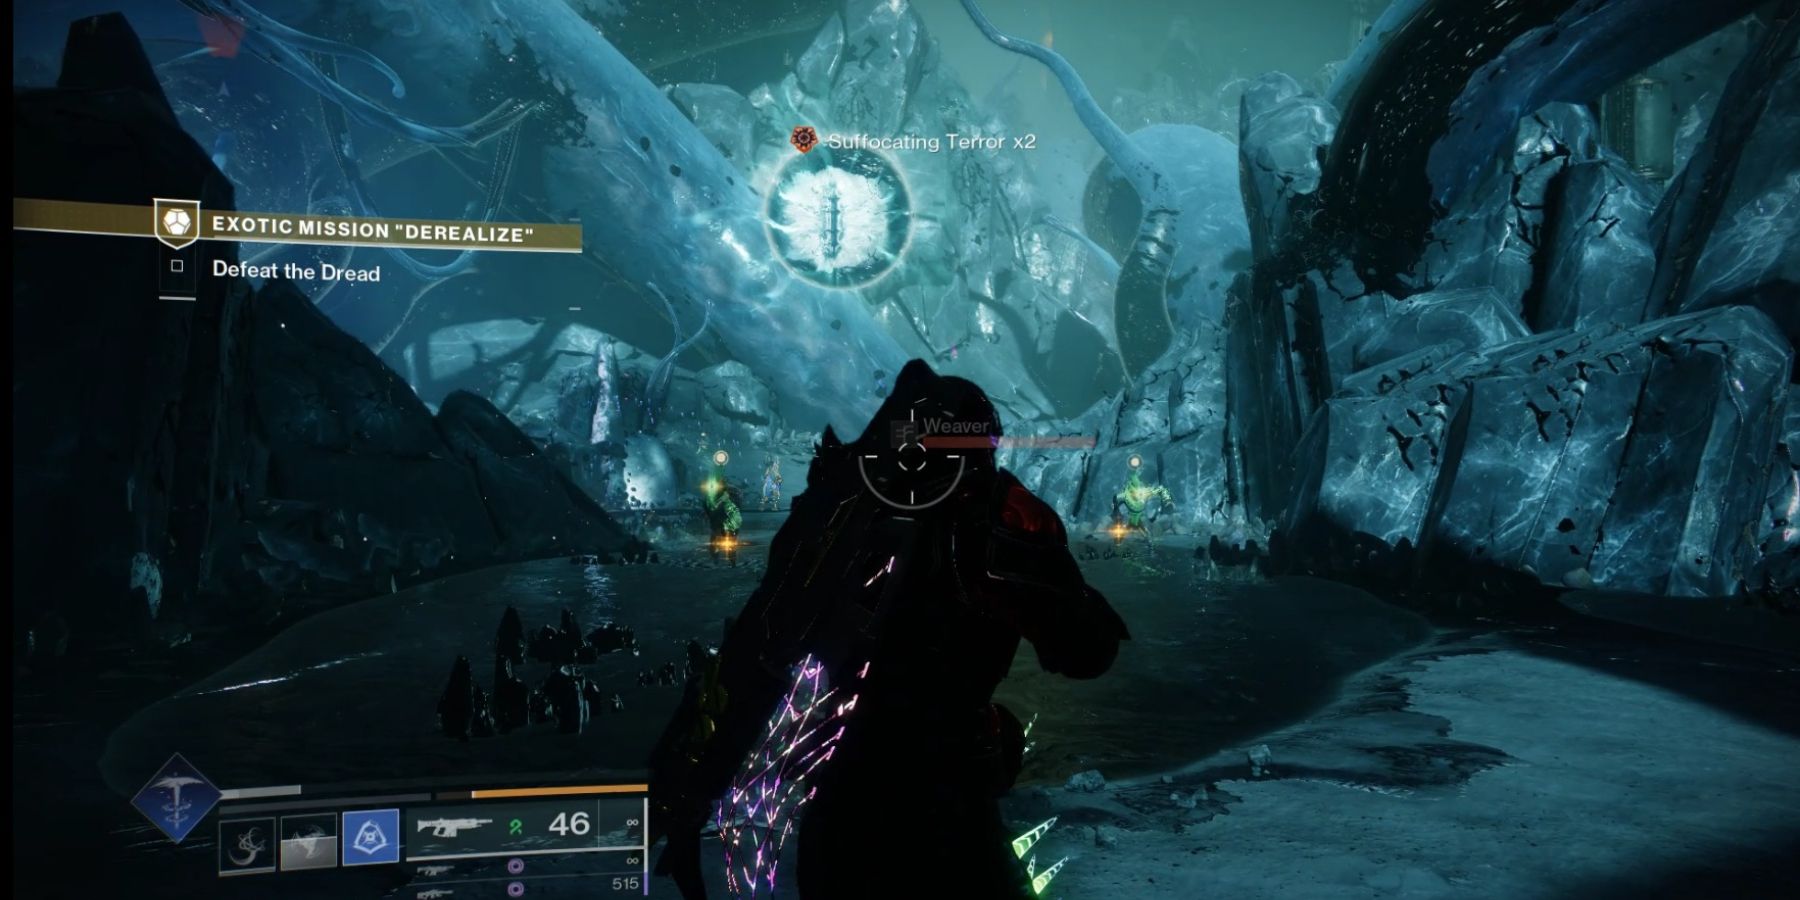
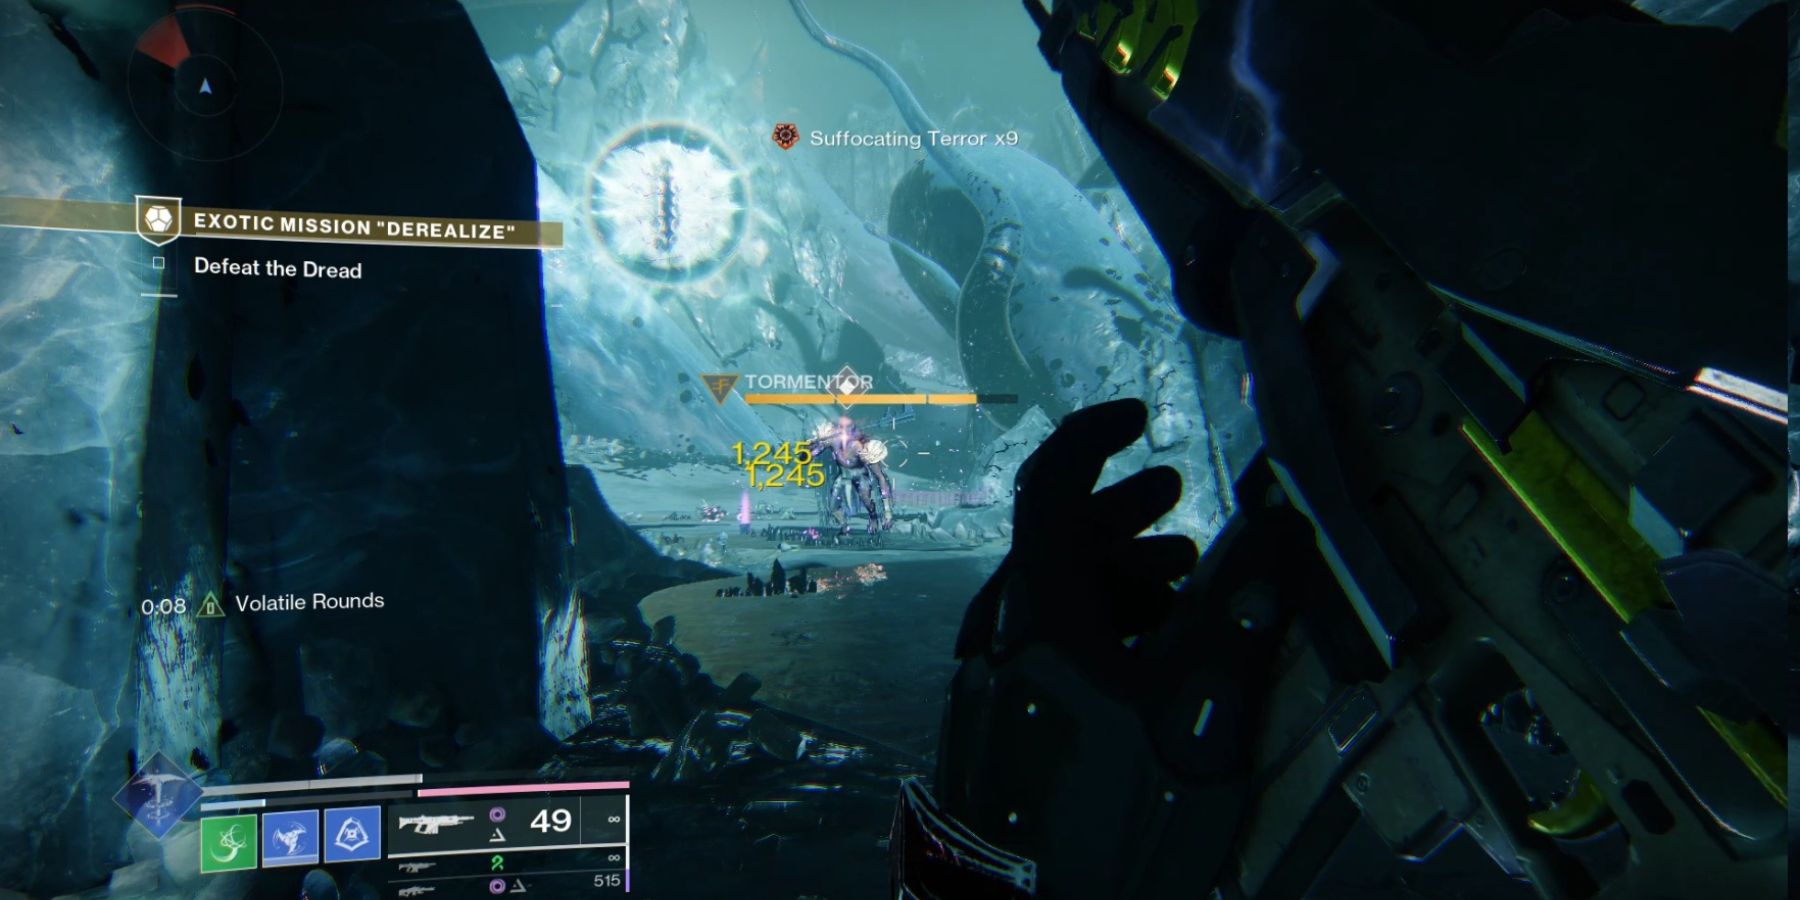
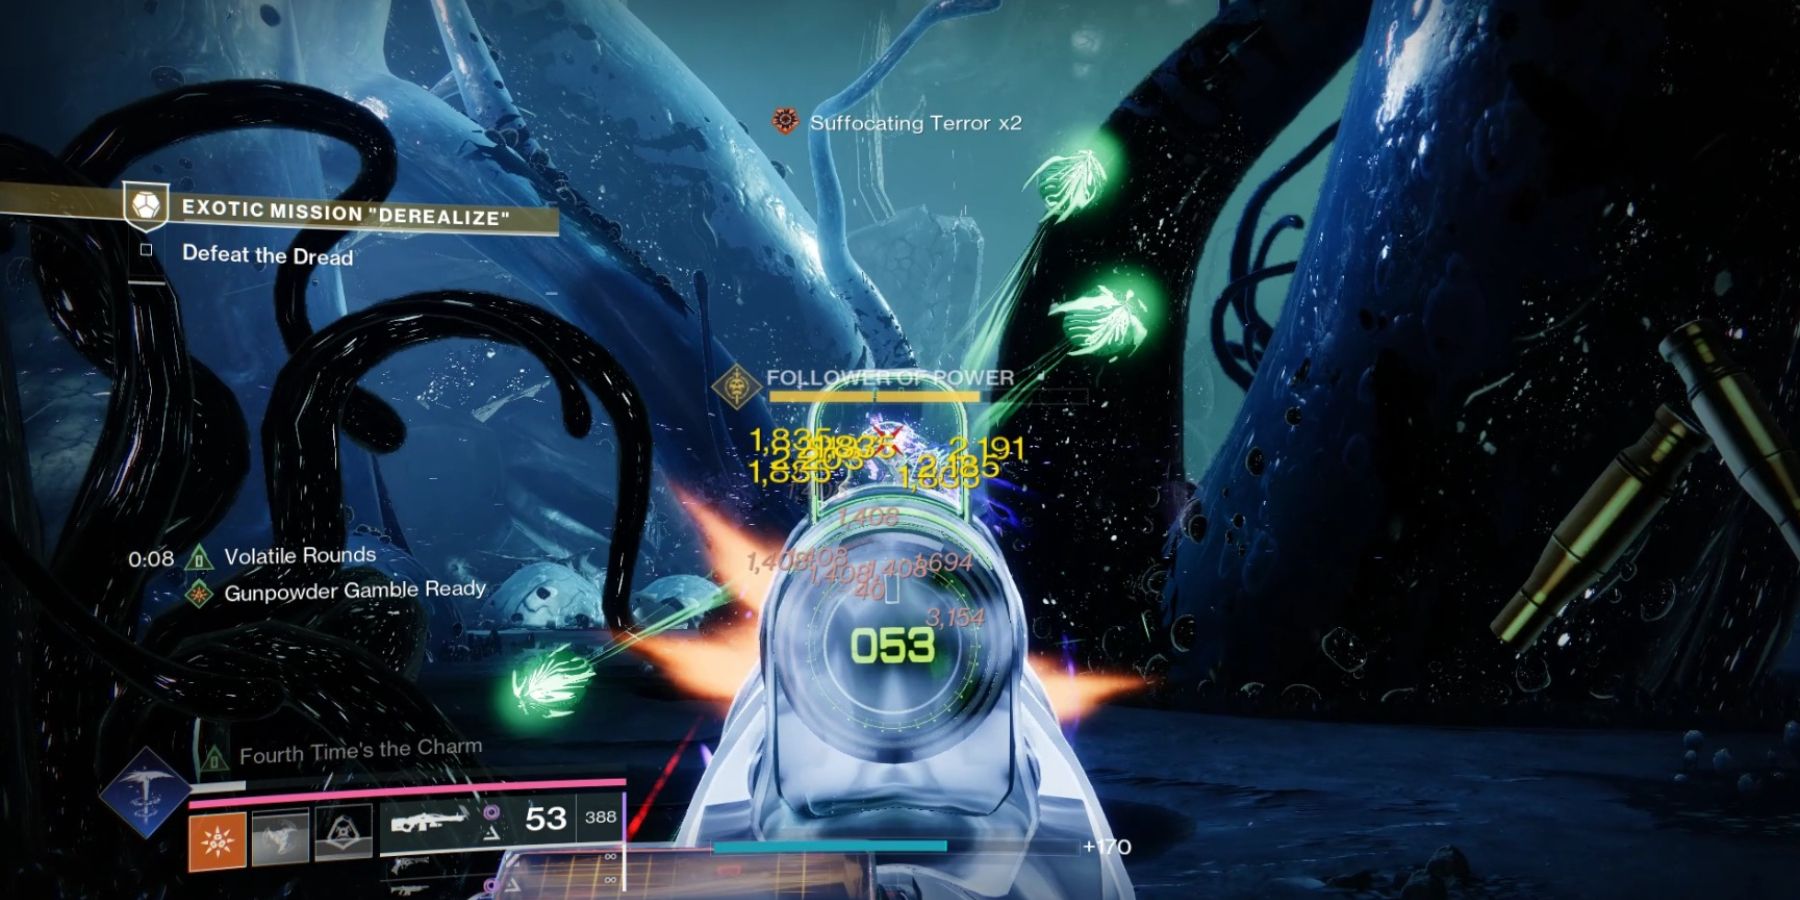
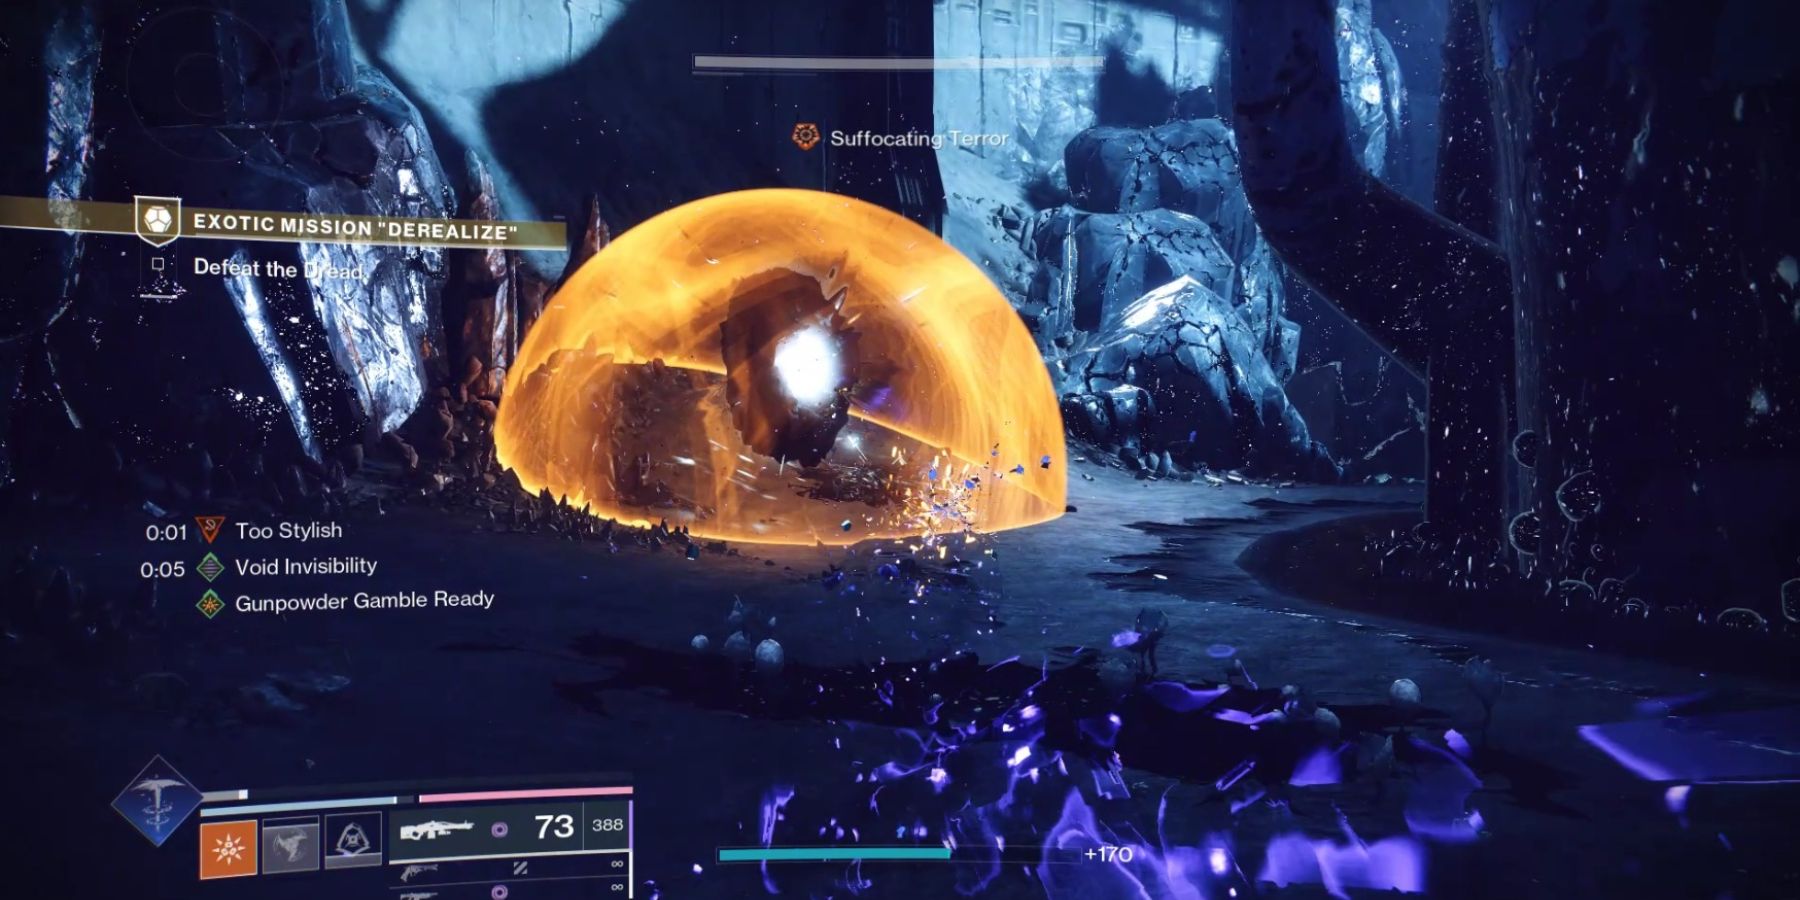
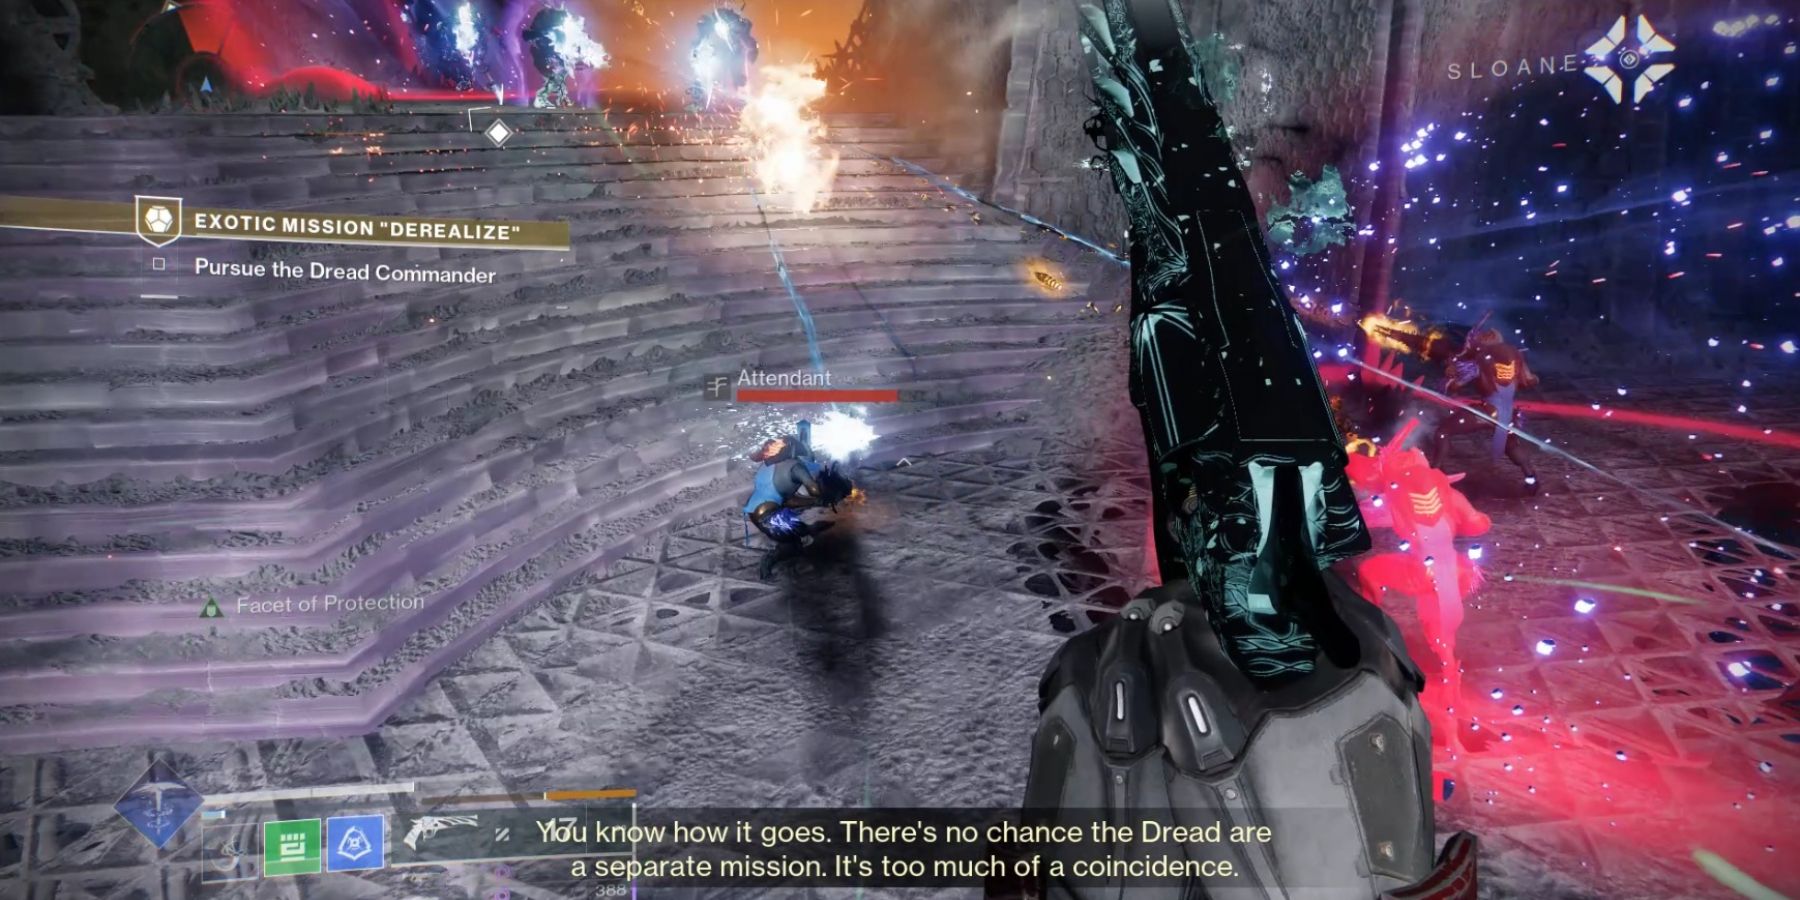
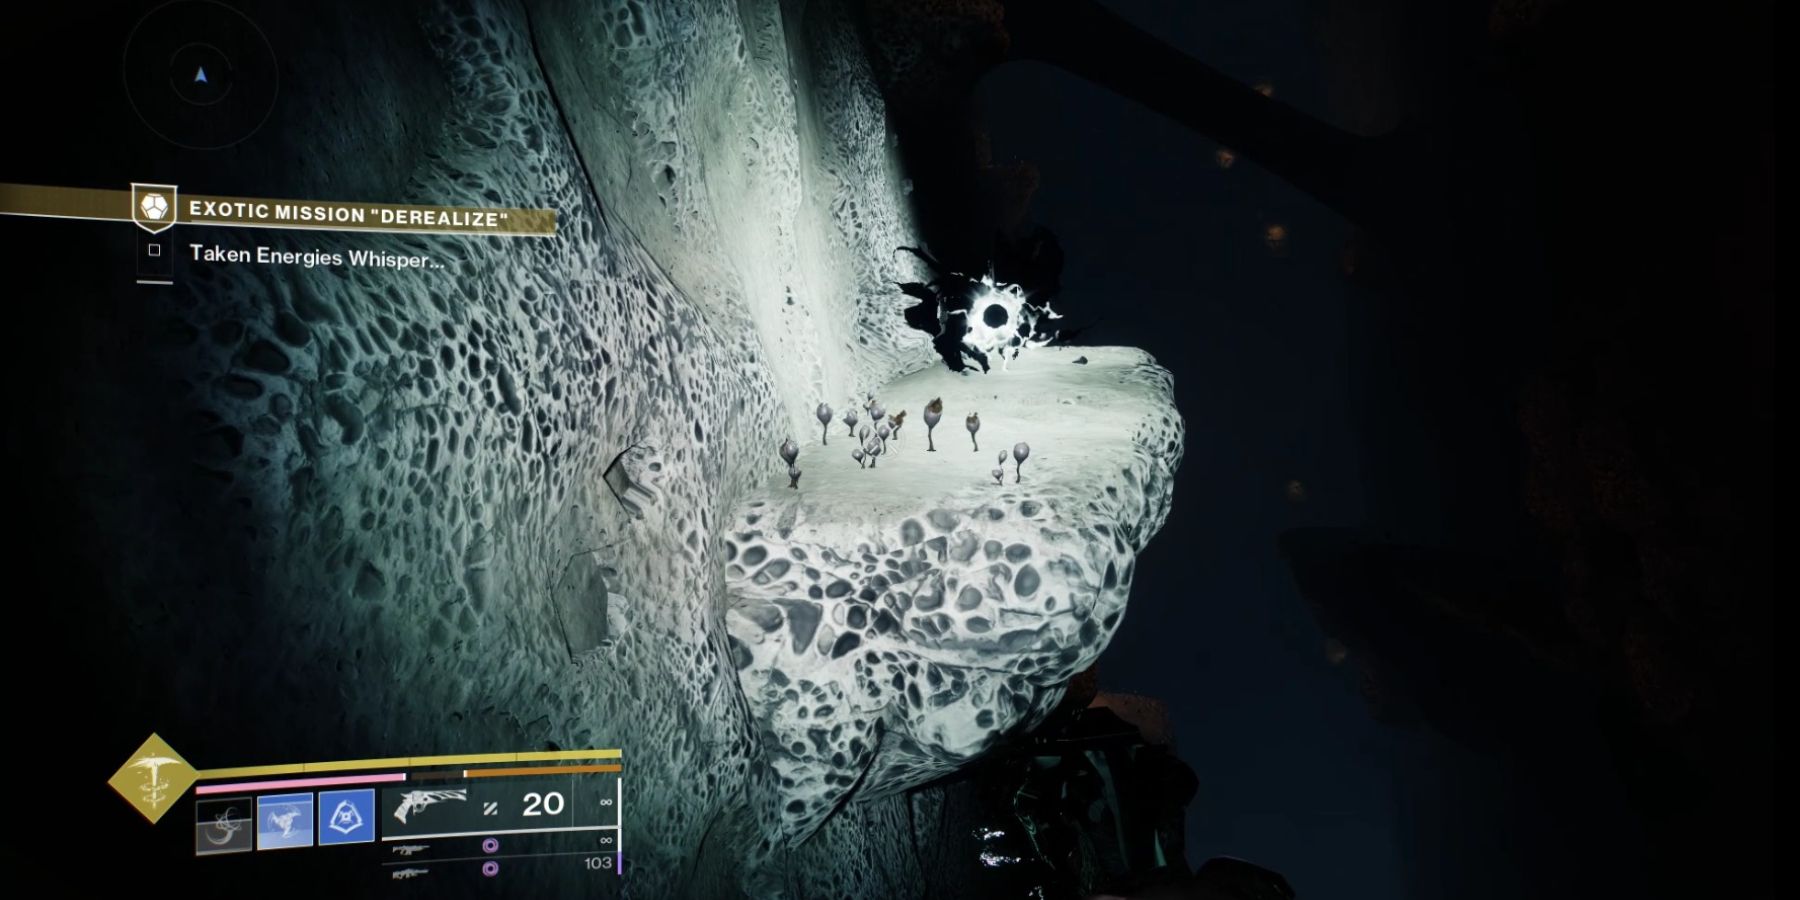
1. The initial phase involves a struggle against entities known as Dread forces. These consist of Attendants, Omens, Weavers, Tormentors, Grim, and Husks.
2. Throughout this adventure, players must exercise caution concerning the debilitating effect called ‘Overwhelming Fear‘, triggered by the spectral eyes that roam the map.
Accumulating 20 charges of this debuff will immediately stun and kill the Guardian. To prevent this debuff, players should take cover in certain places to avoid the gaze of the eyes. Near the corners of each arena, there are small walls that prevent players from accumulating Suffocating Terror; using them is the best way to avoid wiping.
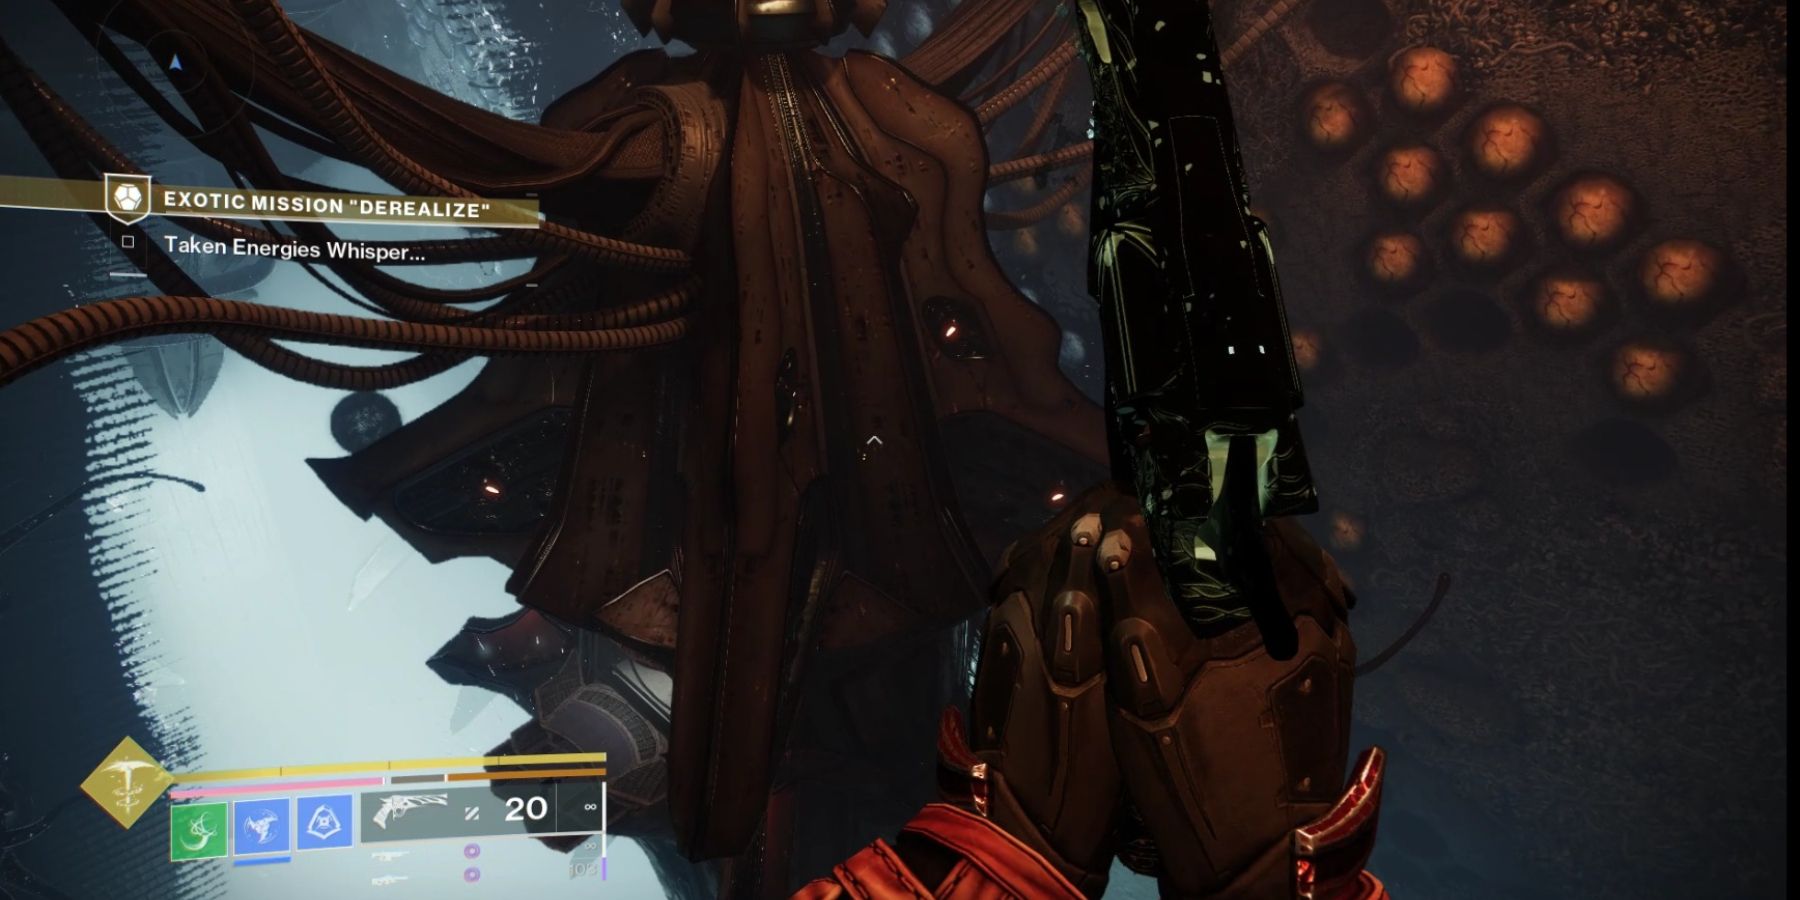
Keep on overpowering the Tormentors and the rest of their malevolent troops, and chase after their leader. Upon reaching a highland, you’ll encounter a Harbinger boss that must be vanquished to remove the obstacle guarding the Taken Portal. Defeat it and advance through the ascendant realm until you arrive at the initial boss’s arena.
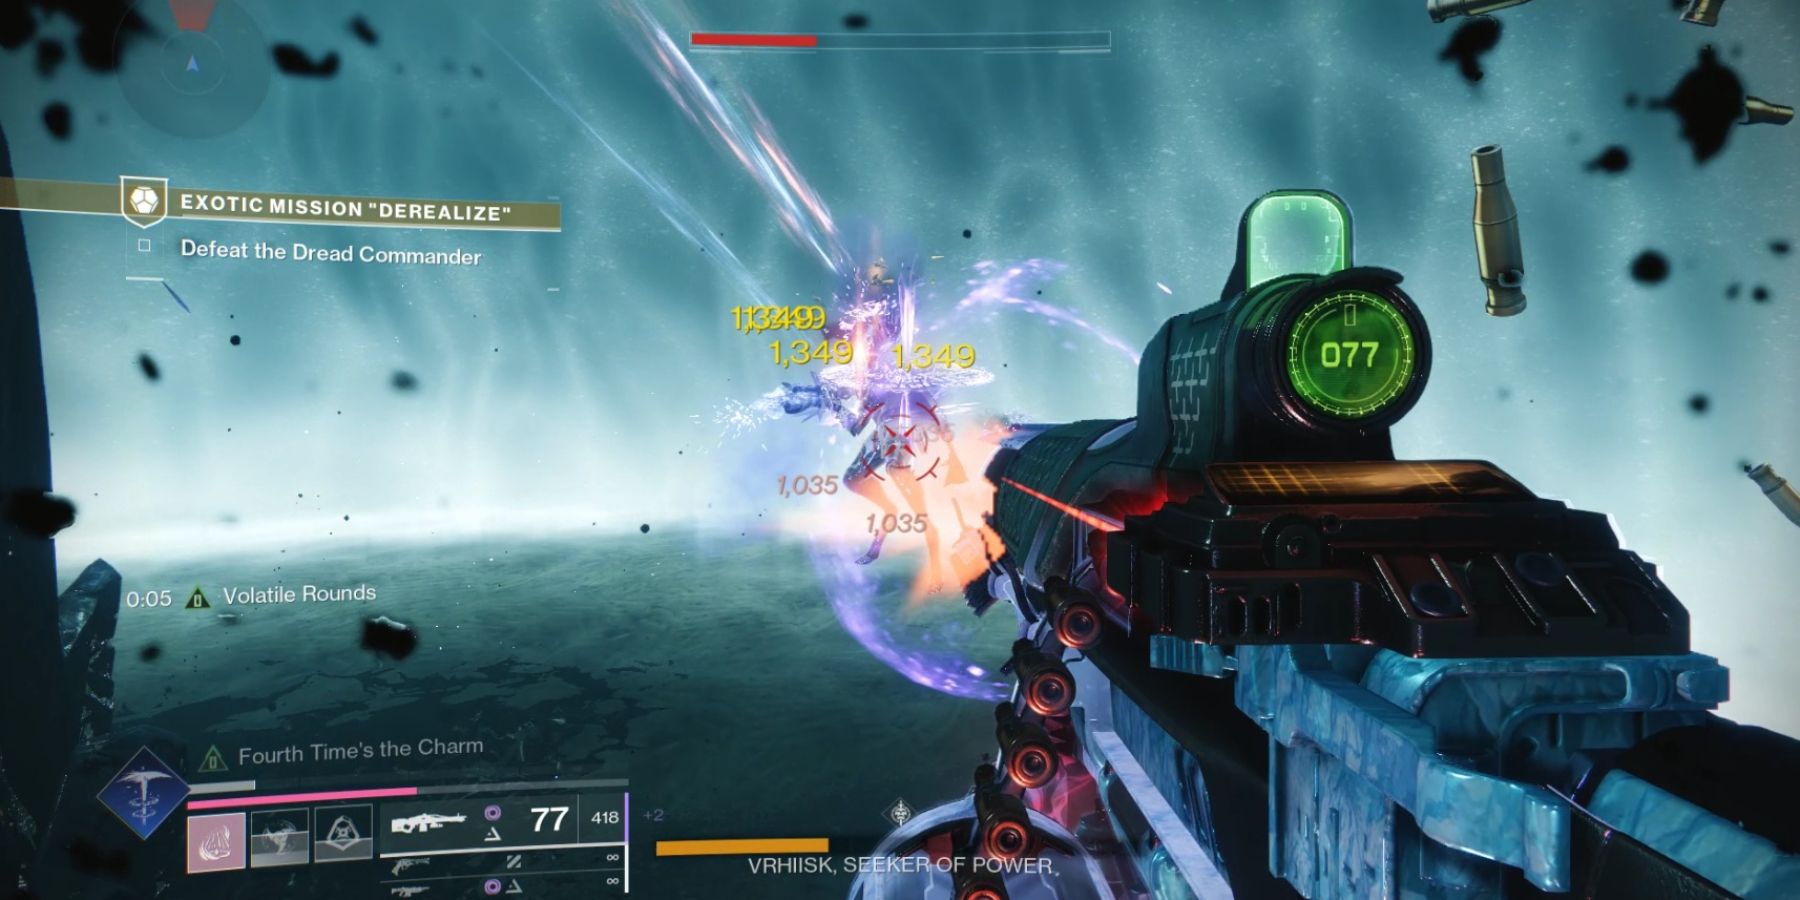
How To Beat Vrhhsik, Seeker Of Power
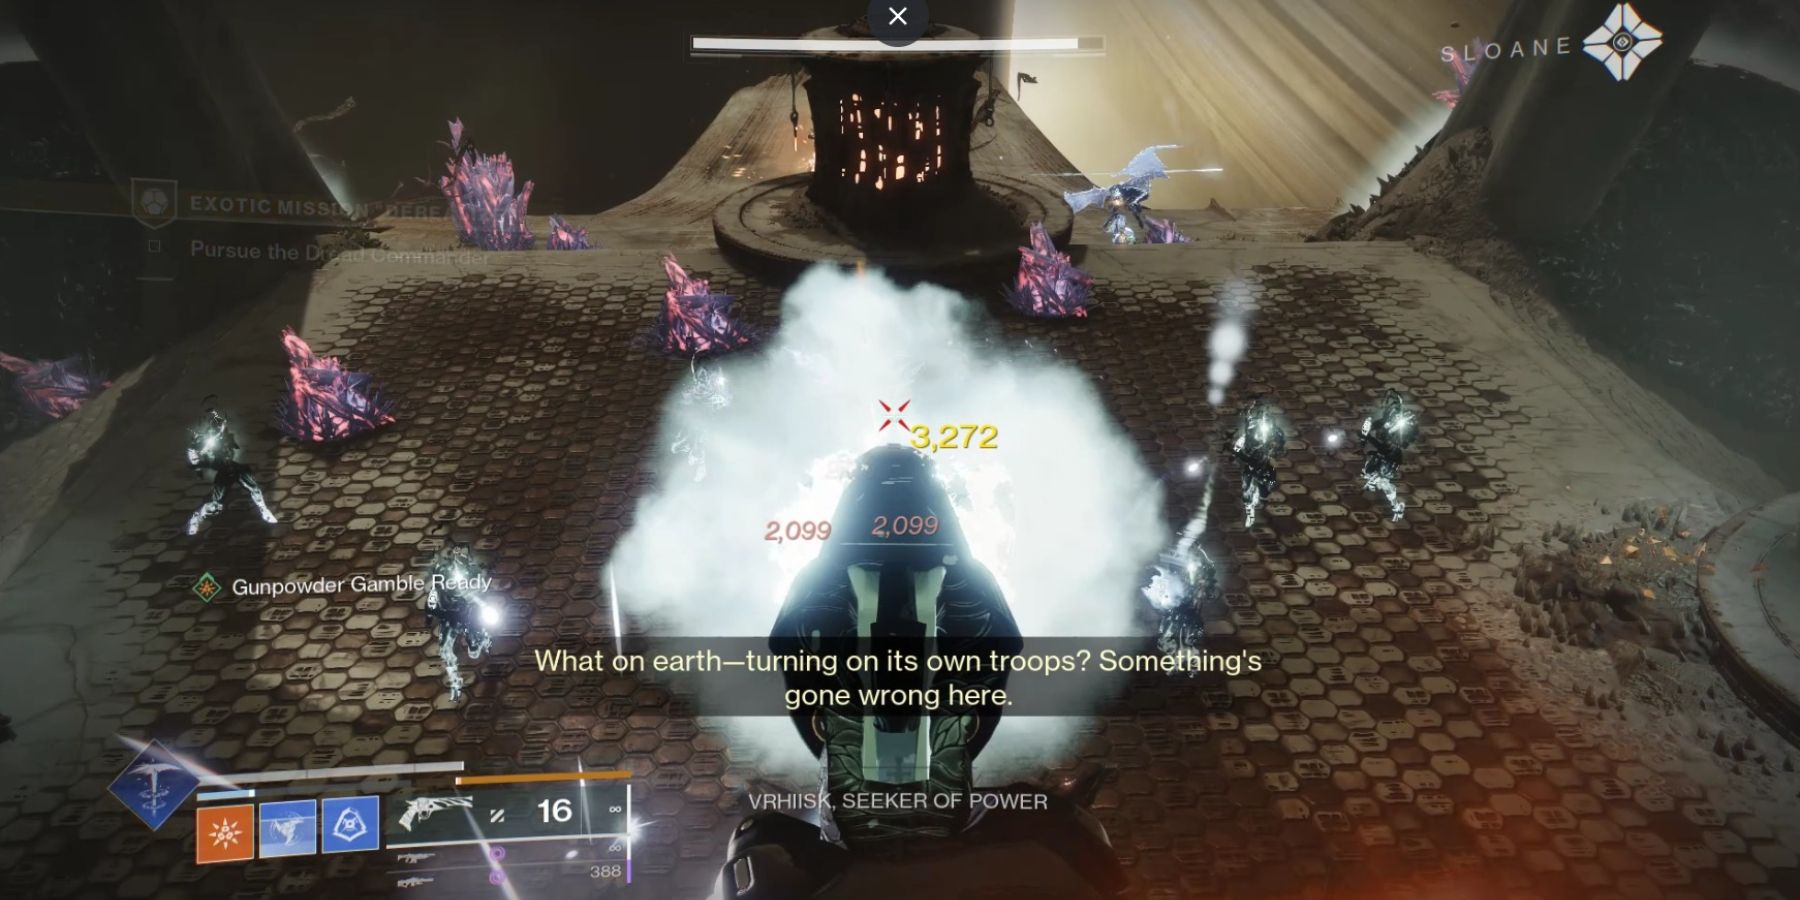

In this battle, players should keep in mind the action of powering up the Taken Orb and then placing it at the designated location. As you damage the boss, a protective shield will activate. Subsequently, two Taken Ogres will emerge. For an effective strategy, consider using a Void Machine Gun or a Linear Fusion Rifle during this fight.
As a gamer, I’ve got to take down the ogres, snatch their seized artifacts, then finish them off to empower the Taken. With each relic charged, one of the Bight Bubbles transforms into the diving spot. I’ll navigate through platforms and channel that Taken energy to shatter the boss’s shield, kick-starting the damage phase.
On their second visit, players will find themselves on the Ascendant Plane, with the orb’s dunking zone placed at a greater distance. If you recall the encounters with Oryx and The Witcher from the King’s Fall Raid, the procedure is quite similar. Simply navigate through the platforms and reenact the damage phase again.
When the boss is critically wounded (only 25% of its health remains), it will quickly retreat to either end of the battlefield and instantly transport itself to the superior plane. The area surrounding the Guardian will start to decay, and within a short while, they too will be teleported. Inside this compact arena, players find themselves cornered in an intense final confrontation with Vrhhsik.
Occasionally, he may call upon some Taken and Fearful minions who tend to emerge from hidden spots behind the player, usually beyond the combat area where the boss is engaged. Therefore, it’s crucial for players to always keep a keen eye on their surroundings.
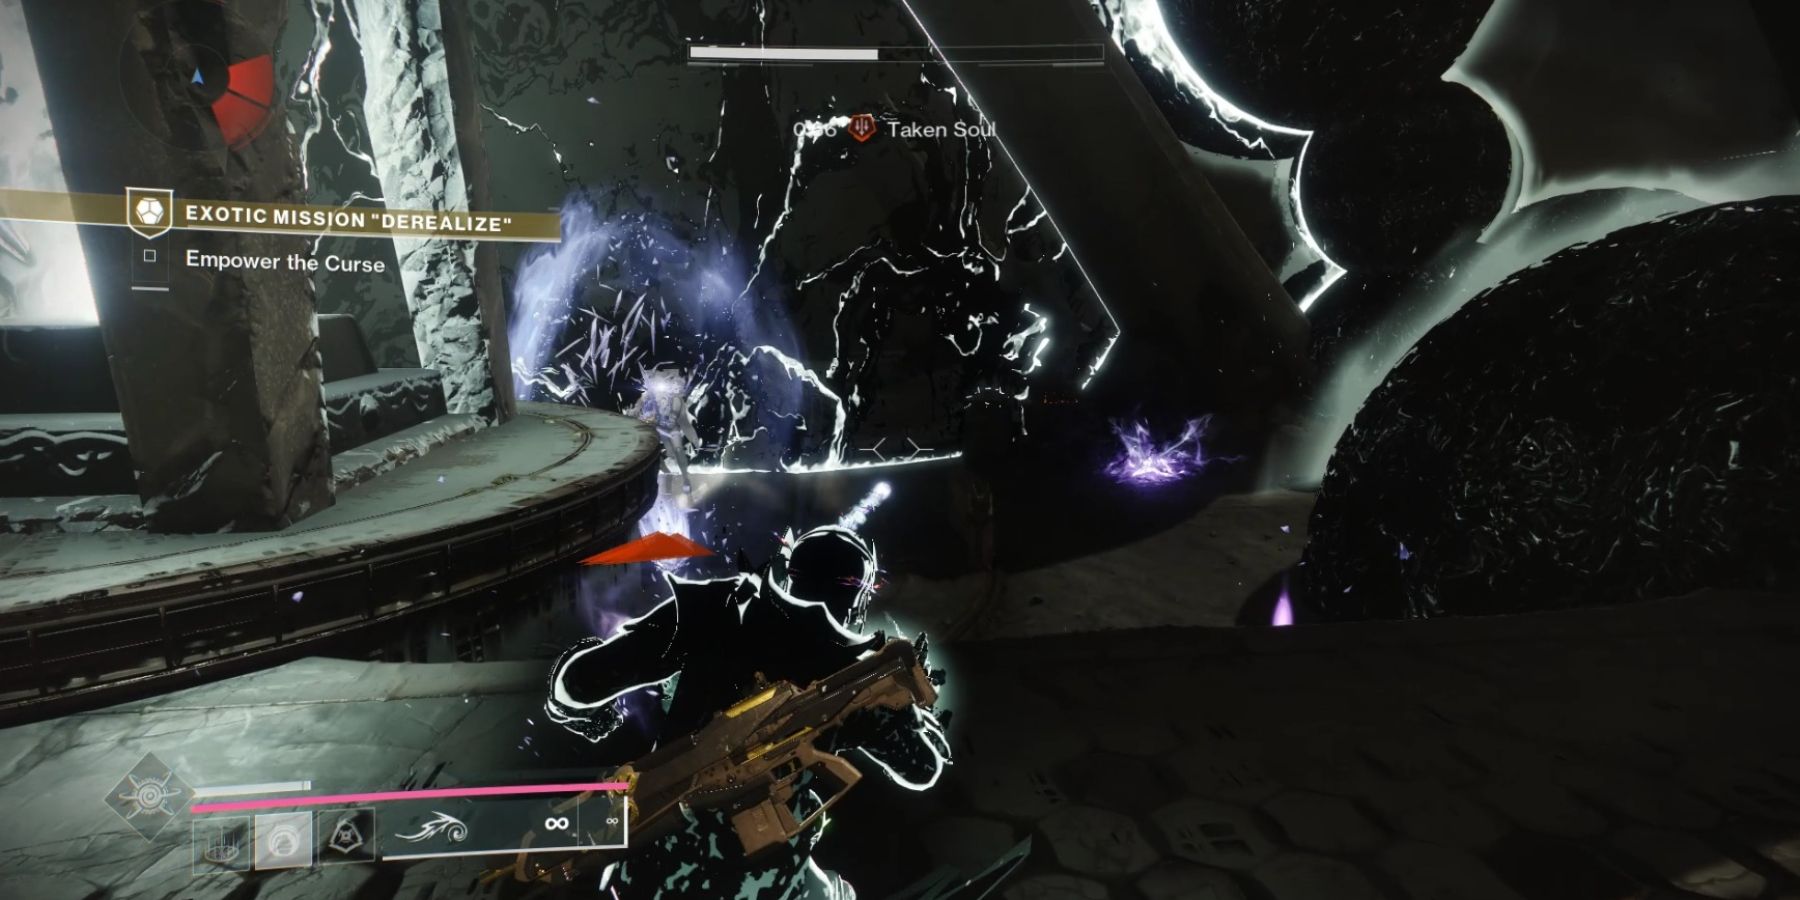
How To Escape The Ascendant Plane Loop
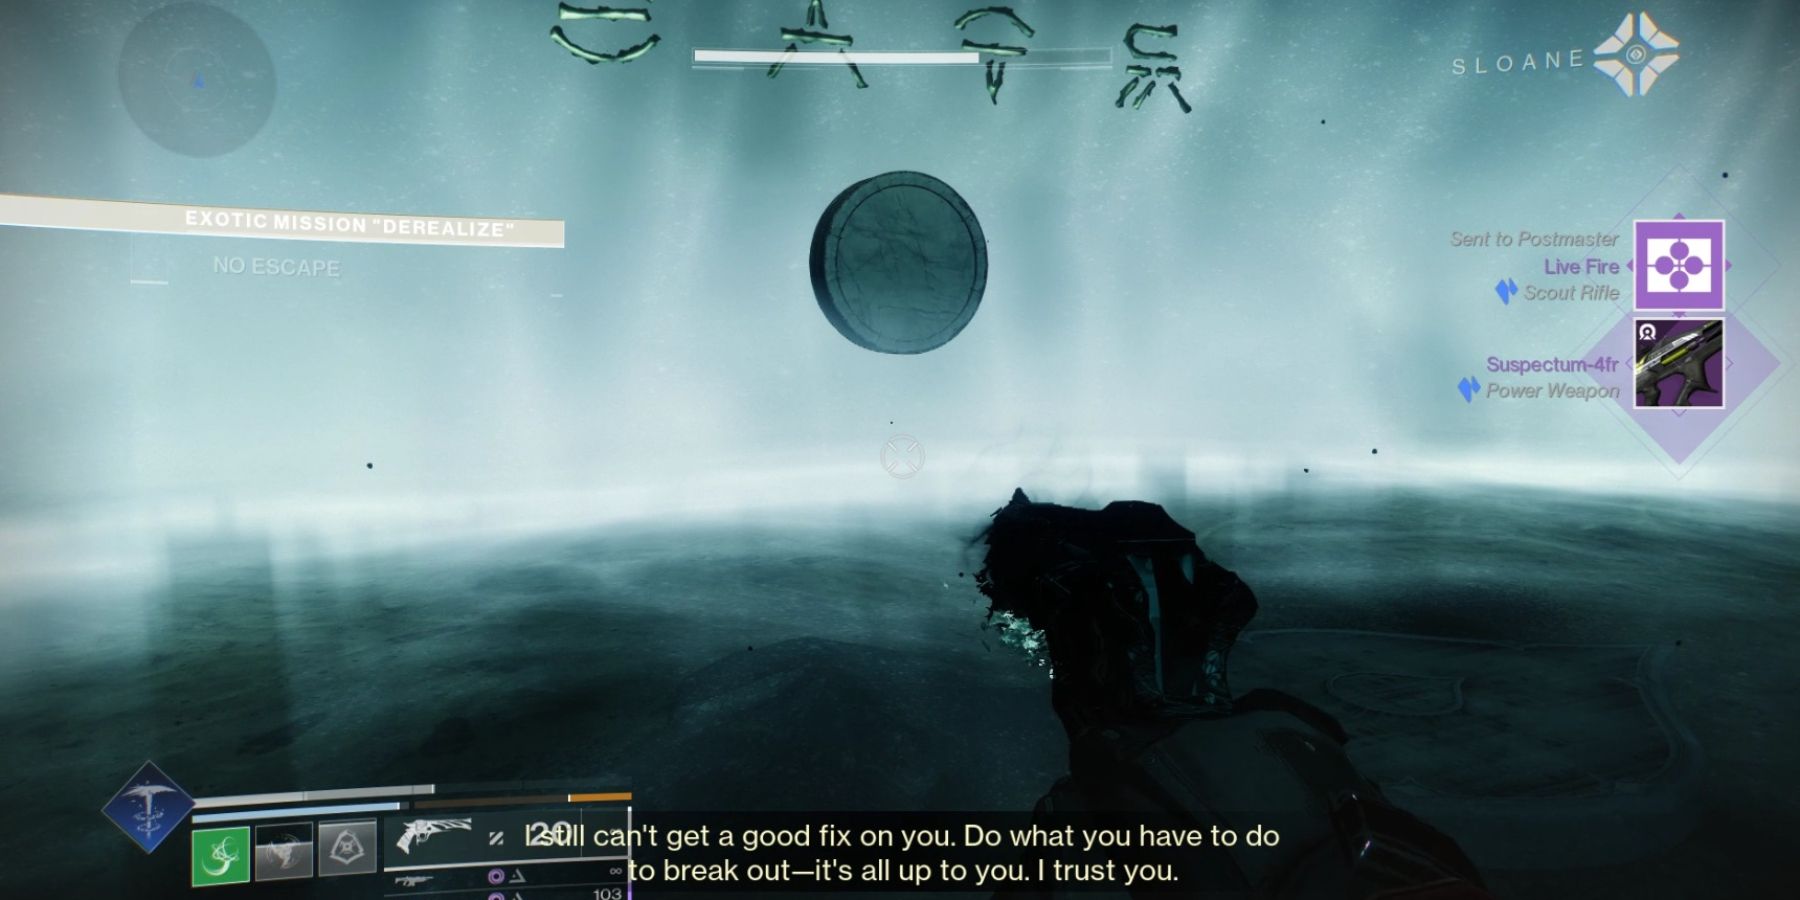
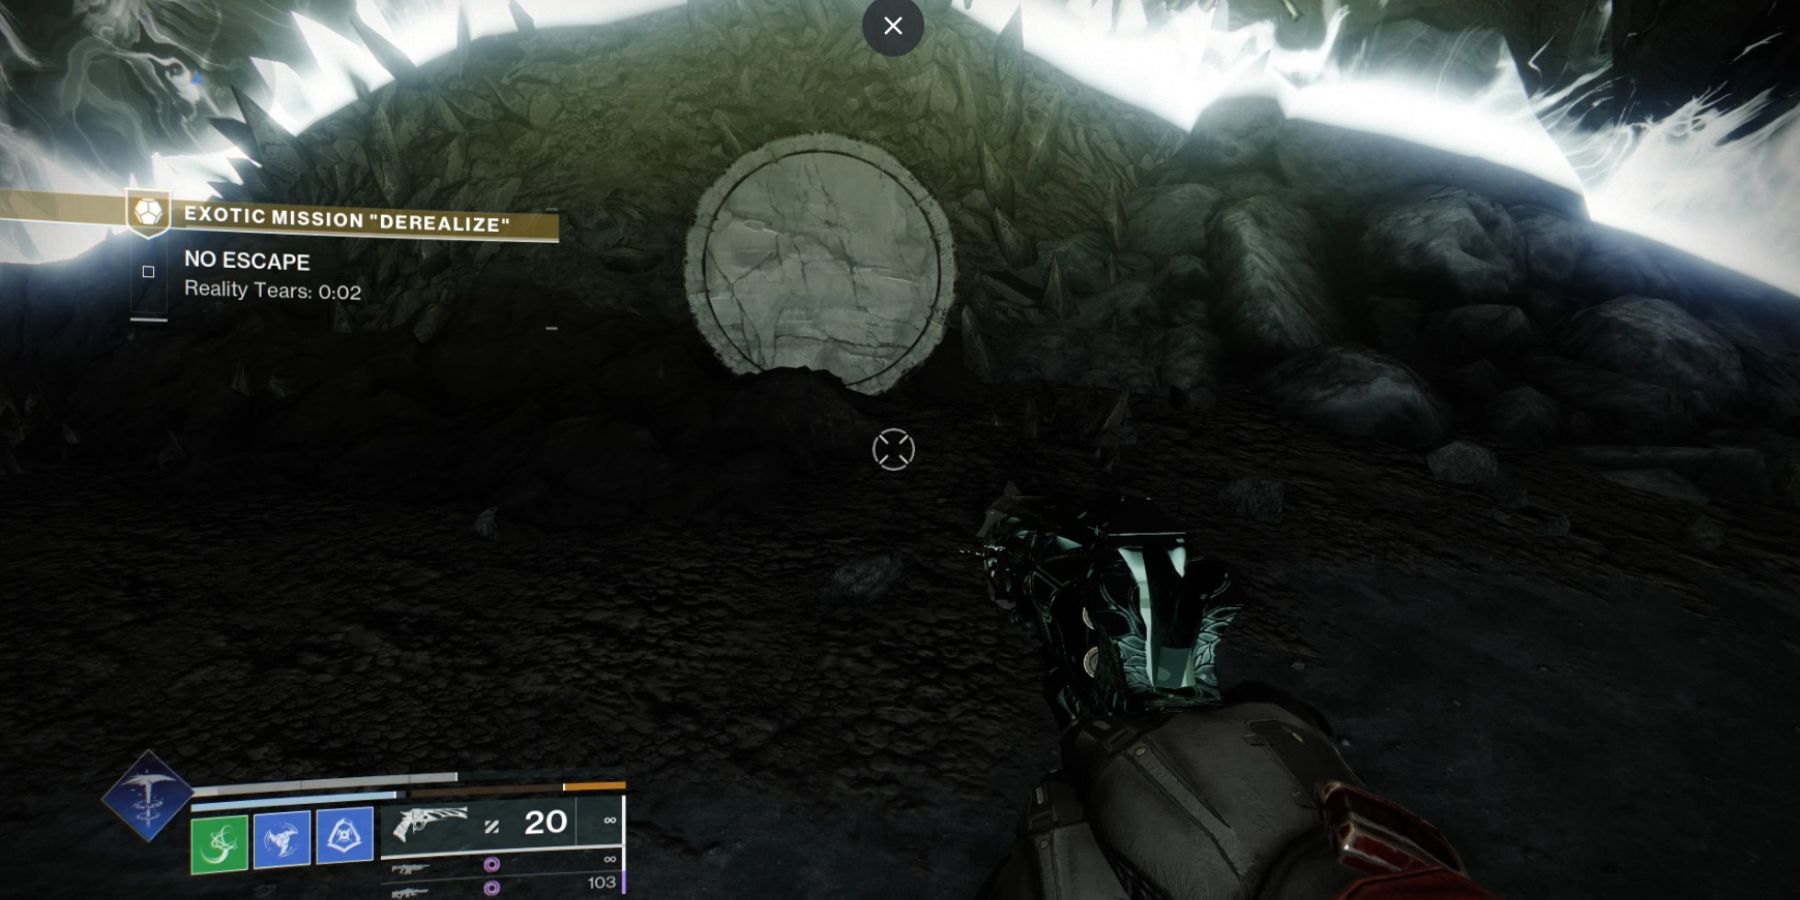
Following the victory against Vrhhsik, the Power Seeker, the stage is set for a fresh challenge. Players will observe a clock labeled ‘Reality Teardown‘ in the upper left part of their screens, accompanied by the ‘No Escape Quest Objective‘. Whenever this countdown hits zero, players find themselves instantly transported to a randomly generated room, where they encounter another directional puzzle.
If players recall the sequence-based riddle they encountered earlier in this adventure, navigating around this peculiar trap should be straightforward for them. To expedite the process, remember that the sequence is read from left to right, and players should only tackle the rune puzzle that adheres to this sequence, allowing the others to progress unhindered.
- Check if the rune in the sequence is the same as what’s represented by stepping on the plate.
- If yes, then move in the indicated direction to break one of the seals.
- If not, let the countdown reach zero, and repeat the process until breaking every seal.
Derealize Exotic Quest Jumping Puzzle Solution
Just like any Exotic Quest in Destiny 2, it includes an obligatory jumping challenge with tense elements that could make seasoned Guardians gnaw on their fingernails in worry. Fortunately, Derealize’s jumping puzzle segment is brief compared to others.
As a gamer, I found myself mysteriously transported beyond the Ascendant Plane. To progress, I needed to navigate unseen ledges that my Ghost could illuminate, guiding me upward. Eventually, I reached a Quest Marker, ready to seize another elusive Taken Osseous Fragment that was waiting for me there.
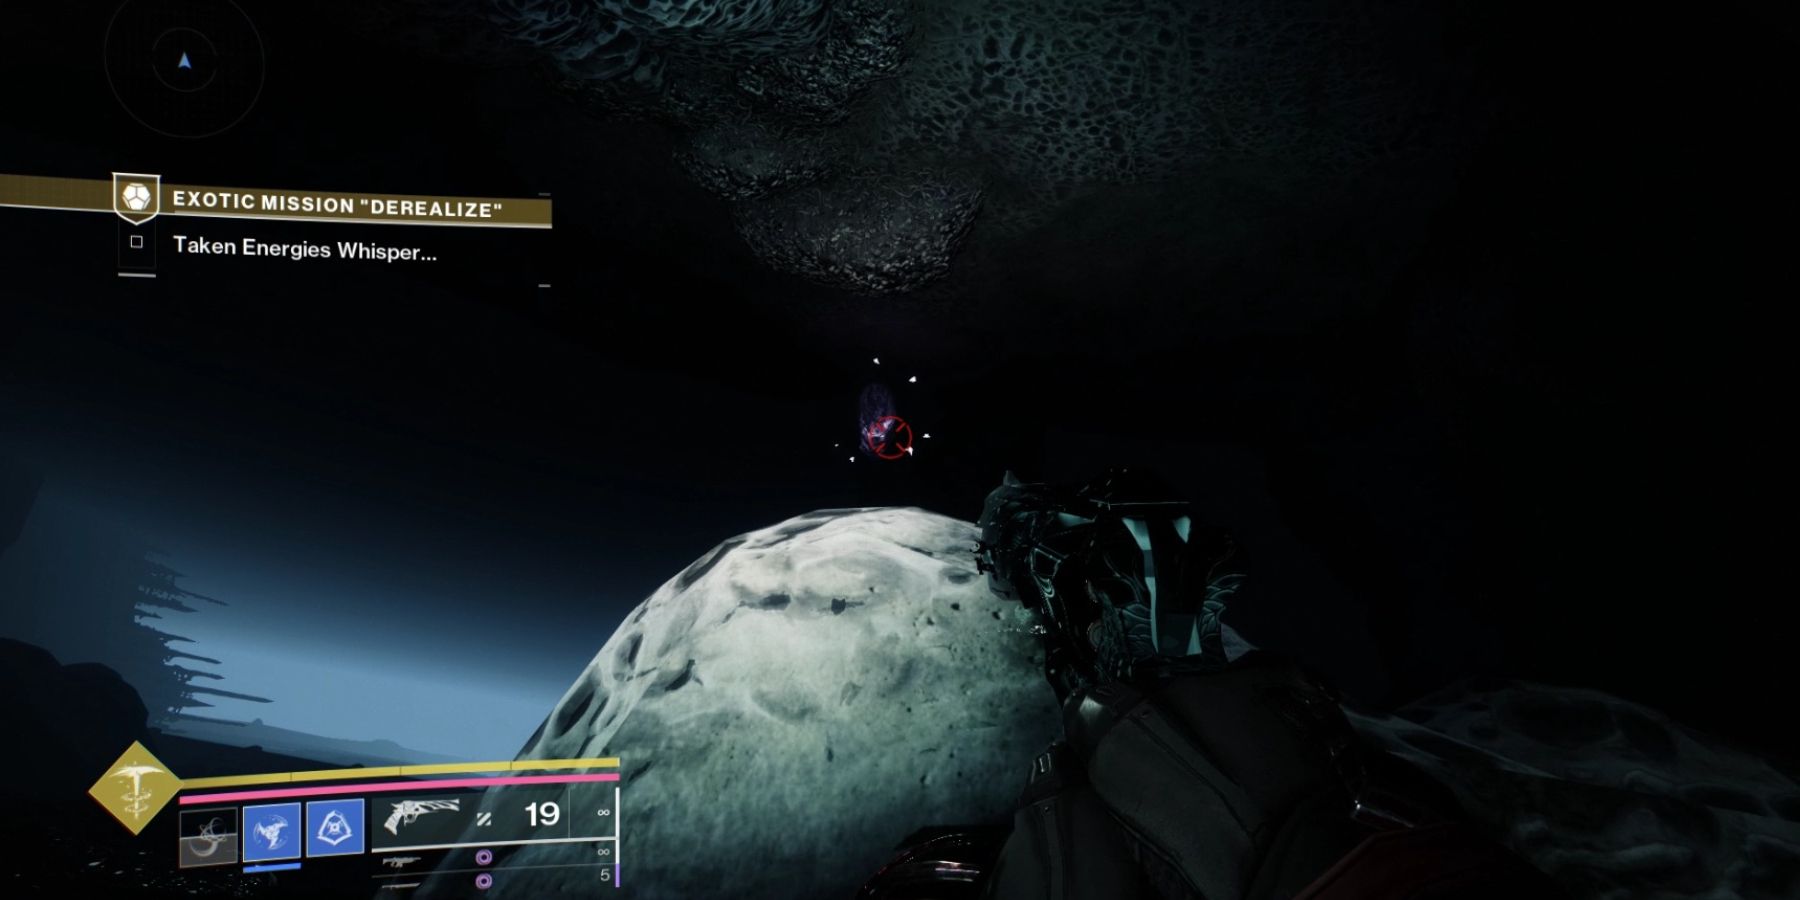
After that, advance swiftly and descend to proceed through the platforms controlled by the Taken. Be cautious of the deadly wall pistols, which are much like those from the King’s Fall Raid. Now, seek out the hexagonal gaps in the walls to surmount the Taken obstacles. Enter these openings when the pistons retract and move behind the walls to progress to the next section.
Keep an eye out for the Void Crystals scattered throughout your journey. You’ll find a total of three, and destroying them is essential to shattering the Hive Barrier that awaits you at the conclusion of this jumping challenge.
If you can’t locate the crystal you seek, consider moving to the opposite side of the abyss and leaping with a sword into the Taken Blight orbs as a means of reaching another region. In that area, you may encounter crystals to shatter. When players successfully break 3 of these crystals and advance further, they’ll be ready to confront the final boss in this Exotic Quest and acquire the Barrow-Dyad Exotic weapon.
How To Beat Xir-Kuur In Destiny 2
Navigate towards the banner, advance ahead, search for the altar positioned on the right side at the front of the arena (to locate the Barrow-Dyad SMG), seize it, and brace yourself for a challenging battle. You’ll encounter Xir-Kuur, an entity with two forms: one Taken and the other Not-Taken. If you aim to finish the Exotic Quest and activate the initial Intrinsic, you must defeat both of them.
The battlefield will be populated by malevolent eyes that instill ‘Overwhelming Fear‘. Players need to take note that there are only two secure areas within the arena, shielded from both the boss’s attacks and the eyes’ gaze. One is situated on the top-right corner (a raised platform with a protective shield), while the other is located at the bottom-left side (a small fortification providing cover to evade the gaze and attack the boss).
In this battle, the boss will transform between two states, Taken and Not-Taken. Your task is to eliminate both versions during different damage stages. The strategies aren’t overly complex, but you should be prepared to handle the waves of minions that continuously appear.
Once you have defeated both forms of the boss, it appears that this colossal Taken foe is indestructible. Therefore, the Guardians must retreat. Make your way towards the arena entrance and perform the Hive Magic Ritual Circle to barricade the door. Endure the anxiety of the boss’s flames, the relentless Thralls nipping at your heels, and complete the mission.
Read More
- Nine Sols: 6 Best Jin Farming Methods
- How to Unlock the Mines in Cookie Run: Kingdom
- MHA’s Back: Horikoshi Drops New Chapter in ‘Ultra Age’ Fanbook – See What’s Inside!
- Top 8 UFC 5 Perks Every Fighter Should Use
- Invincible’s Strongest Female Characters
- Top 8 Weapon Enchantments in Oblivion Remastered, Ranked
- USD ILS PREDICTION
- Fix Oblivion Remastered Crashing & GPU Fatal Errors with These Simple Tricks!
- Gold Rate Forecast
- Link Click Season 3 Confirmed for 2026—Meet the Mysterious New Character Jae Lee!
2025-02-12 19:41