
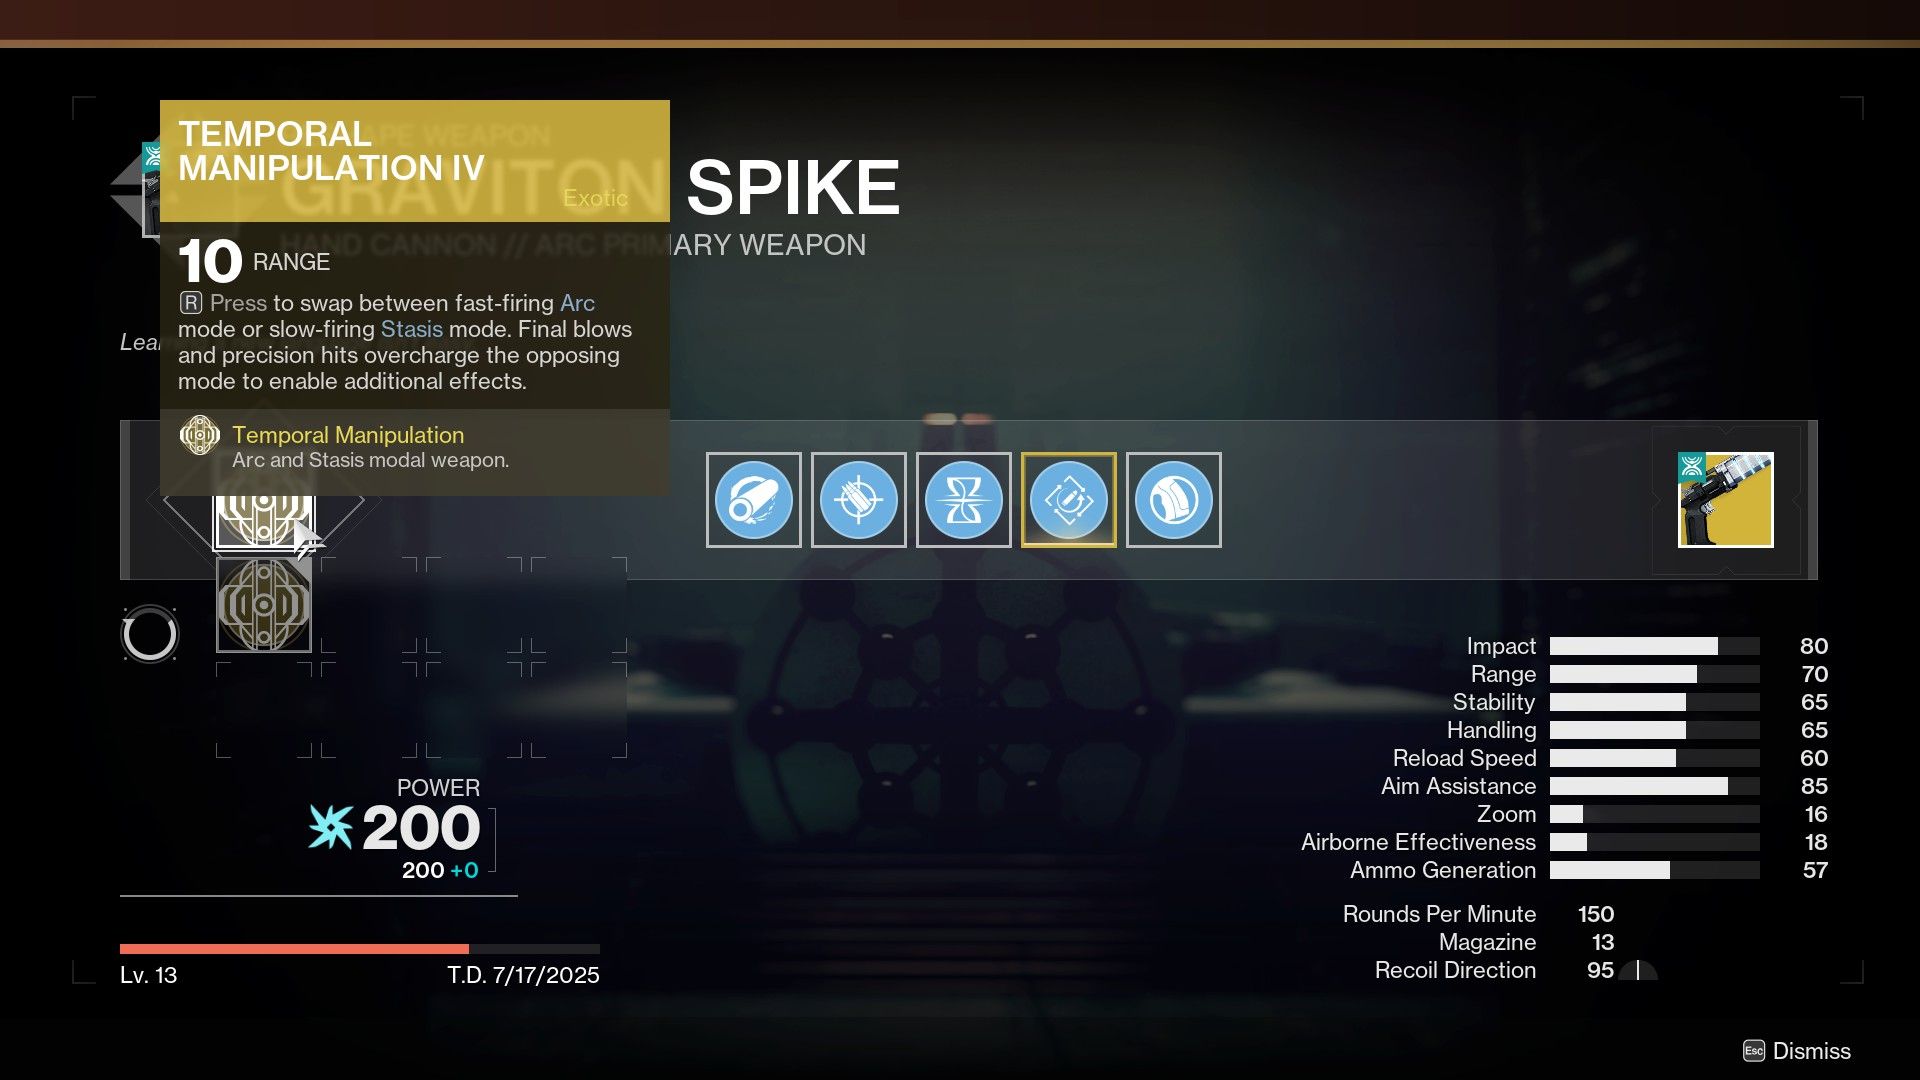
In Destiny 2: The Edge of Fate, Graviton Spike stands out among the Exotic weapons as a powerful Hand Cannon, capable not only of swiftly eliminating common foes but also taking down tougher enemies. But to fully unleash its potential, make sure you acquire all the Intrinsic enhancements and catalysts for this weapon.
In Destiny 2, a Gravitic Doctorate serves as a kind of progress tracker for enhancing the Graviton Spike weapon. While it isn’t a traditional quest, players will likely acquire it during their pursuit of maximally upgrading the Graviton Spike. If you’re curious about how to unlock this achievement, here’s a guide that should help.
Destiny 2: How to Get Gravitic Doctorate Triumph

Obtaining the Gravitic Doctorate Triumph can be challenging due to its complex process and significant time commitment. You’ll first need to acquire the Graviton Spike before attempting to achieve this triumph.
All the steps needed for the Gravitic Doctorate Triumph are as follows:
- First Intrinsic acquired
- Second Intrinsic acquired
- Third Intrinsic acquired
- Rapid Hit acquired (0/3)
- Subsistence acquired (0/3)
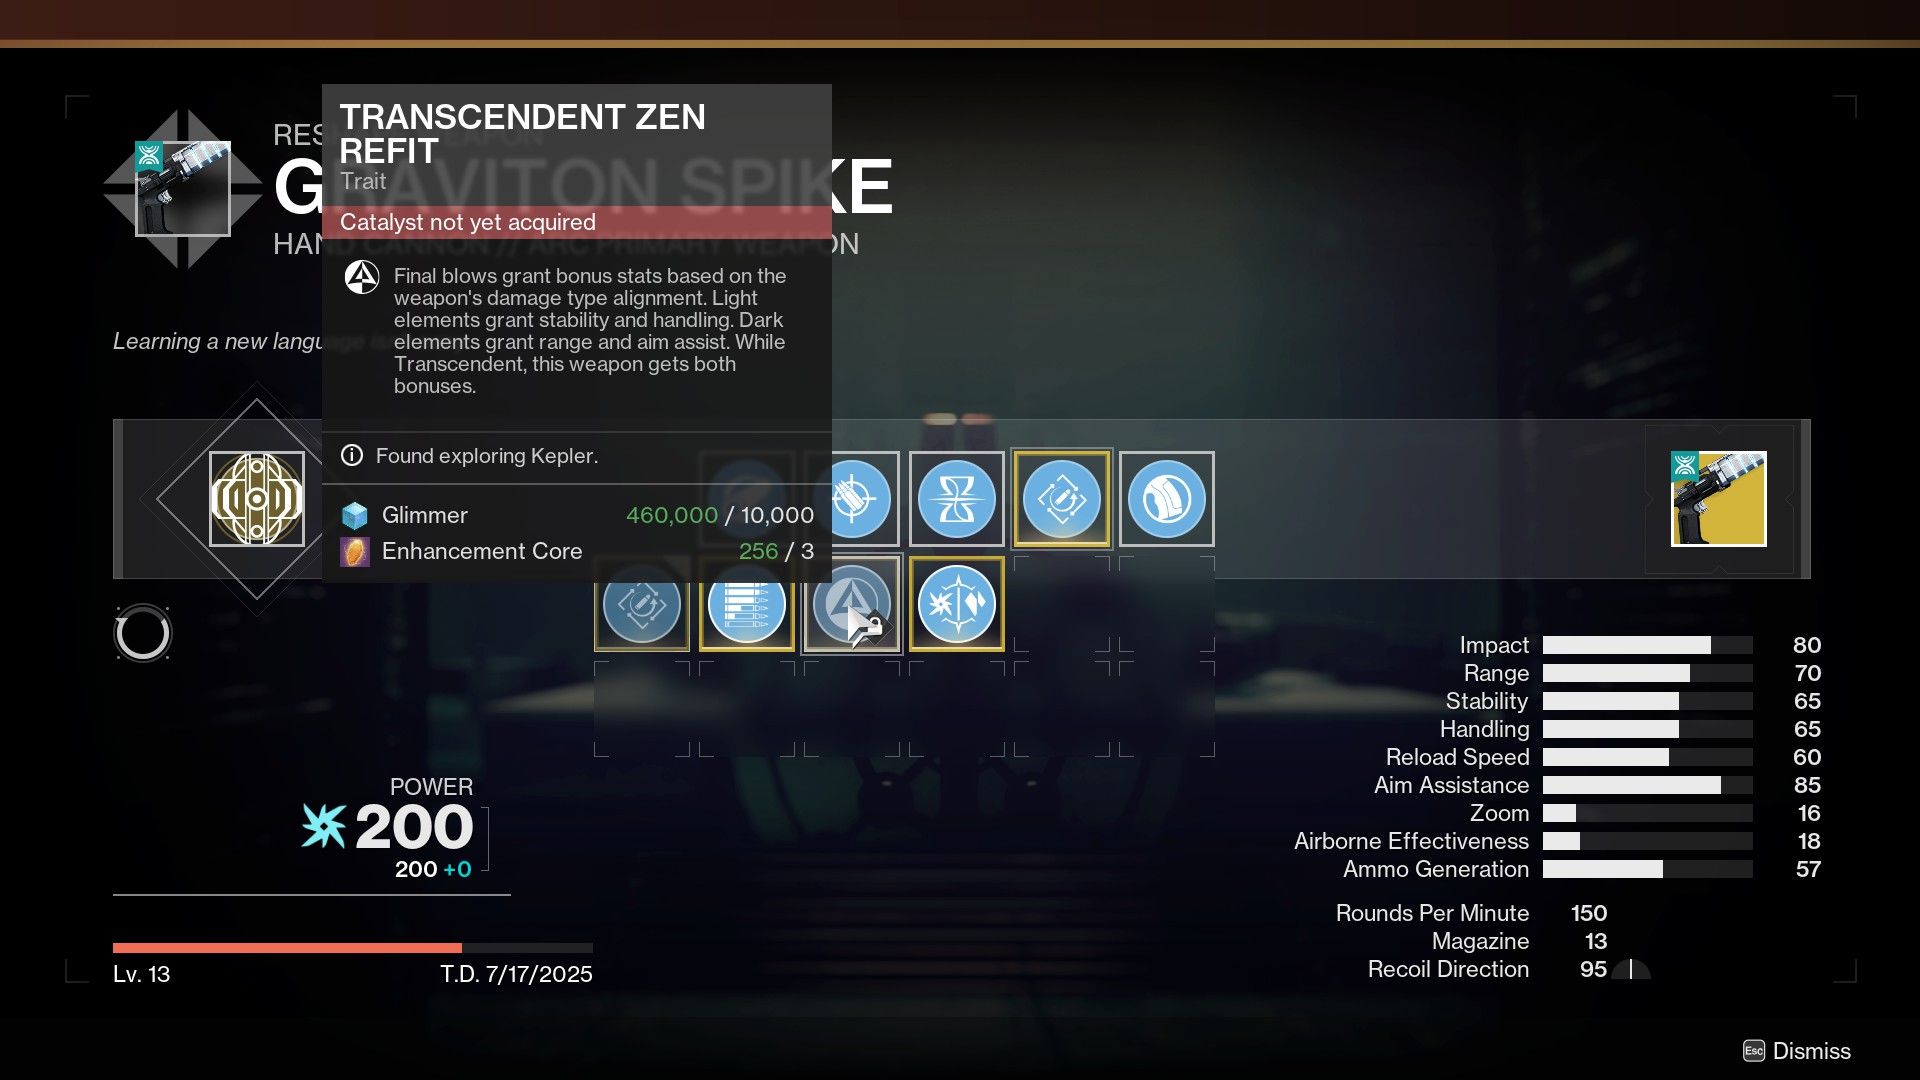
- Transcendent Zen acquired (0/3)
- Temporal Alignment acquired (0/3)
How to Get All Graviton Spike Intrinsics
This is where things become complex. The fundamental properties and activators of Graviton Spike are concealed within Kepler, so if you want to handle it on your own, you’ll need to be meticulous.”
“If you prefer to avoid speculation, here’s the place you should direct your efforts.
Temporal Manipulation Intrinsic 2 Location
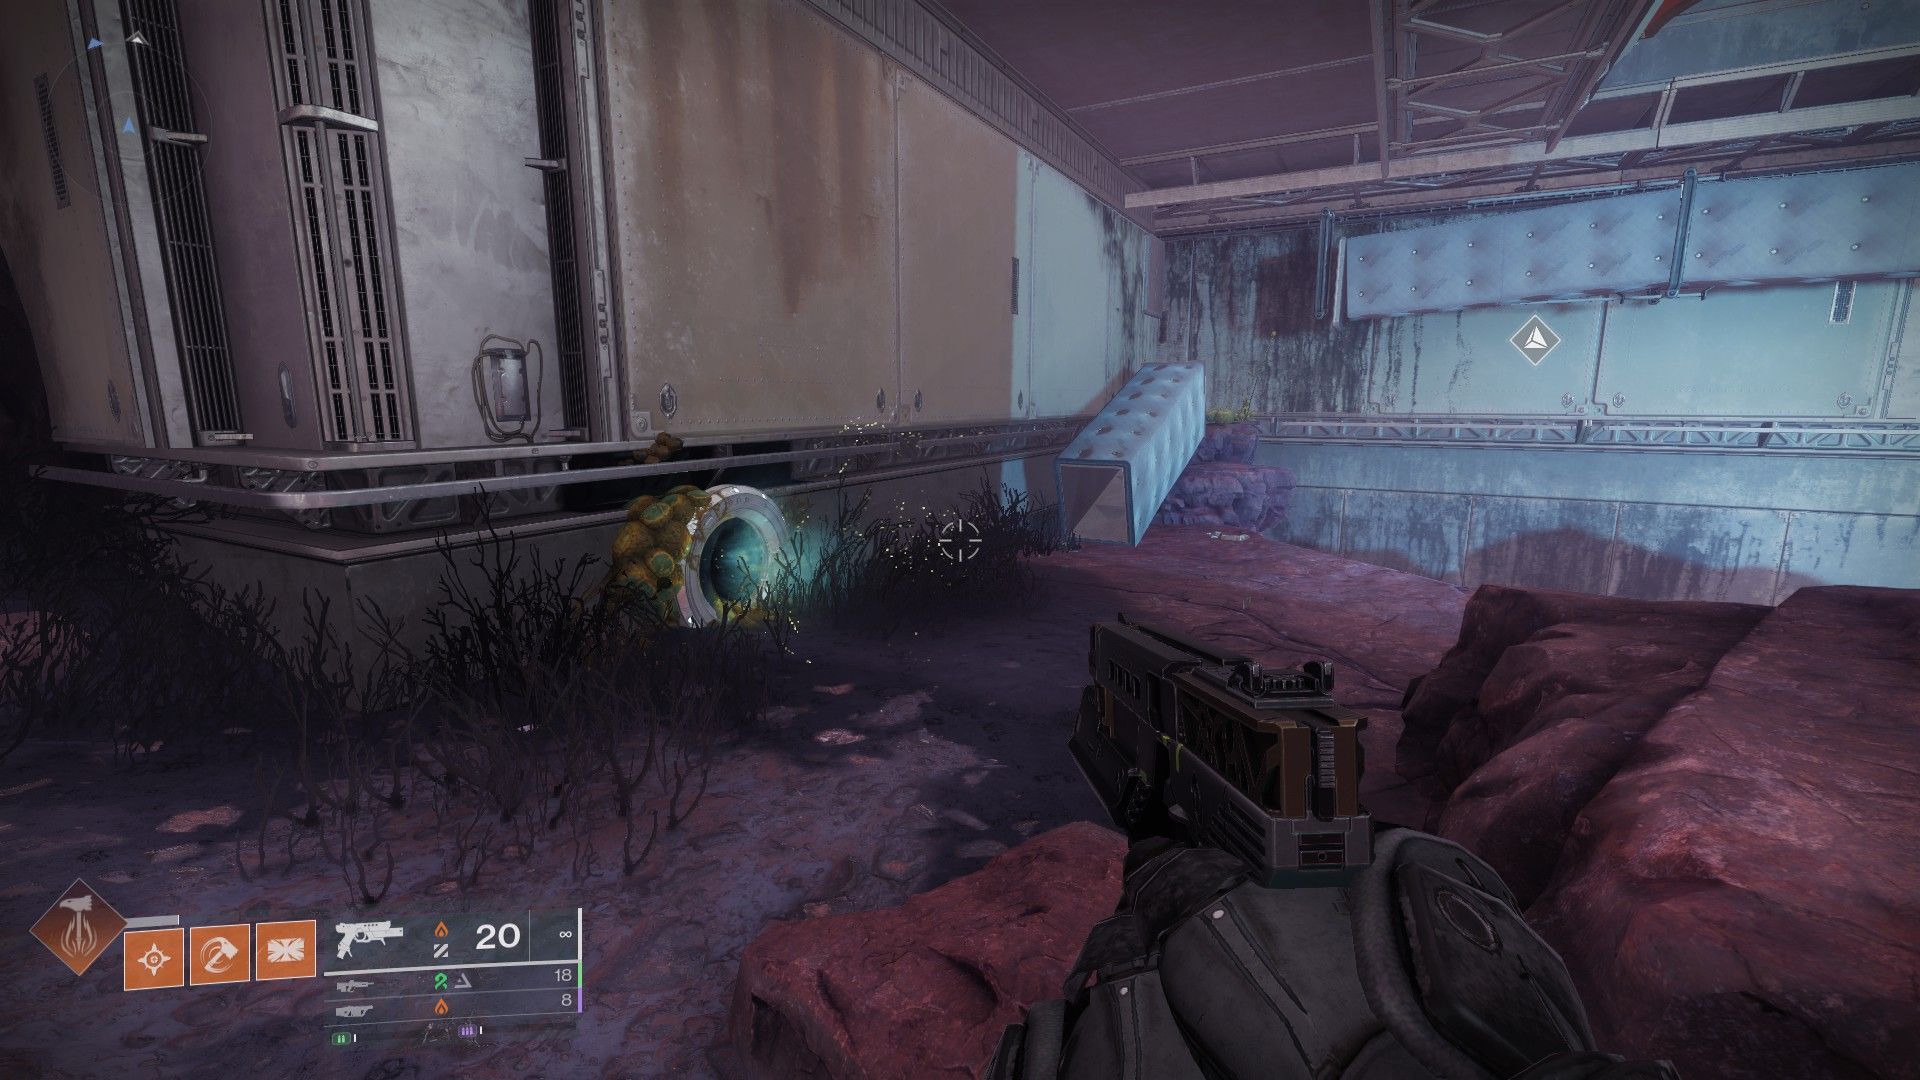
Inside Caldera’s buildings, you’ll find the initial Intrinsic. Move towards the base, and locate the spot where a vent has fallen near it. Look for the Matterspark tunnel there. Enter the tunnel, then aim at the large flower to the right. To eliminate this flower, you’ll need to use Graviton Spike. First, shoot the flower with Arc mode, then once it blooms, destroy it using Stasis.
Damaging the flower makes the fan cease functioning nearby. After passing through the fan, you can retrieve the Intrinsic located in a box next to the light source.
Temporal Manipulation Intrinsic 3 Location
In Curtilage Divide, located in the large room, you’ll find the location for one of the Strangelets in the Fabled quest for the Explore Kepler. The specific flower you need to shoot is situated near the Relocator platform. However, before you can shoot it, you’ll first have to retrieve the Matterweave orb from the other side of the chasm.


Here’s my take:
As a fan excitedly wielding the Matterweave, I make my way back towards the flower. With a quick shot, I disarm the floral guardian. Next, I employ the Matterweave to clear away the metal barriers clogging the entrance. Stepping through the newly created opening, I scoop up the awaiting upgrade that lies on the floor.
Temporal Manipulation Intrinsic 4 Location
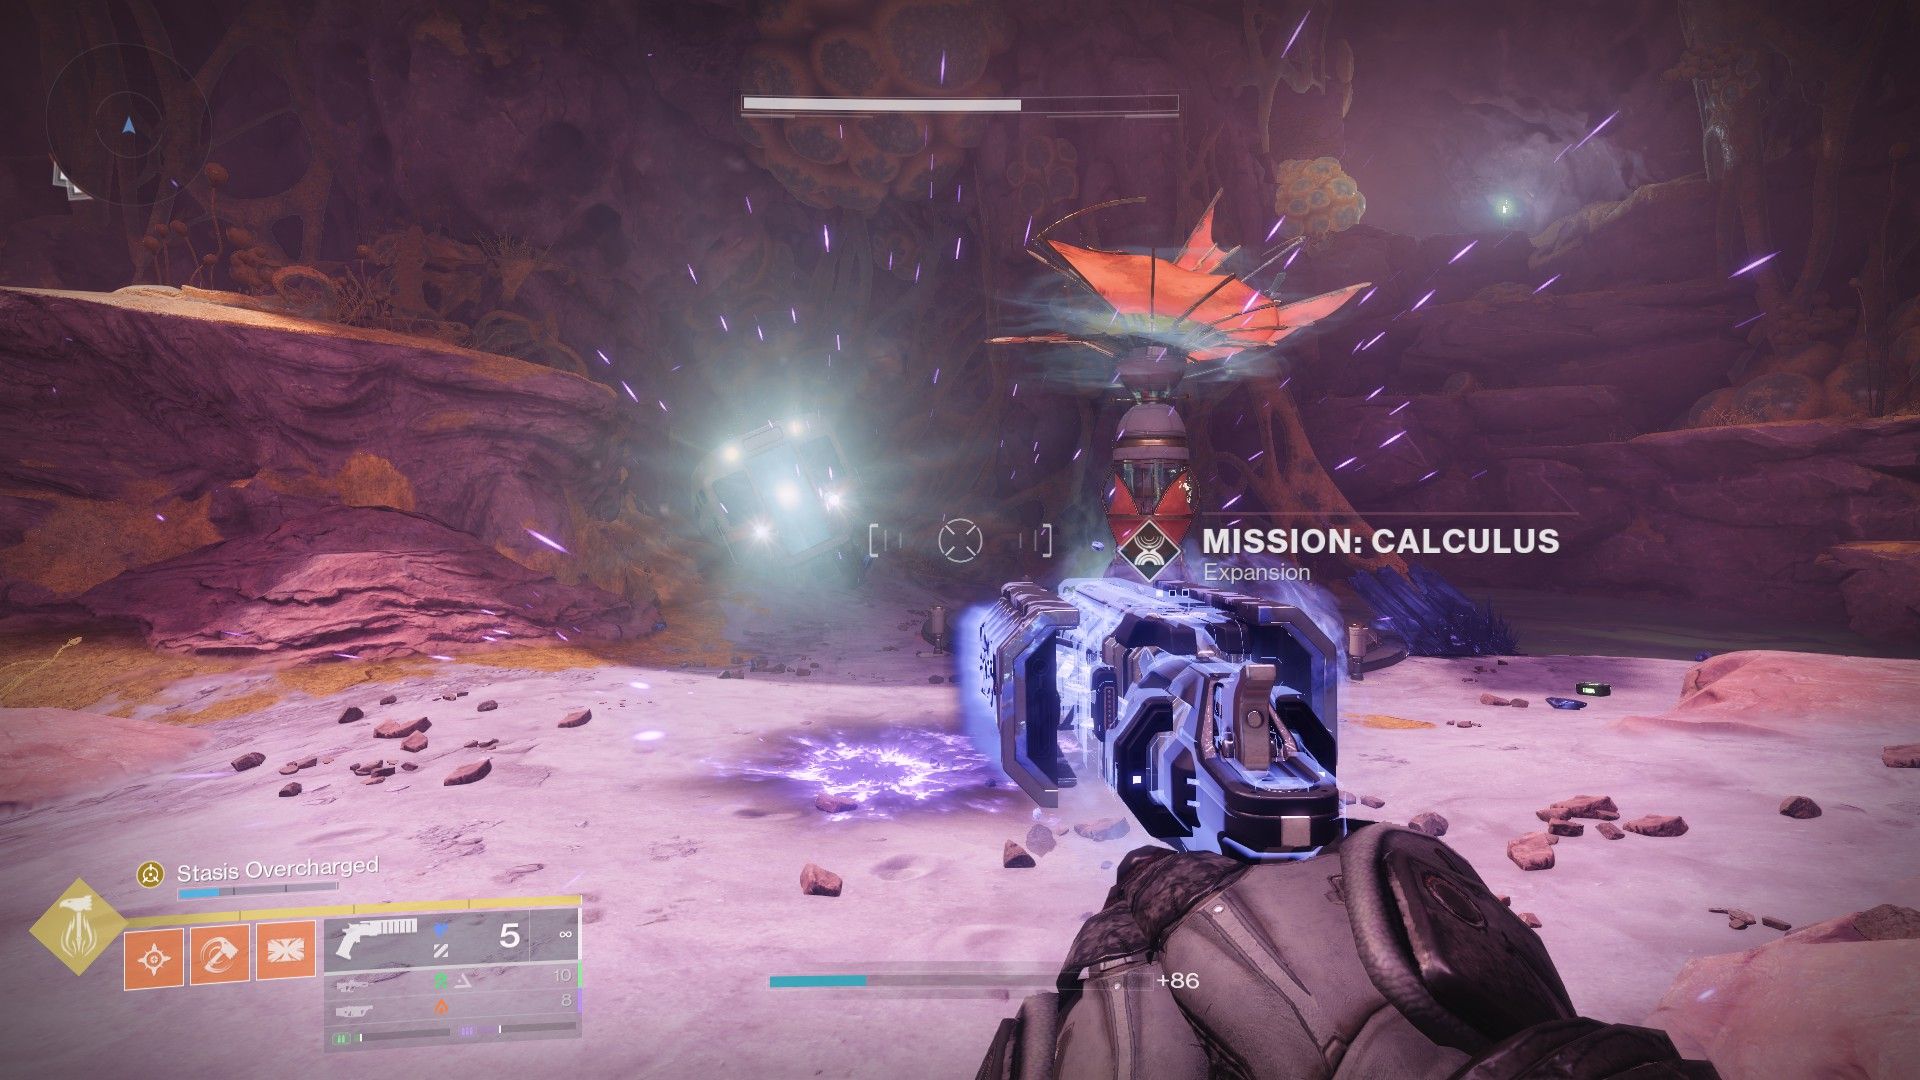
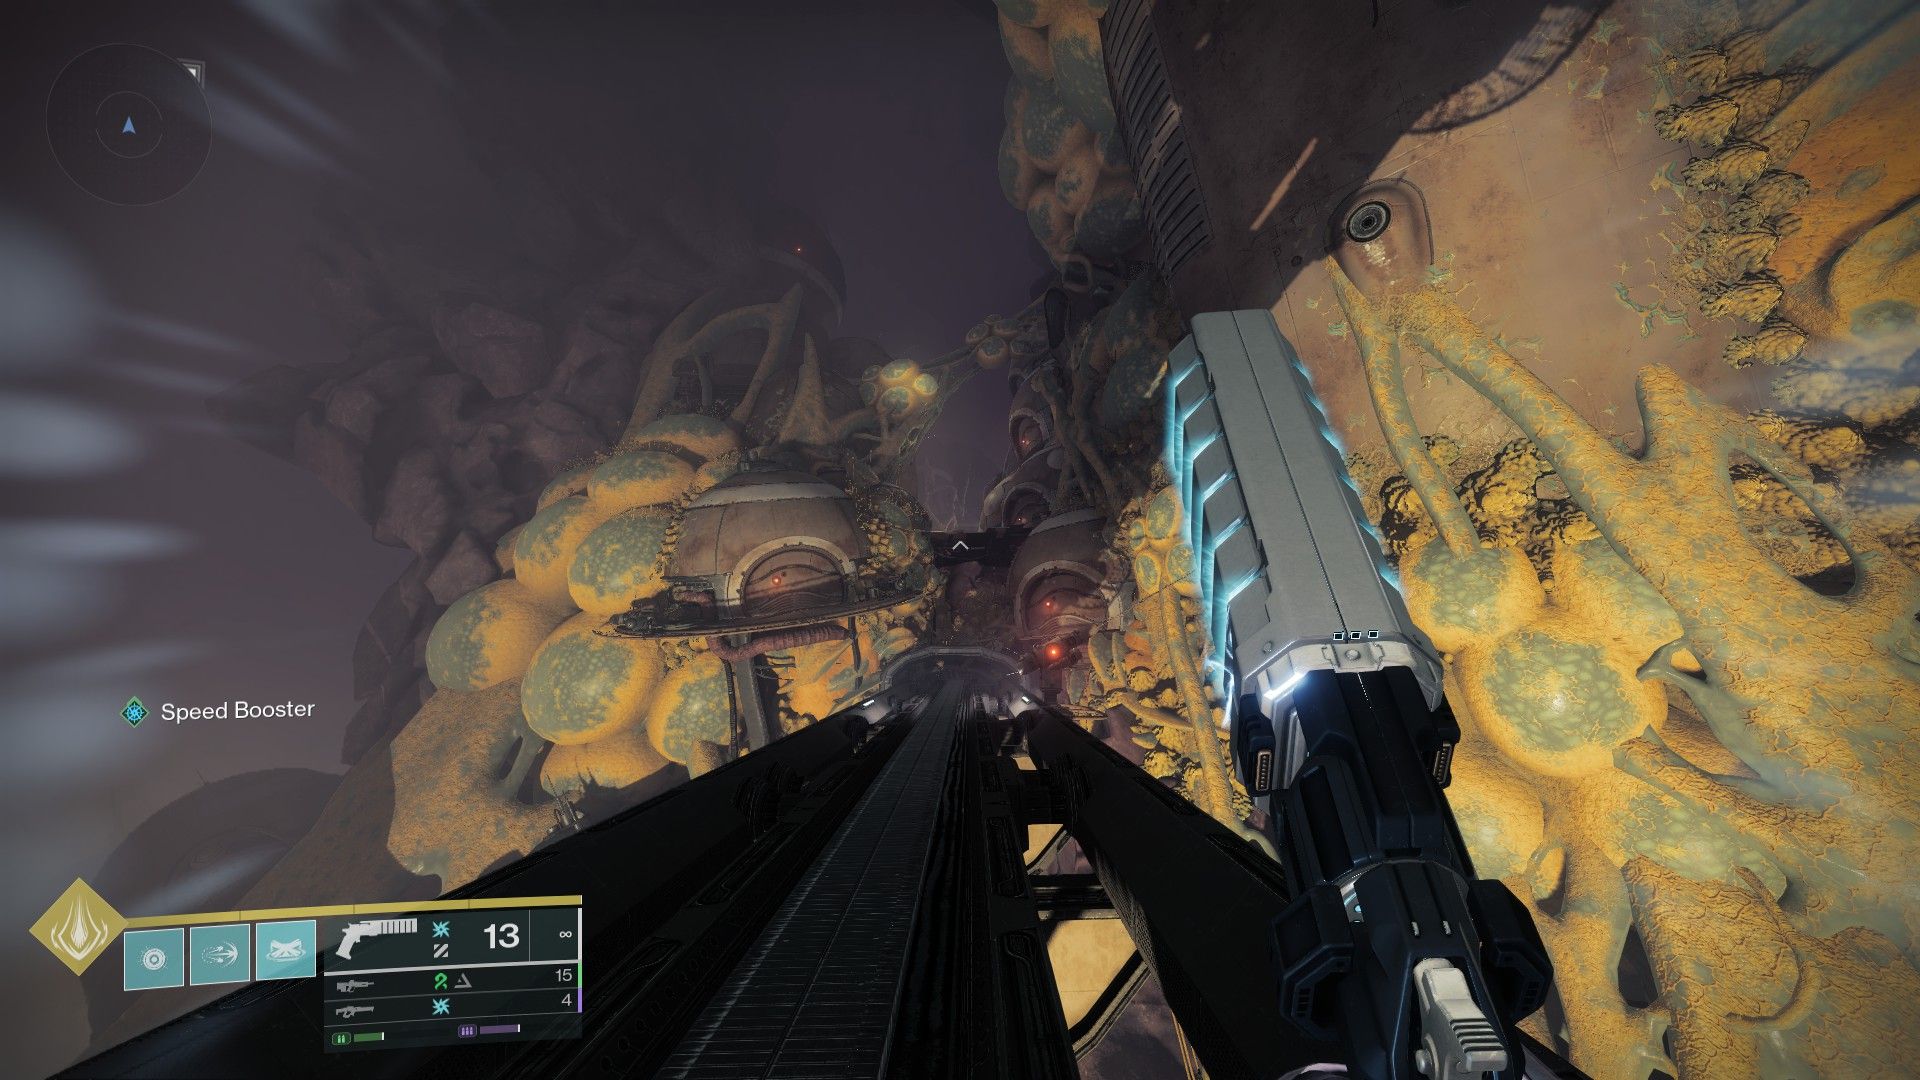
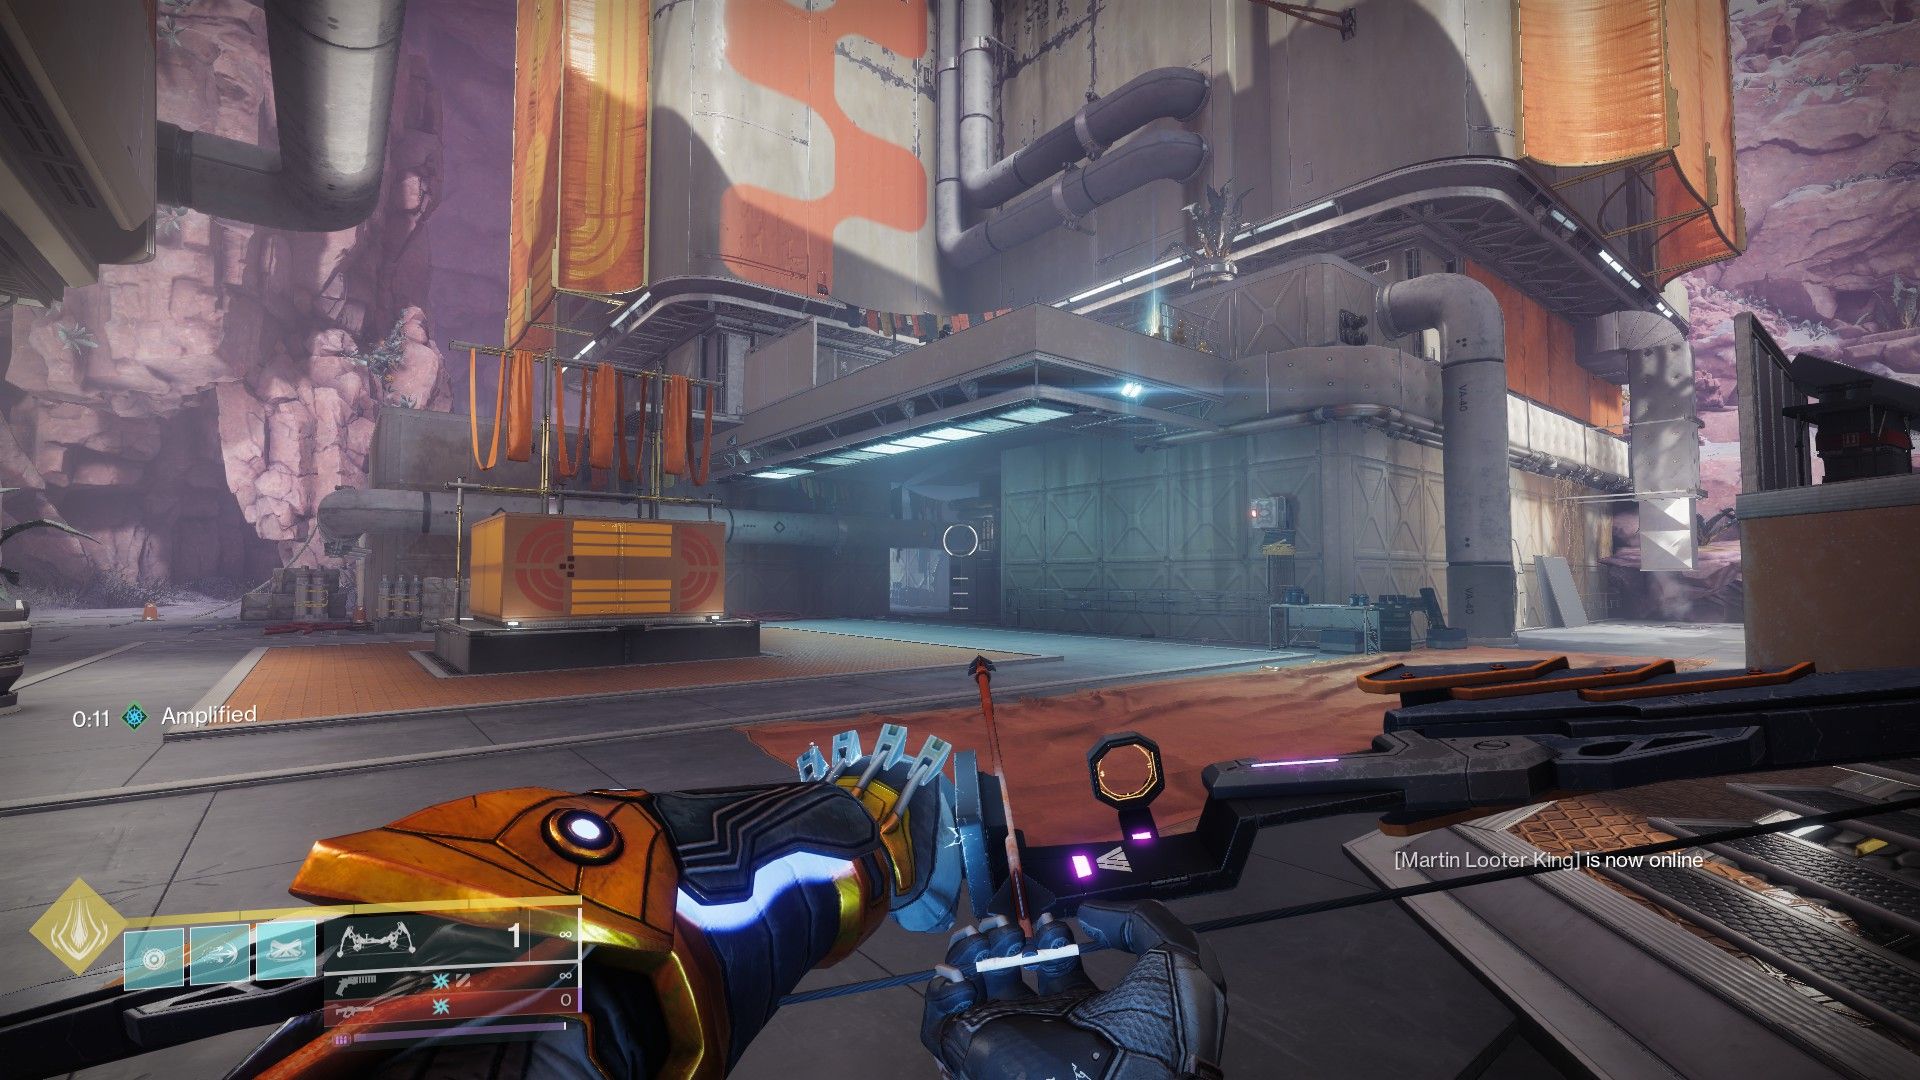
The ultimate Intrinsic is hidden within the Canyon. Head towards the designated Transfer Point of the Integrated Lease, proceed beyond the quest marker, and subsequently veer to your right. Traverse past the Hydra, then once you spot the banner marking the Calculus mission, pass through the adjacent train. On the opposite side, follow the tunnel network until you arrive at an overhang. Move towards the right edge, continue on until you locate a Matterspark tunnel.


Head through the tunnel and proceed towards the dilapidated structure located on the farthest right. You’ll find an entrance there. Battle any adversaries beyond the doorway, then gaze upward. The bloom floating above should become visible to you.
Approach the flower and fire at it. After that, activate ball mode and navigate through the tiny passageway situated next to you. You’ll find the last Intrinsic there.
How to Get All Graviton Spike Catalysts
To begin with, remember that in order to obtain the initial two Graviton Spike catalysts, you must engage in gameplay within the Fabled world tier for Kepler. For the Gravitic Doctorate Triumph, each catalyst consists of three components and collecting all of them is essential.
Graviton Spike Rapid Hit Catalyst 1


In Exile’s Accord, you’ll find the initial Rapid Hit catalyst fragment. To get there, aim for Curtilage Divide Landing Zone and jump down from the edge afterwards. Continue along the central tunnel, and when you come across a large chamber brimming with overgrown equipment, proceed through the nearby portal. Keep going until you encounter a room teeming with enemies.


Here’s a more conversational way to explain the same instructions:
1. First, clean up by removing the fallen objects blocking the path.
2. After that, head right along the path. You’ll see a flower above one of the doorways. Aim and shoot it.
3. Once shot, enter the doorway you were previously standing near to find some glowing lights on your left. Fire at these lights as well.
4. Next up, locate the Relocator and use it. Head back outside and aim for one of the bounce pads close to the entrance. Fire the Relocator at it.
5. A portal should open after hitting the bounce pad. Step through this portal to discover the initial part of the Rapid Hit catalyst.
Graviton Spike Rapid Hit Catalyst 2


The second piece of Rapid Hit is located in the Outer Steppes. Make your way to the LZ (Landing Zone) there, then stay on the path veering towards the left. Continue along this extended route until you arrive at an area with buildings. To find an entrance illuminated with red lights, keep left. Go through it and follow the path until you reach another open space.


Once you get here, clear the enemies and search for two Rosetta frequencies:
- One is on the cliffs.
- Another is behind the building. Climb the pipe by the ledge to find it.
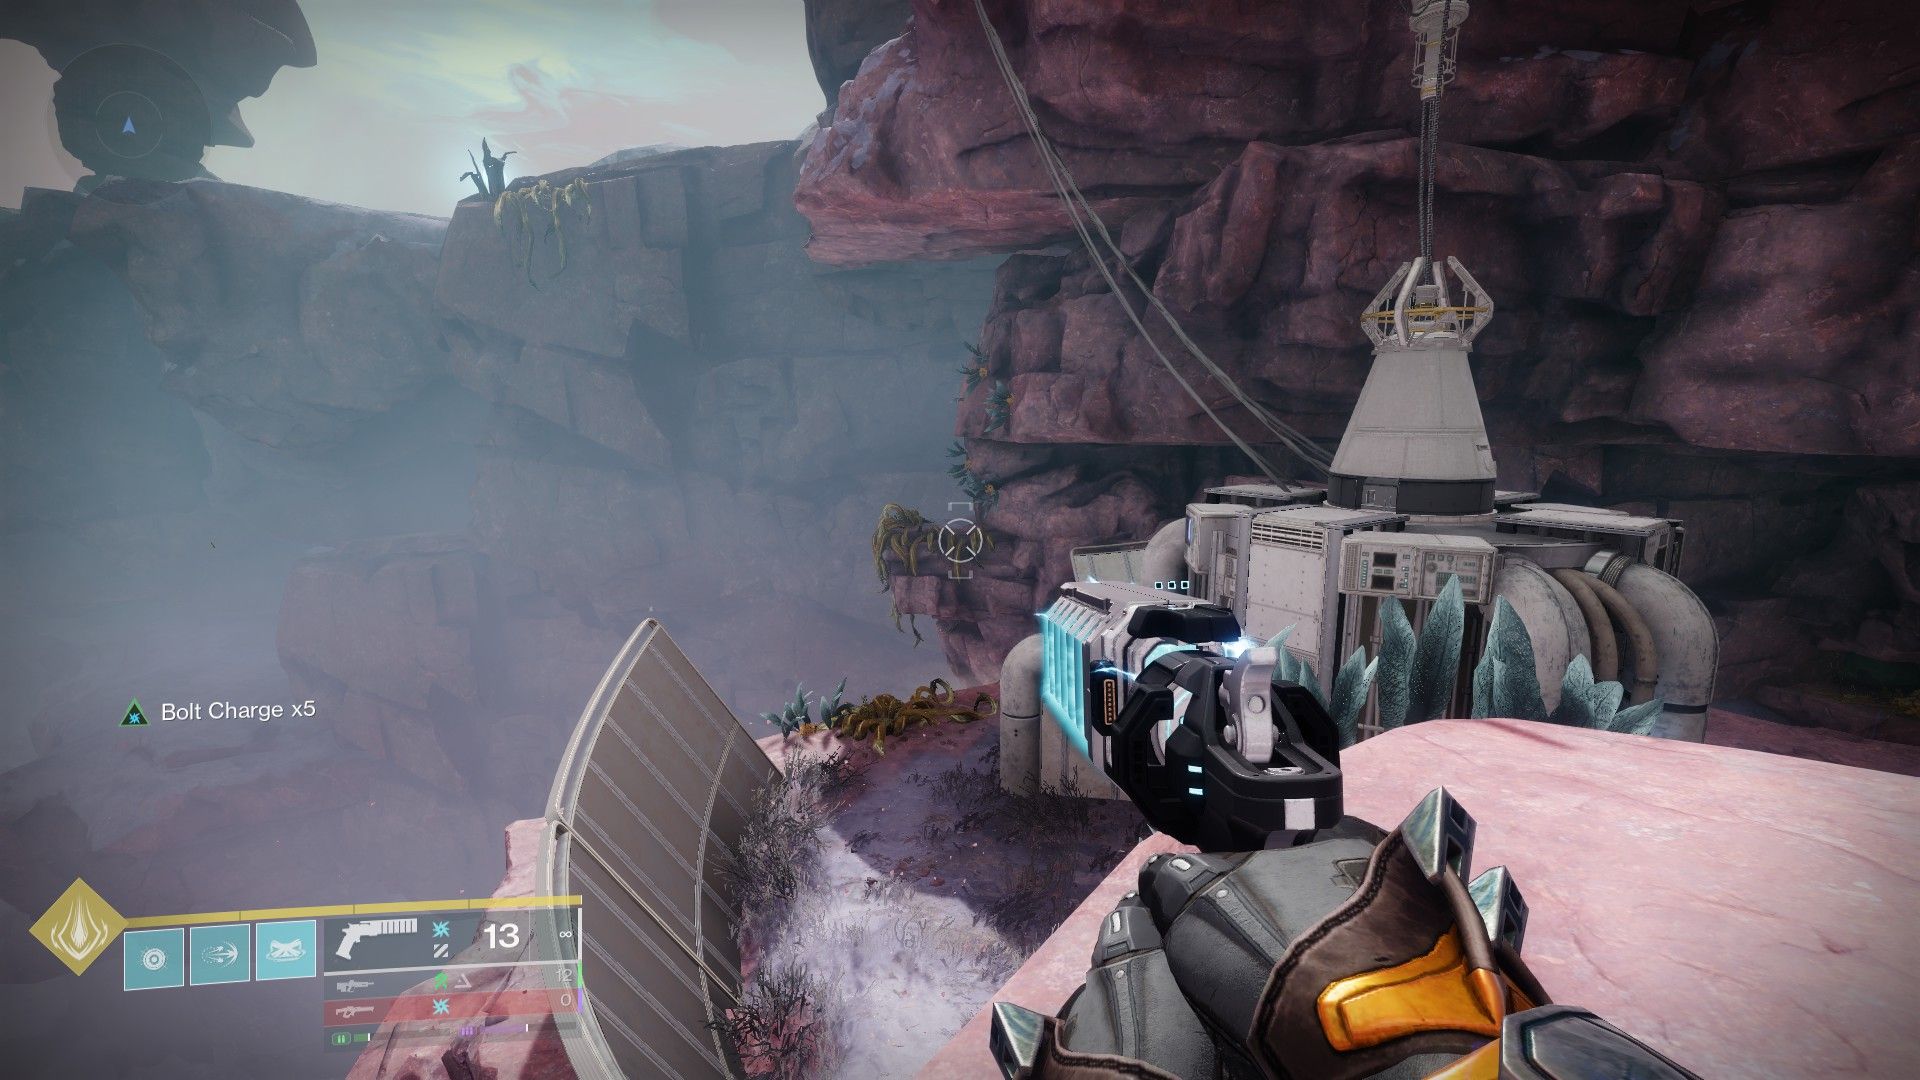
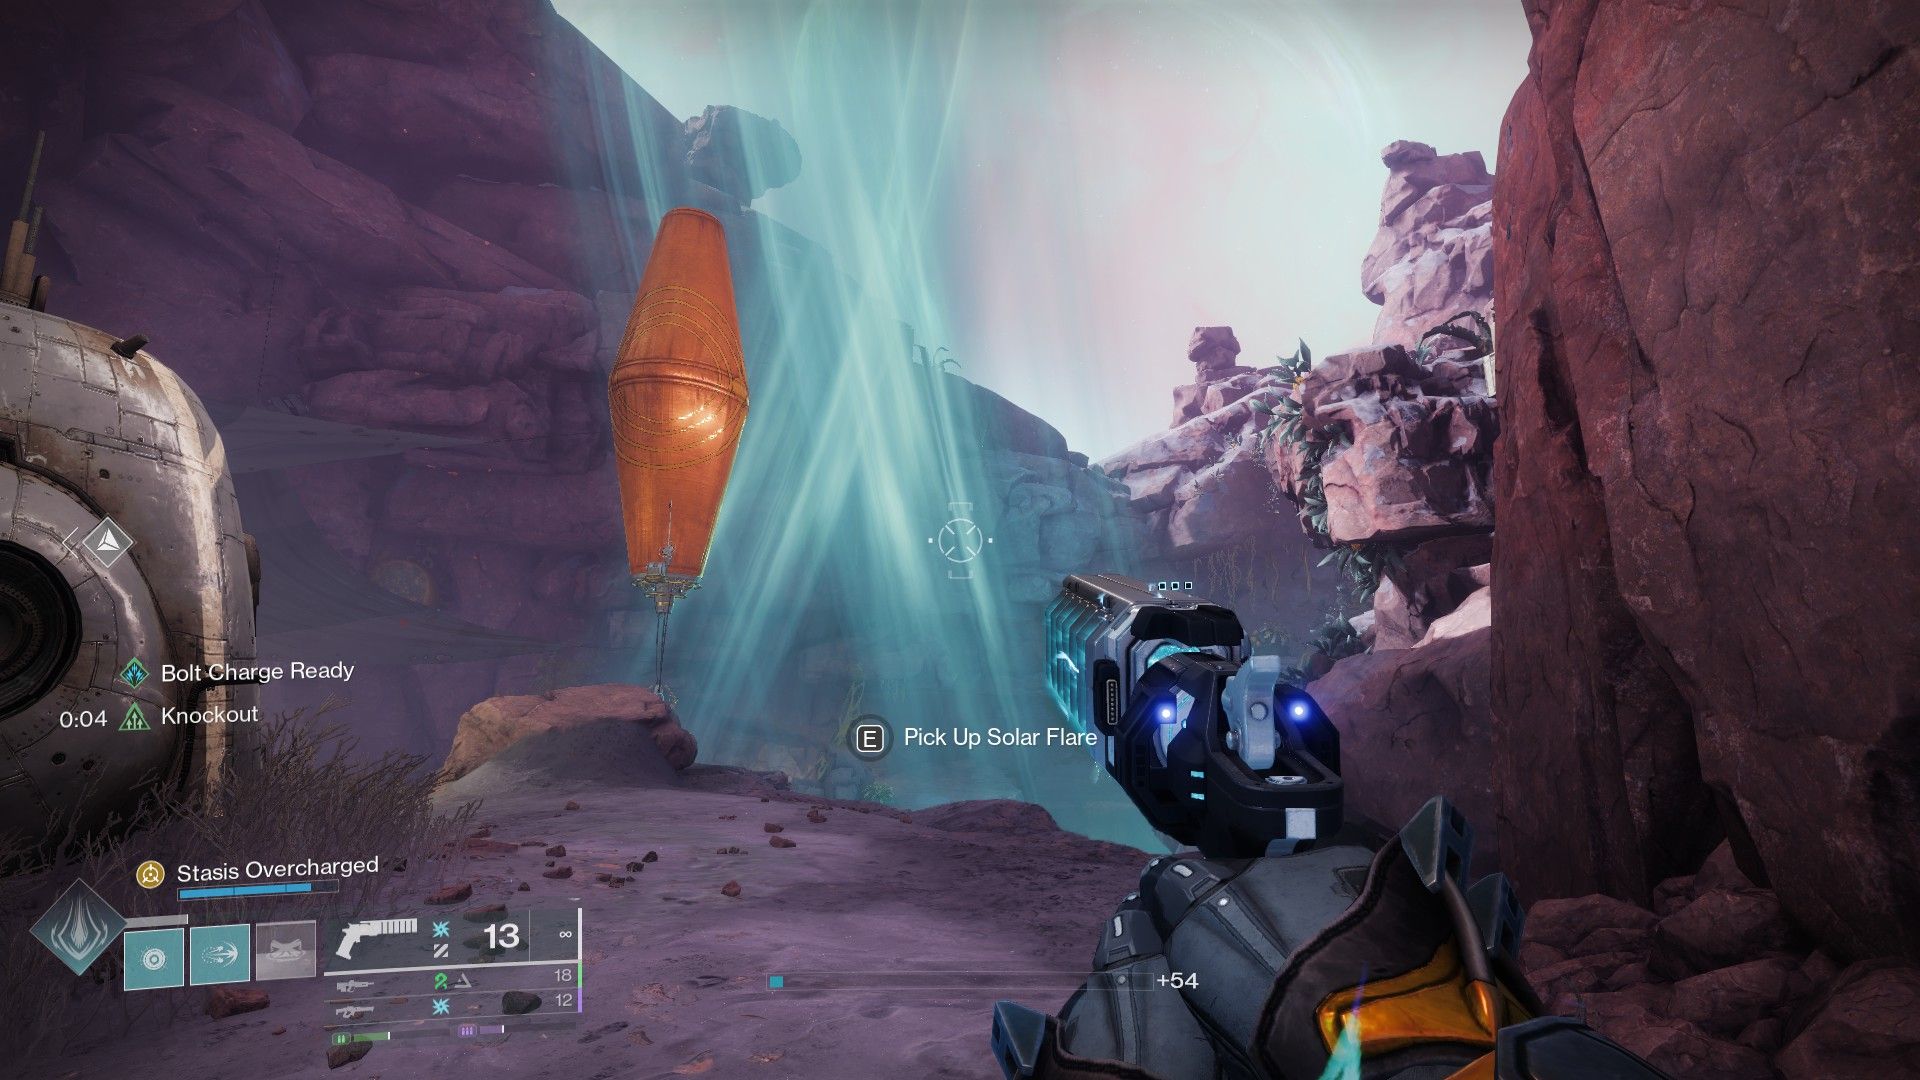
Following the path concealed by the cliffside behind the weather balloon, you will discover a blooming flower and a mobile fan. Fire at the flower, pass through the moving fan, and engage with the Aionian interface to reveal the route for the second Rapid Hit shard.
Graviton Spike Rapid Hit Catalyst 3
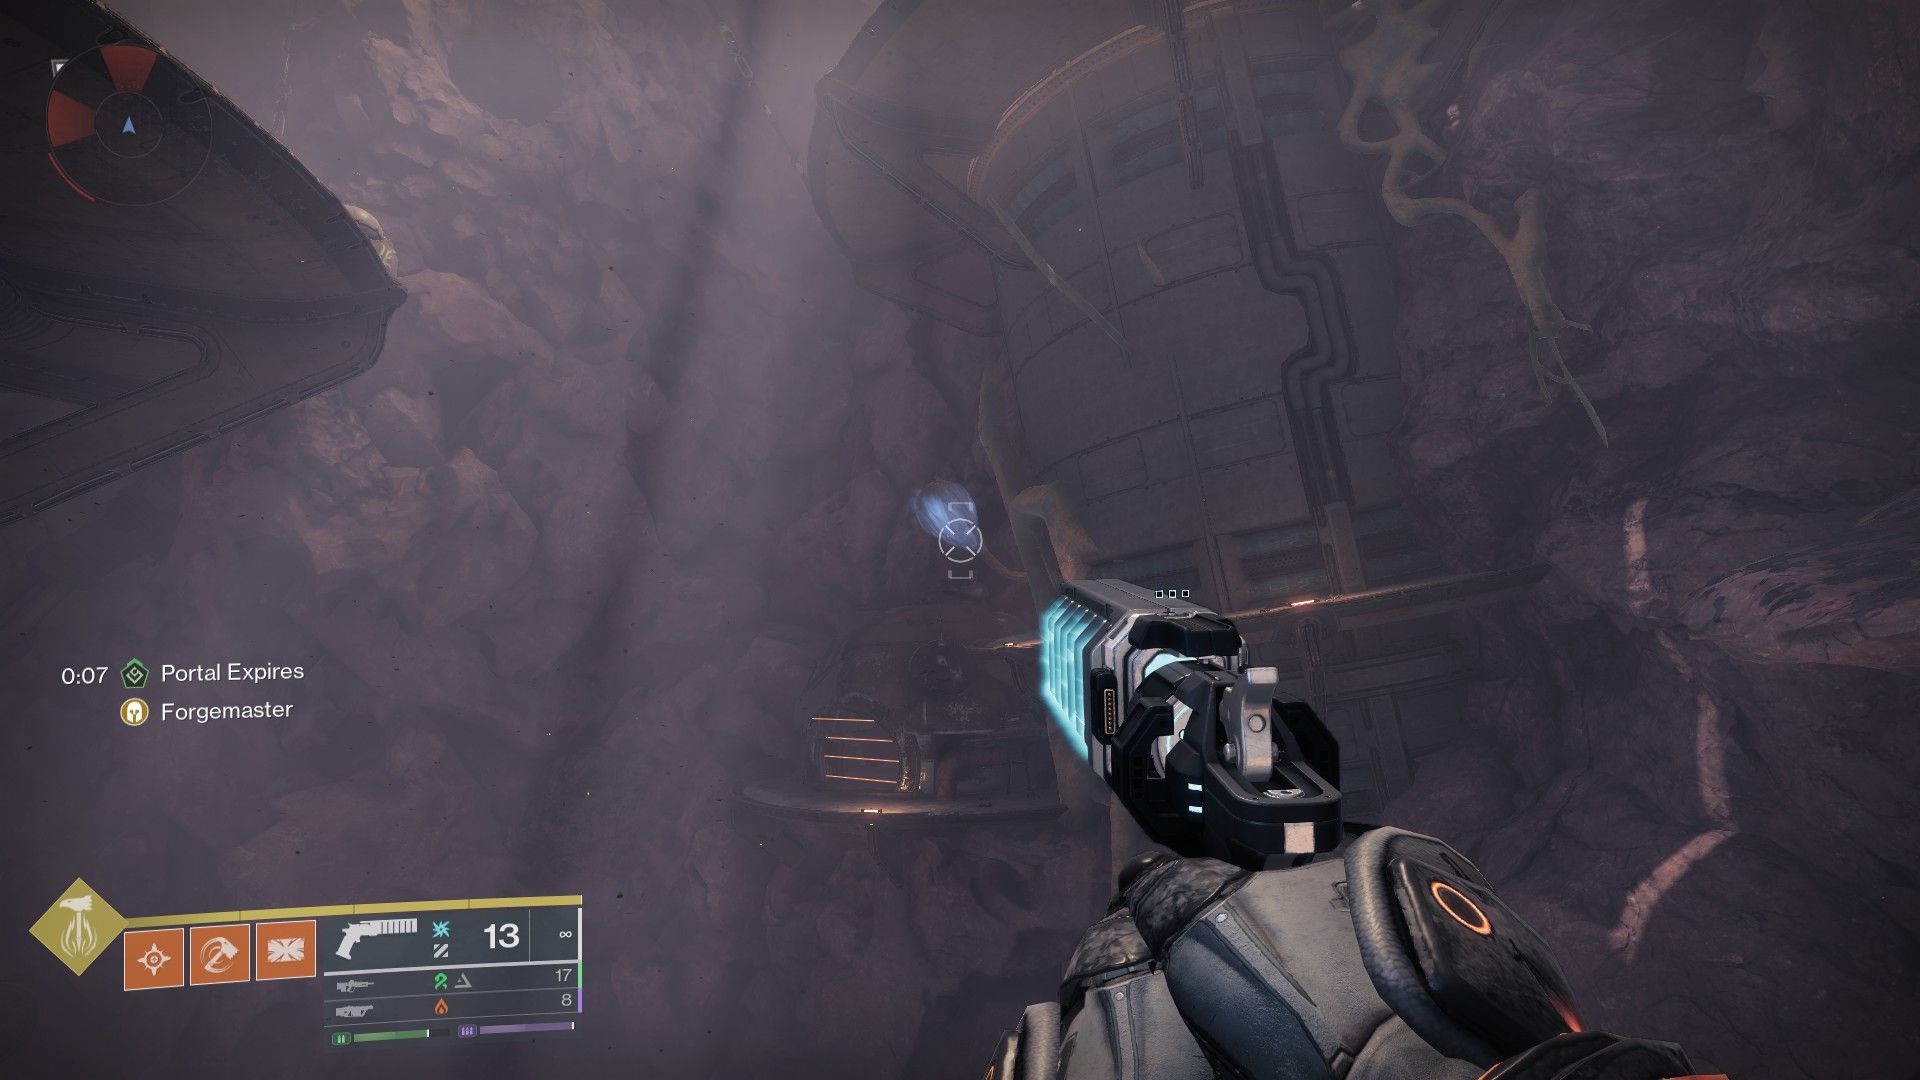
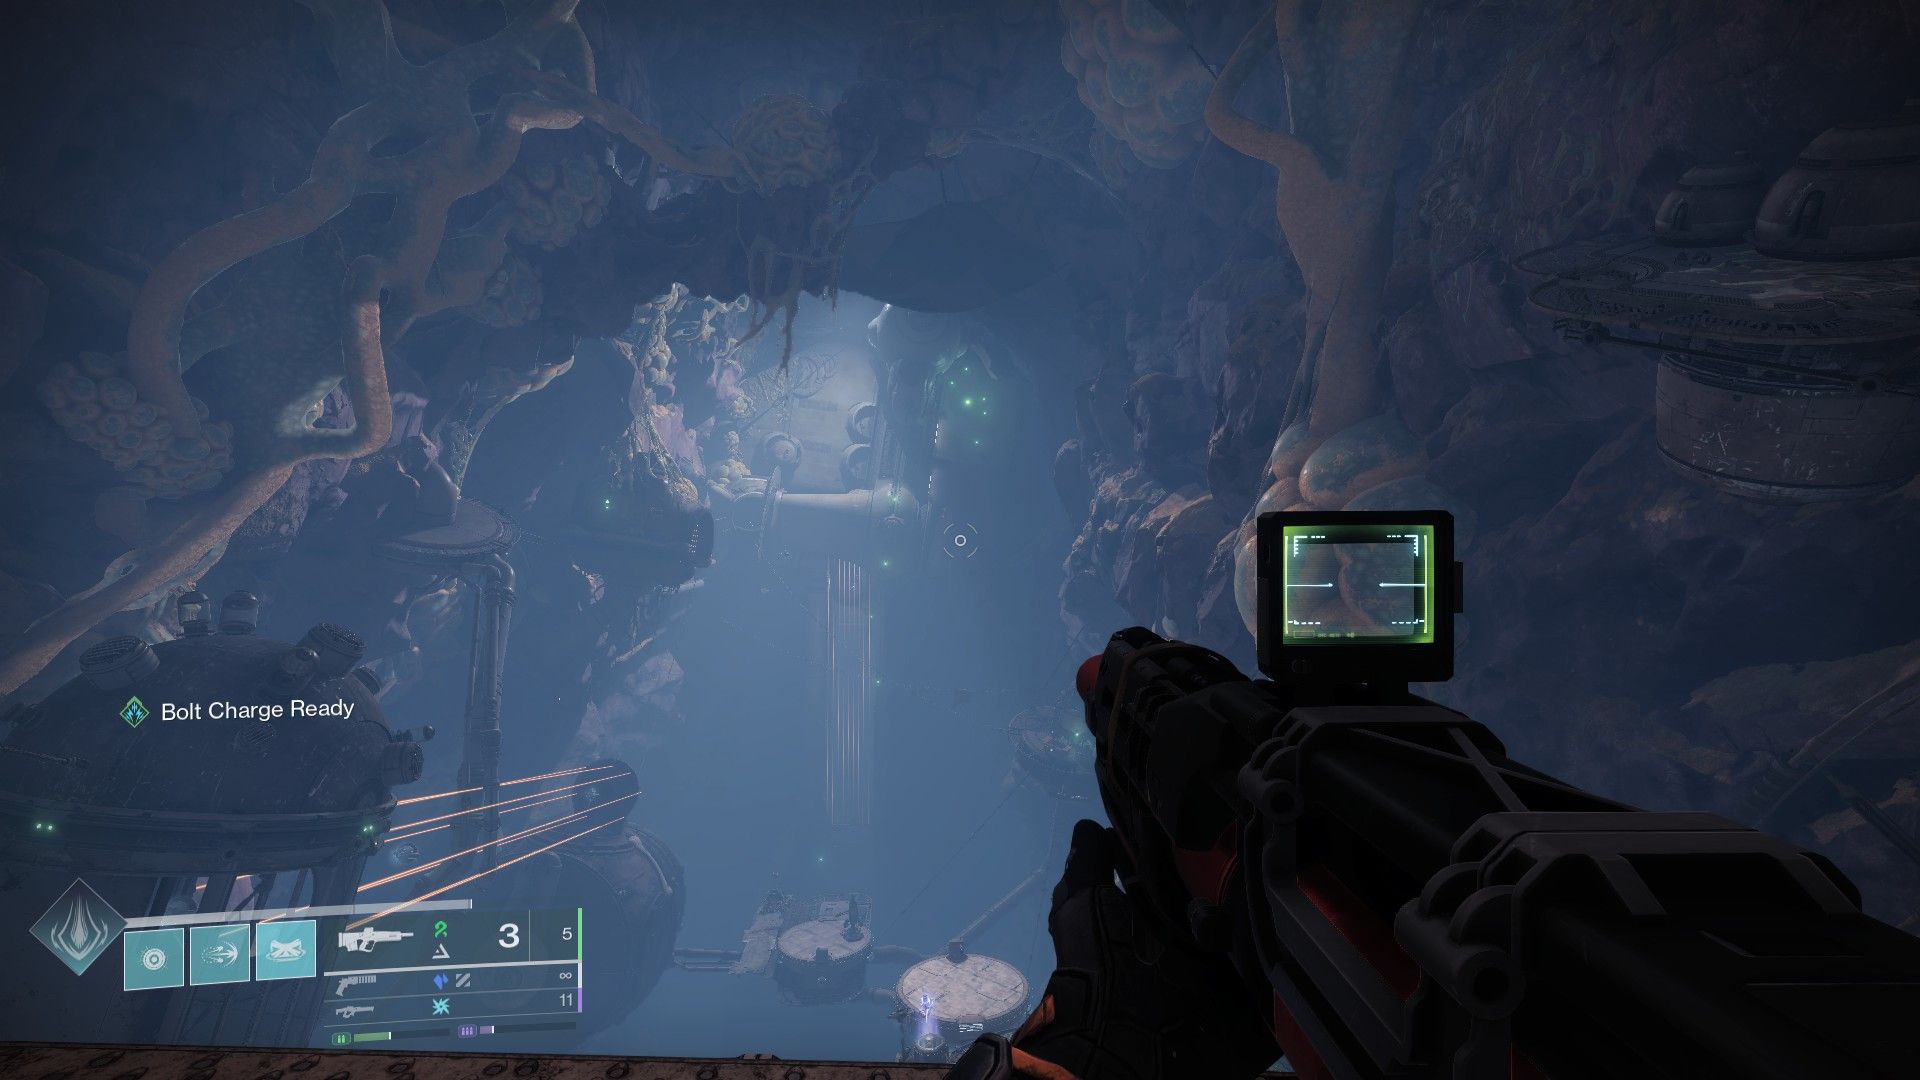
To revisit the third Rapid Hit fragment, head back to Caldera and descend into the Singularity (where you completed EoF’s final mission). Upon respawning in Caldera, locate the central Matterspark portal beneath the stairs, go through it. On the other side, navigate along the canyon until you find yourself at the Singularity.


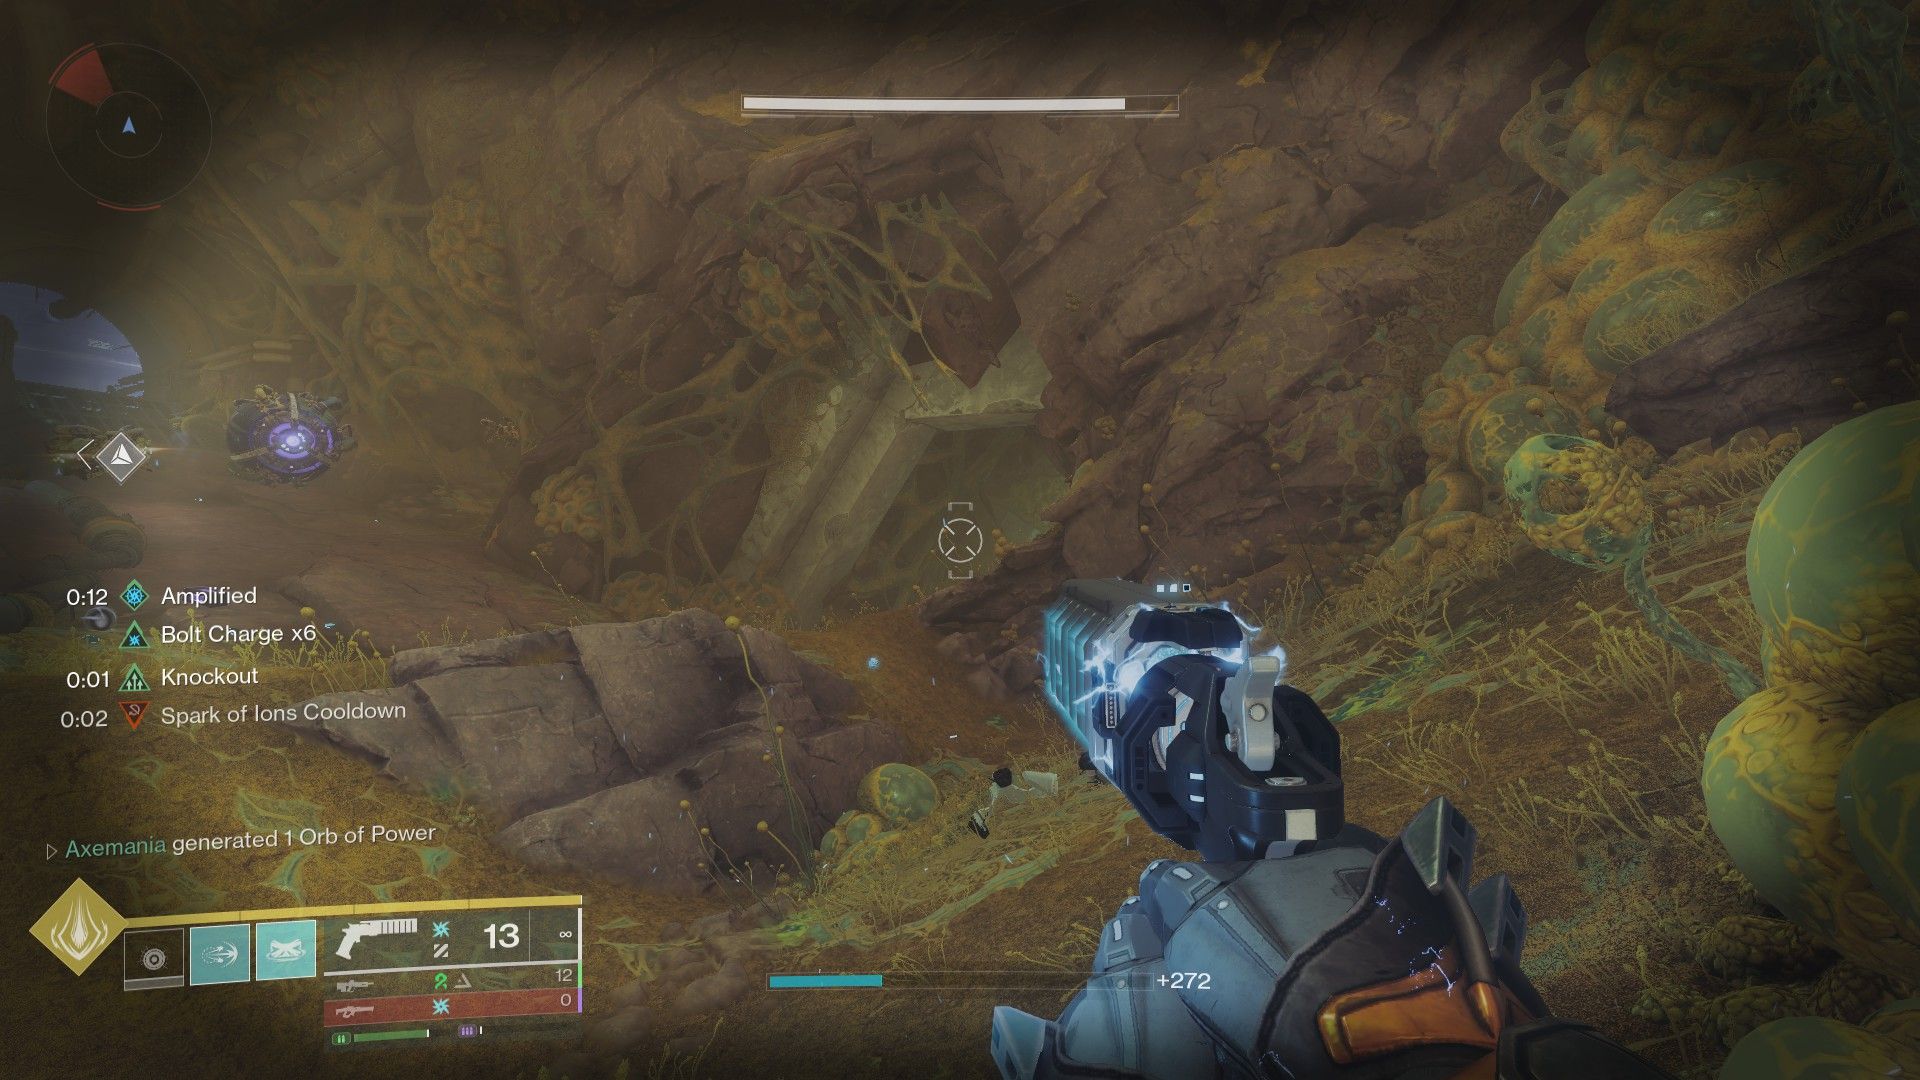
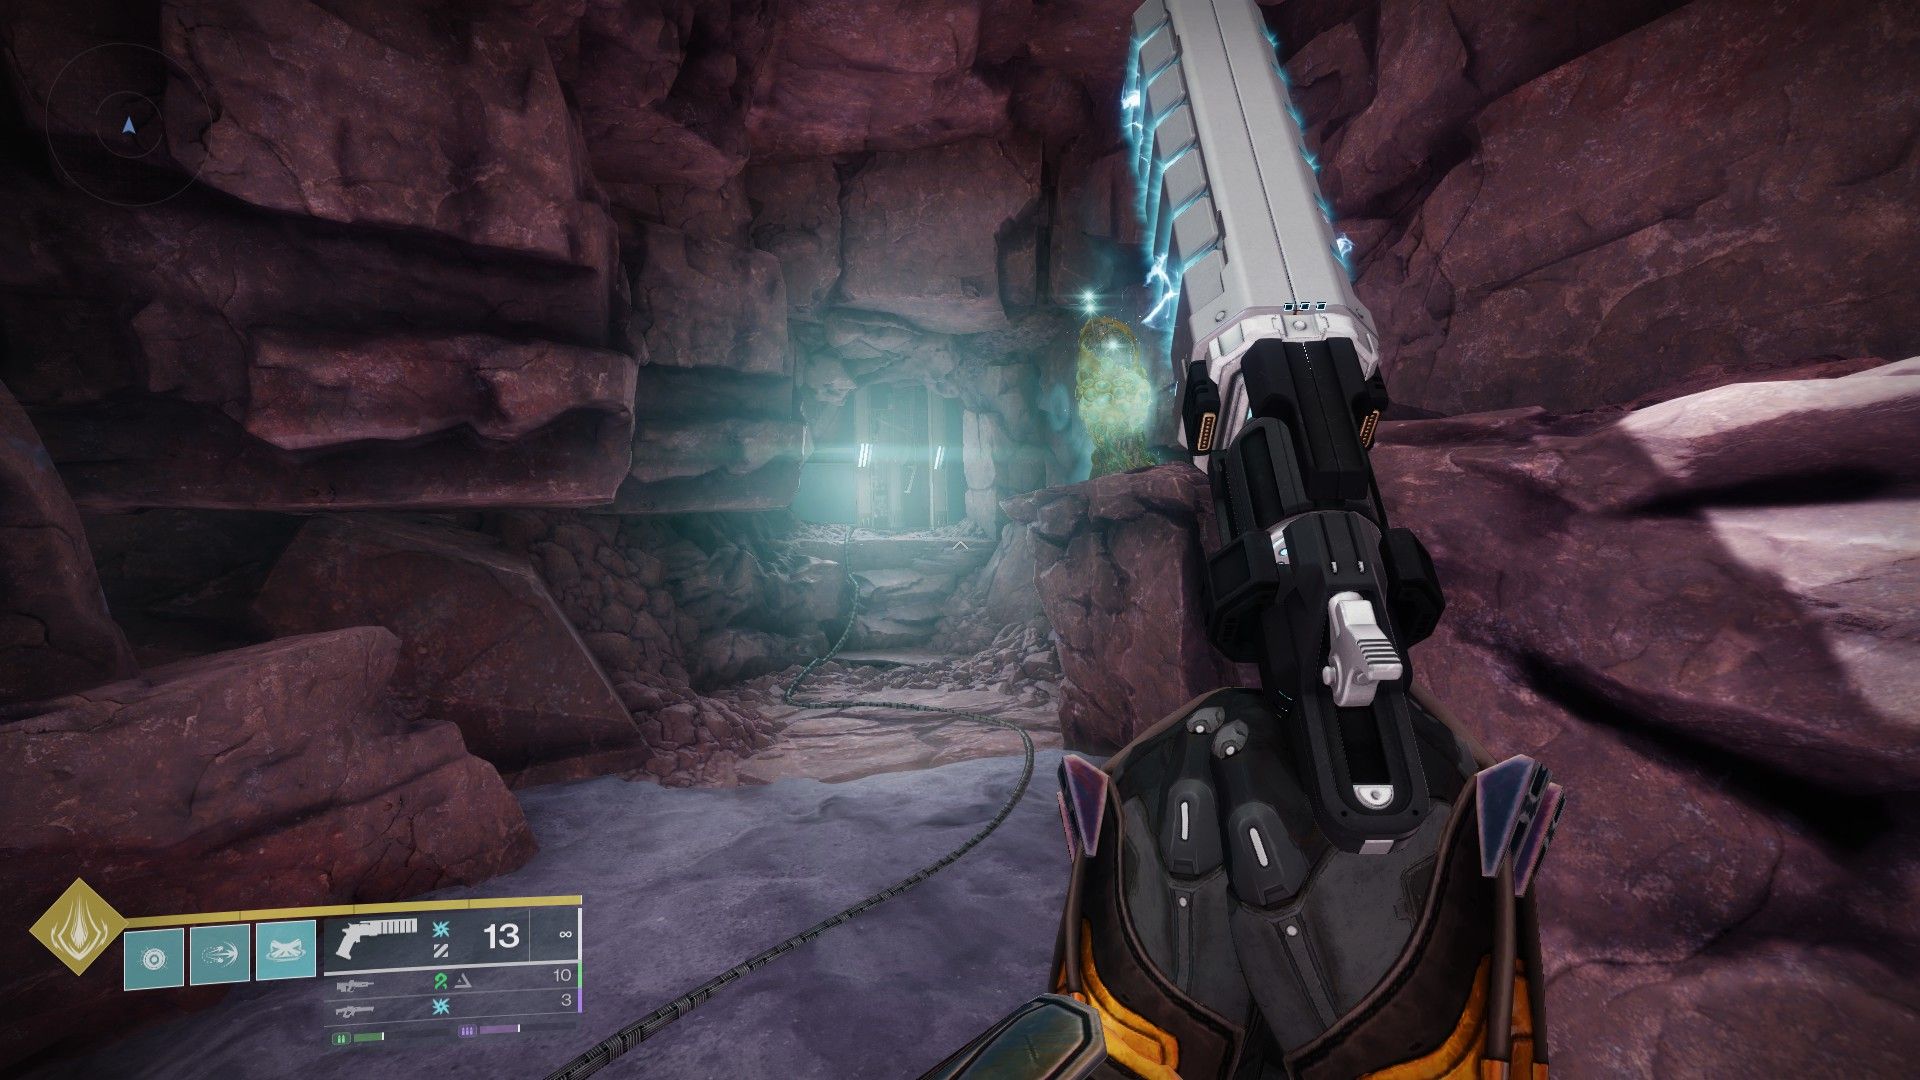
Upon reaching your destination, proceed to the path veering right, which is near a group of adversaries. After that, utilize Matterspark to navigate through the tunnel. Solve the Relocator puzzle on the opposite side, then go through the substantial rock wall that opens up post-employment of Matterweave. Locate and fire at the bloom depicted in the above image, then move through the hidden tunnel situated directly underneath it. The final Rapid Hit fragment will be found behind the sizable stone gear.
Graviton Spike Subsistence Catalyst 1


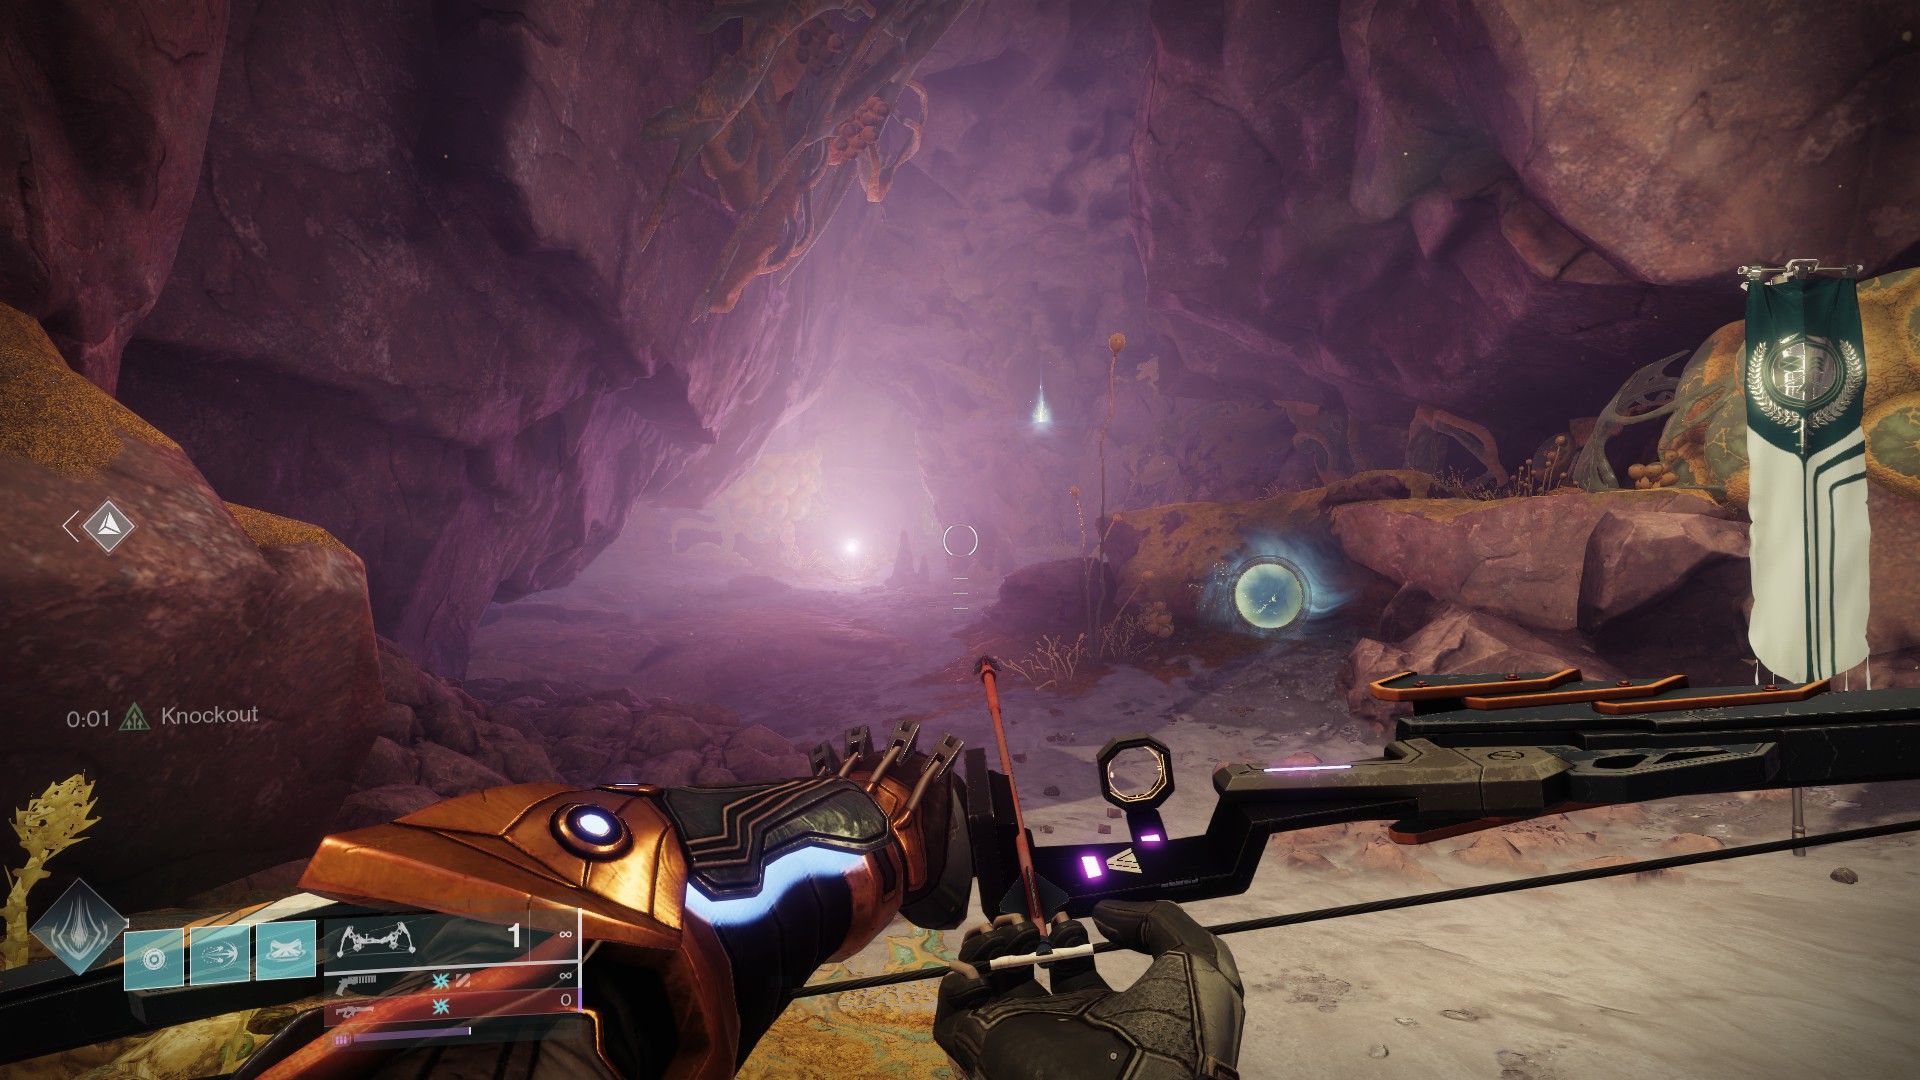
The initial Subsistence catalyst picks up directly after Rapid Hit 3 concludes. To return outside, aim for the flower above you, then head towards the cave emitting a pink glow. Ascend to the ledge on the upper left corner, and then move diagonally to the back-left side of the large room.
Once there, ascend the first ledge, but don’t follow the path ahead. Instead, climb further. Follow the small tunnel upstairs where you’ll encounter another flower and fan. Repeat your previous actions to discover the first Subsistence fragment.
Graviton Spike Subsistence Catalyst 2
After descending and passing through the Matterspark gate, move to your left and enter another portal. Once inside, turn around to see a train protruding from the wall. Proceed through it and continue along the path beyond the tracks. You’ll discover a flower located above an entryway that is blocked by another fan. A Relocator platform lies hidden behind this barricade.
1. Go left through the second portal.
2. Turn around to find a train in the wall. Pass through it.
3. Follow the path past the tracks.
4. The flower is above an entrance, which is obstructed by another fan; behind this blockage, there’s a Relocator platform.


As you stand at the Relocator pad, face towards the building that resembles a dome on your left. Take a left turn and walk until you reach a ledge. After that, take another left to discover a path. Follow this path to get to the Relocator. Once there, go back to the flower, break it, and fire the Relocator at the pad. Now, turn right and you’ll find a large chasm. Behind the dome-shaped building to your left, just behind the chasm, is a teleporter platform. Go through this teleporter, then collect the second Subsistence fragment.
Graviton Spike Subsistence Catalyst 3
As a gamer, I find myself back in the Outer Steppes, and this time, it’s all about the final Subsistence fragment. I’m warping to my Landing Zone now, and instead of heading left like usual, I’ll be taking the path to the right this go-around. From here, I’ll just keep following this path until I come across the Reactor.
On the right side of its entrance, there’s an elevated door that seems to lead to a straightforward path. This path appears to culminate in a sprawling battlefield, so get ready for some intense combat!


Upon reaching the battlefield, I wipe out all the foes in my path. After that, I nab both the Relocator and Matterweave lying around. Using the Matterweave, I manipulate a nearby rock concealing a Relocator relay and lift it up. Once it’s airborne, I employ the Relocator to blast at the initial Relay, then dash through the portal that appears close to where the Relocator once was. On the other side, I transform into Matterspark form and electrify a Vex pylon.


Step outside again, and you’ll find a flower and a fan perched atop one of the central buildings. Navigate towards that spot, and you’ll discover the Subsistence catalyst there.
Transcendent Zen Catalyst 1
To gather the last necessary components for the Graviton Spike, they must be found at Mythic level. If your strength isn’t quite there yet, try completing a few missions first, then return when you’re ready to tackle them.


Beginning at the starting point, make your way down the stairs, follow the path that circles around the main structure to the right. Beyond the Postmaster, you’ll find an area marked by a weather balloon and a large jet of Dark Matter. Look towards the adjacent ledge to discover a flower and fan hidden there. Enter this location, then explore the rooms until you come across another Rosetta frequency device. Be cautious as opening incorrect doors may summon an enemy; stand on the nearby box or vent above to manage them. After dealing with the enemy, interact with the Rosetta terminal for your first catalyst fragment.
Transcendent Zen Catalyst 2
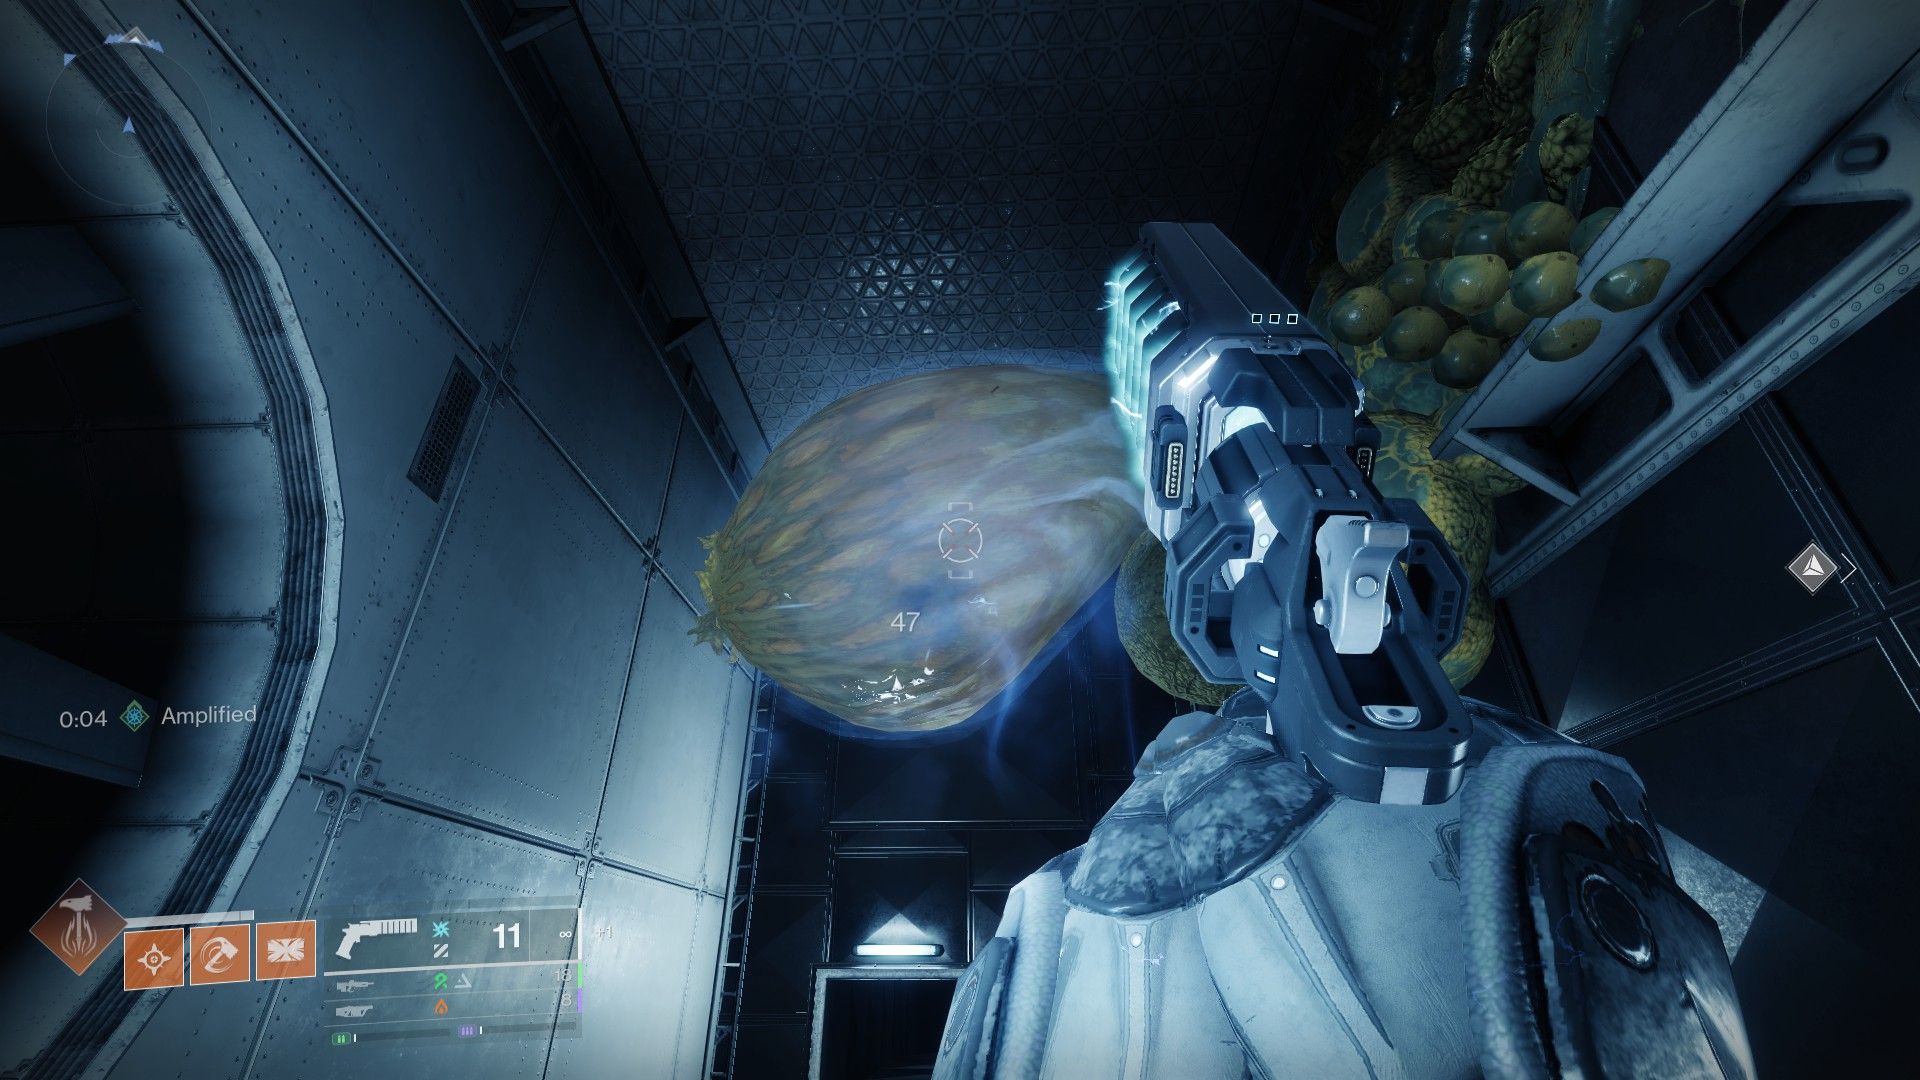
Move on to the second catalyst located at the Aionian Campus. Use the fast travel option, then head to the Matterspark portal situated to the right of the main building’s entrance. After ascending the stairs, follow the tunnels to your right until you spot another bloom. Fire at it, pass through the nearby ventilation fan, and pick up the Matterweave boost when you find it.


Alright, let’s step outside and head straight towards the big room where one of the EoF missions unfolds. There’s a bloom near the door, take it down with your weapon, then move past the fan just a tad beyond it. With Matterweave in hand, clear the blockage at the entrance. Proceed through the fan, and you should find the catalyst fragment nestled on the cave’s right side.
Transcendent Zen Catalyst 3

The third piece has returned to the Singularity’s location. Continue along the path similar to the Rapid Hit catalyst until you encounter a gang of adversaries. Instead of moving right, take a detour to the left.
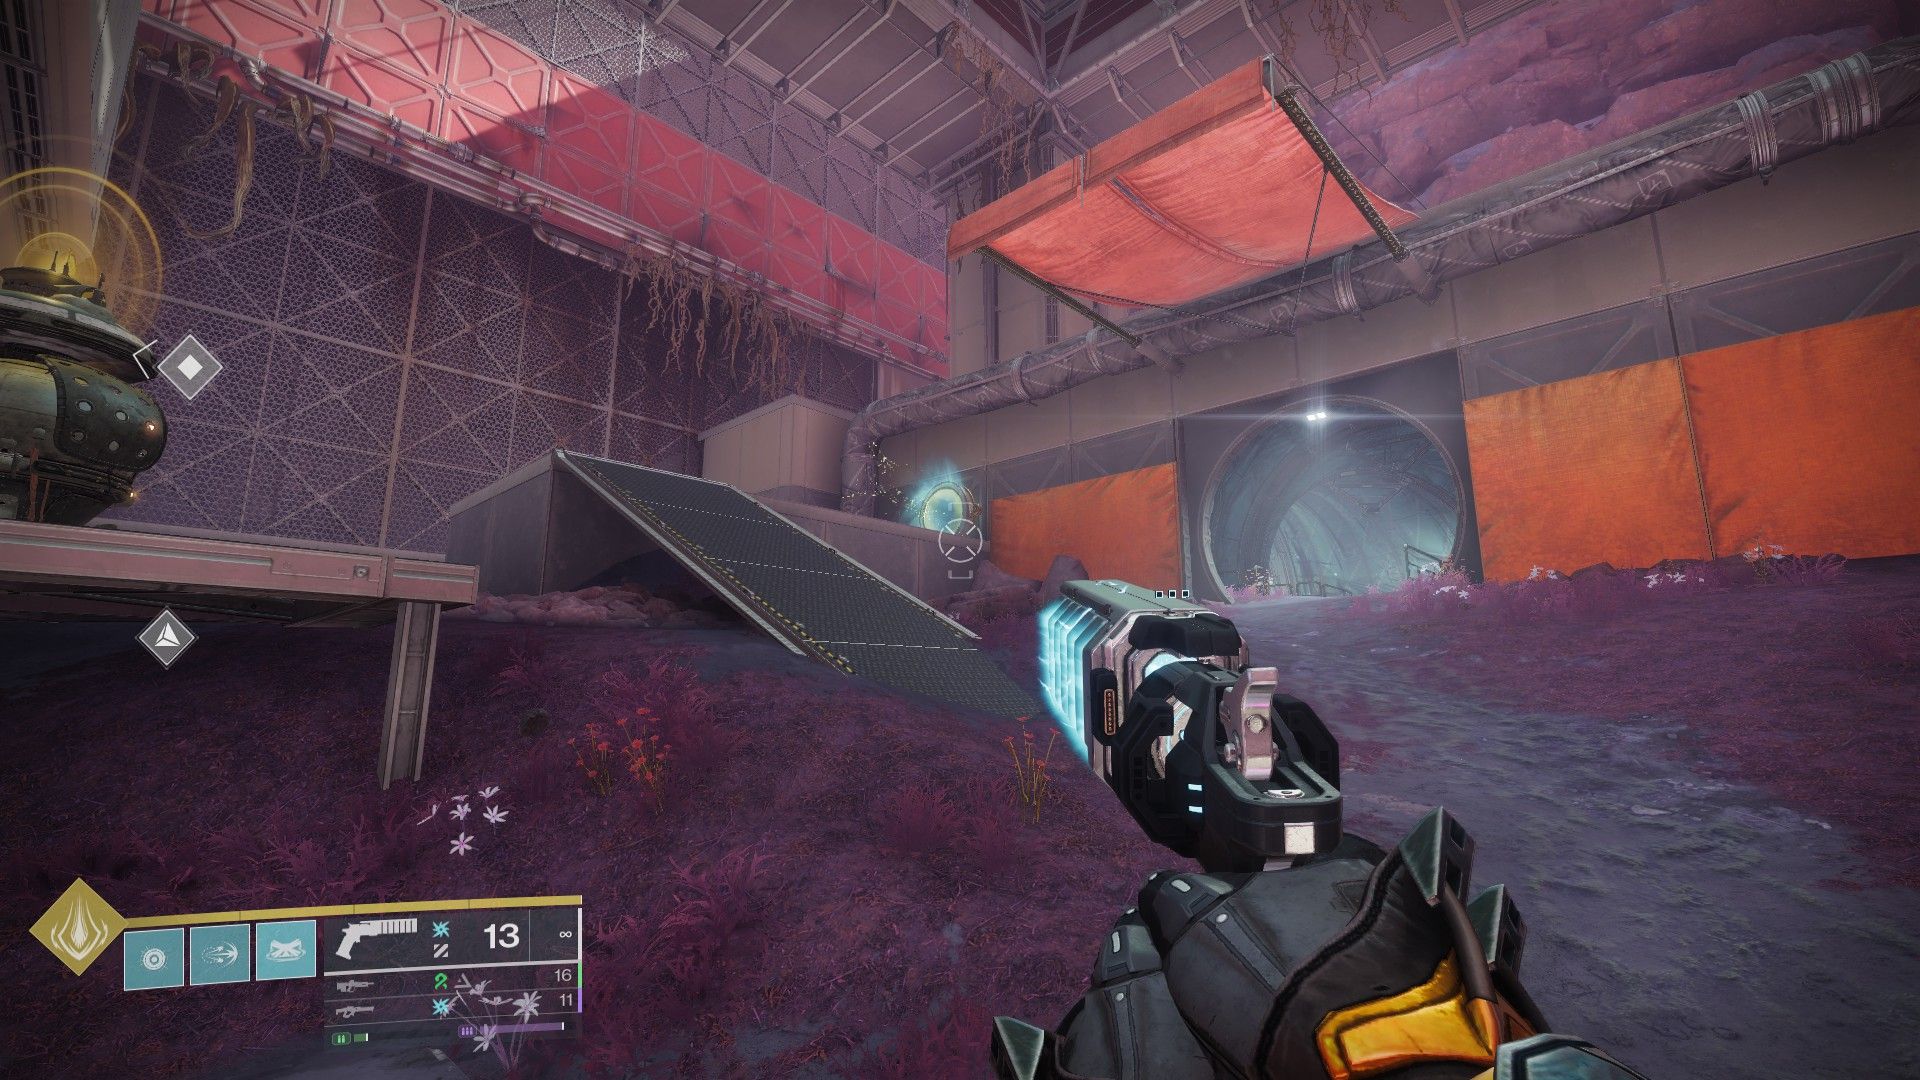
As a fan, I’d enthusiastically say: “Reach for the Matterweave on your left side, and apply it to one of the metal sheets at the room’s endpoint. Next, make your way up the ramp by the entrance, which leads to a Matterspark tunnel. Follow the trail, keep moving forward until you encounter a wrecked building at the end, past all the obstacles.


Move to the top of the structure, subsequently pass through a Matterspark tunnel located in the room’s corner. Upon reaching the other side, you’ll find a flower and a fan on the ground. Proceed through the fan, and be ready for a challenging boss battle. Given this is Mythic level, expect the boss to pack a powerful punch and possess an impressive amount of durability. Summon the boss, retrace your steps back up the ventilation system, and attack him from there. Once defeated, collect the catalyst hidden within the cave.
Temporal Alignment Catalyst 1
Heading back from the last catalyst’s location, travel up through the fan and proceed past an open doorway beyond the ramp in the Matterspark tunnel. This path will take you to a spacious room where a Relocator hovers above, accompanied by some Shanks near the edge of an abyss. Eliminate the Shanks, then from the entry point of the room, turn left and position yourself facing a small ledge on the wall. Ascend onto the ledge and progress towards the platform at the end’s end.
Your objective is to traverse the chasm by utilizing the mines and structures on the left wall as stepping stones. Cross over to the opposite side first, and upon reaching it, peer down below. There you’ll find more platforms that lead to a switch. Activate the switch, then return to the starting point. From there, leap back across the chasm to where the flower is located.
1. Fire a shot at the flower, pass through any of the open doorways on the walls, and finally collect the catalyst piece that’s there.
2. Aim and fire the flower, move through one of the doors in the wall, and eventually grab the catalyst shard which is located there.
3. Blast the flower, proceed through one of the accessible doorways on the walls, and ultimately snatch the catalyst remnant that lies at the end.
4. Take a shot at the flower, make your way through one of the open doors in the wall, and eventually retrieve the catalyst scrap found there.
5. Fire the flower, go through any of the open doorways on the walls, and finally get hold of the catalyst shred that’s located there.
6. Aim at the flower, pass through one of the accessible doors in the wall, and eventually grab the catalyst fragment which is found at the end.
Temporal Alignment Catalyst 2
Navigate to the designated location at the Gorge by fast traveling to the Landing Zone nearby. After that, follow the left path, maintaining contact with the wall as you progress. Pass the mission flag, then traverse through the Matterspark tunnel (avoid the portal) to reach the other side. Continue platforming until you arrive at a sizable area populated by enemies and a spore-encrusted rock pillar standing tall in the middle.


After defeating the adversaries, ascend the rocky column. Nearby, you’ll find a platform with a Relocator teleportation device. Retrieve the Relocator and shoot the flower on the opposite side of the teleportation platform. Proceed through the tunnel located beneath the flower’s position. Aim the Relocator at the pad past the large stone fan, then return to the teleporter. Once you arrive at the other side, pick up the catalyst from the ground.
Temporal Alignment Catalyst 3
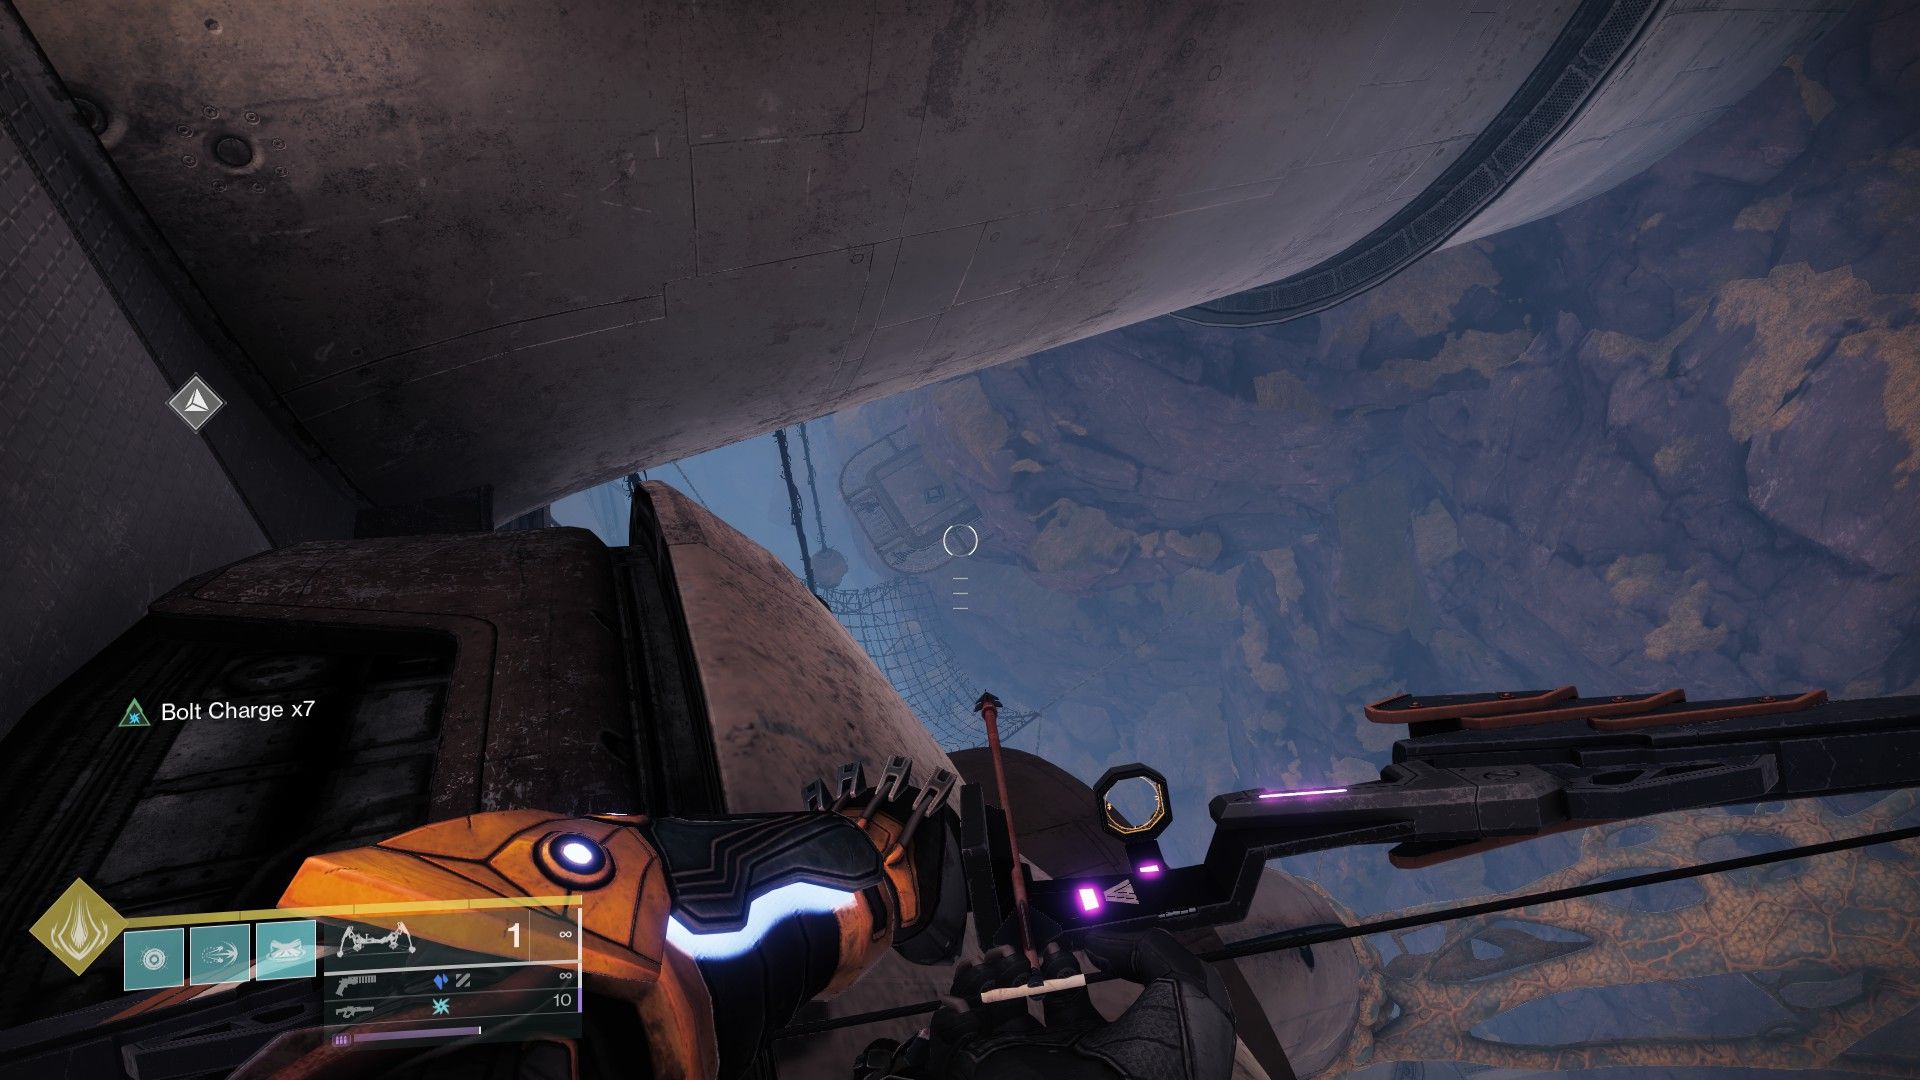
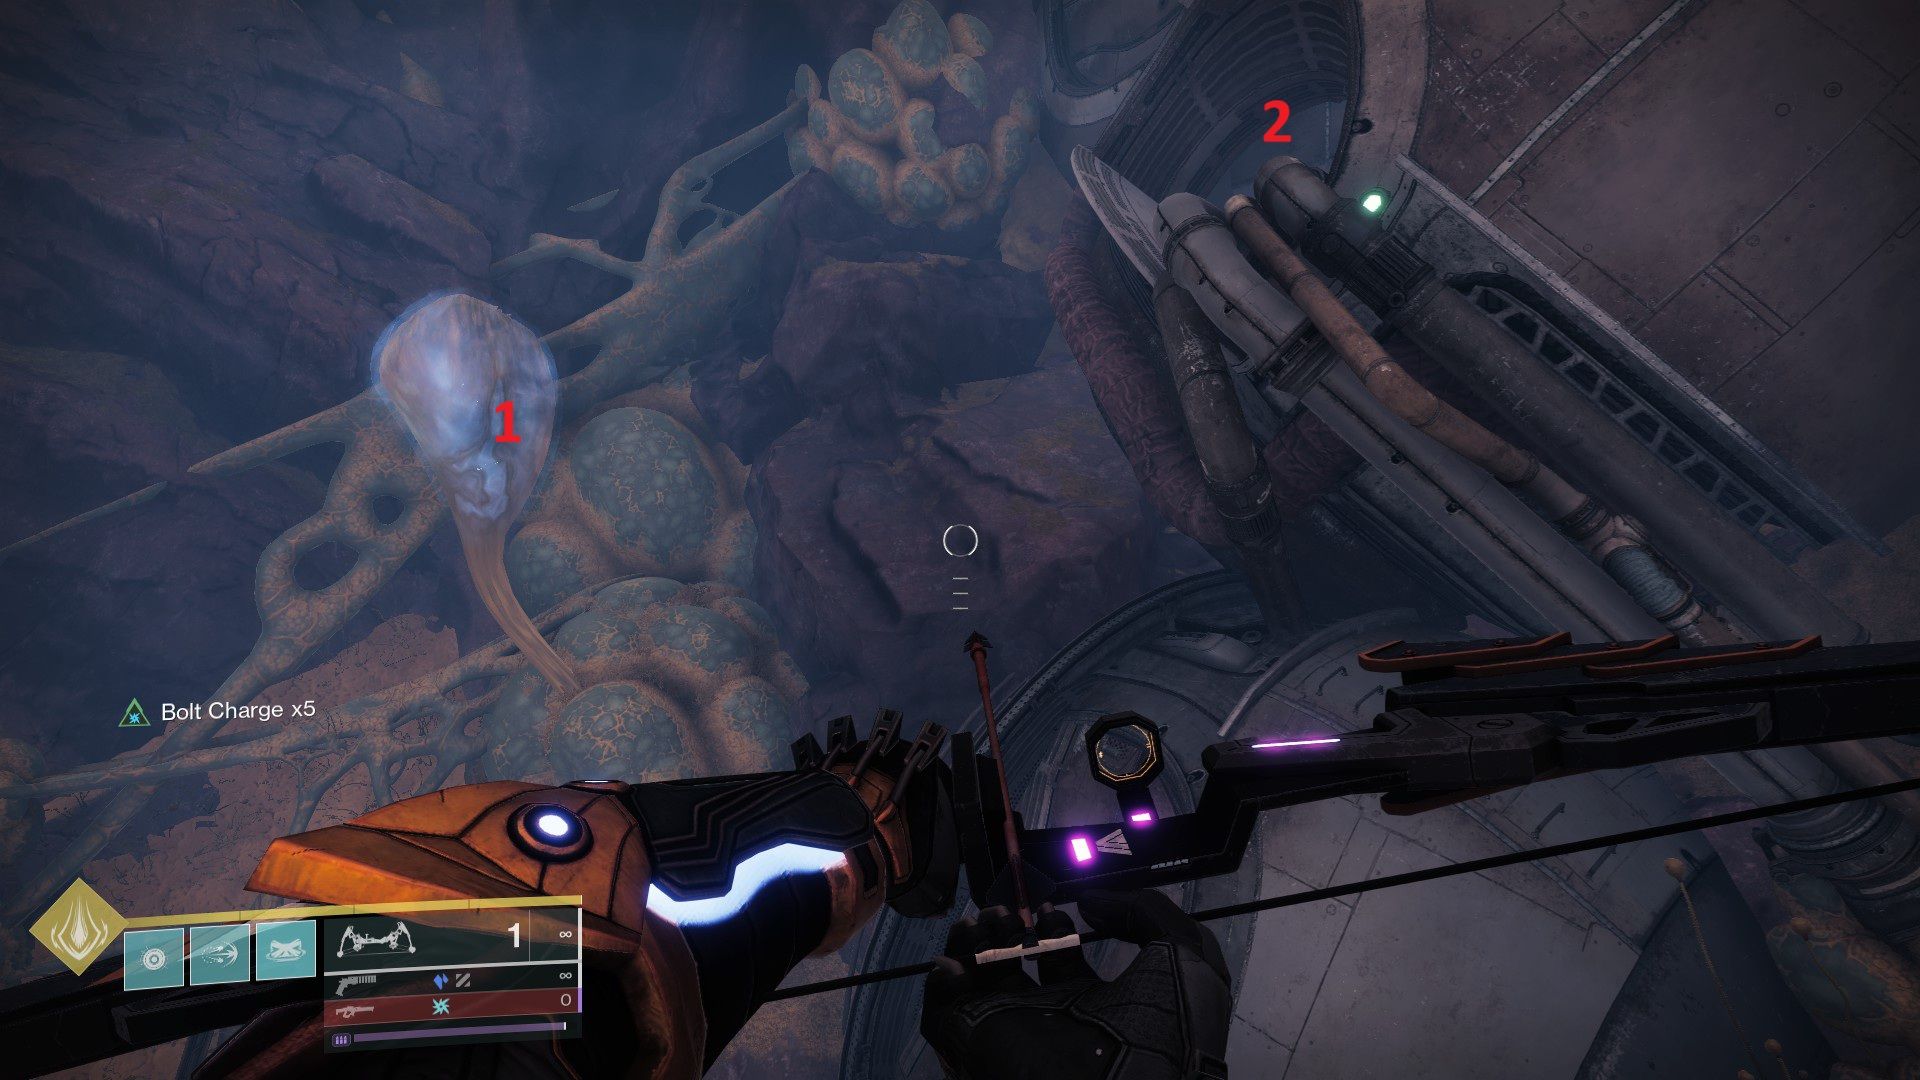
Head back towards Caldera, and upon reaching the base of the stairs, veer left and proceed beneath the nearby structure. You’ll come across a vent set in the ceiling, positioned above a couple of pipes.
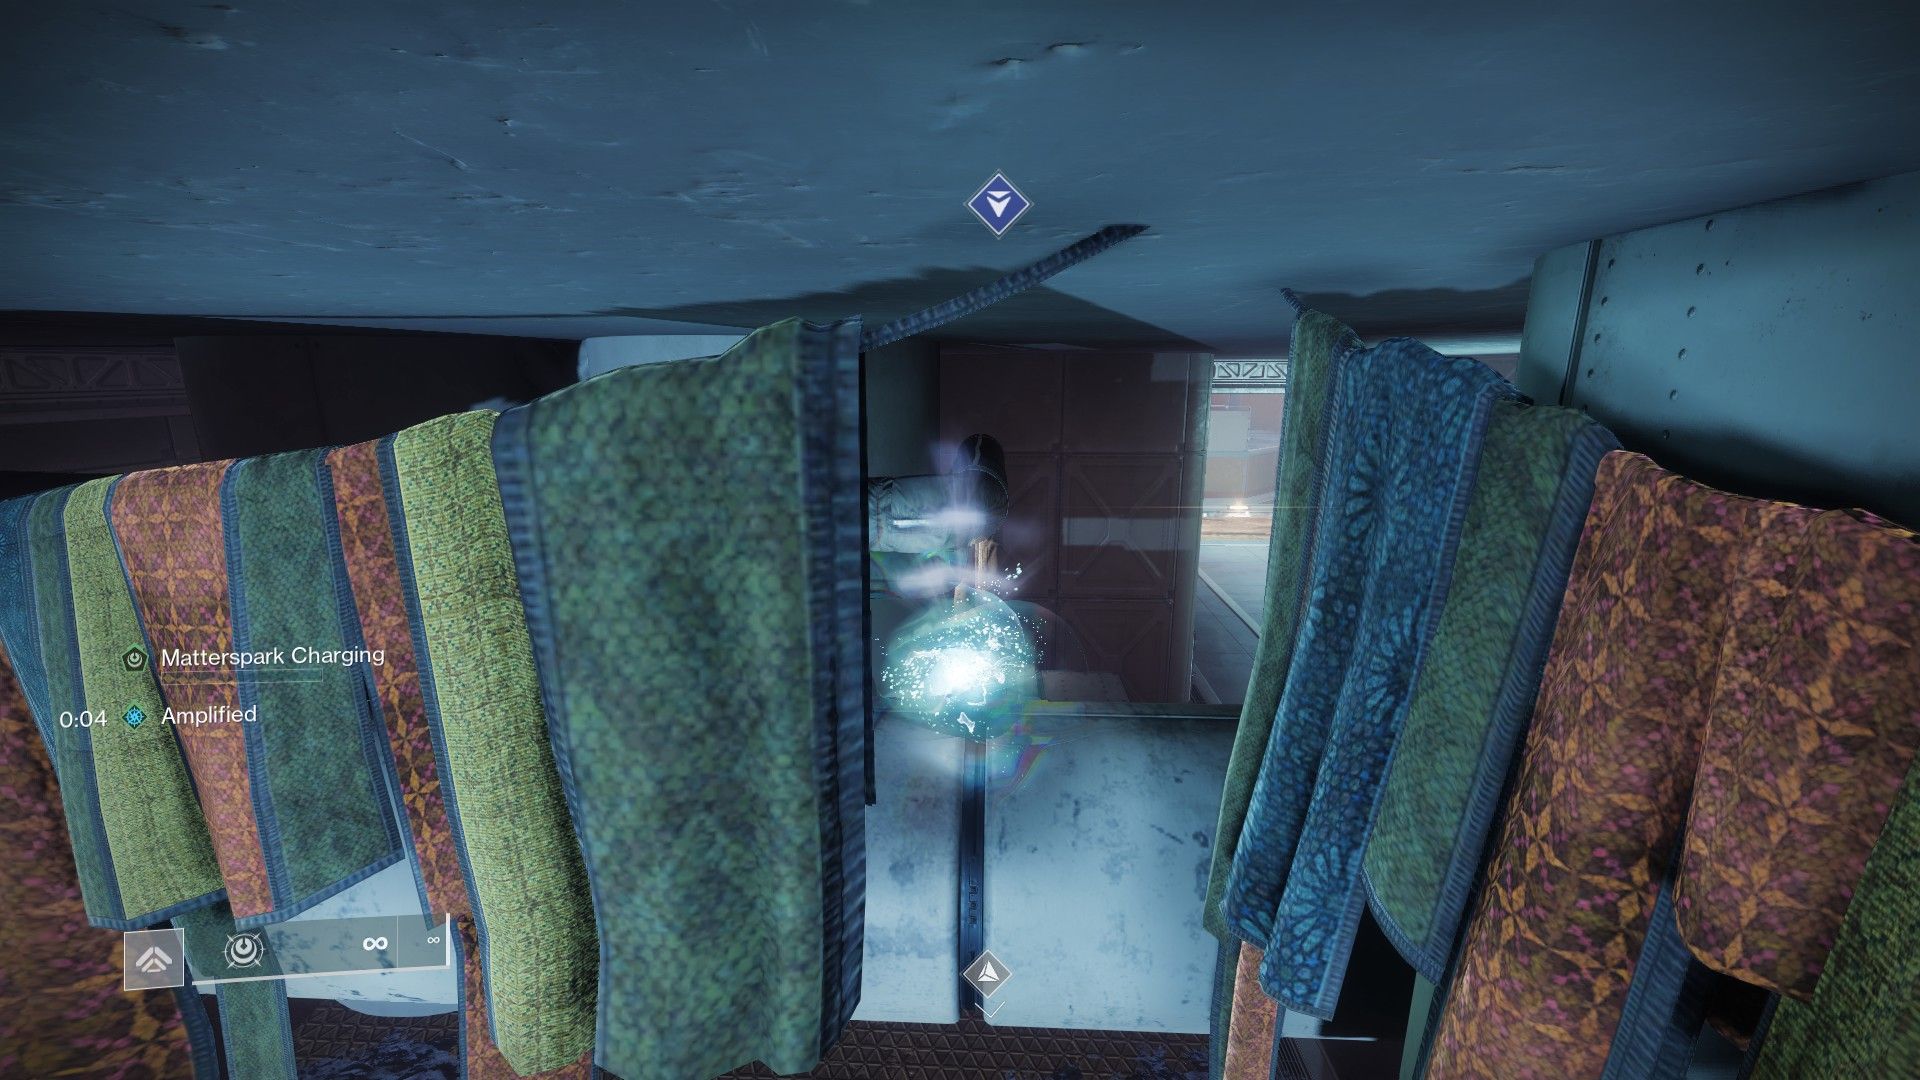
Ascend a pipe, employ Matterspark, and cautiously maneuver along using a wiggling motion. Subsequently, leap through the opening vent to locate the catalyst on a terminal.
Read More
- The Limits of Thought: Can We Compress Reasoning in AI?
- Genshin Impact Dev Teases New Open-World MMO With Realistic Graphics
- ARC Raiders Boss Defends Controversial AI Usage
- Console Gamers Can’t Escape Their Love For Sports Games
- Where to Pack and Sell Trade Goods in Crimson Desert
- Sega Reveals Official Sonic Timeline: From Prehistoric to Modern Era
- Top 8 UFC 5 Perks Every Fighter Should Use
- Who Can You Romance In GreedFall 2: The Dying World?
- Top 10 Must-Watch Isekai Anime on Crunchyroll Revealed!
- Gold Rate Forecast
2025-08-09 18:00