
In the game Hollow Knight: Silksong, the tools are versatile enough to be beneficial in all scenarios, be it navigating through the map or confronting a boss. Consequently, gamers may need to change their tools according to whether they are primarily exploring or engaging in combat.
Overcoming those pesky aerial adversaries might prove challenging, but luckily, this guide is here to help! It provides detailed information about where you can find the Tool in Hollow Knight: Silksong, along with any prerequisites players must fulfill beforehand.
How to Get the Curvesickle Tool in Silksong
Meeting the Requirements
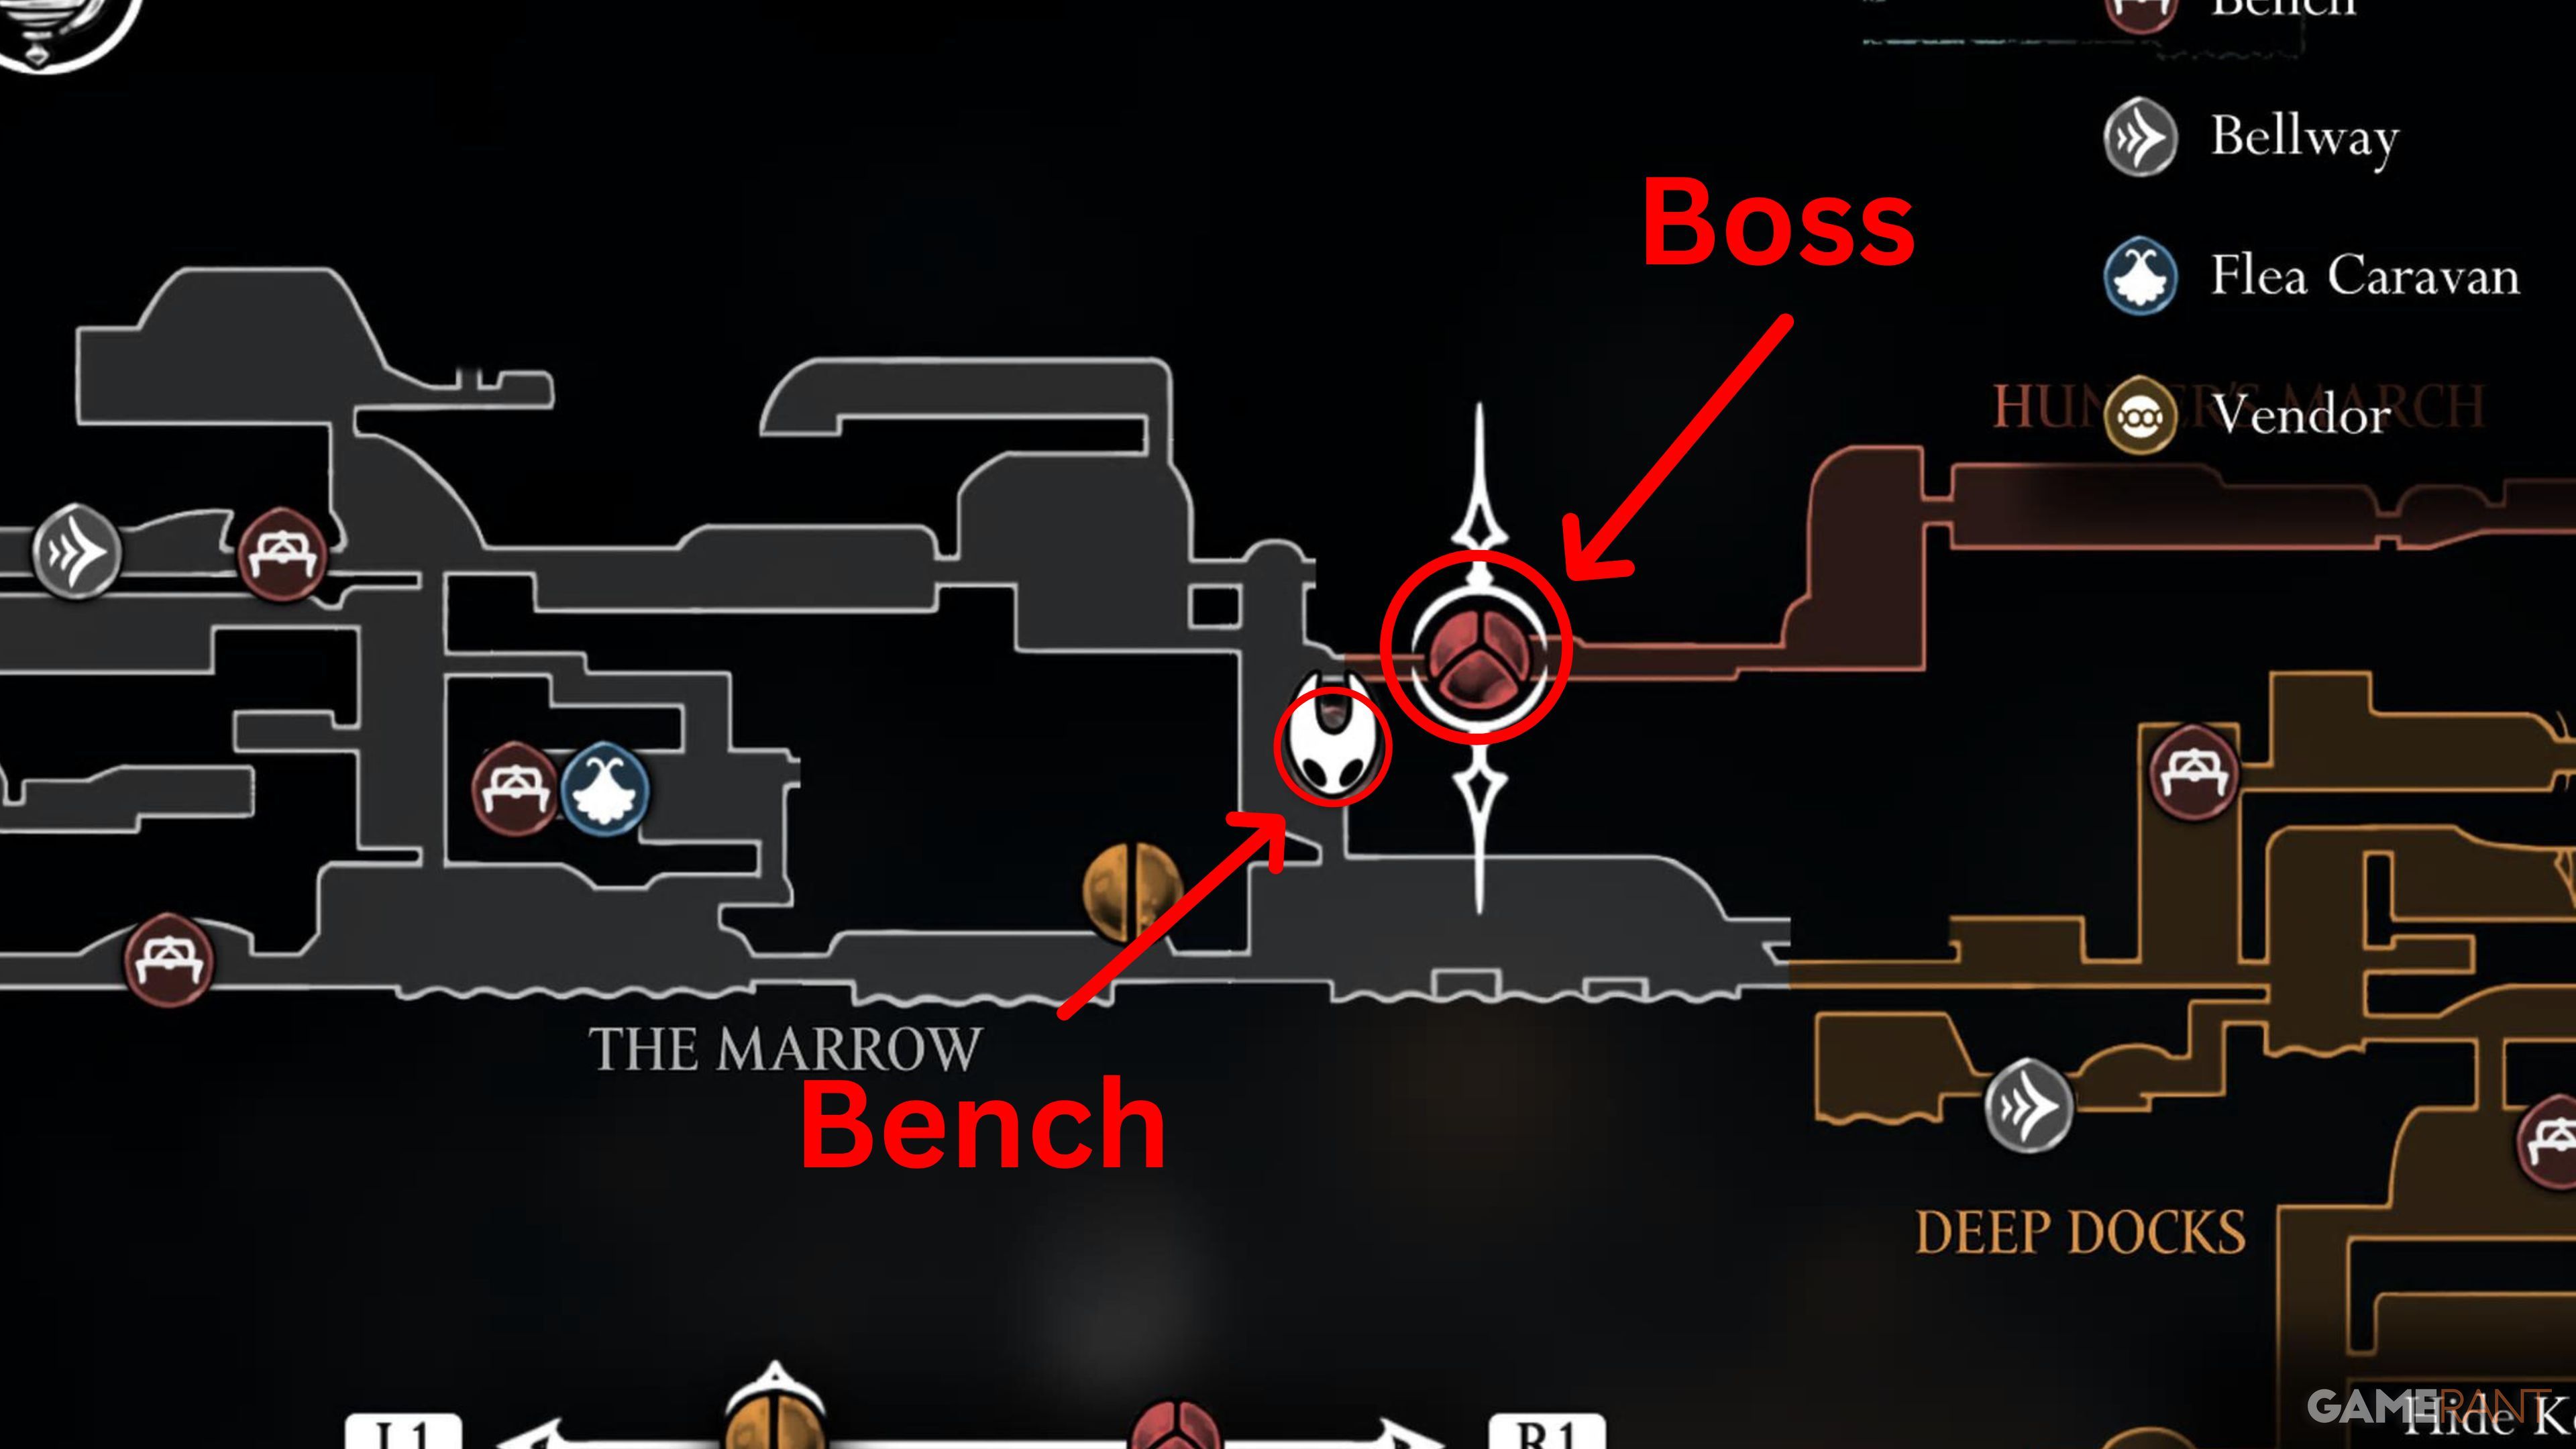


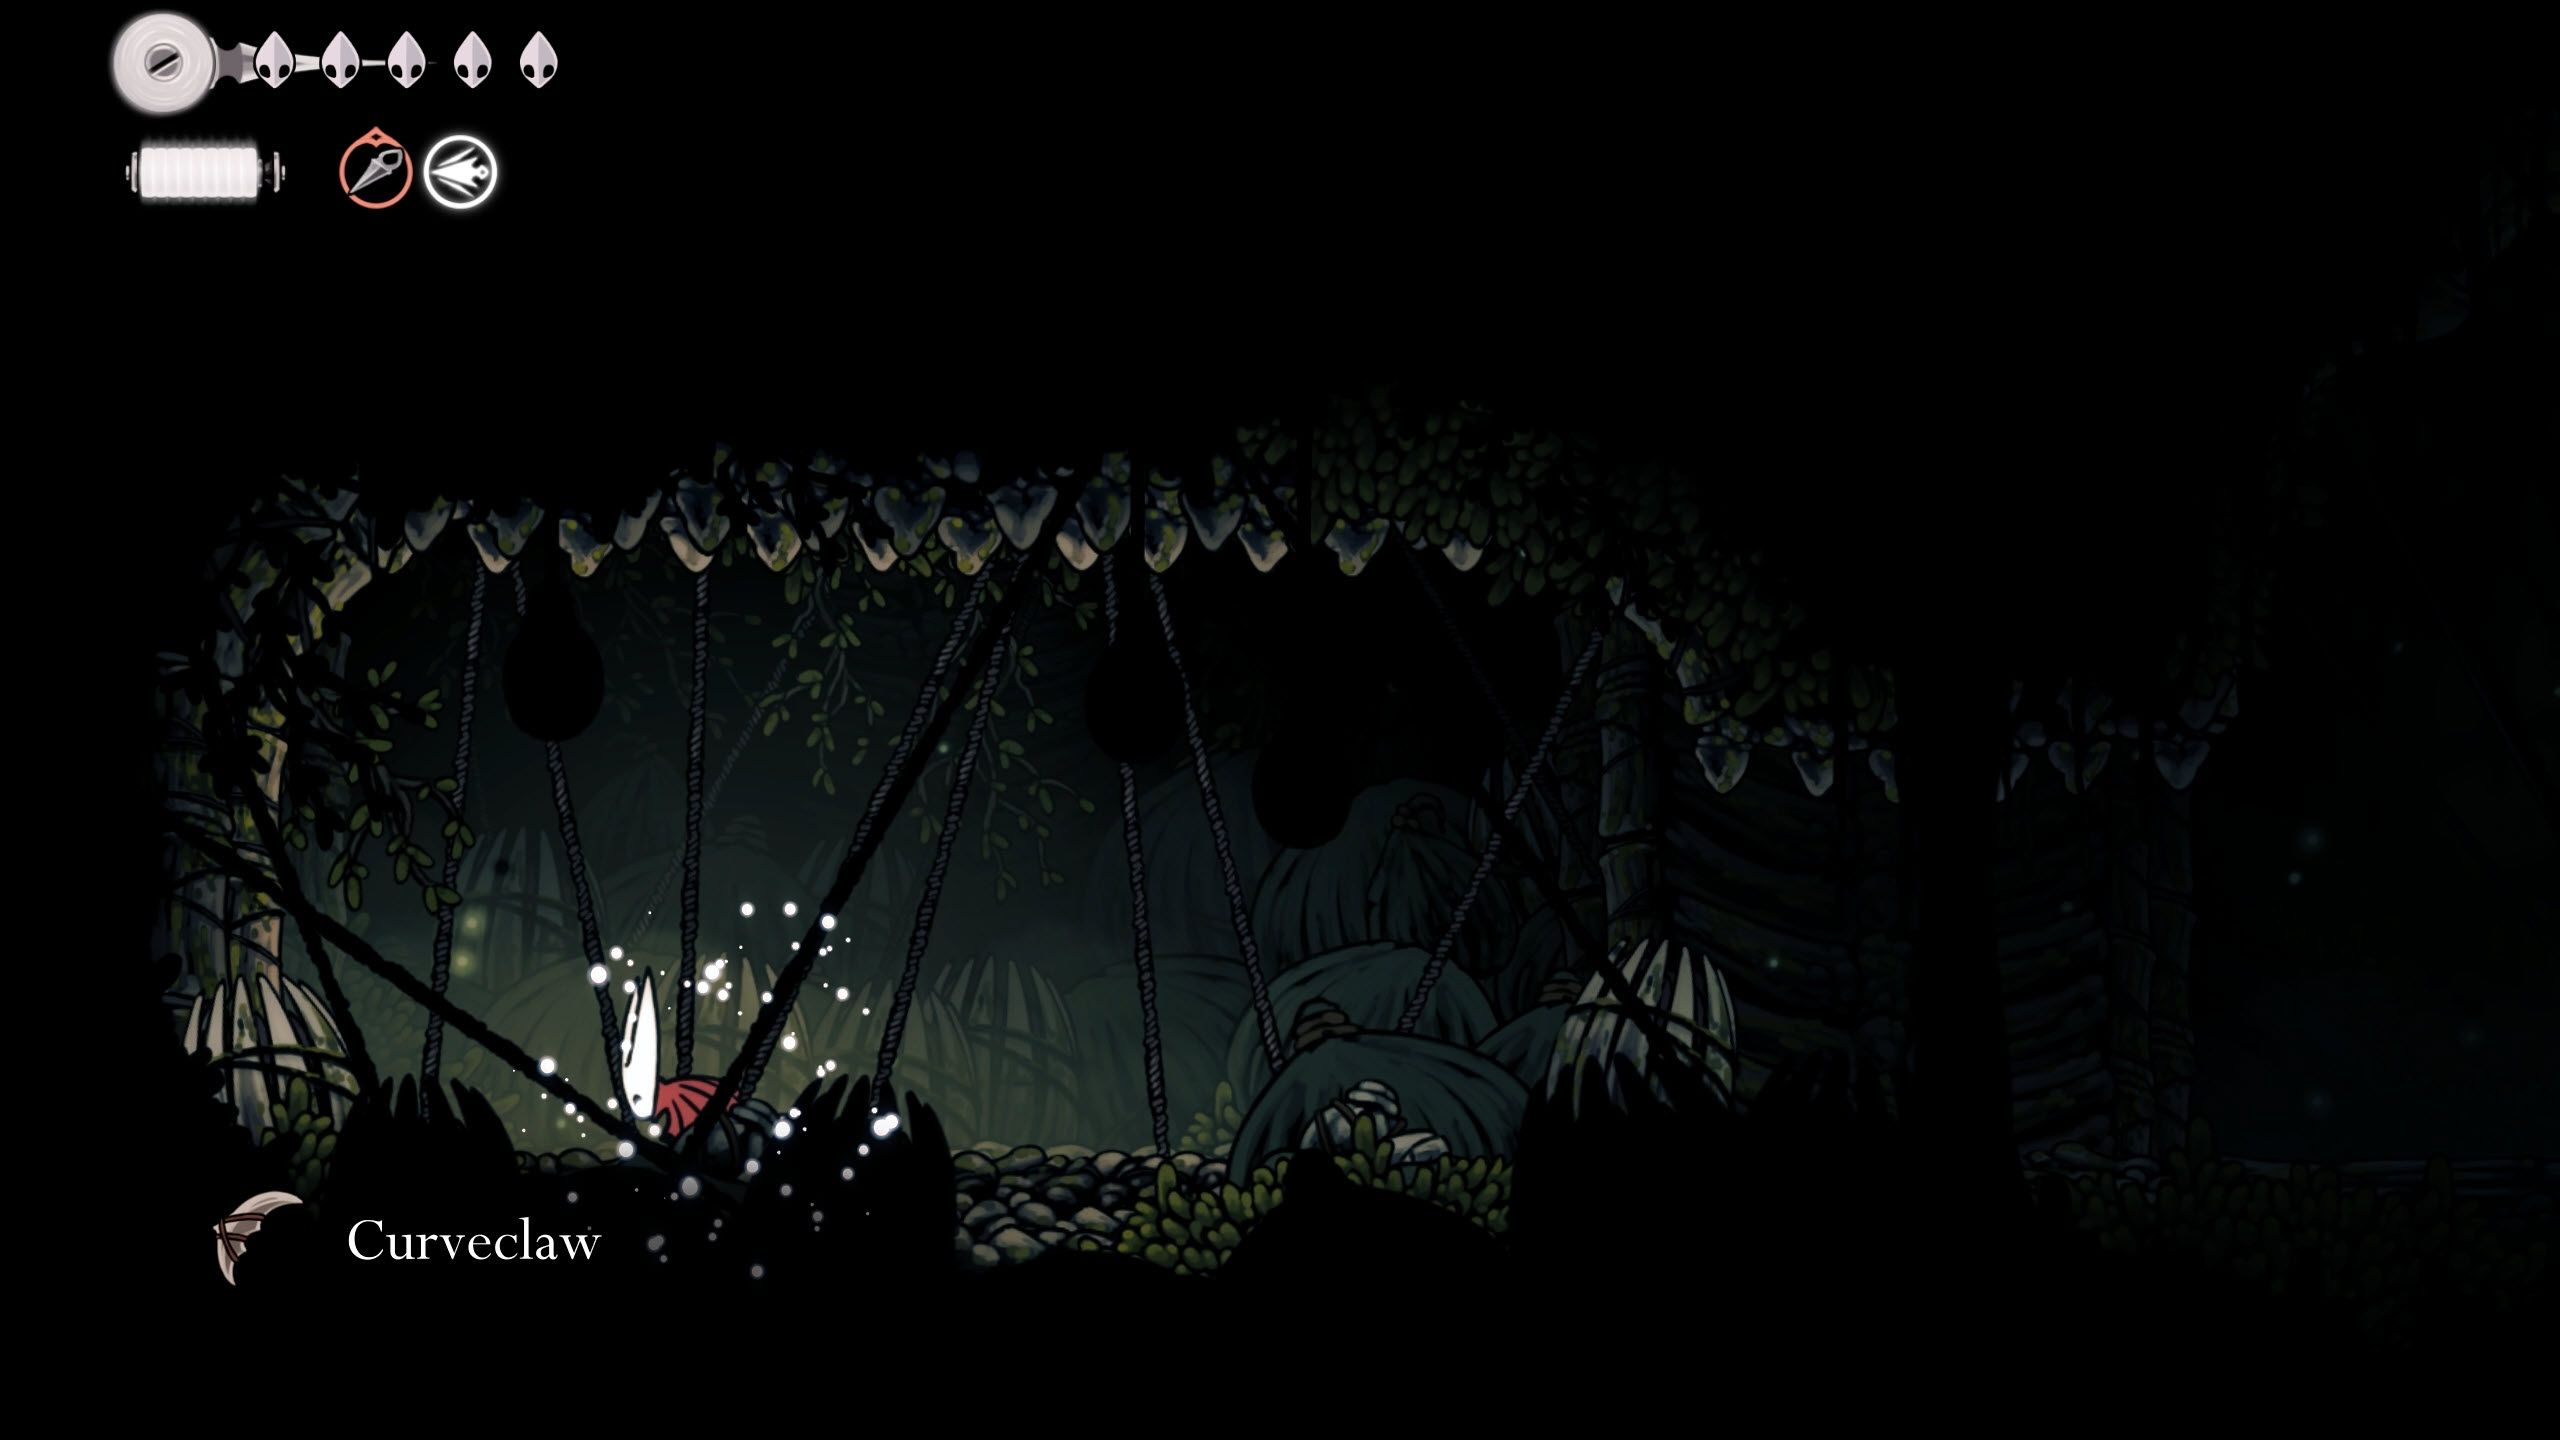
To obtain the Curvesickle Tool, there are two prerequisites to fulfill first. Initially, you need to secure the Curveclaw Tool which is hidden within the Hunter’s March. To access Hunter’s March, travel to The Marrow and head towards the top right area. Here, you’ll find a path that leads to an Ant Guardian after freeing Grindle from his cell. This boss battle can be quite challenging, especially if you don’t possess the dash ability yet. With the dash ability, you can dart in and out during attacks. Once you’ve defeated the boss, move to the right to encounter Shakra for a map, then head upwards to find a resting spot (Bench).
Approach the bench cautiously, it’s stuck. Instead, veer left to find a lever and ensure that taking a seat won’t drain your health bar.
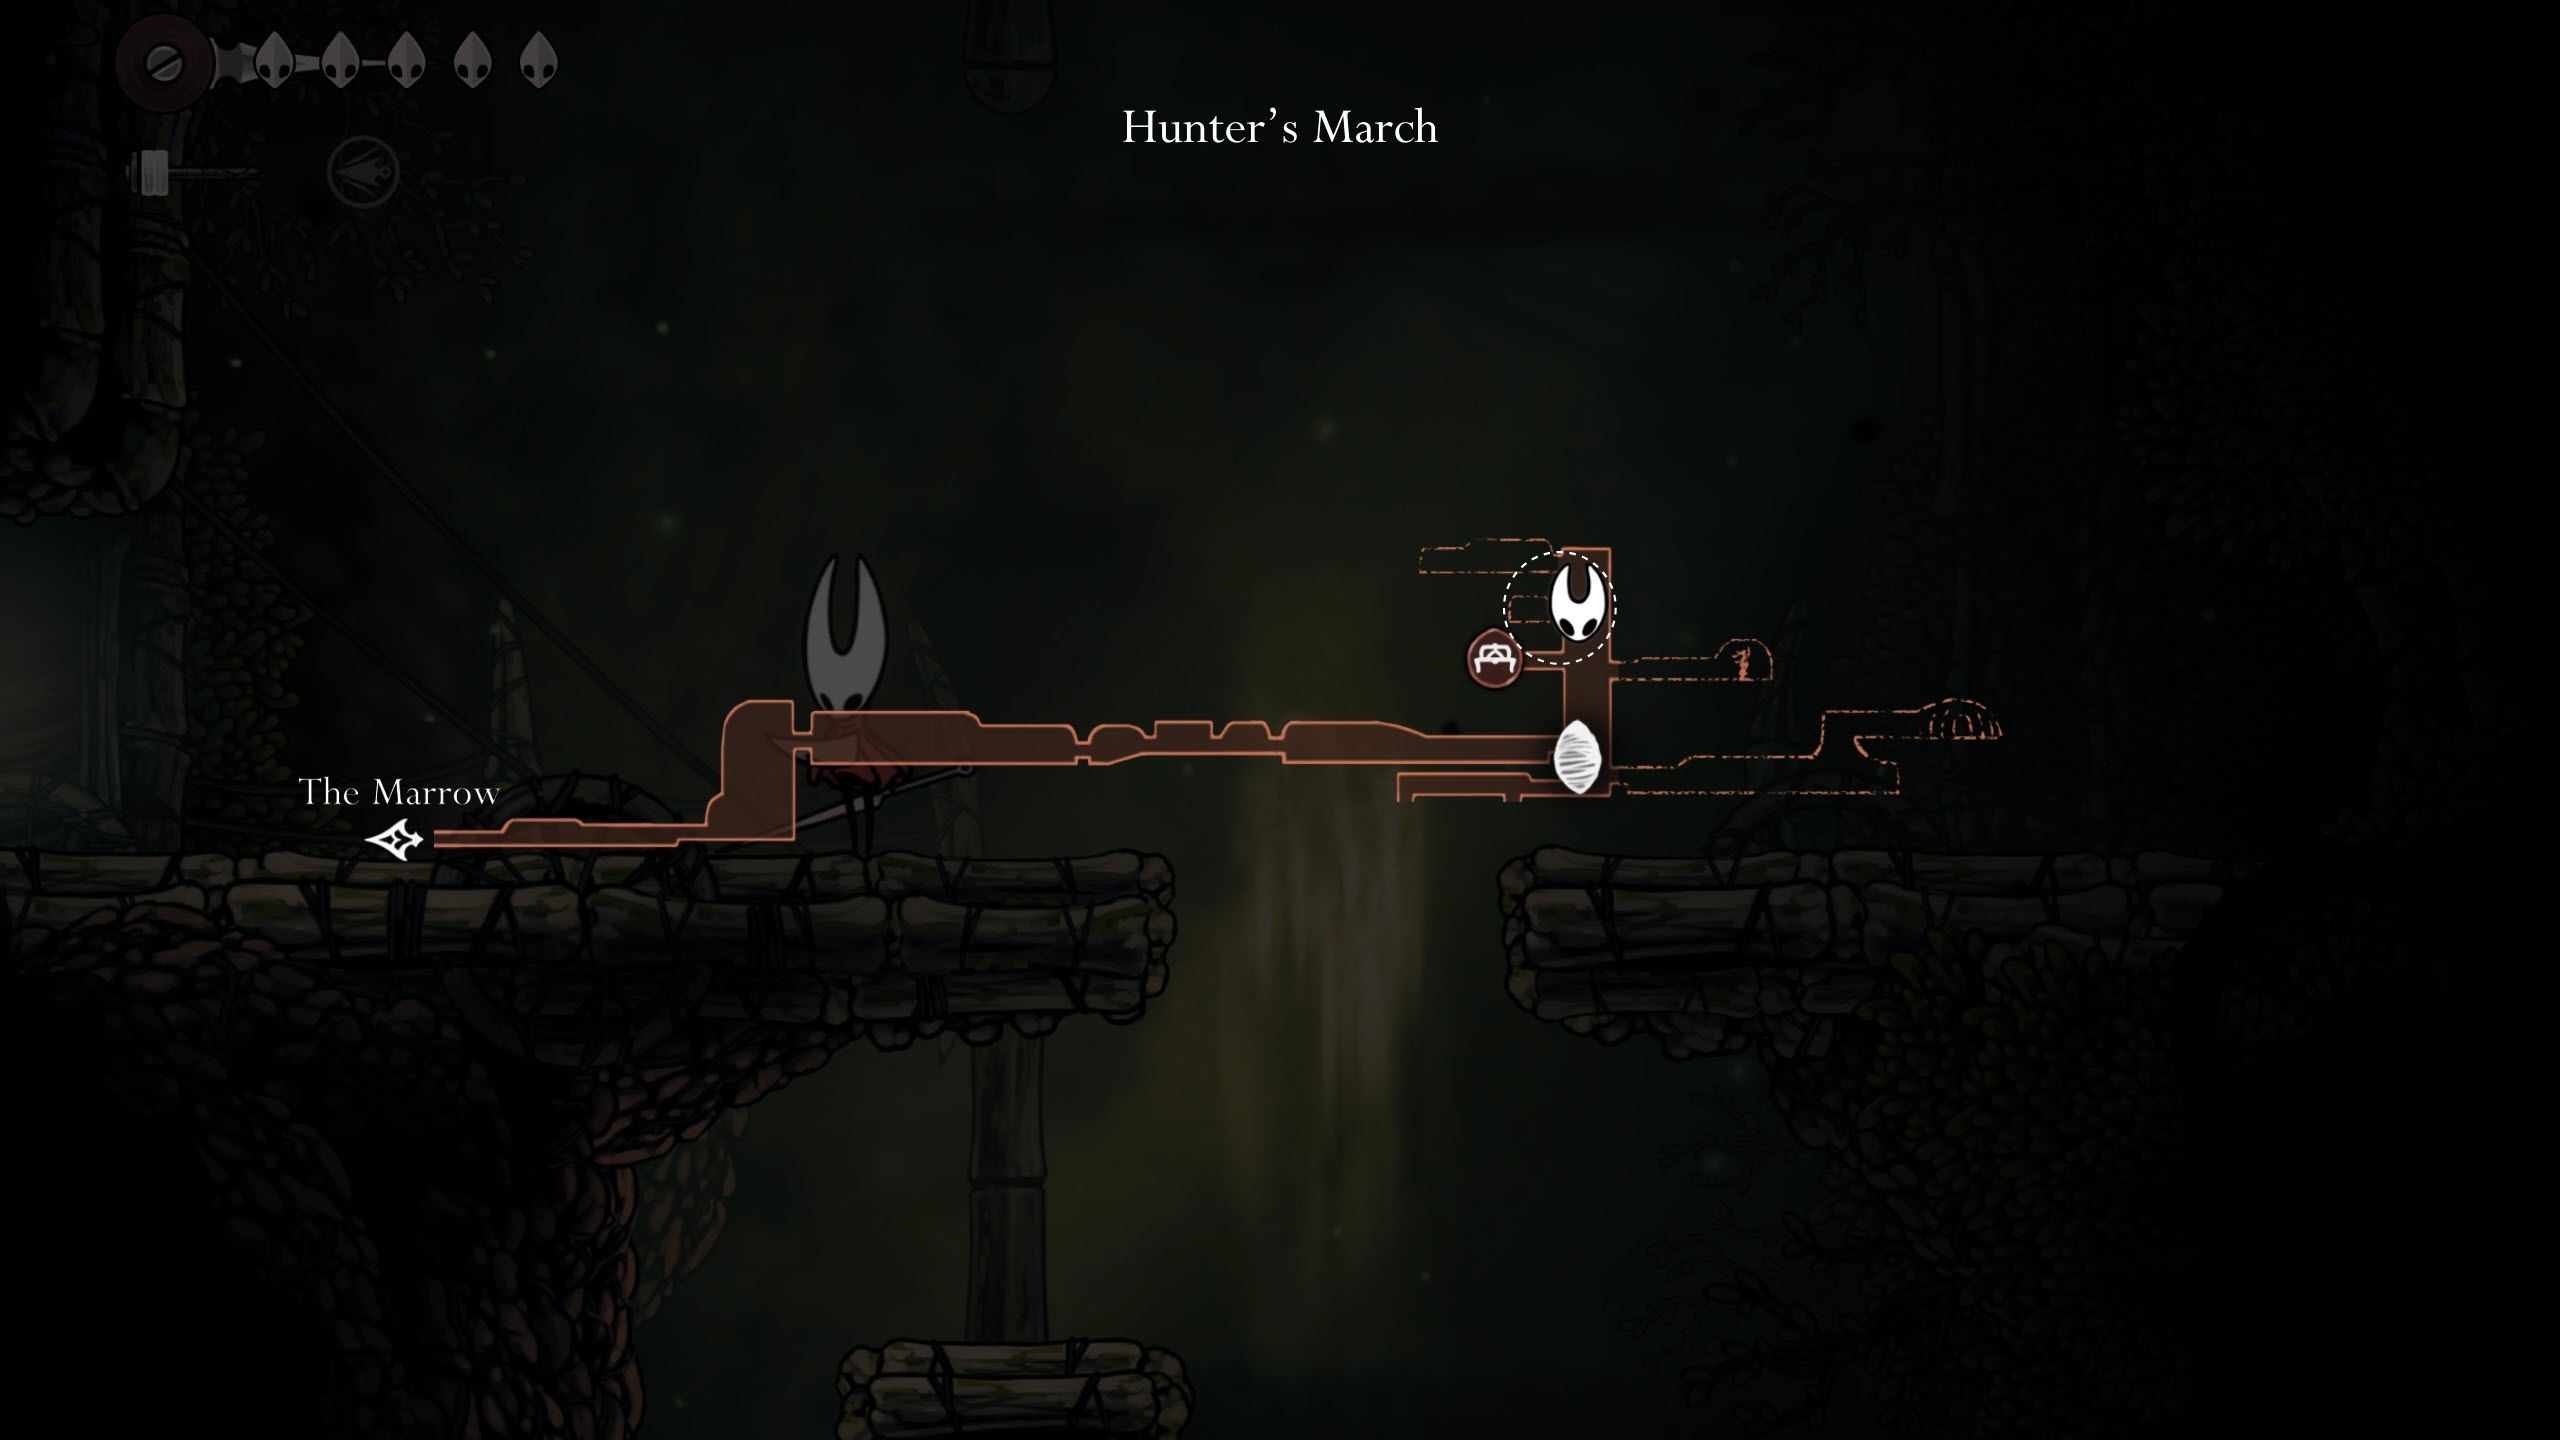
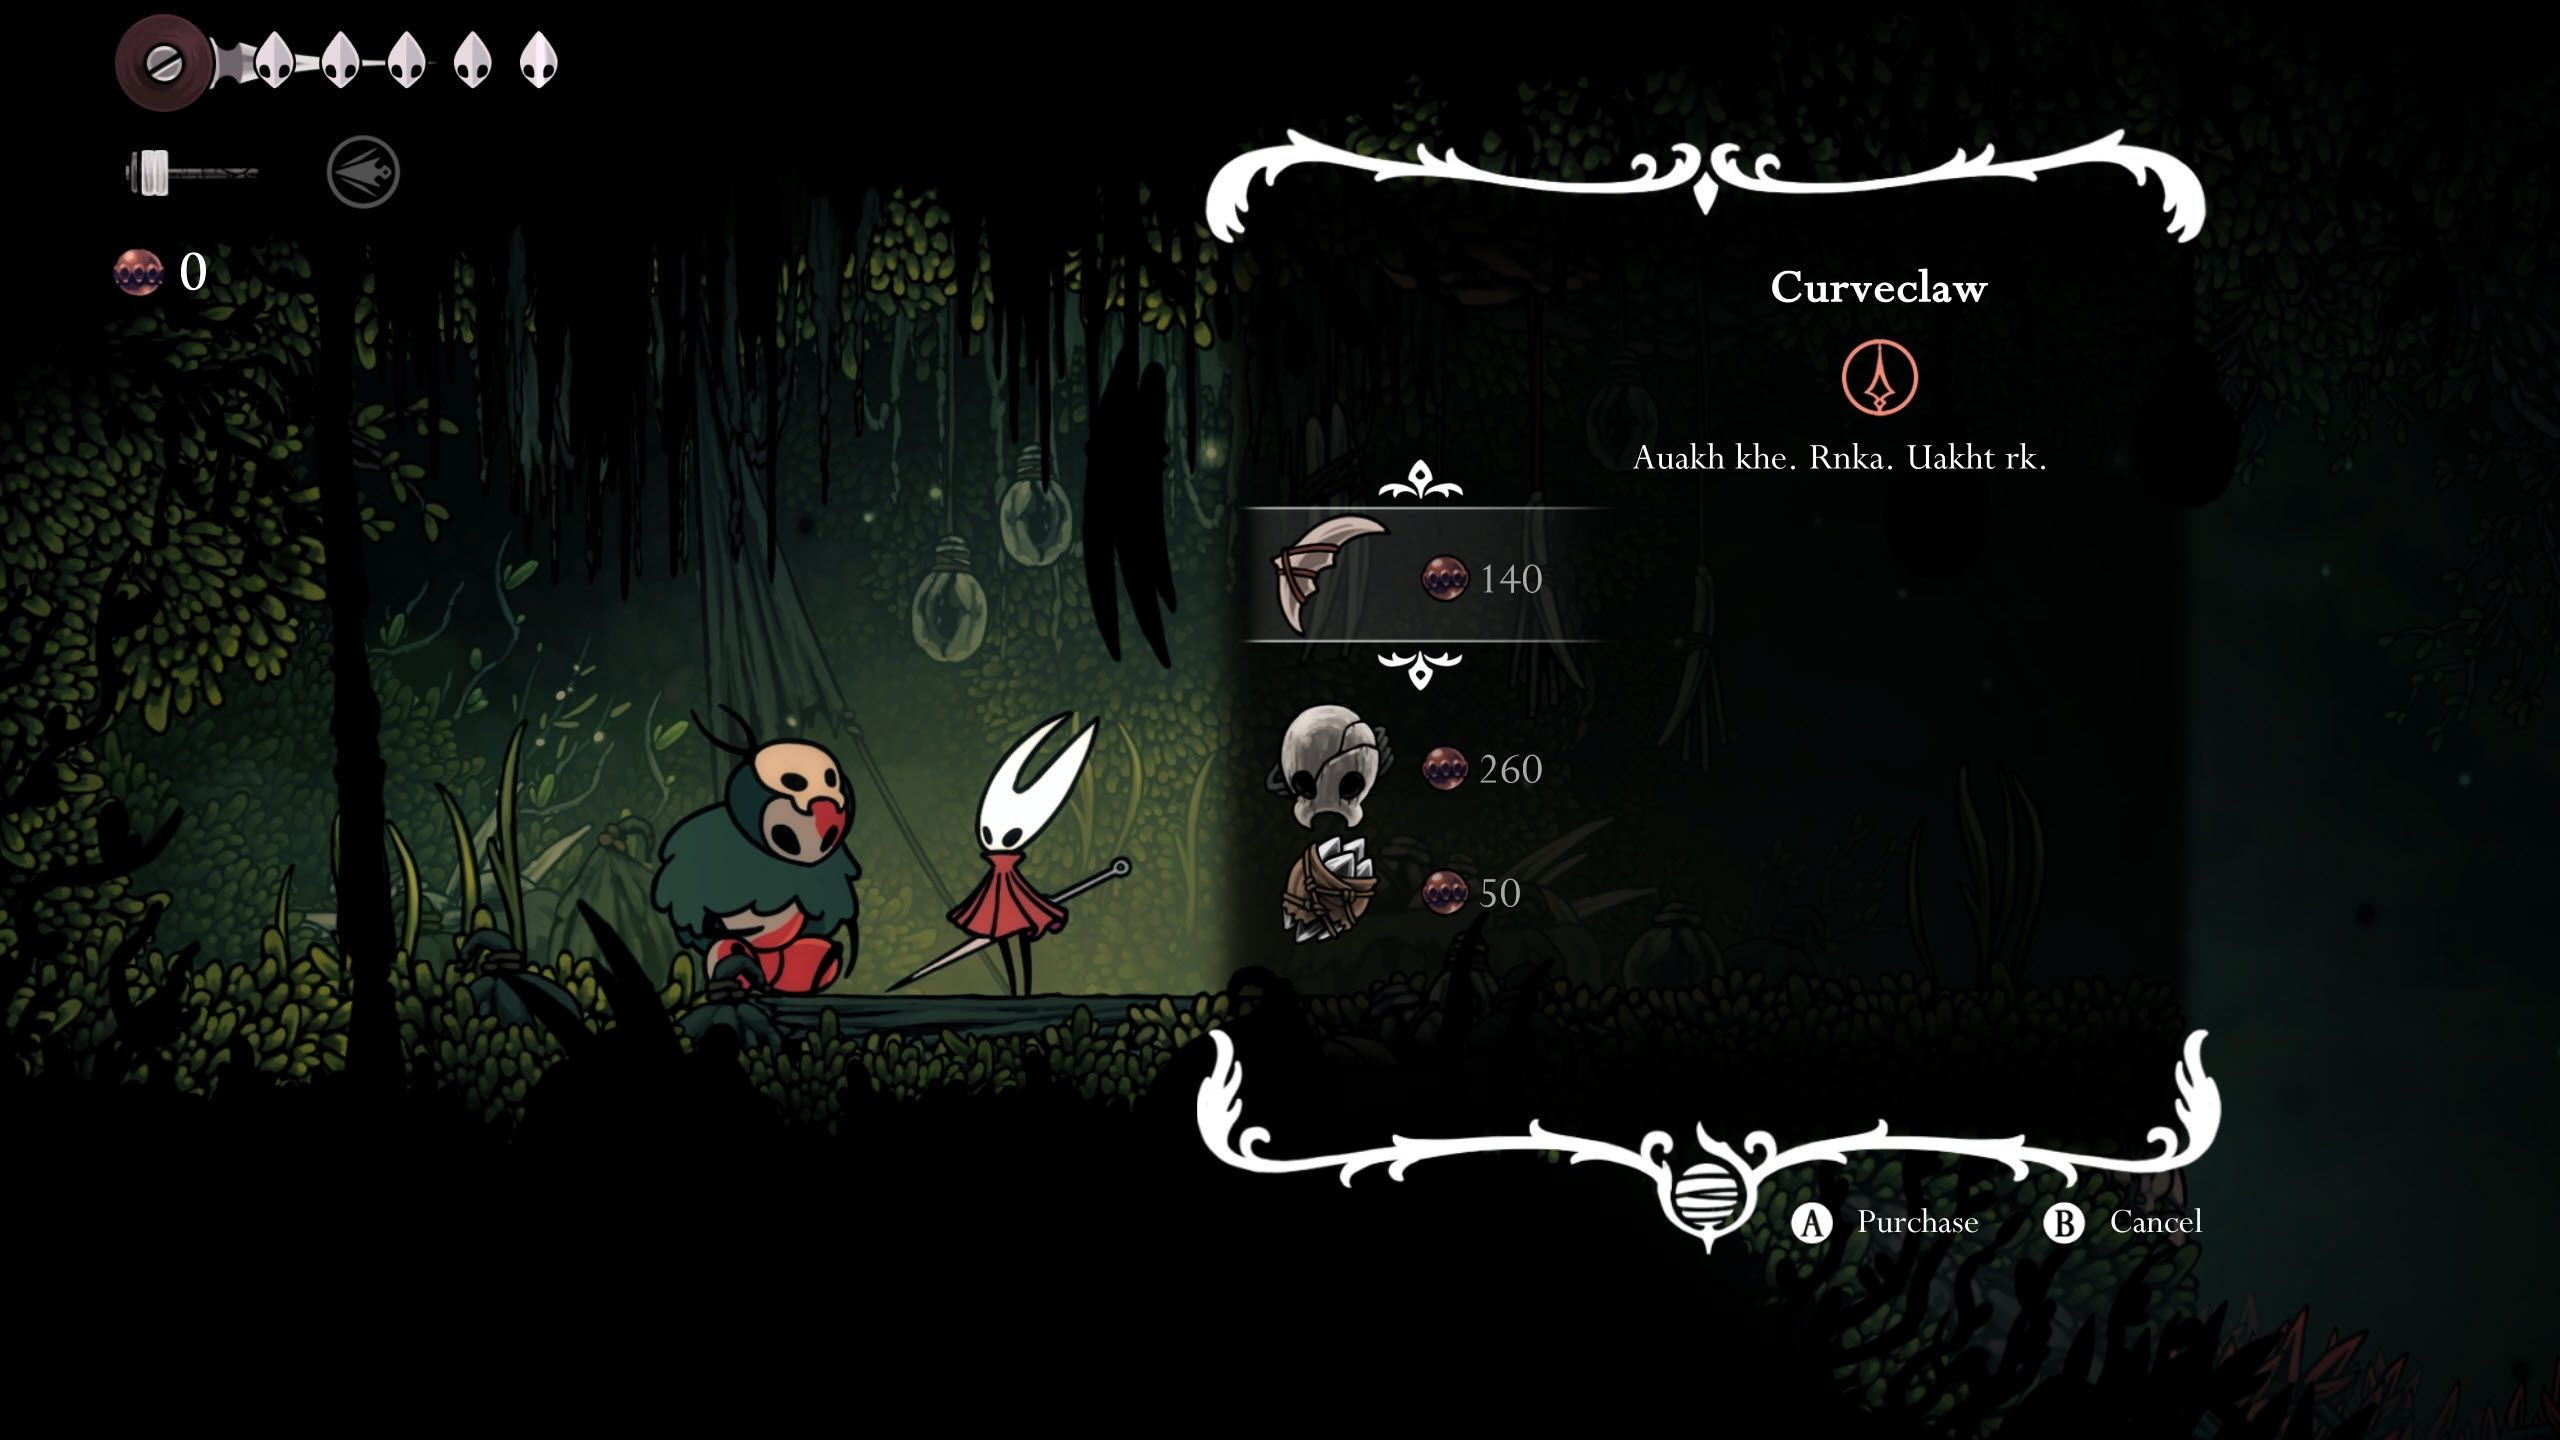
As you rise from the seating area, you’ll find your way by navigating the path on the left. There, you’ll encounter Mottled Skarr, a character offering various goods for sale. Among them, you’ll discover the item you require.
As you progress through the game, if you reach the NPC’s spot in the later acts, you’ll unfortunately find them deceased. But don’t worry, there’s an alternative way to get the Tool that won’t drain your Rosaries. Exit the room and climb upwards; you’ll spot a hidden path on your left. Here, you’ll encounter an Ant Guardian and a flying foe. Take them down, then veer left to discover… the location of the tool!
The next step in the process is for players to advance to the third level within the game. This could require a significant amount of time as it entails fulfilling all the requests, unlocking Bellhome, and discovering all the Fleas.
Acquiring the Curvesickle in Act 3
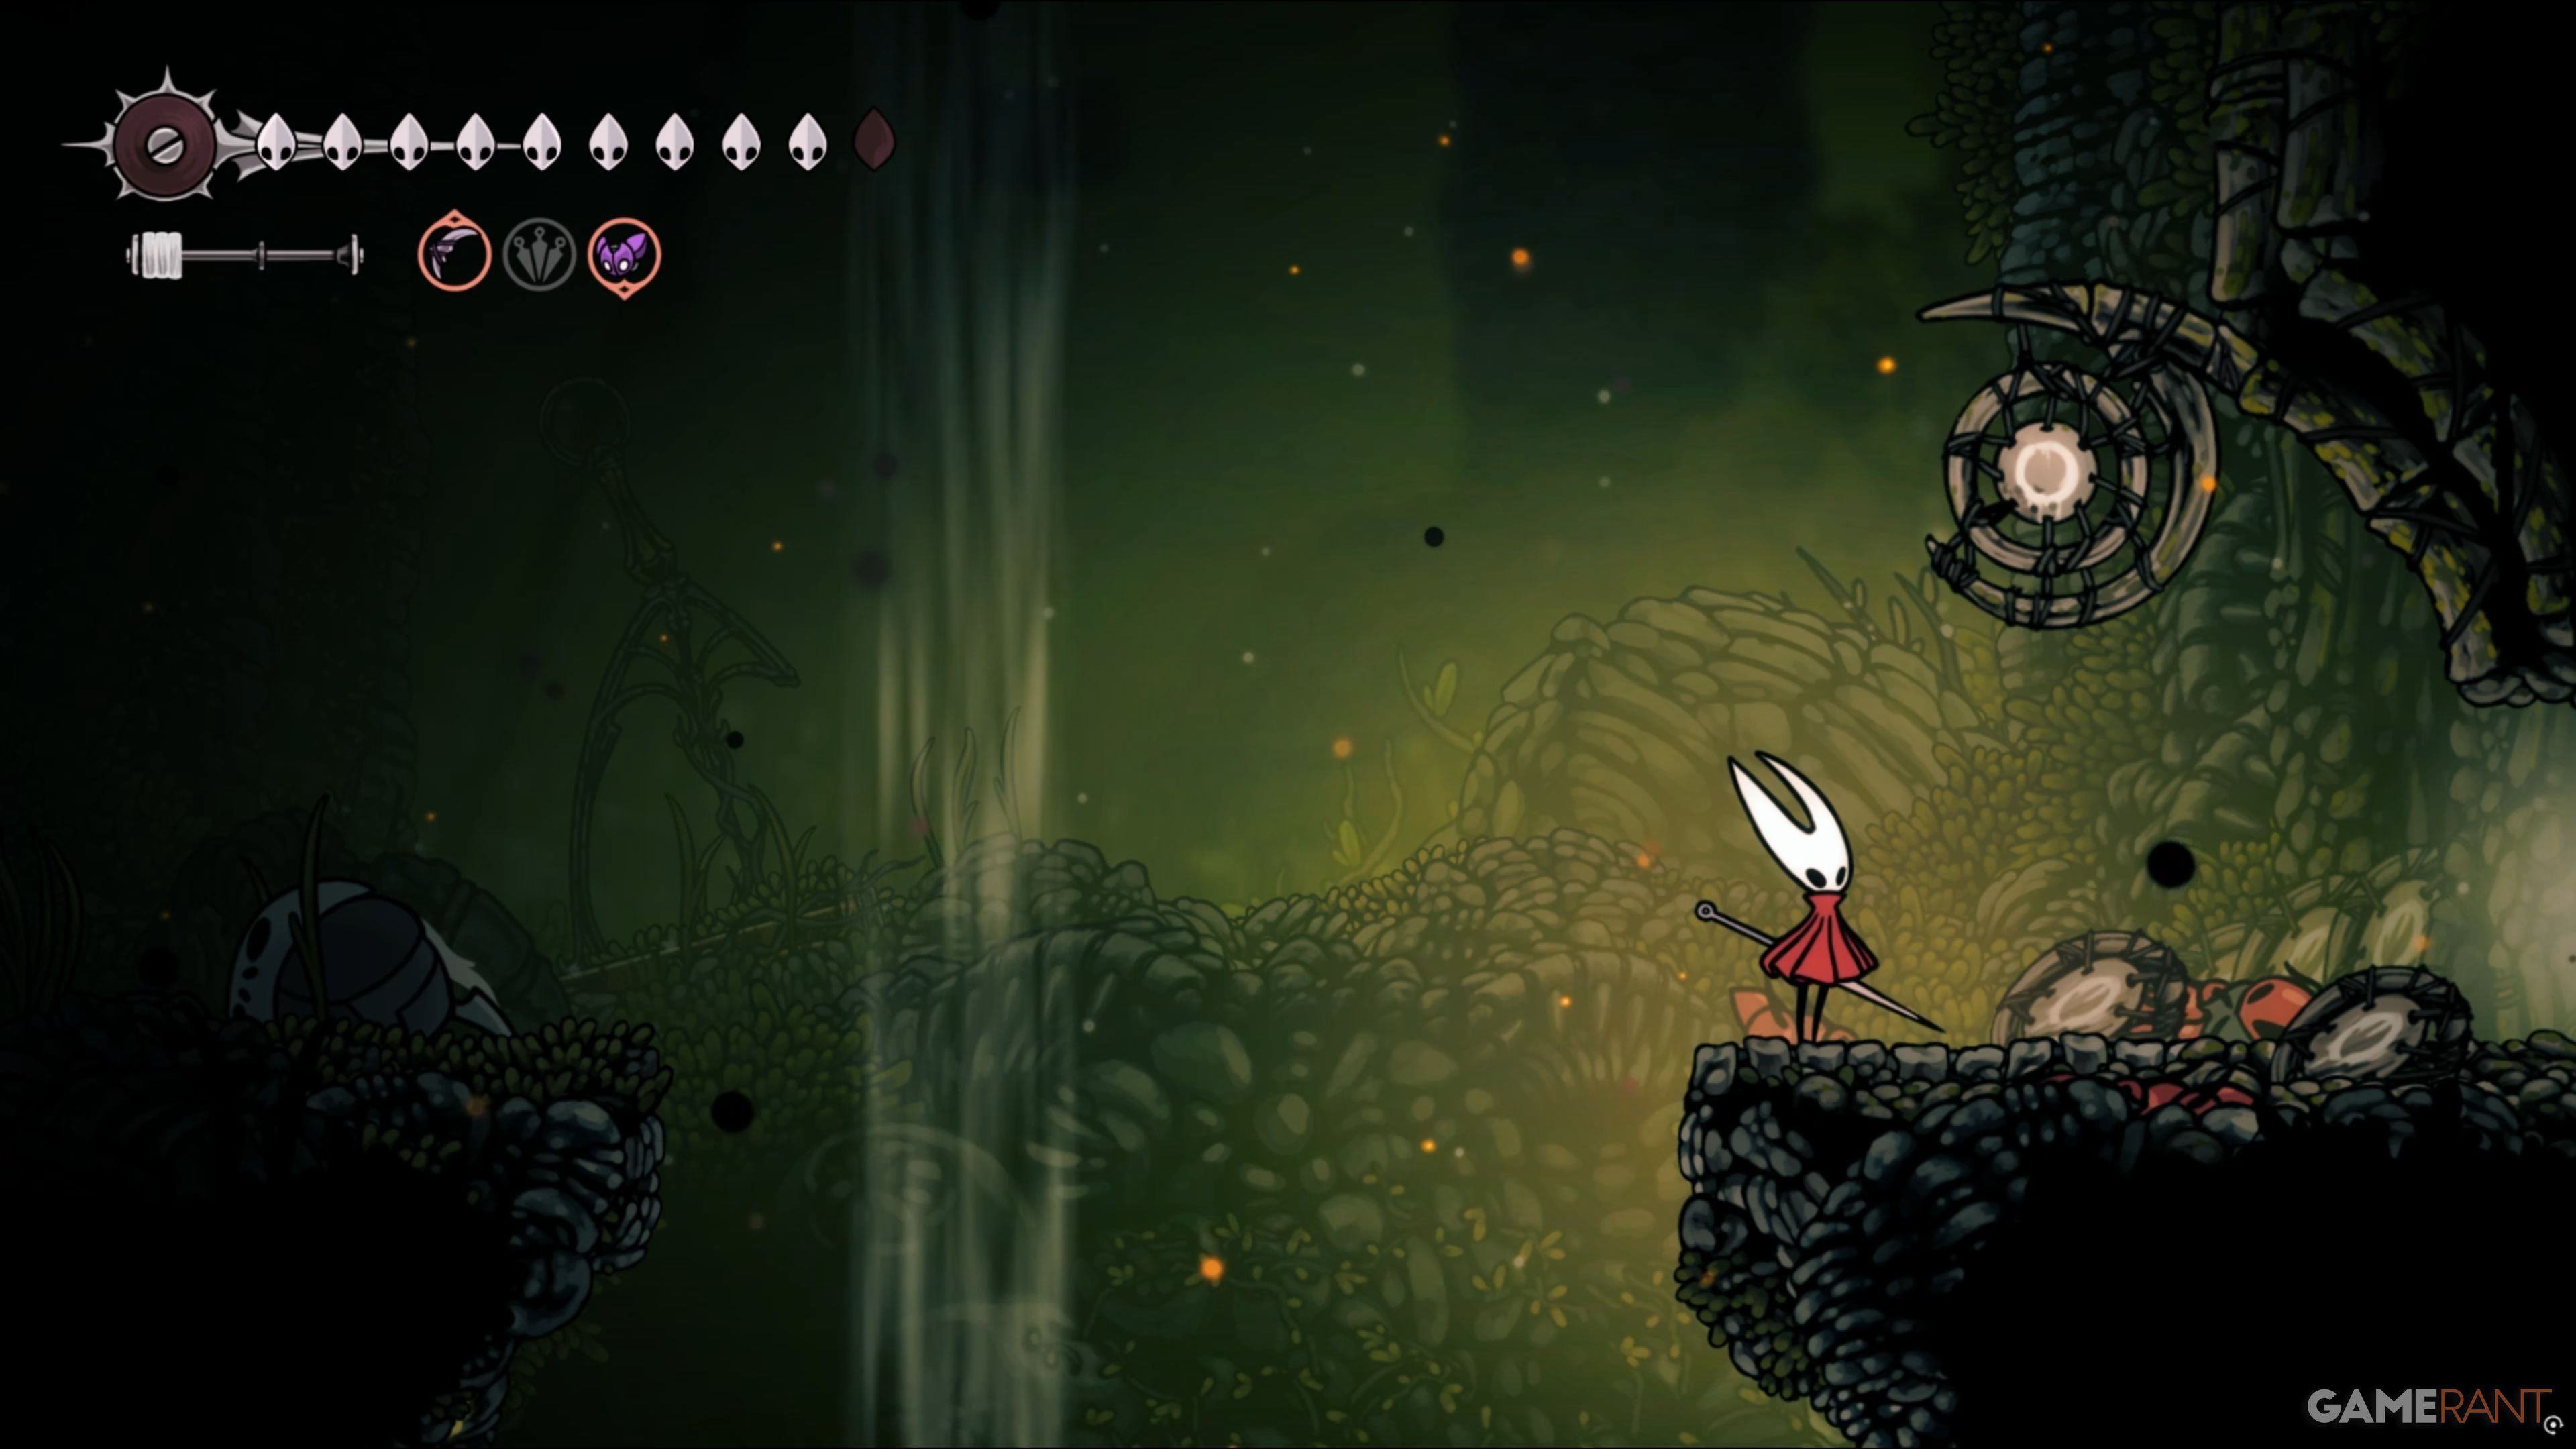

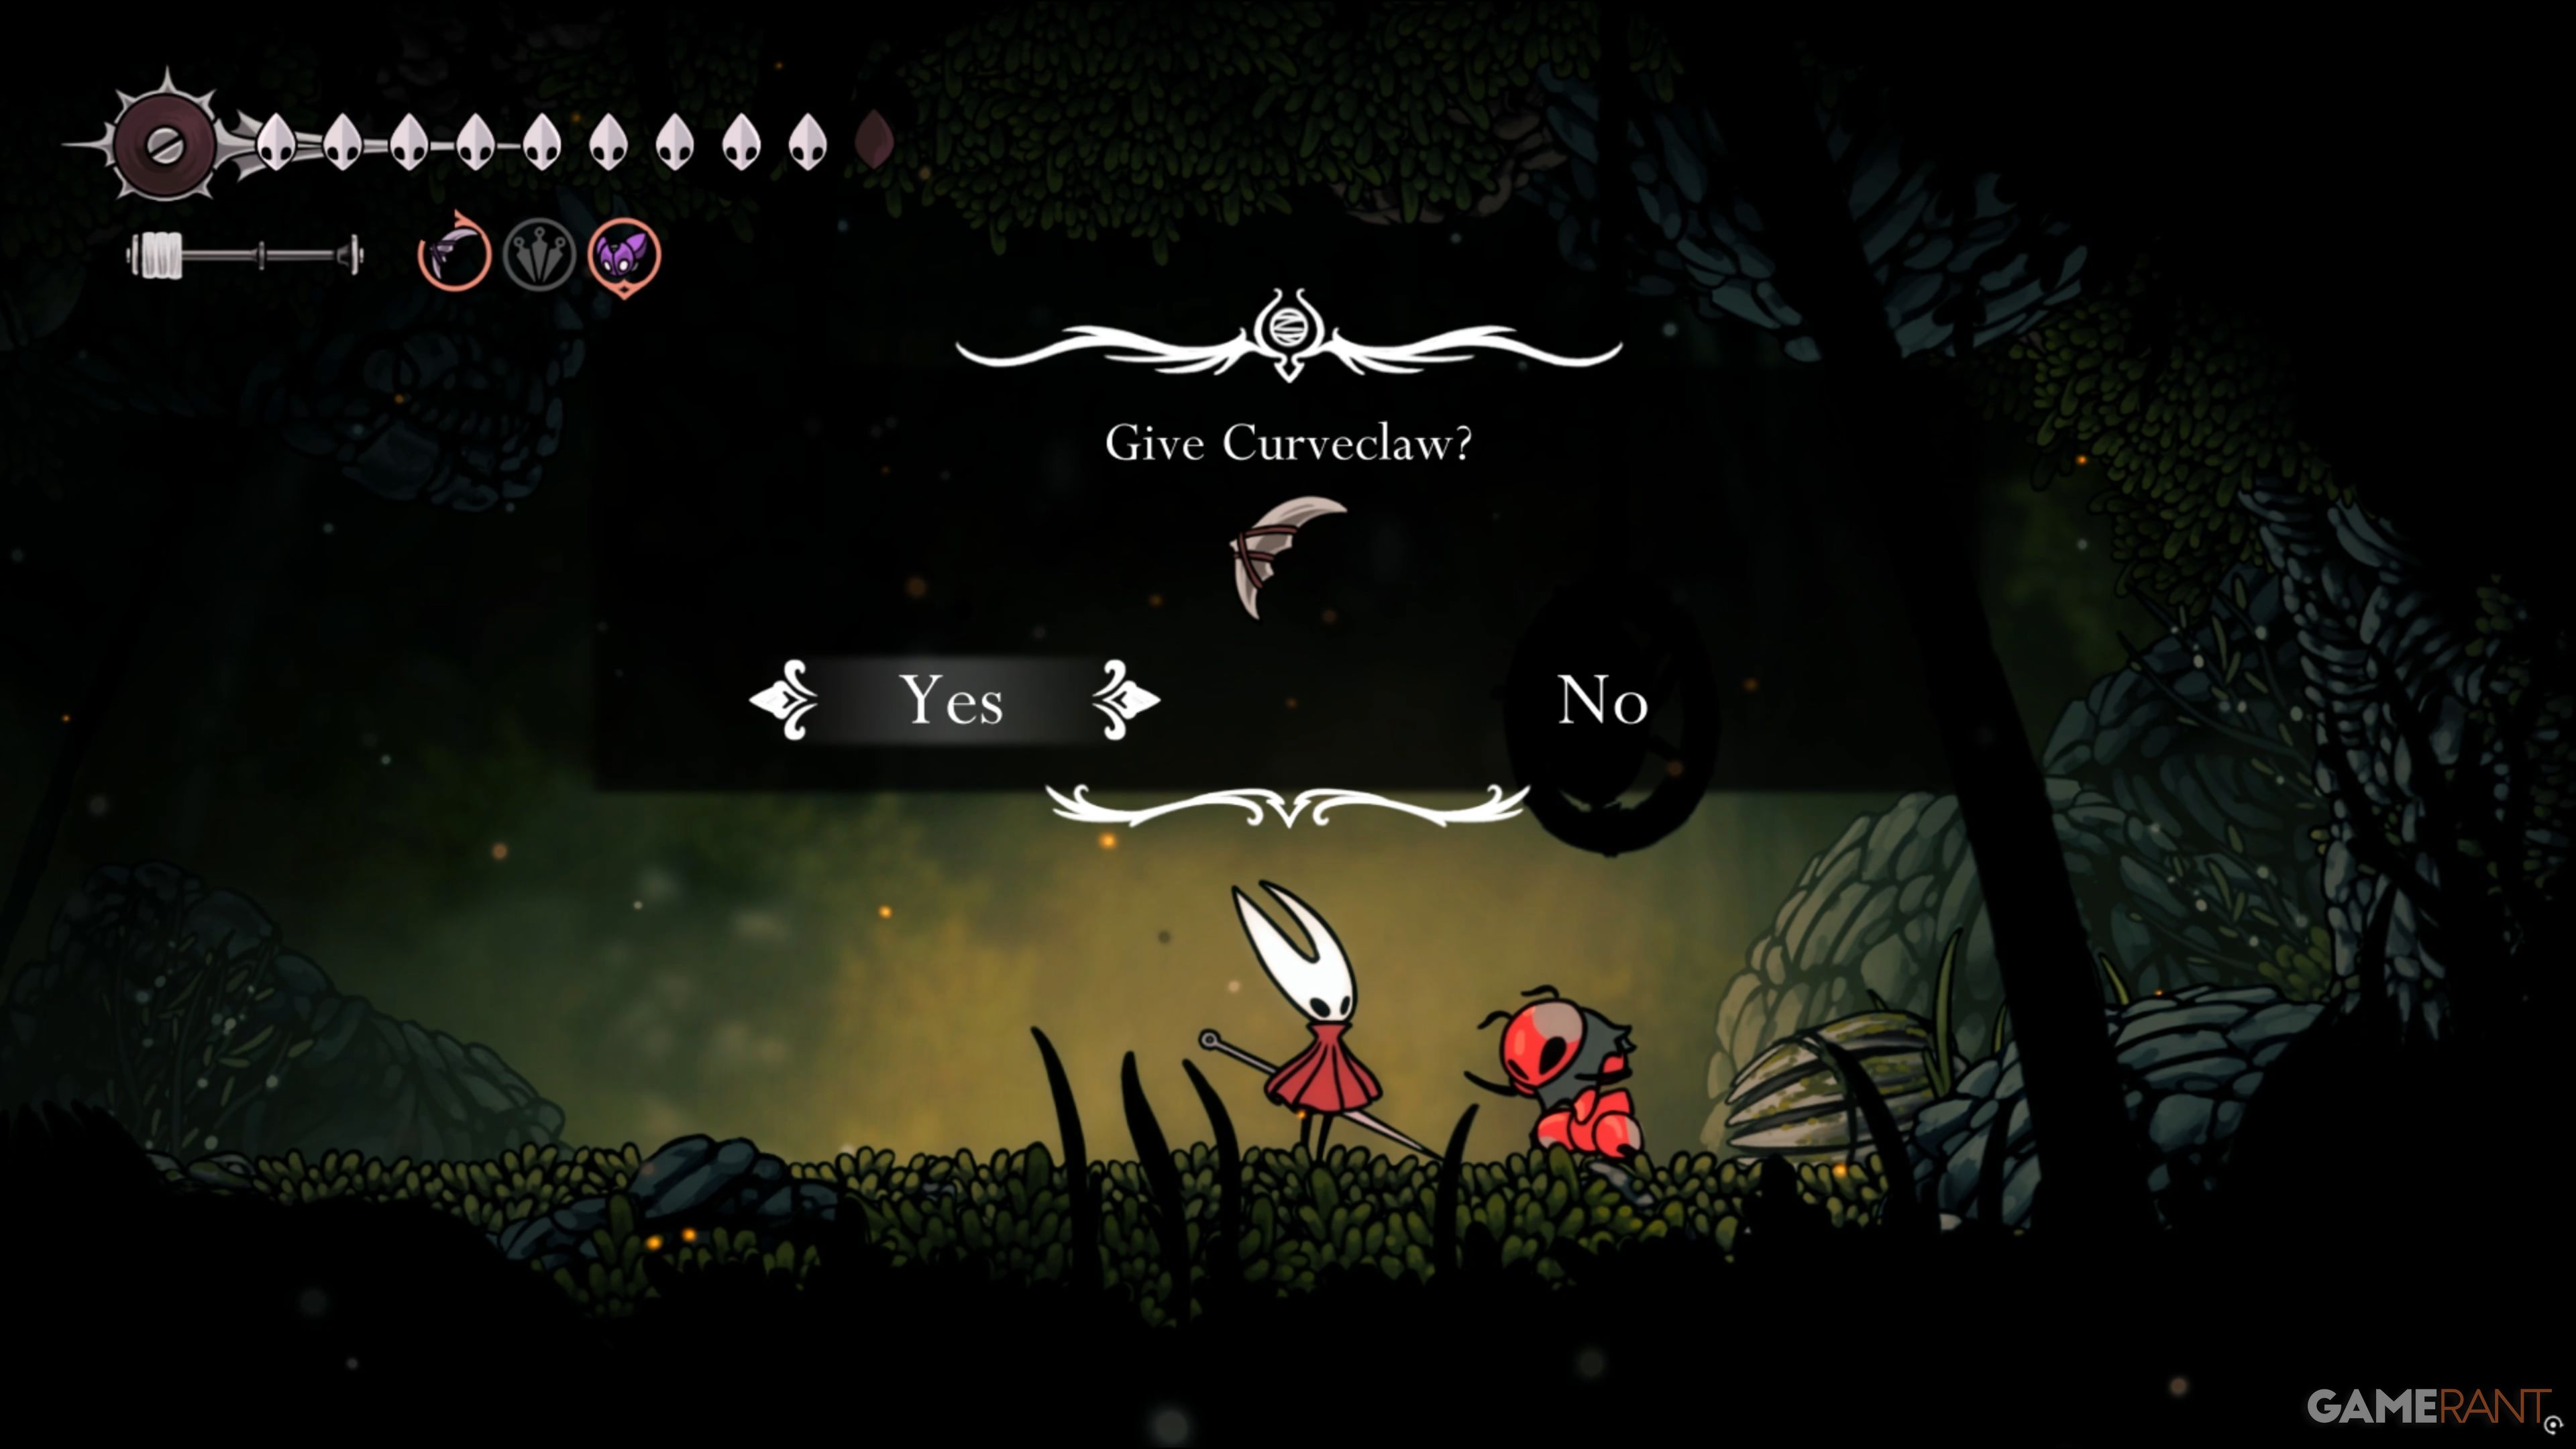
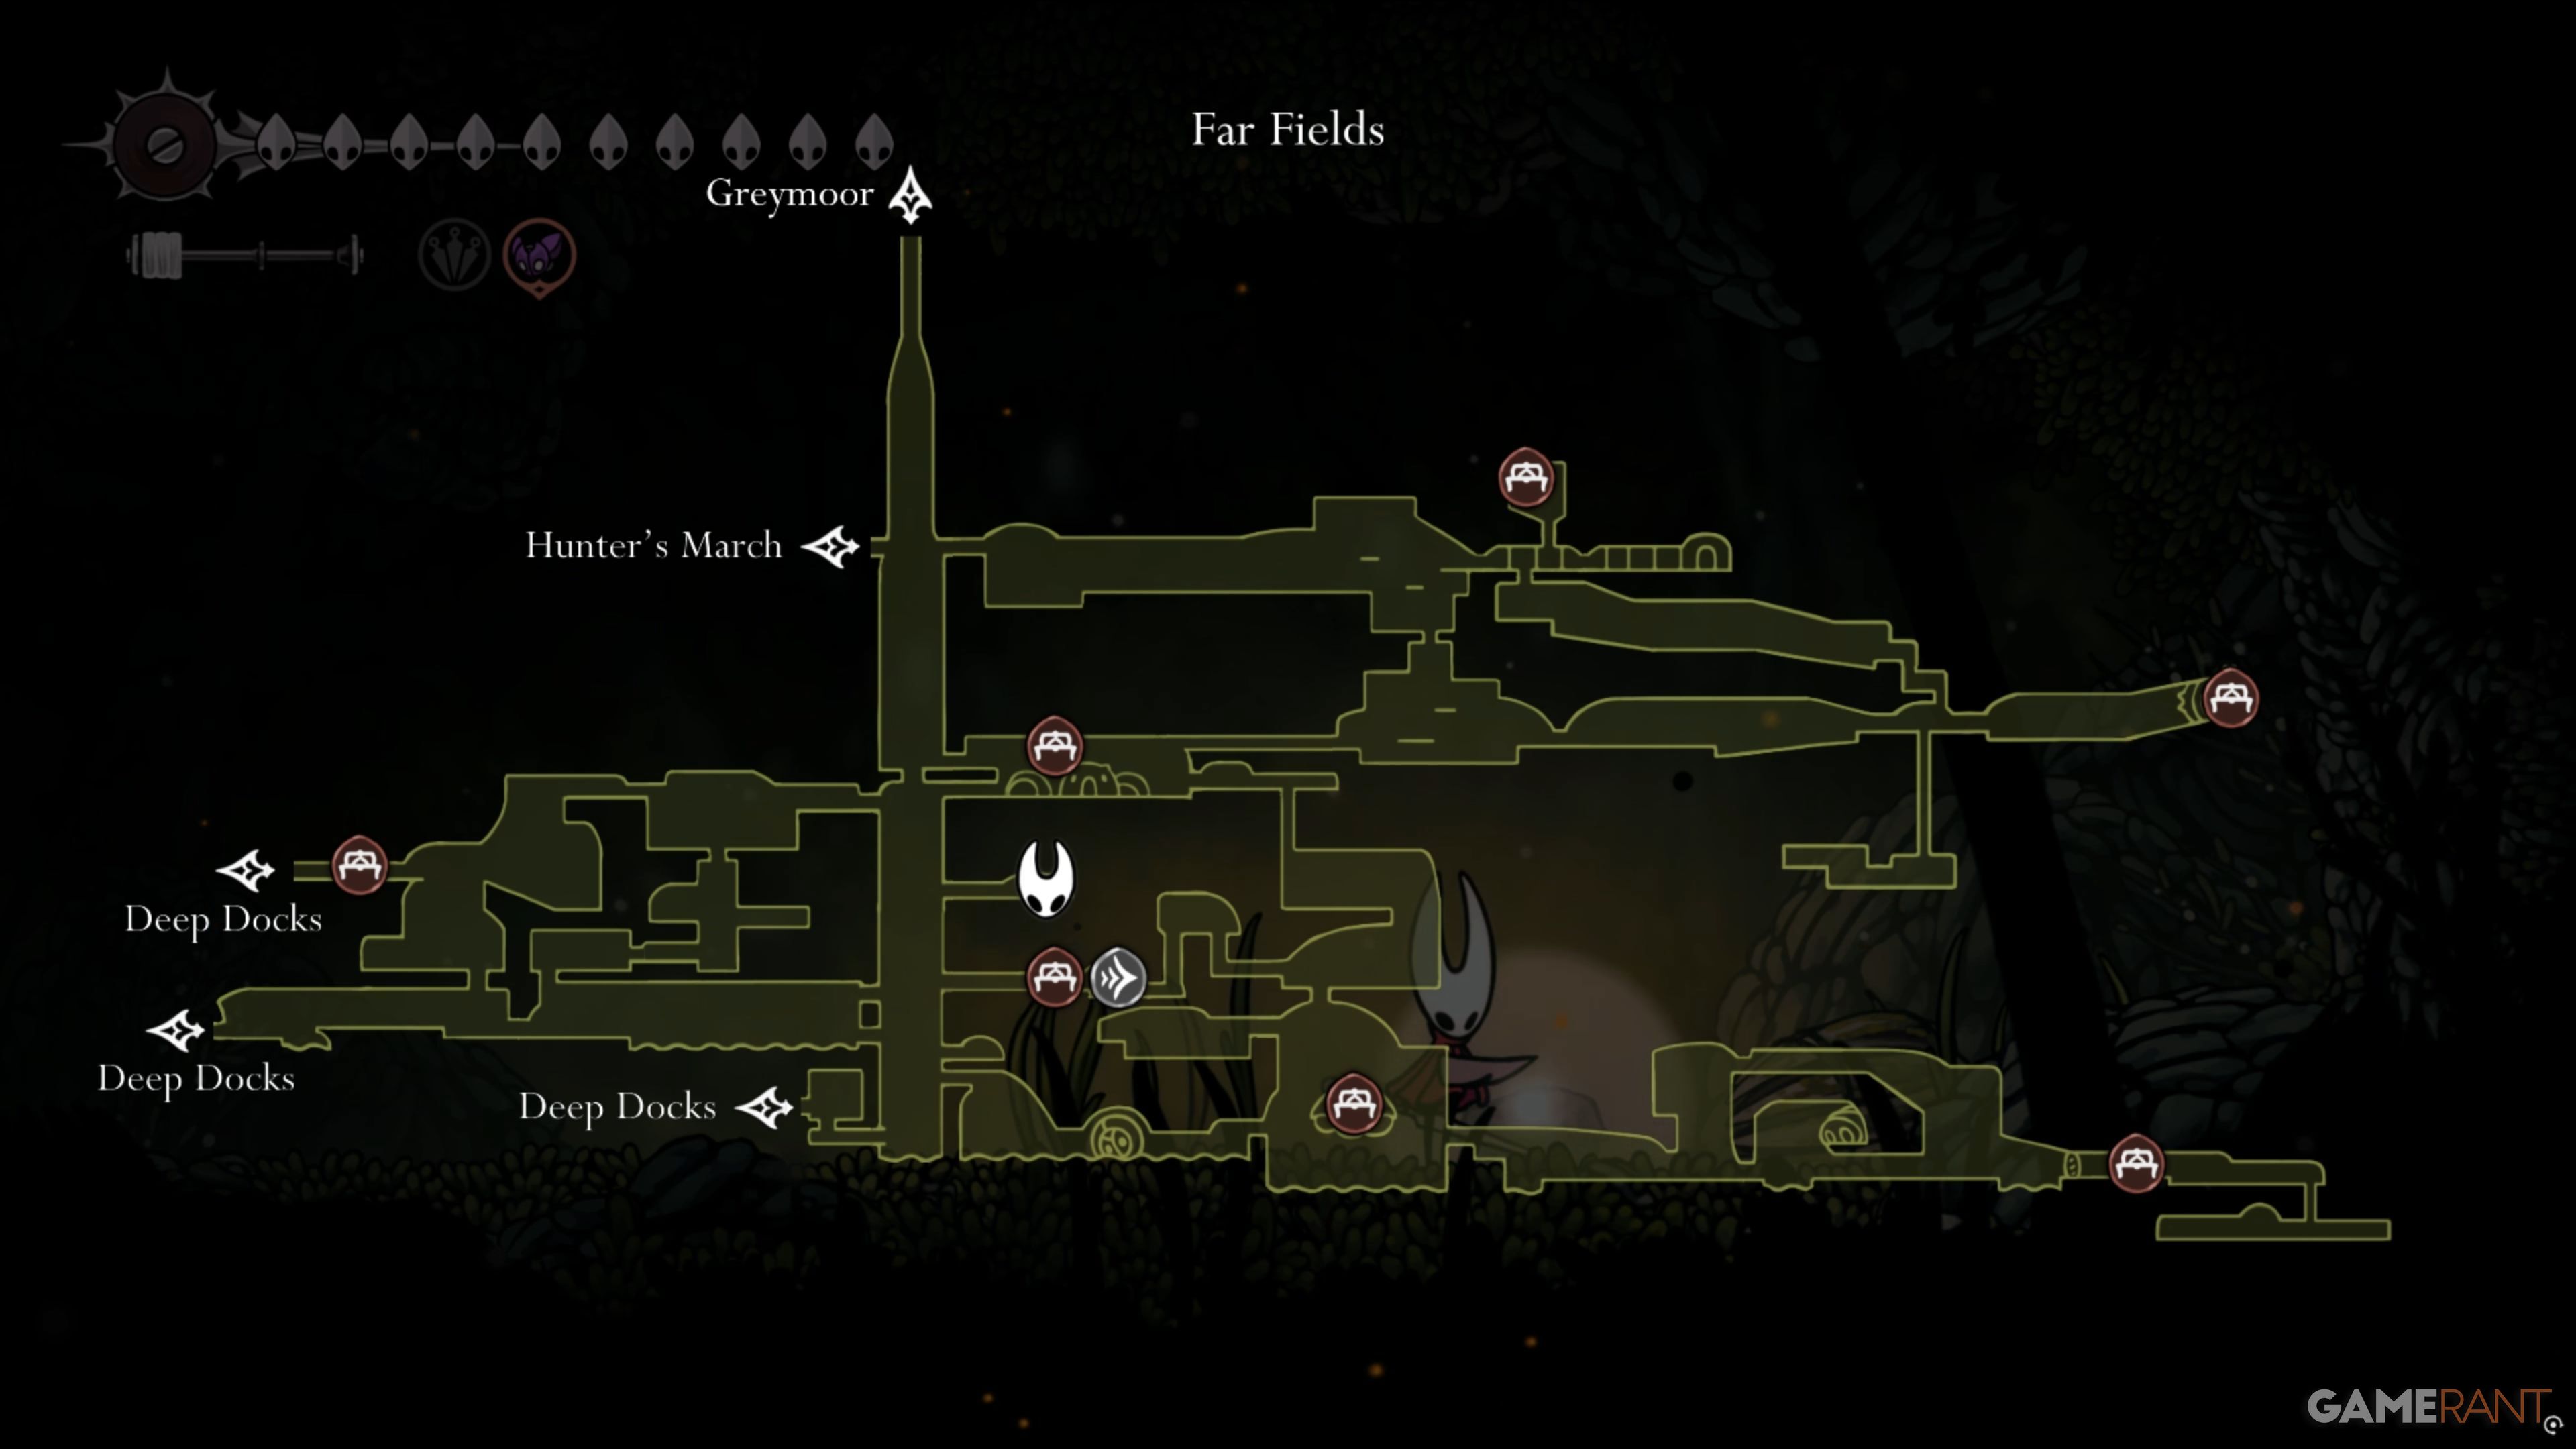

Head to Bellway Station’s Far Fields location and ascend using the wind current. To your right, there’s an entrance leading to a room with a marker signifying a target ahead. Inside, you’ll discover four targets suspended and a harmless foe who will vanish upon noticing you. With the Curveclaw Tool in hand, arrange yourself so that when activated, it hits all four targets simultaneously. After accomplishing this, the enemy will emerge and ask for the tool. Hand it over, depart, and take a seat on a nearby bench. Return later, and you’ll find the Curvesickle waiting for you on the ground.
What Does the Curvesickle Do in Silksong?
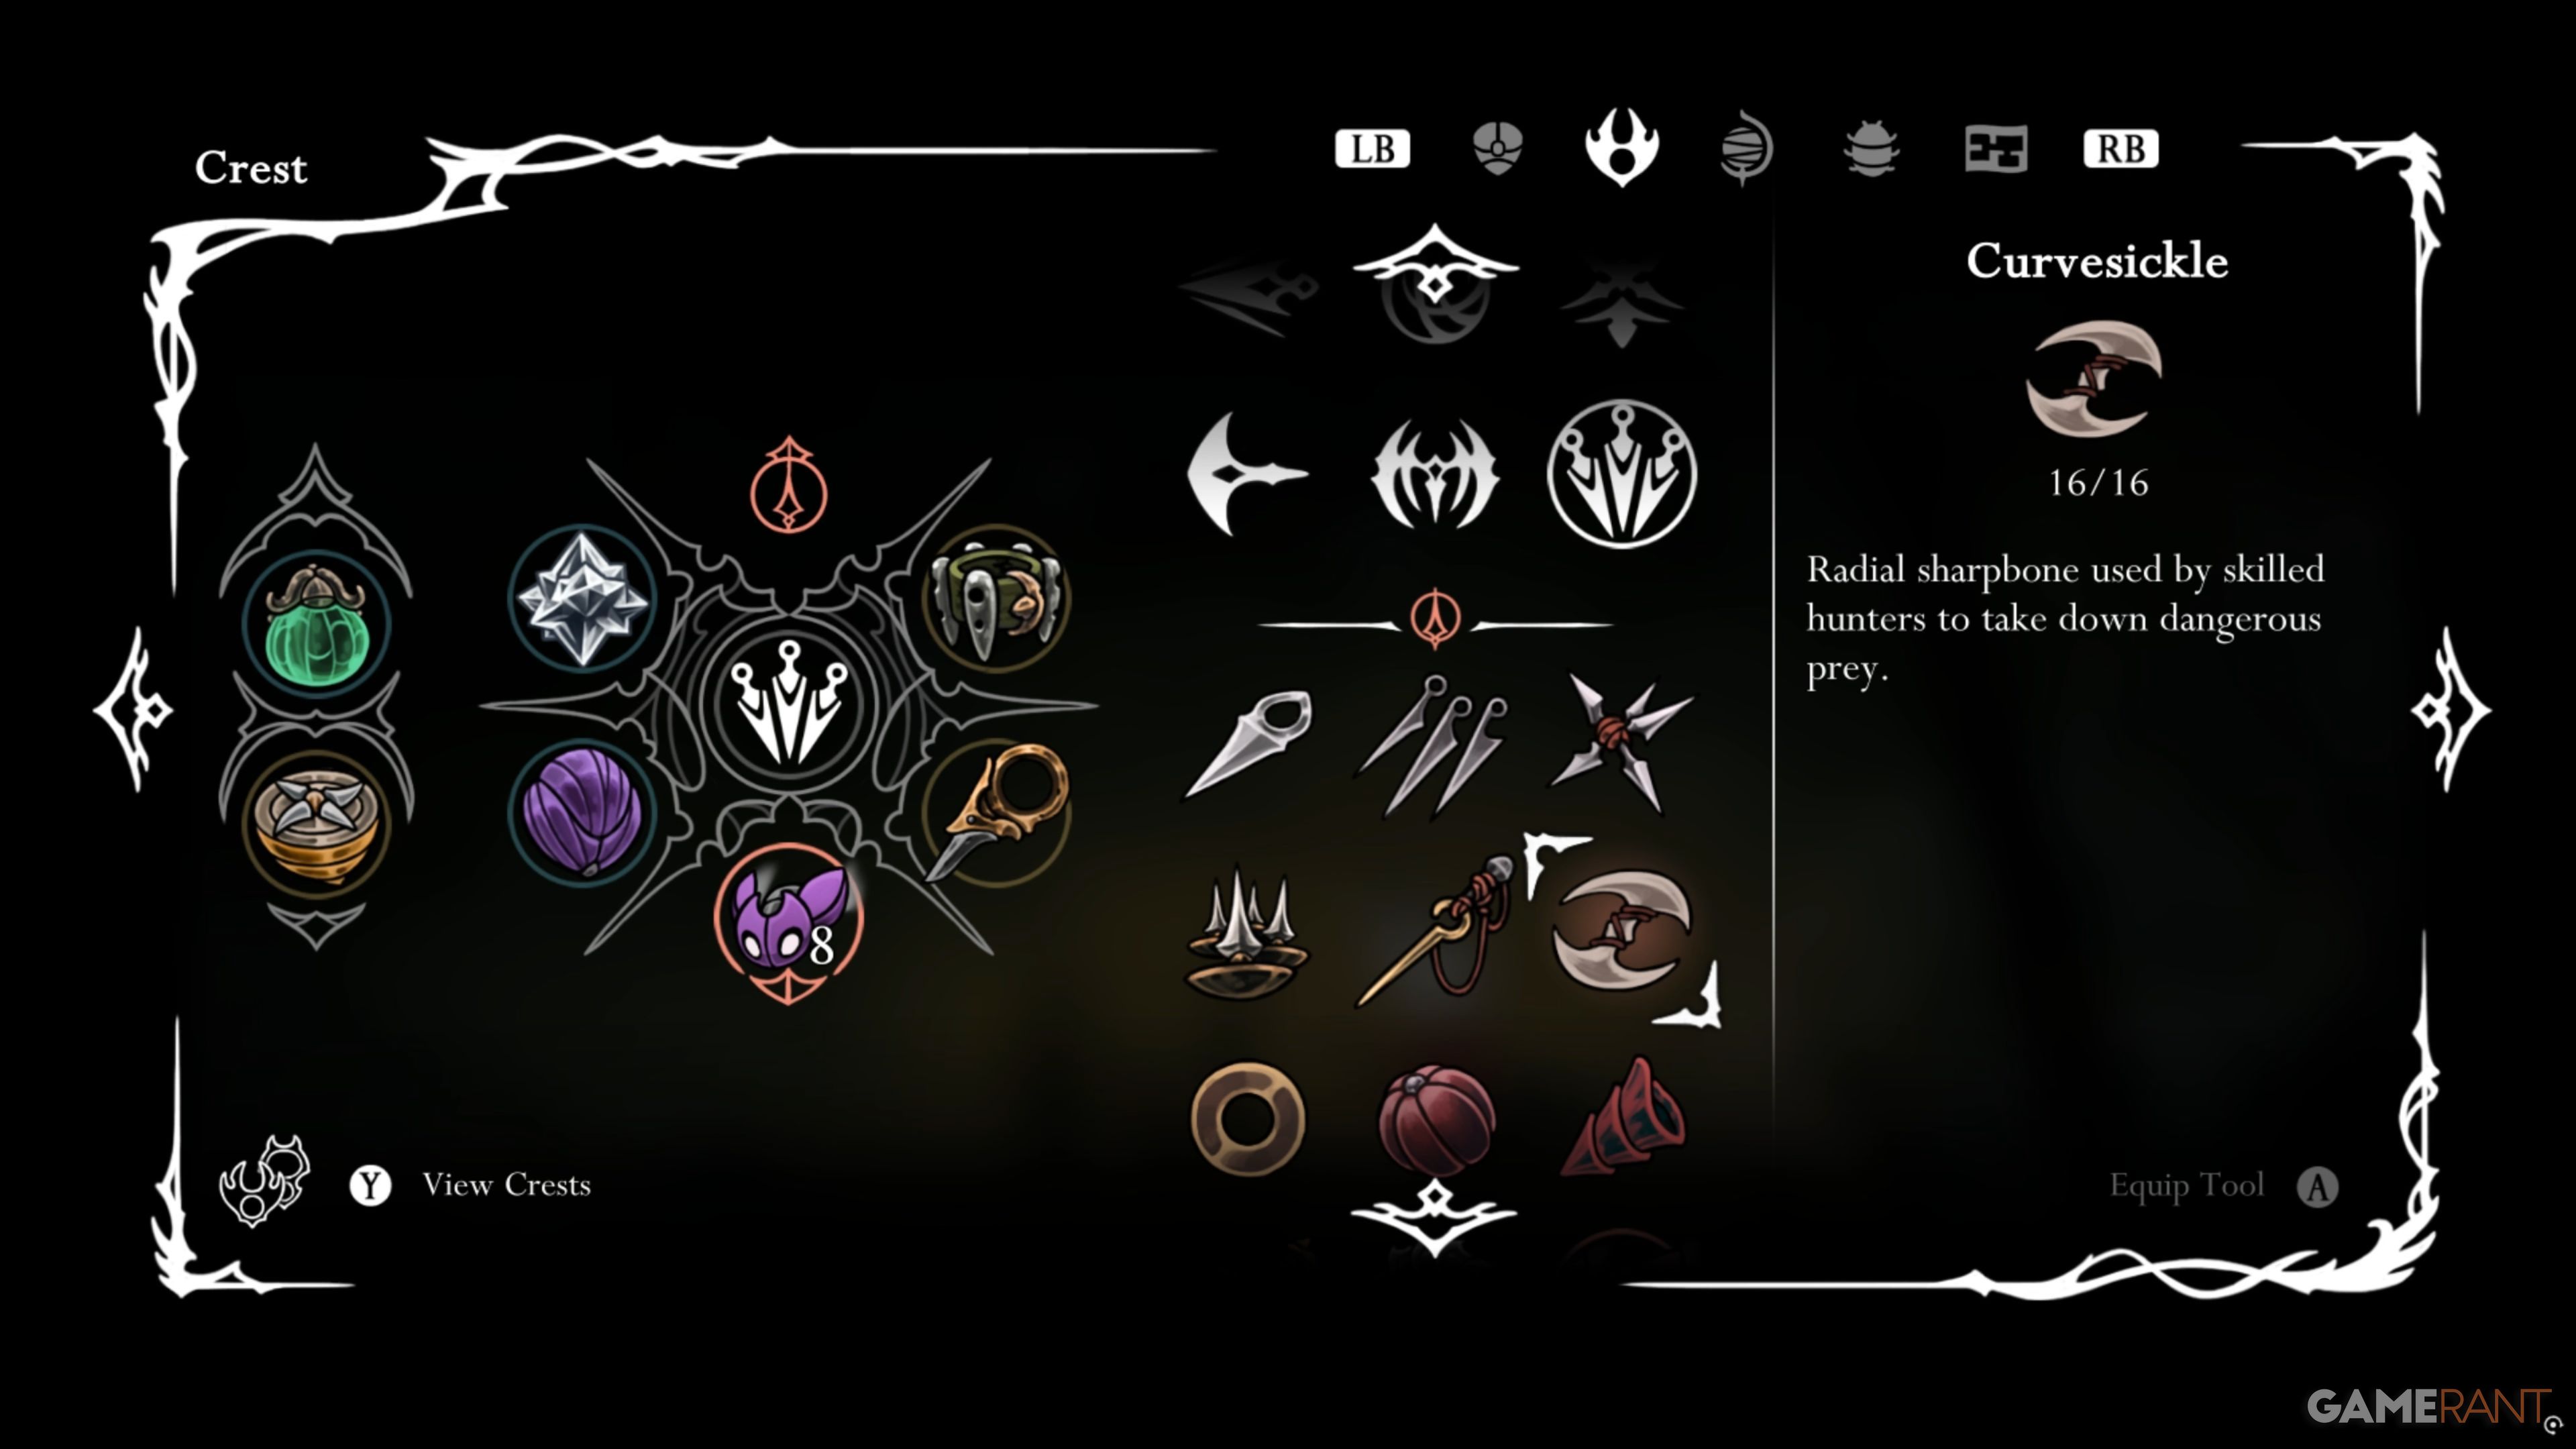
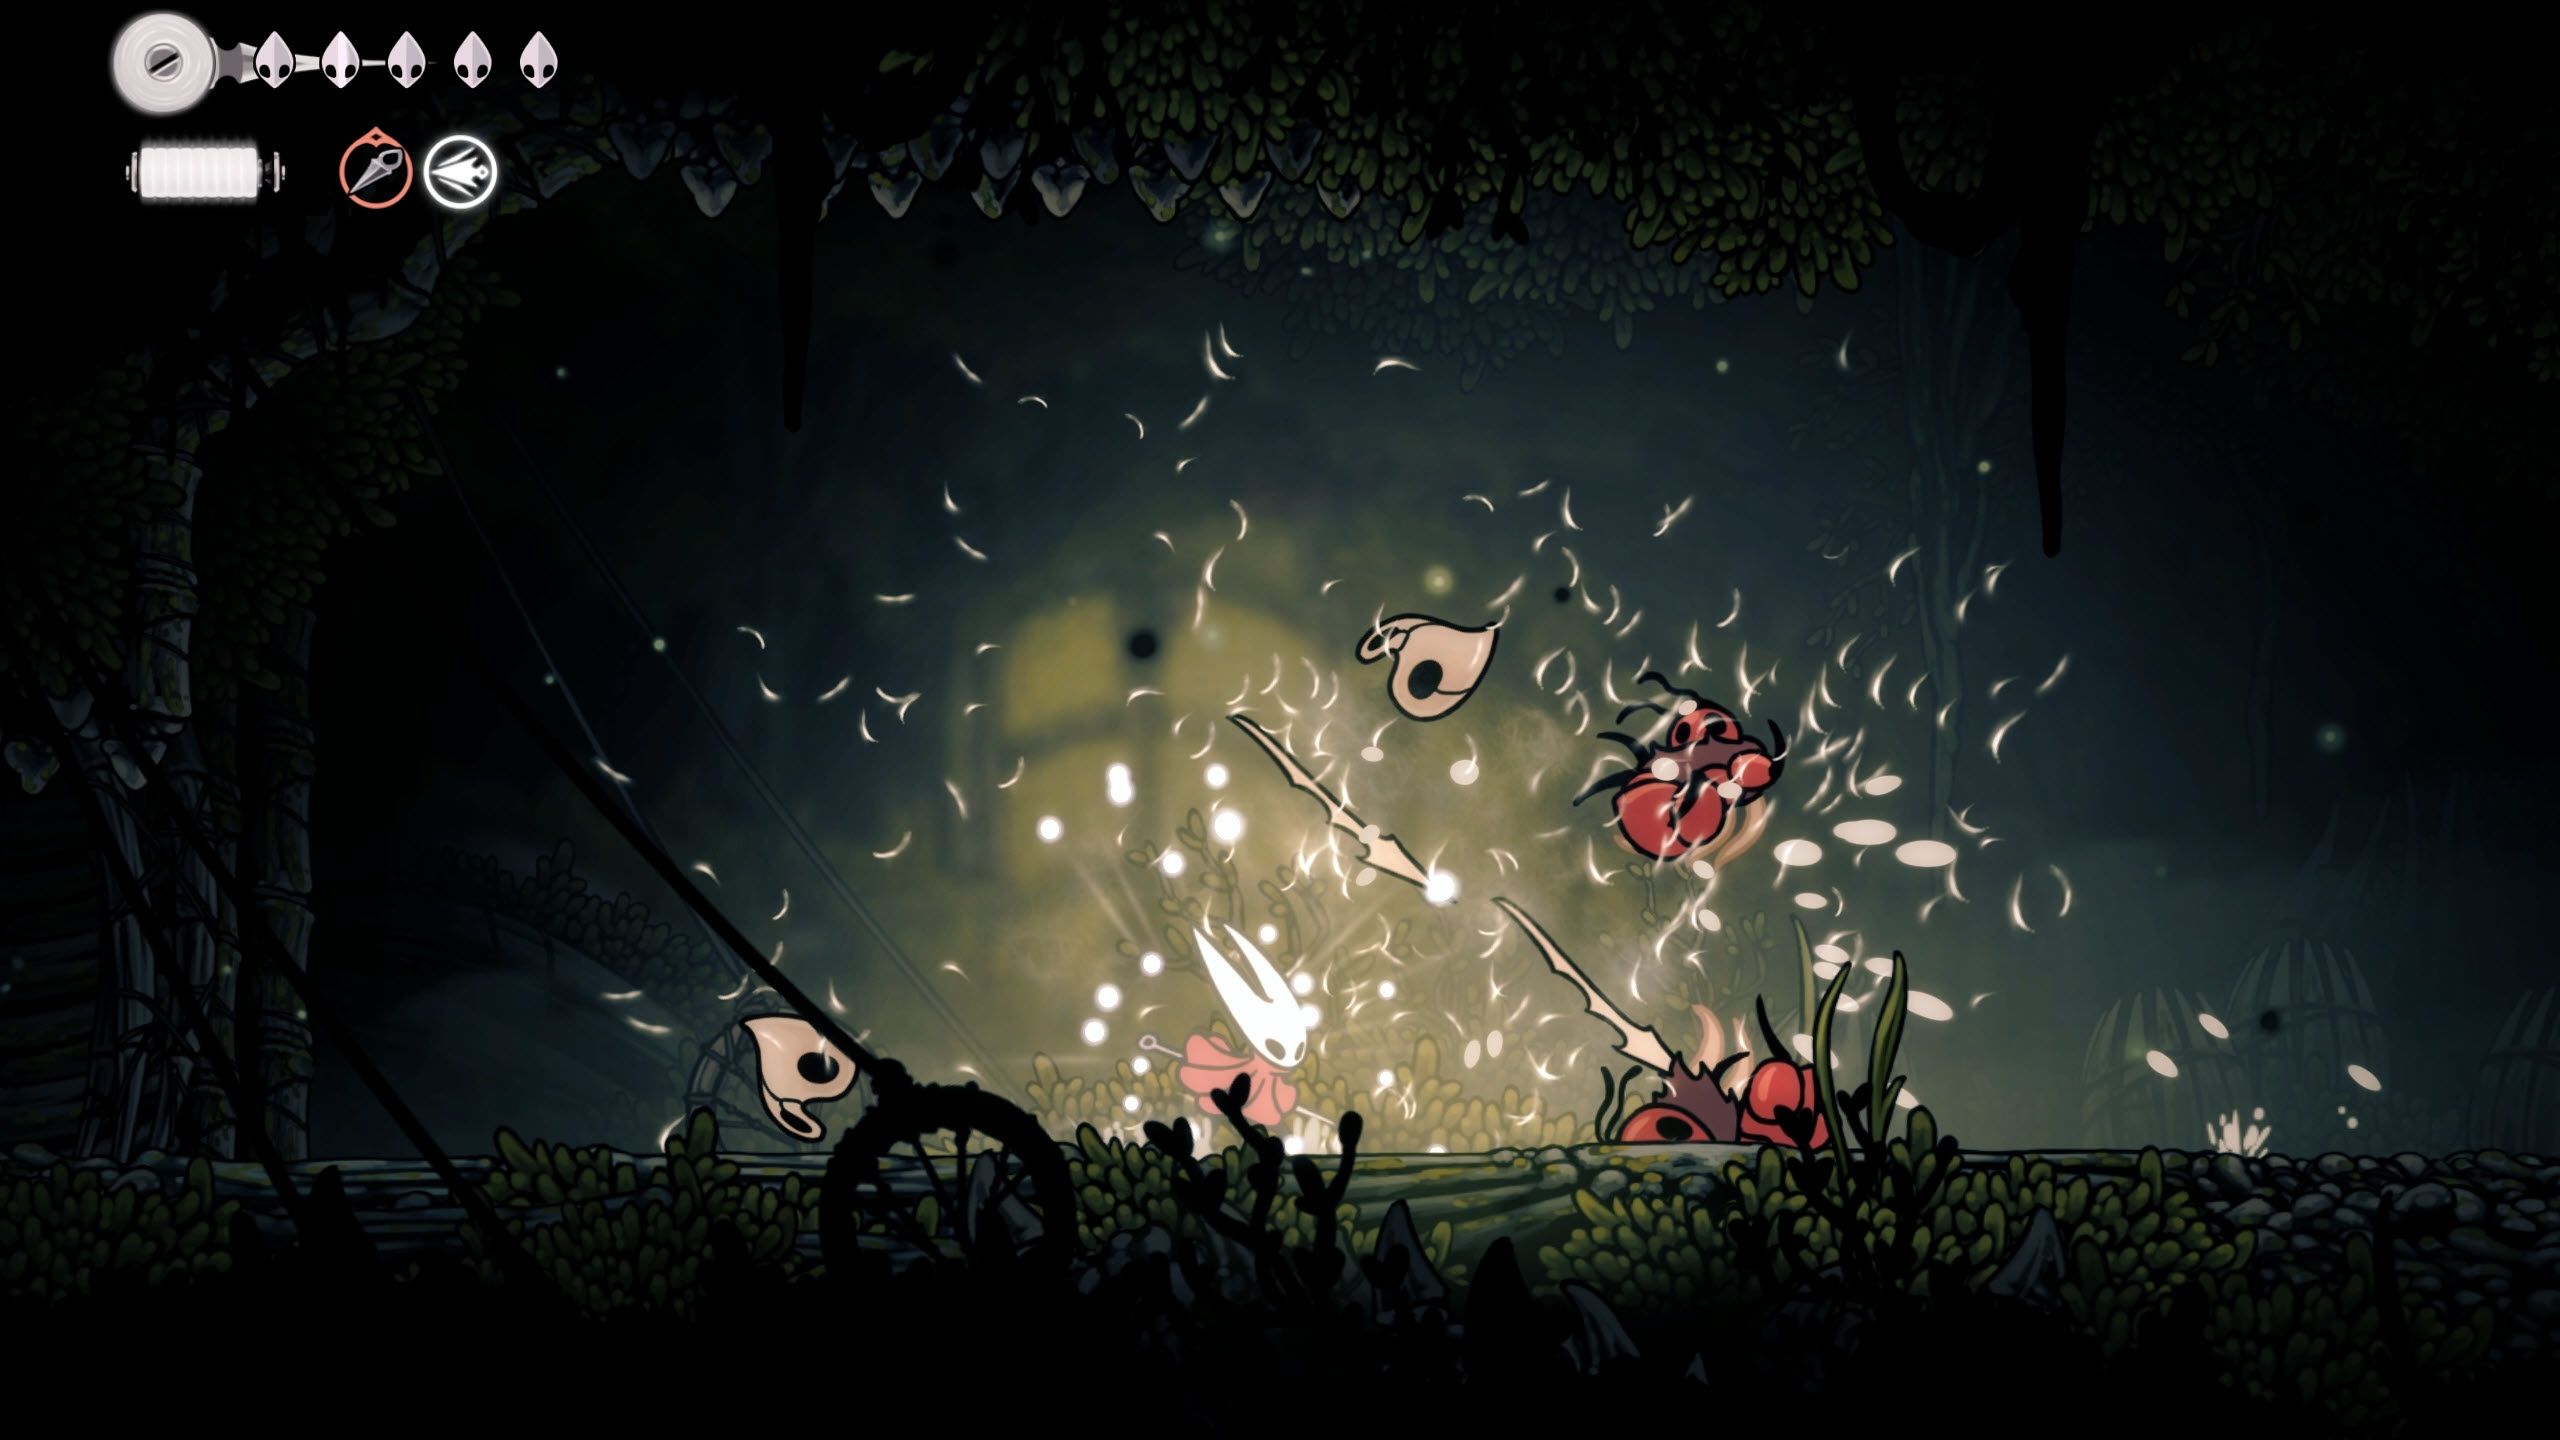
The Curvesickle can be considered an enhanced iteration of your Curveclaw. It boasts a broader reach and generally performs better. Given that acquiring this advanced tool doesn’t necessitate Rosaries or challenging platforming sections, the Curvesickle is strongly recommended for players who currently use the Curveclaw as their chosen tool and frequently encounter bothersome flying enemies. The usage remains similar to the standard version.
Read More
- All Skyblazer Armor Locations in Crimson Desert
- One Piece Chapter 1180 Release Date And Where To Read
- How to Get the Sunset Reed Armor Set and Hollow Visage Sword in Crimson Desert
- All Shadow Armor Locations in Crimson Desert
- All Golden Greed Armor Locations in Crimson Desert
- How to Beat Stonewalker Antiquum at the Gate of Truth in Crimson Desert
- Cassius Morten Armor Set Locations in Crimson Desert
- Grime 2 Map Unlock Guide: Find Seals & Fast Travel
- USD RUB PREDICTION
- Marni Laser Helm Location & Upgrade in Crimson Desert
2025-09-13 15:36