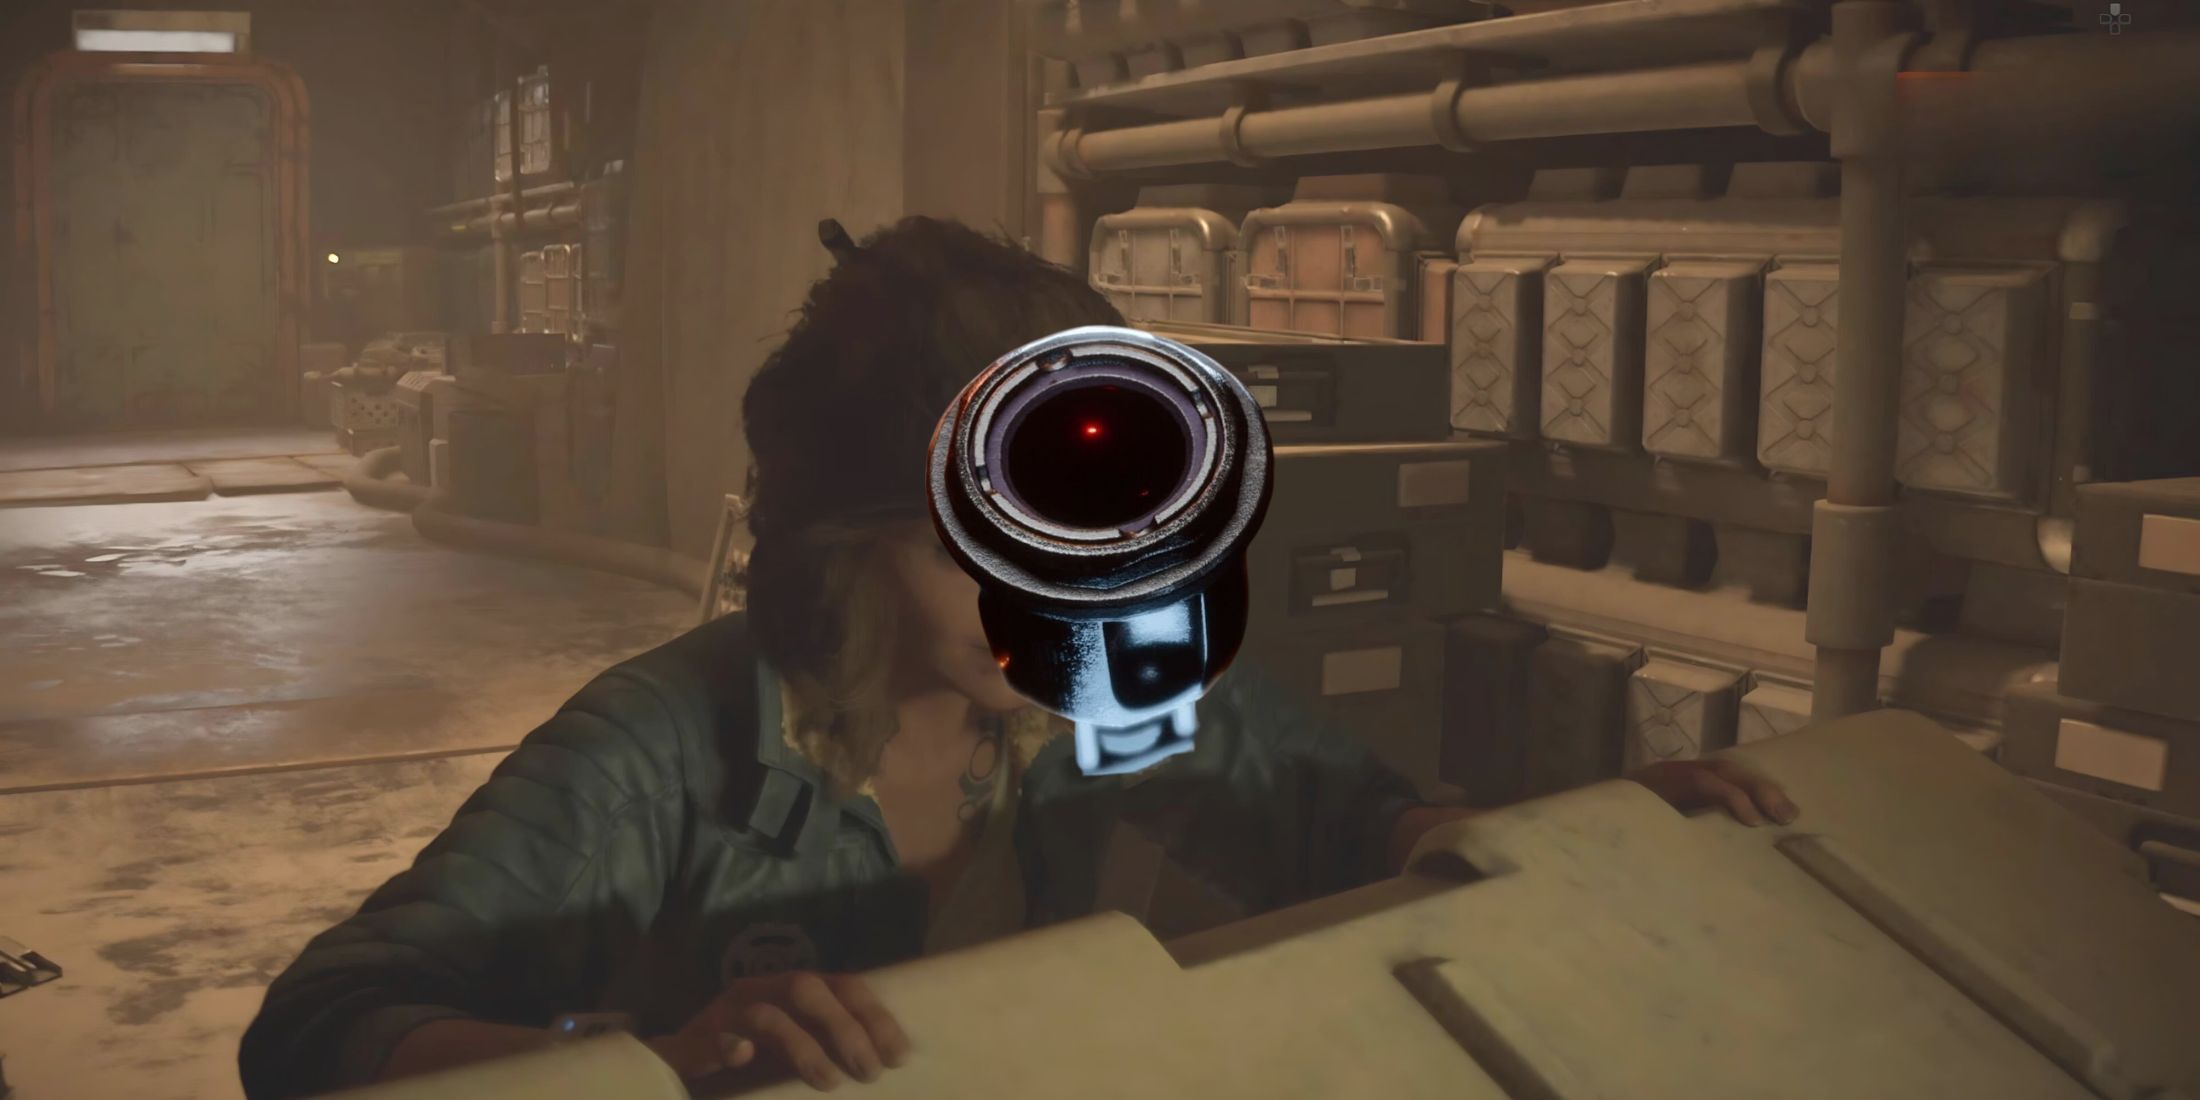
As a seasoned space roamer and Star Wars Outlaws enthusiast, I can’t help but admire the resourcefulness and grit of our protagonist, Kay. She’s a force to be reckoned with, reminiscent of Han Solo, but with a unique charm all her own. Her blaster may not have the mystical powers of a lightsaber, but it packs quite a punch!
The main character of “Star Wars Outlaws” may not possess the powers typical of Star Wars’ renowned Jedi Knights, but she is incredibly clever and formidable. She shares similarities with beloved Han Solo, displaying exceptional skills in theft and smuggling, and proving to be quite deadly when wielding a blaster.
With Kay’s Blaster, she can certainly handle tough situations and take down opponents effectively. However, if players want her weapon to be even more powerful, they should consider getting the upgrade for Kay’s blaster damage. To obtain this upgrade, you’ll need to learn how to get the BT-009S Fastshot Trigger in Star Wars Outlaws, and I’ll explain that below.
How To Increase Kay’s Blaster Damage In Star Wars Outlaws
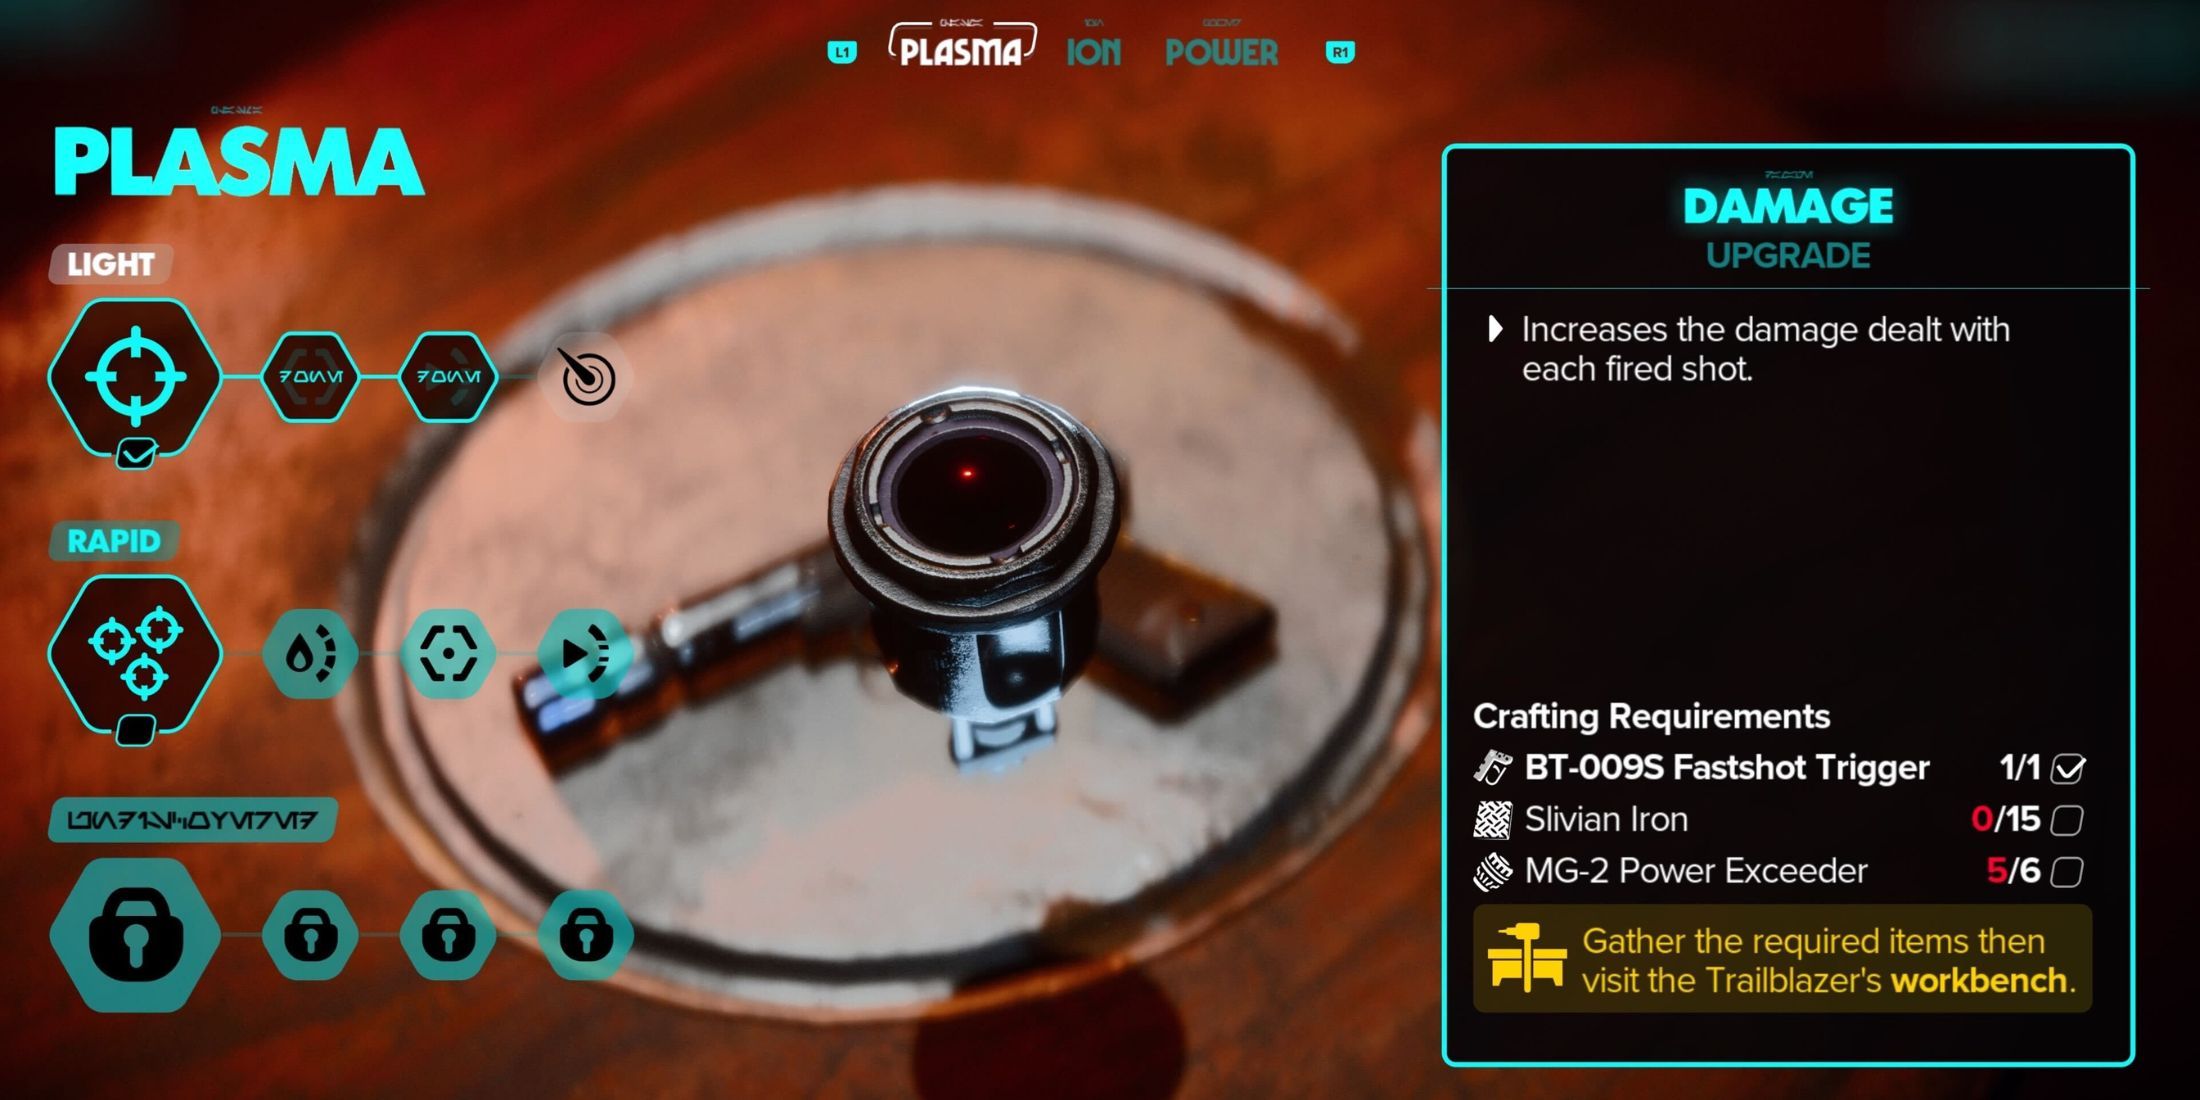
Kay has a wealth of upgrades at her disposal for her weapons and gadgets, both via the various experts she encounters on her travels, and through her own skills at a workbench. One particularly useful upgrade for the Star Wars Outlaws protagonist is the damage upgrade for her Blaster. If players want to inflict more pain with Kay’s primary weapon, they will require the following:
- One BT-009S Fastshot Trigger
- 15 Slivian Iron
- Six MG-2 Power Exceeder
Acquiring the Fastshot Trigger might prove tricky for players due to its scarcity, but luckily, other essential resources like Slivian Iron are more readily available. Kay should find Slivian Iron quite easily on her adventure; she can pick it up personally or delegate Nix to do so. In case she can’t find it lying around, she can buy the material from various vendors and merchants scattered throughout the game.
From a space-loving enthusiast like myself, let me tell you about two coveted gadgets in our galaxy: The MG-2 Power Exceeder and the BT-009S Fastshot Trigger. While Slivian Iron might be more common, the MG-2 is a bit harder to come by, but fear not, it’s out there! You’ll most likely stumble upon it in syndicate camps and bases scattered throughout the cosmos. A lucky few may even find it stocked by select traders such as the elusive traveling merchant Shuma.
How To Find The BT-009S Fastshot Trigger
The essential part of enhancing Kay’s Blaster’s damage lies in the BT-009S Fastshot Trigger. You can discover this trigger at Typhon’s Rock, a place nestled in the Lost Steppe on the planet Toshara. This location is situated southeast of Jaunta’s Hope fast-travel point, or southwest if you’re approaching from the main city of the planet. Reaching this spot can be challenging, but the smartest way to access it is from the southern side, as demonstrated in the video provided.
As a fan, I must tell you that to grab Kay’s blaster’s coveted Power Module, you’ll first have to accomplish the Safecracker’s main mission. Only then will you be rewarded with this valuable item.
Starting from the southern part of Typhon’s Rock, Kay must navigate to a tunnel obscured by gusty winds. This can be achieved by scaling the numerous rock formations, then proceeding along the trail to your left until you discover the cave. Initially, it might appear inaccessible due to most players utilizing Kay’s Speeder’s speed boost upgrade to dodge the wind. However, the gusts are not continuous.
Starting at the cave entrance, wait for the wind to cease before making a dash to your left and seeking shelter behind the stone wall to avoid being swept away. Once the wind has quieted down once more, swiftly move towards the ledge directly in front of you and descend. After doing so, utilize the Power Module to break through the rock and gradually penetrate into the cave from that location.
After moving through the opening in the wall, head towards the right, descending two small declines, and follow the path to the right until you reach a tunnel. Further down this path, you’ll notice a hole in the ground where Kay can attach her grappling hook for rappelling. After descending, you’ll end up in an open cavern. Turn right, scale the rocky outcroppings, break through the stone using the Power Module, and then proceed through the hatch.
When Kay exits the hatch, she’ll have to traverse over the gaps ahead and onto the succeeding rock platforms. She’ll also need to do this again at the next one. There’s a blind alley here, but the wall on the right can be scaled. Remember to watch out for strong gusts of wind from behind, and make sure you leap from one wall to another to advance. The next section is located at the top of the wall on the left side of the screen, which requires a path obstructed by a wind tunnel. All you need to do here is time your run perfectly as you just have to cross the gap.
After overcoming the gusty obstacles, Kay must scale the wall on the right when the path concludes, followed by a trek through a dark tunnel until she slips and slides down the rocky surface. Remember this, as you’ll need to leap at the end of the slide. However, on this particular instance, avoid jumping. Instead, stretch out the grappling hook and descend to the ground using it.
To advance, Kay should head towards the elevator on the left upon entering the clearing. Stand near the elevator, activate the Power Module to shatter the three rocks obstructing the way, followed by commanding Nix to open the hatch. Once opened, engage the Ion blaster’s power-up function to ascend the elevator to the next level.
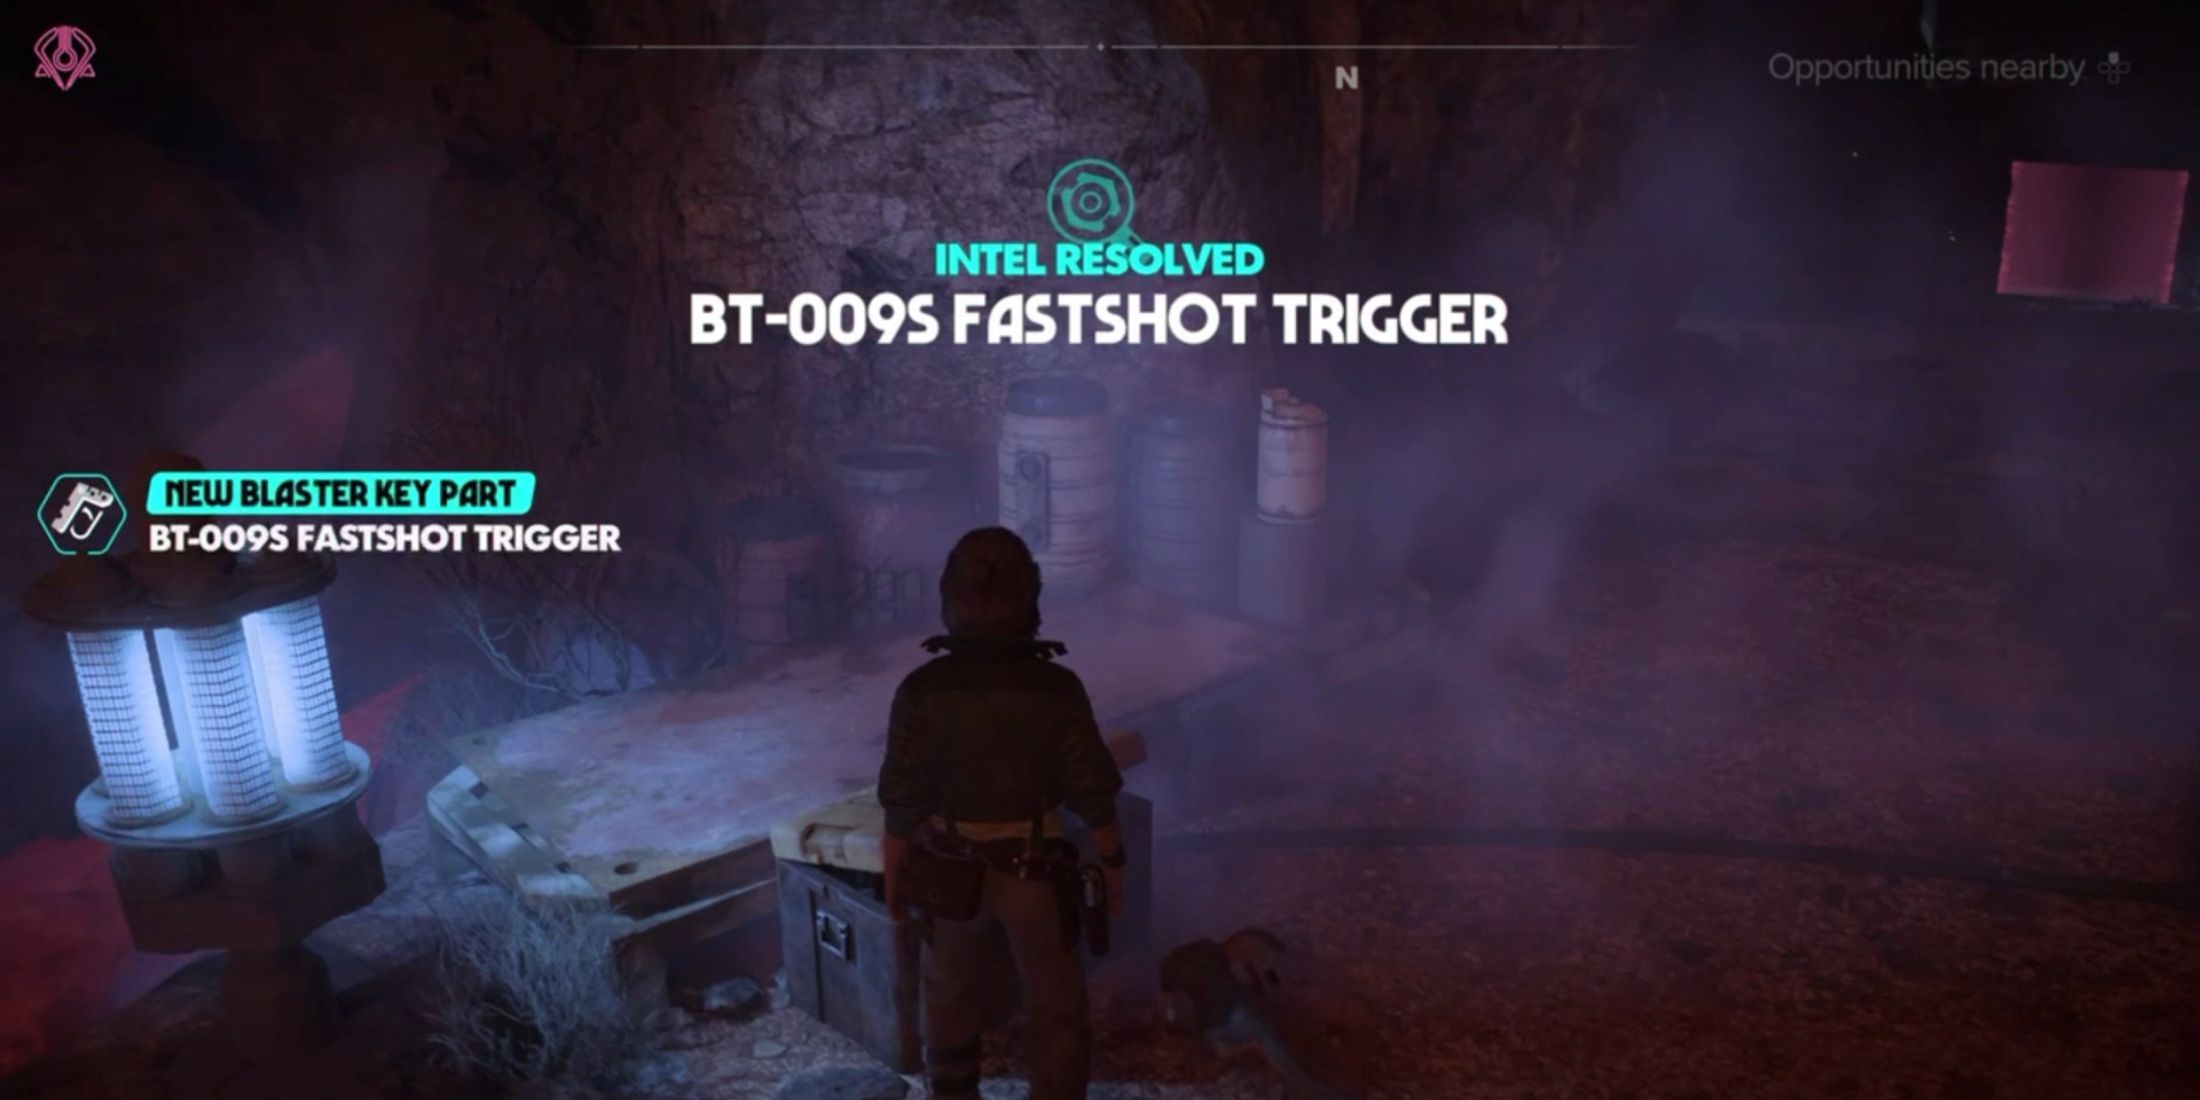
At the elevator’s peak, take a moment to survey your surroundings since there are several items and collectibles to snatch, among them the Ancient Hunter Carving Major Charm. After gathering all the loot, proceed along the path, clear the jump. You’ll find the BT-009S Fastshot Trigger in the container on the left as you ascend the ledge.
Read More
- USD ZAR PREDICTION
- SOL PREDICTION. SOL cryptocurrency
- EUR ILS PREDICTION
- CKB PREDICTION. CKB cryptocurrency
- SEILOR PREDICTION. SEILOR cryptocurrency
- TROY PREDICTION. TROY cryptocurrency
- AE PREDICTION. AE cryptocurrency
- NOTE PREDICTION. NOTE cryptocurrency
- USD PHP PREDICTION
- PLI PREDICTION. PLI cryptocurrency
2024-09-07 23:23